CS 194: Project 4A
Homographies and Panoramas
I came to college to be exposed to new perspectives. Little did I know that I could just make myself a new one.
Introduction
In our last project, we got to experience the power of transformations firsthand, using them to seamlessly morph objects and faces from one to another. This time, we're going to kick it up a notch (and a point), and use homographies to transform the apparent points of view of entire images. We can use this technique to do all sorts of cool things, such as peeking at our friends' notes, and stitching together panoramas from separate pictures of a scene.

Part 1: Defining Correspondences
Just like last time, for this to work, we need to start by defining correspondences between two images (or an image and a goal). Last time, we split our images into triangles, because our affine warps were determined by three points. However, this time, because we're applying homographies across an entire image, we need four co-planar points. Then, to define our homography, we need to select the points that we want those points to be warped to in our destination image. Then, with these eight points, four from each image, we can solve for our homography by setting up a system of equations to get the coefficients of our homography matrix.
This image (stolen from this extremely helpful medium post), shows us one such way to do this:

To set this up, we take the x and y coordinates of each of our points and fill them into this matrix. To make our lives a little bit easier, I switched the equations around so that the x and y coordinates of each set of corresponding points were adjacent to each other in the matrix, by basically interleaving the rows of the top half and bottom half of the A and X matrices. This allowed me to more easily iterate over points and include more than eight in the equation and reduce the noise in the calculated homography. However, by including more than eight points, we introduce the possibility of overconstraining our equation, which requires the use of least squares to solve for the best fitting homography. The Ordinary Least Squares, or OLS equation is as follows:
In this case, since we want to solve for our unknown matrix, we will use this equation as follows, where the vector is the components of the matrix in row-major order, and is our vector of target points, :
which gives the solution:
Then, by appending a scale factor of 1 and reshaping our array, we have found our homography matrix!
Image Warping
This homography matrix allows us to calculate the transform between the camera pixels for different images taken from the same point. In doing so, it also allows us to "change" the perspective from which an image is taken, so long as we are not changing the position of the camera. This is a little confusing, so let me illustrate with an example:

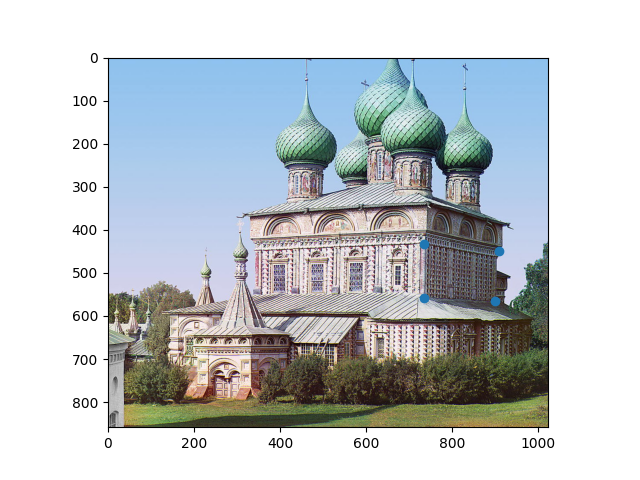
Let's take this image of the Church of the Resurrection in Kostroma. You may remember it from project one, where we got to see it turn from black and white to color miraculously before our eyes. But unfortunately, the image that Prokudin-Gorsky took of it was from a bit of a weird angle. What if we wanted a view of those gorgeous details on the side? It's not like we can go back to 1909 and take another one. So let's try using a homography!
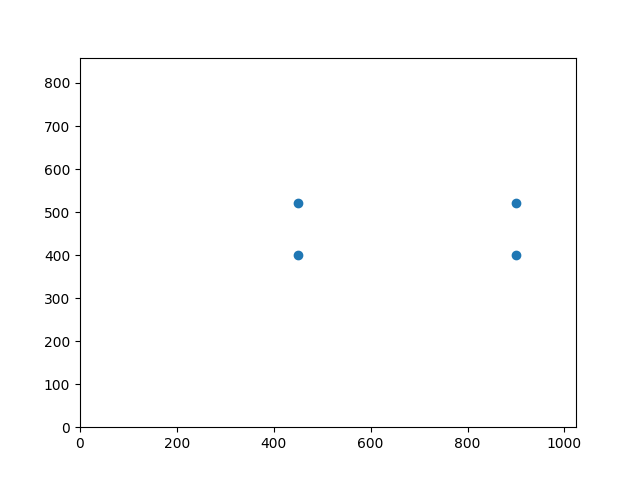
We want to "turn" the church so that we're looking at it side-on. We can do this by selecting four points on that face of the church and computing the homography from there to the rectangle that they would be if they were forward-facing:
Hmm. Well, that's a little unexpected. The side looks great, but what the heck happened to the rest of the picture?! As it turns out, this strange-looking transformation brings up two of the most interesting points about computing homographies, both of which are fundamental to understanding exactly what these computations do to an image.
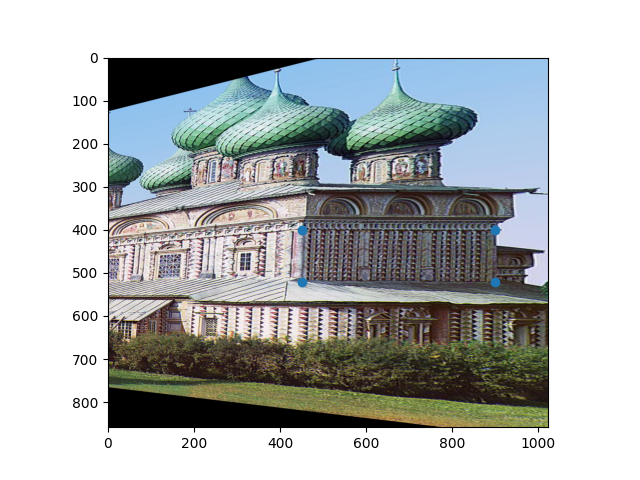
First, homographies can change the perspective that an image is viewed at, but not the perspective from which it is viewed from. This means that the position of the camera relative to the objects in the scene cannot change. Because this image was taken from an angle to the far to the front and side of the church, any homography computed from it will also appear to be taken from that same position. If Prokudin-Gorsky had a distrotion-free, massively wide-angle lens, and shot this image from the same position but facing normal to the side of the church, this is how the church would appear. We can't exactly recover the way that the church would have looked from the side, because that would require moving the position from which the image was taken, and a homography cannot do that.
The second point, which is highly related, is that homographies cannot compute new information. That's why we end up with those black bars and weird distortions in the final image. Again, because we can't actually move the camera, we don't know anything except what is captured in the original image. If a point in our new perspective is beyond the borders of our original image, we're out of luck. There's simply nothing that we can do. That's why the rest of the church is still hidden behind the side wall, even though a straight-on perspective should have captured that. It's not in the original image, so it's not in our homography either.
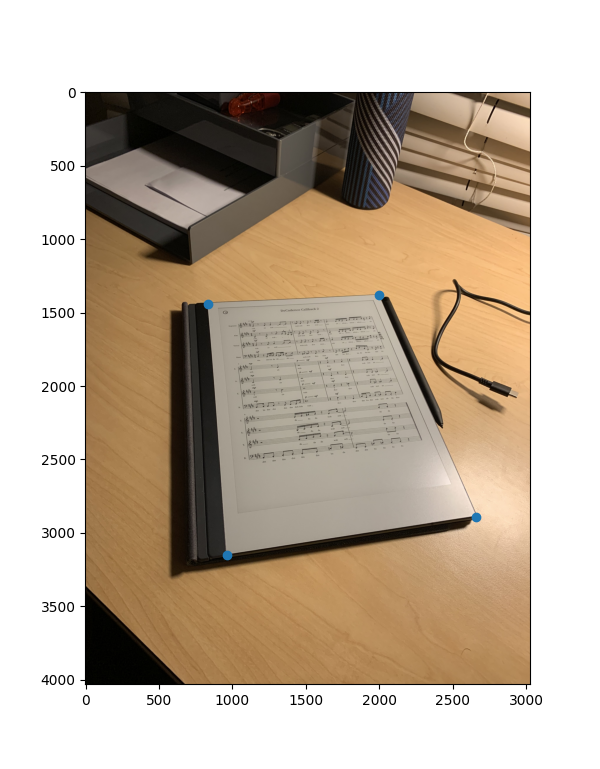
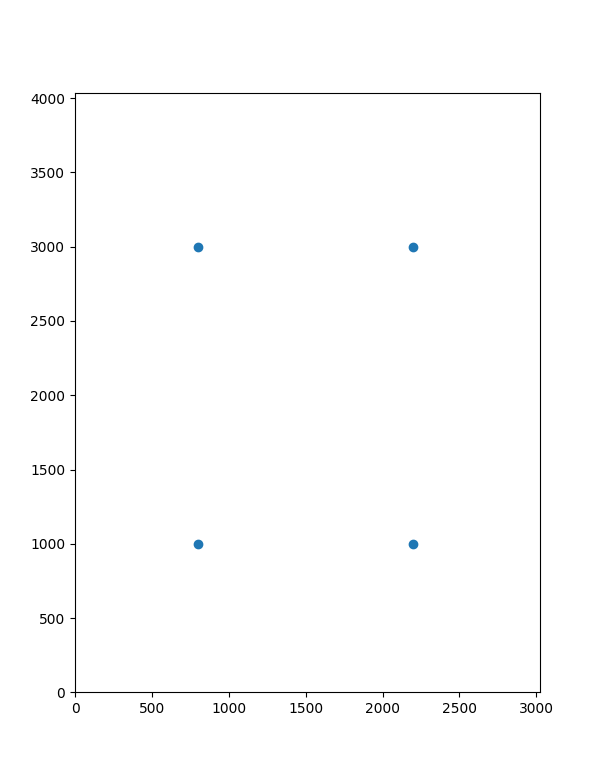
But on objects with less depth, this approach is more effective. Let's say you're sitting on your bed, and you realize that you forgot your notes over on your desk. Sure, you could get up and go grab it, but what if you didn't have to? Homographies to the rescue!!
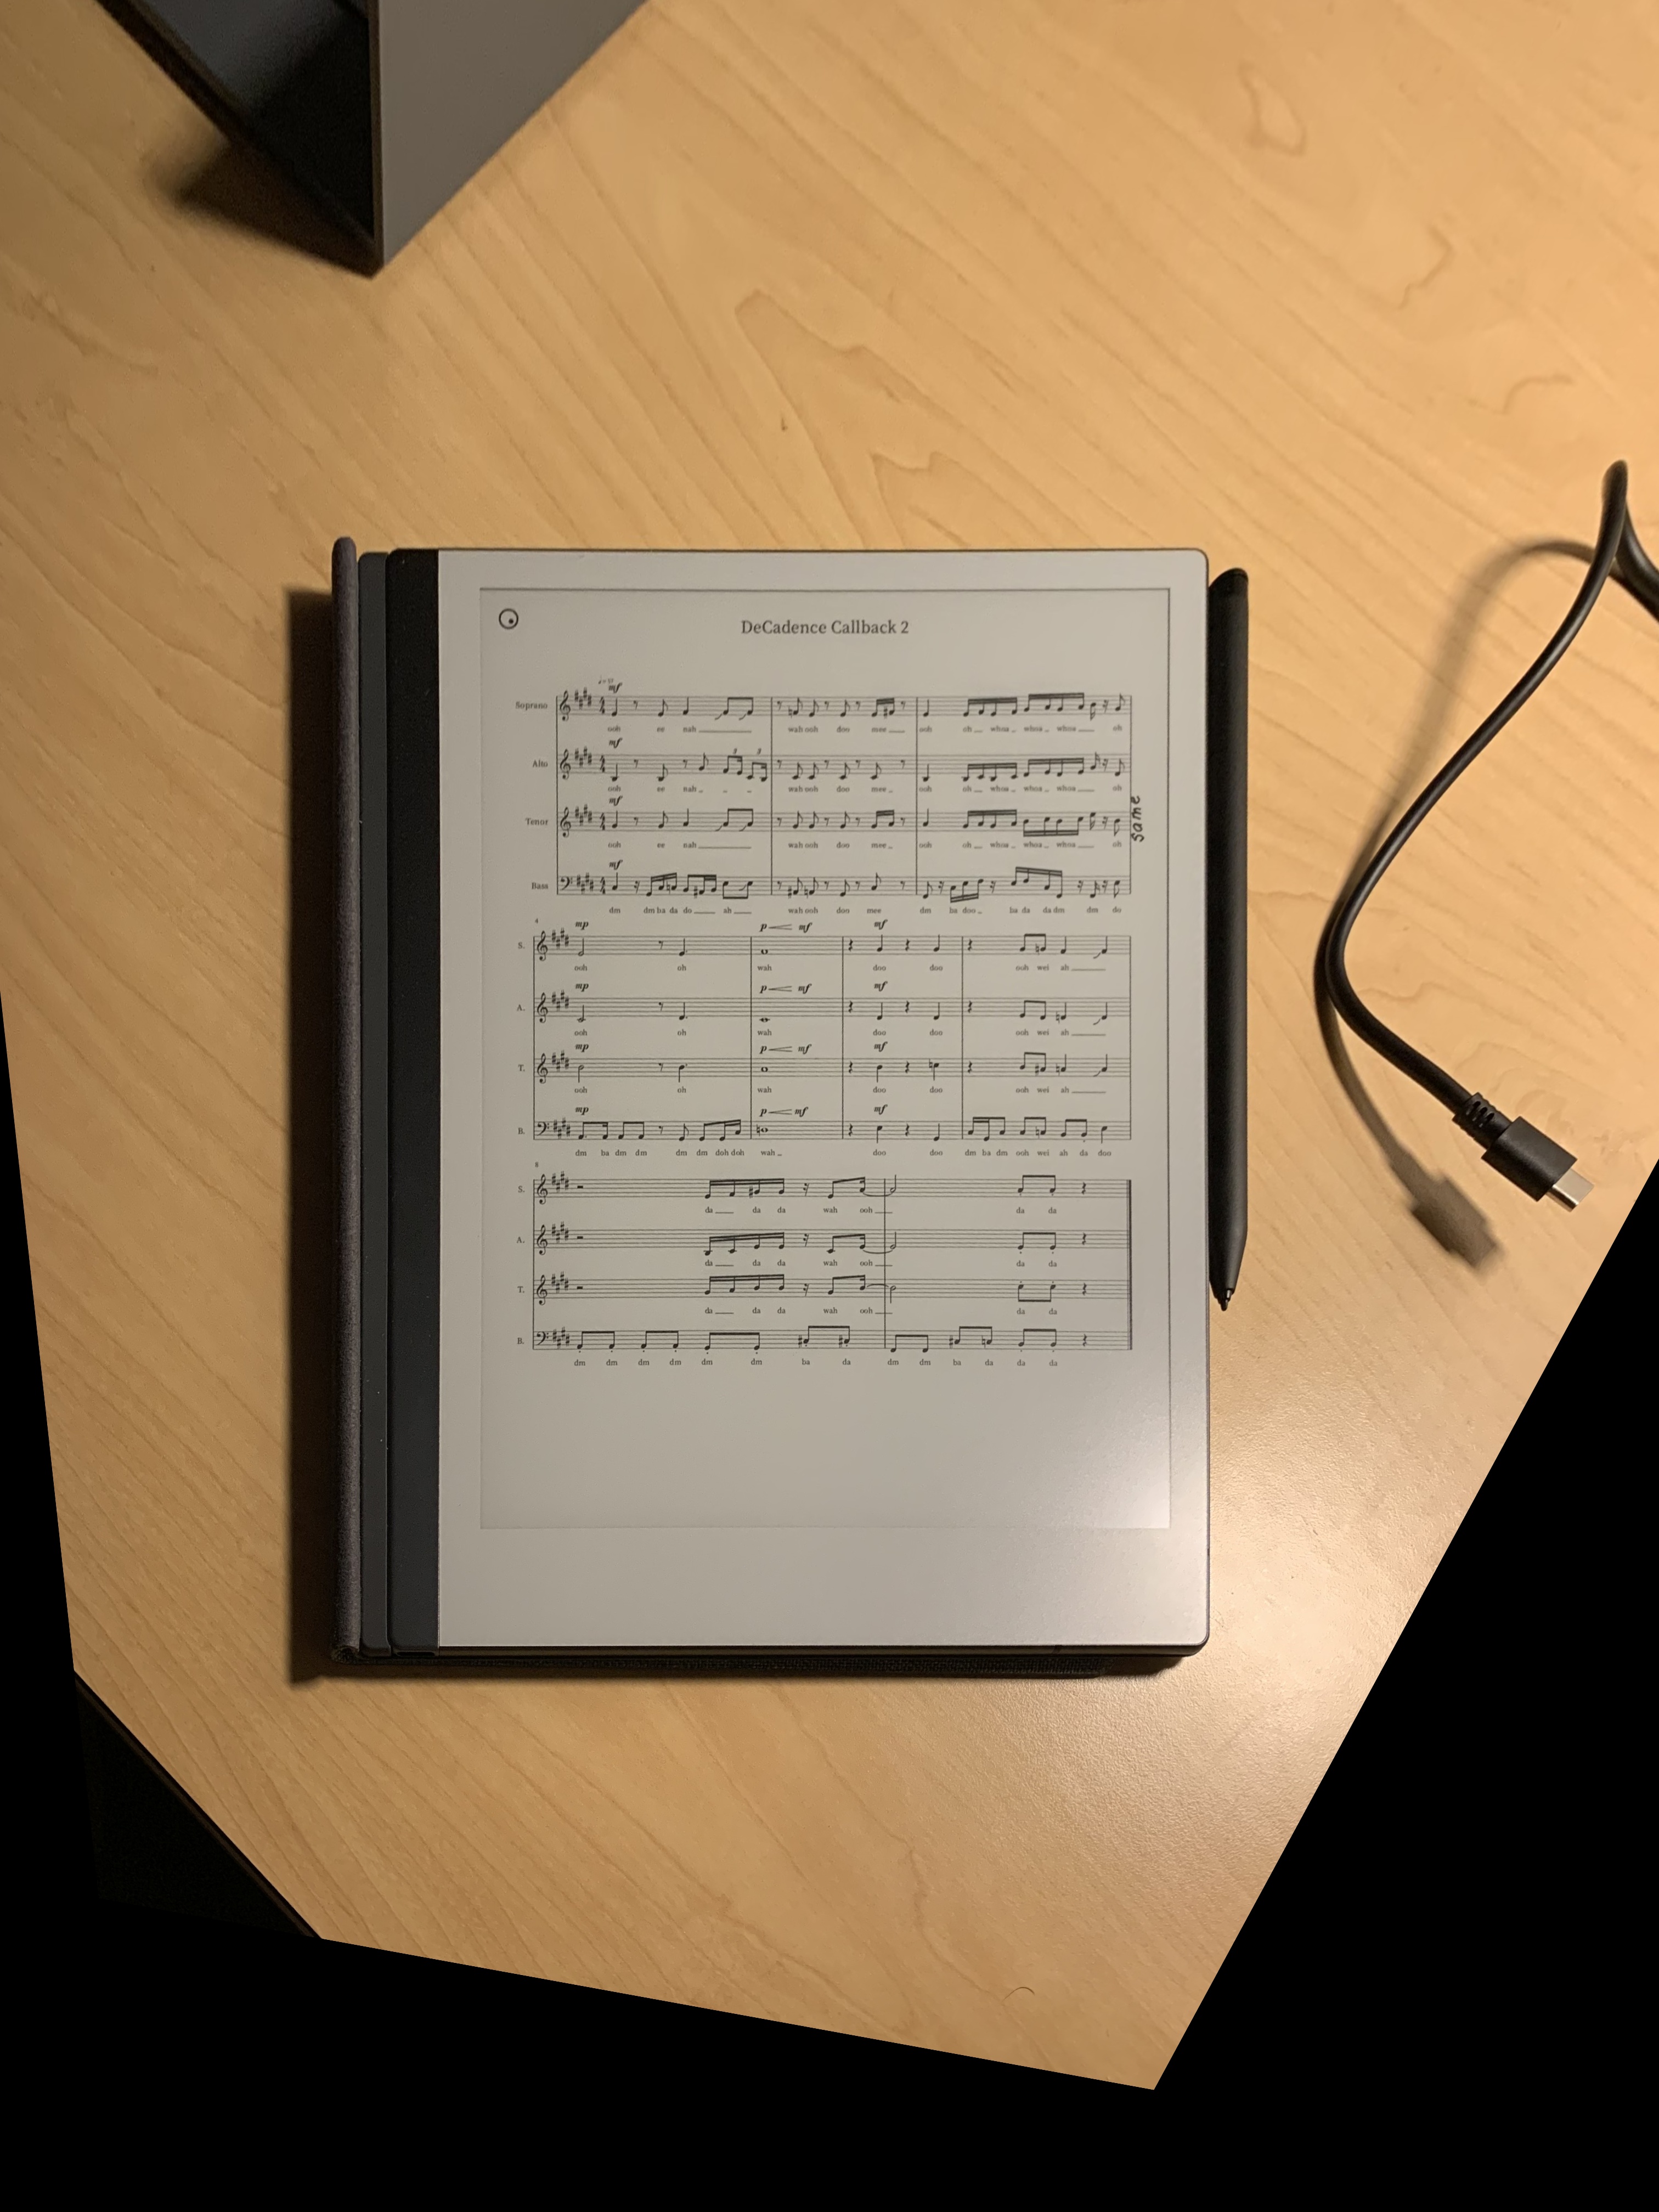
Oh, whoops. Wrong kind of notes.
Image Mosaics
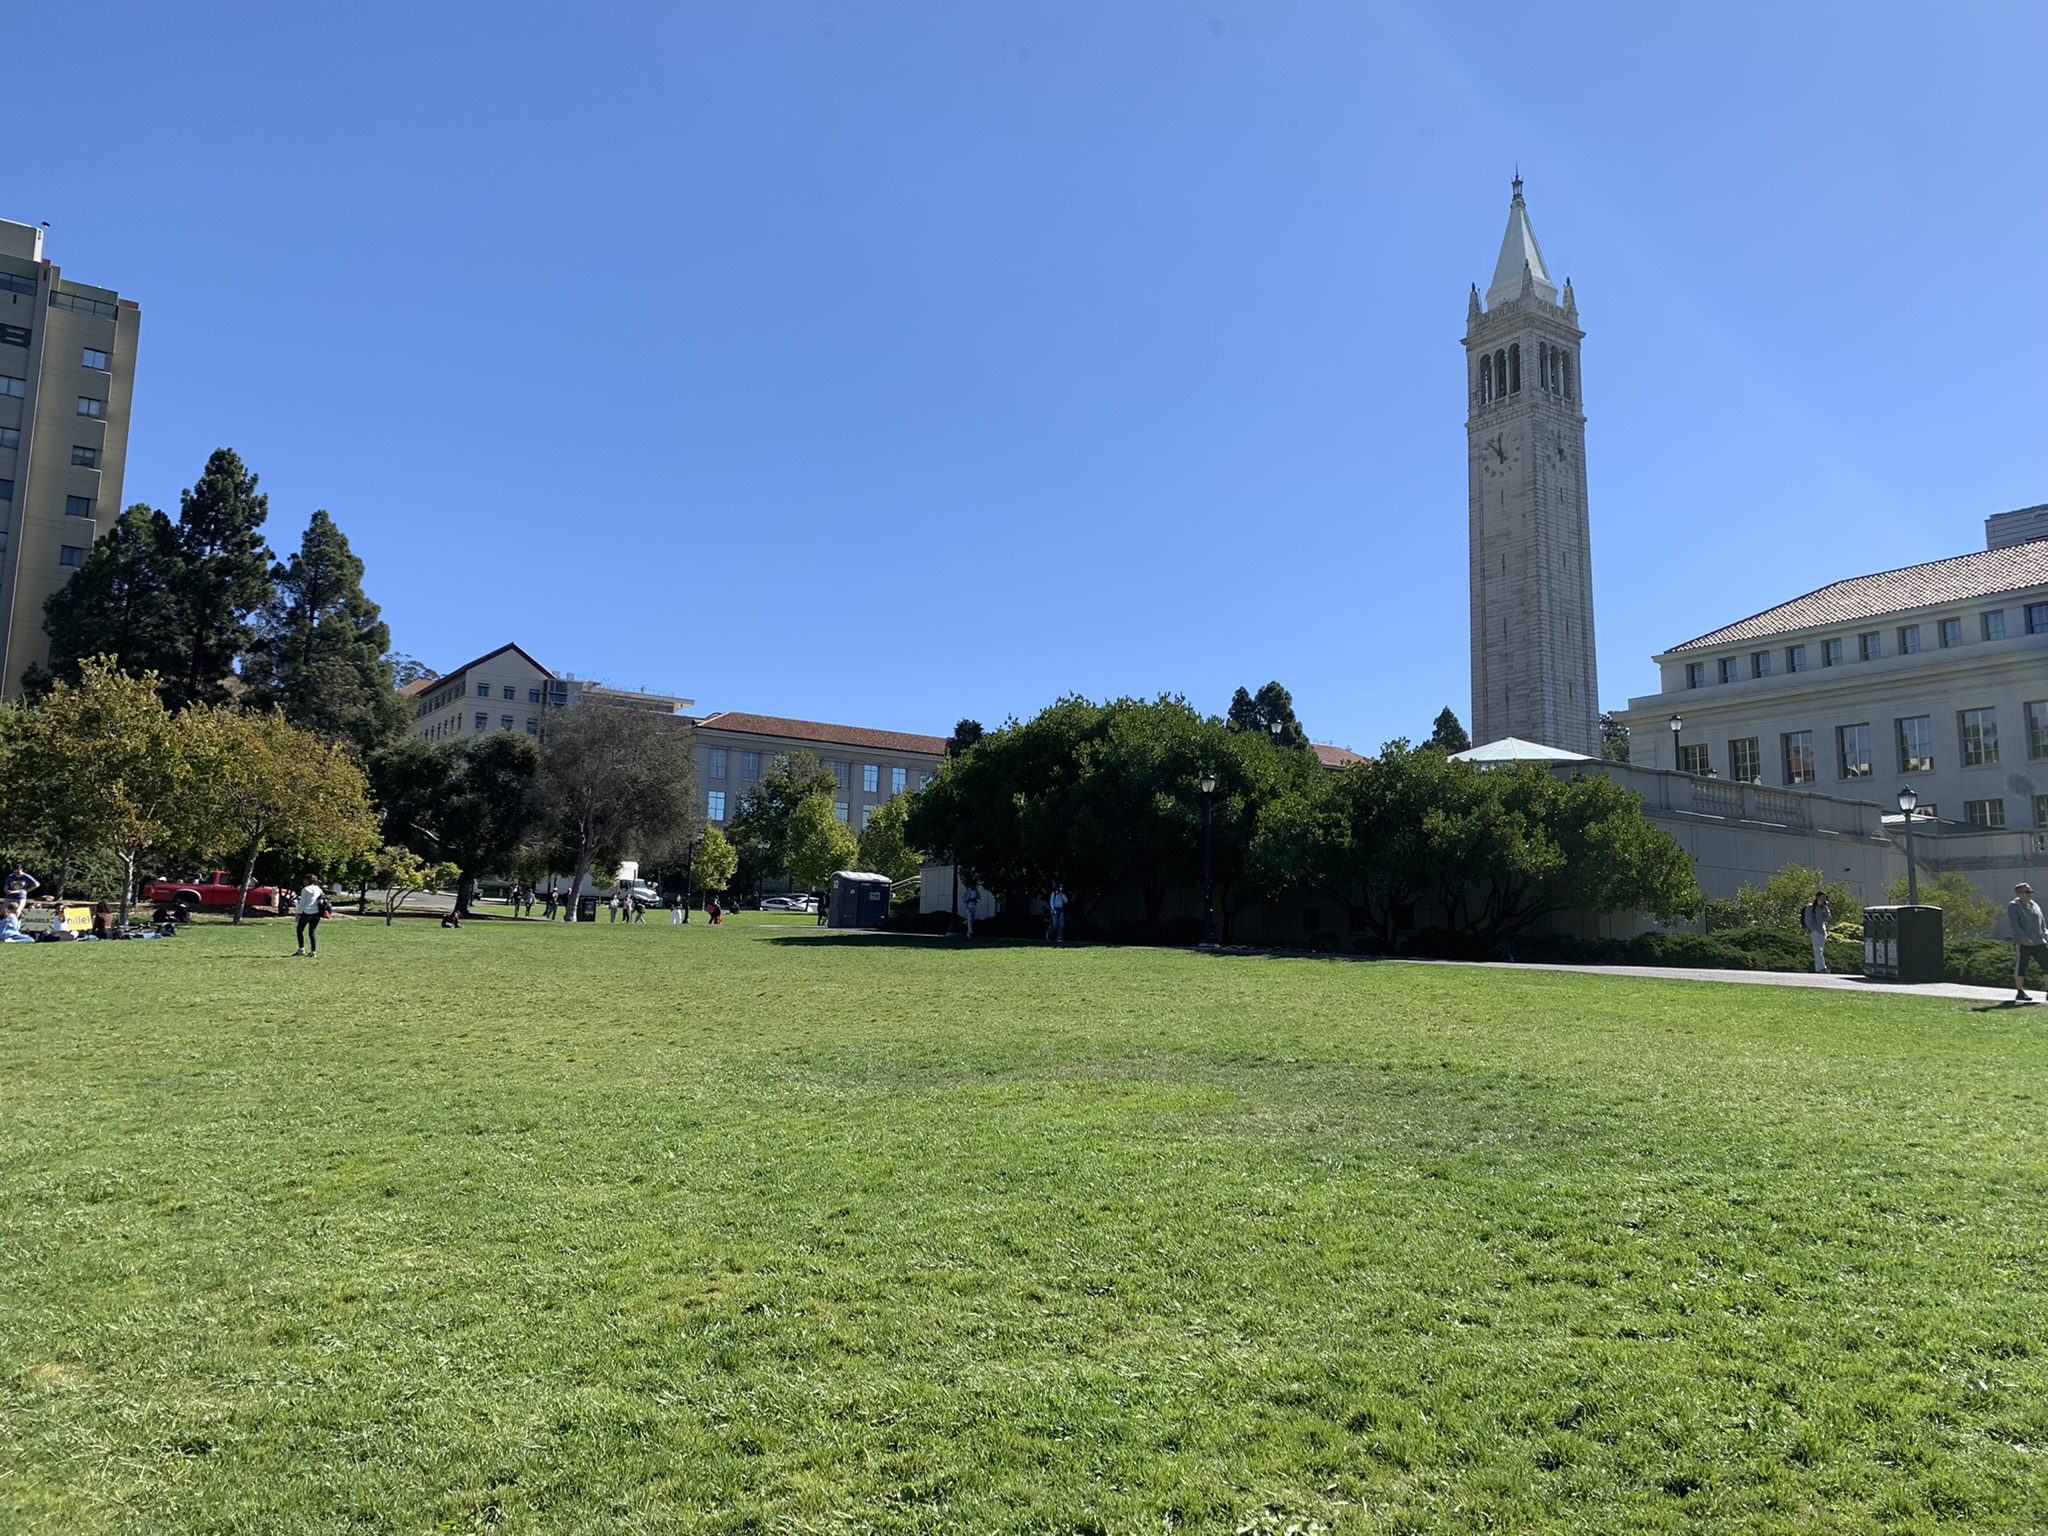
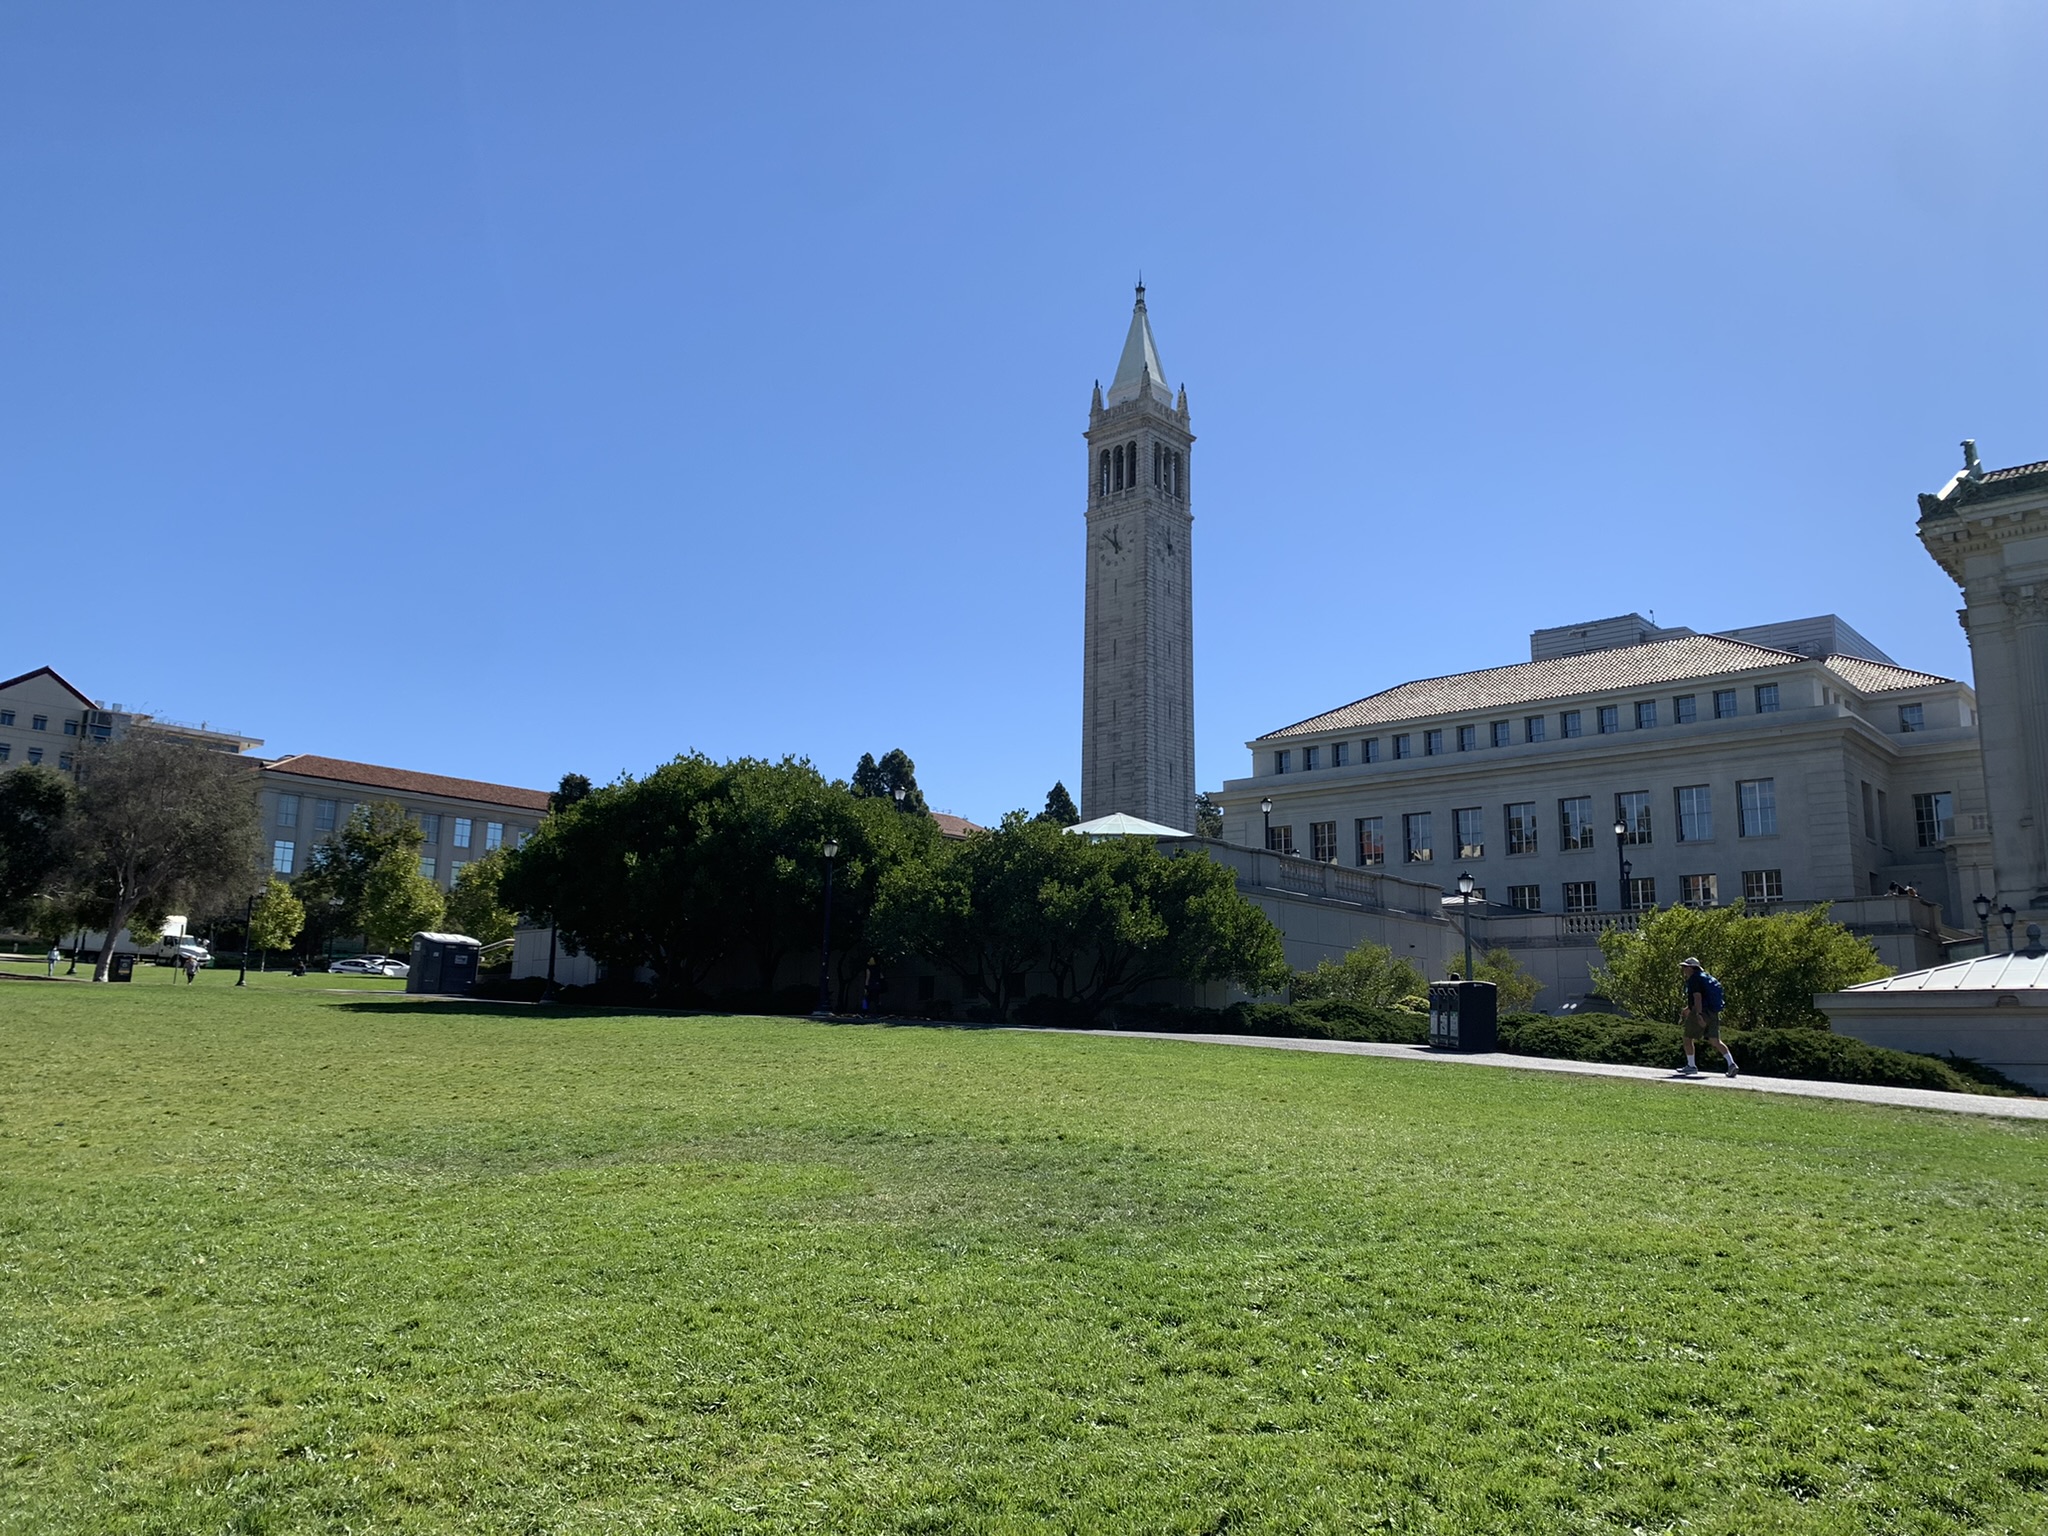
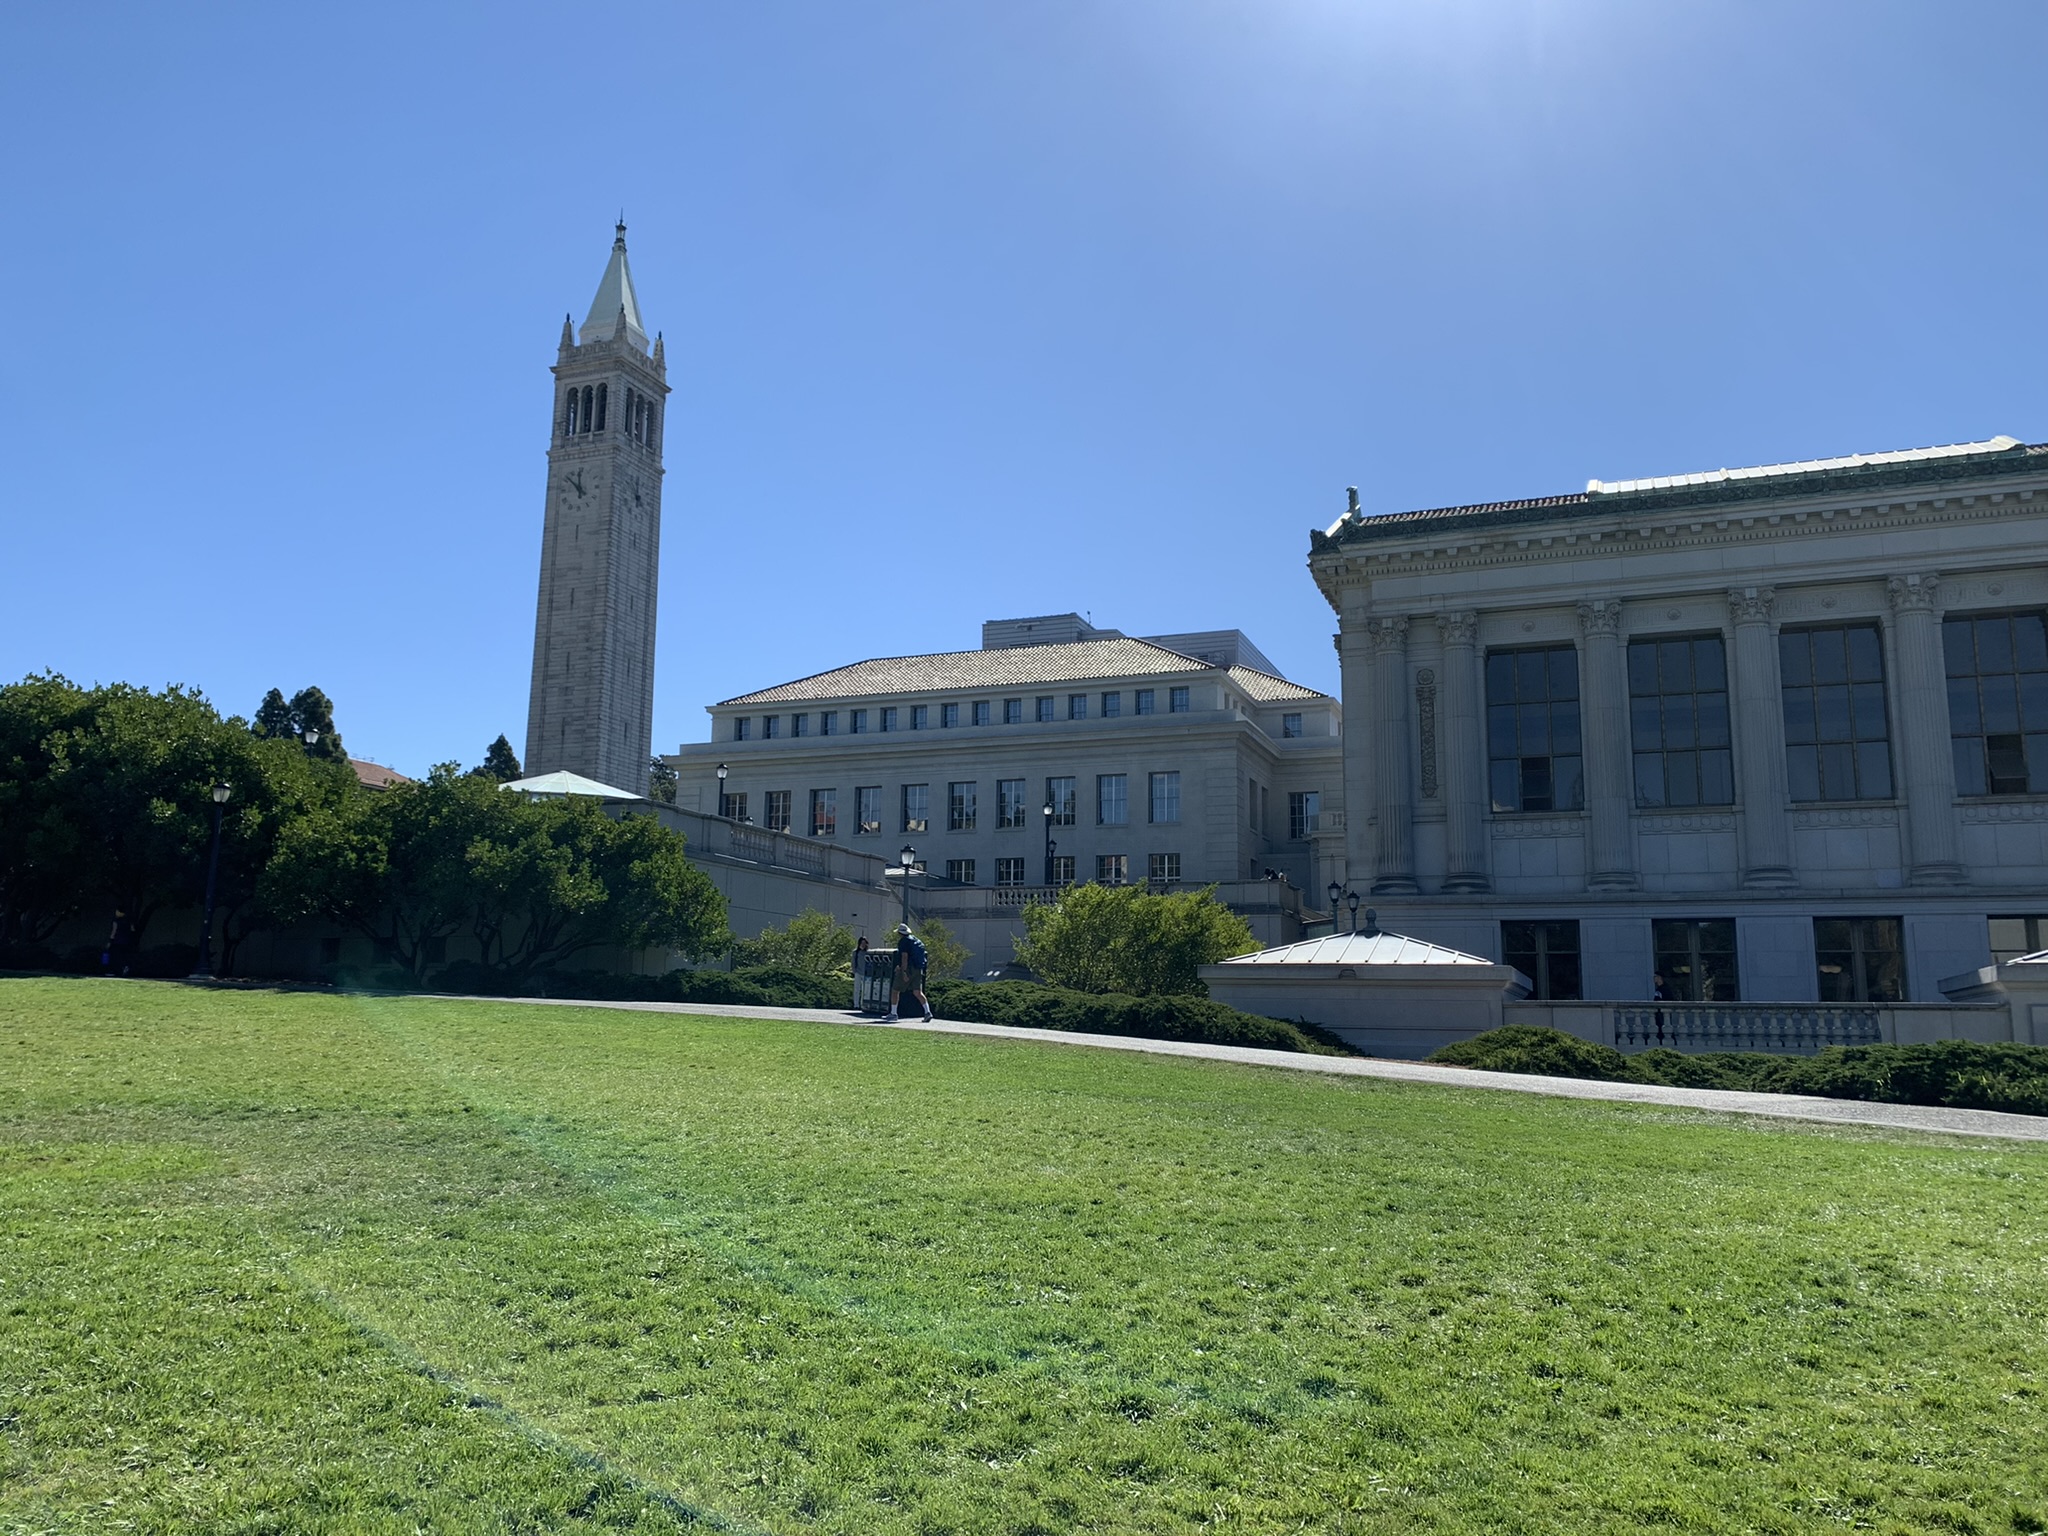
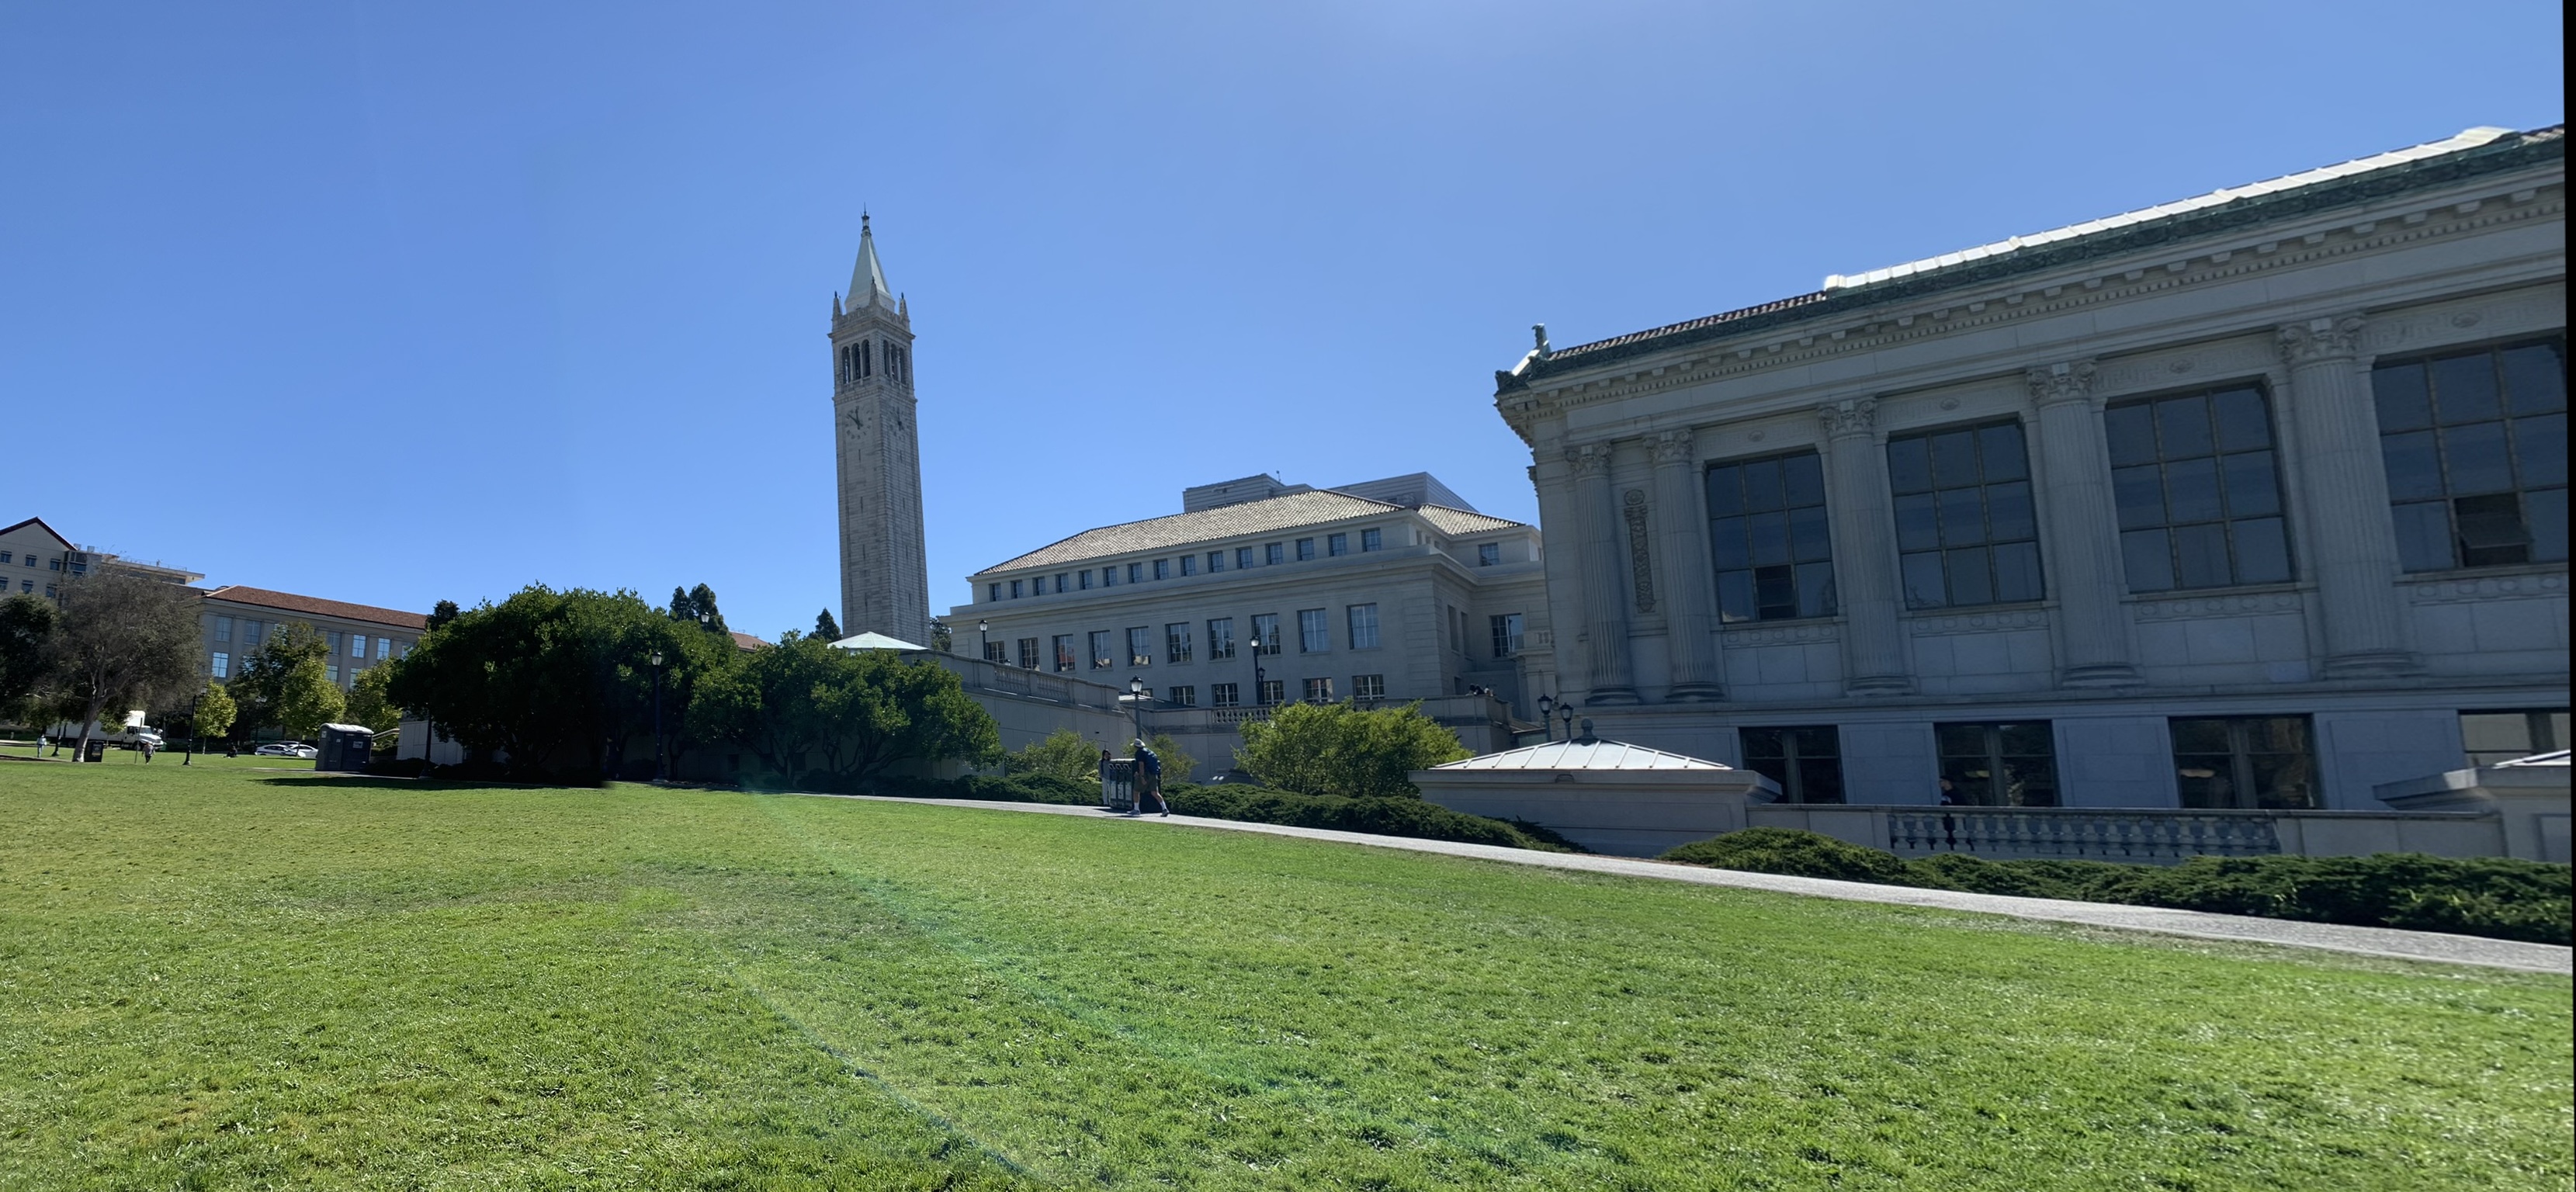
This same technique can be used to create mosaics of images. Simply use the same code to align the corresponding points in each image, add a little bit of blending, and voila! You've got a seamless mosaic!
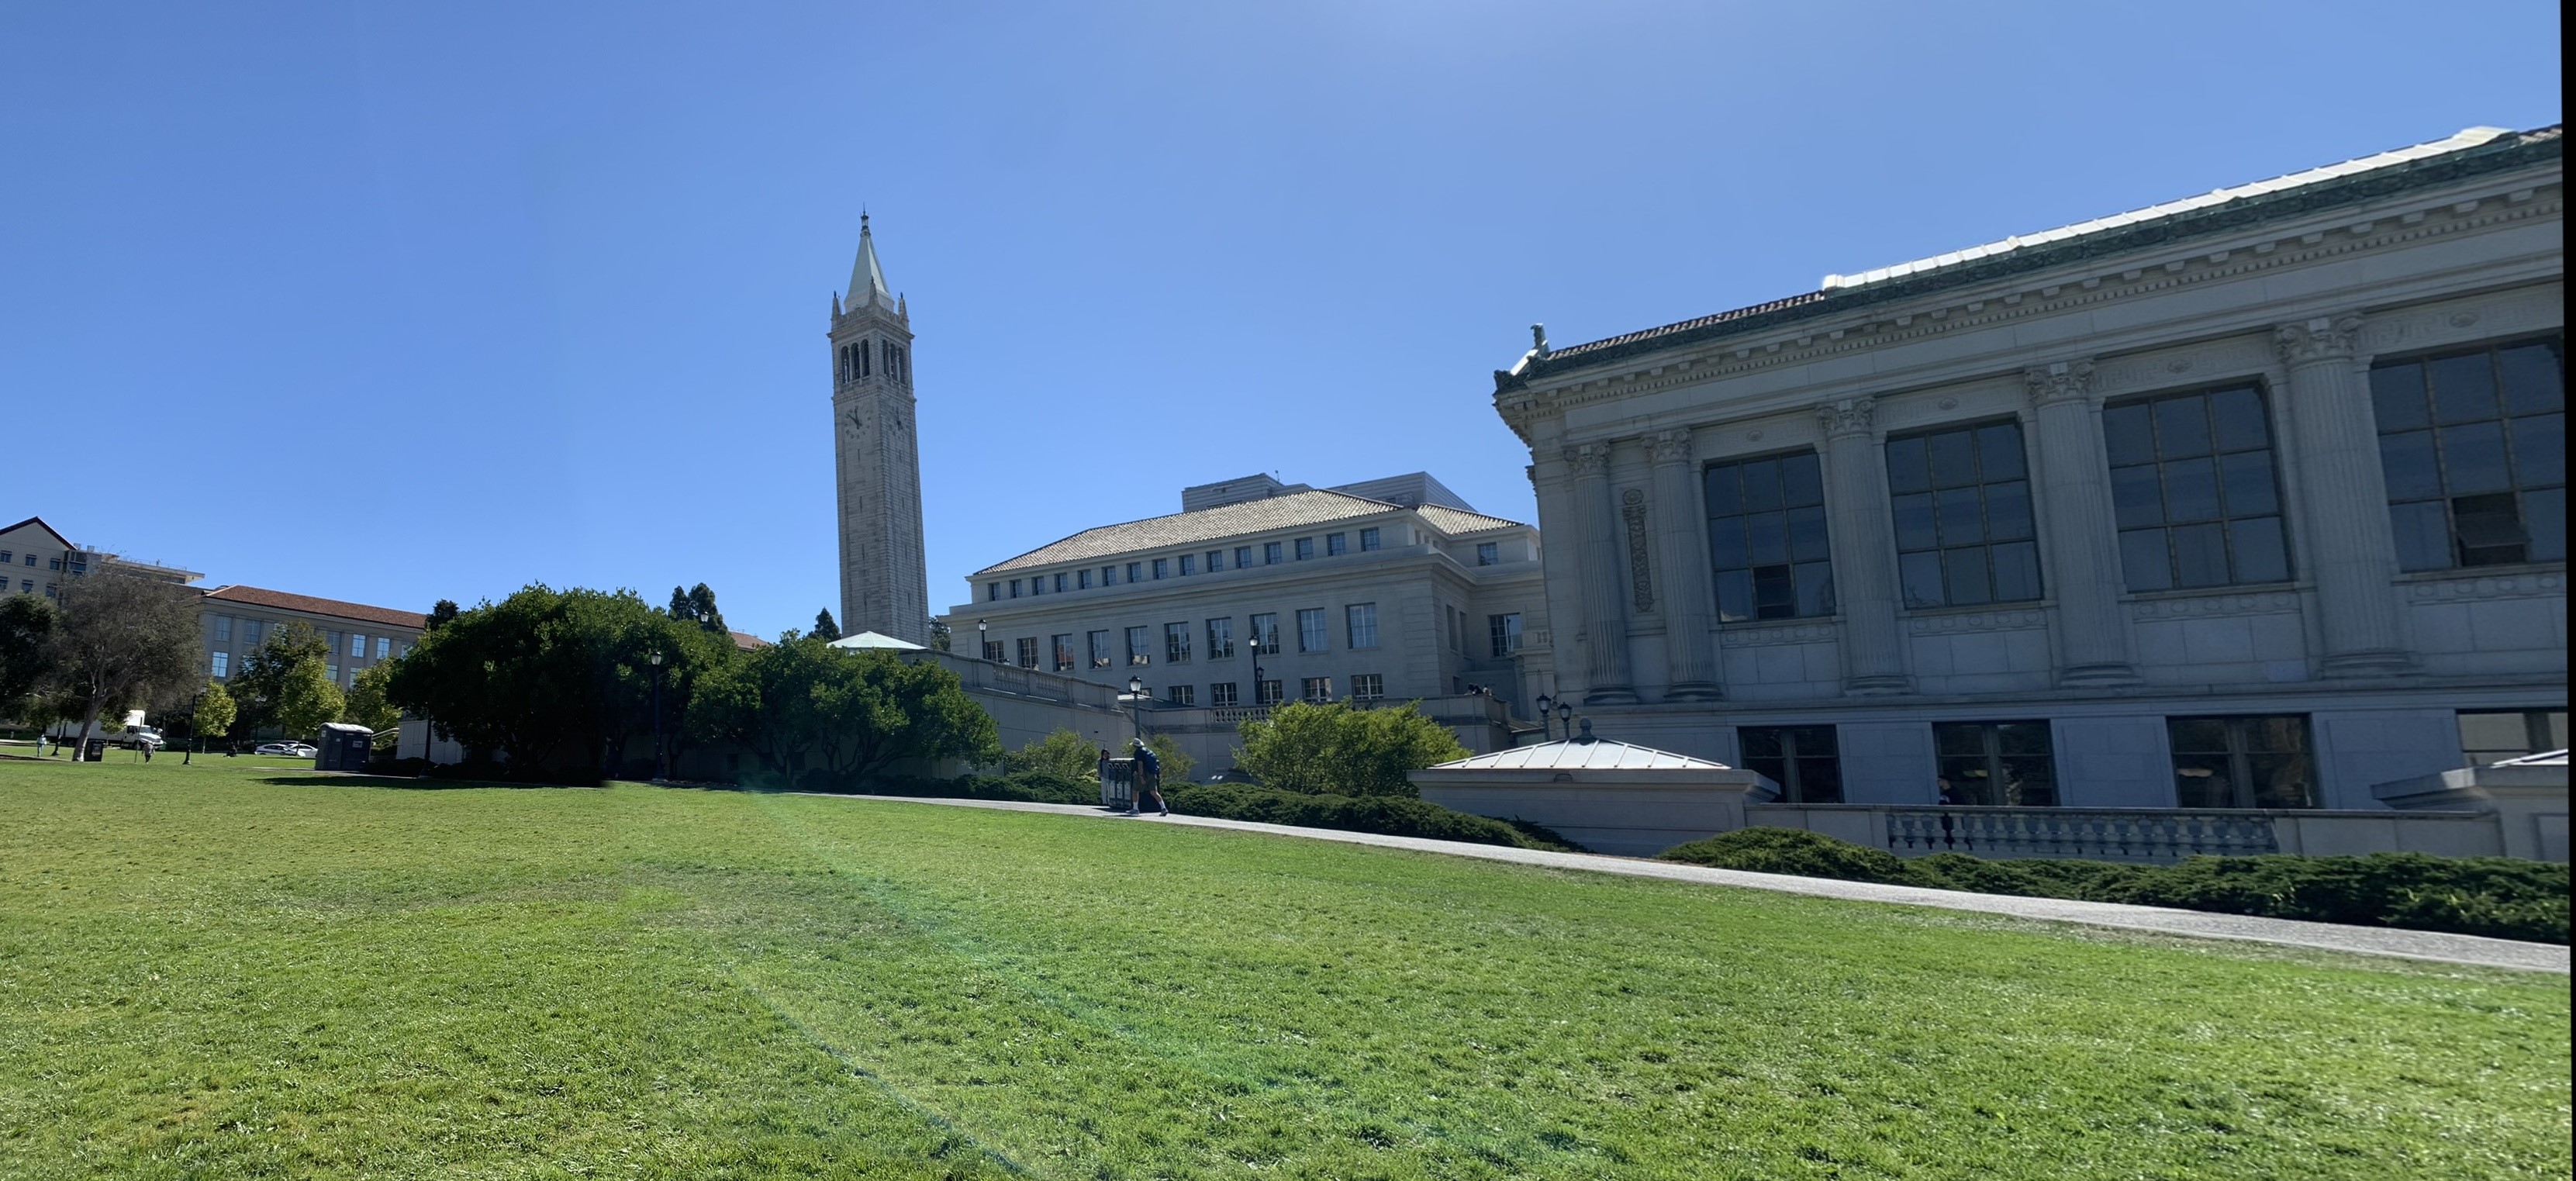
That's all for now! Tune in next time, when we learn to remove the annoying, mistake-prone human from the process!
