Overview
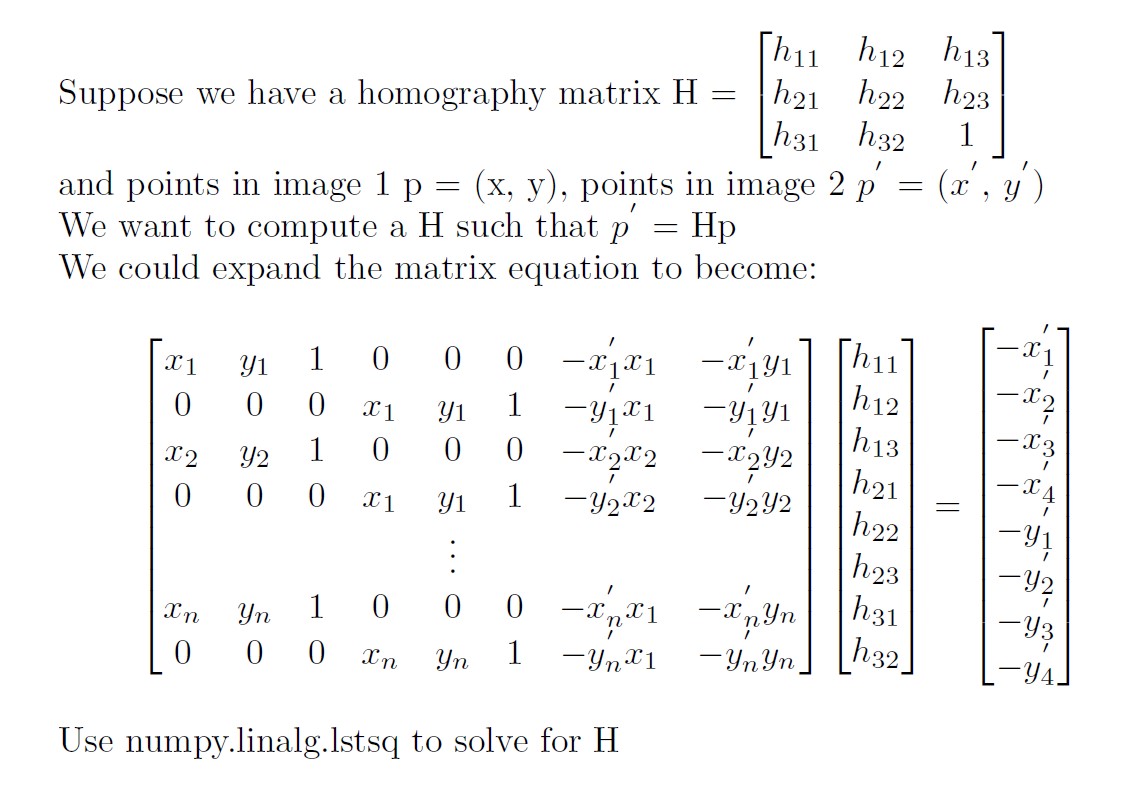
To get more accuate Homography matrix, I annotated around 15 feature points on each image and used least squares to find the best fit.
Rectifying
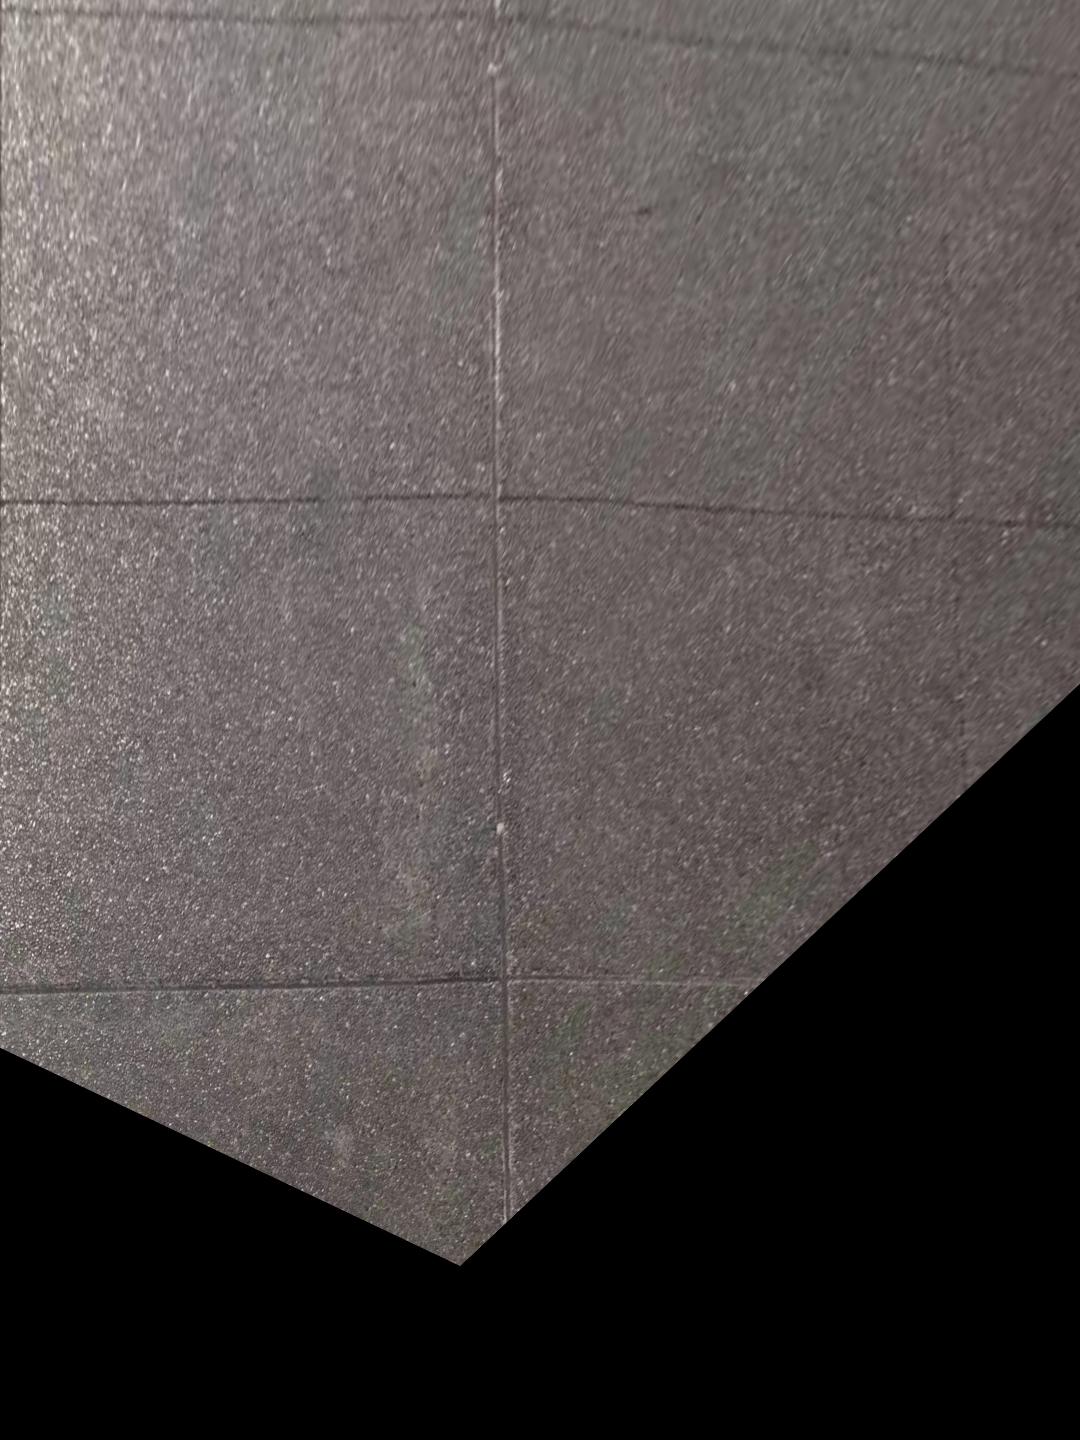
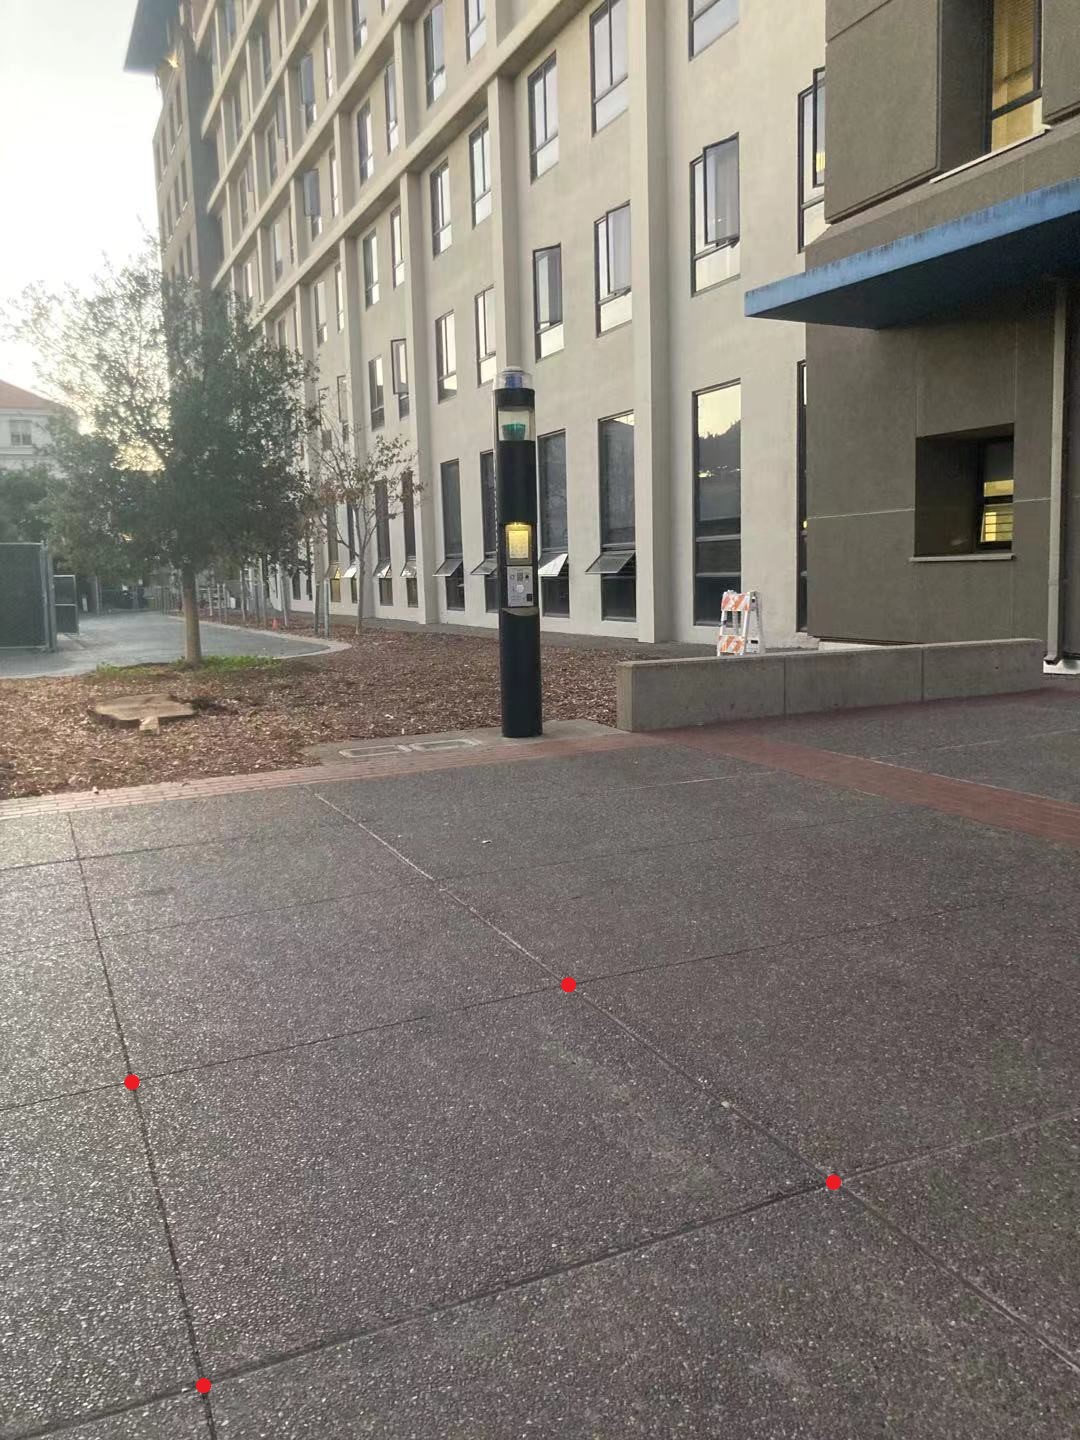
In this part, I first chose four points on the image that I want to rectify. I then manually set the points in image 2 to be np.array([[0,0], [500, 0], [500, 500], [0, 500]]) and compute homography based on those two sets of points. Here are the output images:

|
|
|
|
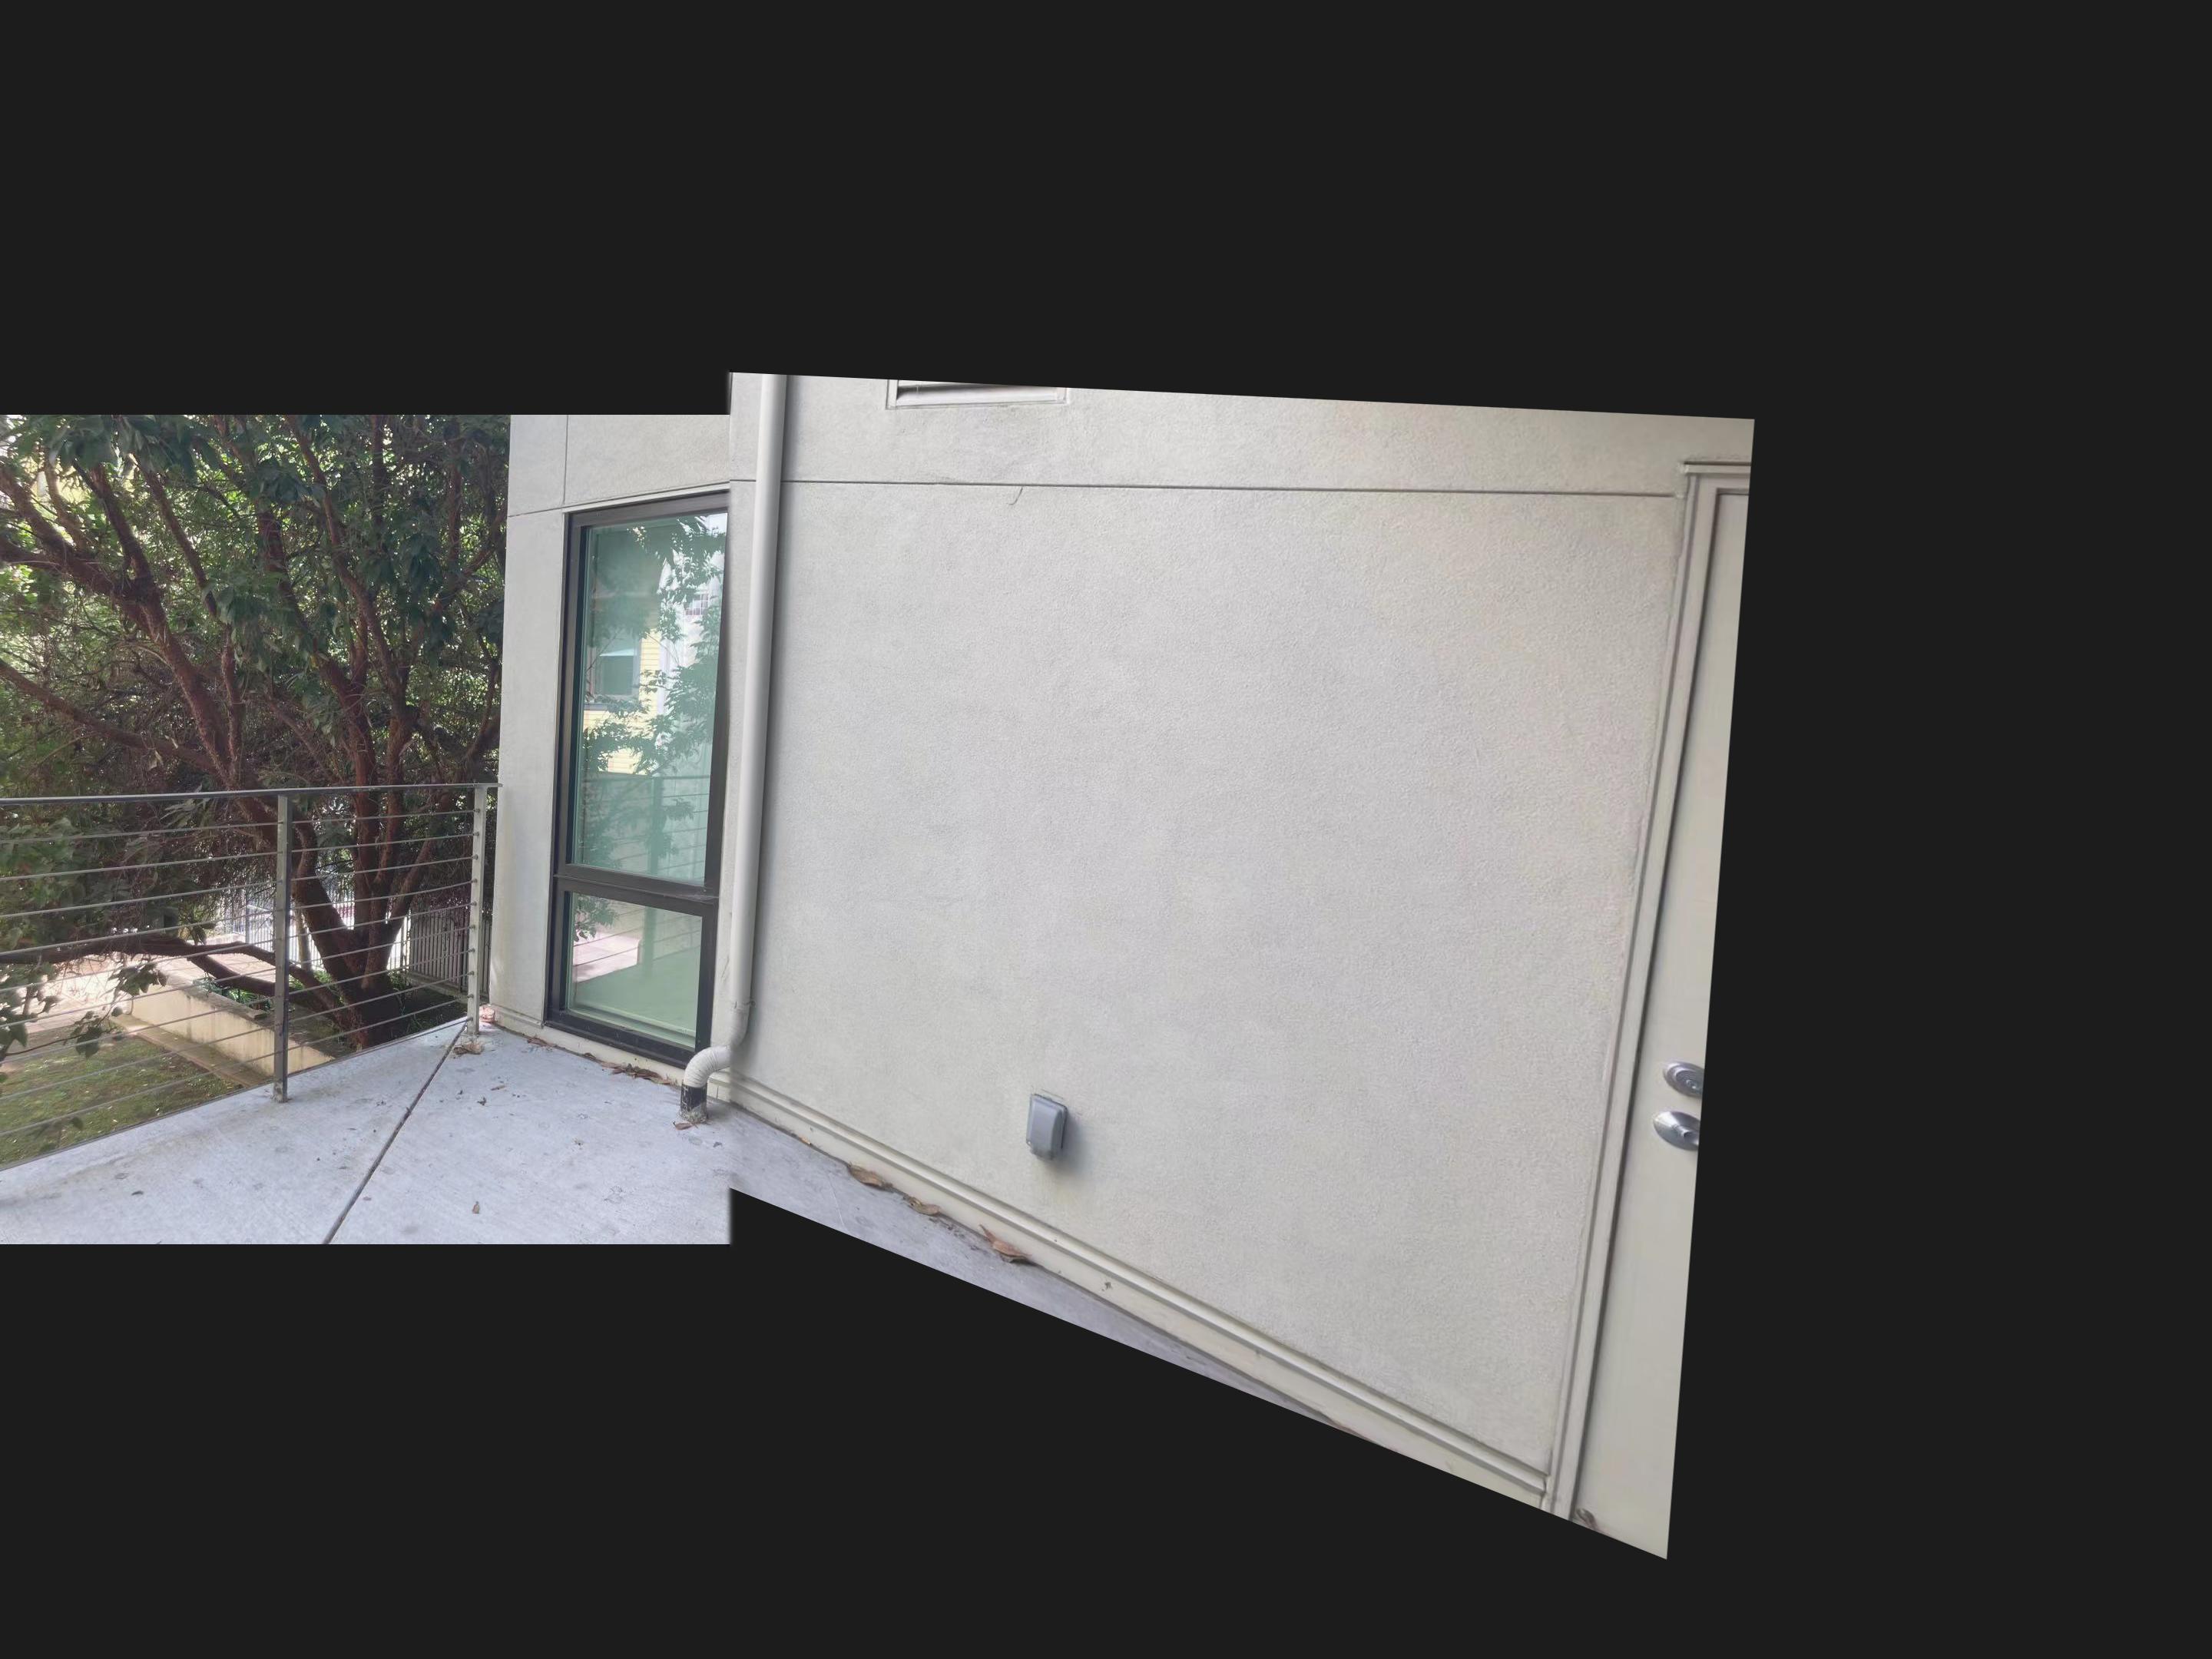
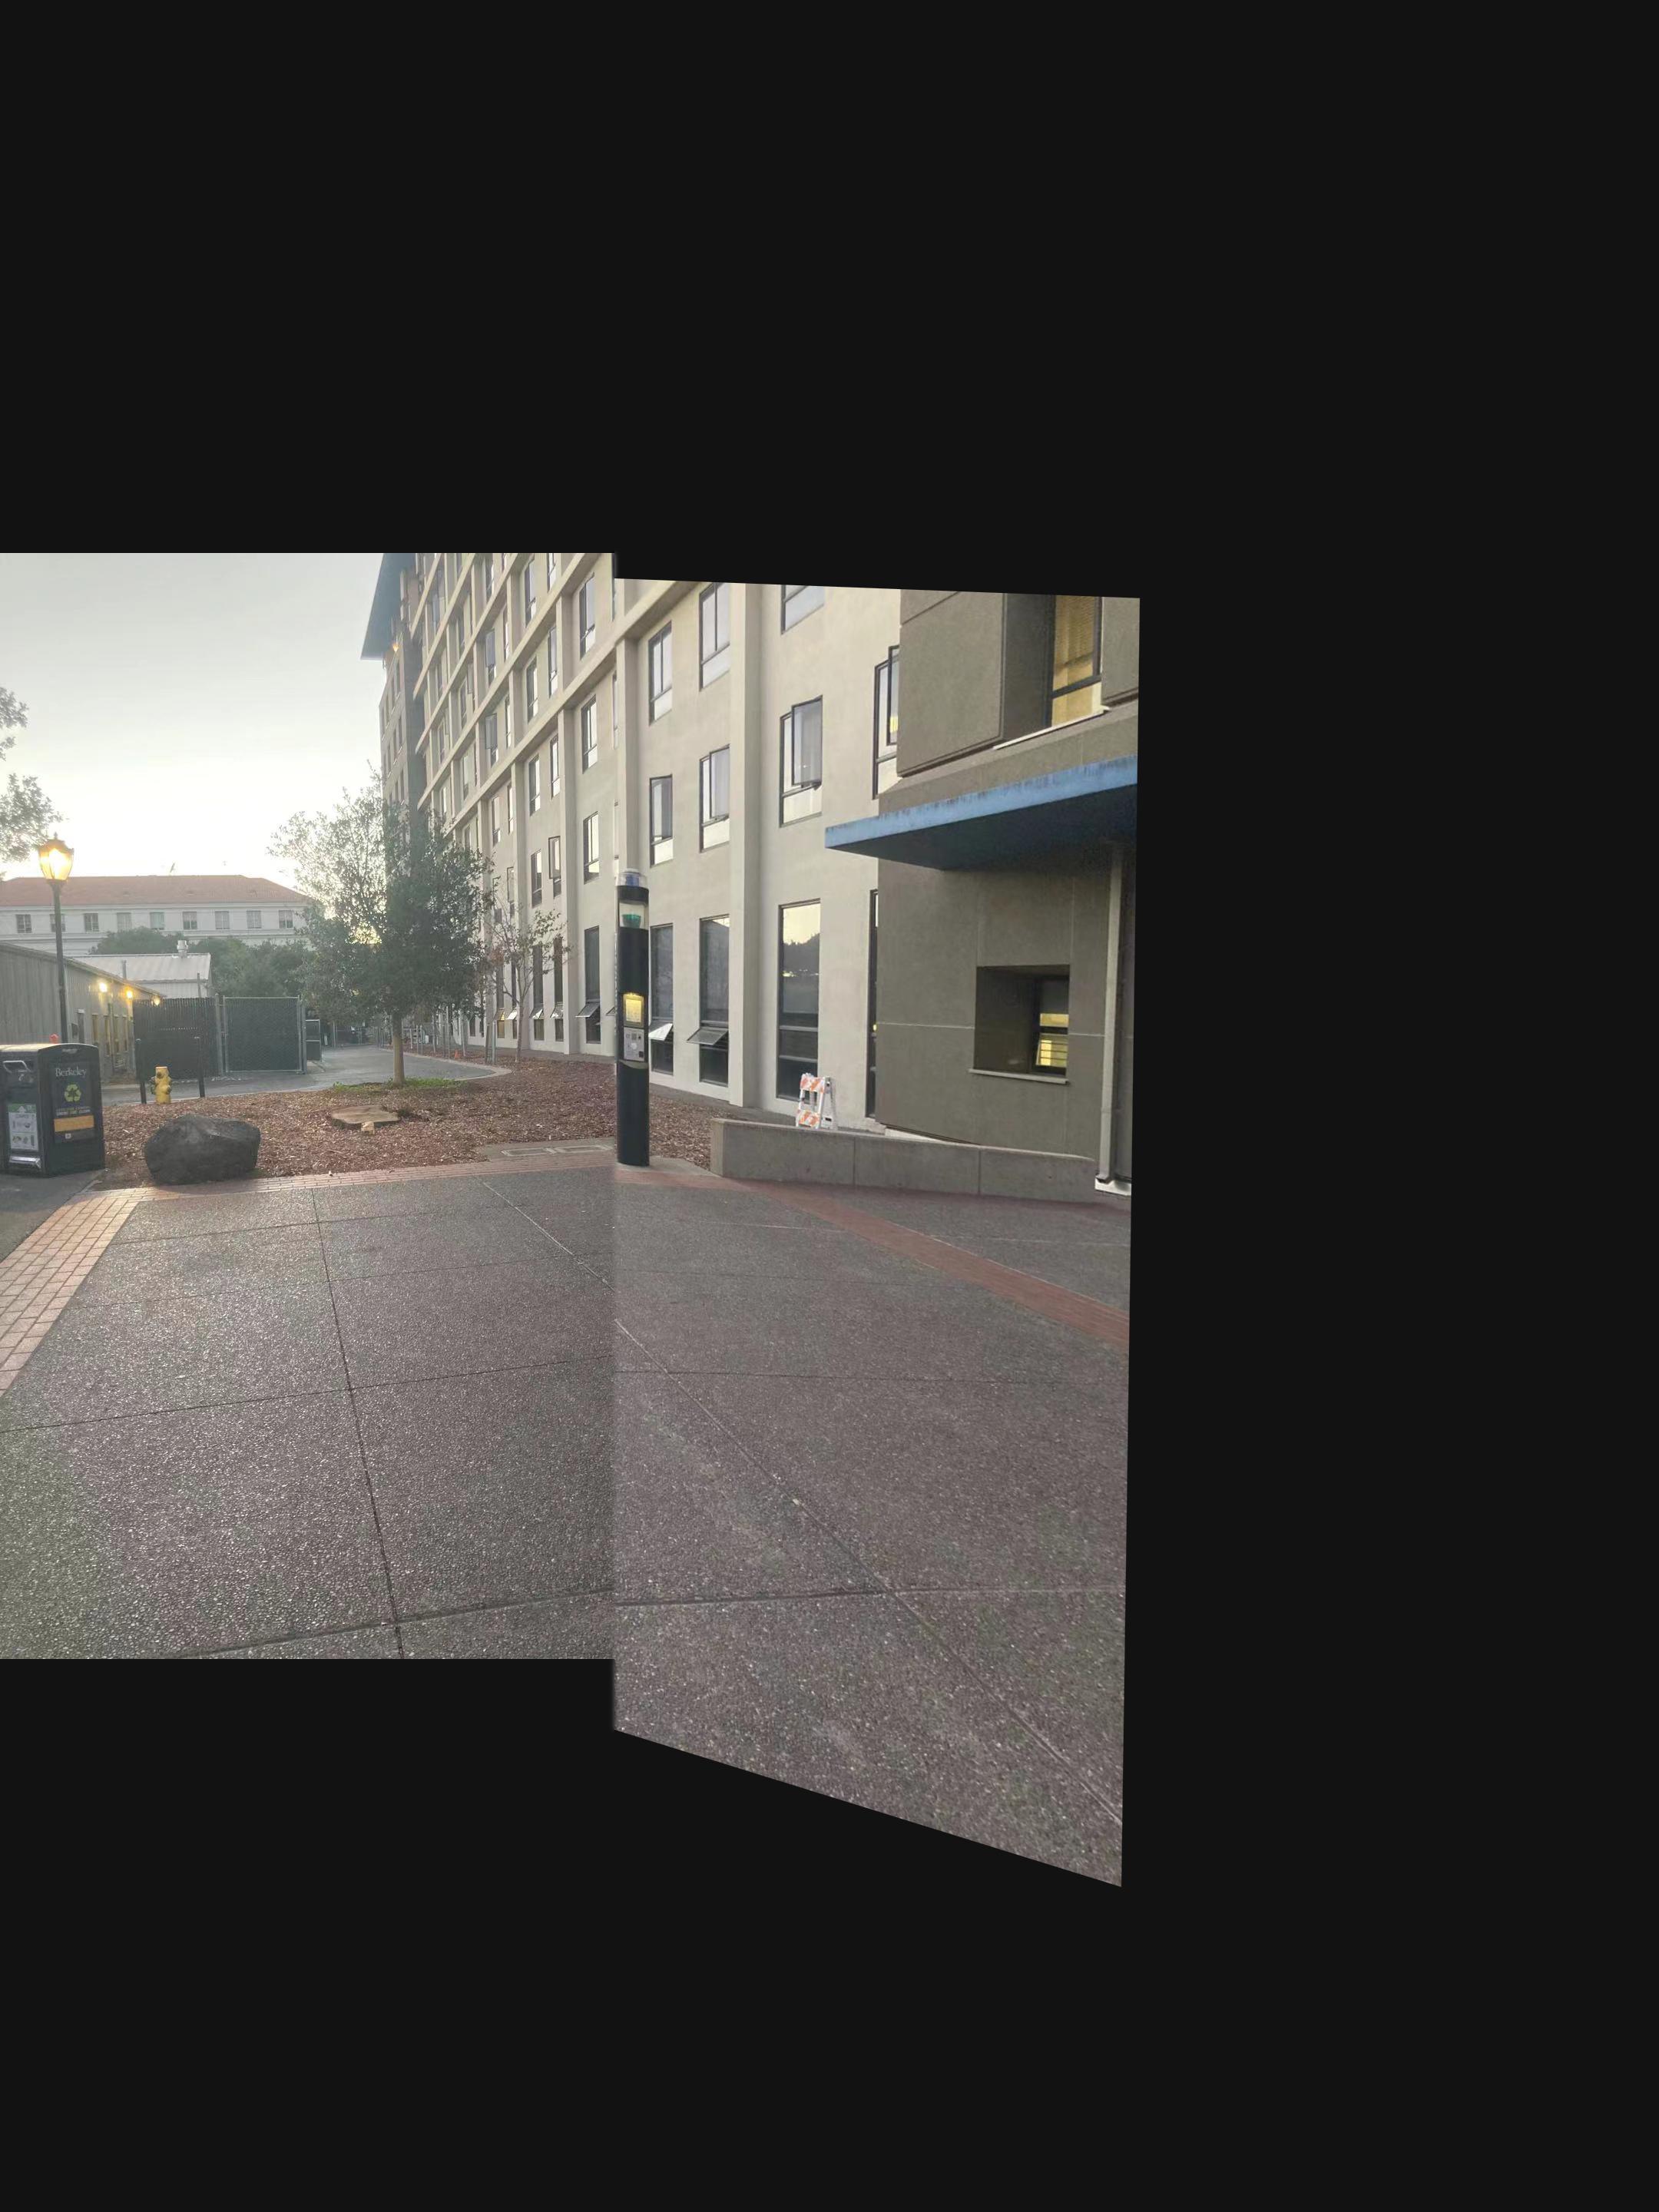
Blend images into mosaic
In this part, I divided the task into four parts.
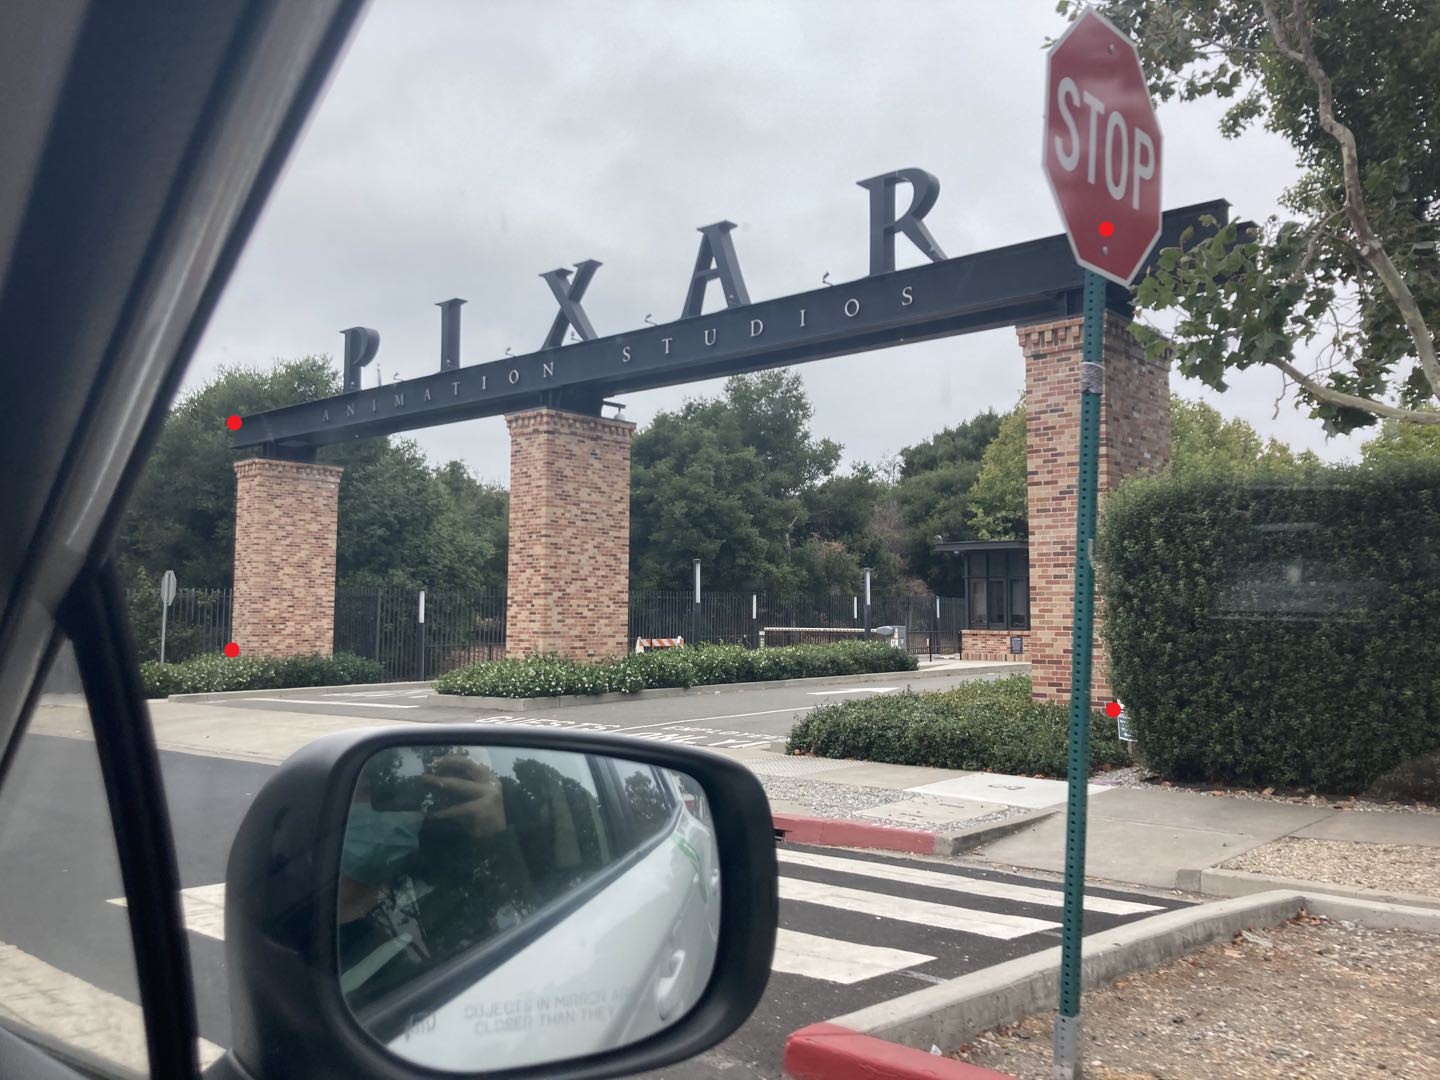
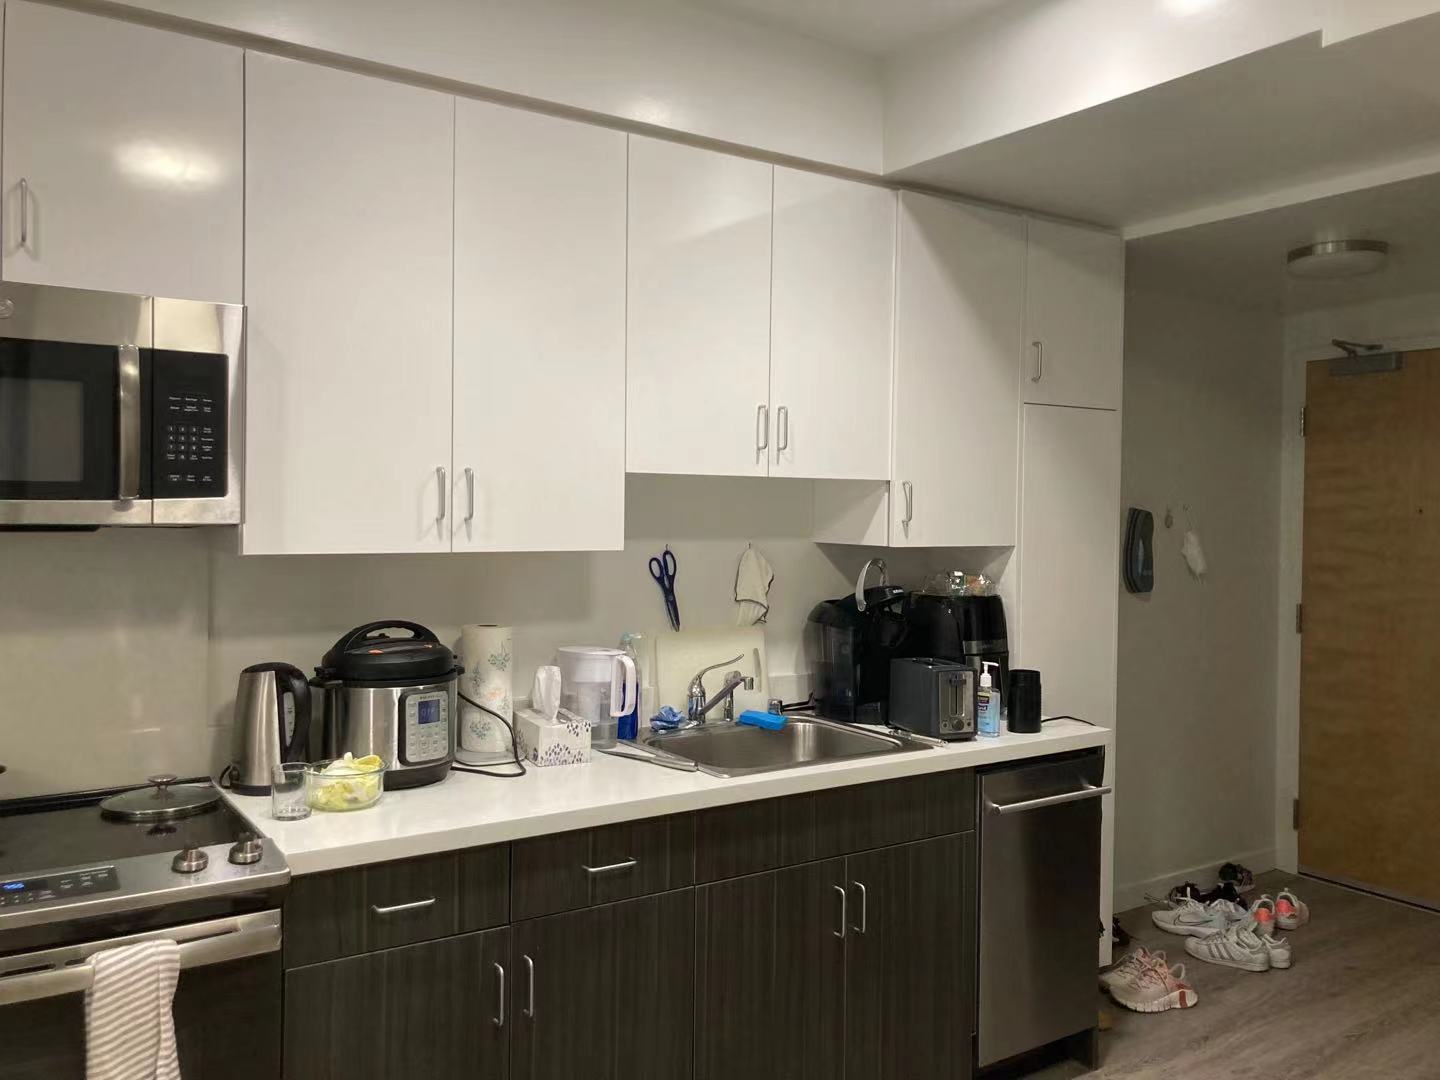
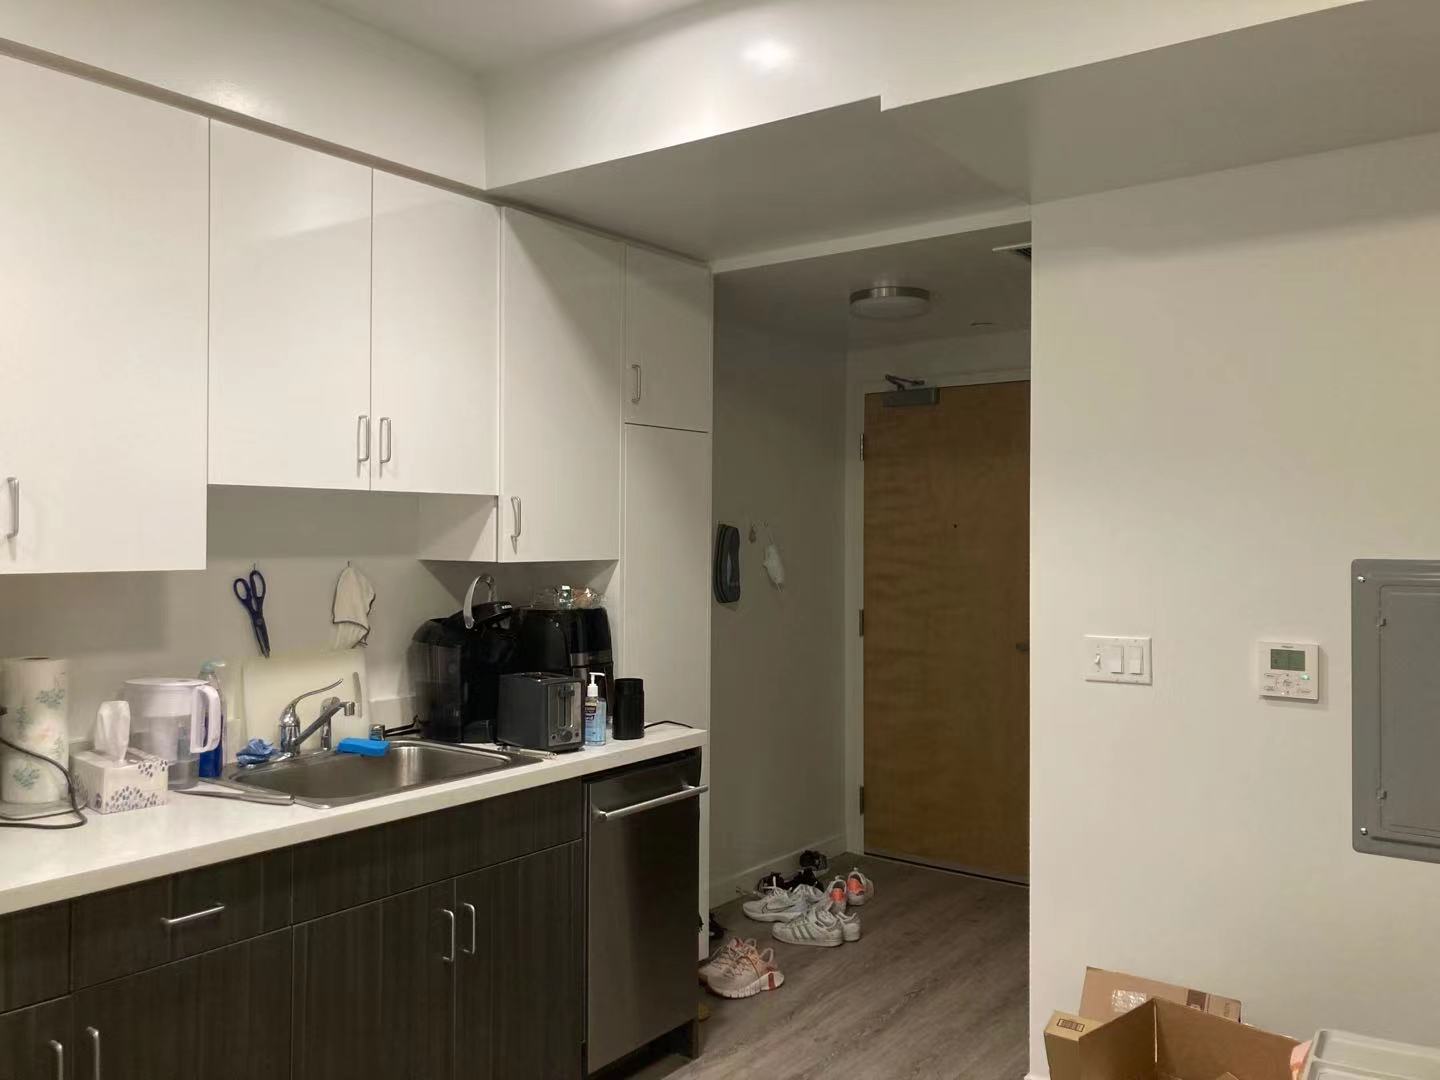
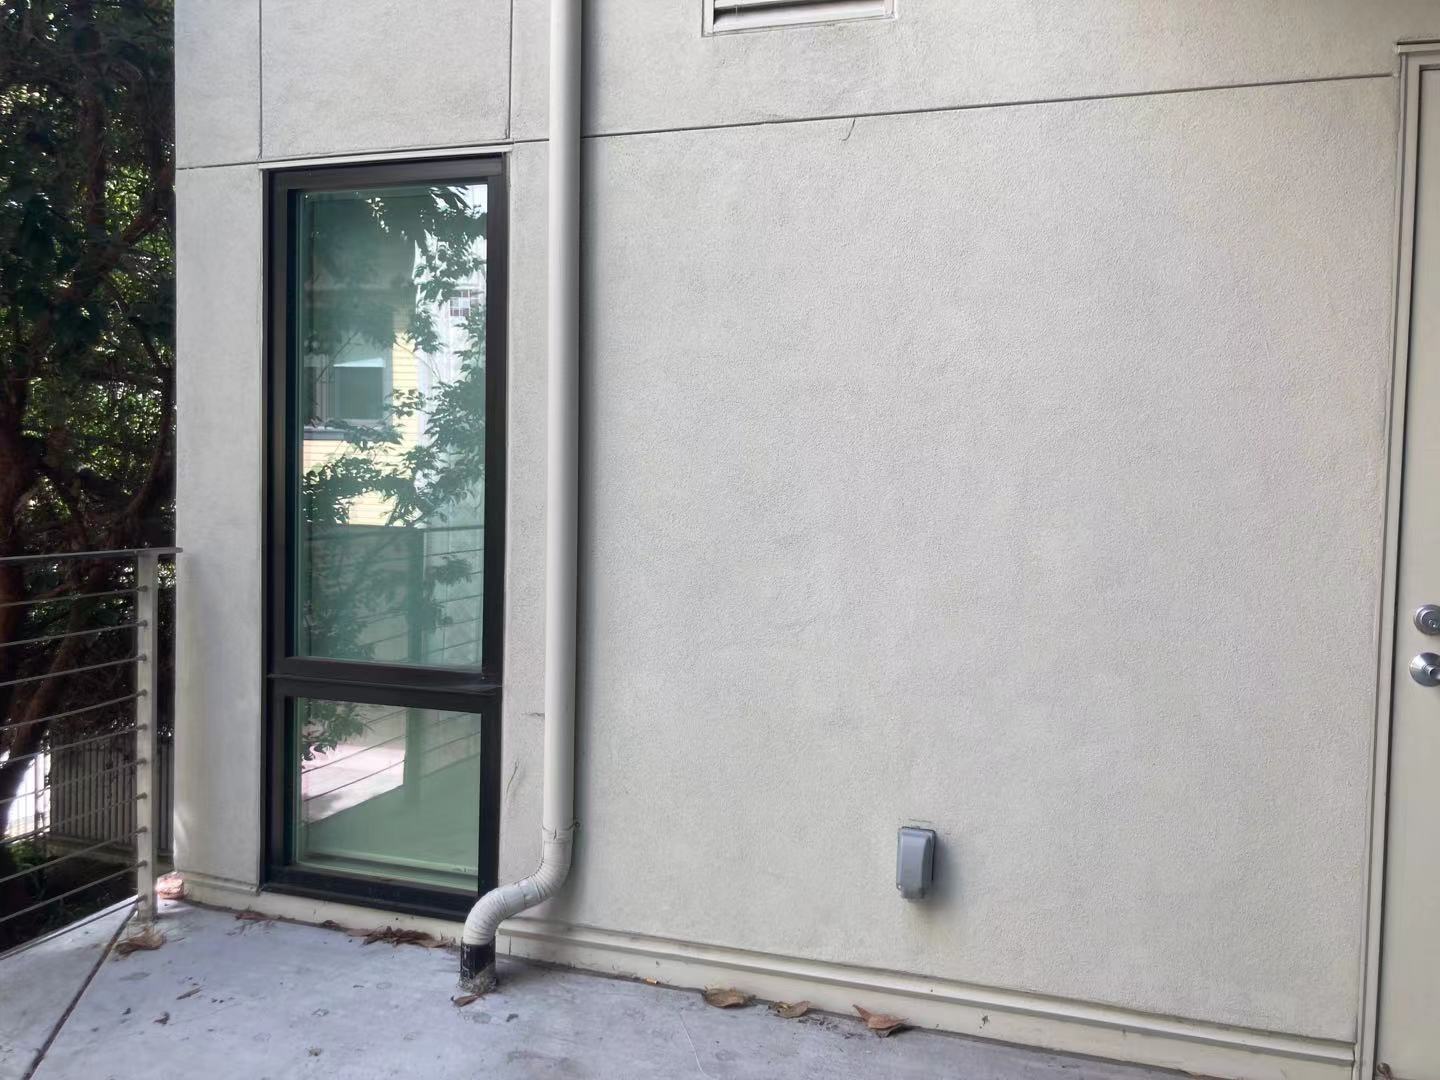
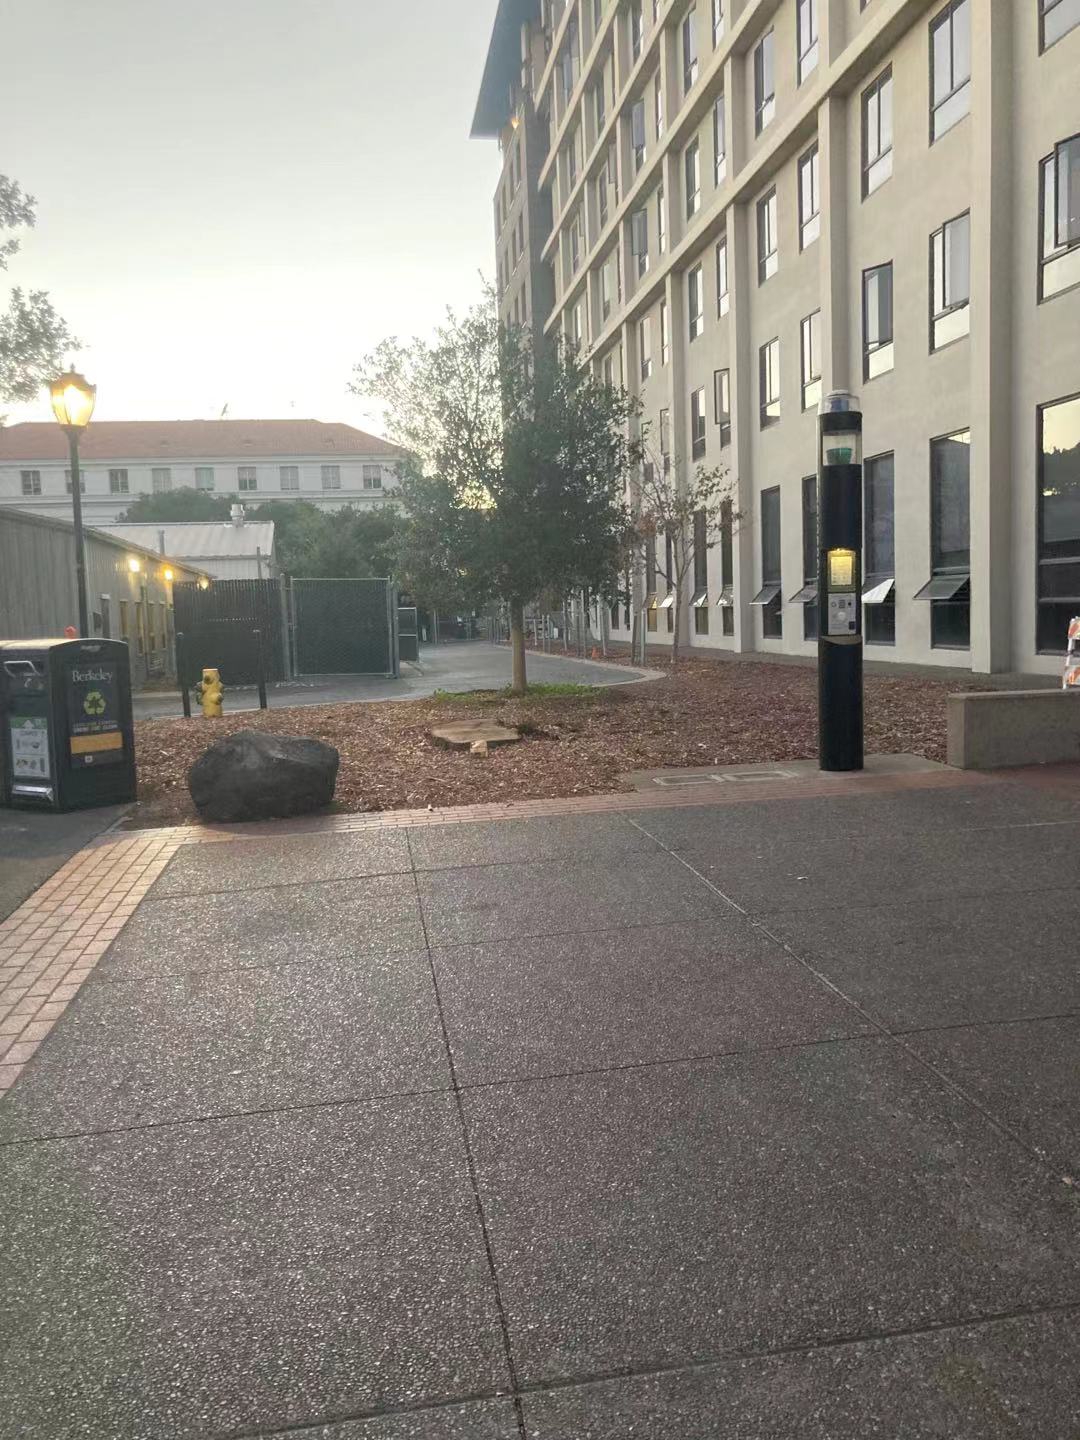
1. use ginput to get feature points on both images
2. Compute Homography matrix based on the points
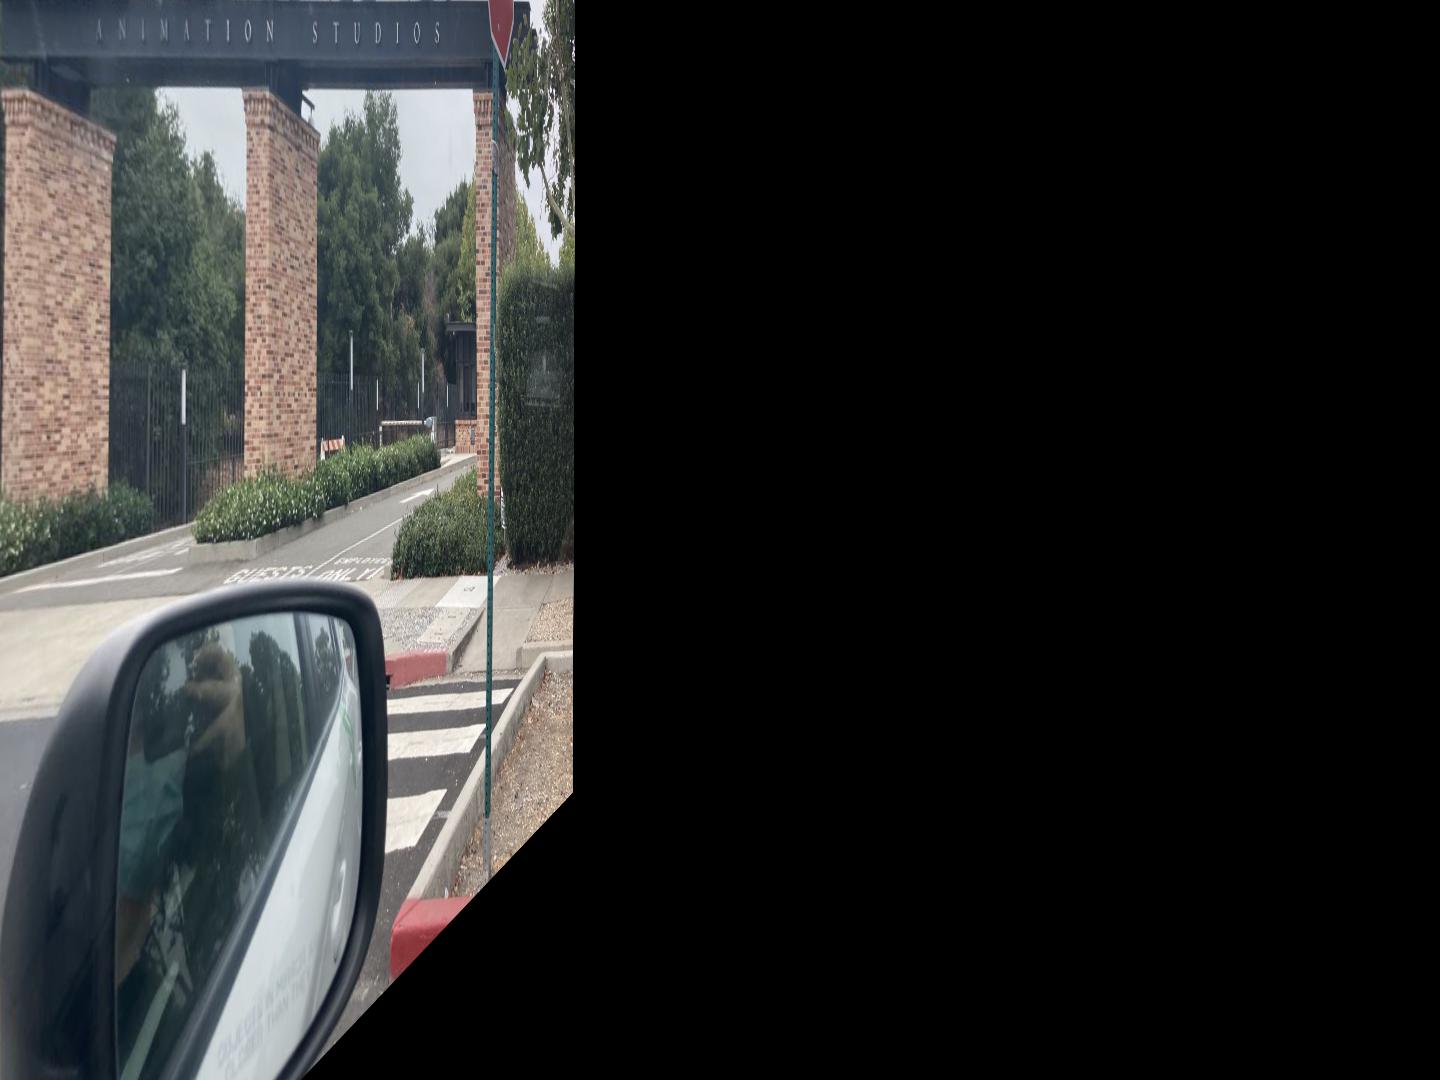
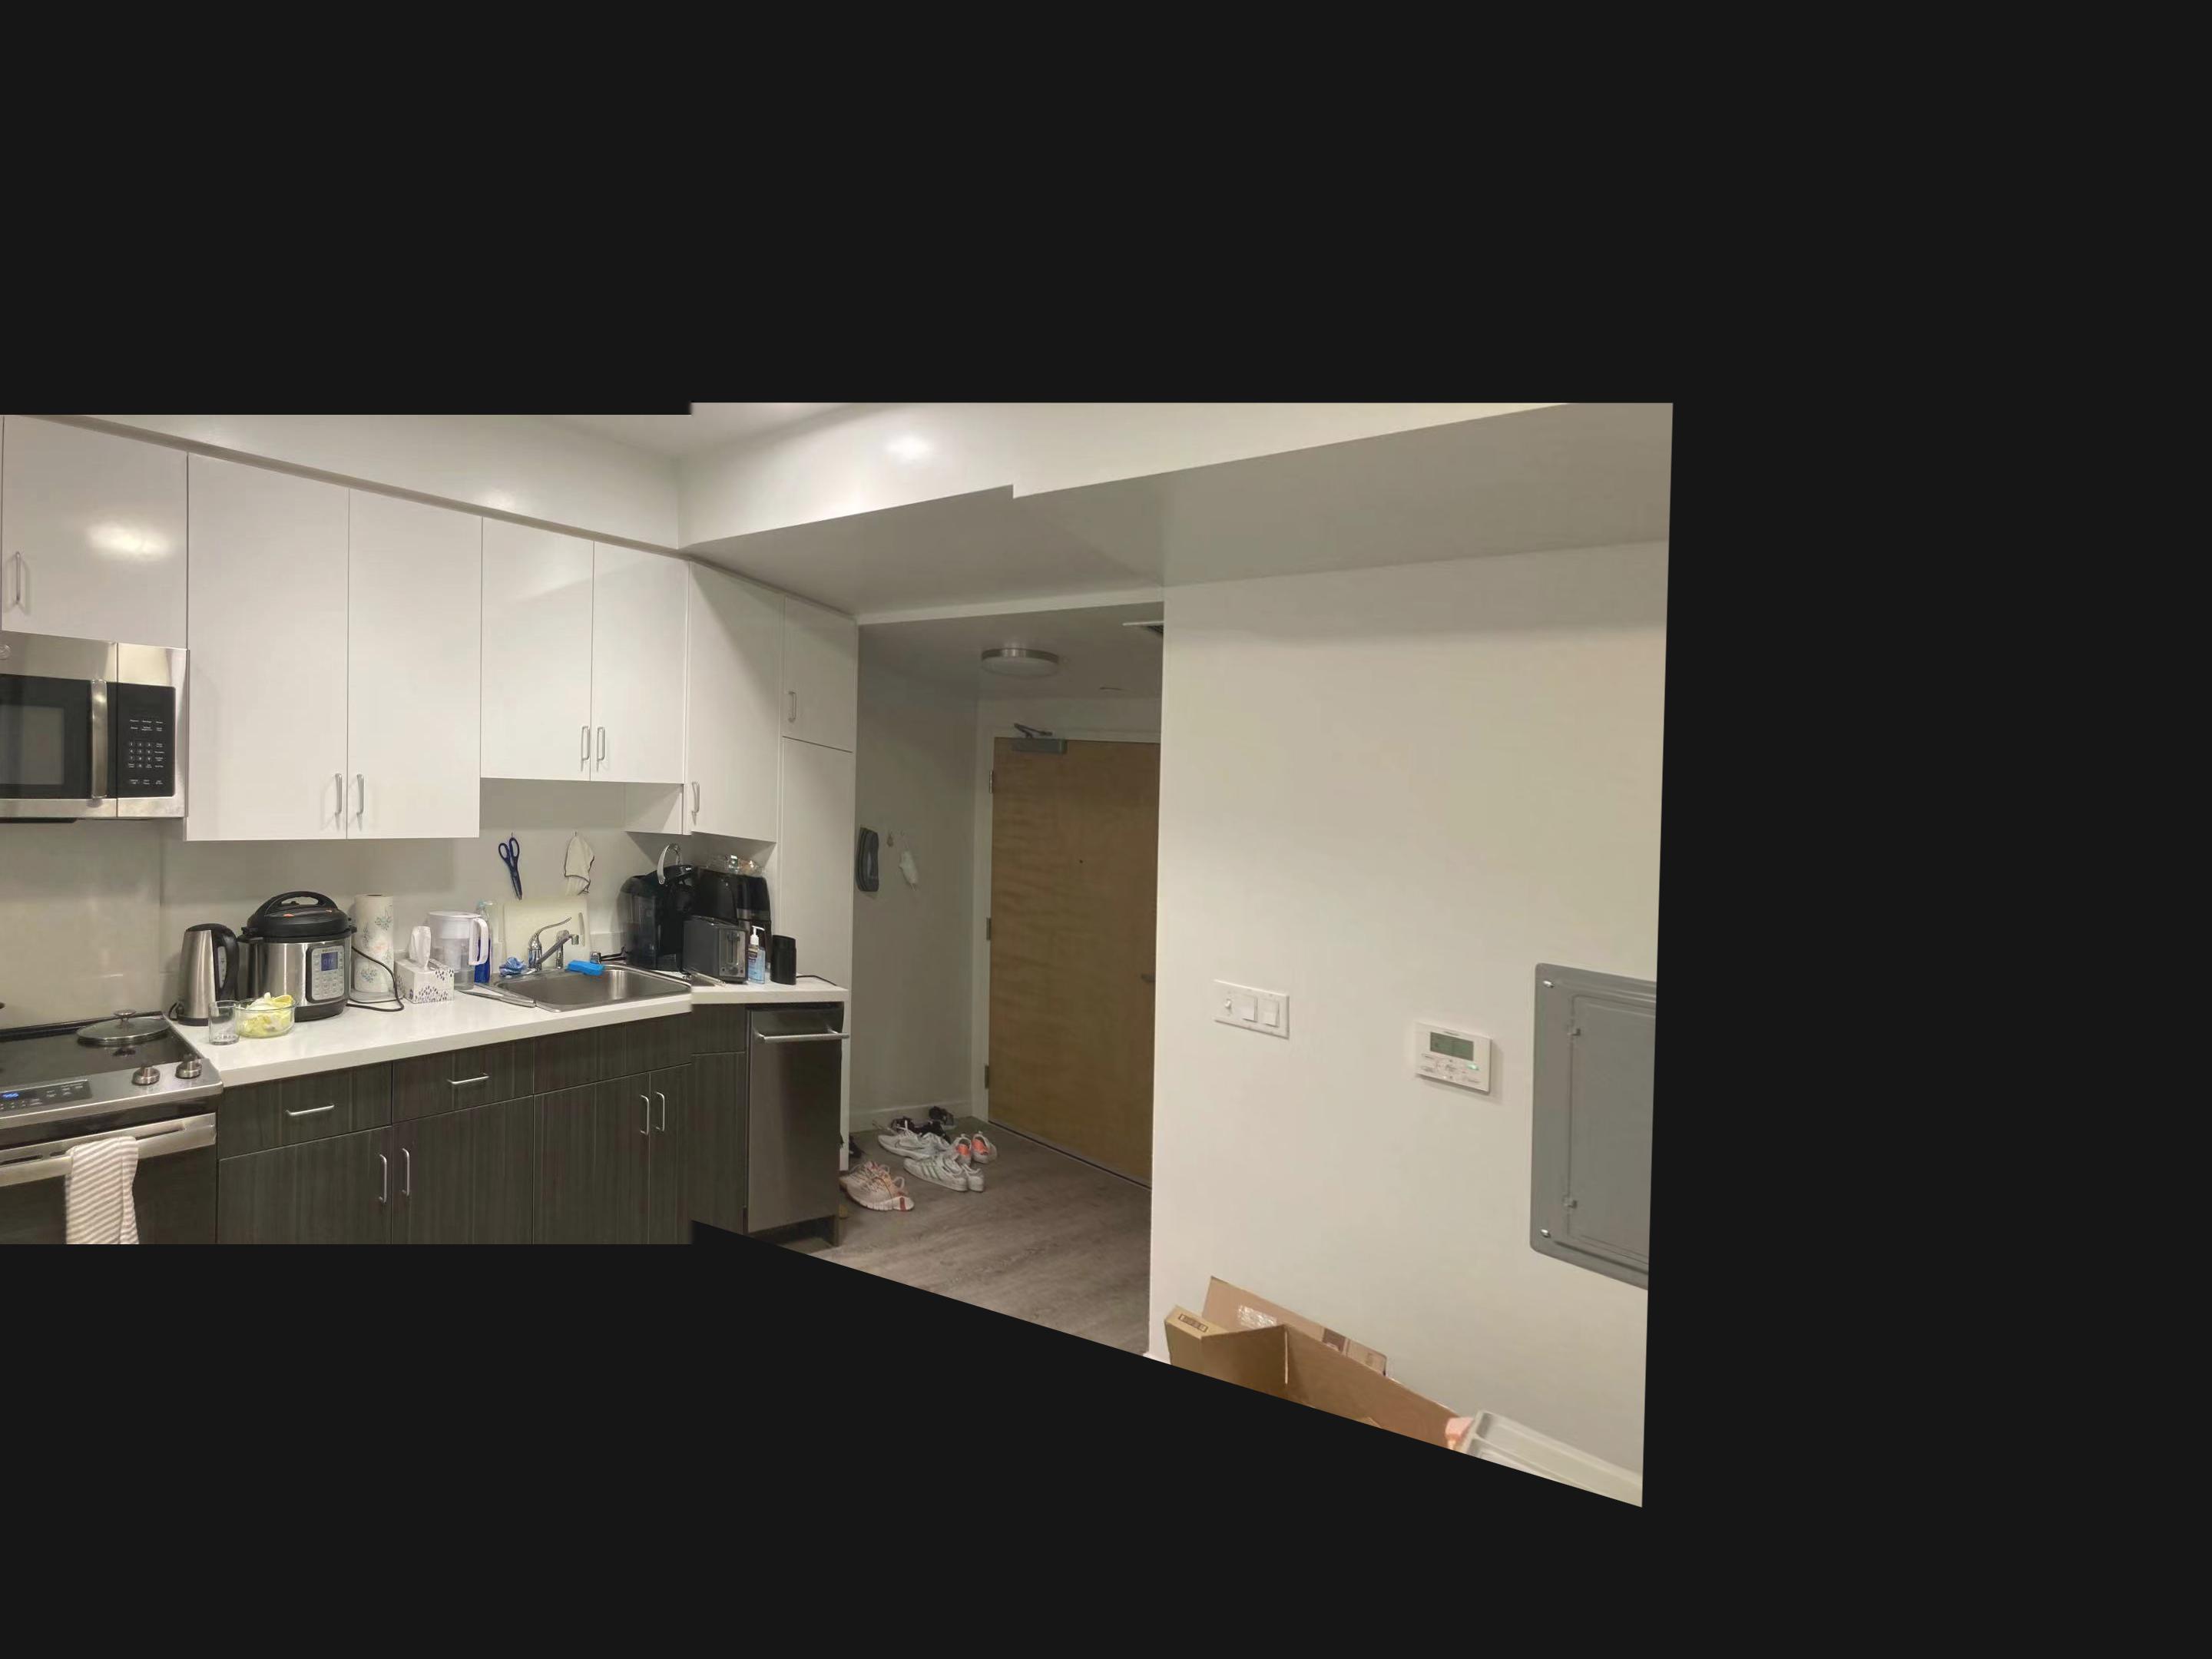
3. Apply the homography matrix to image2 and keep image1 the same. During this step, I resized the size of the canvas to be two times the original height and width of the image to allow the transformed image to be able to be fully shown on the canvas. If there are more than two images, I keep one image untransformed and warp the other images to its shape.
4. Use Laplacian pyramid to blend the two images together. I used a mask that spans from the leftmost border to the middle of the overlapping region of the two images.
|
|
|
|
|
|
|
|
|