Image Warping and Mosaicing
CS 194-26 Project 4 Shivam Singhal October 2021
For this project, we were tasked with creating image mosaics by registering, projective warping, resampling, and compositing multiple pictures.
Part 1.1: Shooting Pictures
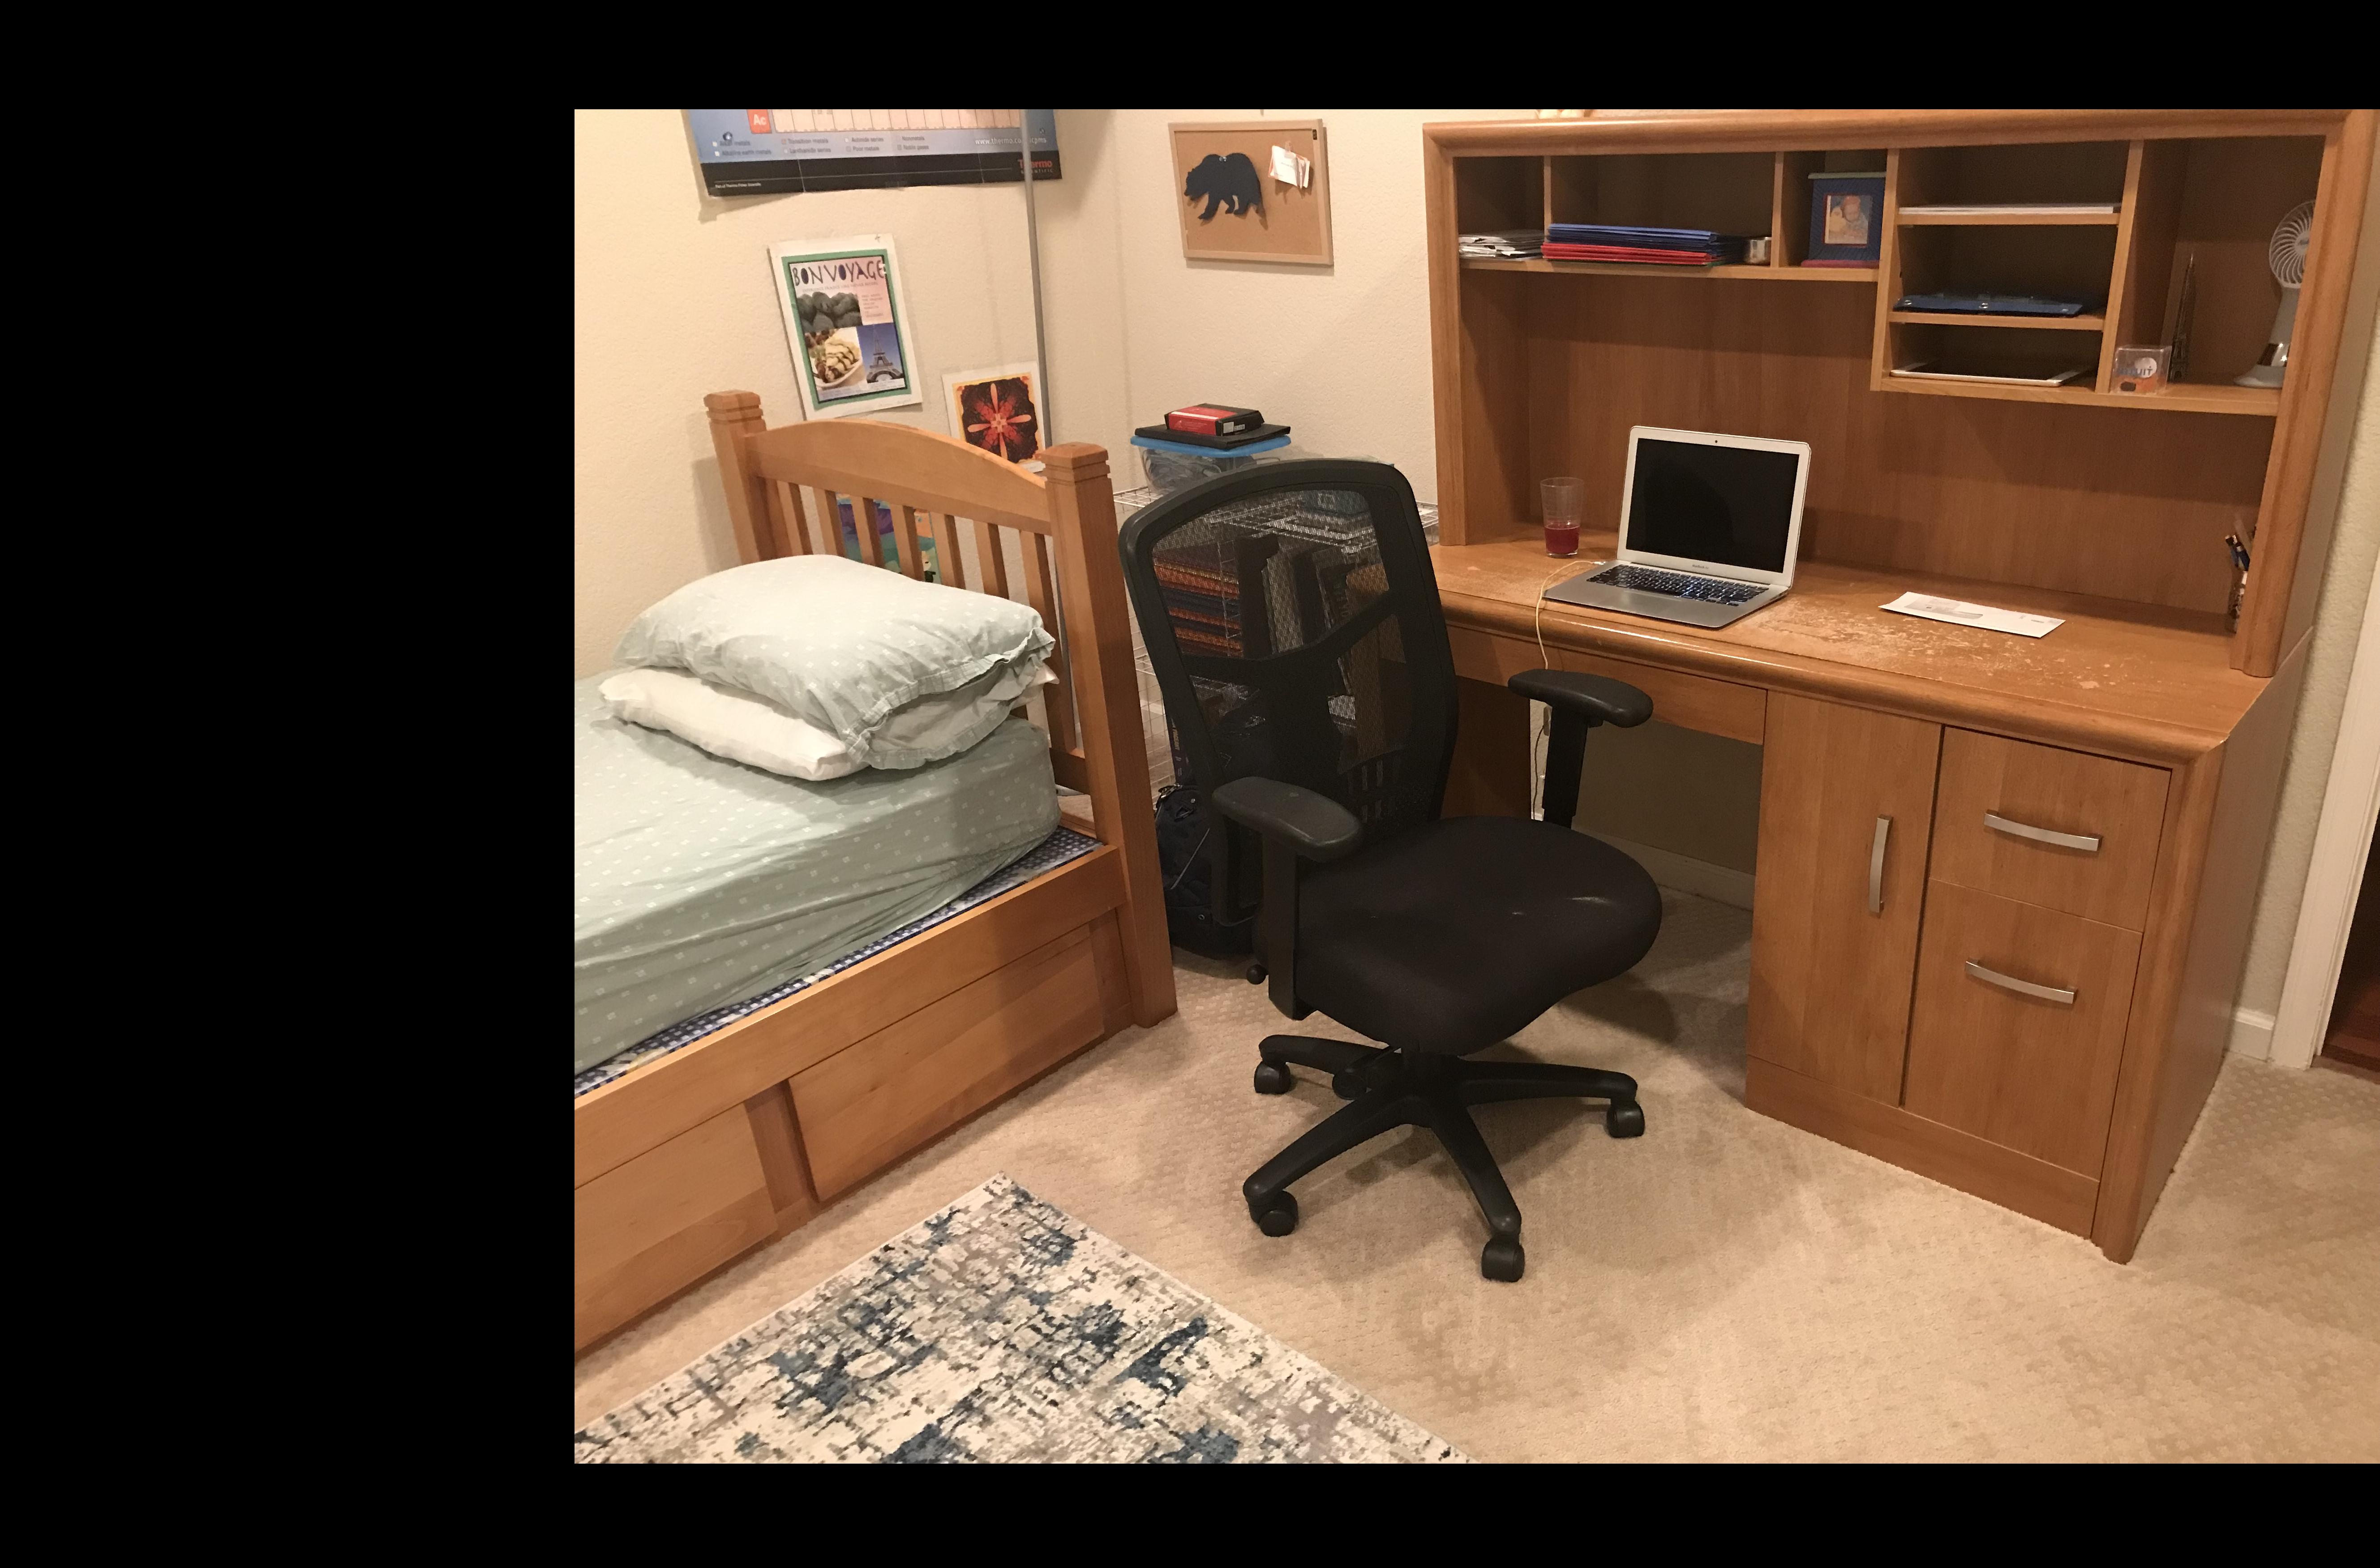
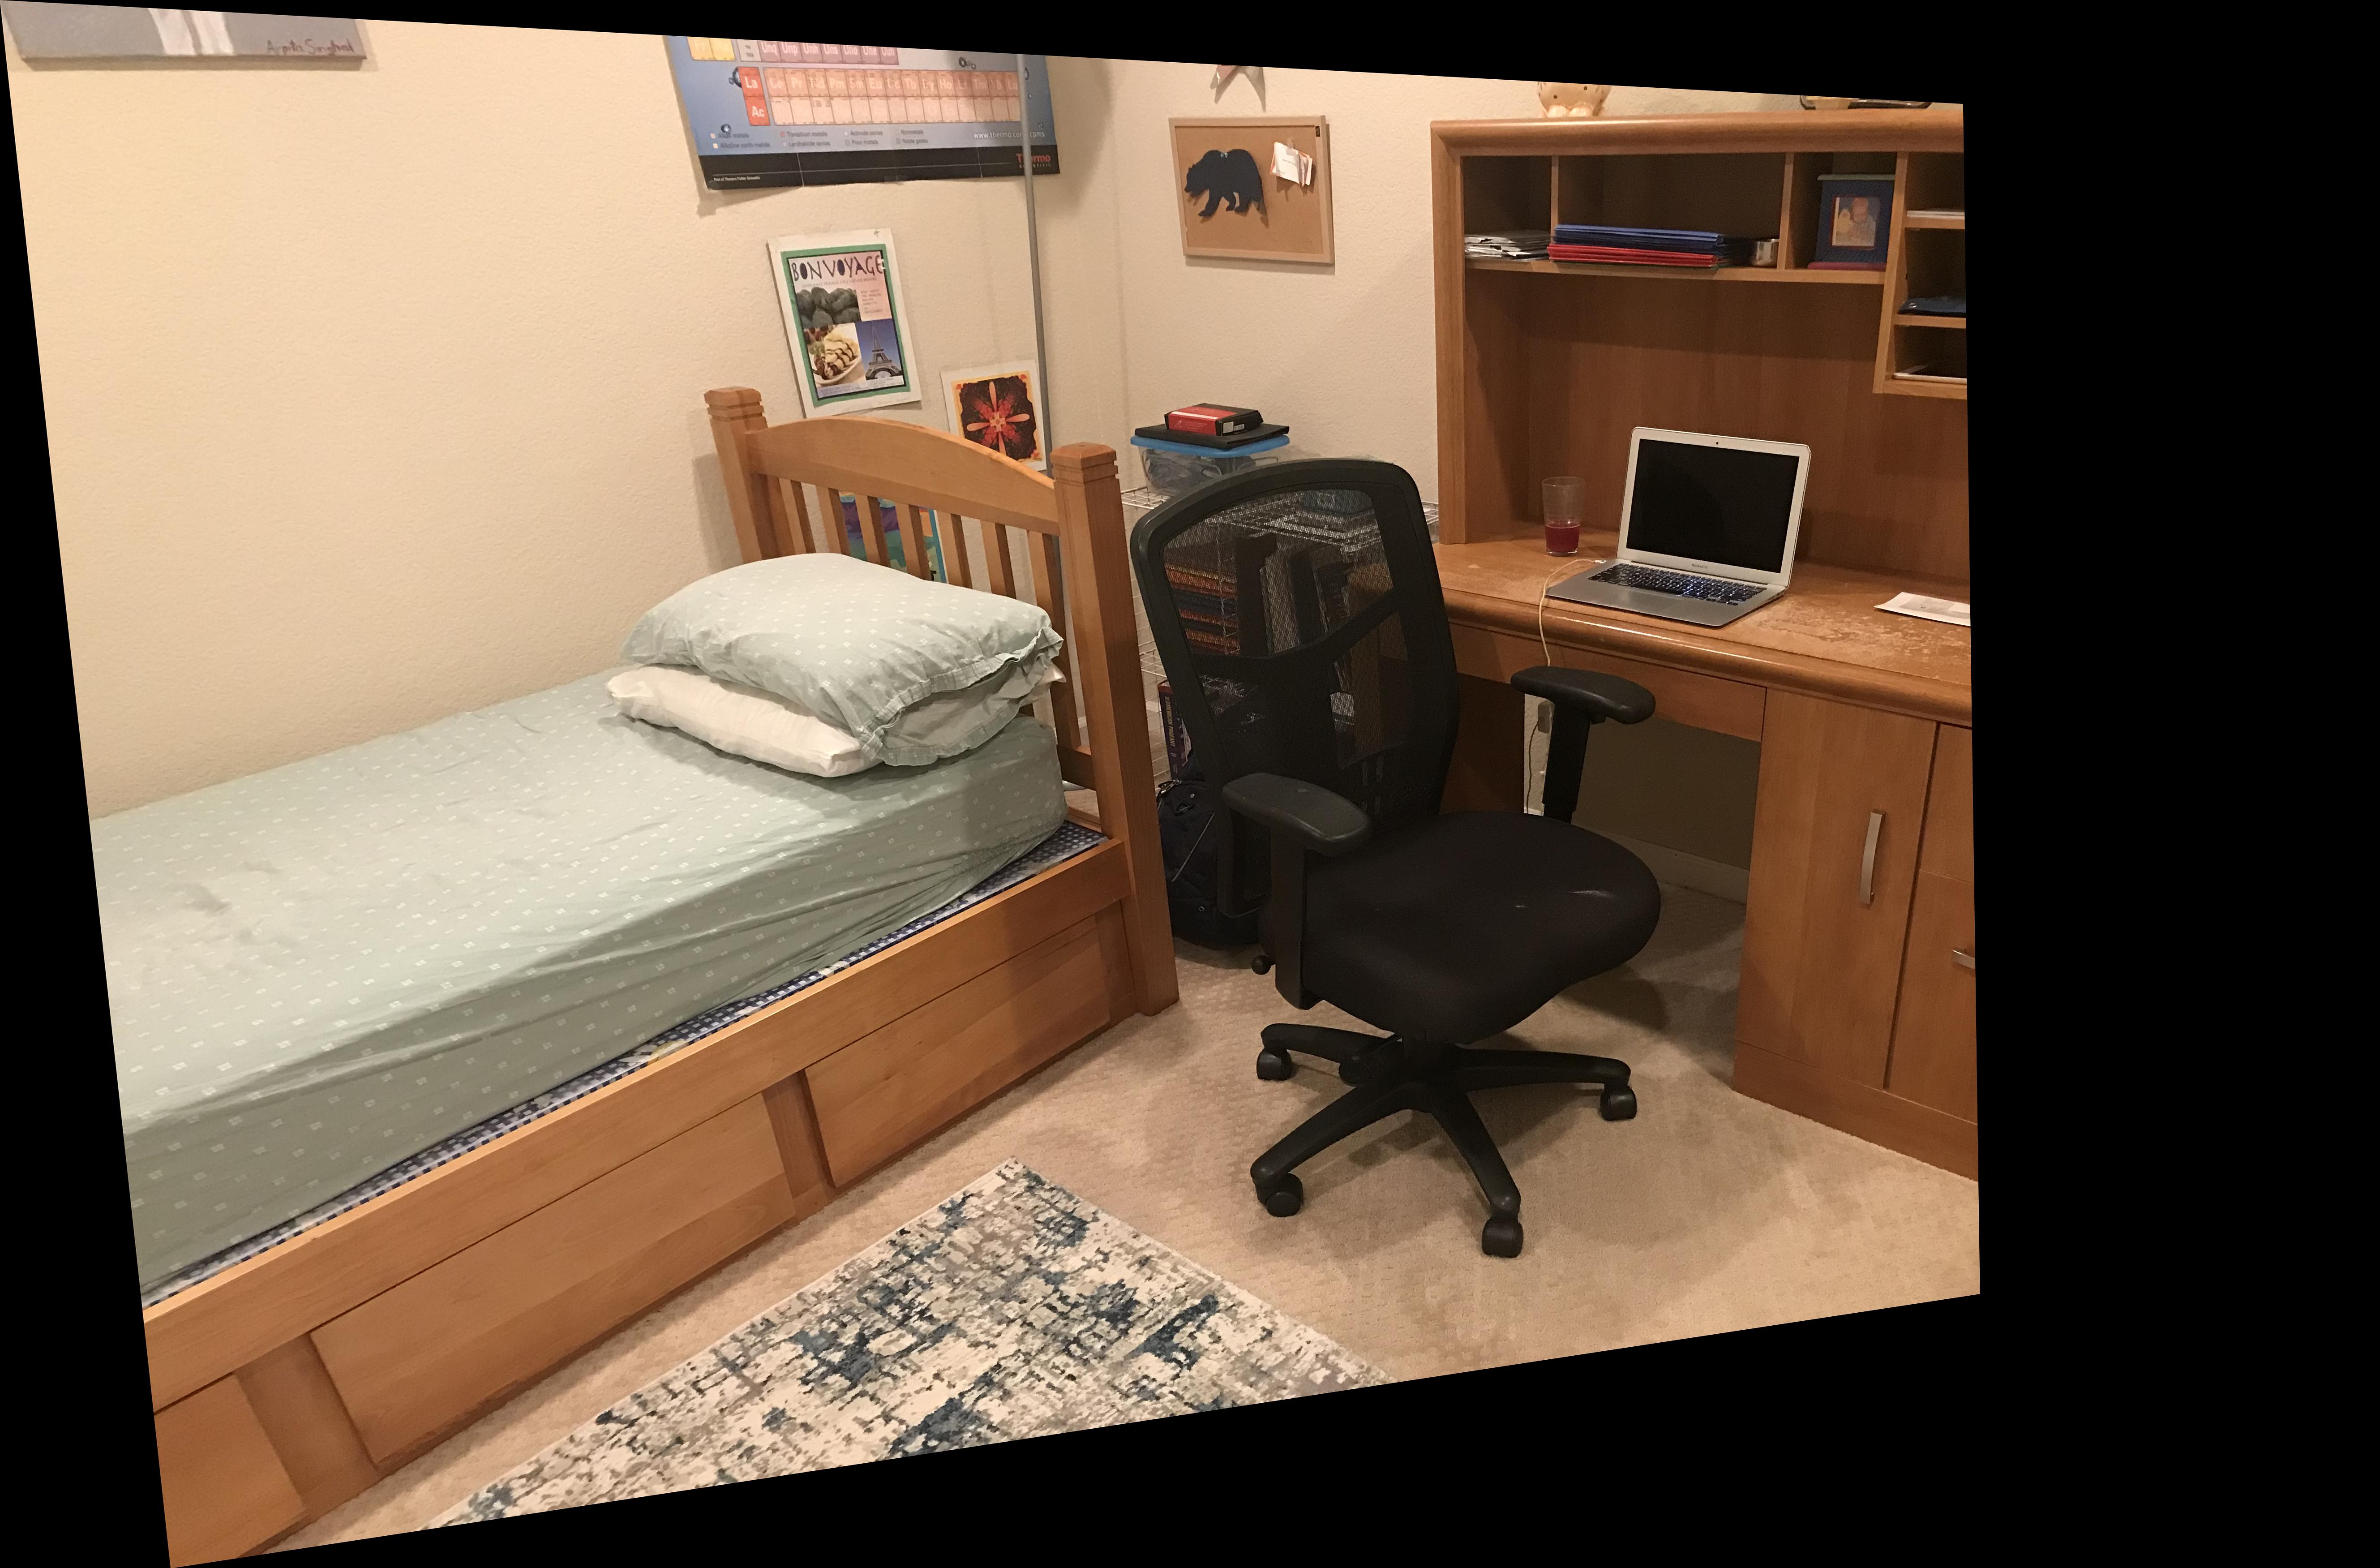
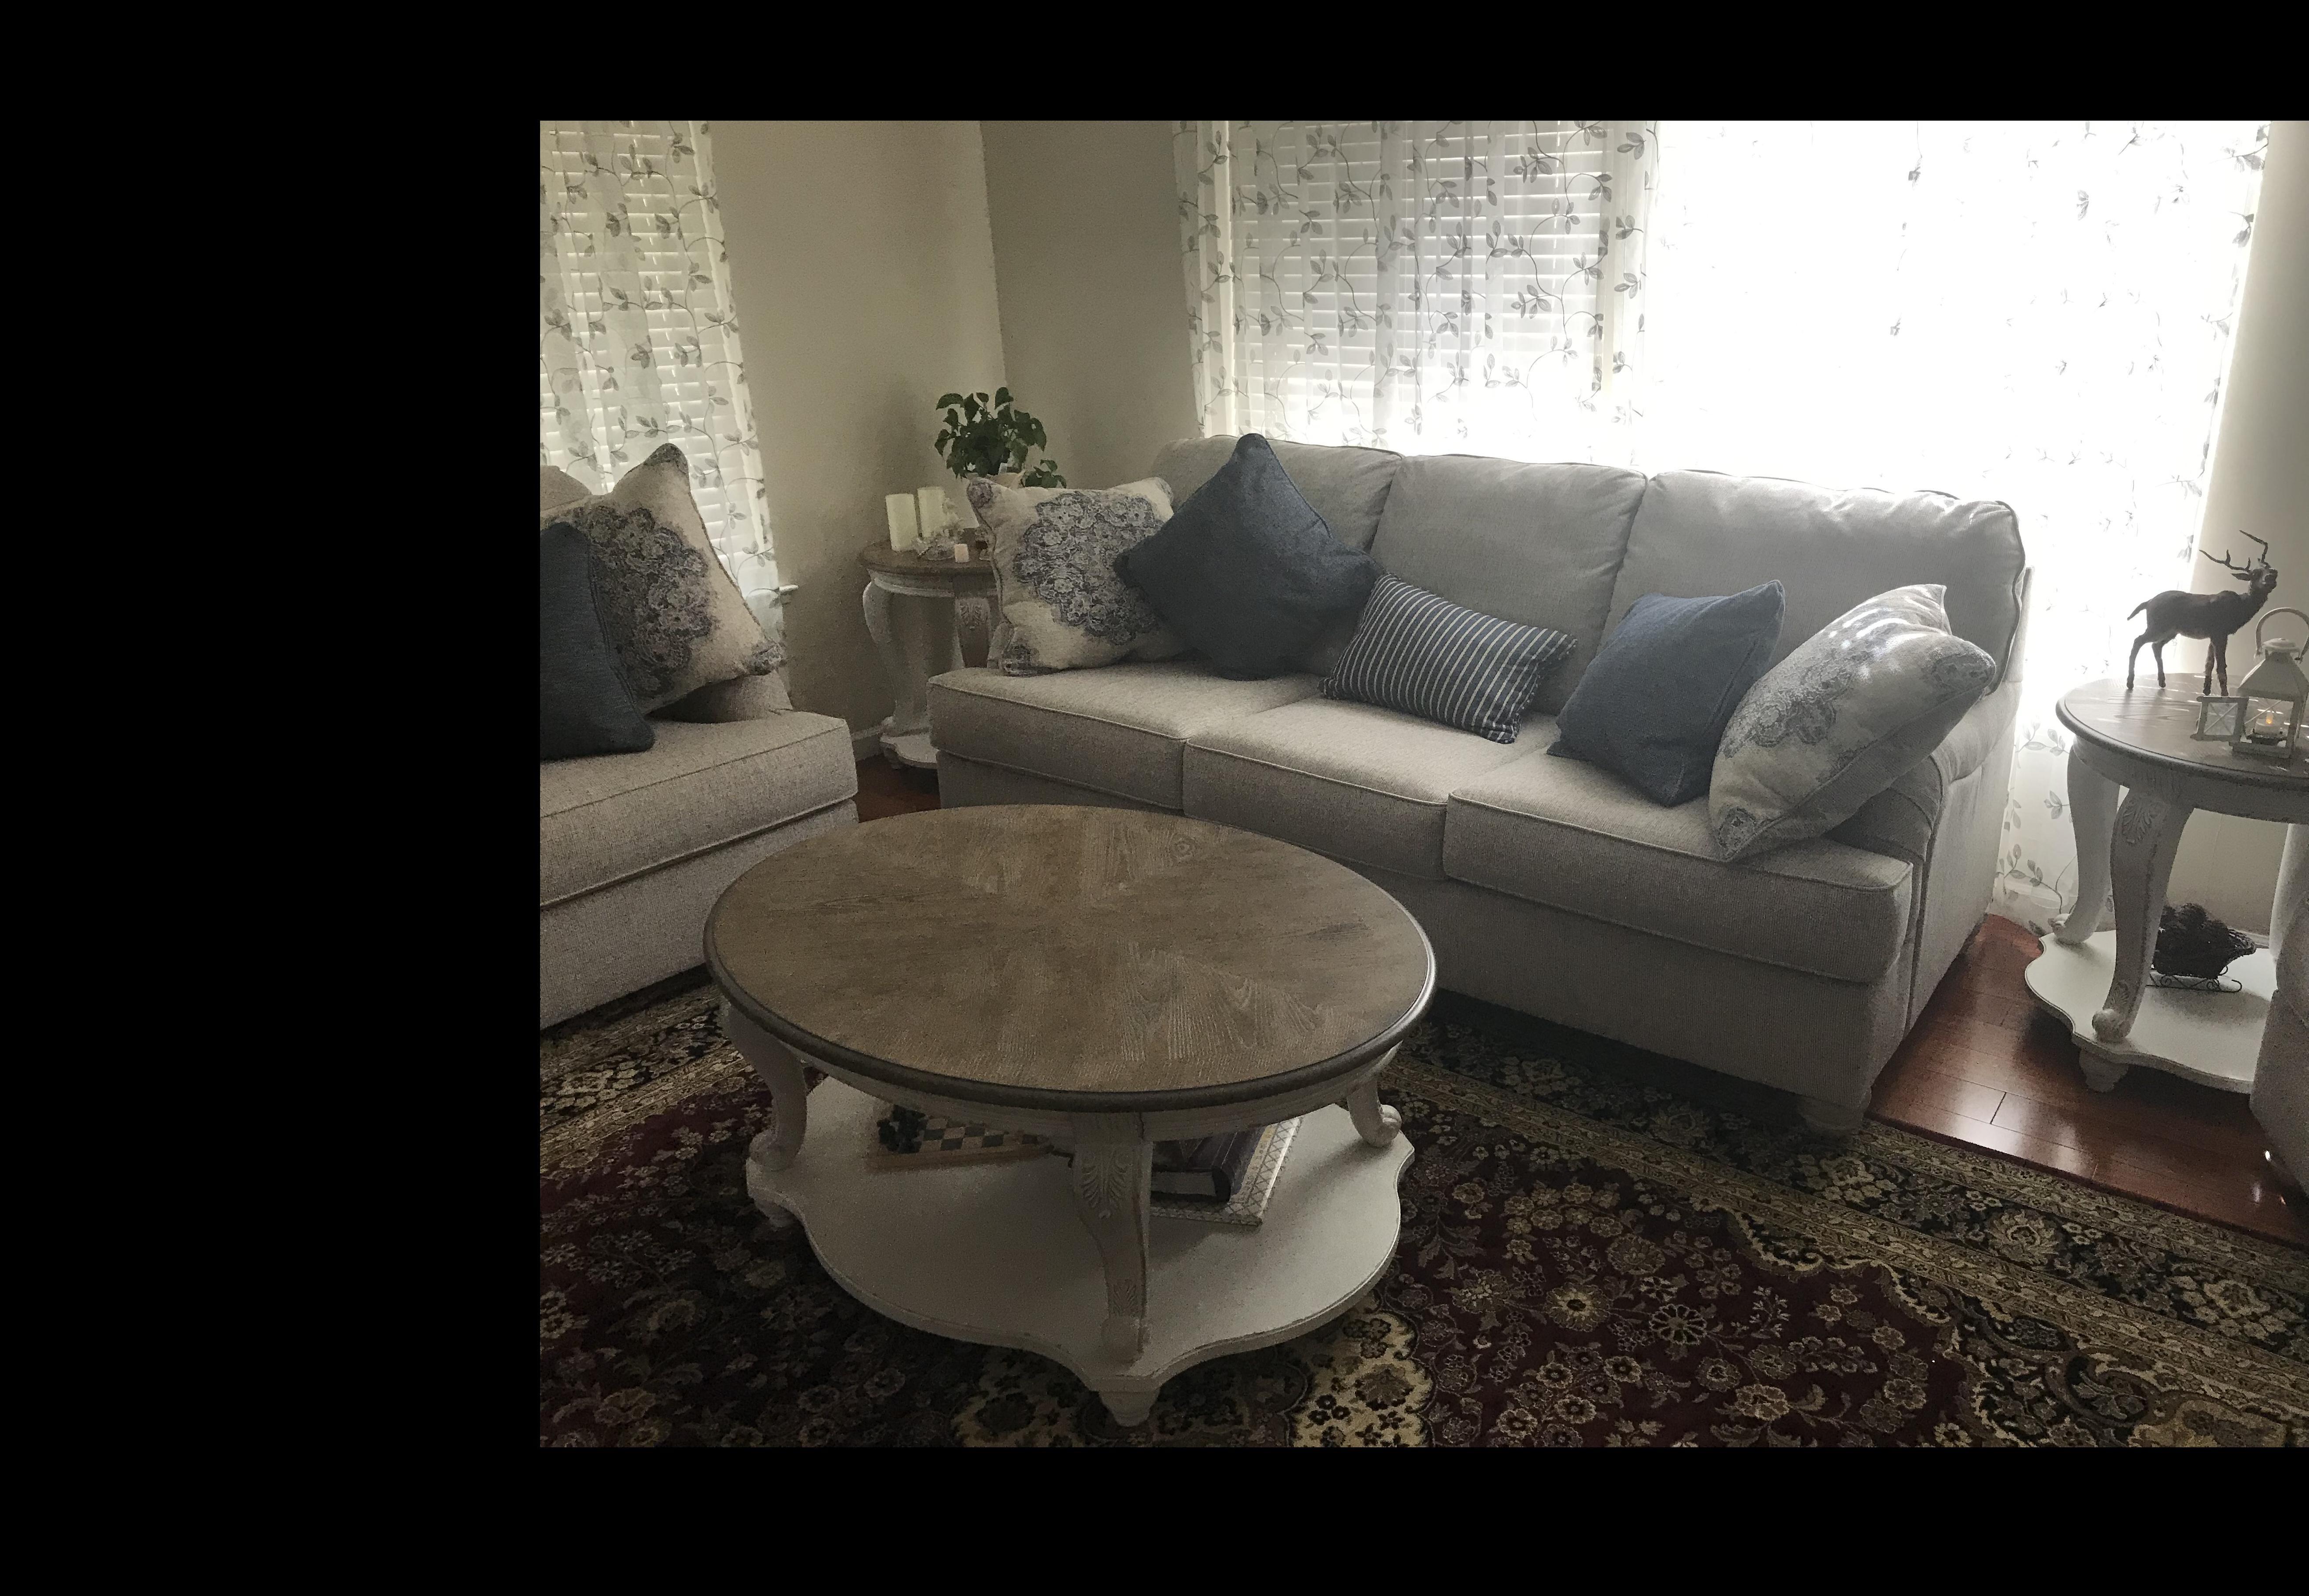
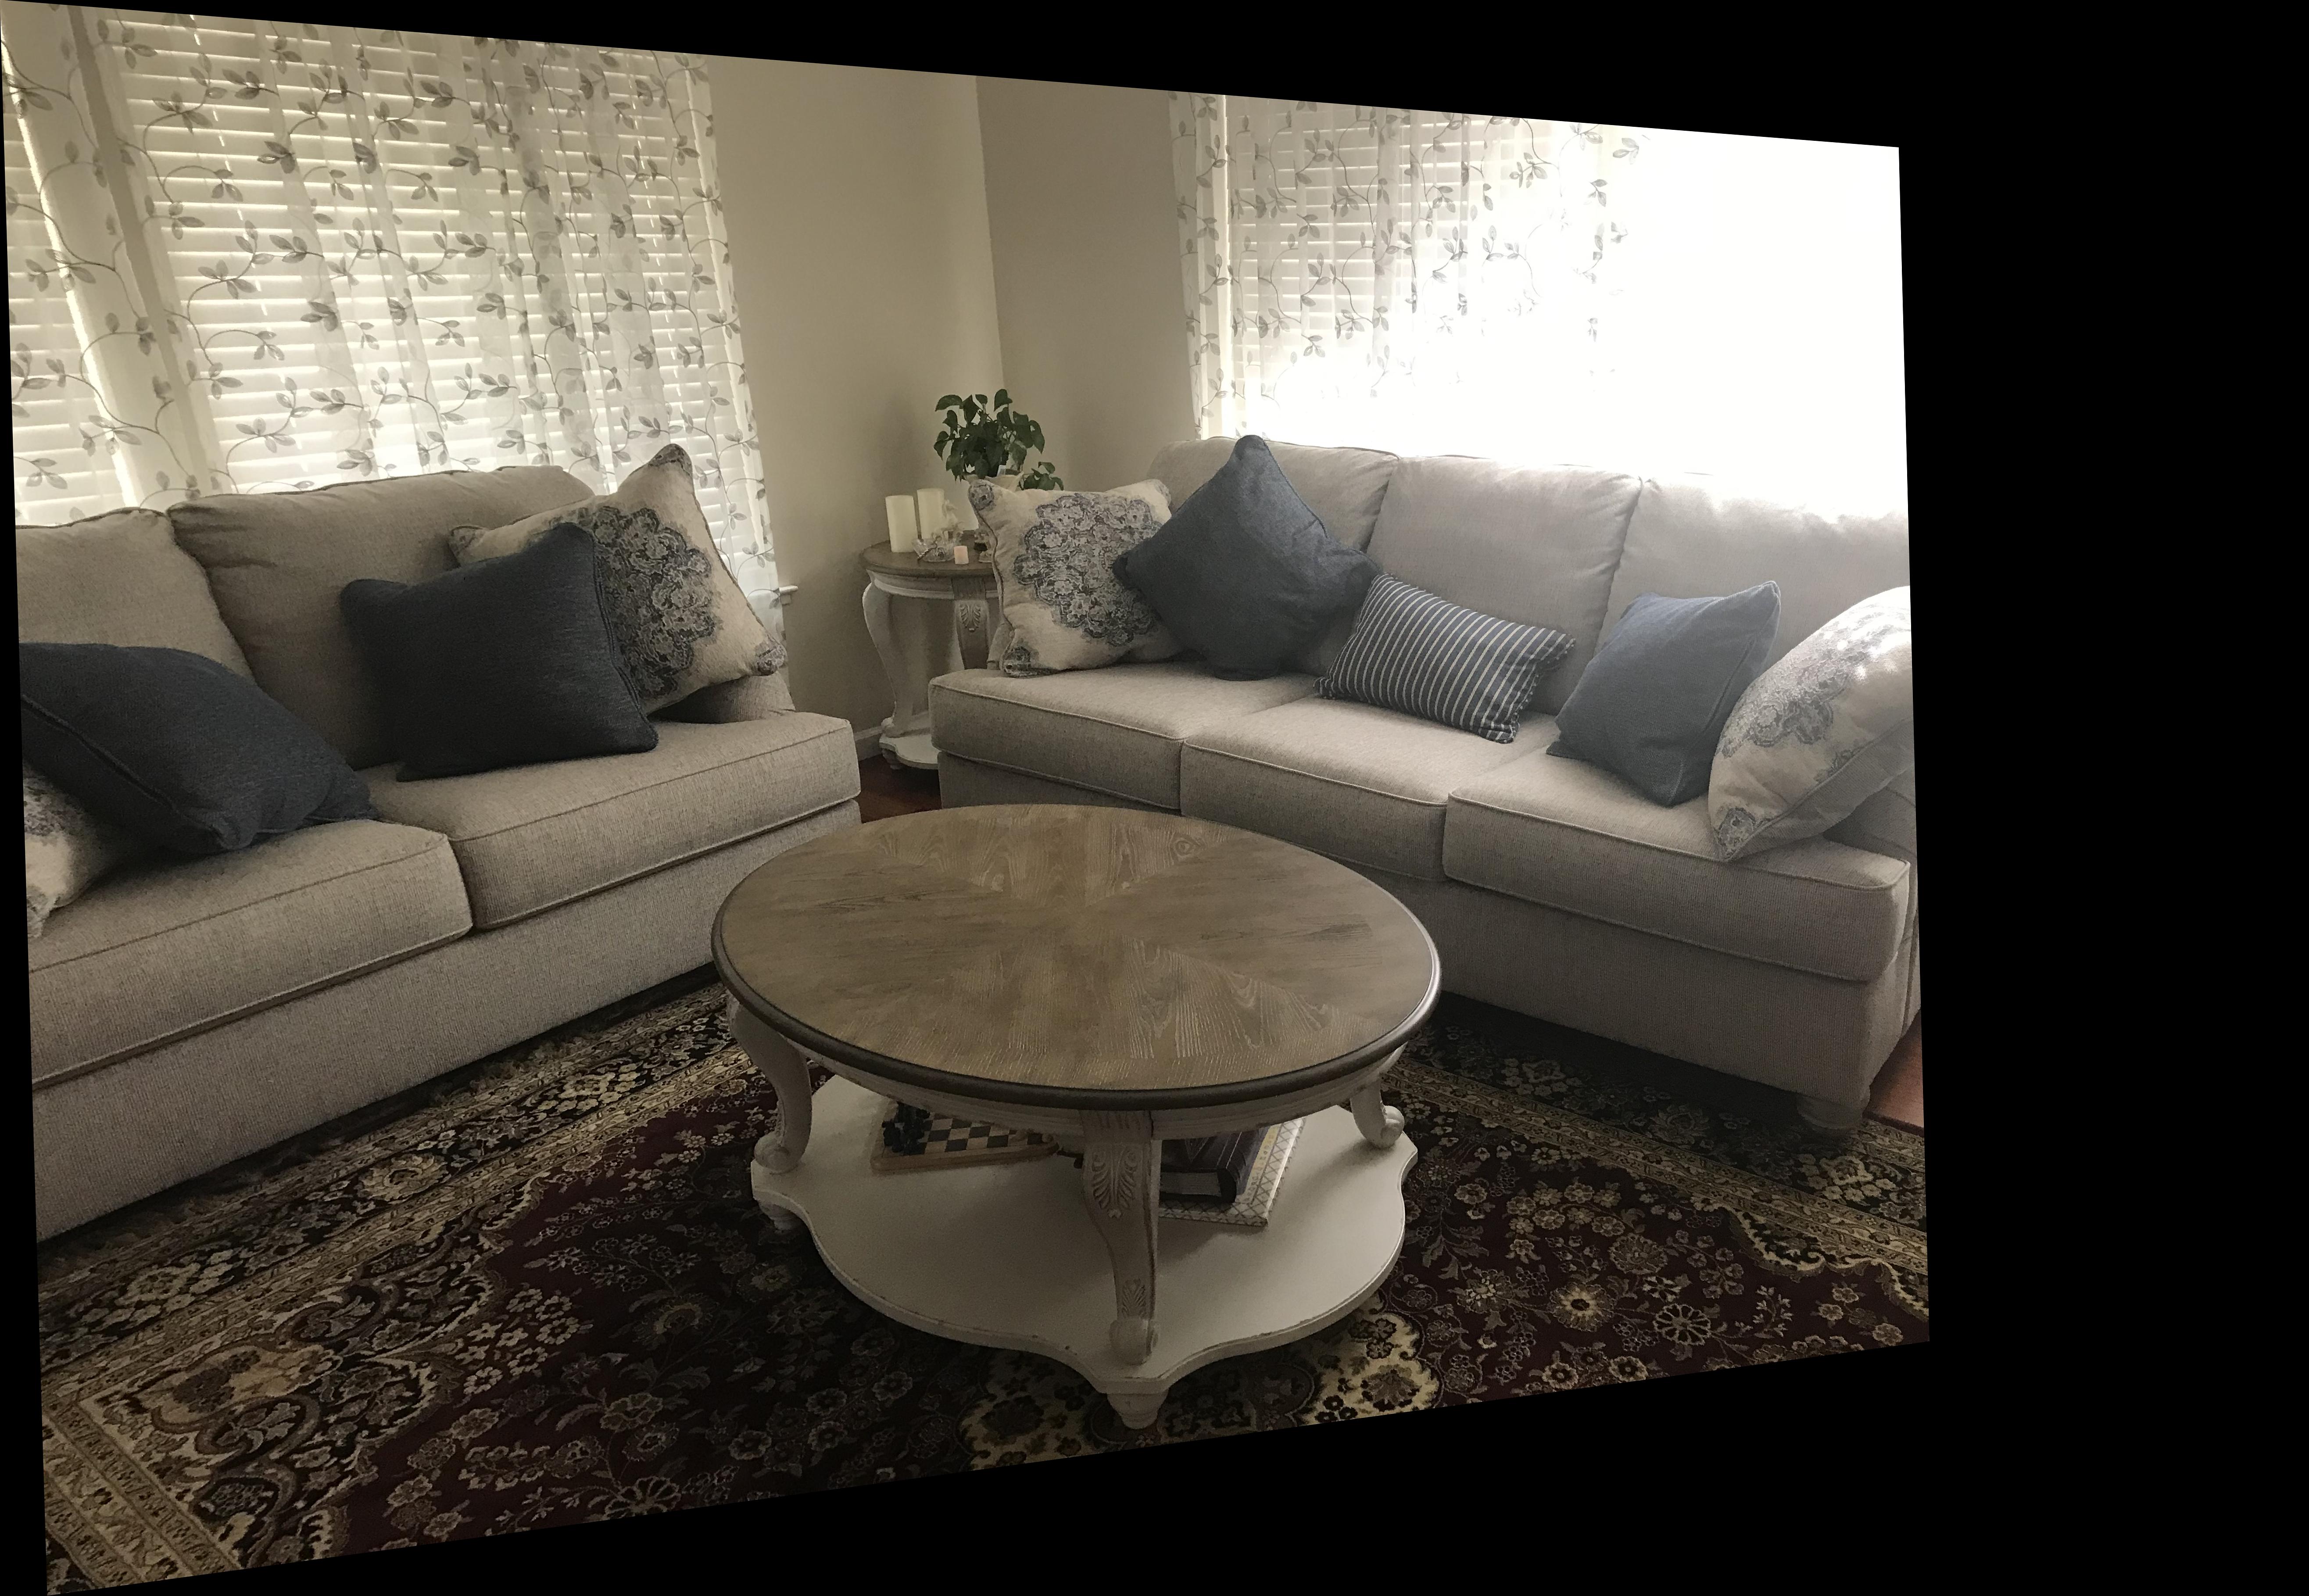
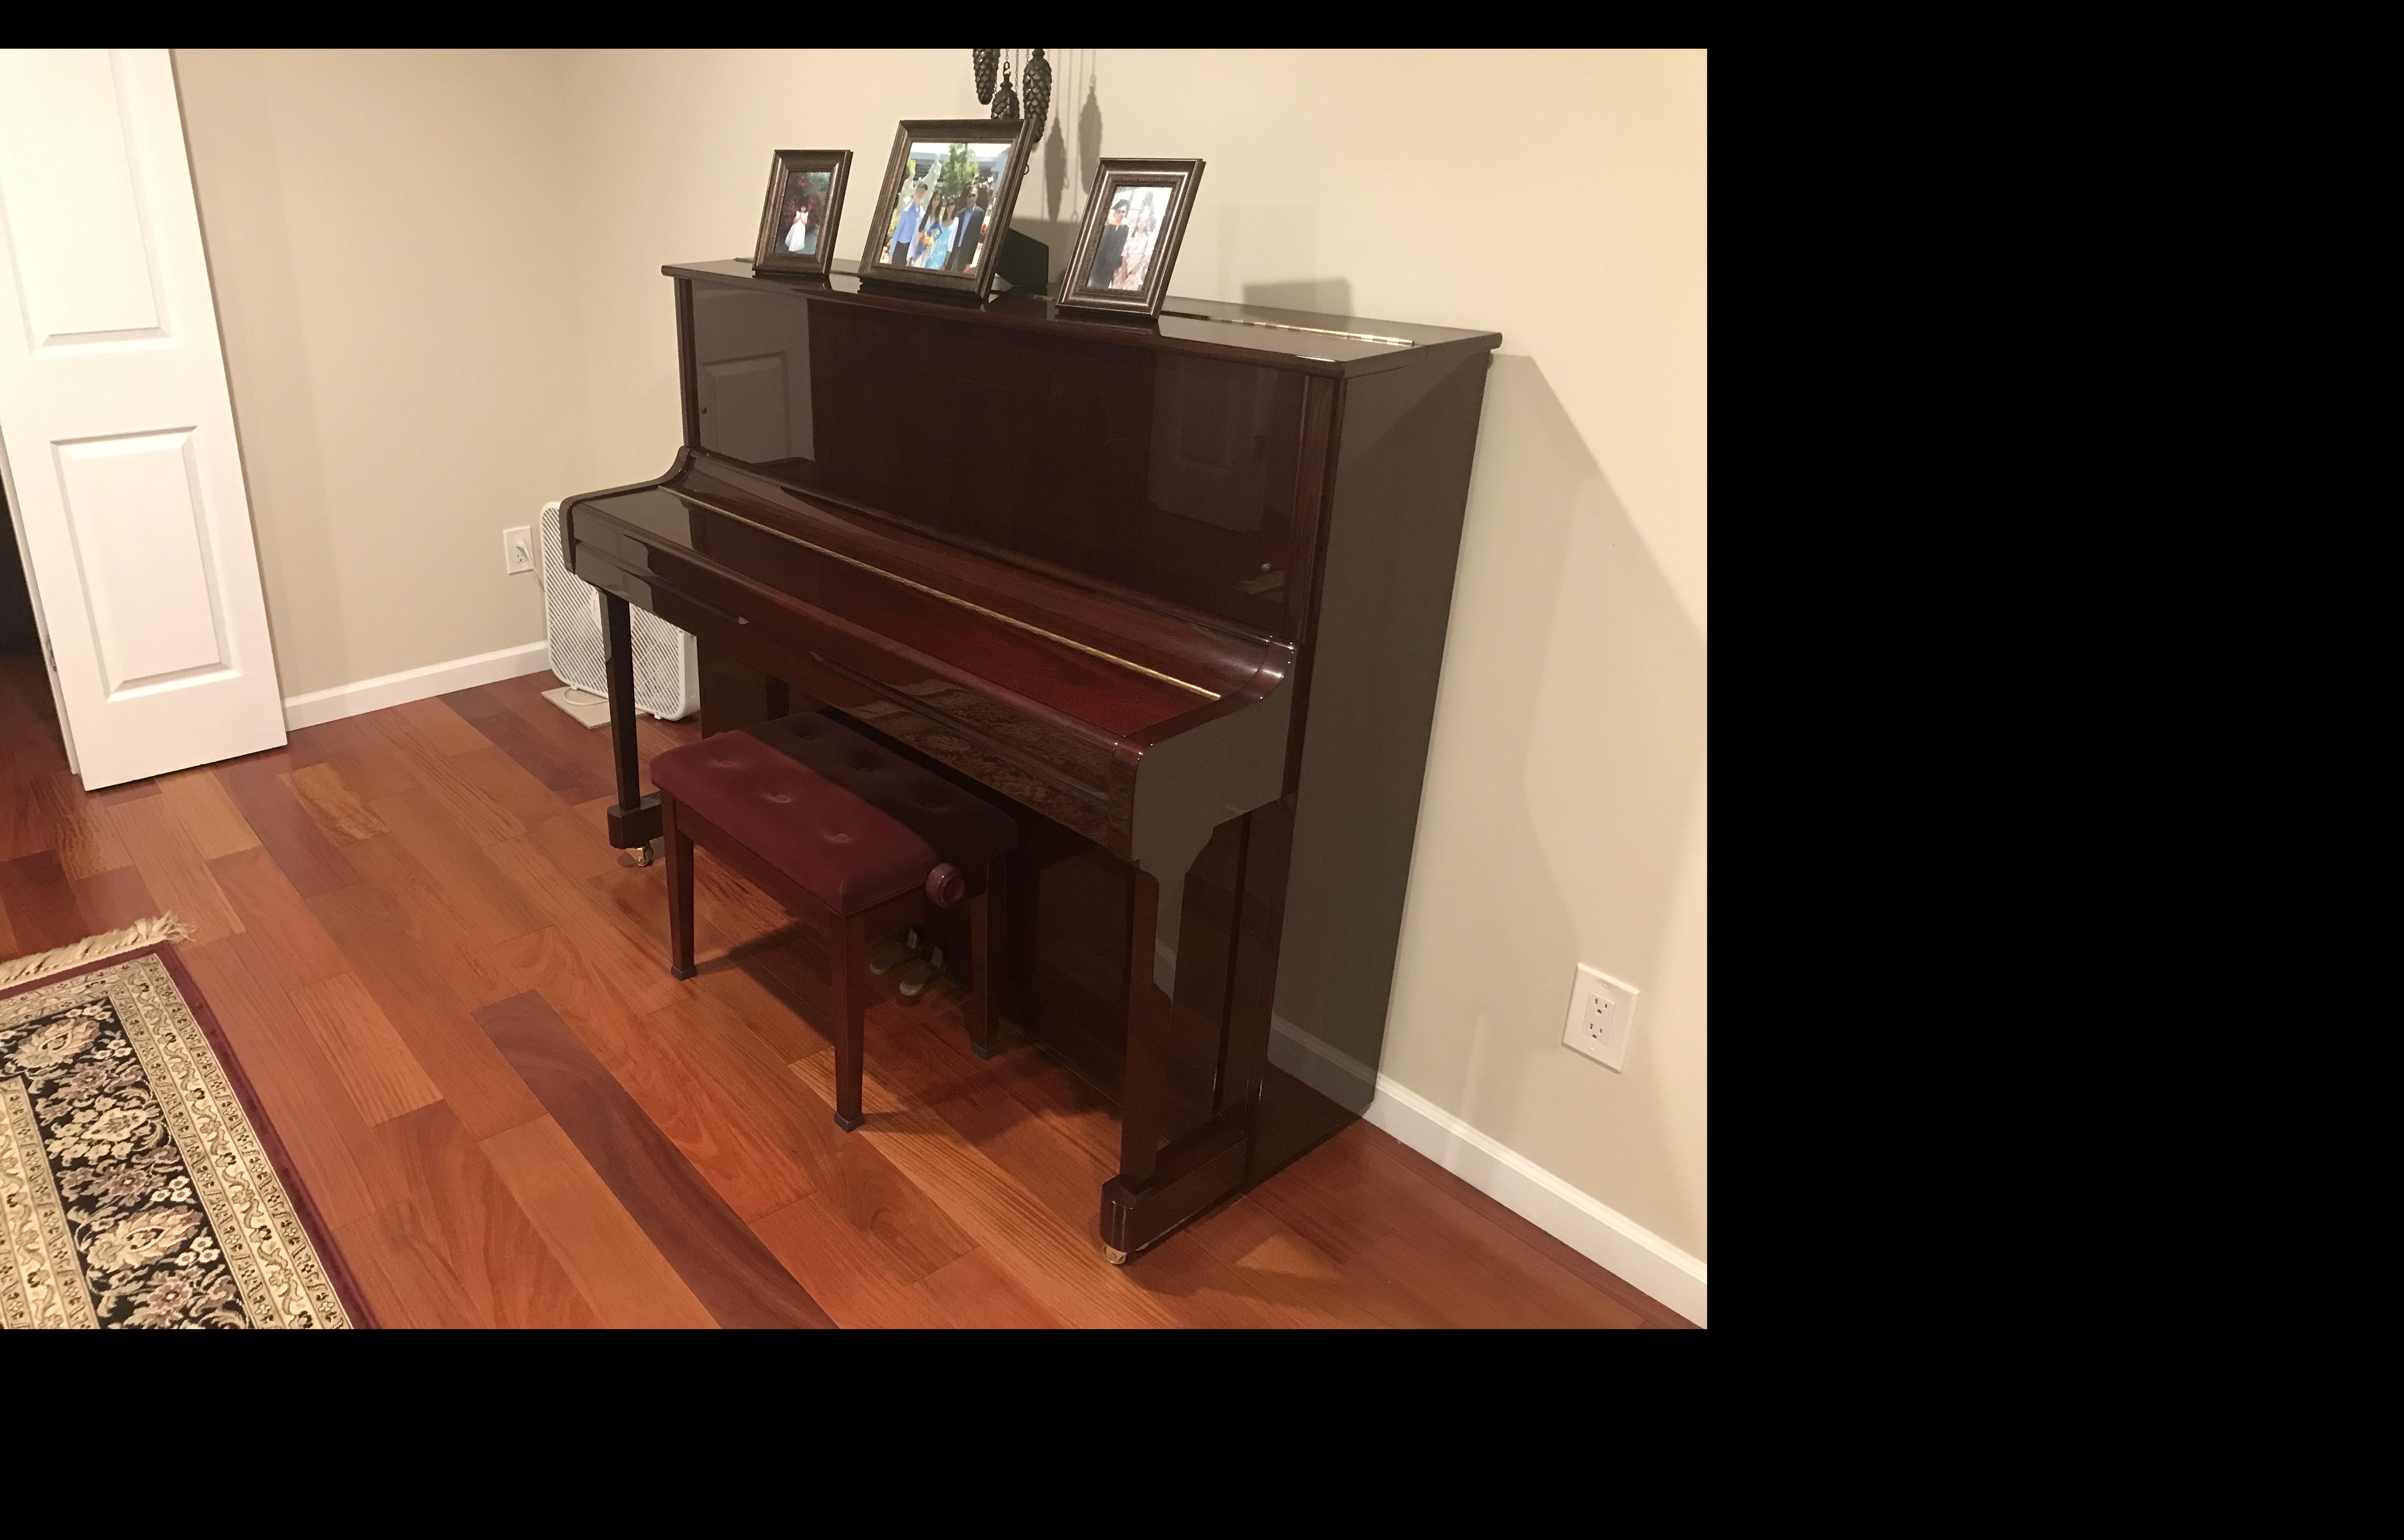
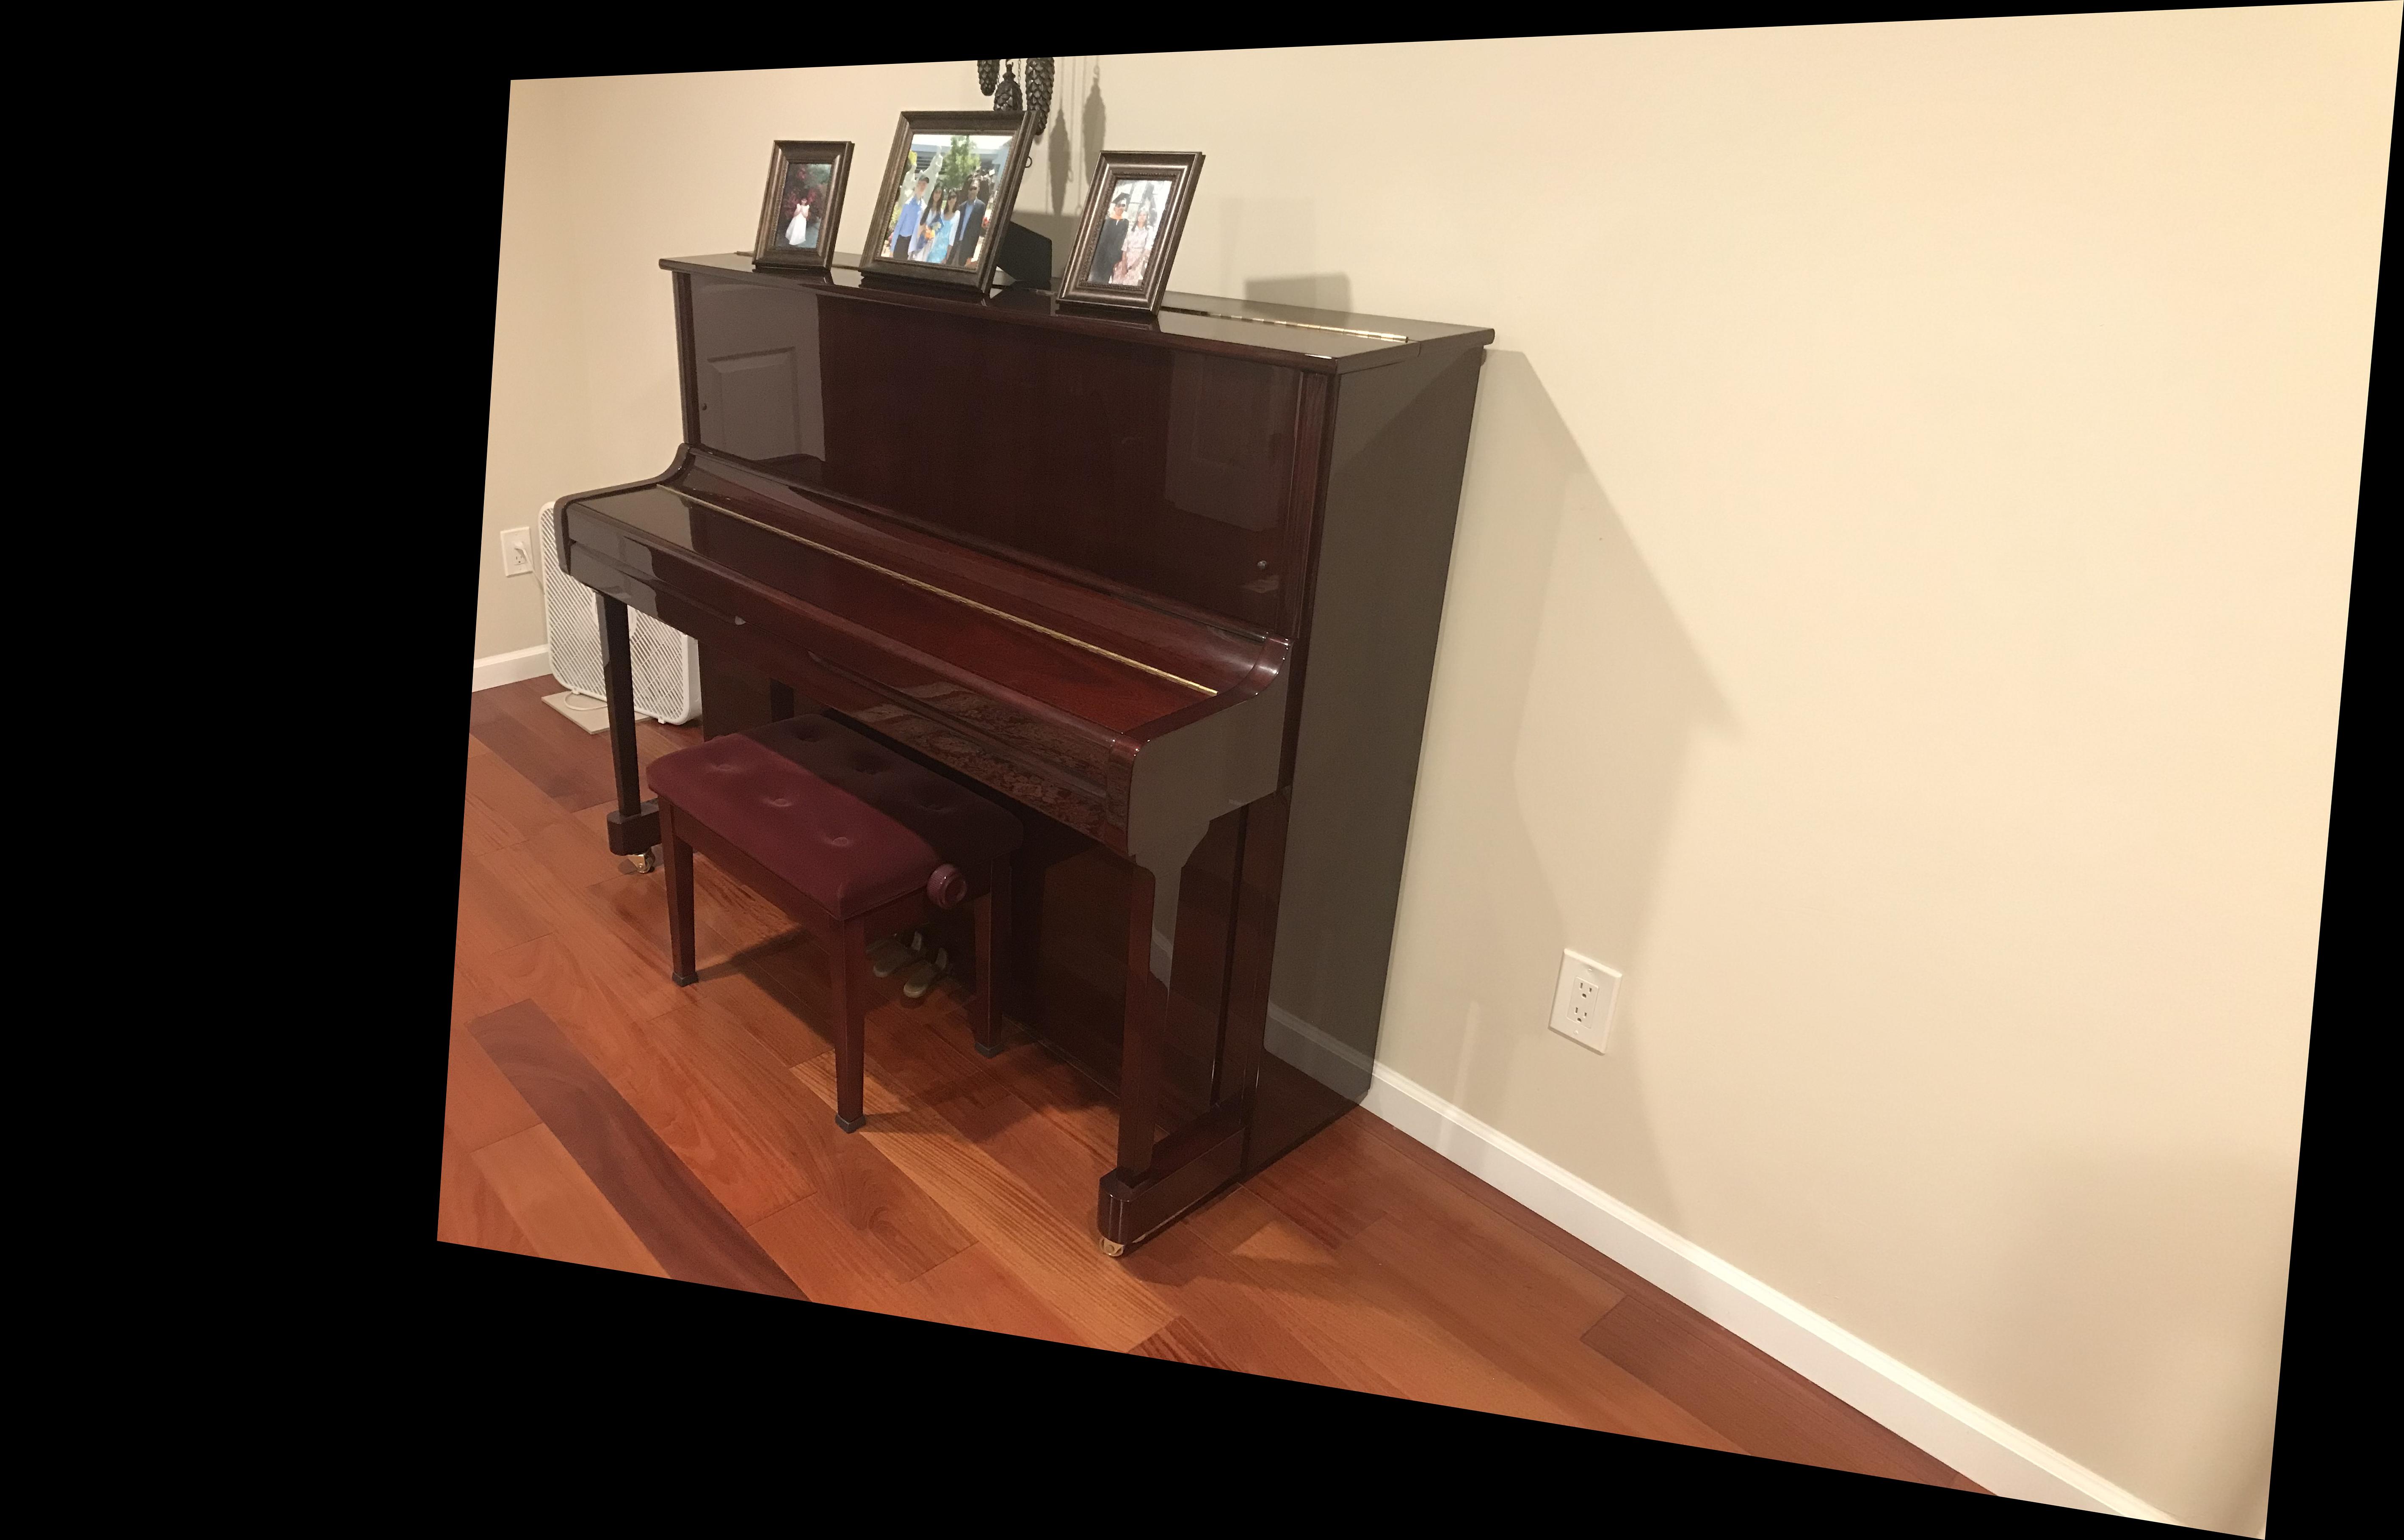
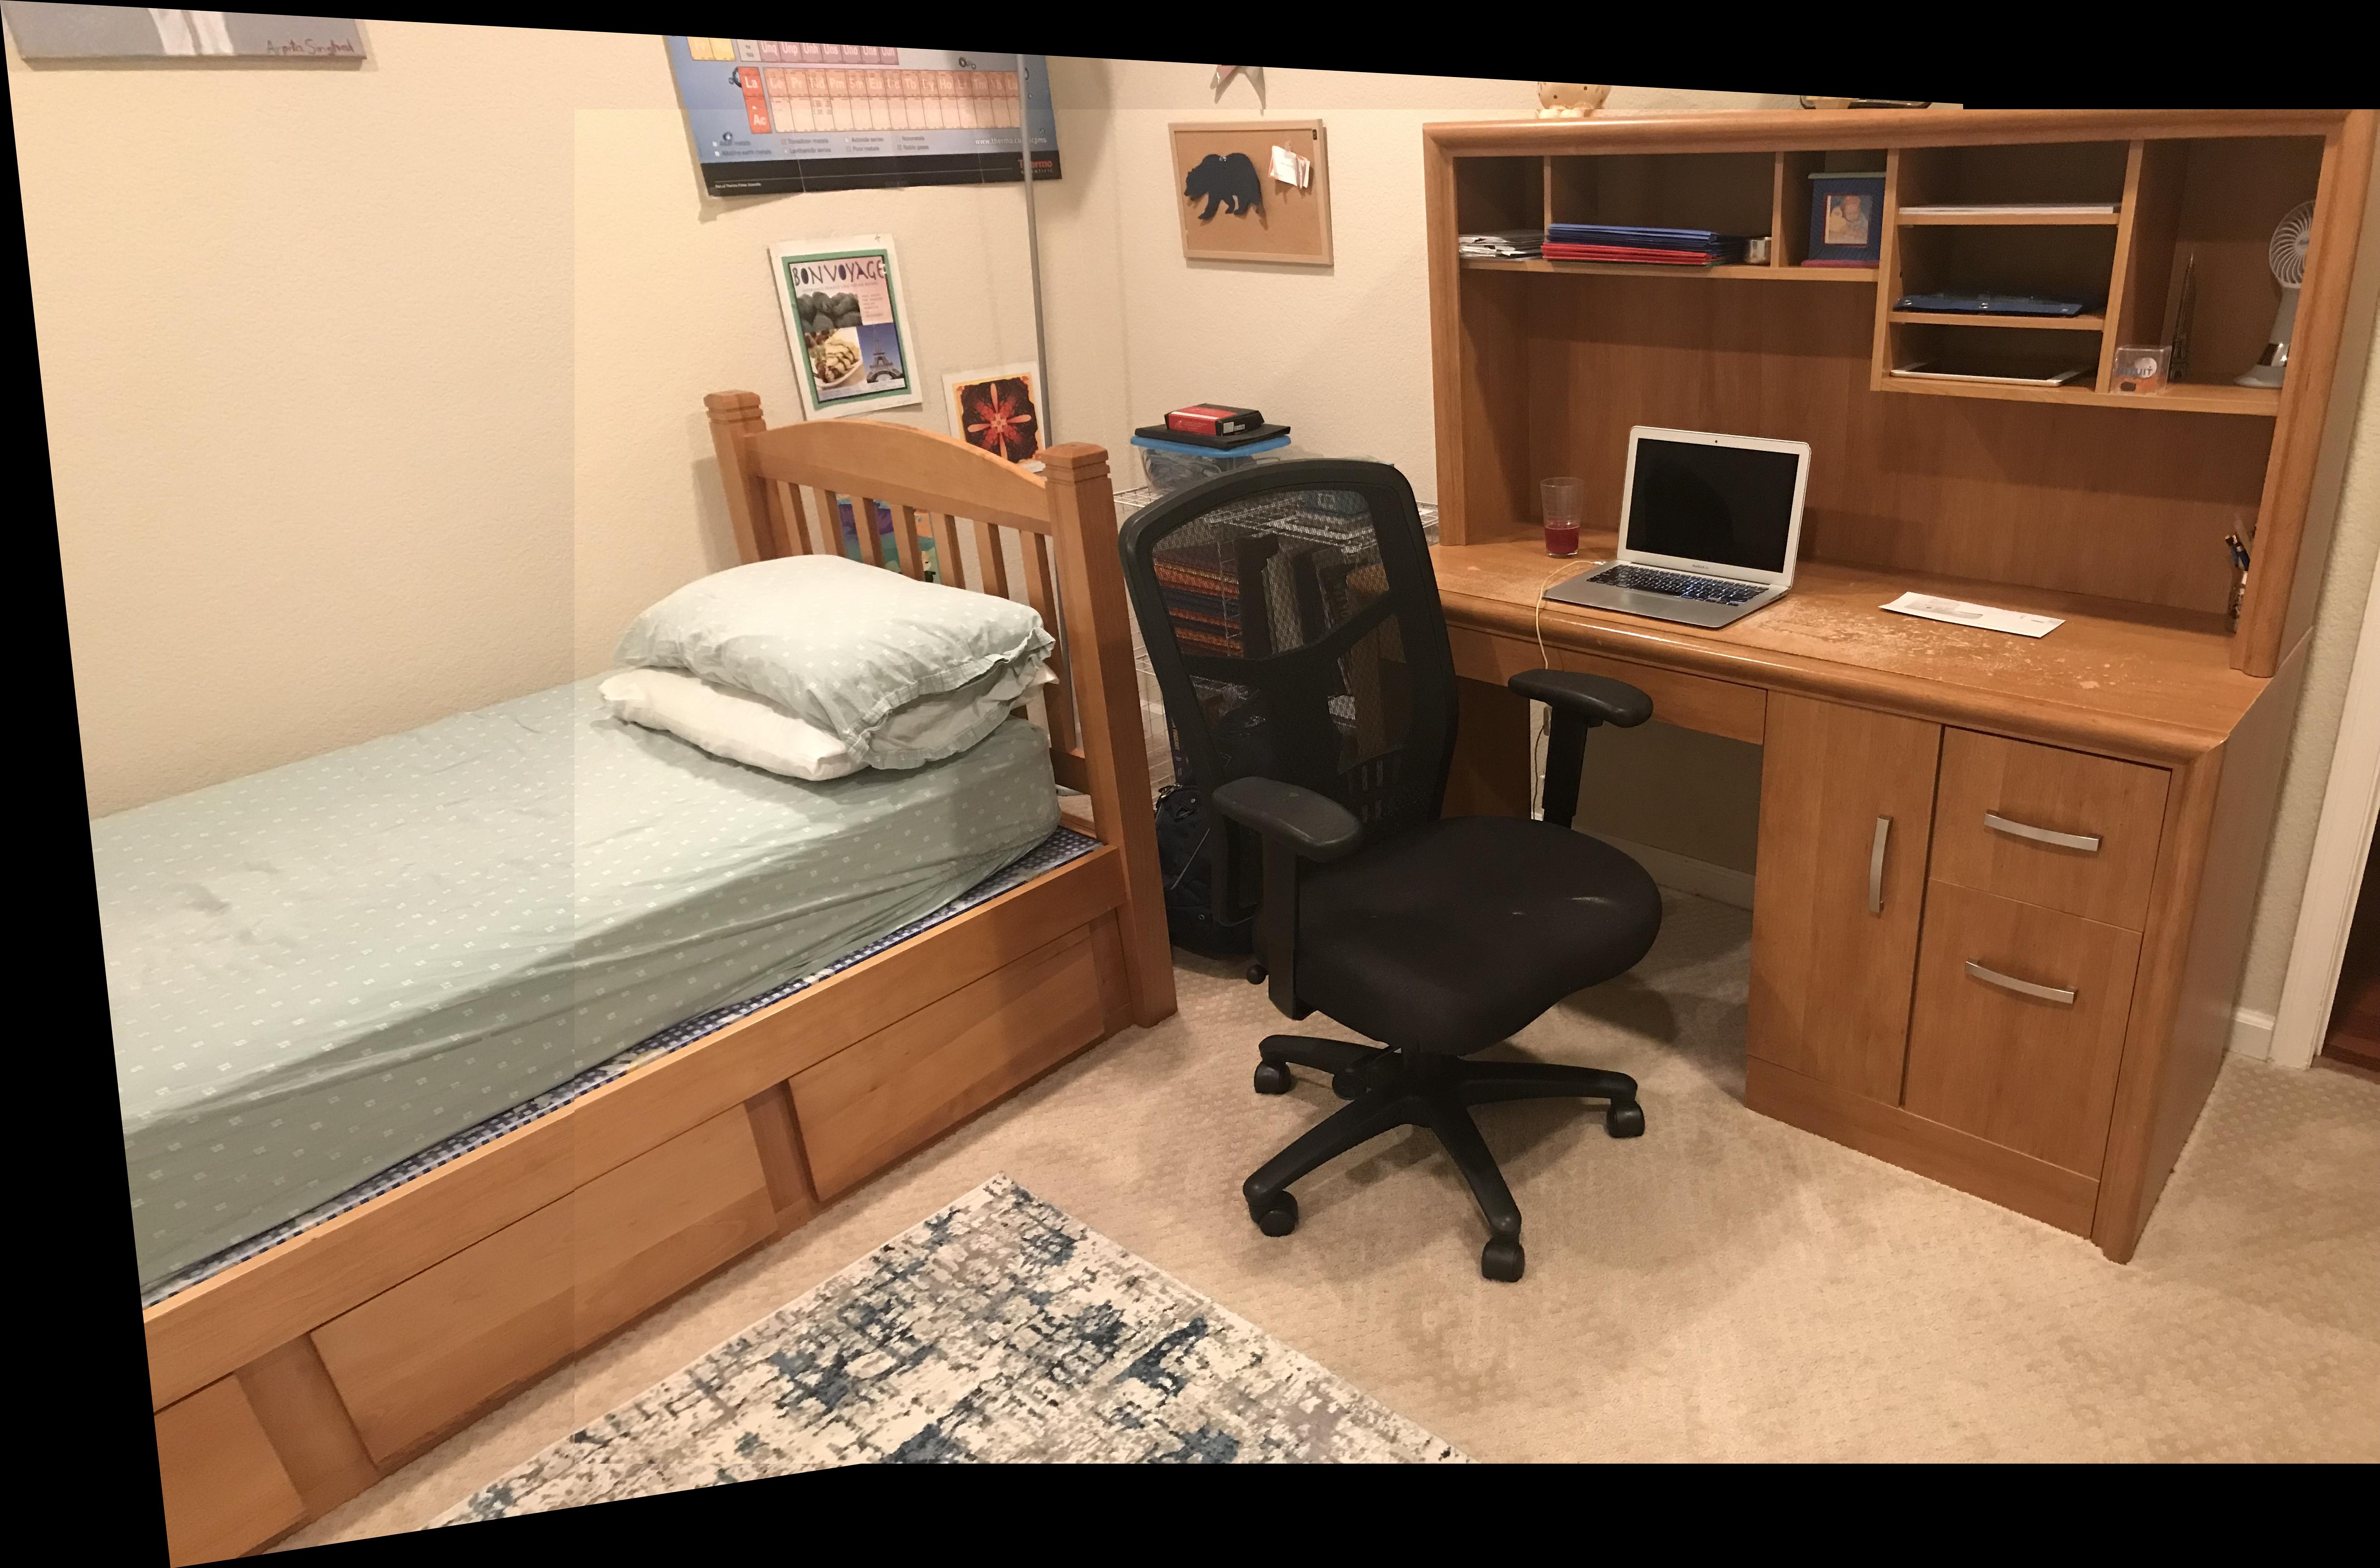
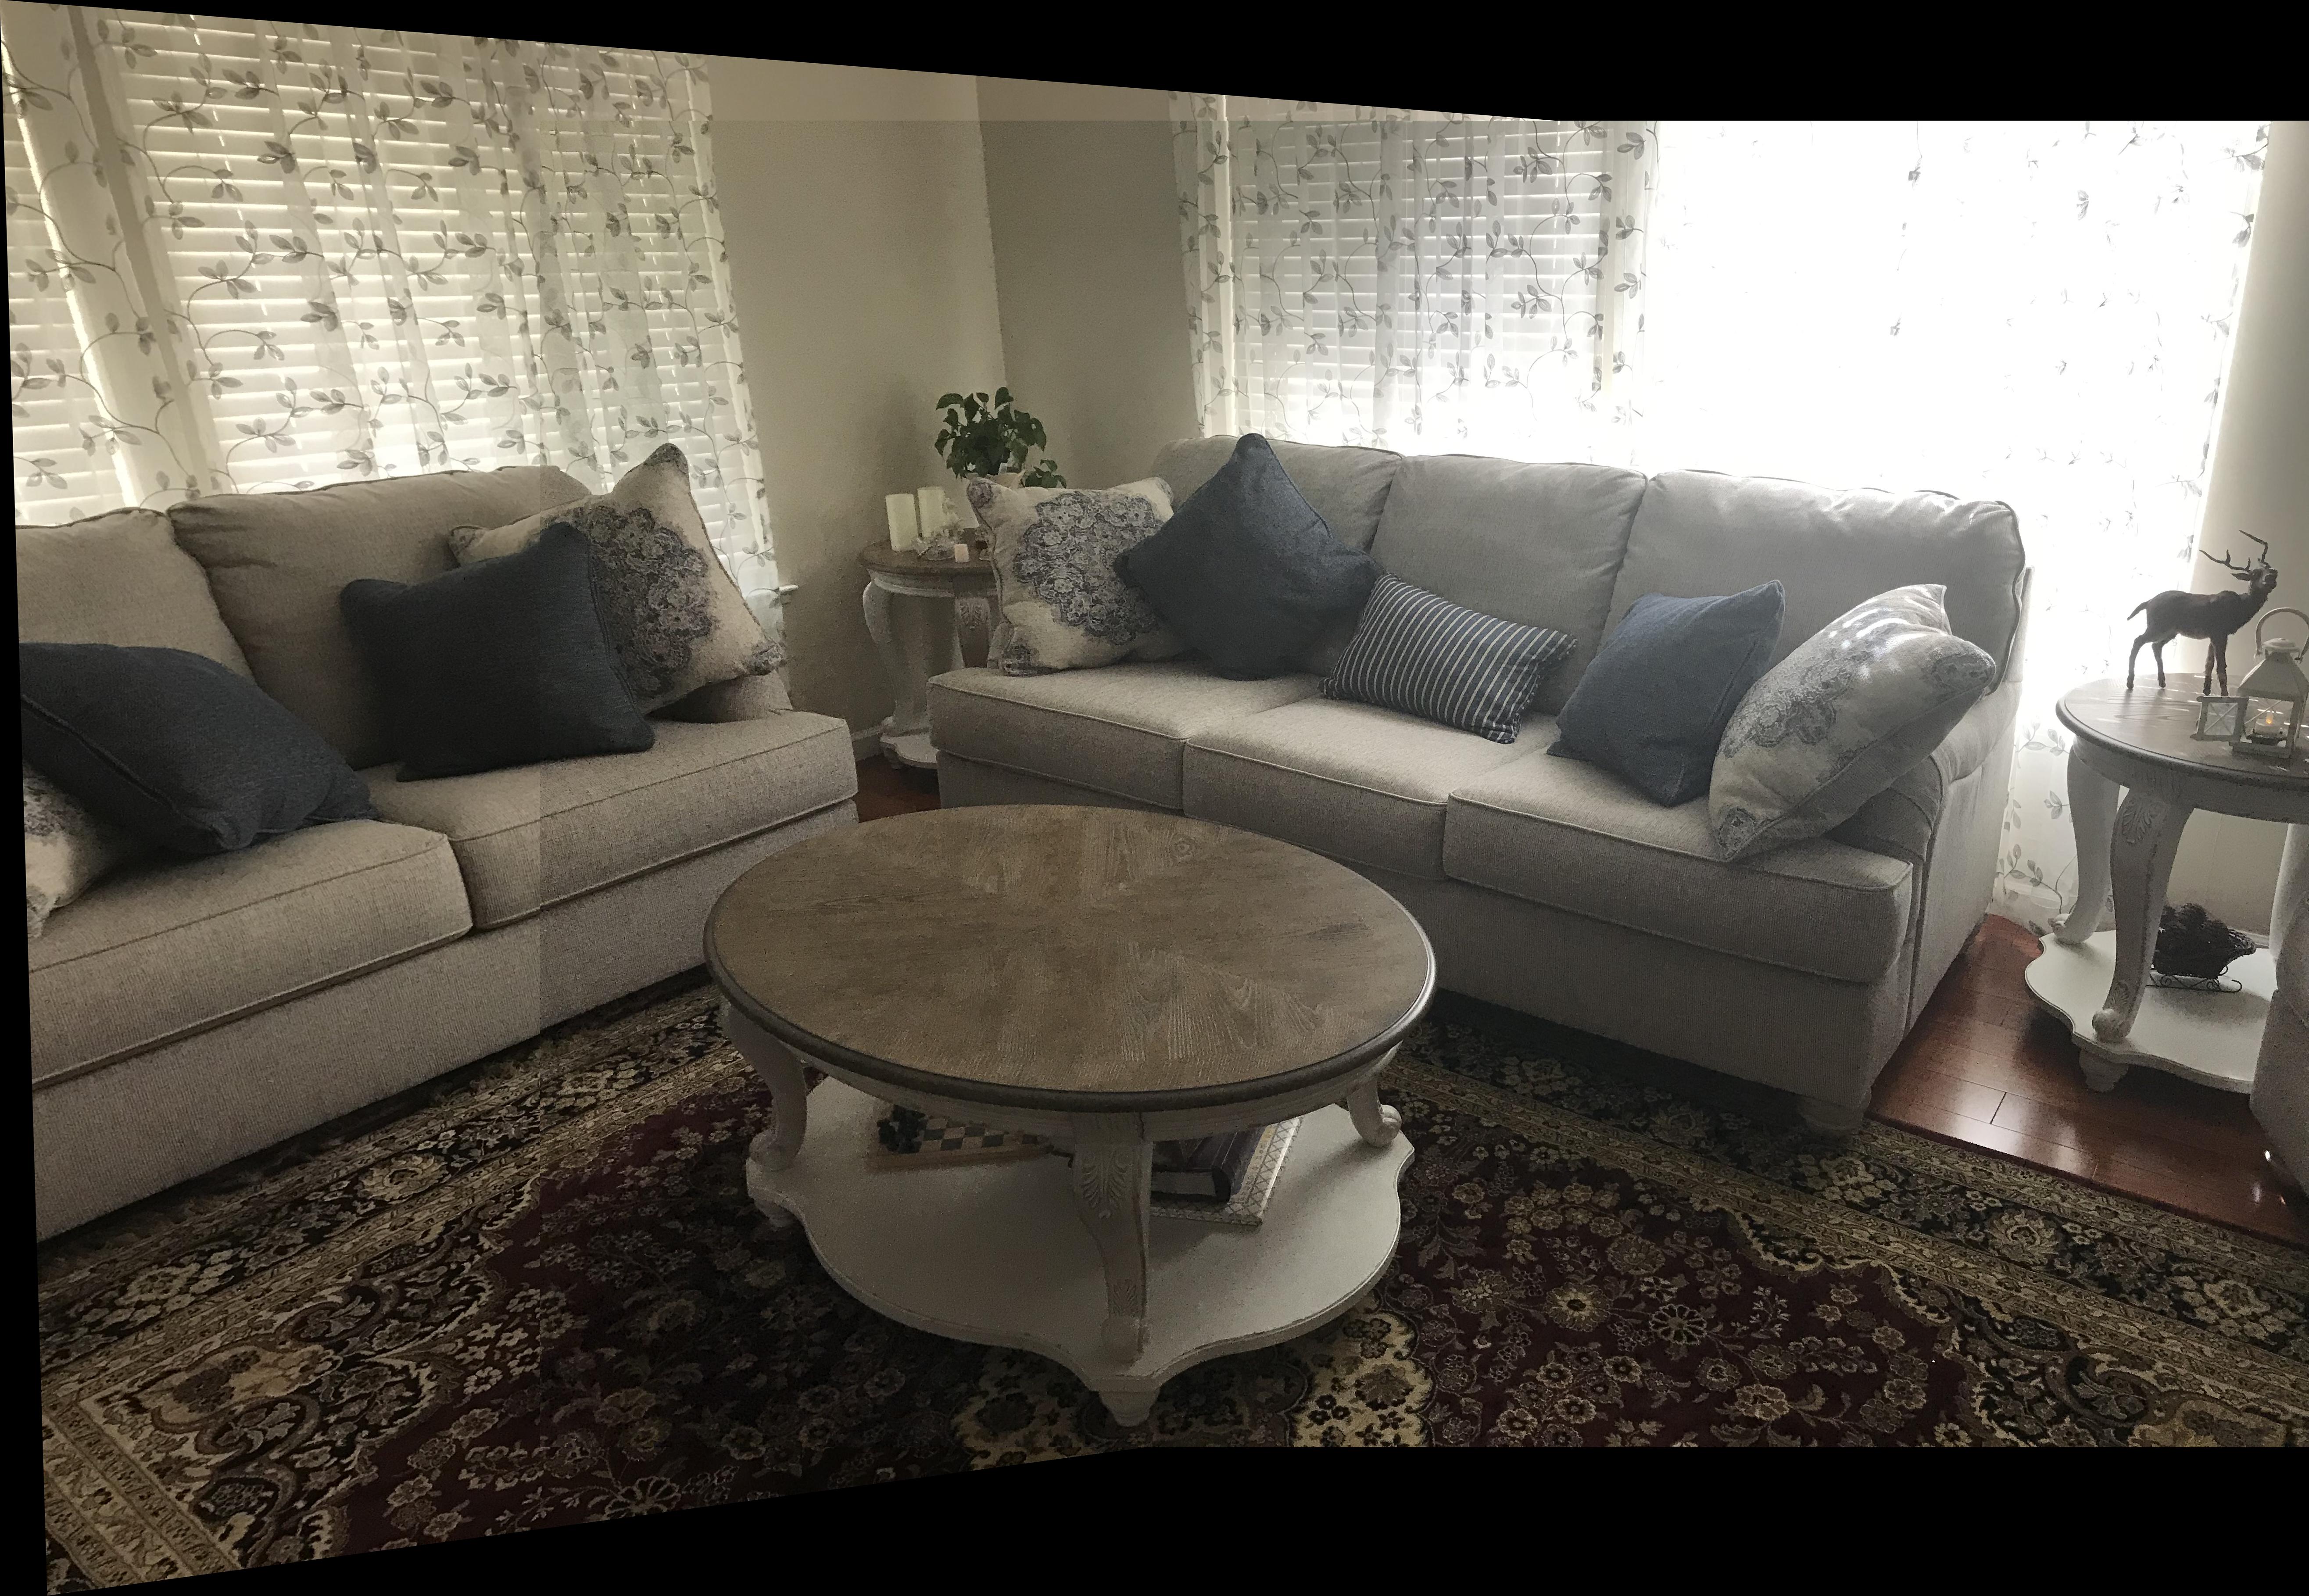
Modern technology has surely made capturing pictures as easy as clicking a button. For this part of the project, I used my iPhone 7 to shoot pairs of images of my bedroom, living room, and piano. Each of the pairs have a perspective transform between them because I shot them from the same point of view but from different view directions and overlapping fields of view. Below are each of the pairs of images:
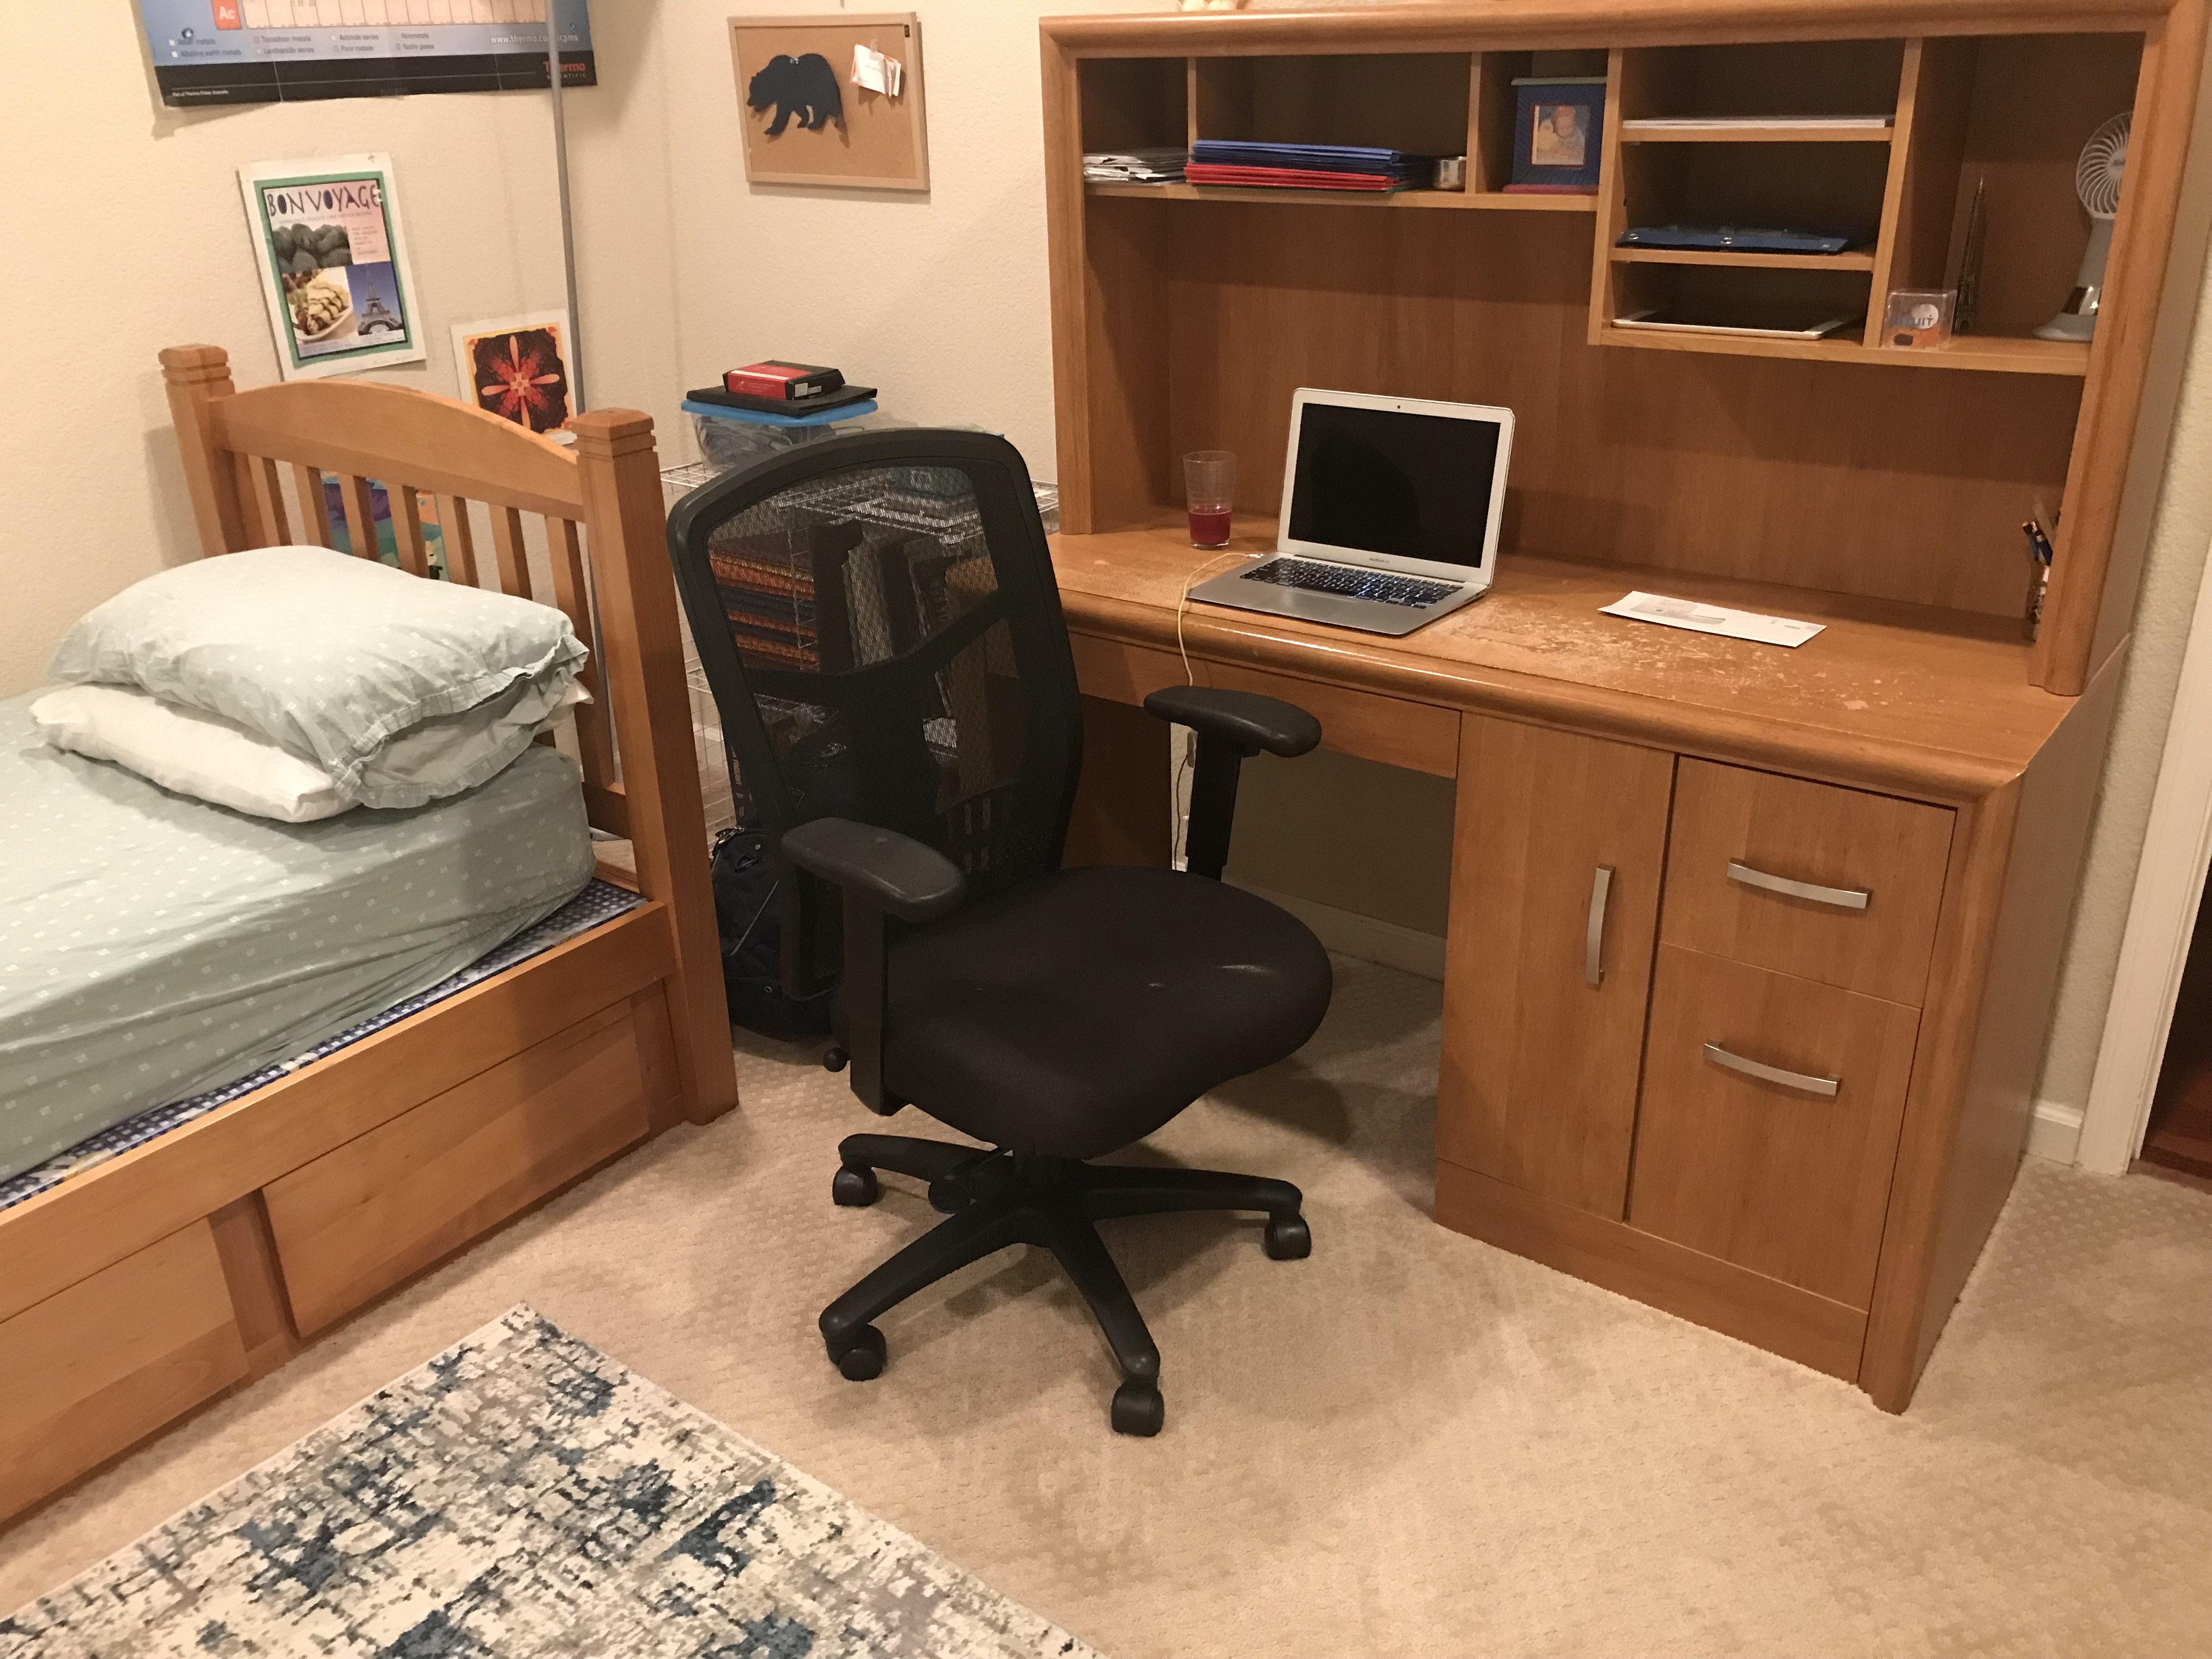
My Bedroom, View 1 |
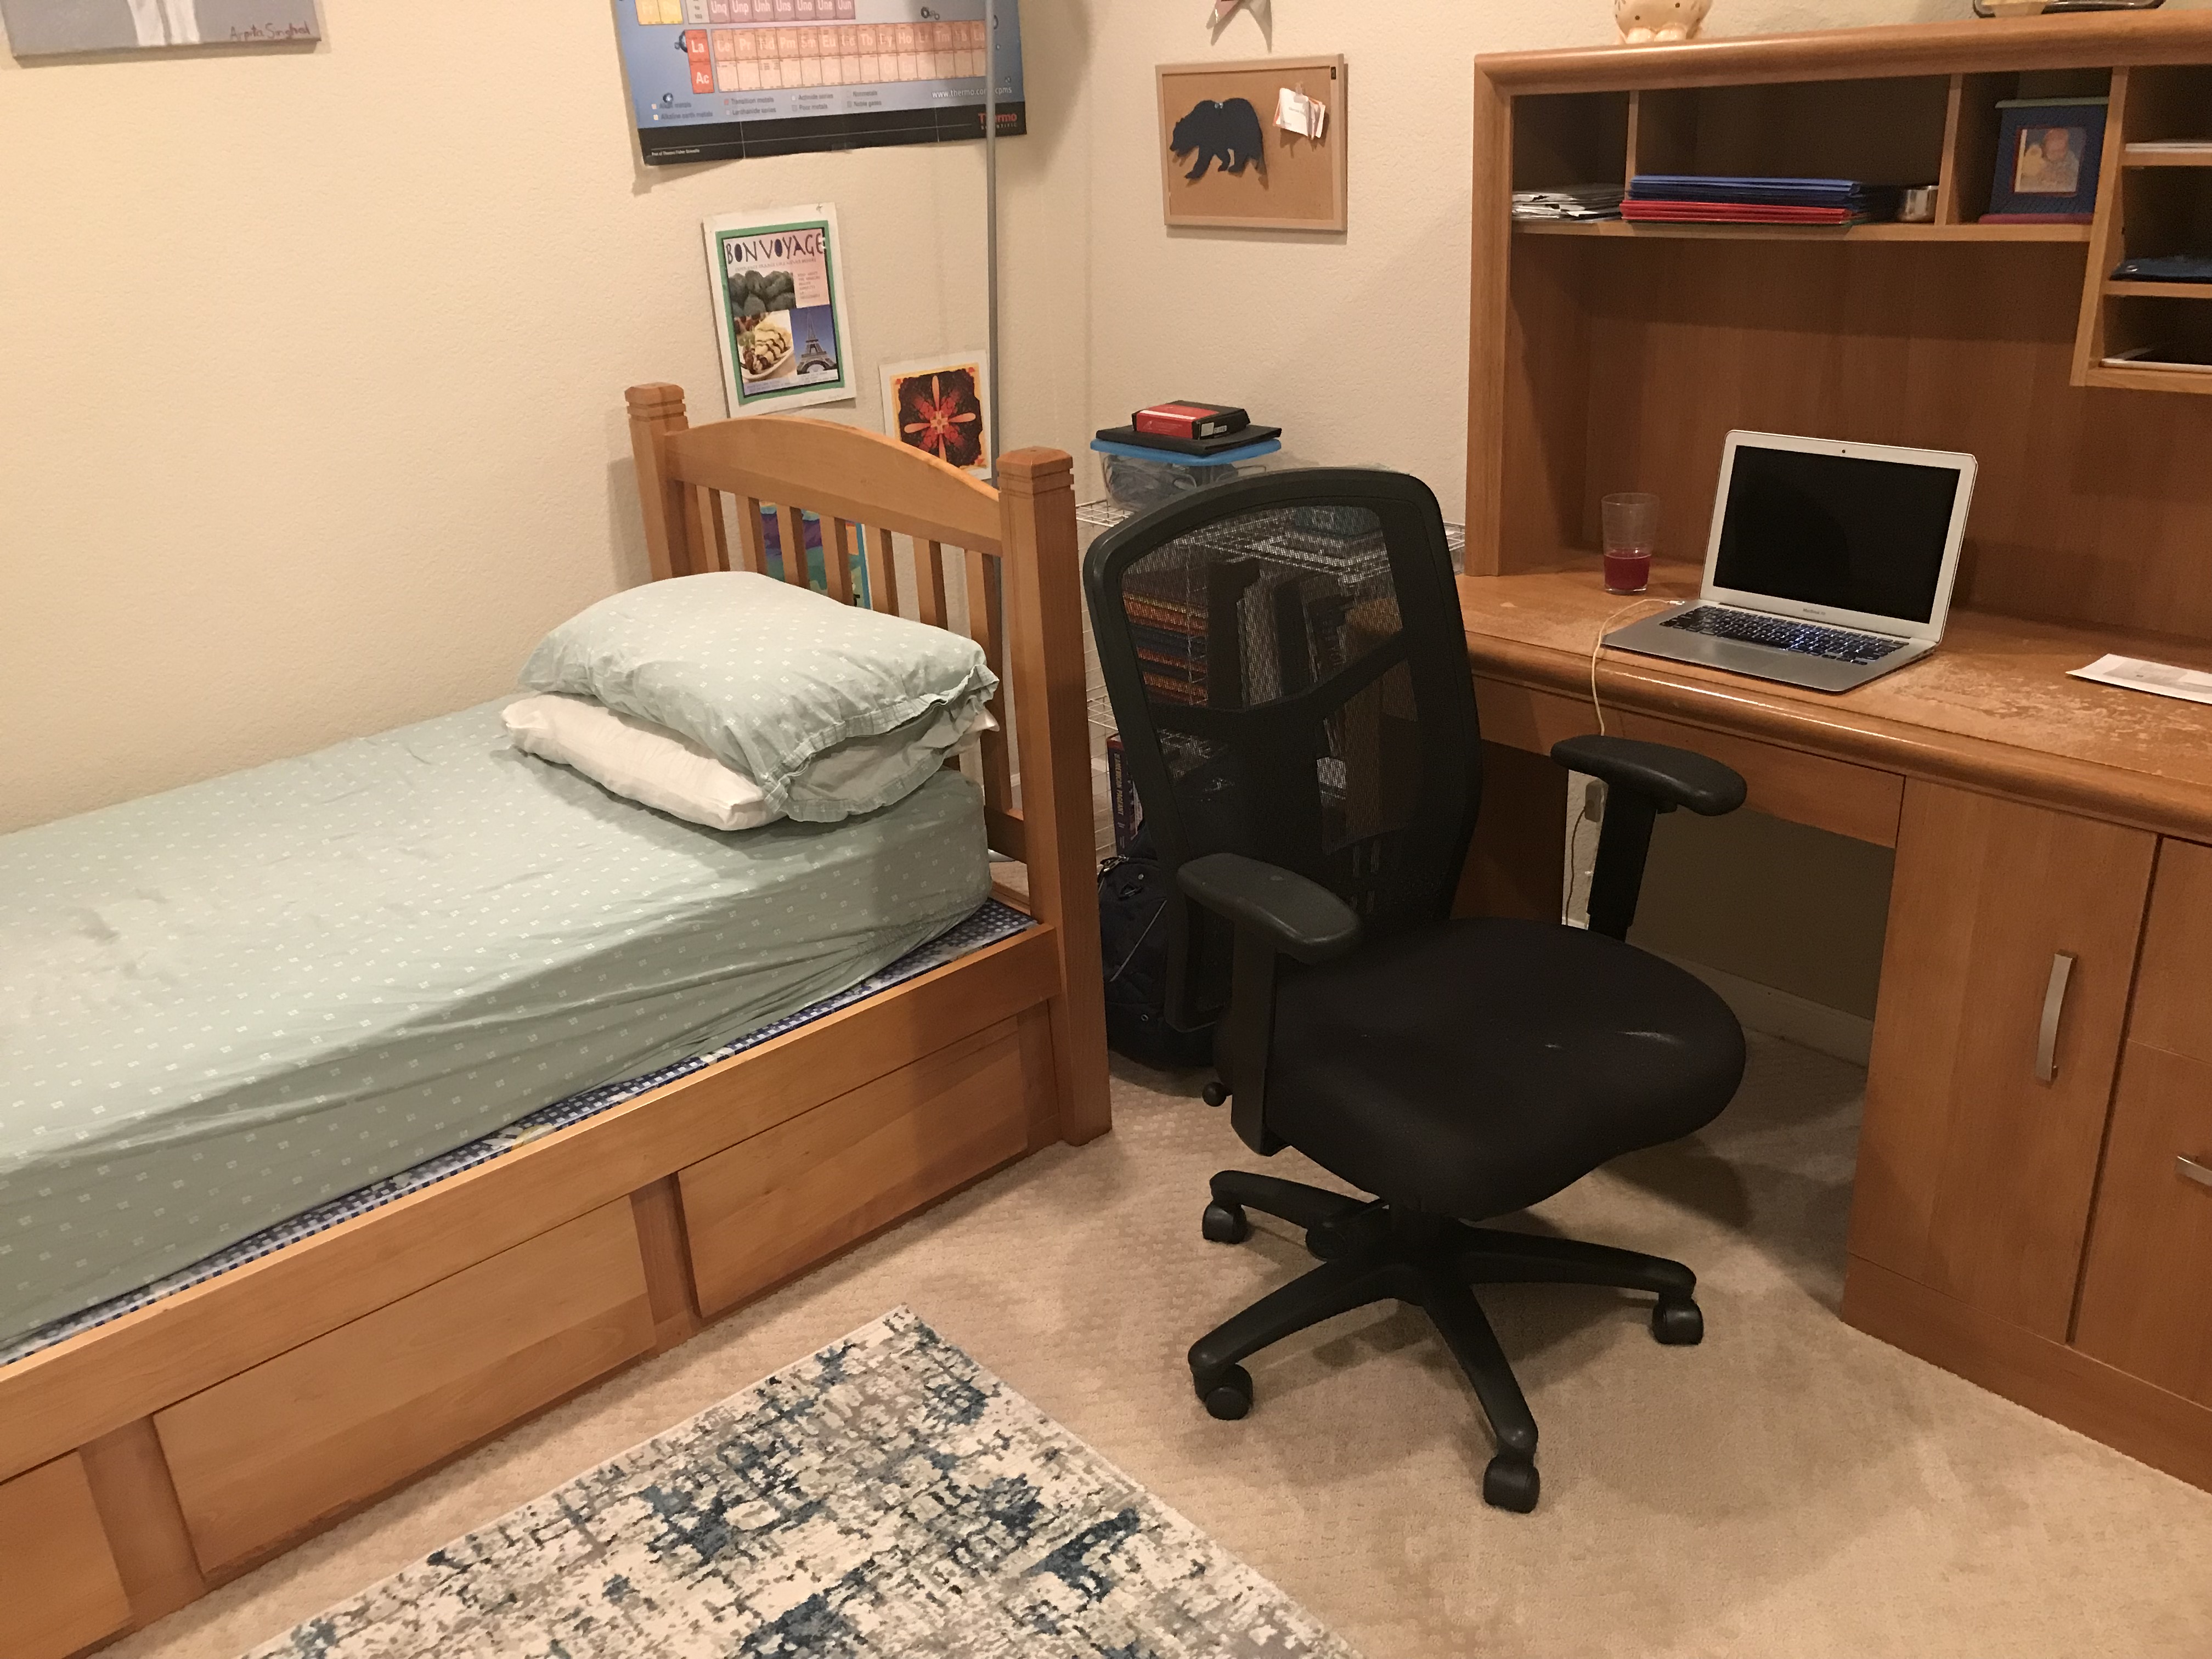
My Bedroom, View 2 |
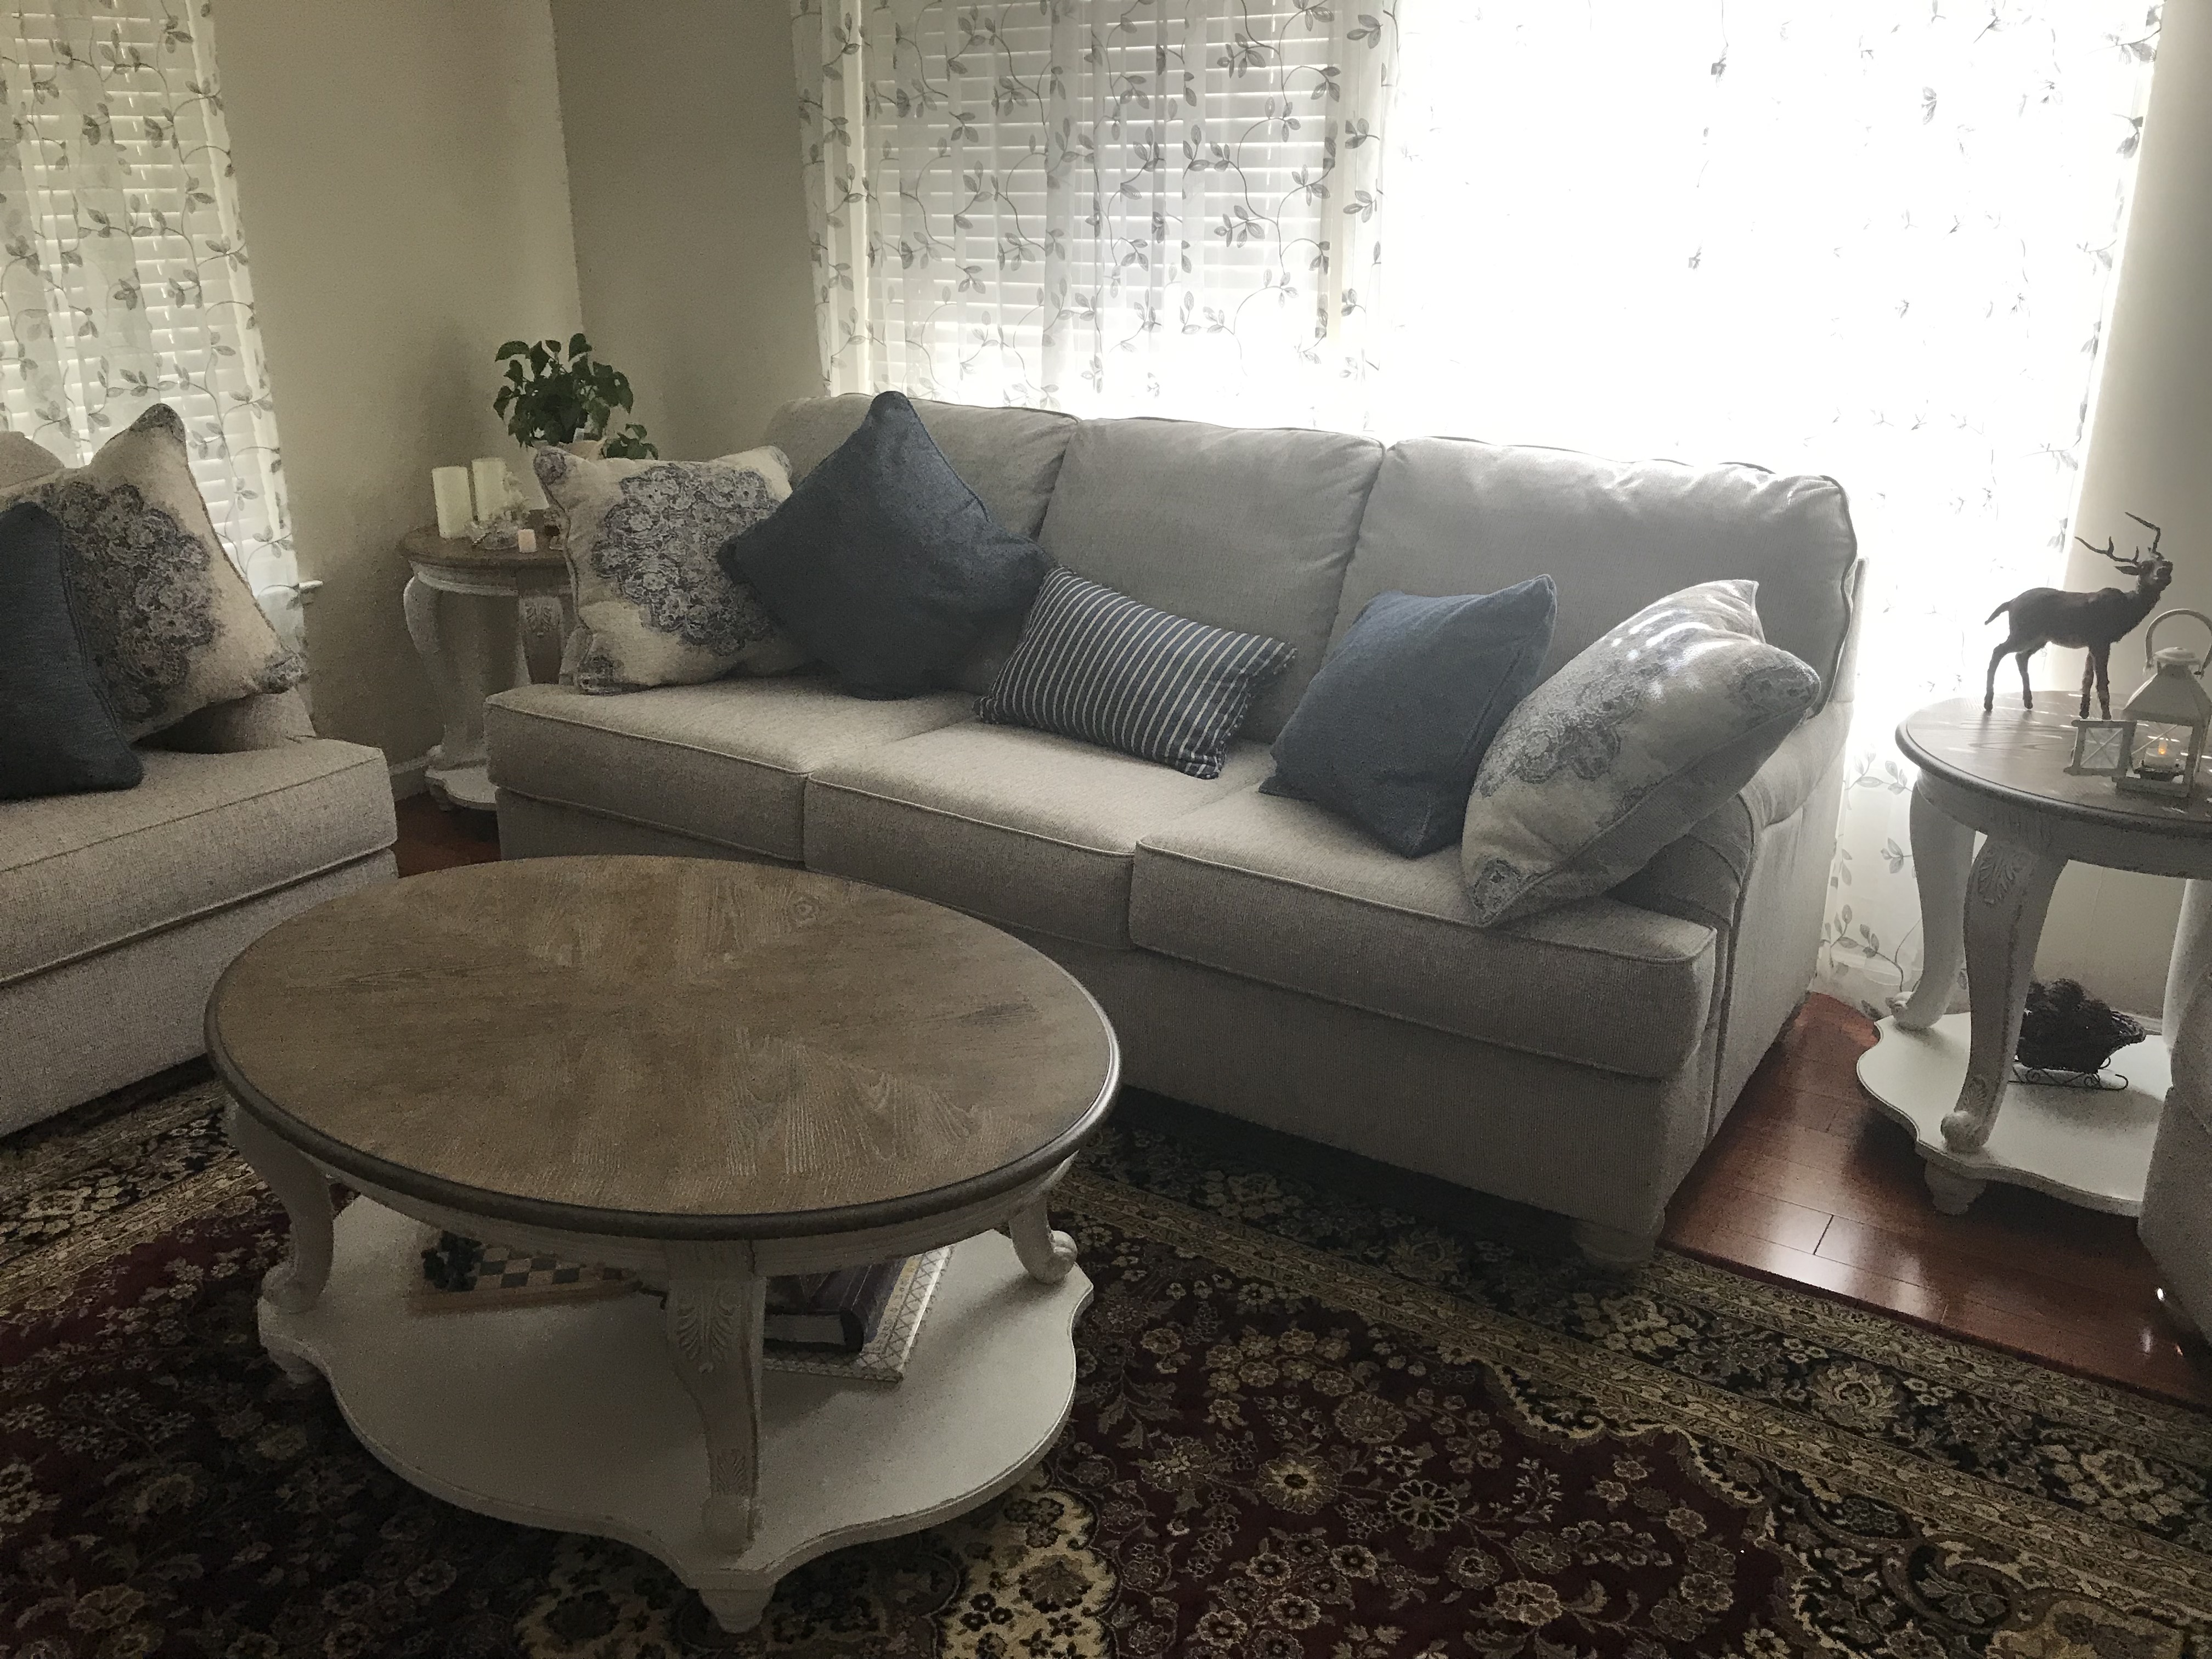
My Living Room, View 1 |
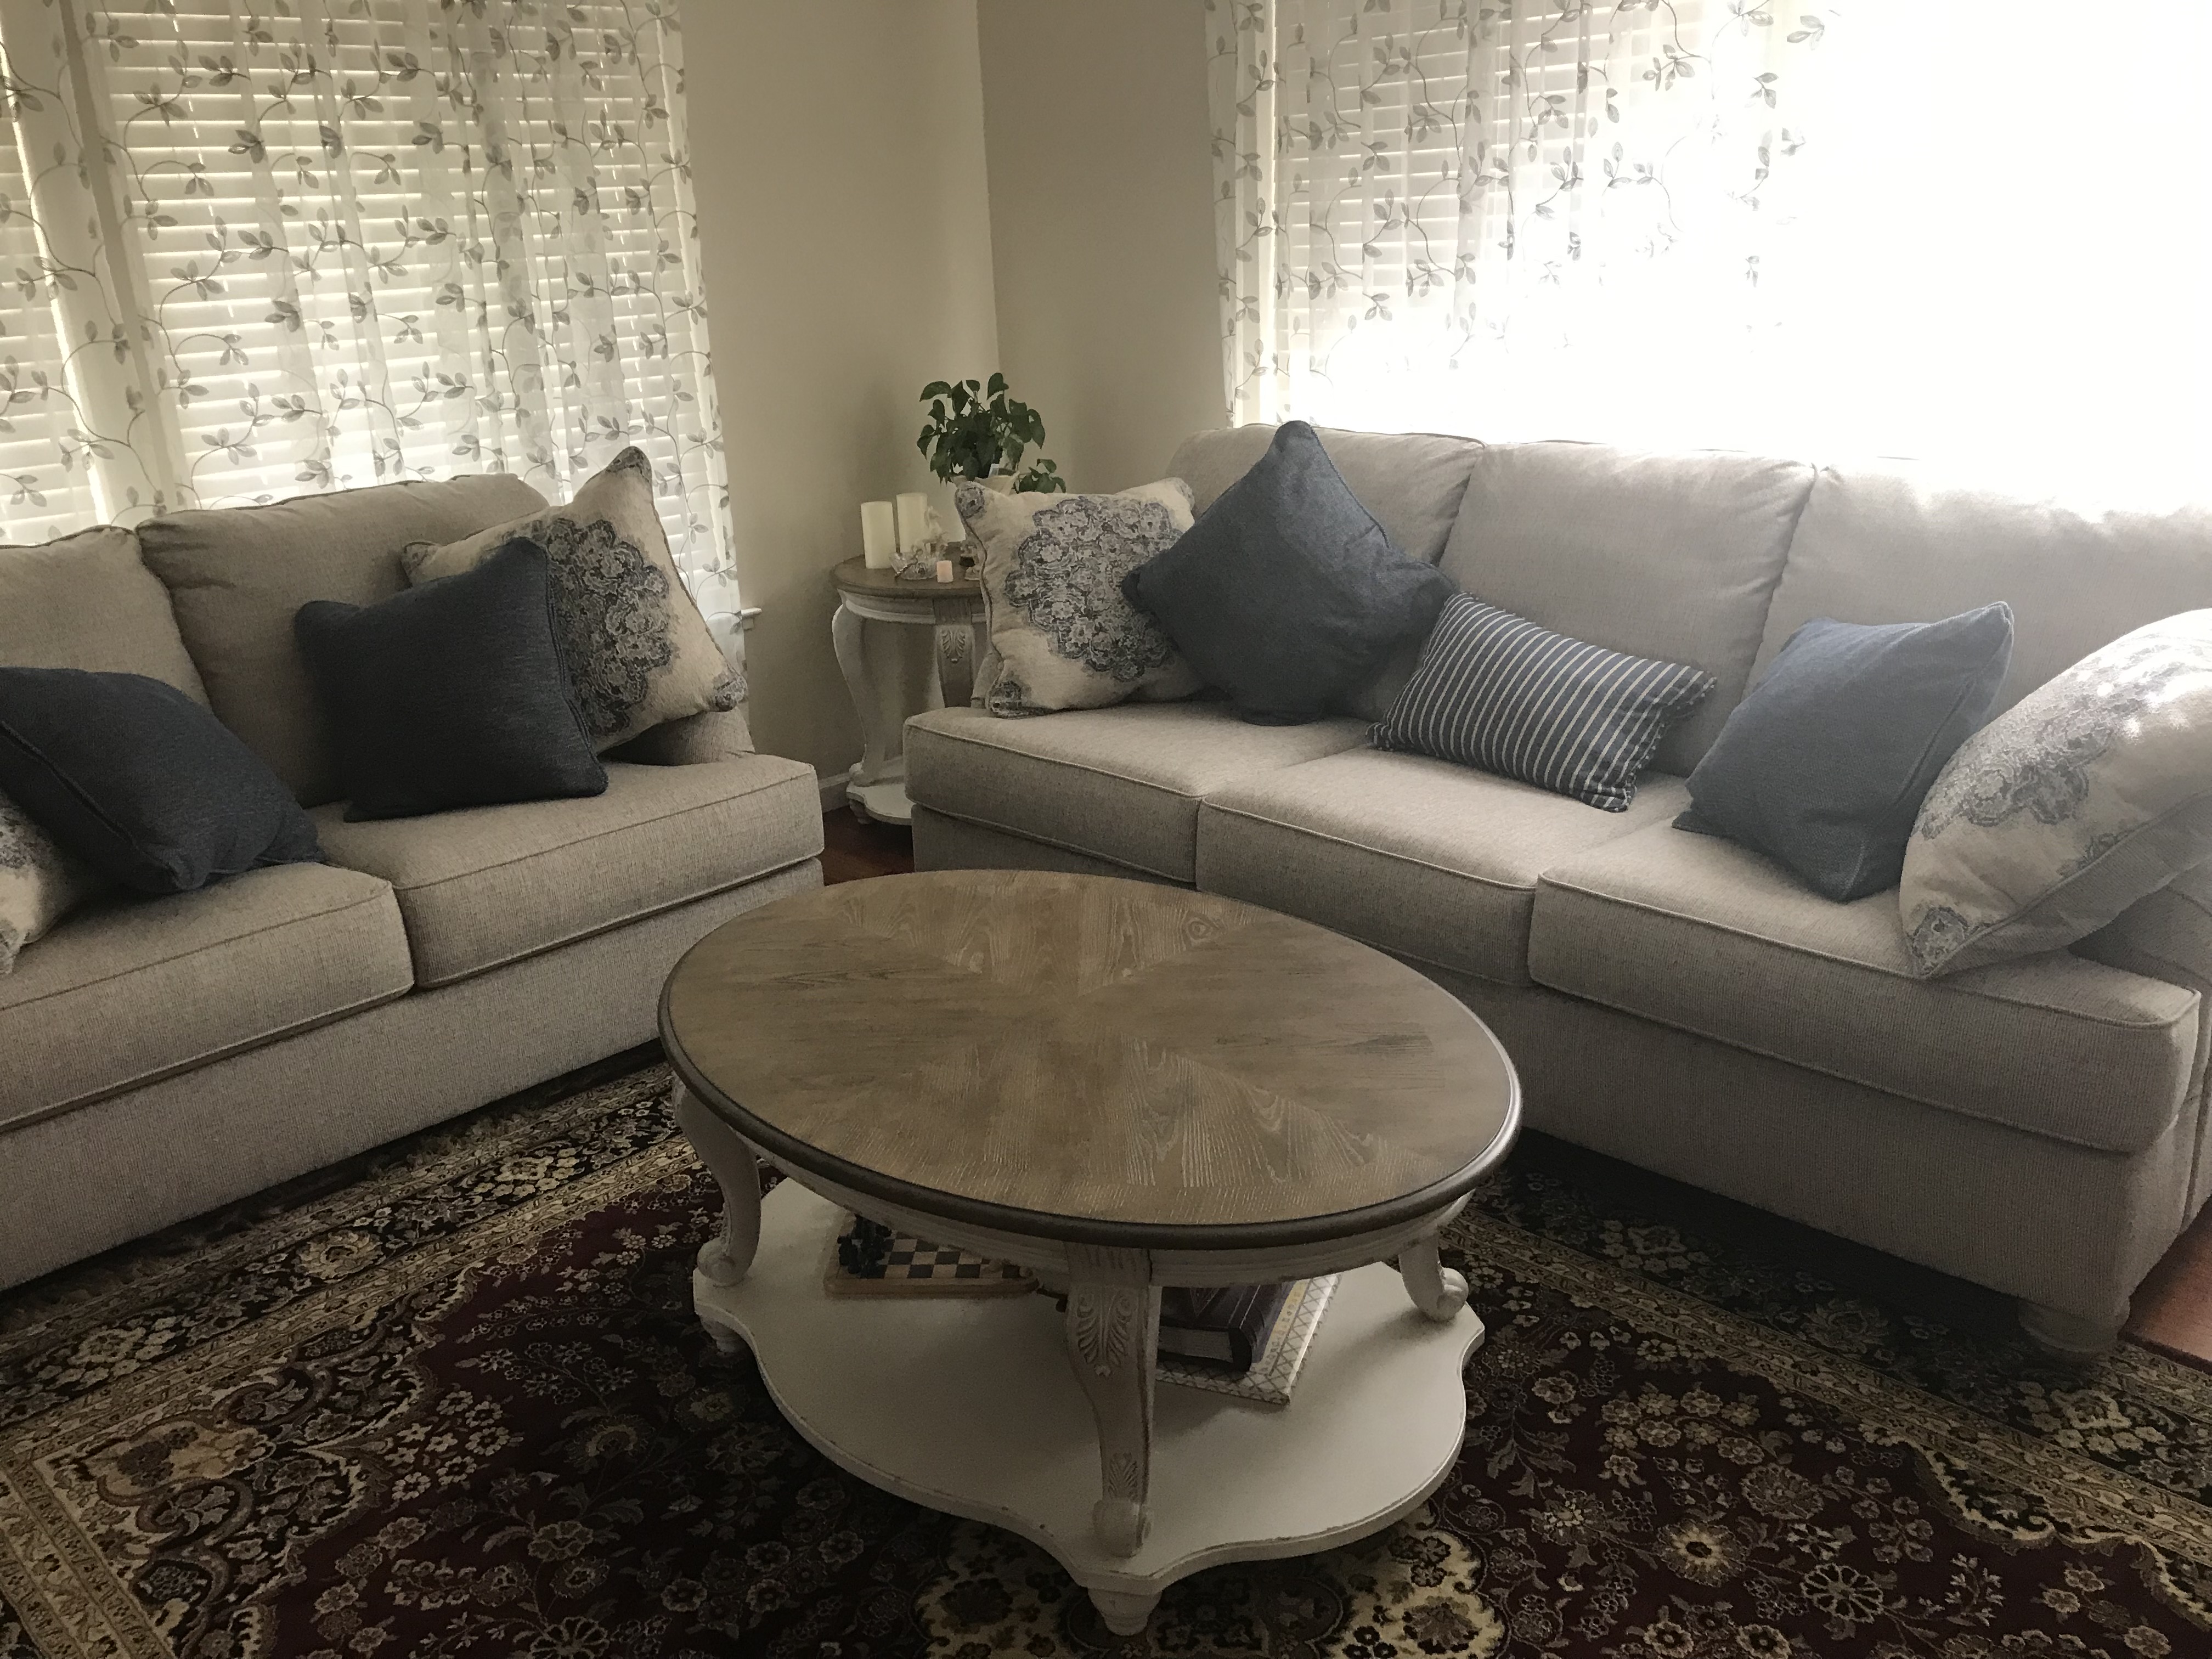
My Living Room, View 2 |

My Piano, View 1 |
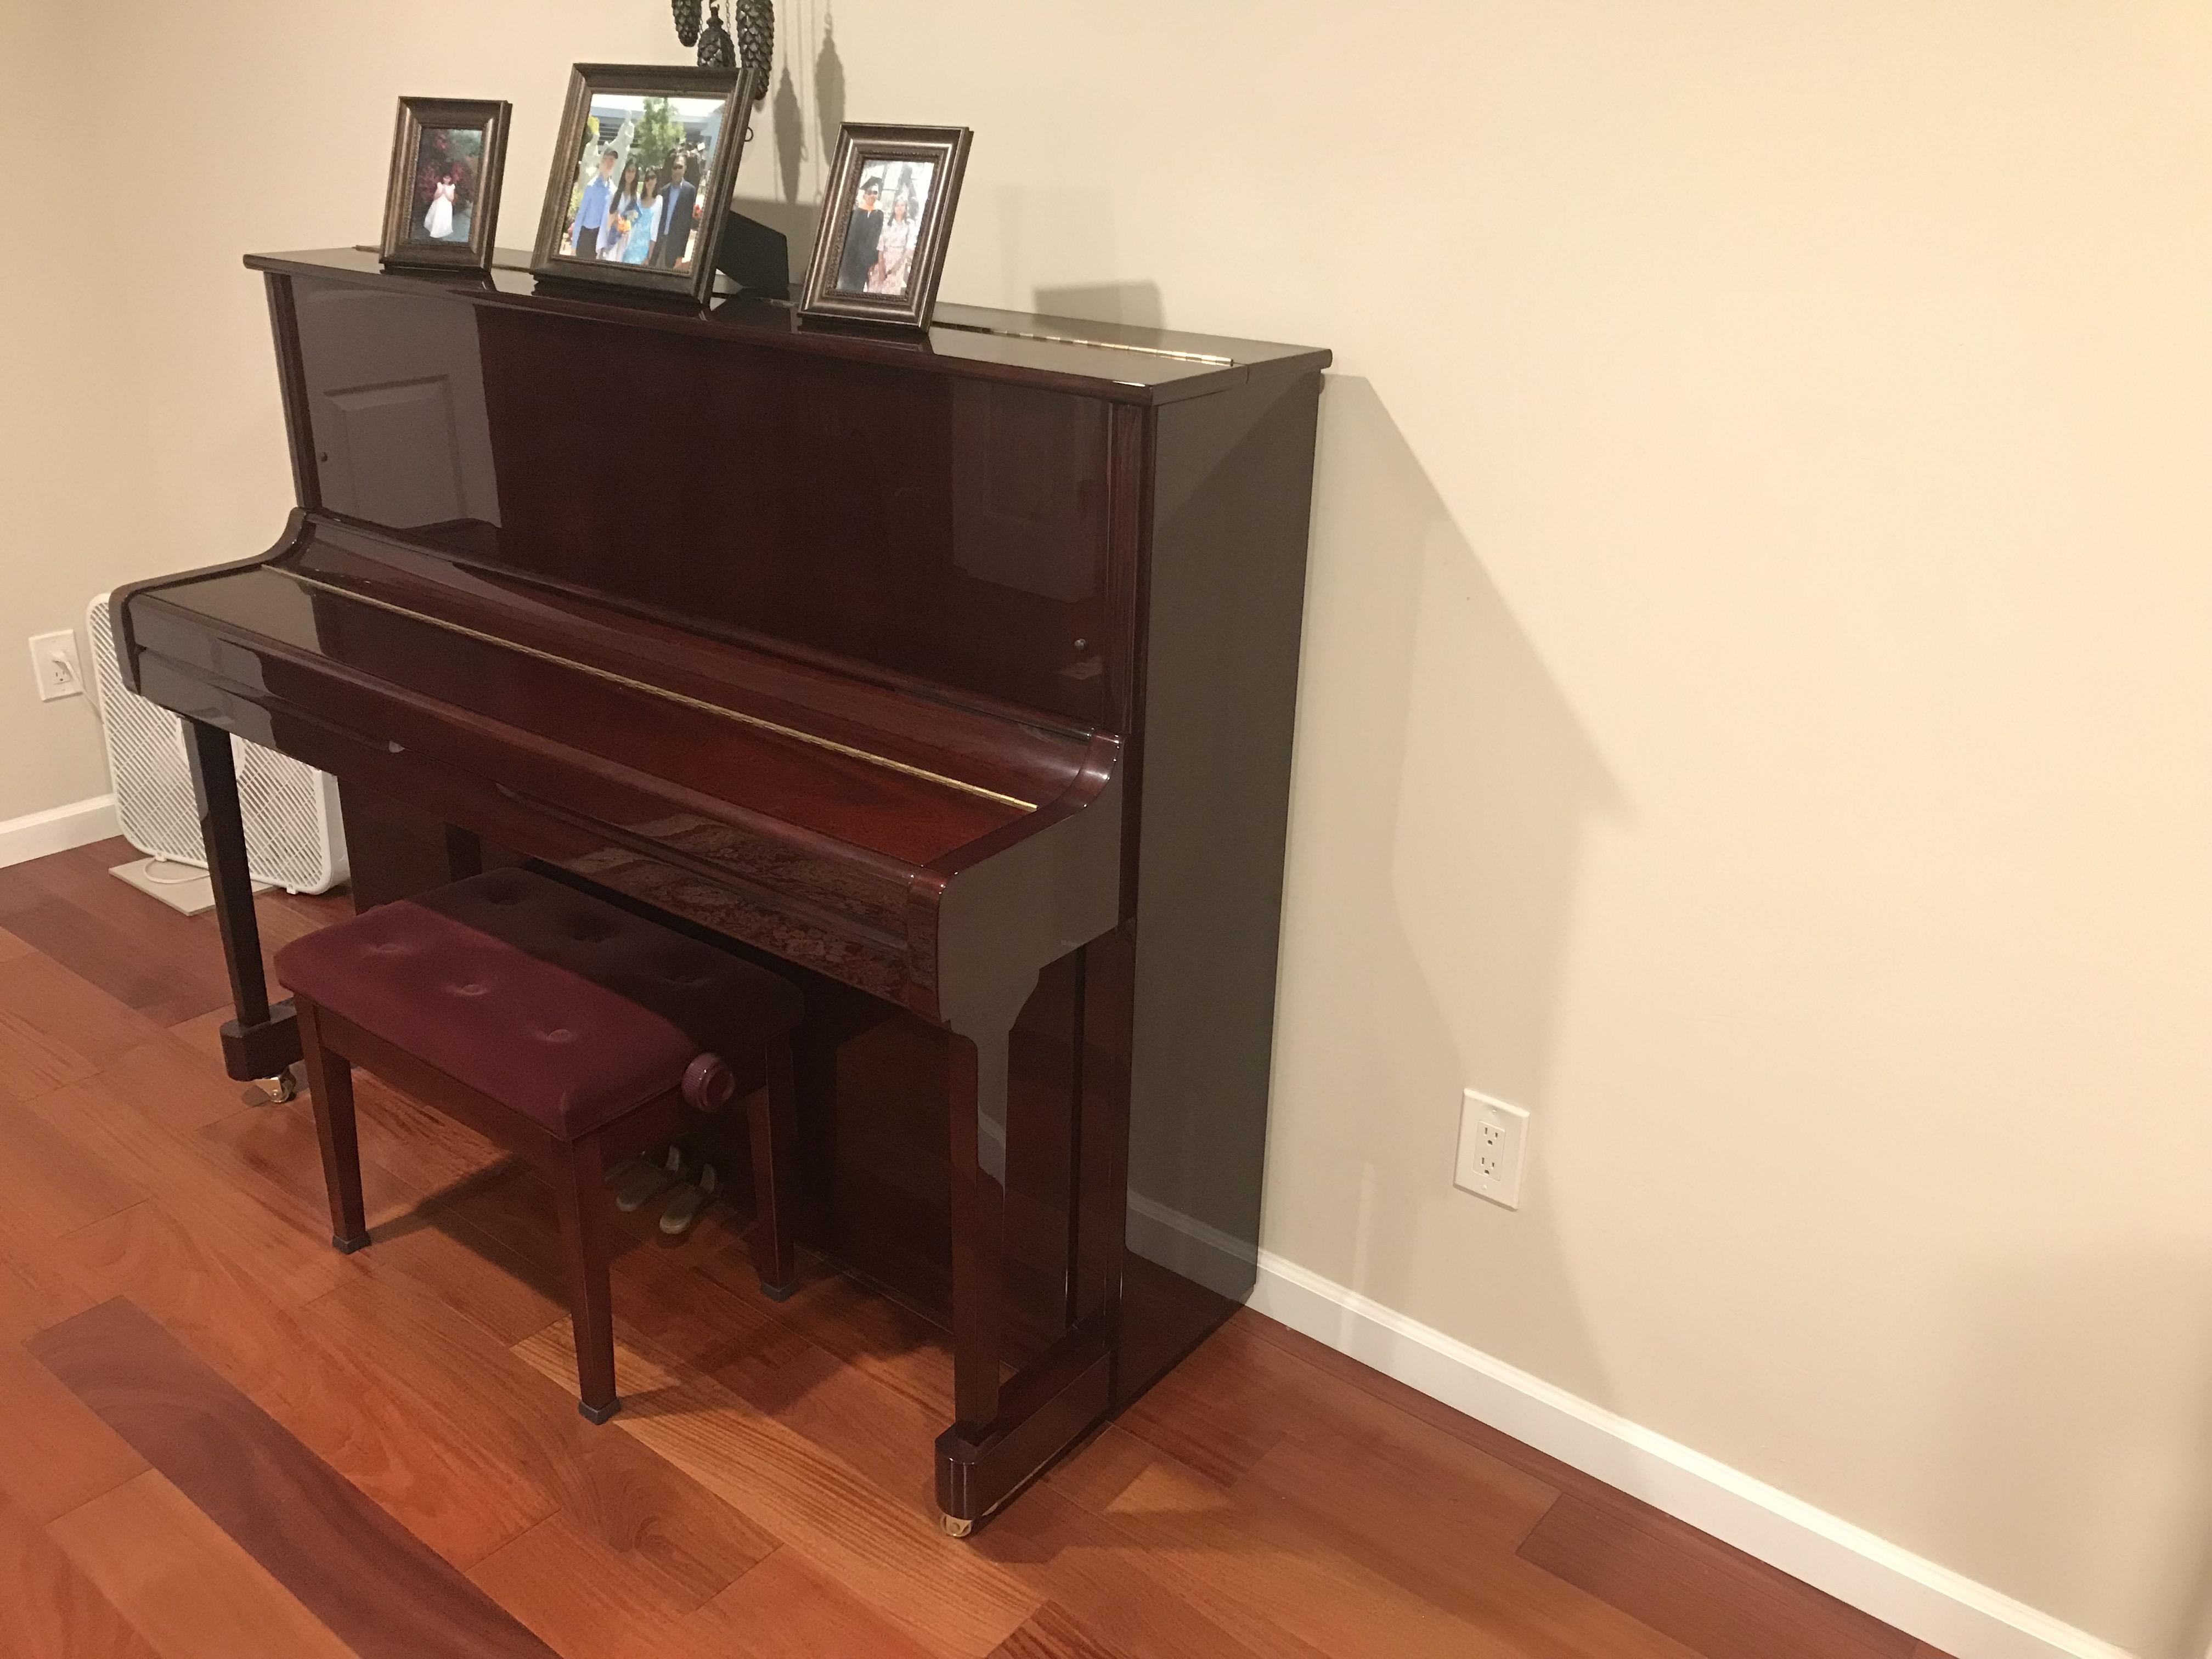
My Piano, View 2 |
Part 1.2: Choosing Correspondences and Recovering Homographies
Before warping the pairs of images together, I needed to select correspondences between the pictures. The method in which I chose the points was by manually clicking on 15 locations within each of the images. Below are the points overlaid on the pictures:
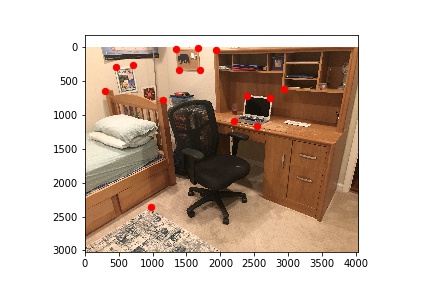
My Bedroom Points, View 1 |
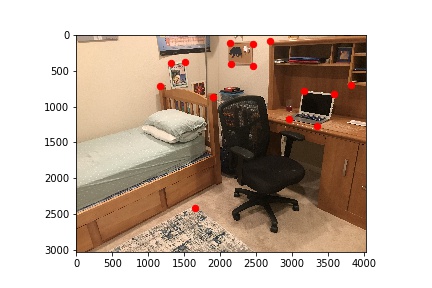
My Bedroom Points, View 2 |
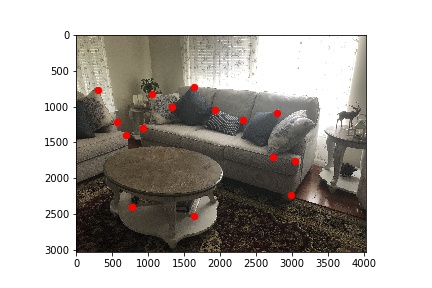
My Living Room Points, View 1 |
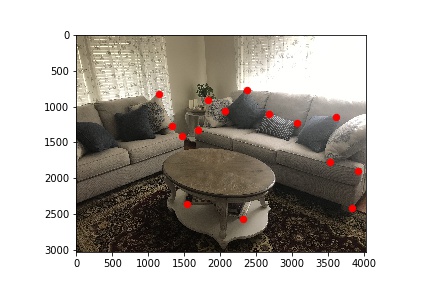
My Living Room Points, View 2 |
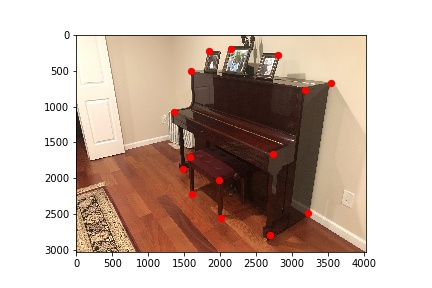
My Piano Points, View 1 |
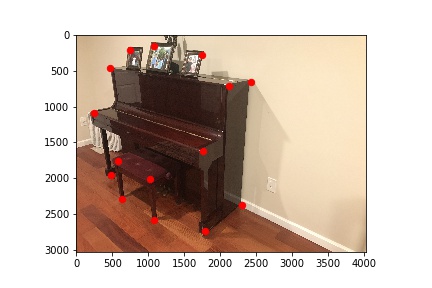
My Piano Points, View 2 |
Using these points, we can set up a system of linear equations to solve for the homographies between the images. These H matrices will allow us to best align the matching points between the pictures. I used this Towards Data Science article to better understand how to solve for these H matrices.
To get the final points of our warped image, we need to multiply the H matrix by the original points as follows:

Translating Points |
To recover H, we will rely on the correspondences that we manually defined previously. Our matrix has 8 unknowns because we assume that the corner value (h_33) is equal to 1, and since we have more than 4 pairs of points, we will have more than enough equations to solve for these. This overdetermined system can be solved using least squares:

Final Least Squares Problem with 4 pairs of Points |
I recovered homography matrices in both directions for each of my images, going from view 1 to view 2 and from view 2 to view 1. Below are the homography matrices that I recovered for each of my pairs of images:
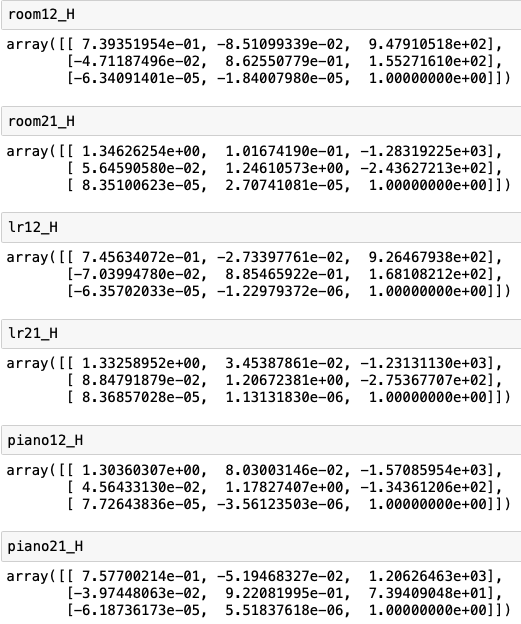
Recovered Homography Matrices |
I confirmed my results with OpenCV's getPerspectiveTransform function, and the values matched!
Part 1.3: Image Warping
The homography matrices that were calculated in the previous part were now used to warp the images into each other's perspective.
I first padded the destination image so that after I performed the projective transformation all of the pixels were visible. Then, I altered the transformation or homography matrix in order to make sure all pixels would be positive after translation. Lastly, I warped the image by taking all possible indices and multiplying them by the altered homography matrix and using OpenCV's remap function to interpolate the colors from the old image to the new one. Below are my pairs of images warped:
My Room, View 1 padded |
My Bedroom, View 2 warped |
My Living Room, View 1 padded |
My Living Room, View 2 warped |
My Piano, View 1 padded |
My Piano, View 2 warped |
For the website, I chose to only display the second views warped to match the correspondence points of the first views. Additionally, just as I did with the homography matrix calculations, I compared my results to OpenCV's warpPerspective function and confirmed that my values did indeed match.
Part 1.4: Image Rectification
Using our warping method, we can actually change the perspective of our images from the ones that they were shot. For this part of the project, I chose to warp a few images so that their planes are frontal-planar.
To do this, I simply selected four correspondences at the four corners of a rectangular object within each of my images. Then, I used the Euclidean distance formula to determine the height and width of the objects and subsequently used these values to set the coordinates of the transformed and rectified image. Lastly, I used the warp function that I previously wrote to perform the transformation.
This technique allowed me to properly see the art piece displayed on the board in my high school French class.
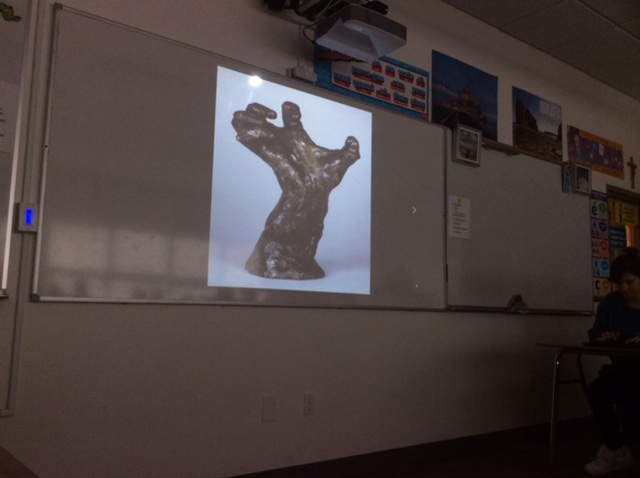
Original picture of Whiteboard |
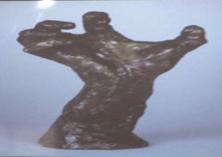
Art Piece Rectified |
I was also able to fully admire this painting that my sister made for me because of image warping.
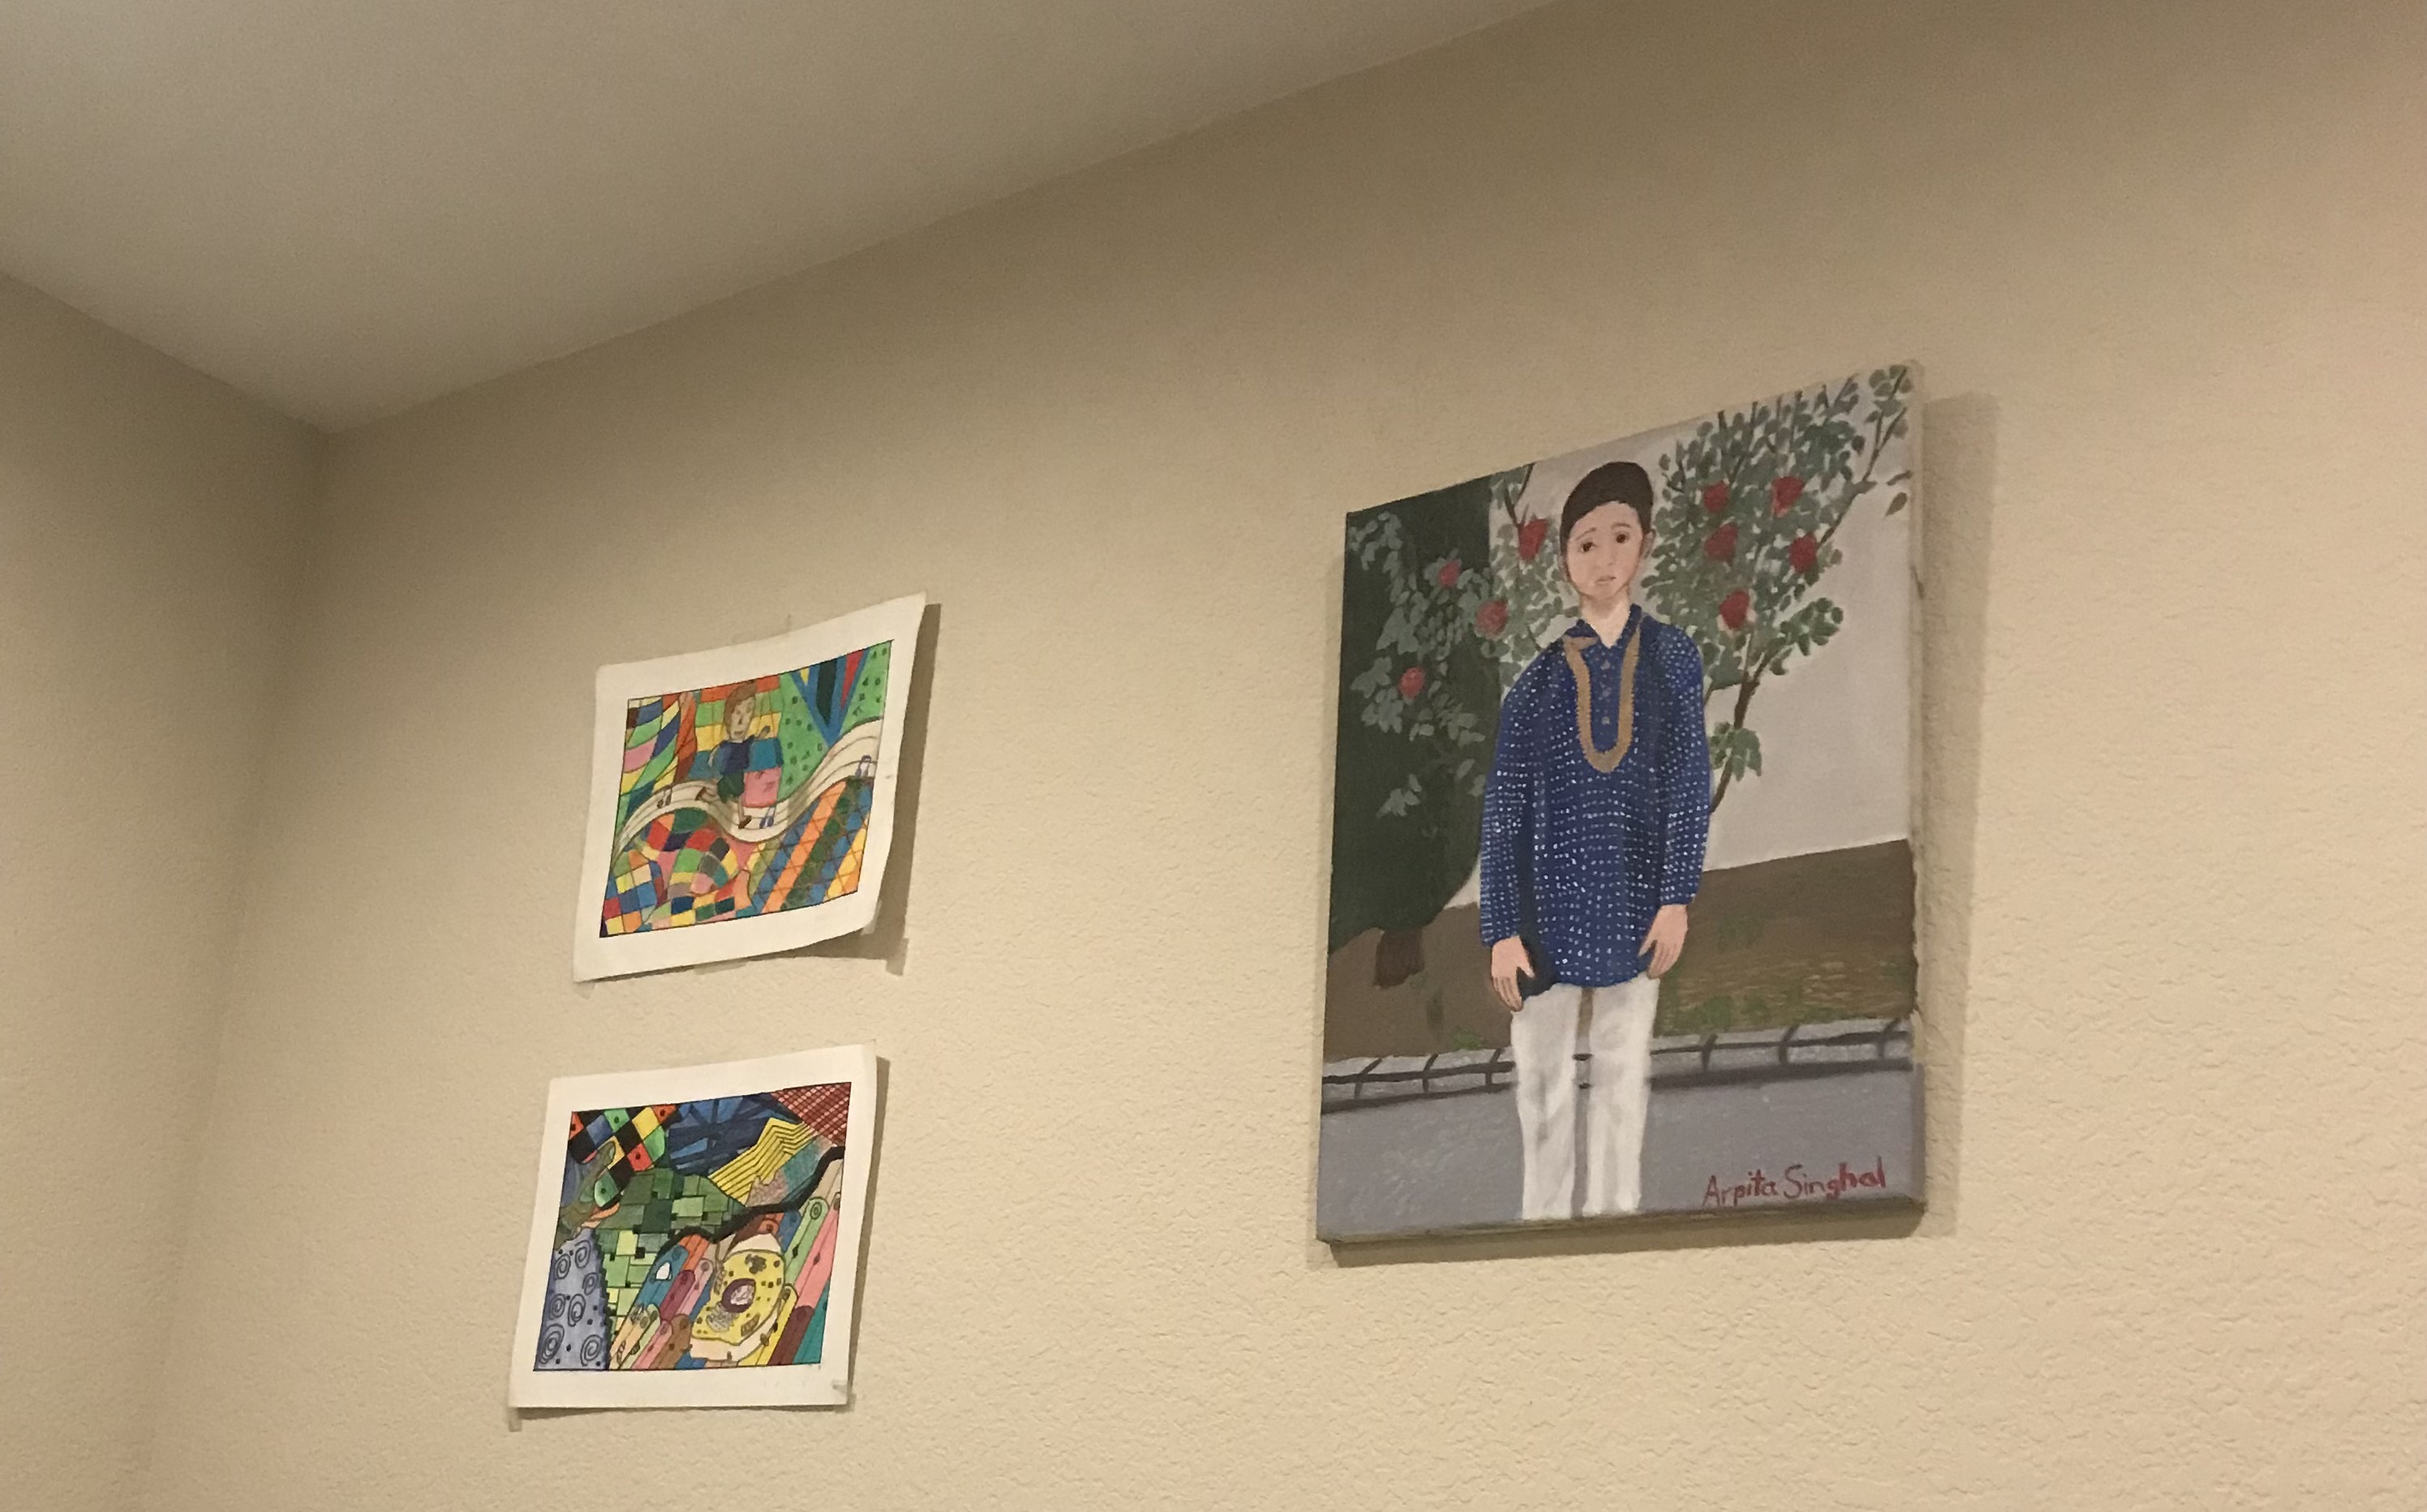
Original picture of Wall |
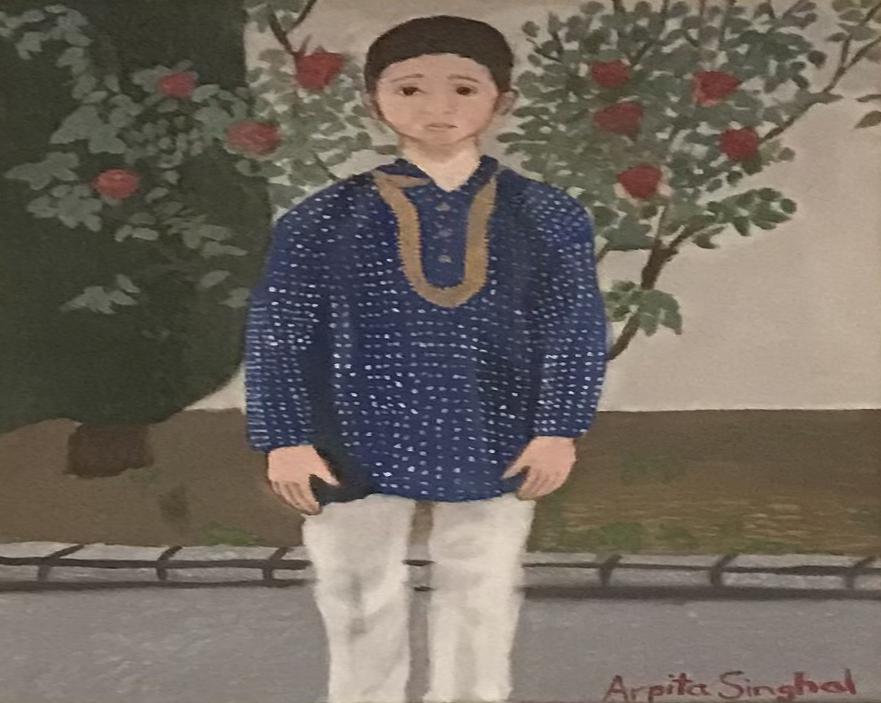
Painting Rectified |
Before, we couldn't see the artist's name properly, but after warping, we can clearly read my sister's signature!
However, it is worth noting that the pictures are a bit distorted. Rectifying does not really produce sharp images as previous pixels need to be stretched, making certain parts appear blurry. We can't magically create pixel data that wasn't already captured in the original picture.
Part 1.5: Blend the Images into a Mosaic
Using the two lined up pictures that I obtained by applying the calculated homography matrices, I can now create image mosaics!
Simply adding together the pixels in the images wasn't an option because of the overlapping regions. Thus, I tried playing around with weighted averaging using OpenCV's addWeighted function and a sigmoid function to determine the alpha and beta values. However, I found that simply overlaying the images on top of each other produced the best results for my set of images. Below are the image mosaics I created for each of the three pairs of images that I shot:
Room Mosaic |
Living Room Mosaic |

Piano Mosaic |
Because of the change in color and slight misalignments, we can tell where the images were blended. In the next part of the project, we'll see if we can fix these!
Part 1.6: What I Learned
I think the coolest thing about this part of the project was that I was able to rectify images. That will be extremely useful to read things in images that don't have the words in focus, for instance.