In this project, we used perspective transformations to rectify images (see them from a different angle/perspective), and we generated panoramas using these morphed images.
I took three sets of pictures of different scenes to create my three panoramics, and two pictures of planar surfaces for the image rectification section.
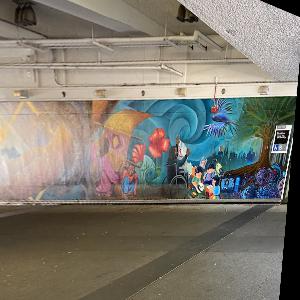
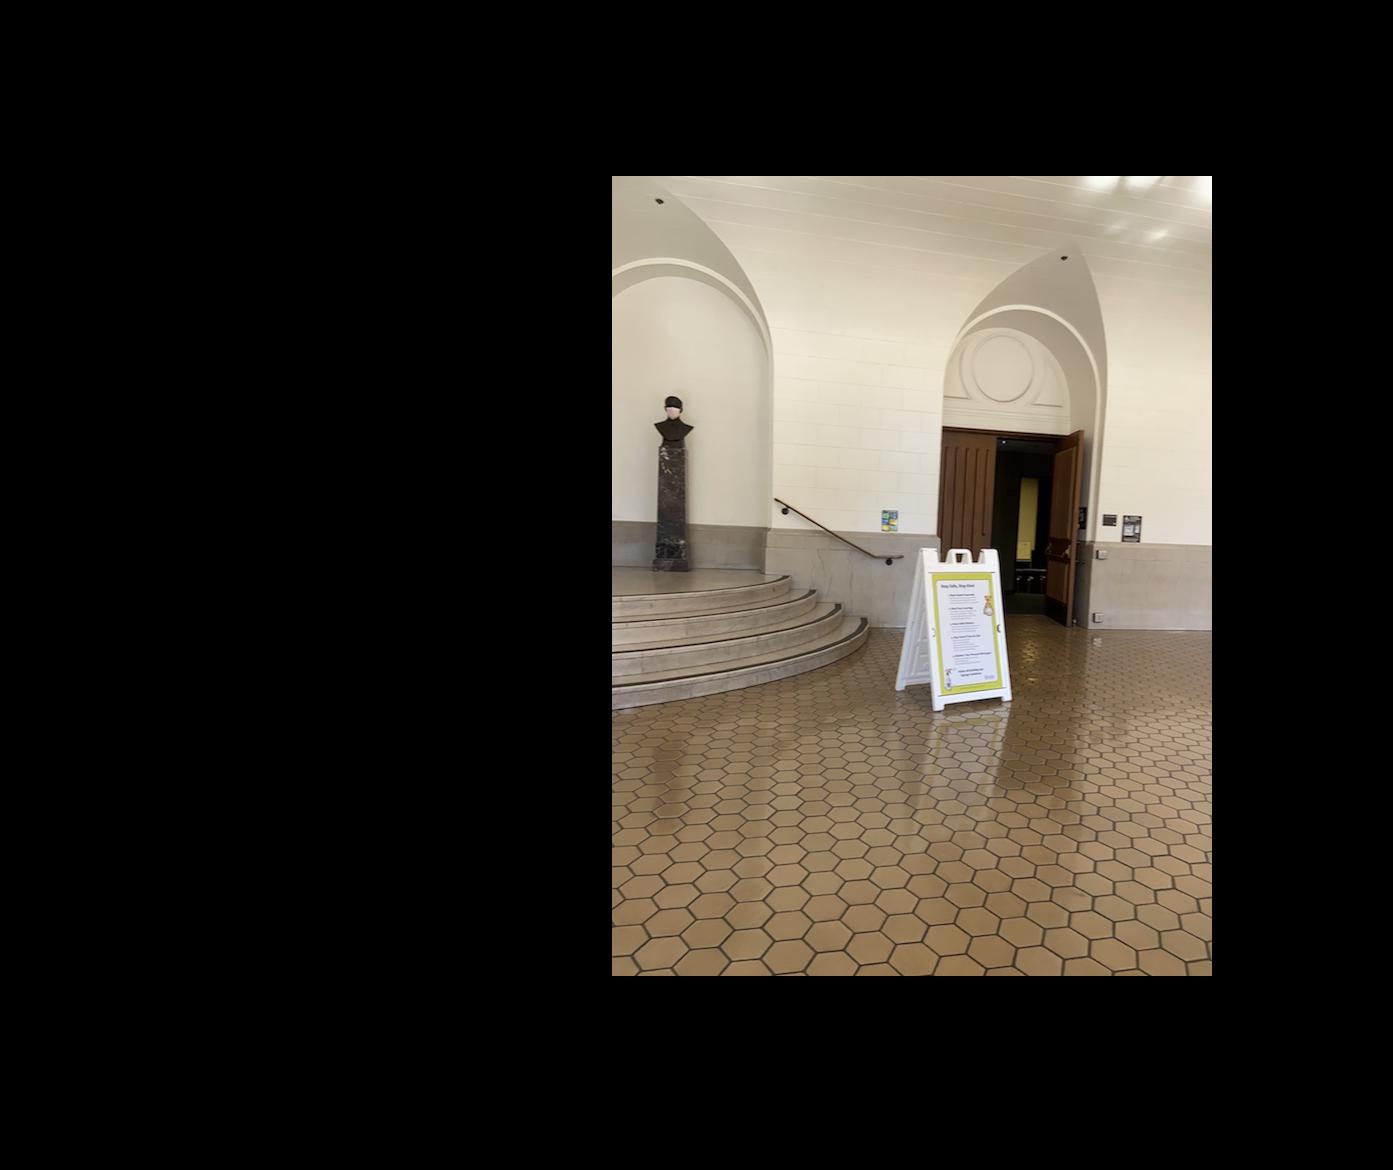
The first image is an image of a wall I found on campus! The wall is the planar surface.
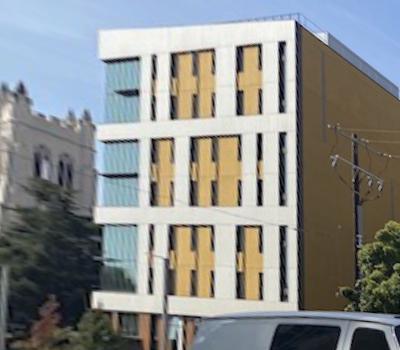
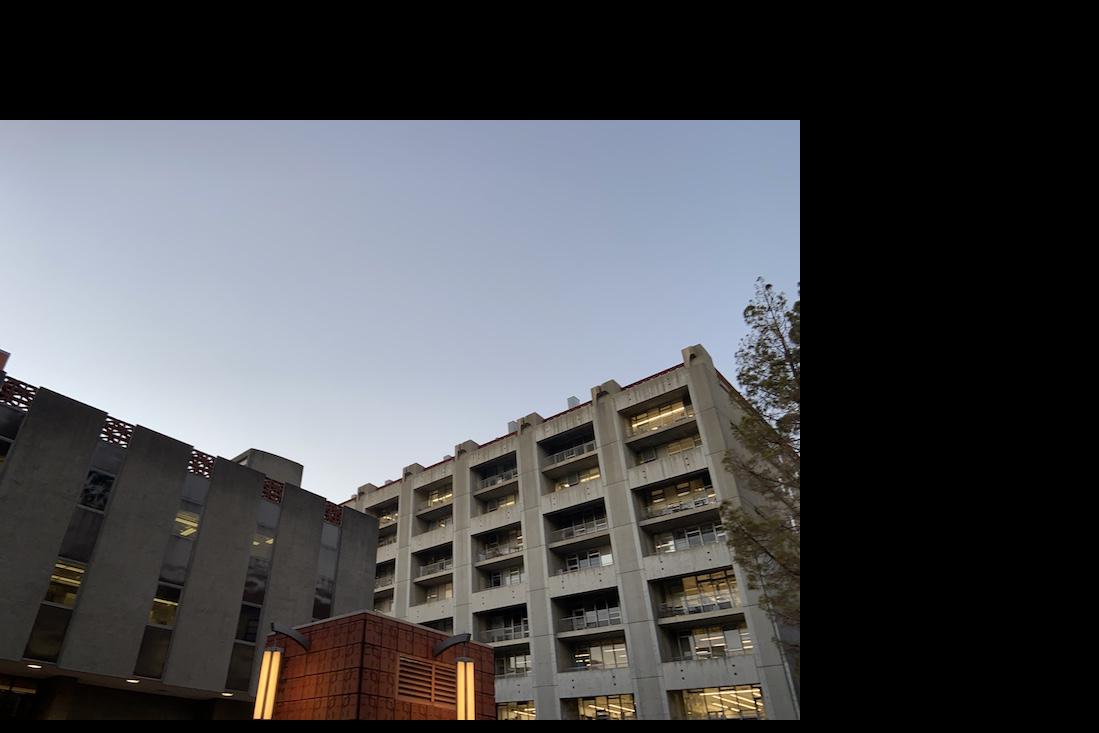
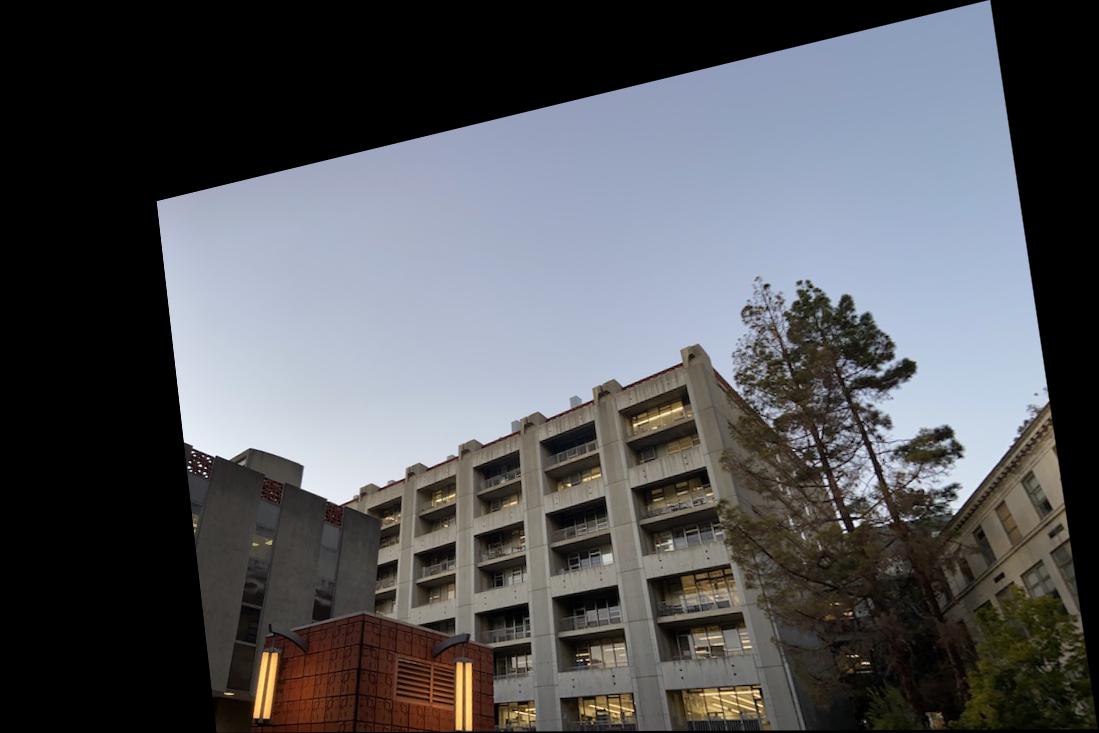
The second image is a picture of Blackwell hall. The side of the building is the planar surface.
I took these images with my phone camera, by rotating the phone horizontally.
Recover Homographies
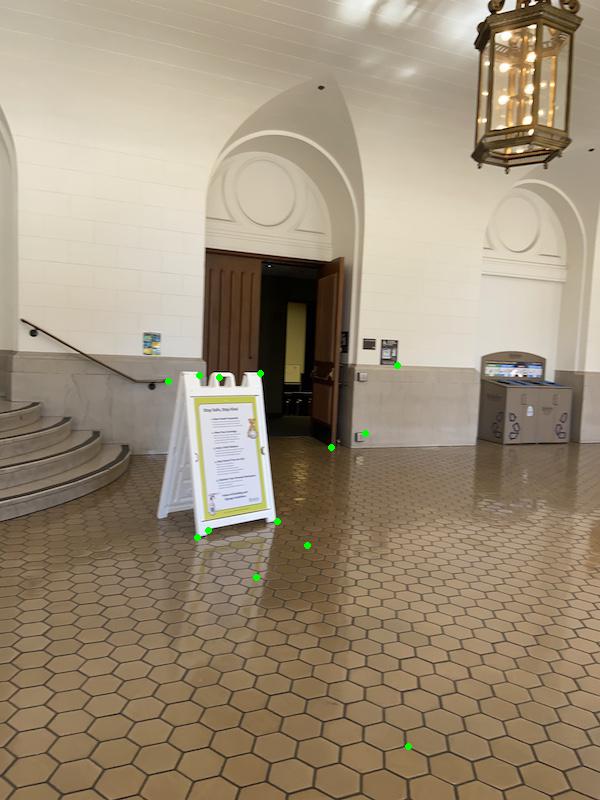
For each panorama, I selected the correspondences between each image and the "central" image. These are shown below.
Wheeler hall: (the right images show the central image, and the left images show the two side images)
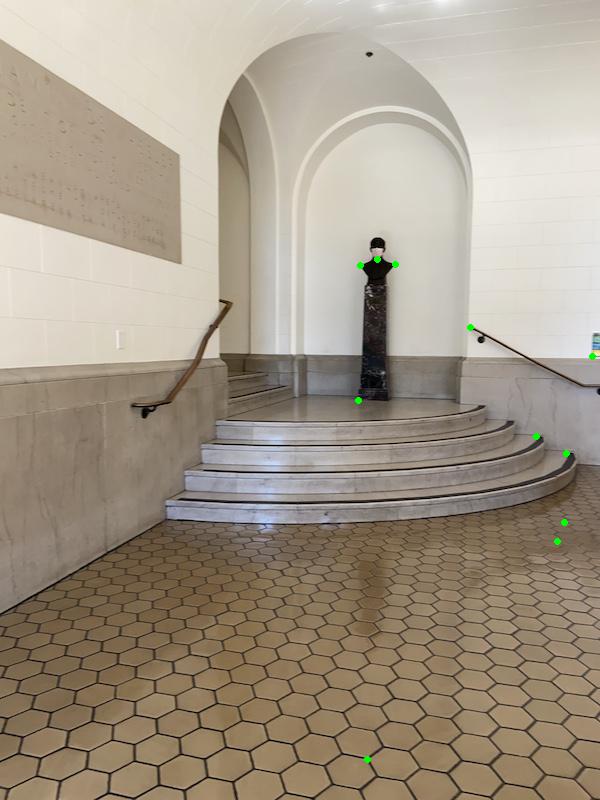
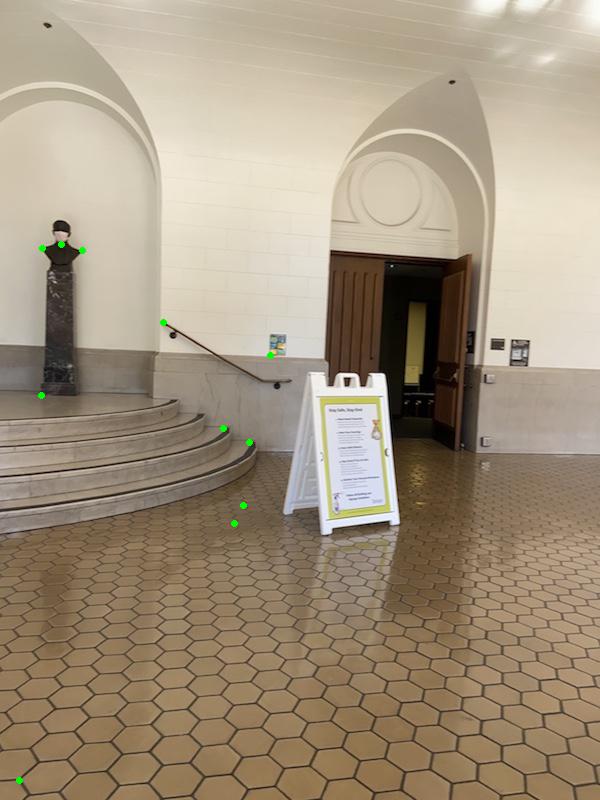

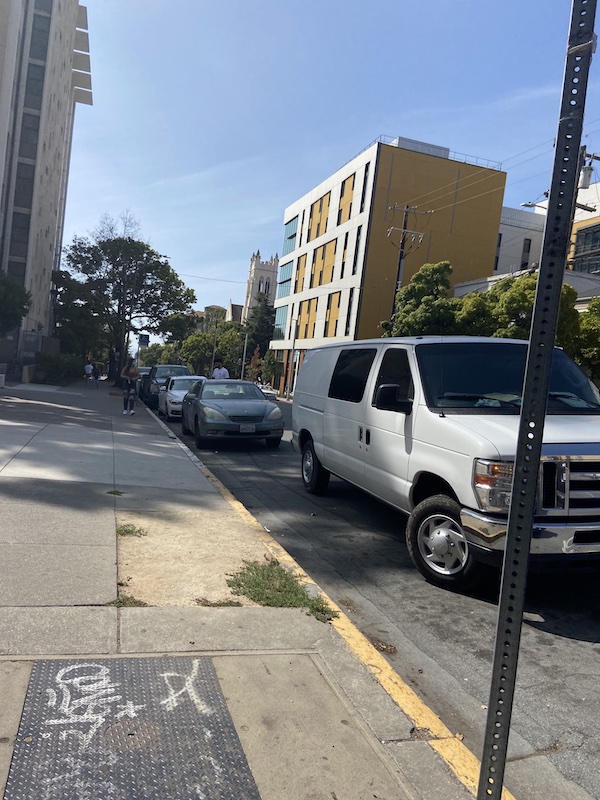
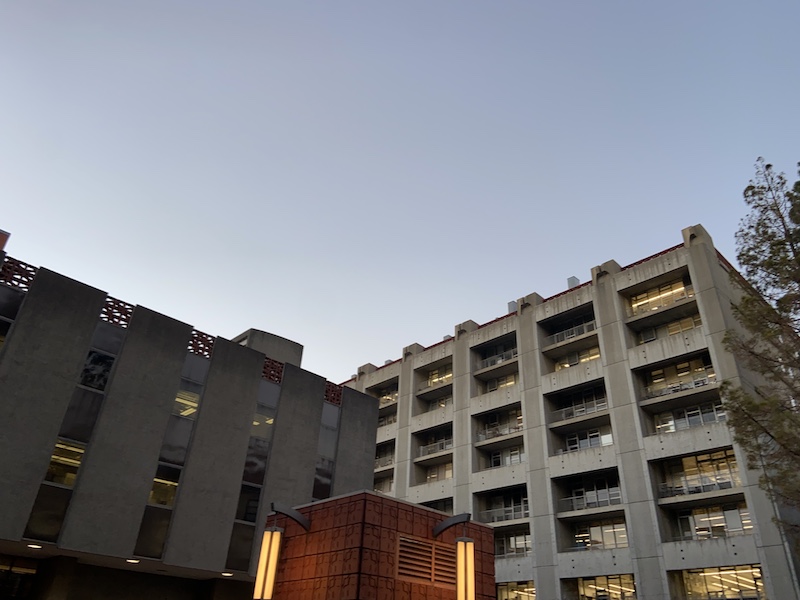
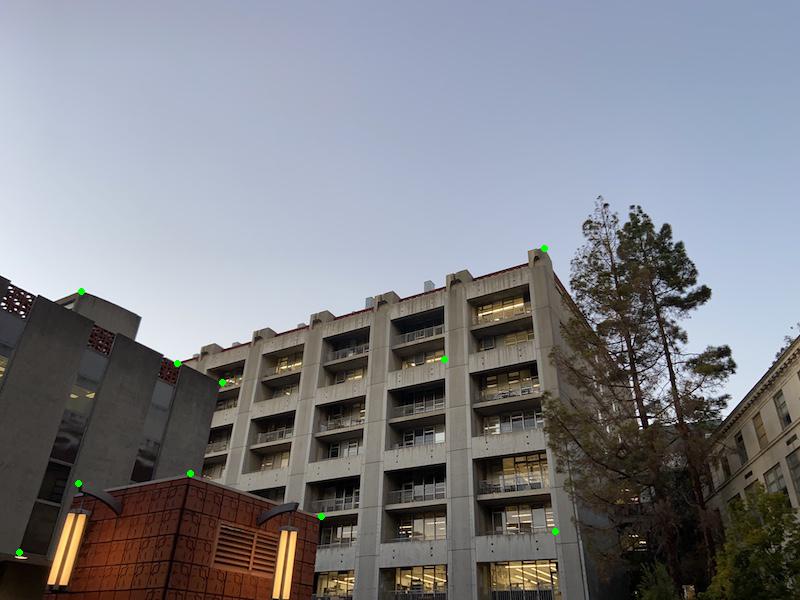
Random building (the left image is the "central" image)

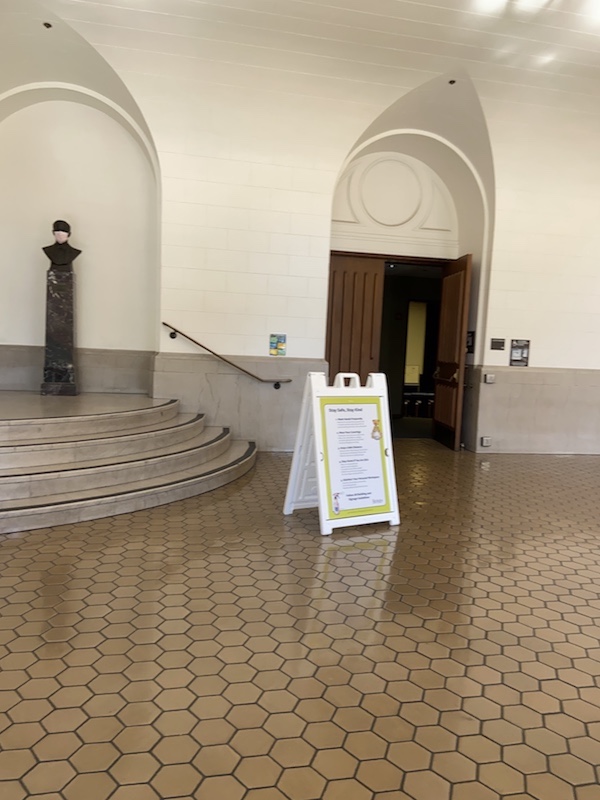
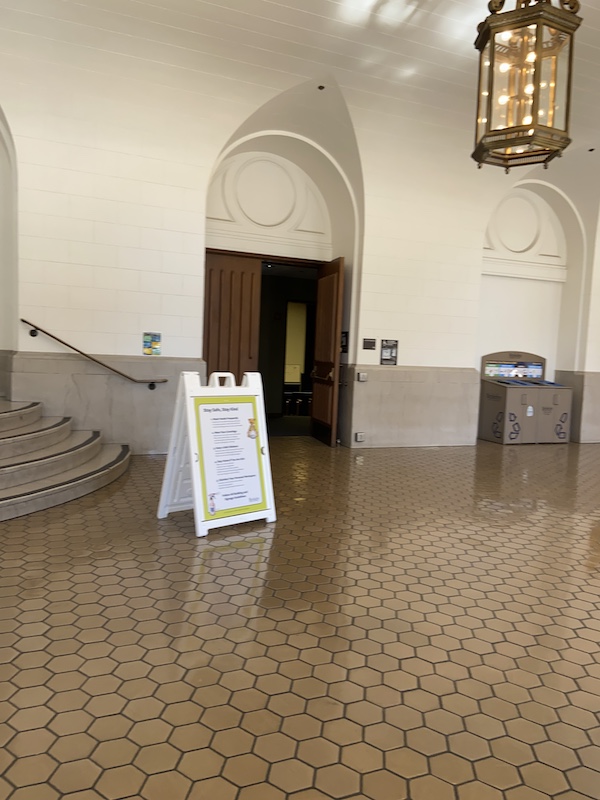
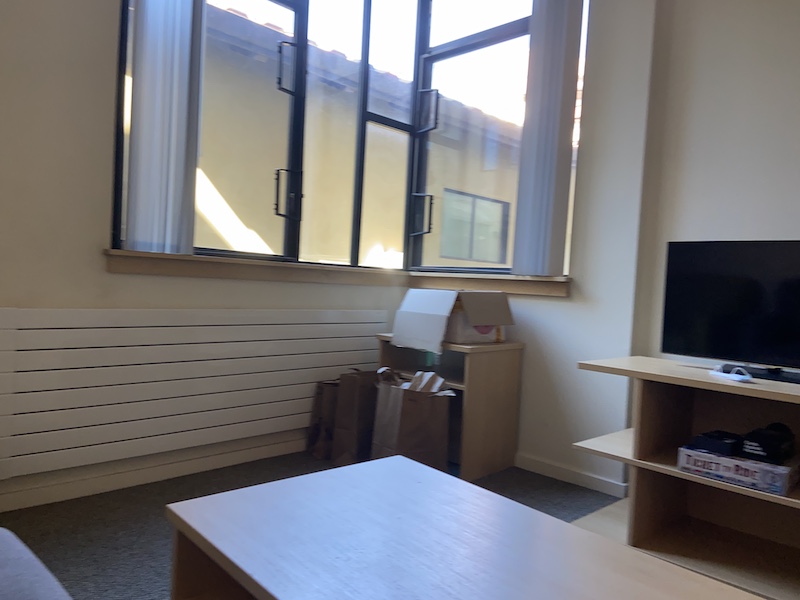
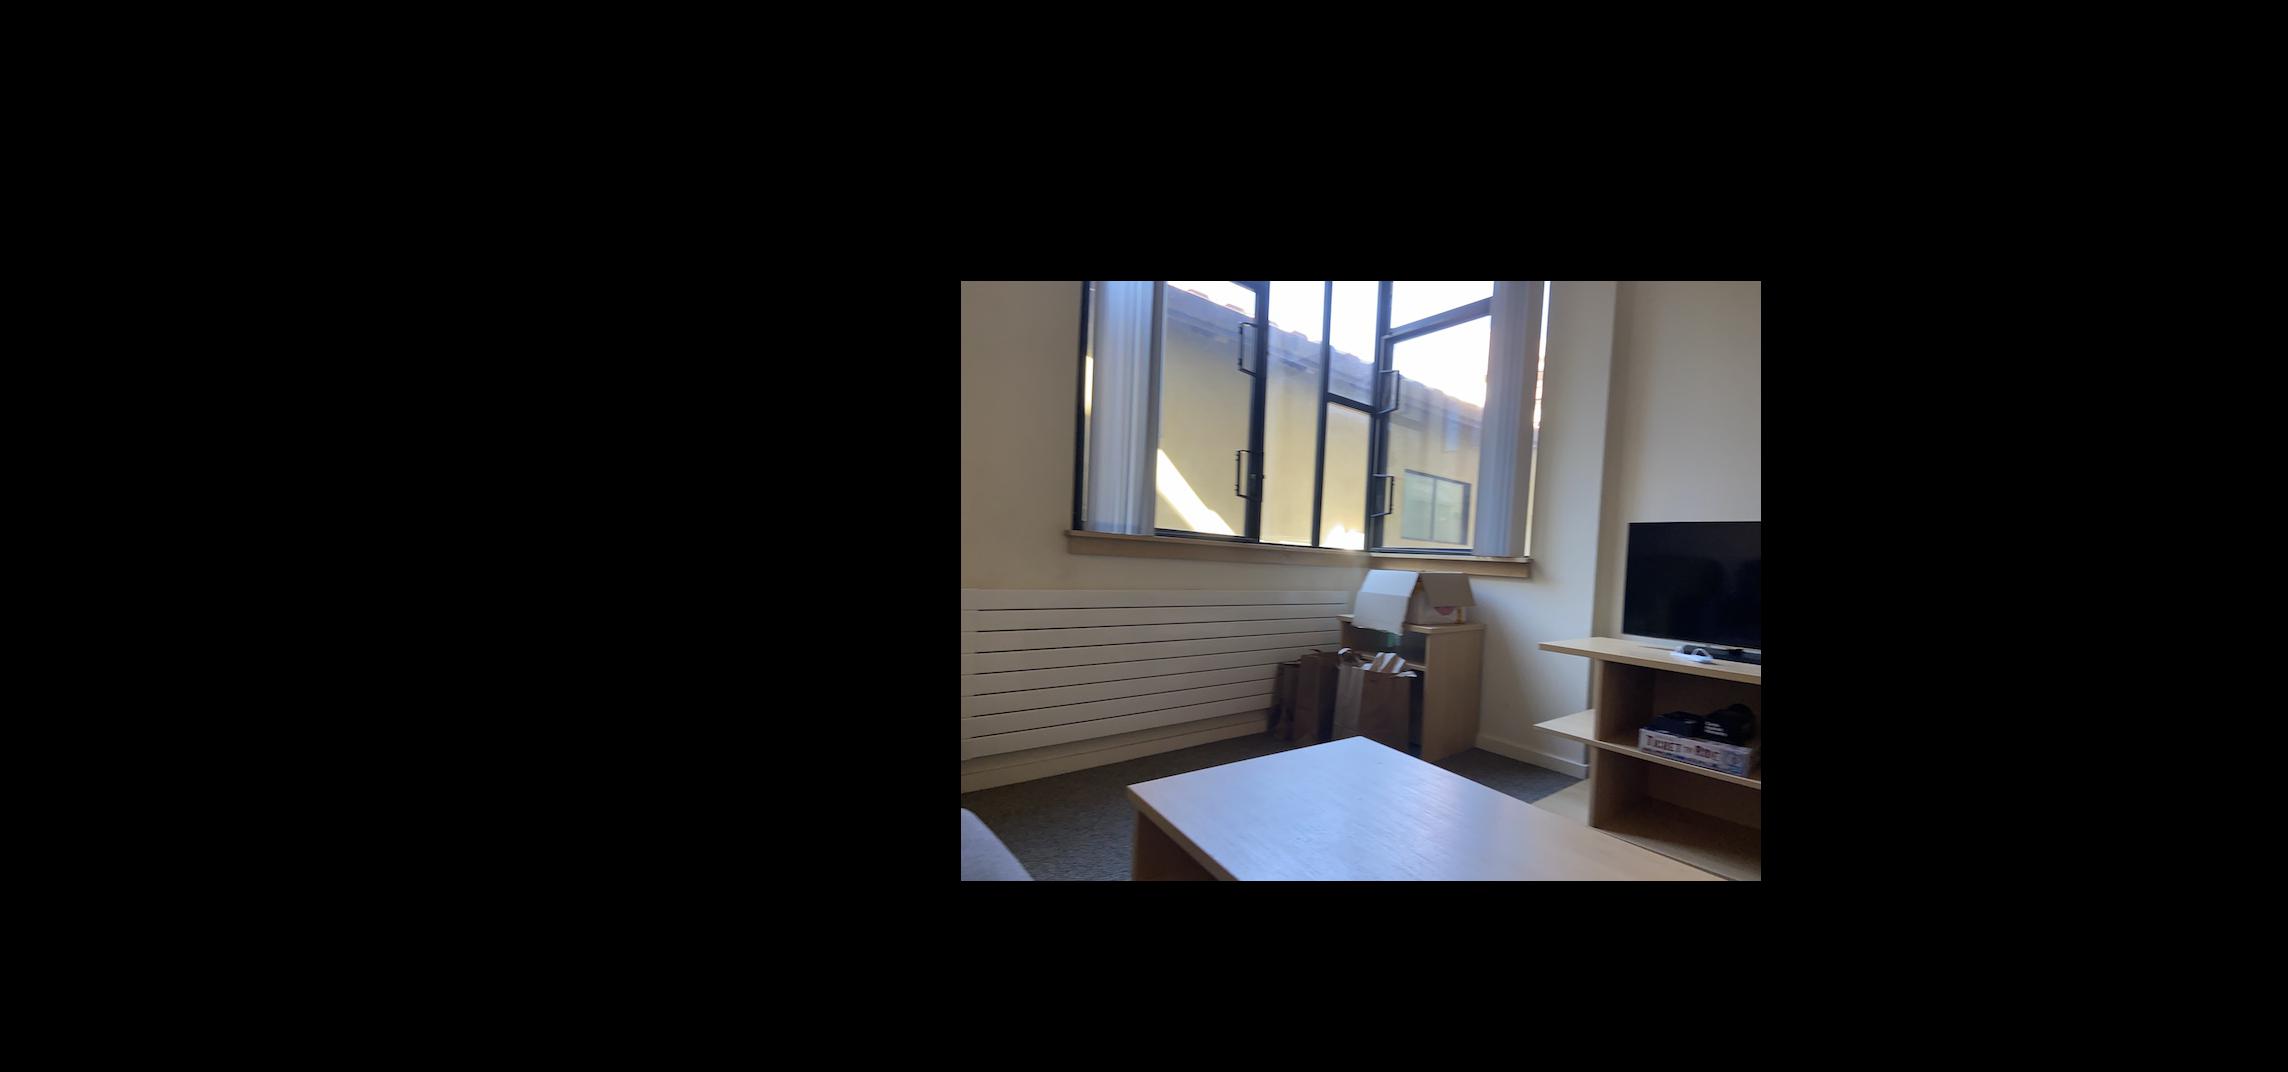
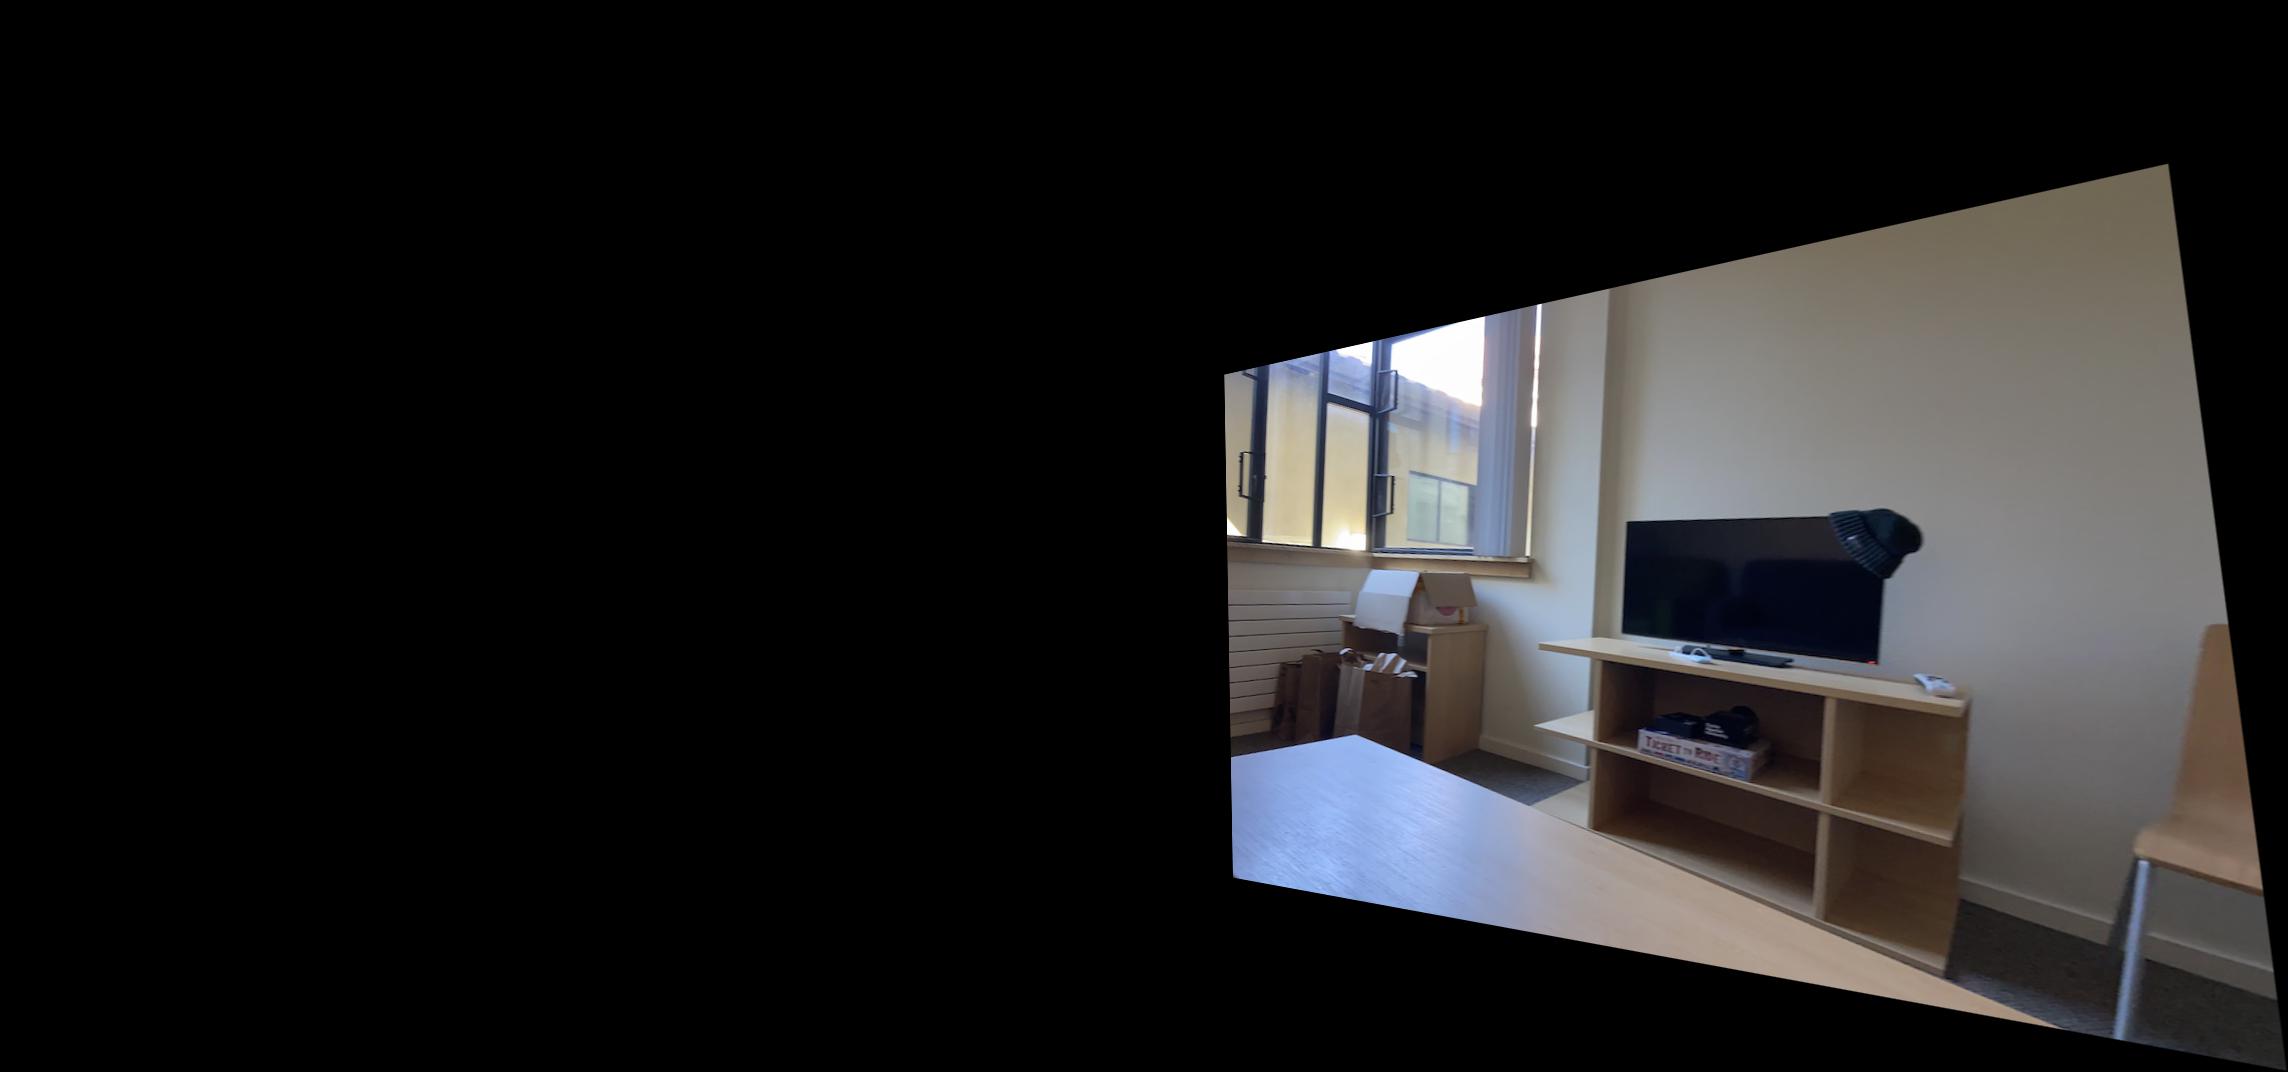
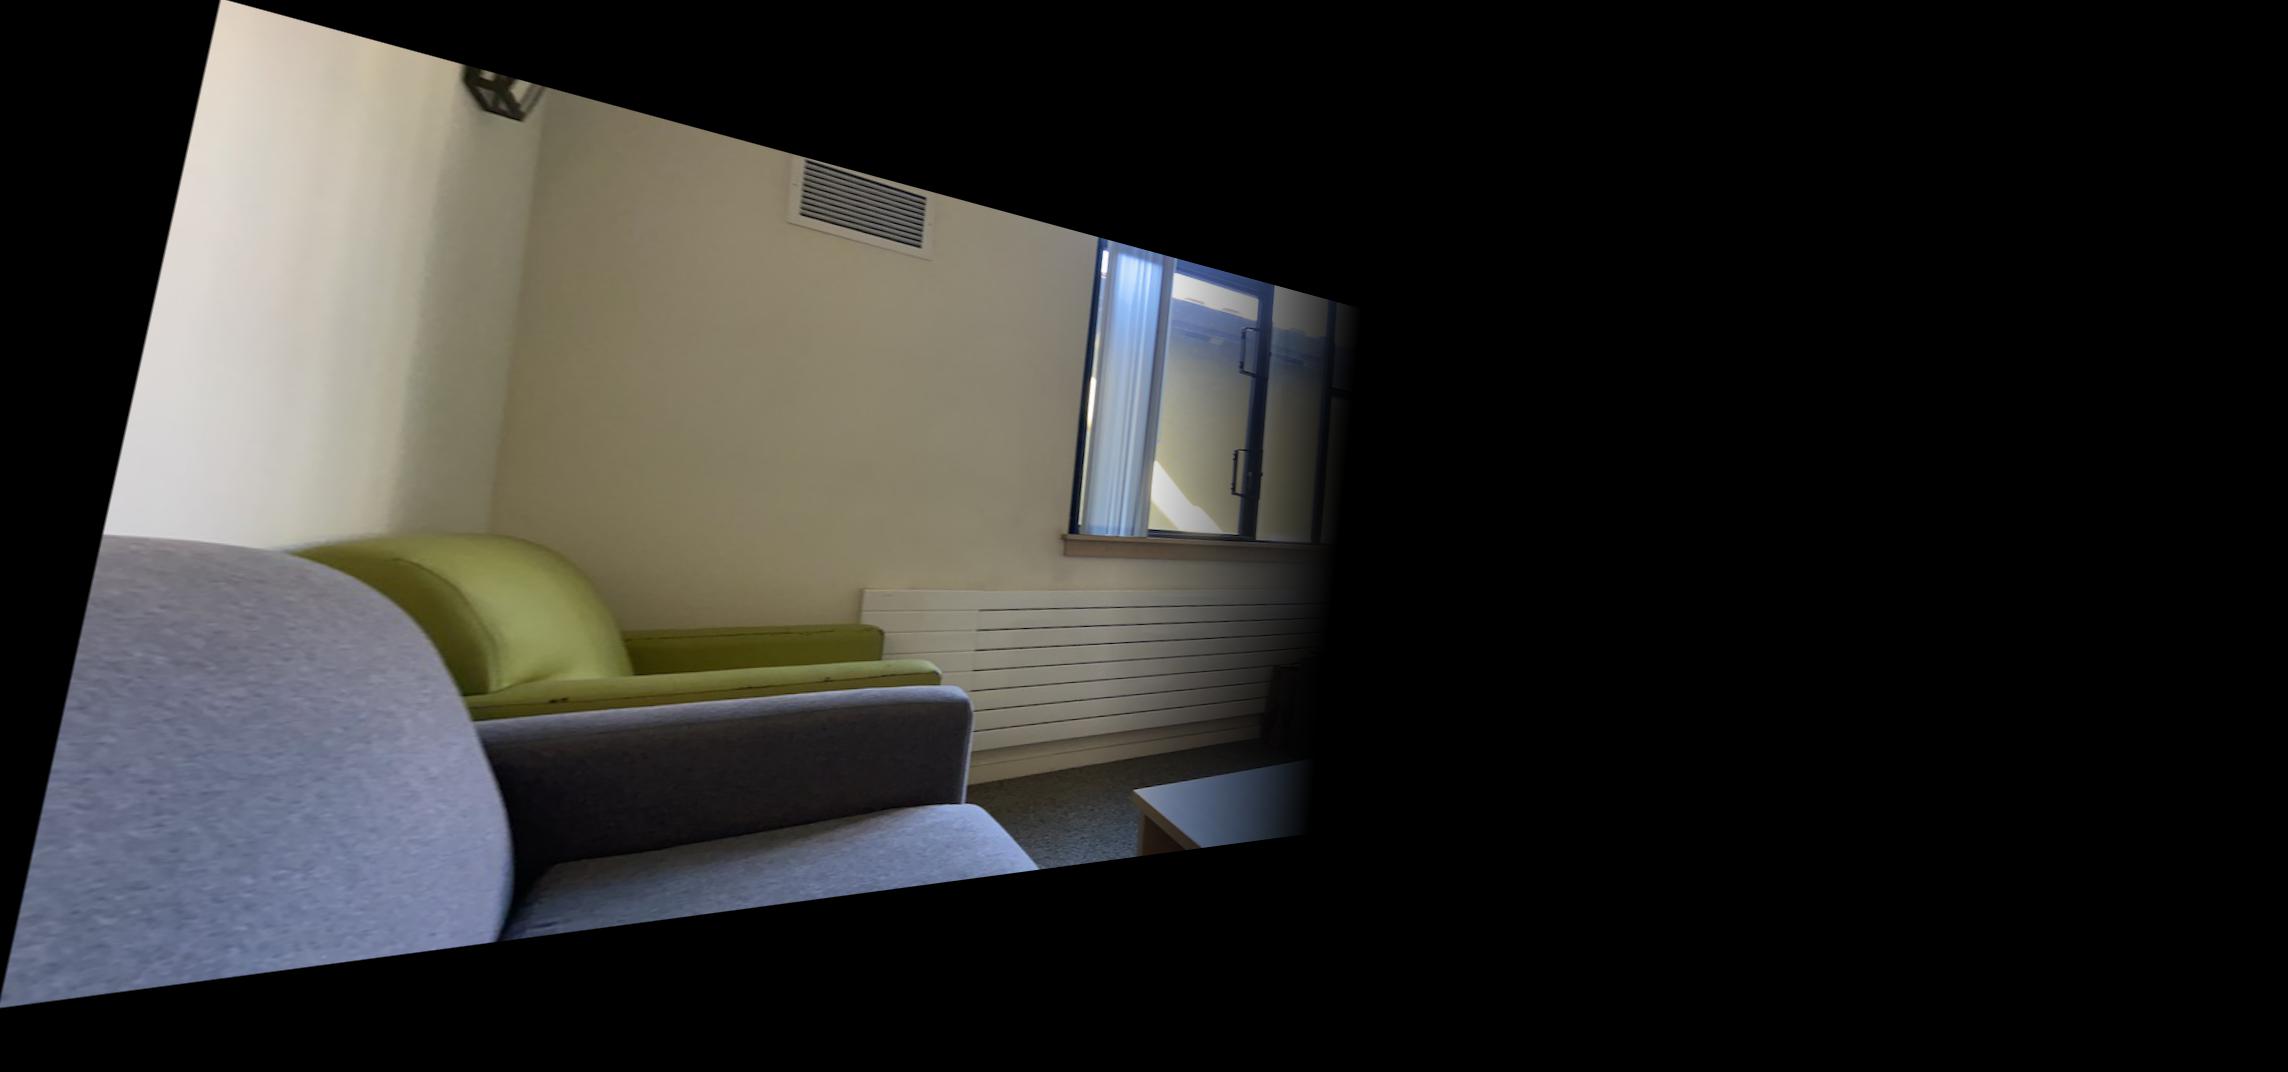
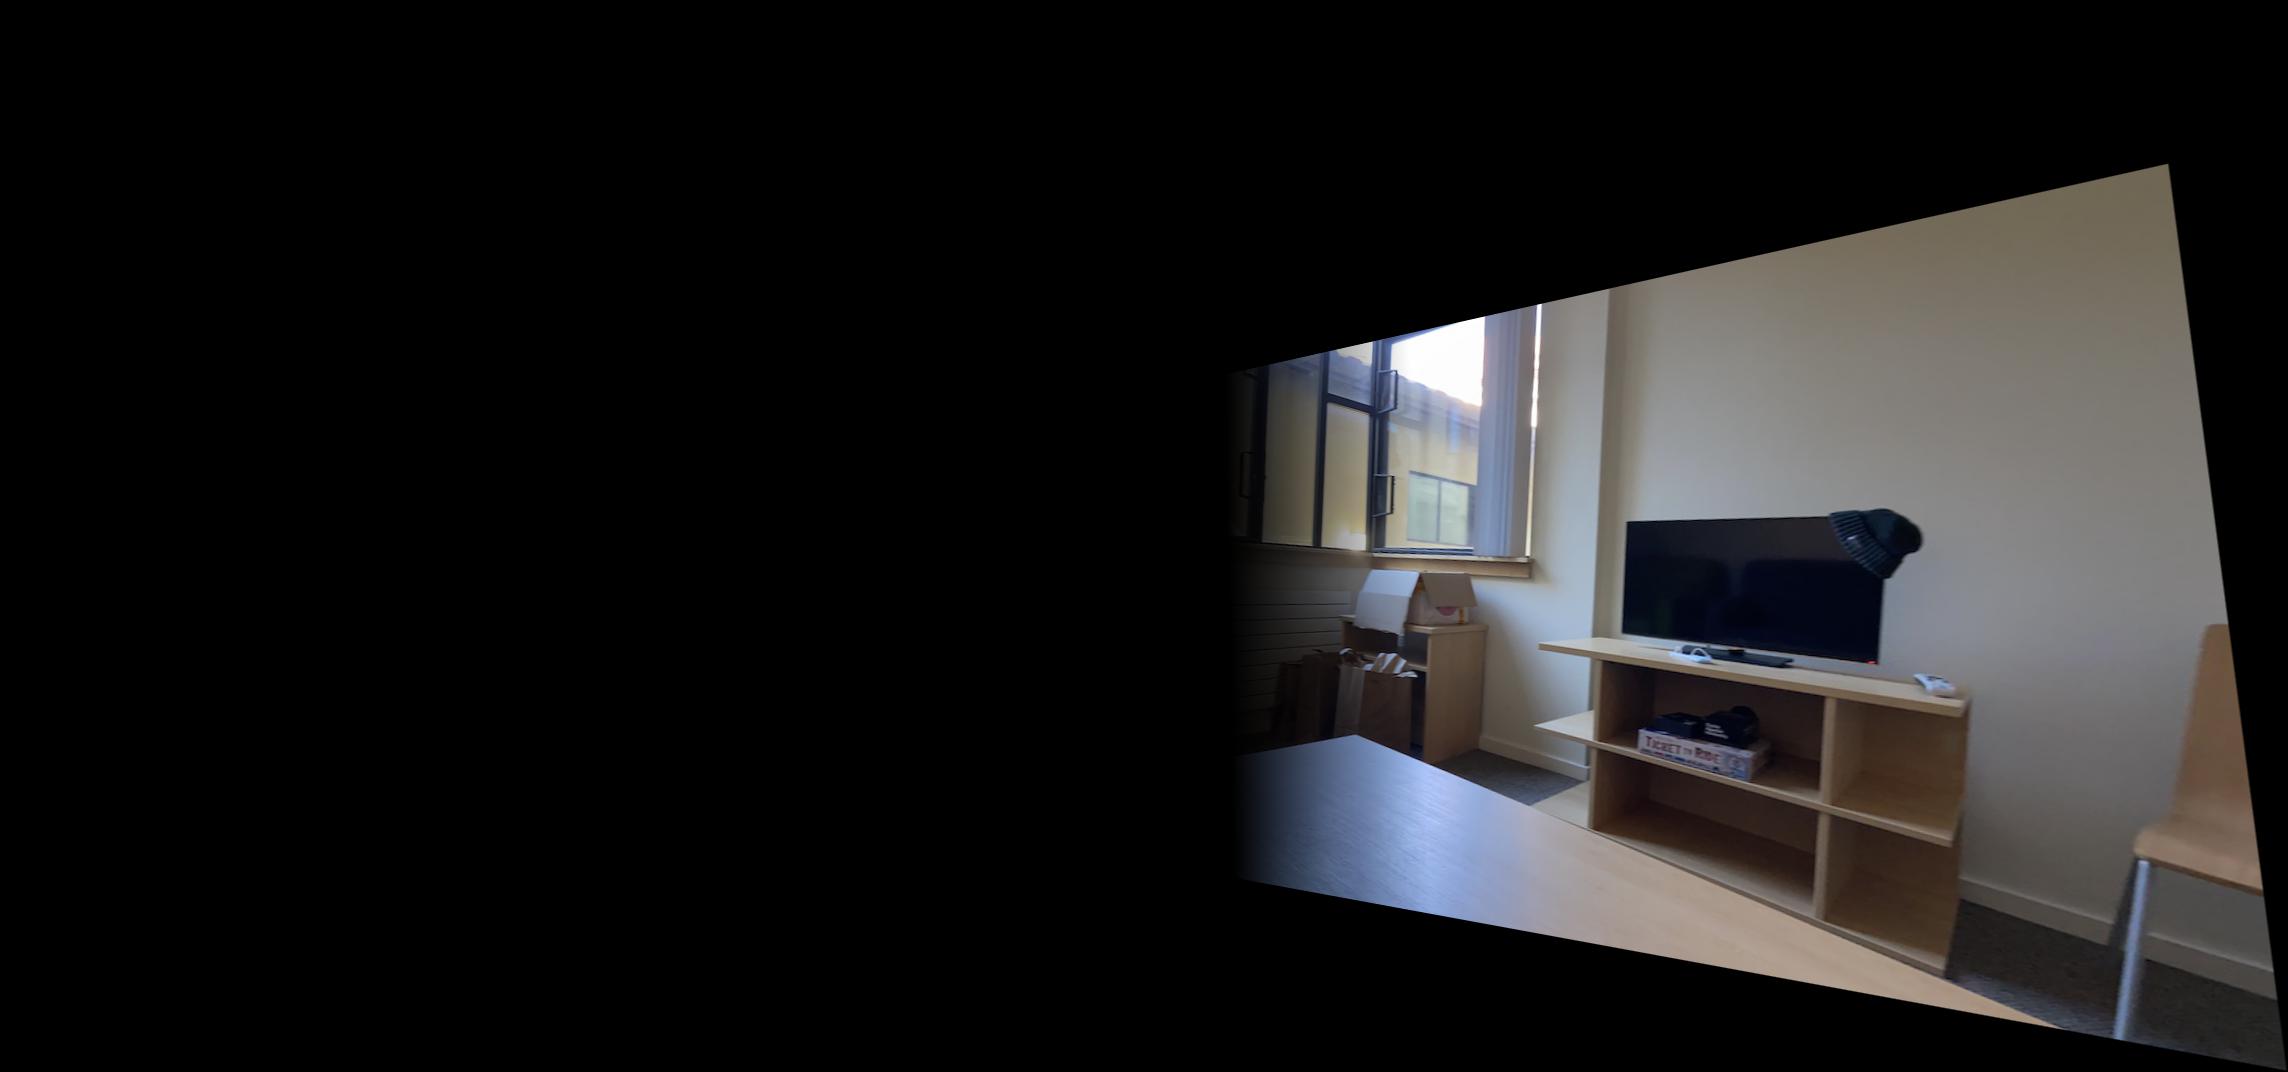
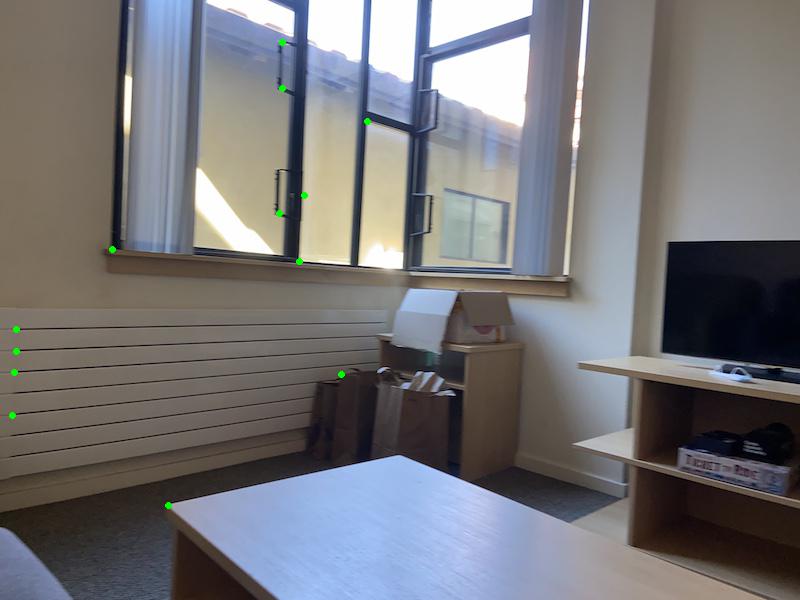
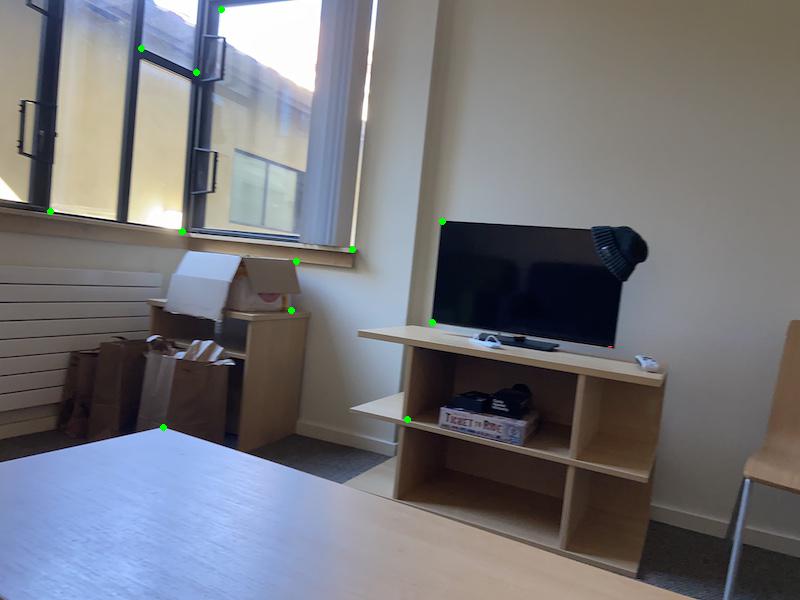
My apartment (the left images show the two side images, and the right images are the "central" image)


After selecting correspondences, I needed to warp the side images to the central image perspective. To recover the homography between the side images and the central image, I used the formula
where p' represents the central image points and p represents the side image points.
We can assume i = 1, so there are 8 unknowns. Each correspondence results in two equations (where p = (x,y) and p' = (x', y')):
a*x + b*y + c - g * (x*x') - h * (y*x') = x'
d*x + e*y + f - g * (x*y') - h * (y*y') = y'
We use least squares to solve the system of equations and get the coefficients of the homography matrix.
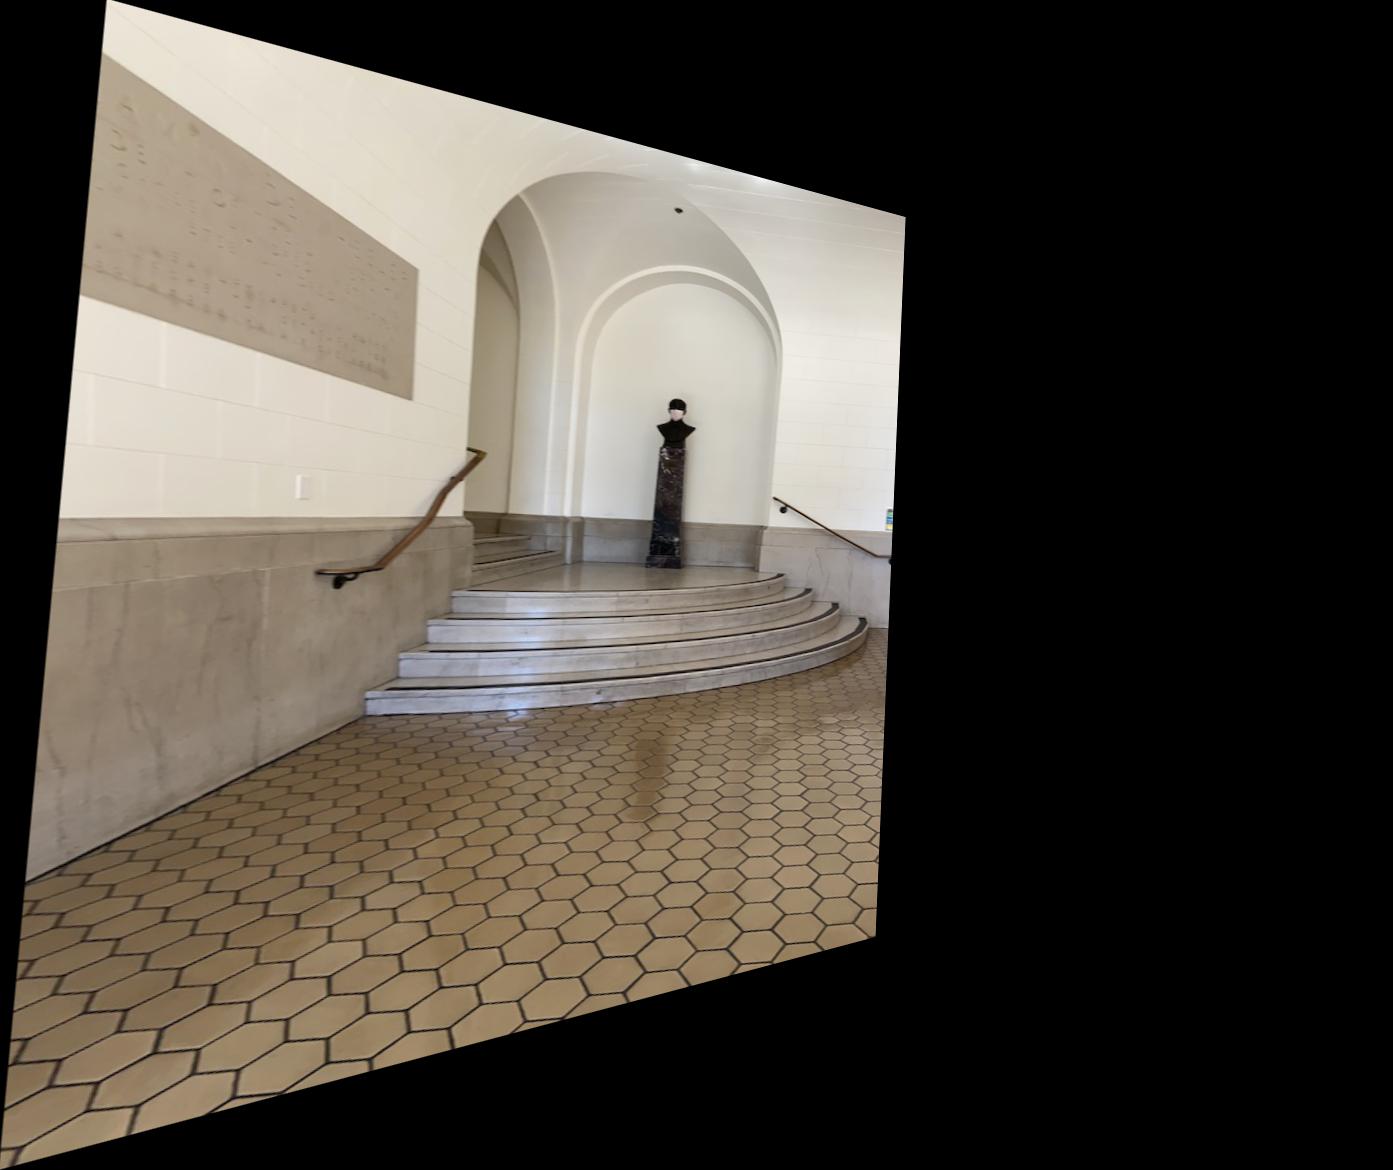
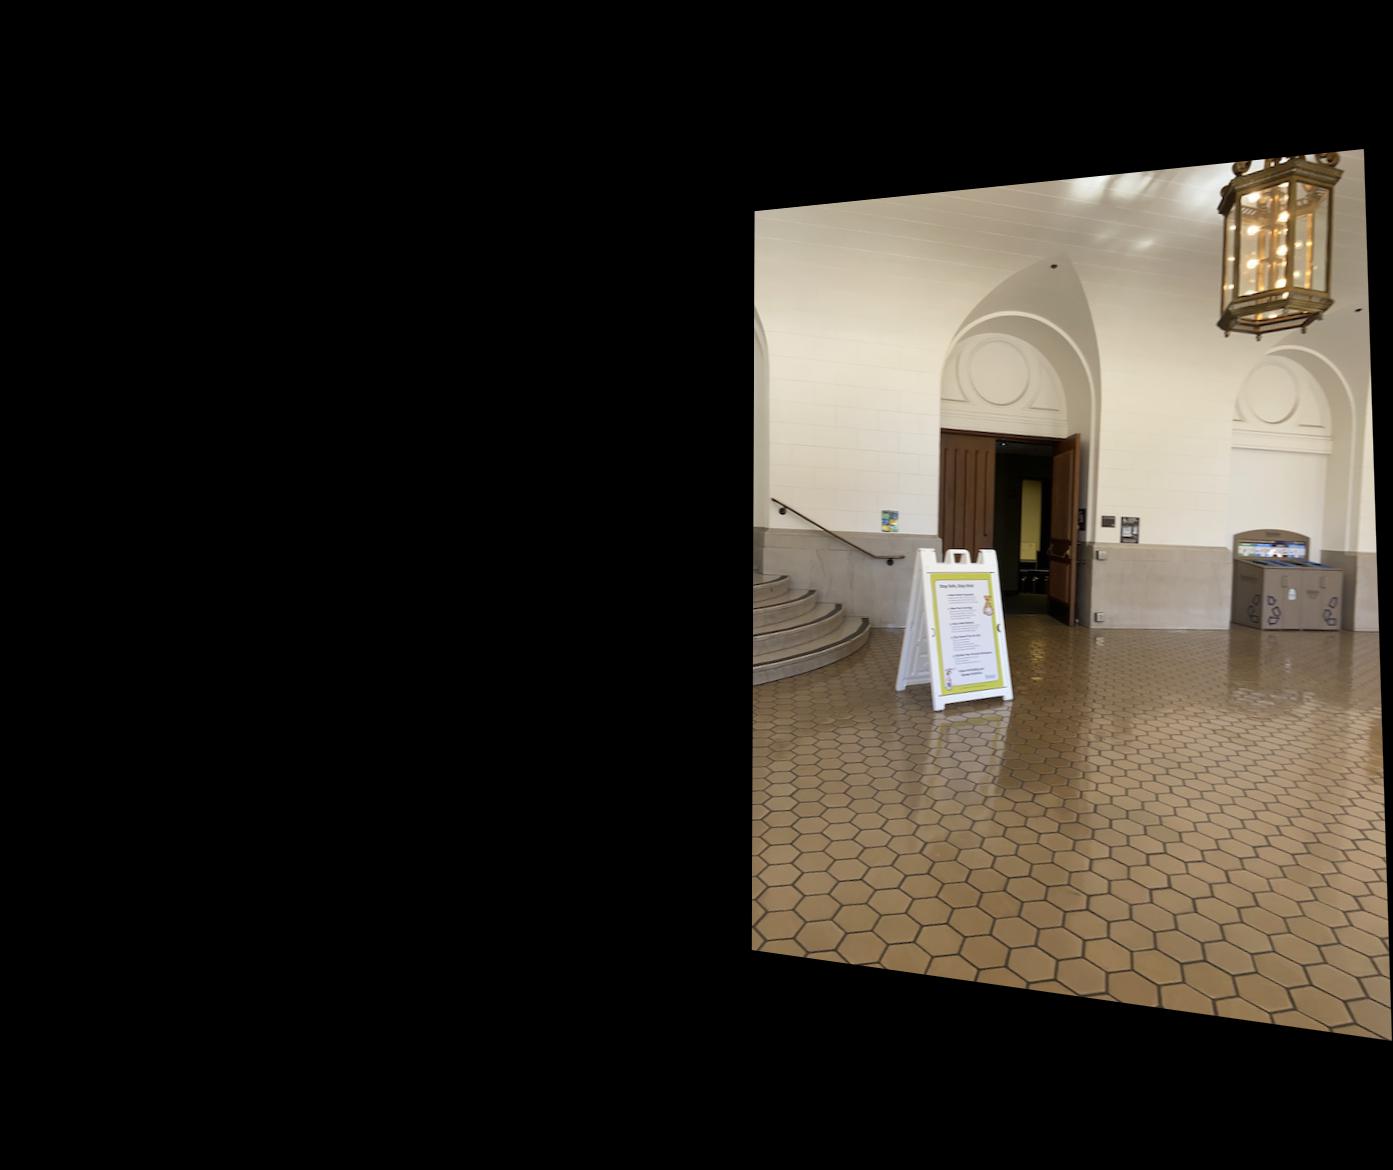
Image Rectification
To test out that my homography estimation was working correctly, I tried rectifying the planar images to a frontal-parallel view. The results are shown below.
The way my image warping works is:
- I recover the homography matrix H
- I determine all the pixel coordinates in the new (warped) image, and determine what they map to in the original image using the inverse of H
- I use cv2.remap, which takes in the relevant original image coordinates, to create the warped image
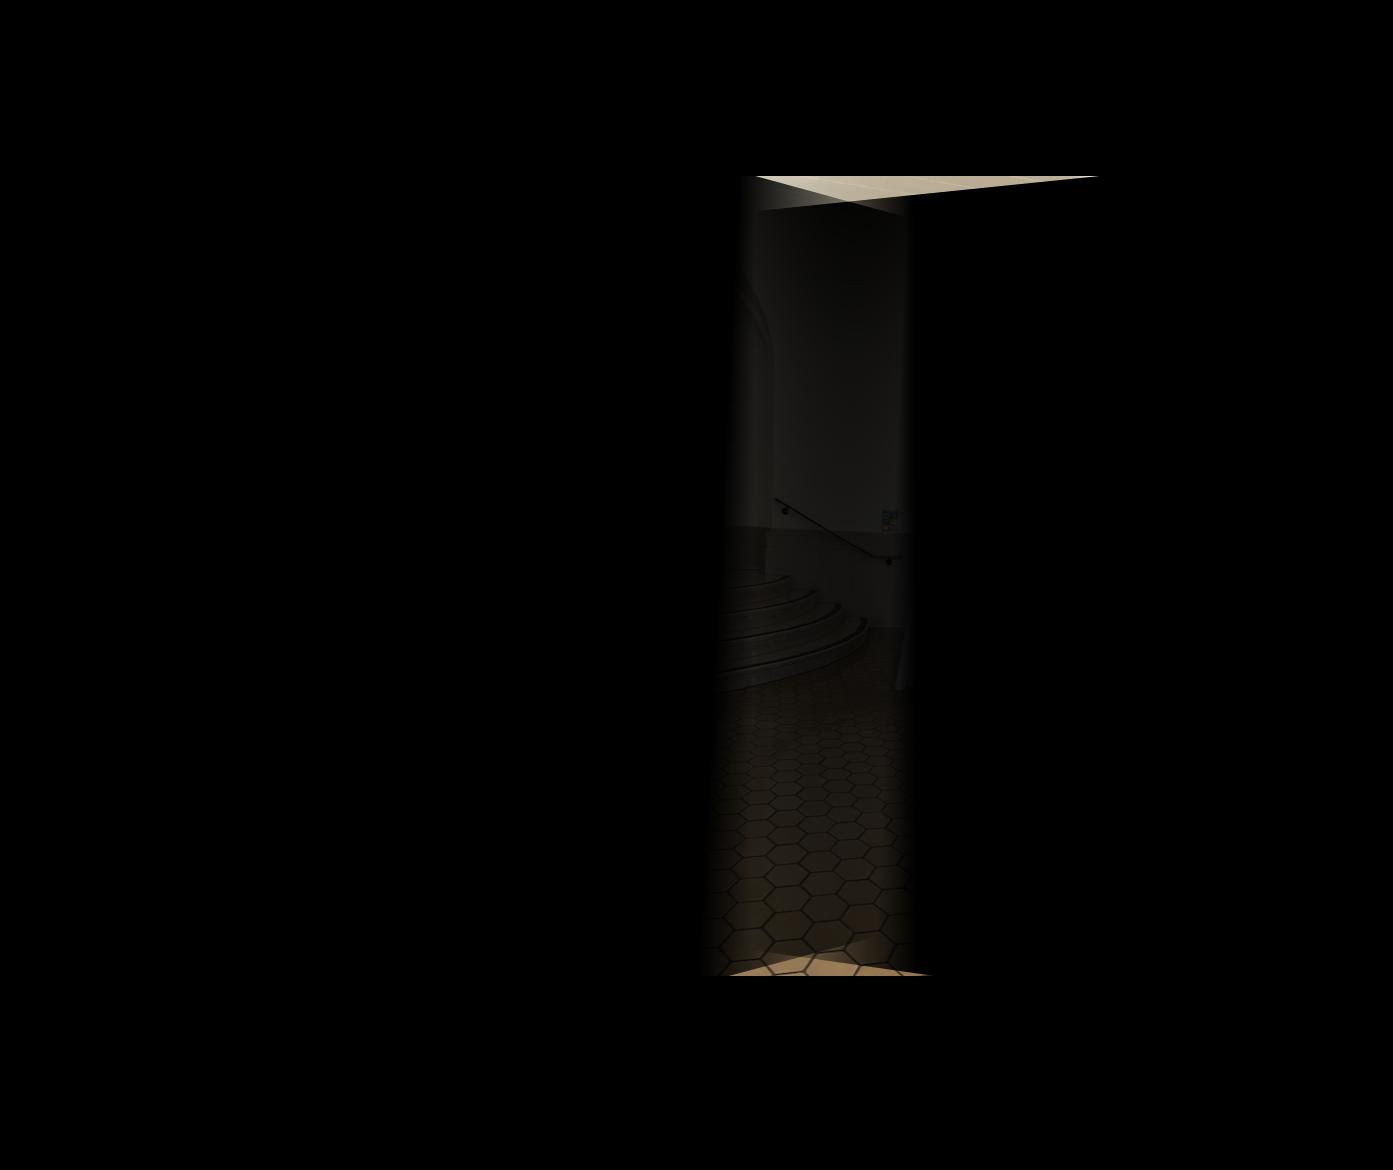
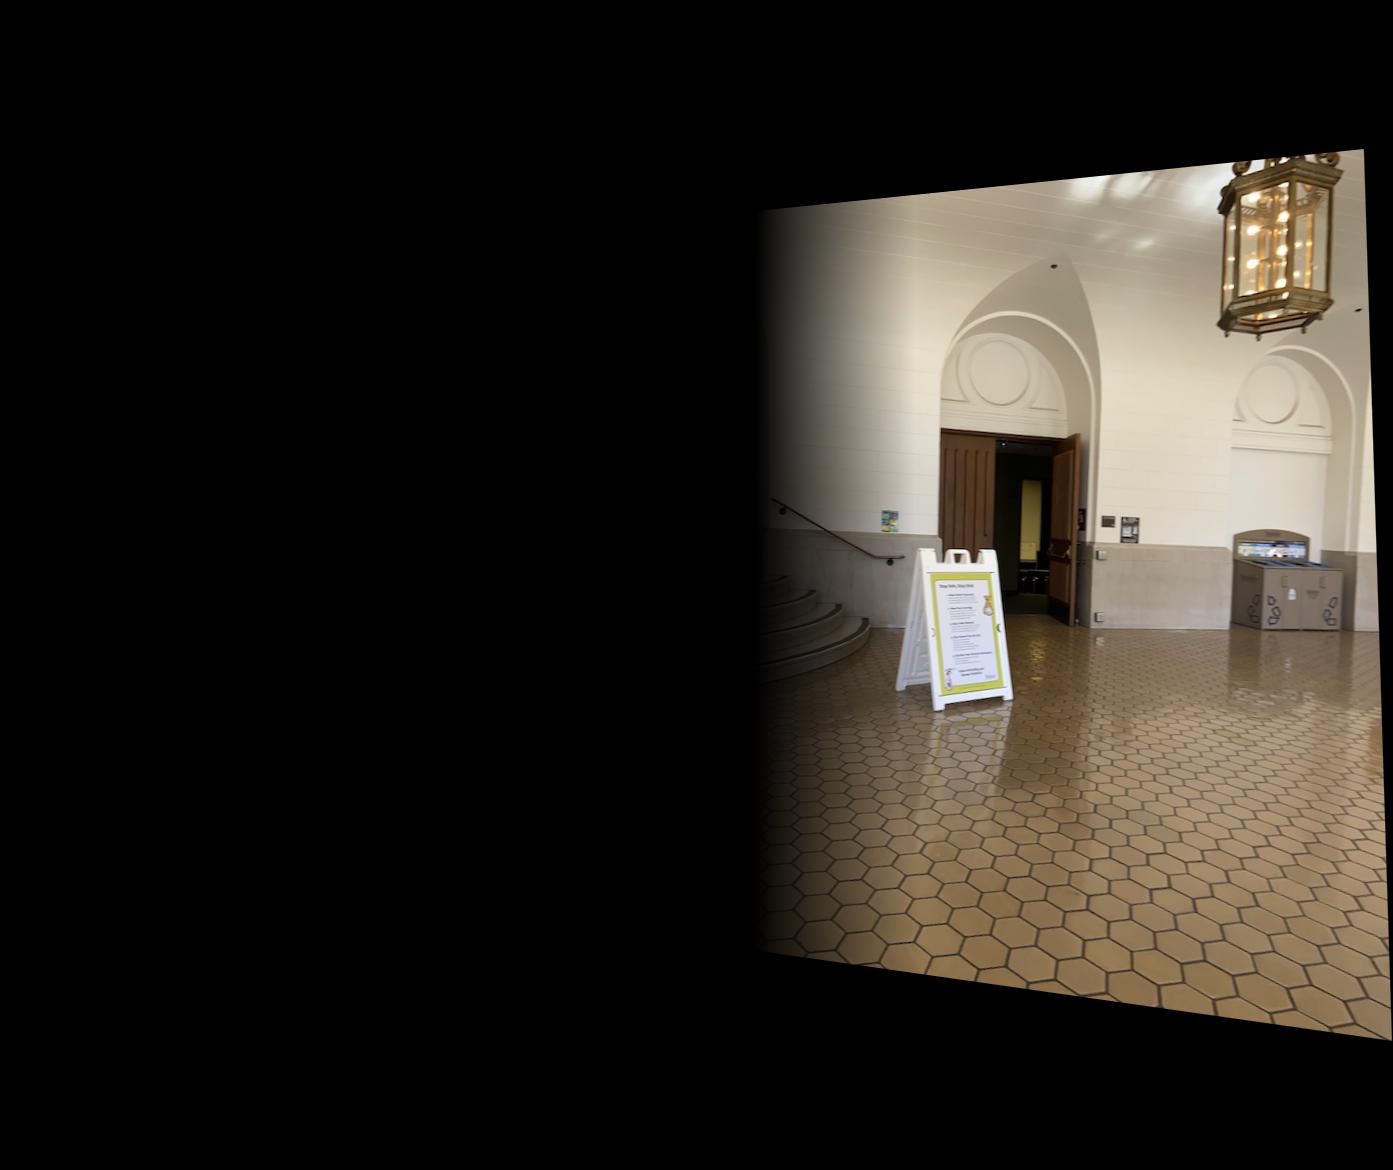
Warp the Images
Using the homographies I recovered for the panoramics, I first calculated the size of the final mosaic by determining where the corners of each image would warp to. I then created a coordinate system of size large enough to fit all the warped images. This coordinate system was also shifted from the central image coordinate system, so we could see the parts of the warped images that mapped to negative coordinates. Then, I warped each of the side images to this coordinate system using the homographies. I "warped" the central image to this coordinate system as well ("warped" is in quotes here because it did not actually require a perspective transform for the central image). Below, I show the warped images for each panoramic.
Wheeler hall:
Random building:
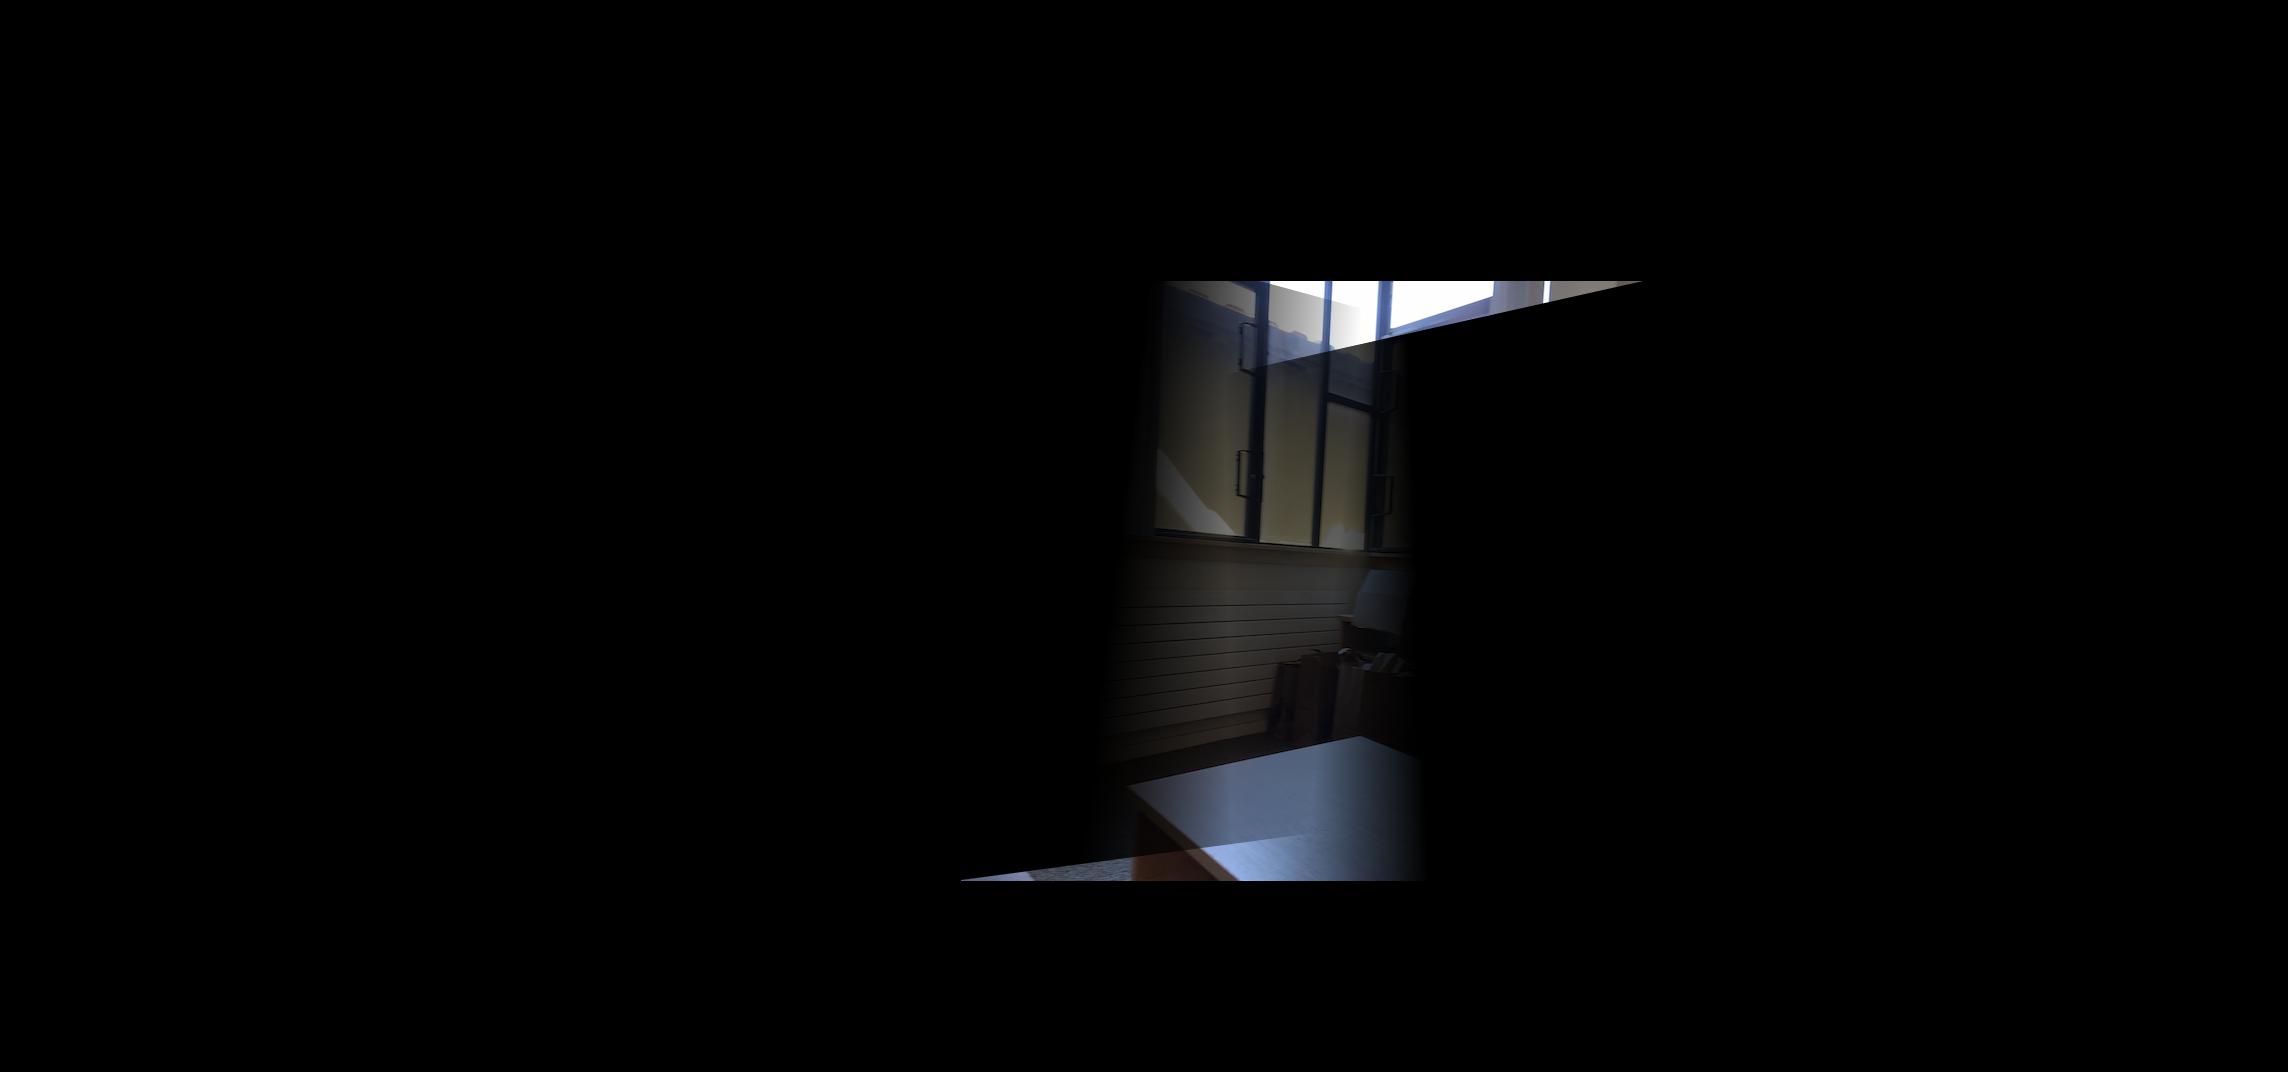
My apartment:
Blend the Images into a mosaic
Just placing the warped images on top of each other did not produce a smooth panoramic. So, I used blending to create a smoother transition between the images. I applied a mask to each of the side images that falls off linearly. I applied this mask before warping the image. Some examples of these masks are shown below:


Apartment right image mask Wheeler left image mask
Then, to generate a mask for the central image, I warped the masks for the side images, added them together, and then subtracted that from a mask of pure ones. I applied this mask to the "warped" central image. The resulting blended images and panoramics are shown below.
Wheeler hall:


The results look okay, but you can see some slight misalignment in the tiles. I also should have spaced the angles between my images more so more of the central image ended up in the result.
Random building:
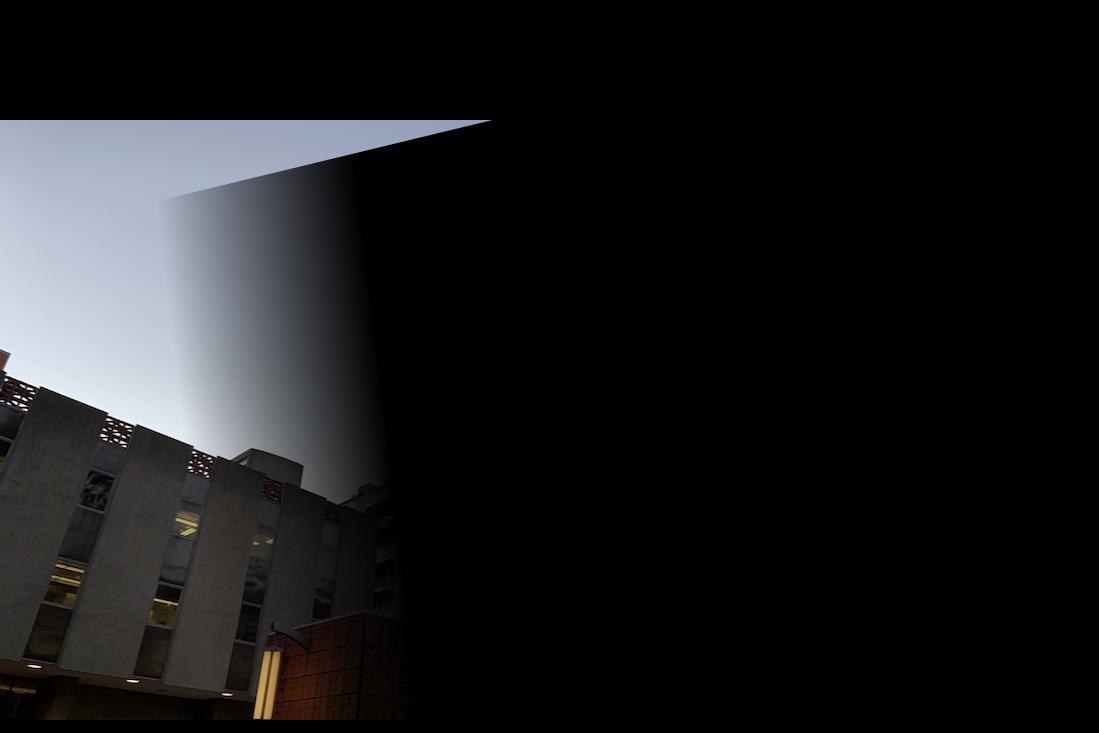
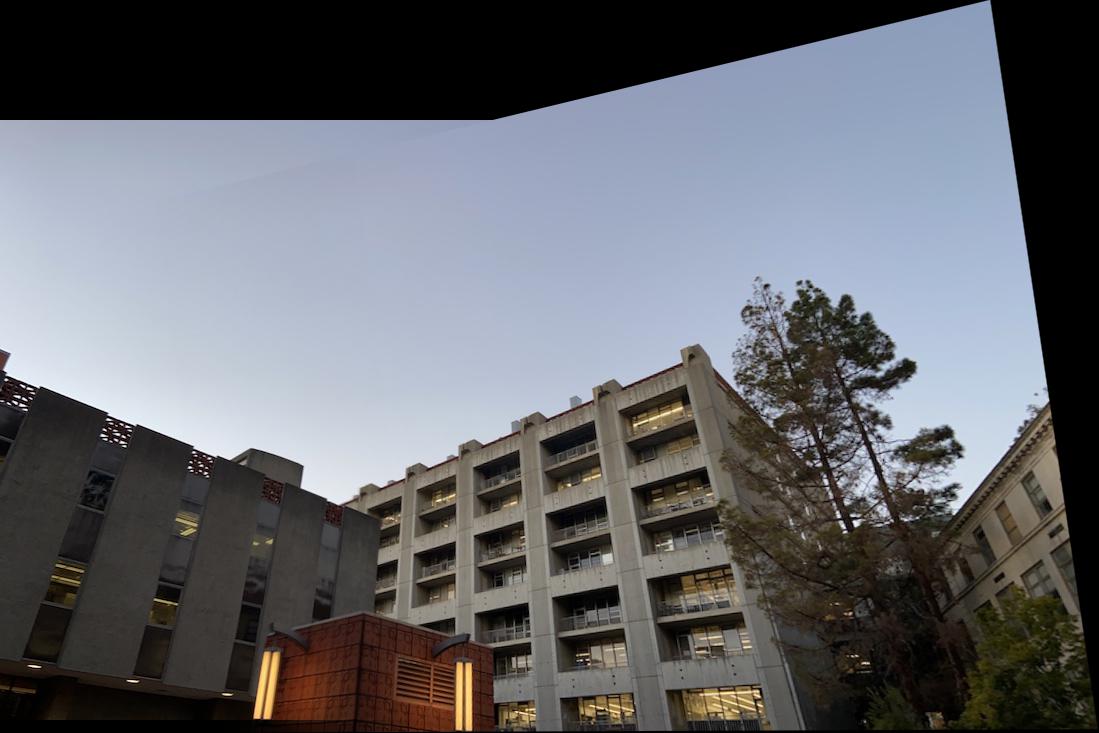
The results look great!
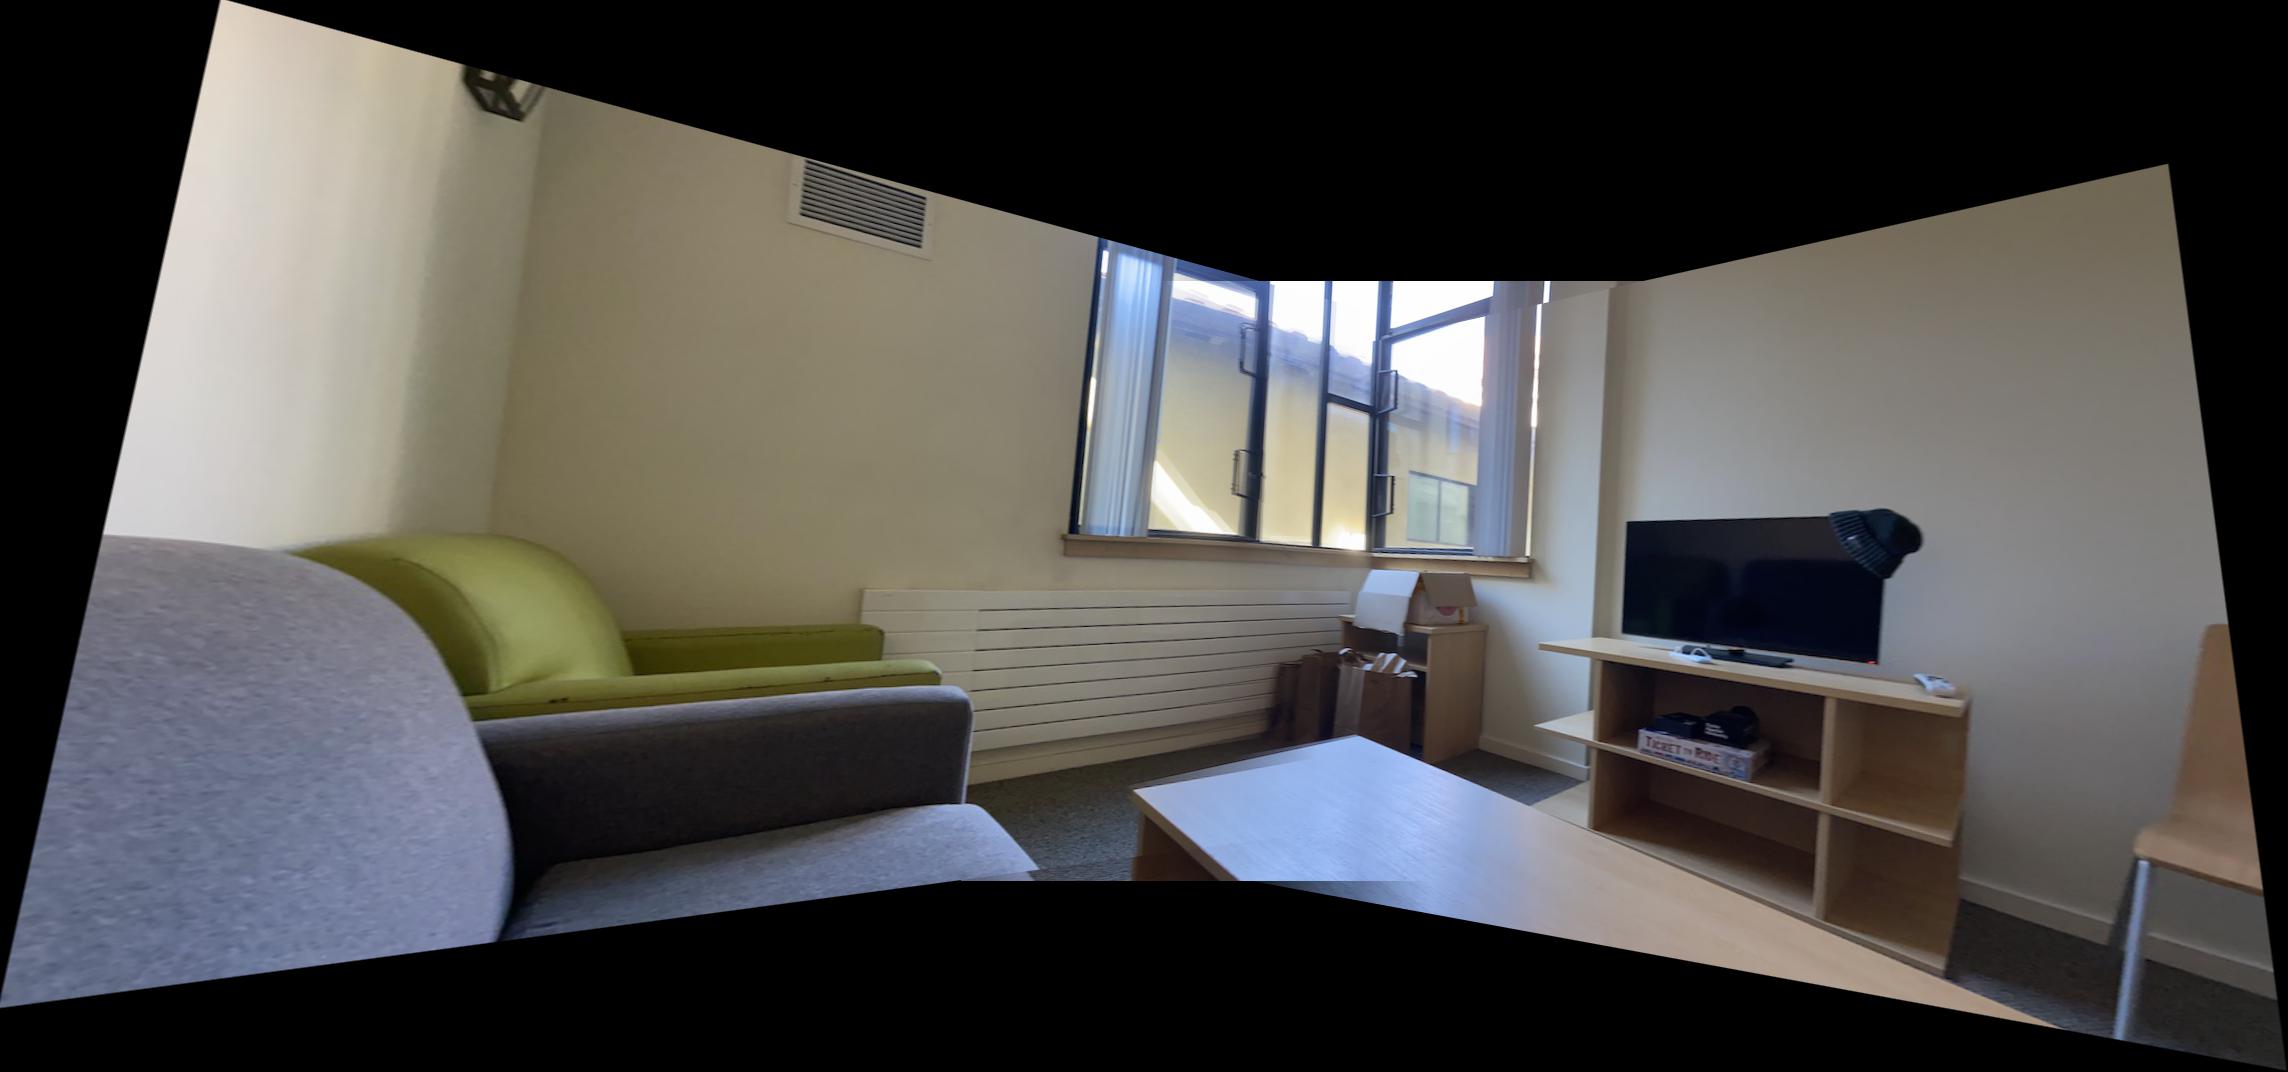
My apartment:
This panoramic looks pretty good as well!
What I Learned
It was interesting to learn how panoramas are actually made. I thought the blending was the hardest part, since it was difficut to figure out how to blend a warped image. It was also cool to see that images actually hold a lot more information than we initially see, because you can see a lot more detail if you look at it from a different perspective.