Image Warping and Mosaicing
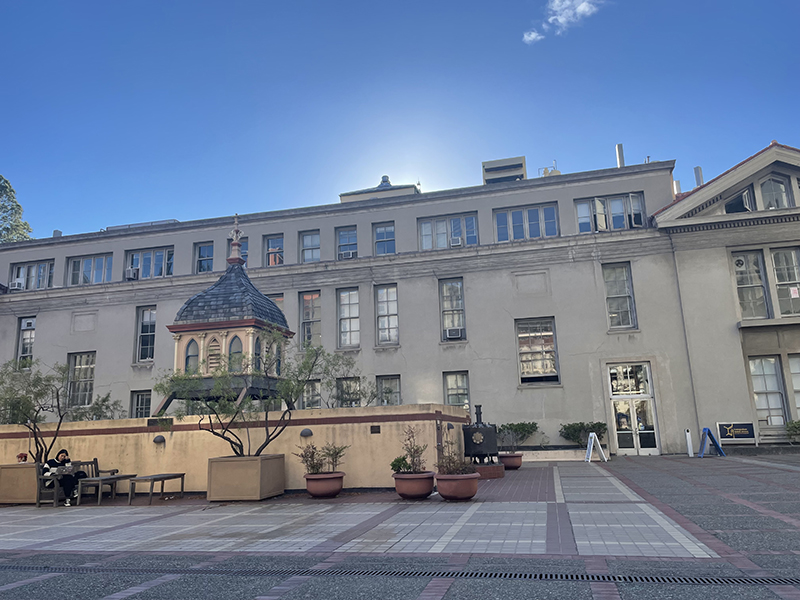
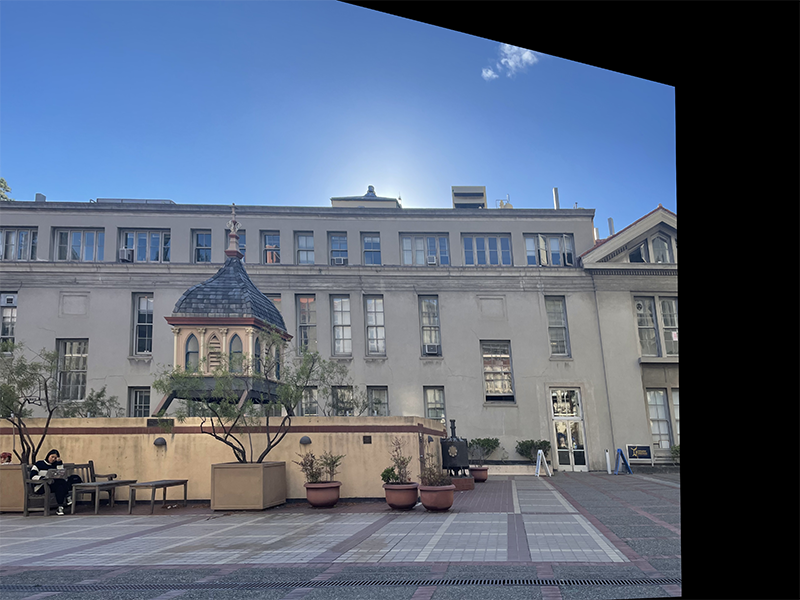
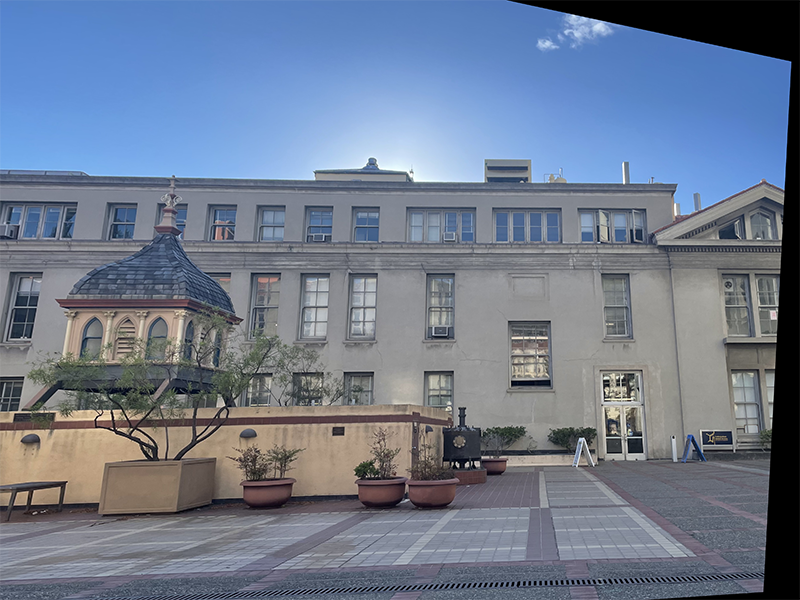
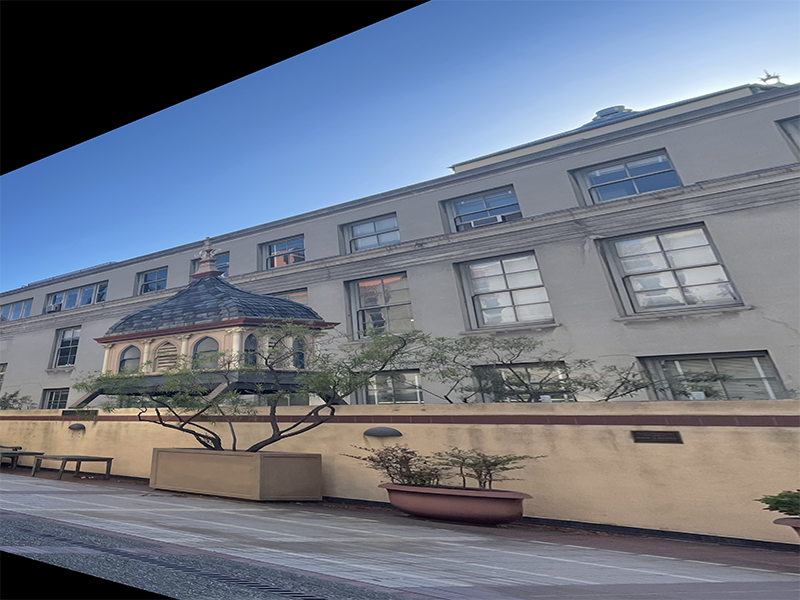
Shooting the Pictures
For this project, I used three pictures taken outside of Lewis Hall. These pictures were taken by rotating the camera from the same spot, so that the transforms between the image are projective. I used the exposure and focus locking (AE/EF) on iPhone so that the image/camera settings don't change between images.


Recover Homographies
Next, I recovered the parameters of the transformation between two images (an input and a target) at a time, using 16 corresponding points each. Using these points, I can recover a 3x3 homography matrix H, where p' = Hp. The matrix can be found via a linear system of n equations of the form Ah=b (where h is a vector holding the unknown entries of H). While the system can be solved using only 4 points, I use 16 correspondences, solving the overdetermined system with least-squares, to ensure a stable homography recovery.
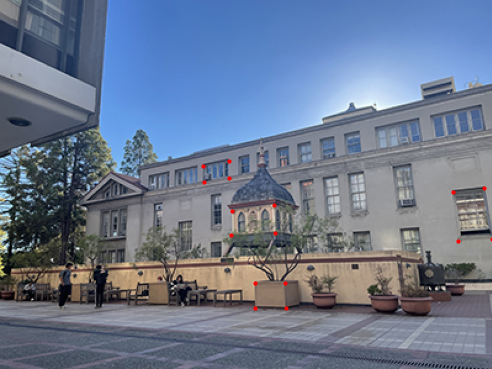
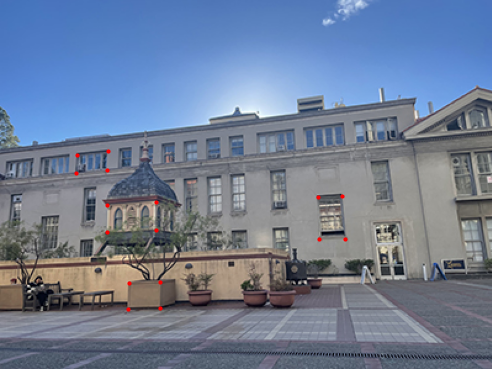
Image Warping
Once I found the parameters of the homography, I used it to warp my images. First, I transformed the corners of the input image to find the bounds of the resulting warp, then expanded the output size to these bounds. I applied interpolated colors from the original image to the warped points.
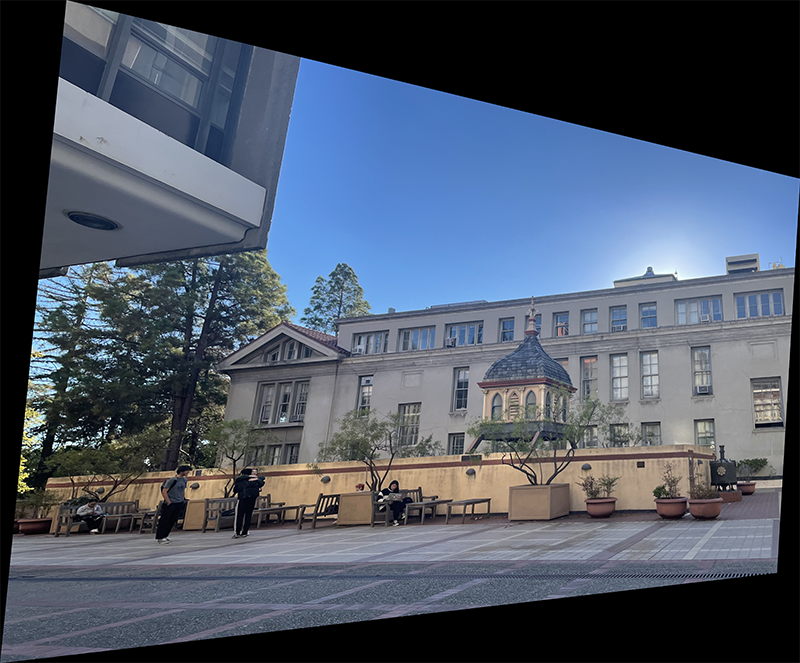
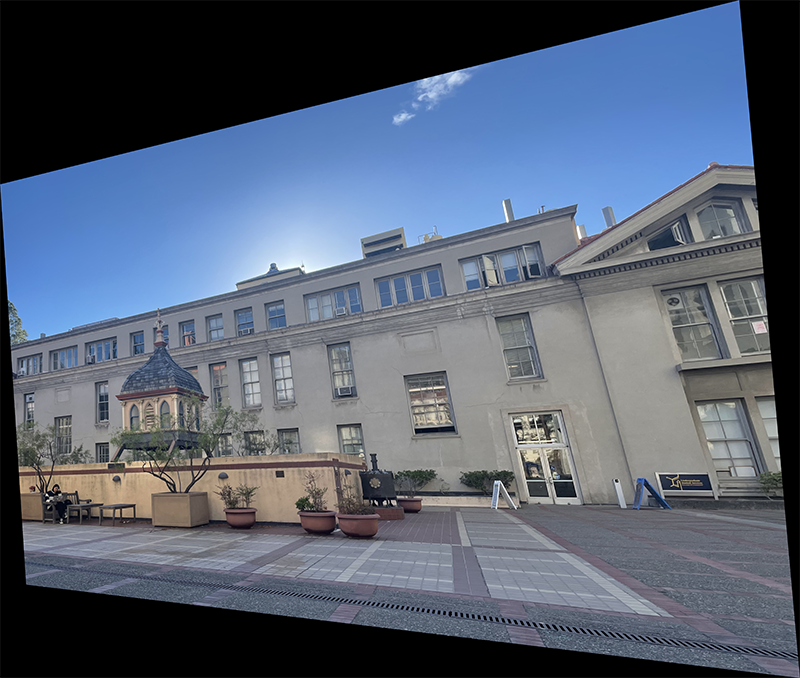
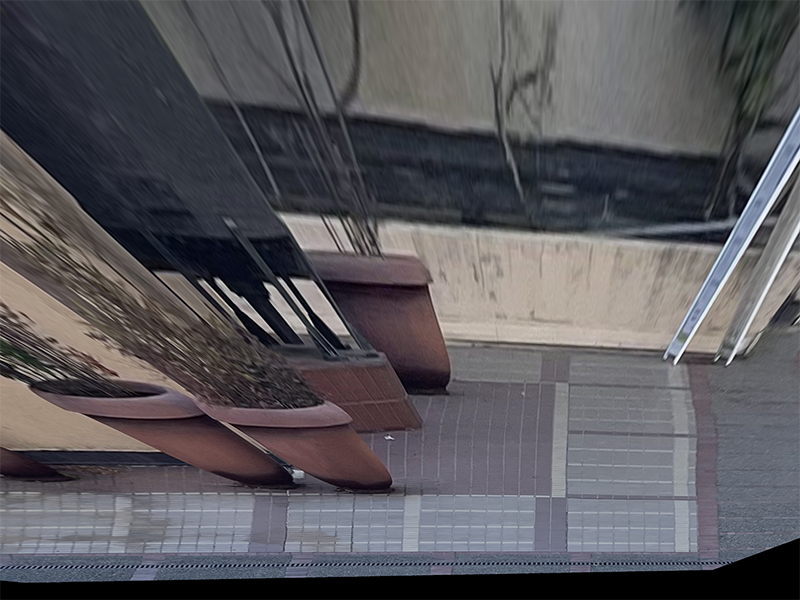
Image Rectification
Once I was able to warp an image to another image's homography, I can apply the same warping method to "rectify" an image, where I warp planar surfaces to be frontal-parallel. This can be done by corresponding the image input points to a points fit to a plane/rectangle/square.
Here are some examples of some more extreme rectifications:
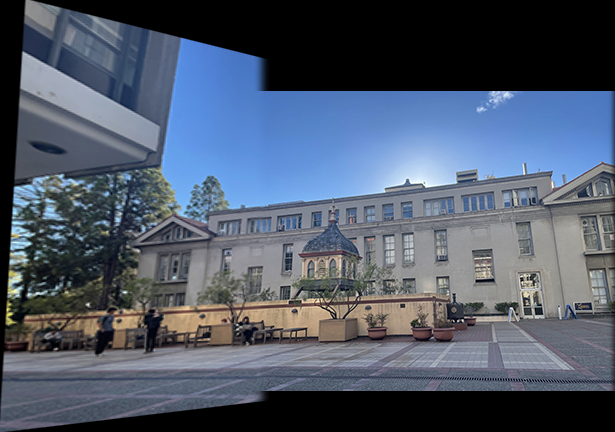
Mosaic
Now that I was able to individually warp images, I can create an image mosaic, where I warp an input image towards a target image using computed homography, then combine them together via multi-resolution blending to create a smooth, seamless blend.
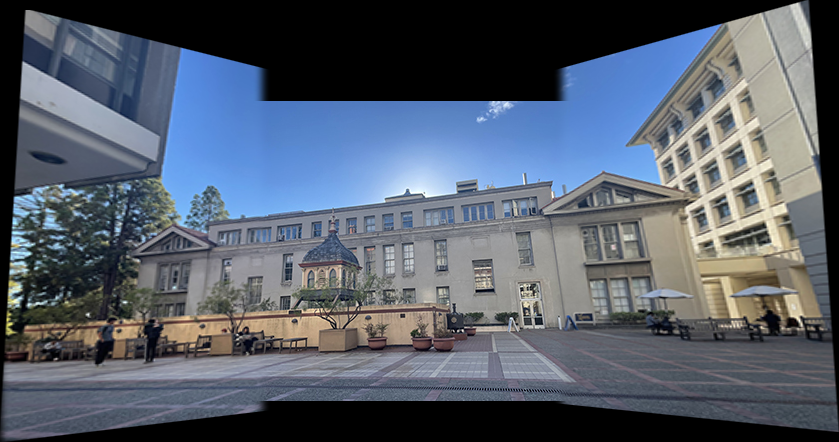
This process can be repeated for any number of images to build upon the mosaic. Here is my mosaic continued with a third:


What I've Learned
This project allowed me to apply my previous understandings about image frequencies from proj 2 (for multi-resolution blending) and geometric warping from proj 3 (applied to warp to homographies). The most important/coolest part about this project was the demonstration of the various applications of using homography - my favorite part was rectification, which revealed interesting details about an image from different perspectives.