[Auto]Stitching Photo Mosaics
Francis Pan
In the first part of this project, I will be using point correspondences (at least 4 points) to recover
homographies to perform perspective warping on images. This can then be used to "rectify" images as well
as create images that can be used for photo mosaics or panoramas.
Part 1: Image Warping and Mosaicing
Recovering Homographies
In order to begin warping, we need to be able to recover homographies, using at least 4
corresponding points to do so (more is better). A homography is defined as such:
 p is our original point and p' is the desired point
|
As you can see, there are 8 unknowns, meaning we need at a minimum 8 equations to solve for our
homography matrix H. This is why we need two sets of 4 points at a minimum, to build those 8 equations.
We will then use the n >= 4 corresponding points from both "source" and "destination" to set up the
matricies below and then use least squares to solve for the h vector, which can then be reshaped to form
our H matrix.
 Matrix setup to solve for H using least squares
|
After we have the homography matrix, we are now ready to warp images.
Image Rectification
One use of homographies is to warp images such that they are "rectified". We can achieve this by
solving for the homography matrix from points in an image that are meant to be square/rectangular, paired
with hard coded square/rectangles (such as [[0, 0], [0, 1], [1, 1], [1, 0]]). Below are some examples
of images that have been "rectified".
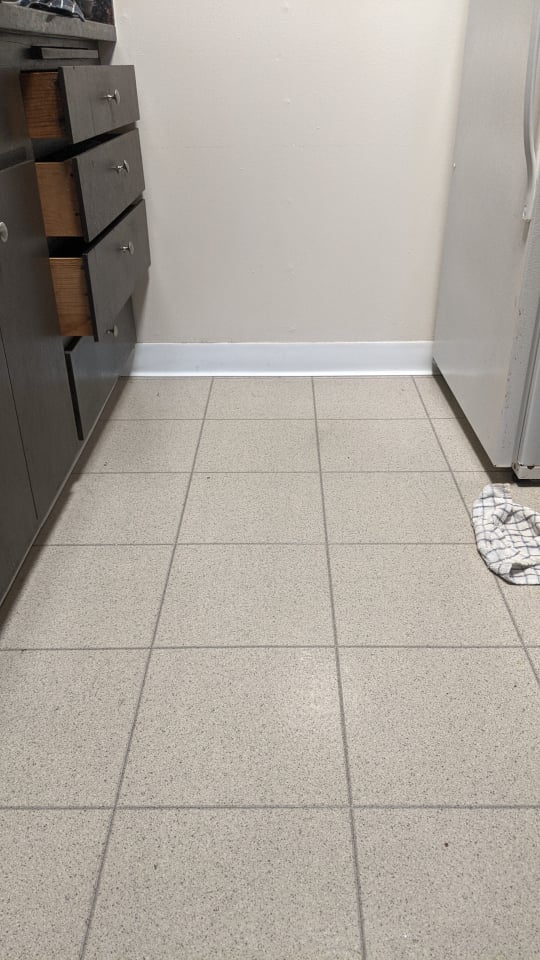 Original image of kitchen floor
|
 "Rectified" image
|
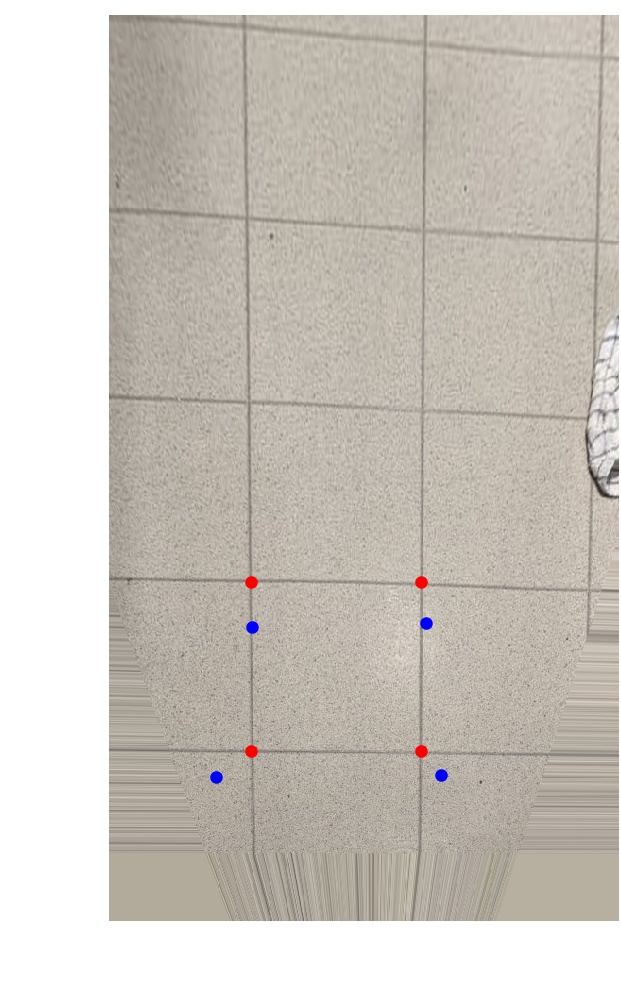 With points for reference. Blue: orig, Red: new
|
 Original image of laptop screen
|
 "Rectified" image
|
 With points for reference
|
Blending in Mosaics
The next step is to warp and blend two or more images together to produce mosaics, or
panoramas. The process is very similar to rectification, but now we are simply warping one or more
images to the same perspective (could be the perspective of a base image of our choosing). We then
average the images where they overlap, and blend the edges of the overlap by taking a weighted average
(using alpha feathering). Because we not need to fit both images into one, we also need to calculate
the size of the bounding box that will accomodate both the warped image and the base image, and then
fit them both into the bounding box prior to blending. Below are some examples.
David's Desk
 Original Left
|
 Original Right
|
 Left image fit into bounding box
|
 Warped Right image
|
 Blended images in bounding box
|
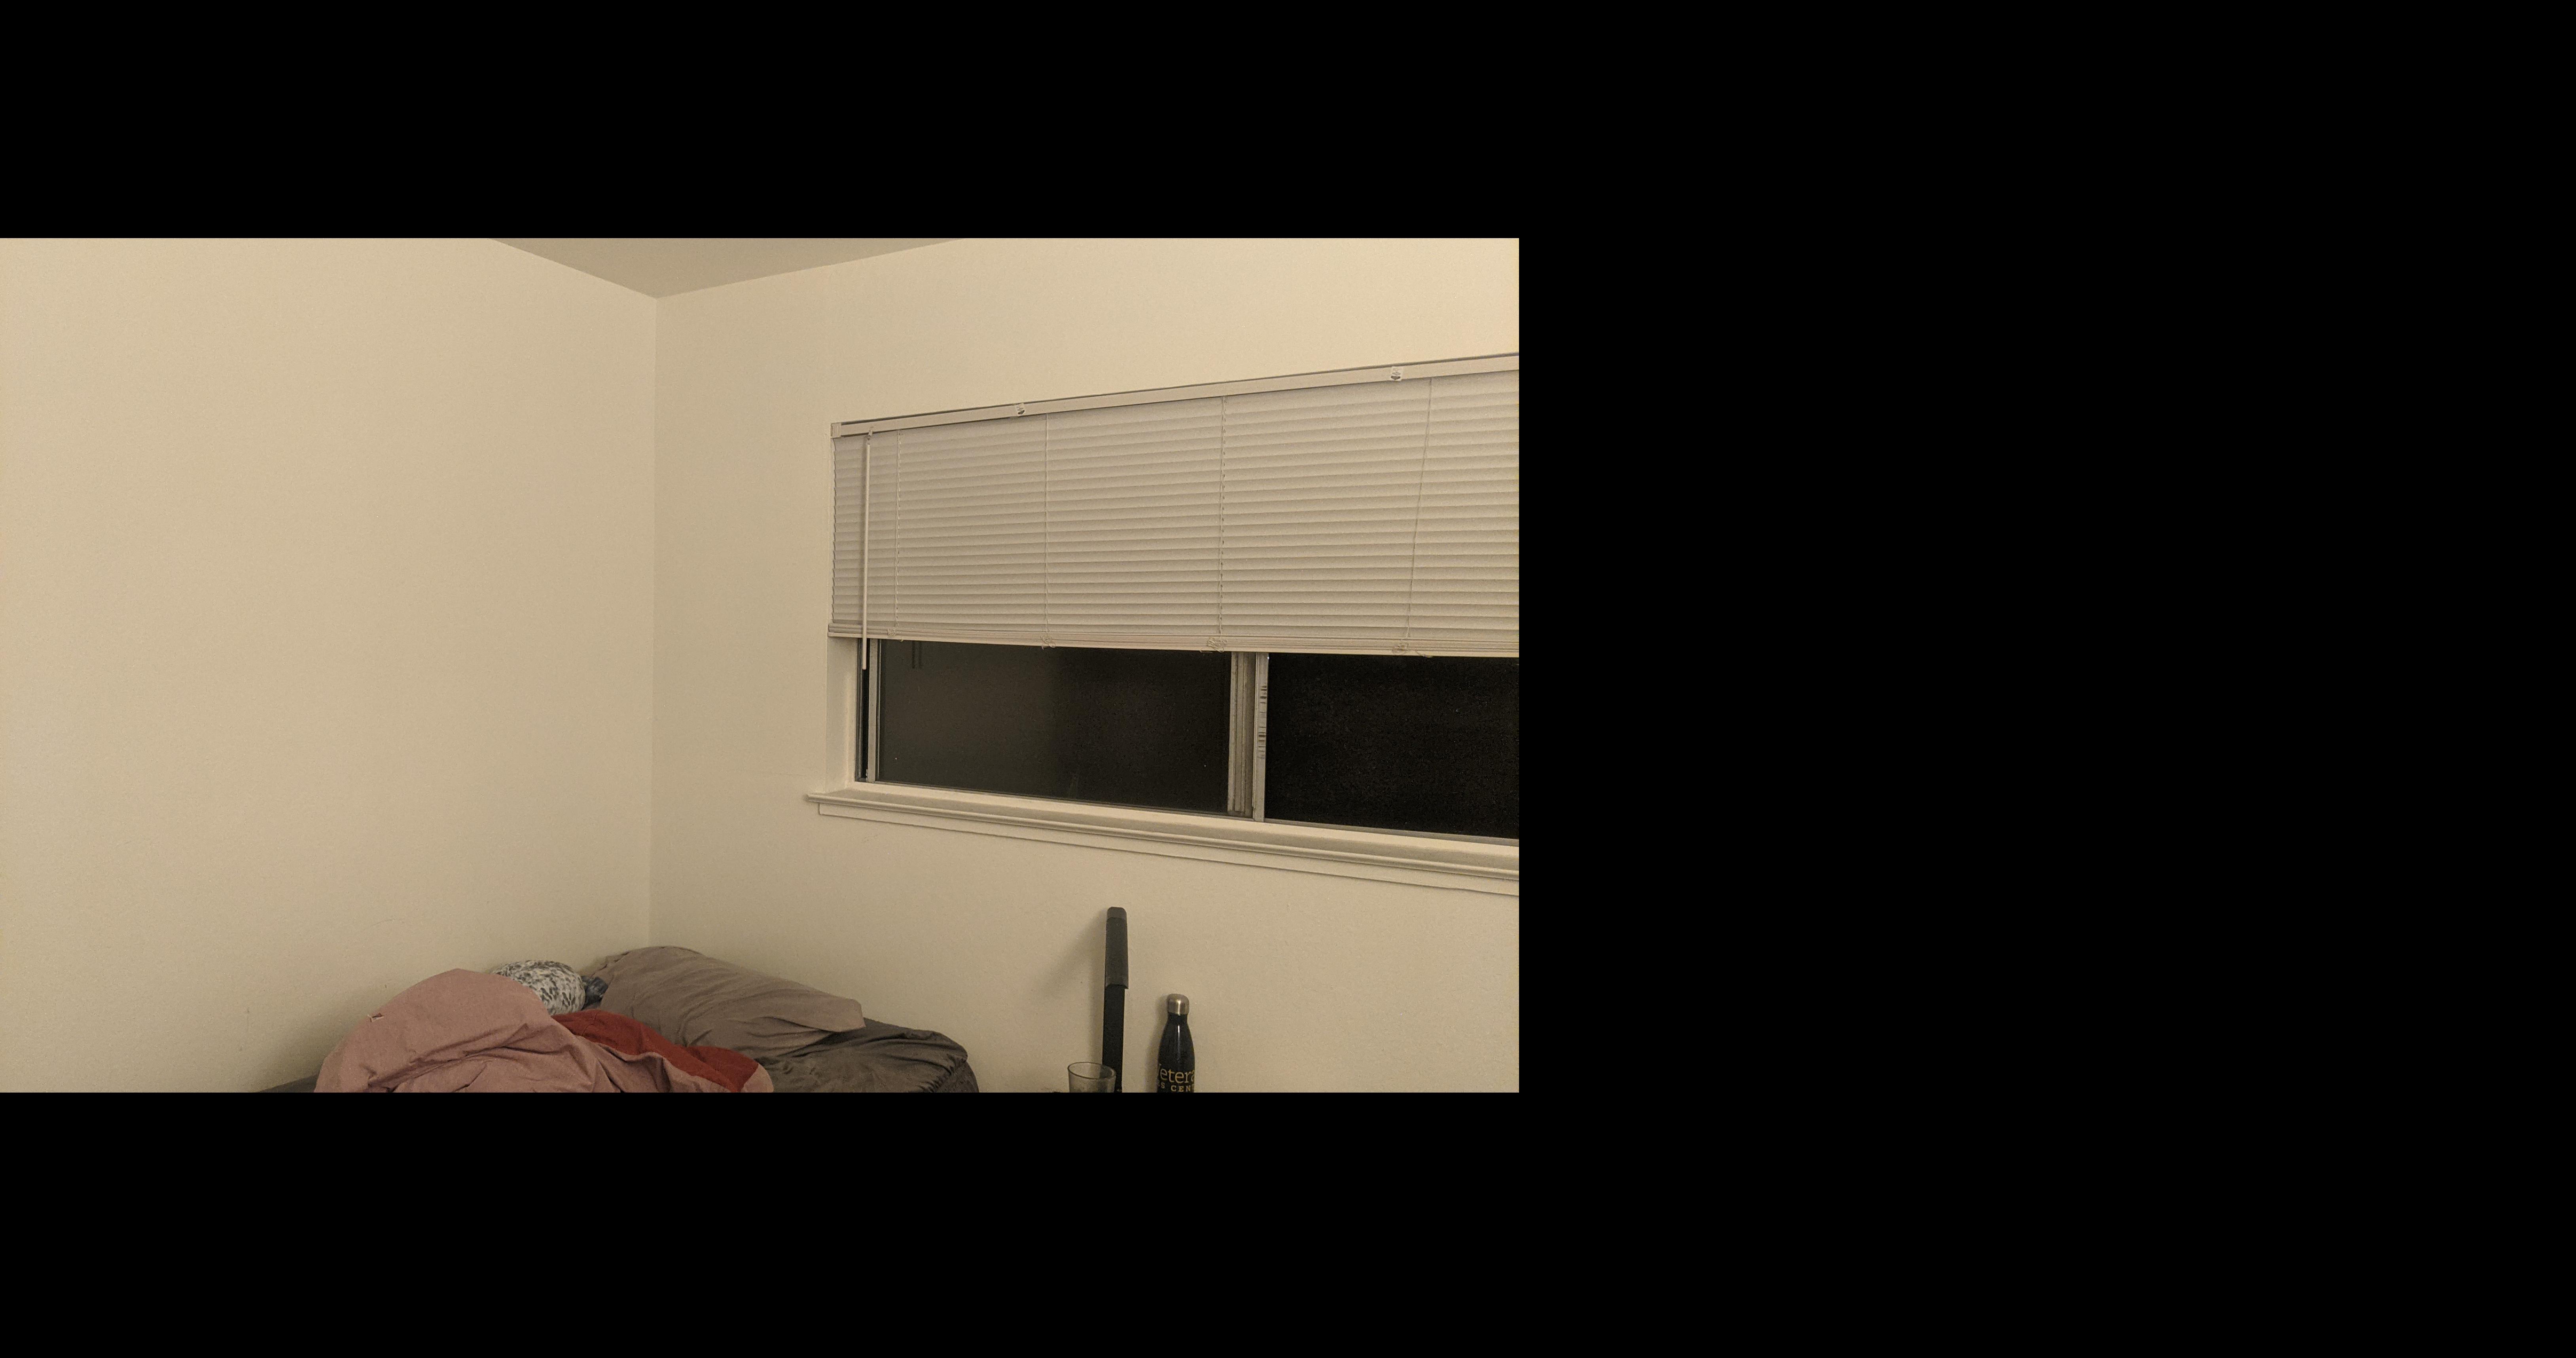
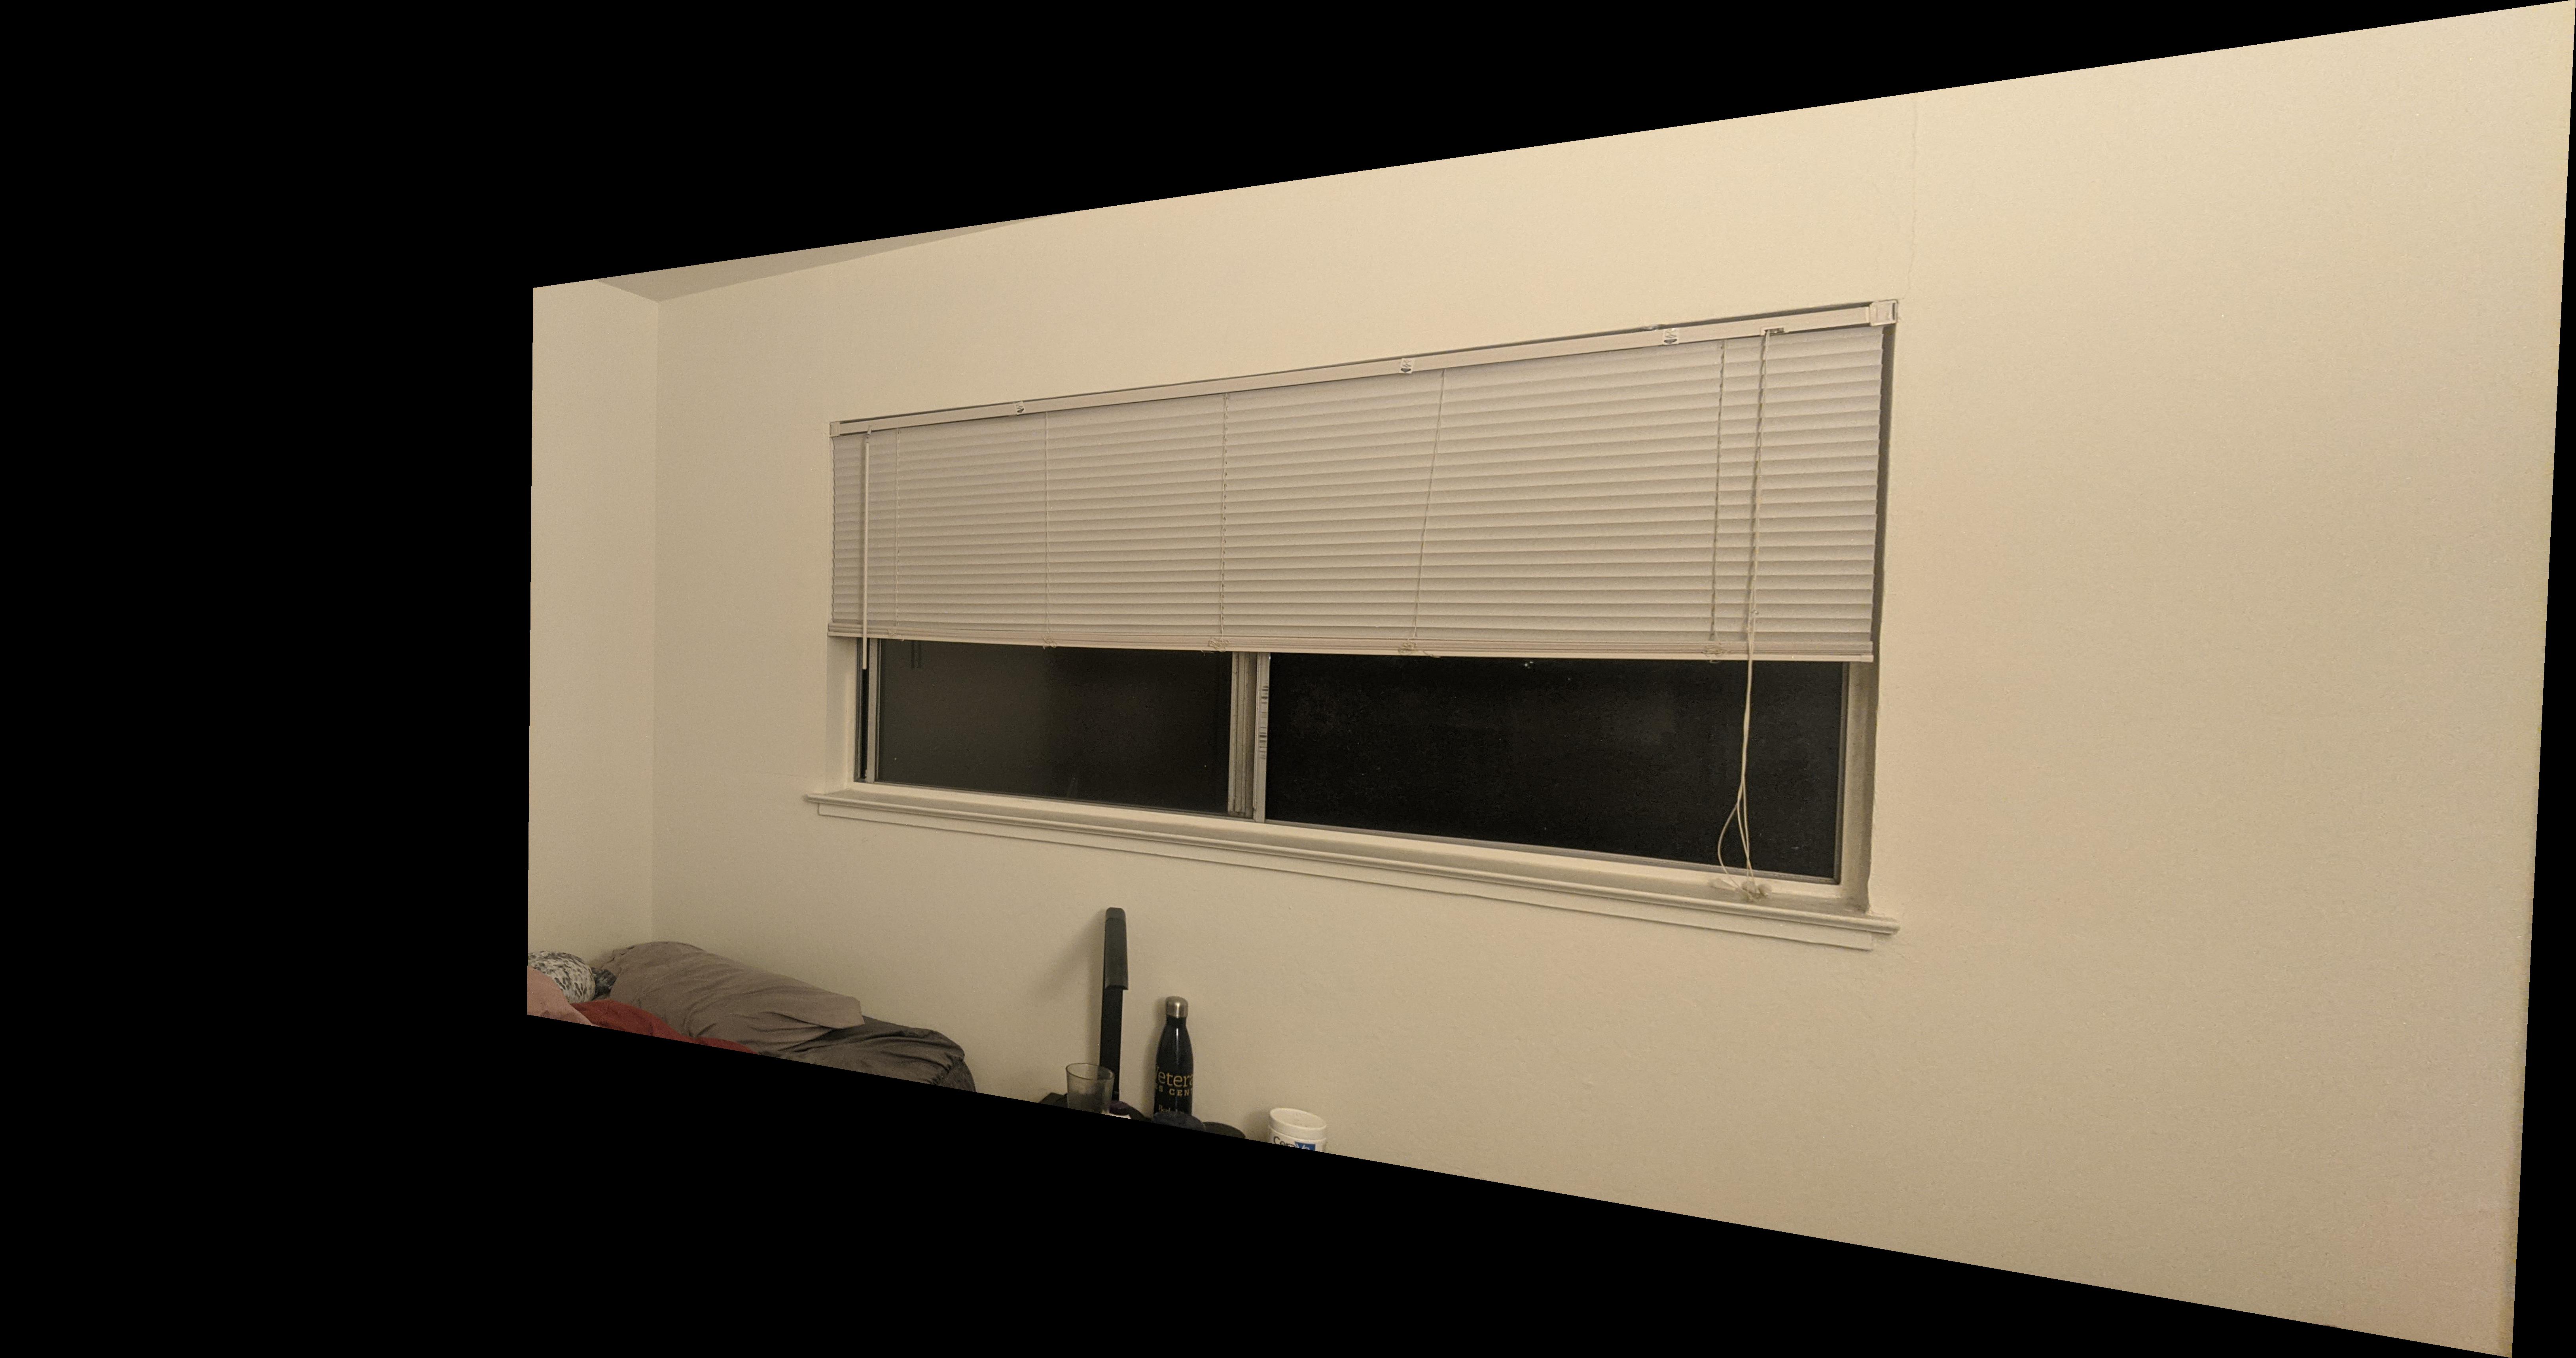
Bedroom
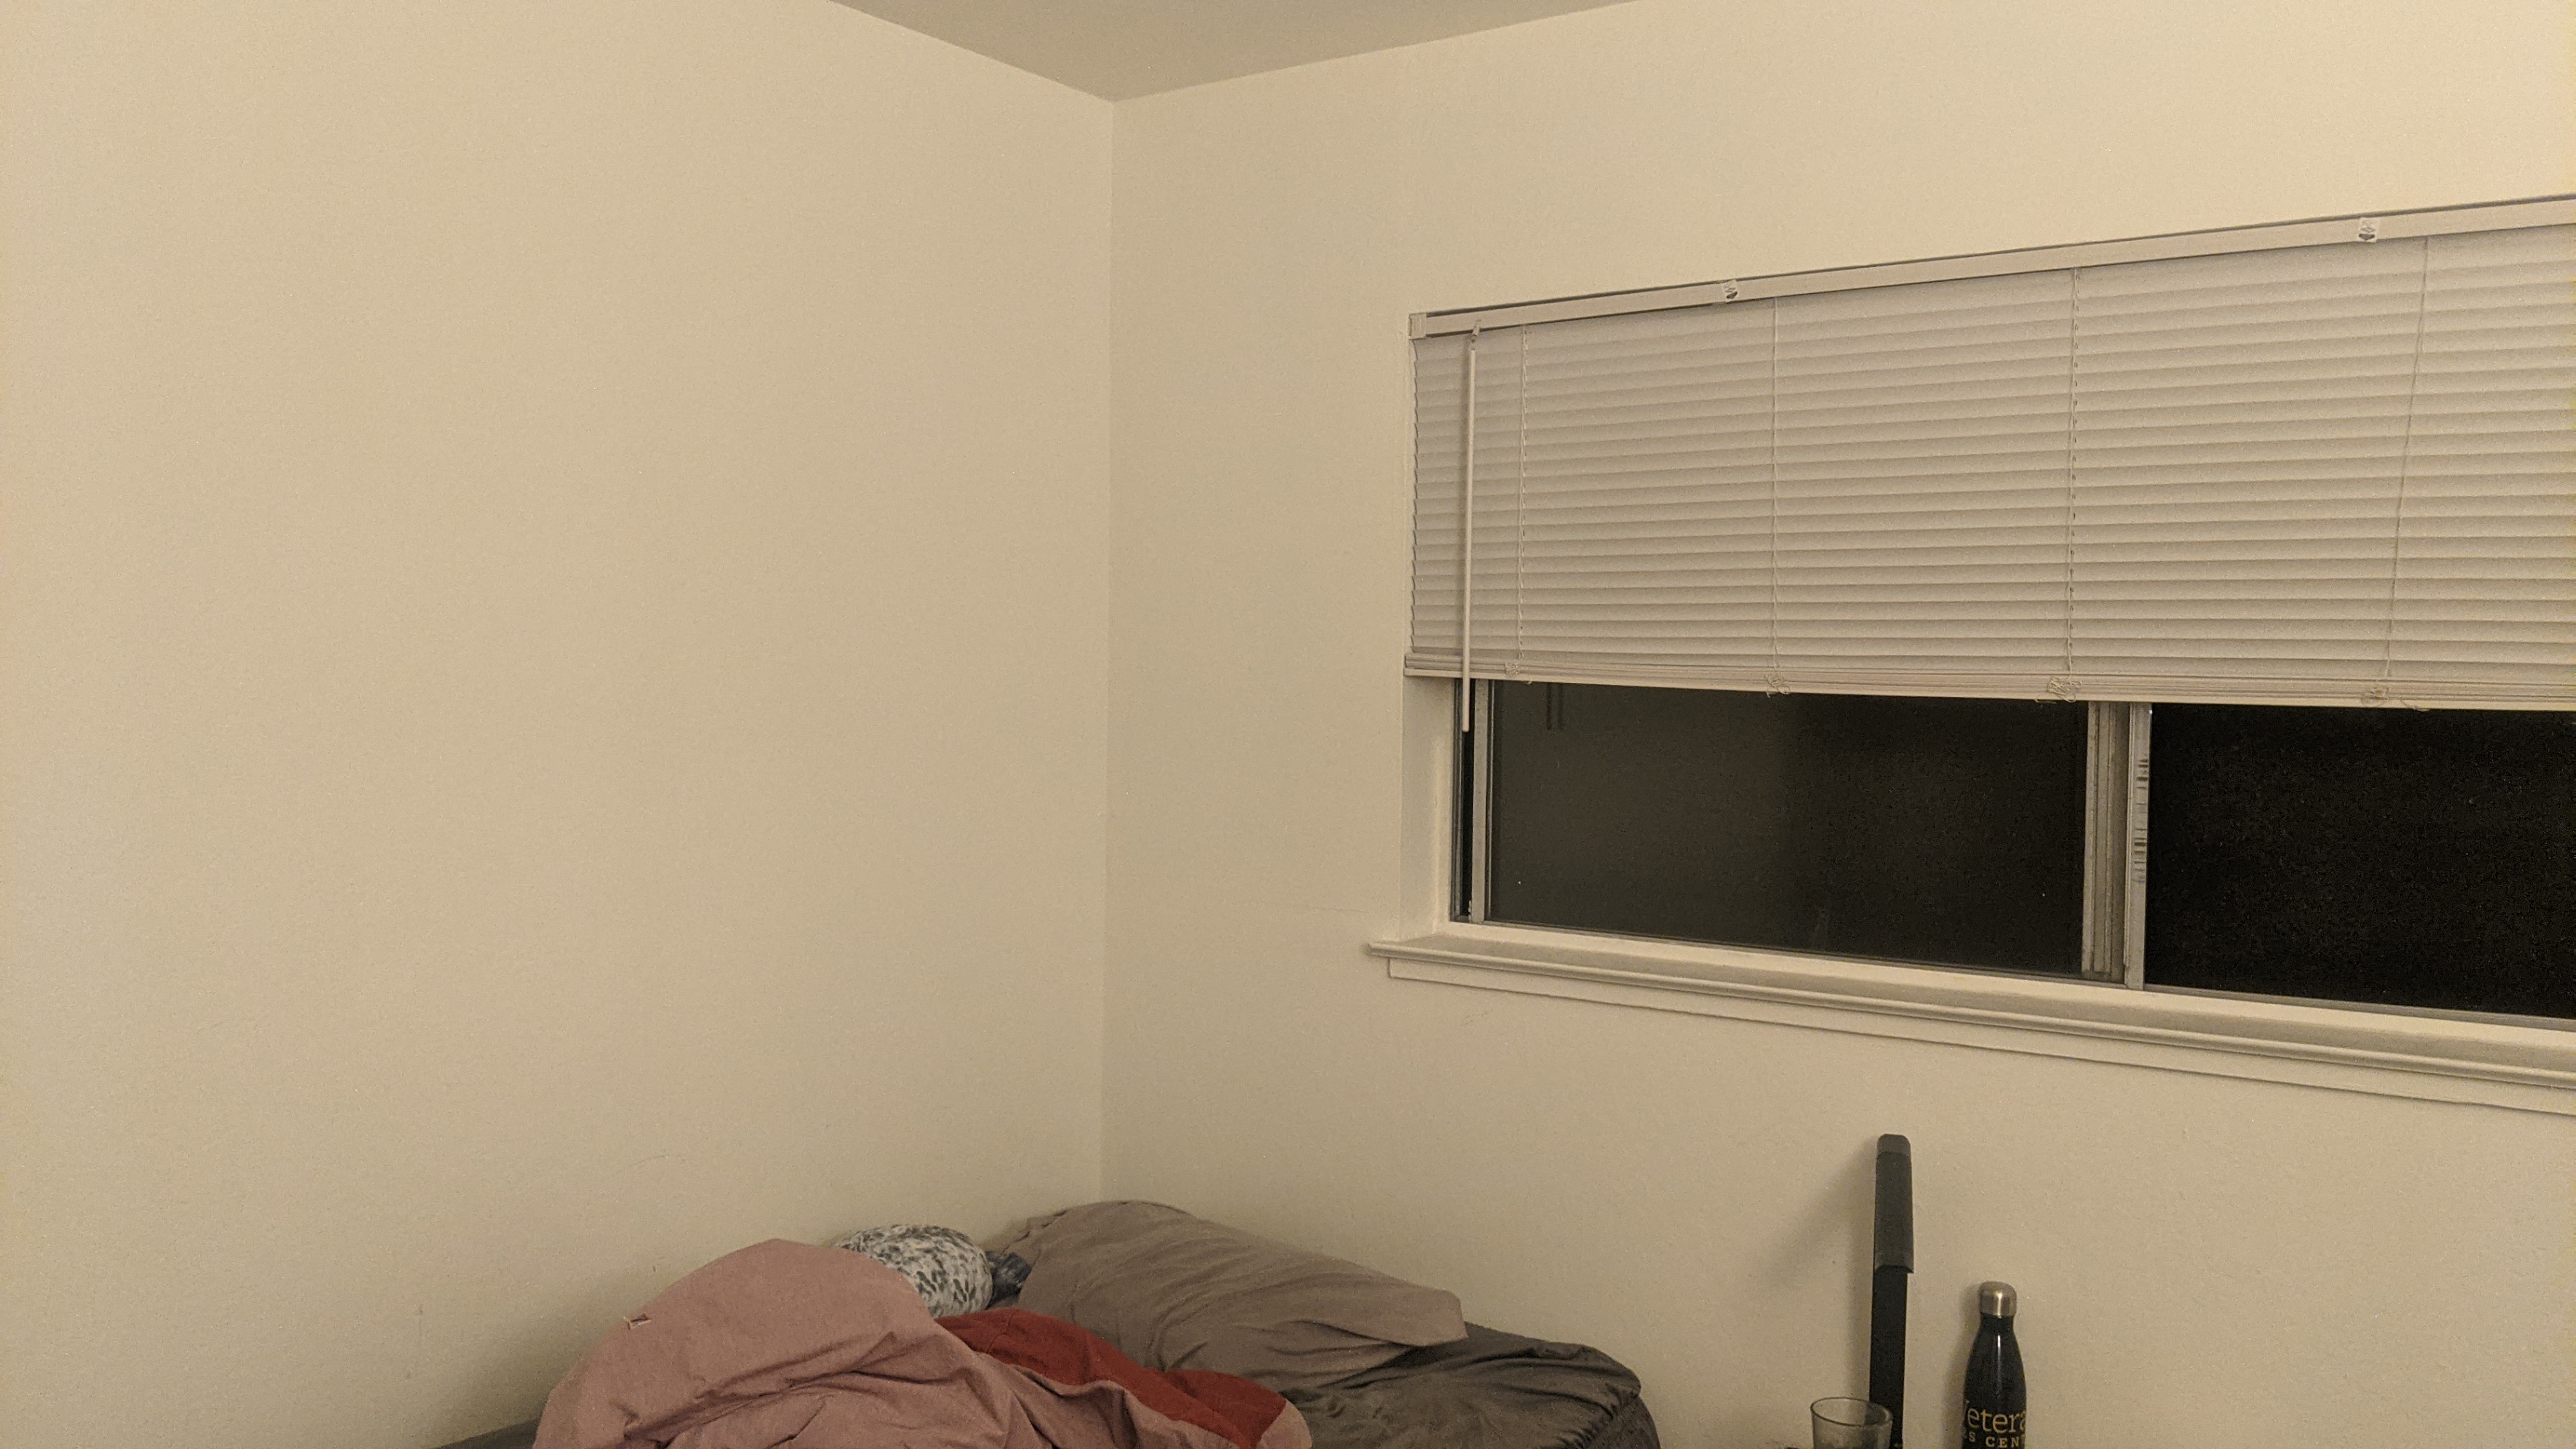 Original Left
|
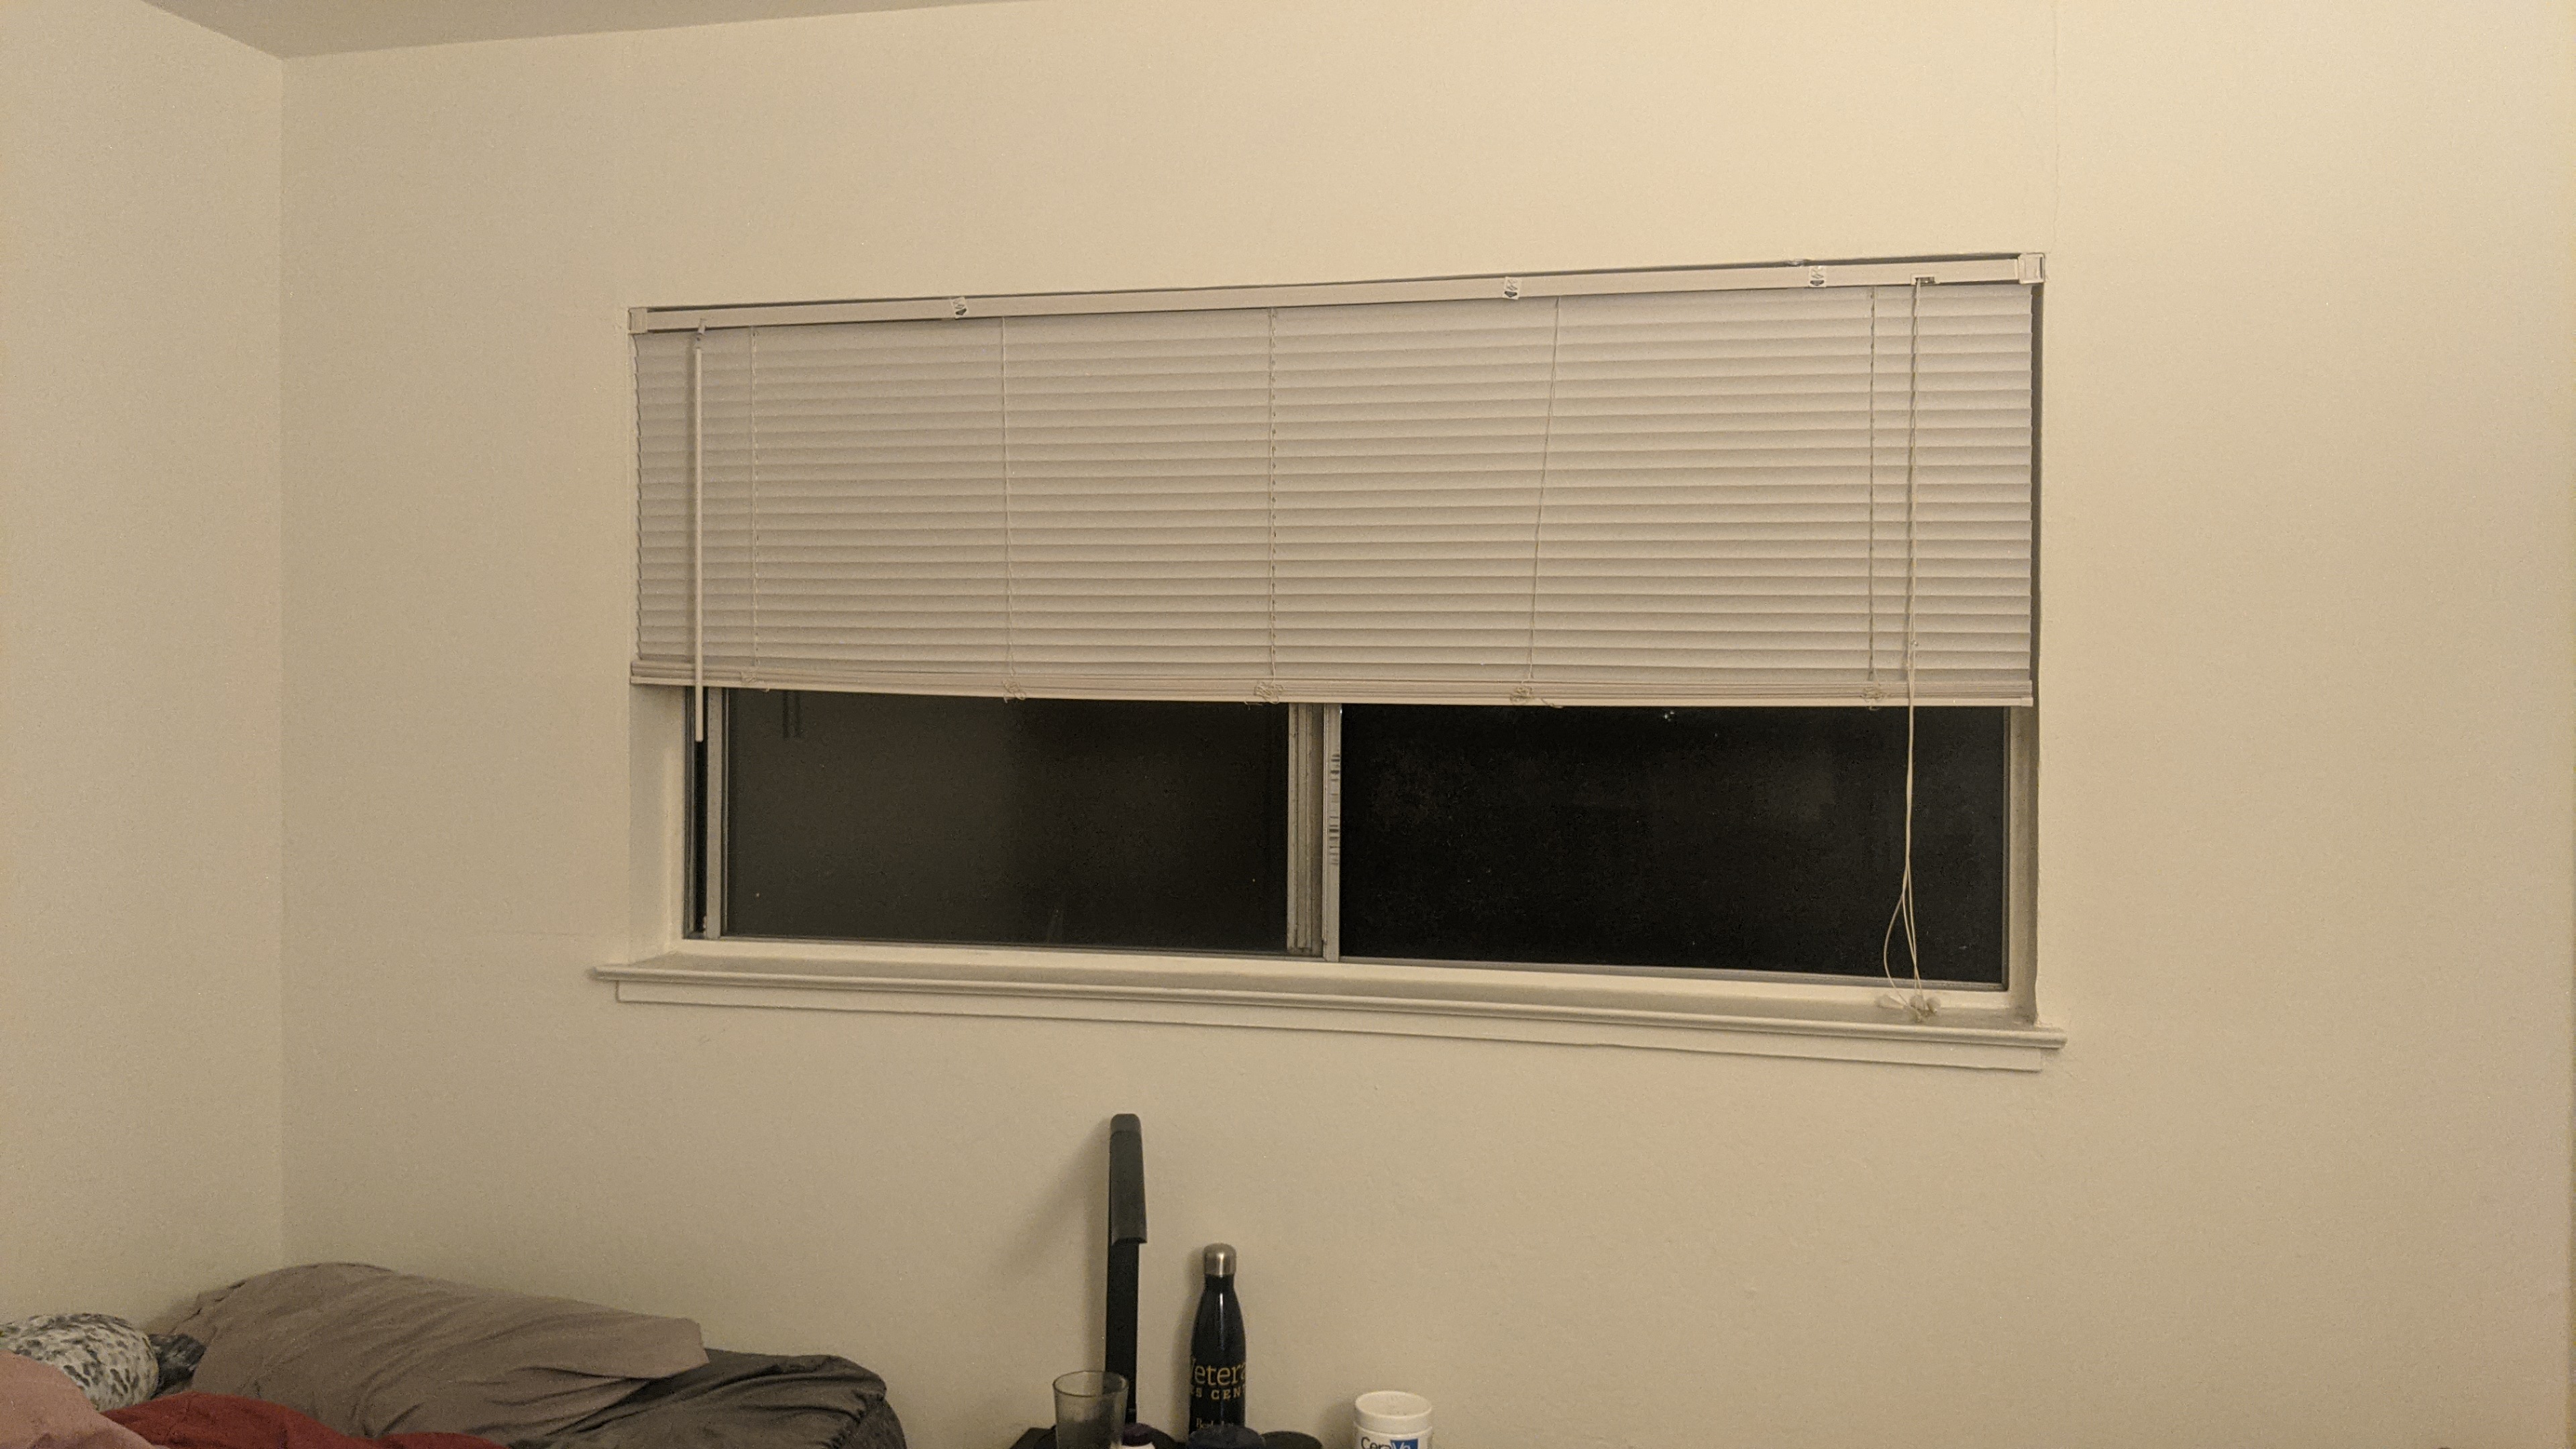 Original Right
|
 Left image fit into bounding box
|
 Warped Right image
|
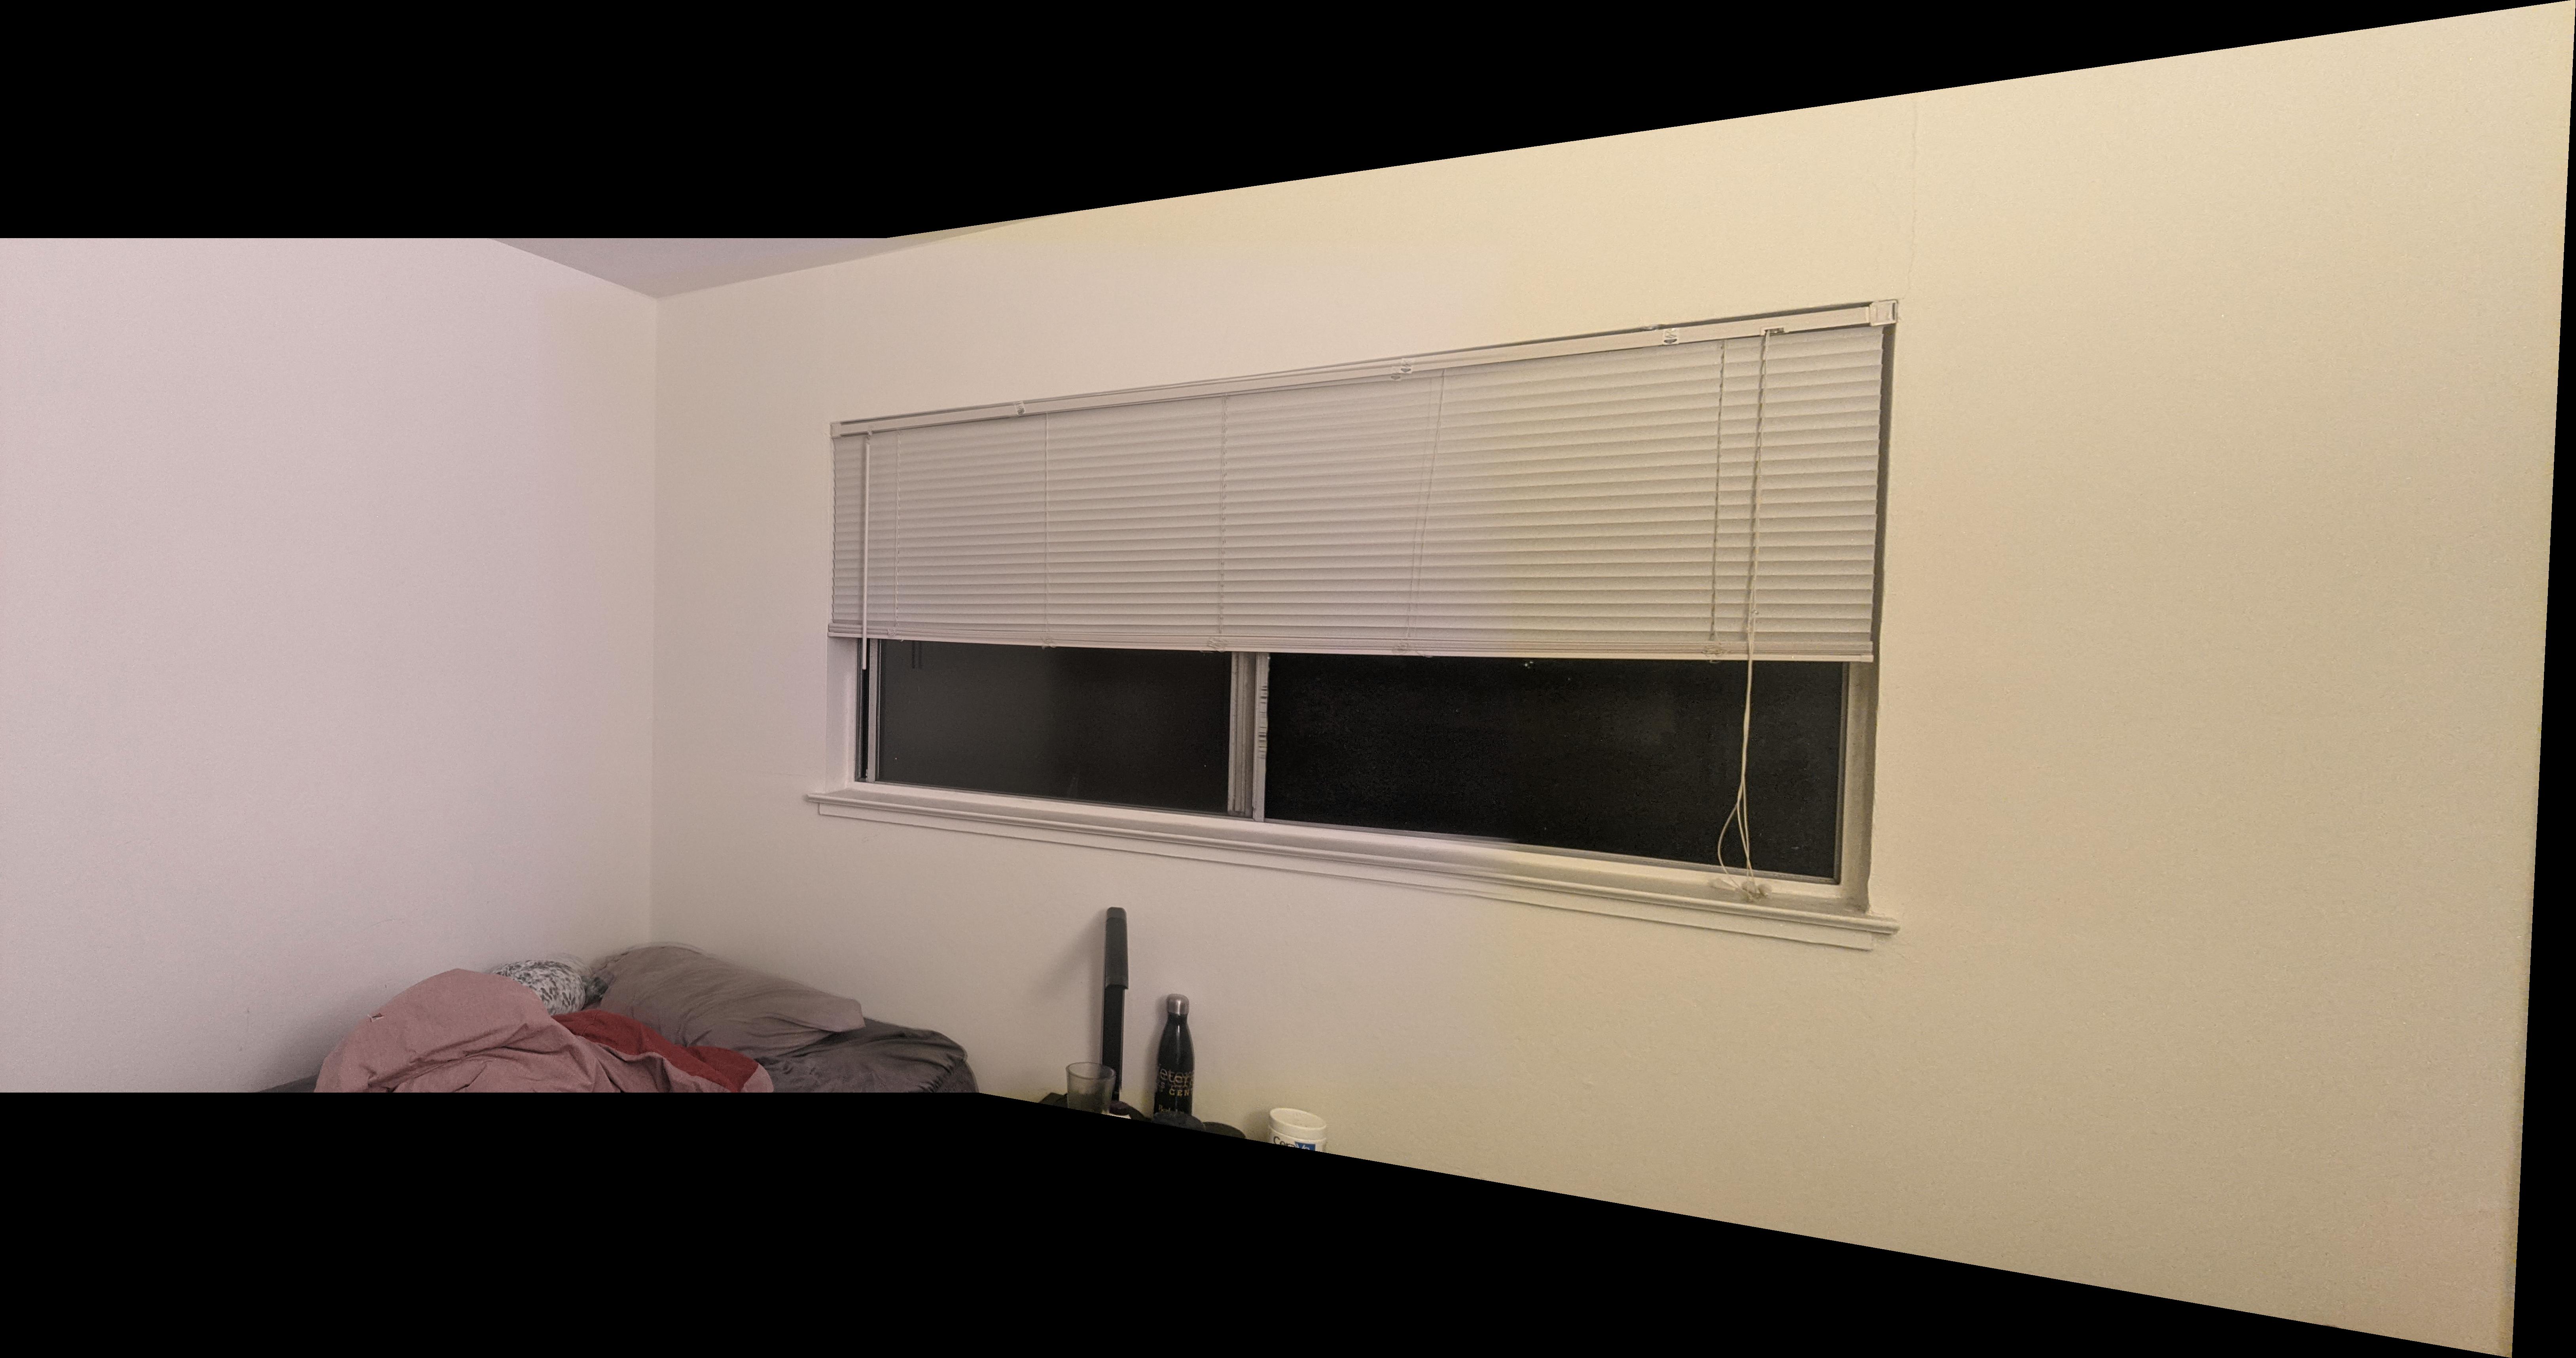 Blended images in bounding box
|
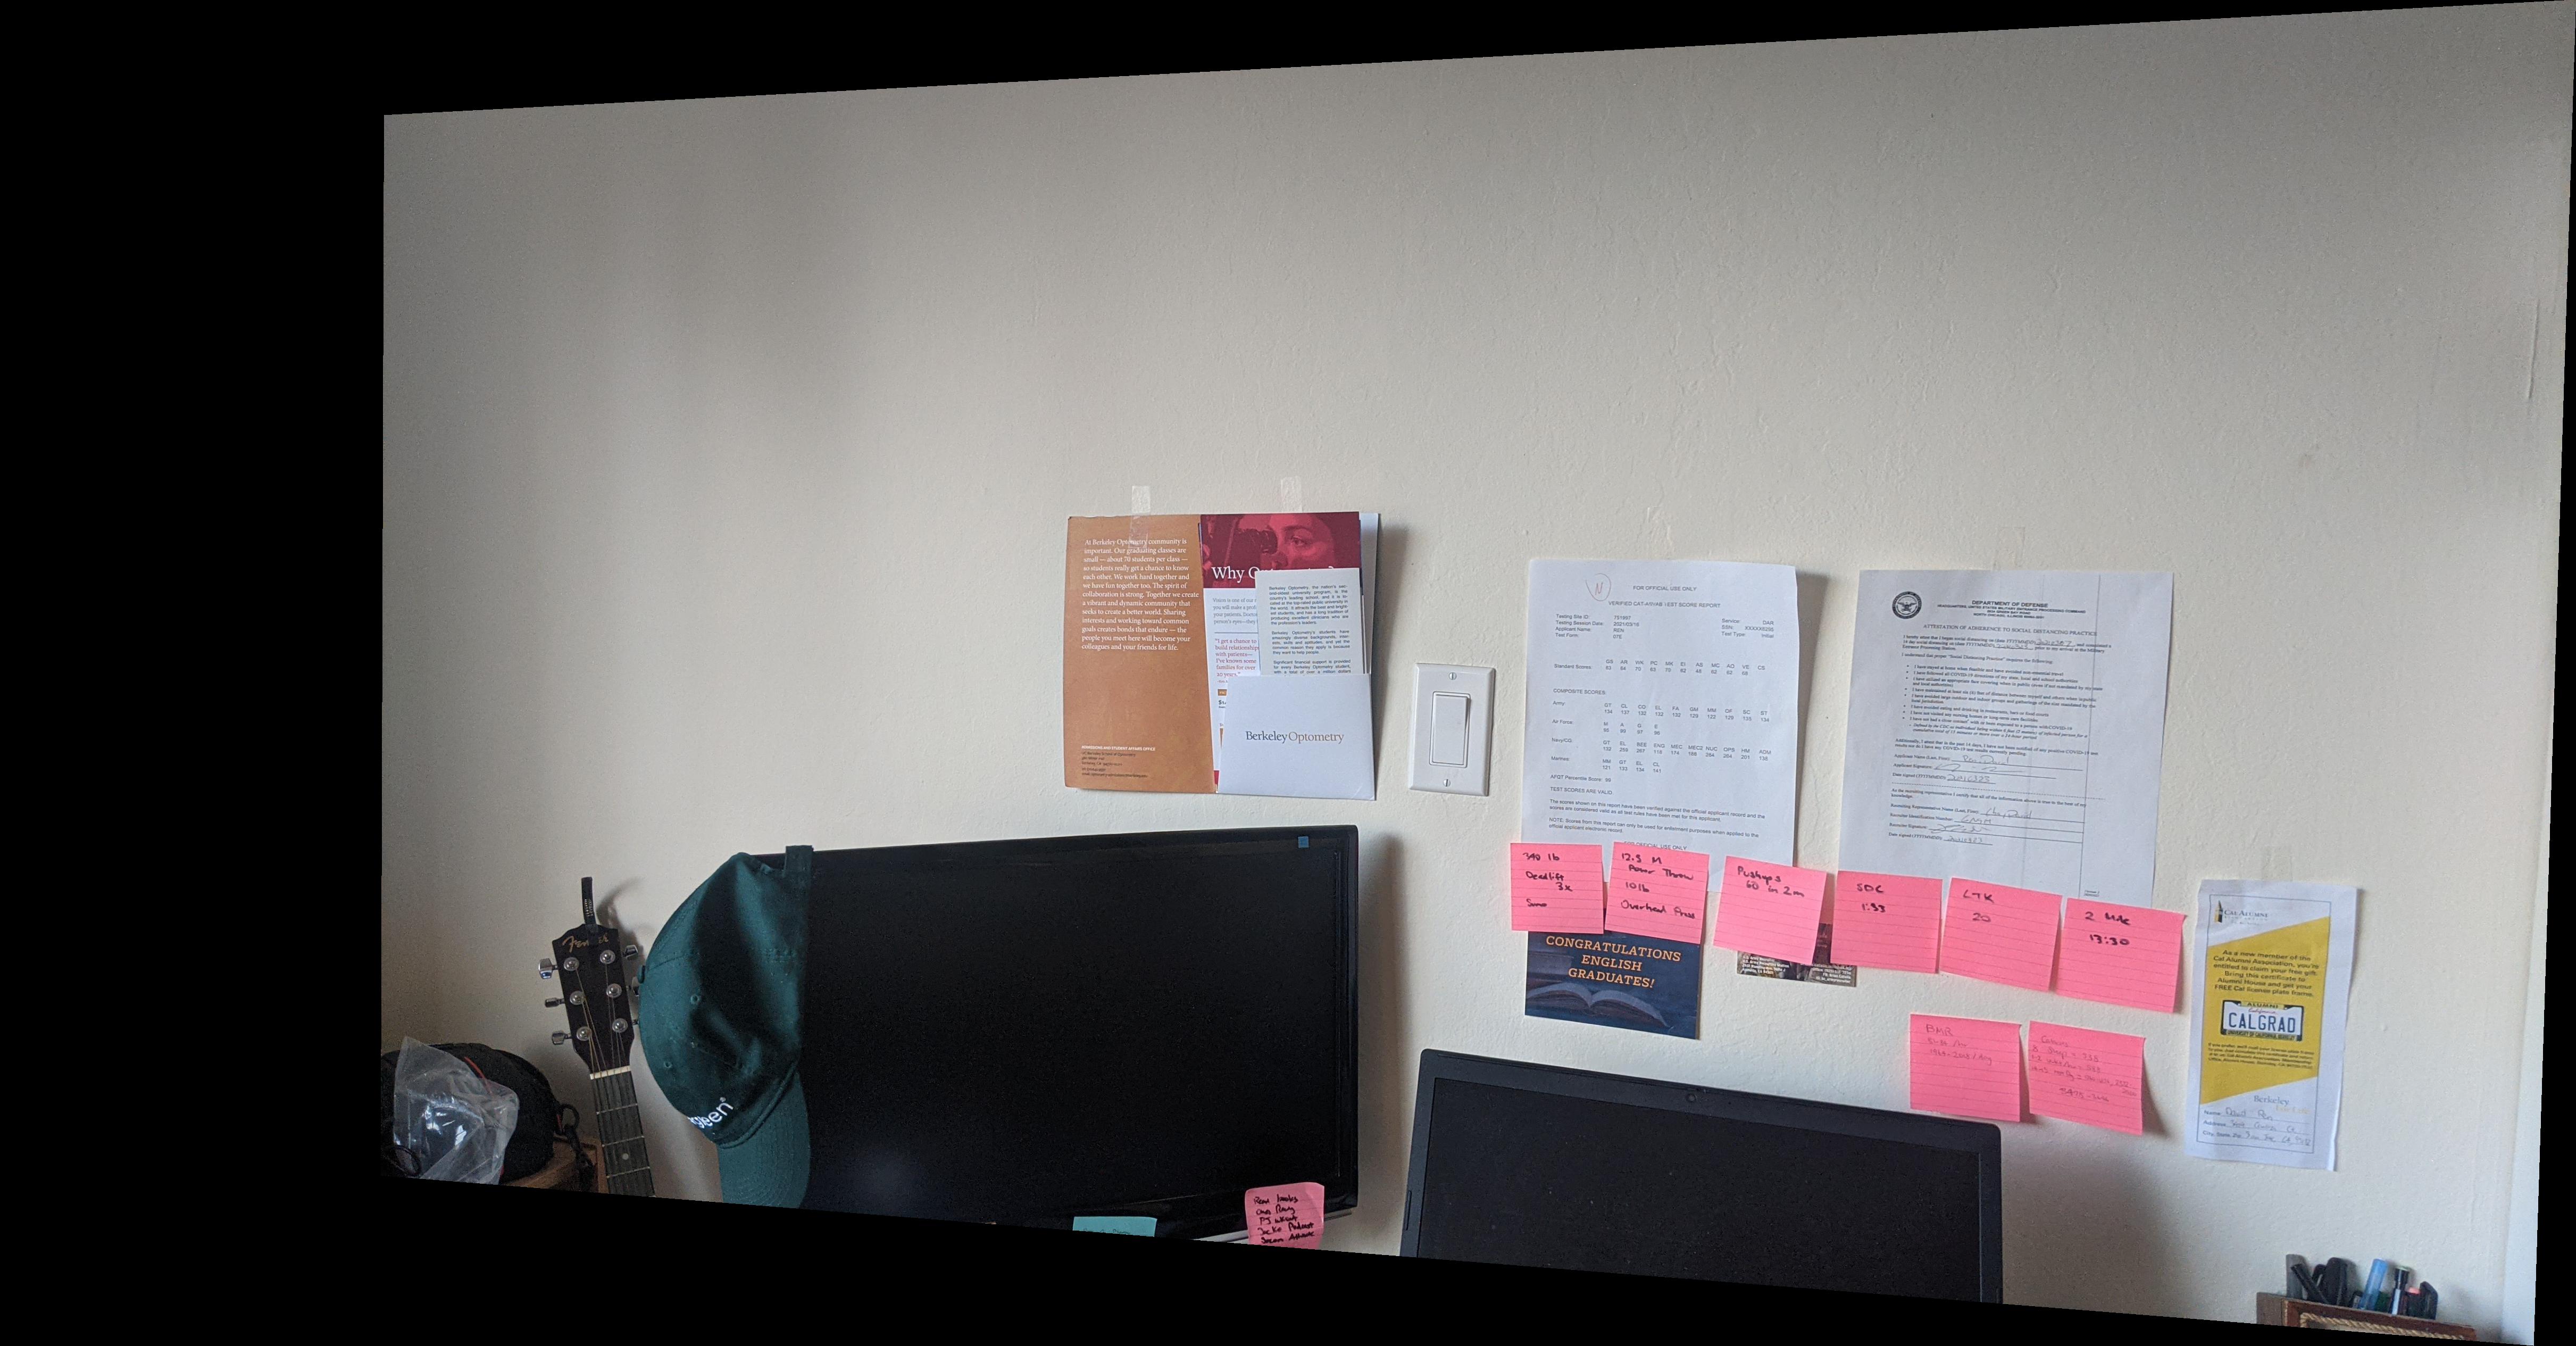
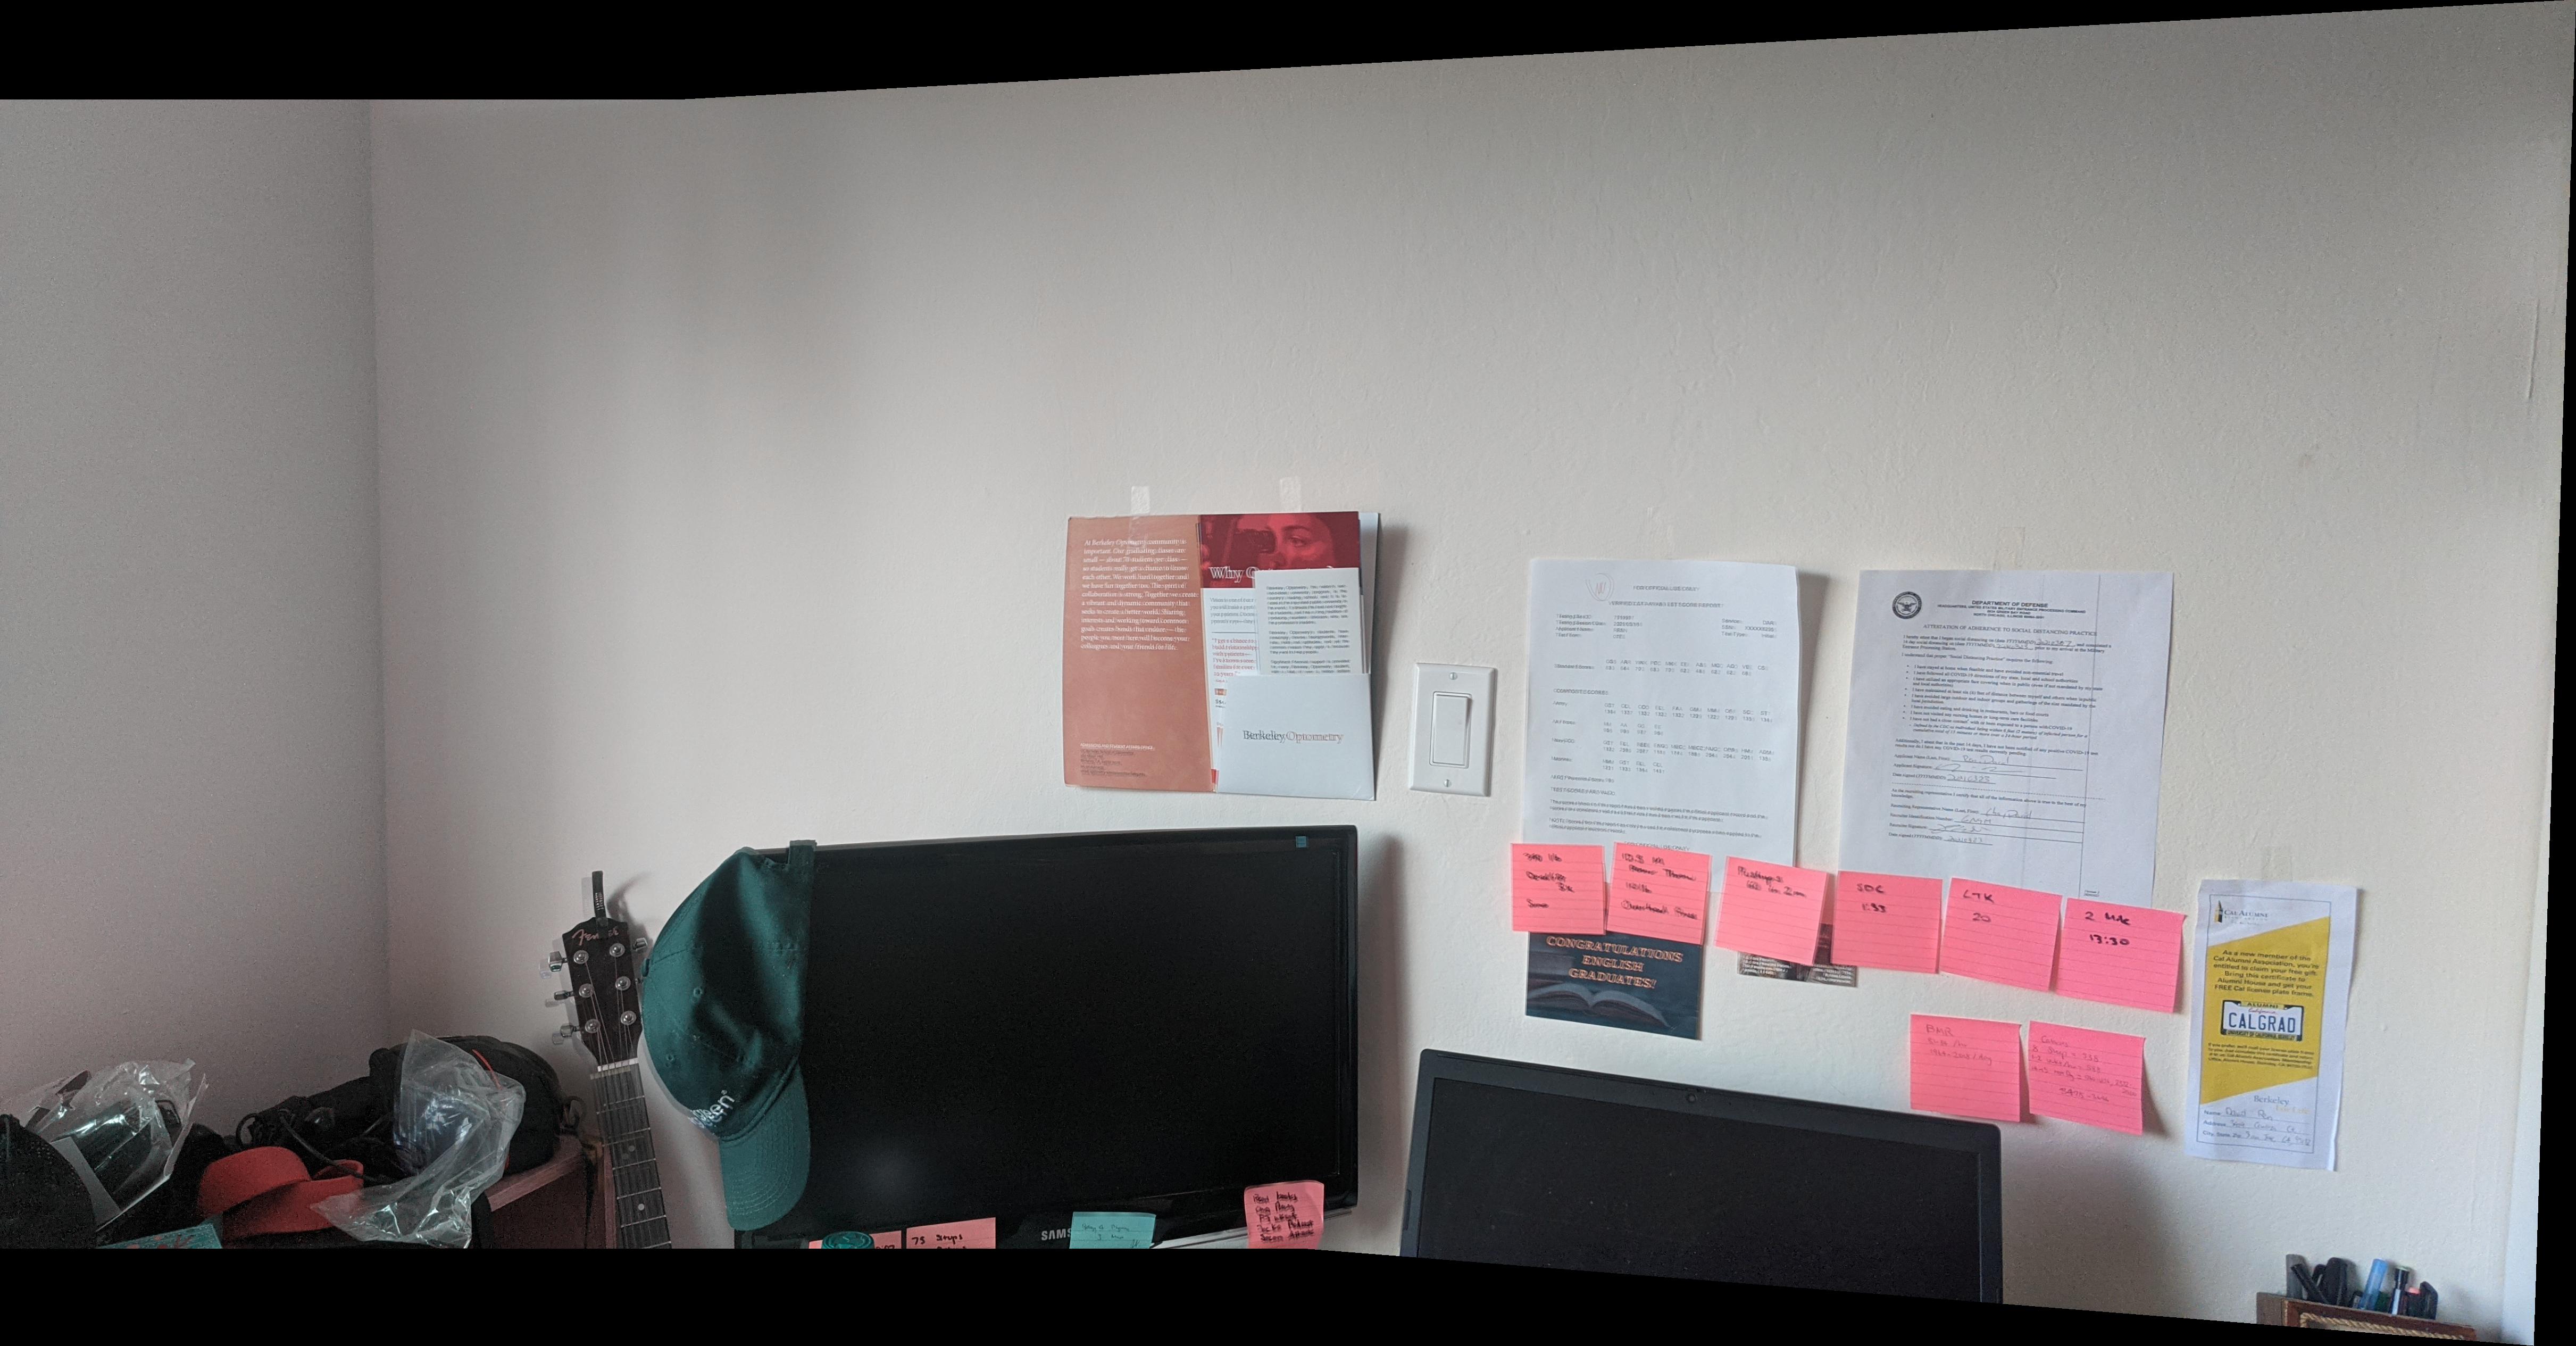
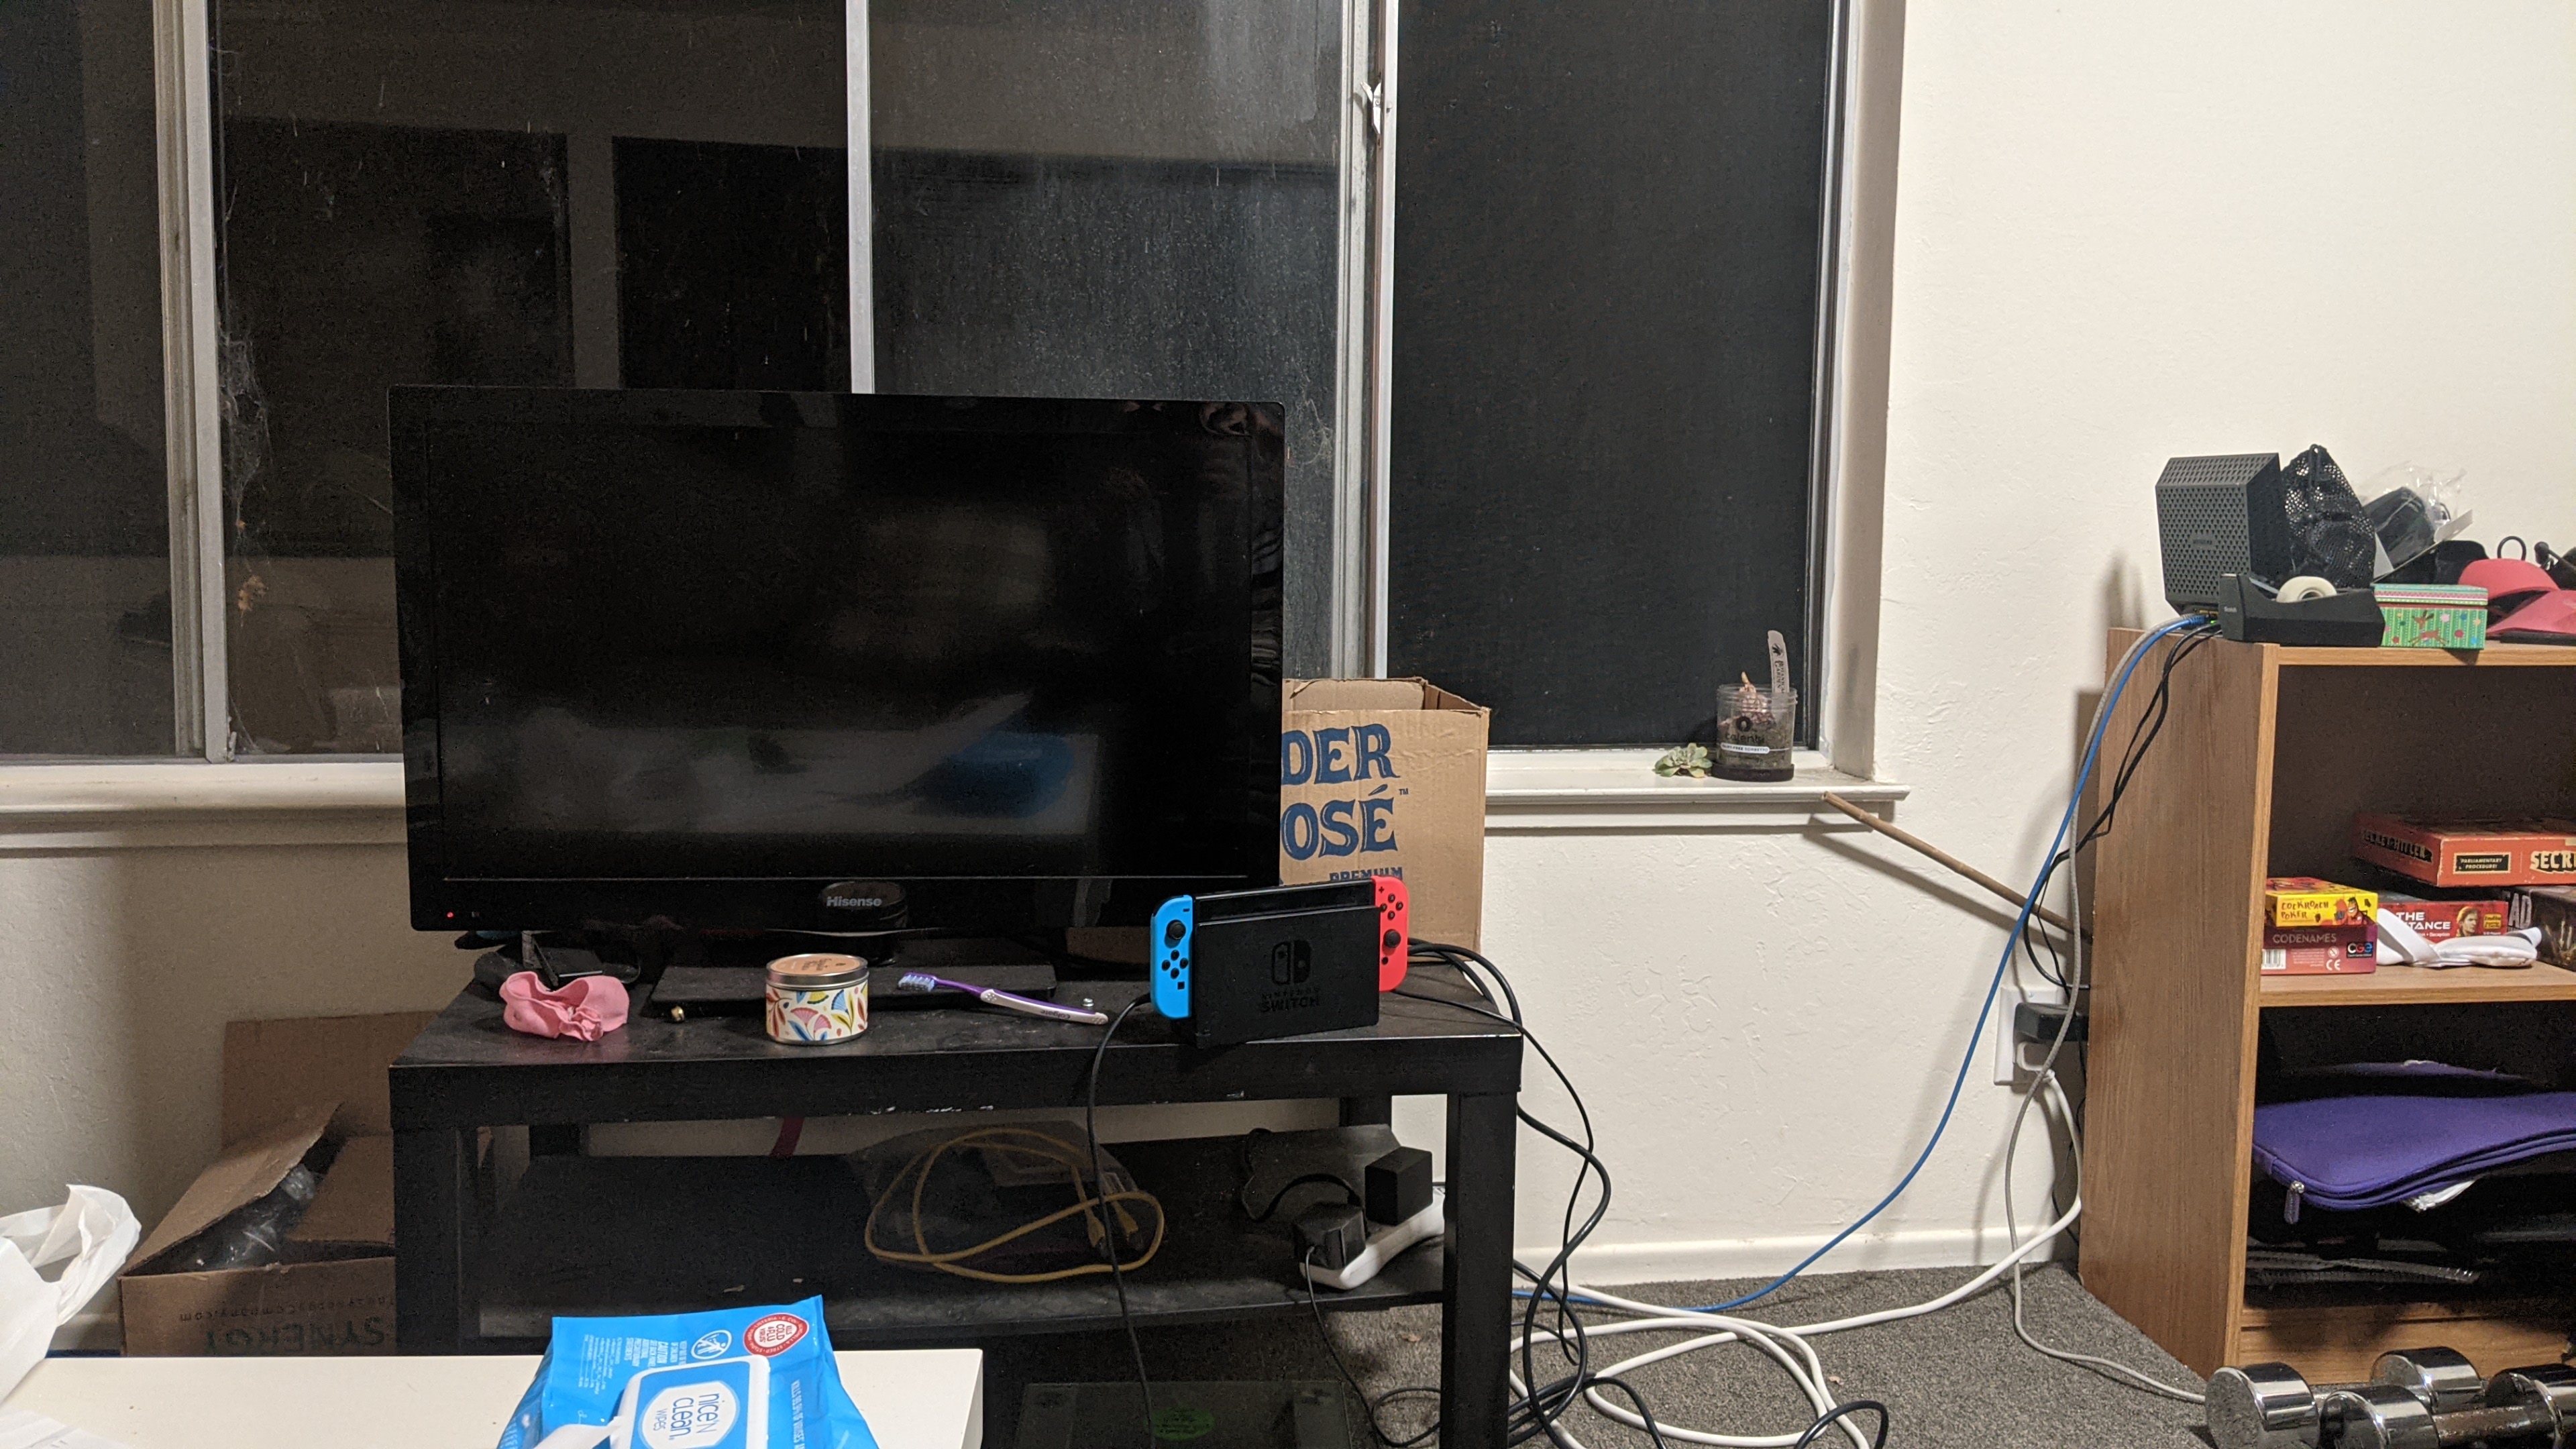
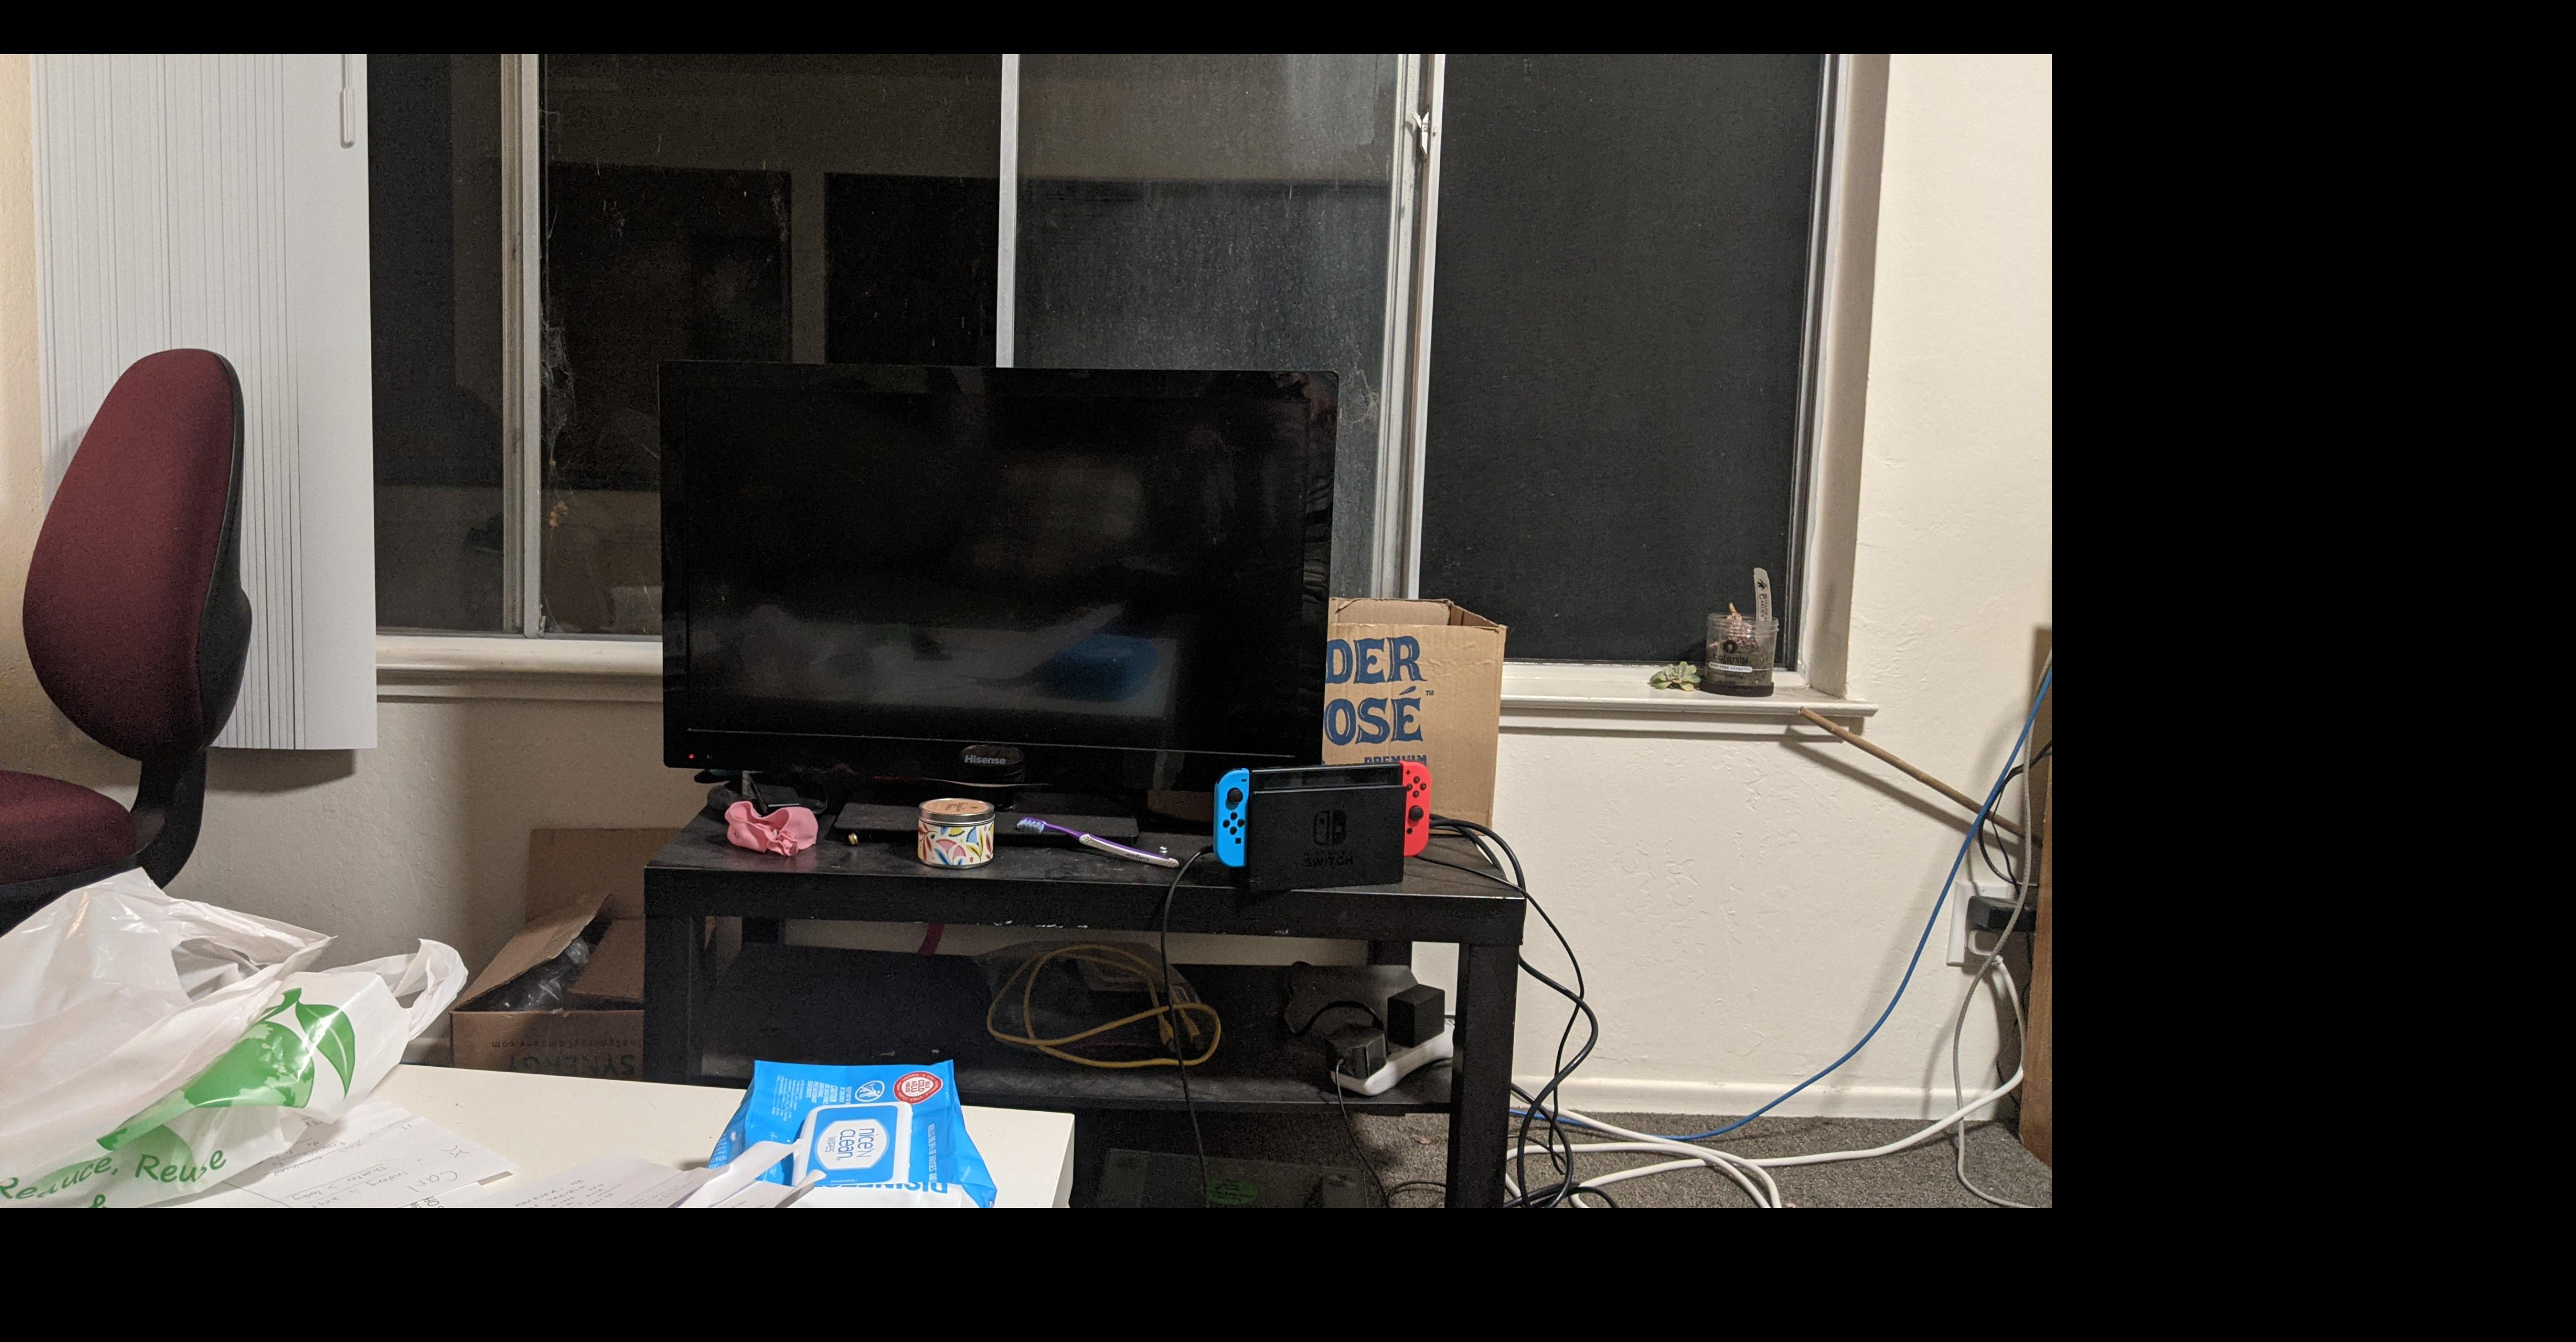
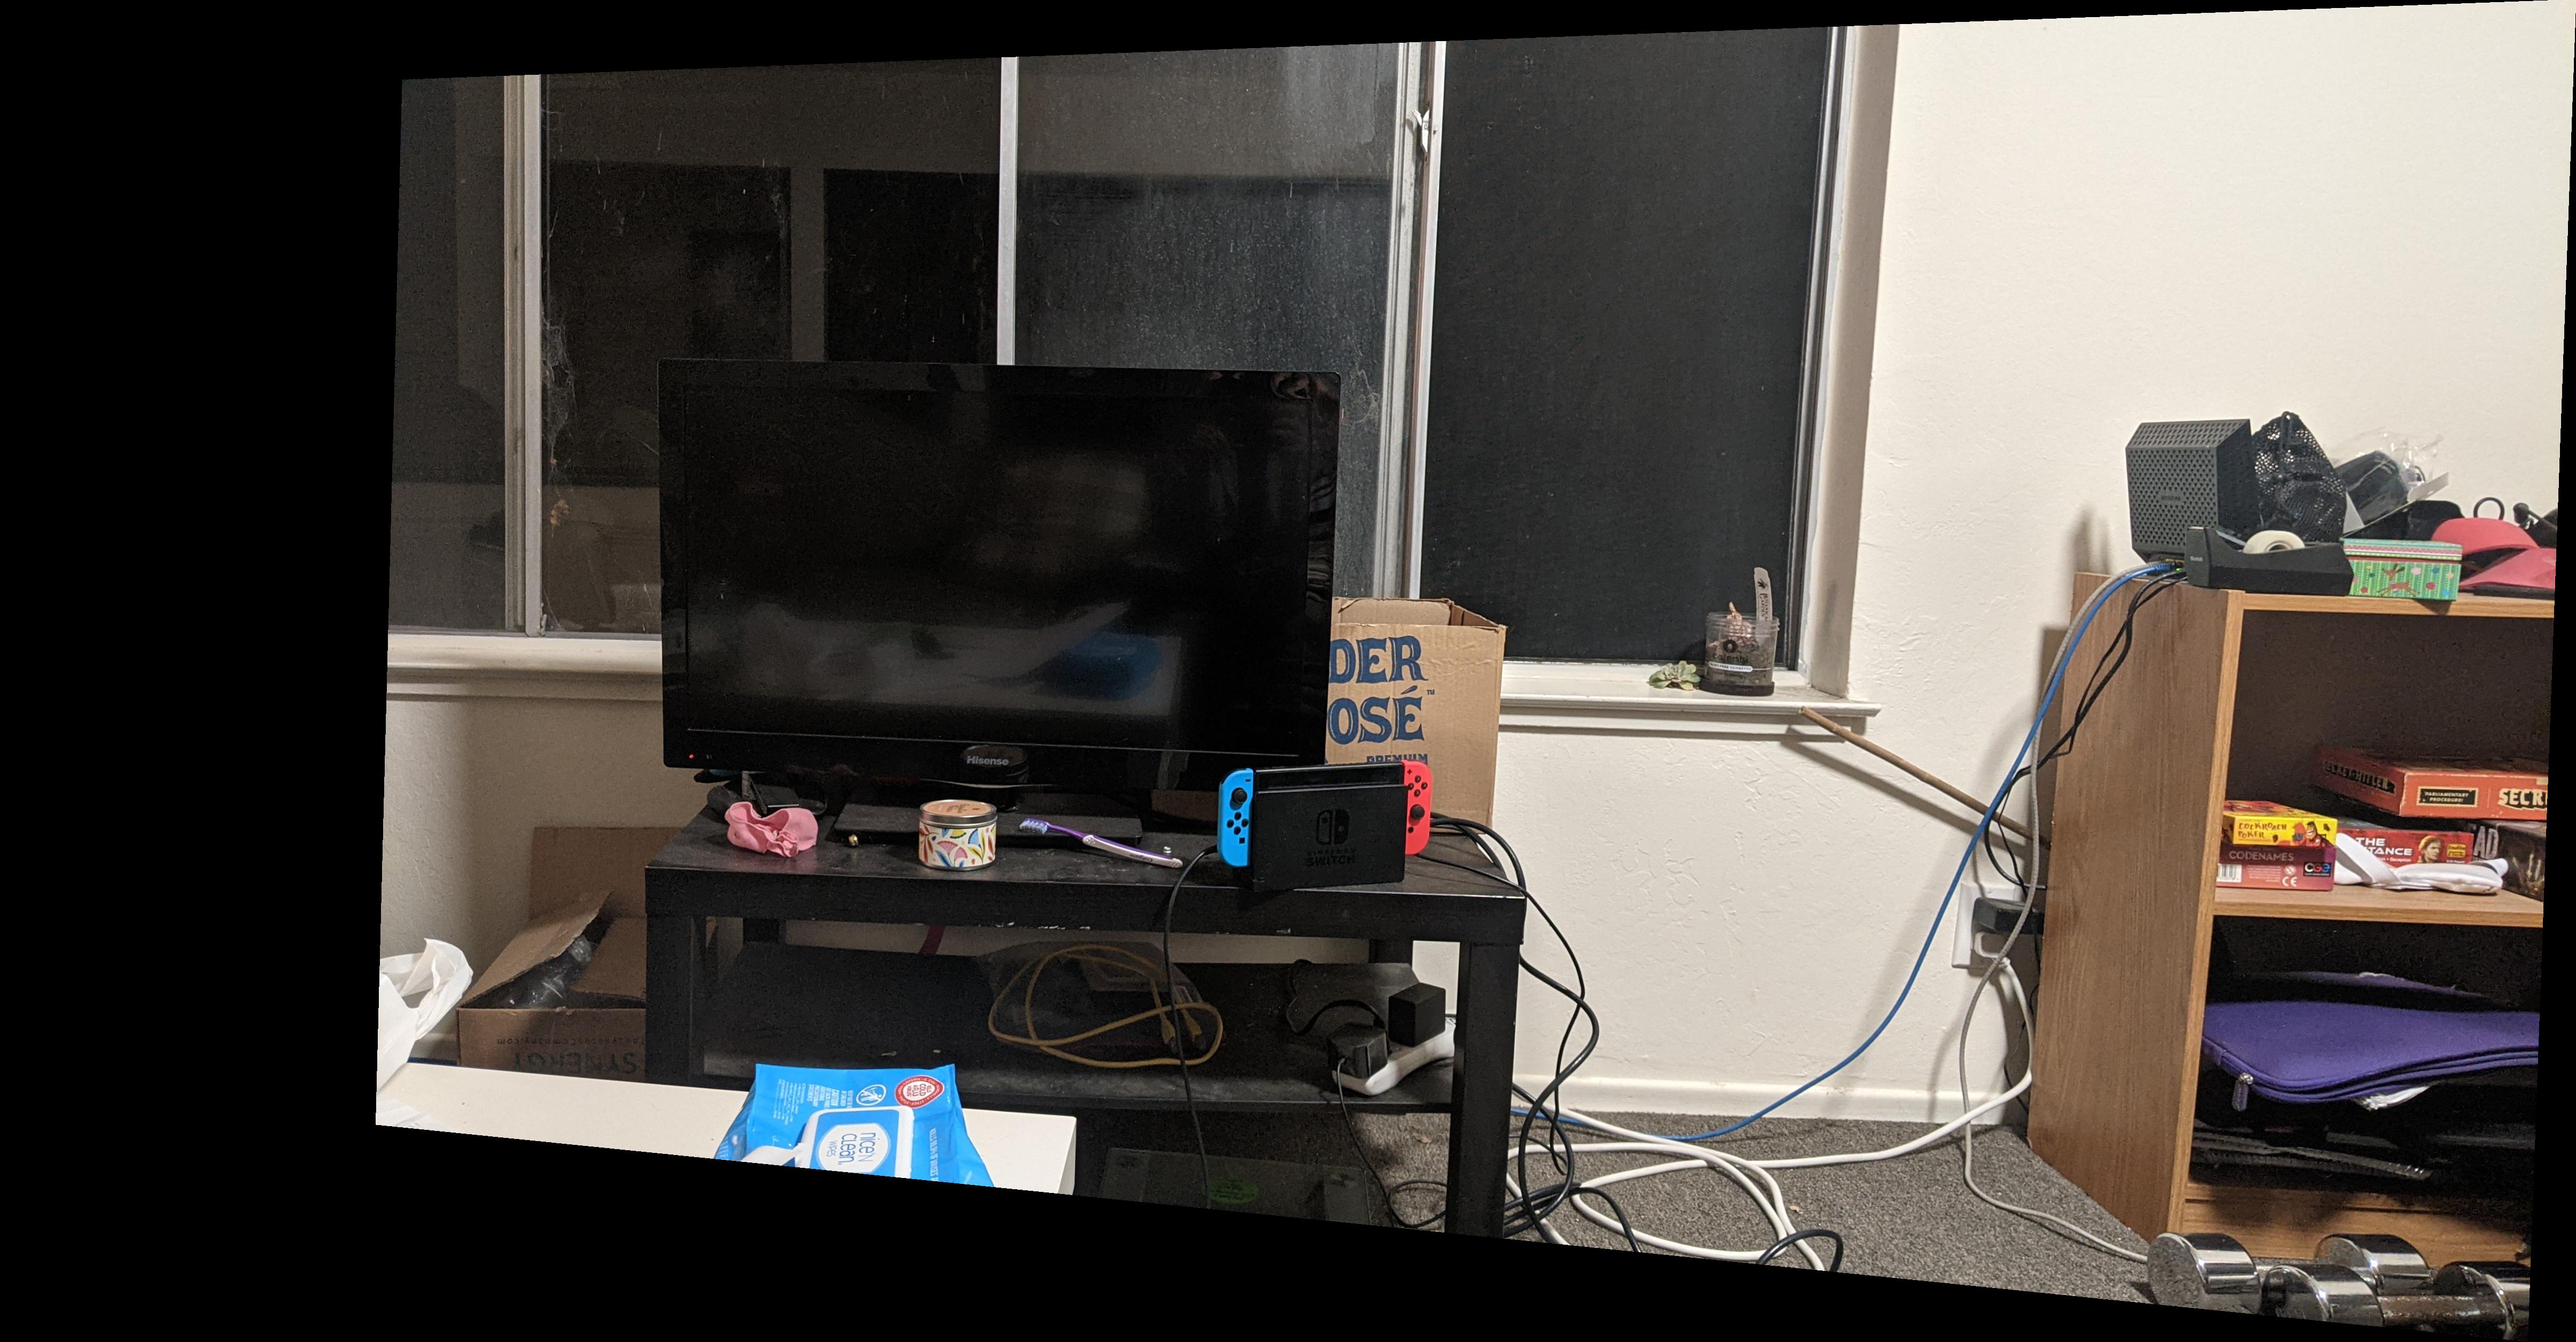
Living Room TV (Ignore the mess :'))
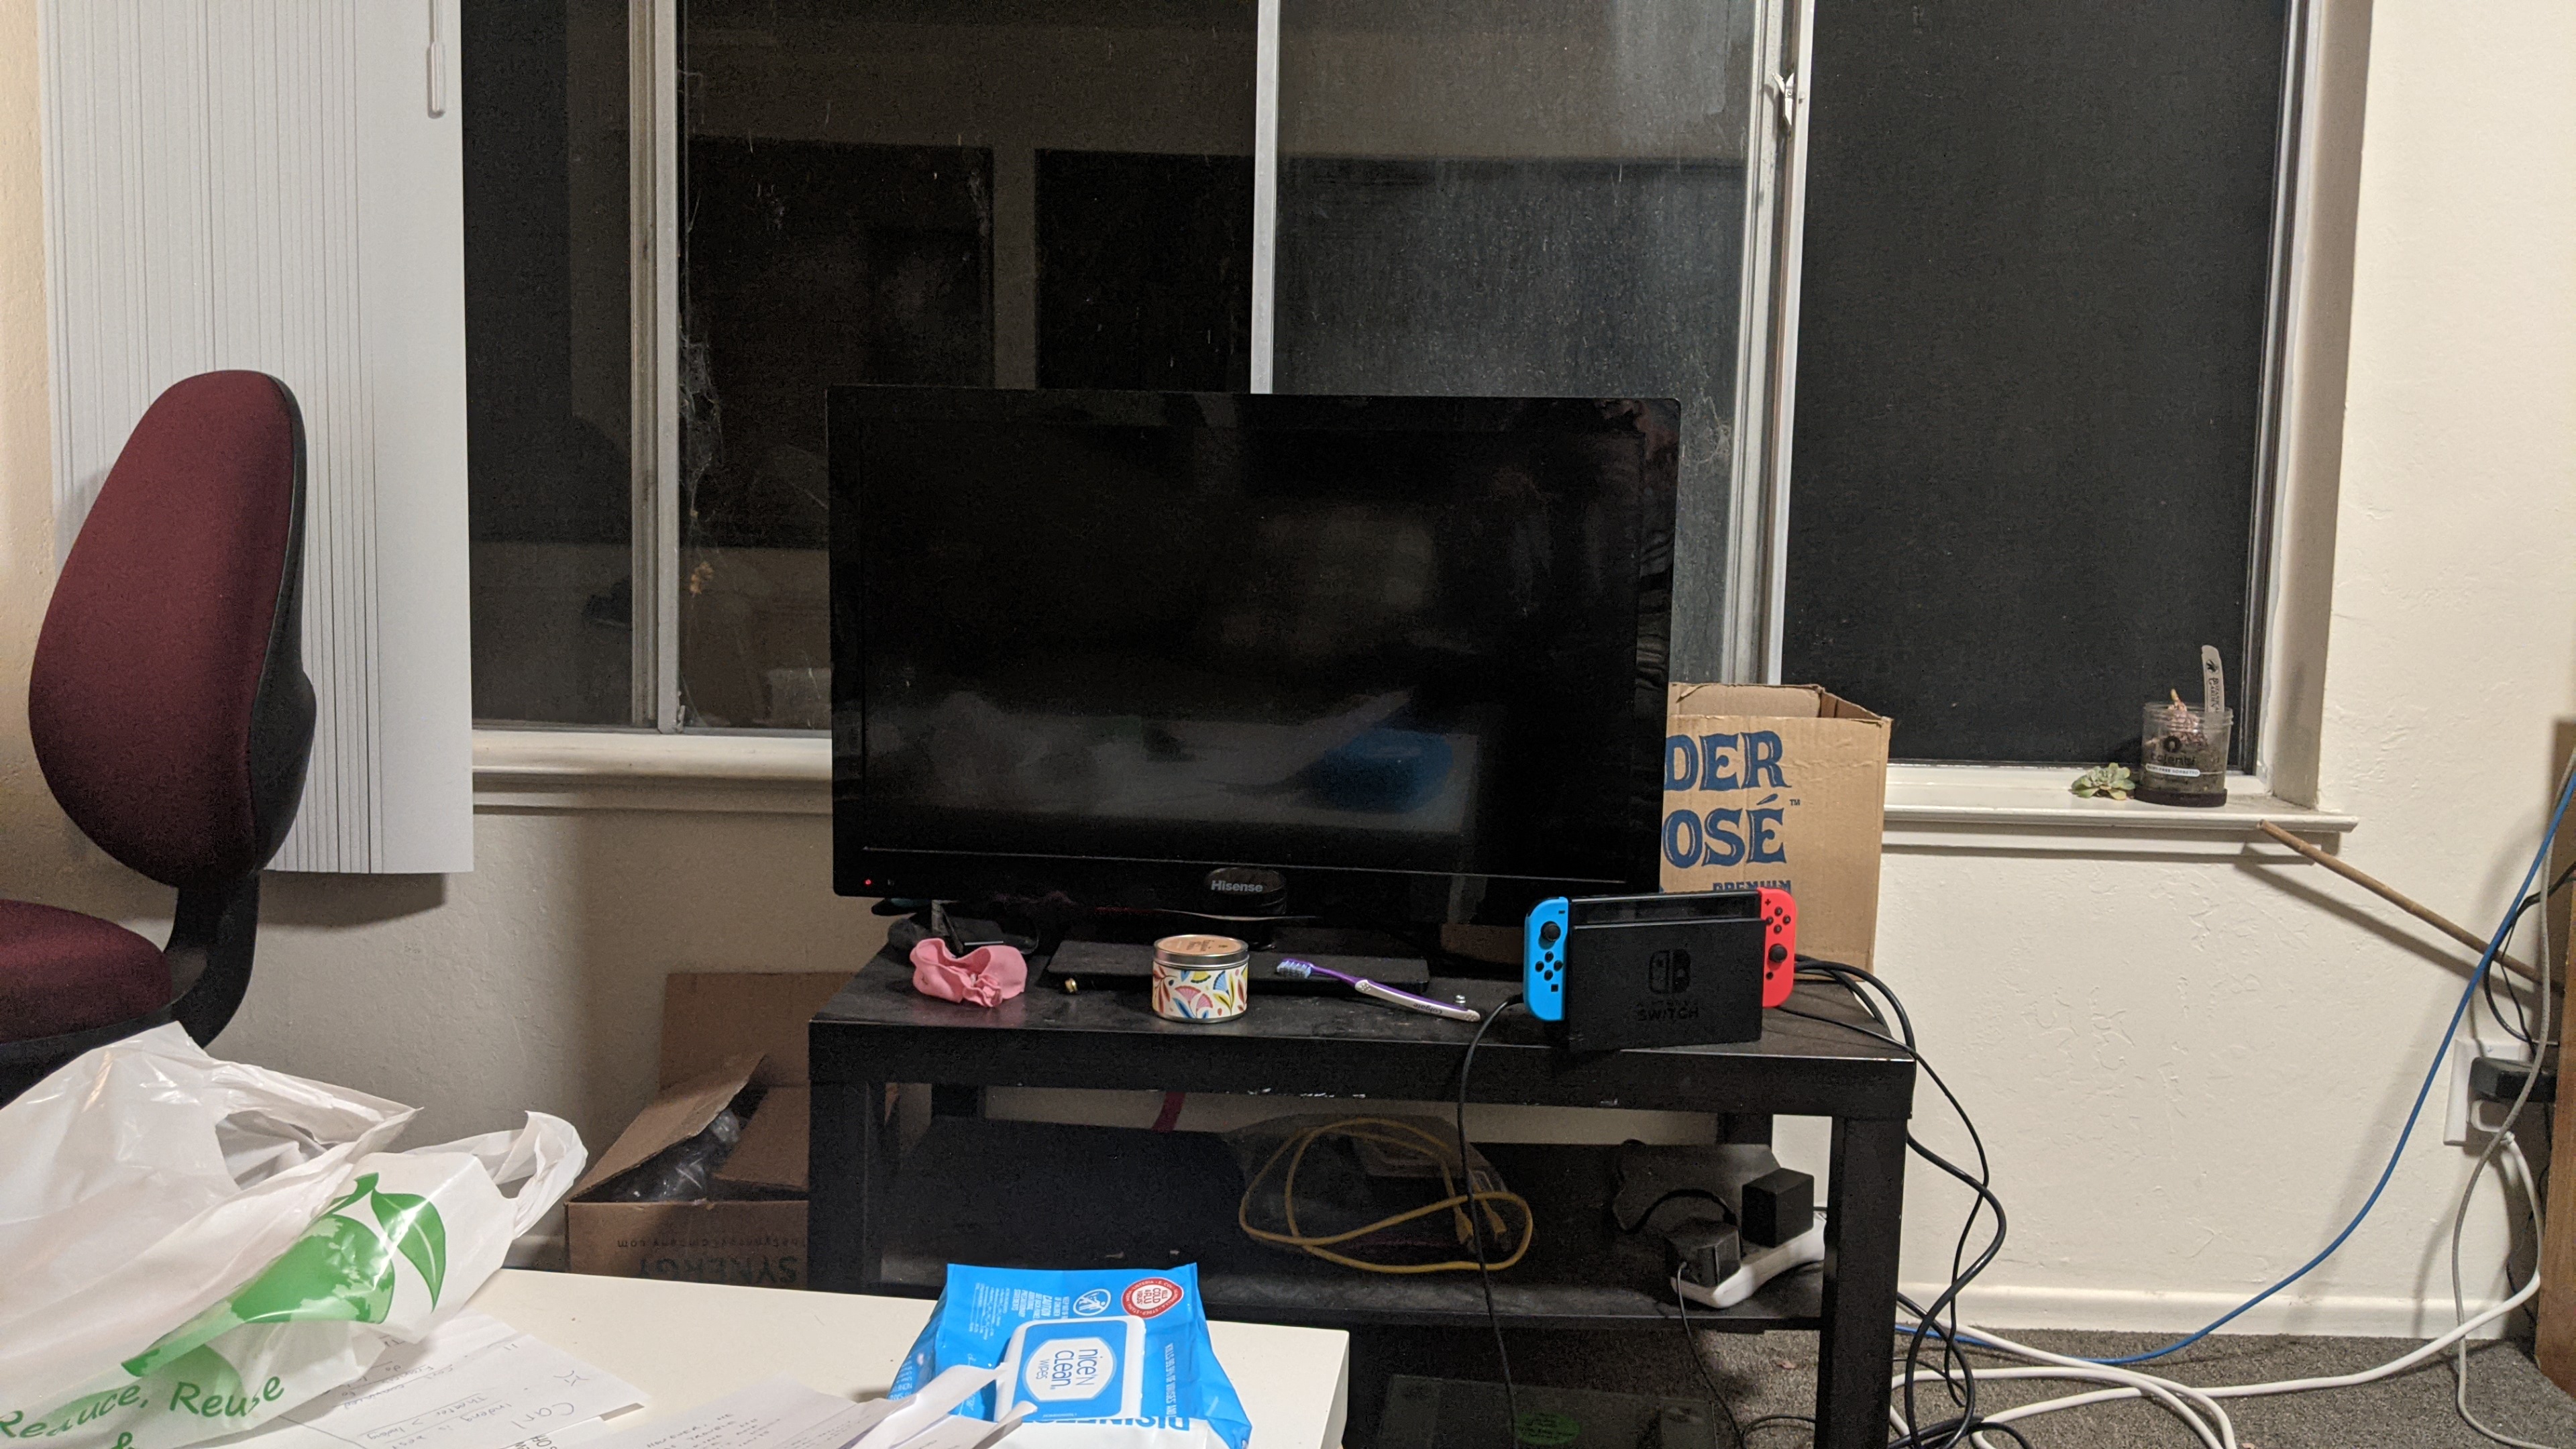 Original Left
|
 Original Right
|
 Left image fit into bounding box
|
 Warped Right image
|
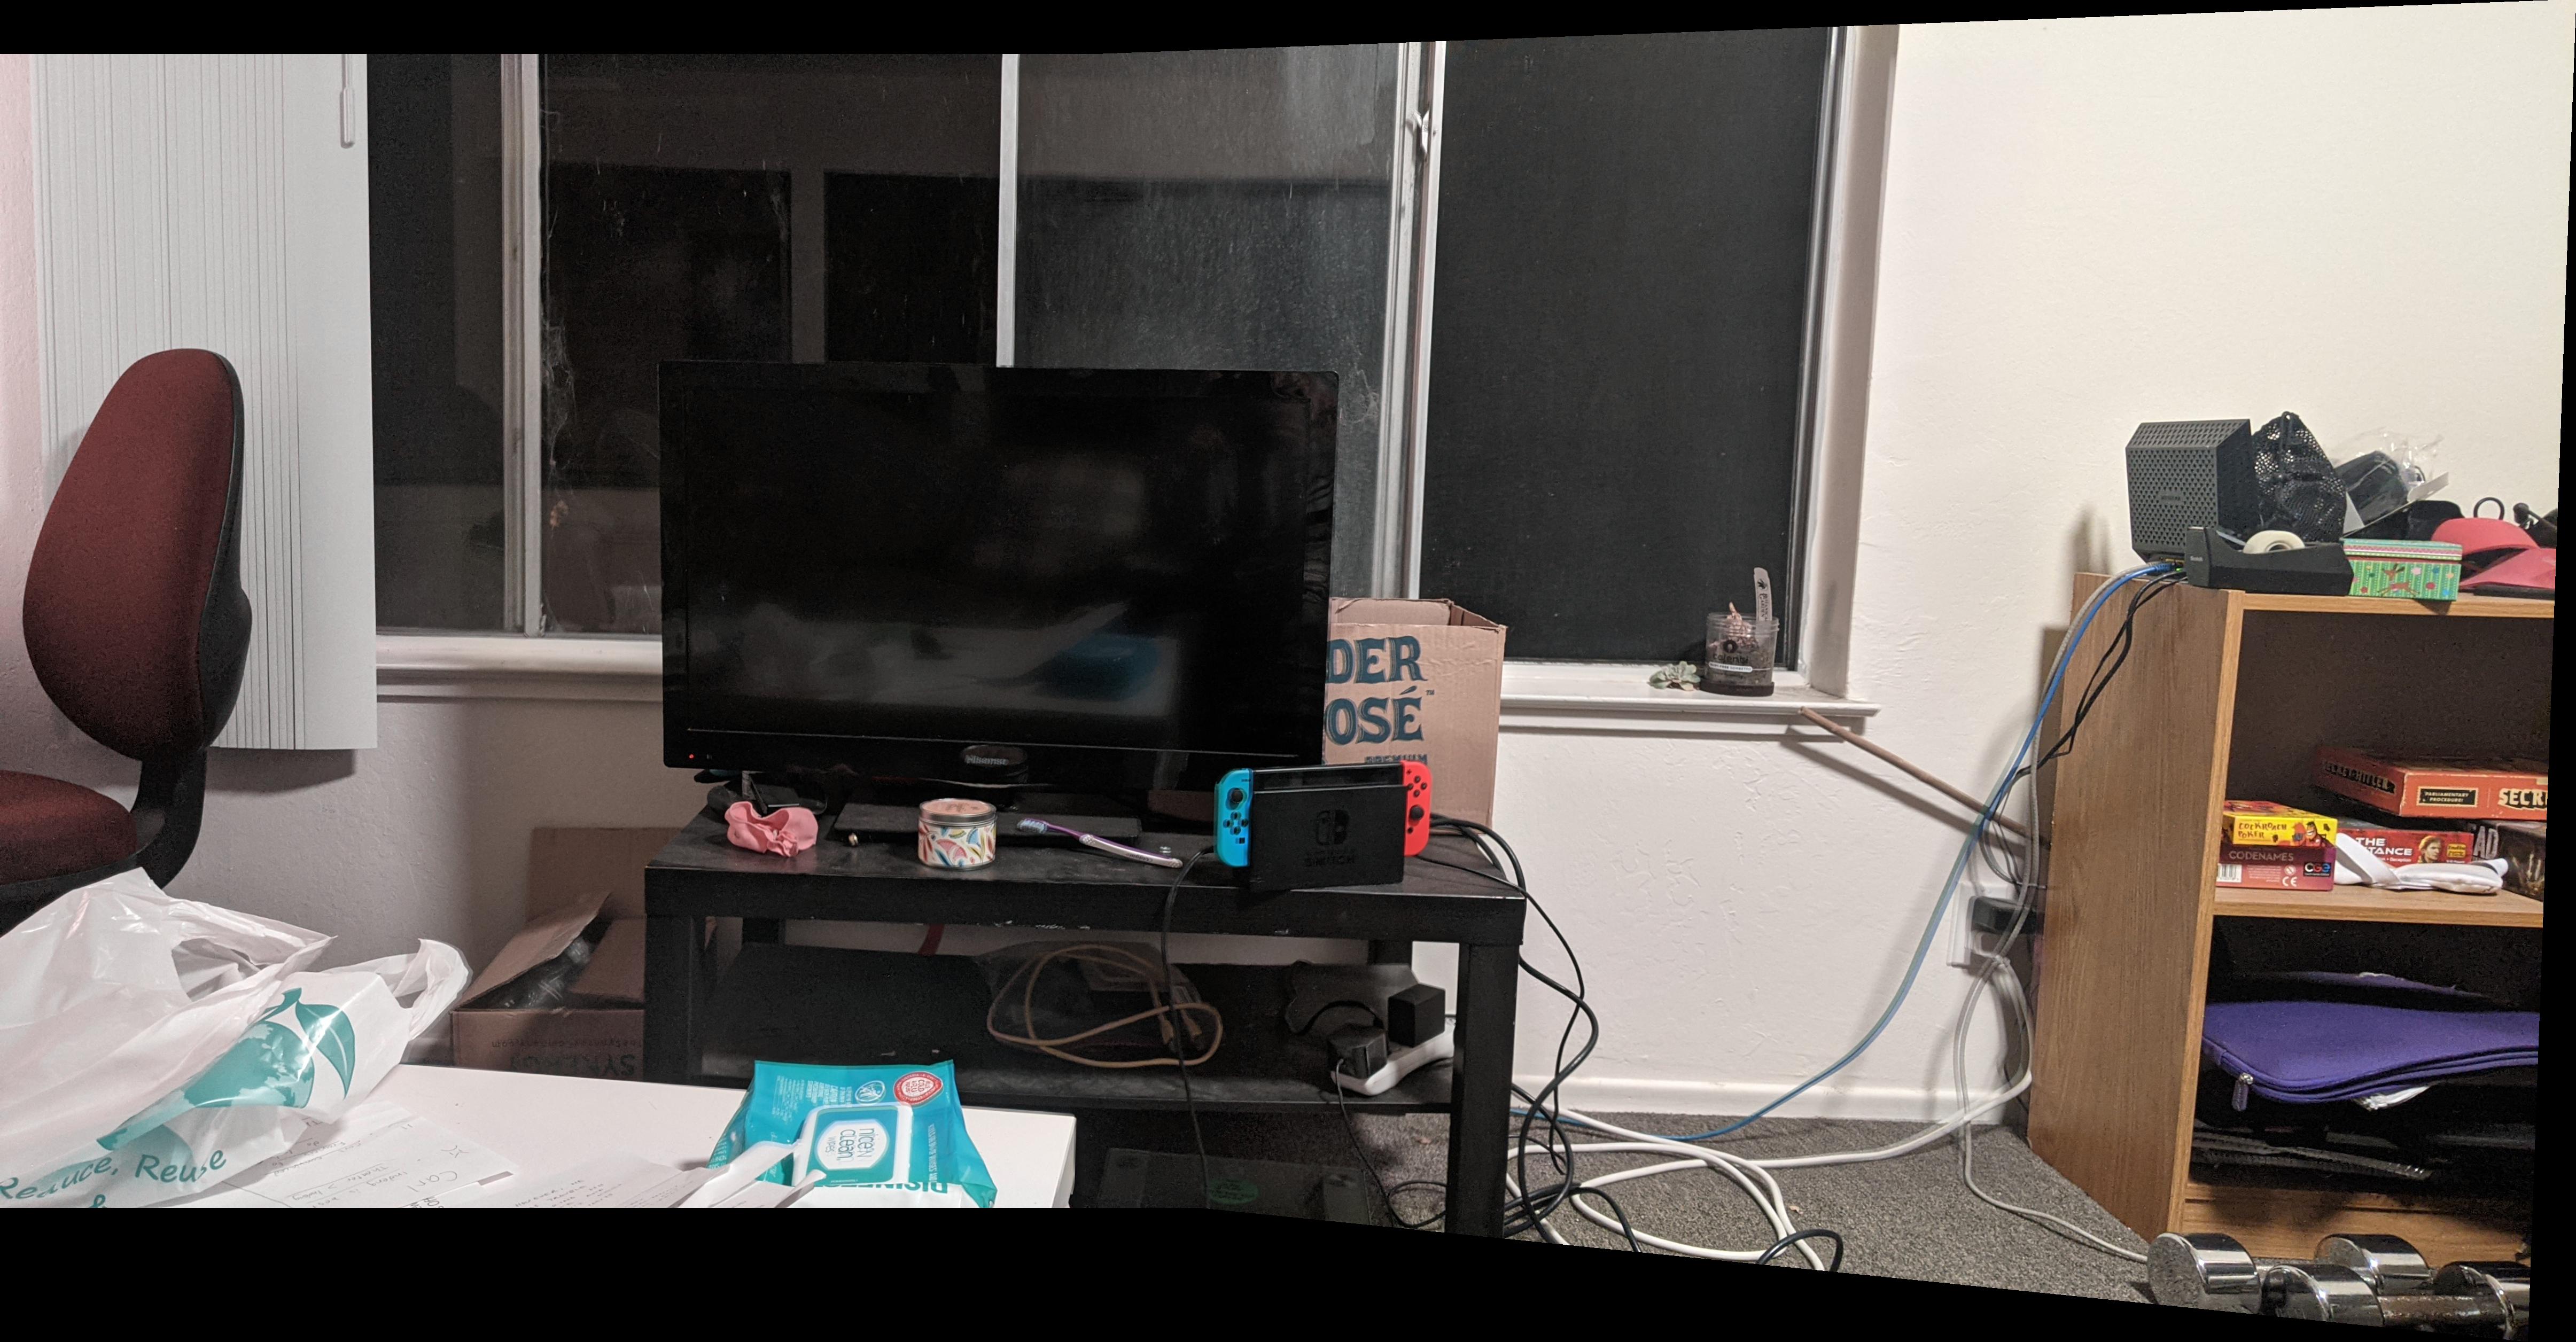 Blended images in bounding box
|
Part 2: Feature Matching for Autostitching
* comming soon *
Final Thoughts
I think it was cool to see how just a little but of alpha feathering goes a long way when
blending the images. Also, some of my results still have some visable errors (the internet
cables in the living room picture set for example). I realized that these were largly due
to 2 reasons: my point of projection was not consisten when taking the photos (I had to
re-take photos many time to get better results), and not using enough points when recovering
the homography matricies (4 is often not enough). I thought it was interesting that those
artifacts were due to human error and easily (mostly) fixable by taking new pictures and
selecting more correspondences. Having more points to use for least squares helps minimize
the human error of not picking perfectly matching points between 2 images.