I went around my apartment to take three sets of two pictures to create the image mosaic and two pictures for image rectification.
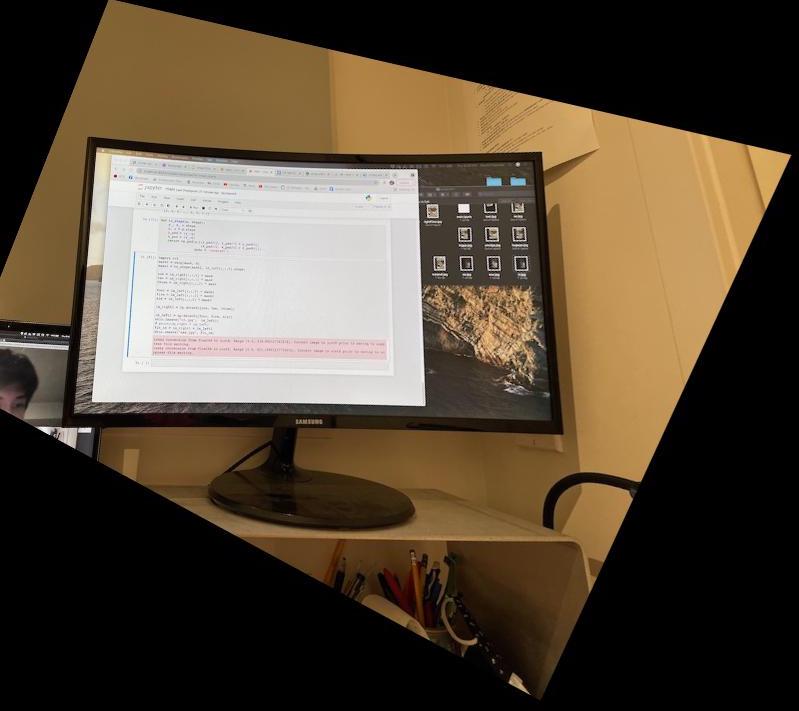
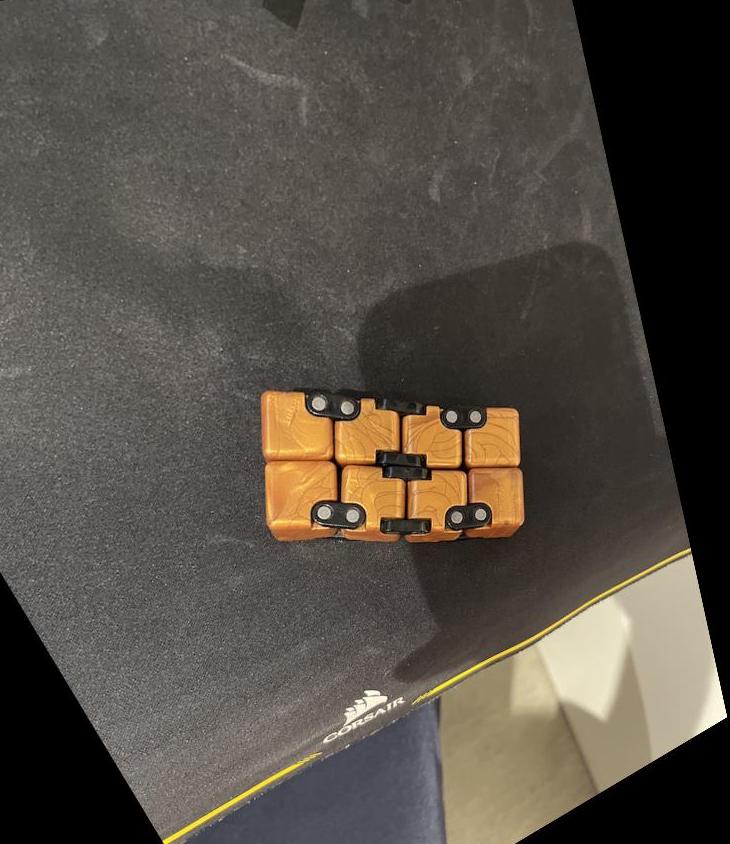
I took sample images with planar surfaces and warped them so that the plane is frontal-parallel.
To do this, I first chose the four corners and 4 sides of both the computer and the puzzle and then selected points where I wanted them to warp to..
This caused the desired warp.
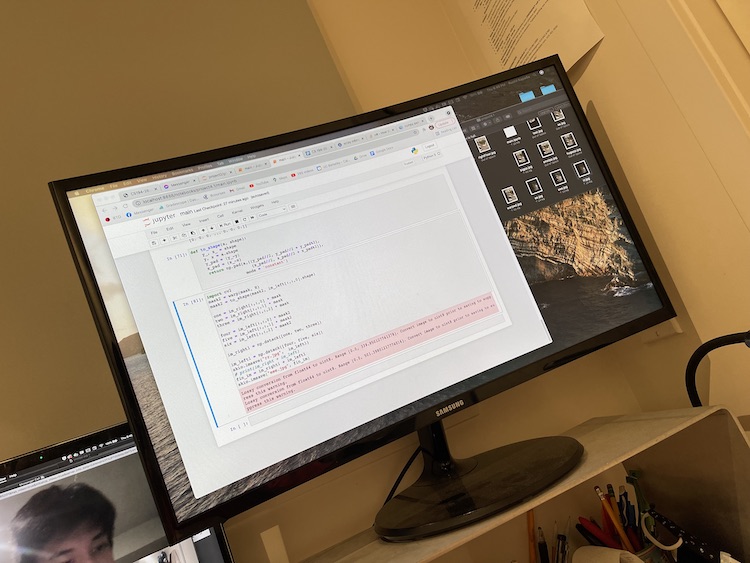
Computer:
Rectified Computer:
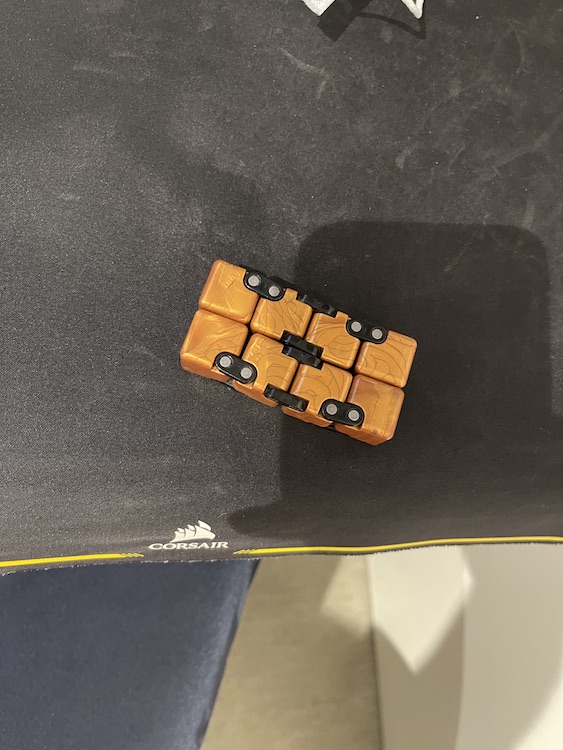
Puzzle:
Rectified Puzzle:
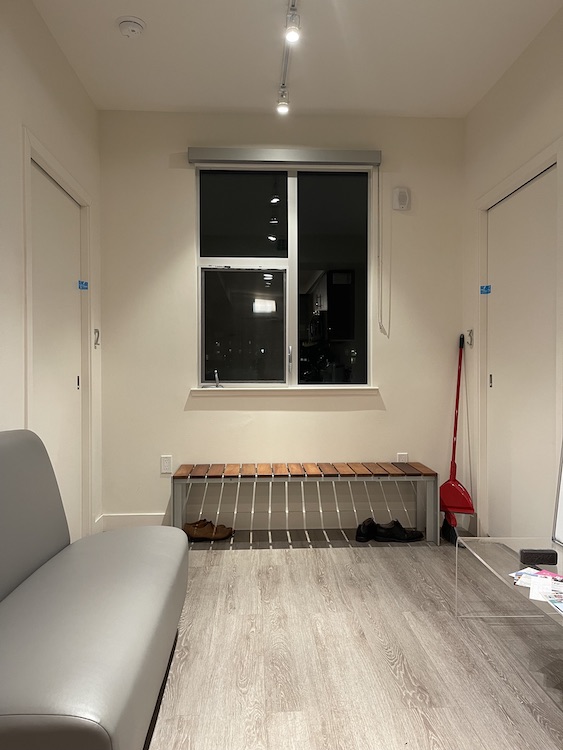
I used my phone camera to capture these sets of images. I tried my best to keep my hand steady and rotate the camera.
For each set of images, I chose eight points of correspondence. I then used the following to compute the homography:
Using the above formula, I calculated the warp.
I set a coordinate system that would be large enough for all the warped images that I could later remove when finished
After warping the image, I blend the two images together.
I first tried to use the bwdist feathering technique where I set the filters for both images pre-warp to one in the center and linearly decreased to 0 around the edges, but
the outer sections of the image came out too dark. I then switched over to using a mask that was ones on the left then linearly decreased to zeros on the right and applied that to the
left image and did the reverse mask for the right image. This resulted in desired results.
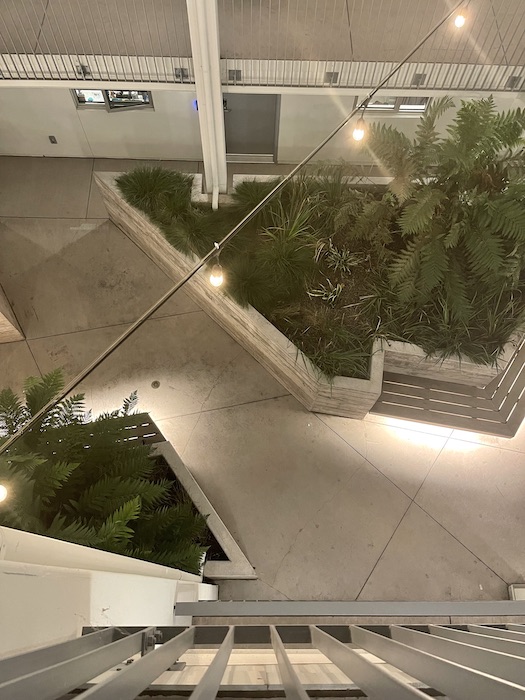
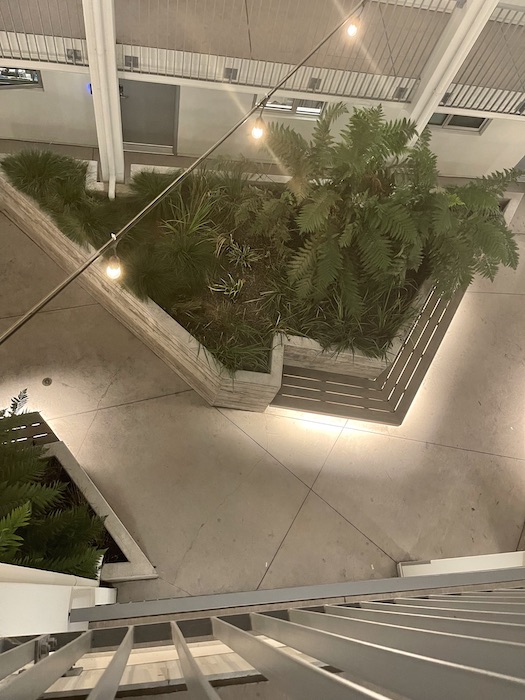
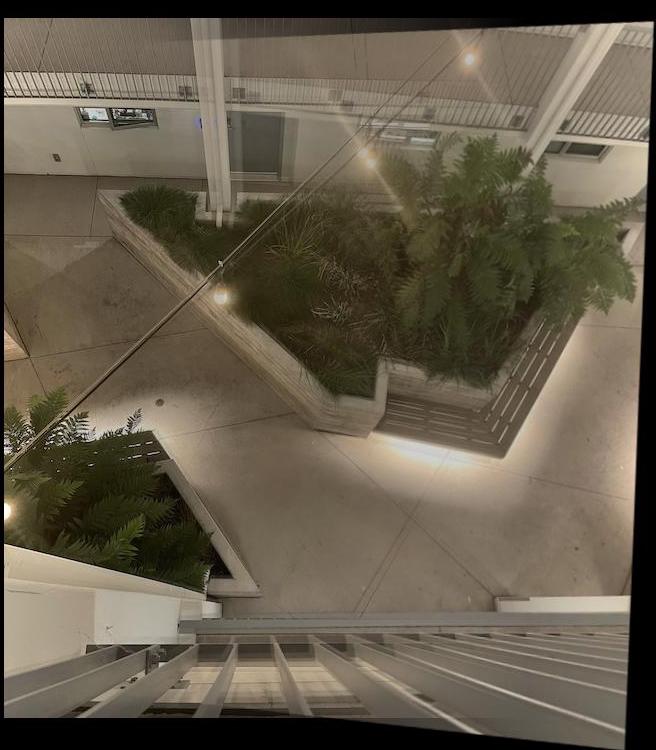
Sofa:
Warped and Blended image:
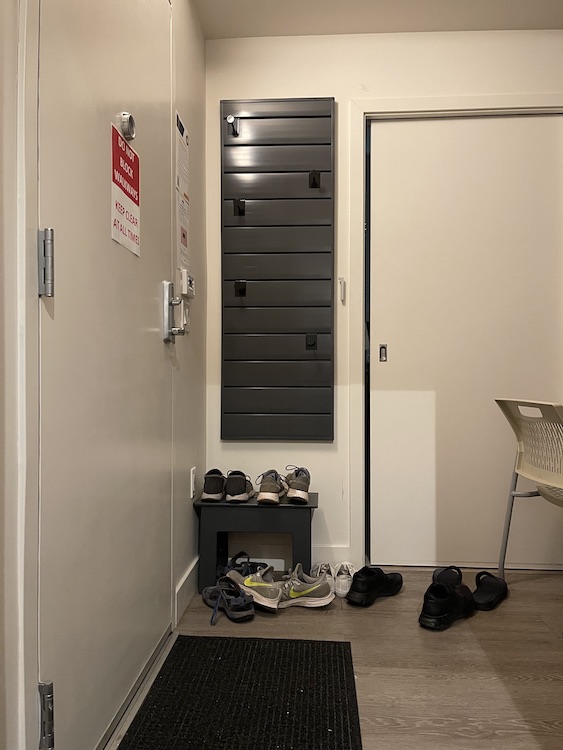
Floor:
Warped and Blended image:
My hand shifted a little during the photo, leading to the less than ideal image.
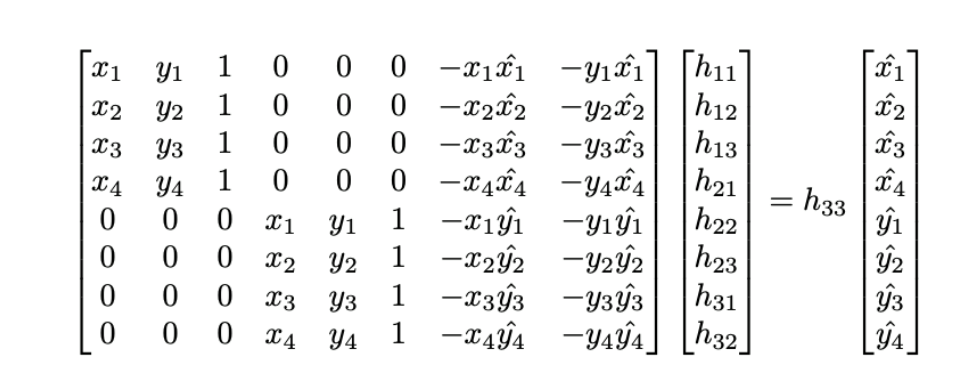
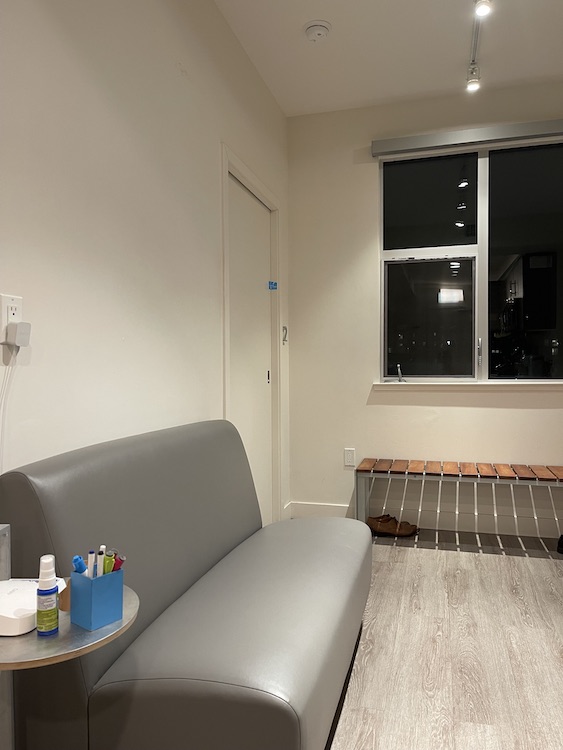
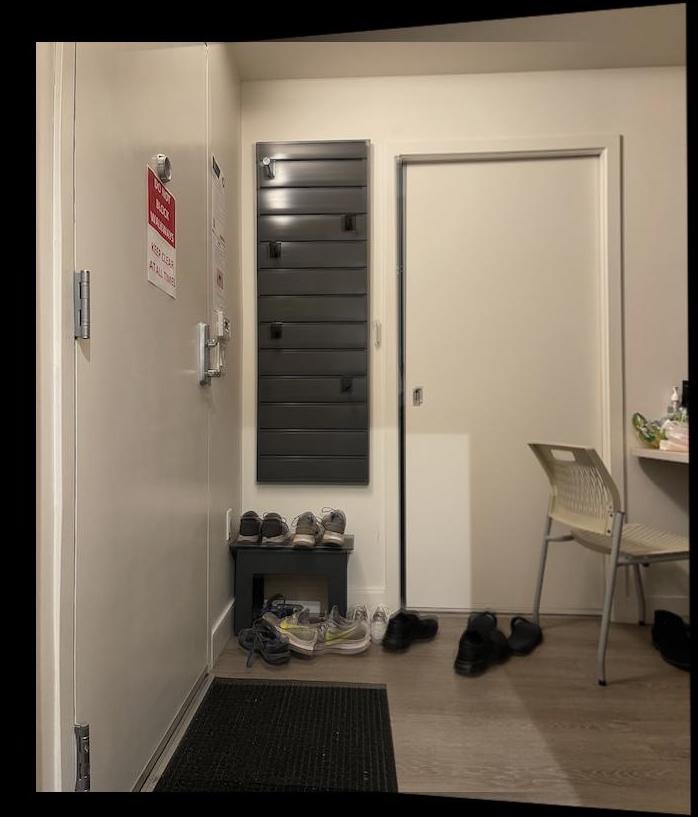
Room:
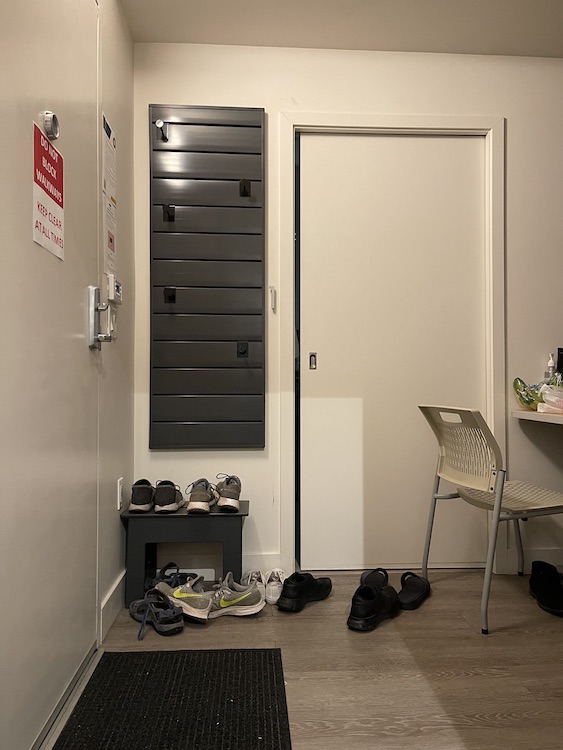
Warped and Blended image:
I was surprised at how well blending could do. I expected to see many lines and a major shift in color, but a simple masking procedure could result in such nice photos. I also realized the importance in not moving the hand up and down while taking panoramas as they can significantly increase the difficulty of the stitching.