Equations
The goal of this project was to create mosaics by warping and stiching together images.
For each of my mosaics, I chose to define between 6-10 corresponding points. Even though our projective warp only has 8 degrees of freedom and would thus only require 4 sets of points, I chose more points in order to make my recovered homography less sensitive to noise.
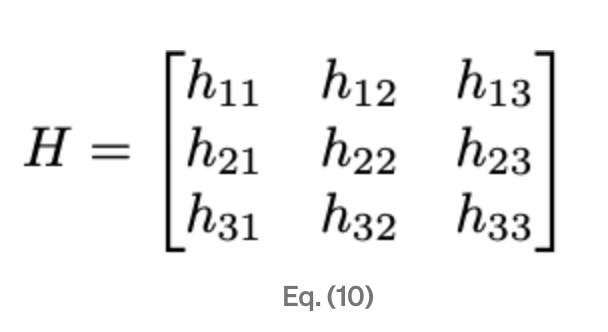
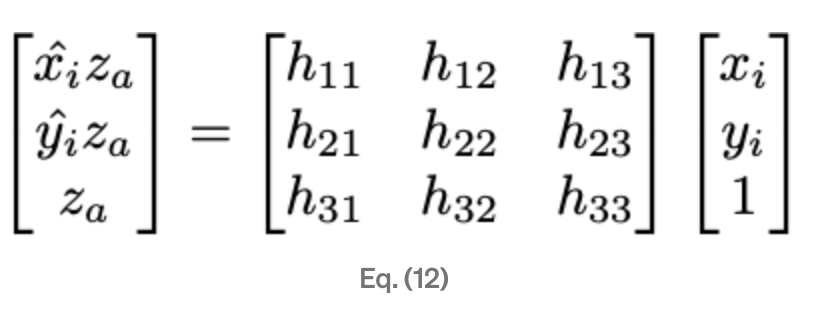
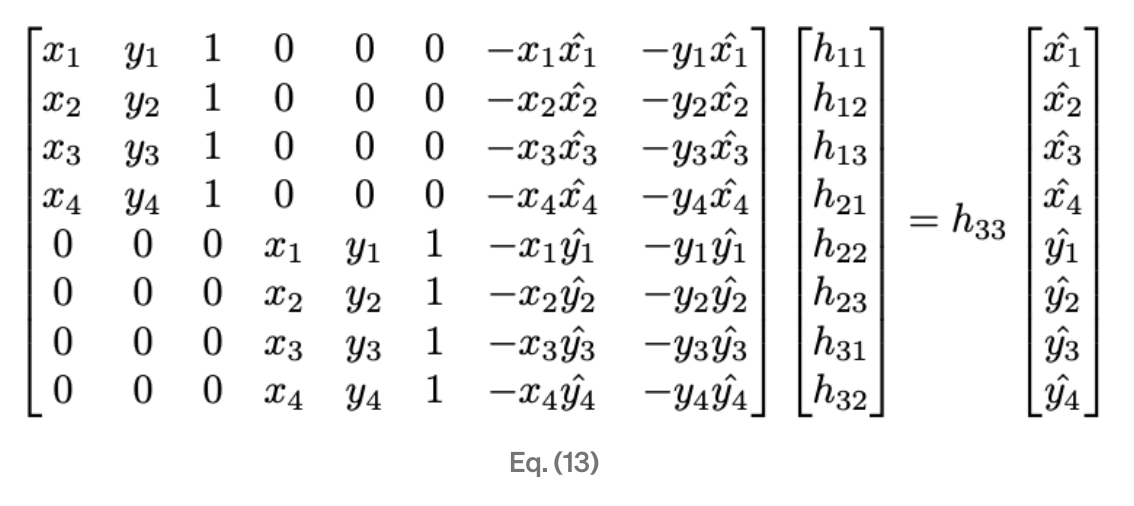
The homography matrix is a 3x3 matrix that is used to warp the images, it is shown below. By setting up a system of linear equations, we can then use least squares to best estimate our homography matrix using our defined correspondences. The system of equations is shown below.
Equations
Once I recovered my H matrix, I used a very similar technique to last project to warp the images. However, this time I only needed to create one polygon since we are warping all the points with the same matrix. I used the convenient cv2.remap() function to easily interpolate the colors from my source images.
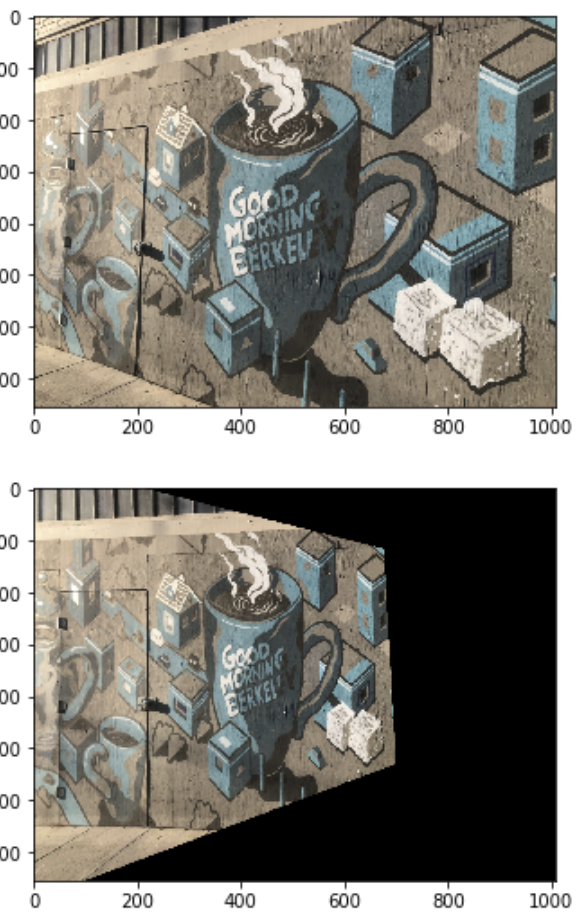
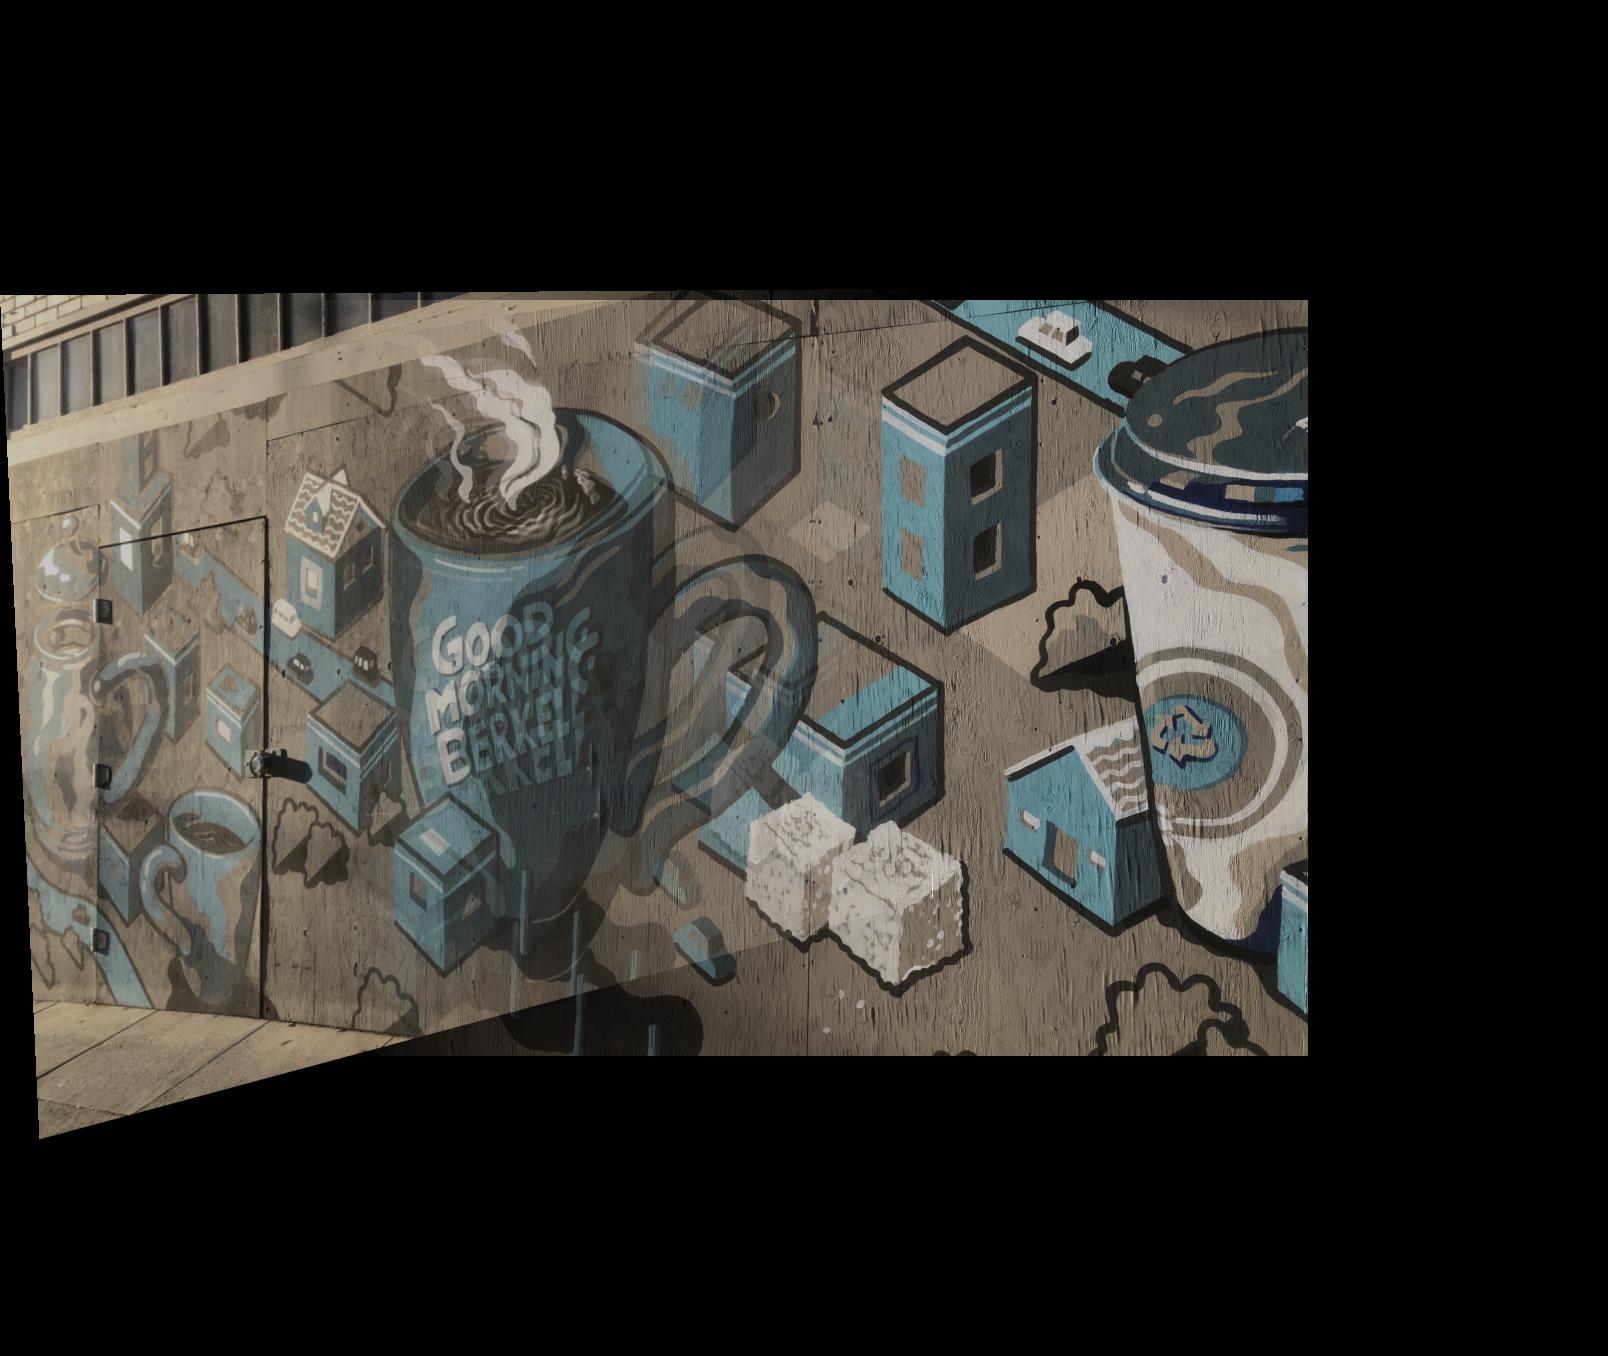
To verify that my warp was working, I tested it by rectifying some images. To do this, I manually selected the points from a known rectangle, and then warped them such that it resulted in a frontal parallel view.
Below are some examples of rectifications:
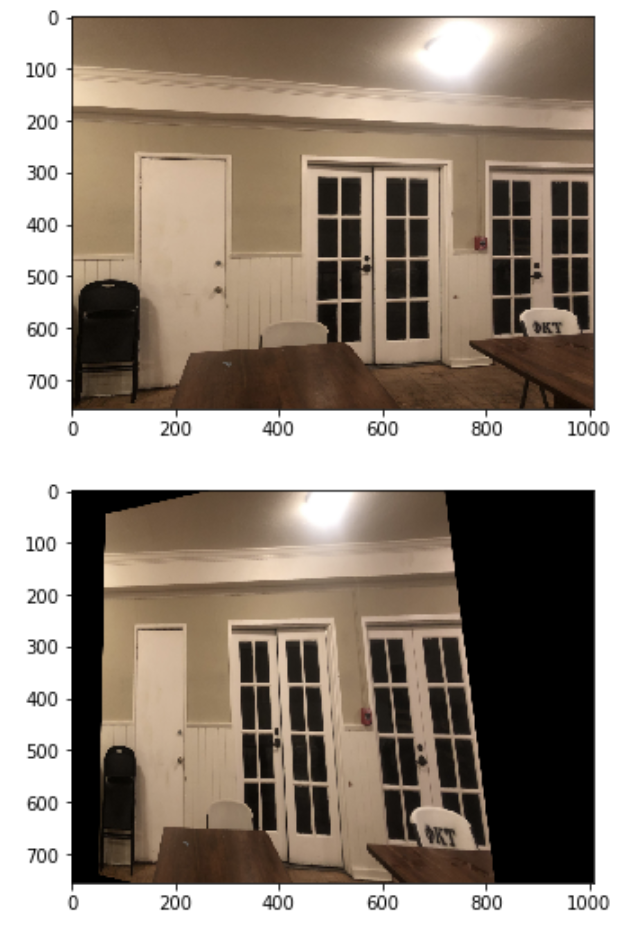
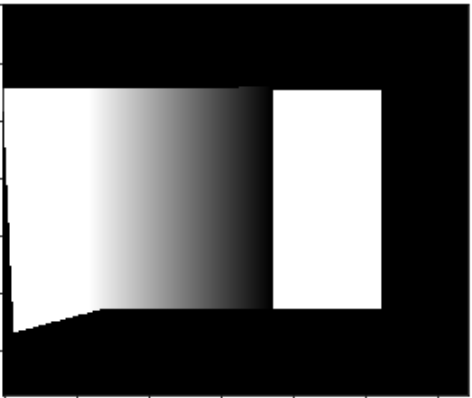
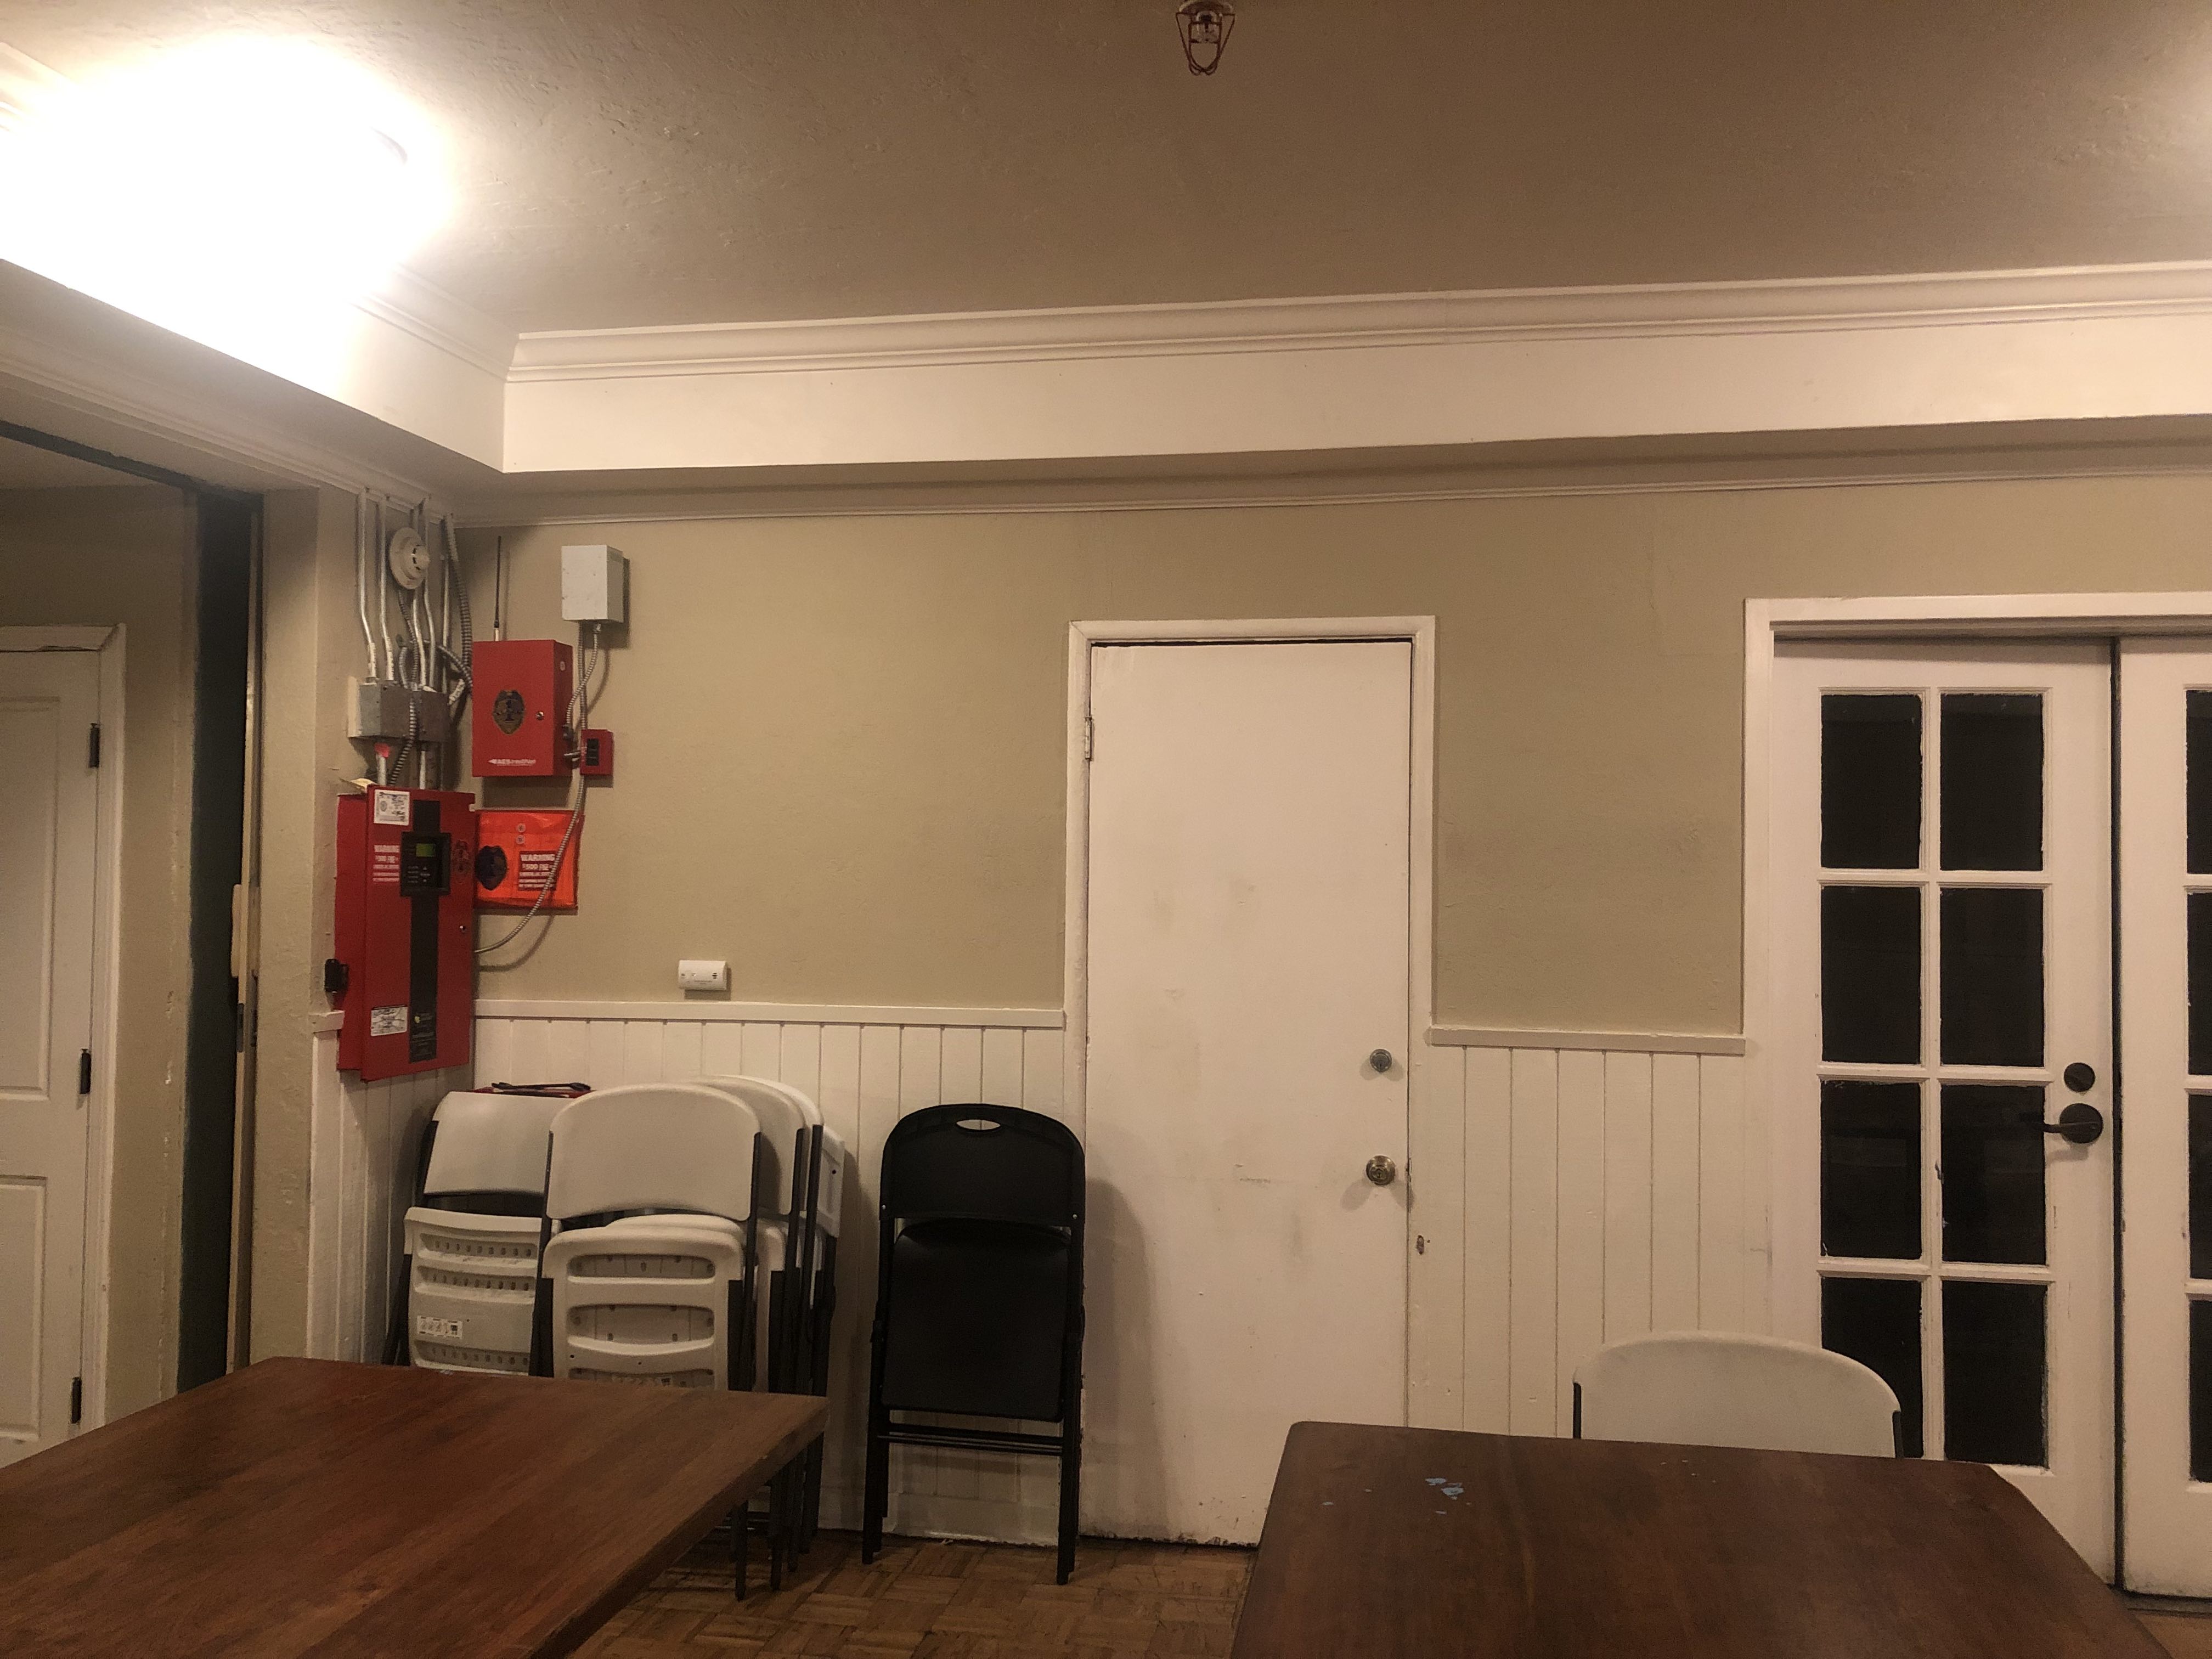
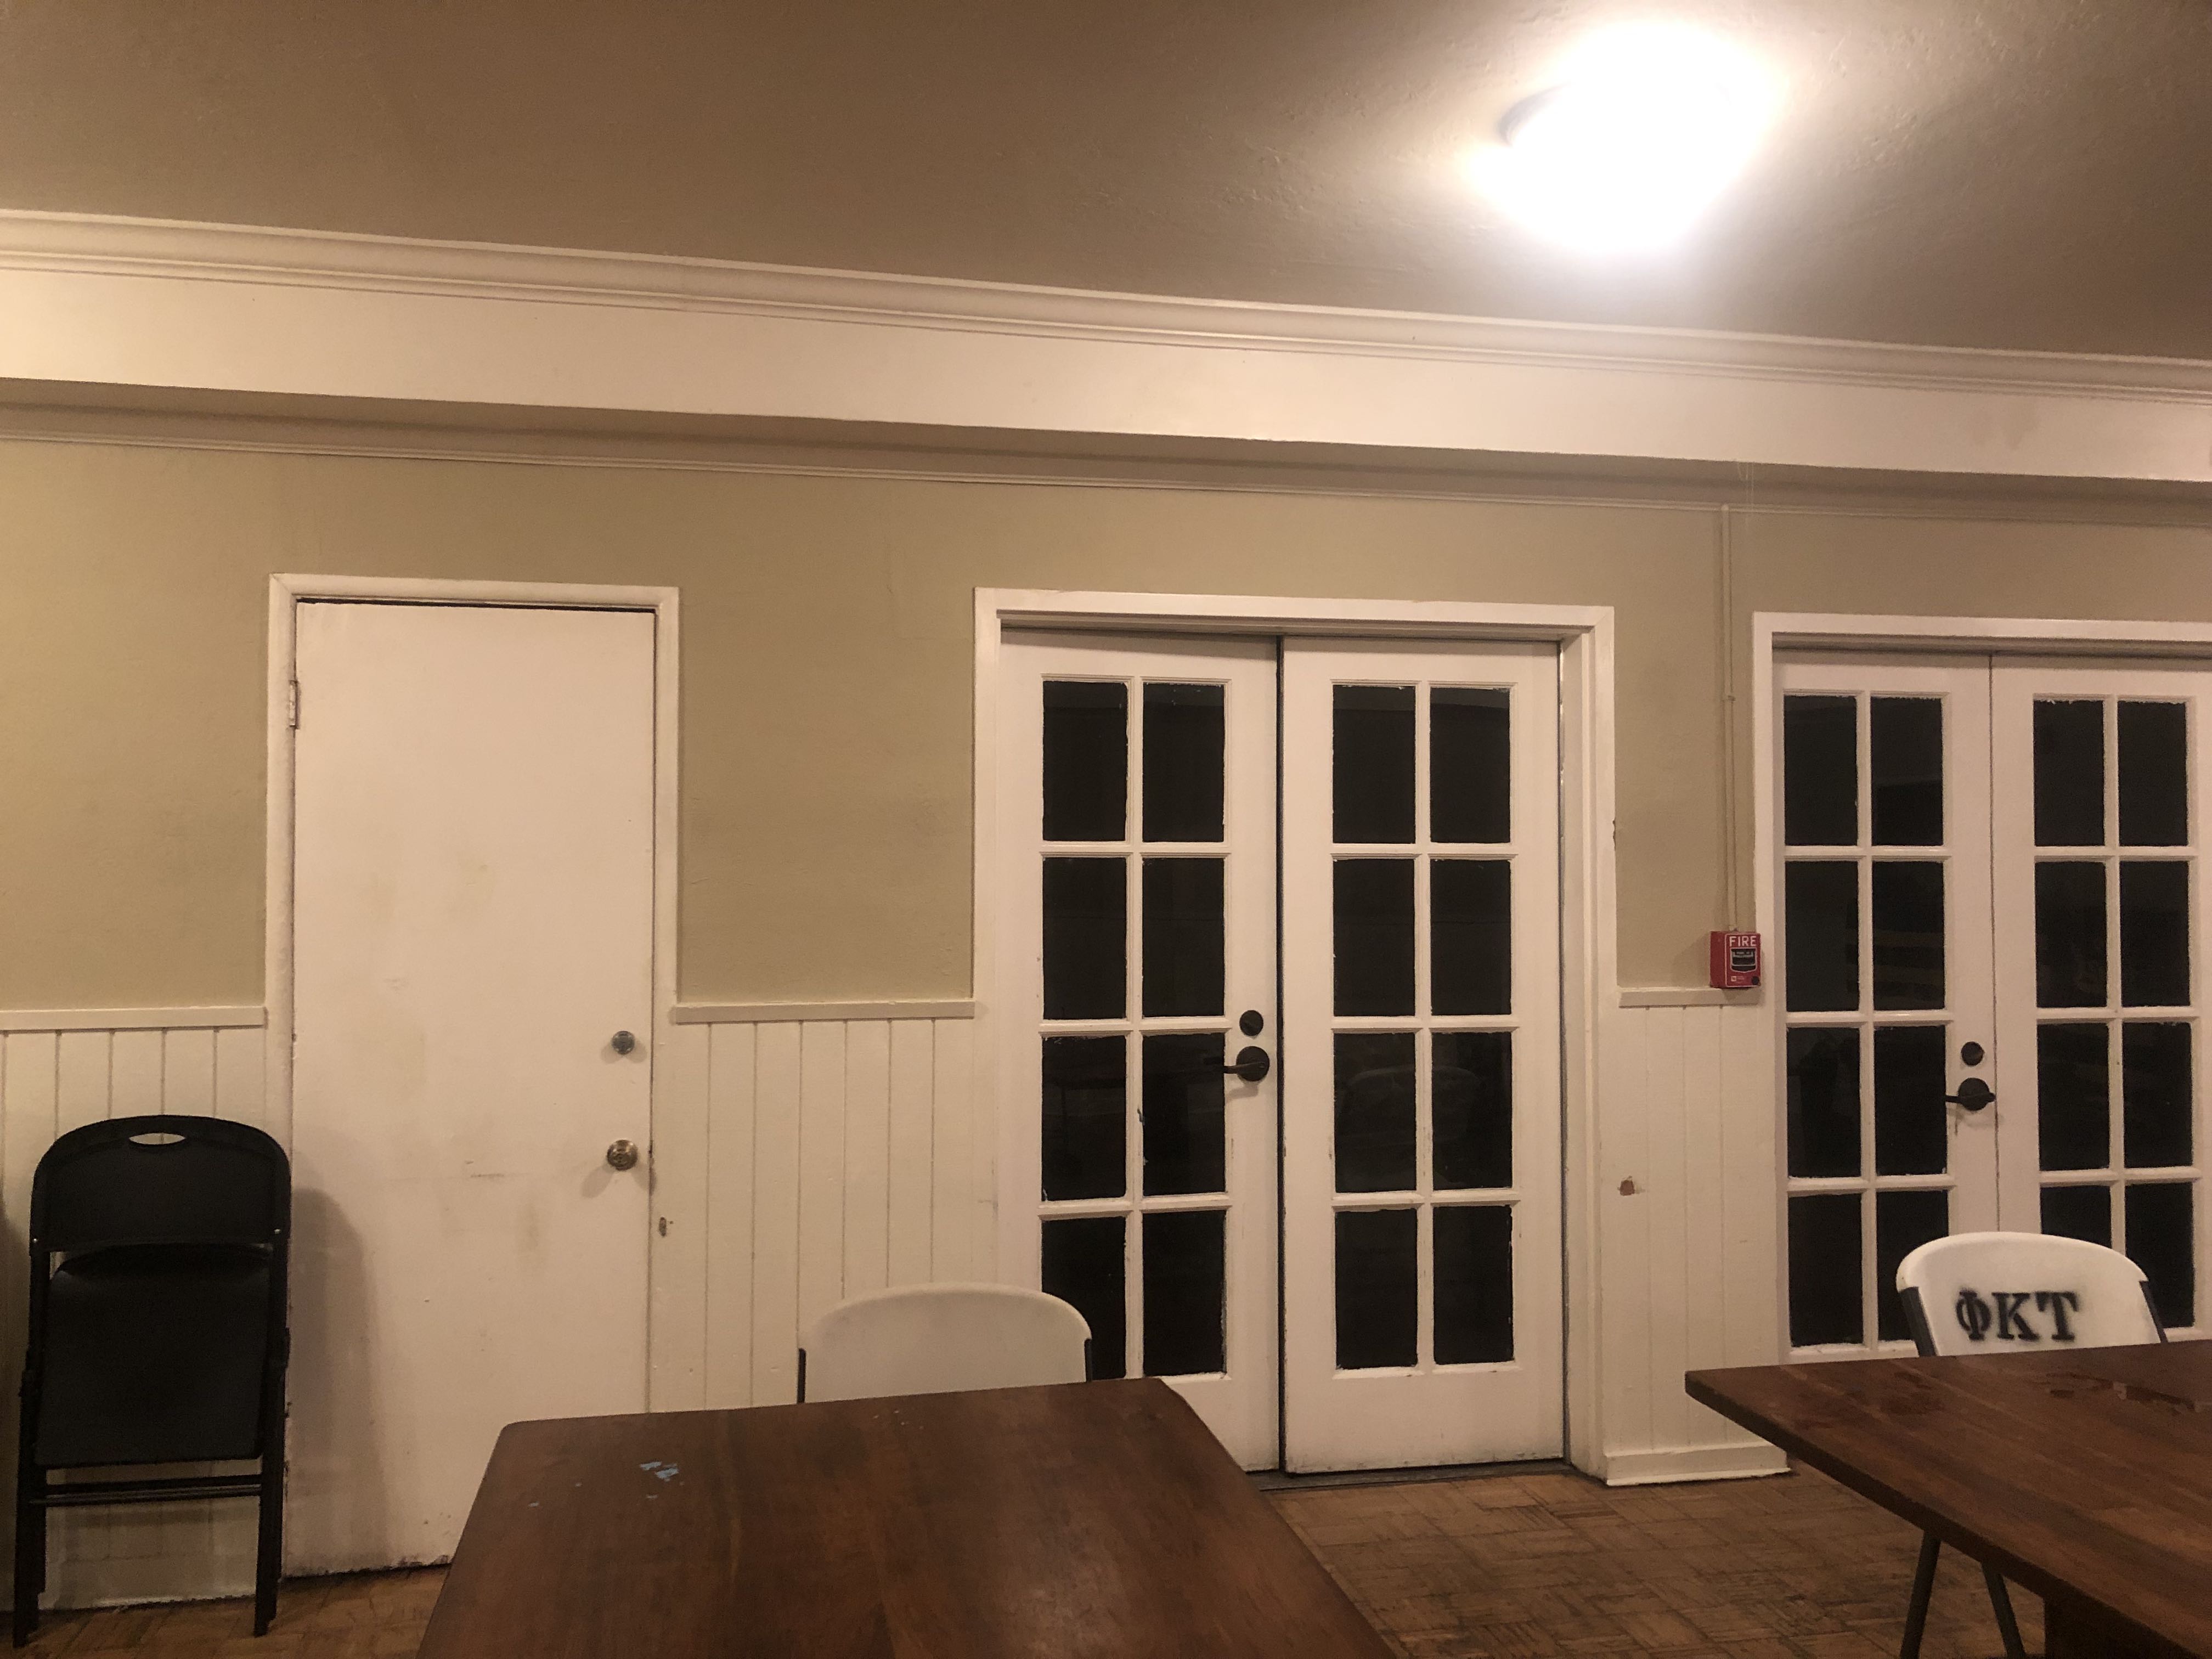
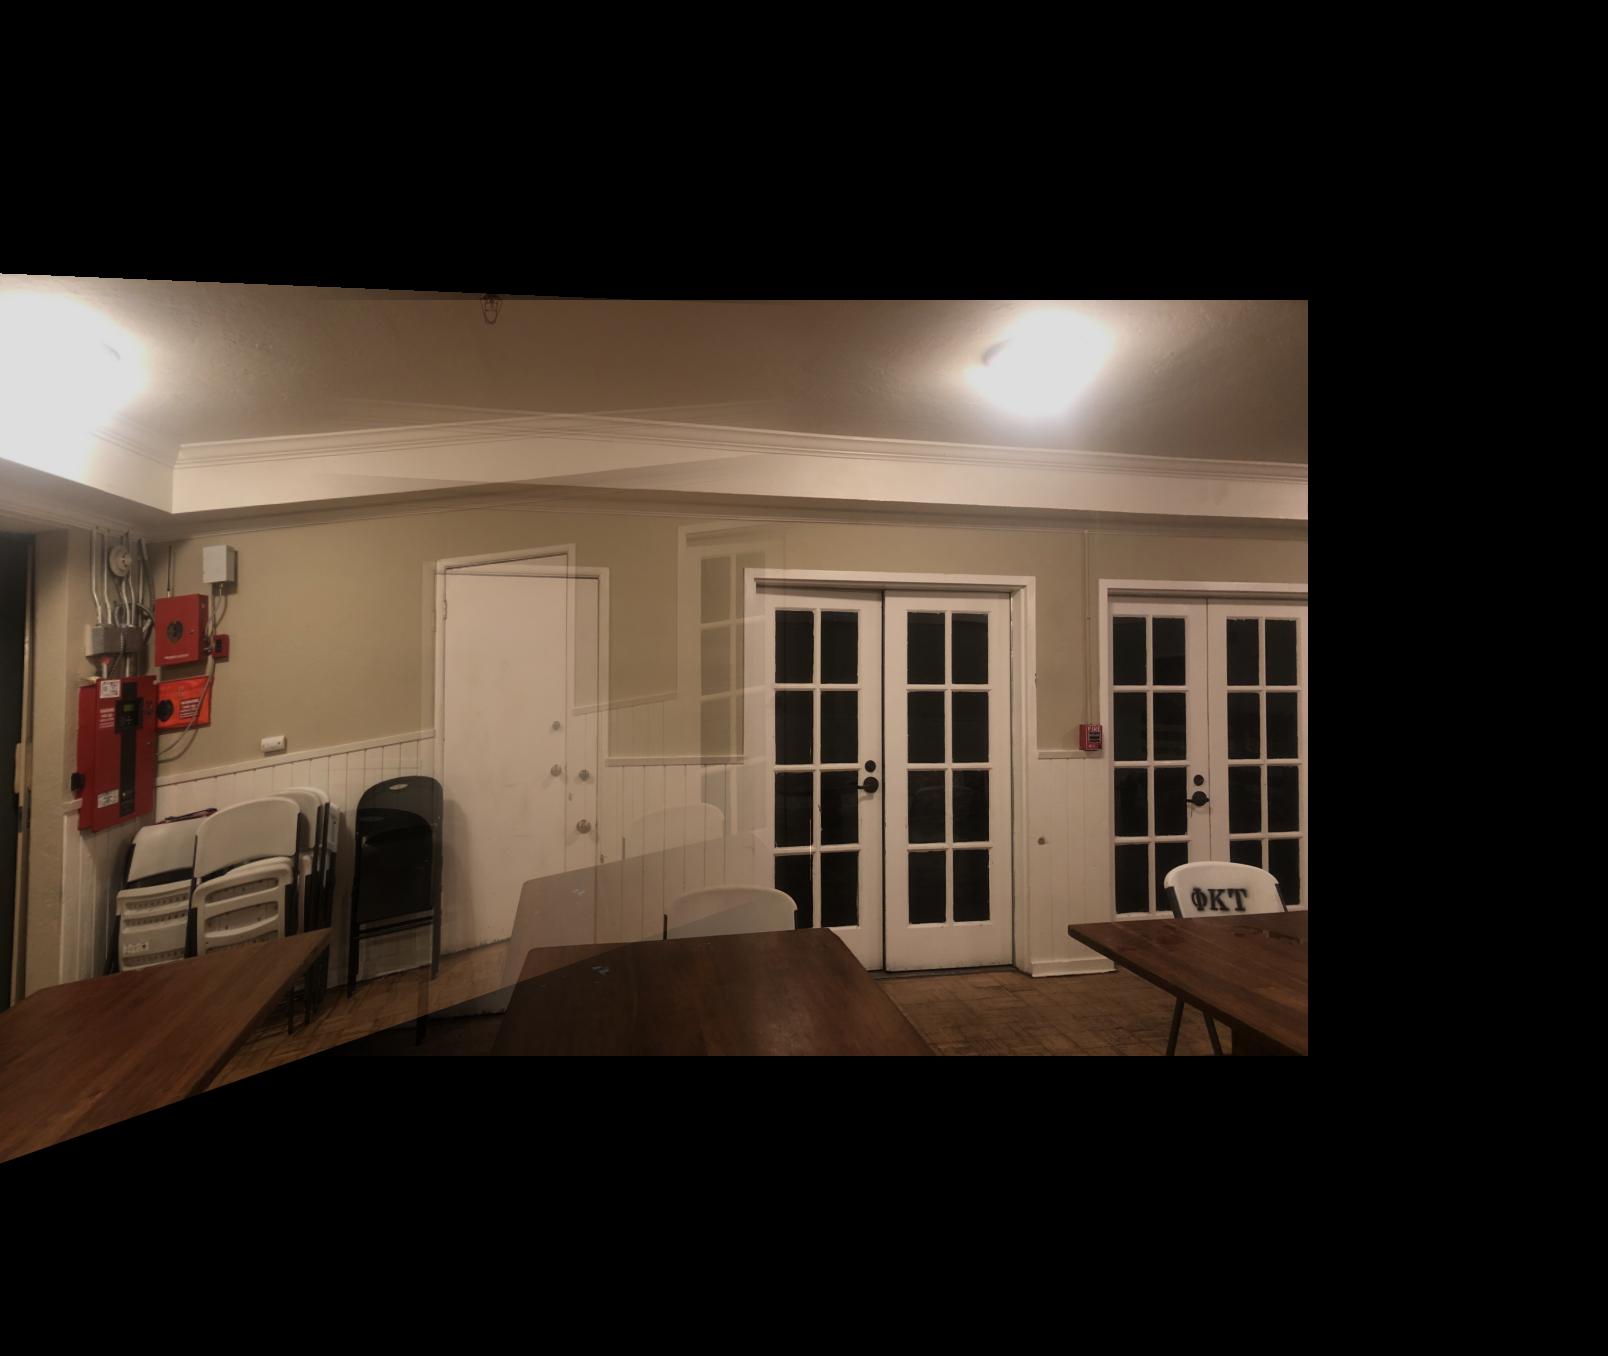
Once I had code that could projectively warp images, the last step was blending and aligning the images to create the mosaic. To start, I padded both my images with 300px on all sides to make sure that the warps didn't go off the view. Next I calcluated the ending positions for each of the corners of my images, and used it to make a polygon mask. Finally, I created a smooth gradient blend mask in order to smoothly blend the images. I made sure to "flip" the masks for the left and right images.
Mask Example
Mosaic Example 1
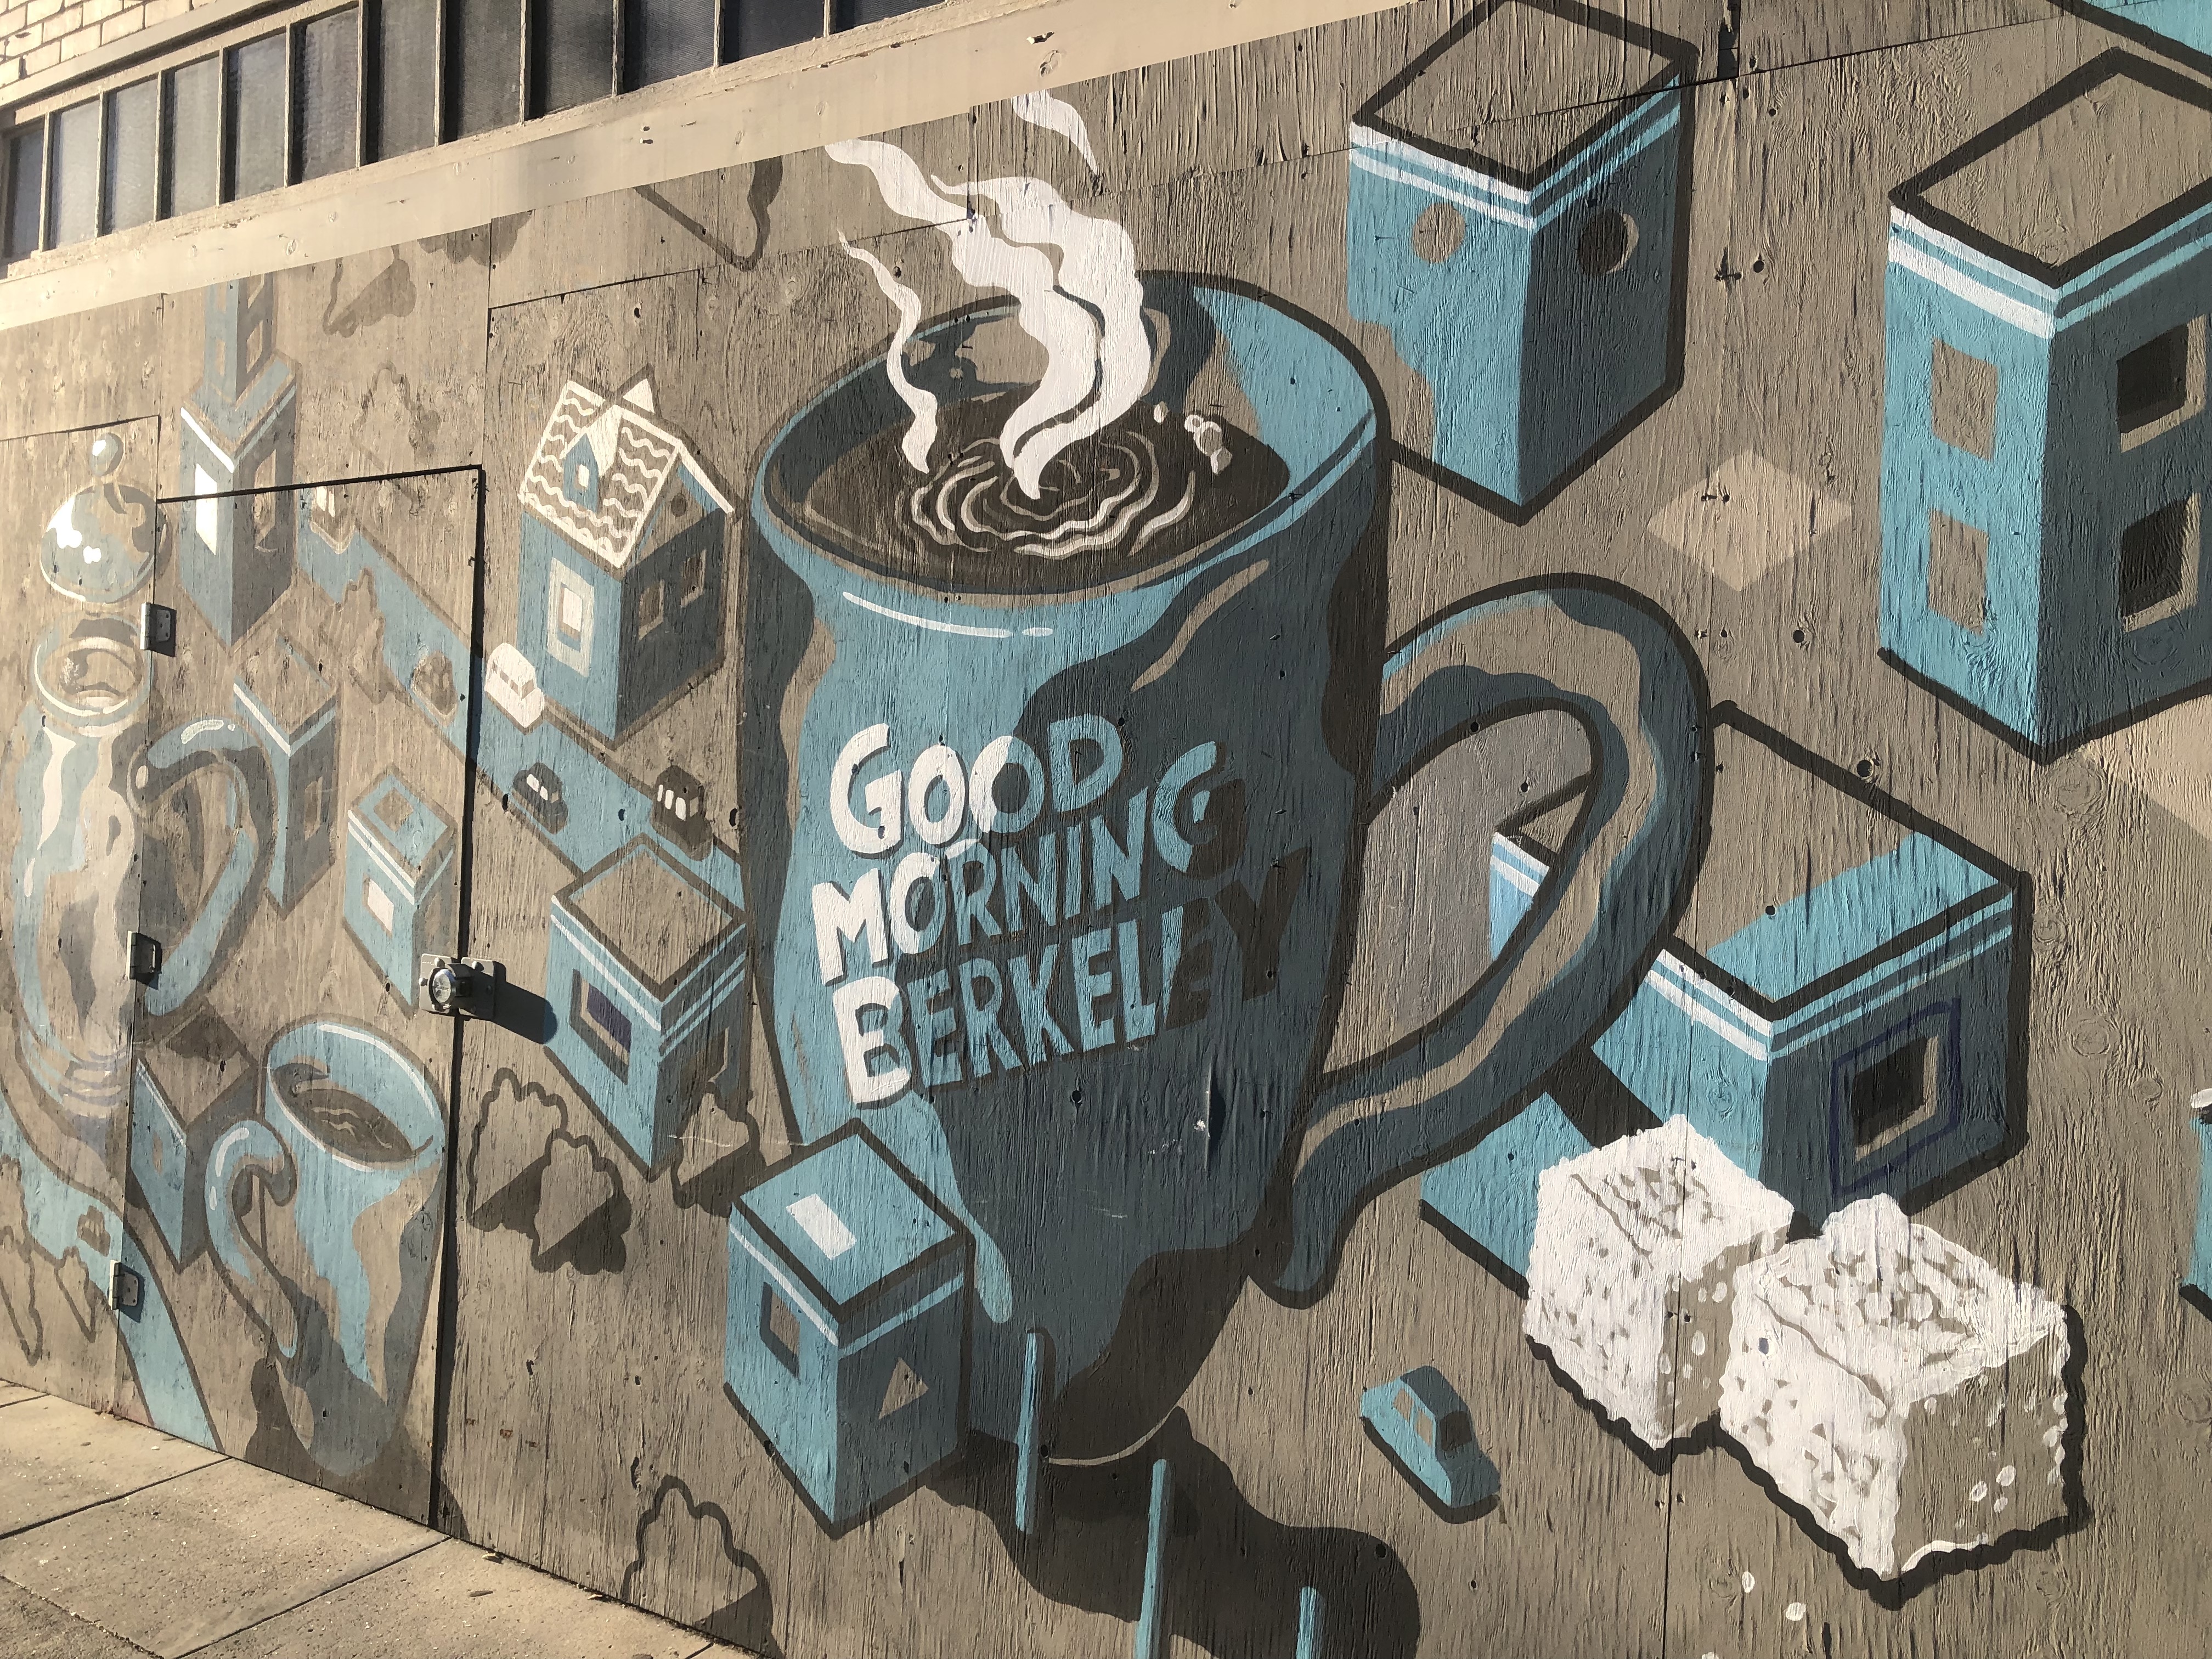
Mosaic Example 2
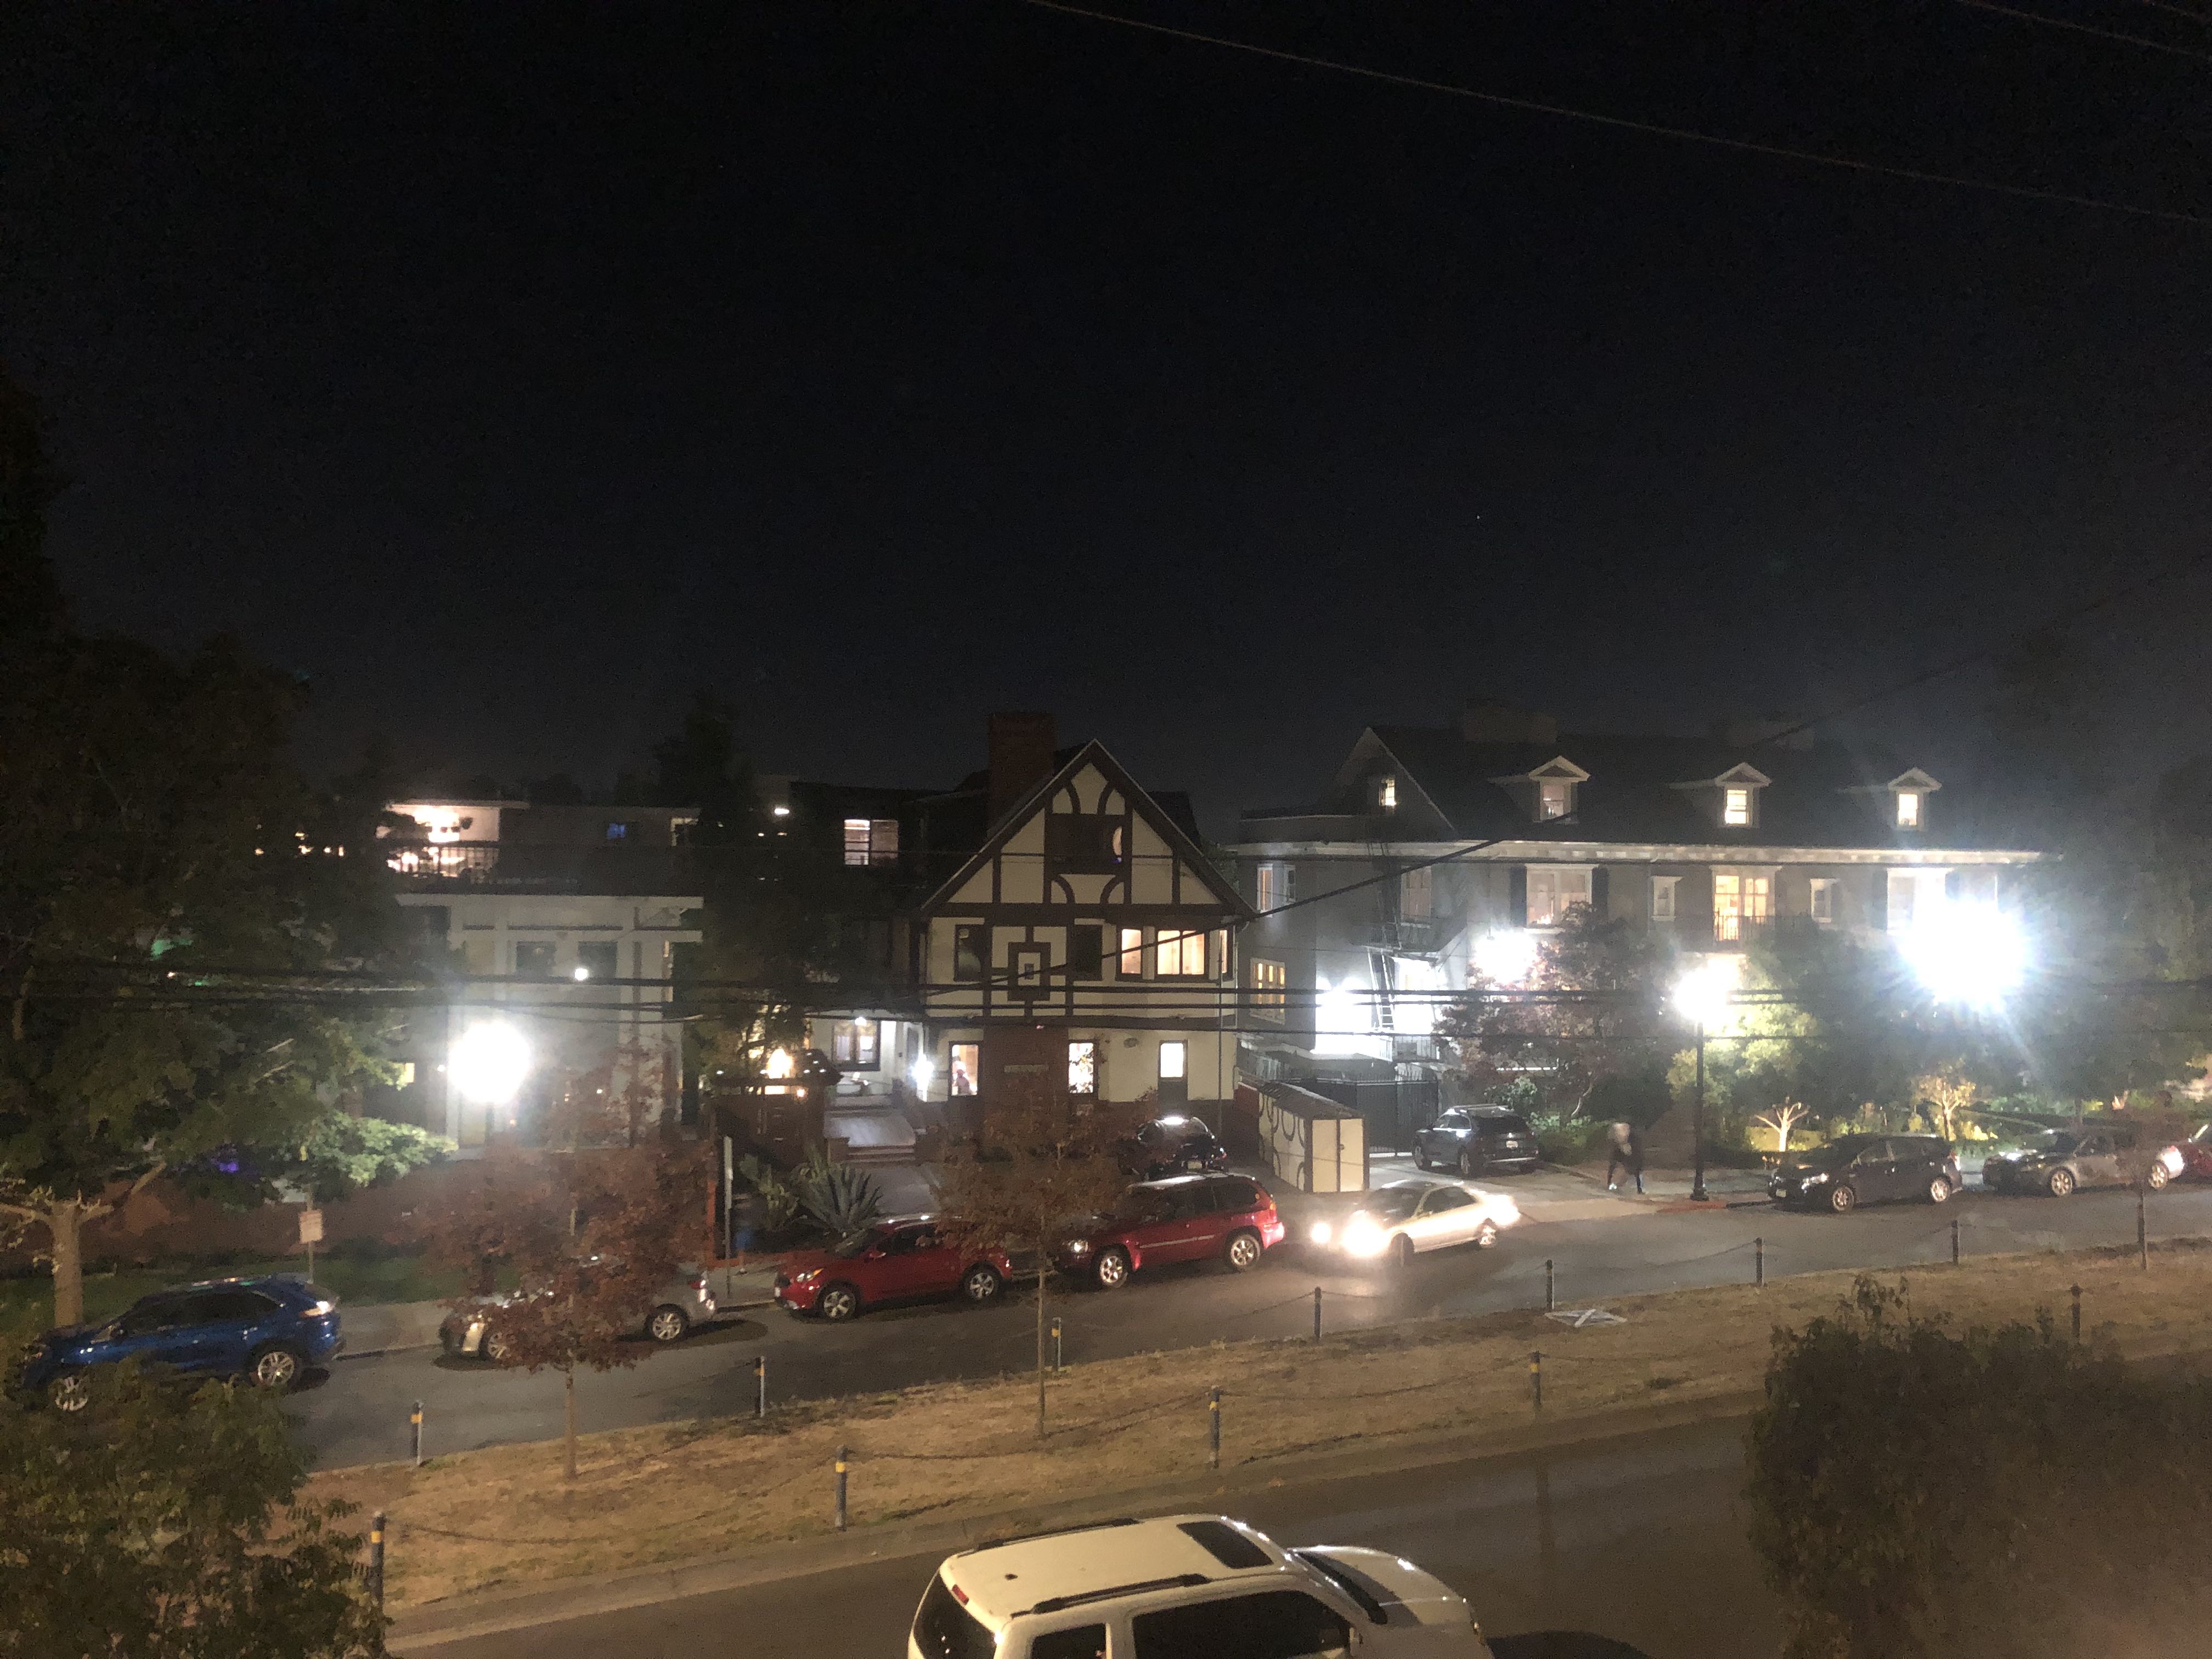
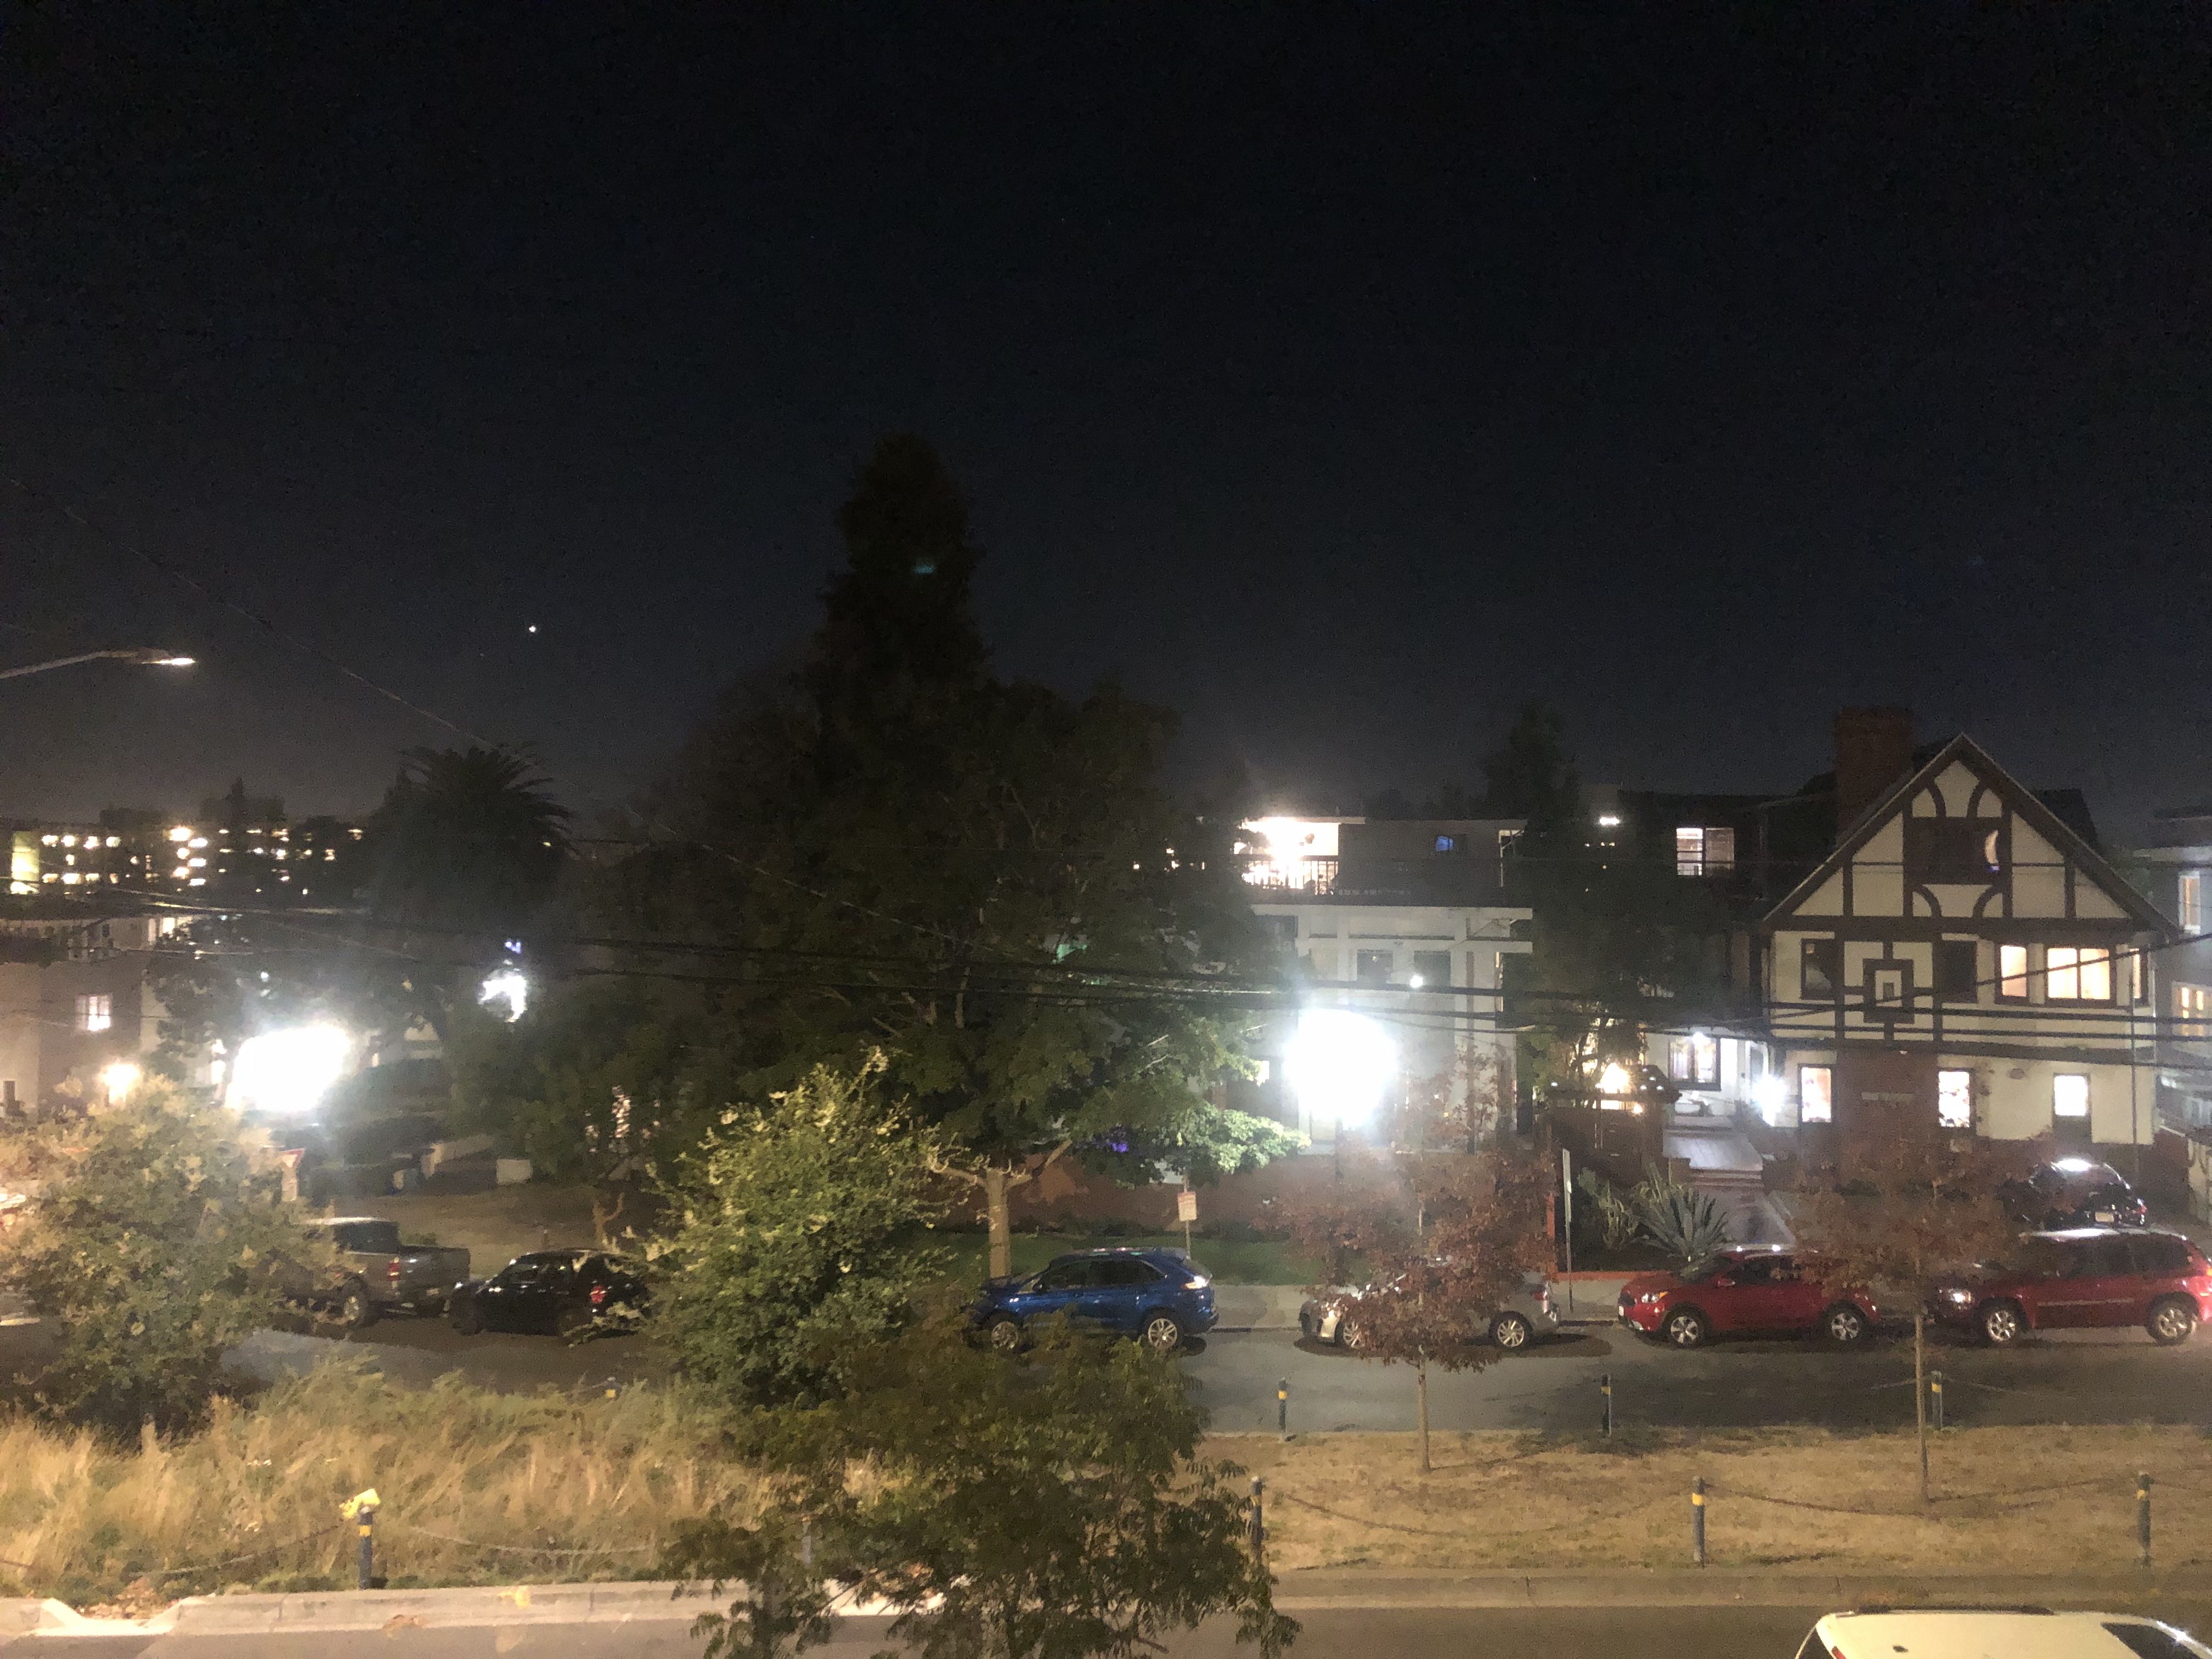
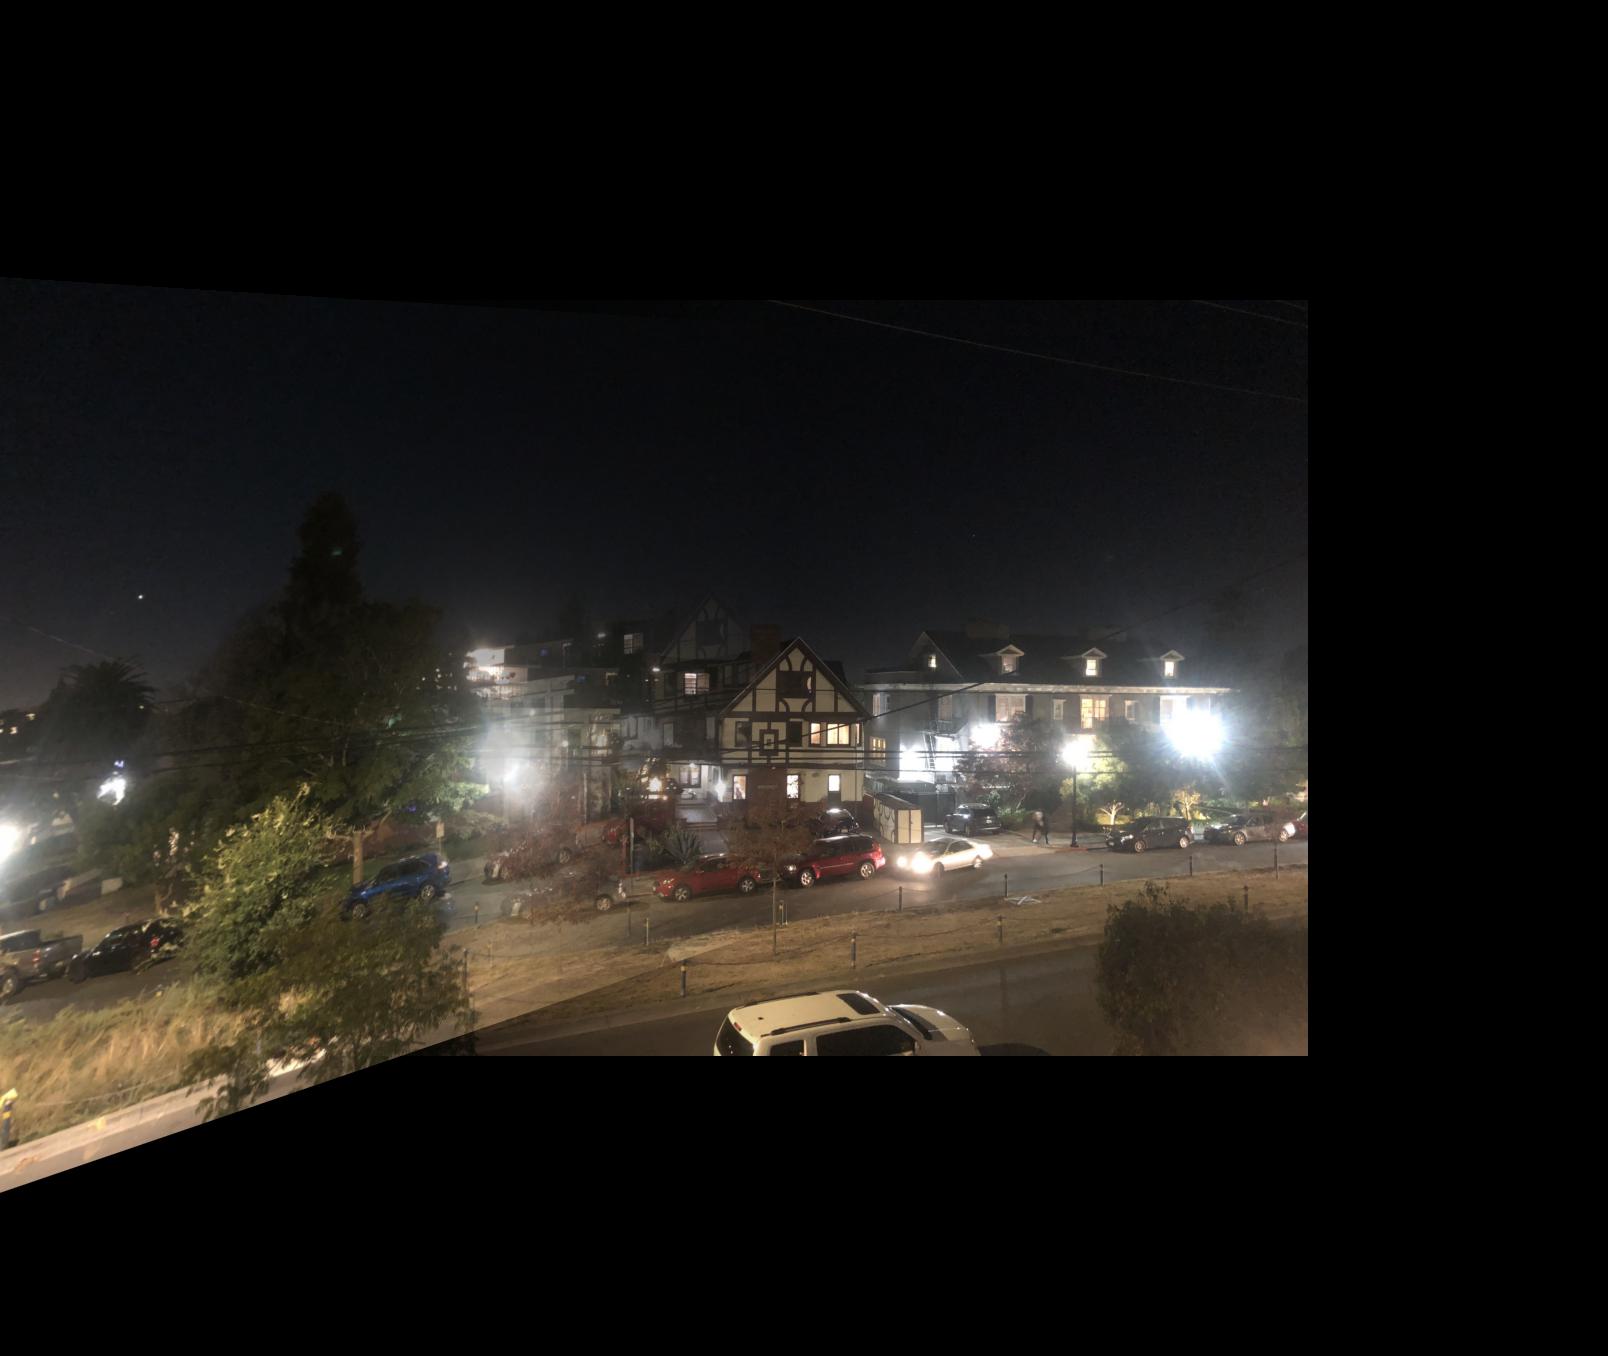
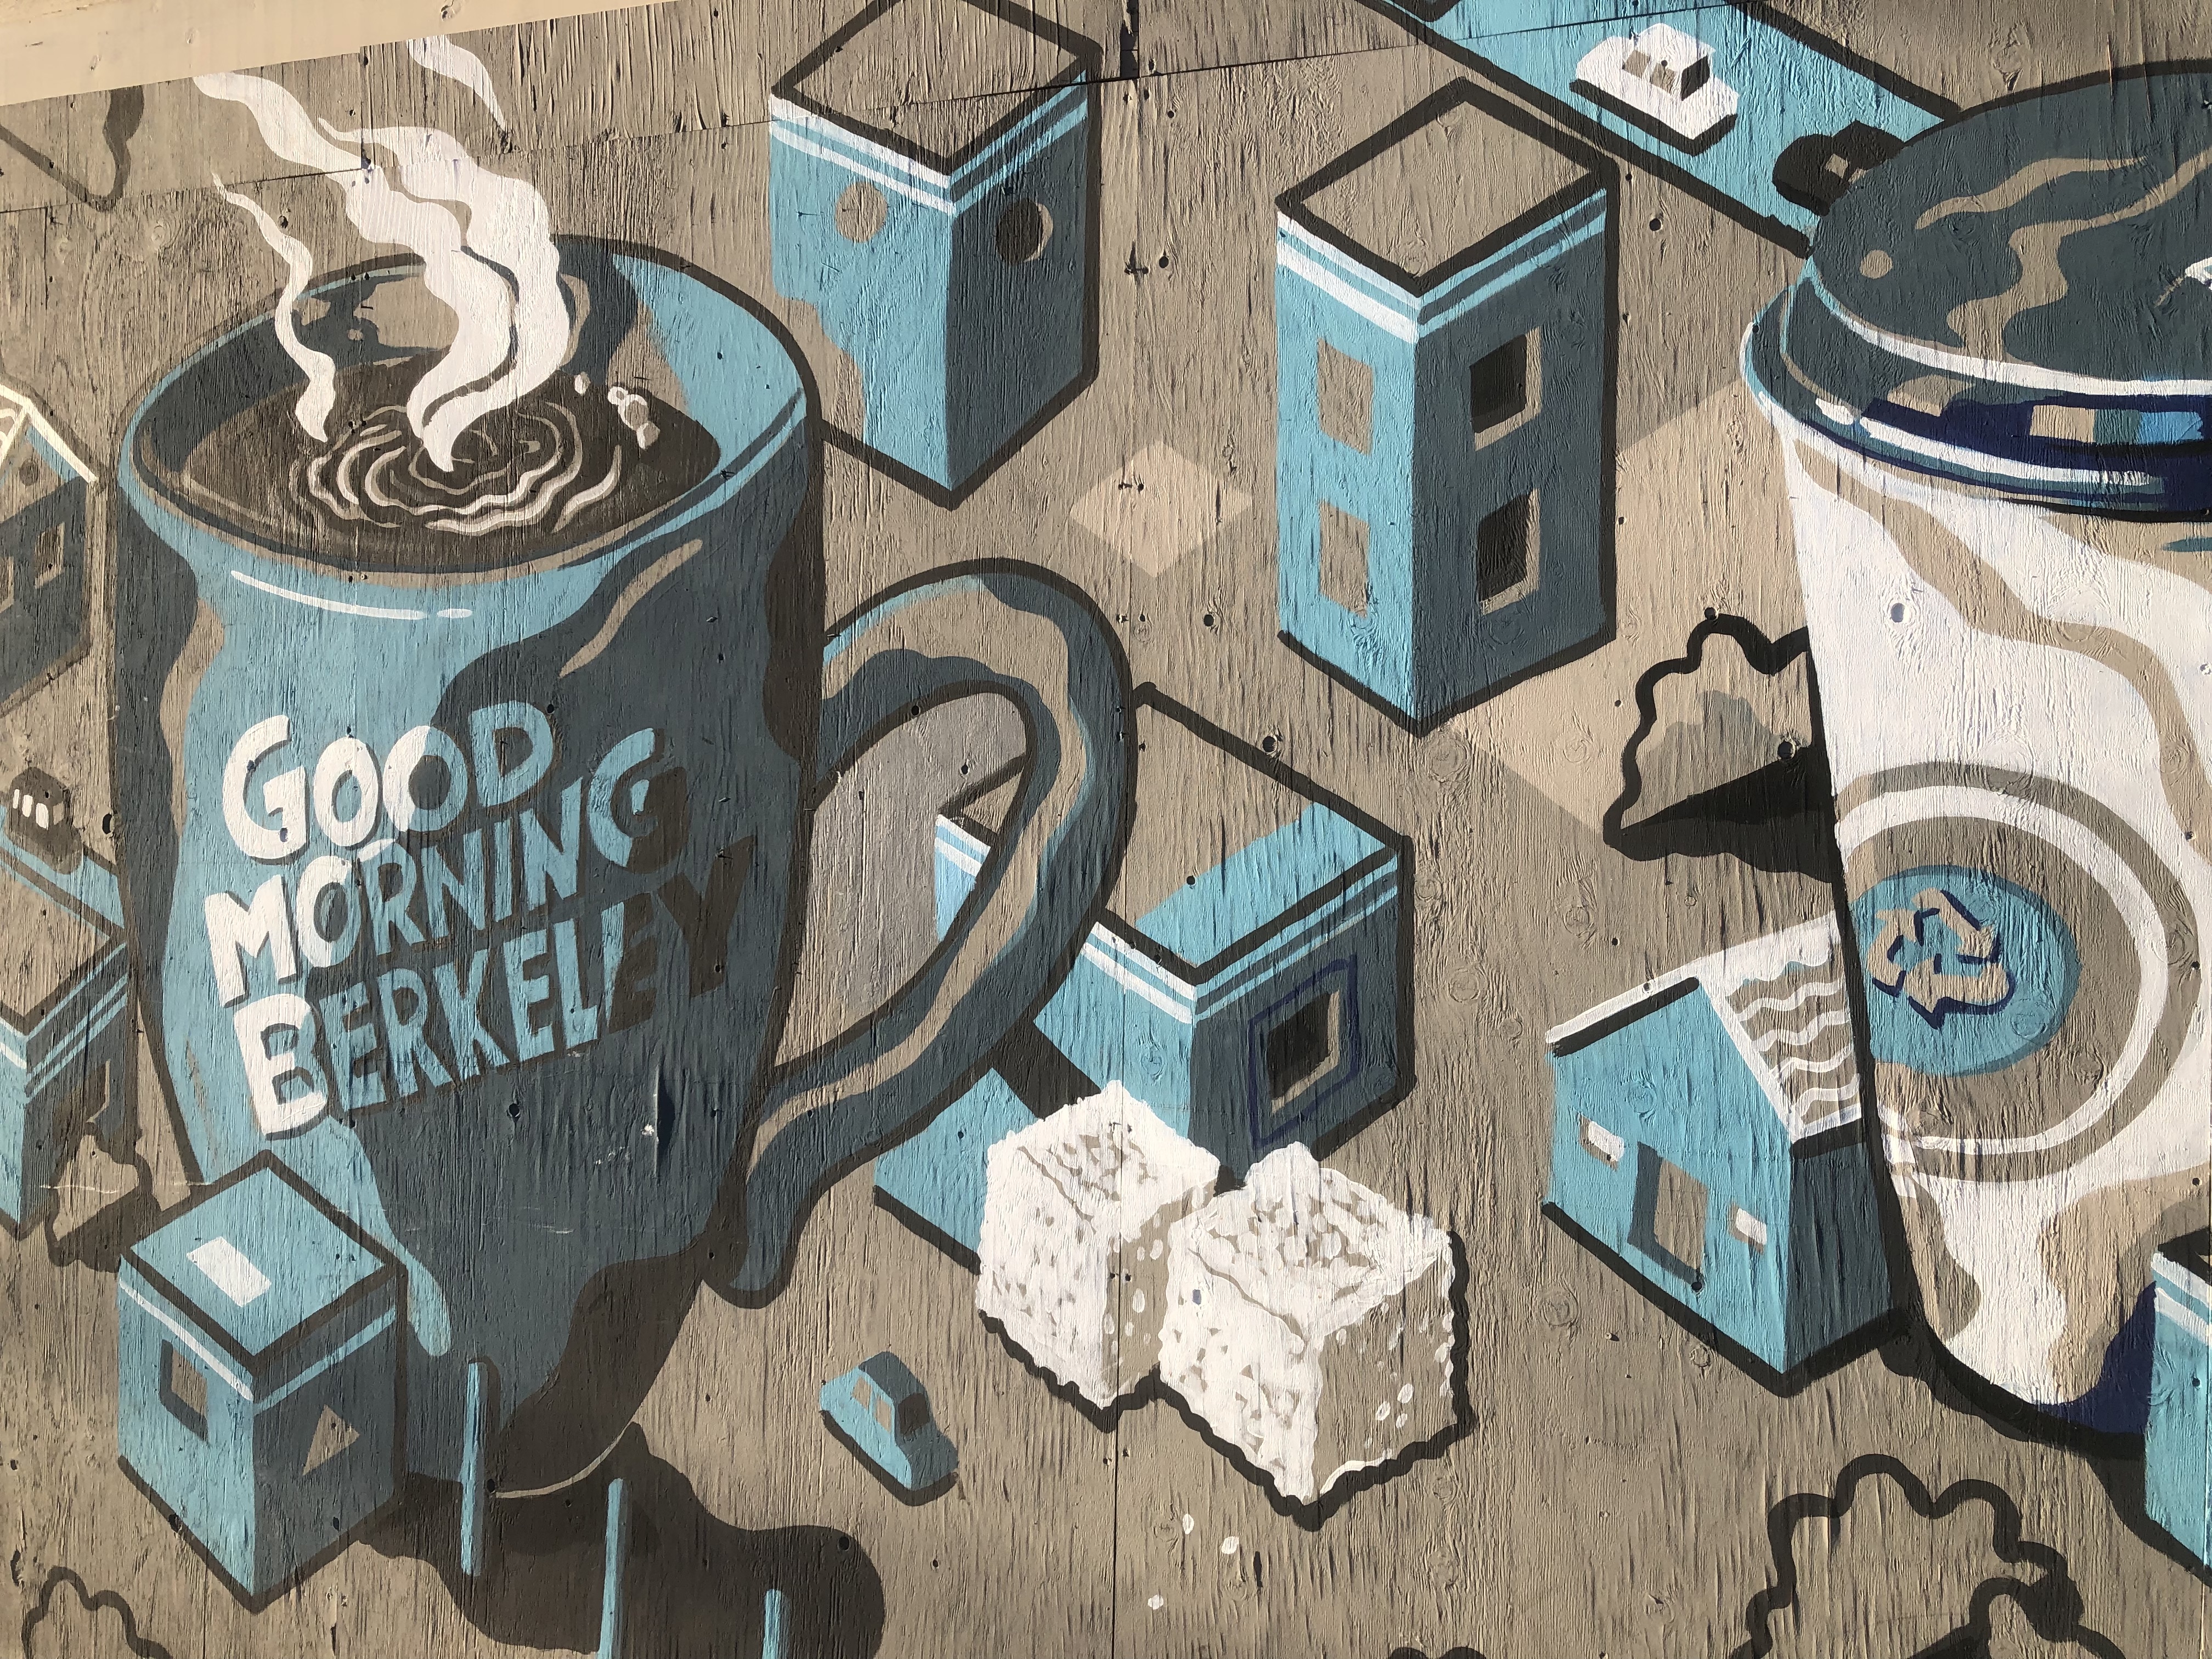
Mosaic Example 3
I really enjoyed learnign about projective transforms and now have a much better understanding of how they work.