CS194-26 Project 4A: Stitching Mosaics
Rishi Upadhyay, rishi.upadhyay@berkeley.edu, 3033975663
Project Overview
For this part of the project, we use user-selected points to compute a transformation matrix between two or more images and then use that to warp images and generate mosaics.
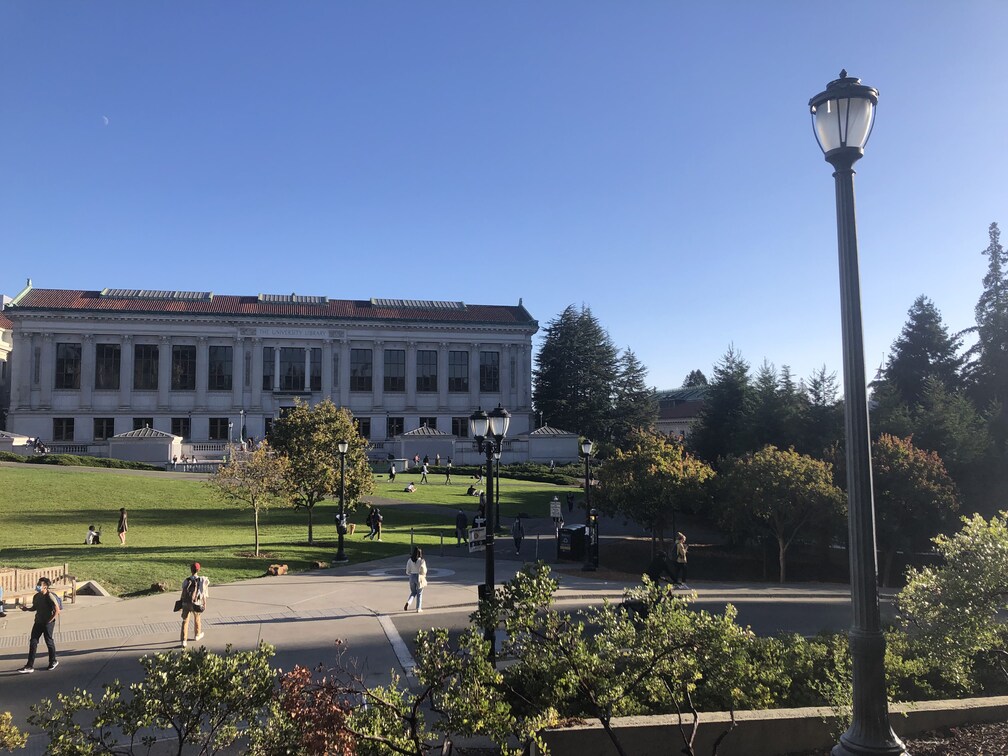
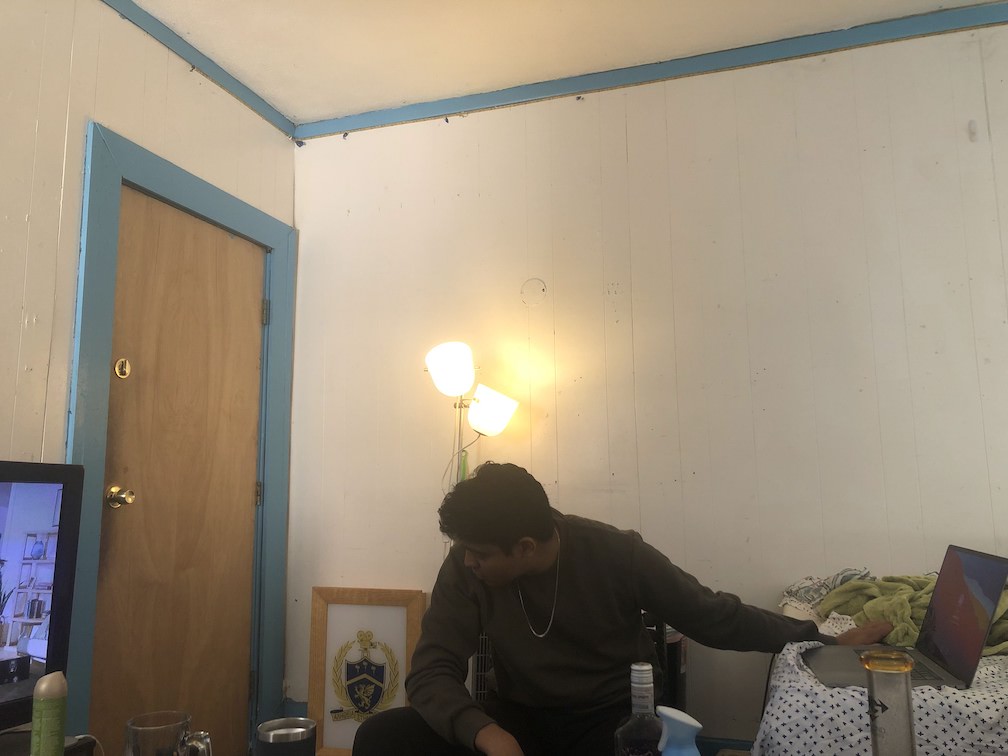
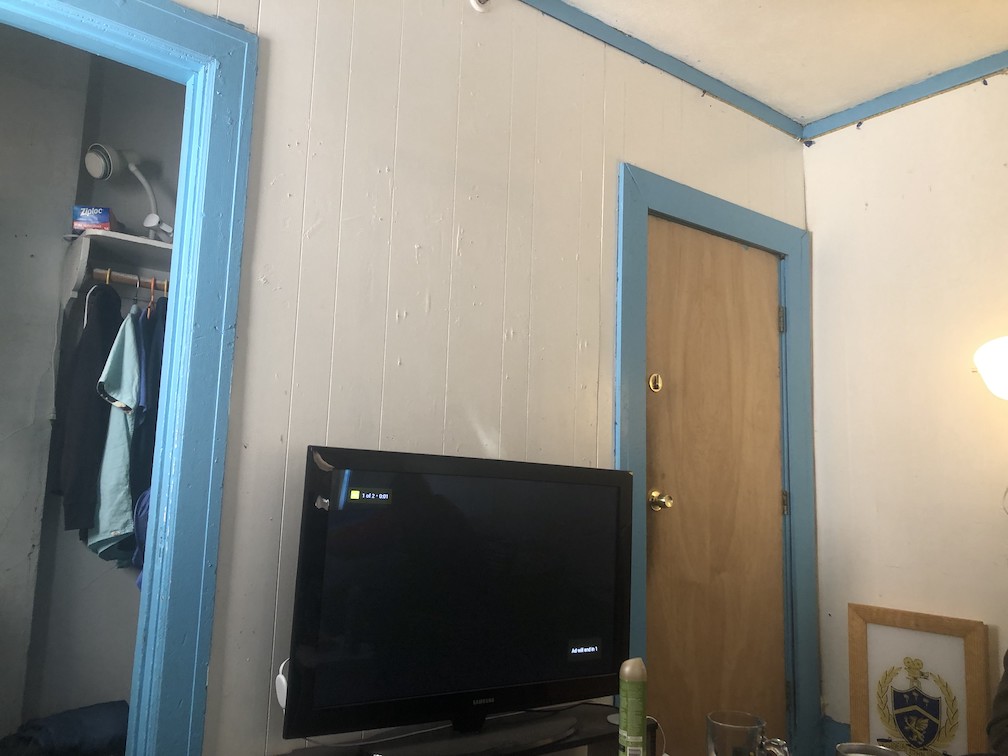
Part 1: Shoot Pictures
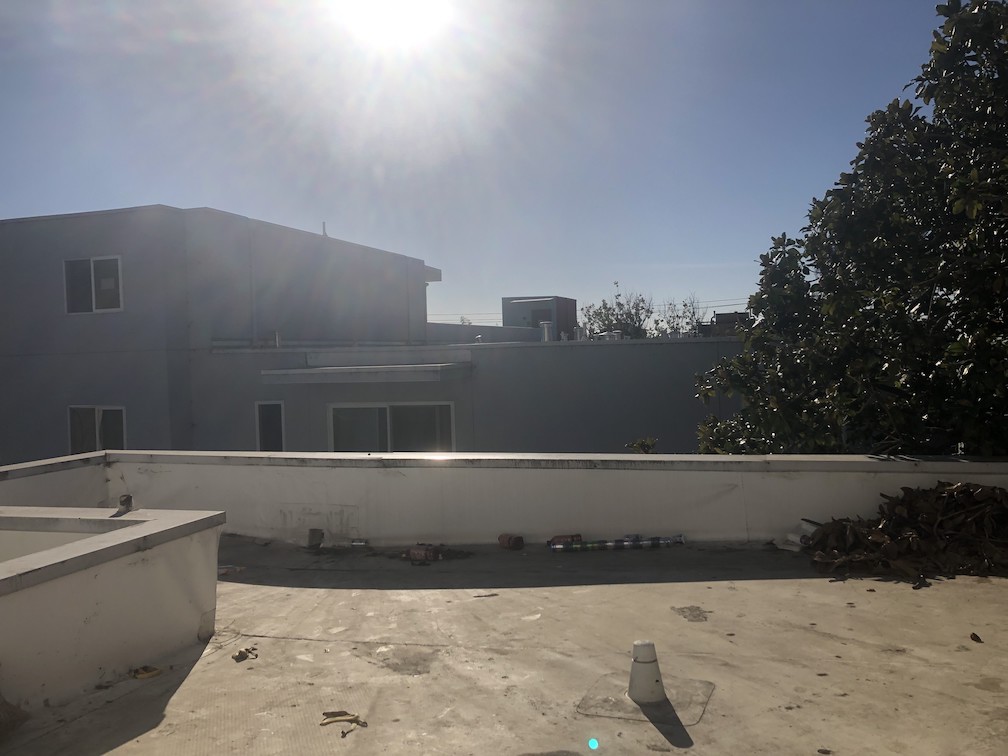
I took a selection of pictures for this section. I took some pictures on campus with views of the Campanile, some in my room, and some more from the roof of my building.
Part 2: Recovering Homography
In this part, we used 2 sets of points to compute the homography between the two images. To do this, we set up a system of linear equations and solve using least-squares. We have 8 unknowns in this situation, one of each entry of the homography matrix except the bottom right which is assumed to be 1. The equation we set up looks like this:

In this image, (x,y) are coordinates on image 1 and (x',y') are coordinates on image 2.
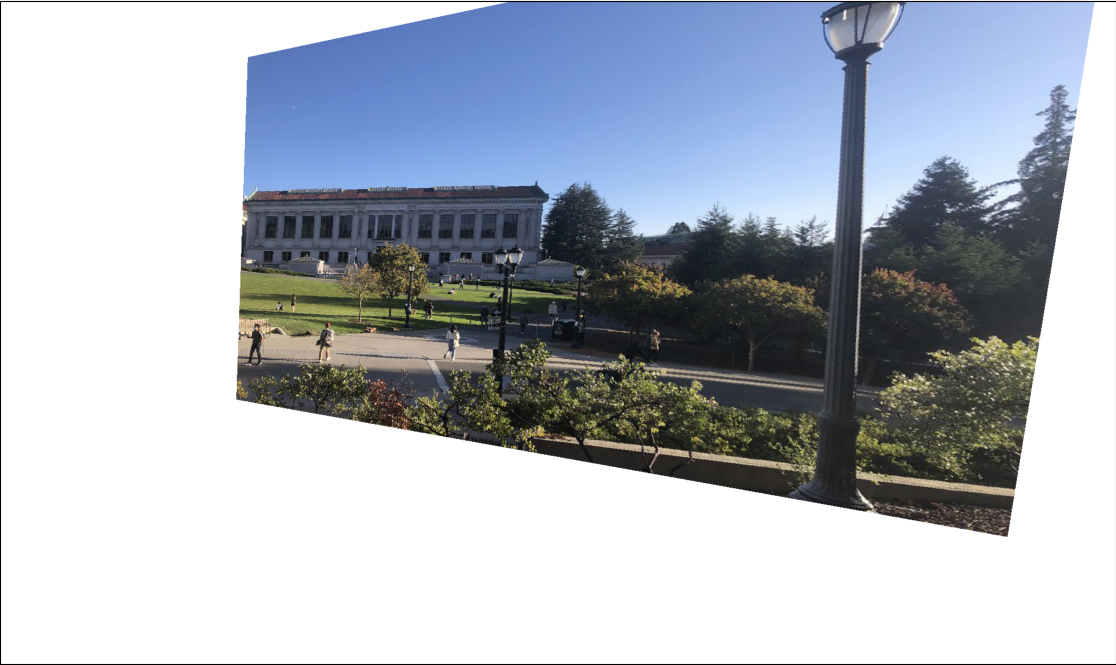
Part 3: Warp Images
In this part, we used the homographies computed in Part 2 to warp images. In this section I will refer to the image being warped as im1. We start by taking the corners of im1 and using the homography matrix to find their location in the image space of im2. This tells us the bounds of our warped image. Using this, we create a new canvas (C) that is big enough for our original image and our new image. We then take all pixels on C and apply the inverse of H to find their location on im1. We then sample using interp2d and put the pixels on C. However, not all pixels on C have a pixel on im1. For these, we use the polygon method from skimage and then set the alpha of all pixels outside that to 0 and 1 inside. We then make another canvas C2 and put our original image (im2) on that.
We then combine the 2 images using weighted averaging. We added the two images weighted by alpha and then divide by the sum of alphas.
An example of a warped image:
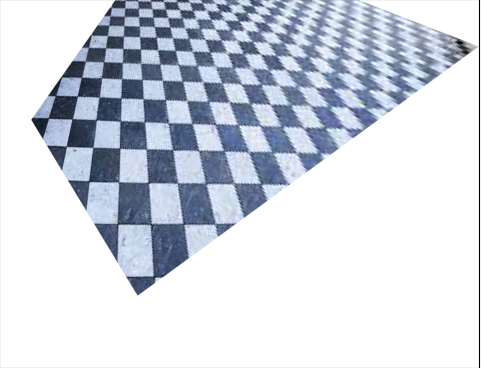
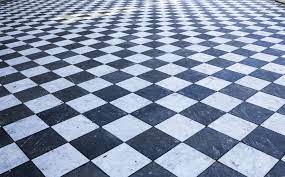
Part 4: Image Rectification
In this part, we used the warping to "rectify" images. We do this by selecting a rectangular set of points and then manually setting the correspondence points to (0,0), (1,0), (0,1), (1,1). Here are two examples with the original images:
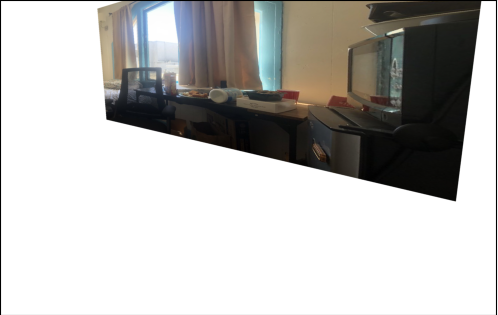
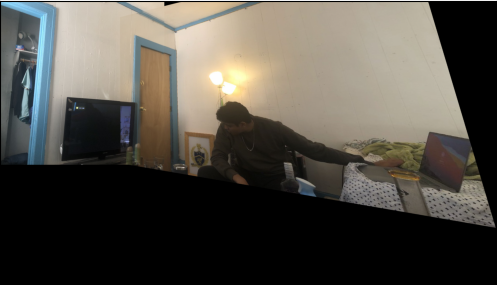
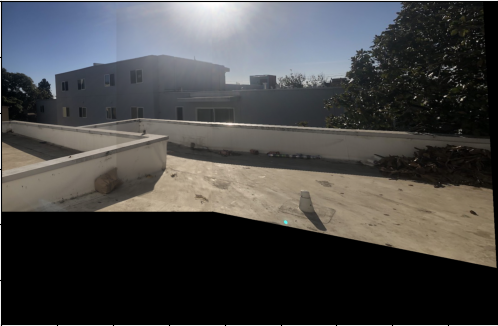
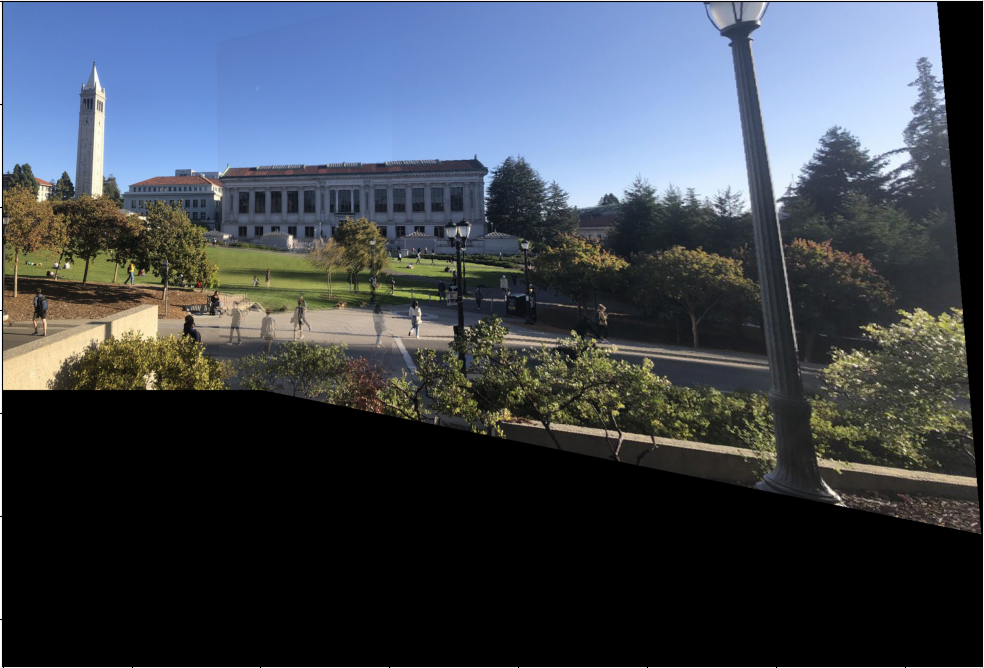
Part 5: Blend Images into a Mosaic
In this last step, we used the warp images to make mosaics. Here a few examples:


Part 6: What I Learned
I think the most interesting/cool thing I learned during this project was the importance of the points selected for homography. I found that the points being off by only a little bit could have relatively large effects on the homography matrix. This was kind of surprising to me as this was not the case as much in the last project. I am interested in finding out why this is the case and am planning to do some more research on this.