


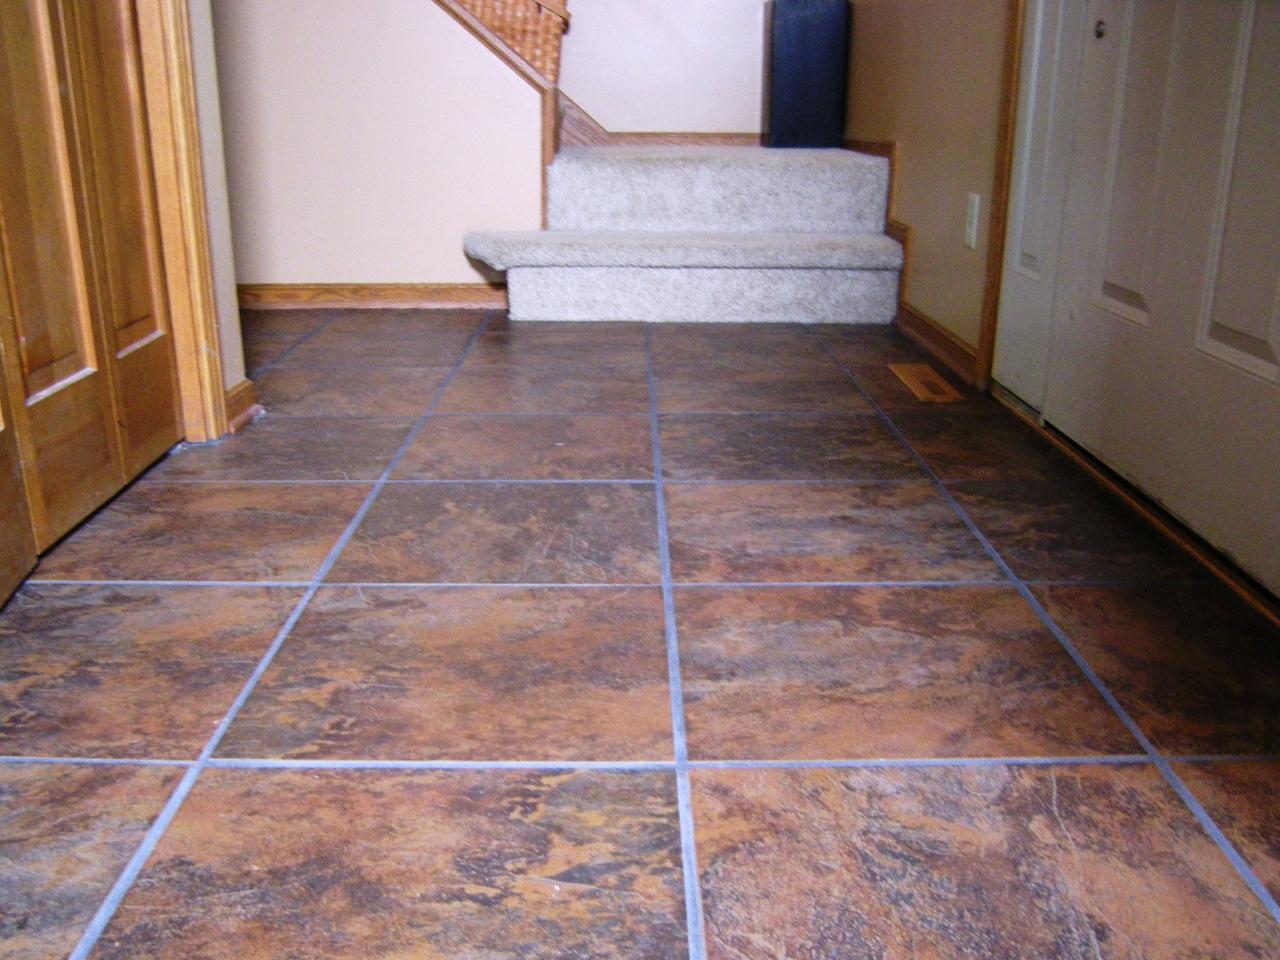
Note: This image has been taken from:
https://www.diynetwork.com/how-to/rooms-and-spaces/floors/laying-a-new-tile-floor
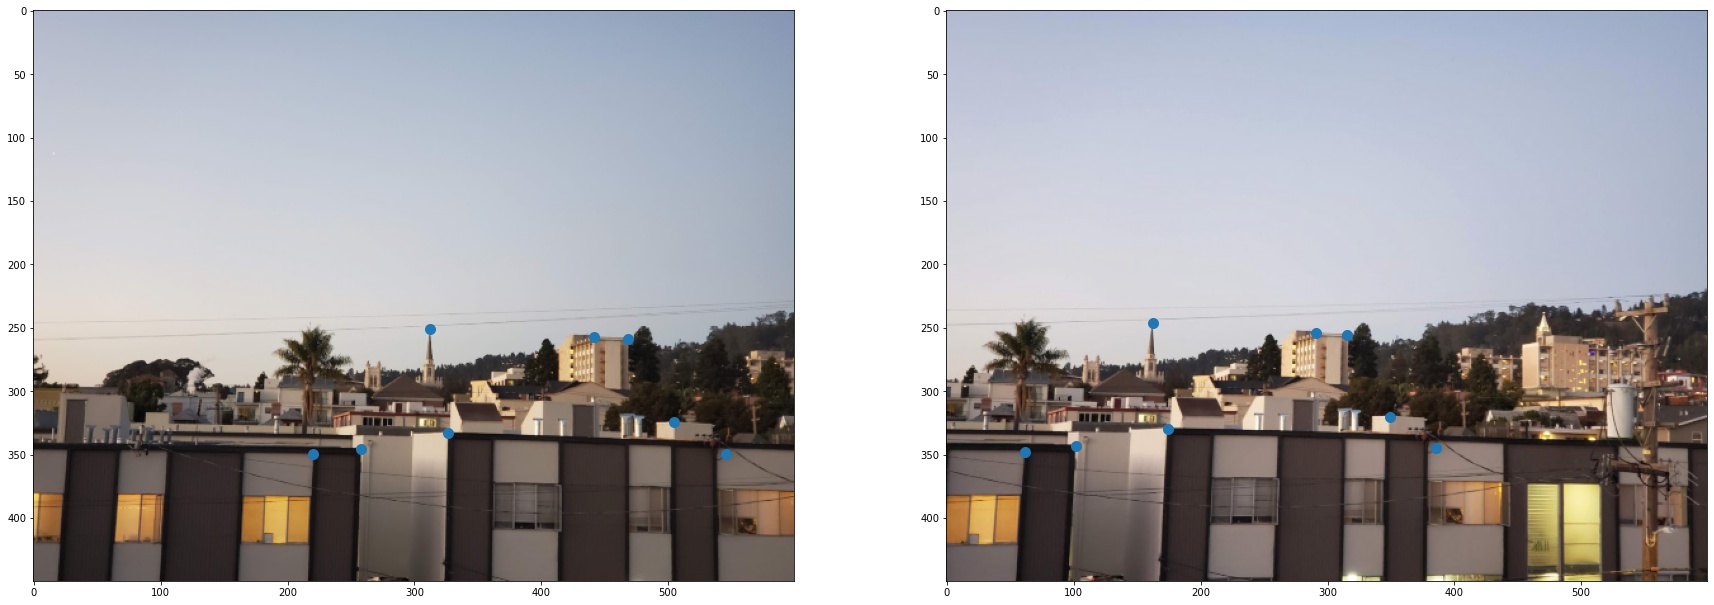
| Left Image | Right Image |
|---|---|
|
|
|
|
|
|
|
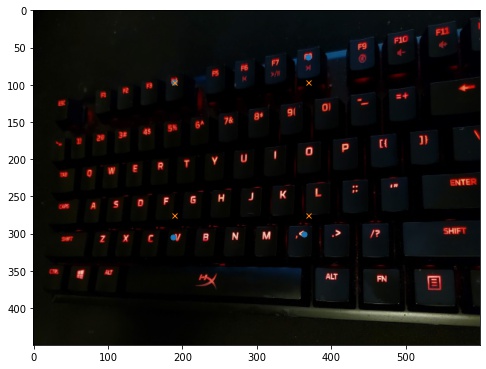
This image will be rectified |
|
This image will be rectified.
Note: This image has been taken from: https://www.diynetwork.com/how-to/rooms-and-spaces/floors/laying-a-new-tile-floor |
 (Image taken from: https://towardsdatascience.com/estimating-a-homography-matrix-522c70ec4b2c)
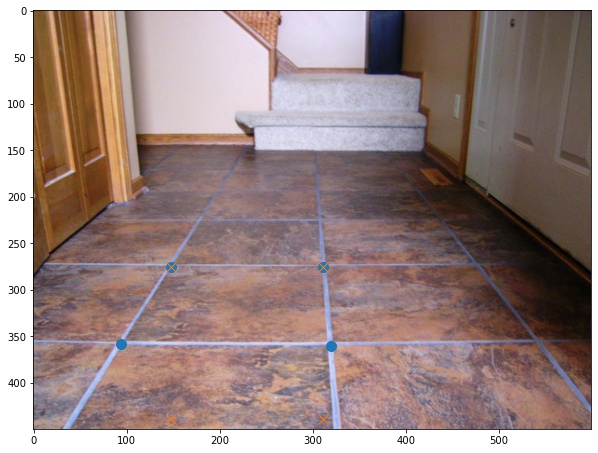
| Image and Points |
|---|
 |
 |
 |
 |
 |
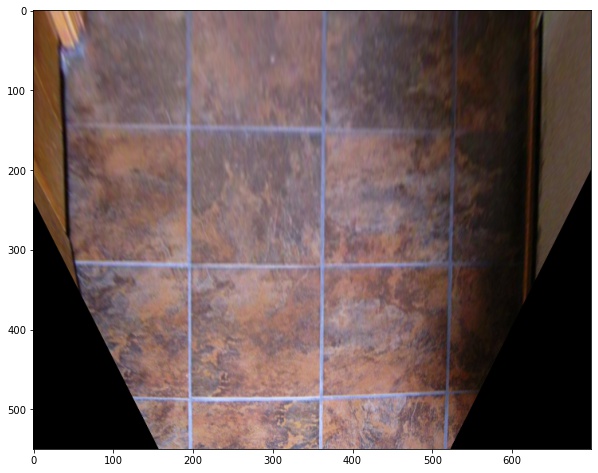
| Original Image | Rectified Image |
|---|---|
|
 |
|
 |
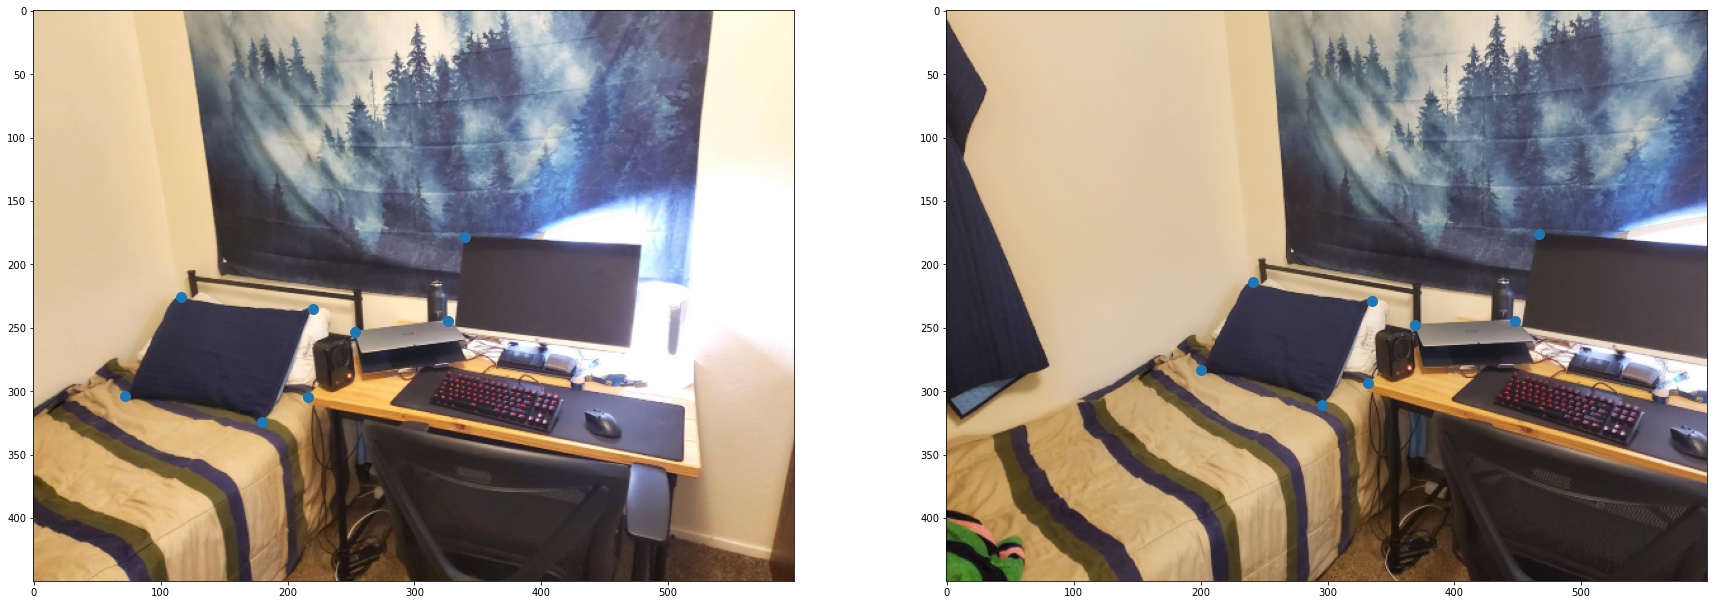
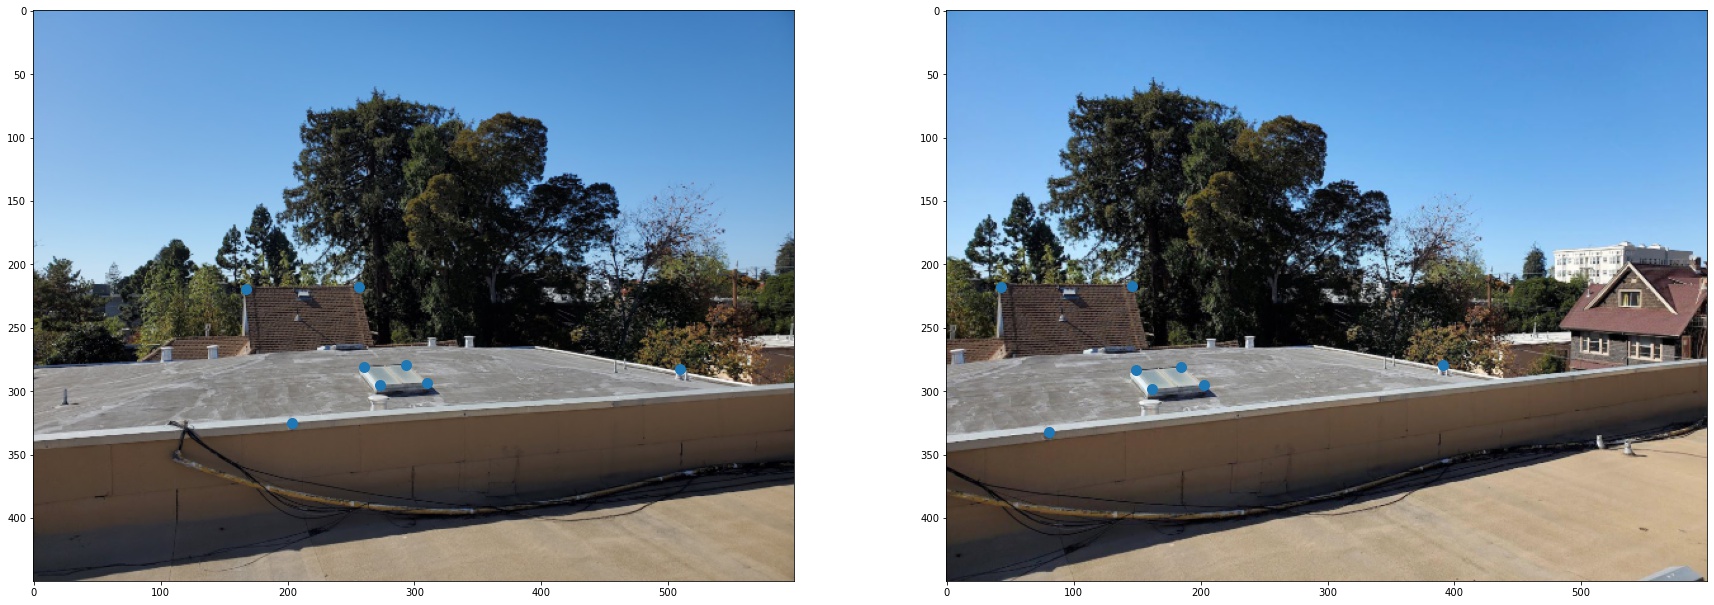
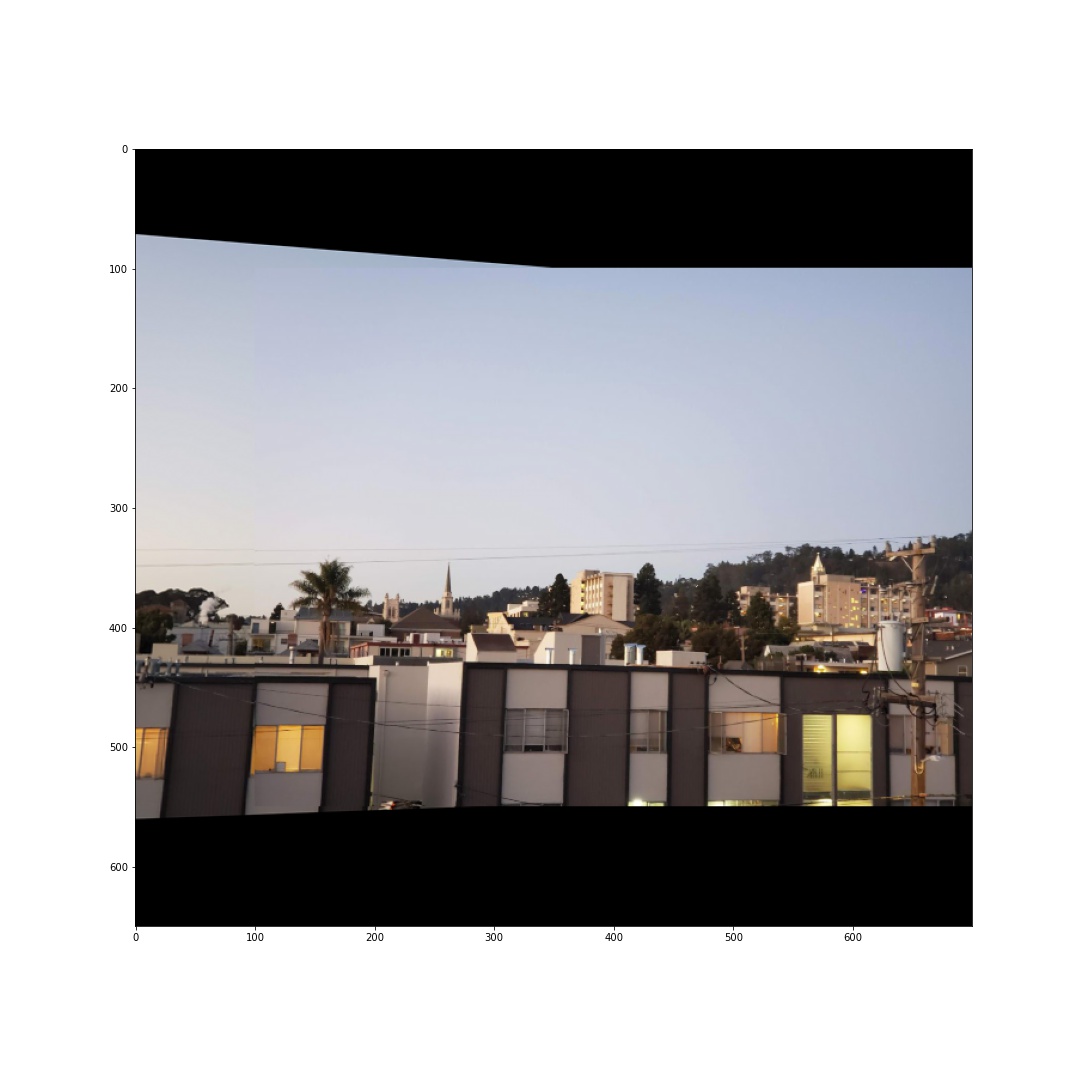
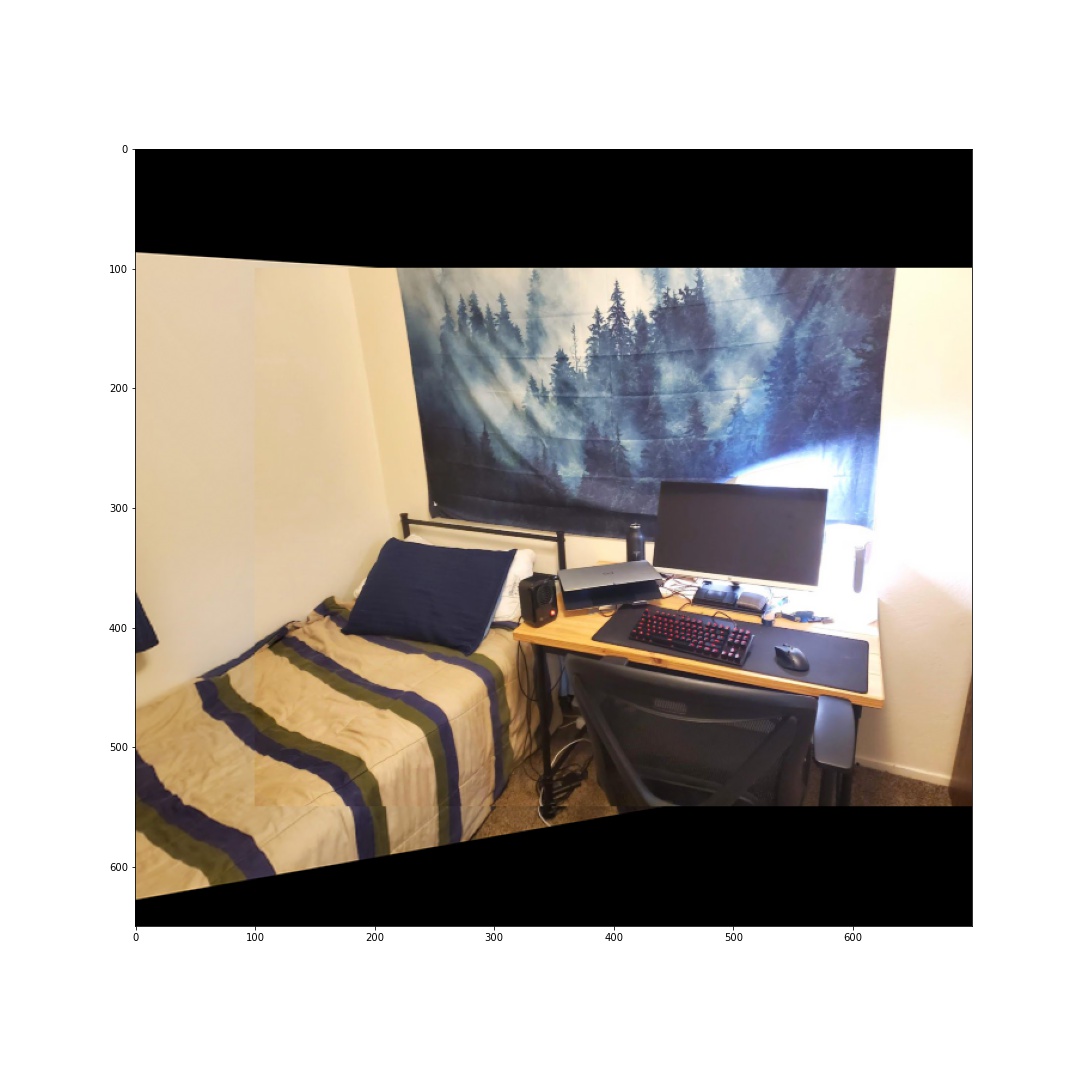
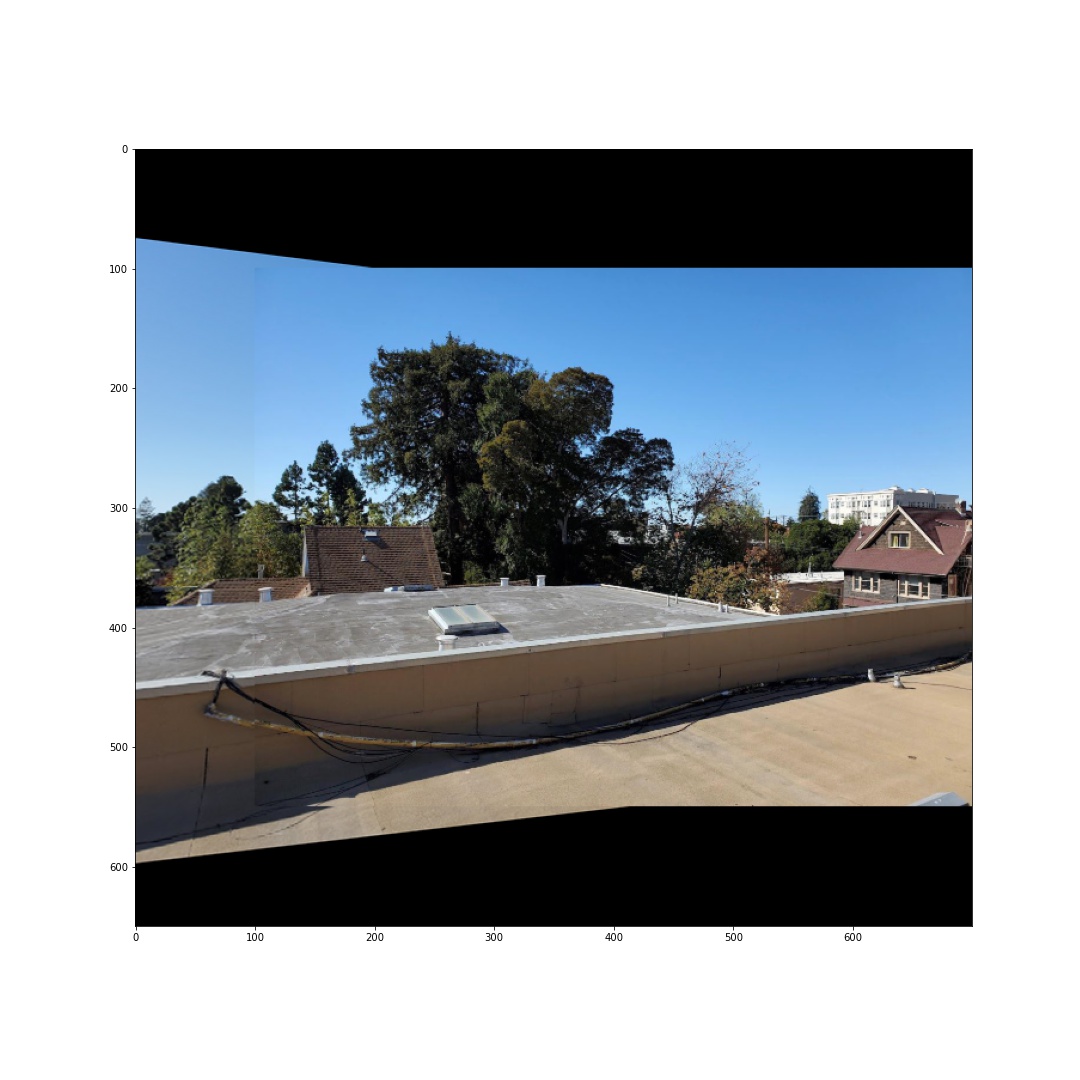
| Left Image | Right Image | Resulting Mosiac |
|---|---|---|
|
|
 |
|
|
 |
|
|
 |