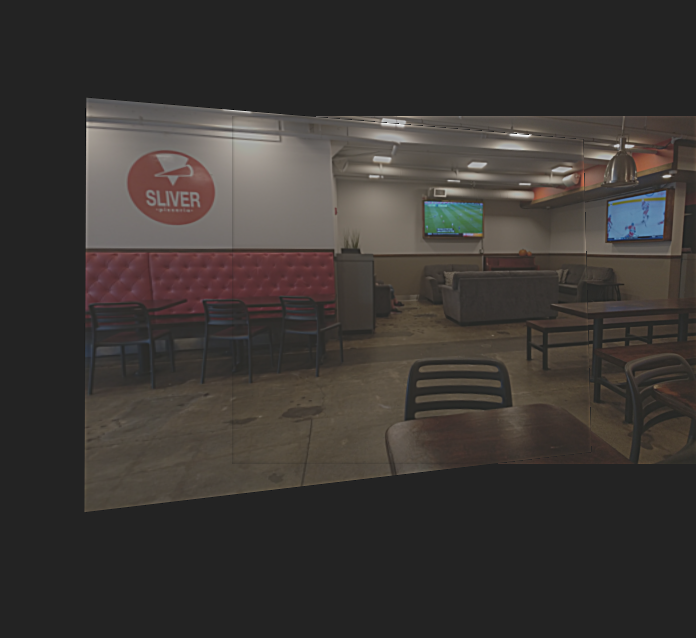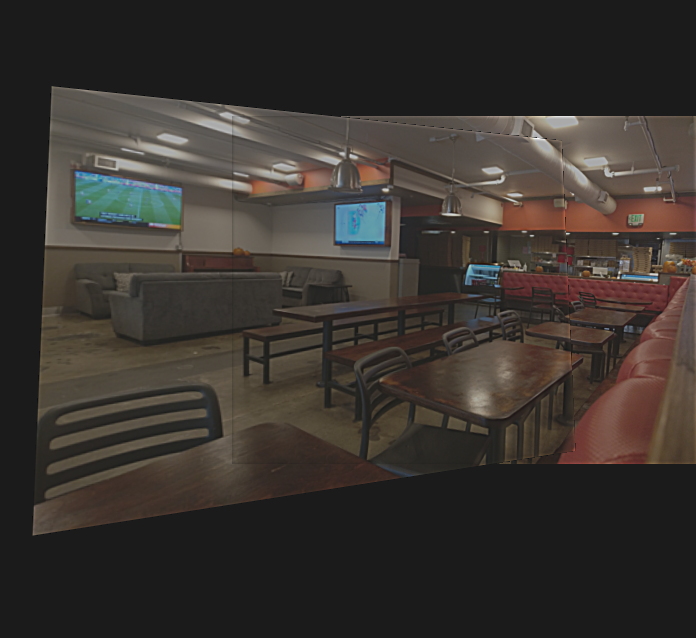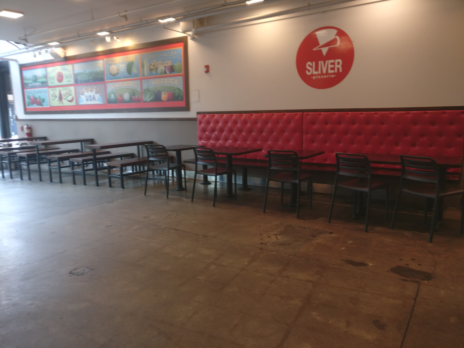
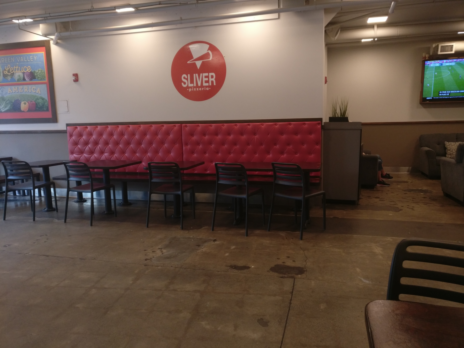
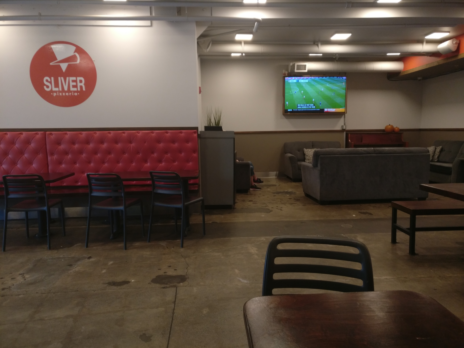
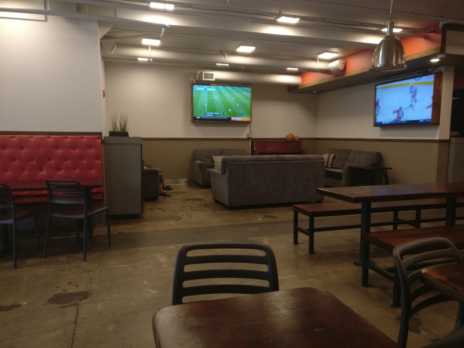
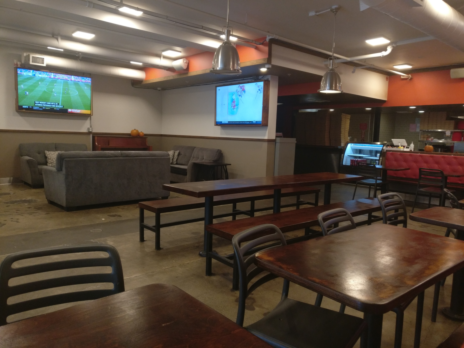
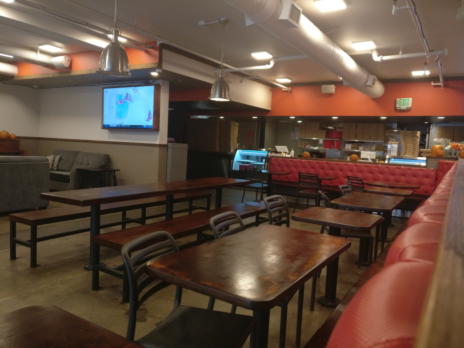
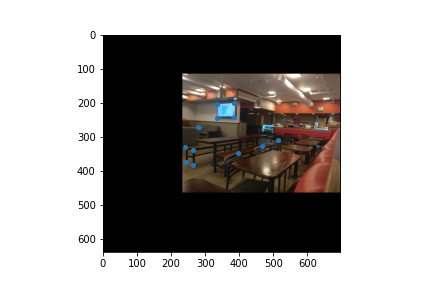
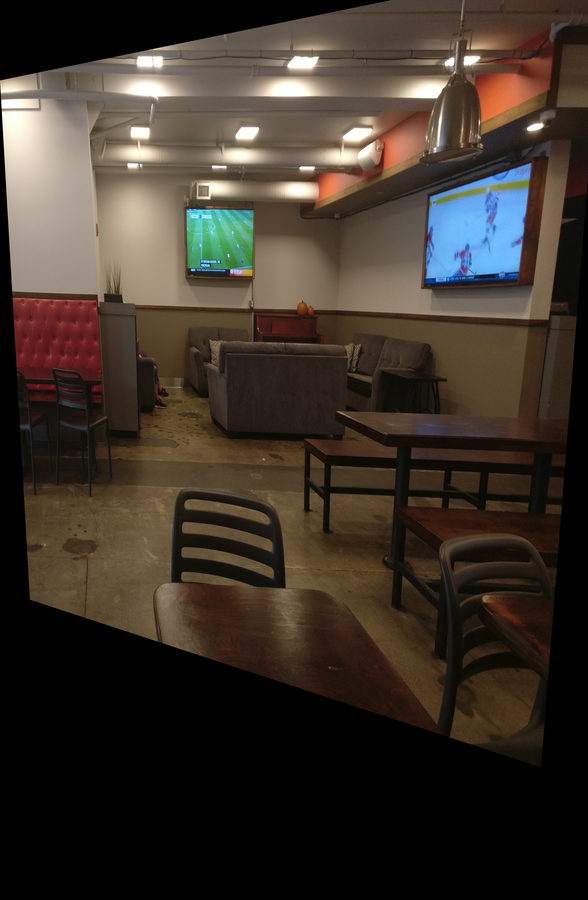
I shot a series of six photos from different angles of the nearby Sliver Pizzaria on Telegraph Ave.
To find the homograhpy between two images, I first define a set of twelve pairs of corresponding points. We solve for the matrix H using the following formula with h_33 = 1. The y_n and x_n represent input coordinates while y'_n and x'_n represent output coordinates. Set up the system as shown in python and solve using np.linalg.lstsq() .
Since there are more equations than unknowns, we use least-square approximation to find H. Note that while the matrix system only requires four pairs of corresponding points to solve exactly. In practice, I find that only four points would give a very blurry results. Hence, more points give more exact result. Here is an example of corresponding points between image5 and image6 as well as the resulting H:

To warp one image torwards the second, we first compute the homography H. Given H, we can write a function to wrap the first image according to H. Similar to project 3, we use inverse warping and linear interpolation to find the appropriate pixel value.
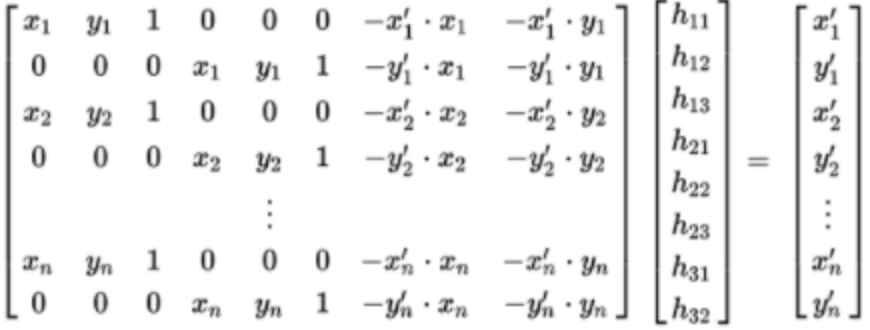
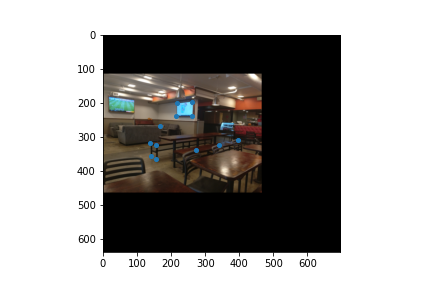
To help with blending in part 4, we first pad the image before warping. This ensures that the images are warped towards each other and aligned naturally after warping. We start out with both images in the same dimension h x w. The left image is padded right by w/2 and the right image is padded left by w/2 likewise. Both image are padded h/2 at the top and bottom.

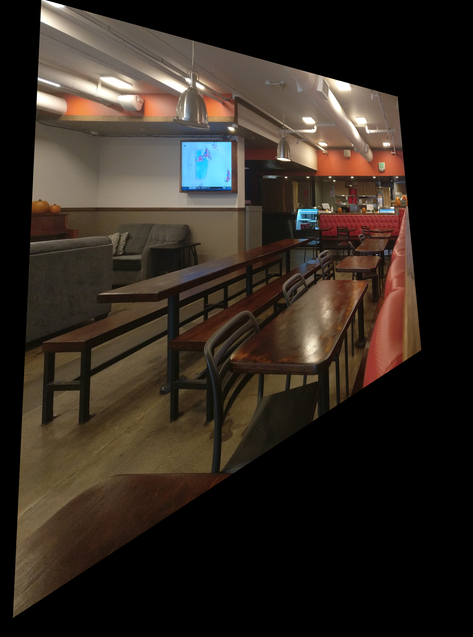
Instead of computing the homography between two images, we can compute the homography of portion of an image to a fixed shape, like a rectangle for instance. This way, we can make objects taken at an angle appeared front-facing after warping. Instead of 12 points per image we now only need four, and the target points would be fixed to a box [[50,50],[150,50],[150,150],[50,150]].
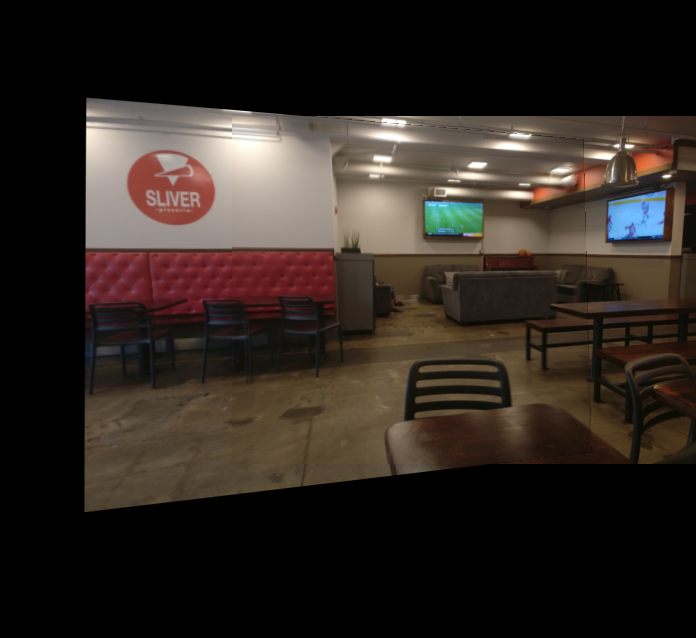
Bellow shows two rectified images of the left and right television in image 4 and image 6.
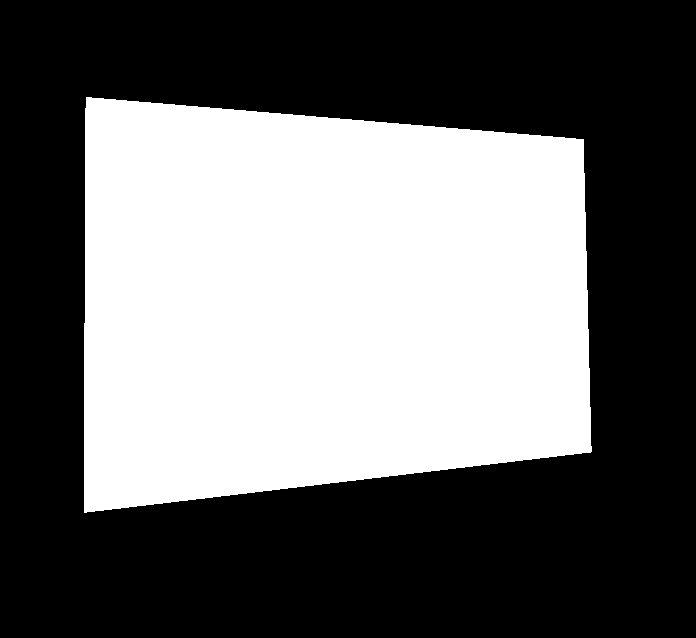
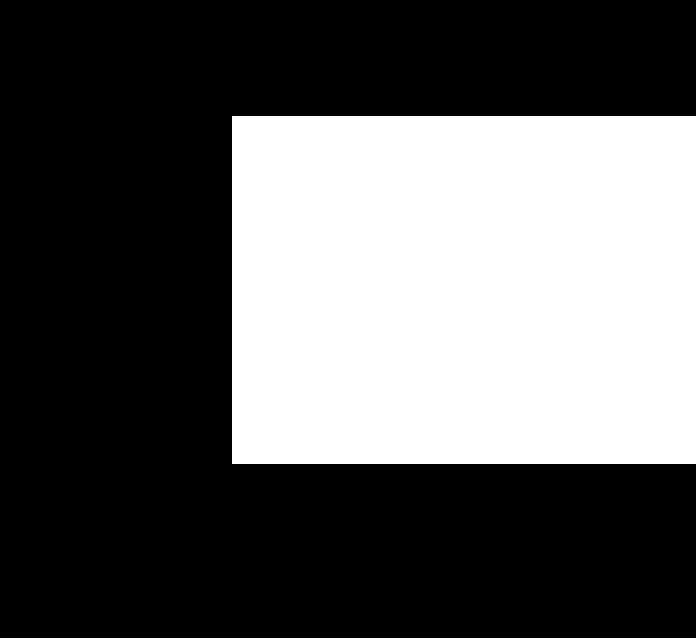
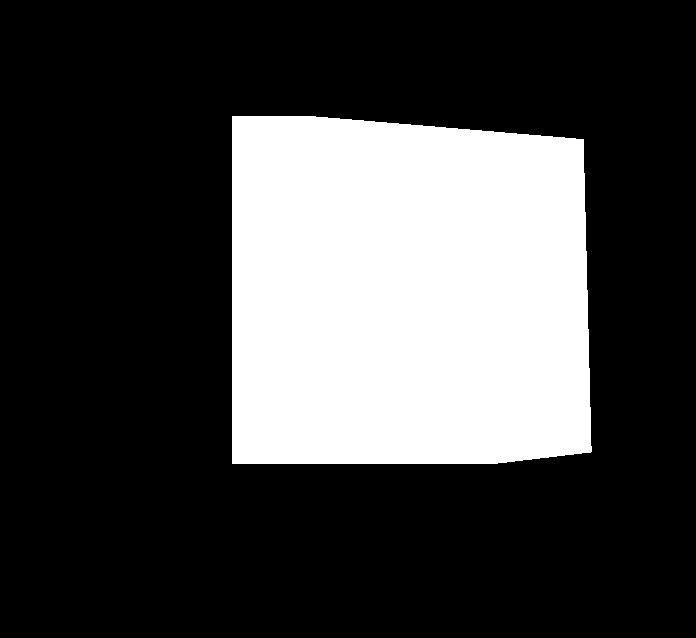
Thanks to padding, the images are already aligned after warping. Thus, we can compute the mask for each image by taking the non-zero pixels. Bellow showed the left, right, and shared mask for image 3 and image 4:
A naive method would just sum the left and right image up after applying the three masks. We see that overlapping edges are more noticeable and the shared portion is much blurry:
A better way is to use 2-band blending where we compute the low- and high-frequency of both images. We then blend the low frequency smoothly while applying alpha-blending to the high frequency portion. We observe that the result give much smoother transition and sharper mosaics: