|
|
|
|
|
|
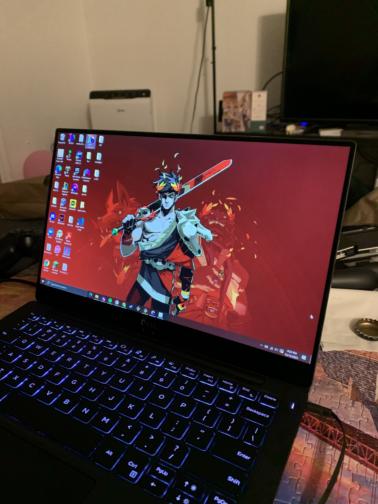
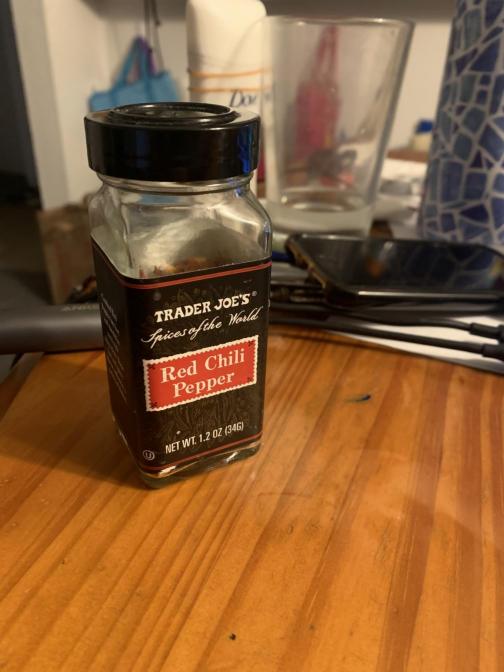
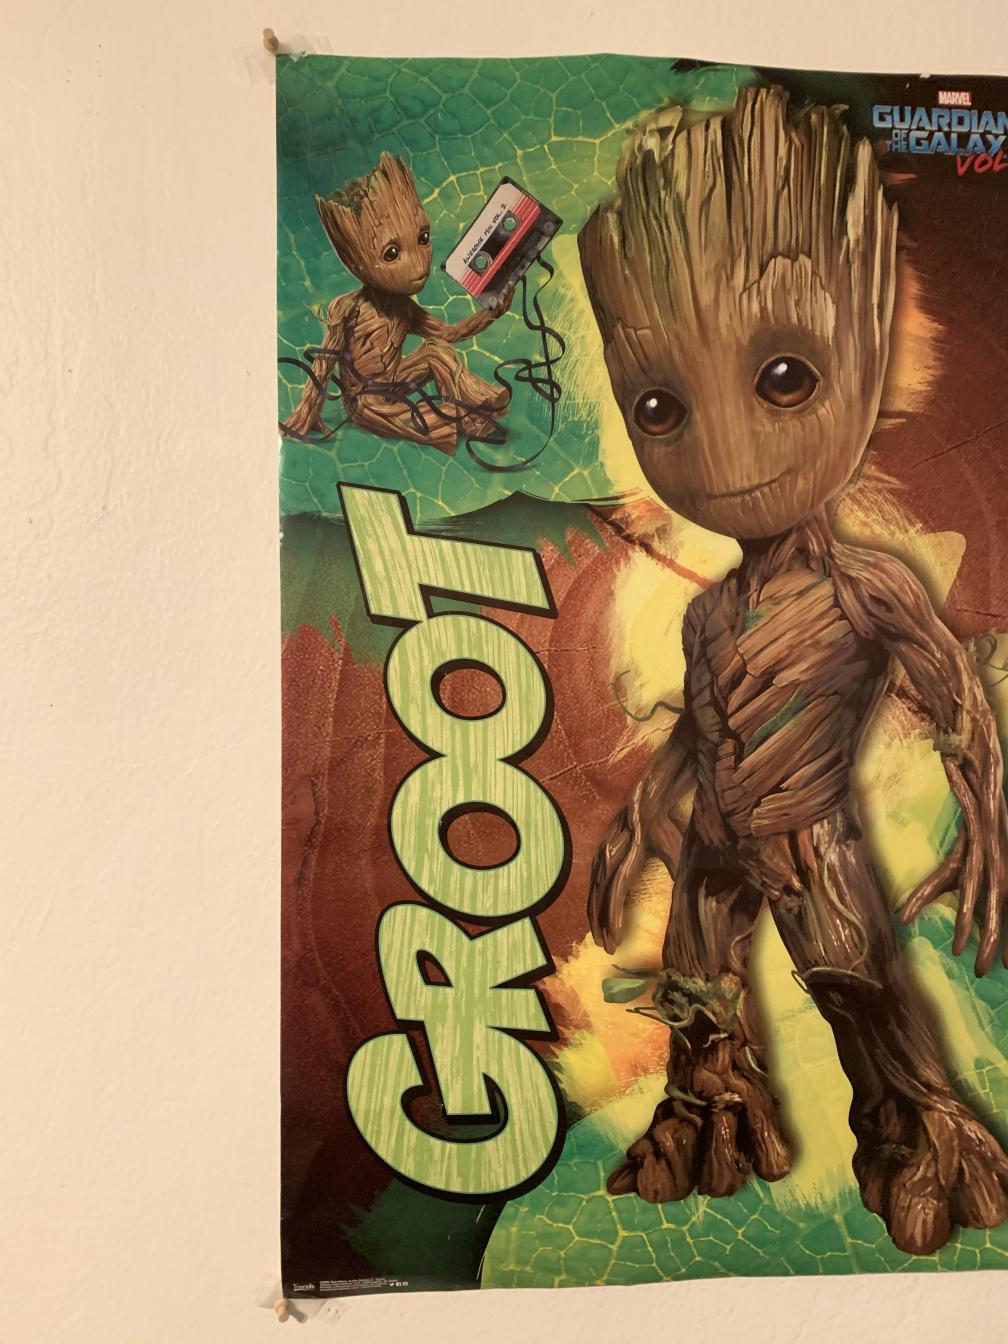
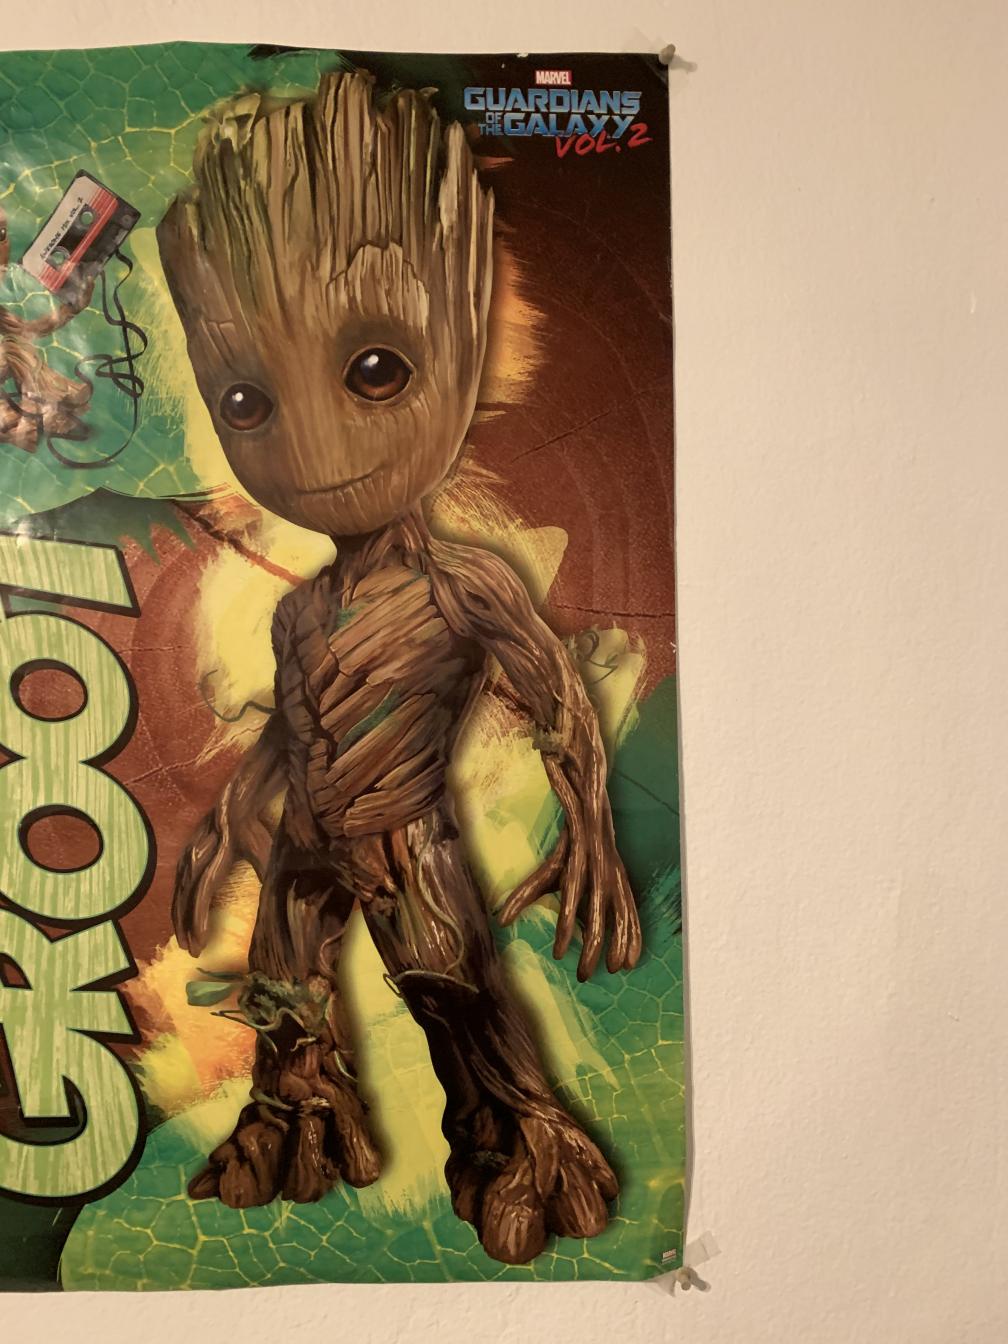
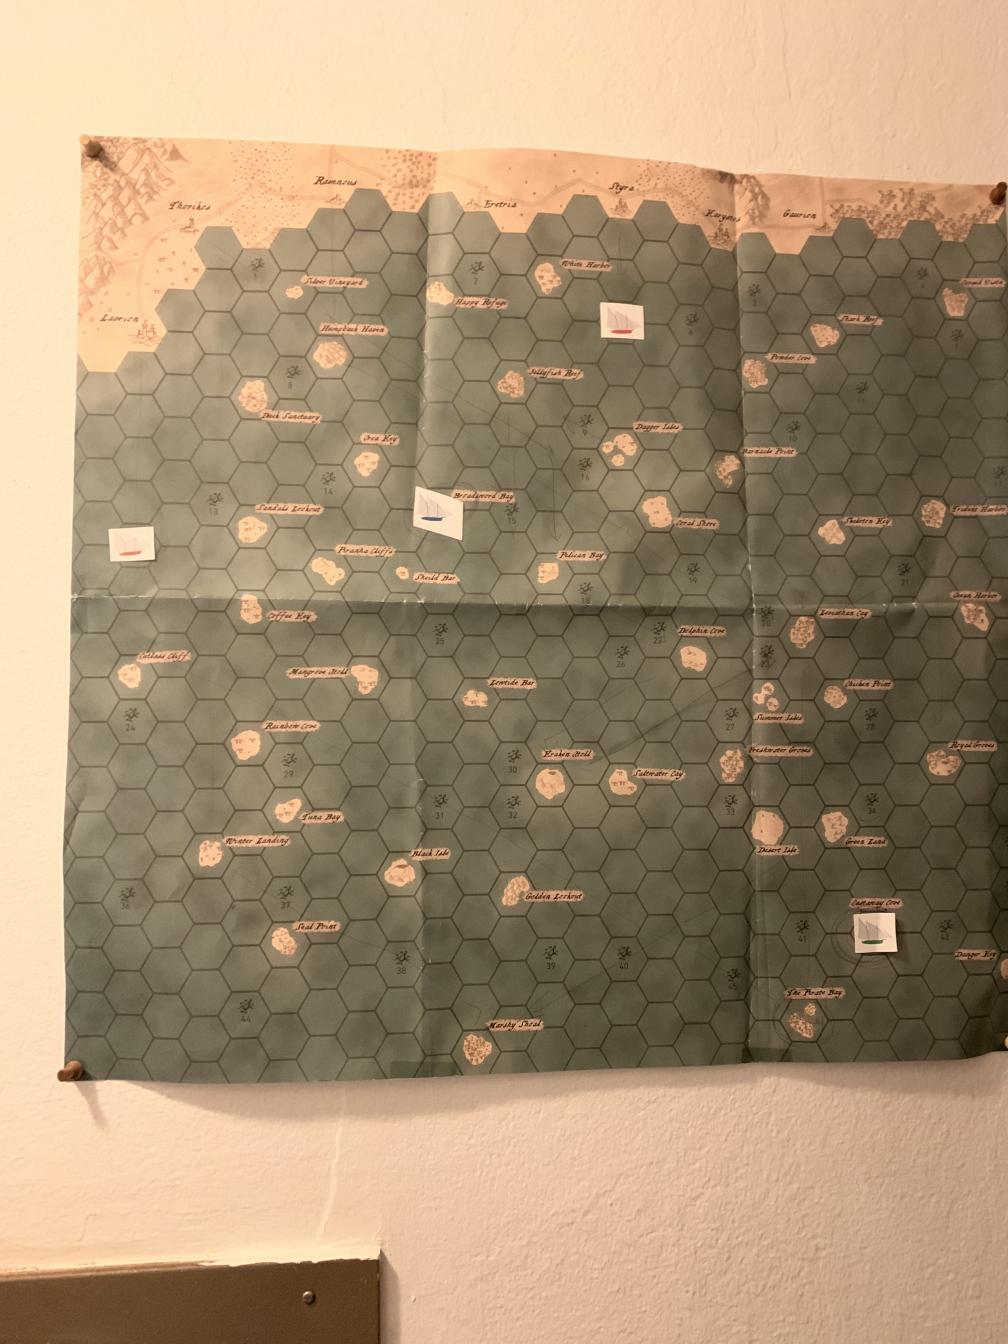
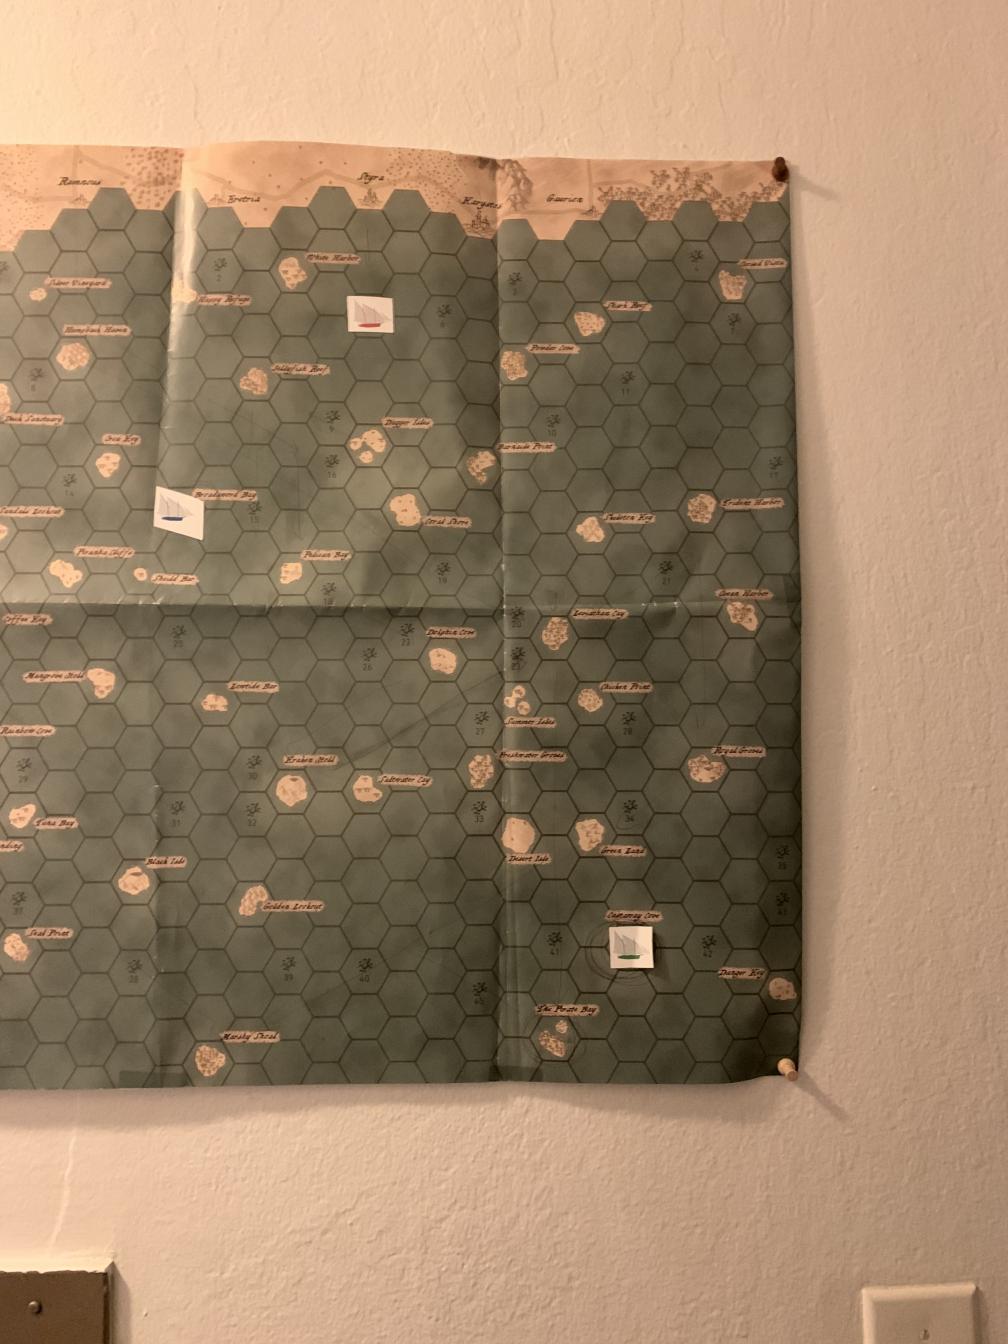
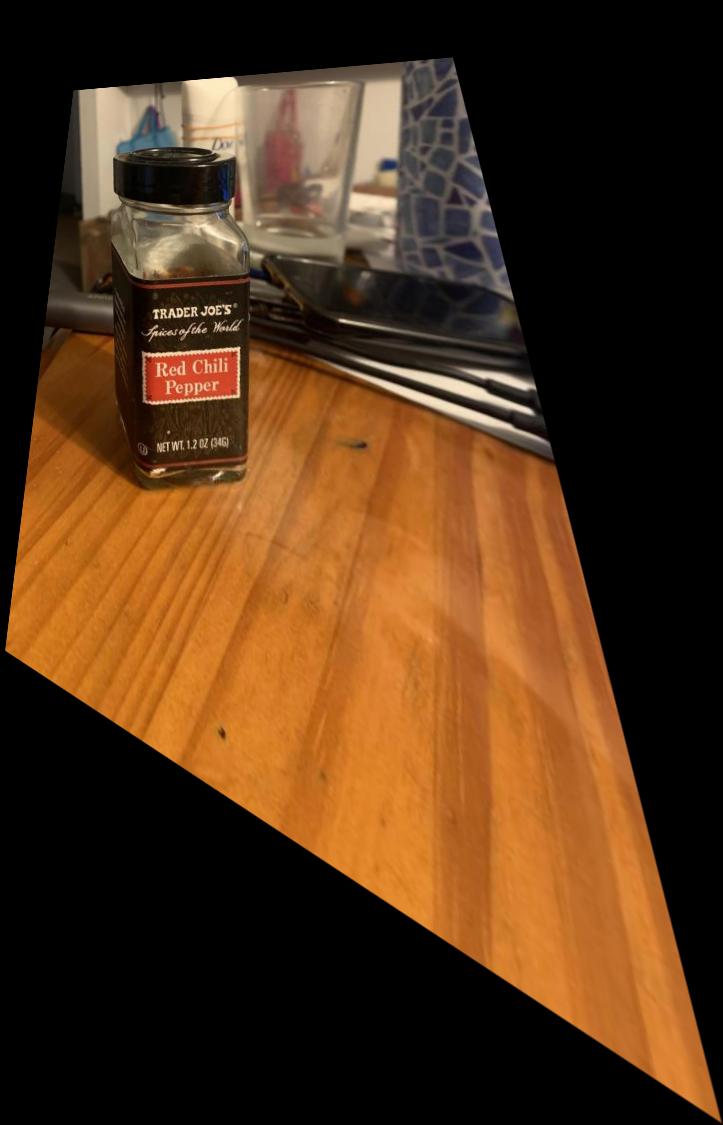
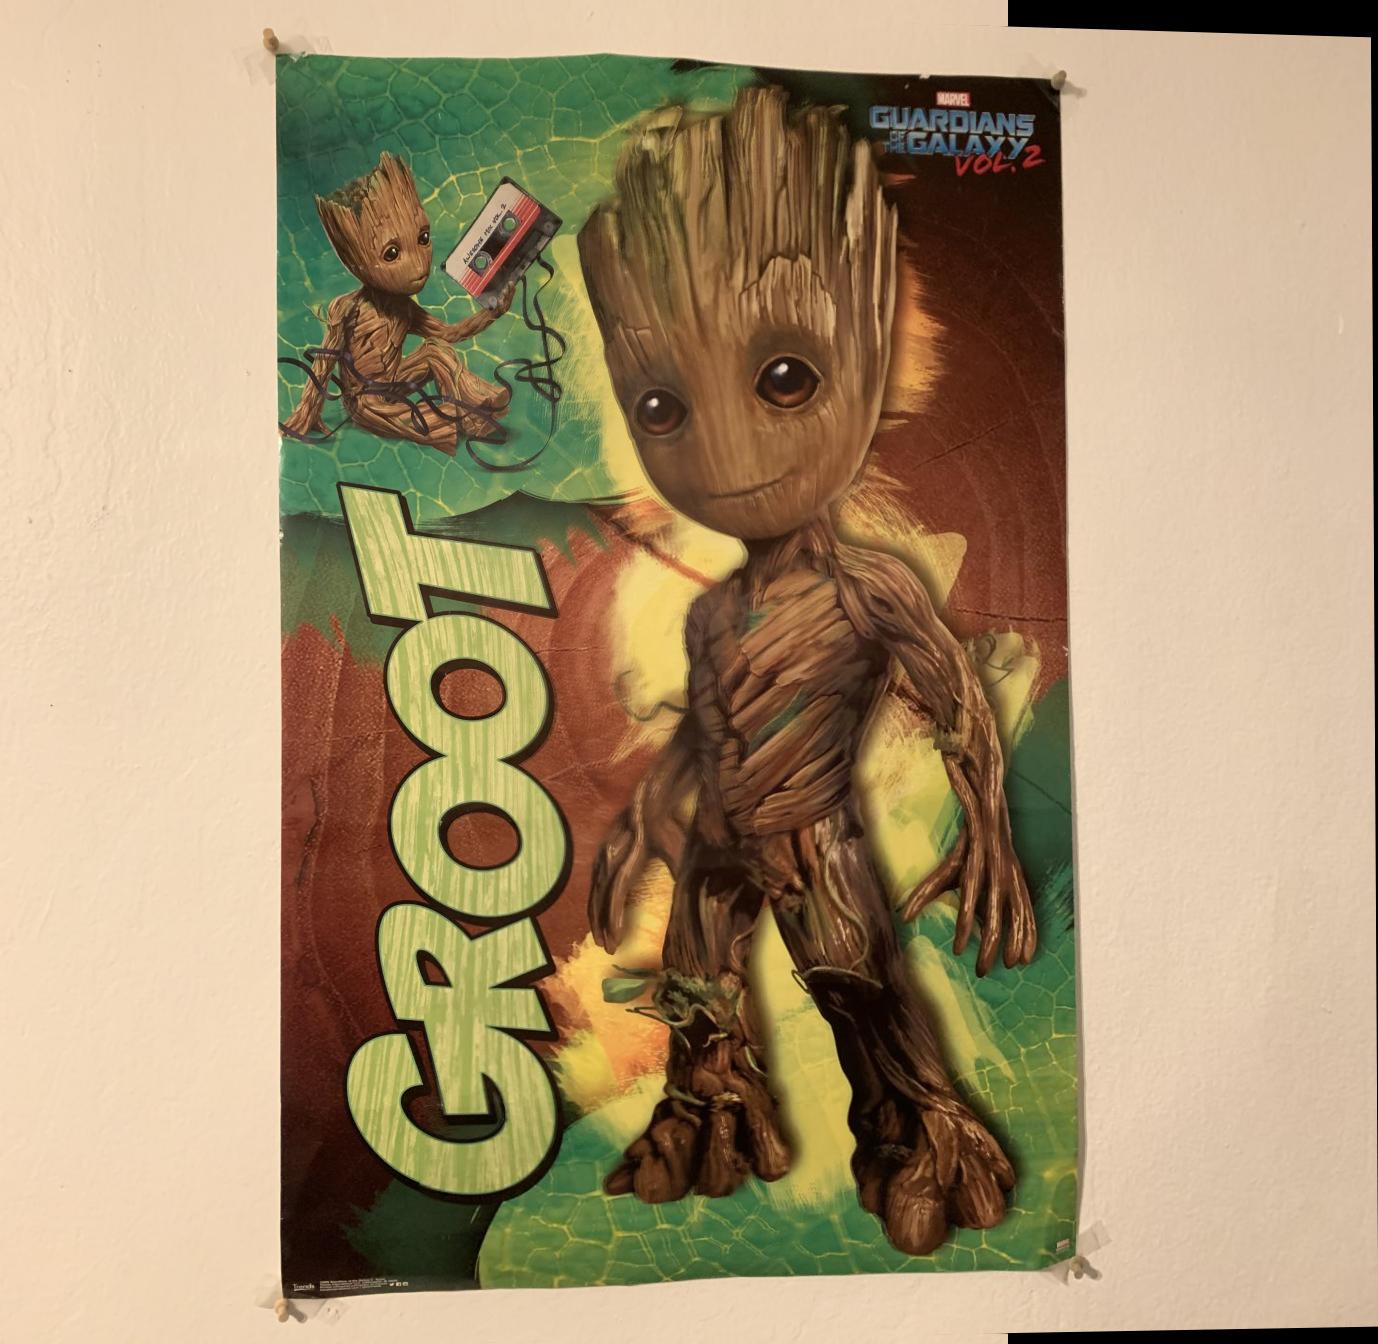
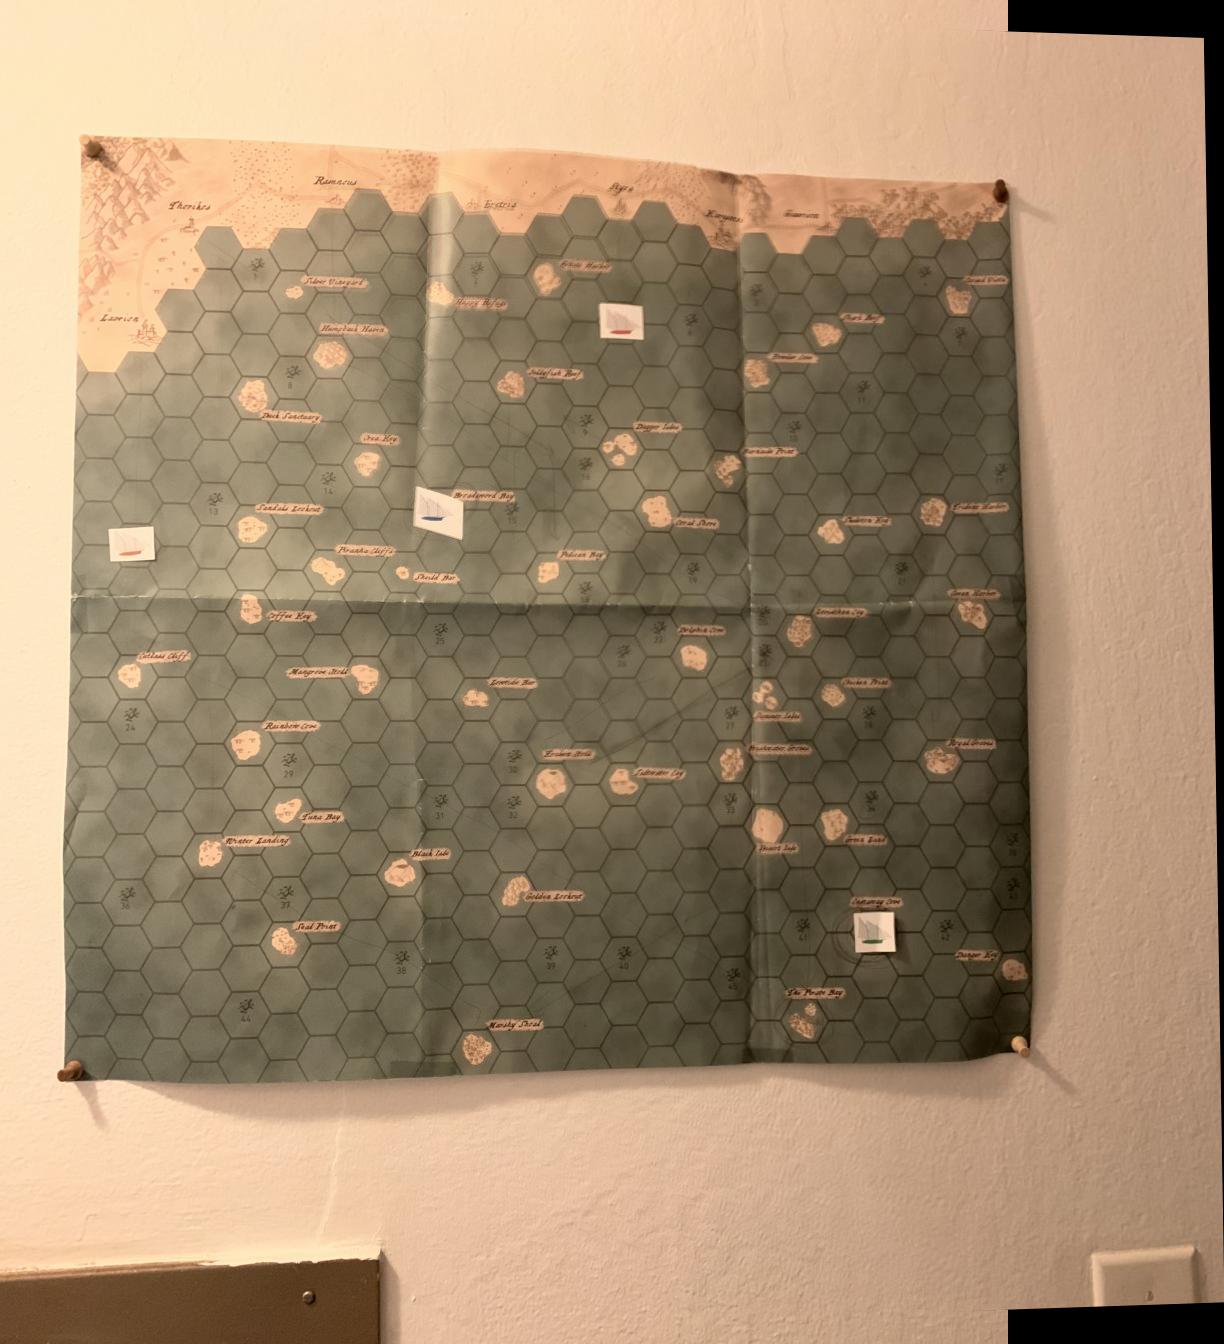
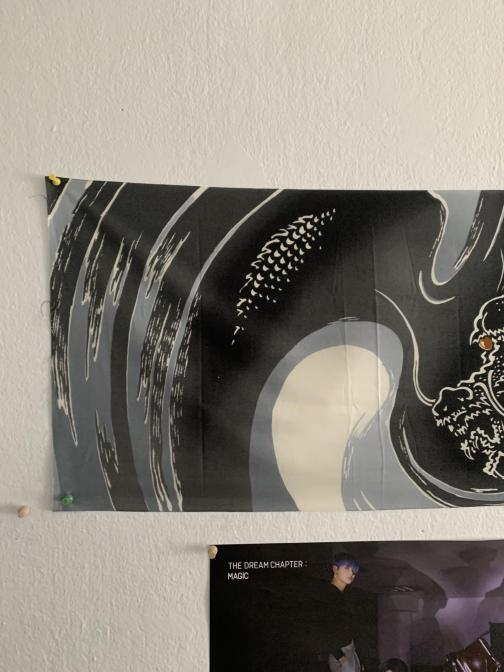
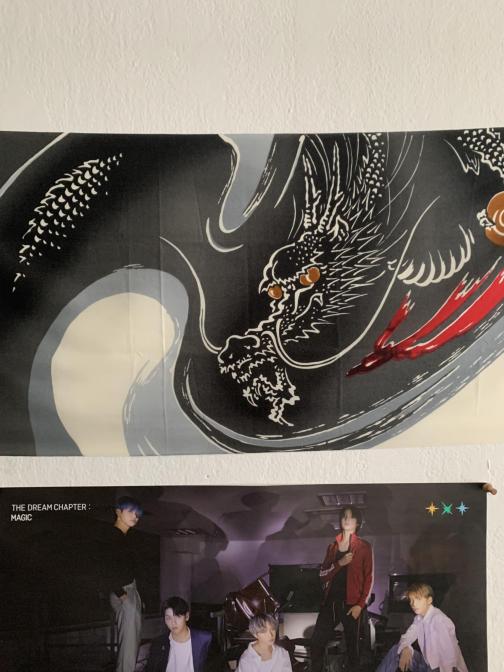
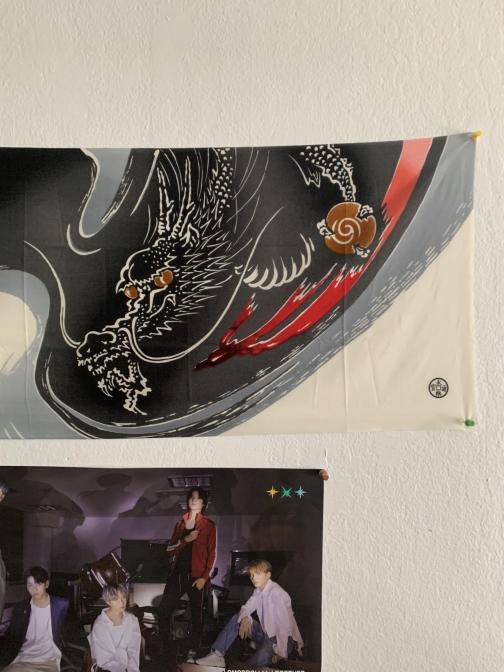
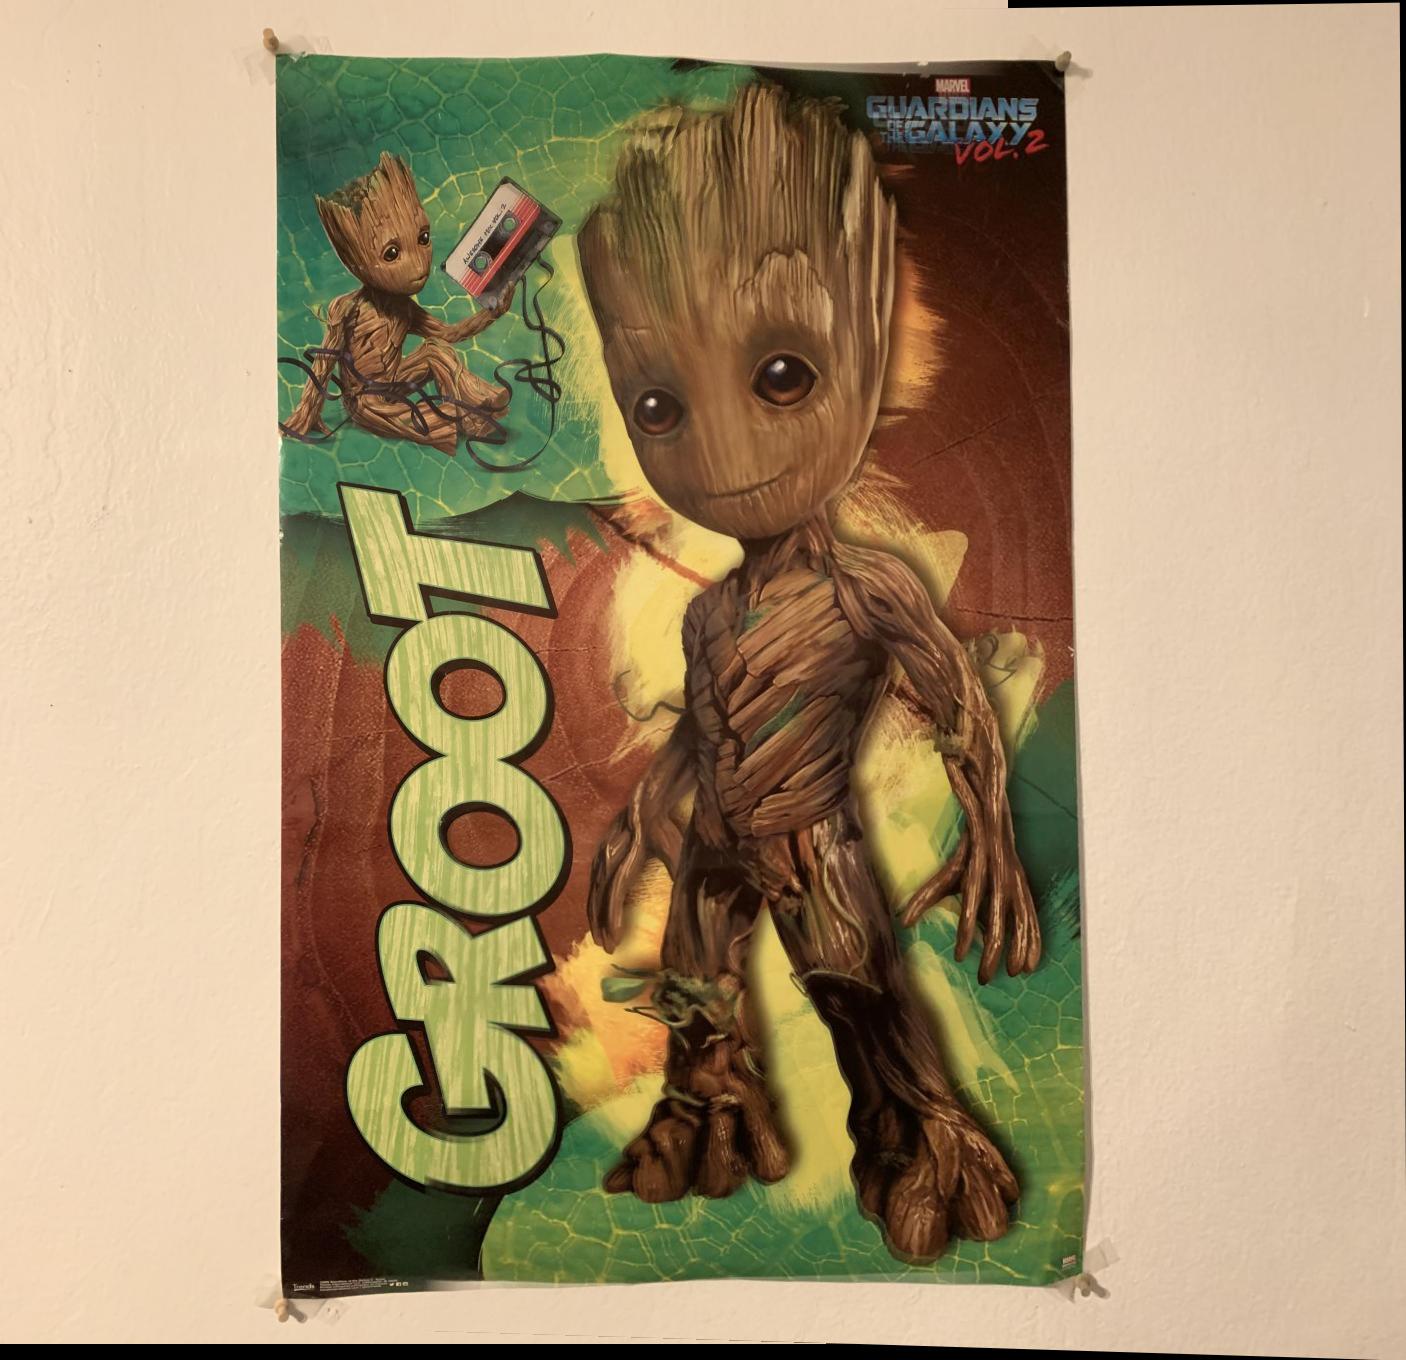
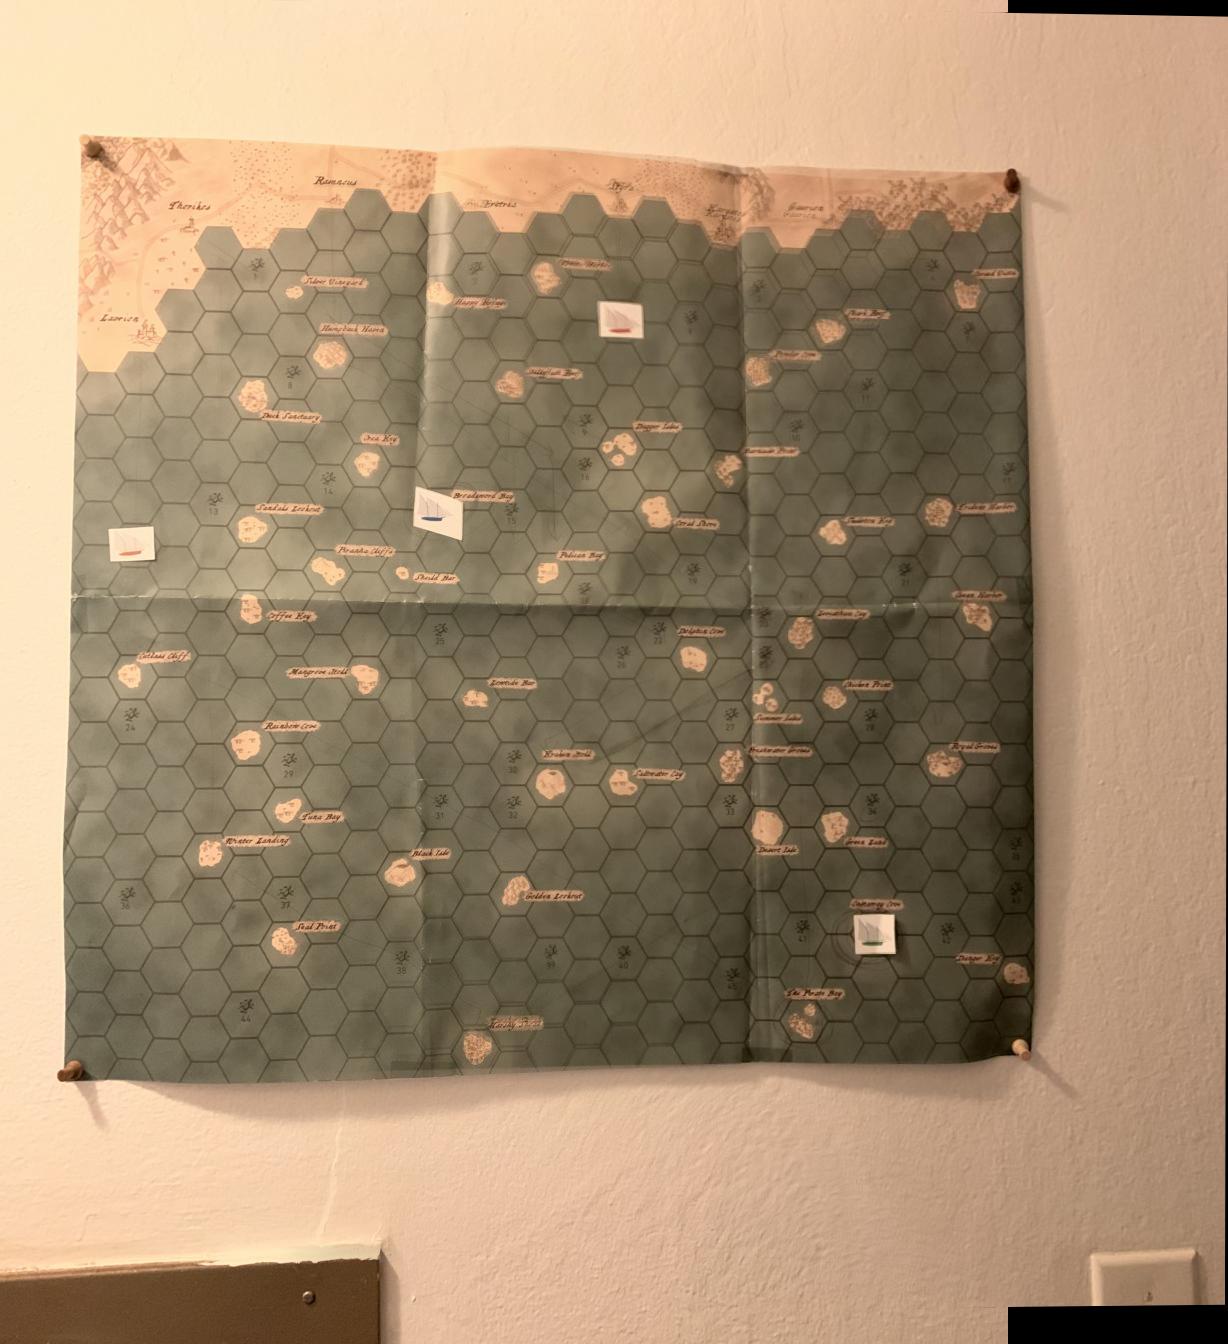
Here are some amazing images I took in my apartment for this project(a few are not included). I took these with my phone which was not ideal, but I tried to make sure that the exposure and focus were consistent by using the iPhone's convenient AE/AF lock feature.
|
|
|
|
|
|
|
|
|
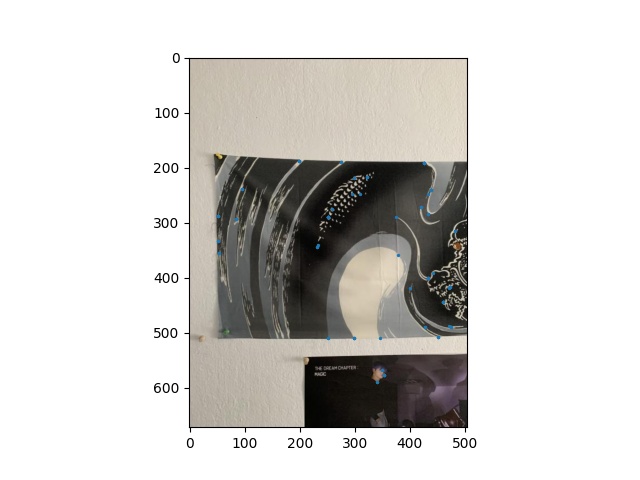
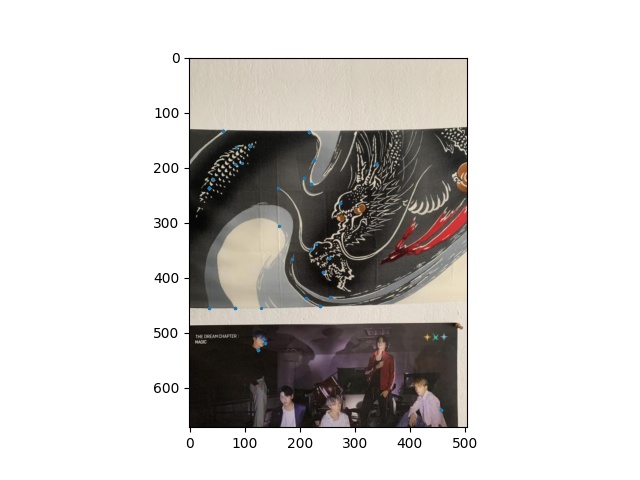
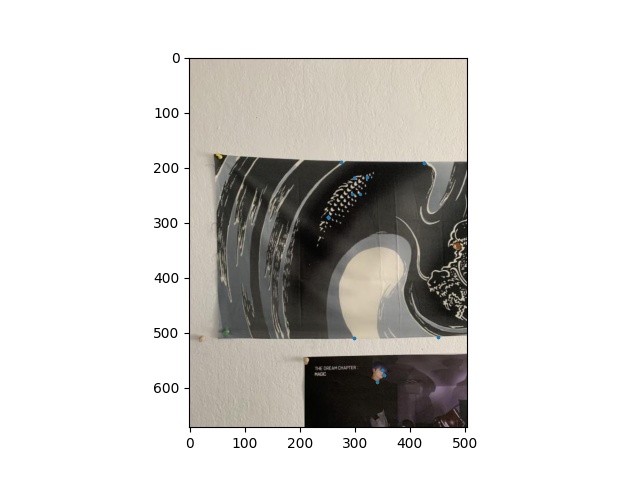
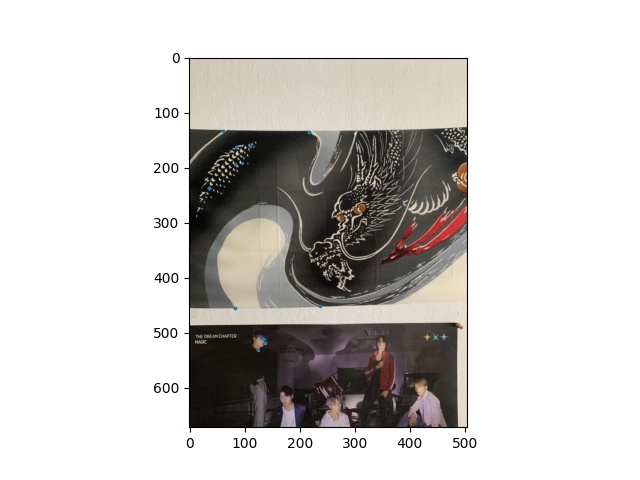
For each of these pictures I had to pick points so I could rectify, or warp them in different ways
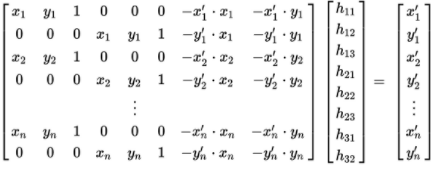
To find the homography, I needed two sets of corresponding points, and I used them to perform least squares to find the matrix that best fit all the points that were selected. The matrix that I used to find the homography is shown below.
I was able to use these concepts to rectify images so that a plane that may not seem straight in a picture will be warpped so that plane becomes the frontal-plane. Below are some examples of what I looks like. These pictures may not seem perfect, and this is because I am bad at picking points, and the pictures themselves are not high quality.
|
|
|
|
|
|
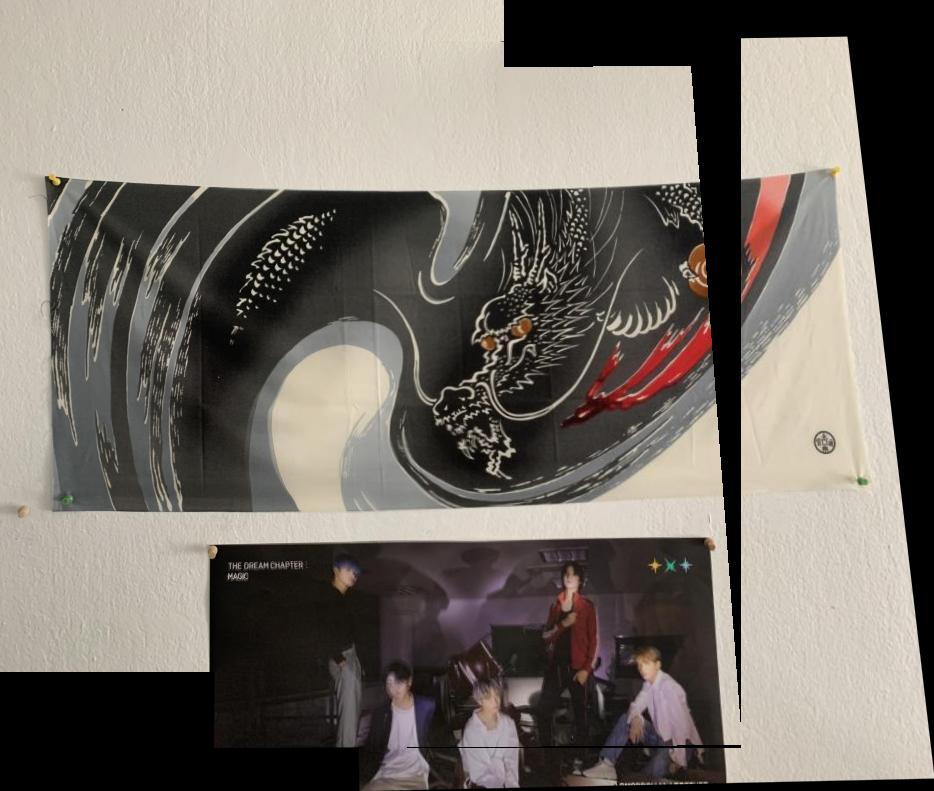
Using these homographies, we can stich images together to get one completed image. I used the function morph.distance_transform_edt from the scipy package to create a mask to blend the two images together smoothly to get rid of harsh lines between images. Below you can see a few examples of mosaics. Again, if I picked my points more carefully I am sure I would get results that look better.
|
|
|
|
|
|
|
|
The next one is a little different becuase I stitch together 3 images, which got a little funky when the third image got thrown in there. I think that the way the third image is being blended is incorrect.
|
|
|
|
During this project I learned alot of things. I learned that I should not try to use Jupyter Notebook because apparently my laptop does not like working with large matrices, and ipython just makes it worse. I had to downsize my images by a foactor of about 6 to get my laptop to not crash when running these programs. I also learned that picking points carefully and being extremely consistent is very important when warping images and recovering homographies.
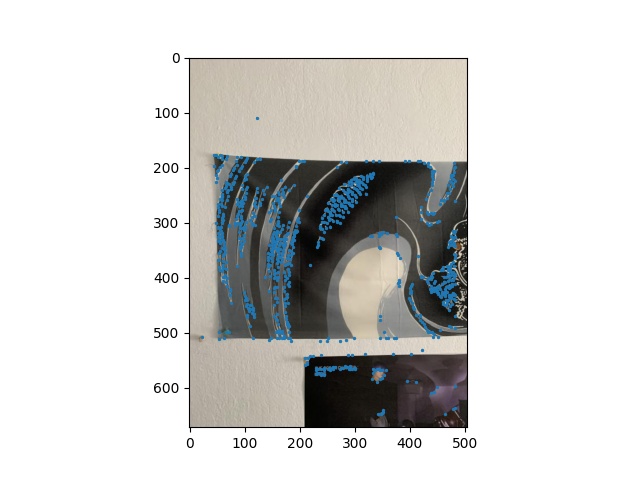
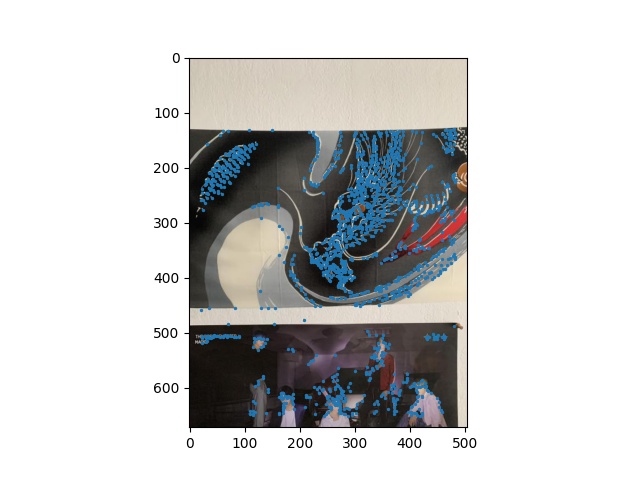
I used the starter code that was given to us to find Harris corners. I modified it a little bit by adding a threshold so that the corners I get are more relevant to what I am trying to do. Below are the Harris points I found for the first two images that will be stitched together.
|
|
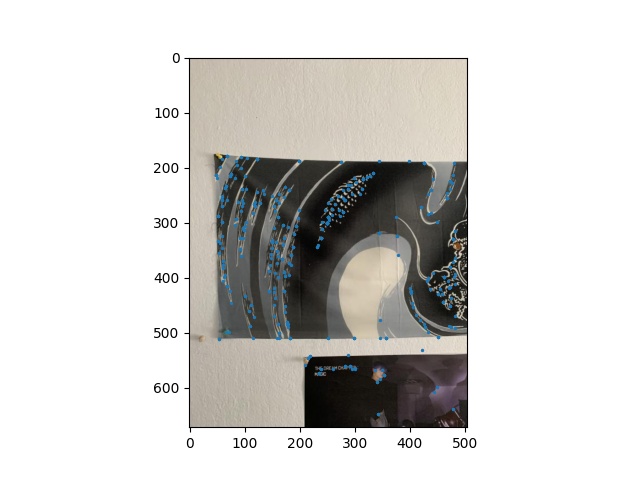
Next, I used adaptive non-maximan suppression to suppress less strong corners while maintaining good coverage of the whole image. This narrowed down my number of points to 500.
|
|
|
|
|
|
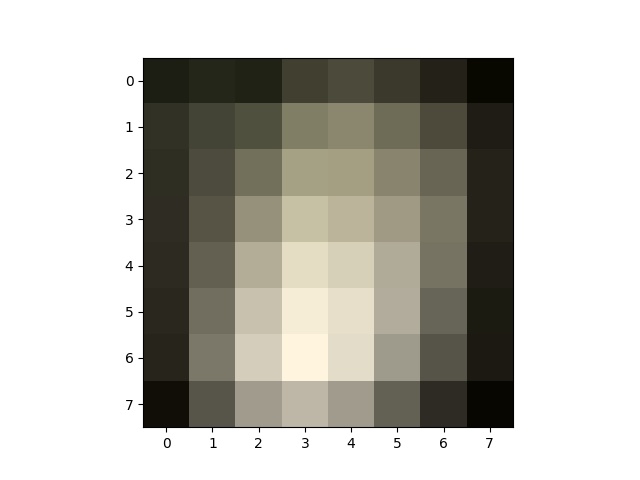
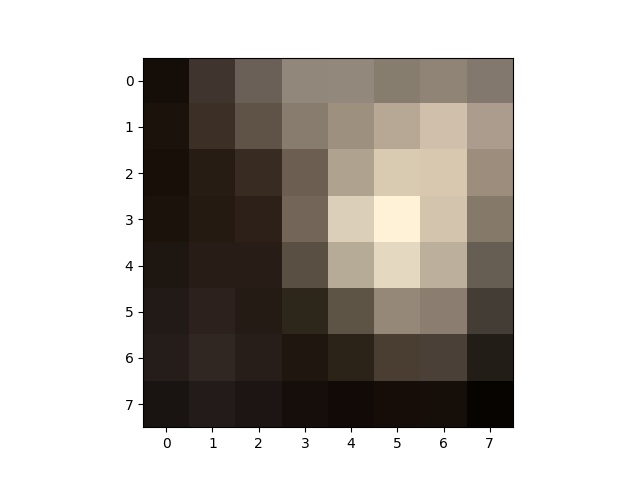
The next step in the Autostitching process was to get descriptors for each corner that we have. I did this by getting the 40x40 section around each point, blurring it, then resizing it to a 8x8 matrix. This will allow us to do feature matching next.
|
|
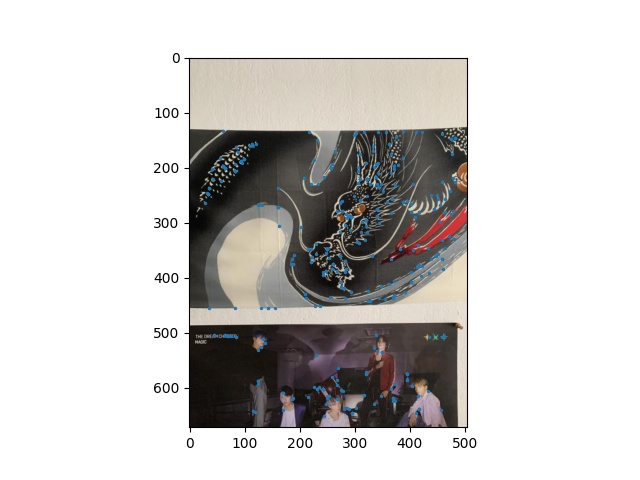
Using those feature descriptors, I was able to match the features from one image with features from the other. The results can be found below.
|
|
I'll be honest I'm not a big fan of the acronym RANSAC becuase it sounds quite violent, but it stand for Random Sample Consensus. This helps us determine which matching feature points are actually good. After completing this algorithm, we can compute the homography and proceed to stitch just like in part A.
|
|
Here are all of my autostitched images. These turned out much nicer than my part A stitches which is probably becuase the points used to make the homographies are more accurate.

|
|
|
I thought that the RANSAC algorithm was really cool despite its acronym. It worked really well and the results from the points collected were much nicer than manually picking my own points. I also learned that you don't really need a lot of points to get a nice homography, you just need good ones.