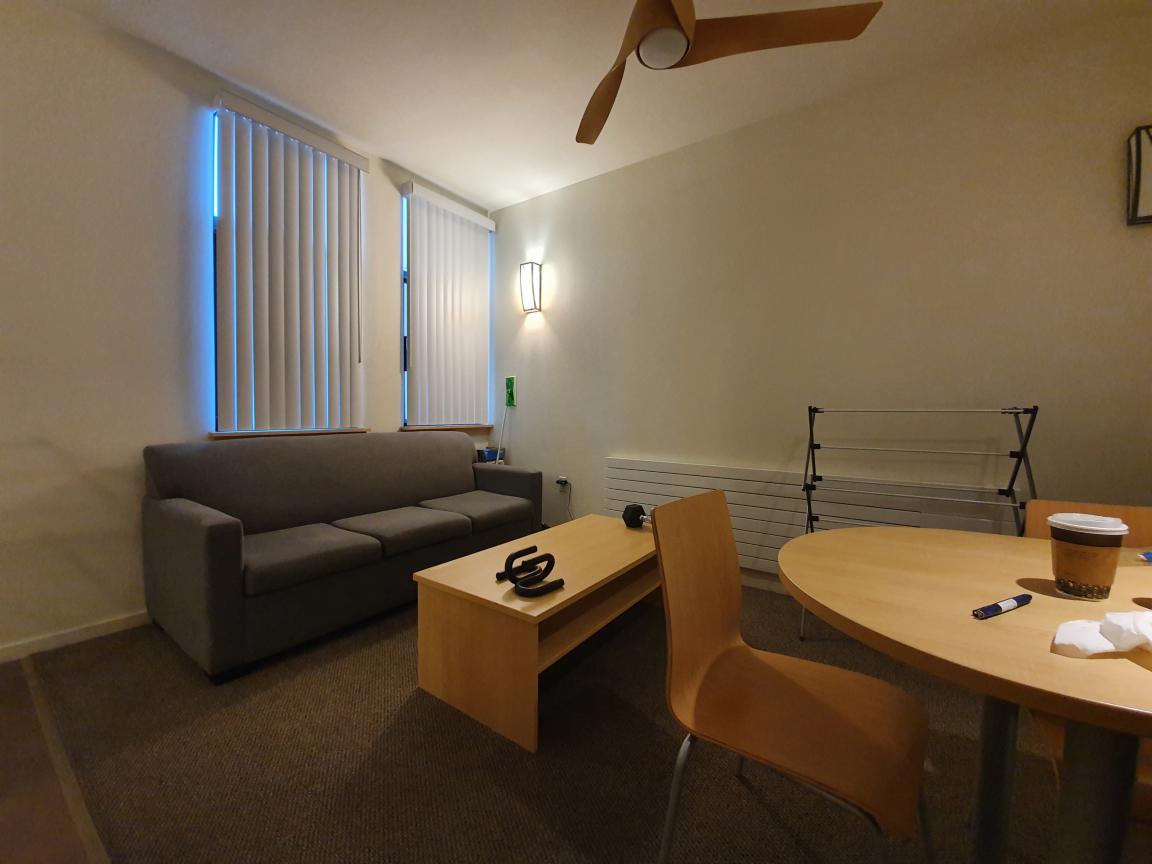
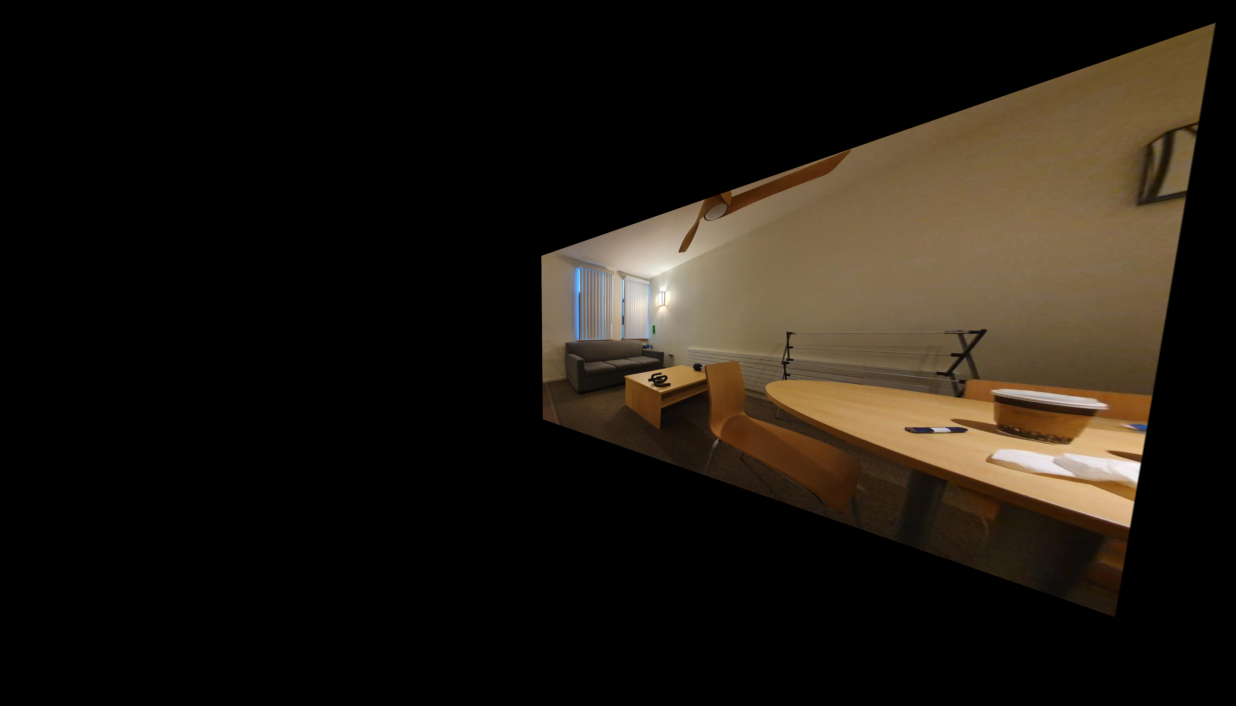
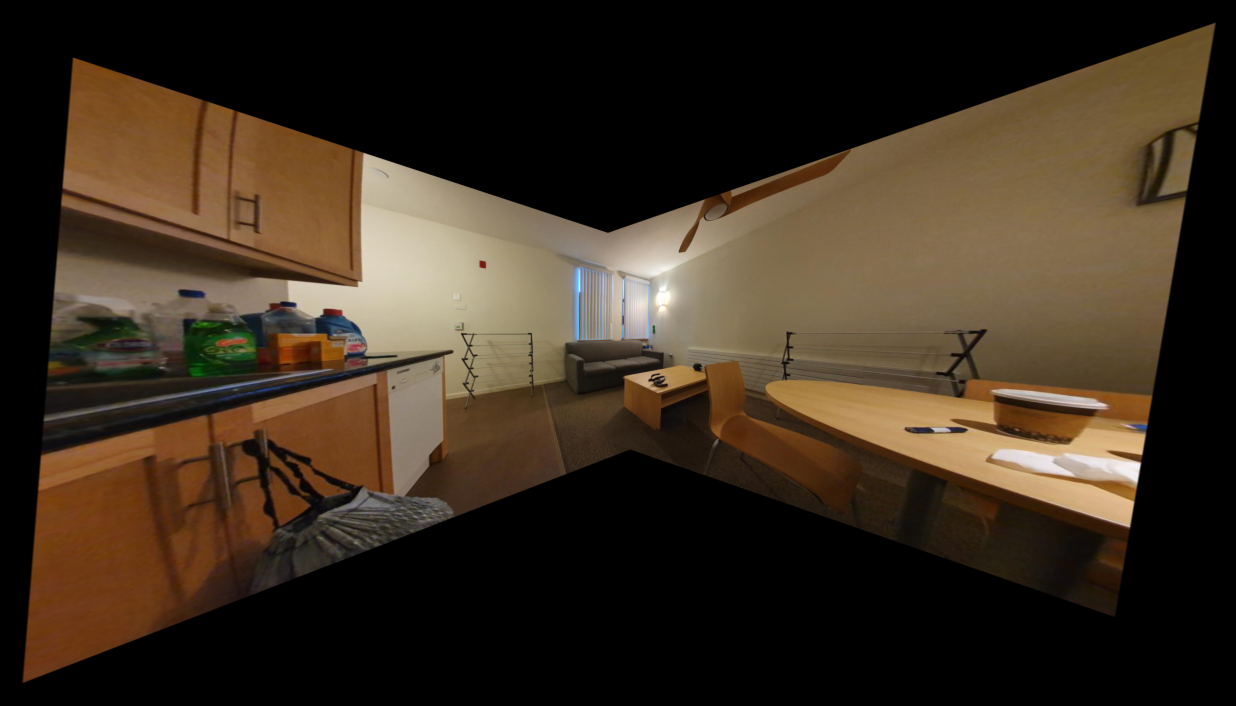
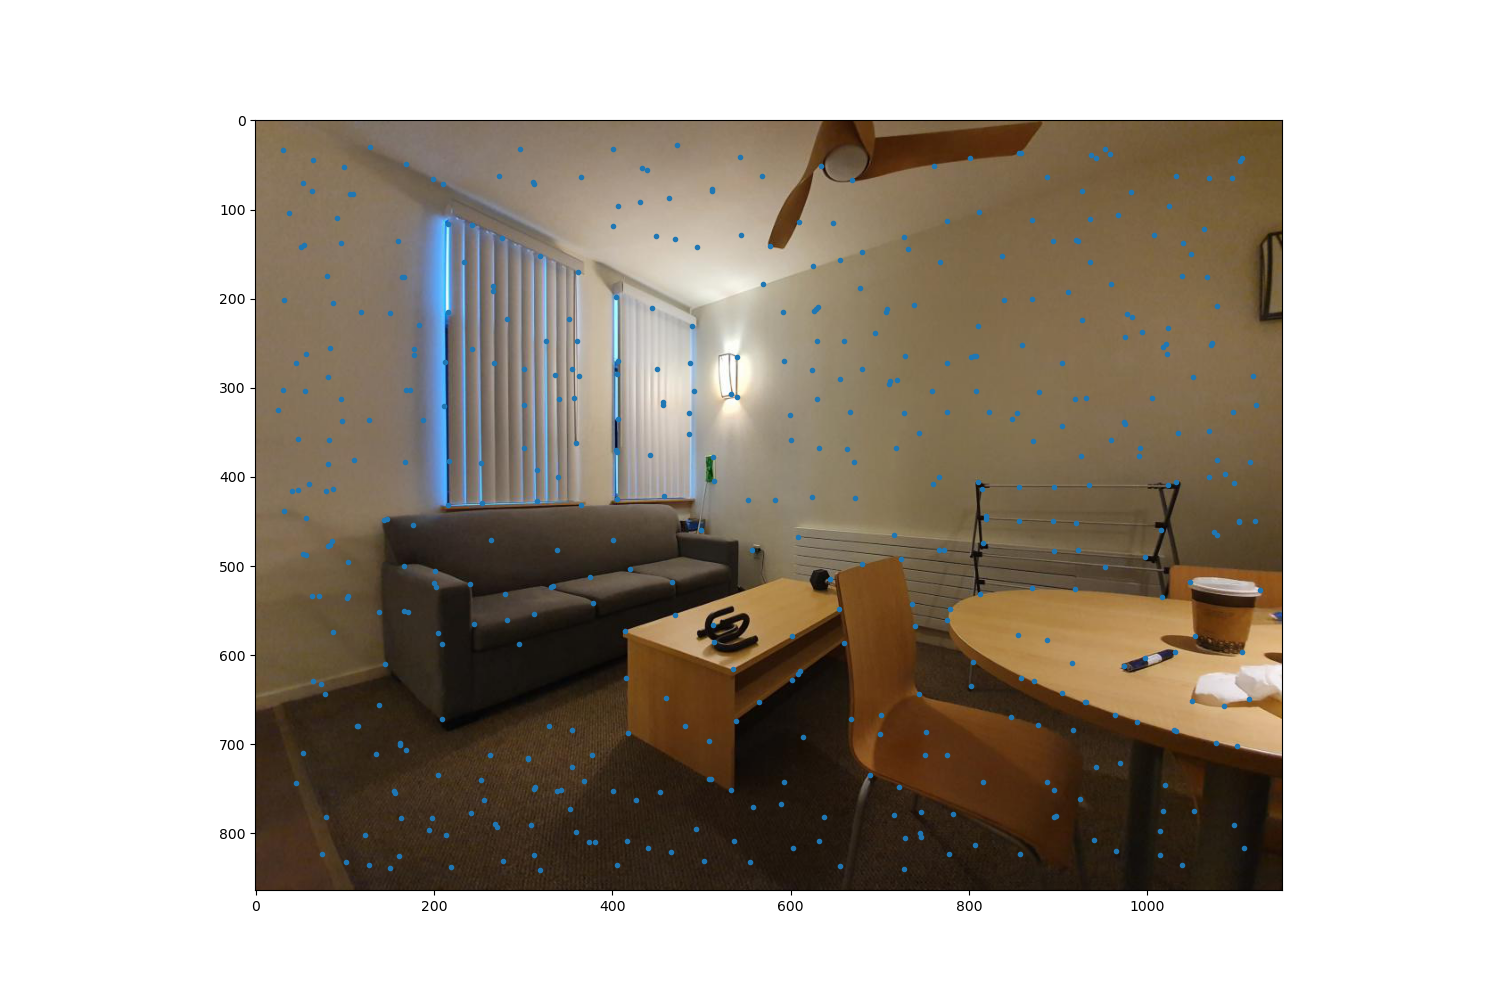
Living Room #1
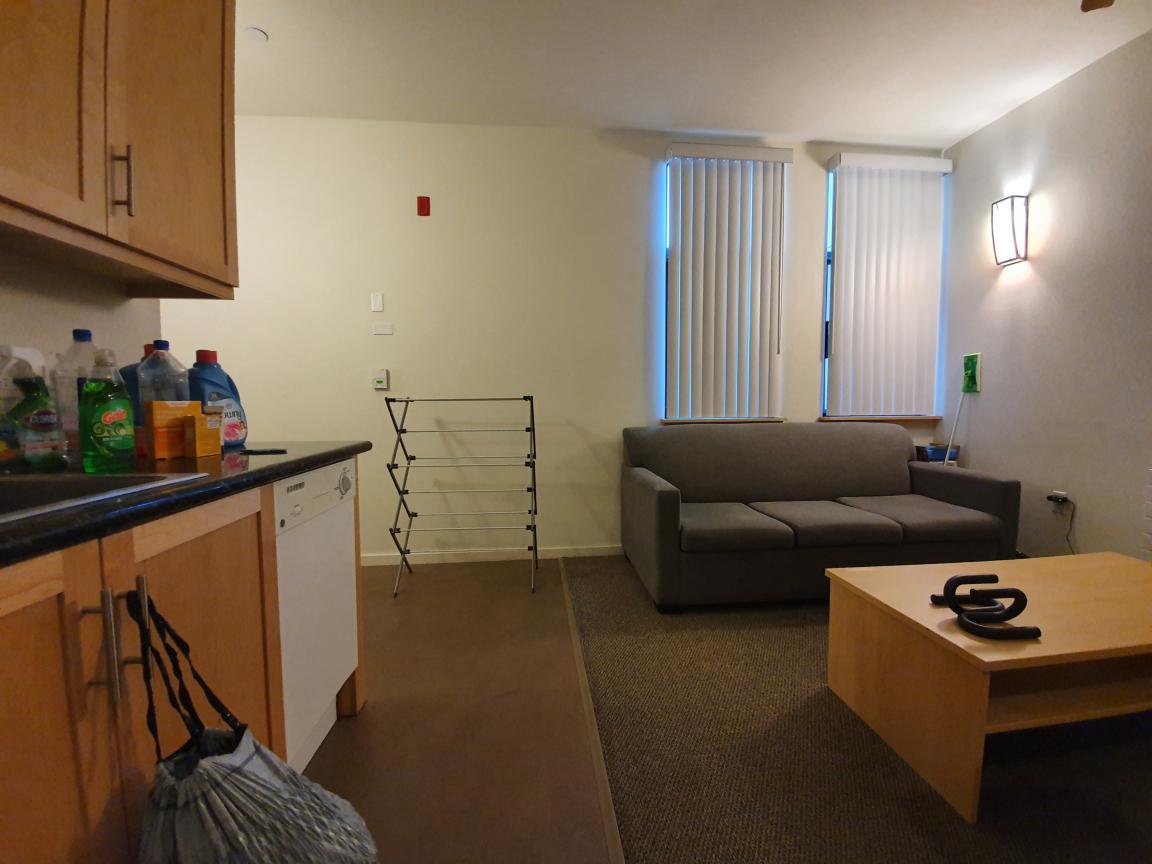
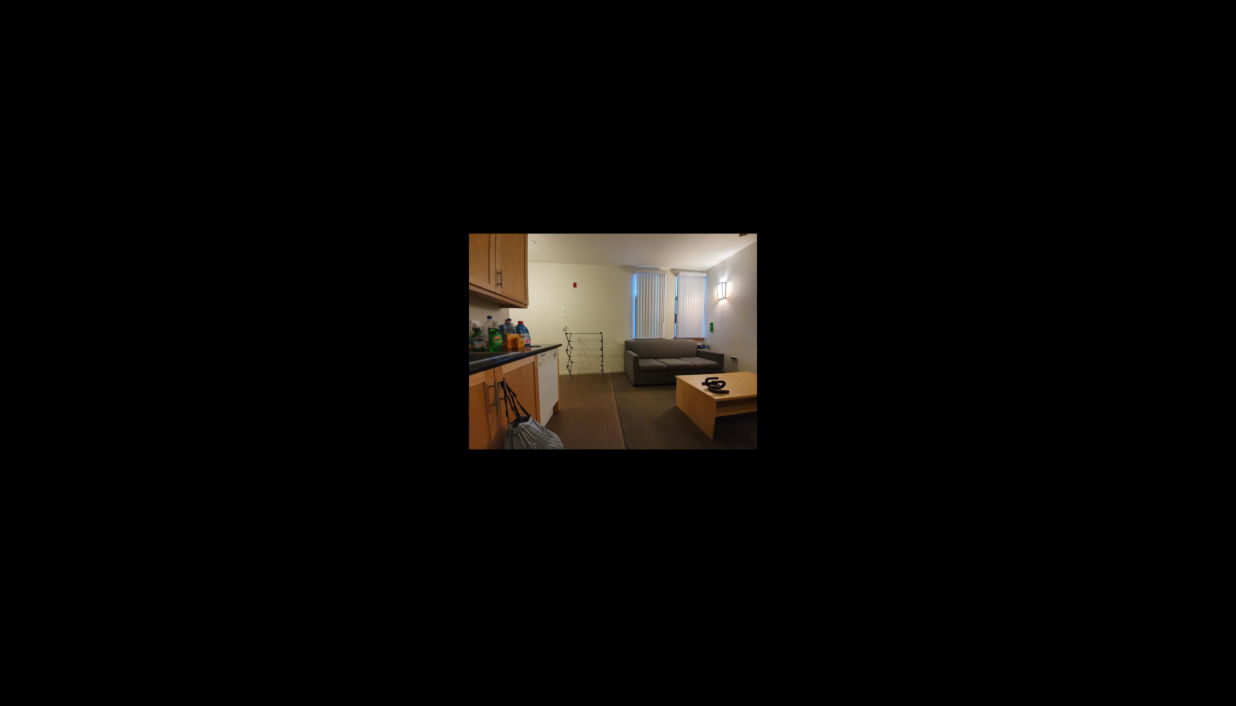
Living Room #2
The goal of this project is to [auto]stitch the images to create a panoramic photo mosaic of multiple images. In part 4A, I will be using pre-defined feature points and Homography Matrix to produce a stitched or rectified images. In part 4B, I will utilize Harris Corners, Adaptive Non-Maximal Suppression, Feature Descriptors, and RANSAC to perform auto-stitching of images. Lastly, I will compare the results of manually stitching images and auto stitched images.
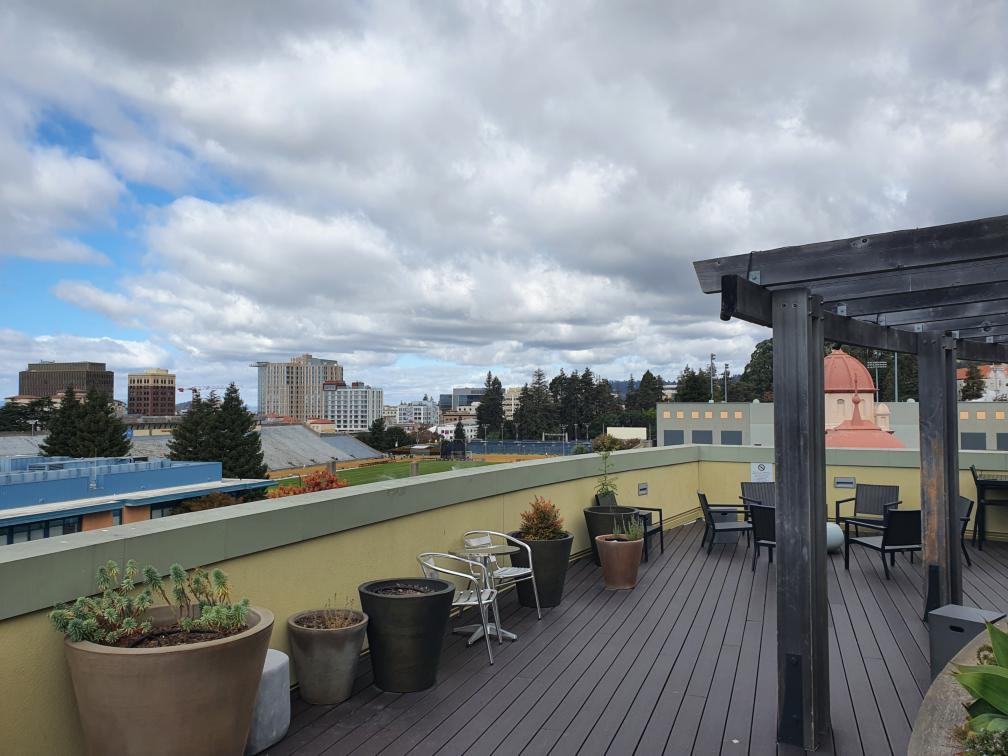
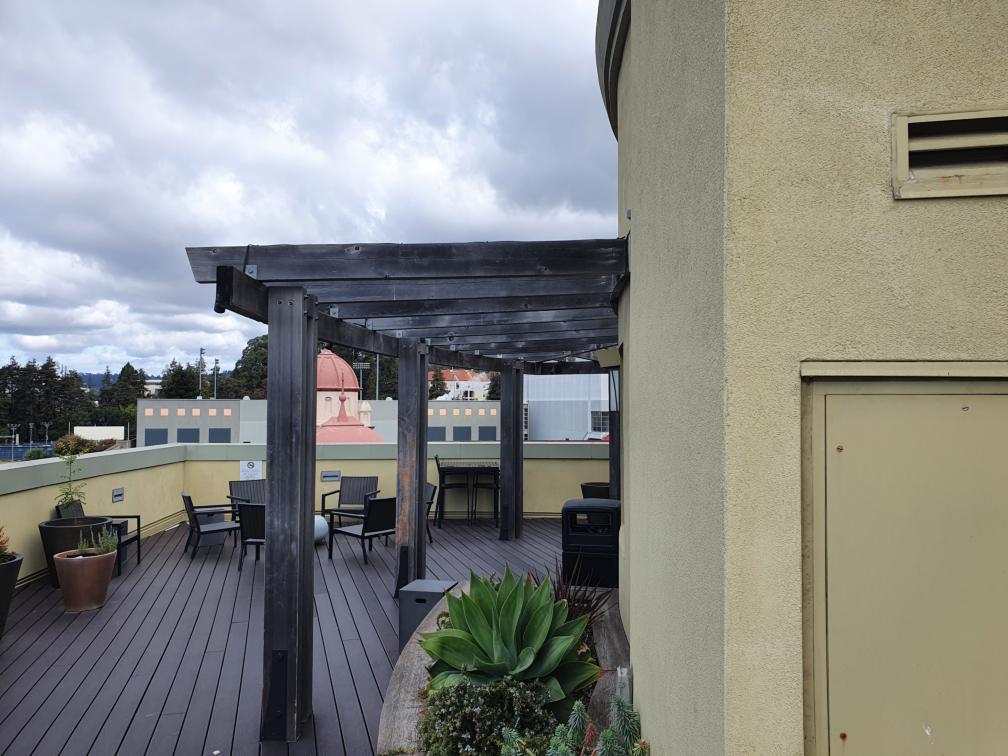
Here are the original images that I took personally with my Galaxy S10 5G.
Living Room #1
Living Room #2
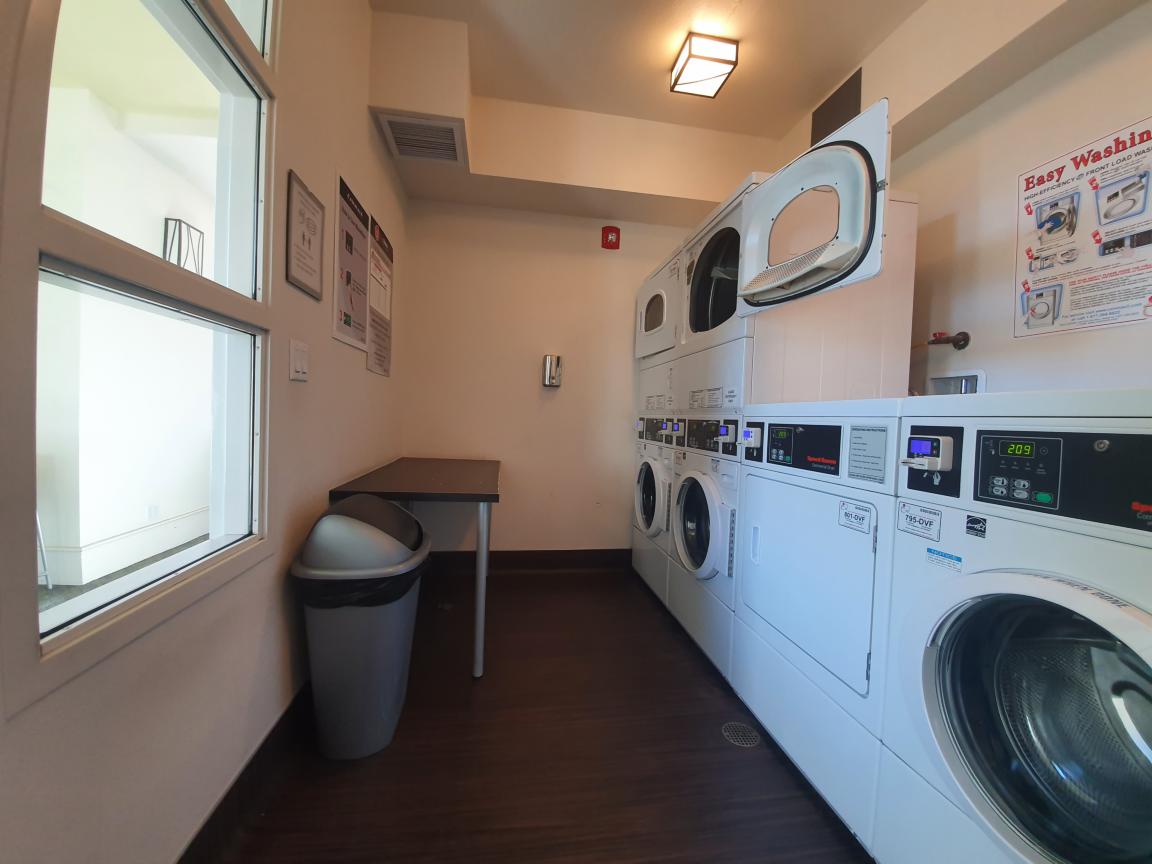
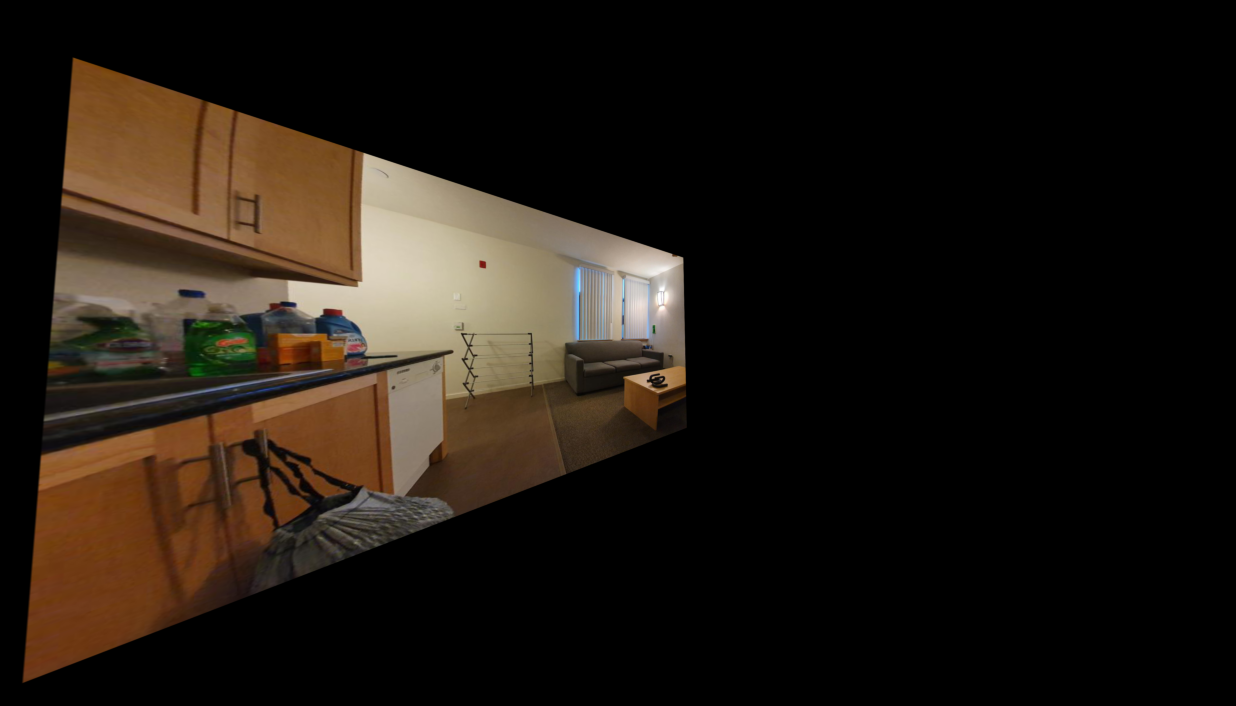
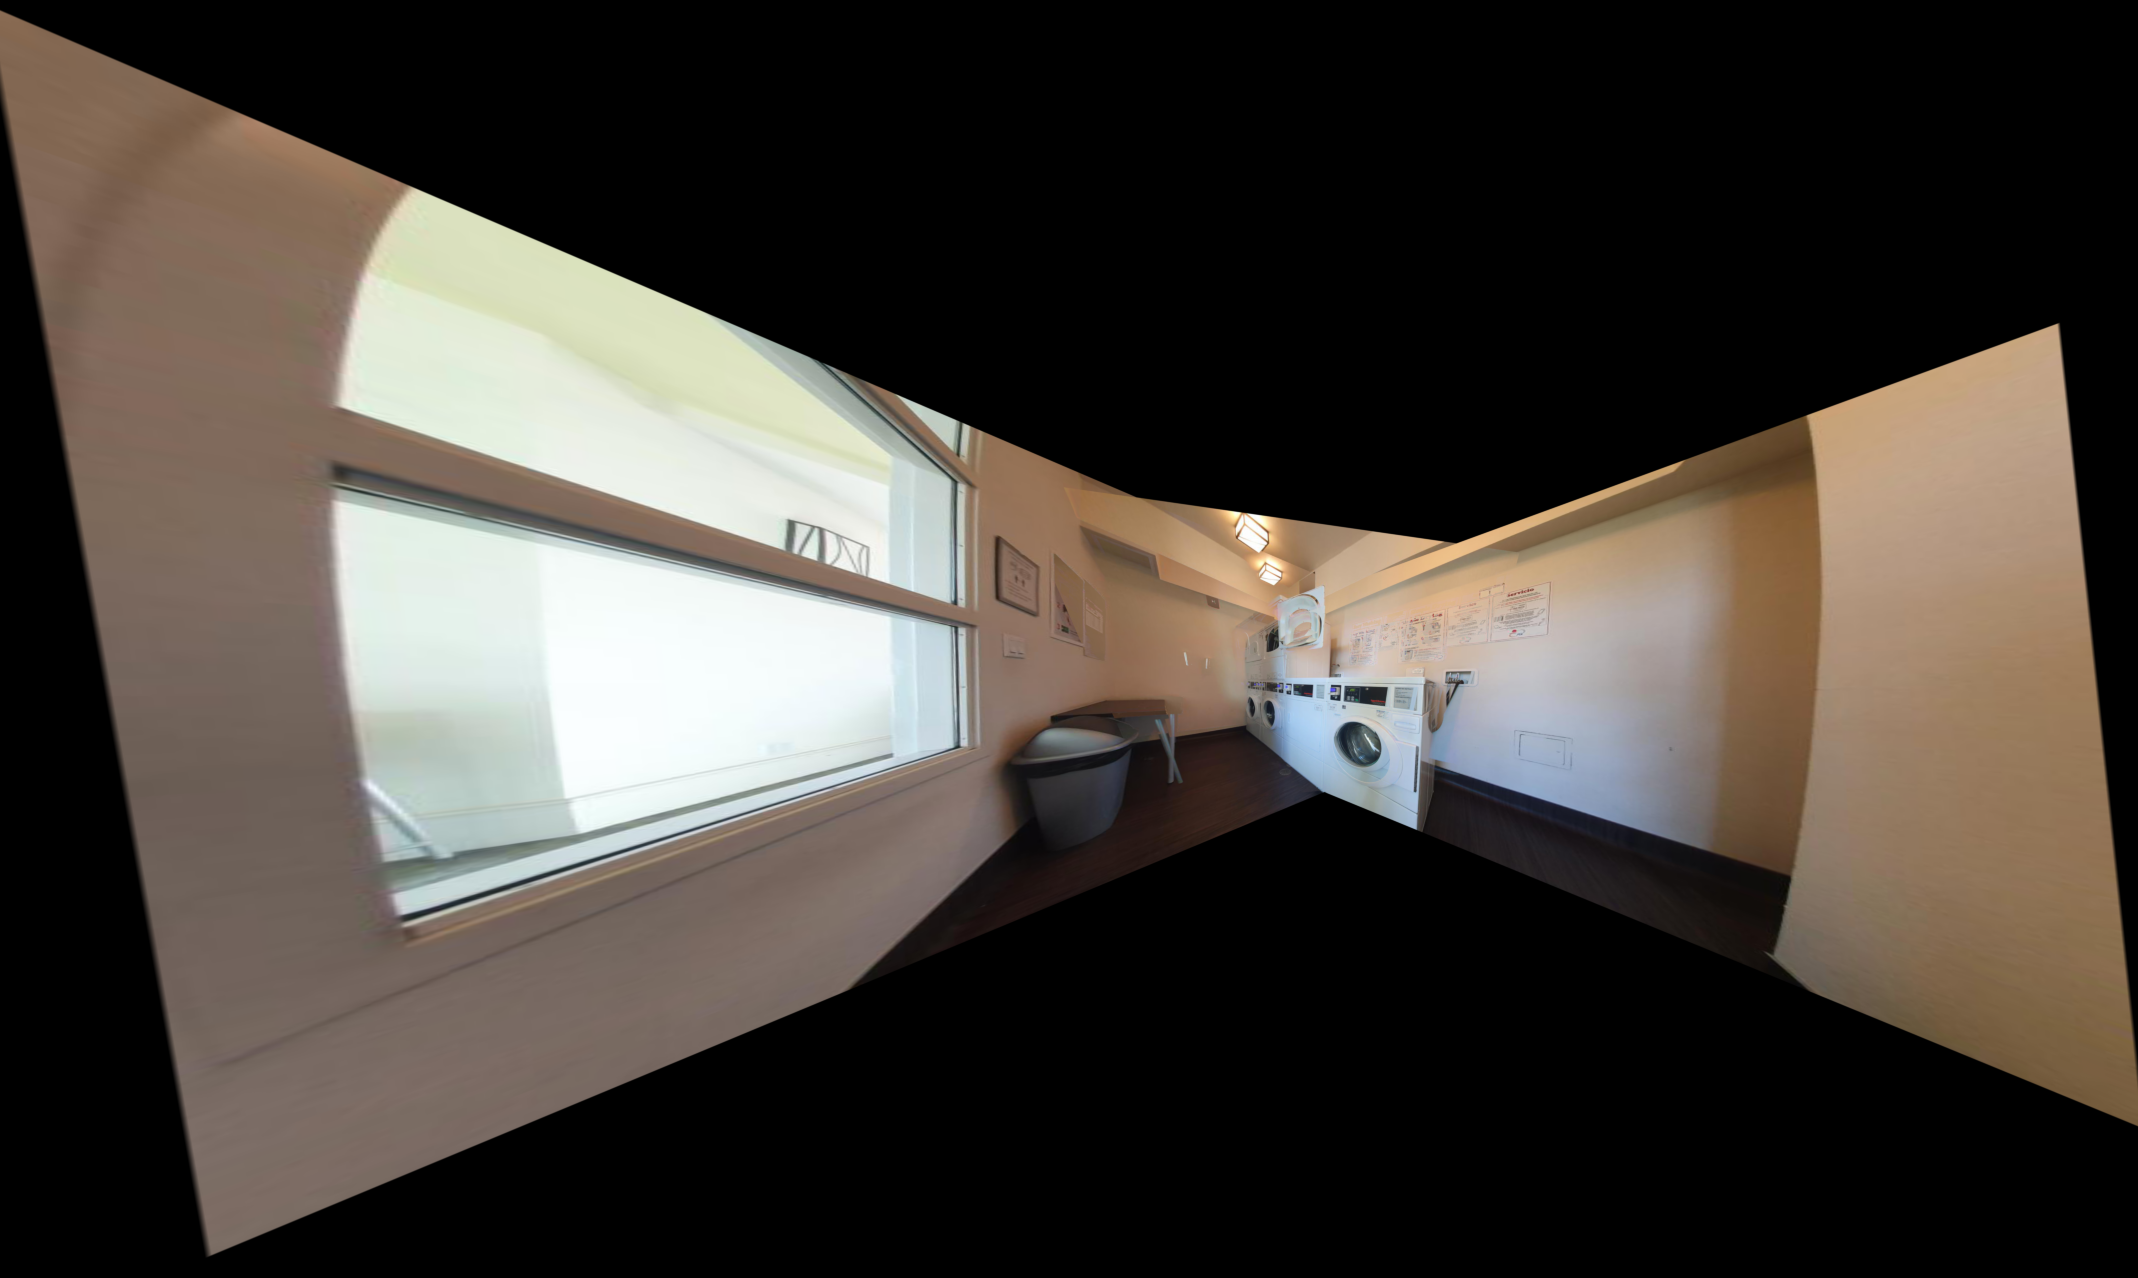
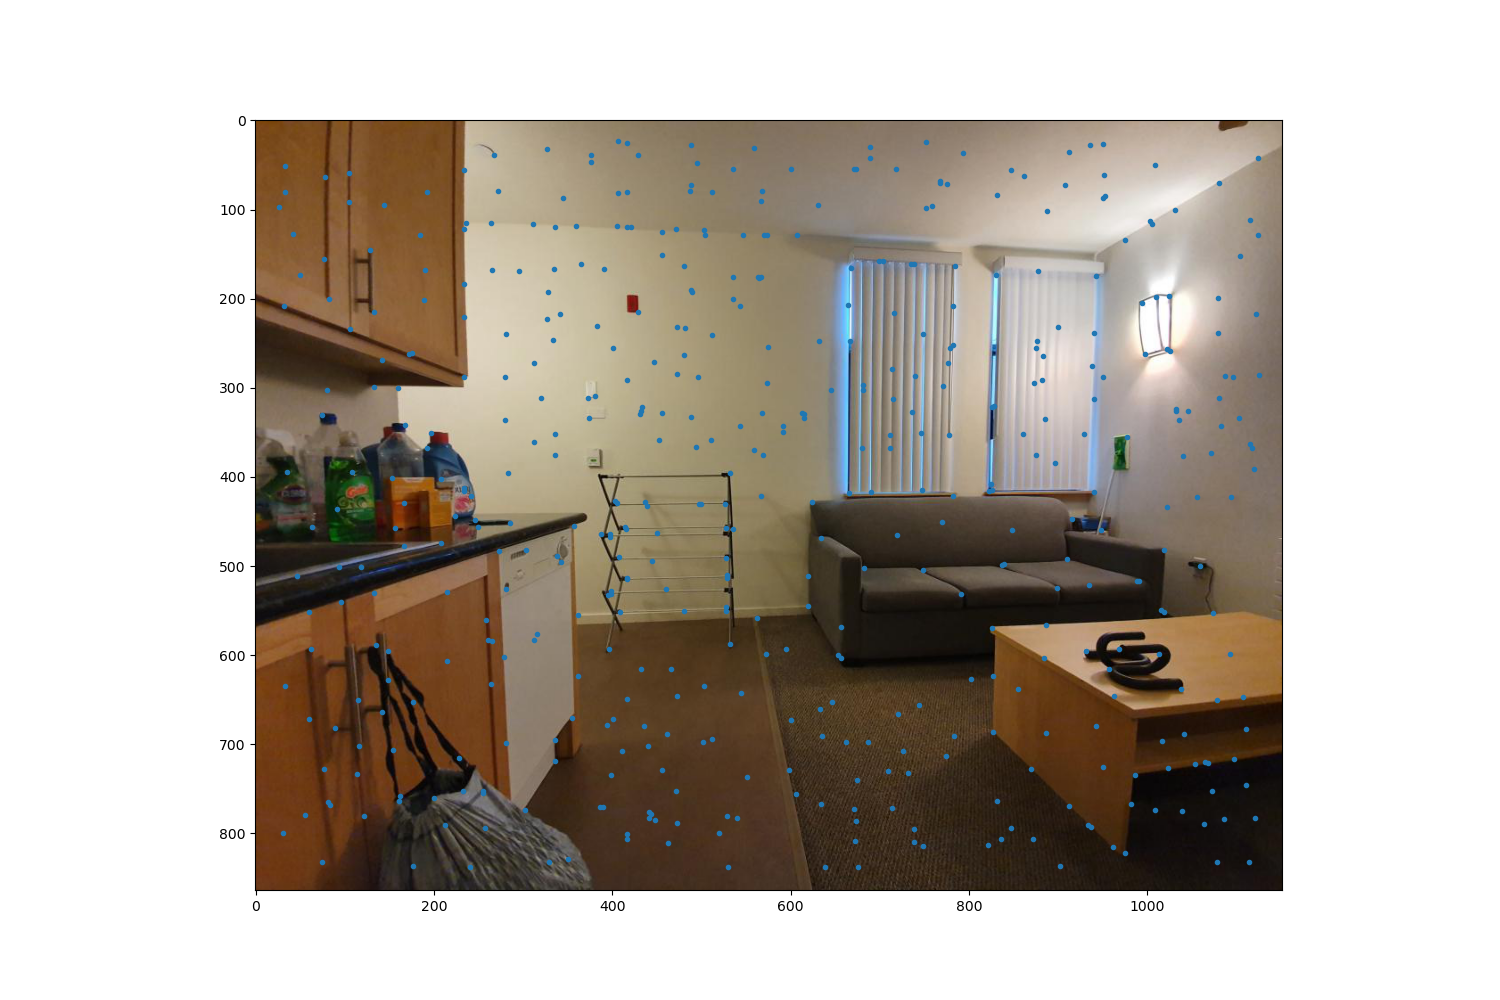
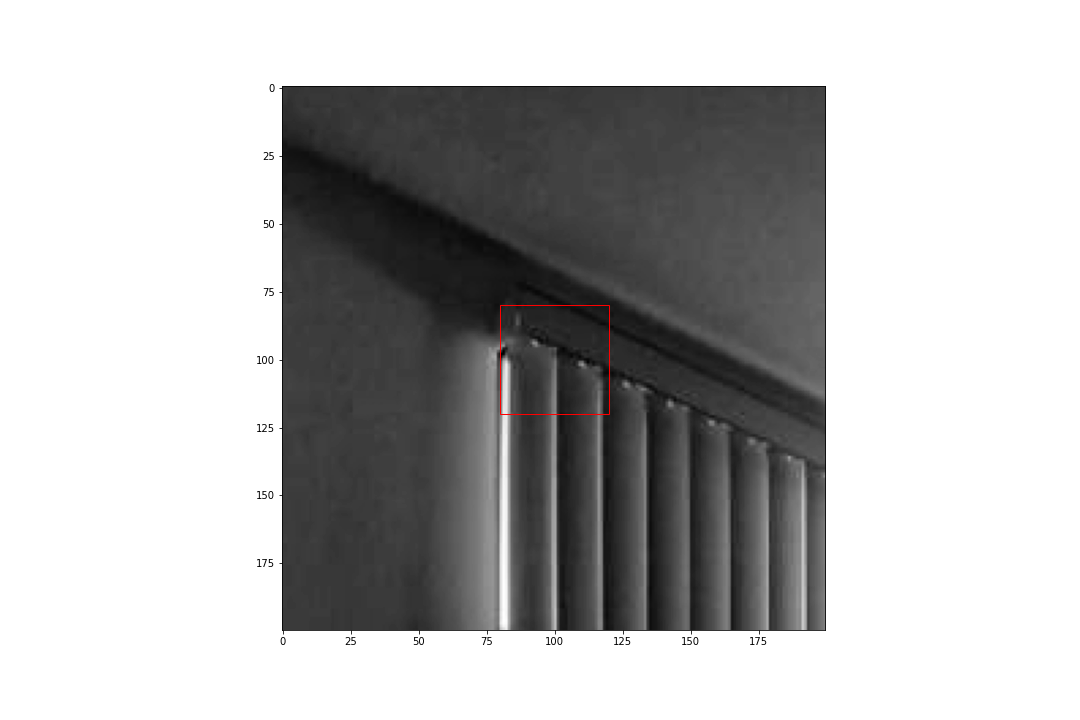
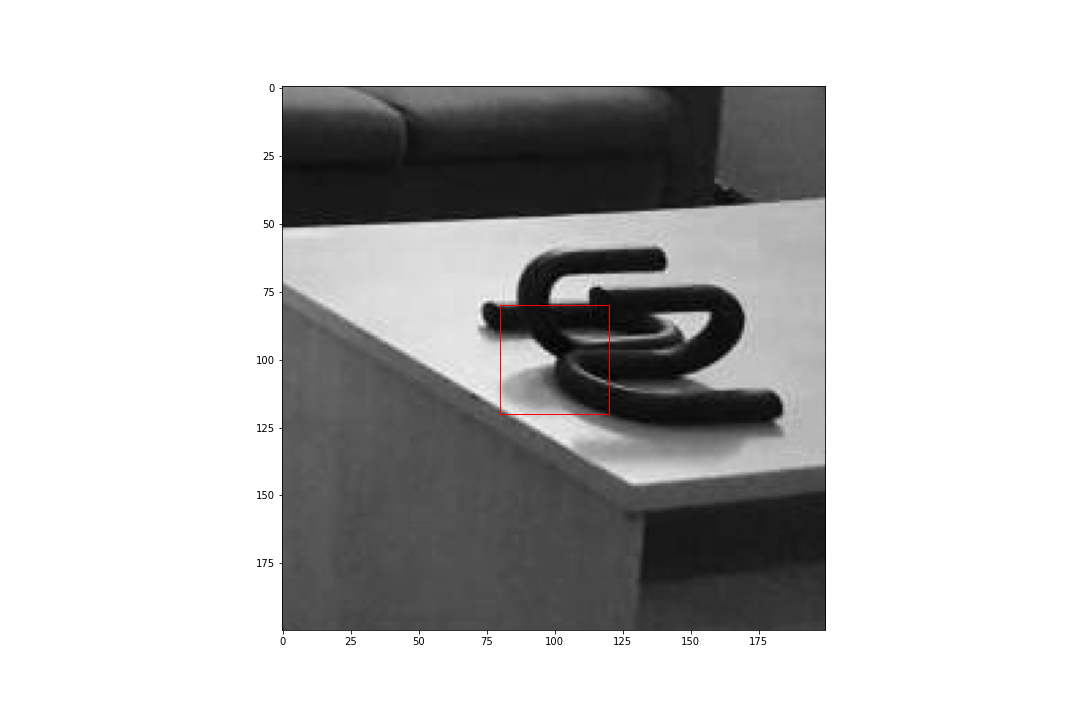
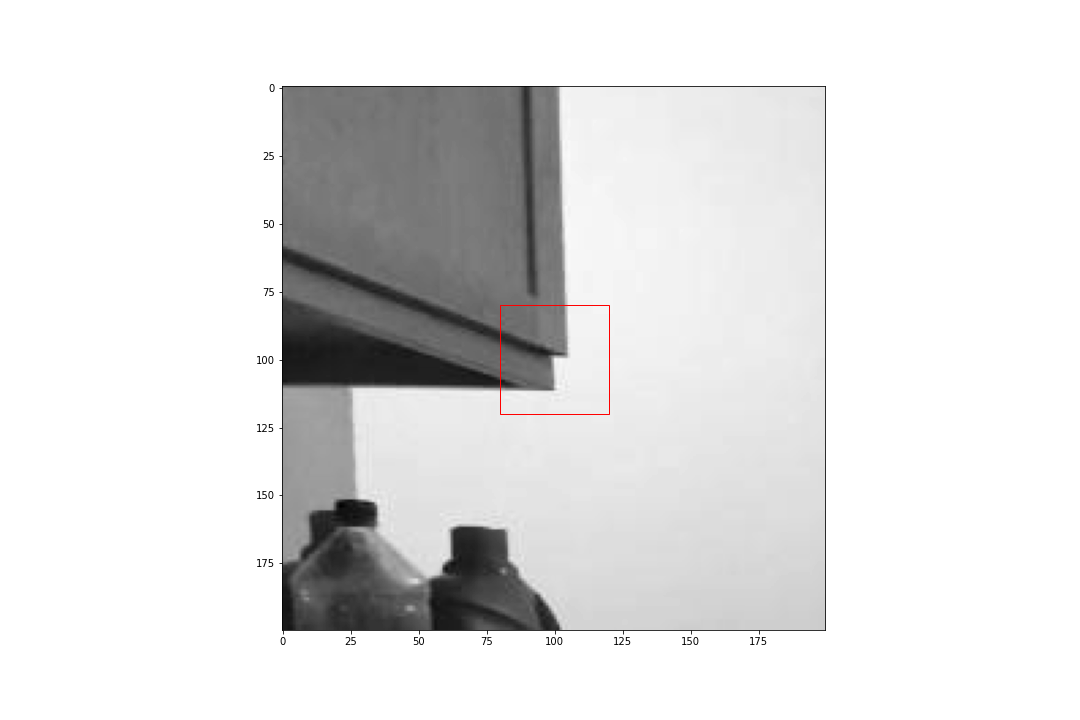
Laundry Room #1
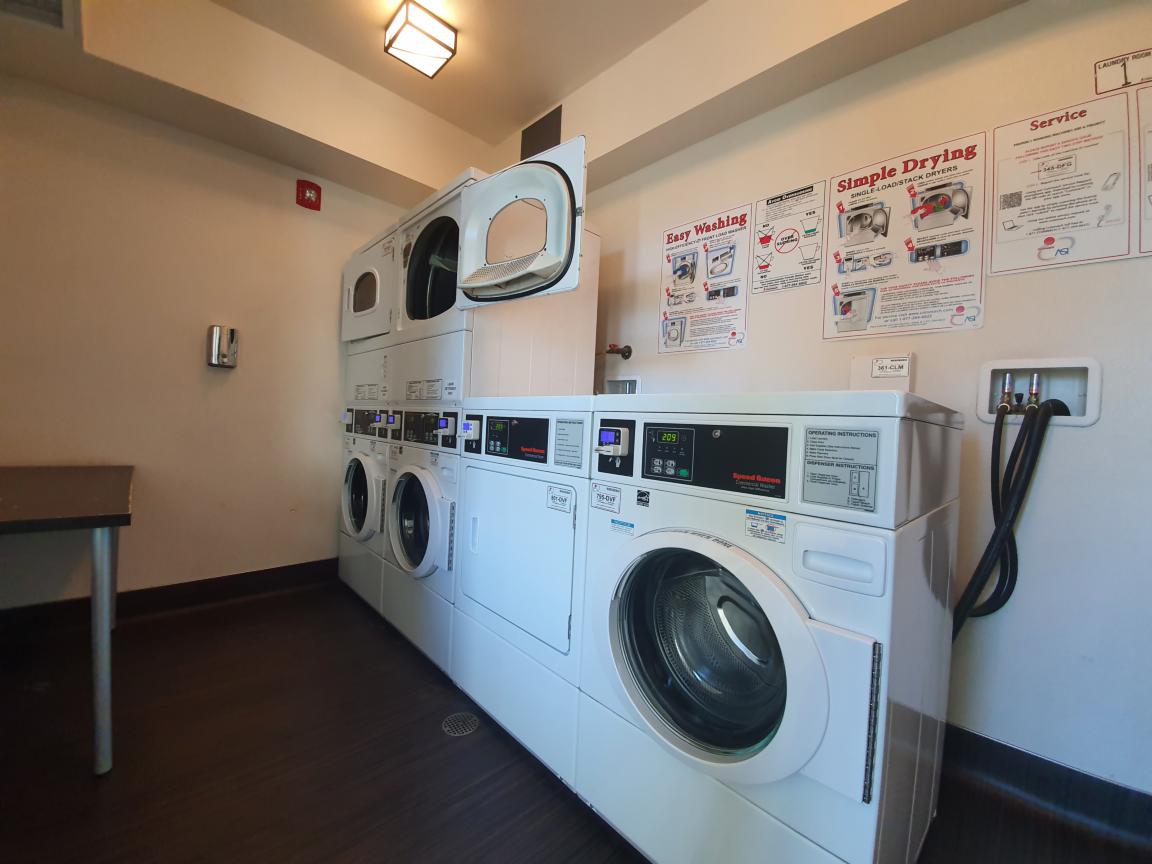
Laundry Room #2
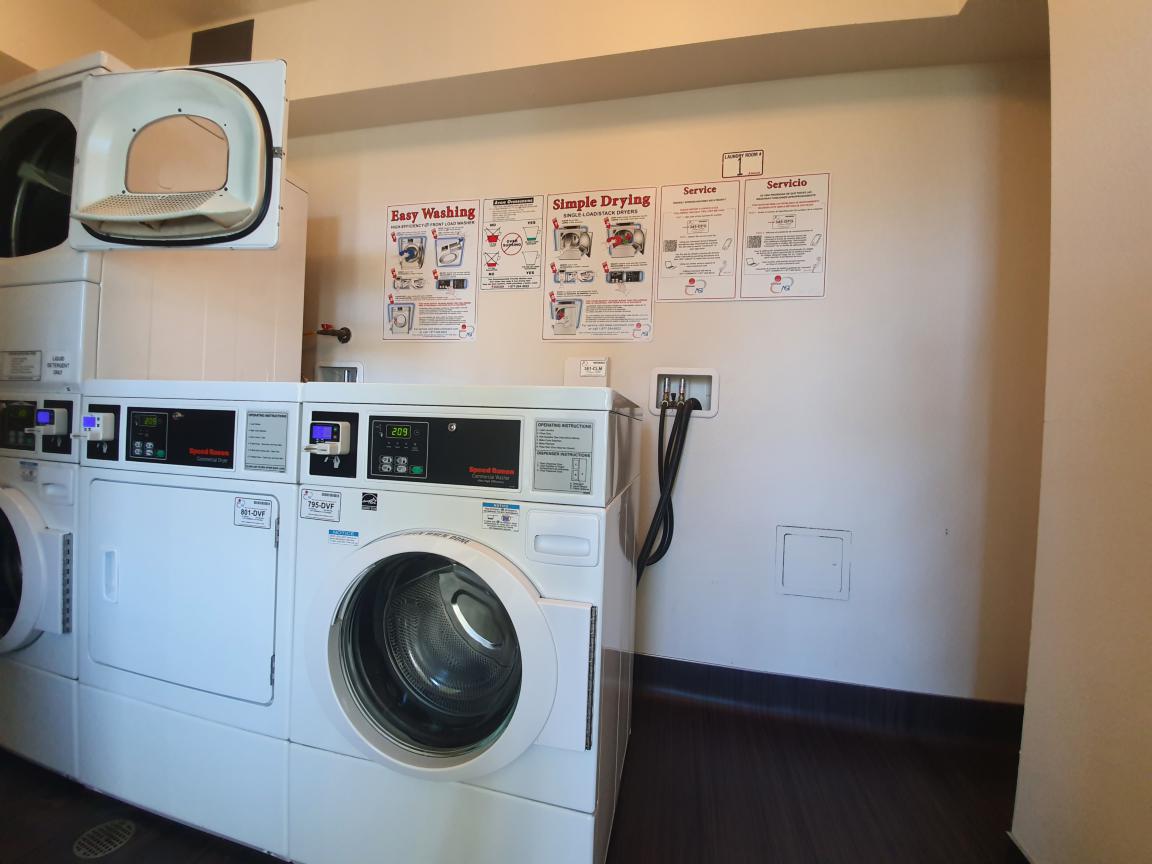
Laundry Room #3
blt.jpg
fiji.jpg
Here is the derivation that I've used to implement the computeH function.
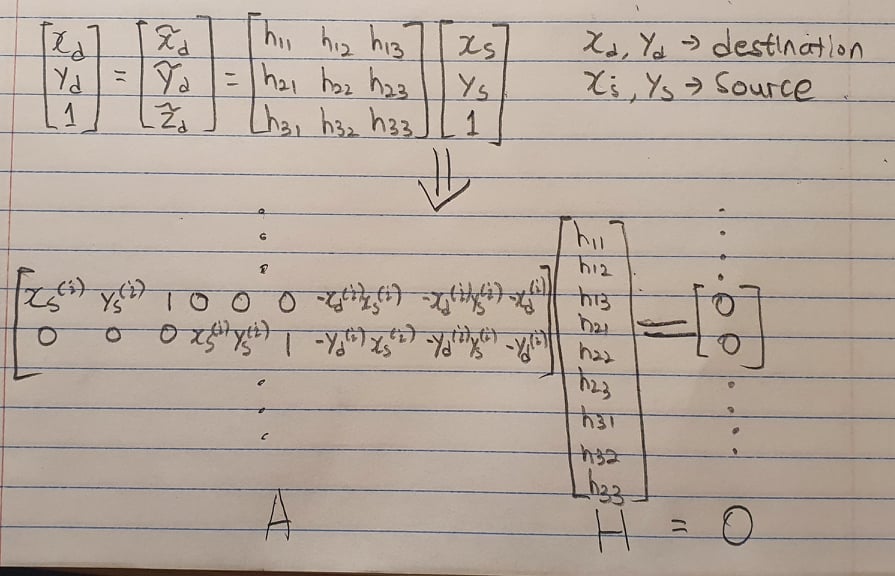
To solve for the matrix H, I've utilized Singular Value Decomposition and Direct Linear Transformation to obtain the values in the Homography matrix.
If I directly apply H to the images, the trasformed points would most likely be beyond the margins of the original image. Therefore, it is important to surround the image by black borders to avoid cropping. Here is some sample images of before warping with H and after warping with H.
Note: I've set the curtains as the feature points for the living room. The homography matrix is computed by each points and the average points.

Before Warping
After Warping
Before Warping
After Warping
I will show you the combined image mosaic later :)
Rectifying images is rather simple. Let's say I have a rectangular surface that I want to rectify. All I have to do is perform a warping of the image to rectangular points. Consider it as if we are transforming the perspective from that of an image to a perpendicular perspective. Here are some rectification that I've performed
Before Rectifying
After Rectifying
Before Rectifying
After Rectifying
Conclusion: Get a better camera than Samsung Galaxy S10 5G (or I might be a terrible photographer)
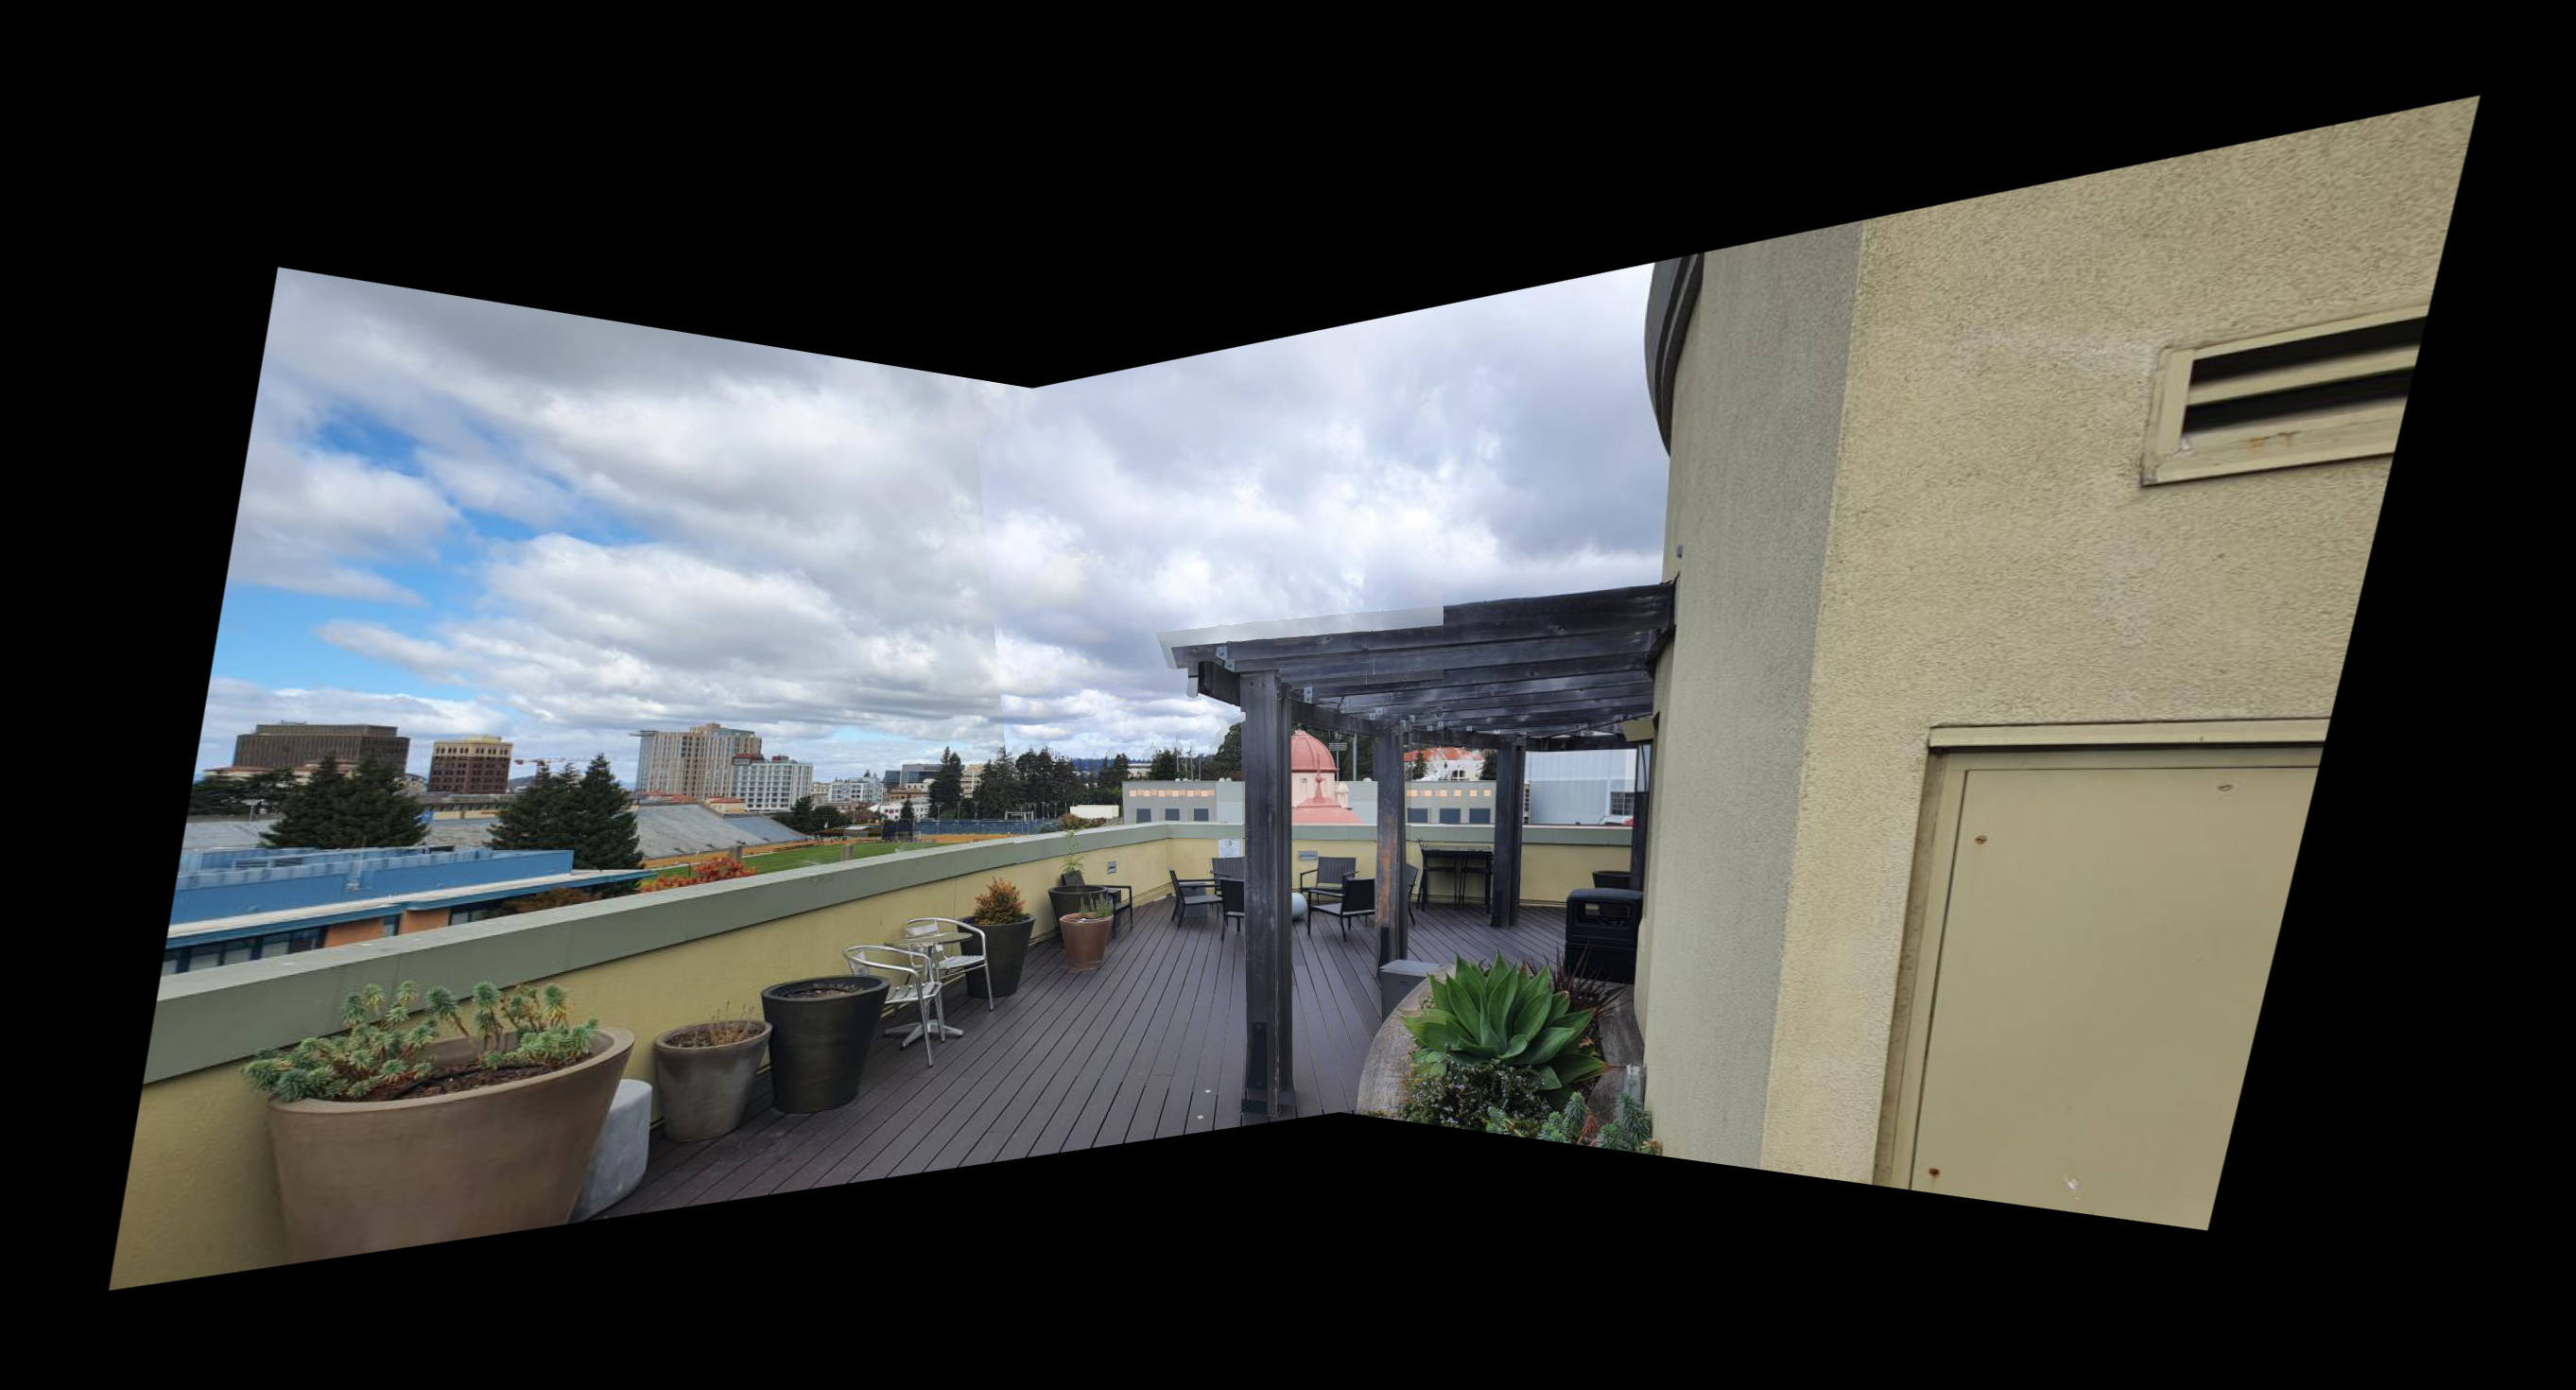
I've already managed to warp the living room photos. To blend the two photos, I've utilized np.maximum to overlay each points. It would take the brighter points of each image when two photos are added. Here is the combined photo of the living room!
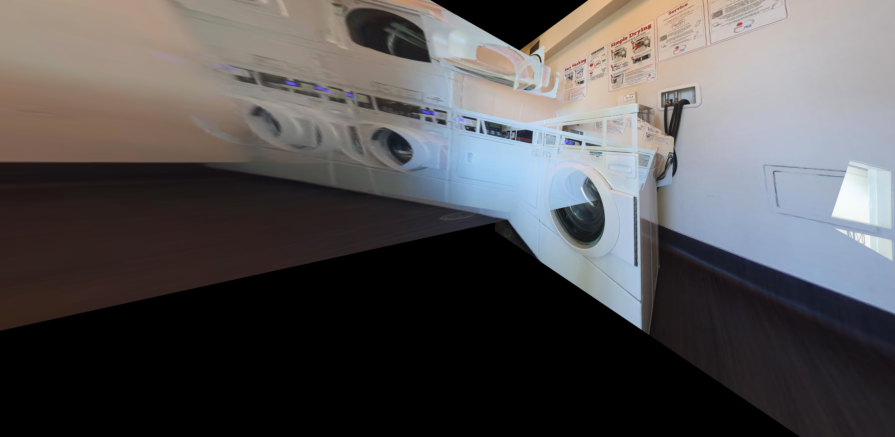
I've also have stitched the laundry room photos together as well. Here are the results!
Laundry Room #1
Laundry Room #2
Laundry Room #3
The most important lesson is that the photo itself and the feature points are the most crucial factors to creating a clean mosaic. When I first attempted to stitch the laundry photos, I've set the feature points close to each other. This caused the images to warp into a massively stretched such that it was impossible to create a stitch image that looks good. The feature points should either be infinitely many or at least far apart. In the following part of the project (4B), I will continue with feature matching and auto stitching.
Here, I will use the following two images for explaining the process of auto-stitching. I will show multiple mosaics of different examples at the very end.
Living Room #1
Living Room #2
Using Harris Corners, I have manged to obtain the features of the images. Here are the unprocessed features that is generated by Harris Interest Point Detector.
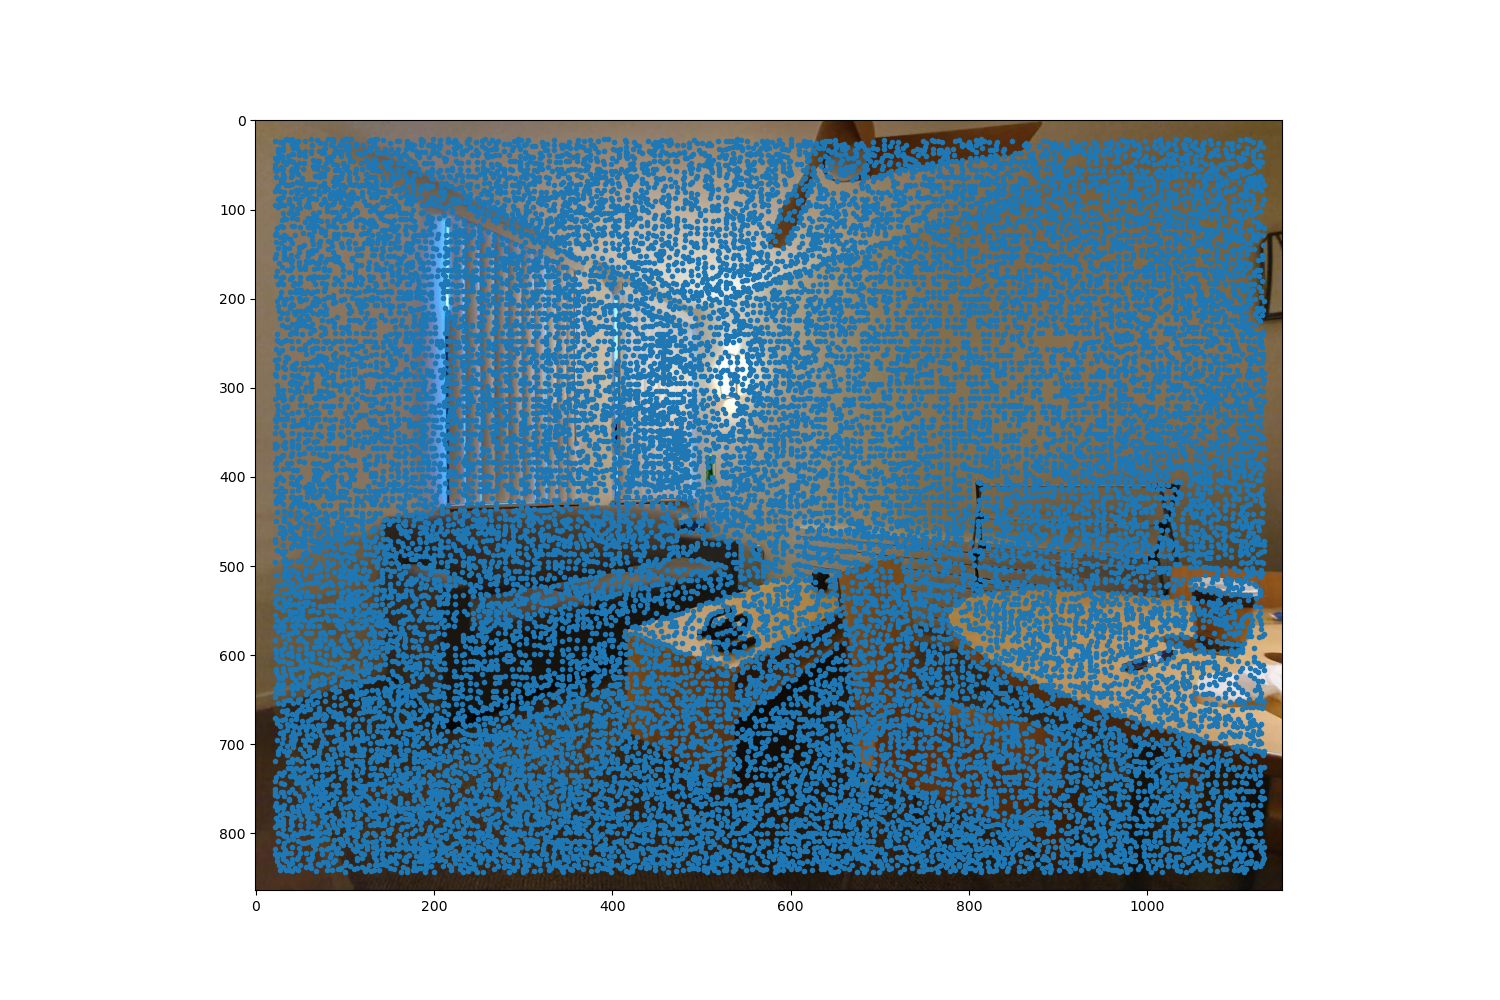
Harris Living Room #1
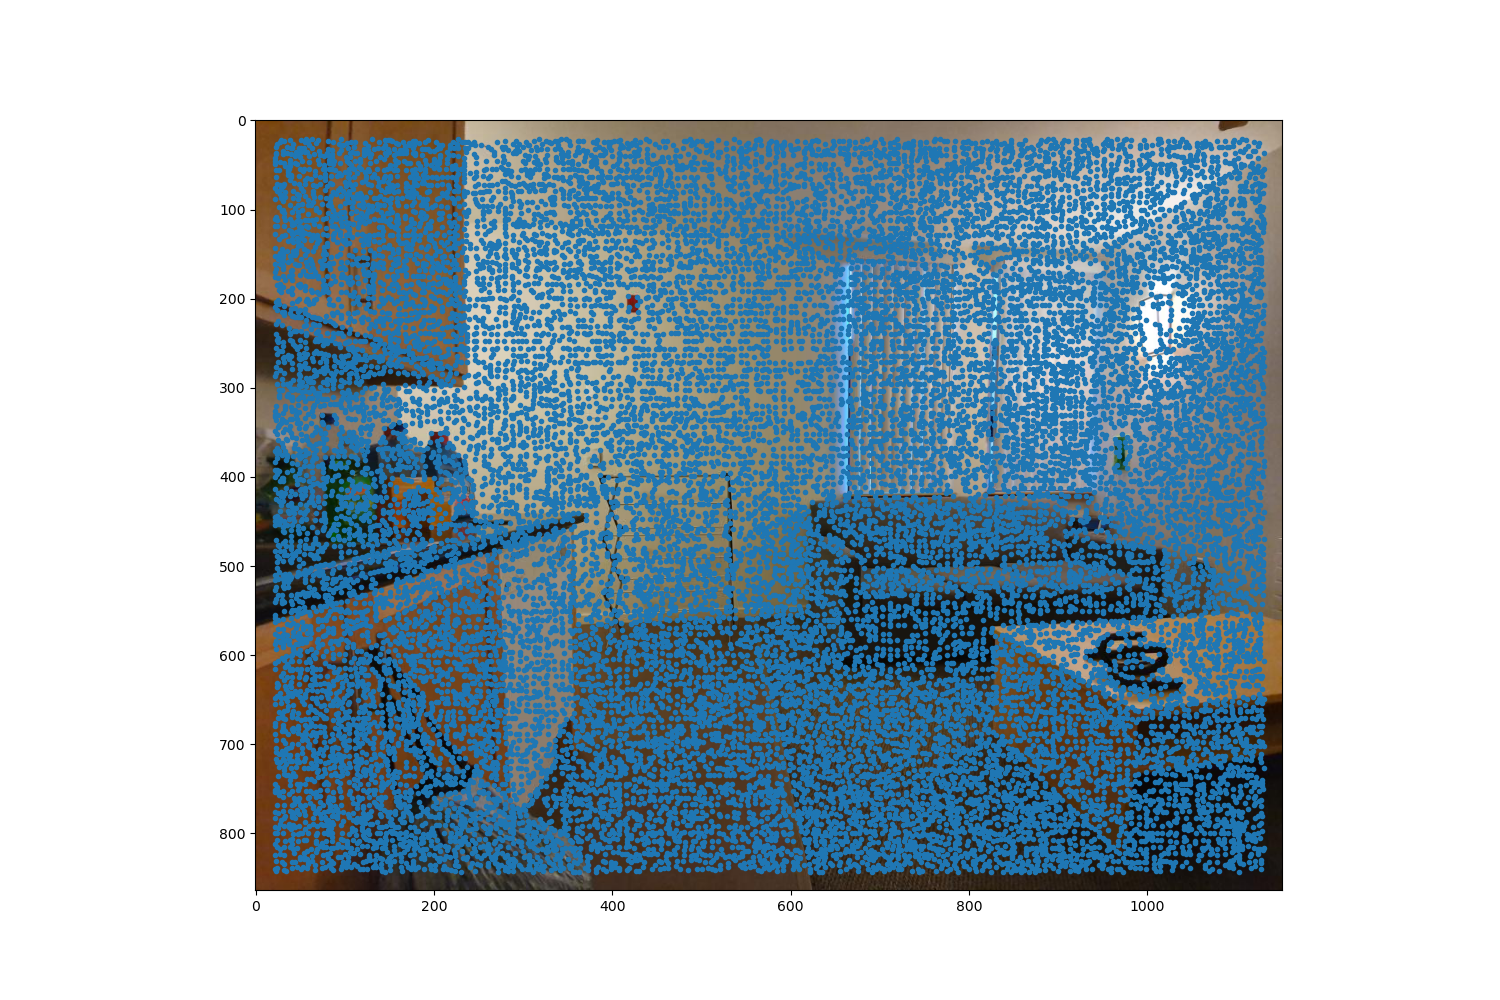
Harris Living Room #2
As you can see, there are just too many points (around 20k). I've filtered the interest points with ANMS. I would utilize Adaptive Non-Maximal Suppression to spatially distribute the interest points. This would narrow down to a fixed number of 500 feature points. Here are the end results.
ANMS Harris Living Room #1
ANMS Harris Living Room #2
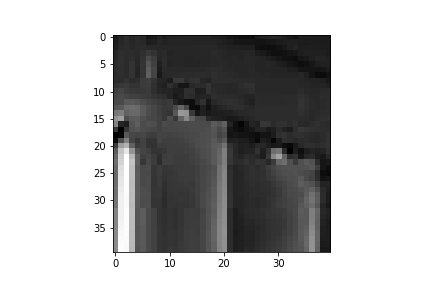
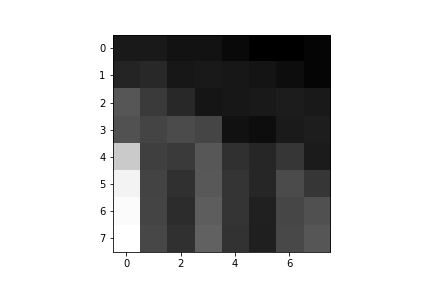
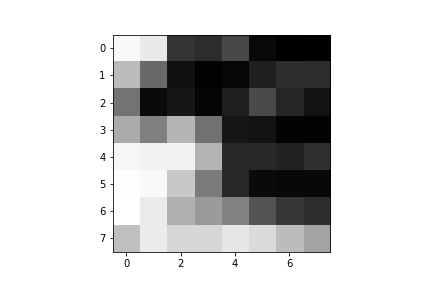
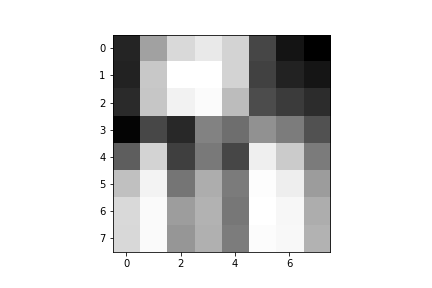
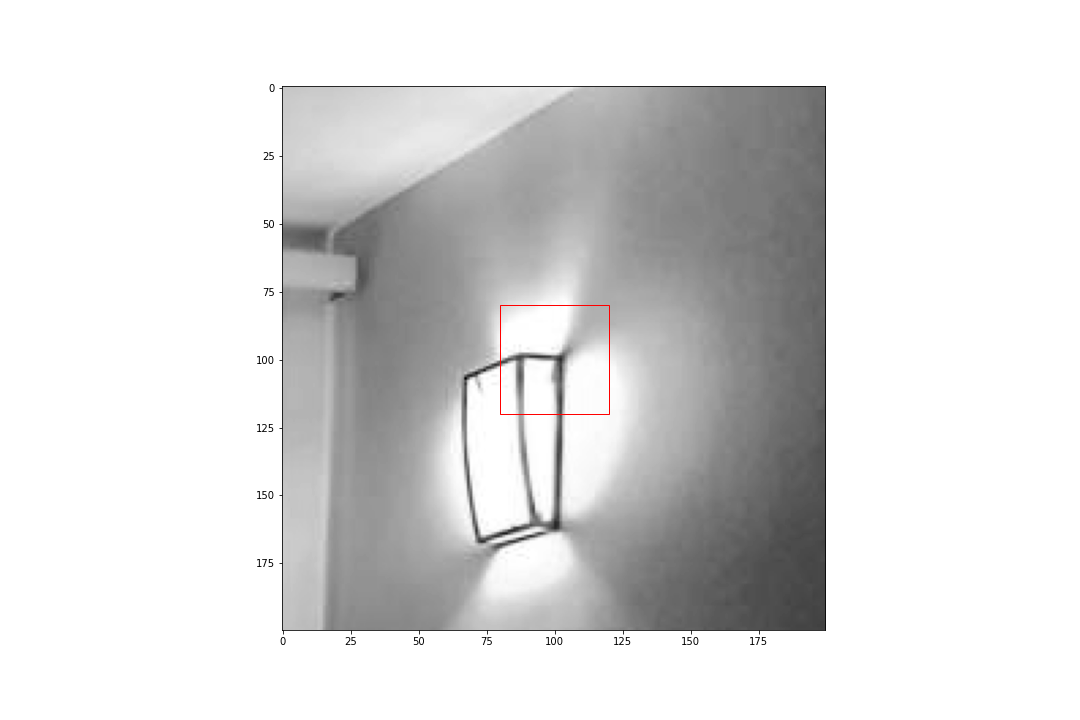
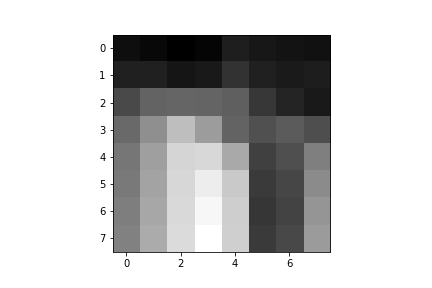
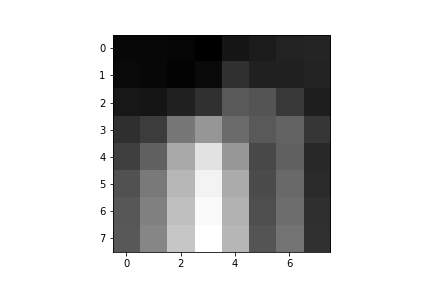
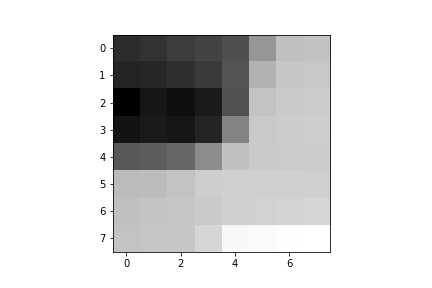
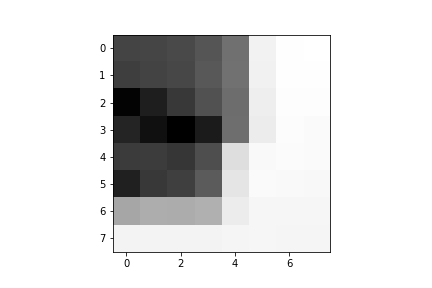
Extracting feature descriptors is relatively simple. For each interest point, I would simply have to get a 40x40 image with the interest point on the center. Then, I would resize the image to become 8x8, so that it can be used later for feature matching. Here are some examples of feature descriptors.
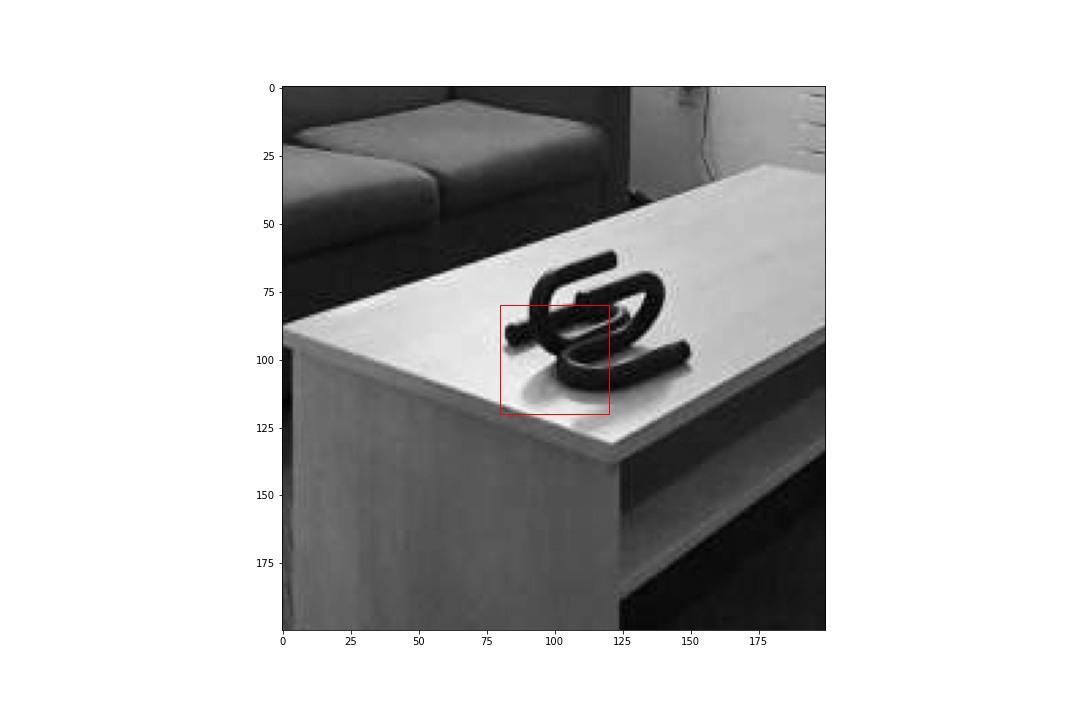
Push Up Bar
40x40 margin

Resize to 8x8
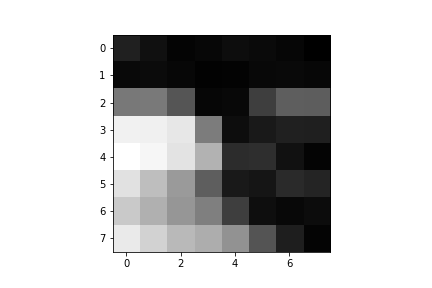
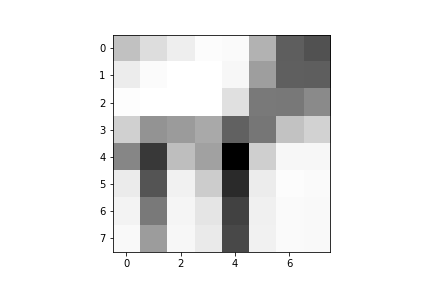
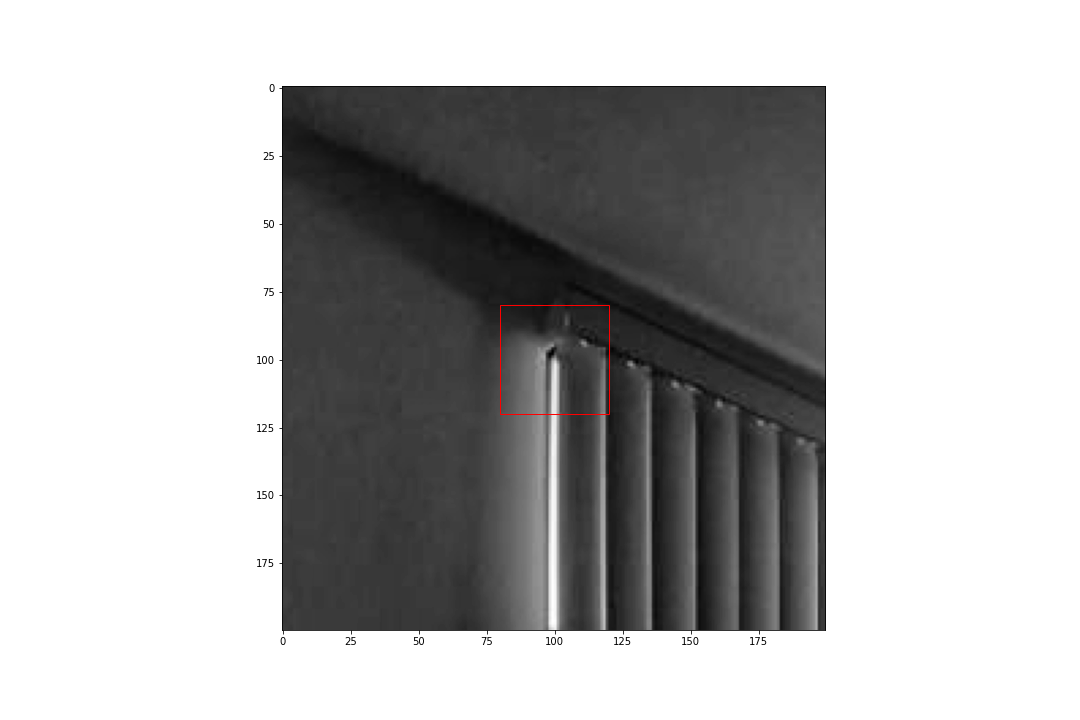
Curtain
40x40 margin
Resize to 8x8
Here I will find the matching pairs by utilizing Sum of Squared Differences. Given two feature descriptor patches, for each patch in the first patches, I will find the smallest SSD with the second patch. Of course, this will lead to some overlaps such that multiple patches in the first group will pair up with the same patch in the second group. Therefore, I would run another minimum SSD search for each second group as well and find the best possible pairs. Here are some examples.

Push Up Bar in image 1
Feature Descriptor
Push Up Bar in image 2
Feature Descriptor
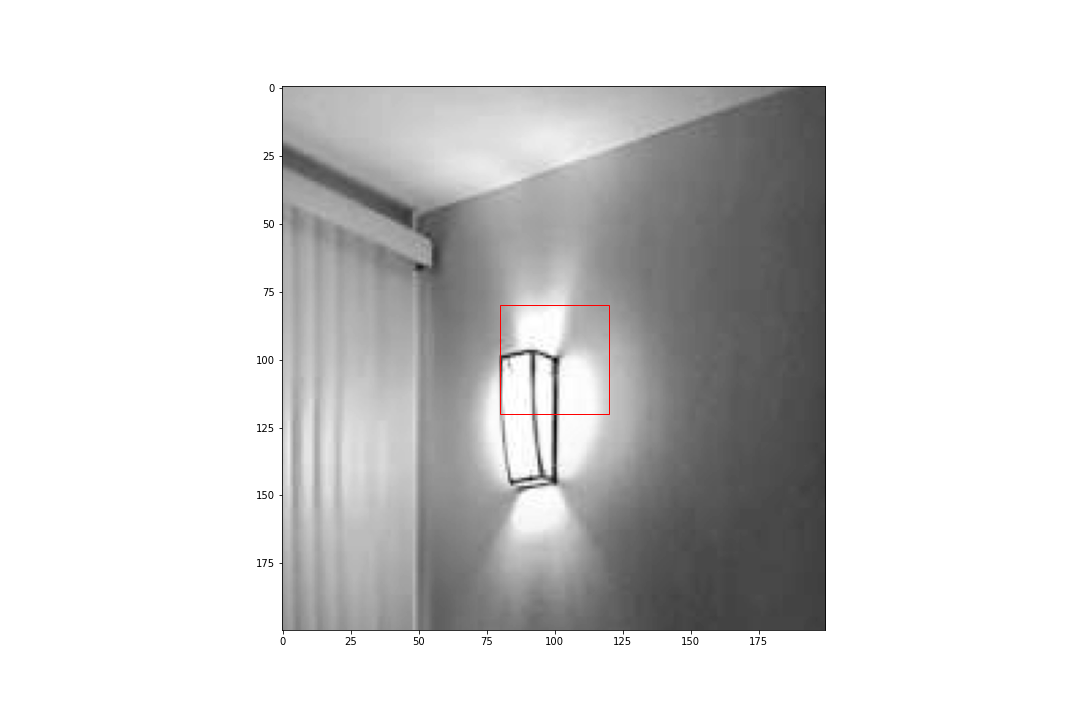
Lighting in image 1
Feature Descriptor
Lighting in image 2
Feature Descriptor
Curtains in image 1
Feature Descriptor
Curtain in image 2
Feature Descriptor
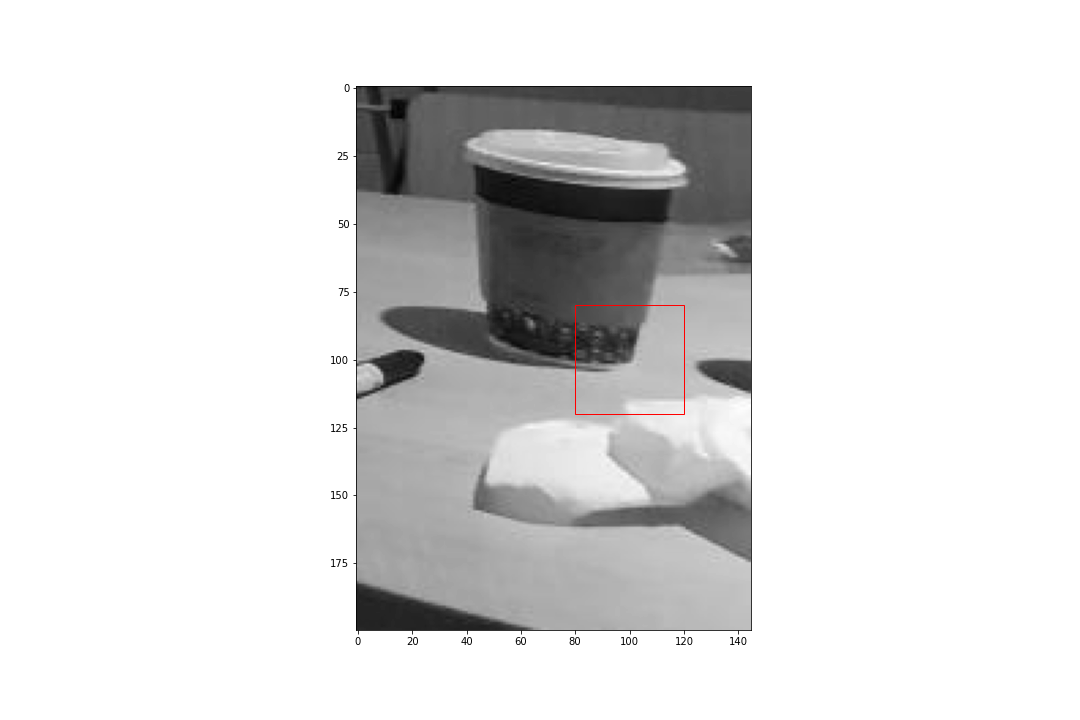
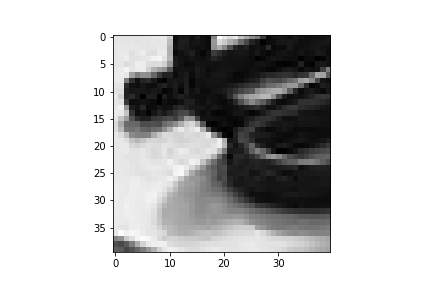
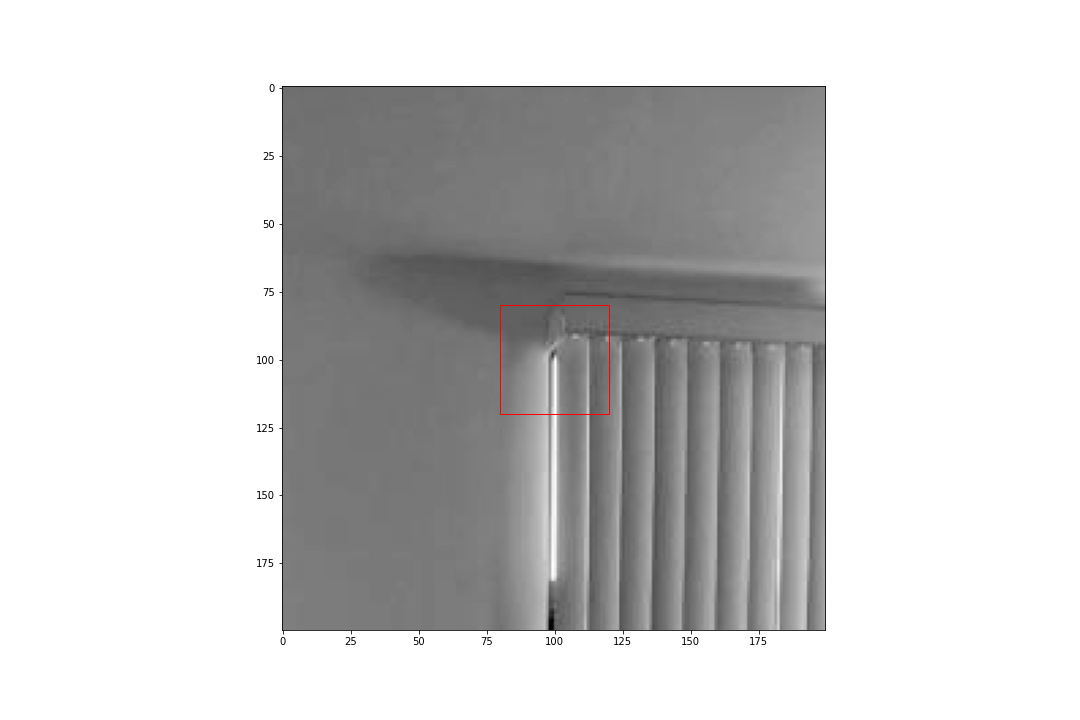
Coffee Cup in image 1
Feature Descriptor
Coffe..wait WHAT?
Feature Descriptor
As you can see, the last pair is definitely not the correct pair. But their feature descriptors are so similar that the SSD read them as a viable pair. Fortunately, these unfortunate incidences will be removed by performing RANSAC.
RANSAC, a.k.a. Random Sample Consensus, is an iterative method to find the best inliners of a randomly chosen H matrix. For my implementation, I've brought all the possible combination of picking 4 pairs from given list of good pairs. Then, I would compute the matrix H to consider inliners for all the other pairs. If the list of inliners is greater than or equal to 8, I will stop the iteration and return the inliners for warping the image. The images below are the manual stitching and auto-stitching of living room images.
Manual Stitching of Living Room
Auto Stitching of Living Room
It is hard to tell the difference. I guess my manual stitching was spot on. However, if there are more than few images to stitch, auto-stitching is lot better and faster. The next section will include all the auto-stitched image mosaics.
Auto Stitching of Living Room
Auto Stitching of Roof Top
Laundry Room #1
Laundry Room #2
Laundry Room #3
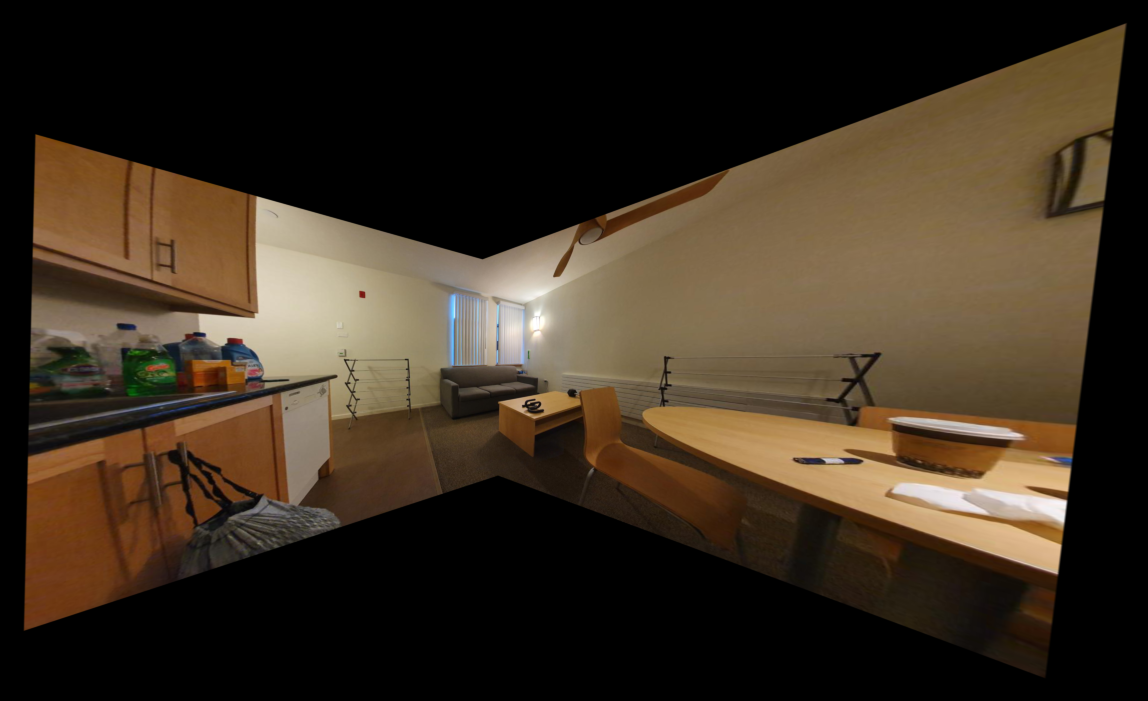
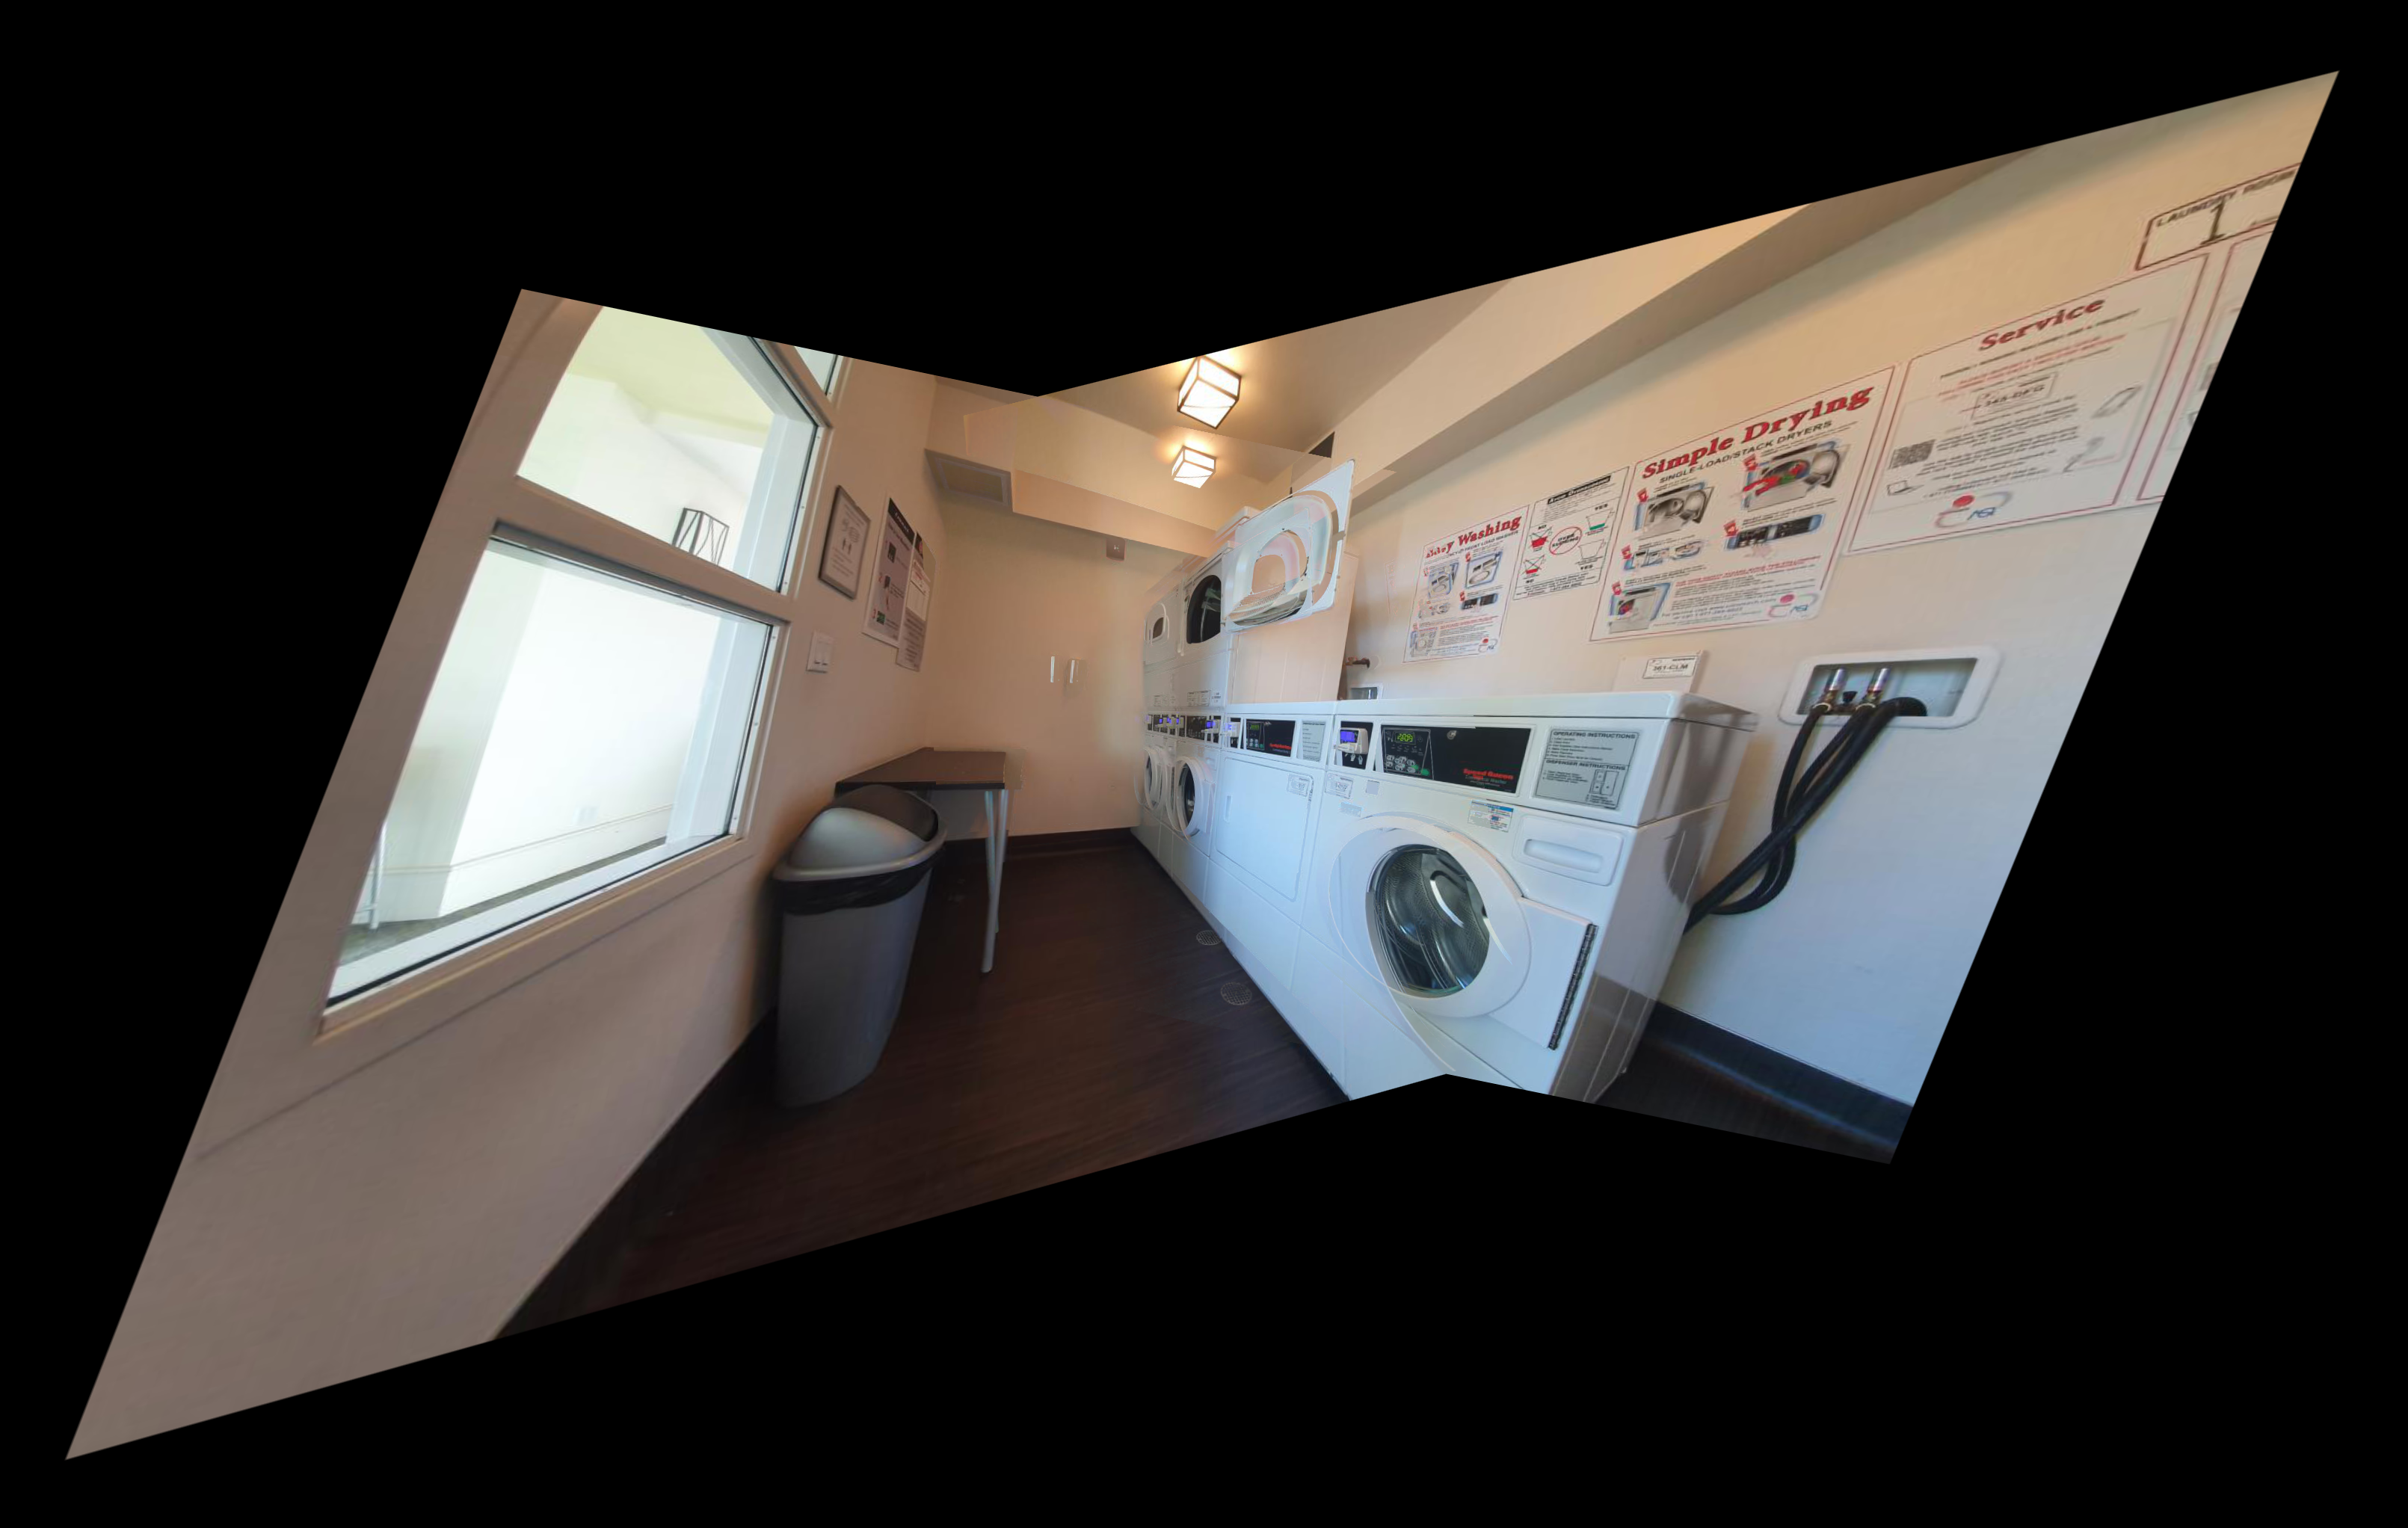
Auto Stitching of Laundry Room
As you can see, the stitching of the Laundry room is terrible. The reason is that if the intermediate stitch has some error, it may cause a cascading effect to have a terrible sequential stitching. I believe the colors in the laundry room is mostly white, such that the feature matching has difficult time matching a good pair. Here is the intermediate stitch of the laundry room.
Intermediate Stitching of Laundry Room
For example, having a fading effect on the dryer doors will cause the third image to have an H matrix that may conflict. Also, looking at the light bulb on the ceiling, we can say that there are unwanted duplications of certain features, that may cause harm during auto stitching.
In order for auto stitching to work, the image that we are taking must have many distinctive features to point out. If it's just a simple colored image, stitching will be much more difficult. As long as we have images with lots of lines of color changes, this will allow auto-stitching to perform better. Else, manual stitching might be a plausible option.