In the first part of the project, I shoot some pictures under the same point of view, recover the homographies according to the corresponding points, warp (rectify) the images, and finally produce some mosaics.
In the second part of the project, I use the technique specified in the paper to automatically stitch images to mosaic. The main goal is to automatically select the matching points of the image pairs and compute homography.
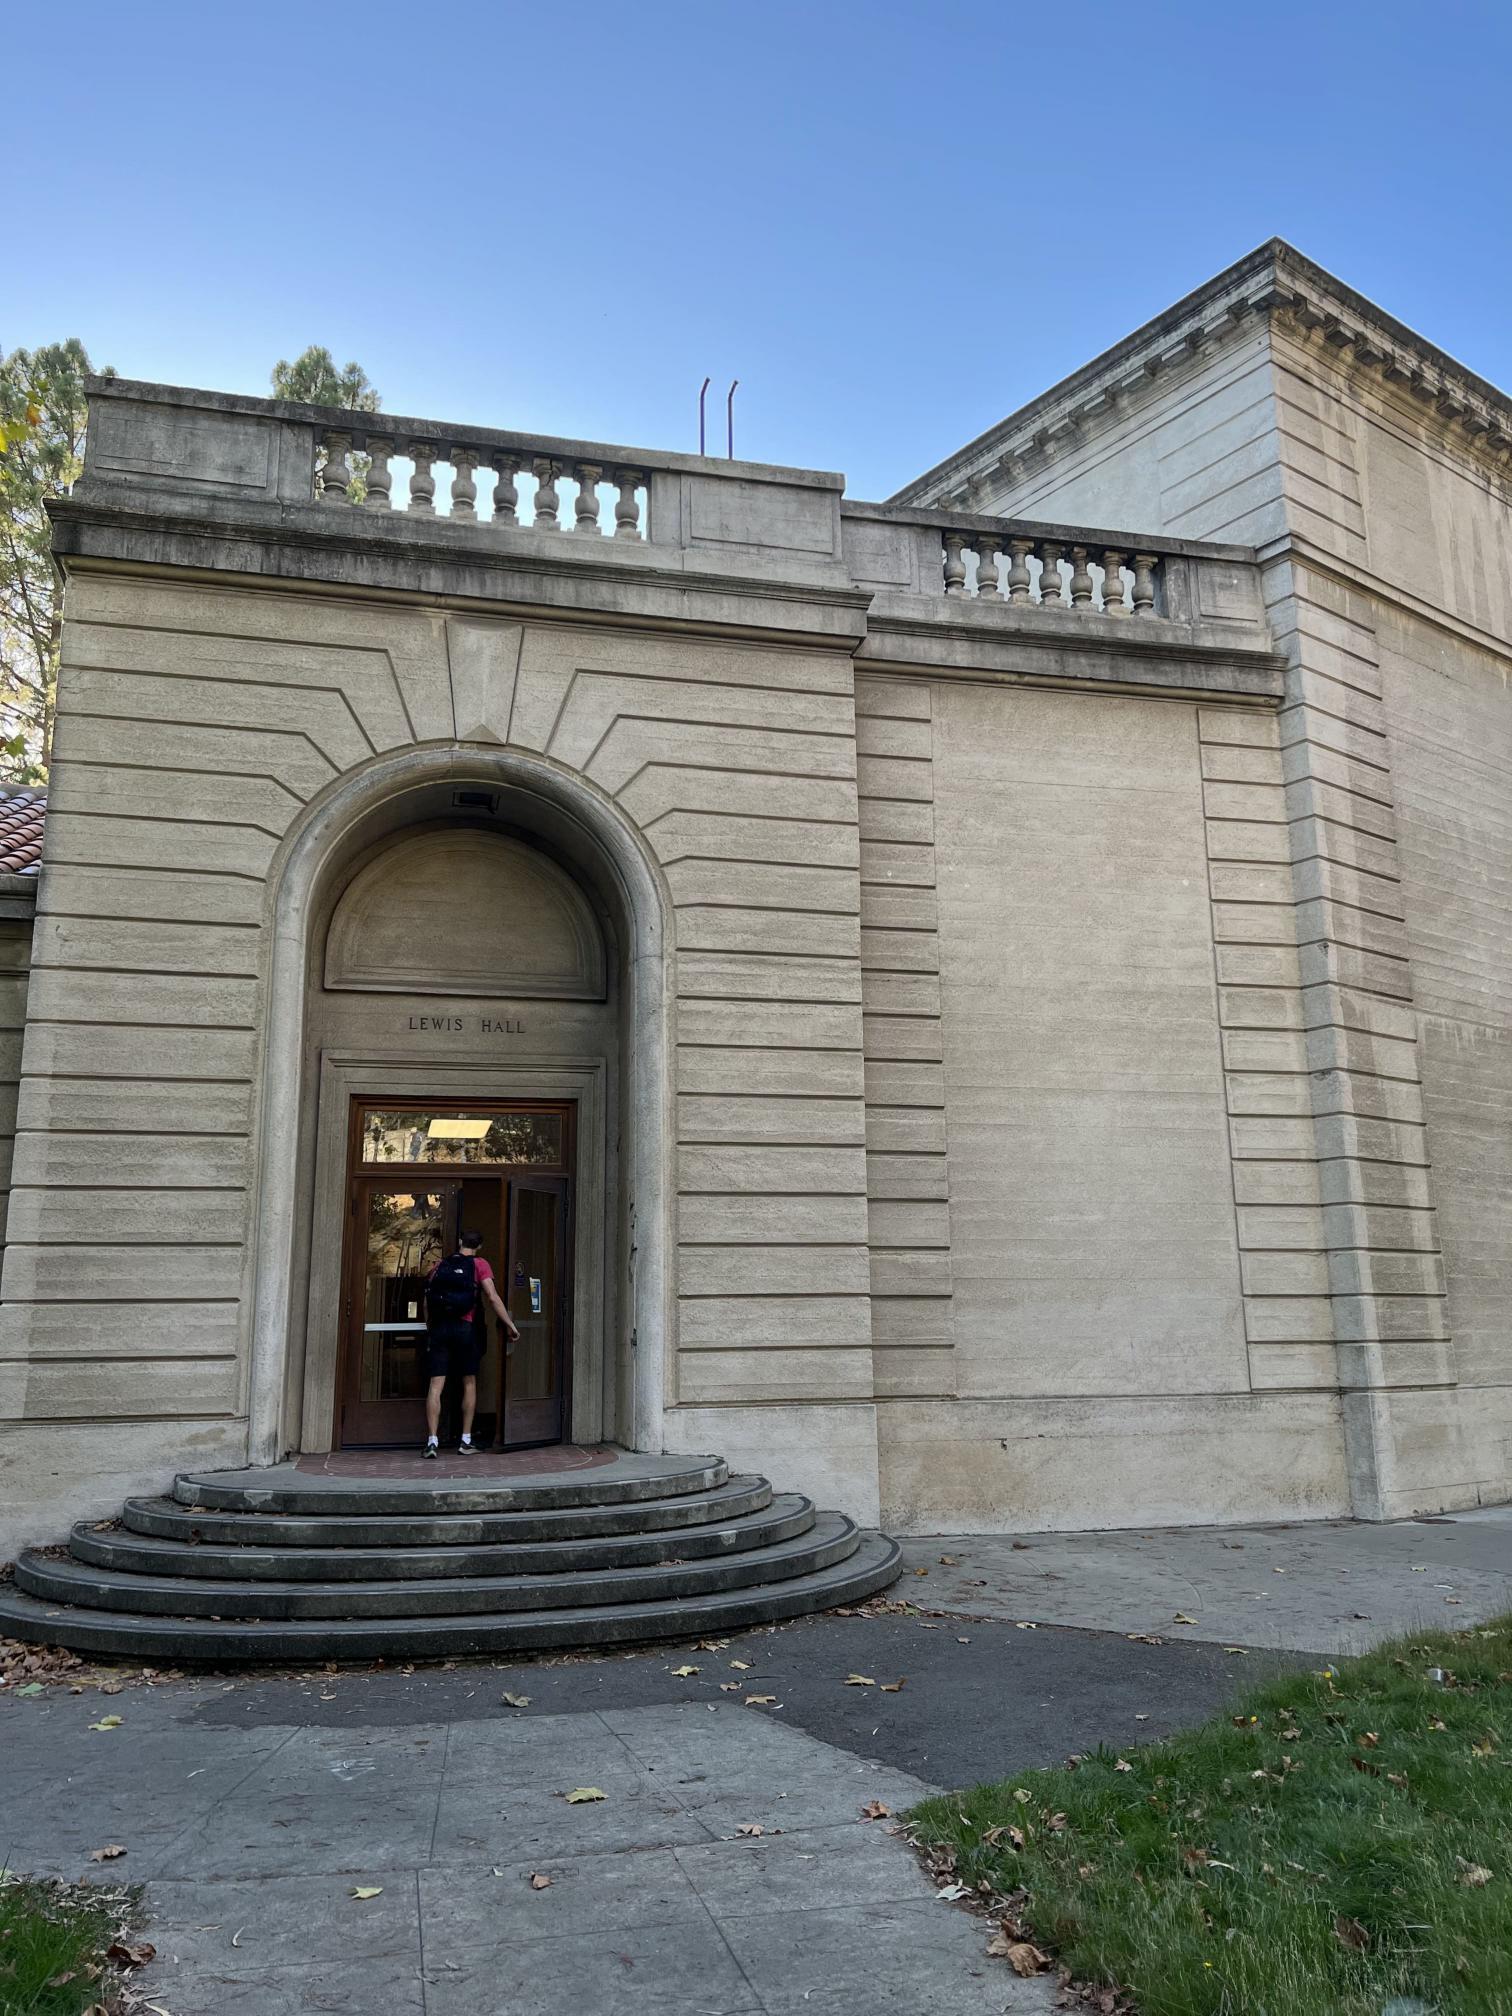
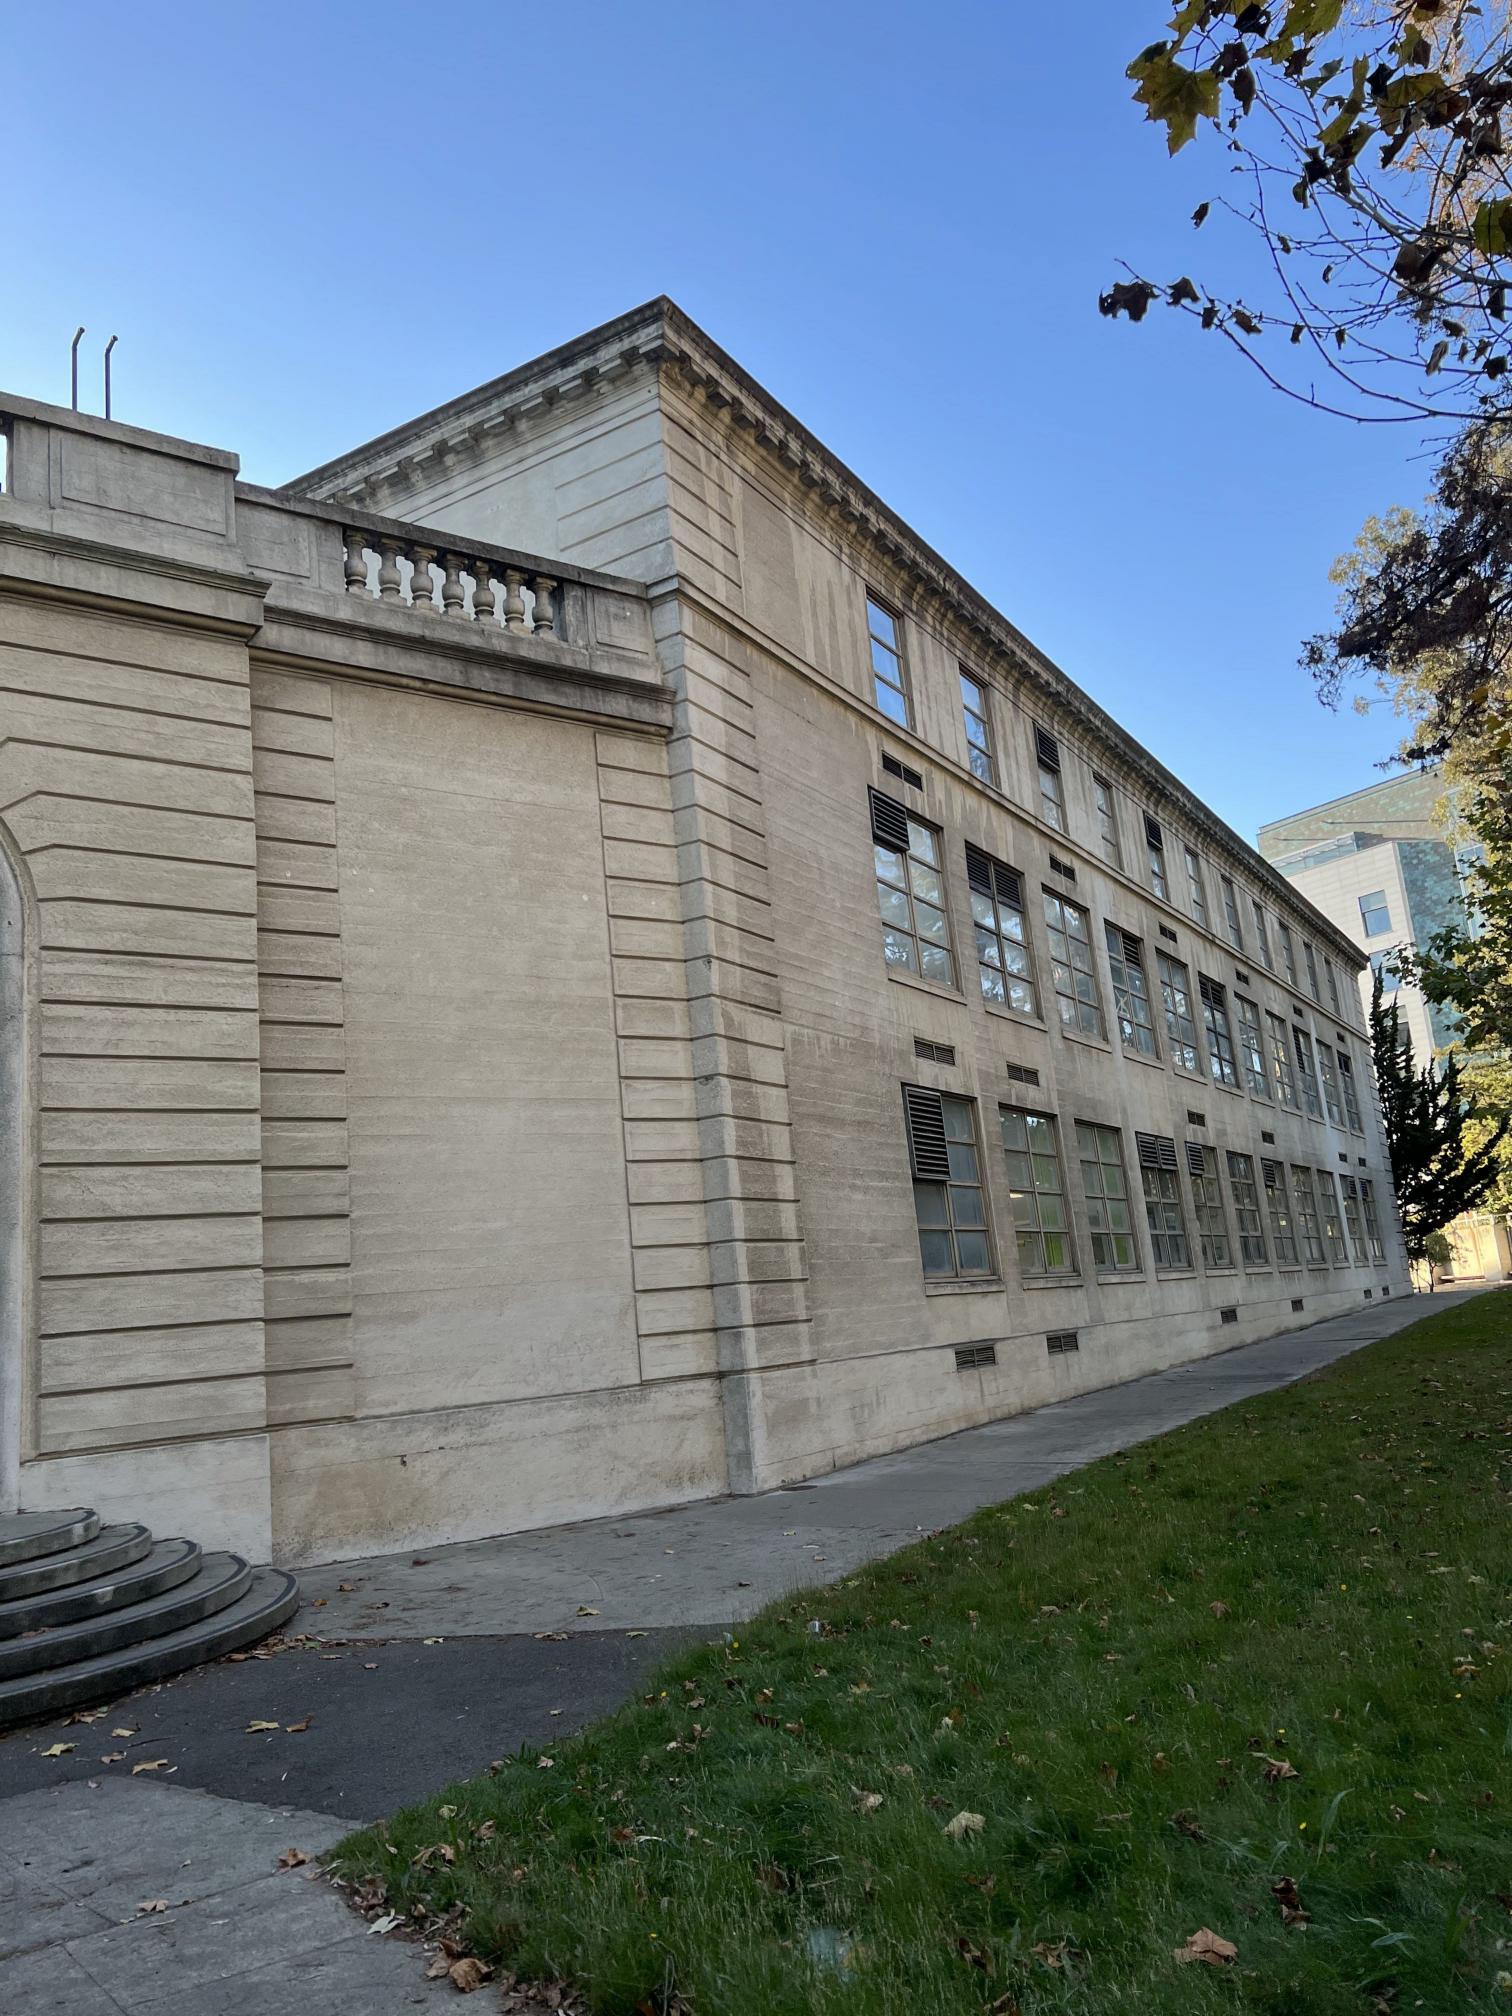
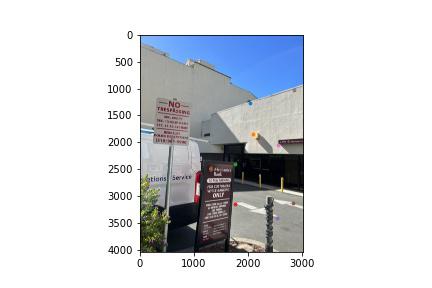
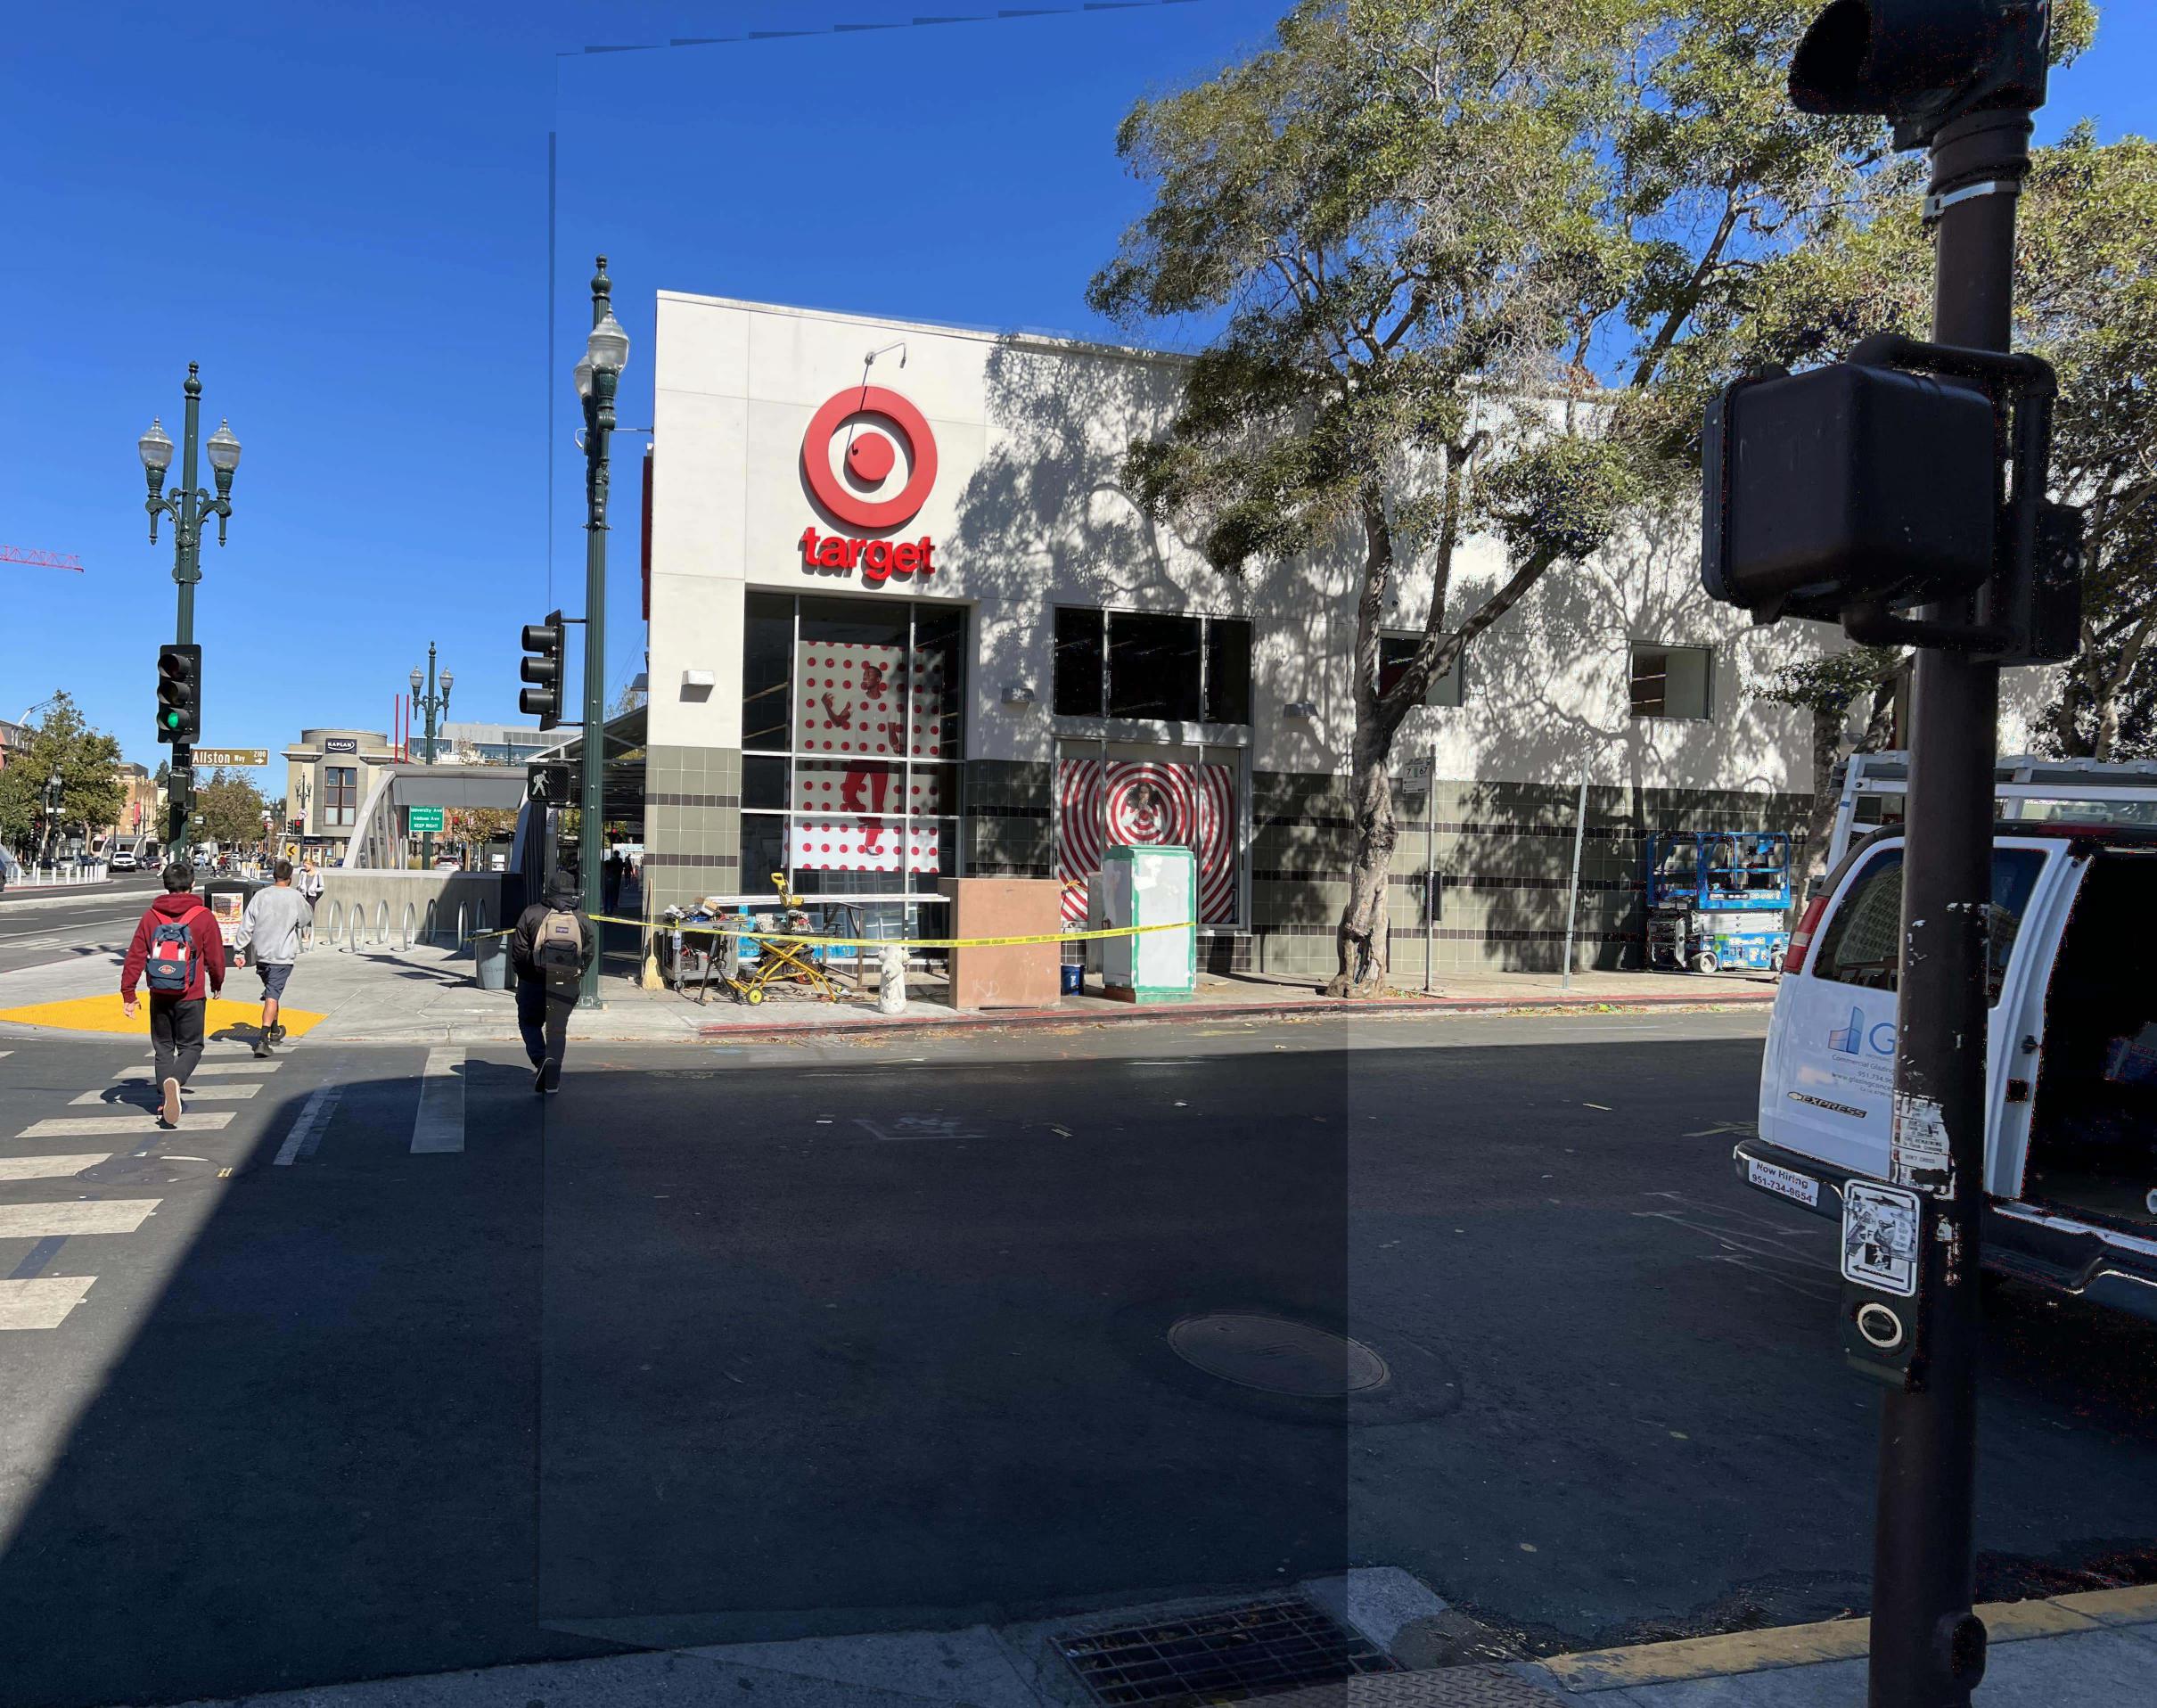
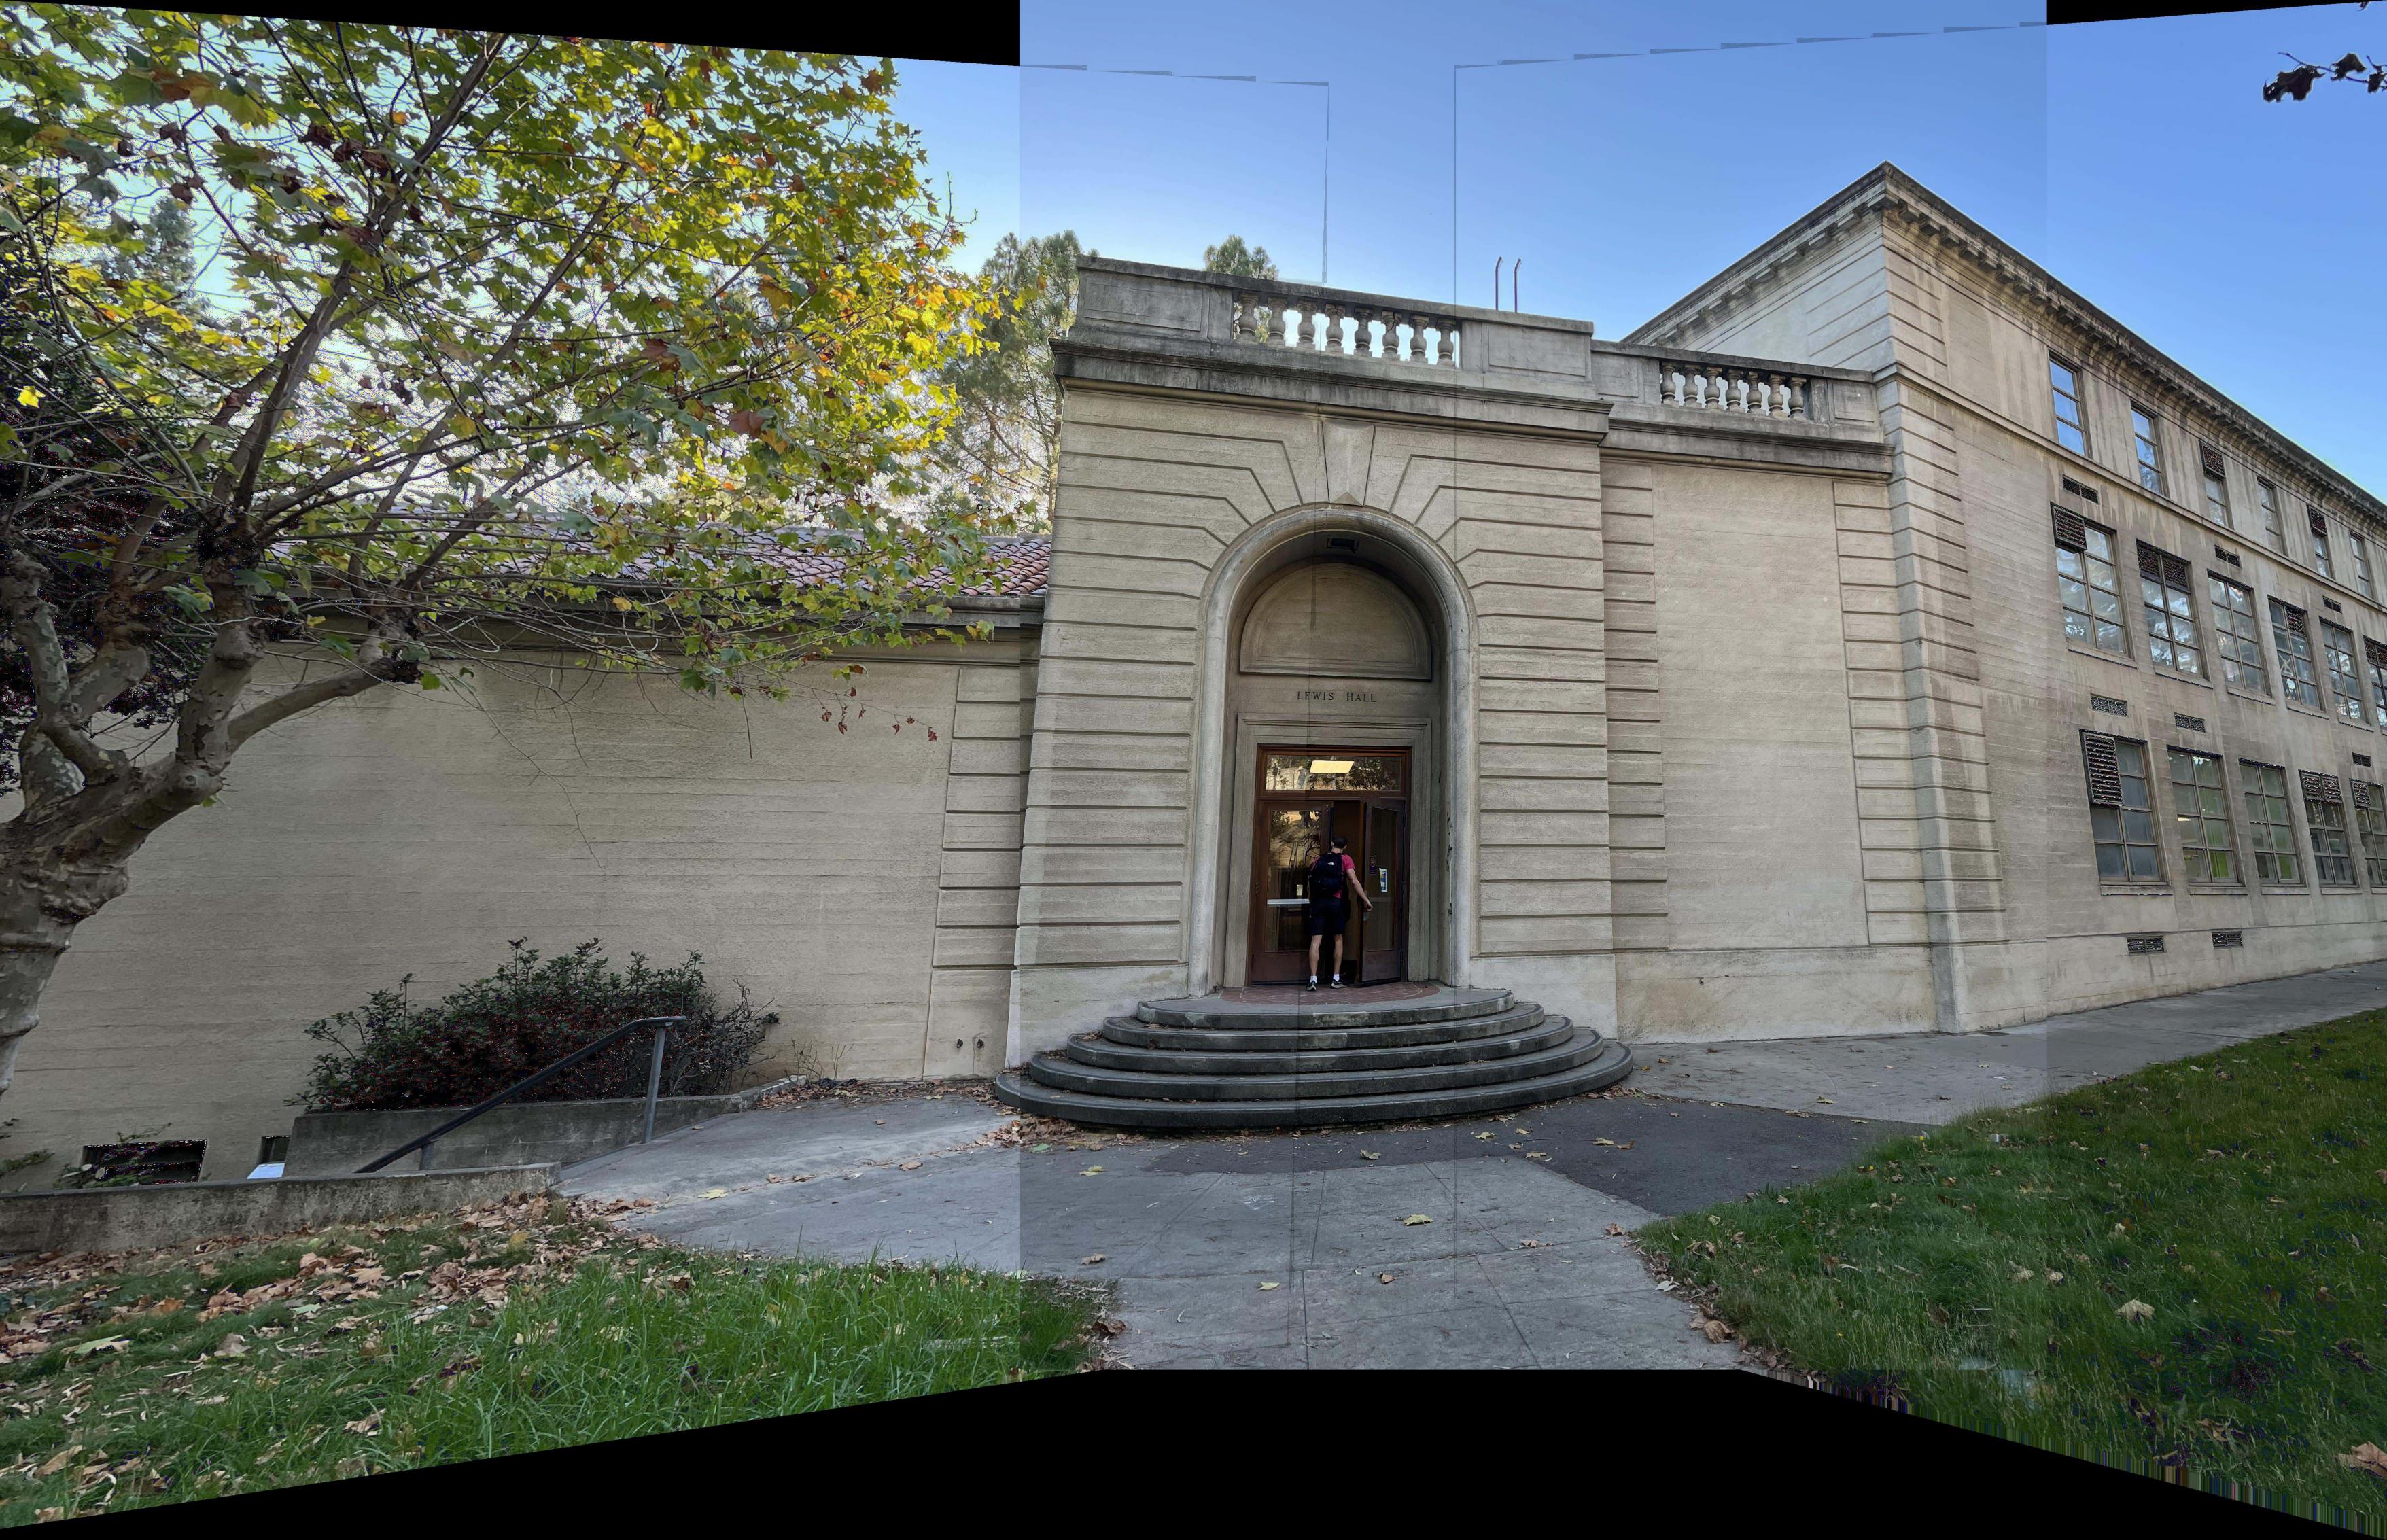
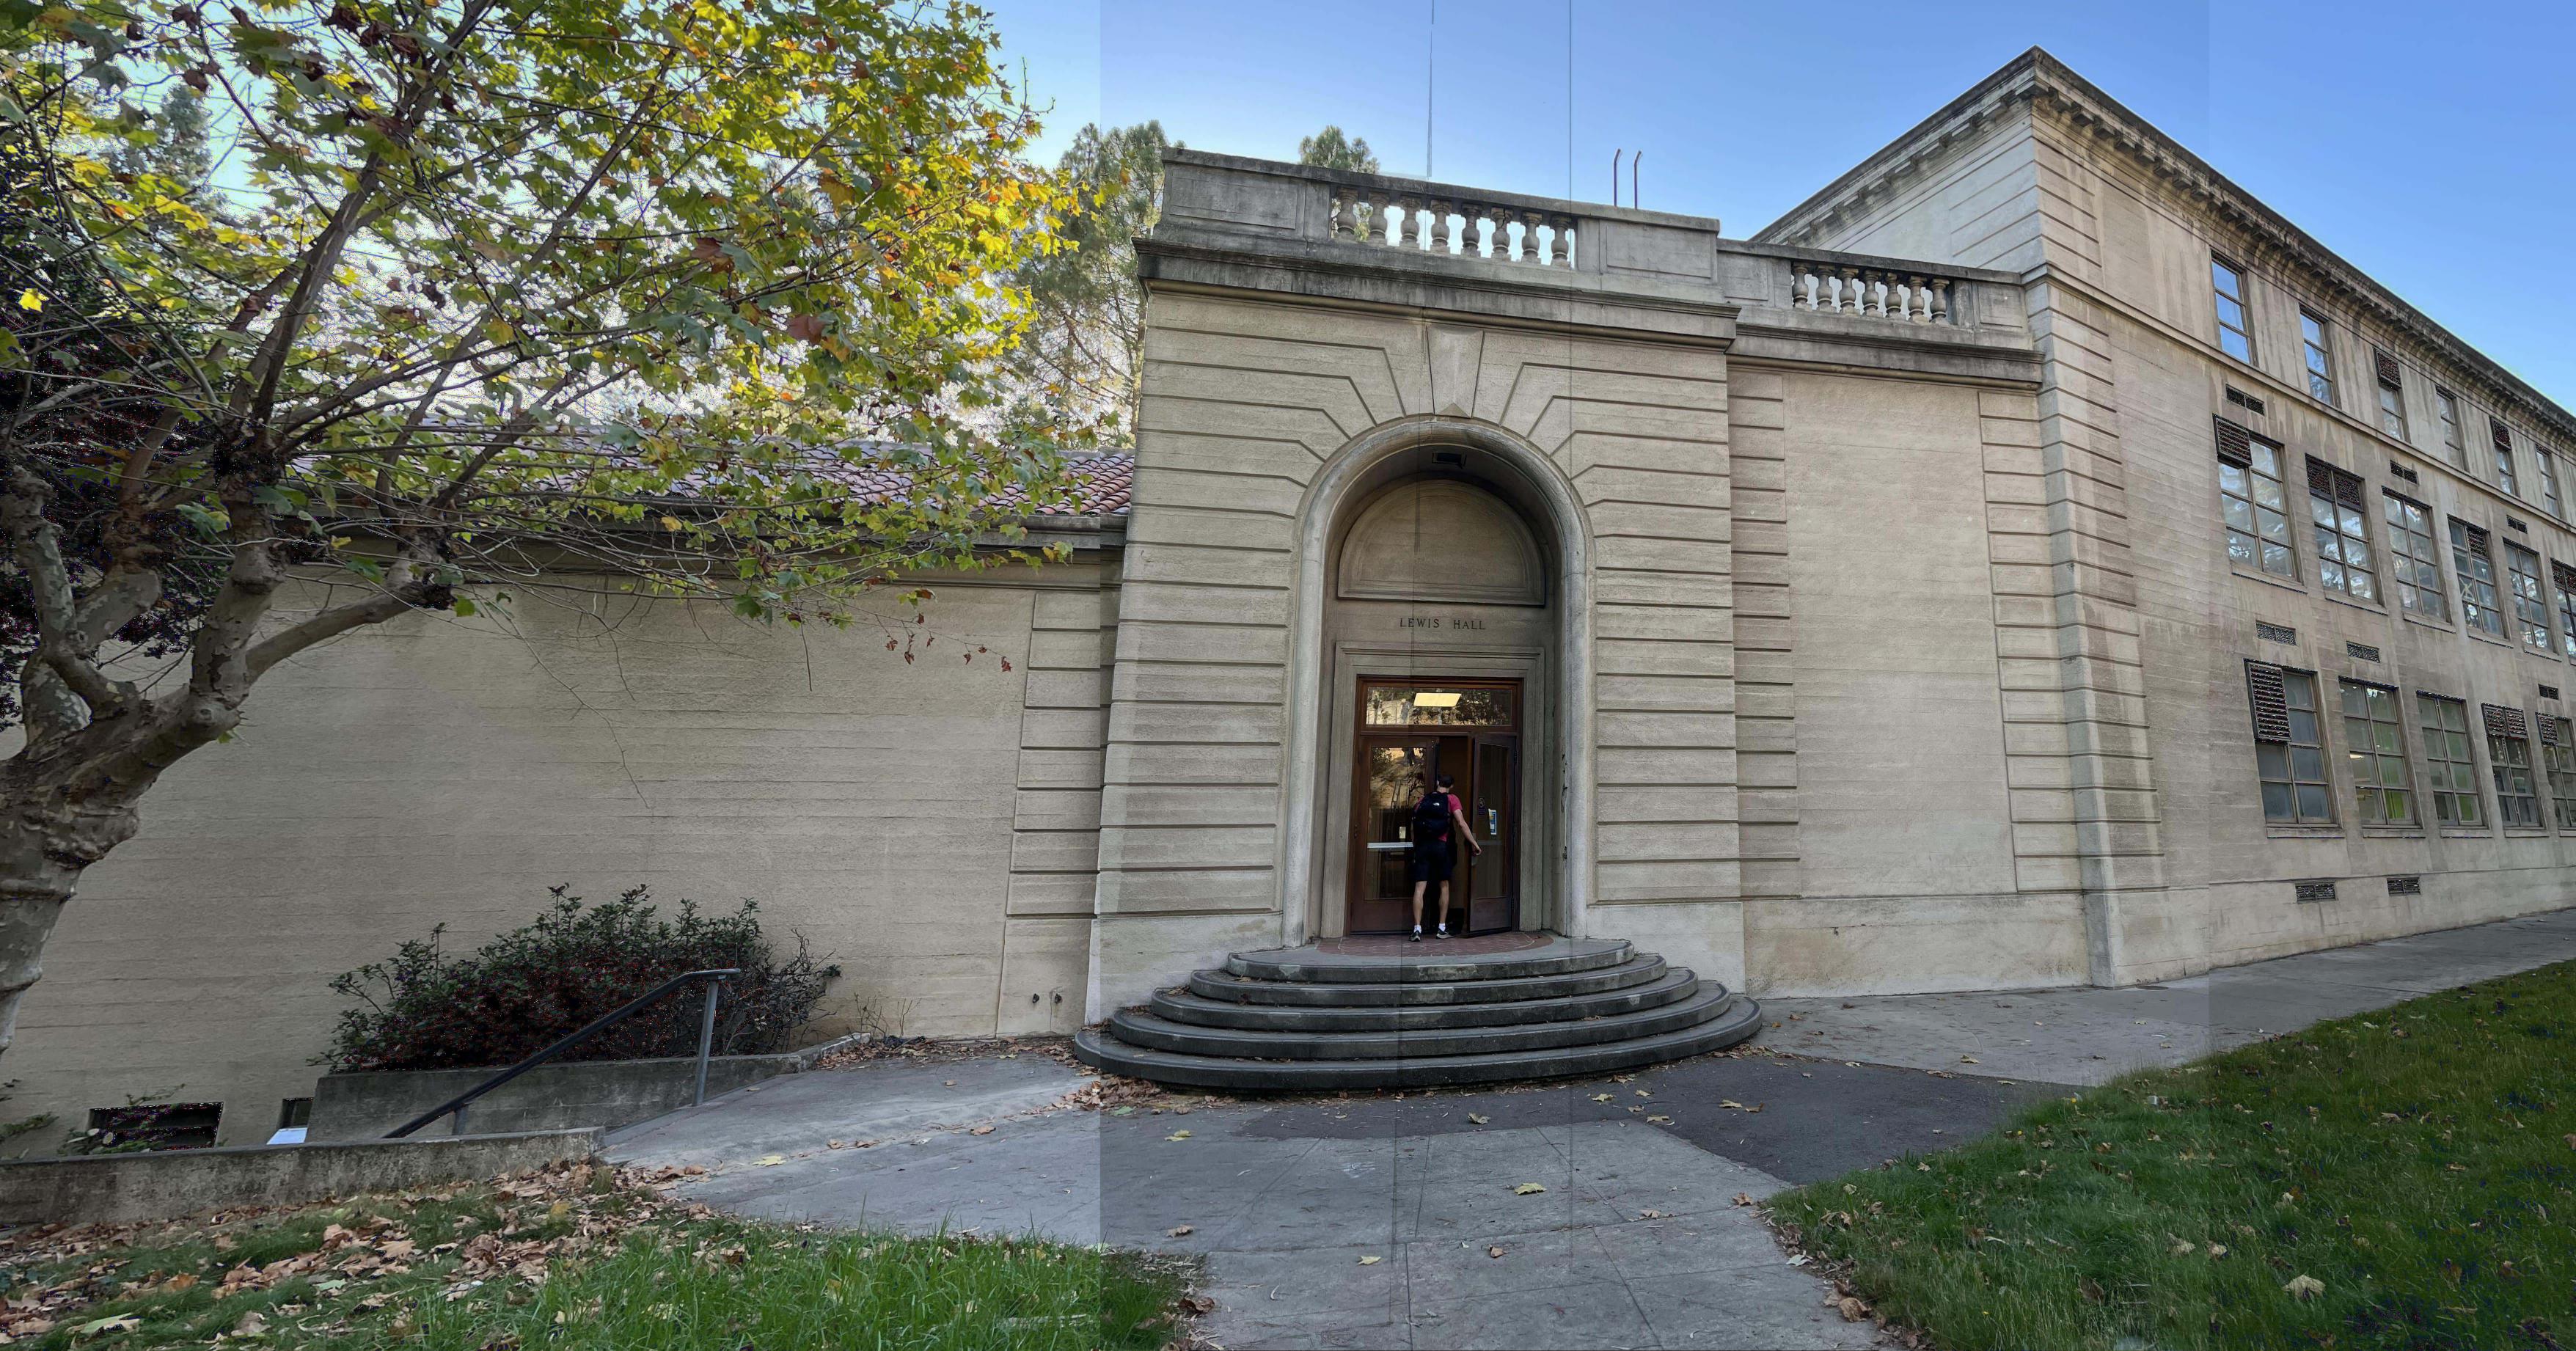
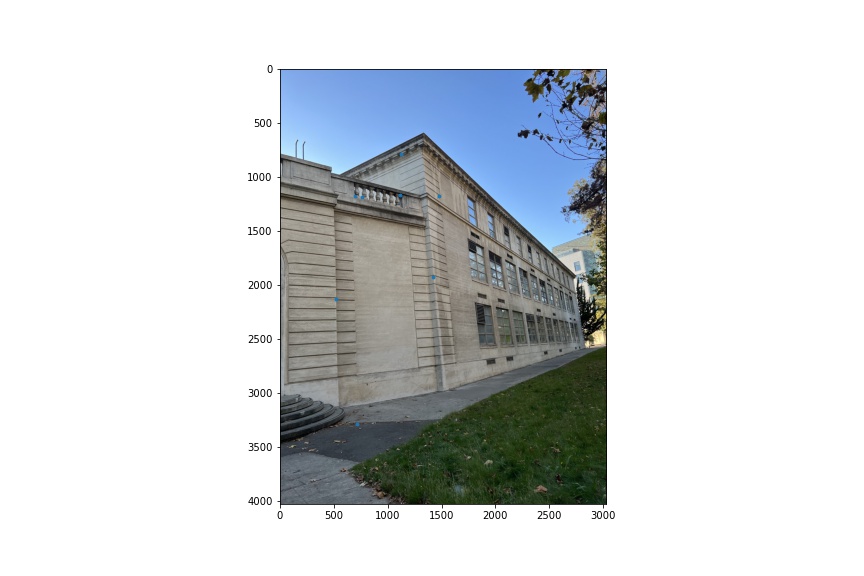
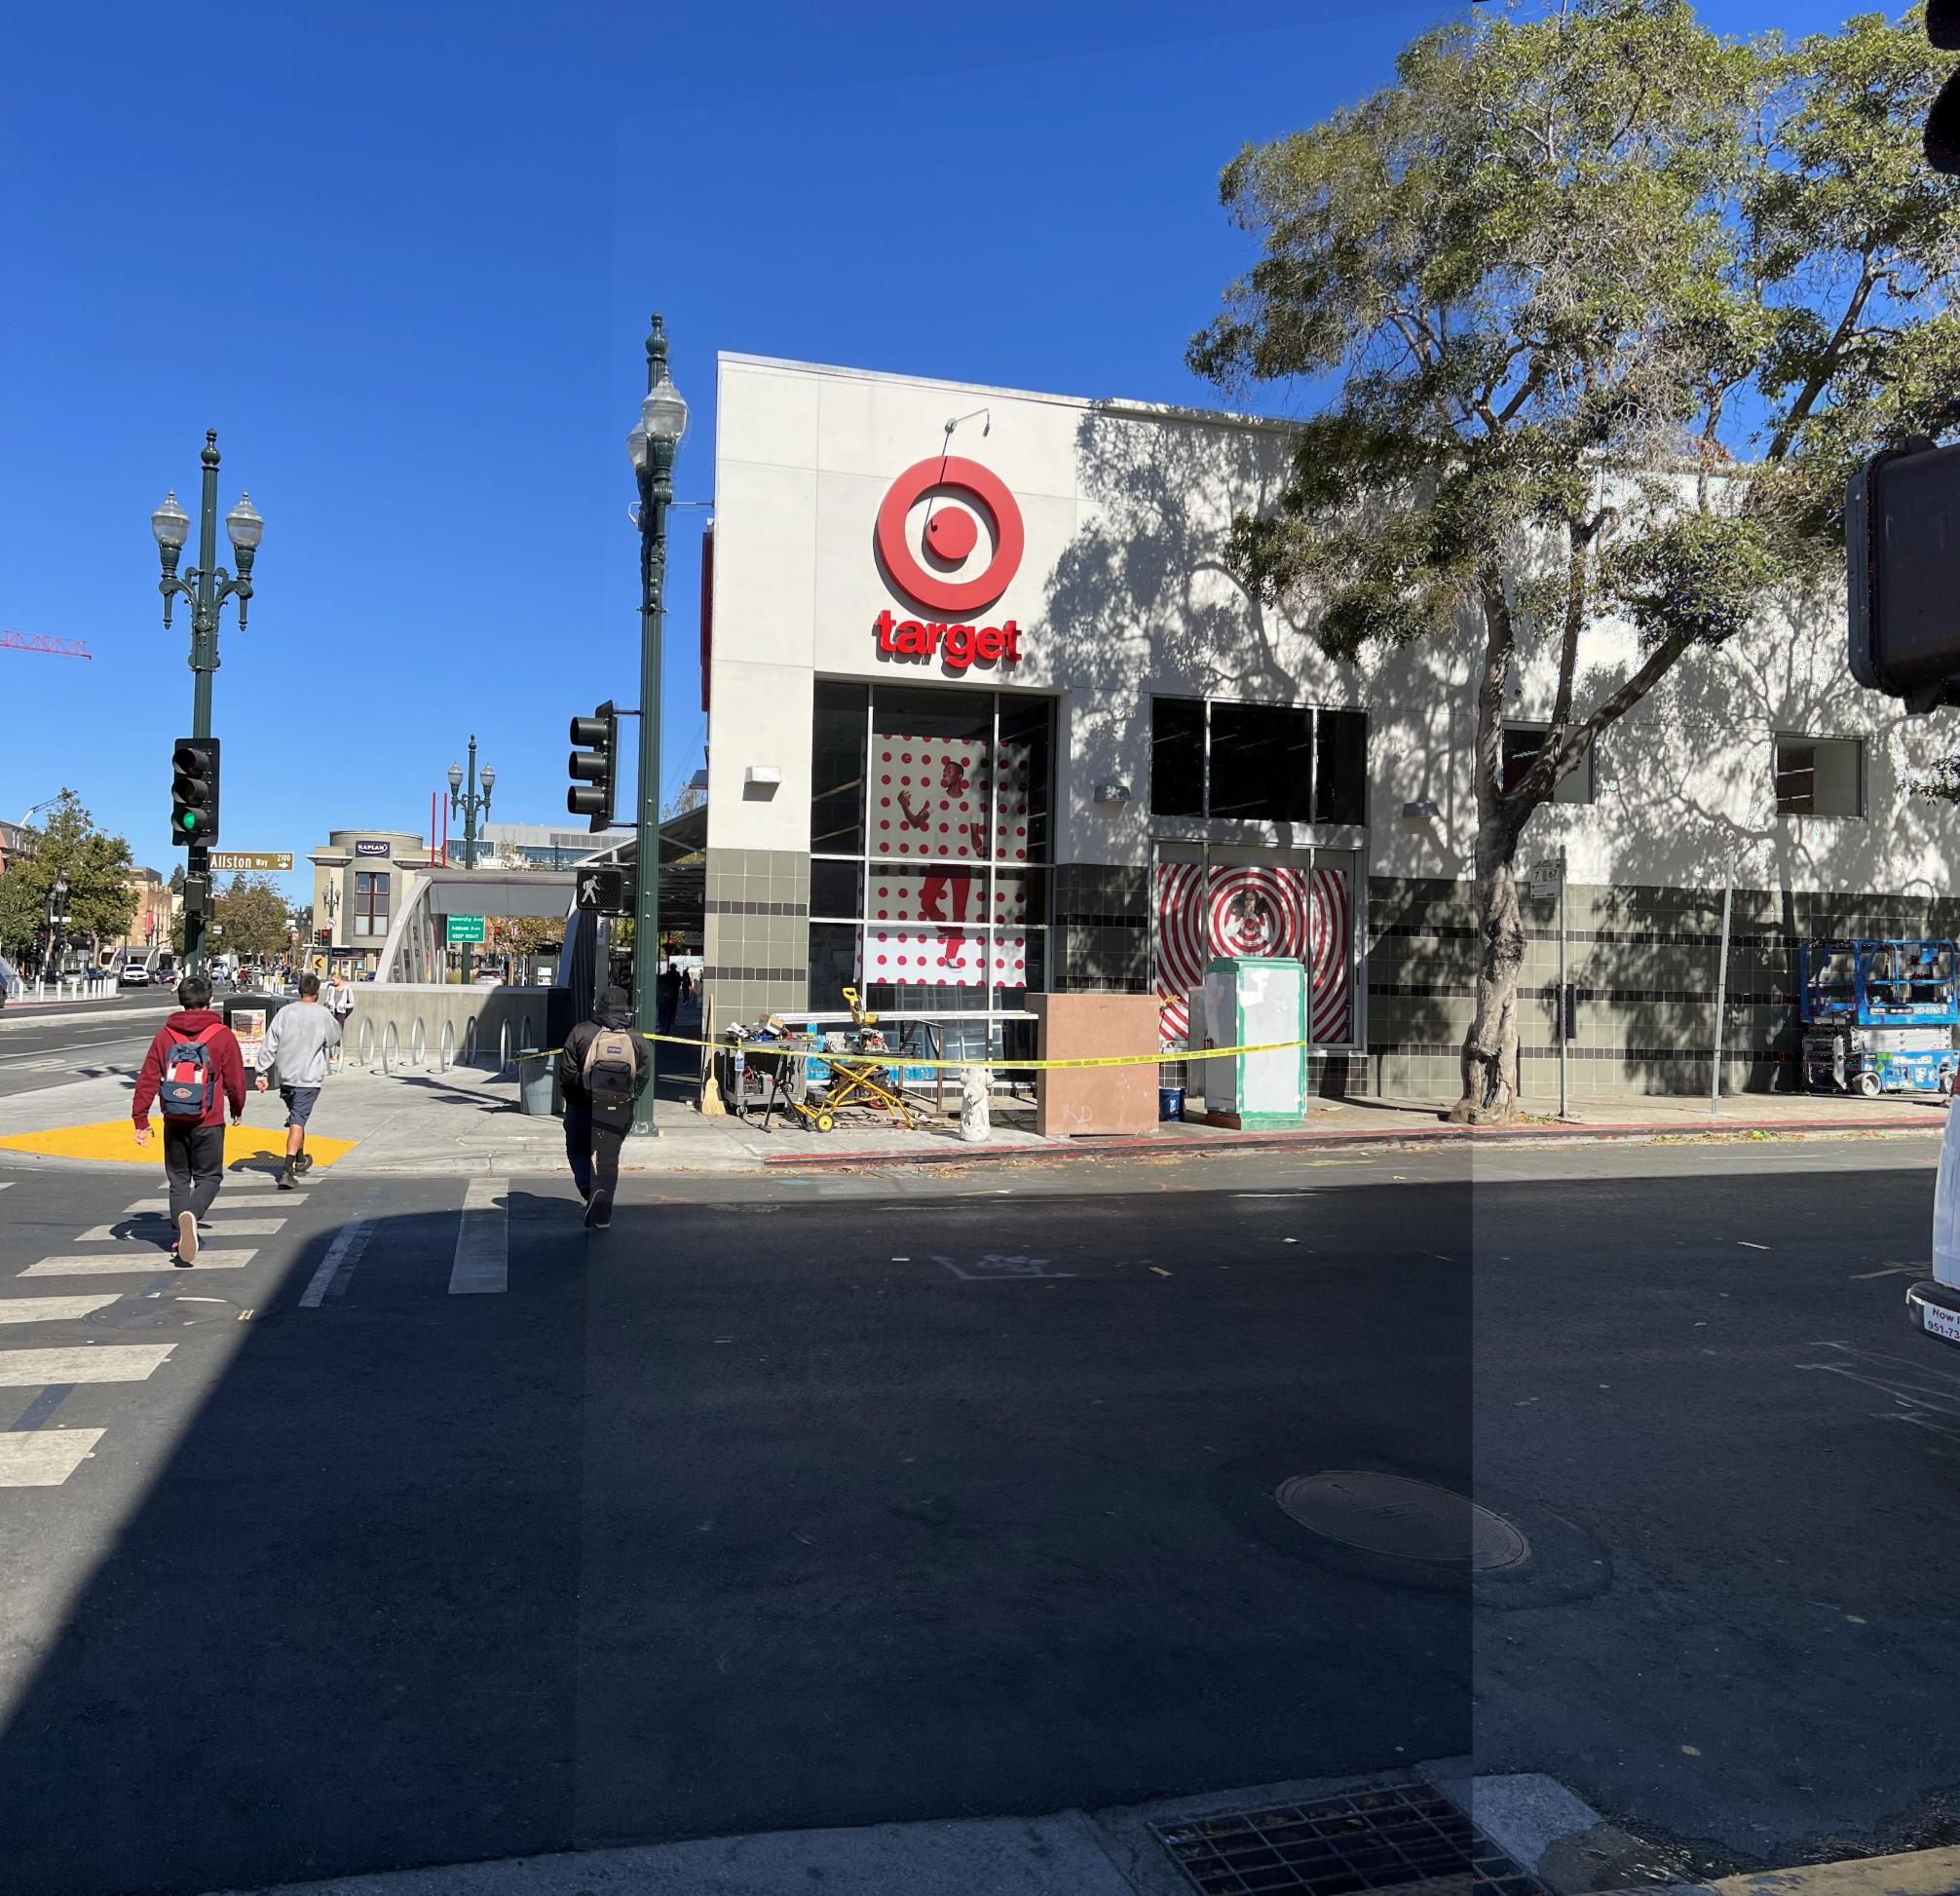
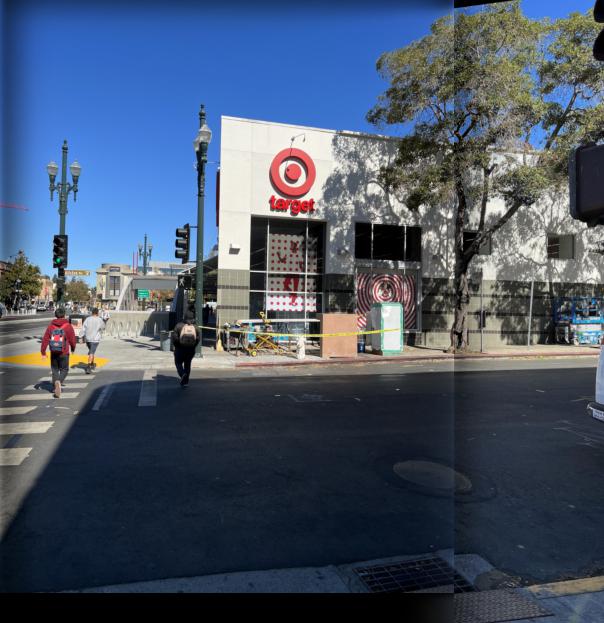
For the series of pictures used, I shoot them from the same point of view but with different view directions. Also, I make the overlapping region of the two pictures reasonable (50%). Below is an example. I will show you more in the further sections.
To perform the transformation between two pairs of images, I need to find out the transformation matrix, namely the homography matrix (H). It is a 3x3 matrix with 8 degrees of freedom (lower right corner is a scaling factor and is set to 1). To recover the matix, I need to define the corresponding points on the two images, and I need at least four points. To reduce the noise, I pick eight corresponding points and solve for the matrix using least squares technique. Below is the linear system I set up to solve for H ((x, y) are the source points and (x_hat, y_hat) are the destination points. h_33 is set to 1).

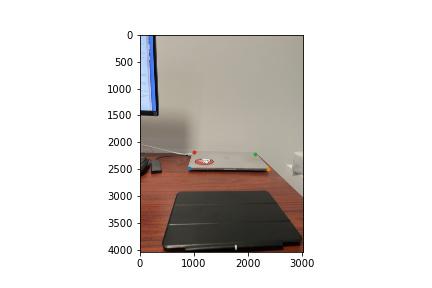
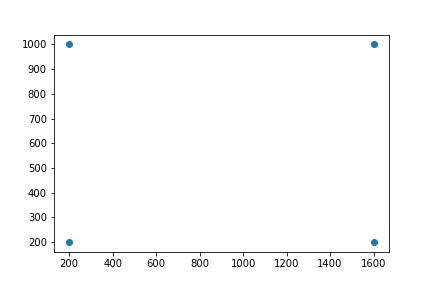
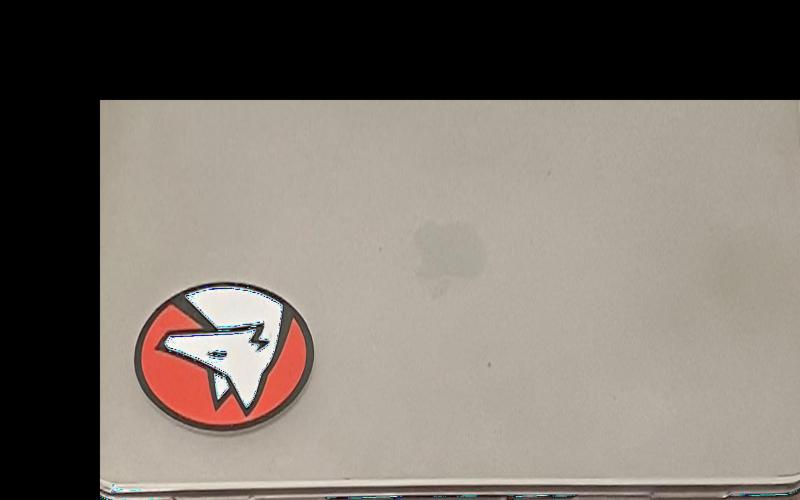
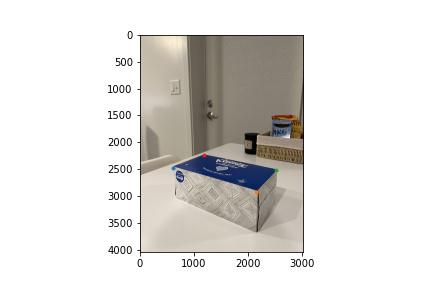
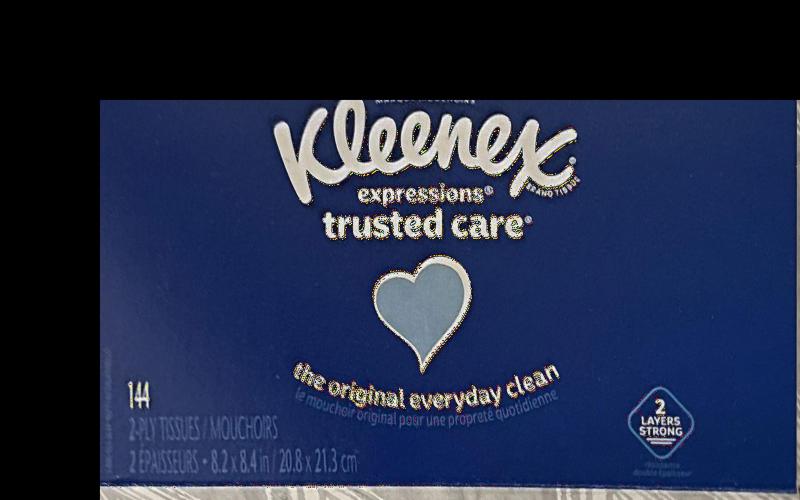
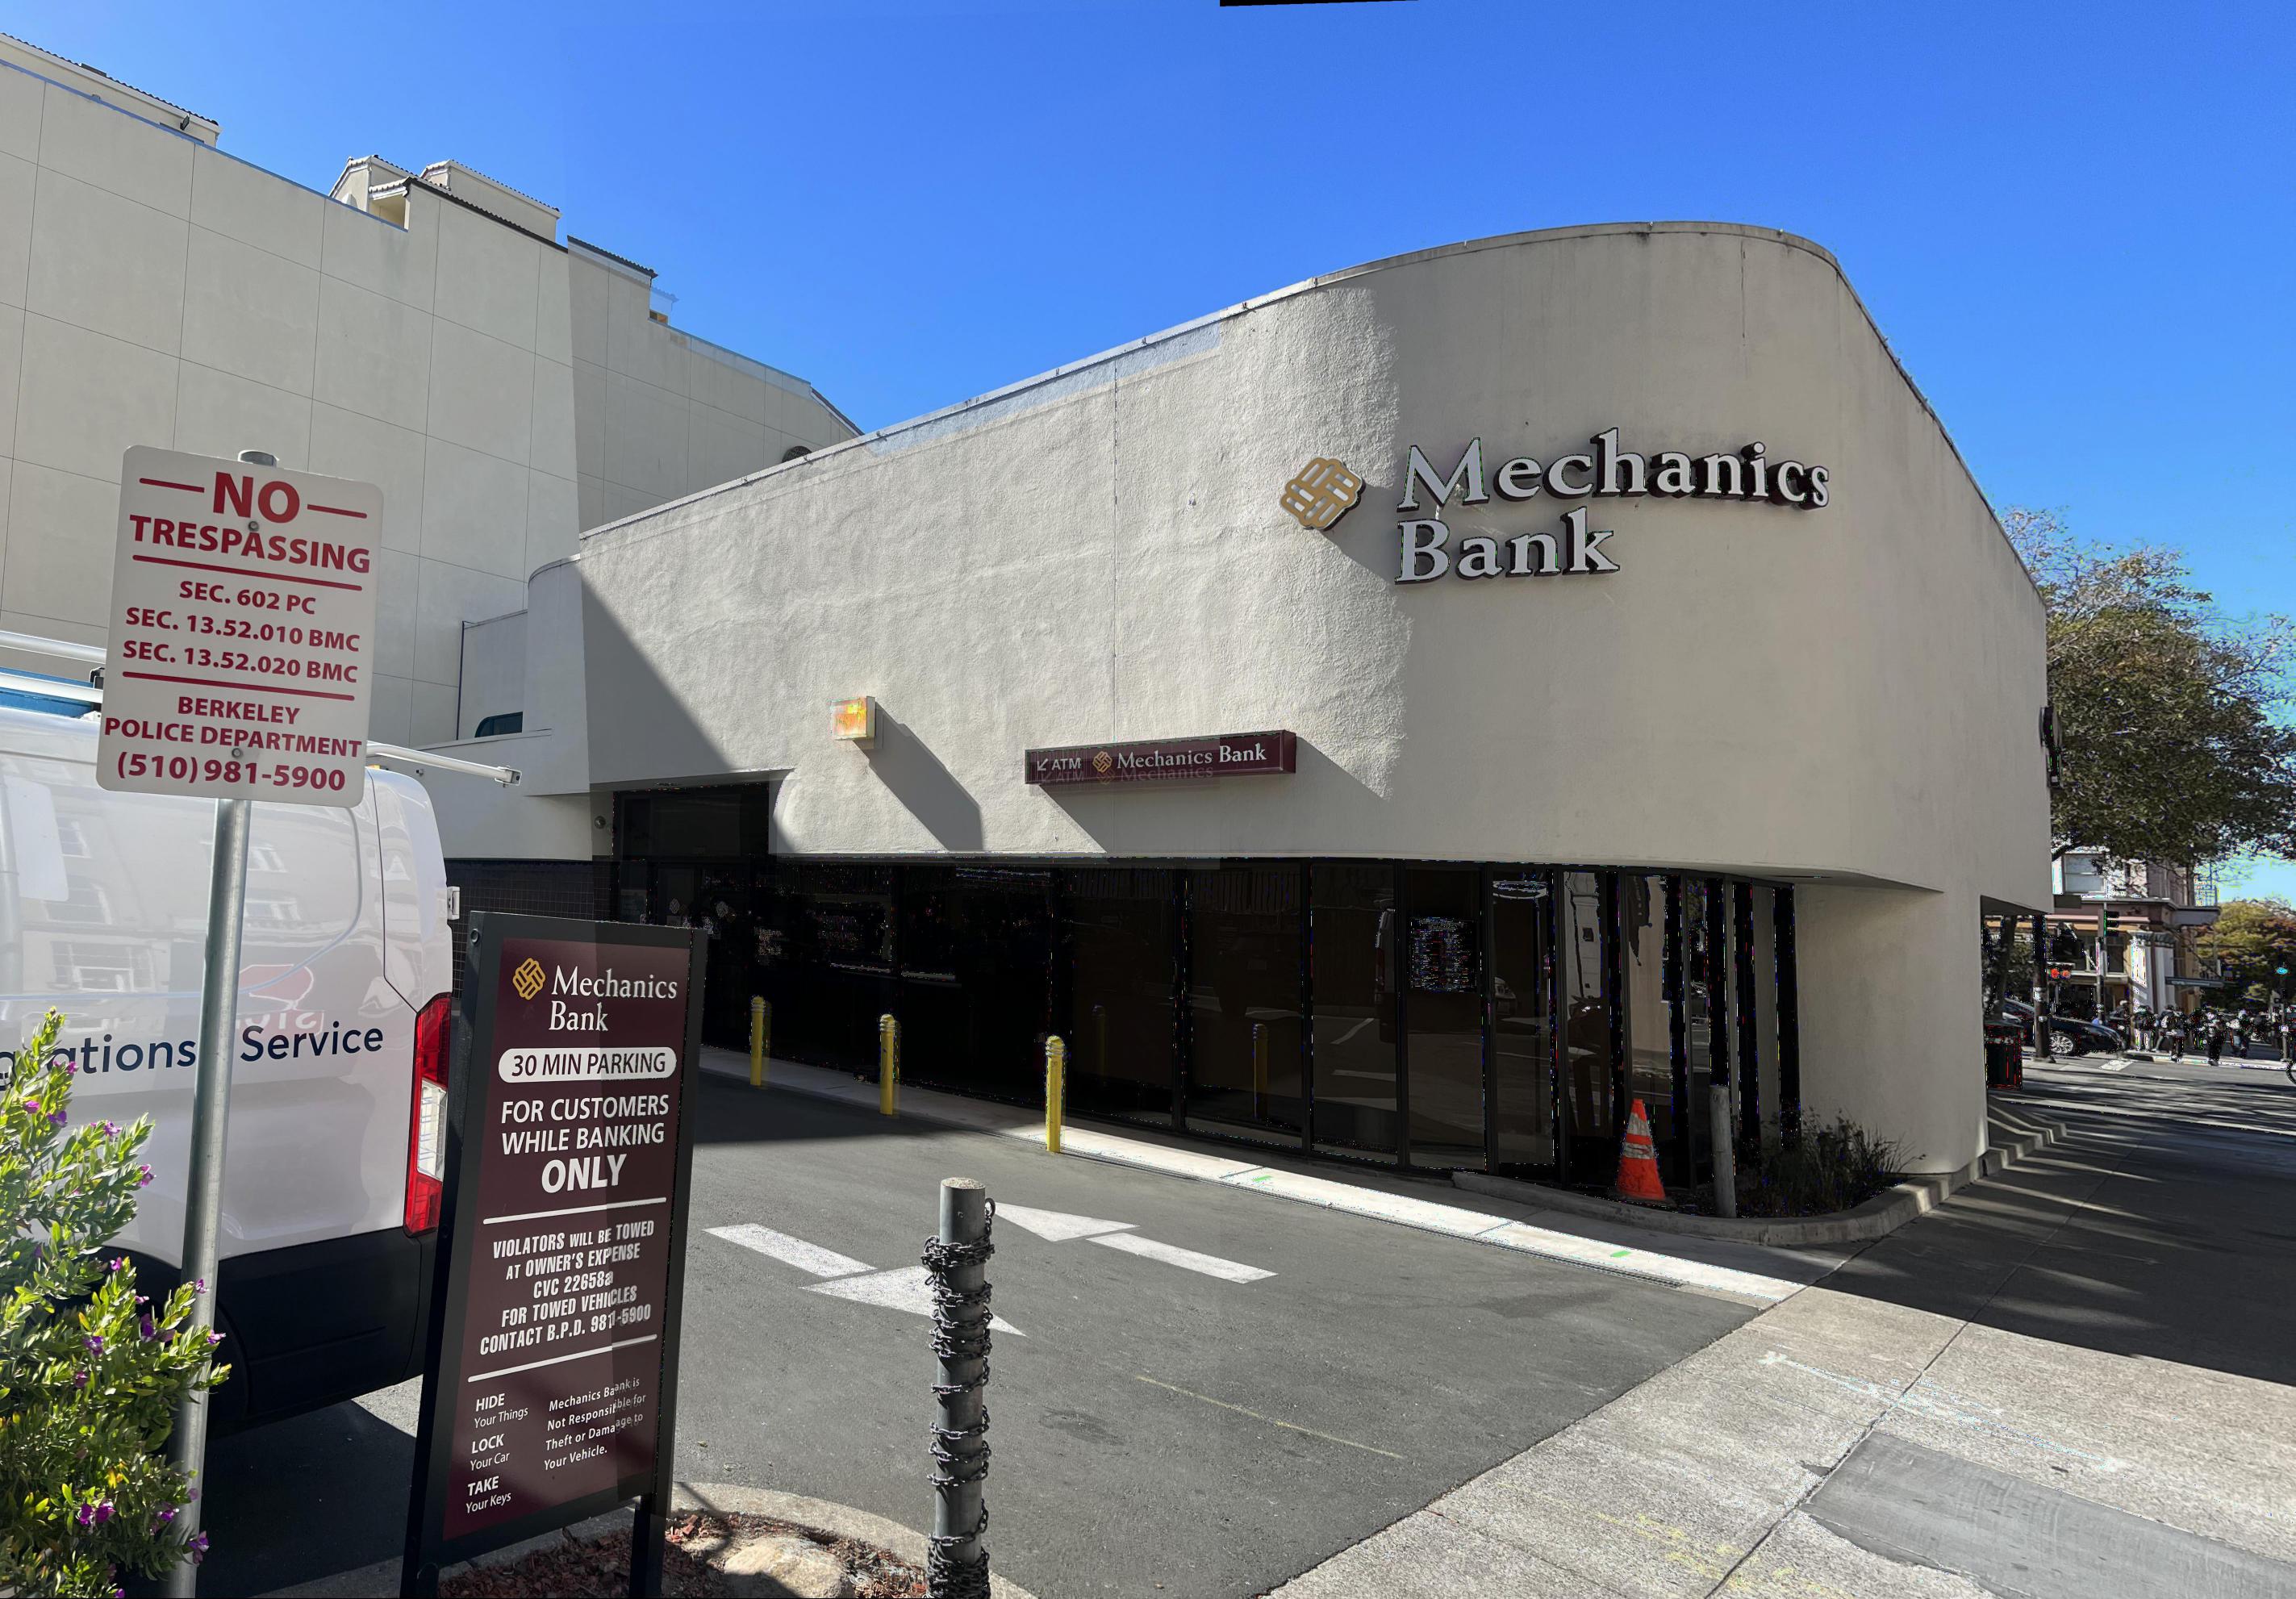
Using the homography, I can rectify images. I draw the corners of the item that I want to rectify and define the corners of the warped shape by hand. Both of the items I want to rectify are rectangular, so I define the final shape to be rectangles. Below is the result.
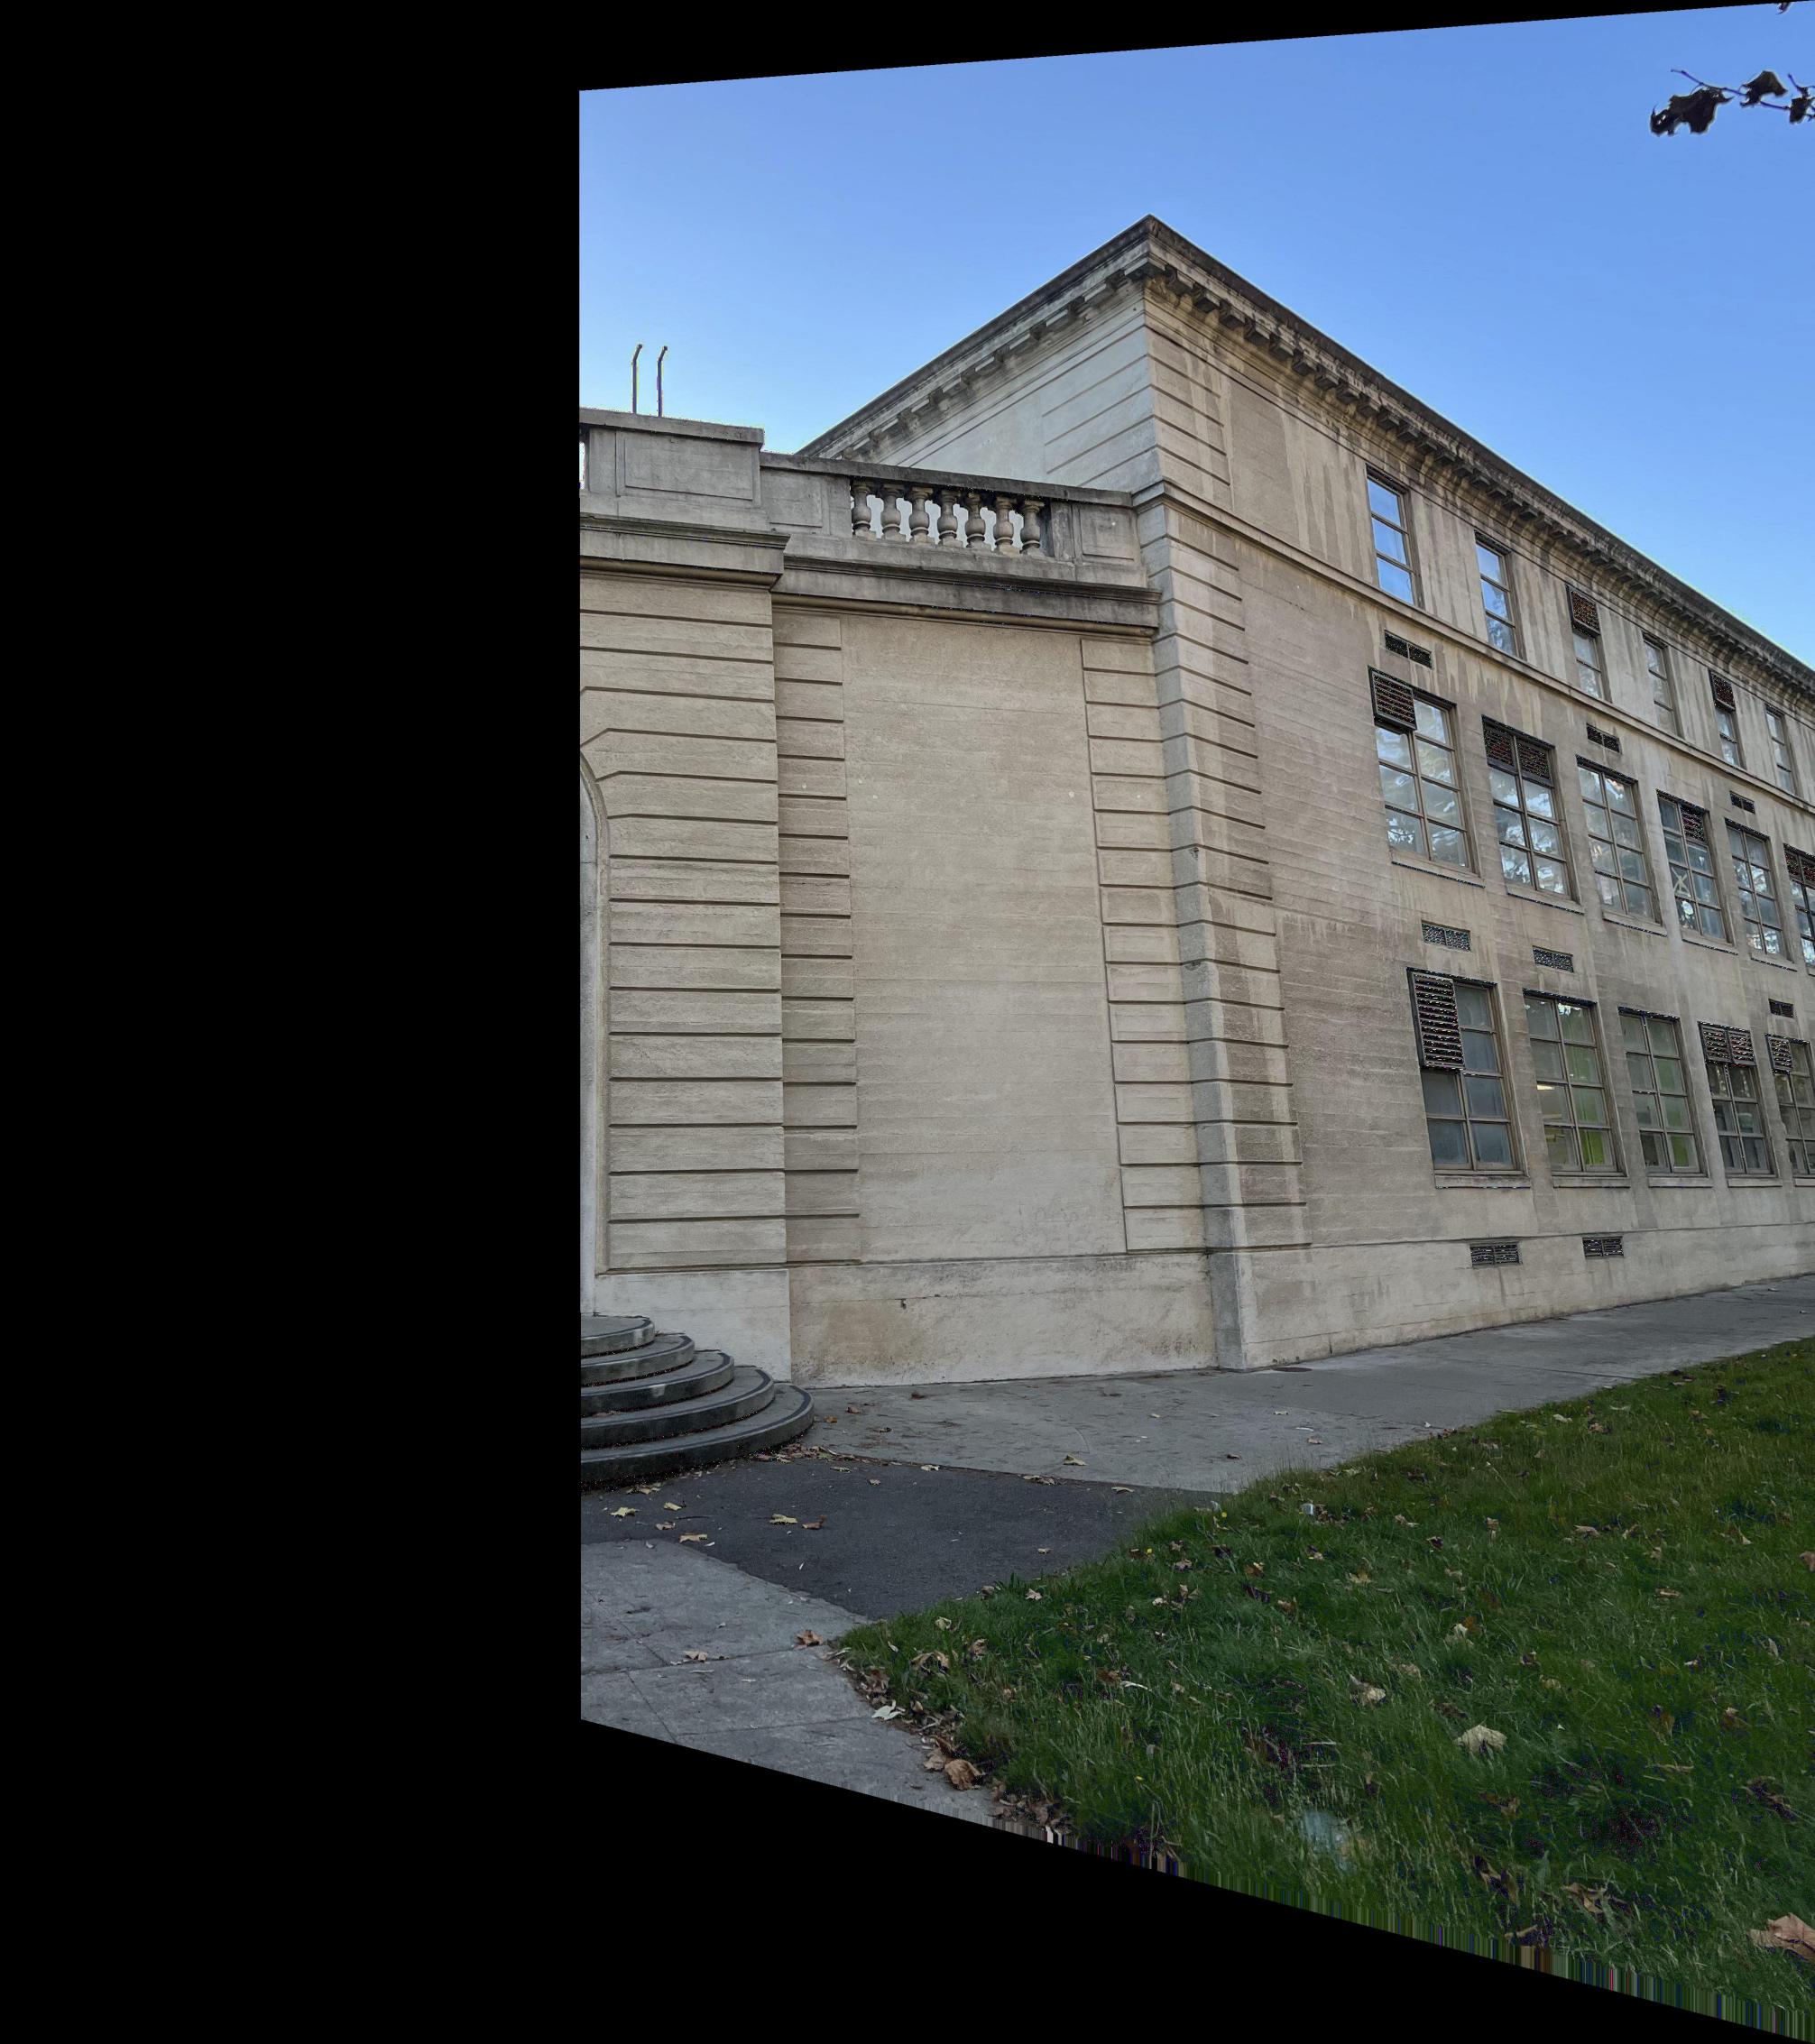
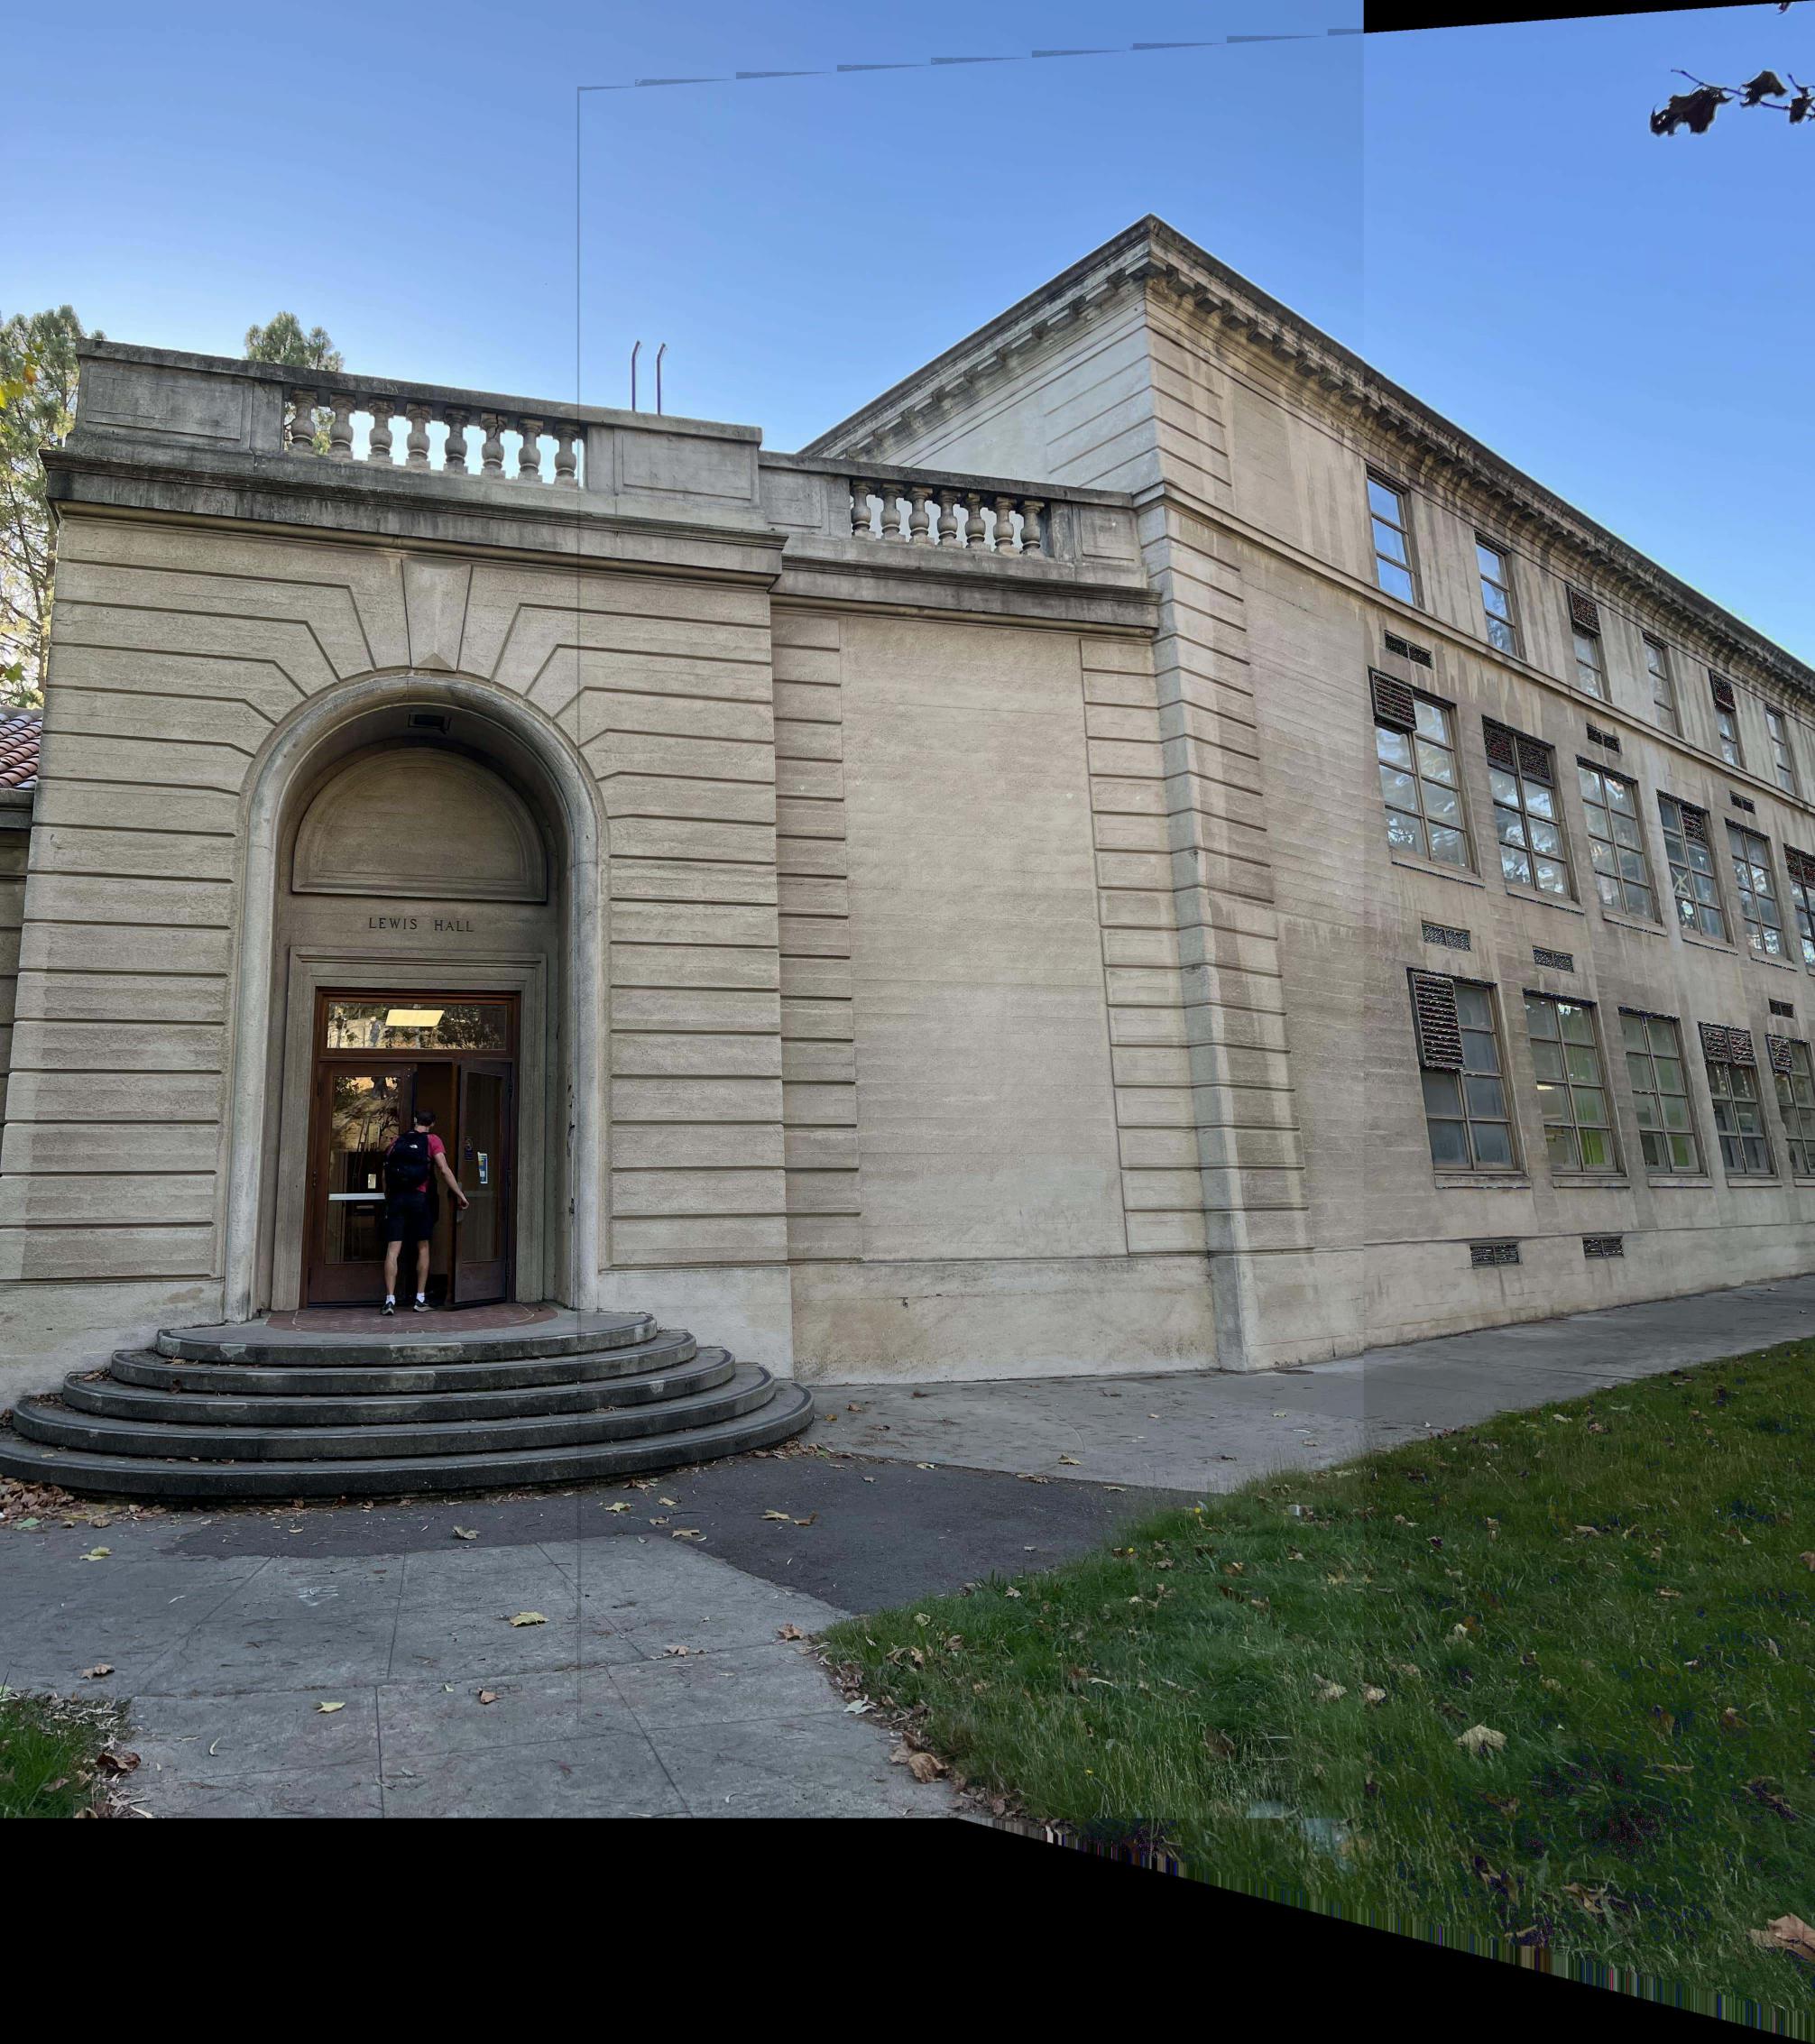
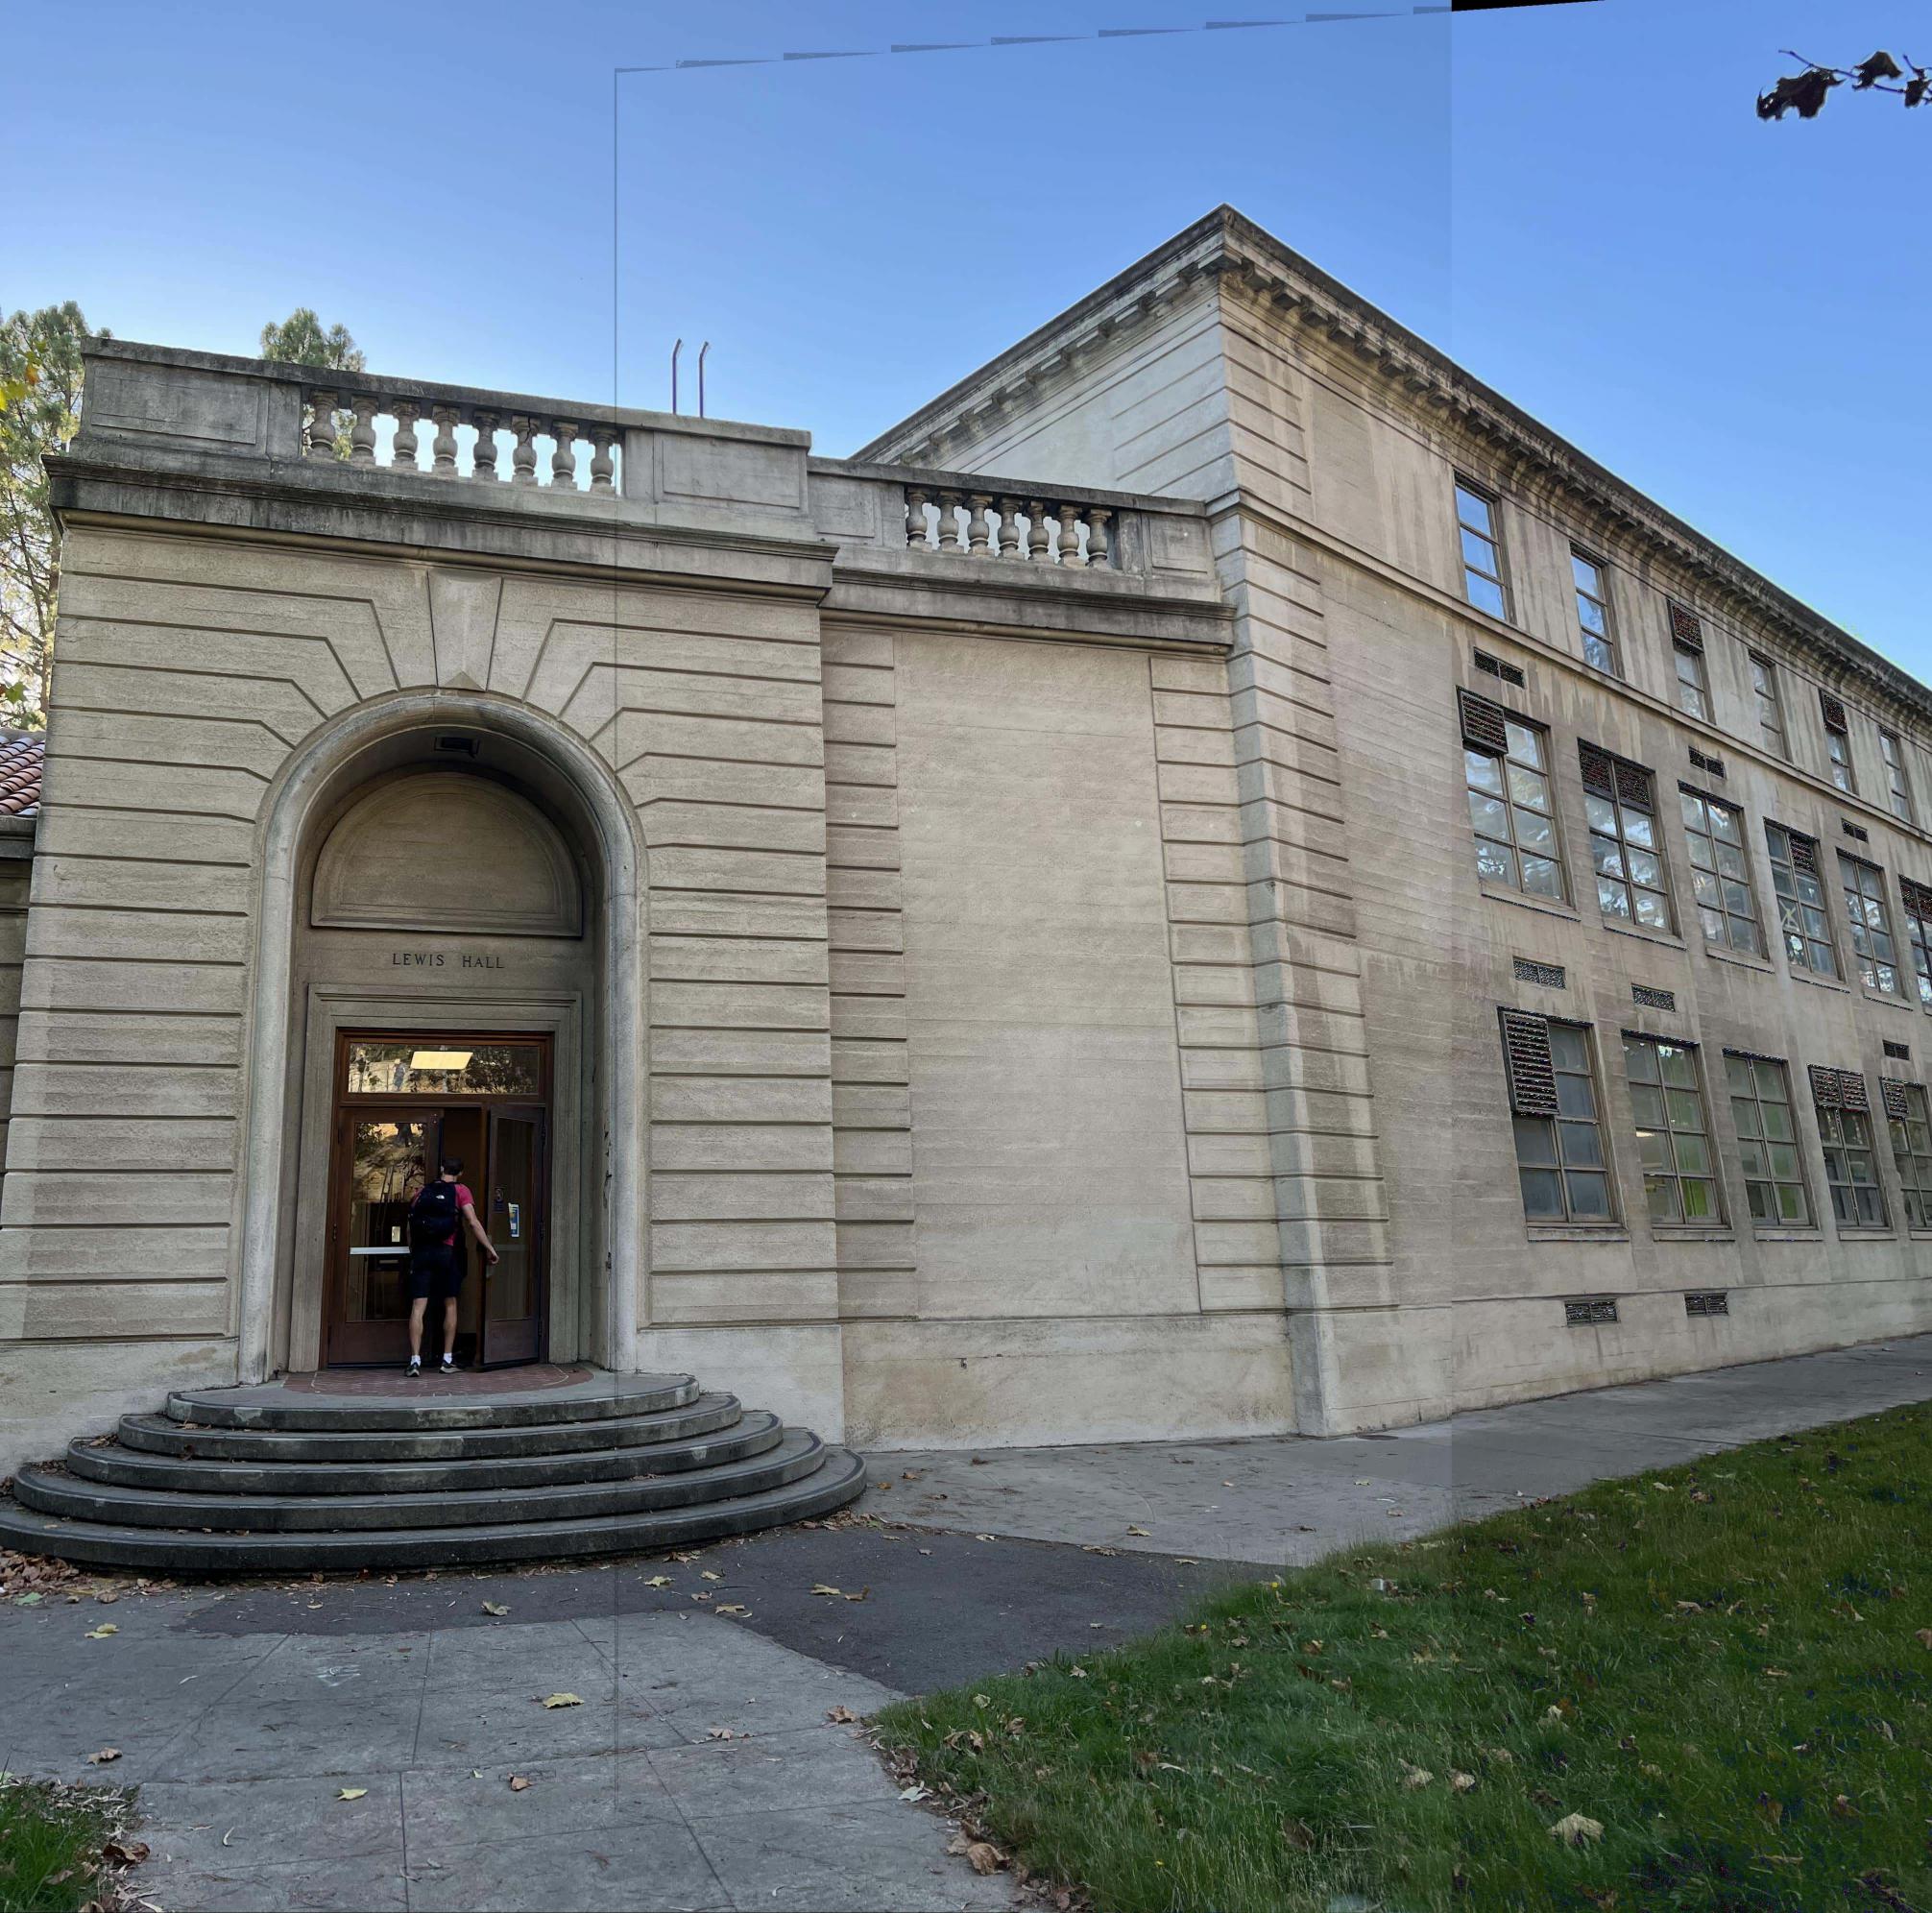
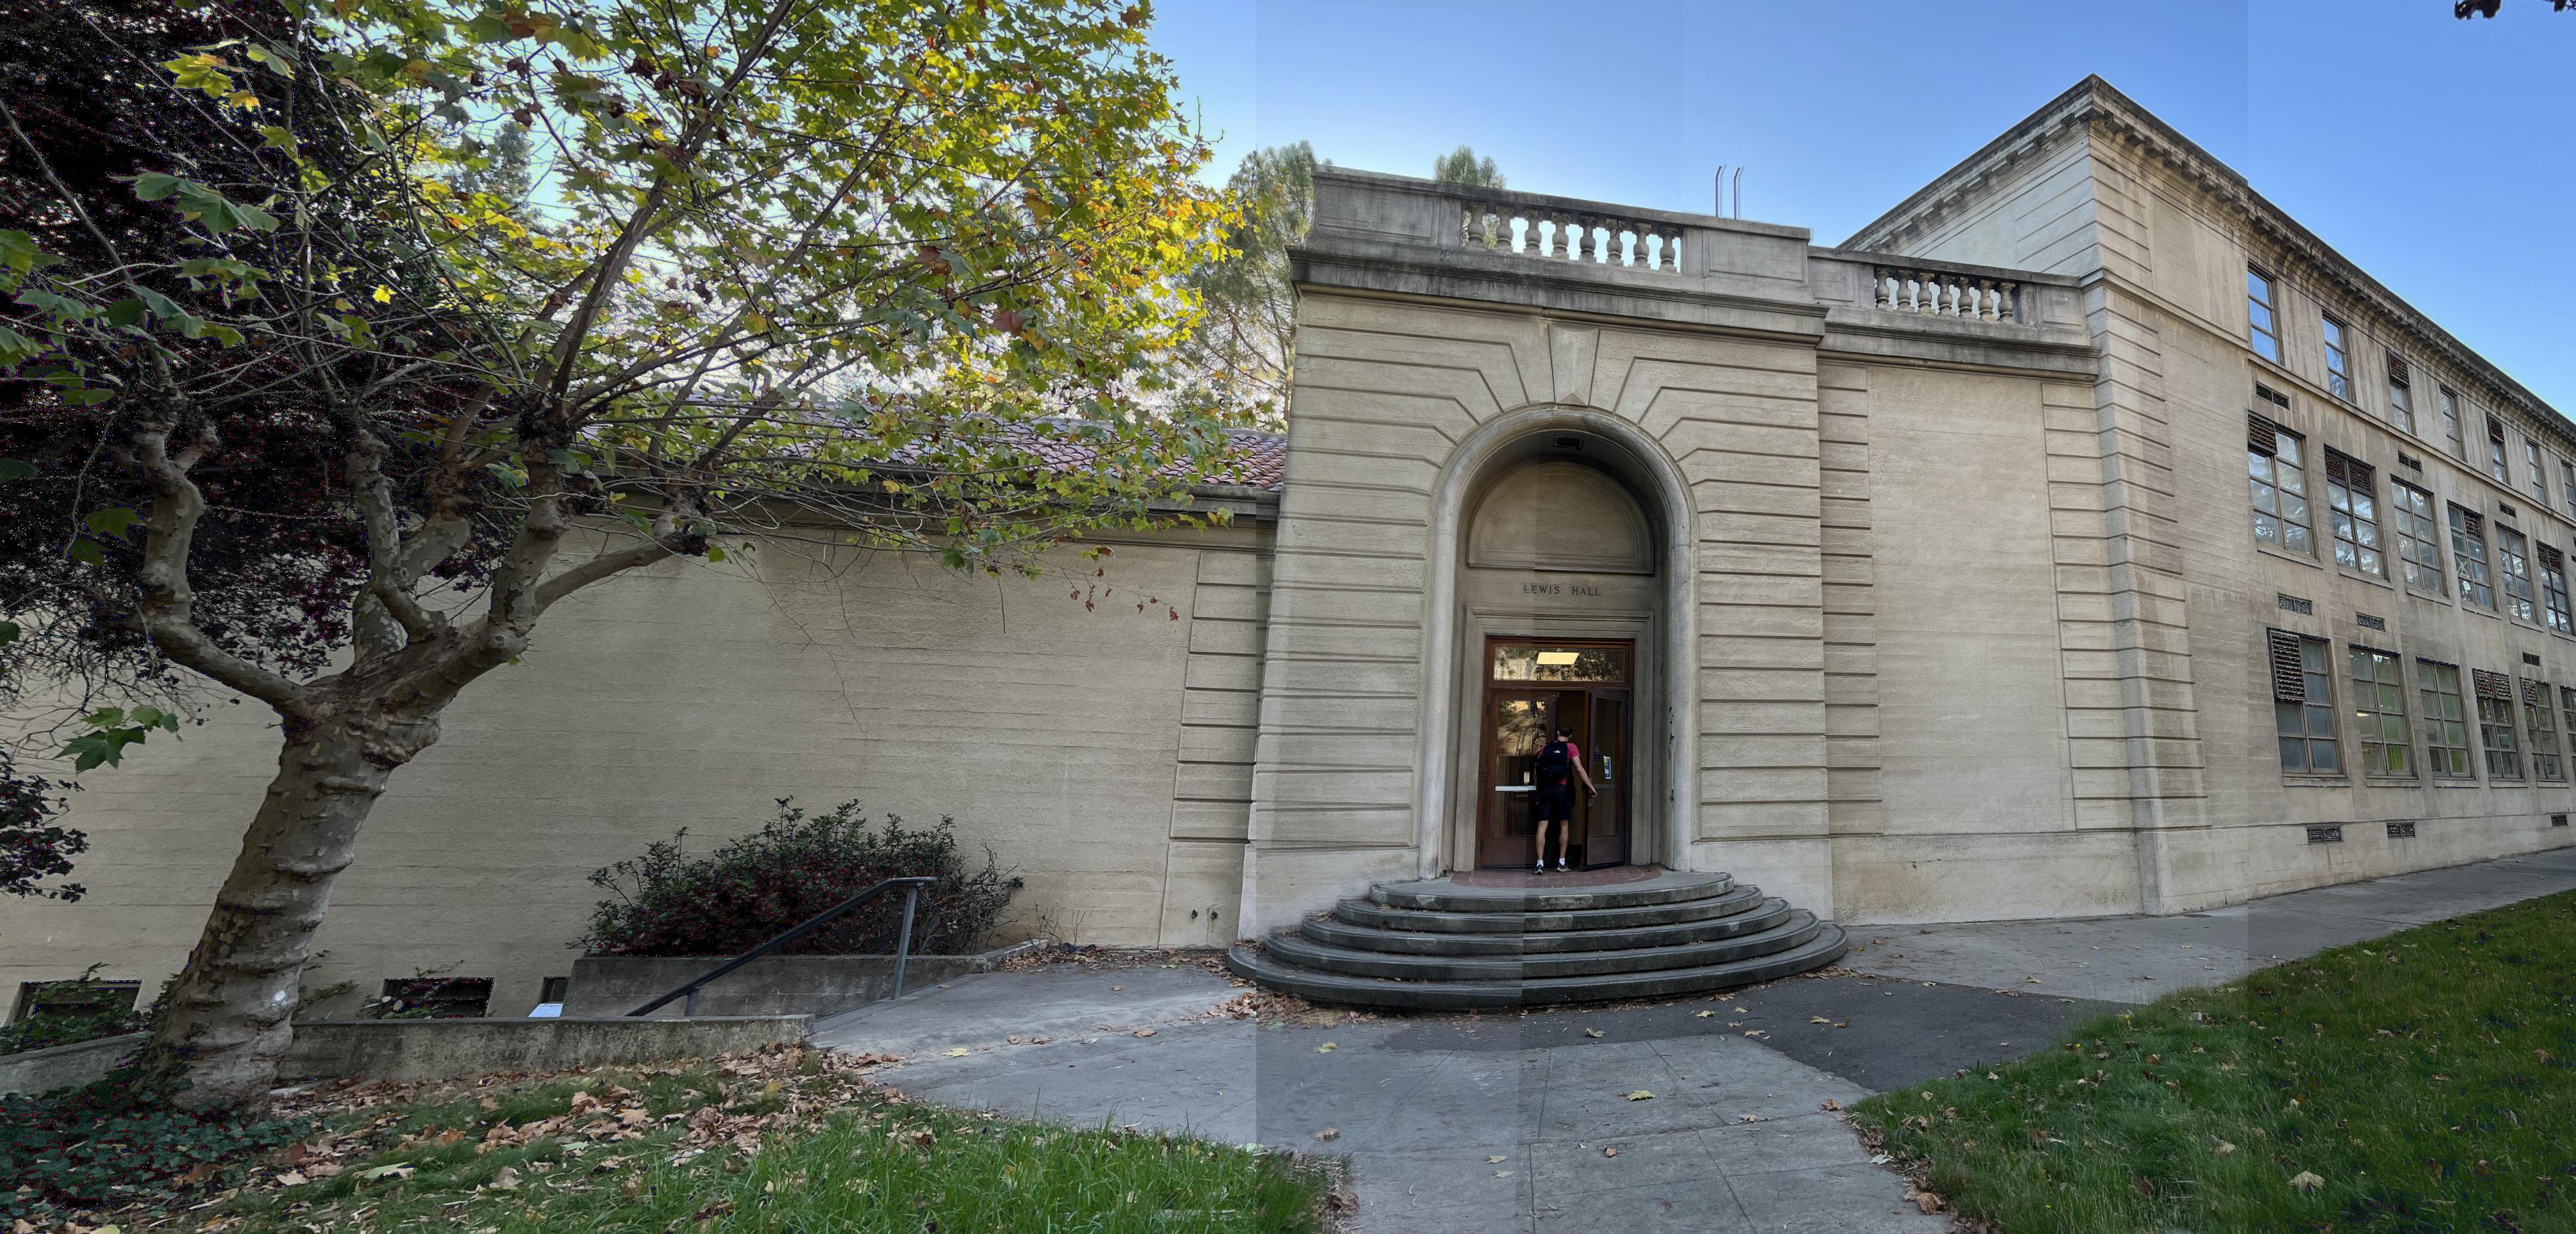
Using the same technique, I can blend the images into a mosaic. First, I draw the corresponding points on two pairs of images, then I calculate the transformation matrix H. I leave one image still and the other one warped towards it. When it comes to combining the two images, I calculate the overlapping region and do a weighted average on that region (the other region is kept untouched, copying the original color over). I set the weight alpha = 0.8 for the still image. Below is the result.


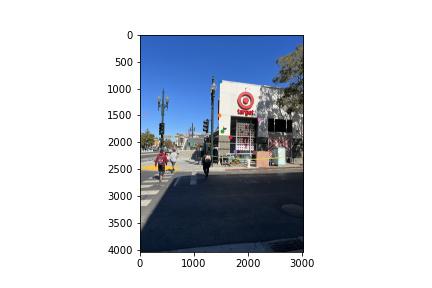


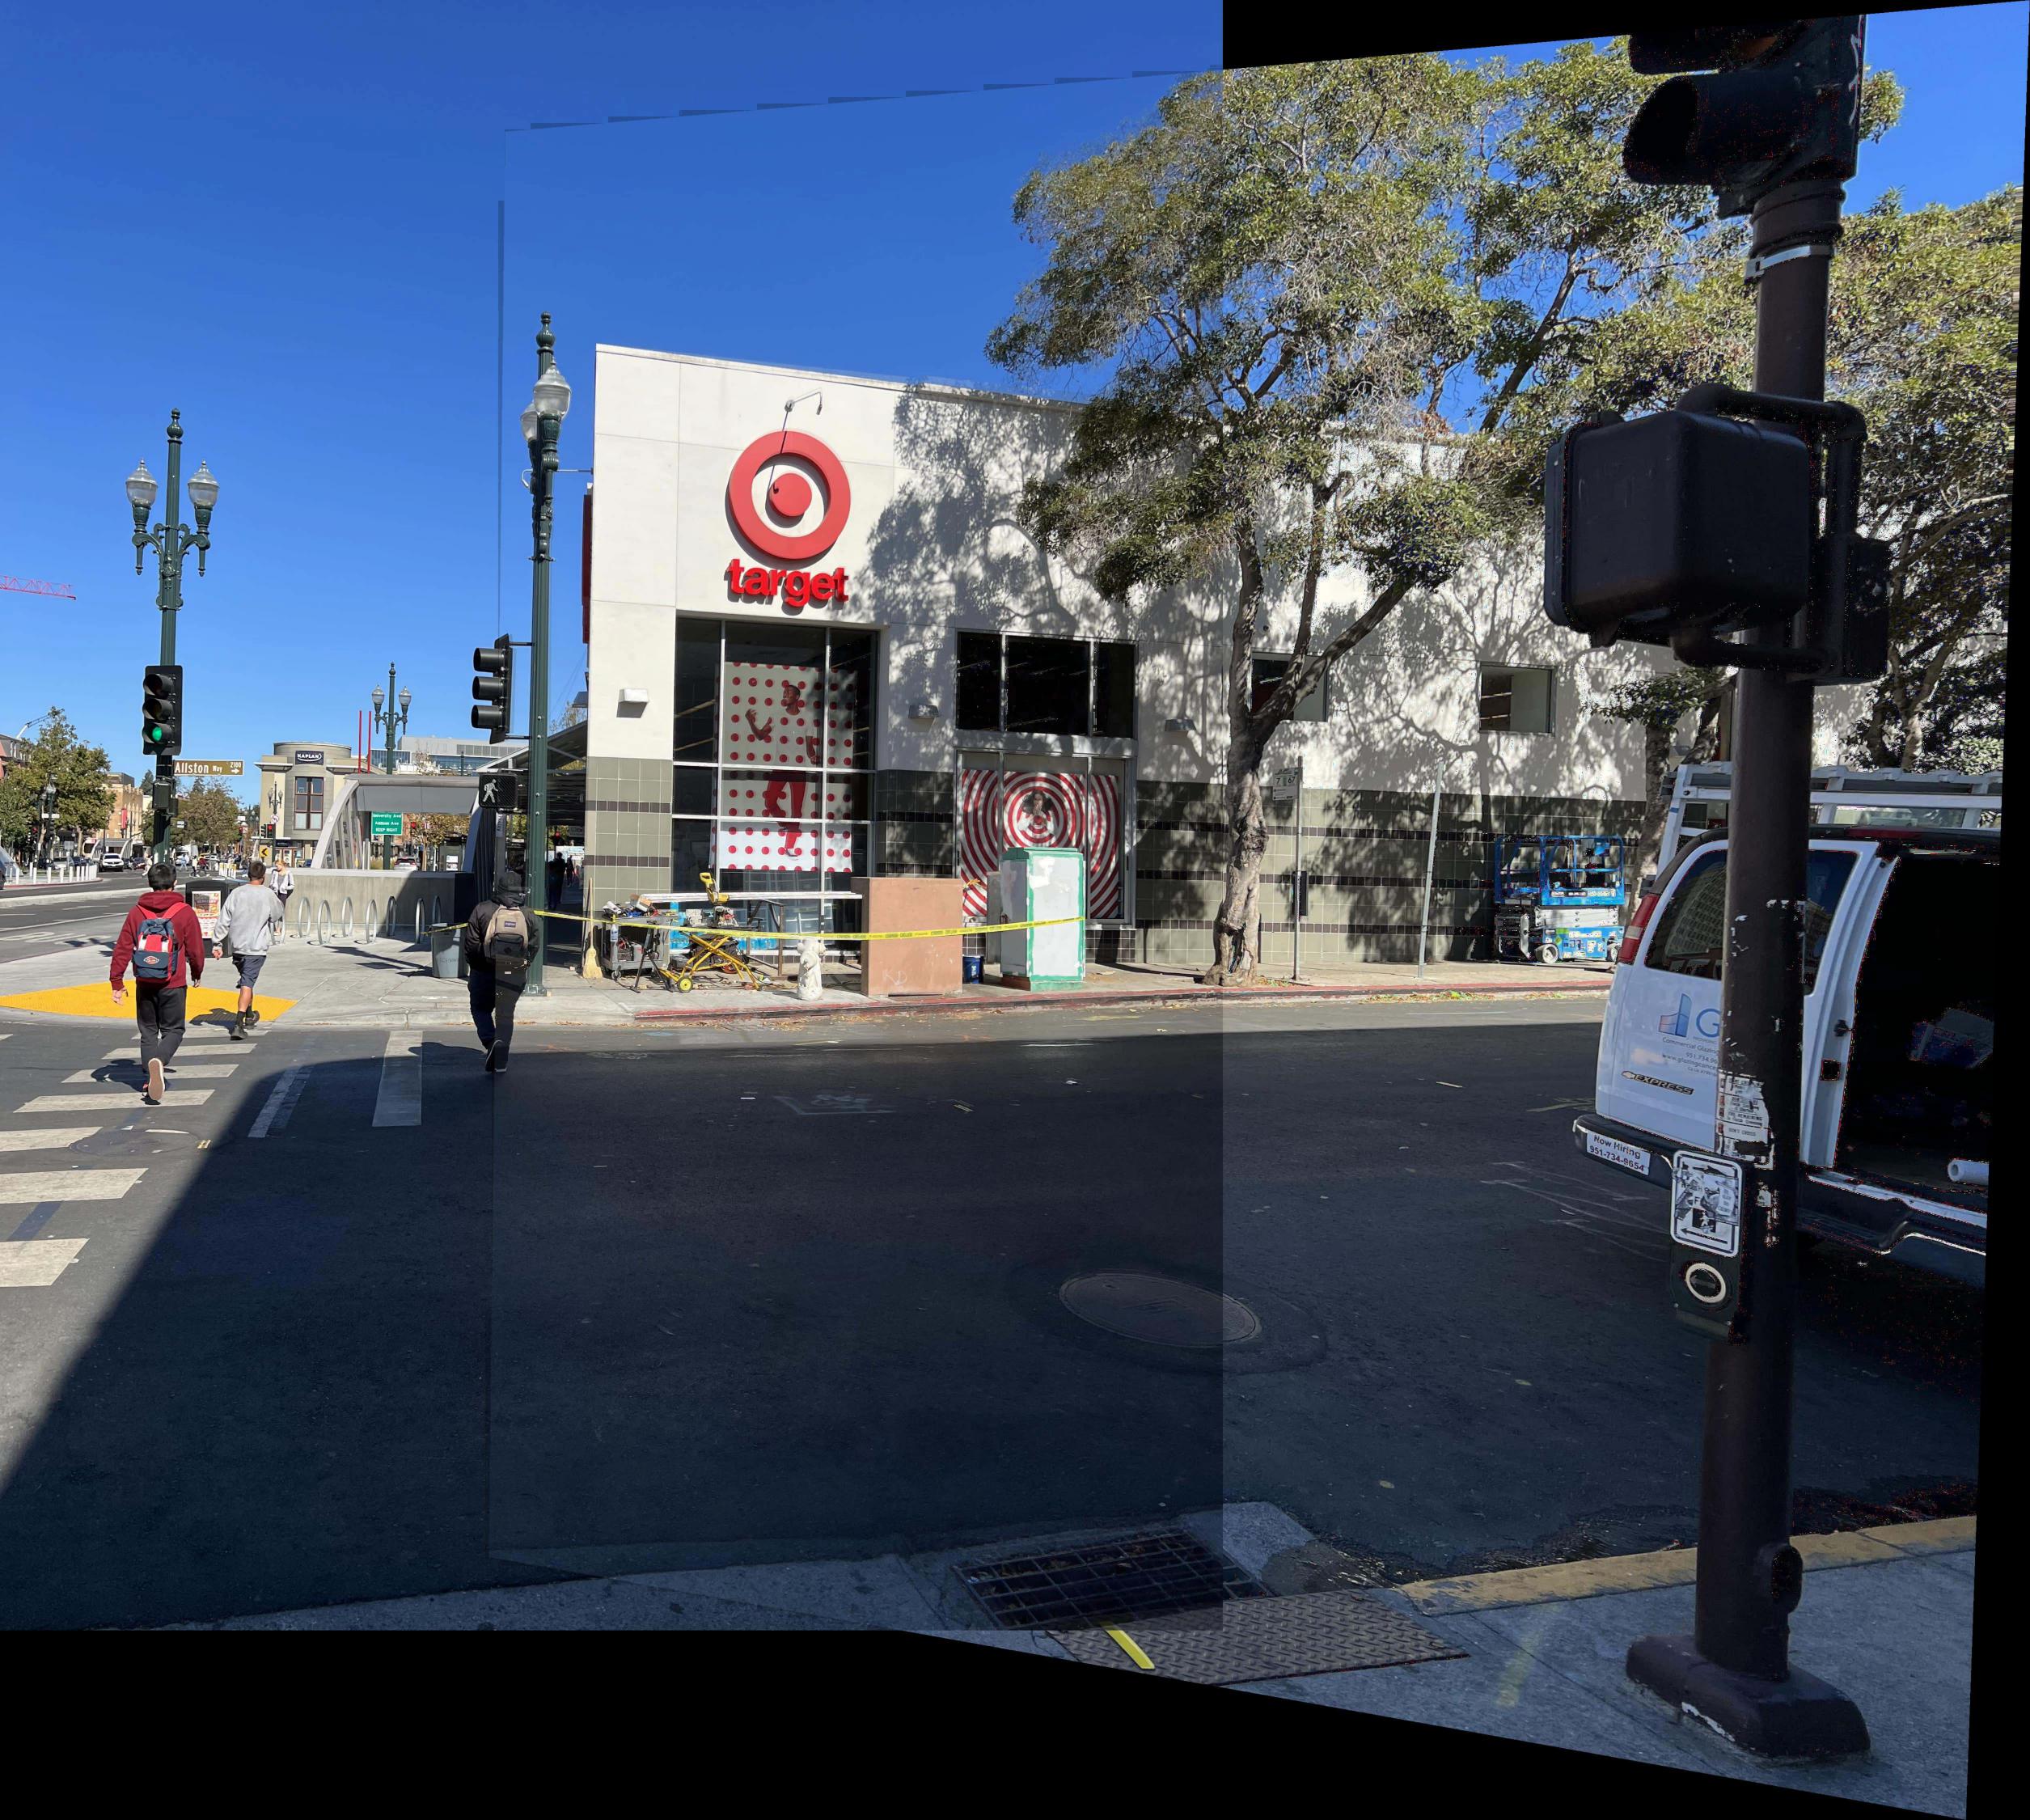
Finally, to stitch more (three) pictures together, I first blend two images together, and then I calculate the polygon boundary (mainly width) of the warped image (with color, not black) and shift the two-image mosaic to arrange their locations on the final scene. You can see below about how I do this procedure.


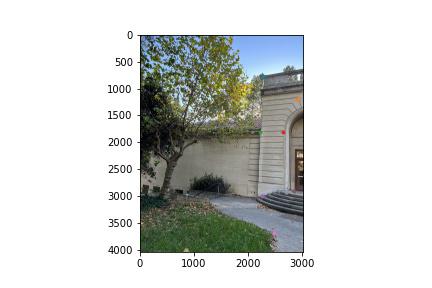
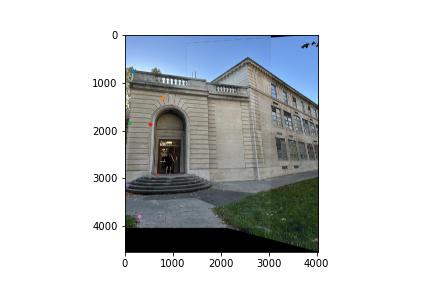
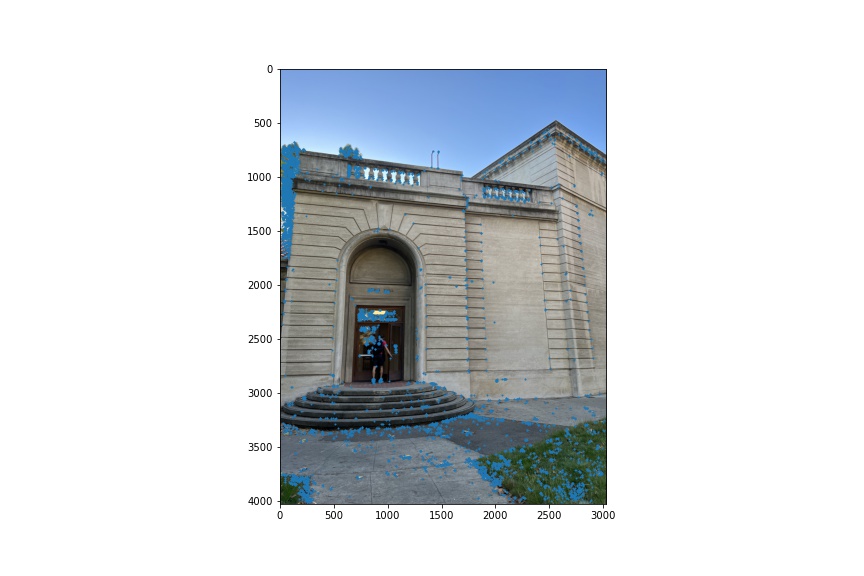
I first use Harris Interest Point Detector to do a single scale Harris corner detection. I use the package skimage.feature.corner_harris to do that. Below is the interest points laid on one of the images.
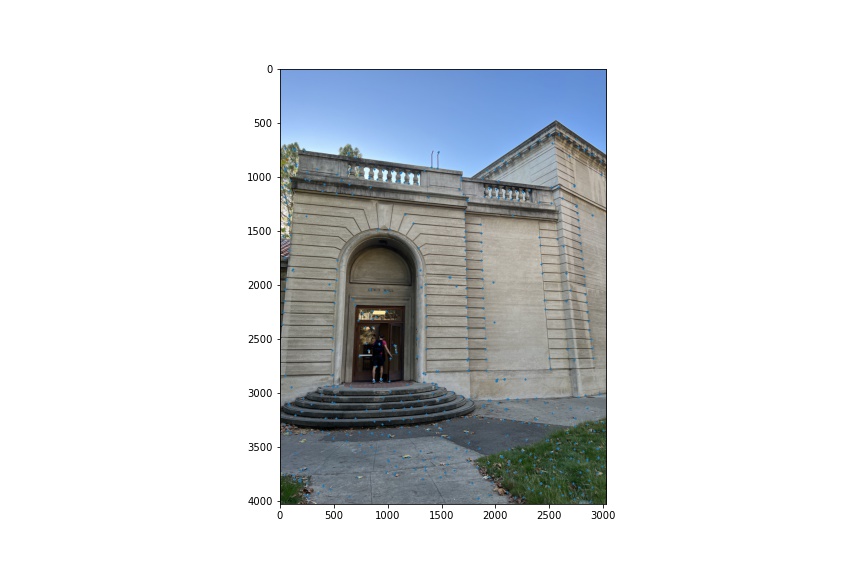
There are too many corner points, so then I implement Adaptive Non-Maximal Suppression to select a fixed number of corner points suitable for stitching. Below is the chosen points laid on the same image.
Once I have determined the interest points, I need to extract feature description from each point and its nearby pixels to help with my matching process. Every feature description characterizes every interest point. I use patches of window size 40x40 and then downsample to 8x8 using Gaussian blurring. I also need to normalize the descriptors to make mean 0 and std 1.
Then, I will match pairs of points according to their feature descriptors. I use SSD as the metric to find every point's nearest neighbor and second nearest neighbor. Then, I use Lowe's trick to leave as many incorrect matches as possible.
However, there are still outliers in those matched pairs of points. I use RANSAC as a outlier rejection test to make our matched points even better. When this step is done, I use all the inliers returned from RANSAC to compute a robust homography.
Below is an example of automatically selected matched points.

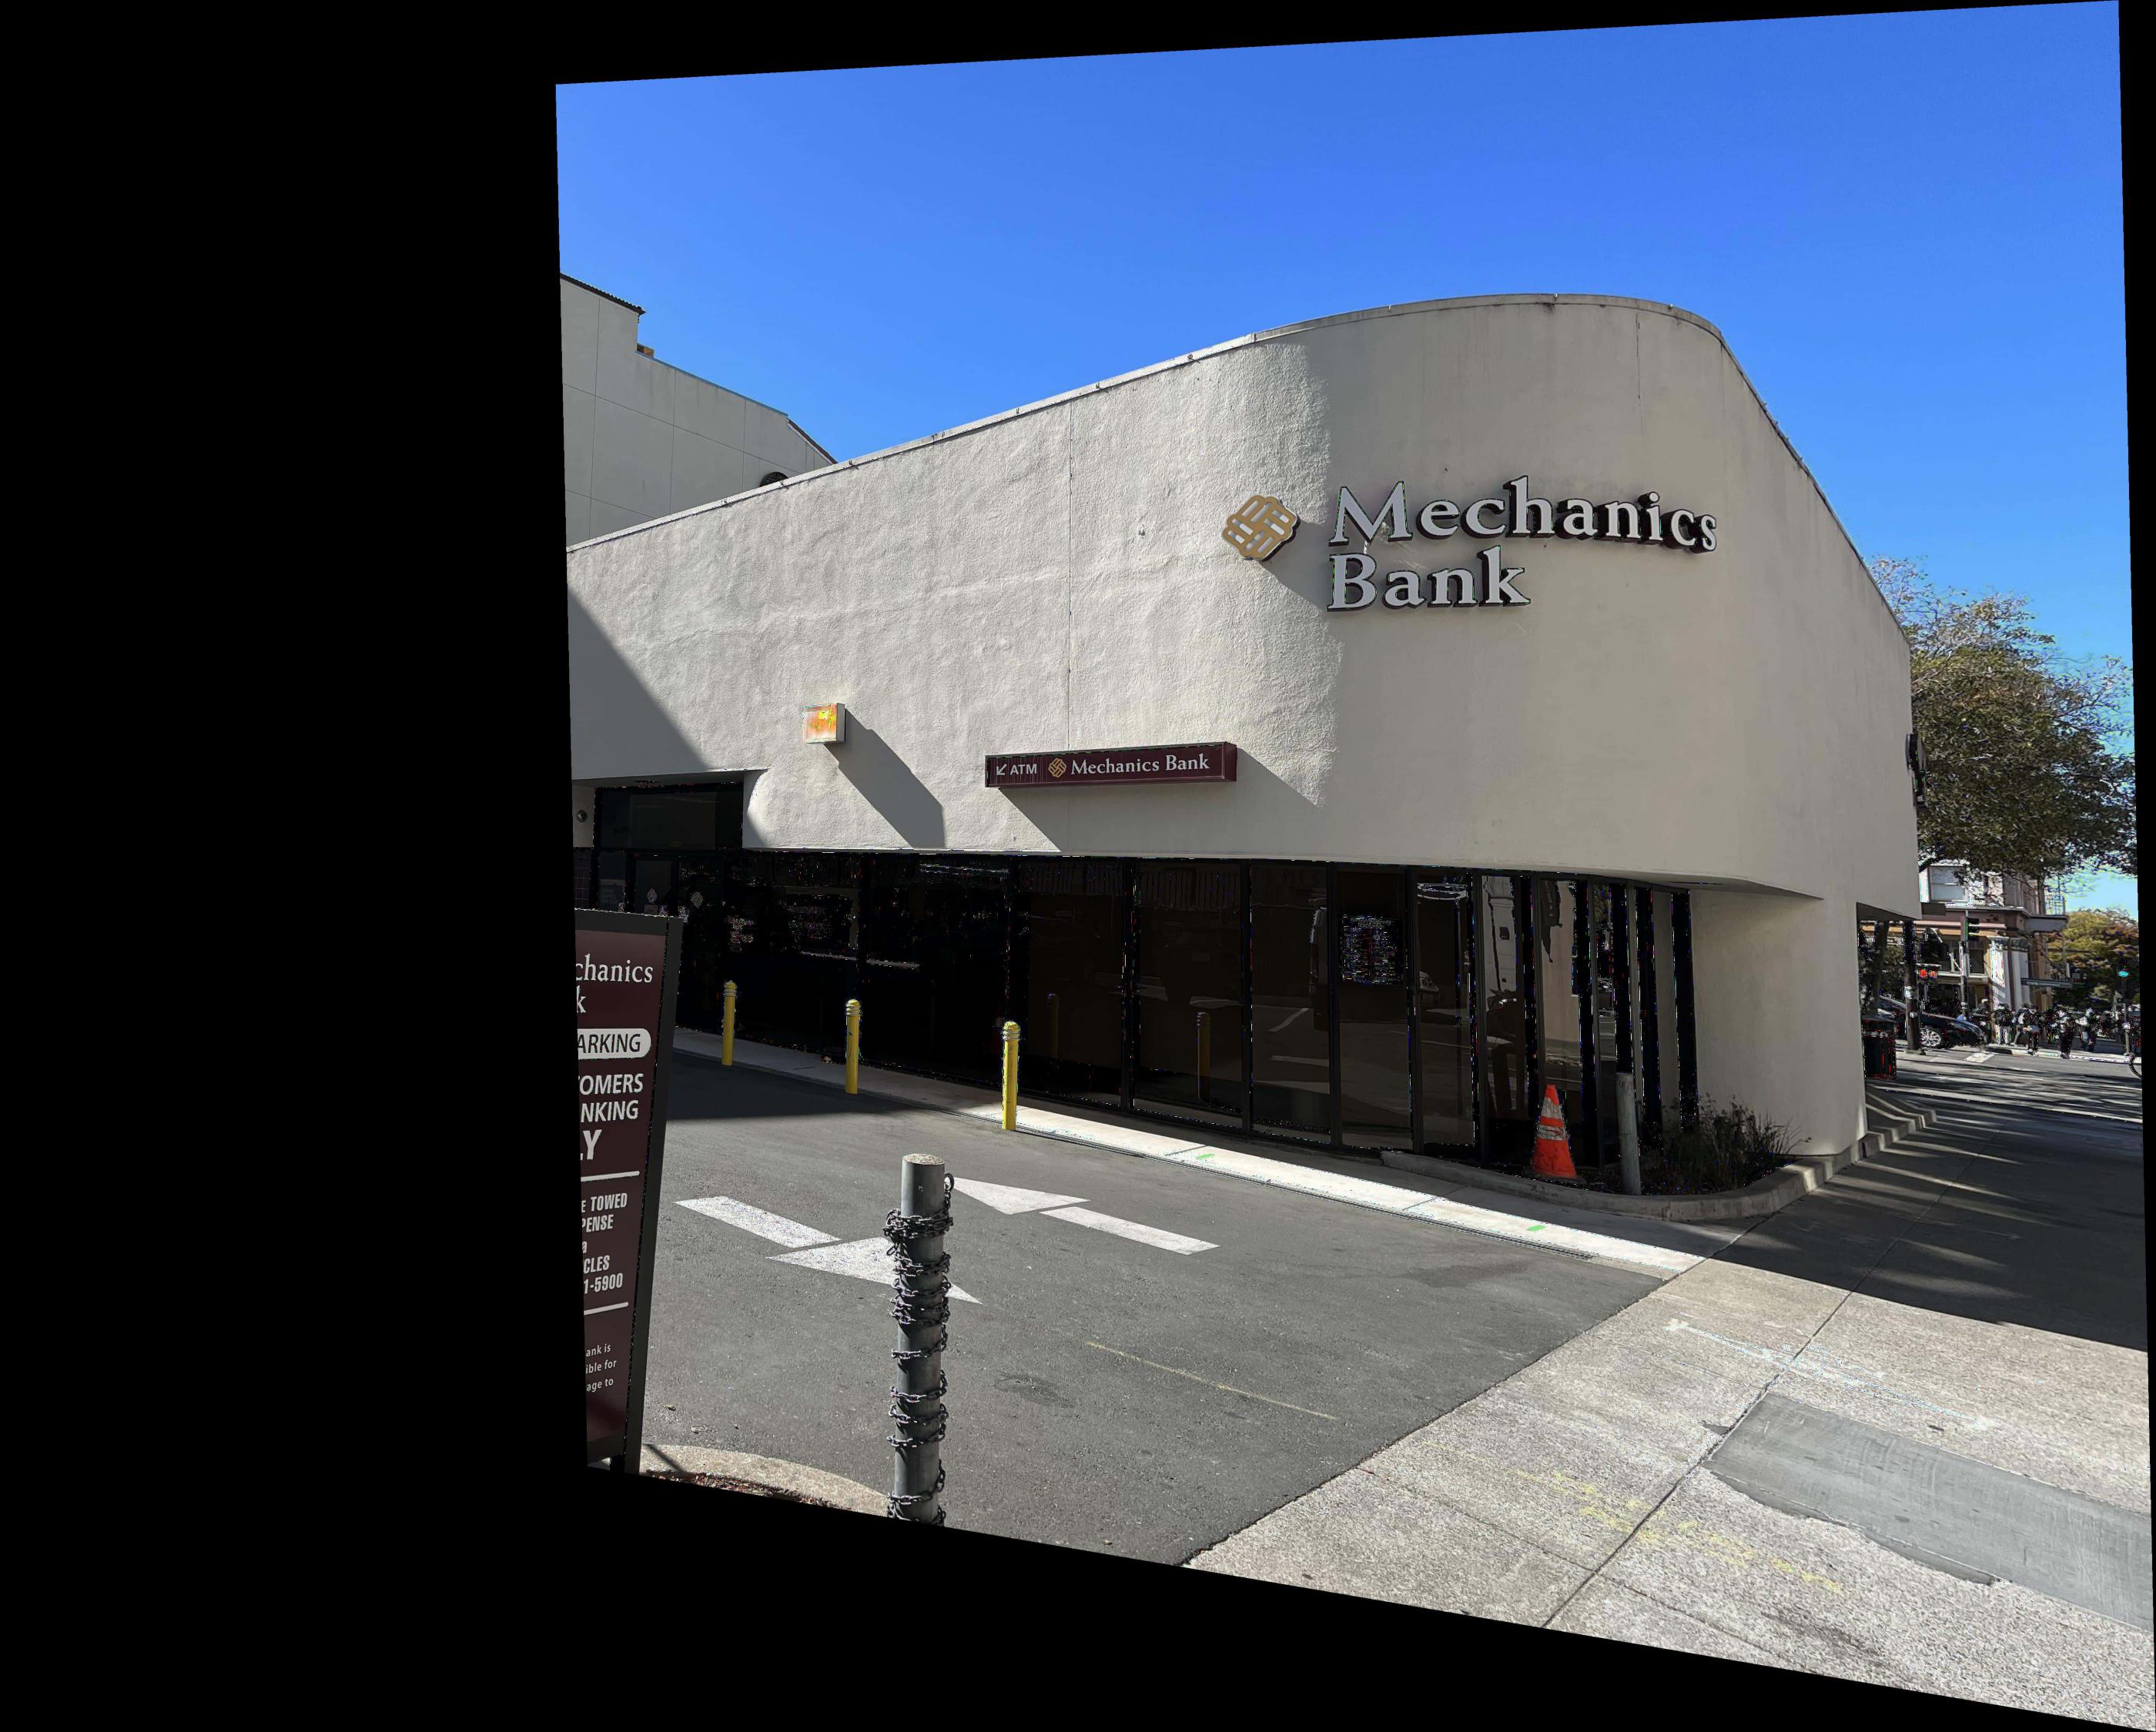
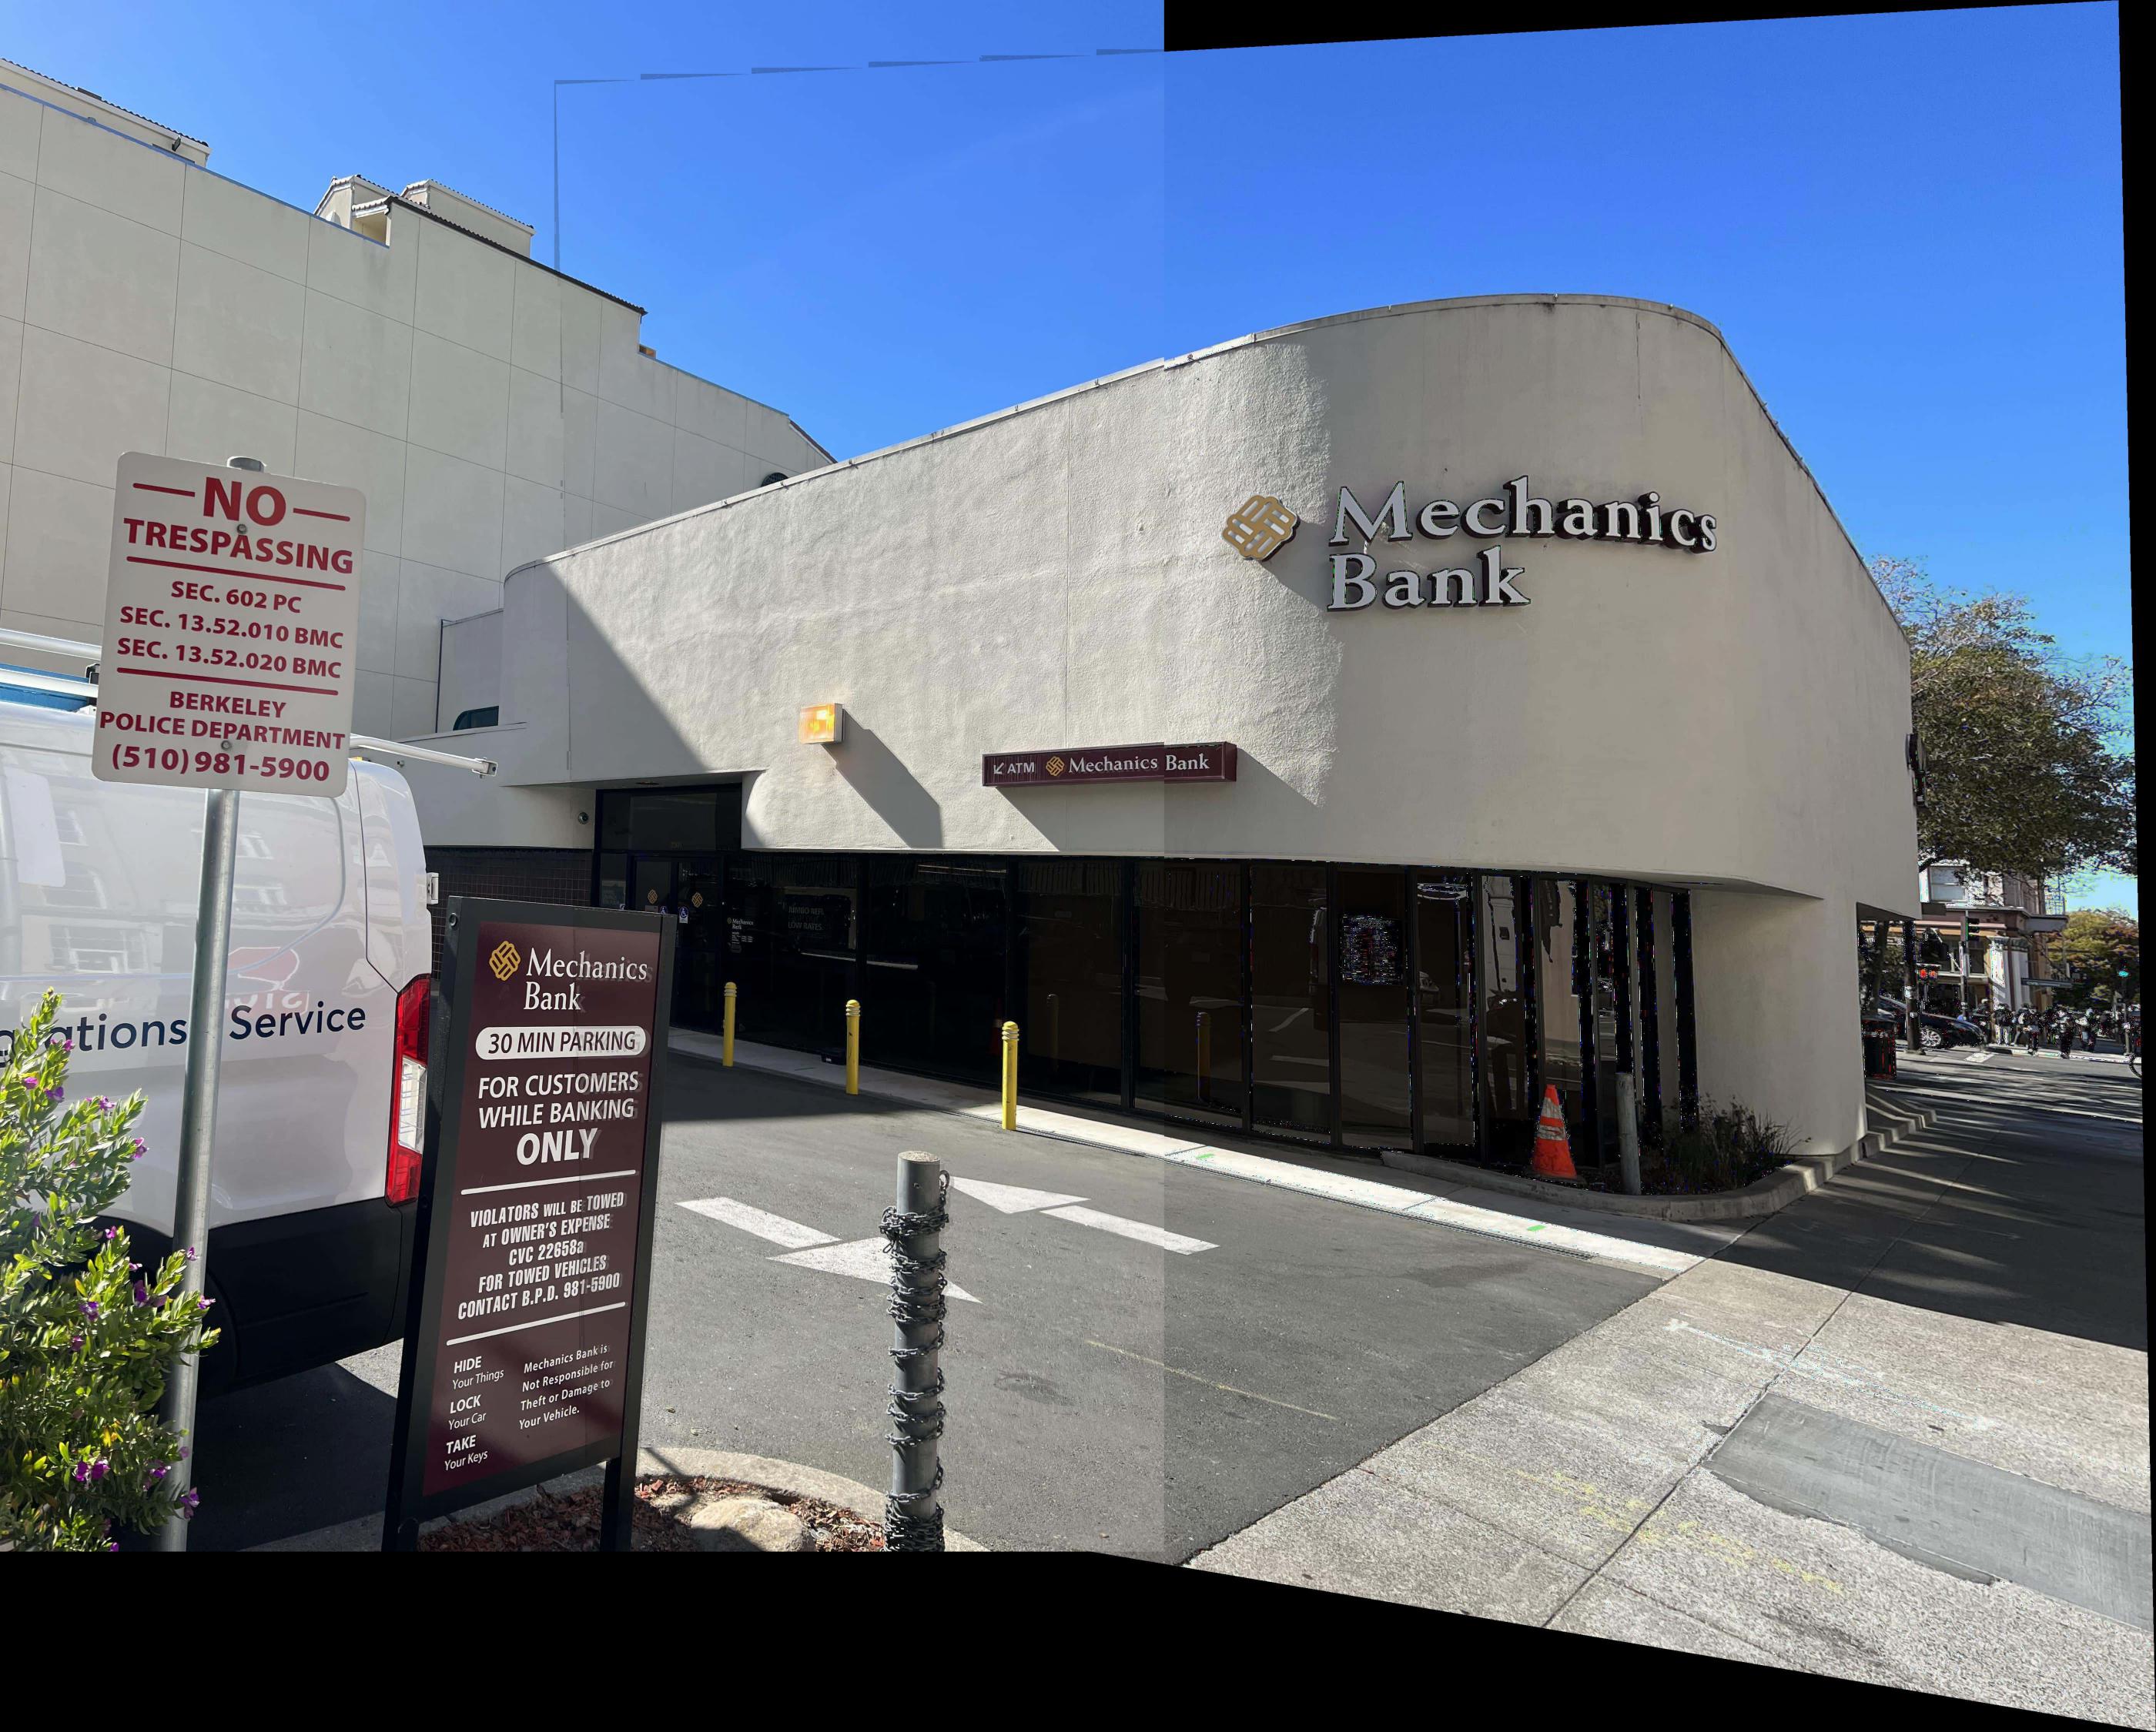
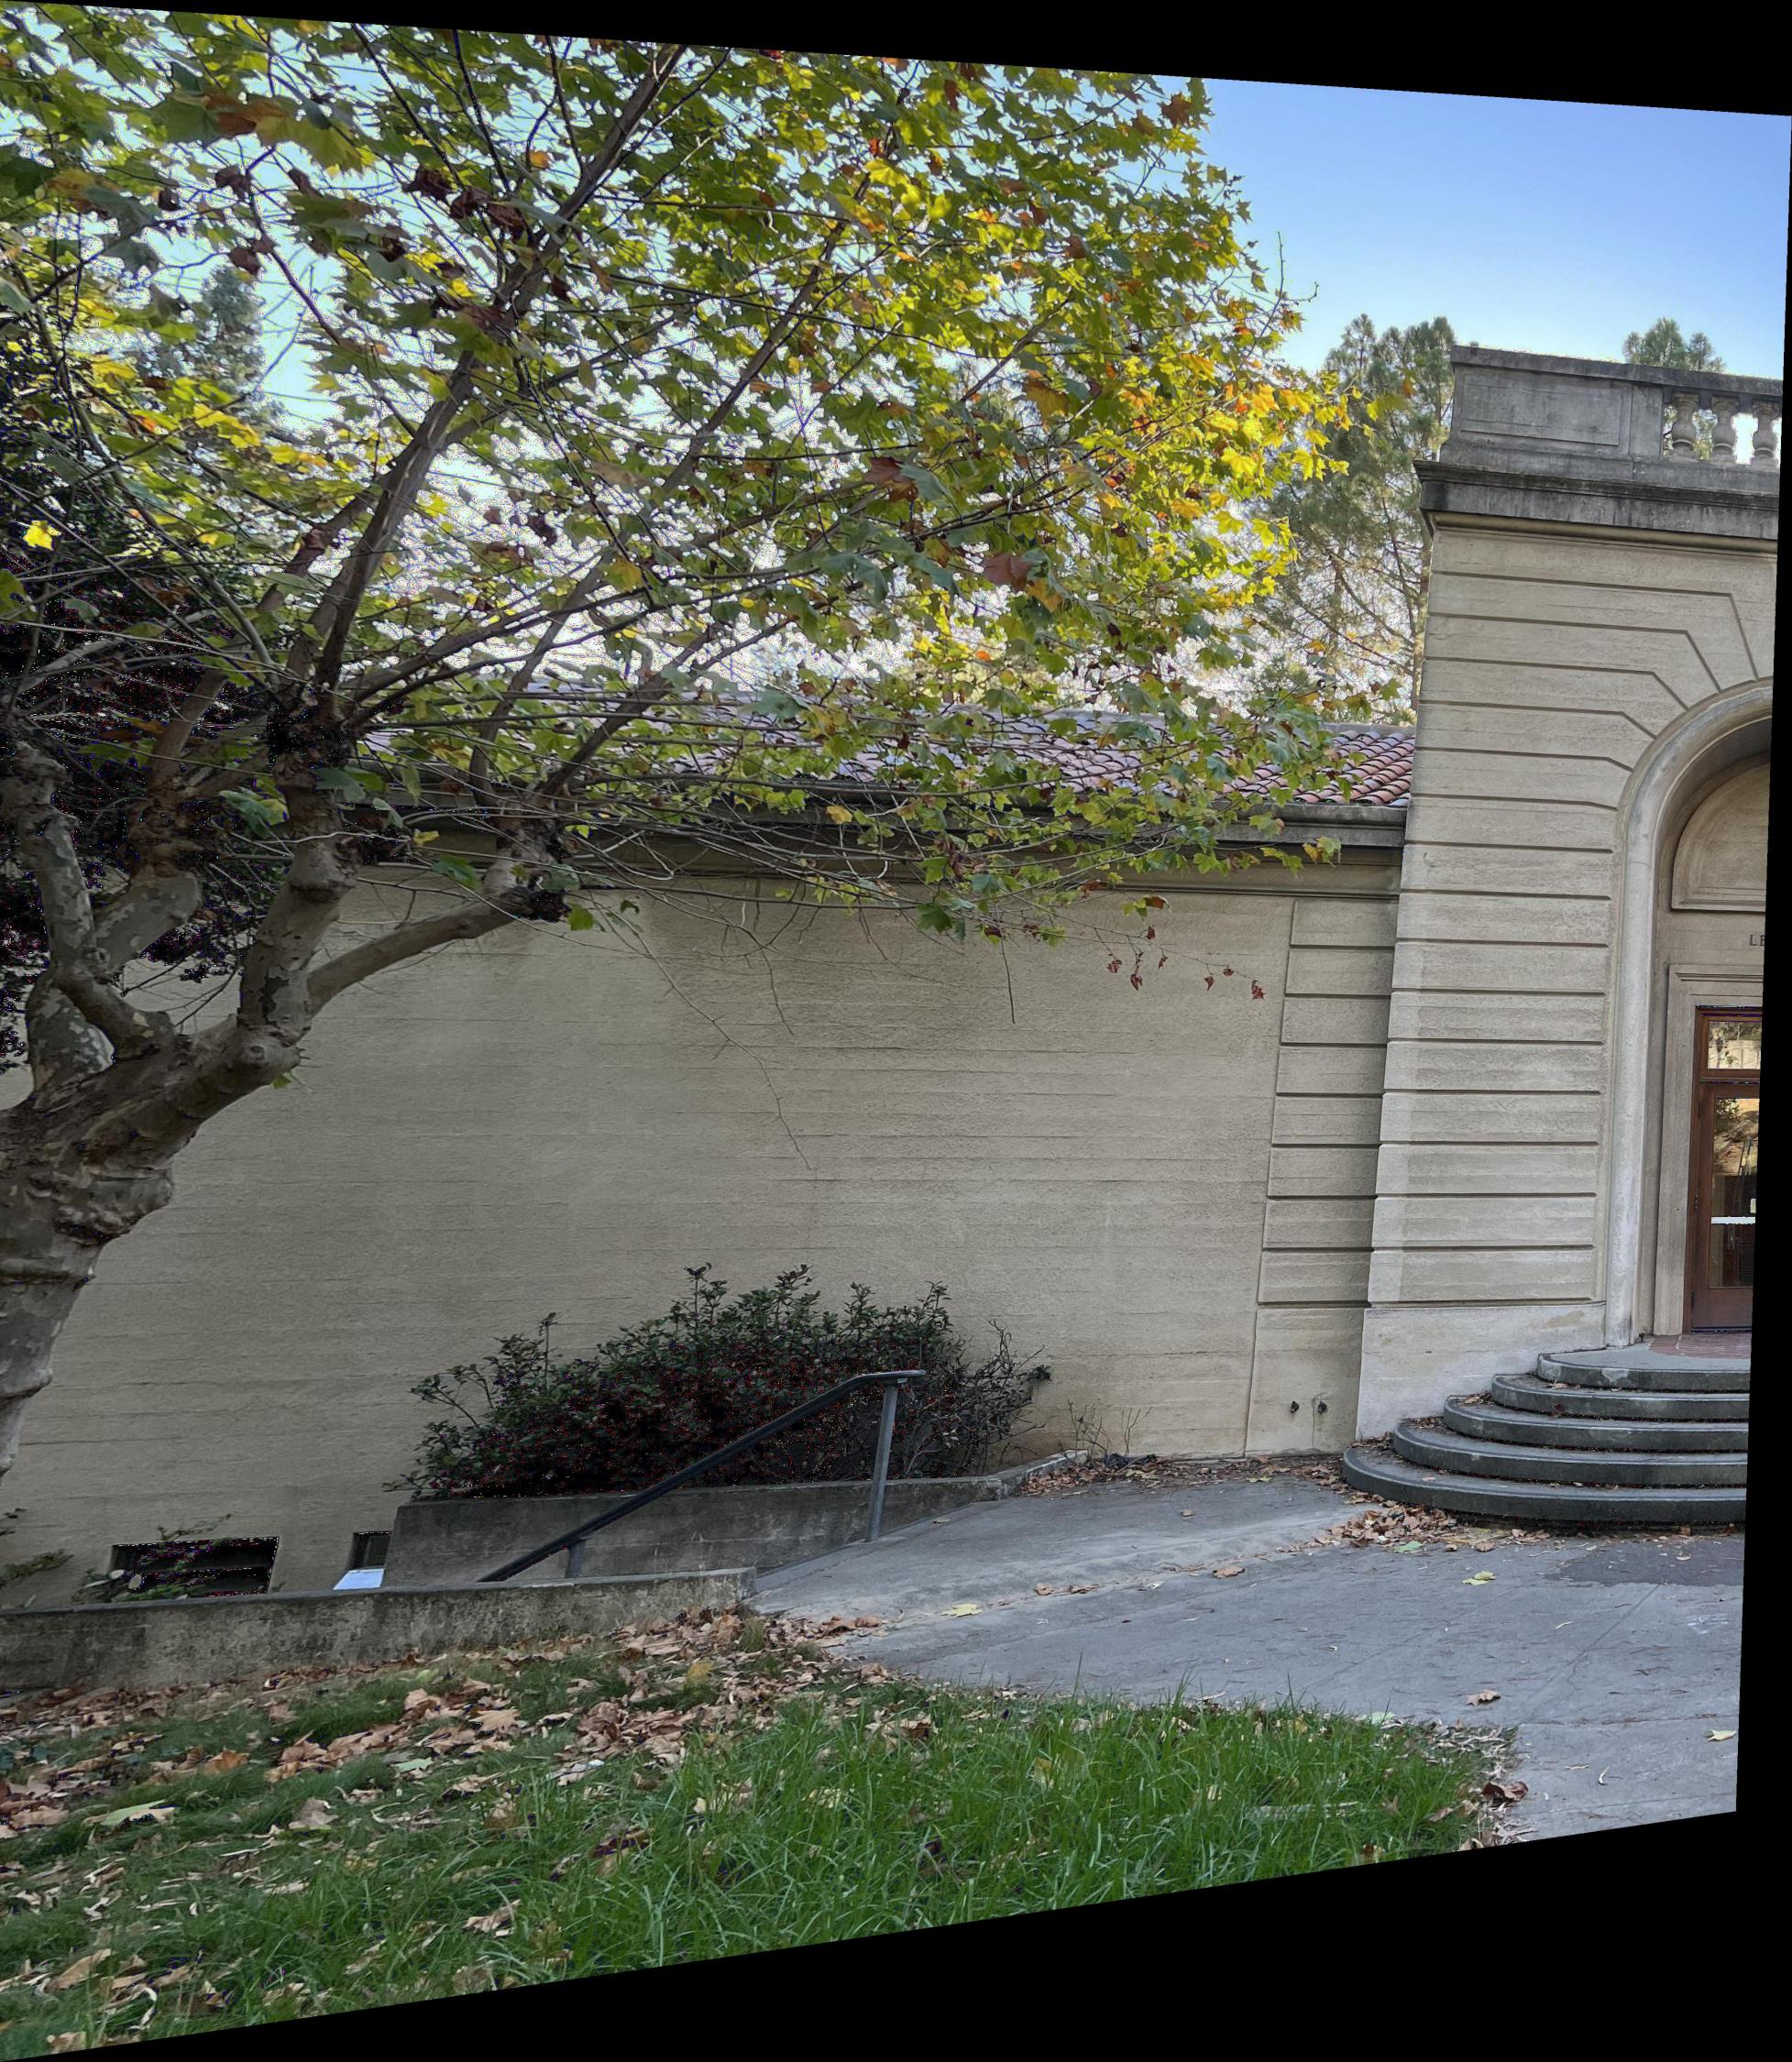
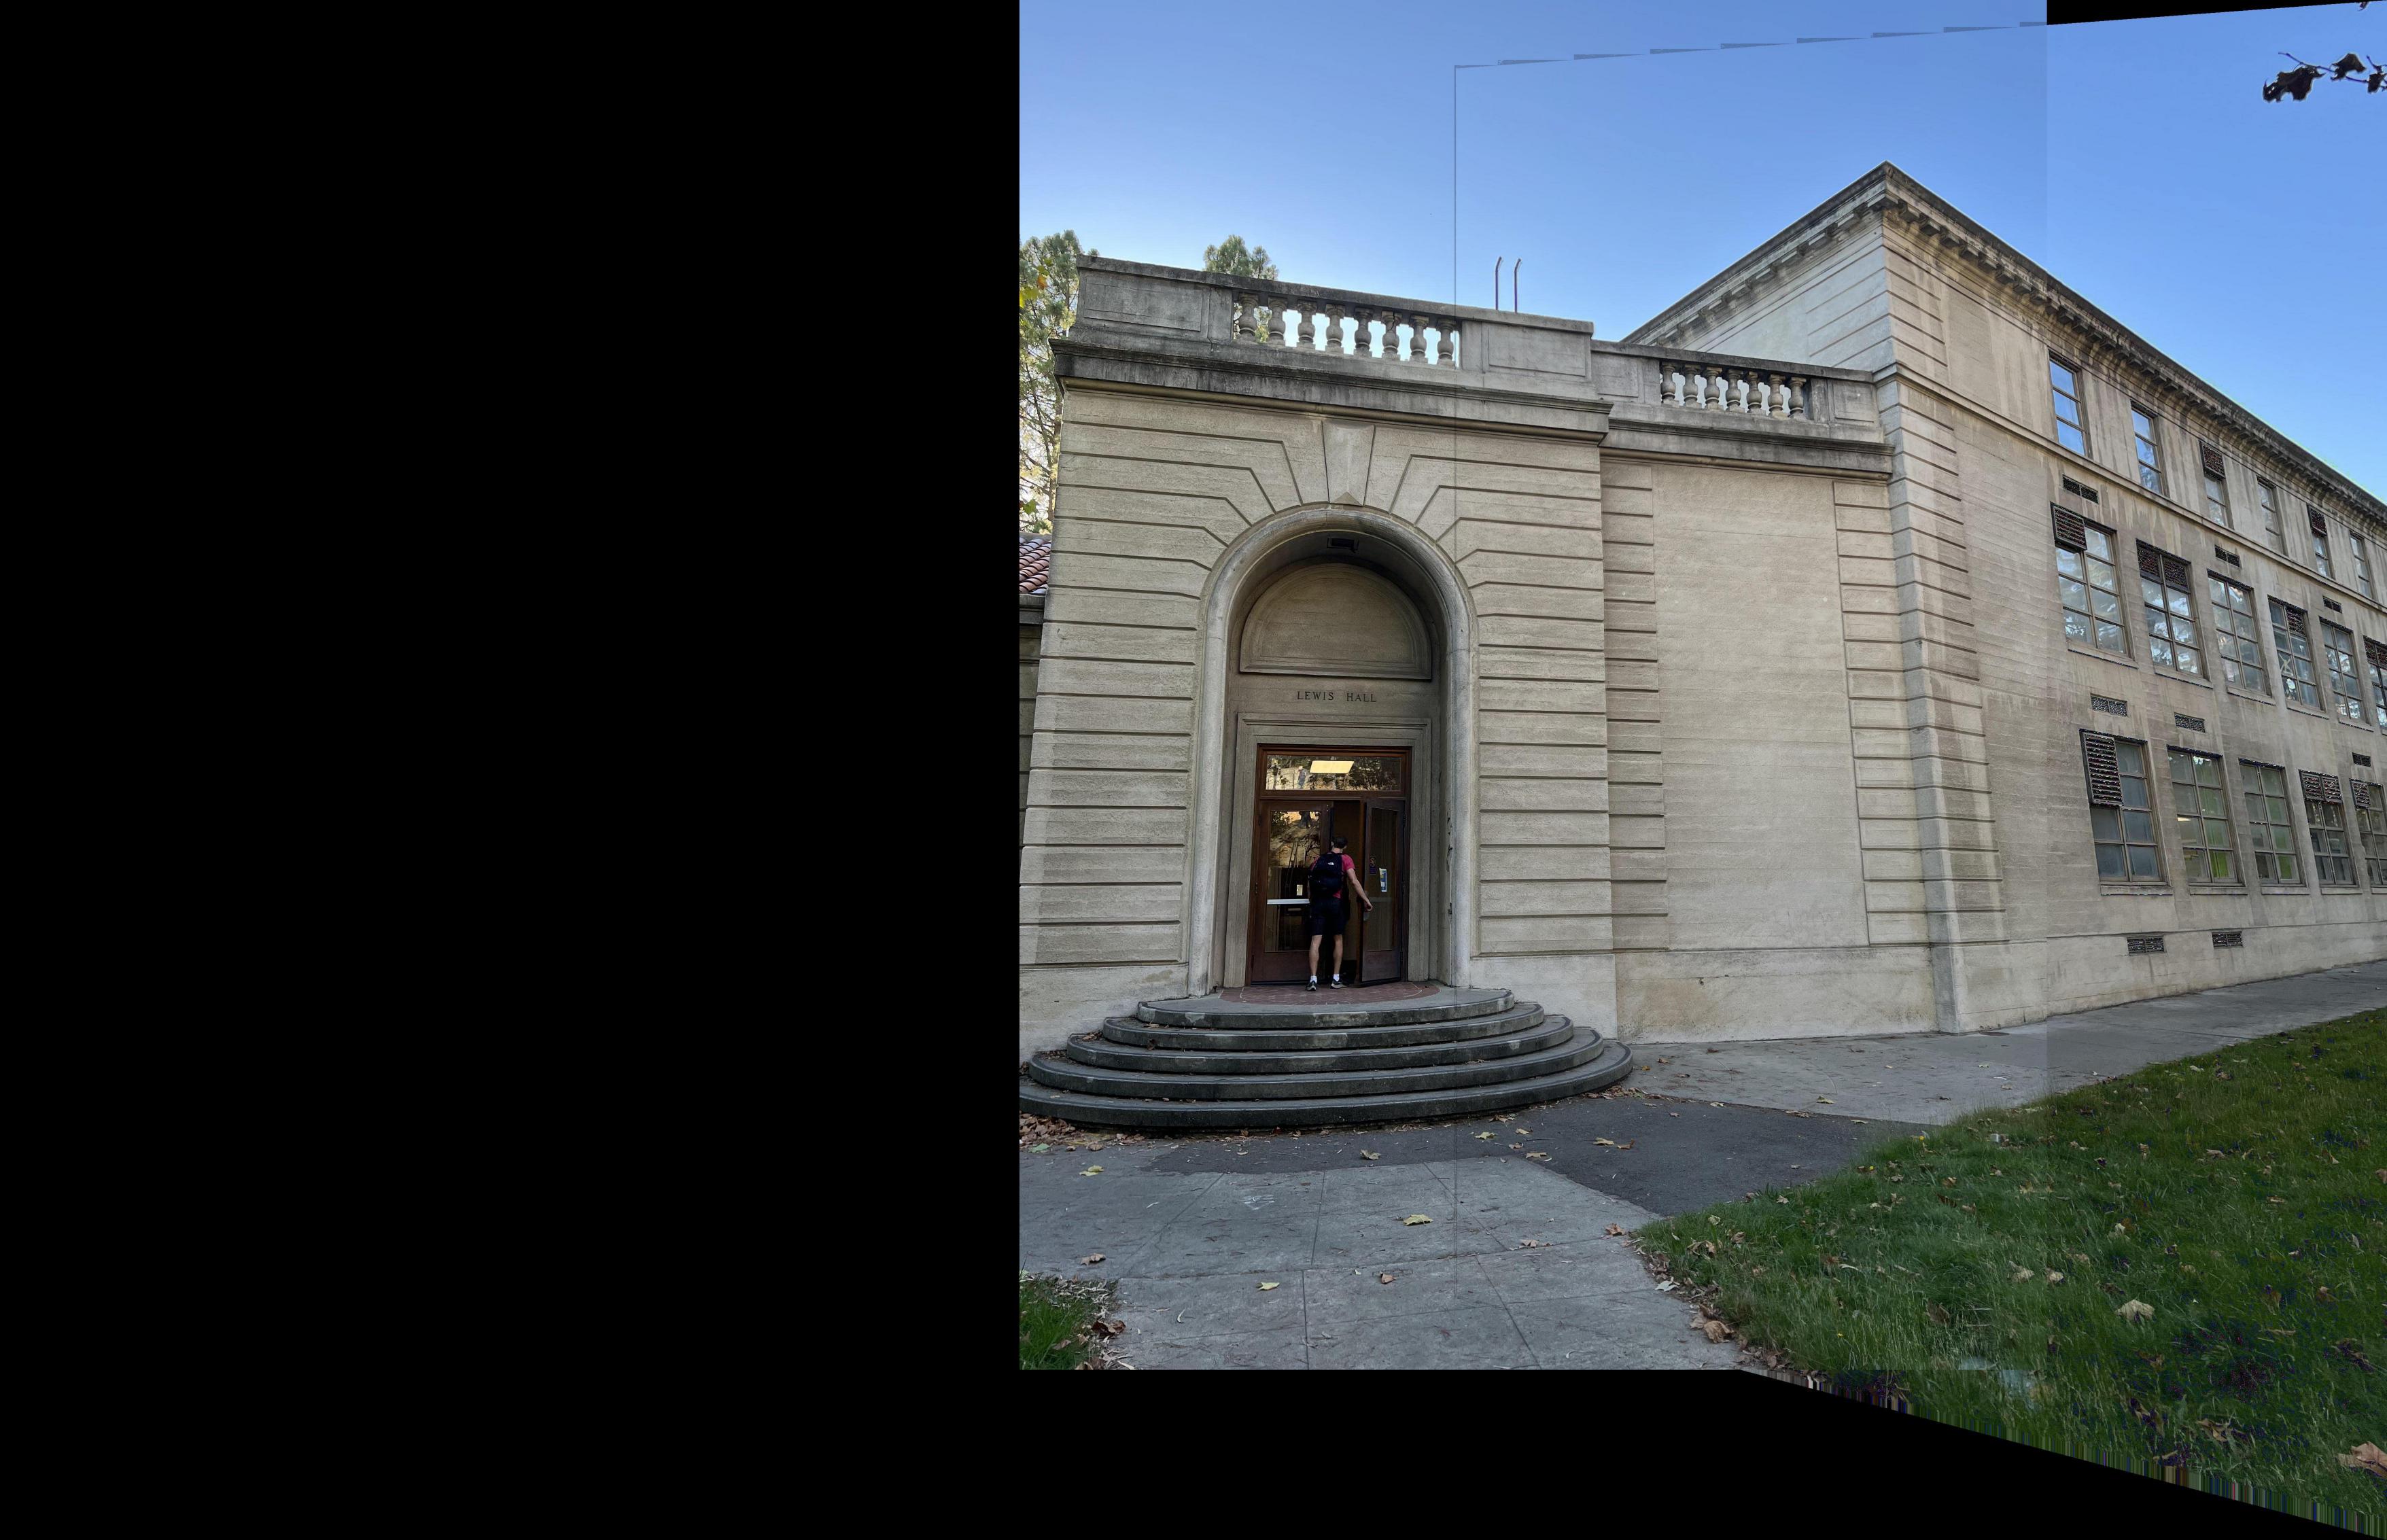
Once the points are chosen and homography is computed, we can roll back to part A to warp the images and stitch them together. Below are the result of automatically stitched results sided by manually stitched results (from part A).

Looking at the results above, I think alpha blending is not very good for blending those images. As a result, I also implement Laplacian pyramid blending adapted from project 2. Below is one example of such blending. Notice that I rescale the original image to reduce convolution time.
The most interesting thing I learned is how to rectify the images to get information! The image stores lots of information, and I just need to use some ways to extract it. Another important thing to remember in this project is that I need to choose the boundary points carefully so that I will not lose too much information from the to-be-warped image.
Add on to part B, autostitching is so cool! I don't need to draw points by myself and worry about the precision. Although sometimes the matched points selected by autostitching may not be correct (according to commonsense), it is due to the weight of regulation parameters I set (some correct points might be excluded before RANSAC), and I can always make some changes to get the correct matched points.
Picture of the linear system is adapted here: https://towardsdatascience.com/estimating-a-homography-matrix-522c70ec4b2c
The other pirctures are shot by me! They are compressed due to the limit of upload file size.