CS 194-26 Project 4 Part A - Image Warping and Mosaicing

Jerry Zhang

Overview

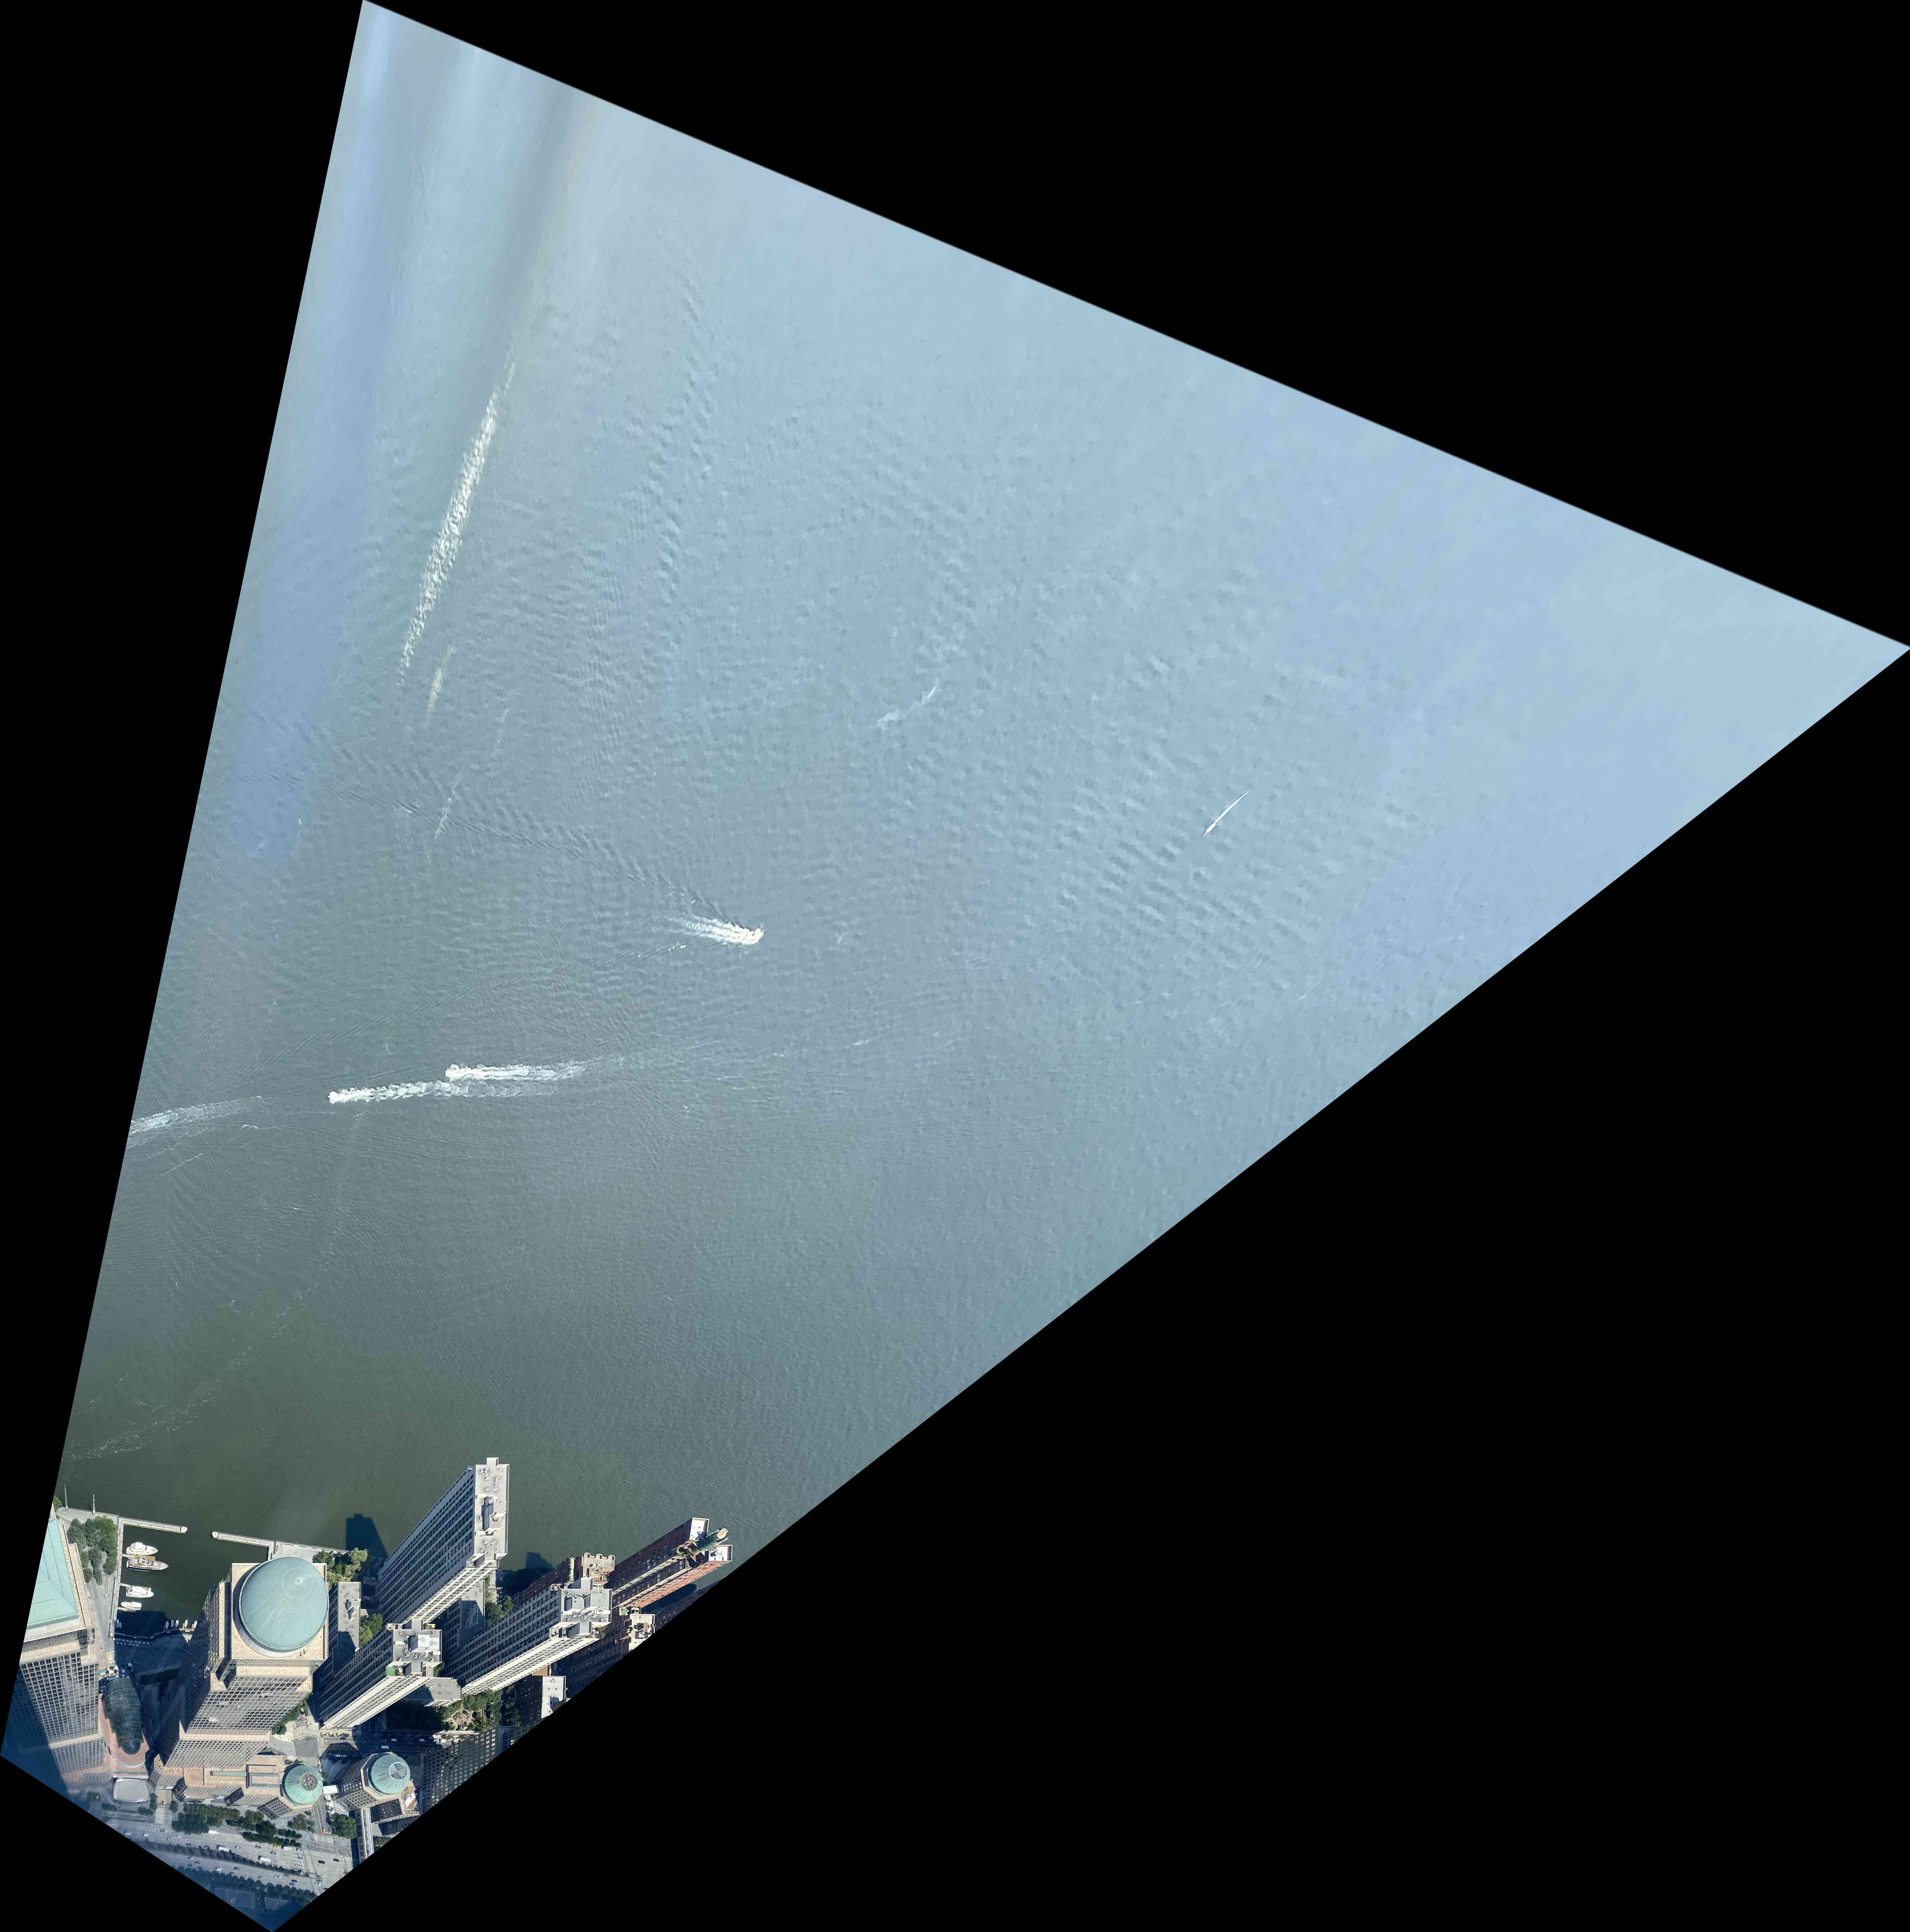
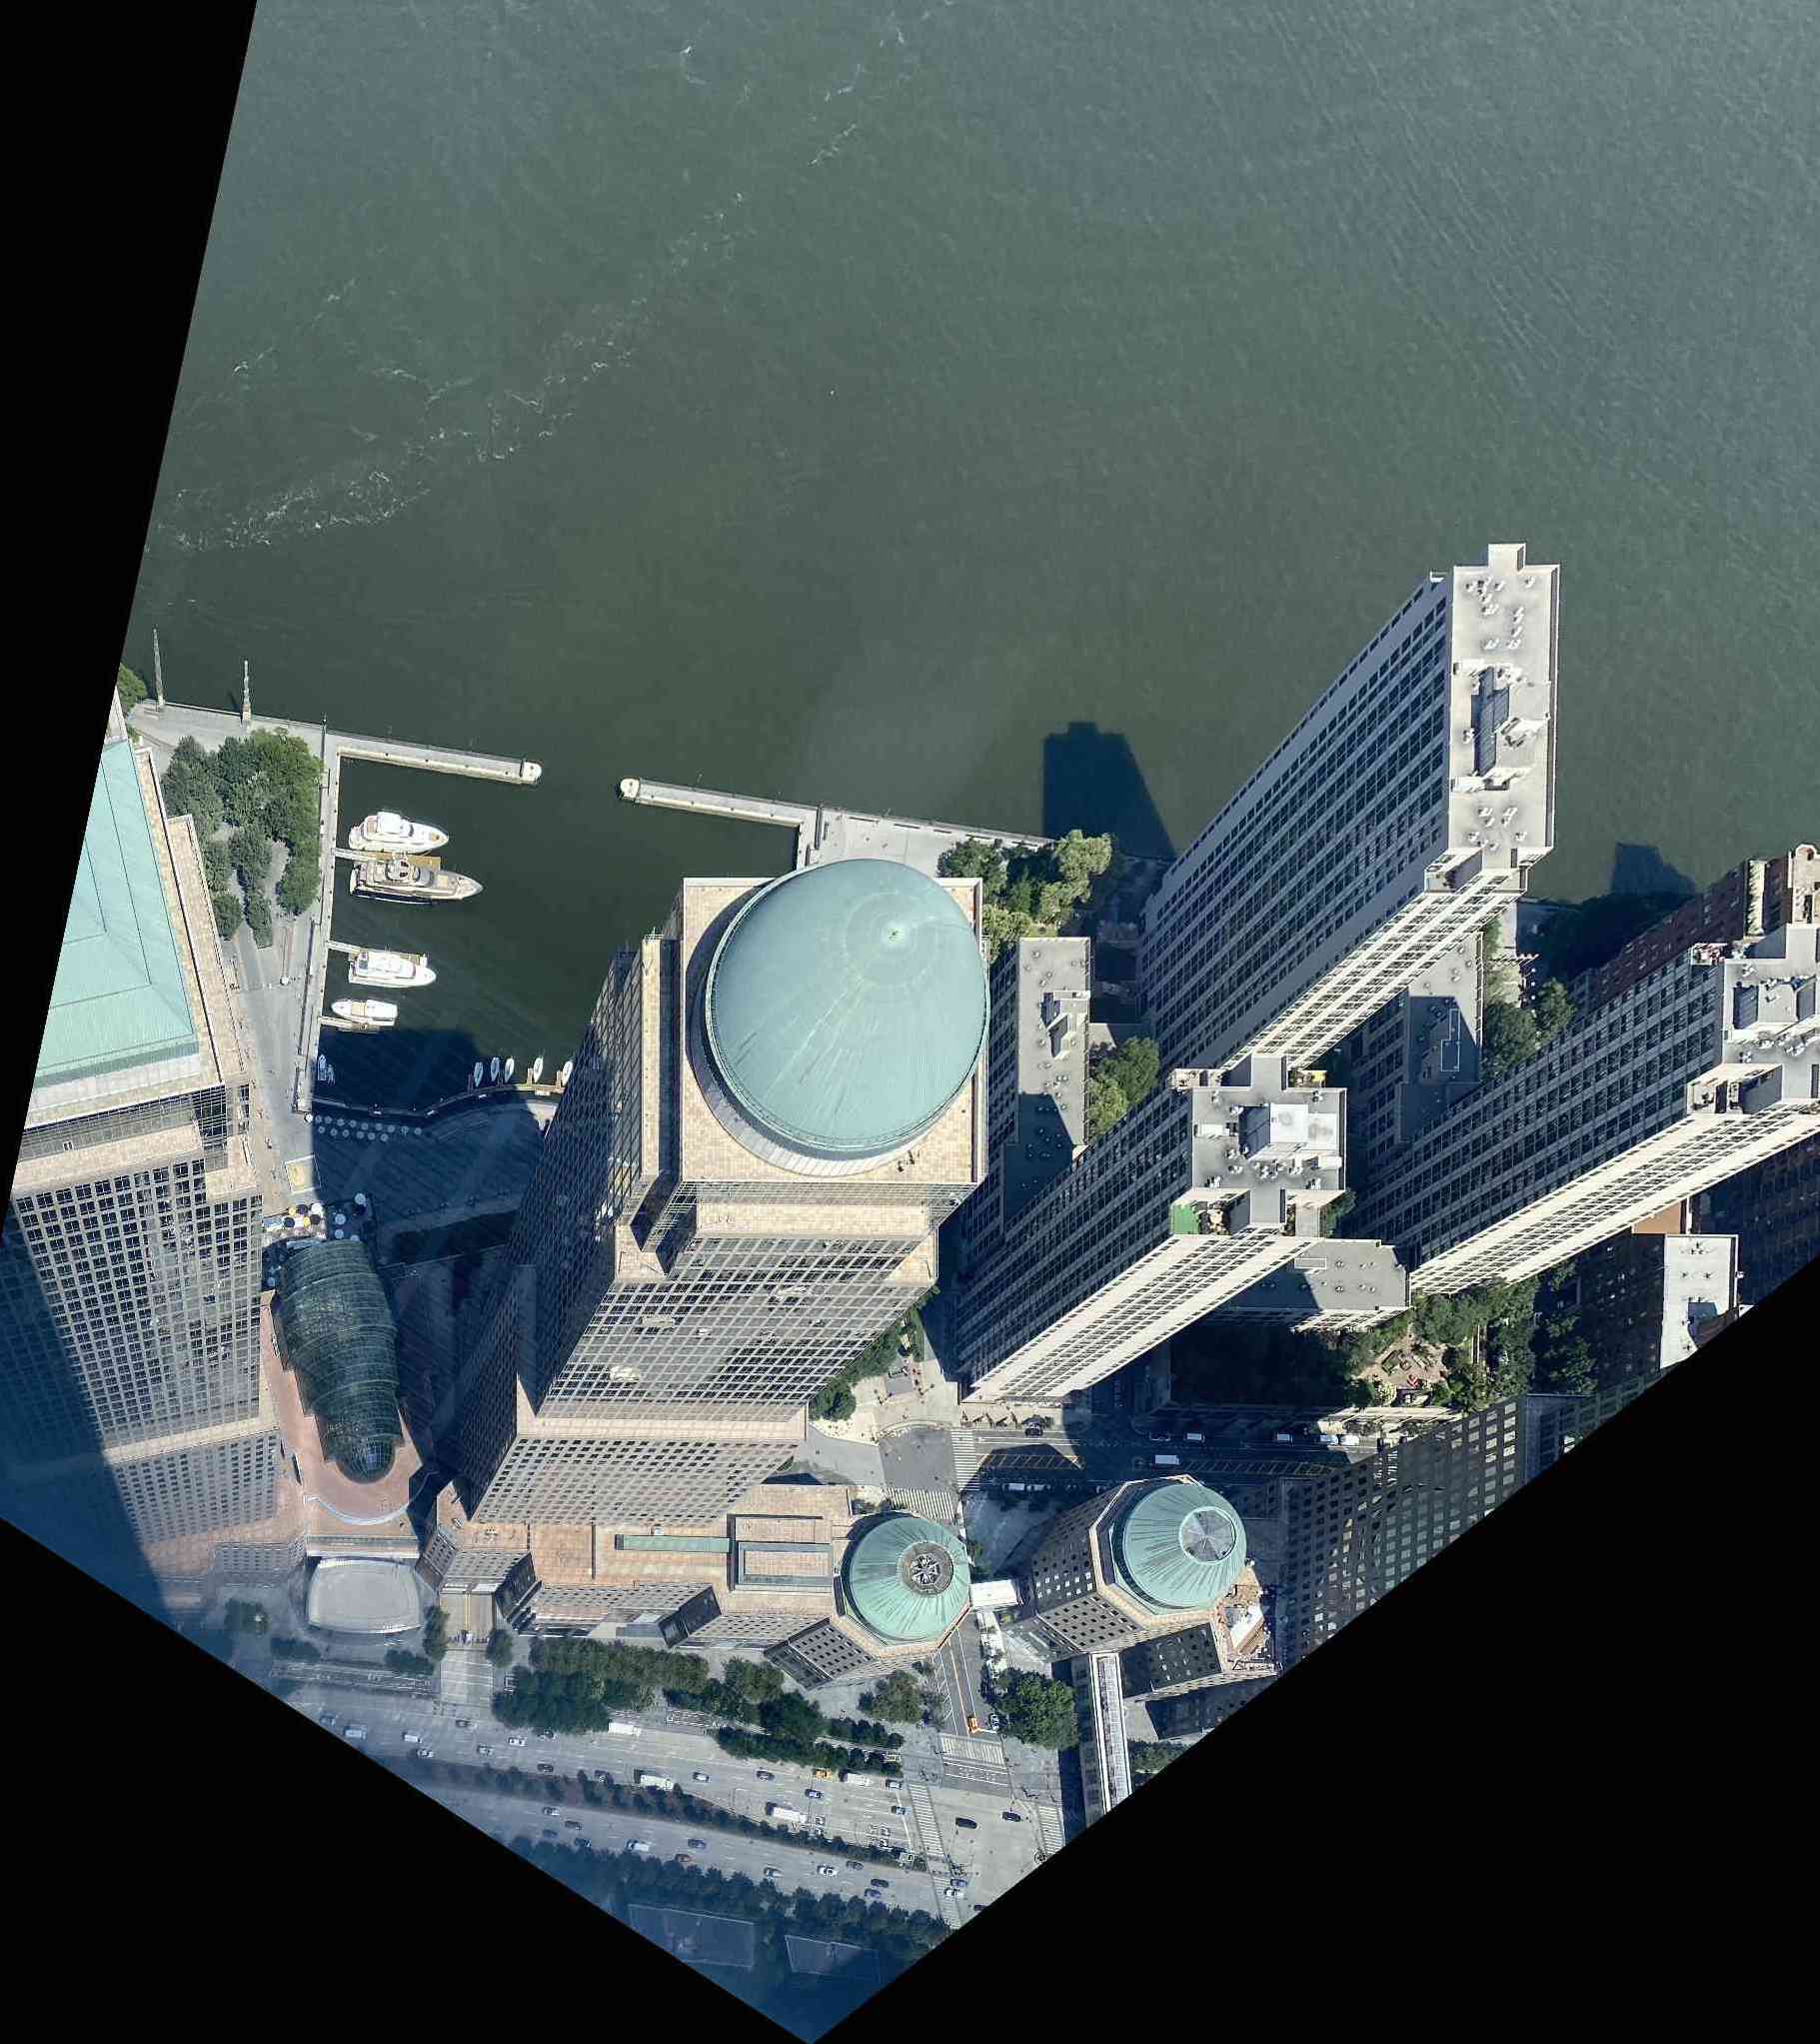
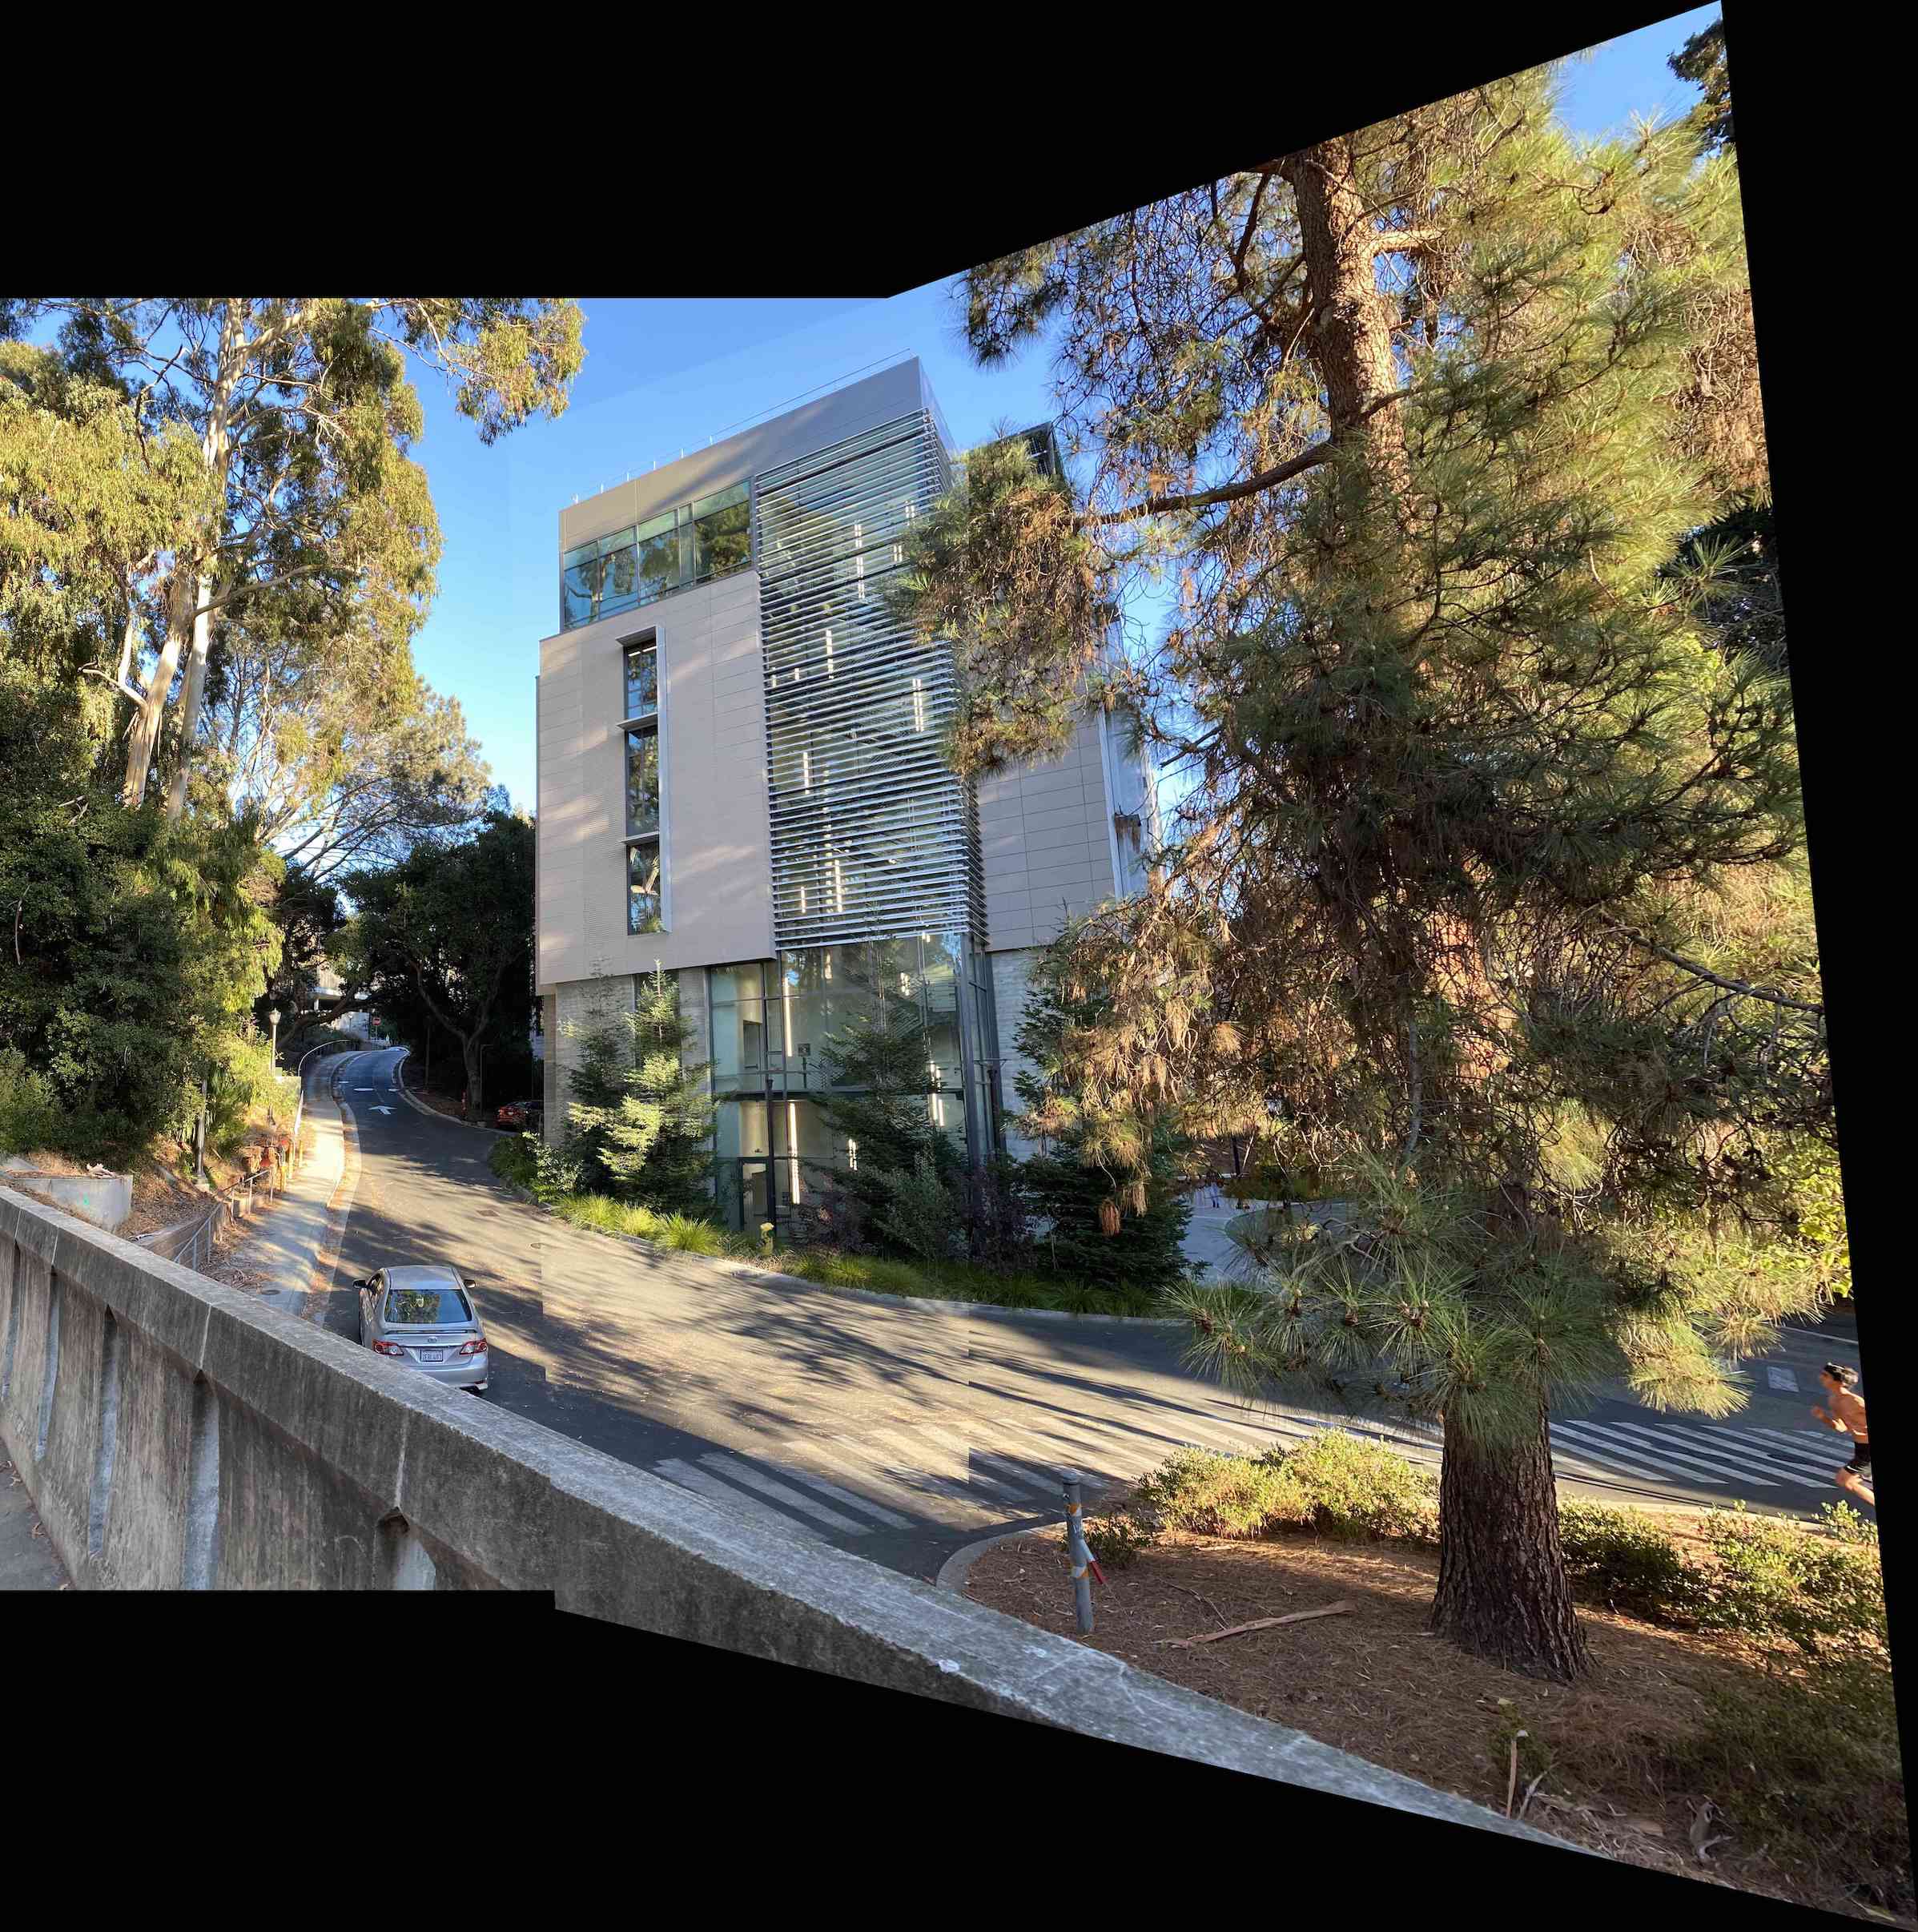
In this part of project 4, I worked on image mosaicing using image warping, taking a few photographs and creating an image mosaic out of them.

Shoot the Pictures

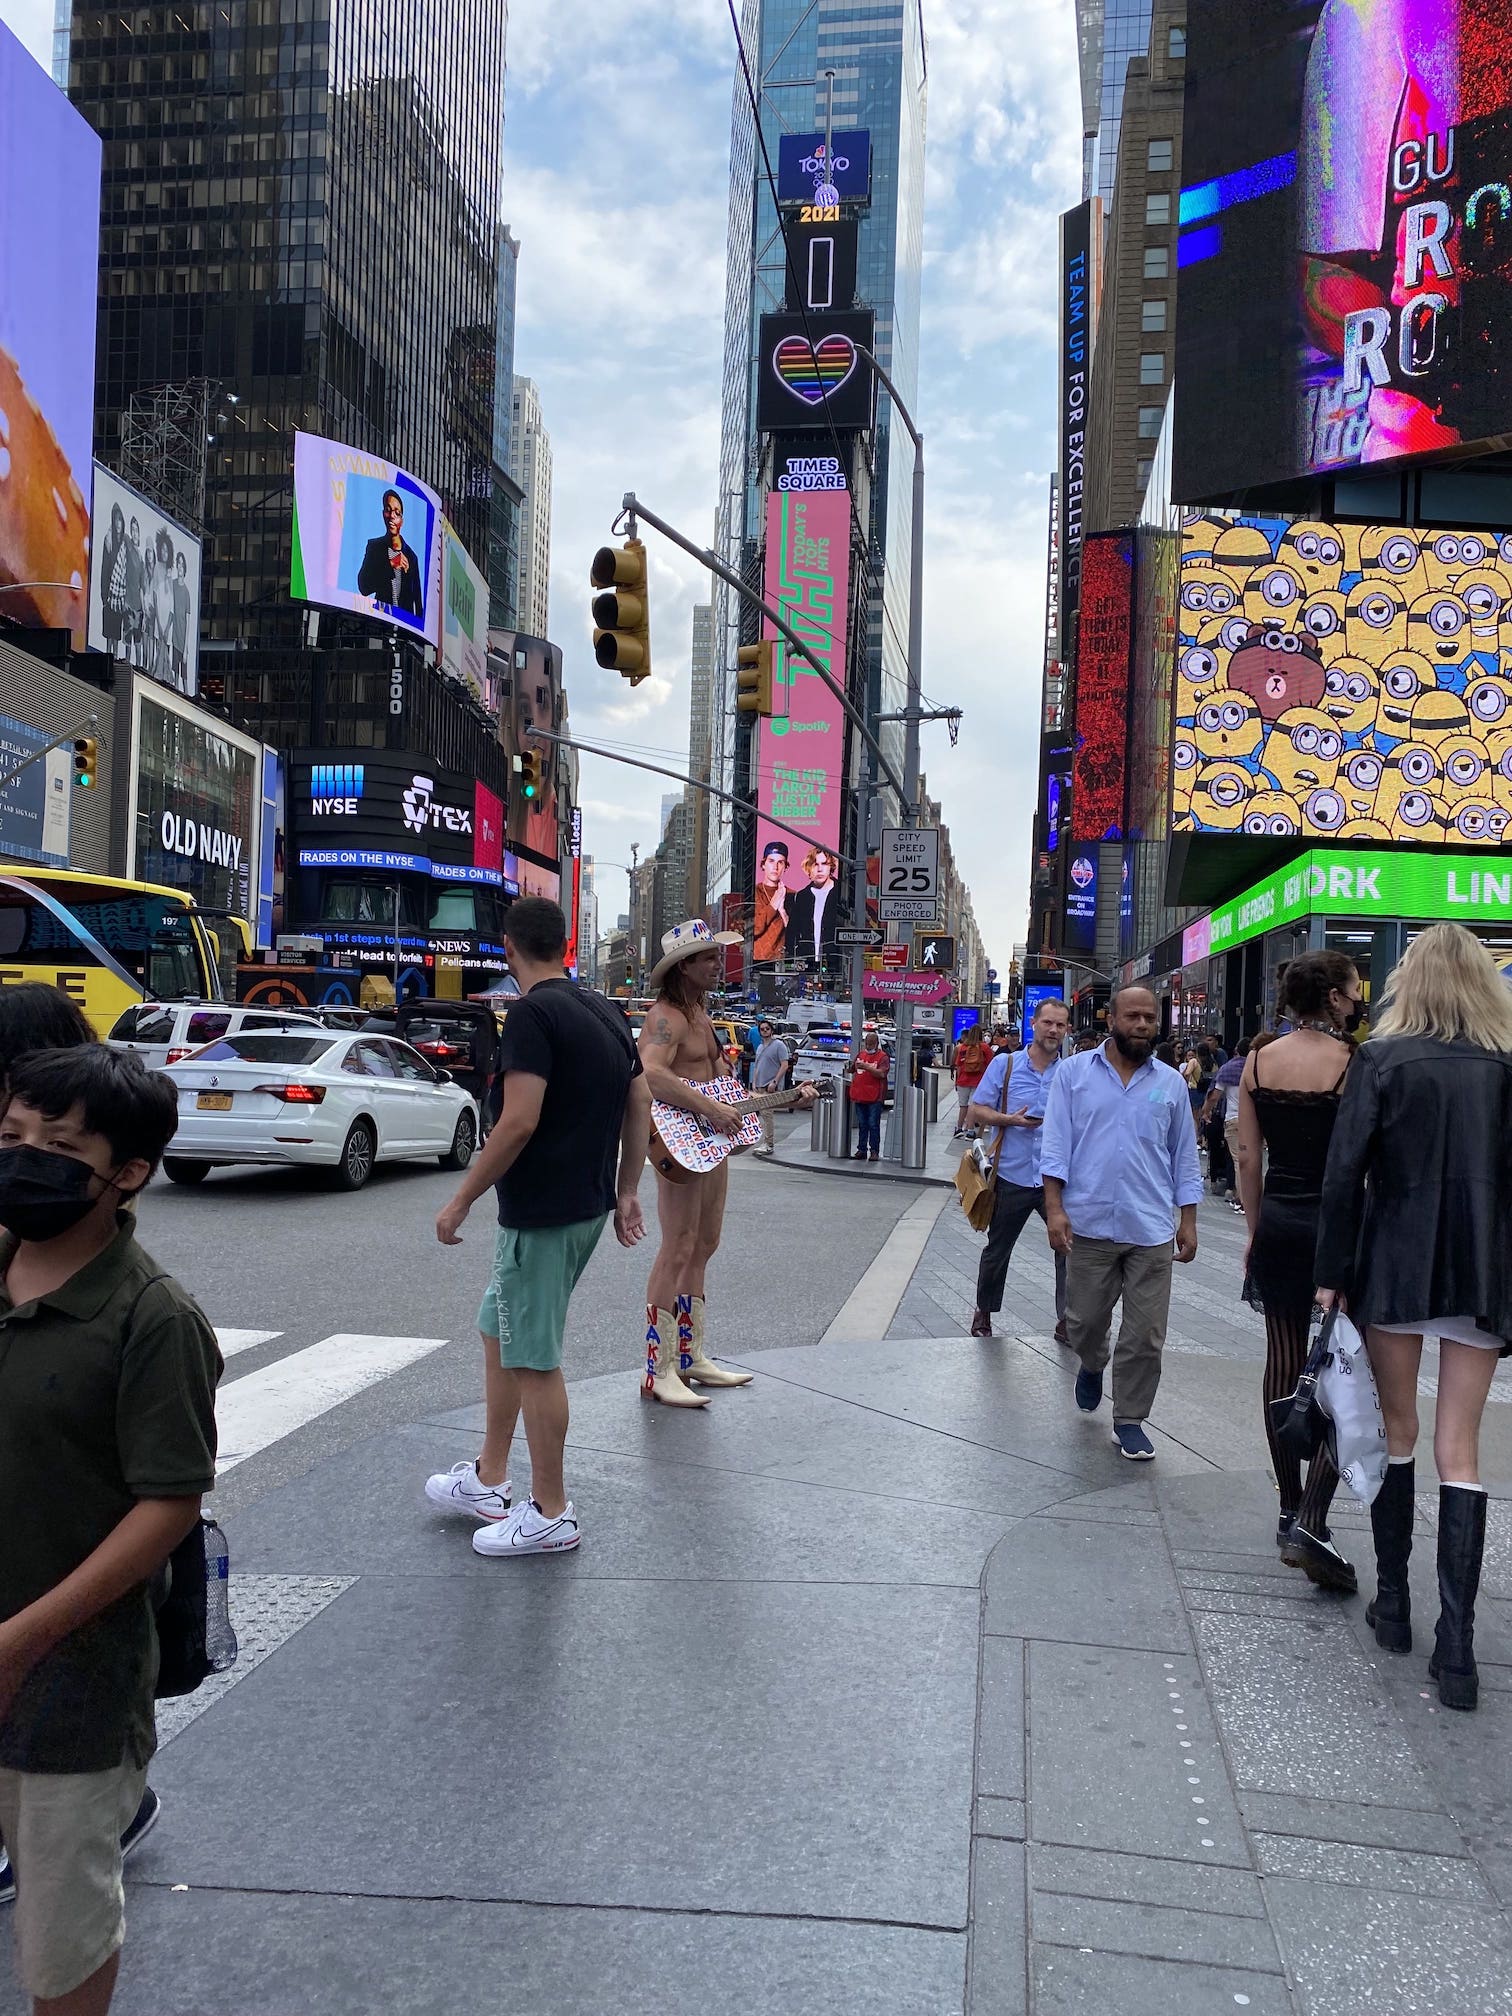
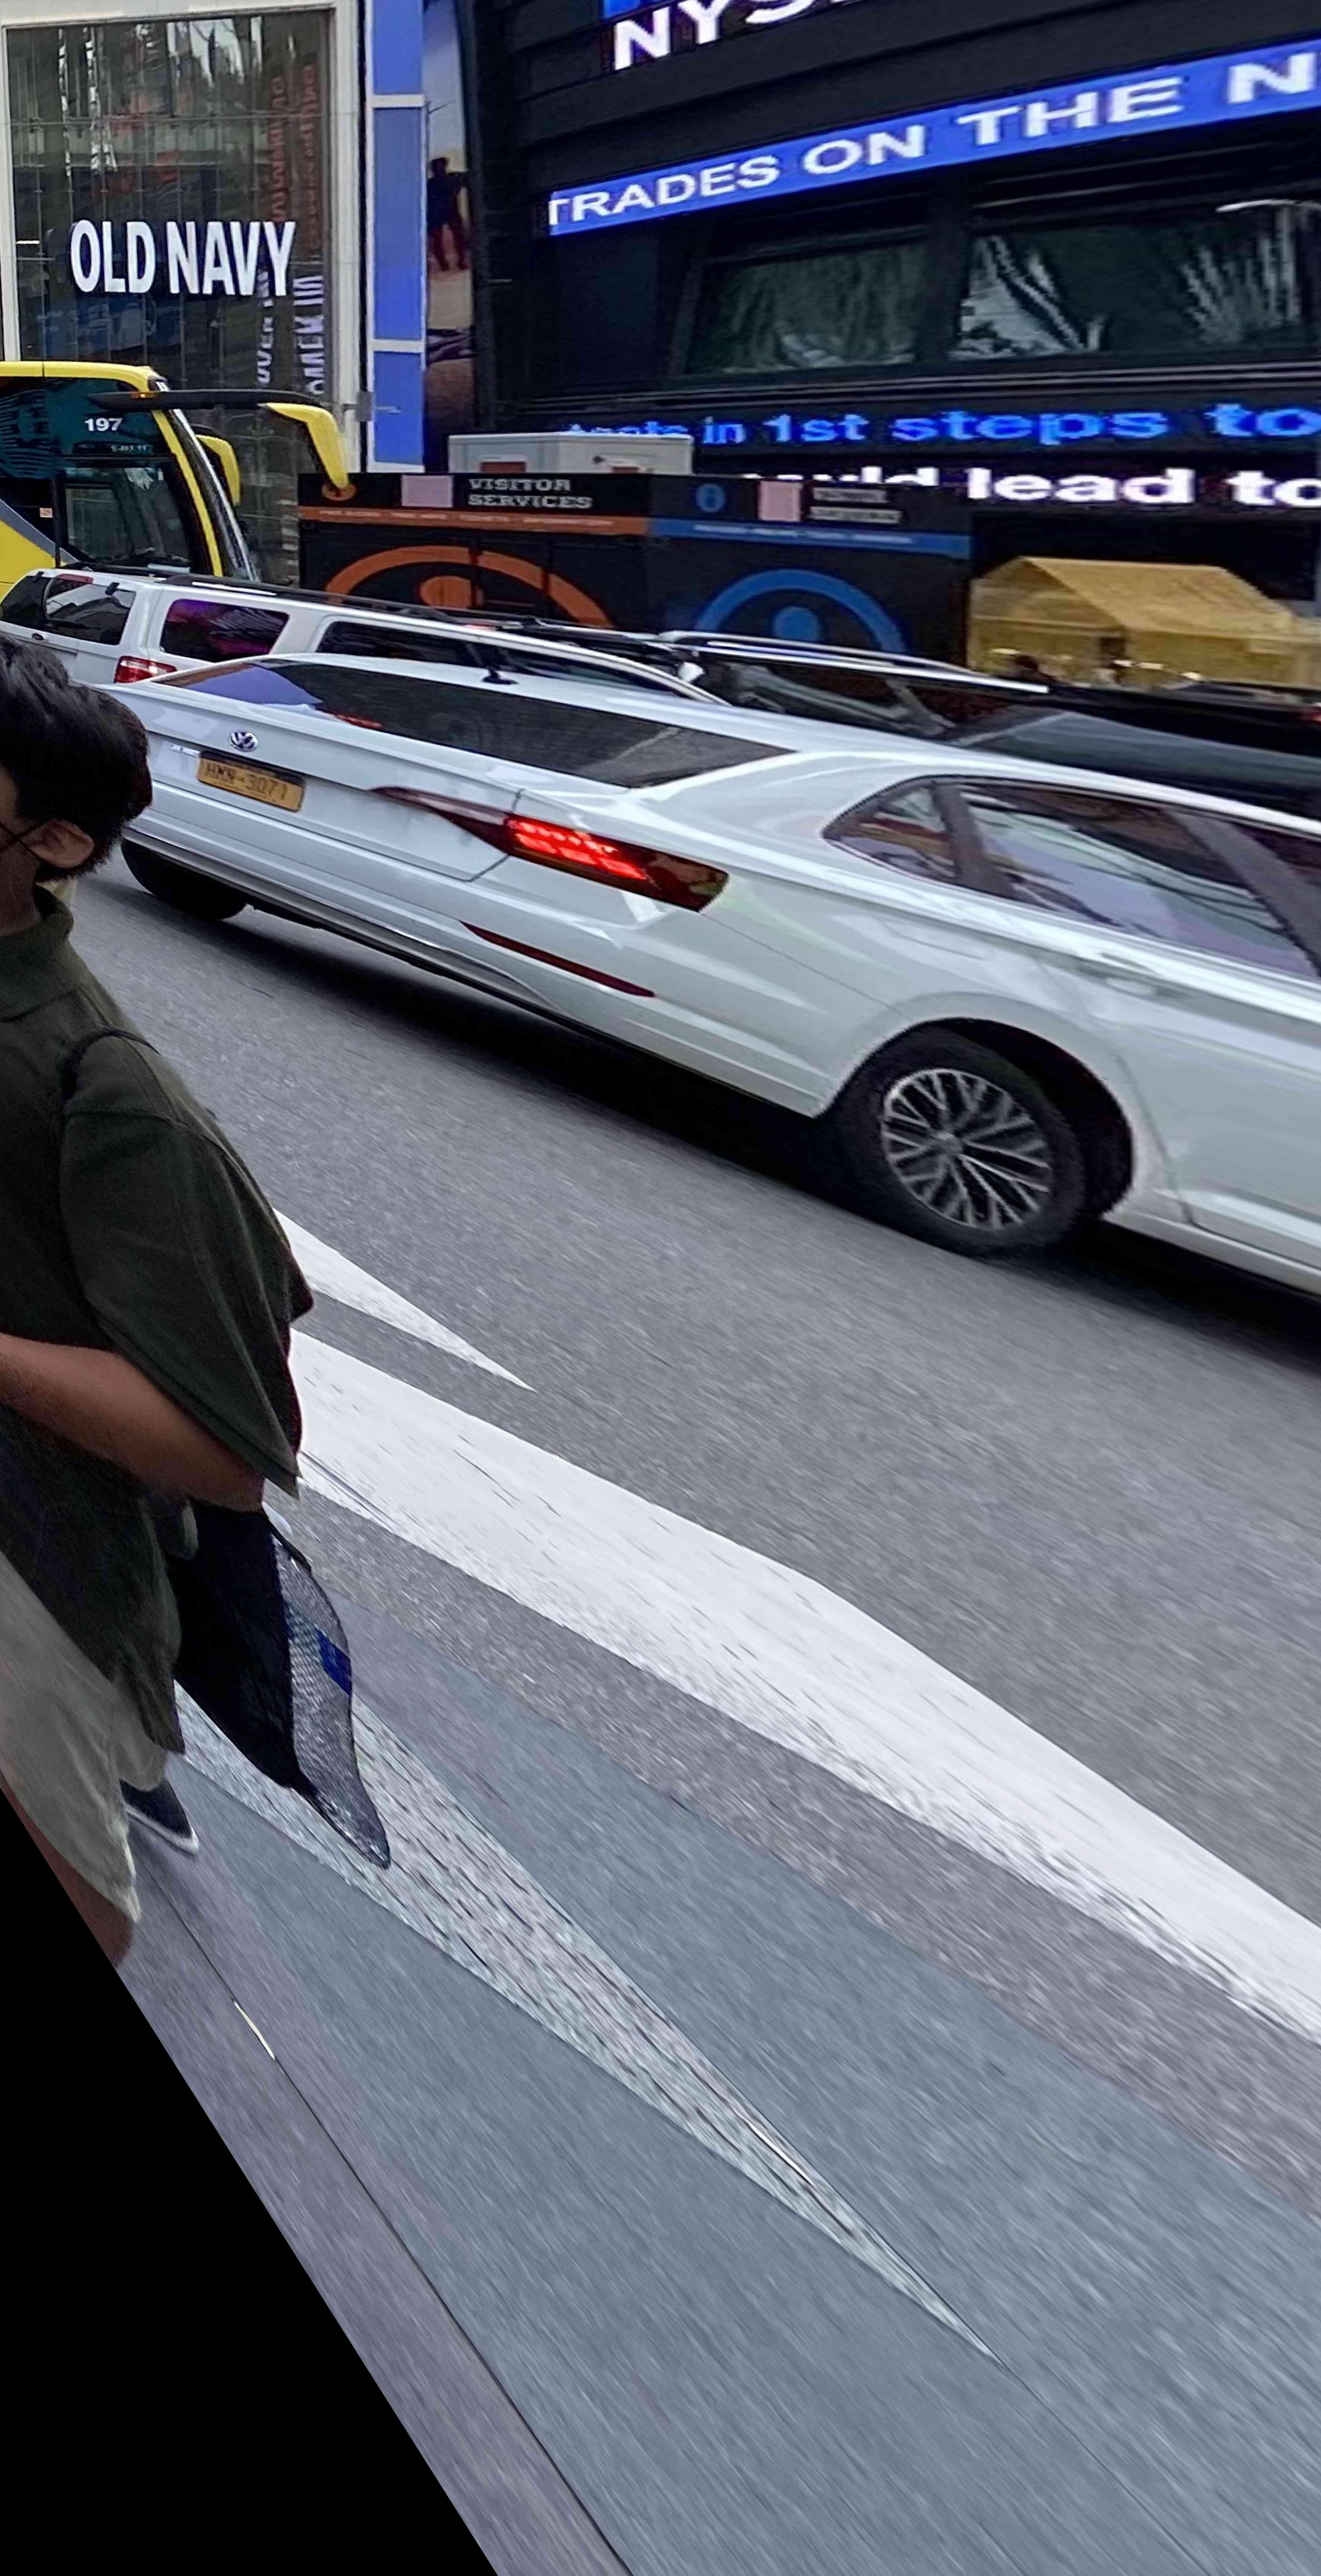
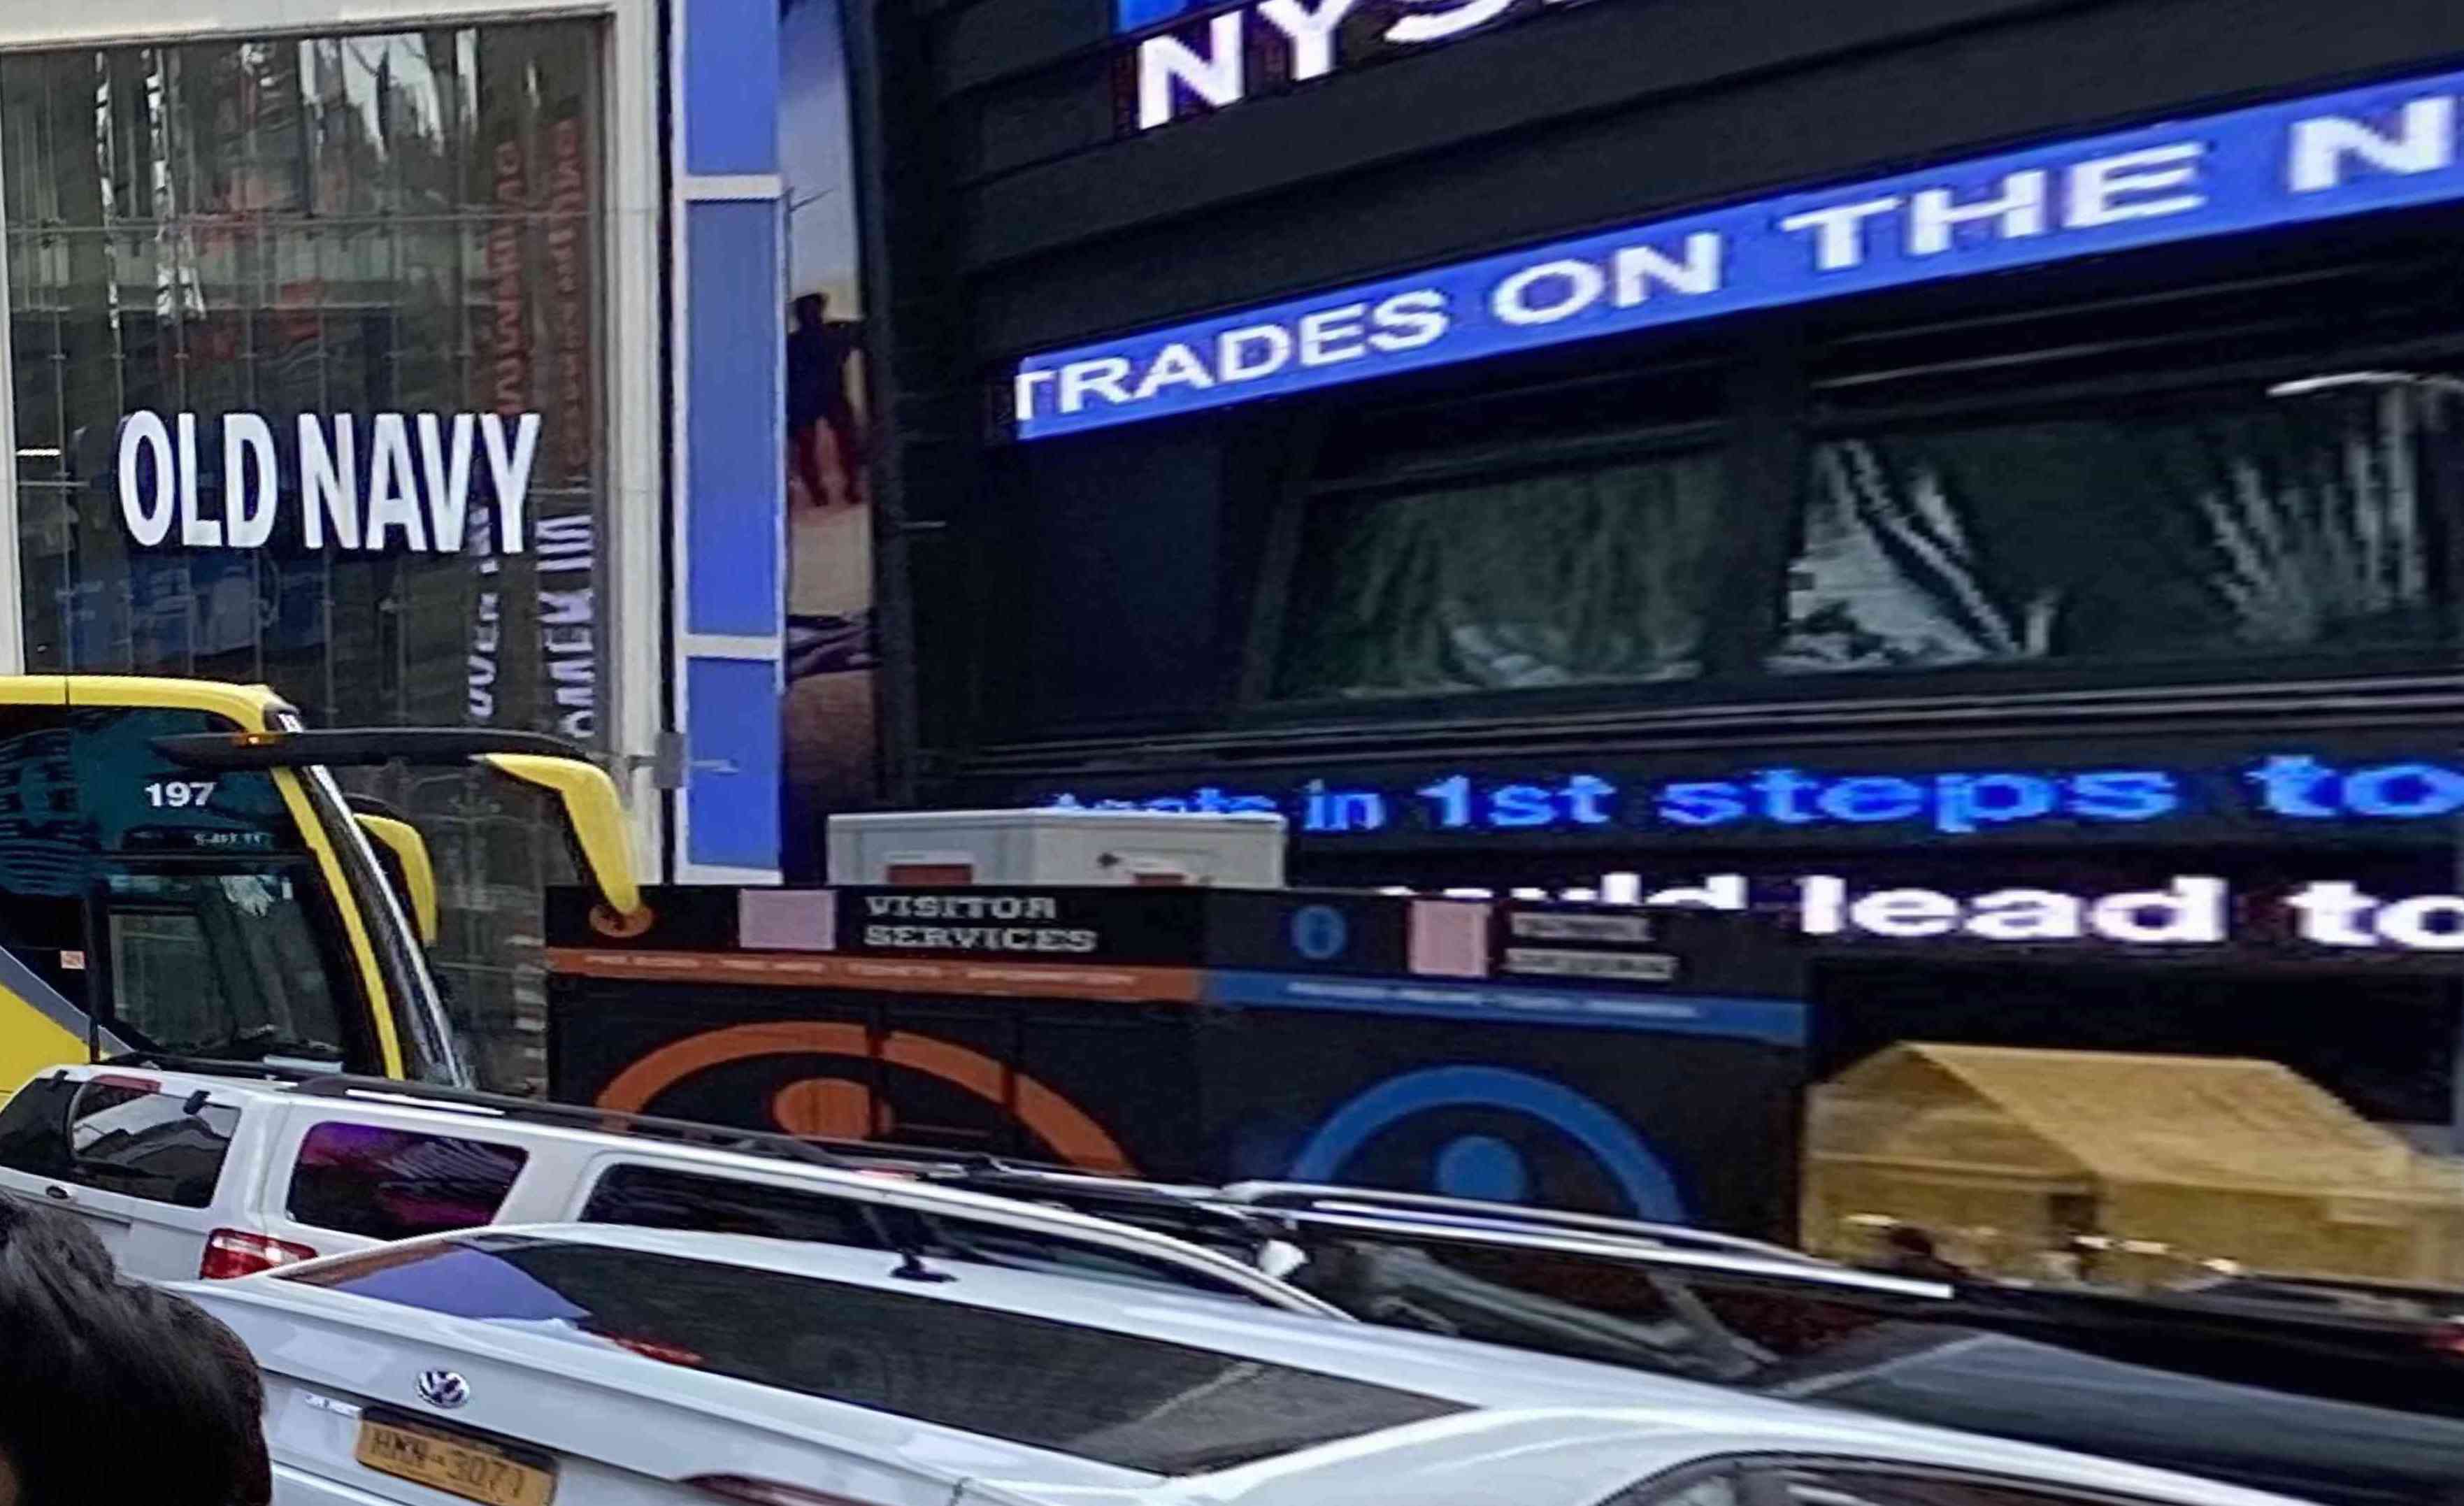
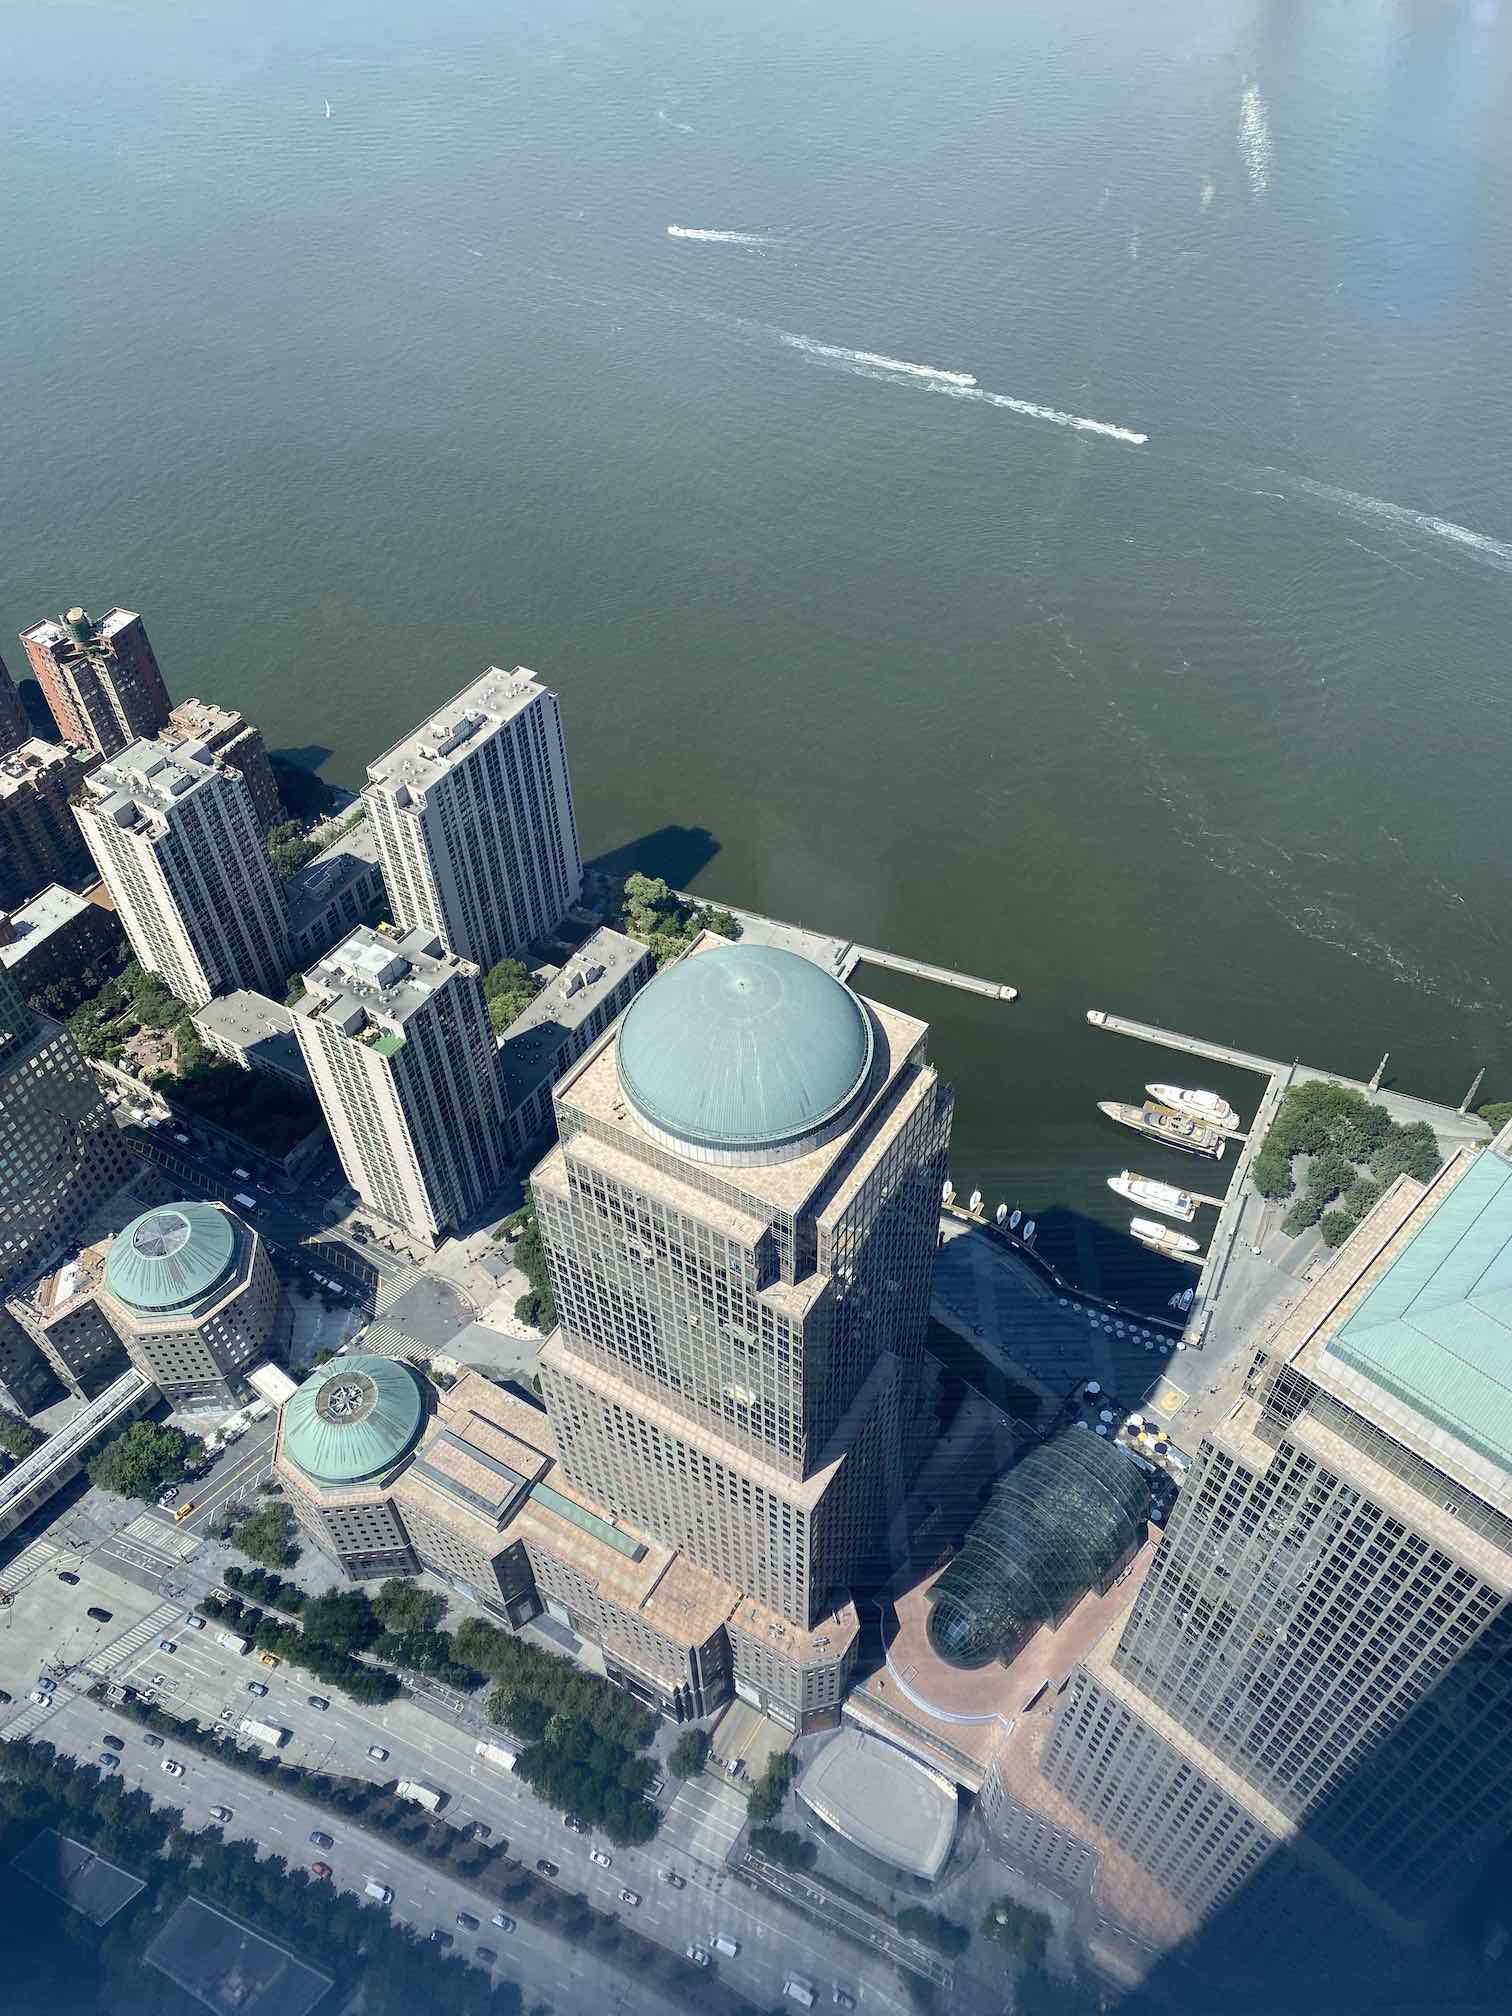
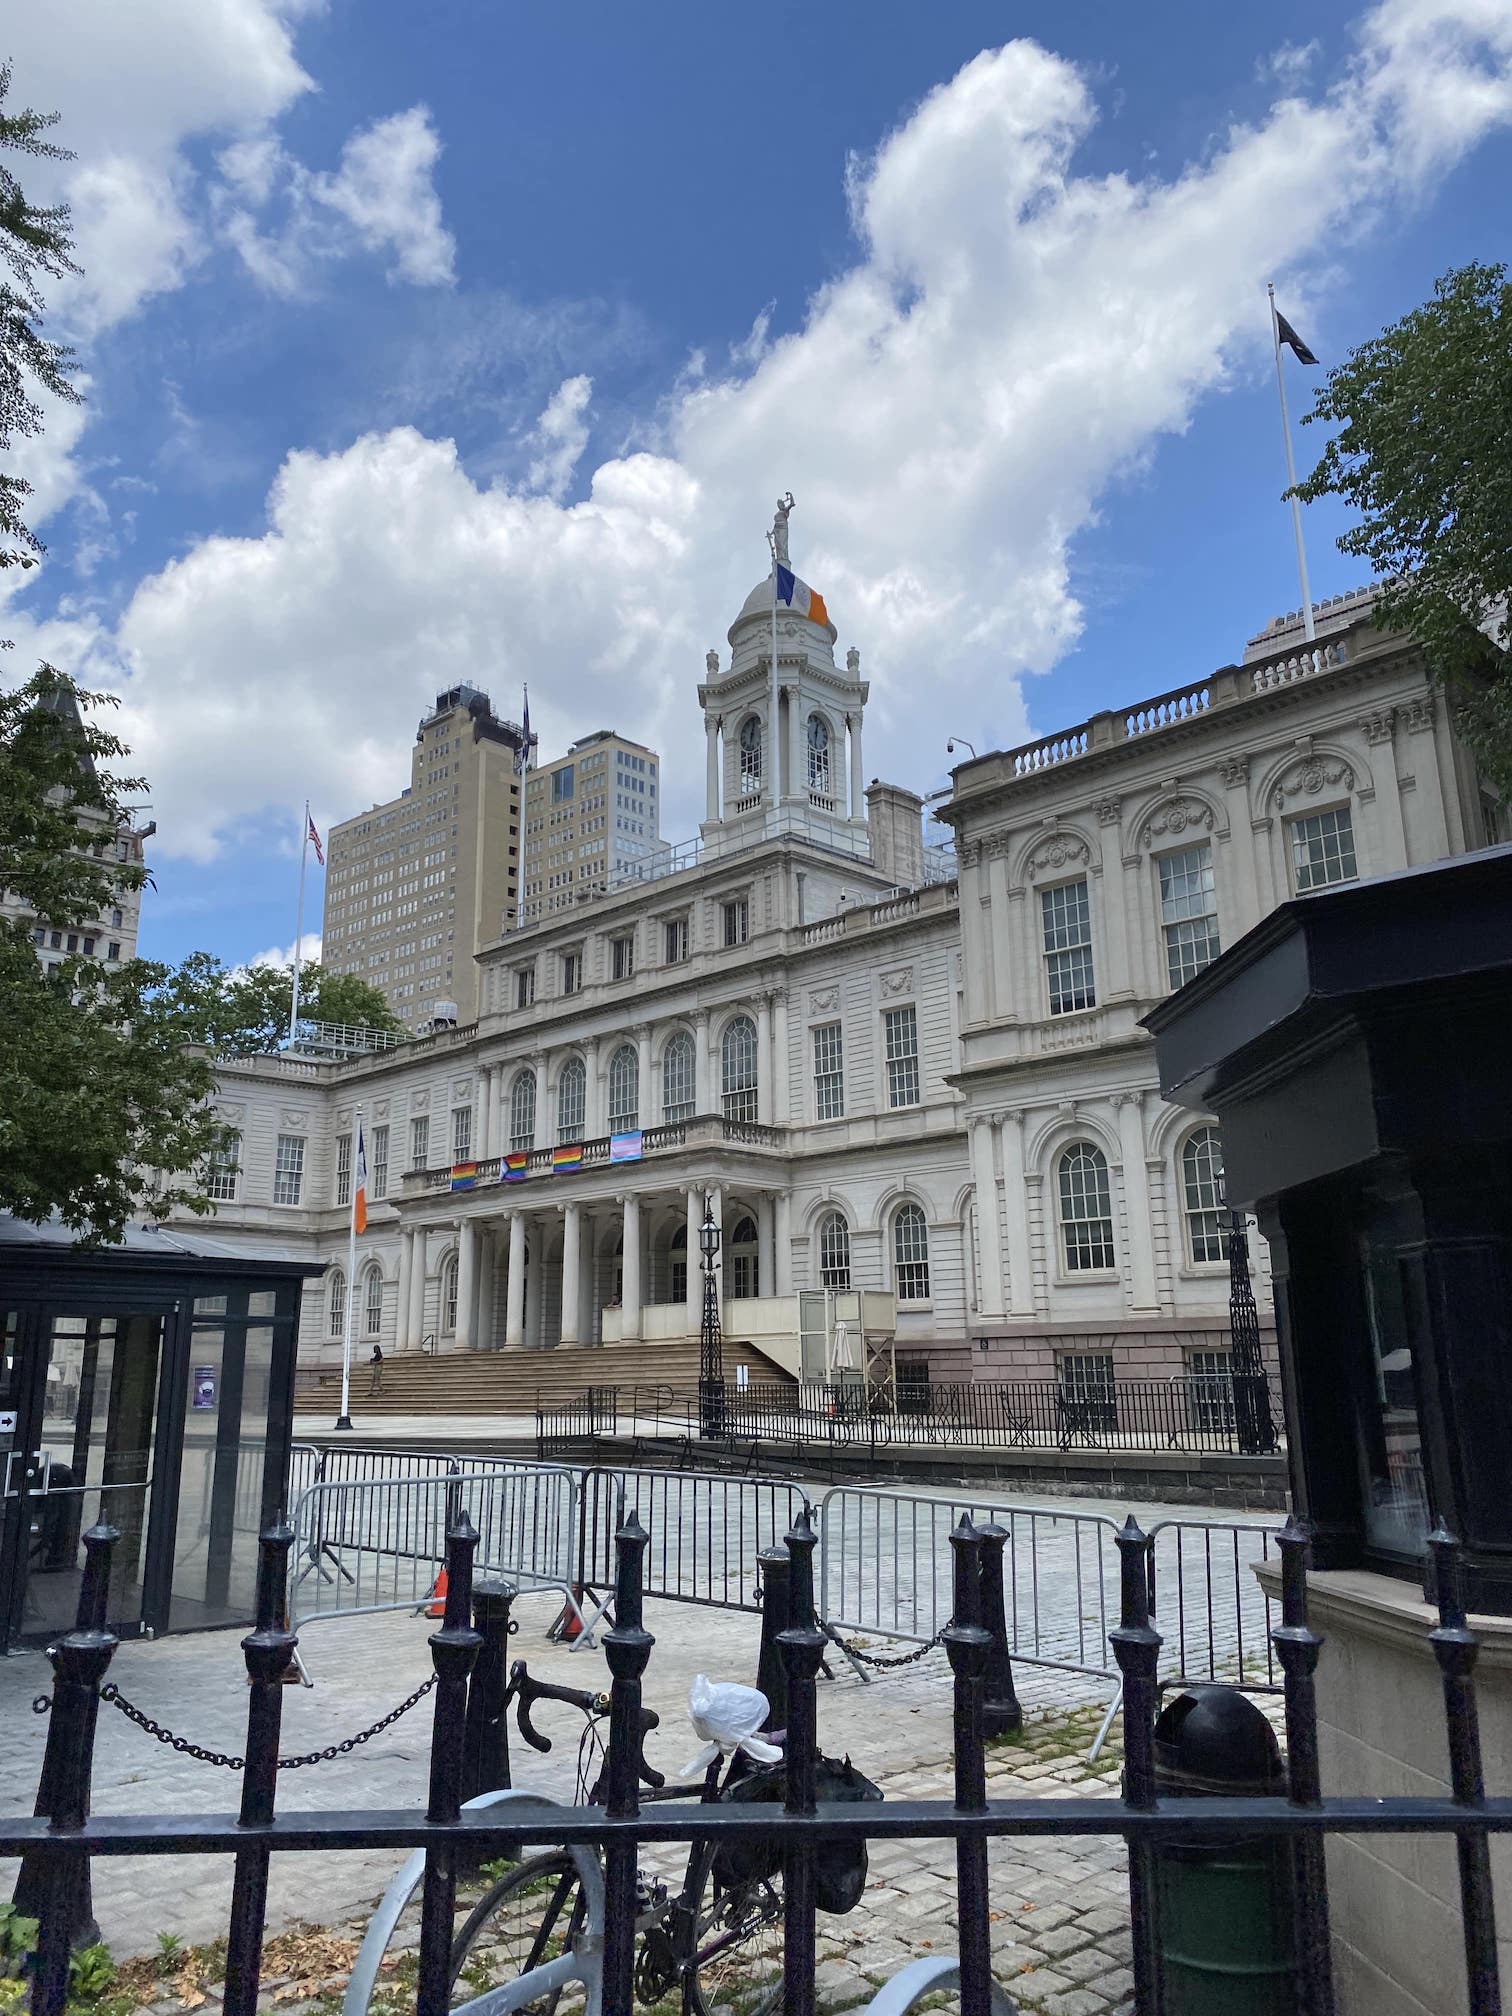
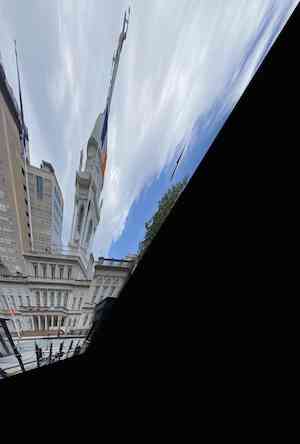
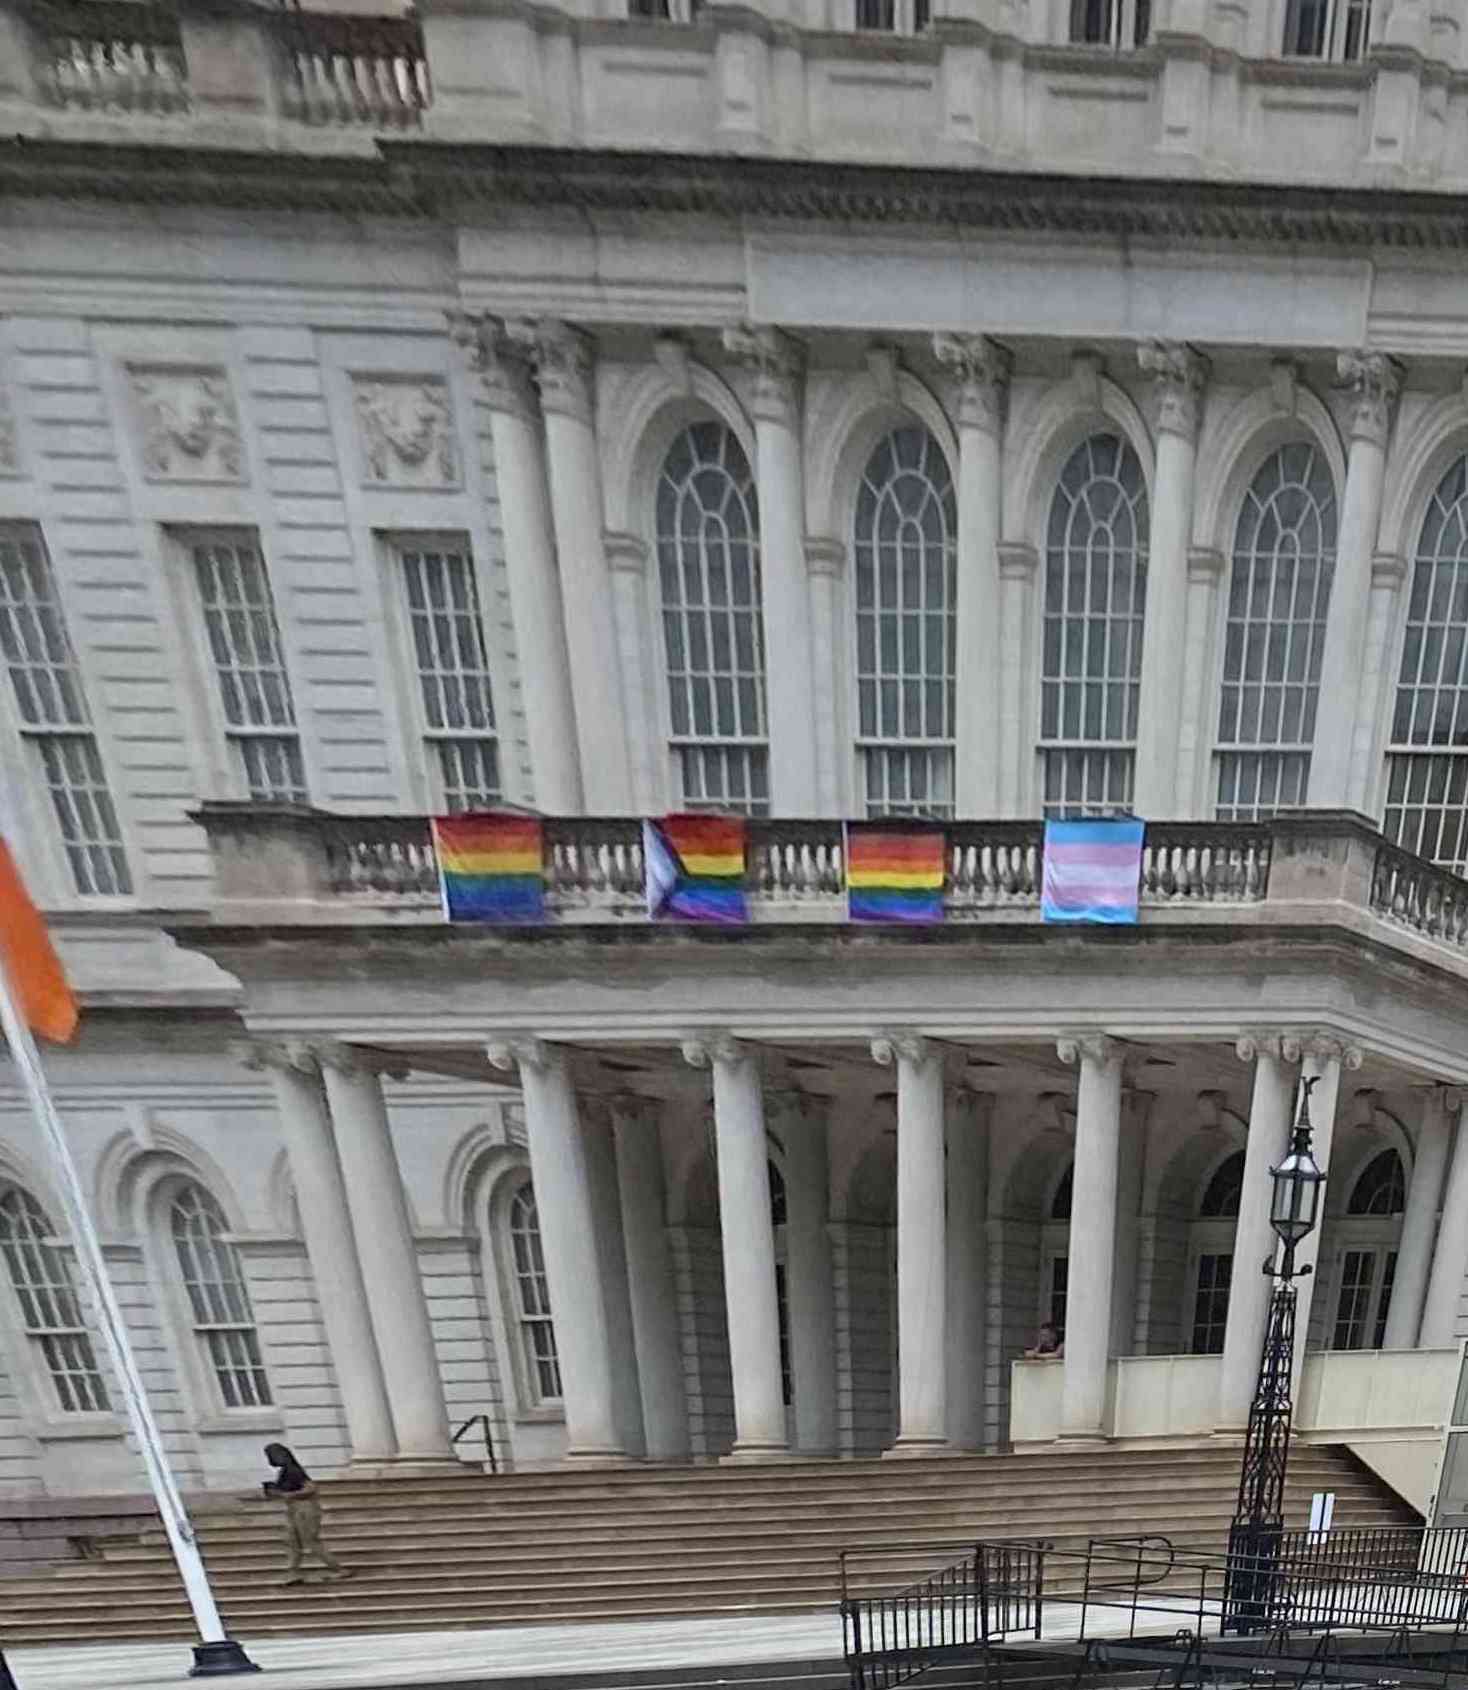
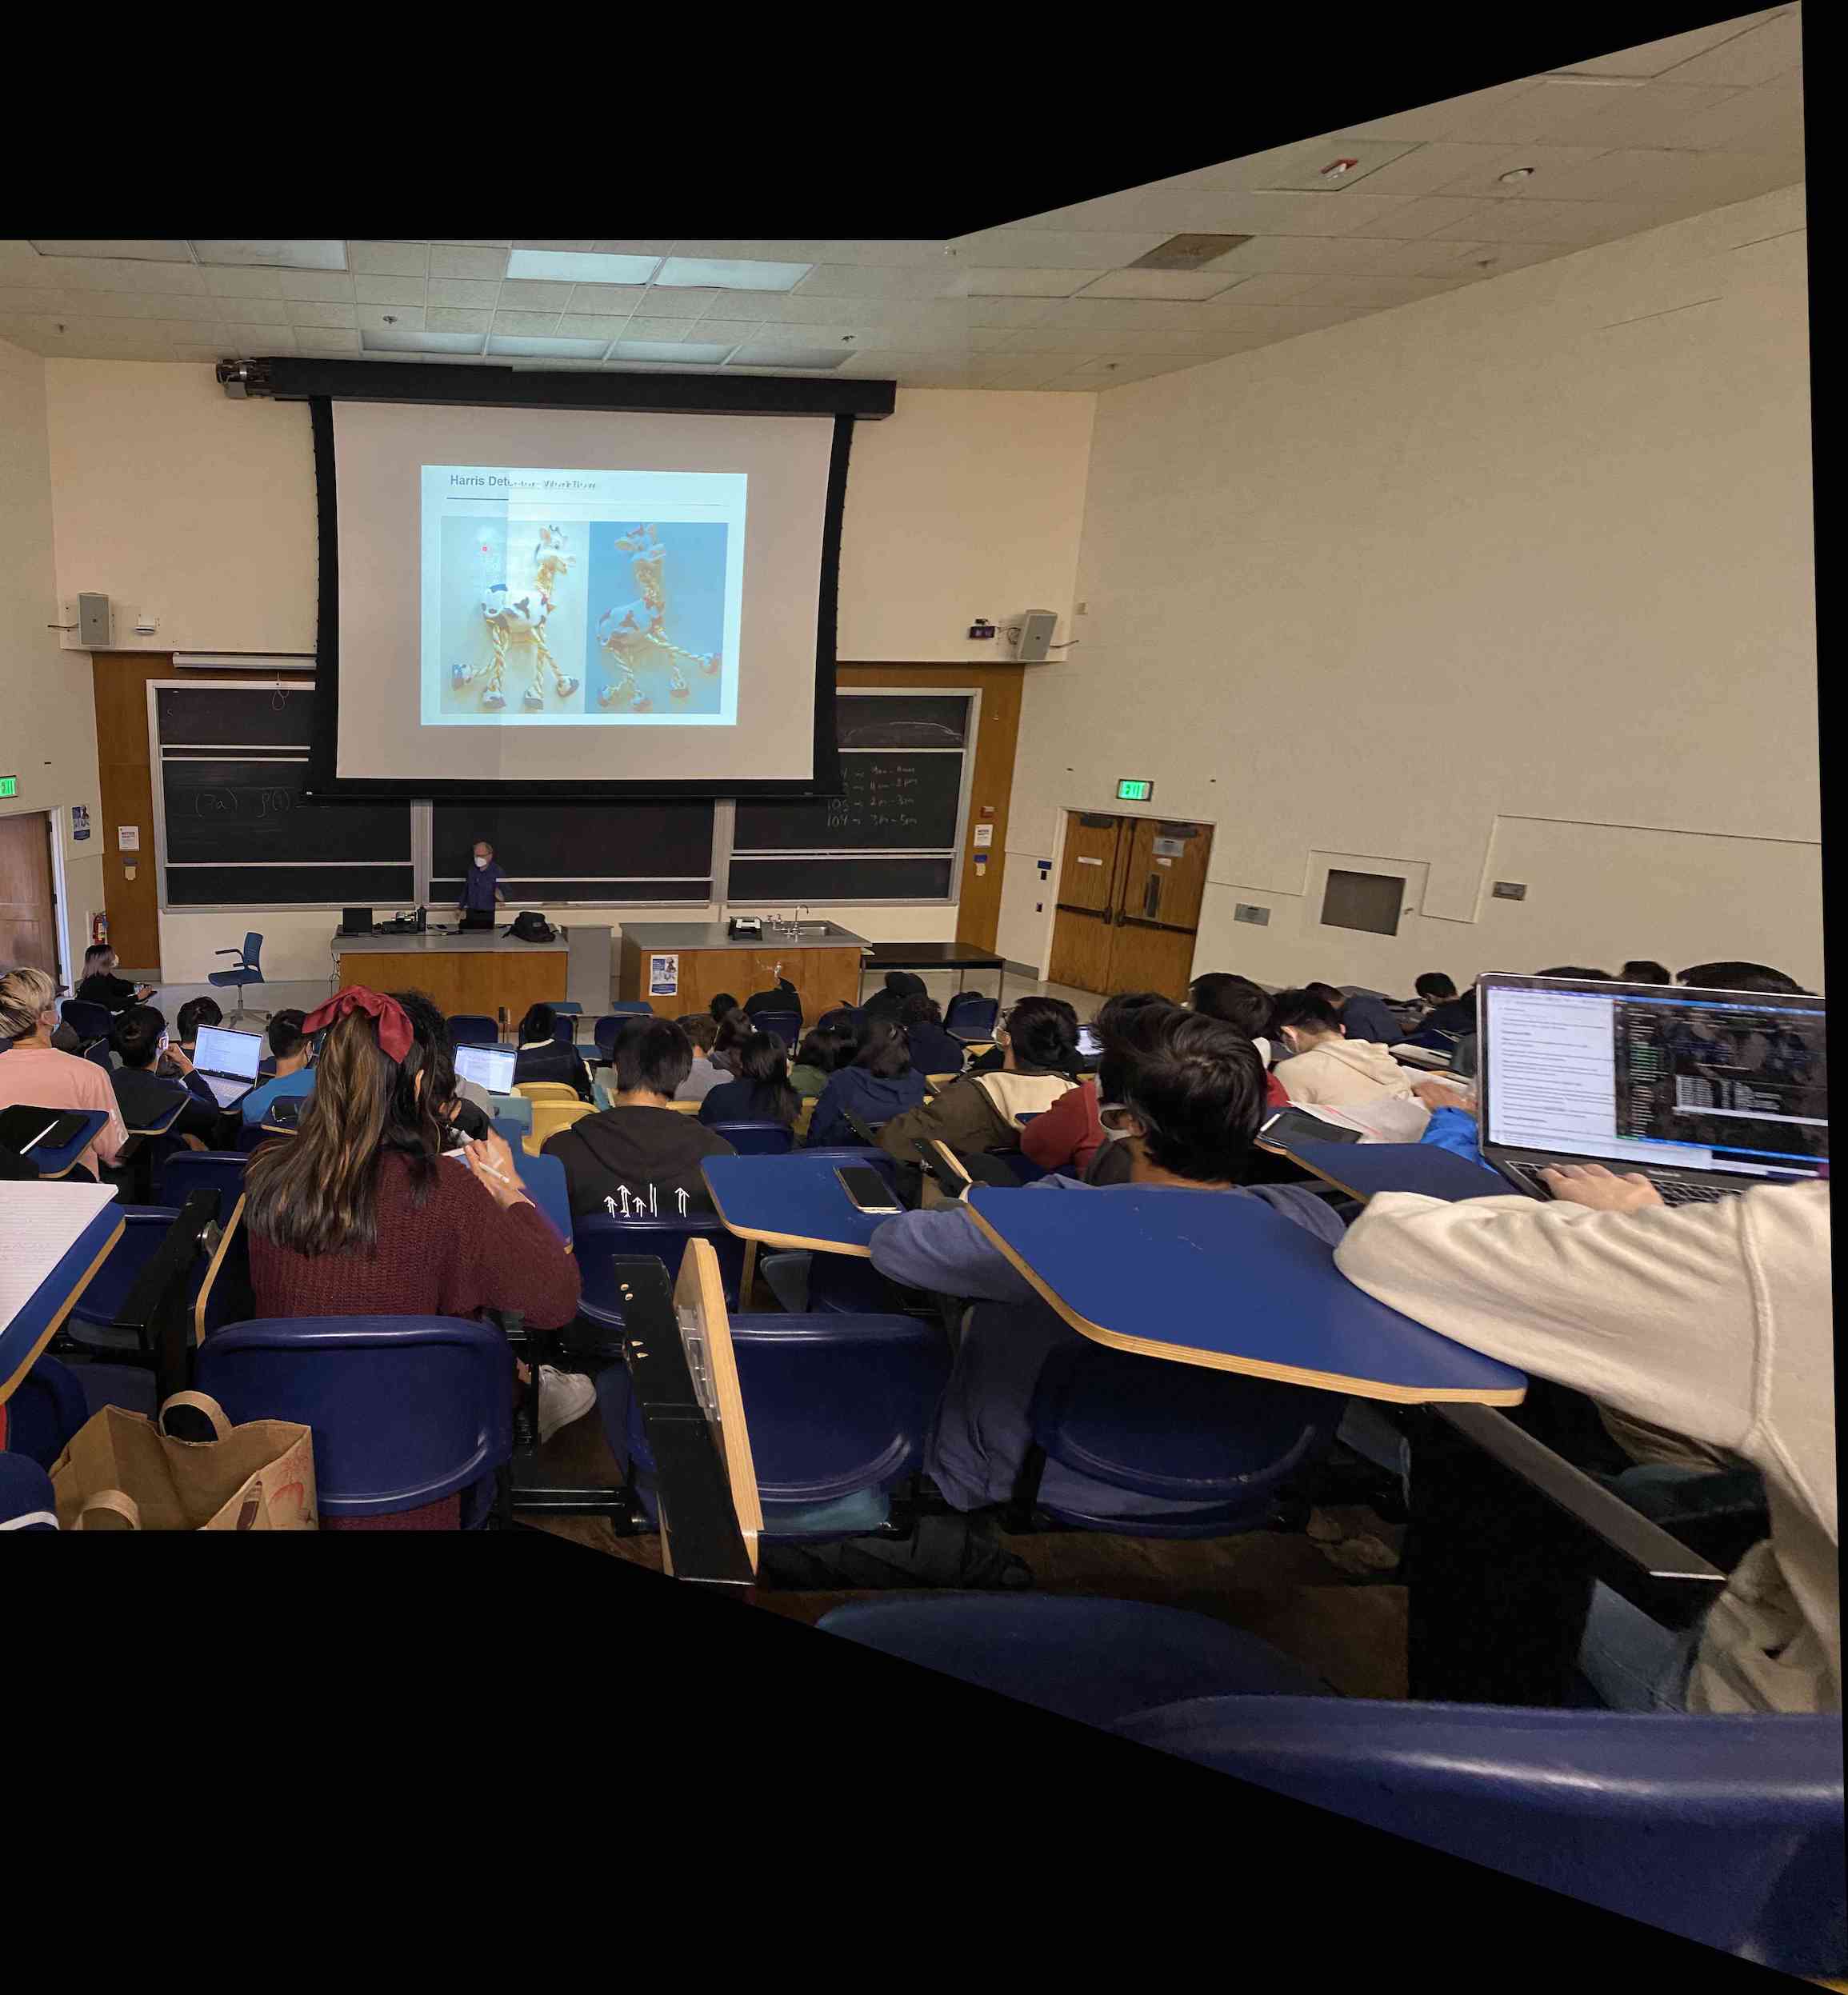
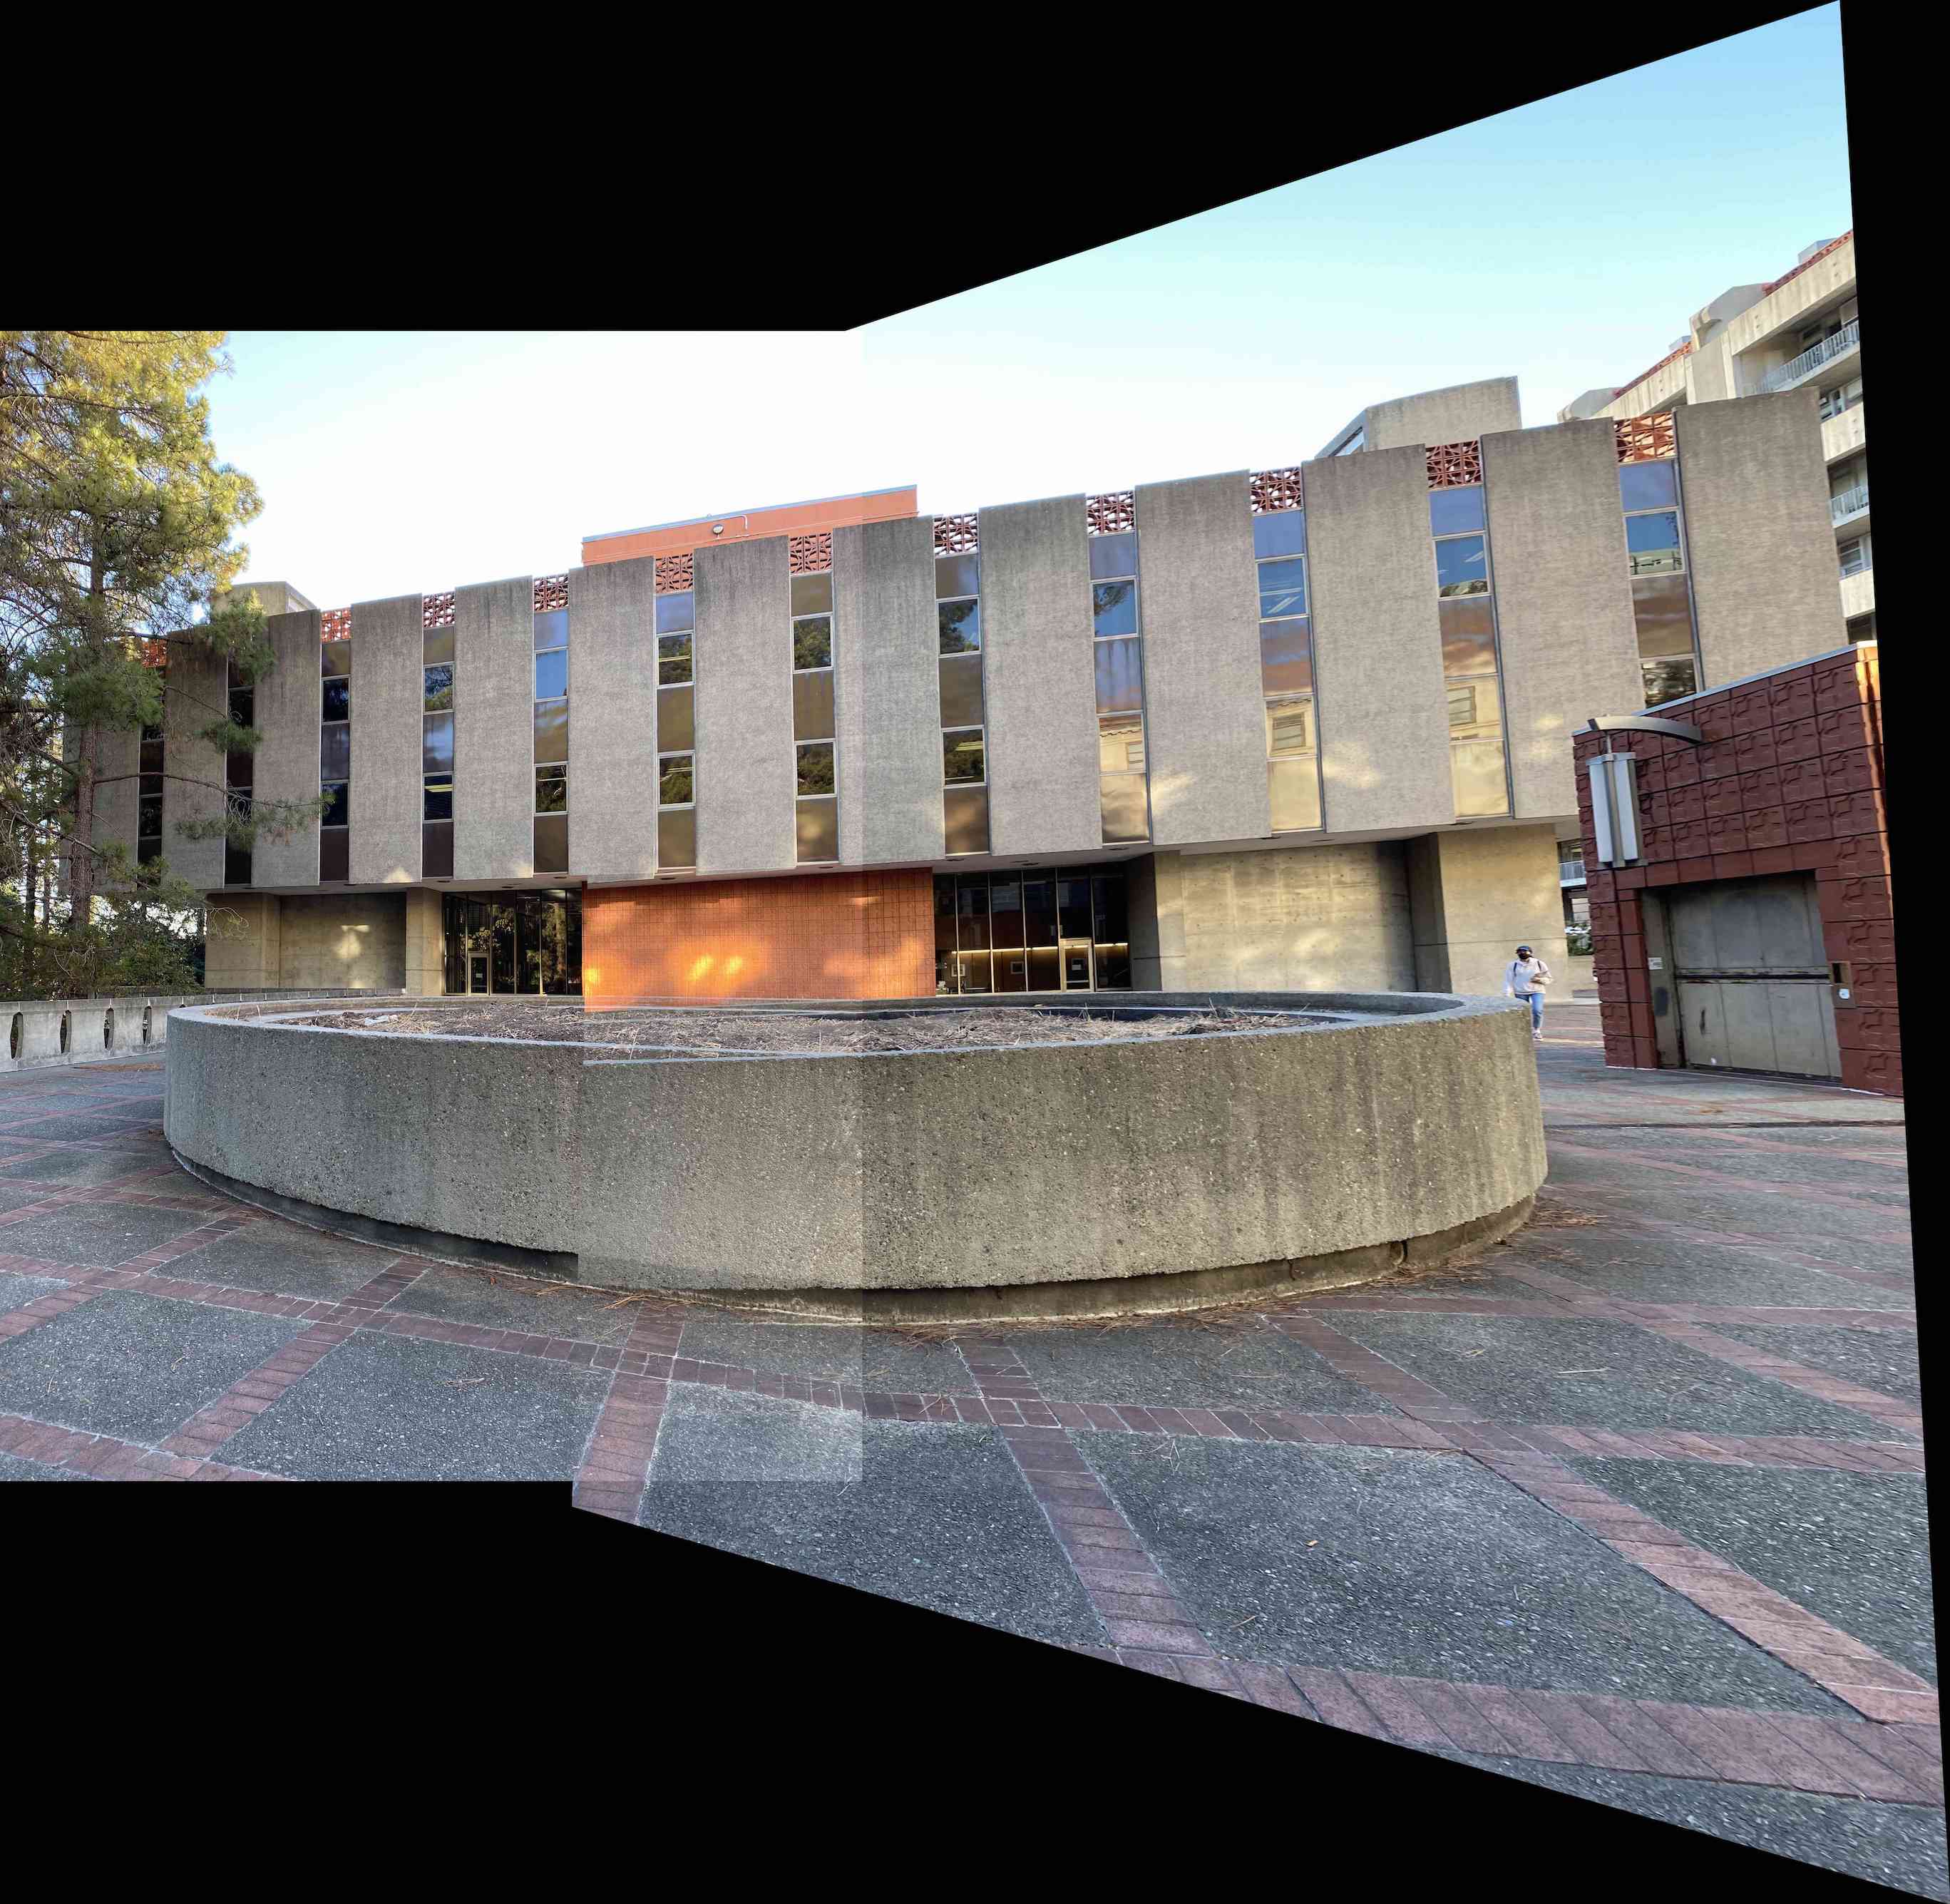
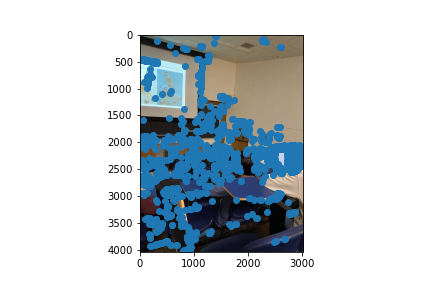
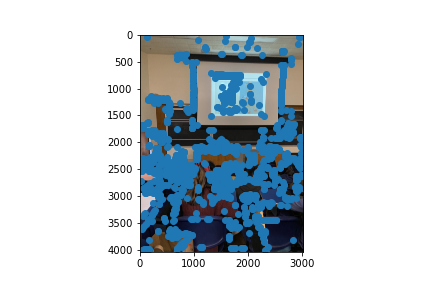
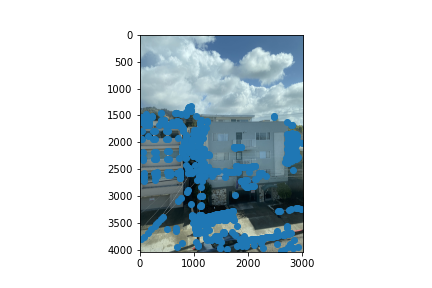
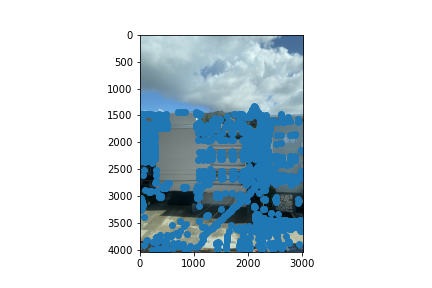
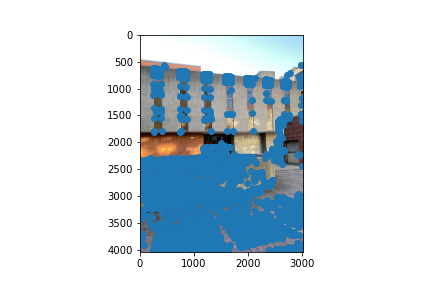
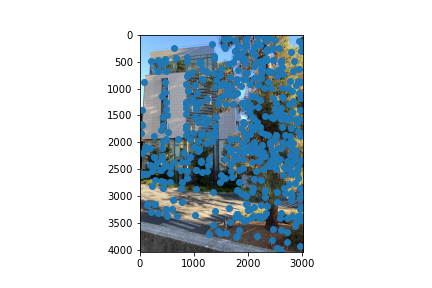
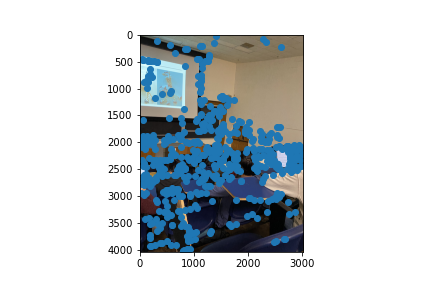
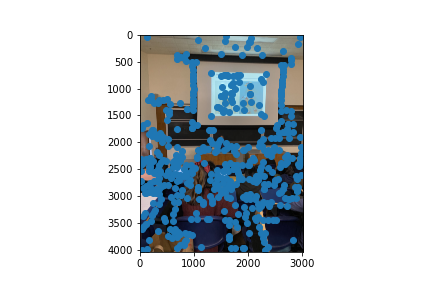
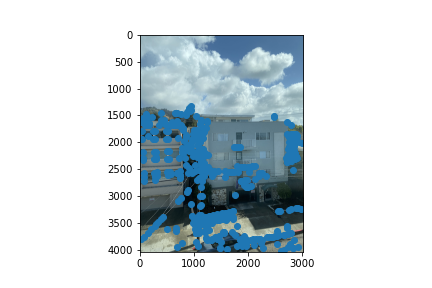
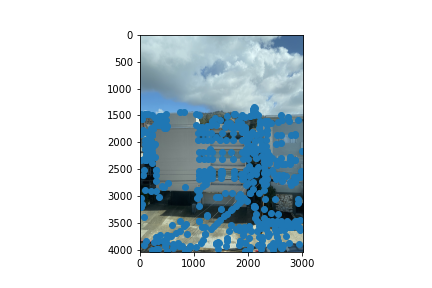
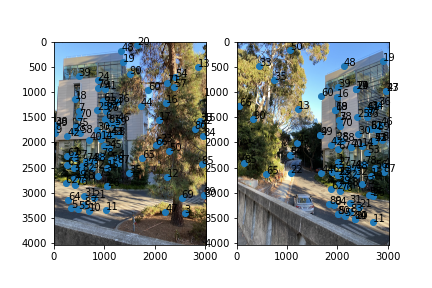
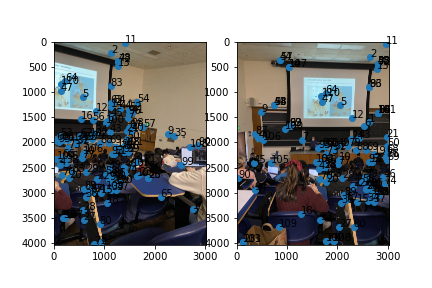
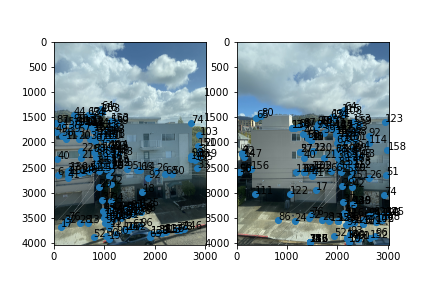
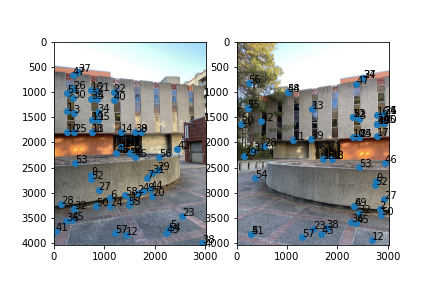
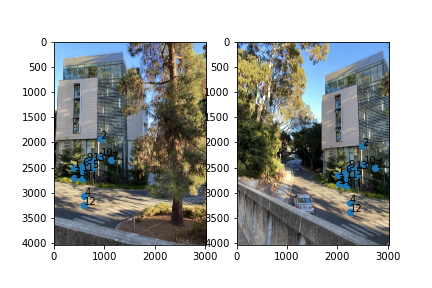
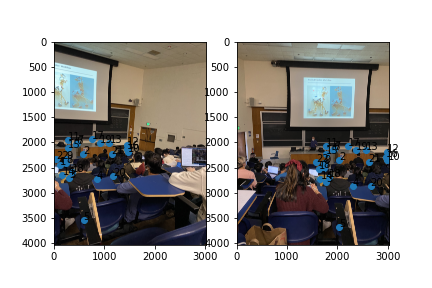
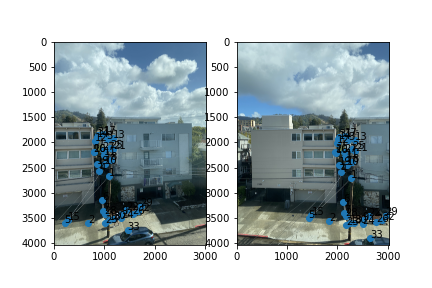
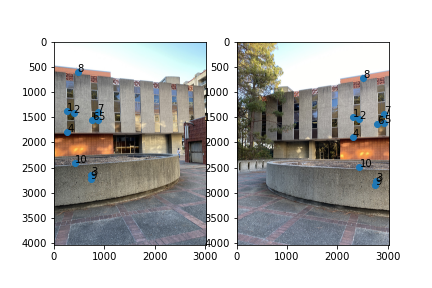
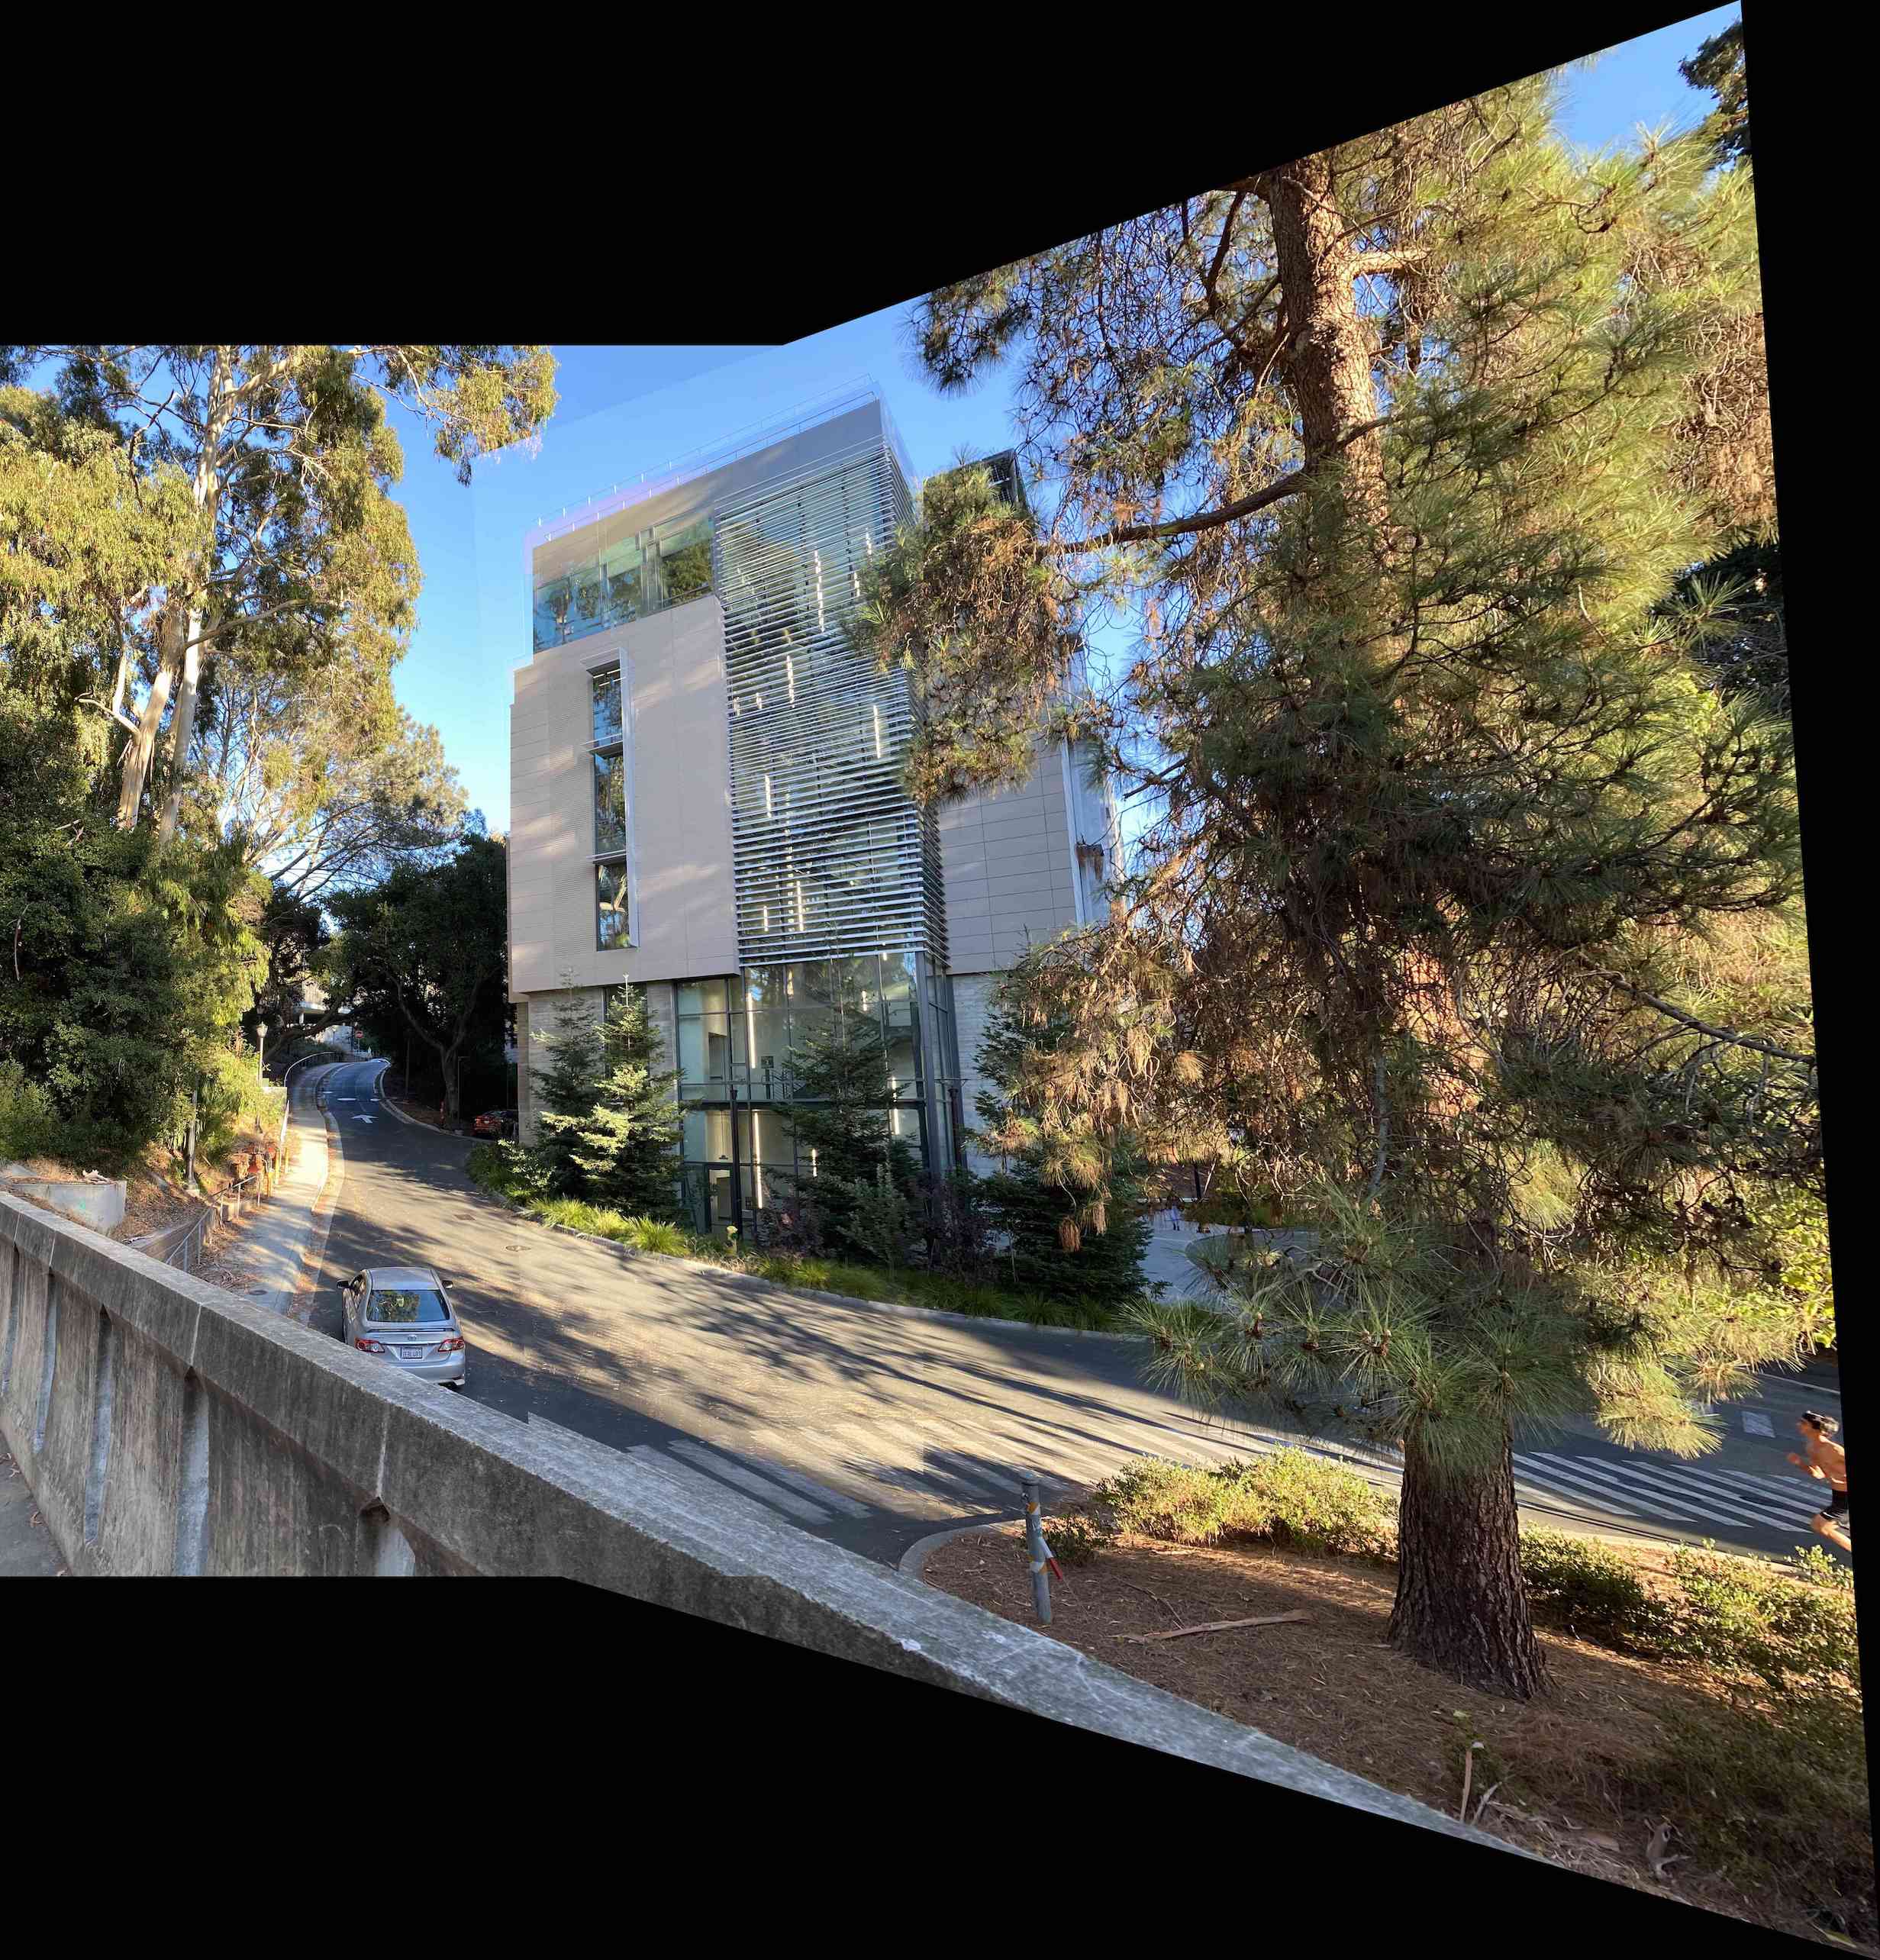
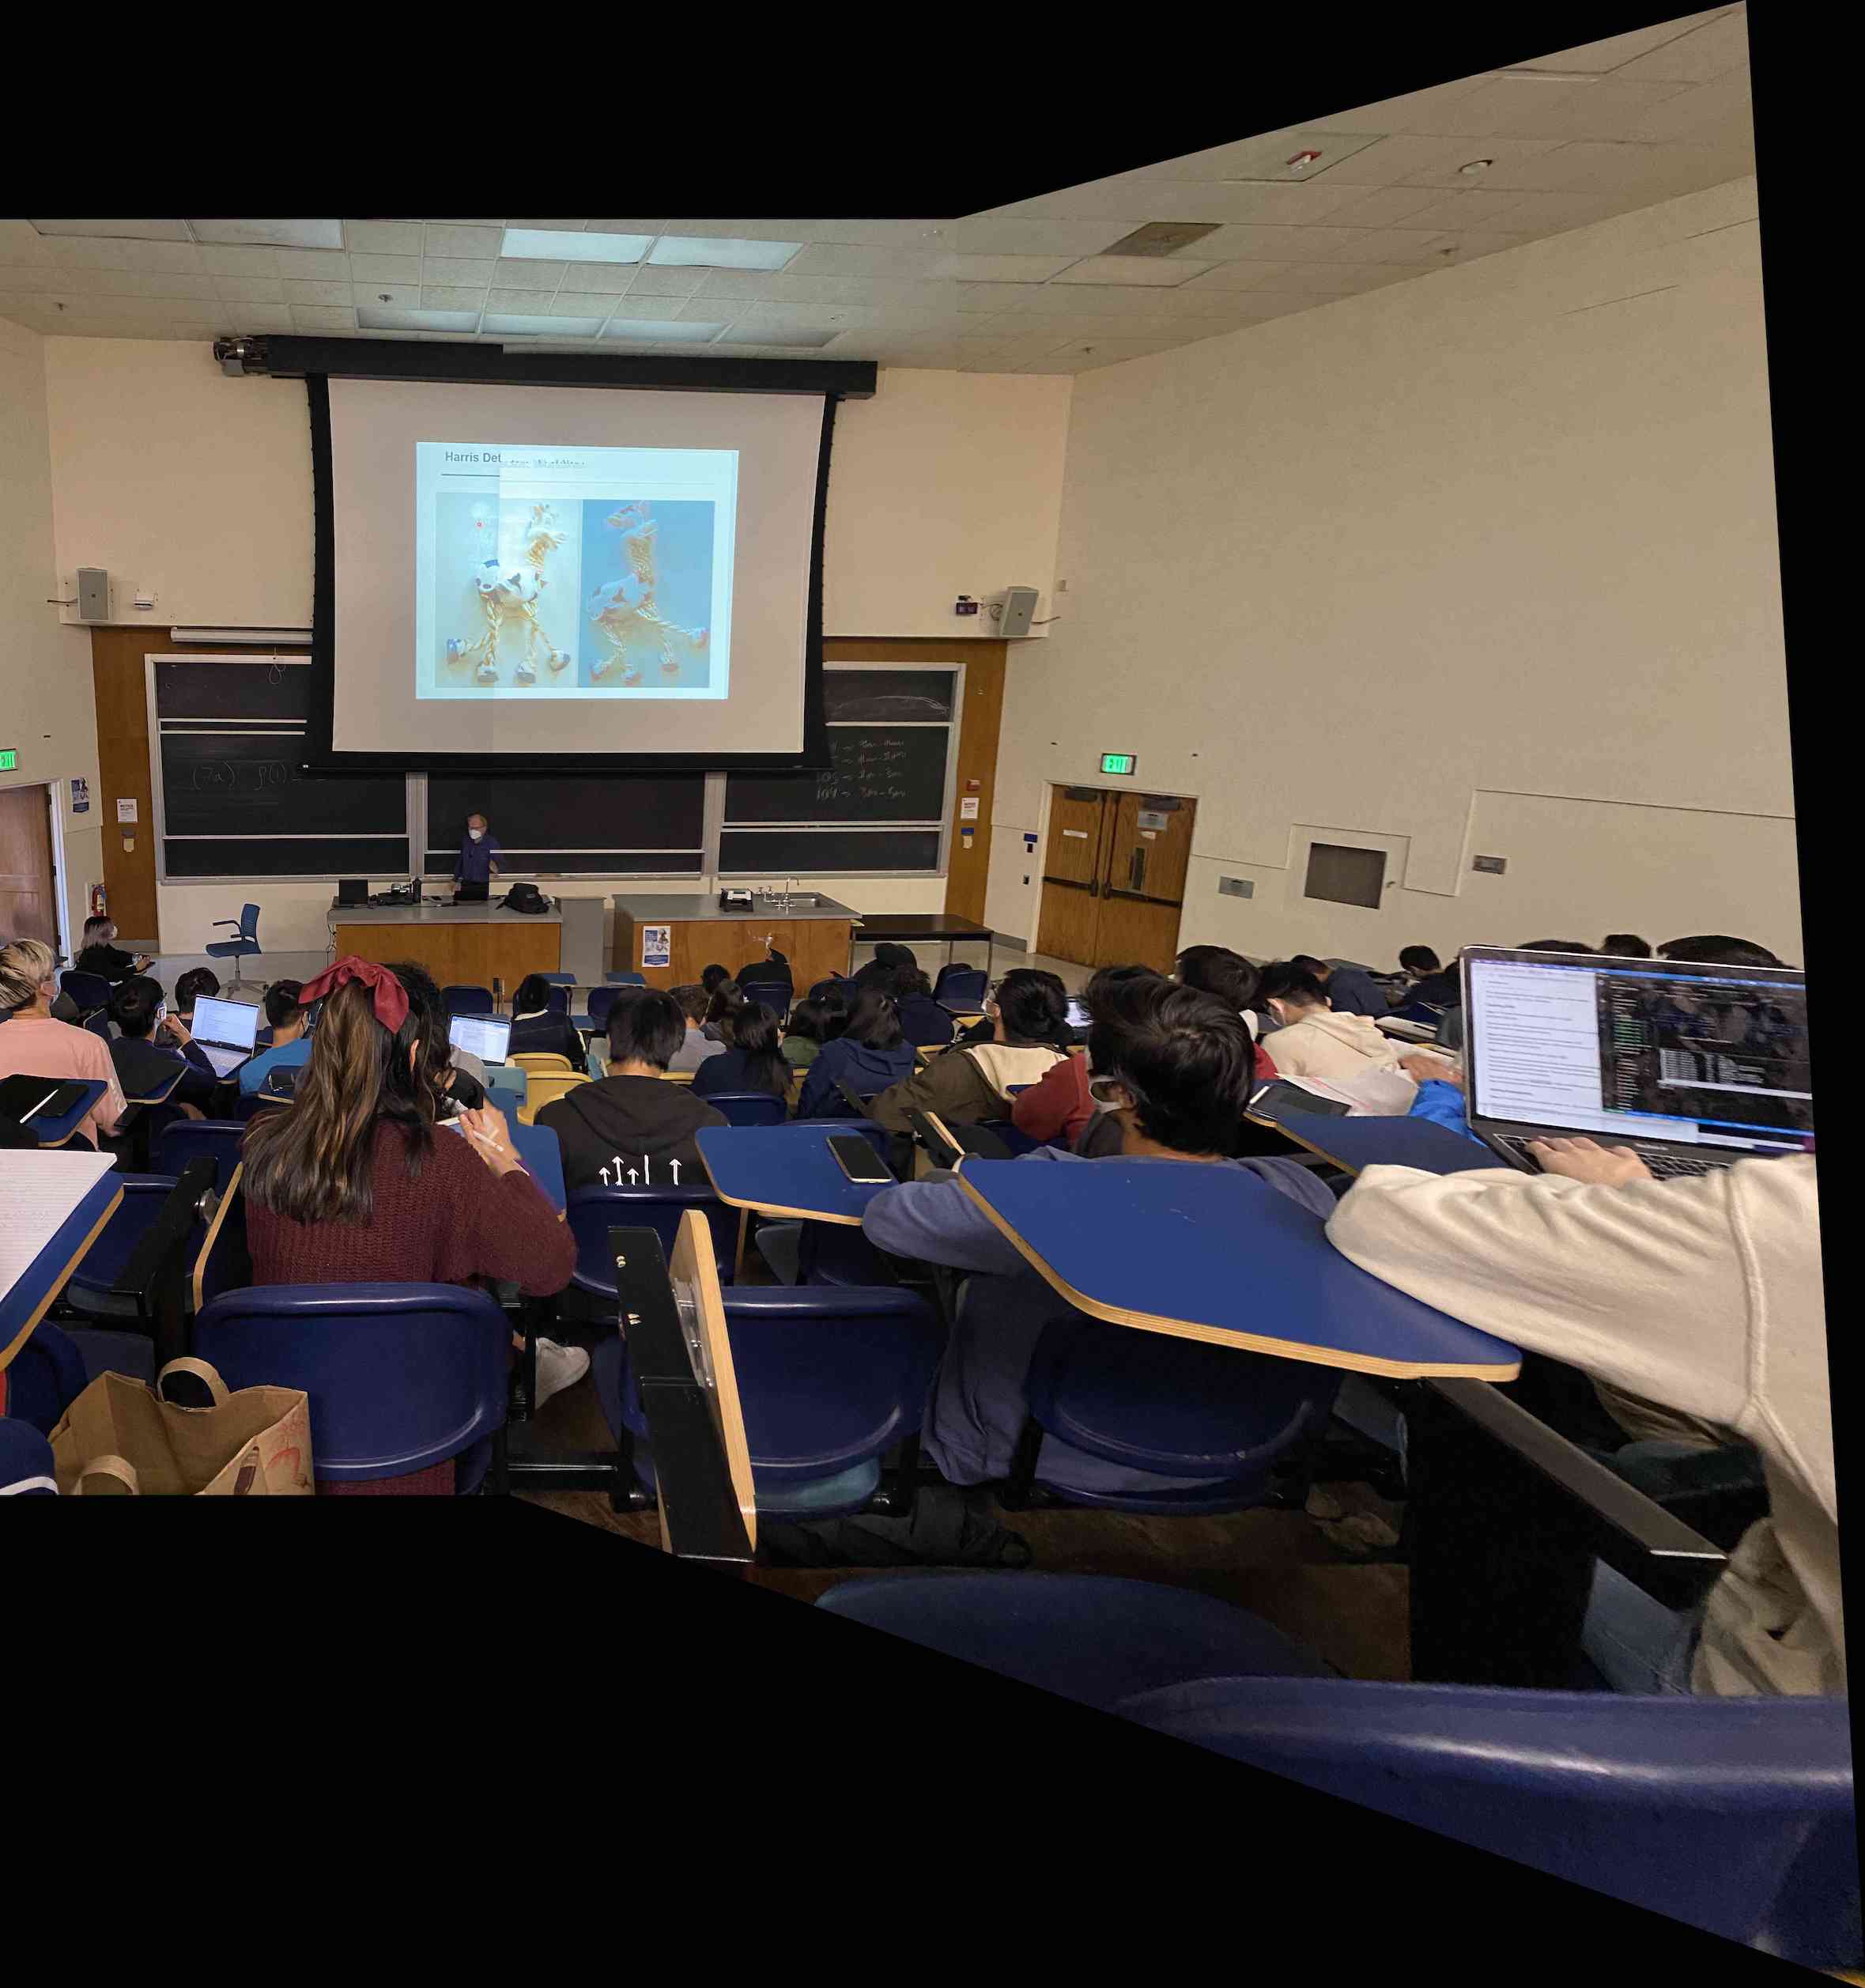
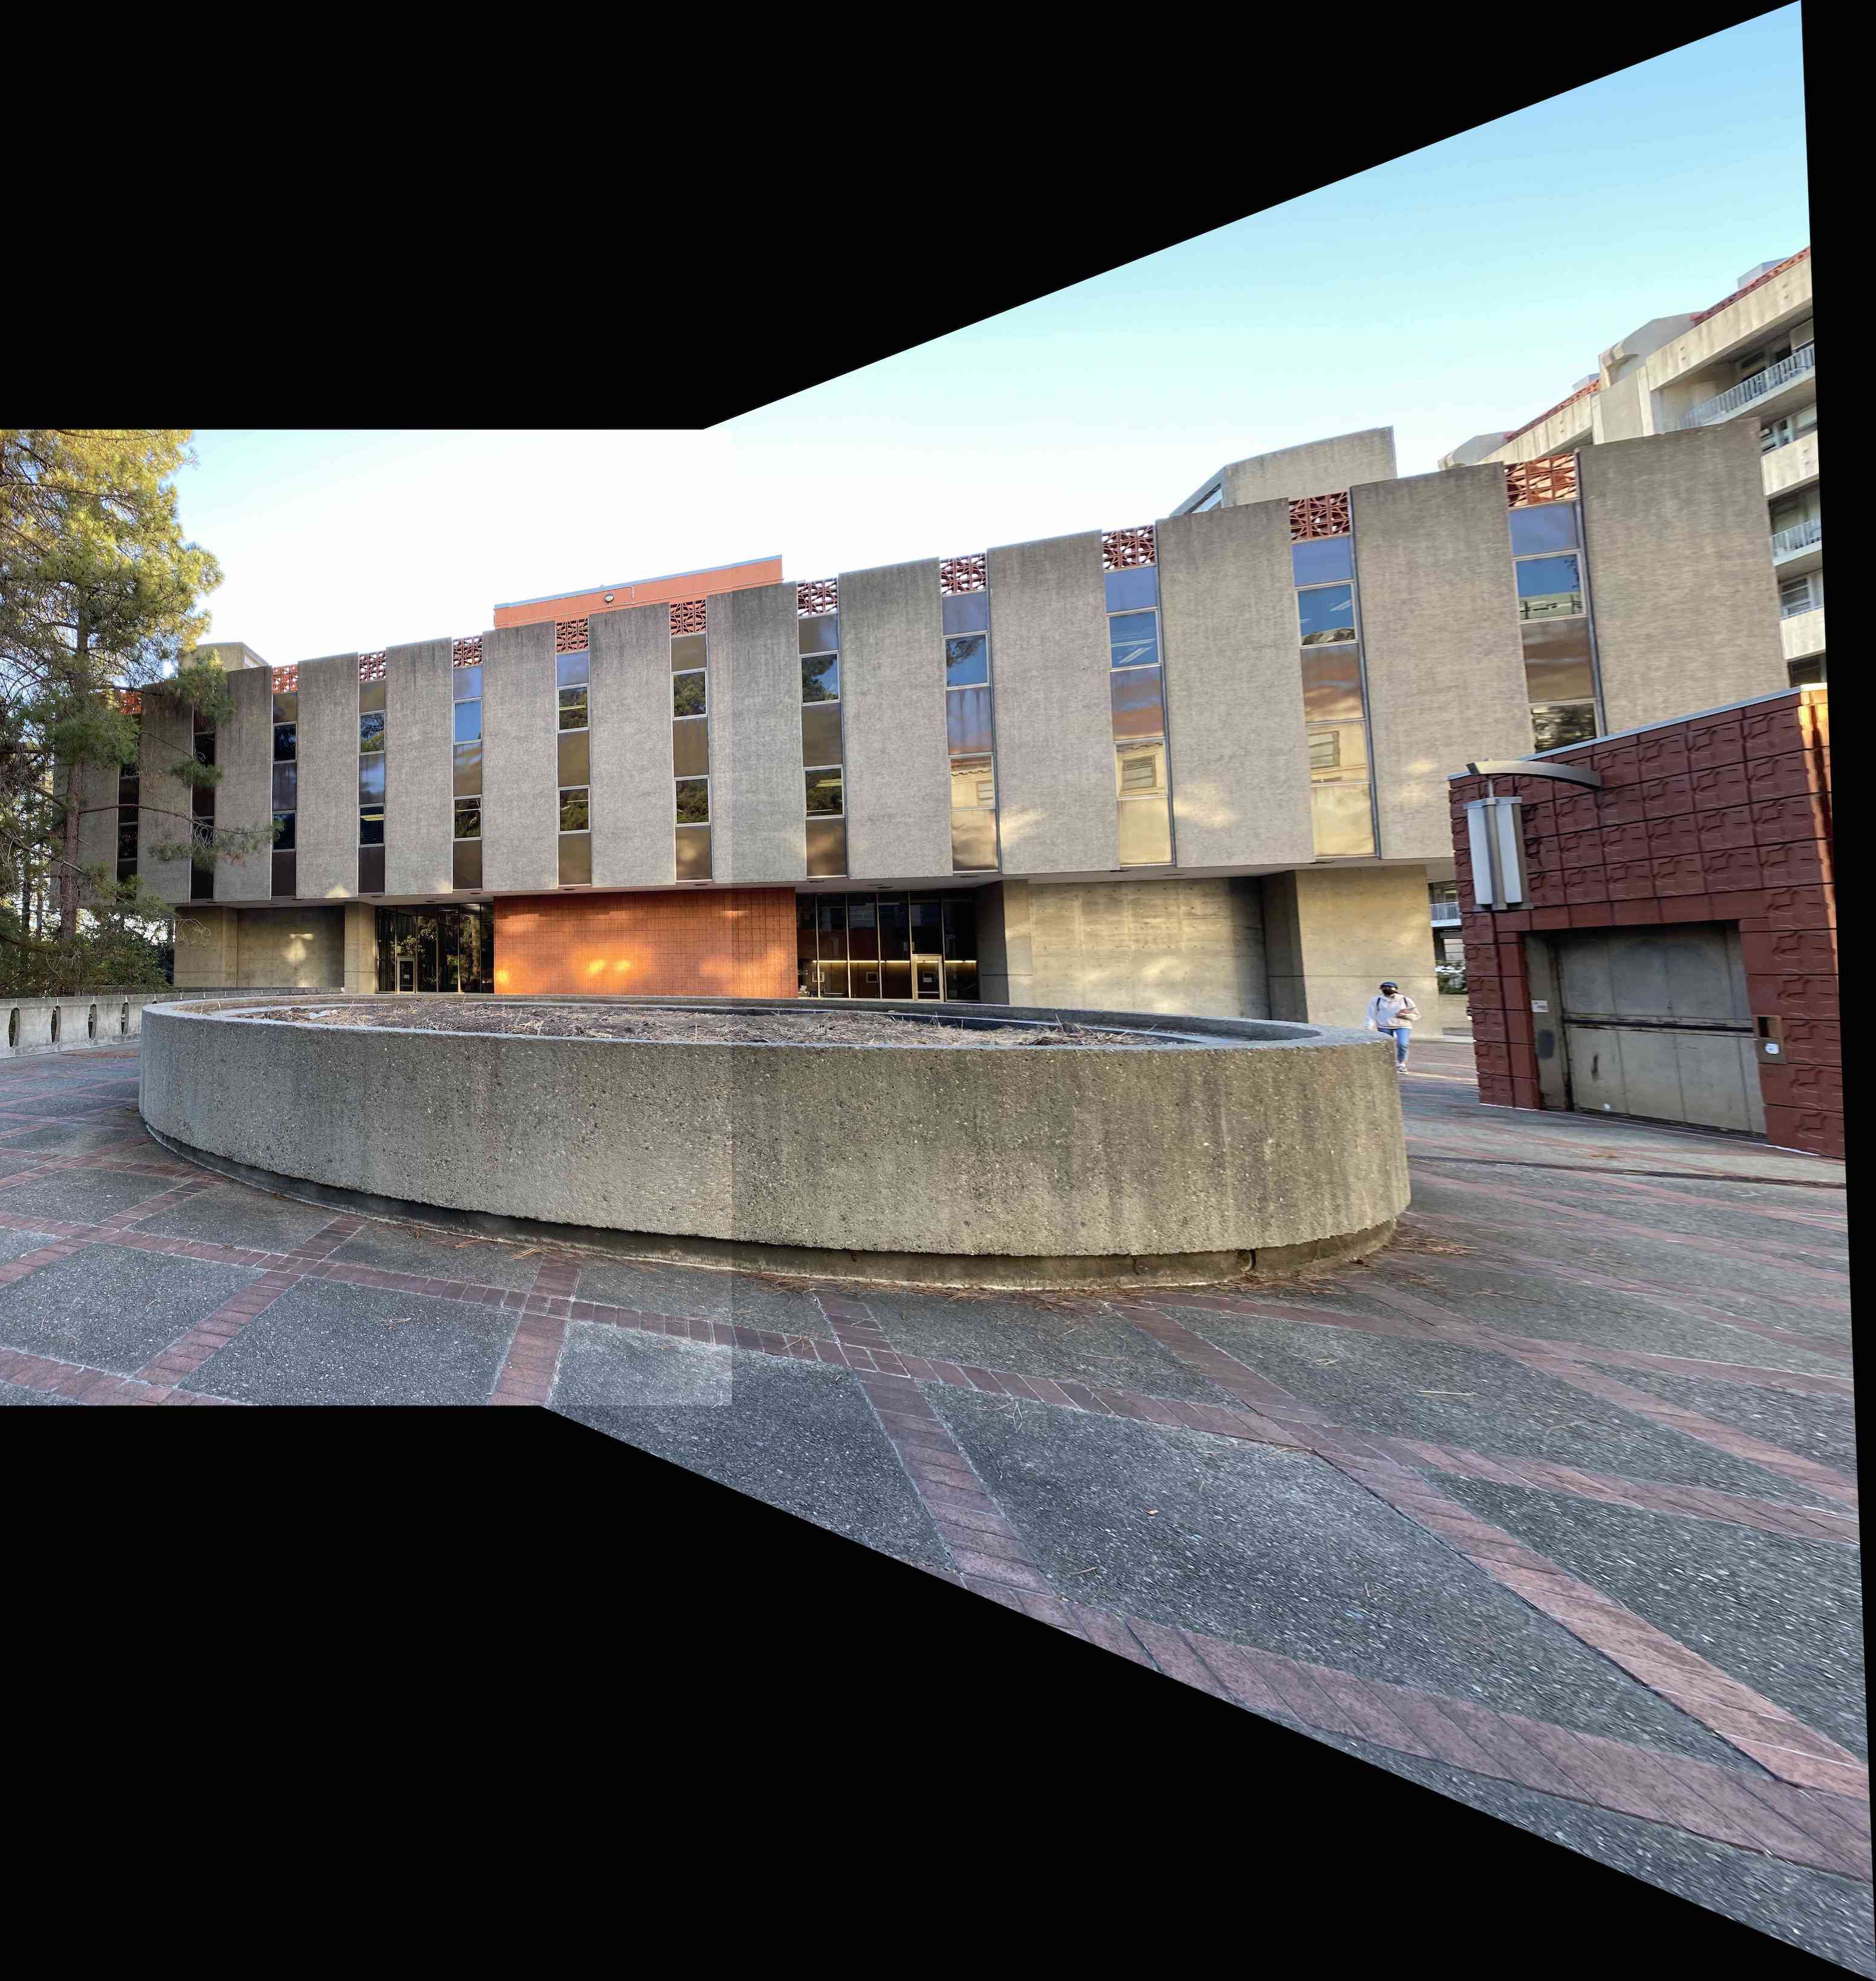
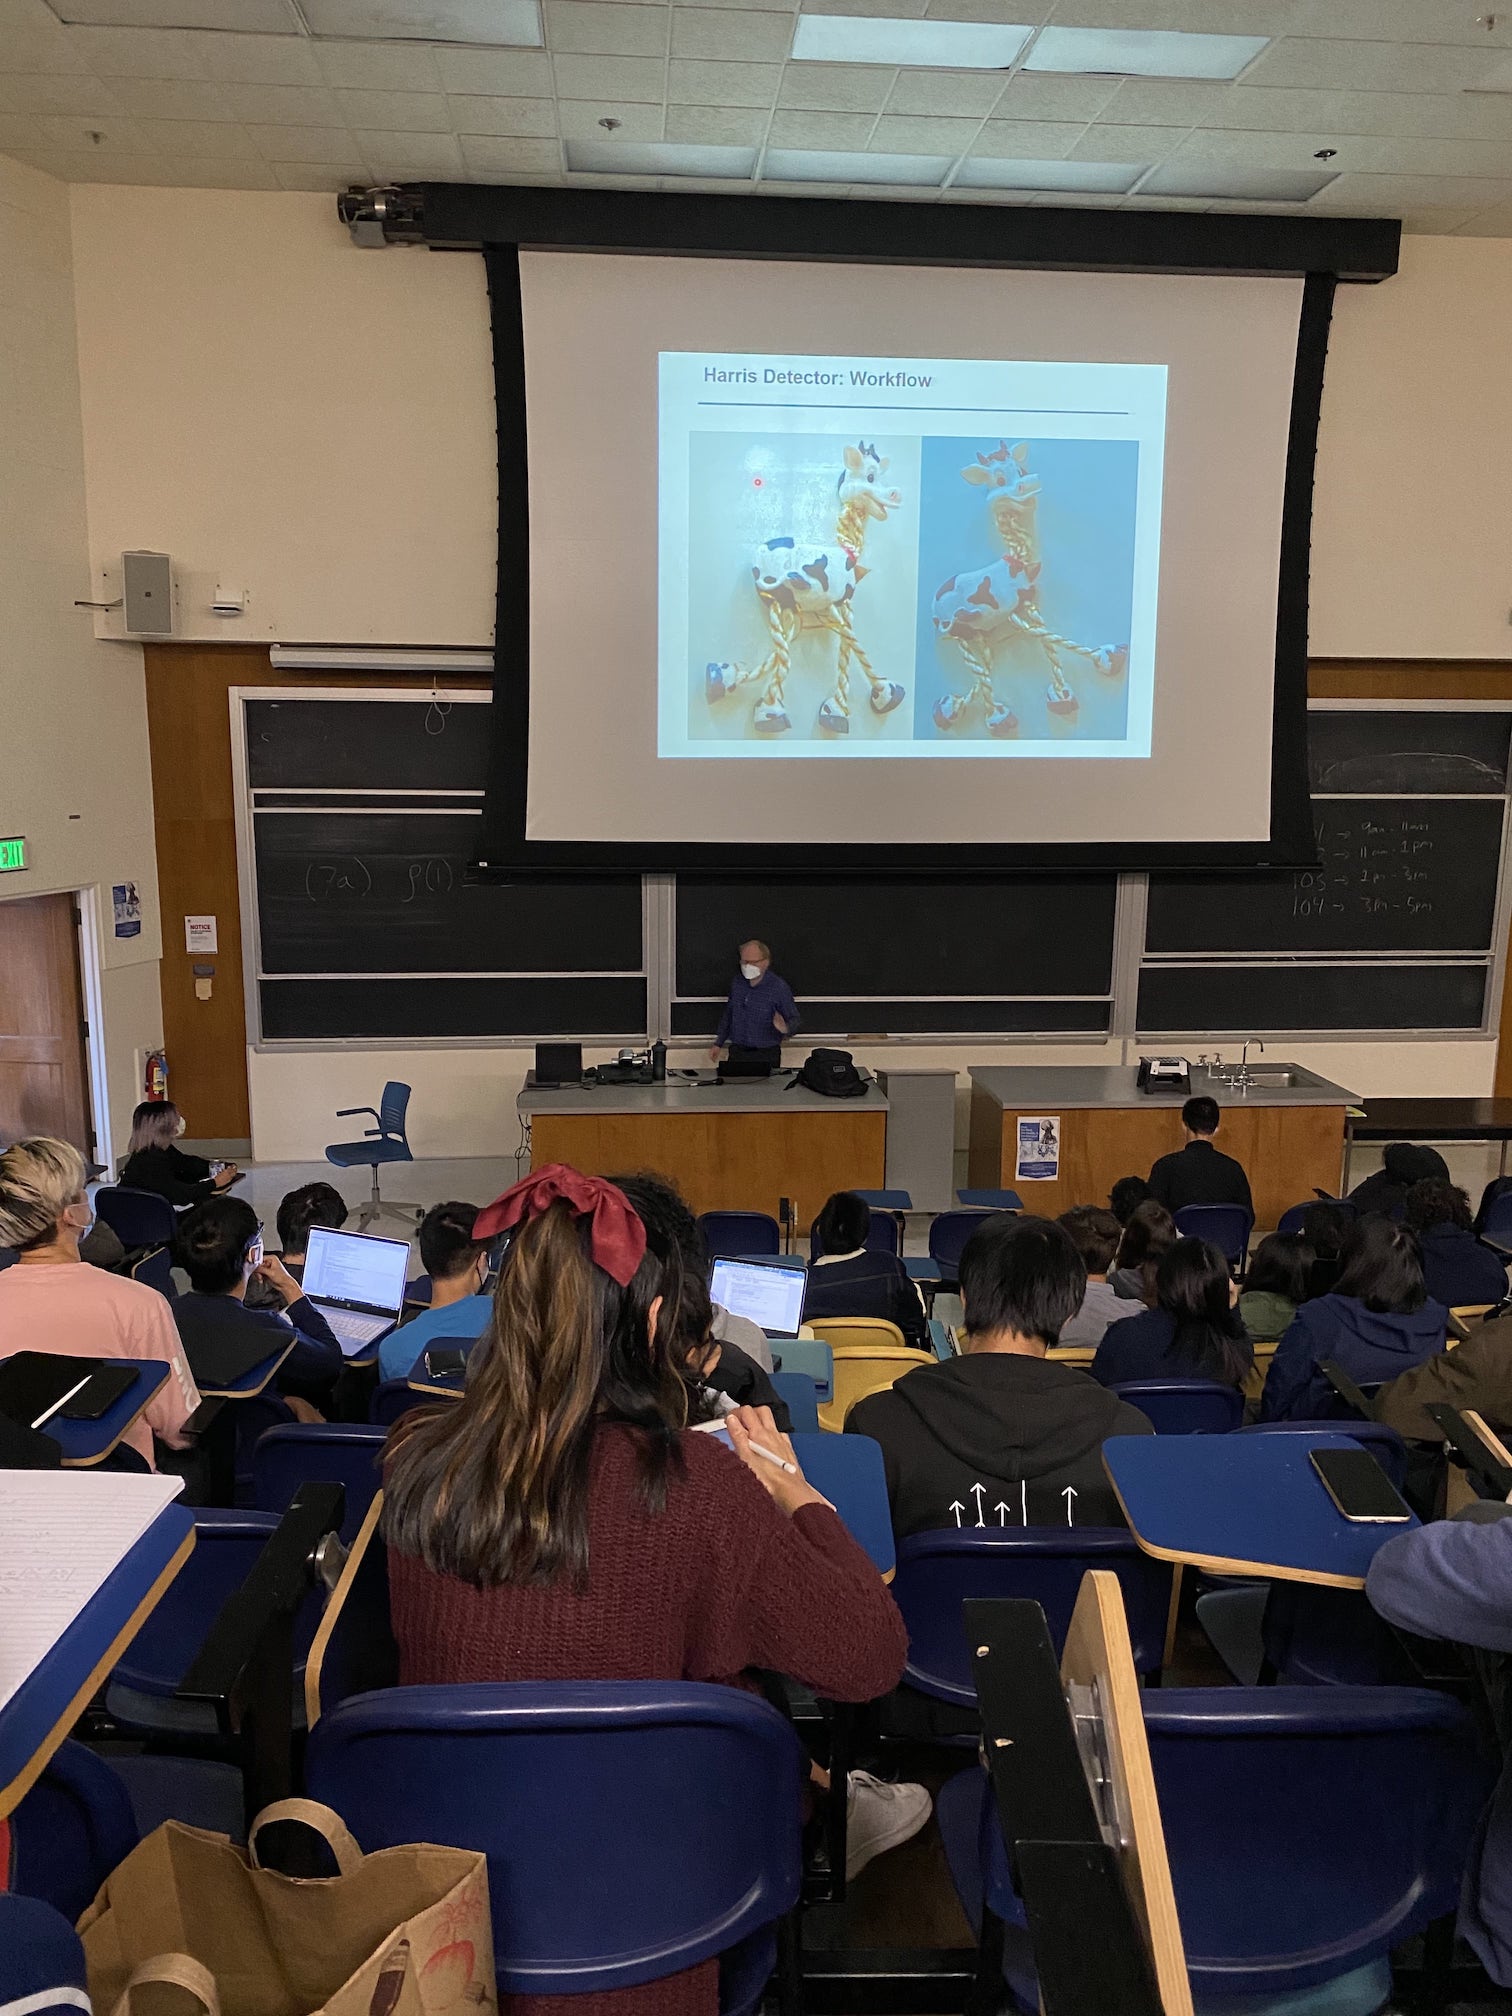
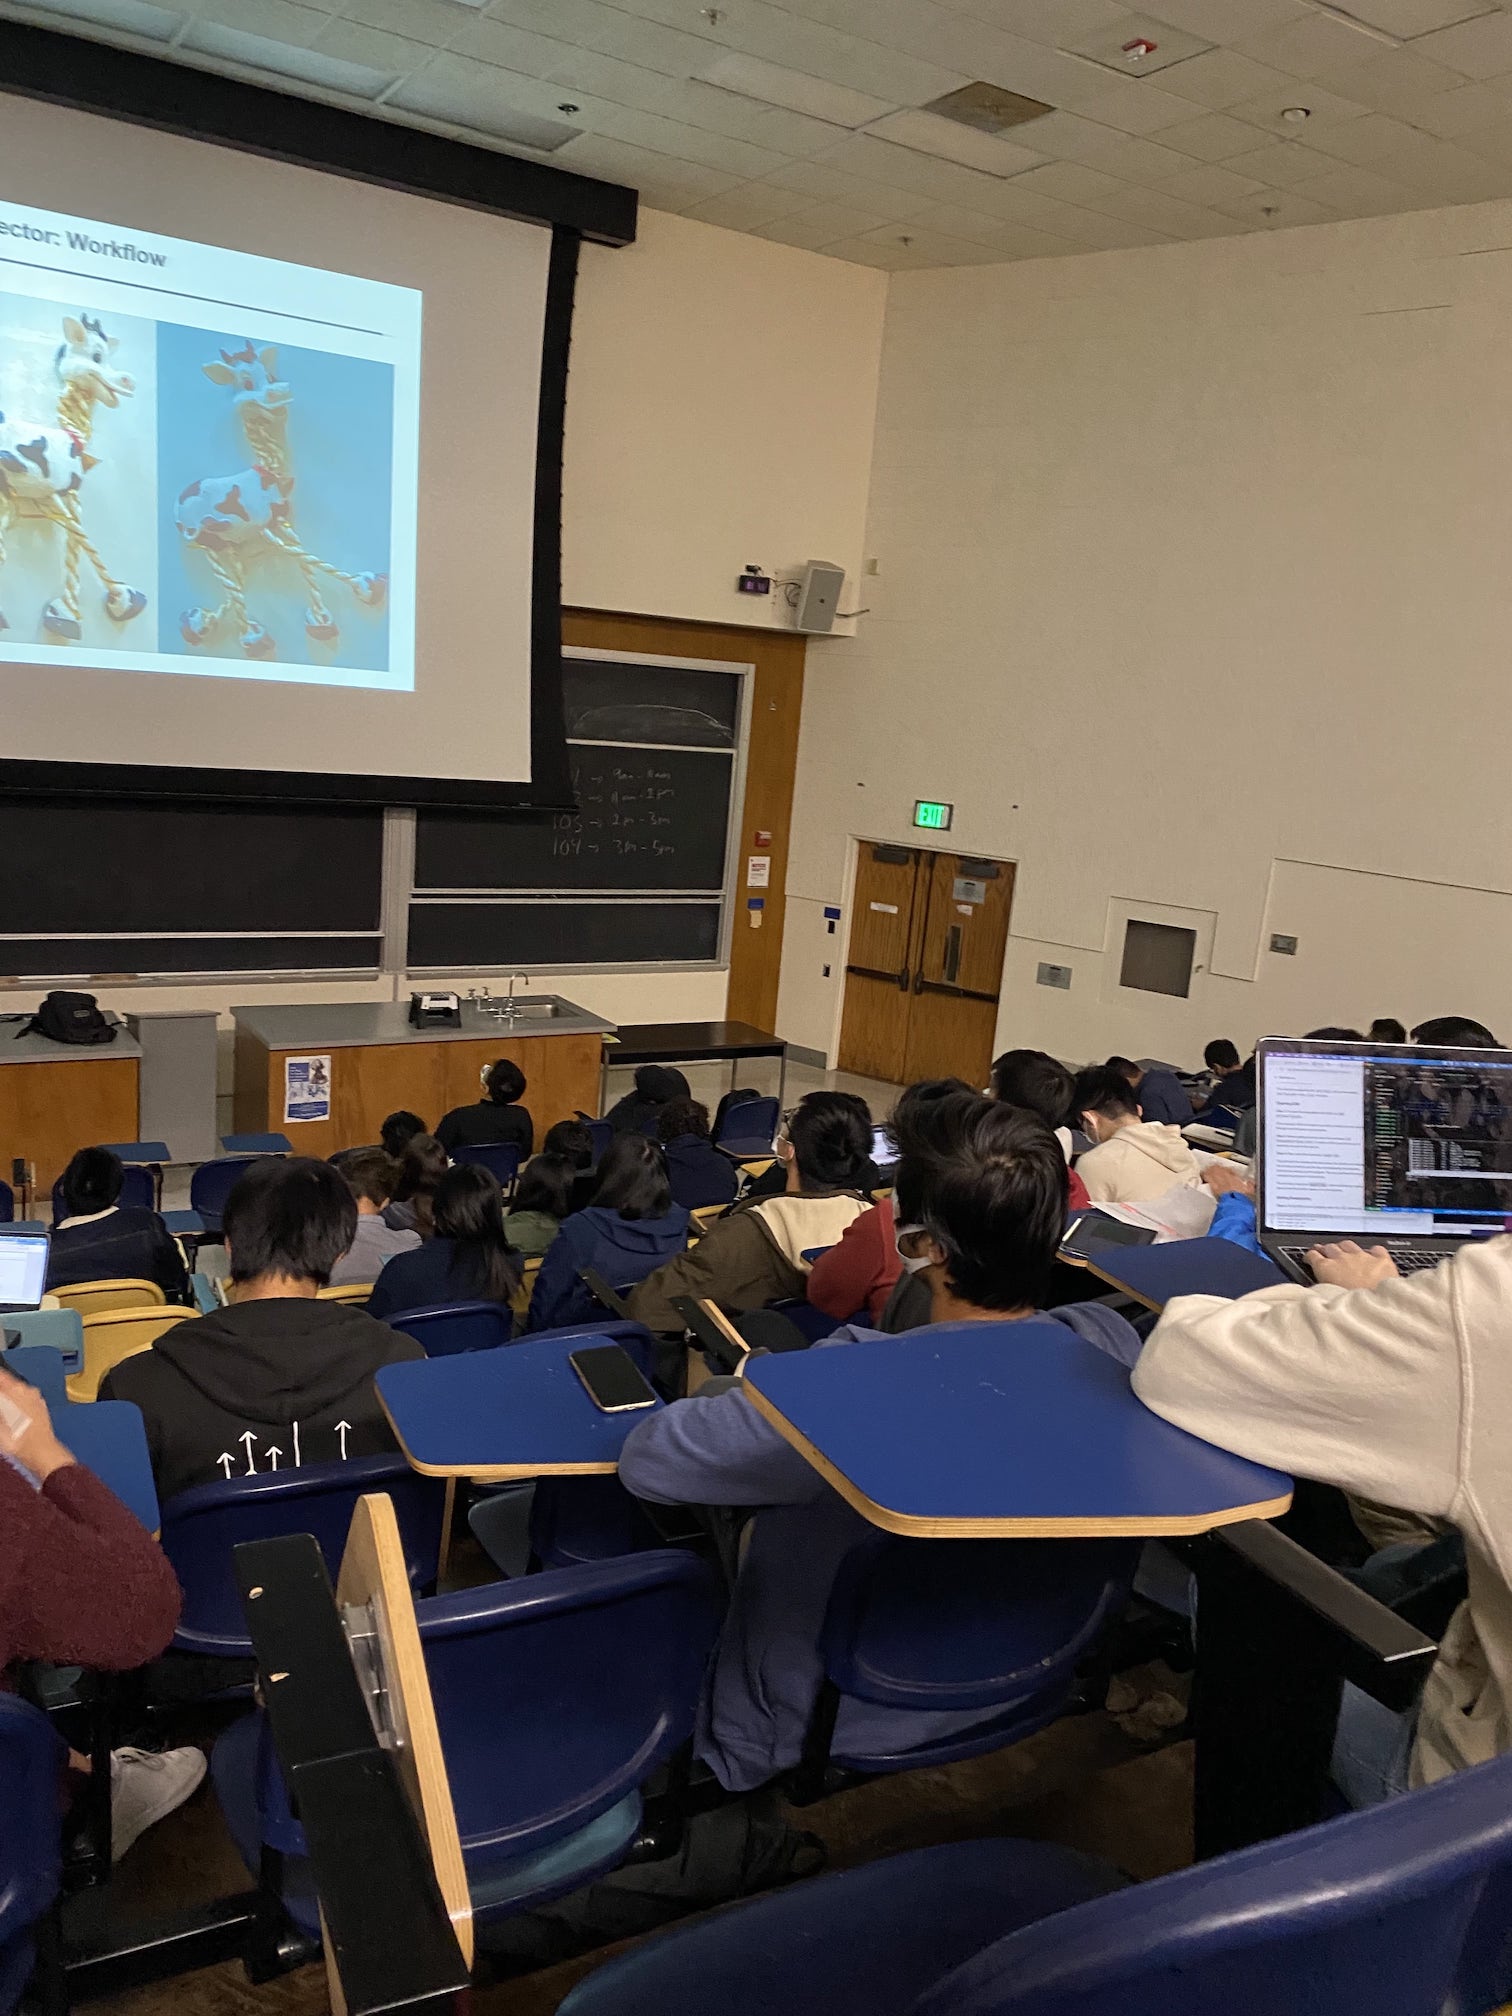
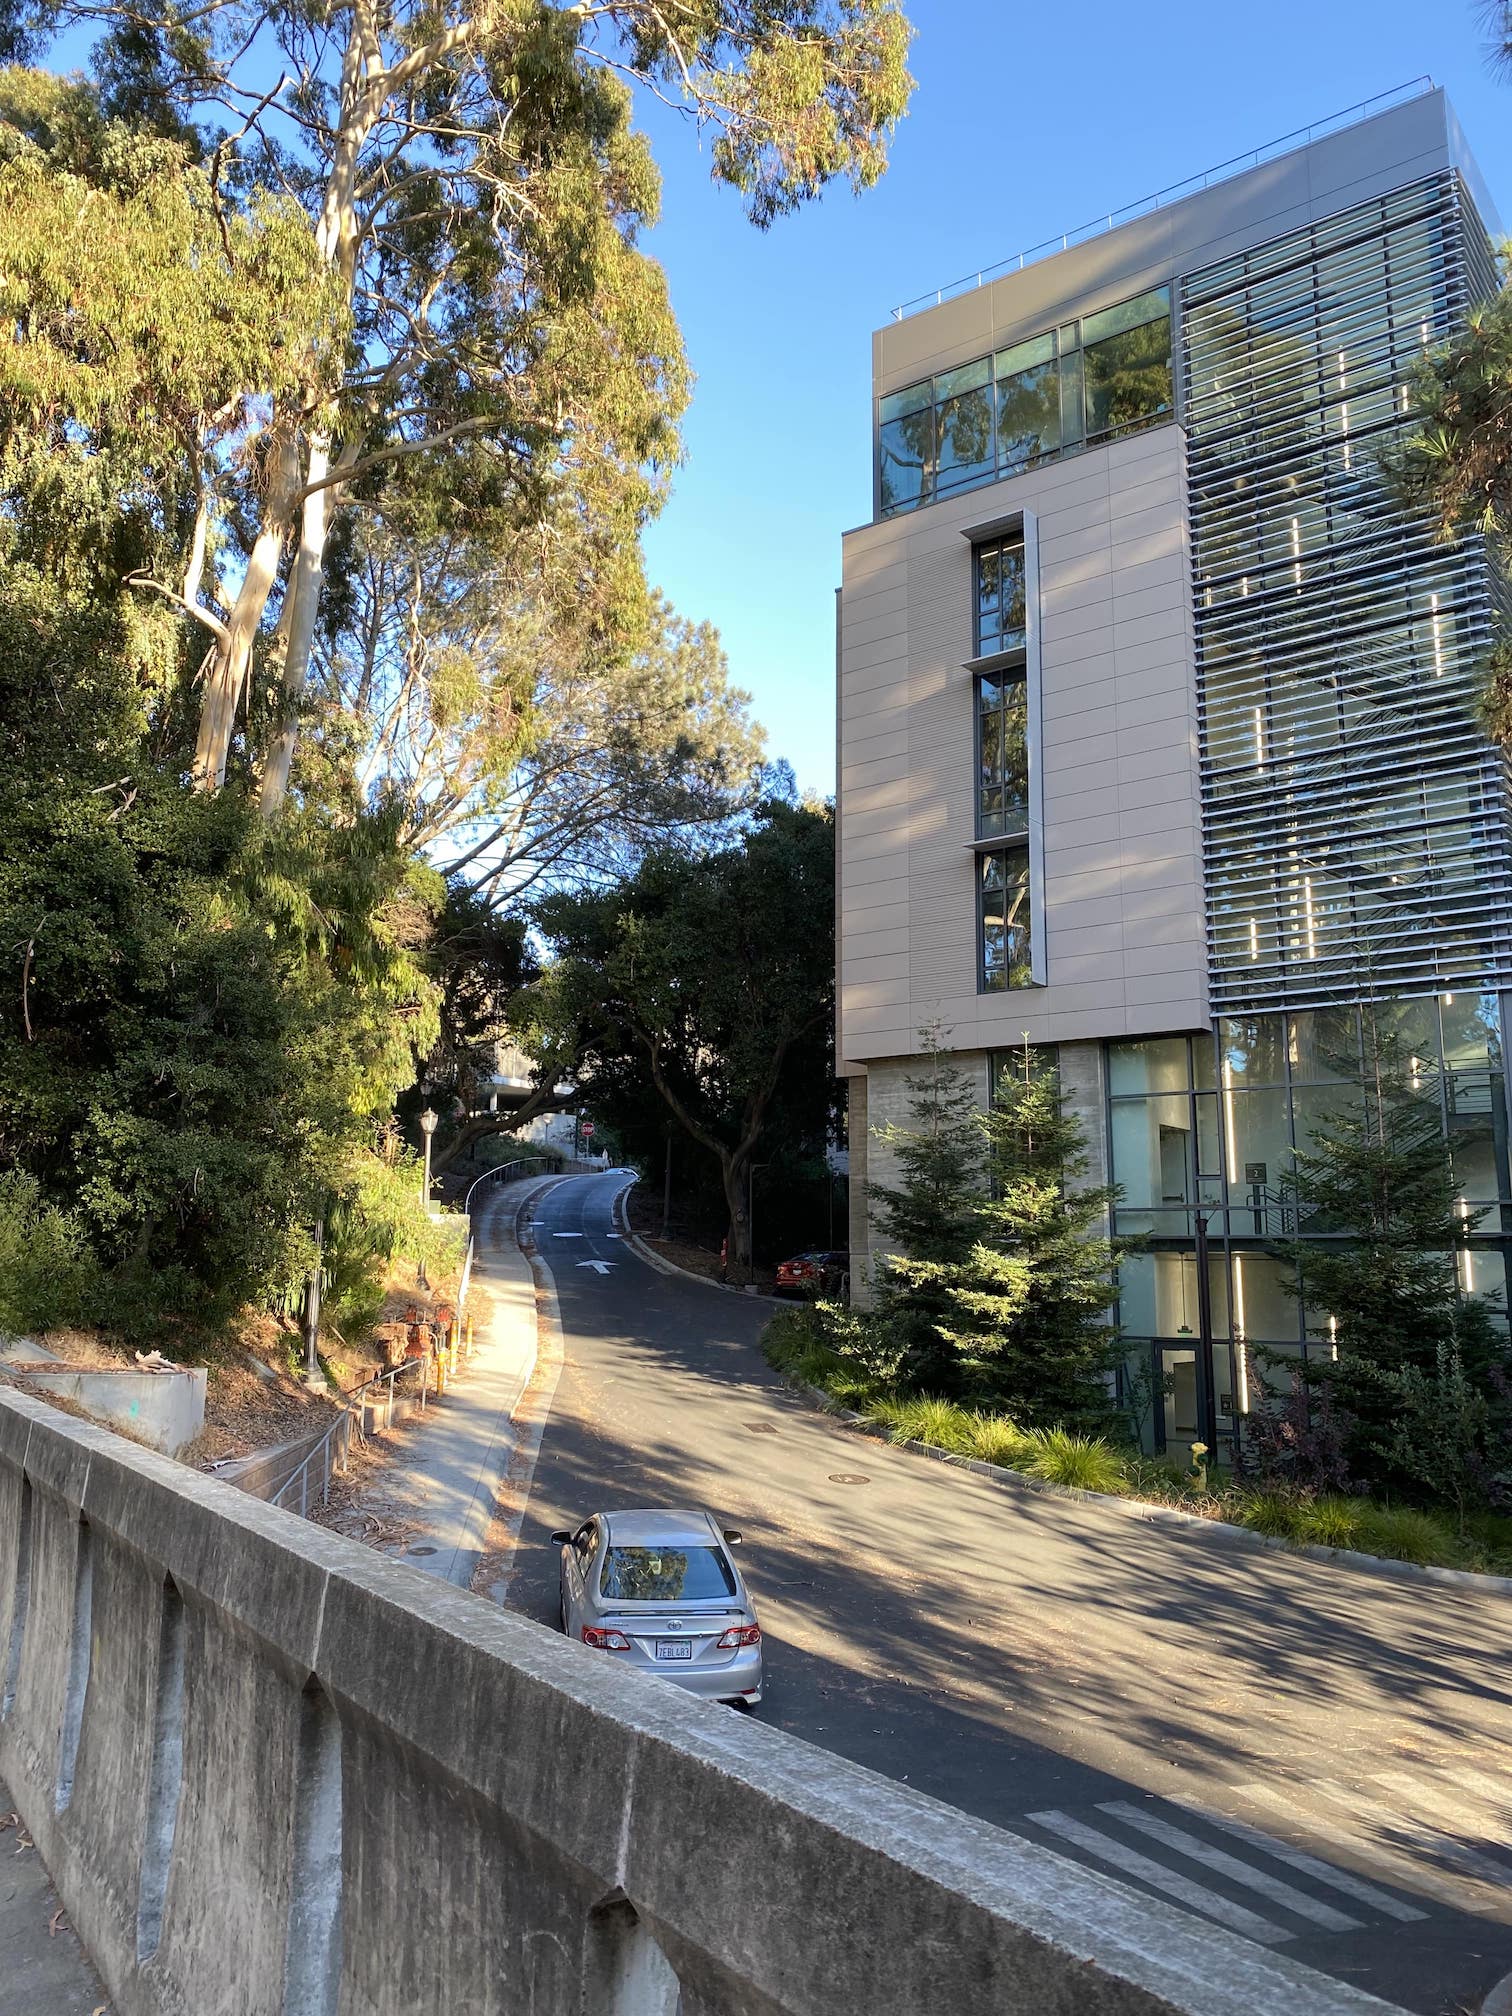
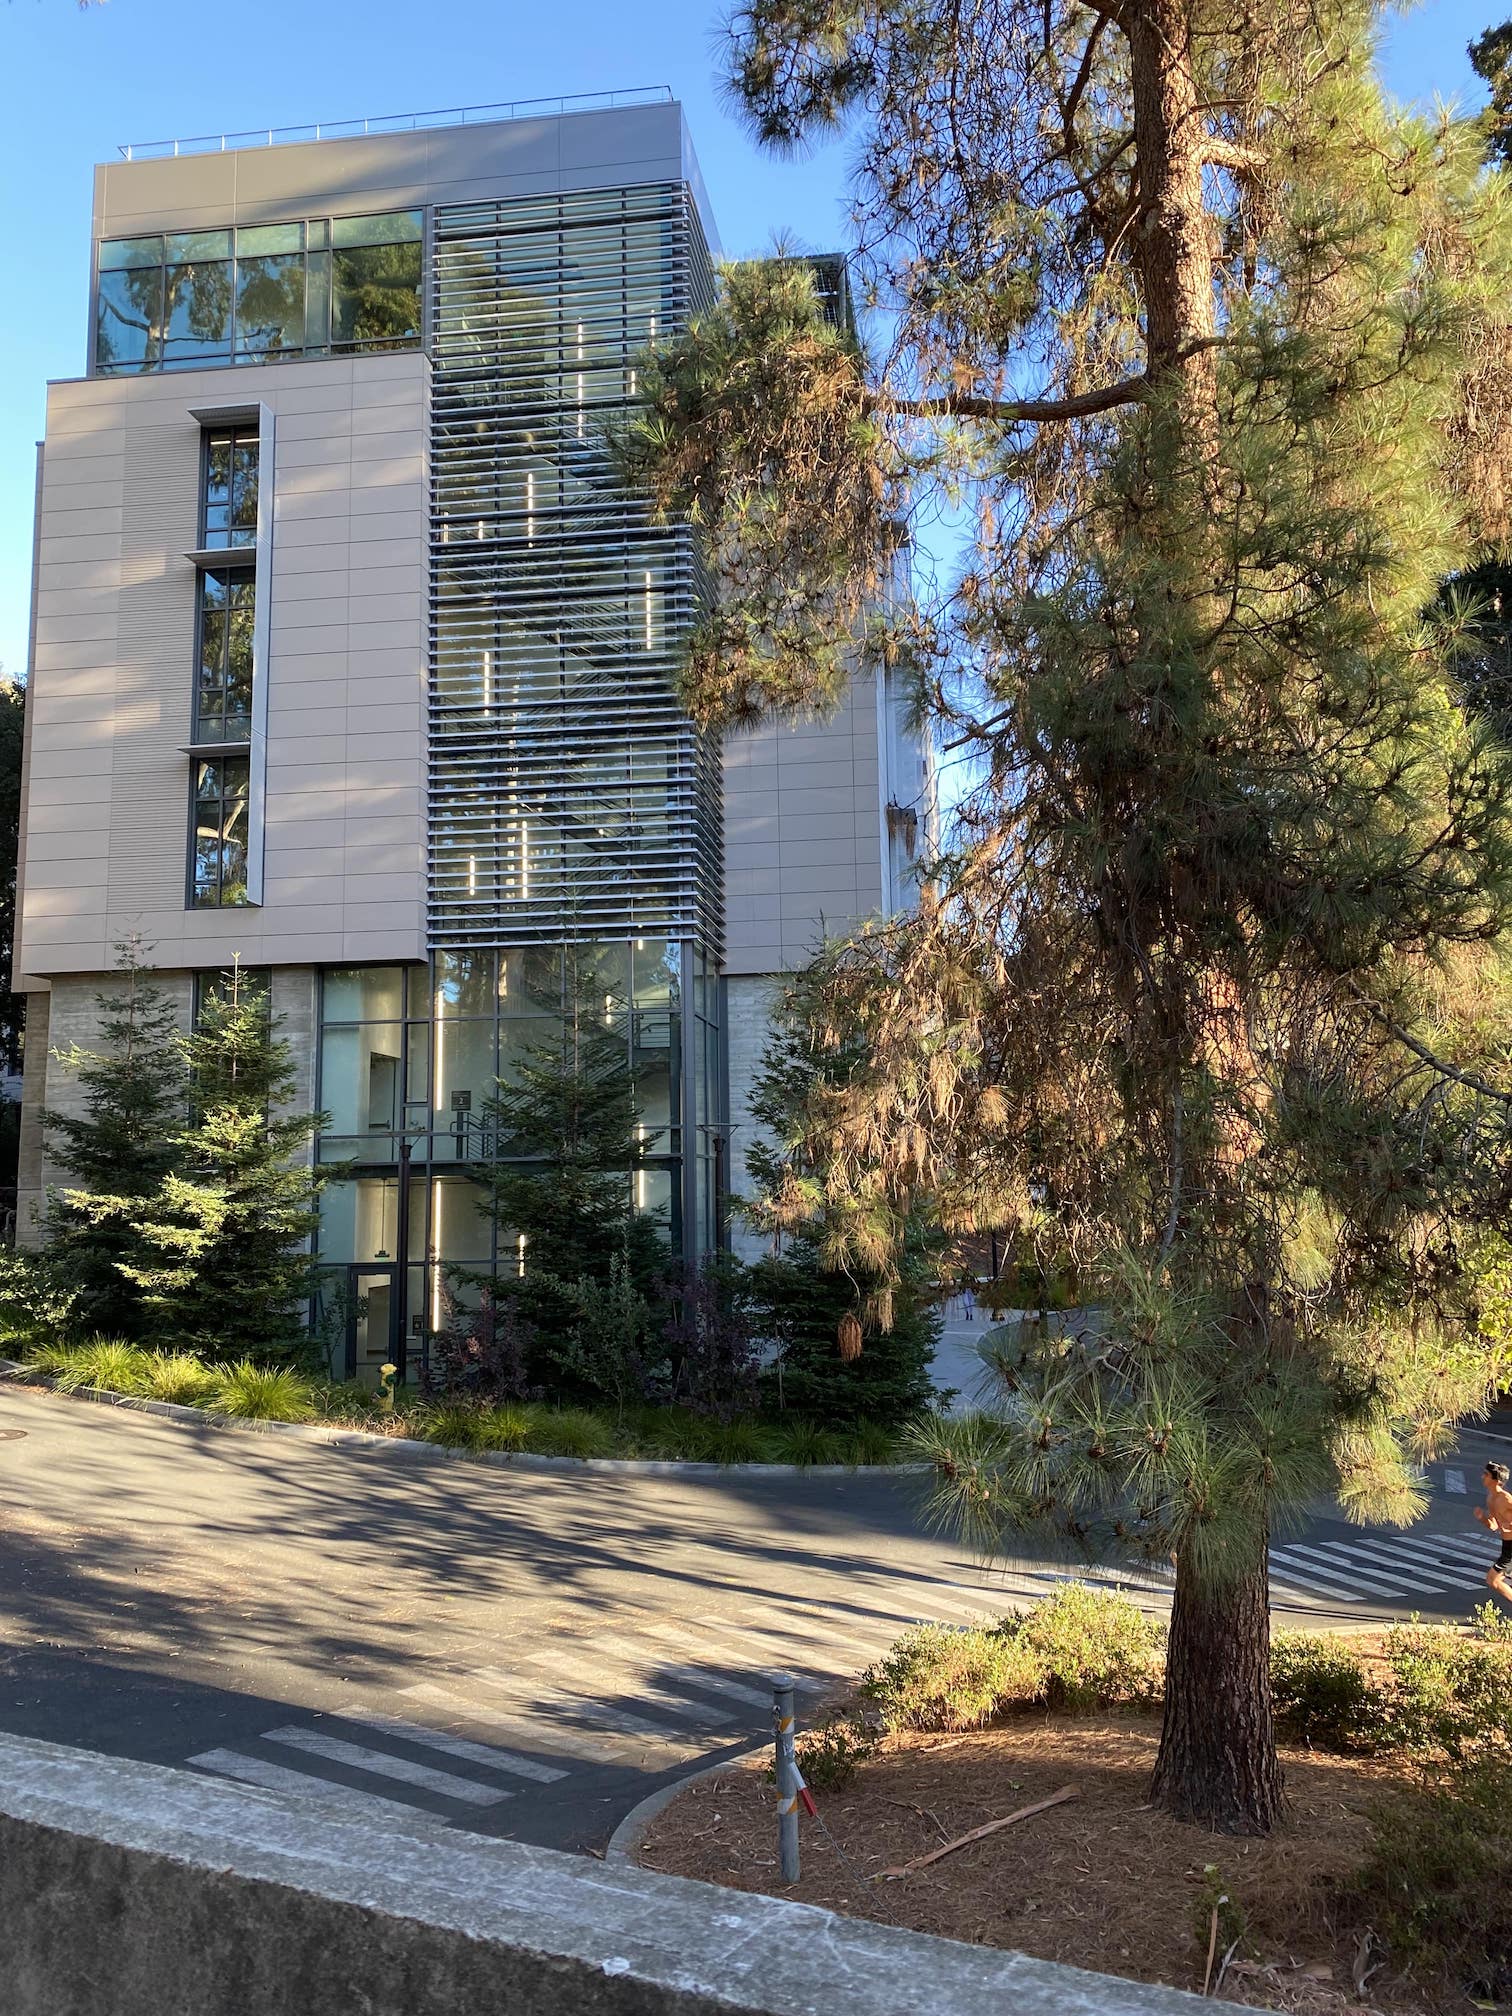
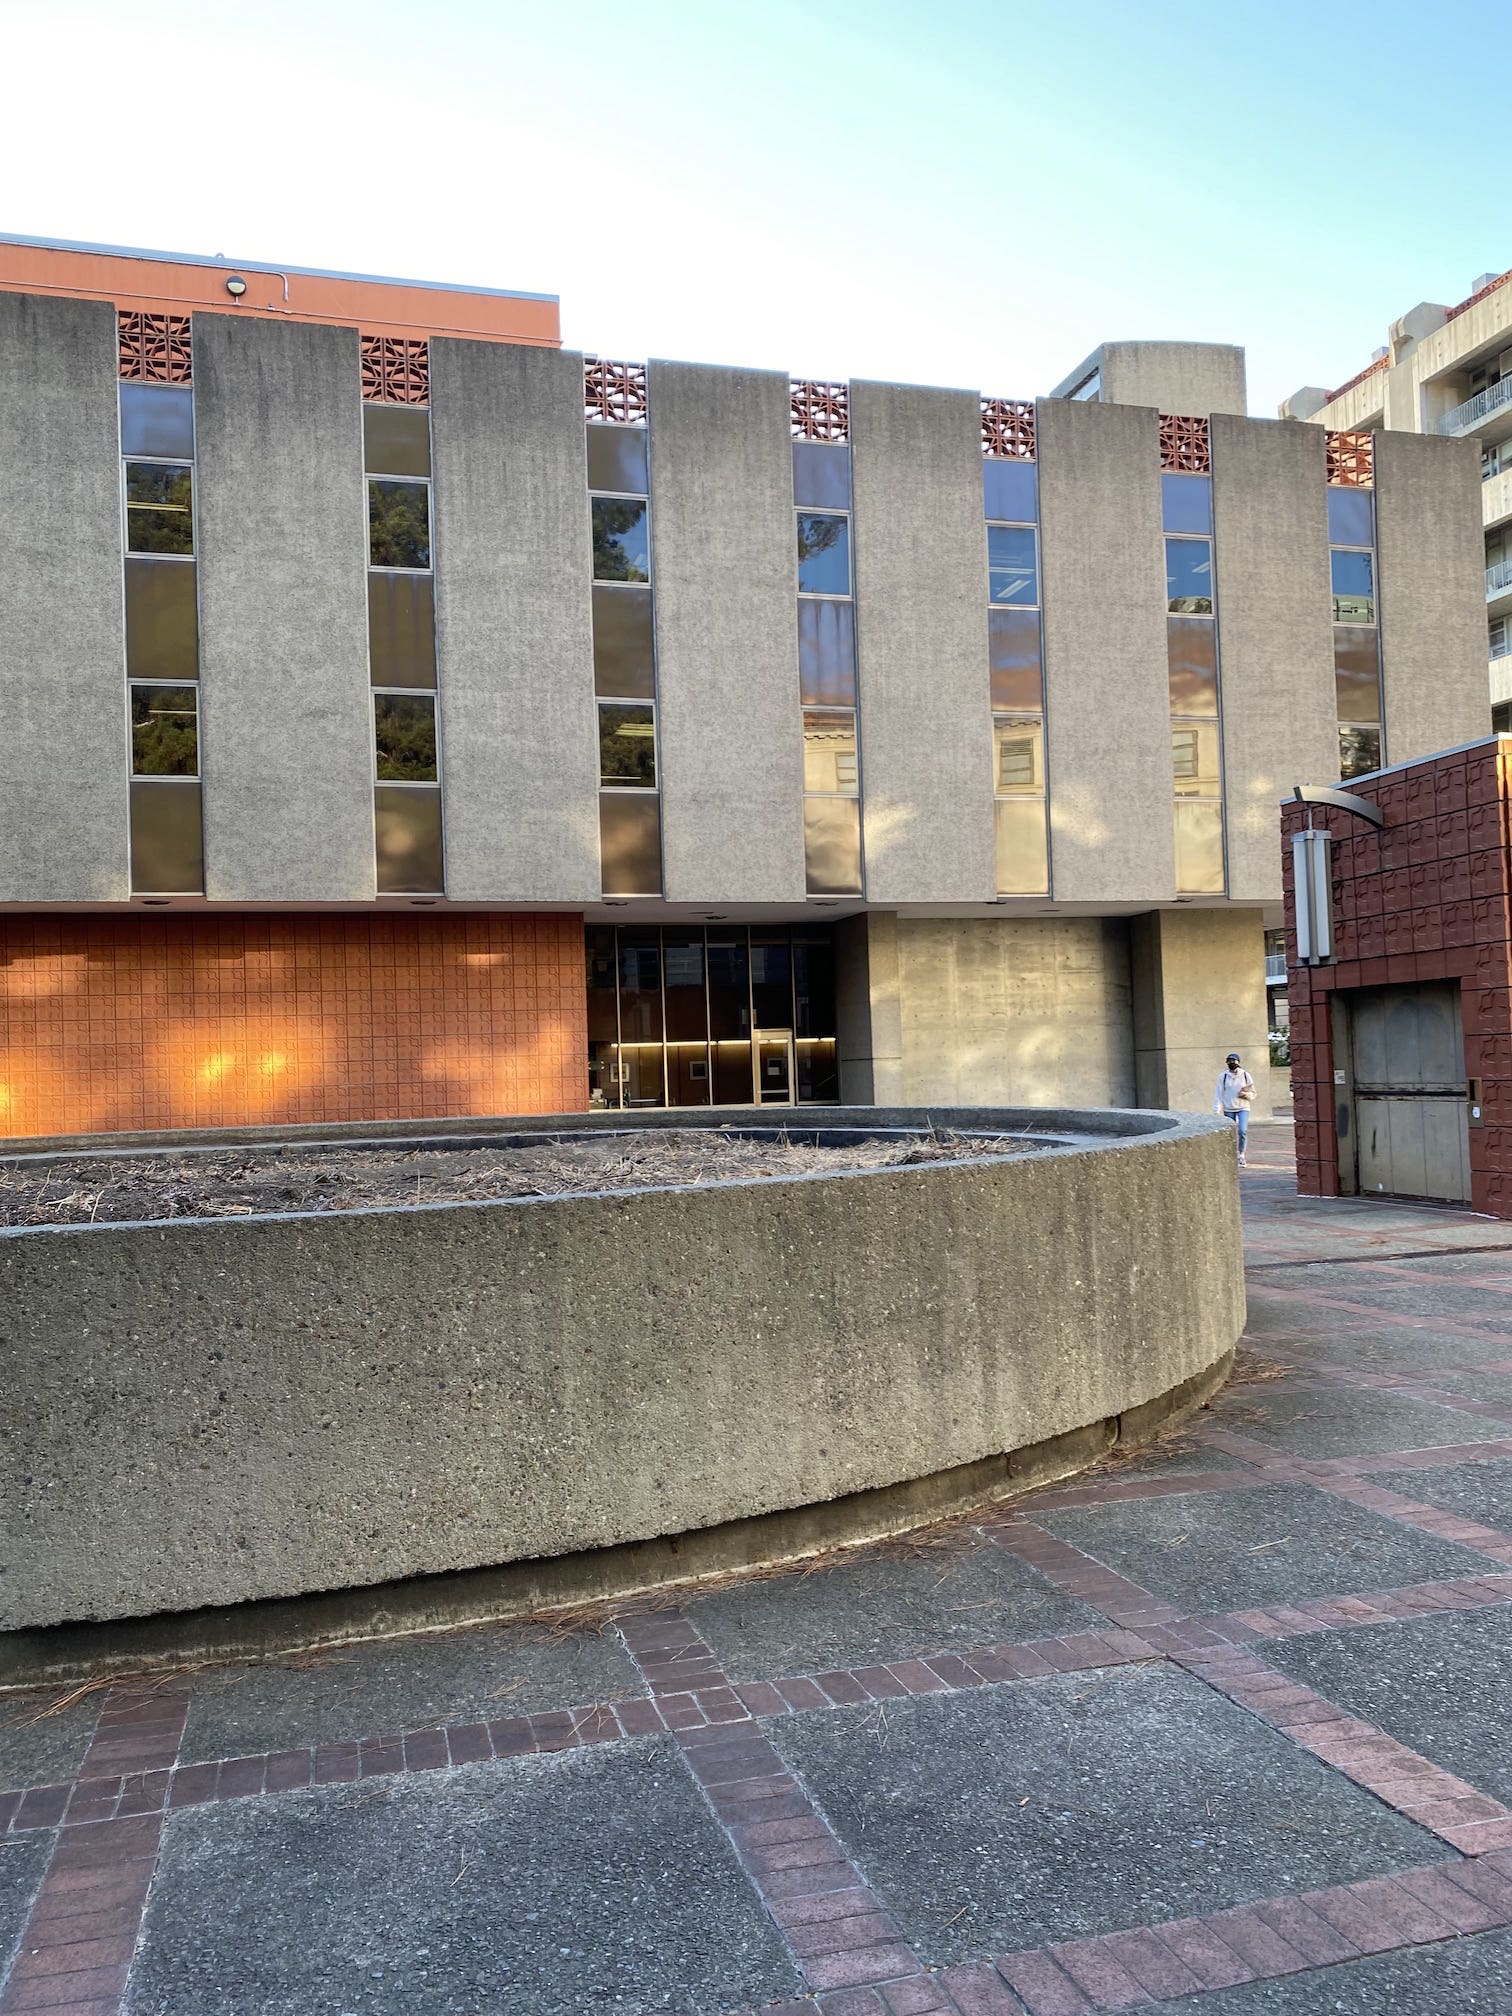
The photos I used for the mosaics are the following, all shot as much as possible from the same point, just rotating the camera.

Recover Homographies

I used the following matrix (solving p' = Hp from lecture to obtain the matrix), along with least squares, to recover the homography (the H 3x3 matrix with 8 degrees of freedom).

Warp the Images

Image Rectification

Using the (inverse) warp function based on the homographies, I was able to rectify the following images, changing the angle the image seems to be taken at.

Original Rectified Cropped Explanation
The Old Navy sign was straightened in this image
The building with the dome on top was straightened (it is a perfect square), cropped out most of the ocean
Front view of city hall, based on the size of the flags

Blend the images into a mosaic

Putting it all together, in this section I computed homographies, then warped the relevant images so that they could be seamlessly aligned. In overlapping sections of the image, I computed the max pixel values.

My results are as follows:

Image 1 Image 2 Result

What I Learned

The coolest thing I learned in this project was how we can define a set of known coordinates and use it to rectify any image to trick people into thinking the image was taken from the front.

Project 4 Part B - Feature Matching for Autostitching

In this part we explore the possibility of stitching photos together, automatically detecting the keypoints used to match the photos. The process starts with using the Harris detector, then adaptive non-maximal suppression to space out the points. Afterwards, take 8x8 patches sampled down from a 40x40 area surrounding each point to identify each point. Matching these points between images and then using RANSAC to filter them (reducing false positives) and compute a homography, we can stitch photos together.

Detecting corner features in an image

The first step is to use the Harris Interest Point Detector to identify corners.

My results for each image / pair are shown:

Image 1 Image 2 Notes
Used threshold of 0.5 for both
Used threshold of 0.1 for both
Used thresholds of 1 and 0.5 respectively
Used threshold of 0.5 for both

Adaptive Non-Maximal Suppression

The next step is to apply ANMS to space out points.

My results for each image / pair are shown:

Image 1 Image 2

Extracting a Feature Descriptor for each feature point

The next step is to extract feature descriptors for each feature point so that they can later be used to match points between images.

A sample of 5 feature descriptors for each image / pair are shown (top is original 40x40, bottom is sampled 8x8):

Image 1 Image 2

Matching these feature descriptors between two images

The next step is to match the feature descriptors found in the previous step. I used Lowe's trick to use the 1-NN/2-NN ratio to determine what the best correspondences were, setting a threshold of 0.7 based on the paper for the max ratio.

A sample of 5 feature descriptors for each image / pair are shown (top is original 40x40, bottom is sampled 8x8):

Use a robust method (RANSAC) to compute a homography

The next step is to use RANSAC to filter out false positives and compute a homography.

The resulting matched points are below:

Produce a mosaic

Using the same idea as part A of this project, use the H matrix and the matching points to combine two images, stitching them together.

Auto-aligned Manually aligned

What have you learned?

The coolest thing I learned was the process of following the research paper for for automatically picking points to align images on. Starting from a lot of possibilities from Harris and going to RANSAC, the number of possibilities shrinks and the accuracy of the matches increases.