Project 4: [Auto]Stitching Photo Mosaics
CS194-26 Fall 2021
Project 4A: Image Warping and Mosaicing
Part 1: Shoot the Pictures
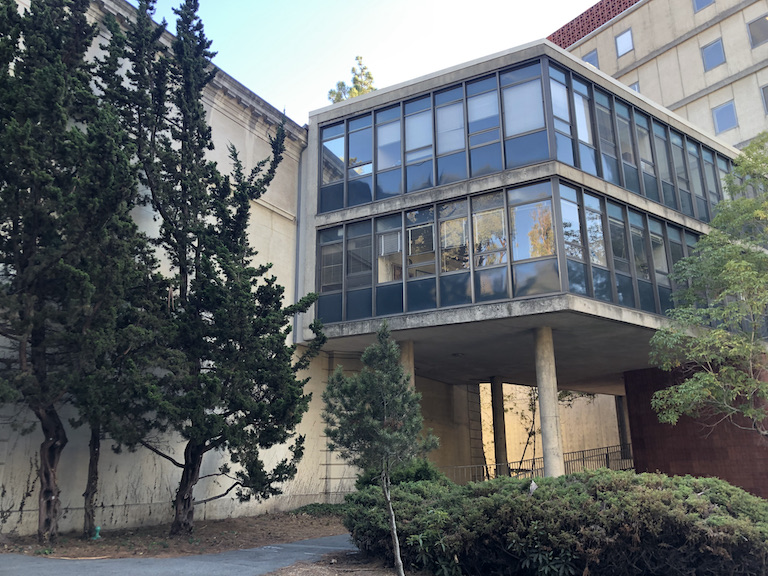
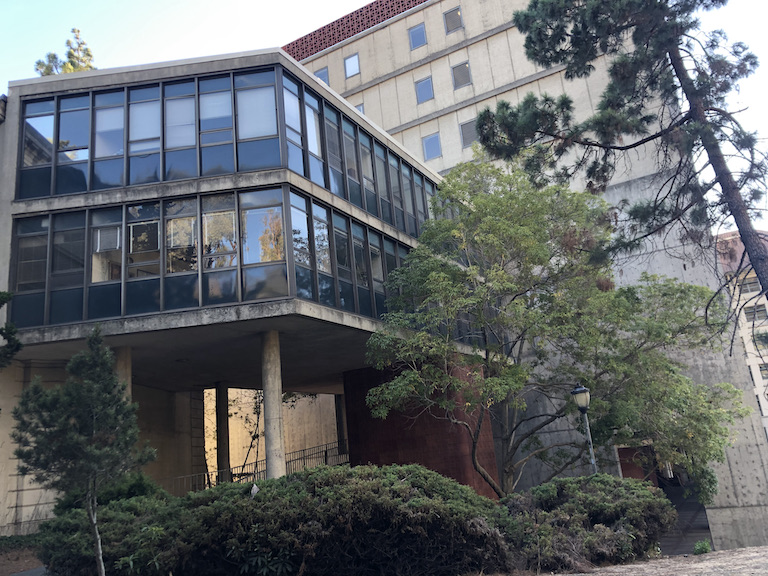
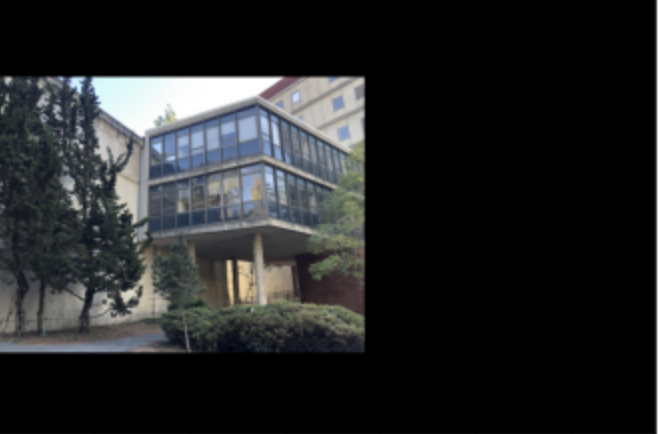
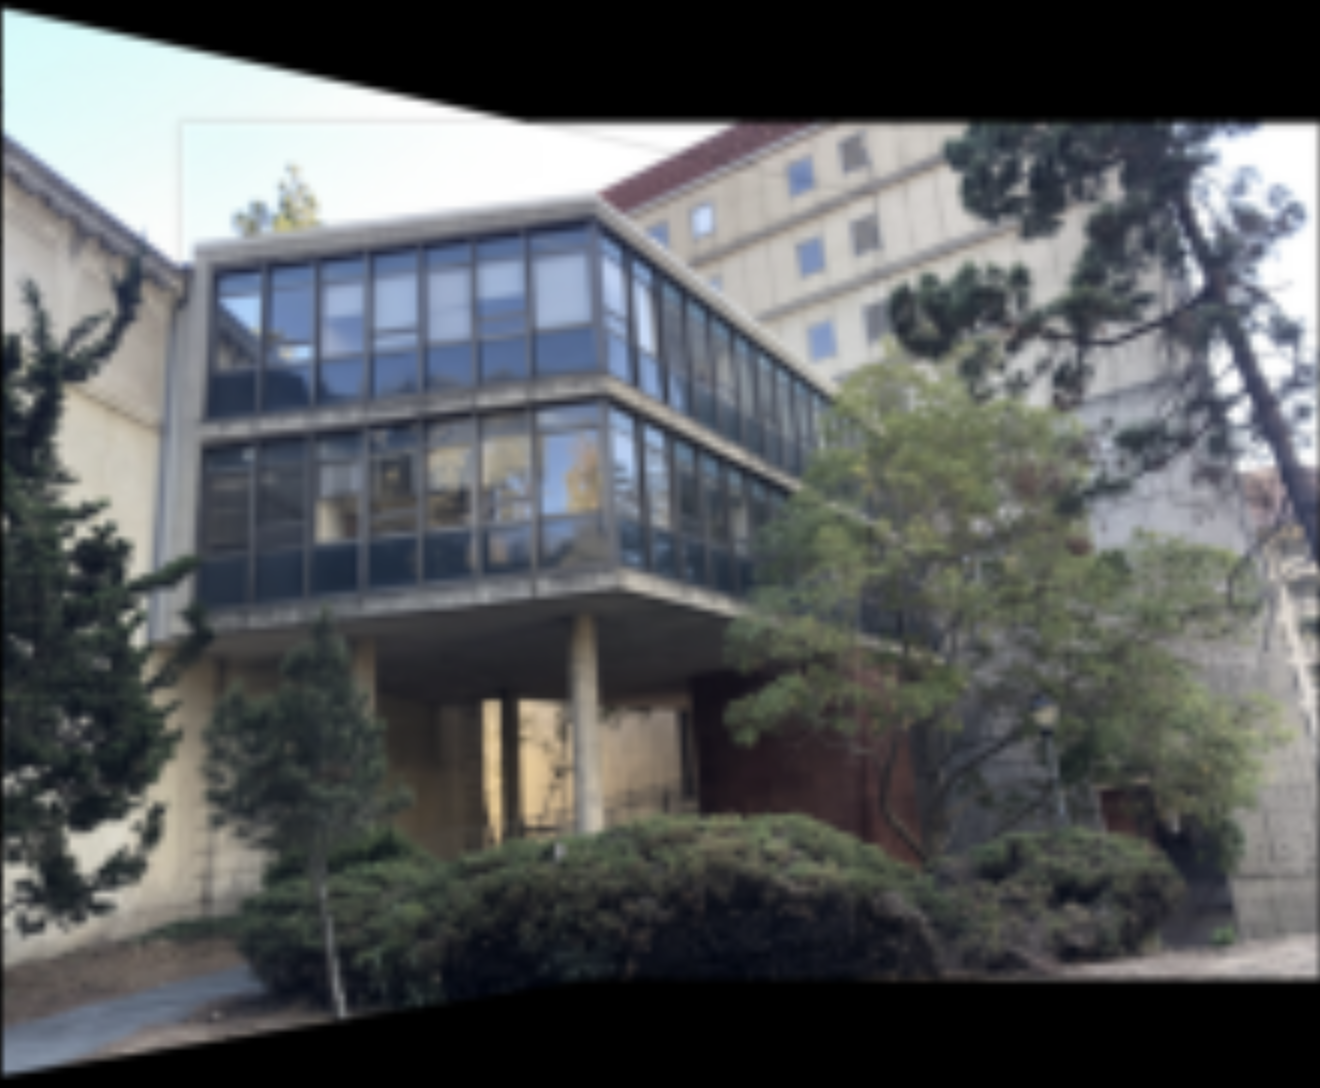
Before CS194-26 lecture, I ventured outside of Lewis Hall through the back doorway near Pimentel Hall and snapped these photos. I'm not even sure what building this is, but it's one connected to part of Lewis Hall. I picked these images because of the unique architecture present, as well as the plenty of corresponding points to choose from.
Part 2: Recover Homographies
Now, I need to compute the homography used to transform pairs of points. In our setup, our homography

My implementation for this method can be found in my code. Credit to this equation goes to this incredible source.
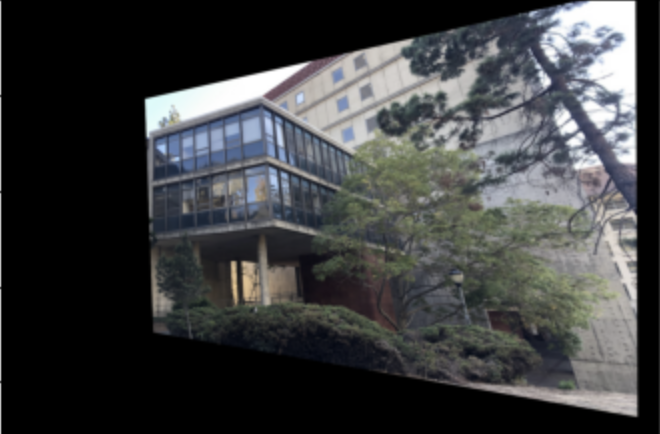
Part 3: Warp the Images
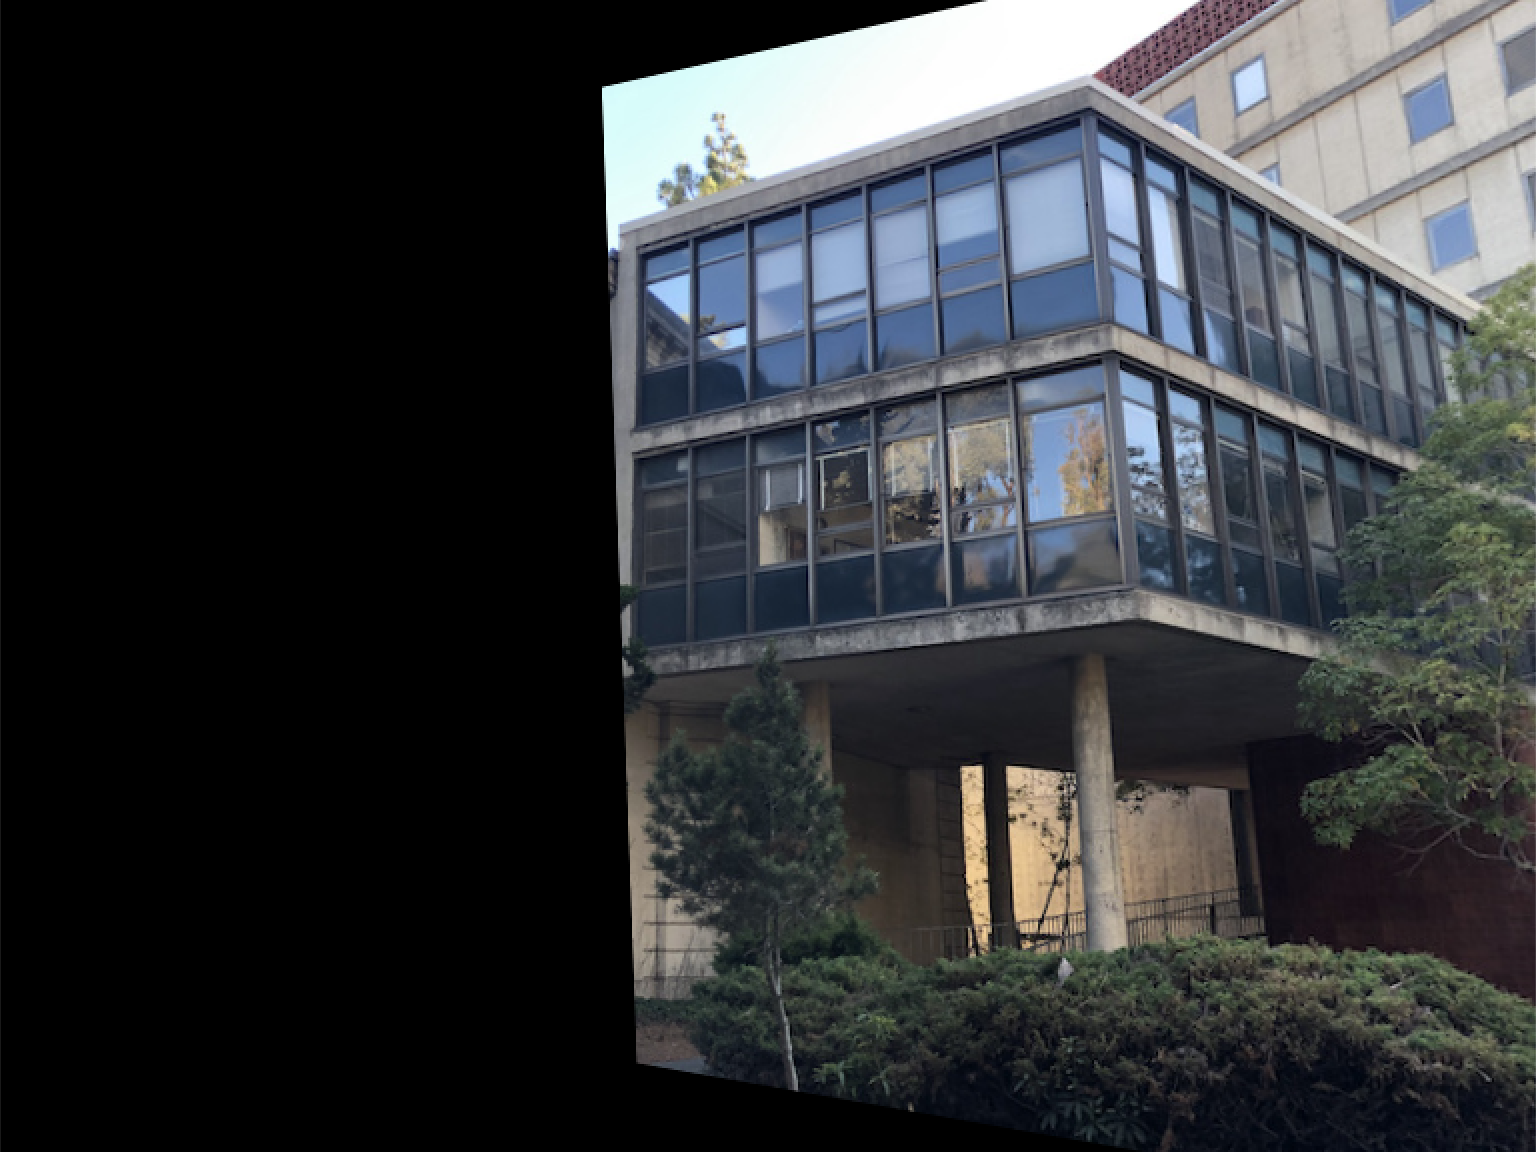
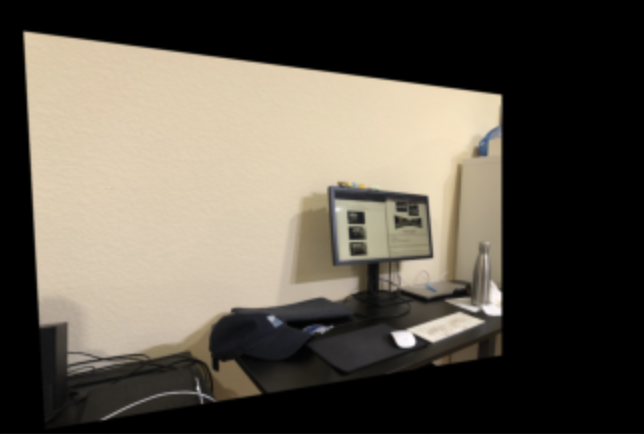
With the ability to now recover homographies, I'm able to warp images now. Below, I show the "right-side" image of the building warped into the orientation of the "left-side" image.
Part 4: Image Rectification
In this method similar to image warping, I selected four points of an image that I know to be planar, and then computed the homography from those selected points, to points that form a rectangel. I show the previous image, and then the rectified images below.

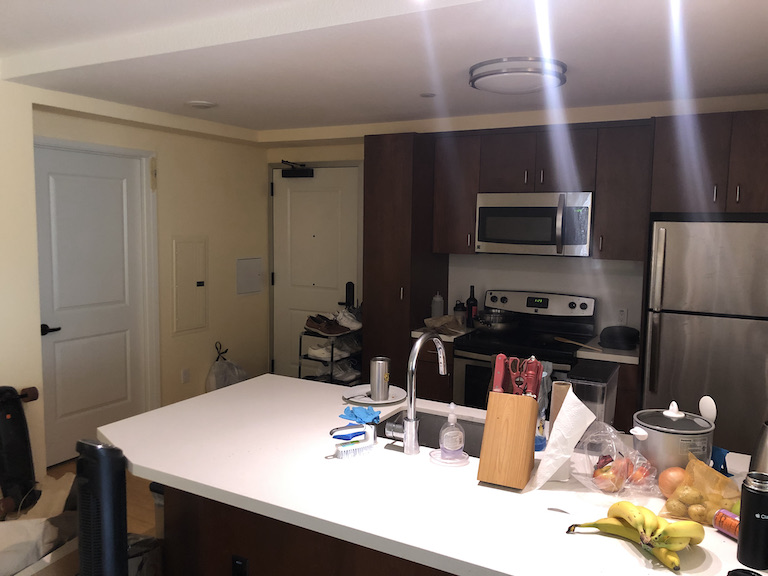
I think this rectification looks really neat!
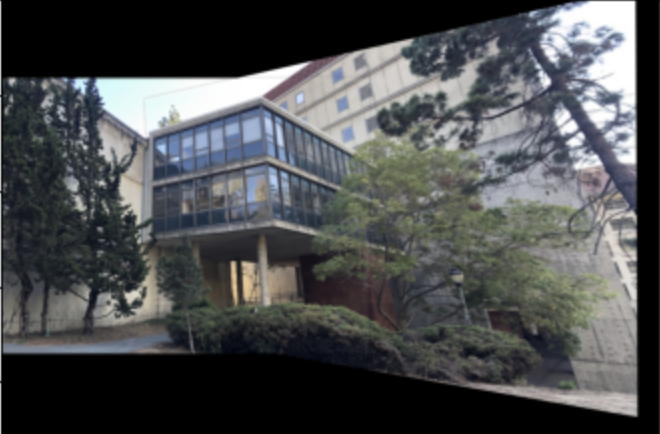
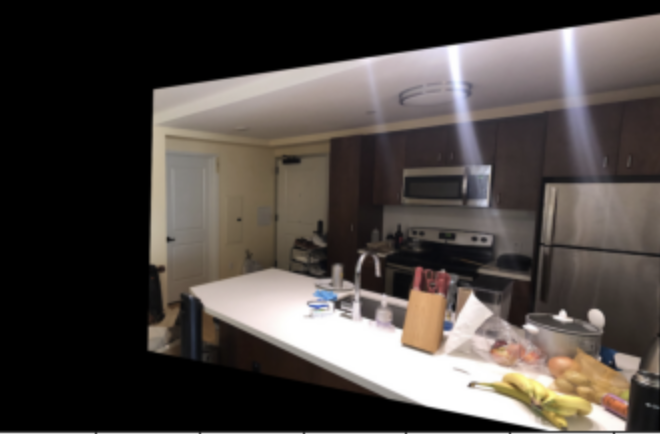
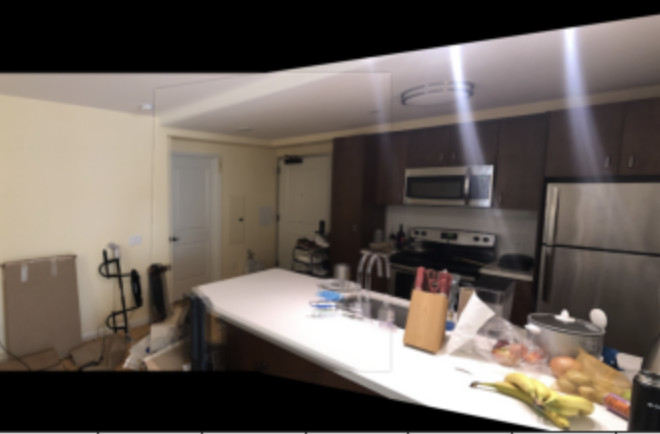
Part 5: Blend the Images into a Mosaic
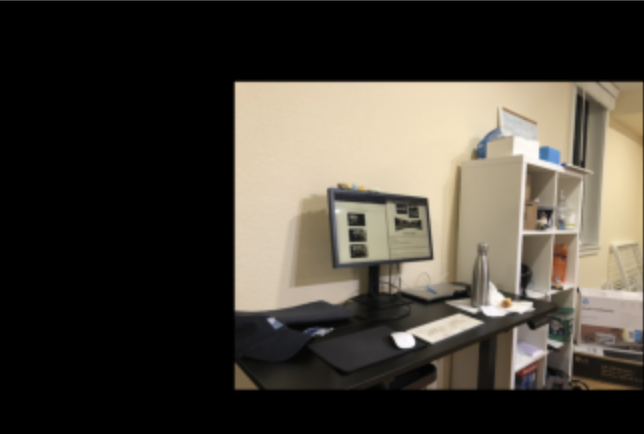
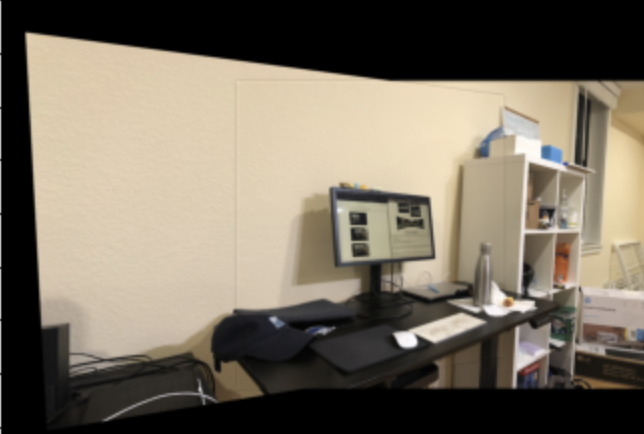
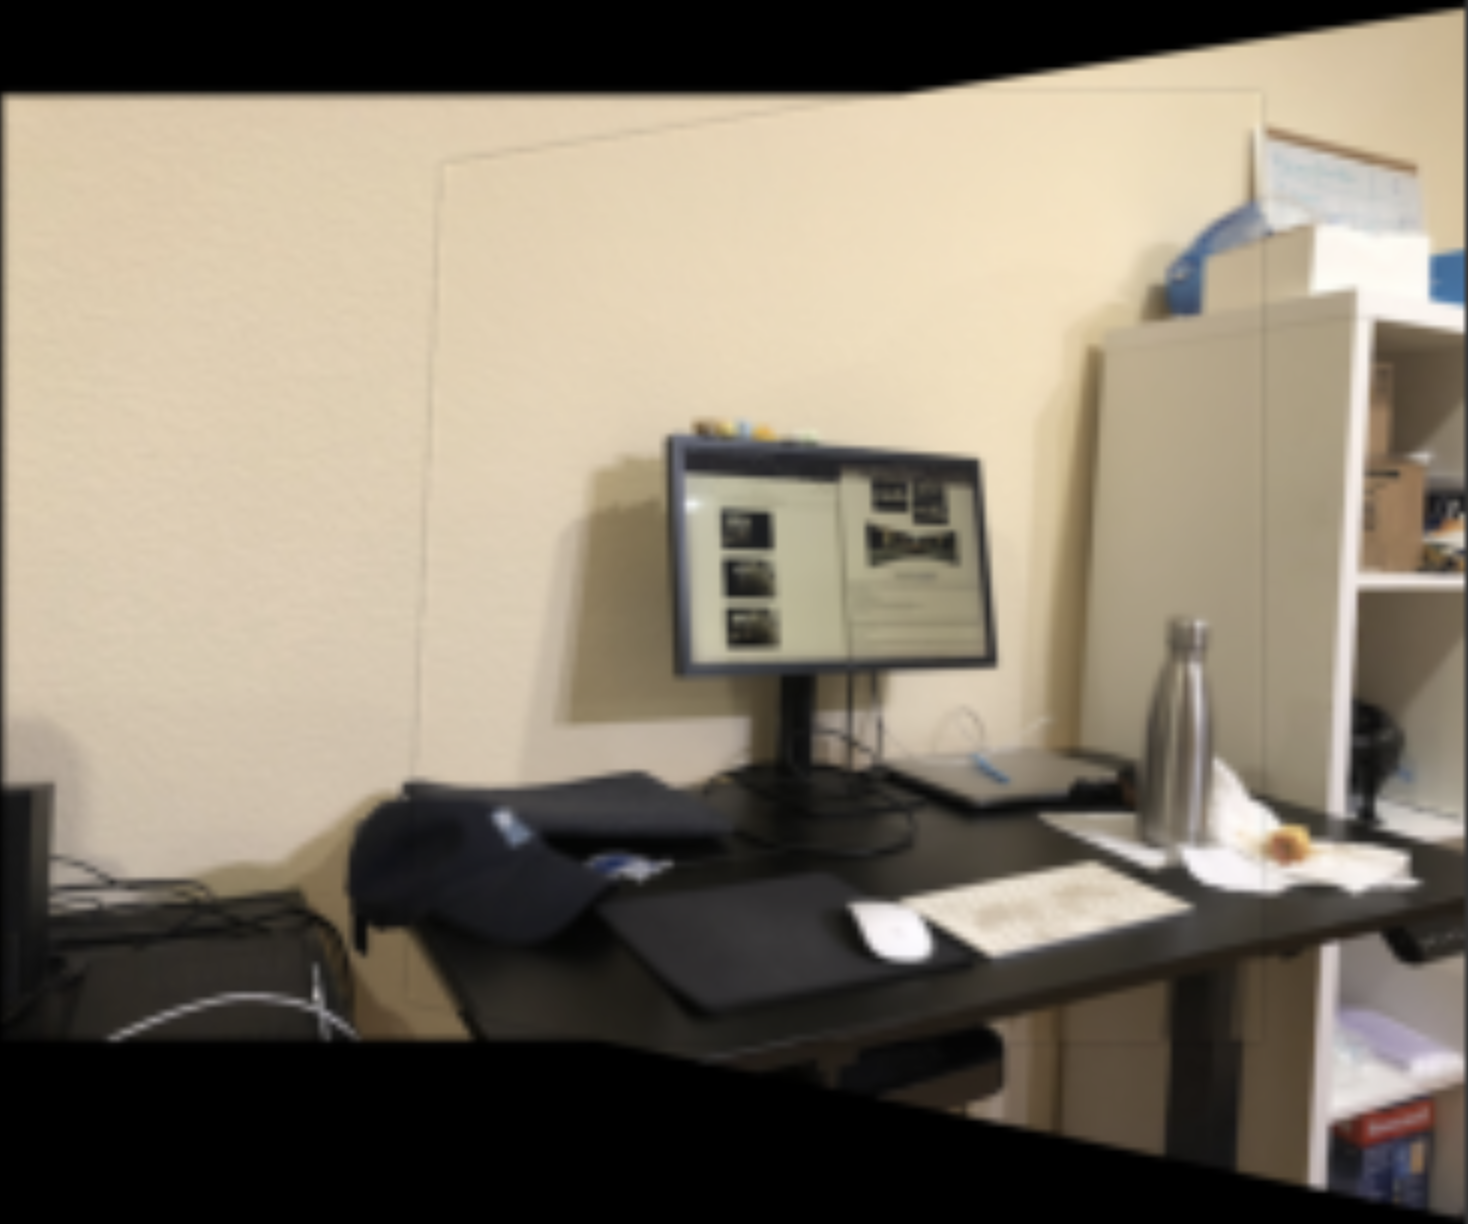
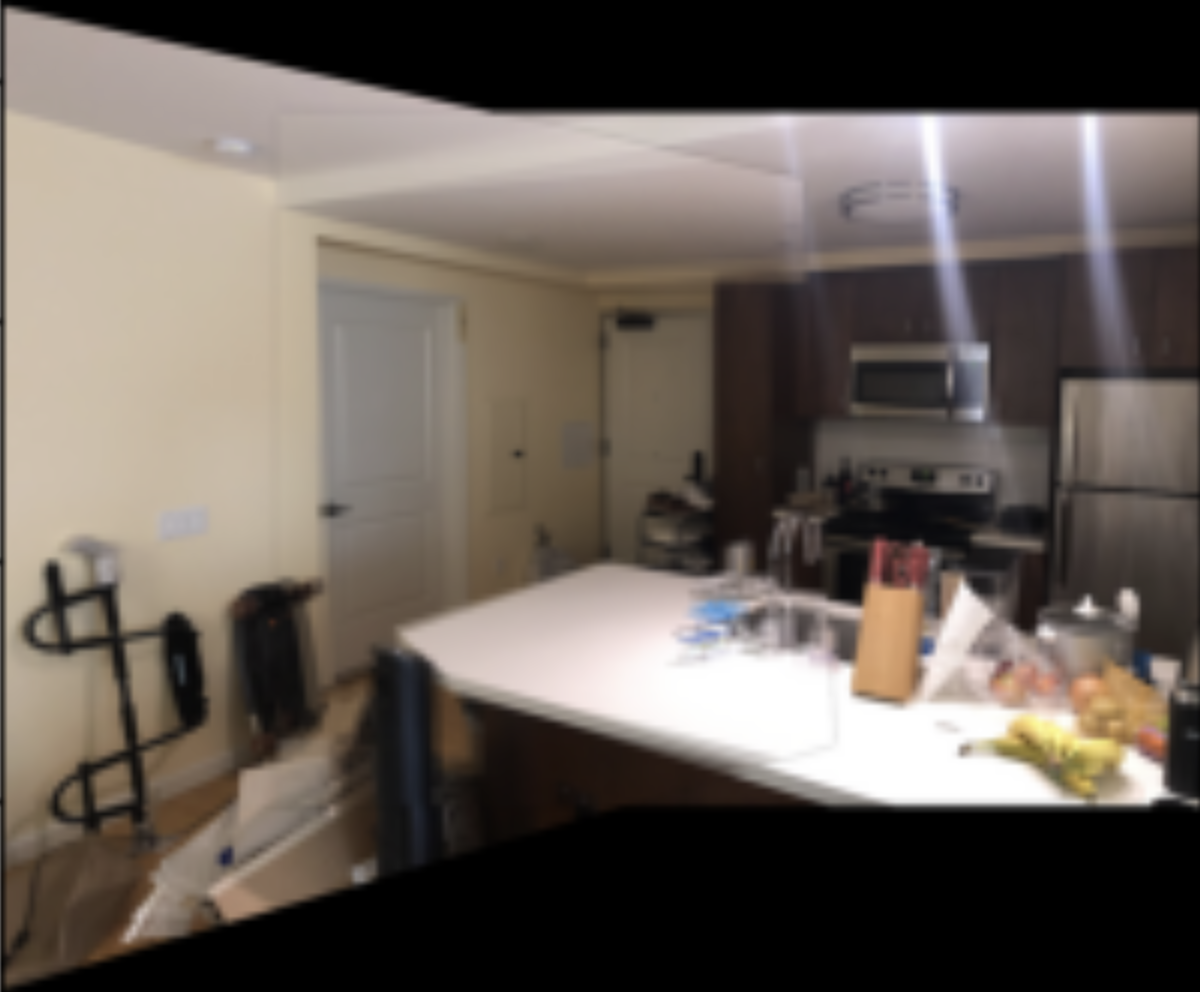
Finally with all the above, I'm able to blend the images I've taken into a mosaic! Below, I show the two padded and warped images, before being combined into a mosaic. For my stitching, I use what I've learned in Project 2 with Laplacian Pyramids. I also use a mask that only blends the image at points where pixels from both images are present, and otherwise just use the ground truth pixels from the corresponding images.

Part 6: What I've Learned
From this project, I've learned a lot about how to change and warp an image just using a simple 3x3 matrix! It was really cool to see the application of these homographies in class to look at how tiles in old paintings would look, after rectifying the image. Overall, this was a really cool application that I was able to implement and see work from scratch.
Project 4B: Feature Matching for Autostitching
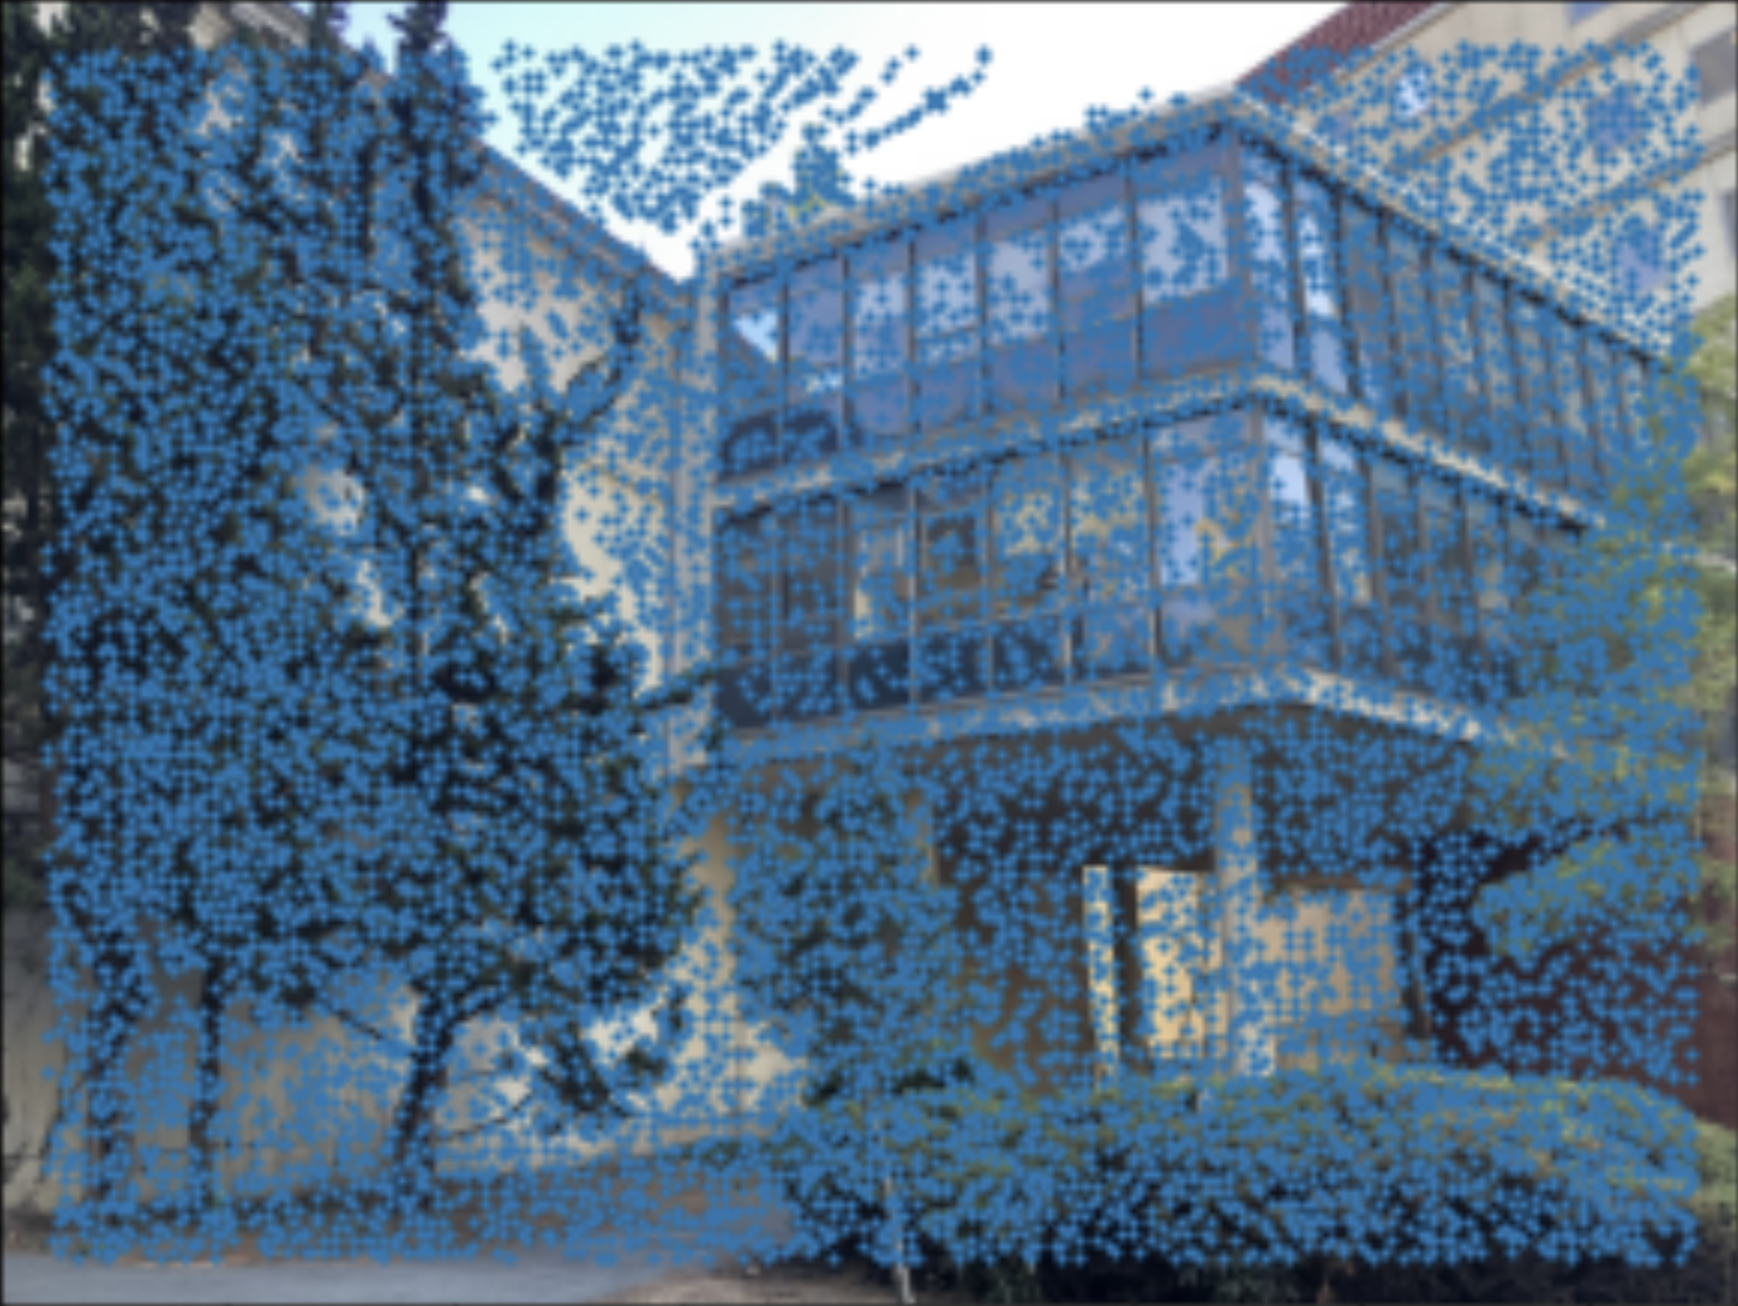
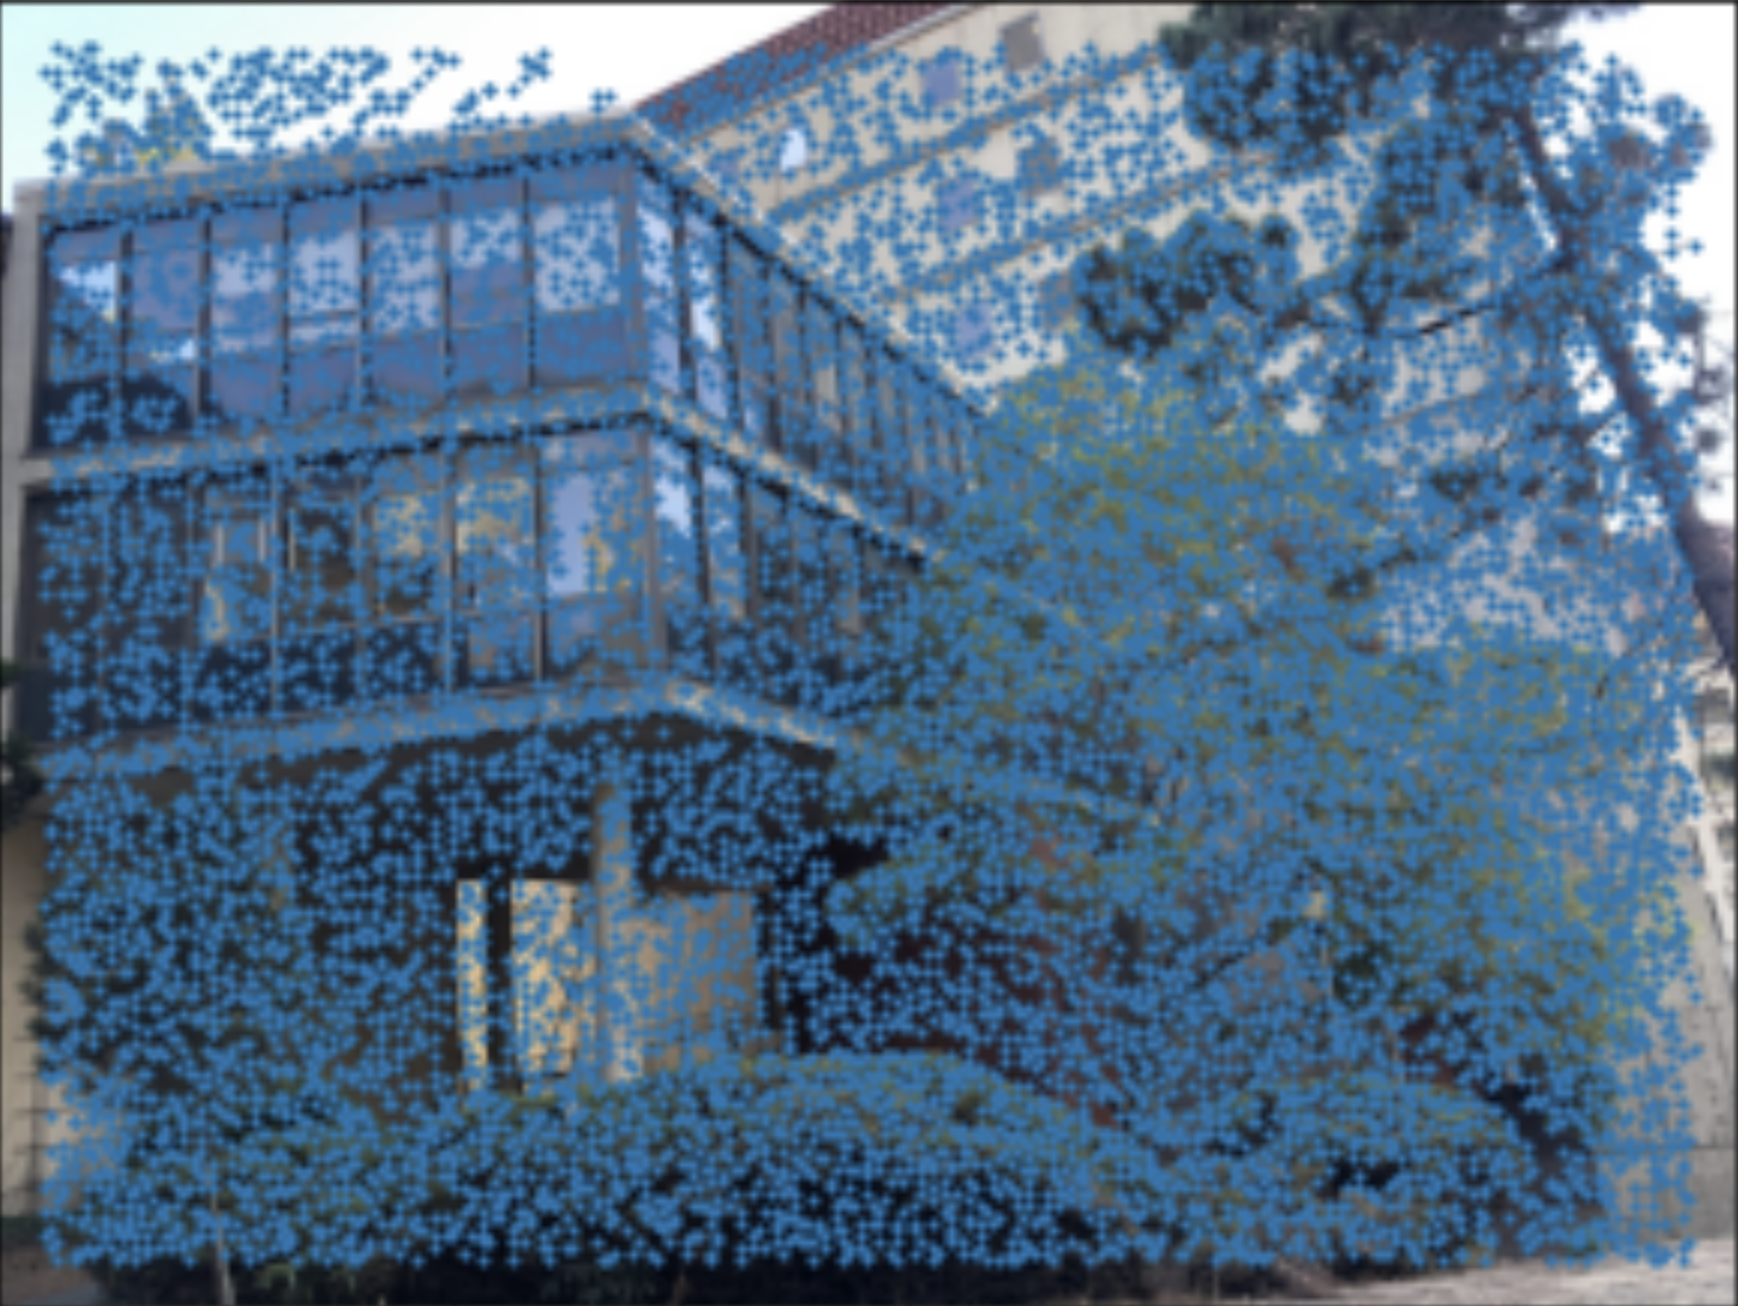
Part 1: Detecting Corner Features in an Image
Using the provided code for detecting Harris corners, I found the Harris corners for images I had taken above for Project 4A. Below, I show the Harris corners overlaid on the two images of the cube building.
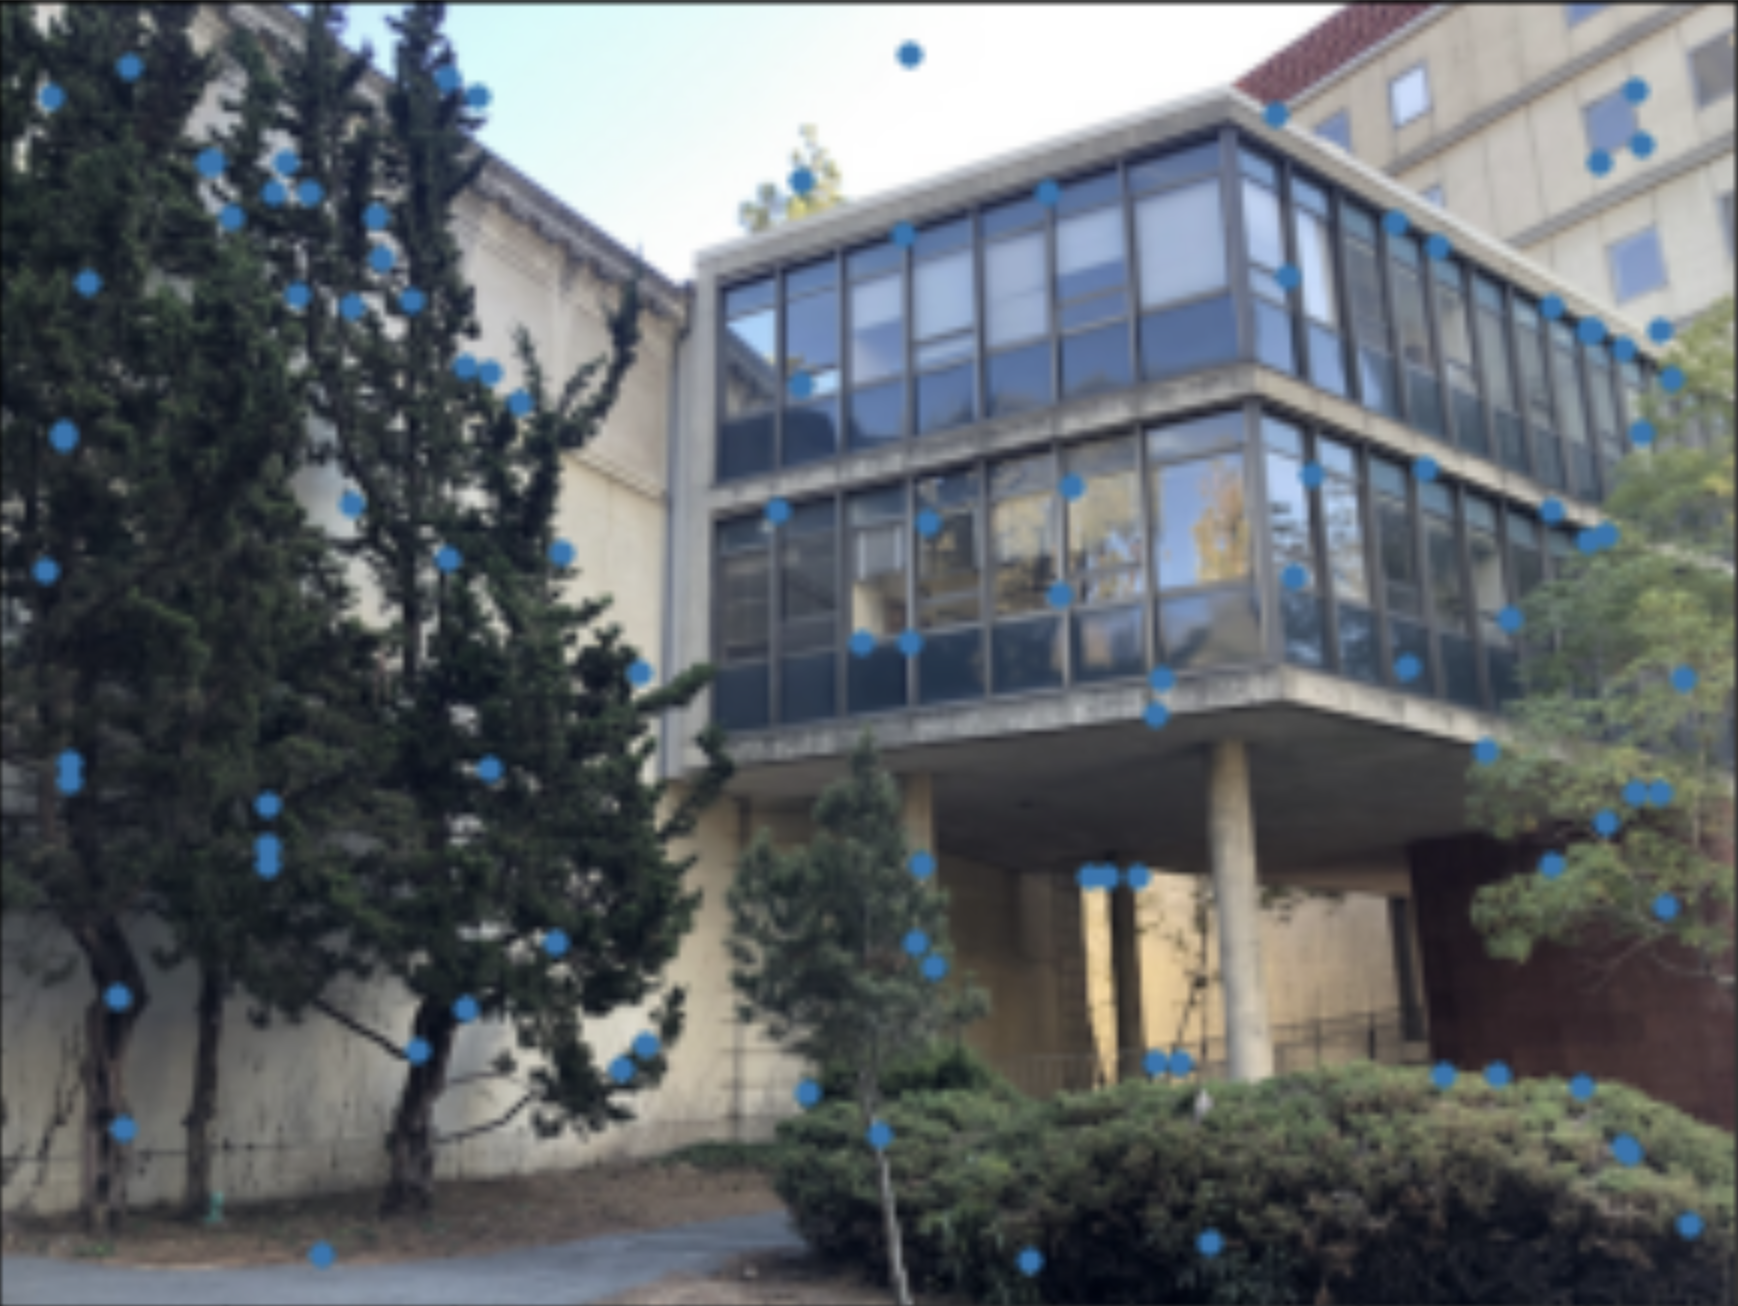
However, these are way too many corners, and thus too noisy to do anything on top of. So next, I implemented Adaptive Non-Maximal Suppression (ANMS), outlined in Section 3 of the Multi-Image Matching using Multi-Scale Oriented Patches (MOPS) paper. I chose 100 of the top points for each image. Below, I show the Harris Corners for the cube building, after running ANMS on all the original Harris Corners.

Part 2: Extracting Feature Descriptors
For this part of the project, I followed Section 4 of the MOPS paper. This involved taking a 40x40 window around the chosen Harris corners, then blurring the window and downsampling it into a normalized 8x8 patch. Below, I show one of the Harris corners and the extracted feature.

Part 3: Feature Matching
Then for each pair of features between the two images, I get the L2 Norm Loss for each pair, and then use Lowe's thresholding. This is simply comparing the ratio of the errors between the first and second nearest neighbors, and if the threshold is met, then that nearest neighbor is considered its match!
Part 4: RANSAC Homography + Mosaicing
Finally, I use RANSAC to compute the homography between each image. This is done by sampling 4 random pairs of points to compute a Homography off of, and keeping track of the best points to use so far by tracking the maximum number of inliers that each homography preserves. Below, I compare these two methods of mosaicing. The images on the left are mosaiced using the above mosaicing method, and the images on the right are auto mosaiced.
Part 5: What I've Learned
The coolest thing in this part of the project was learning about how Harris Corner detection worked in class, and then seeing the feature matching and RANSAC actually work out in code. To me, the formulation of the Harris Corner matrix and intuition behind it was super neat!