|
|
|
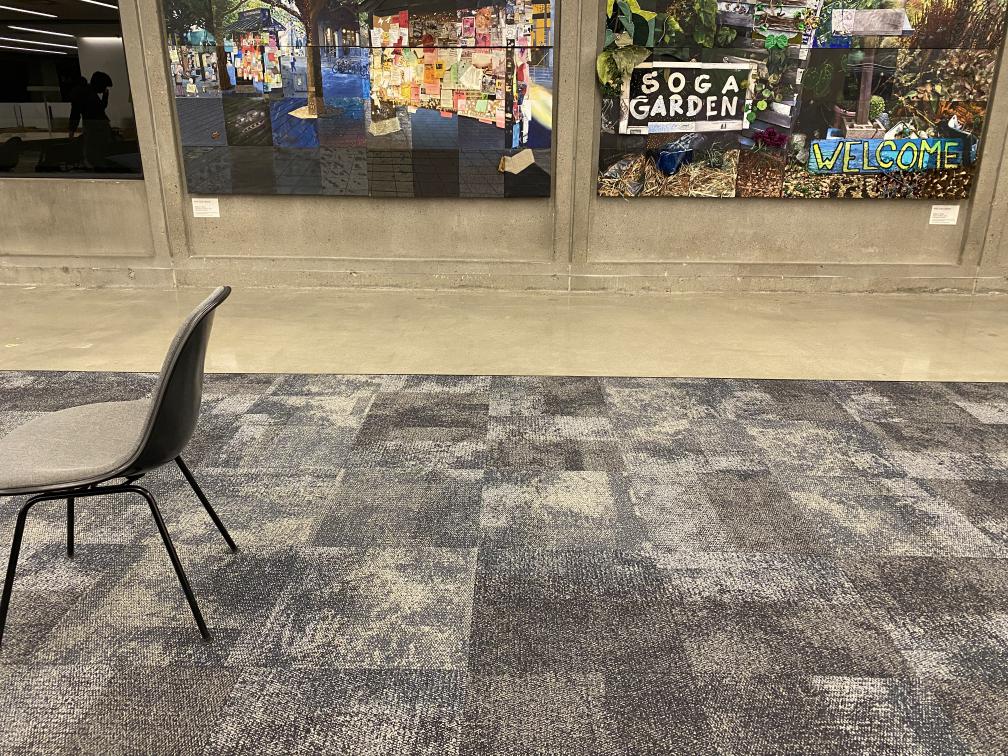
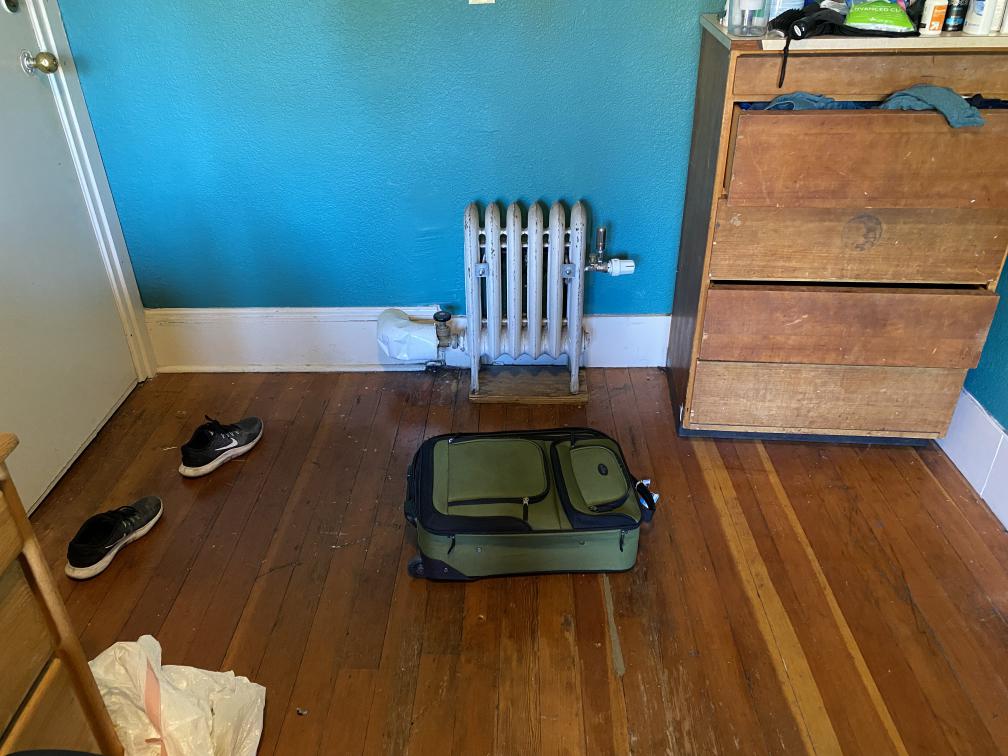
This project involved finding the homographic transformation between two images and sticking them together in a mosaic. In order for this to work, these two images were taken in the same spot, but from different angles. I also performed what is known as image rectification on images of planar surfaces. For example, I took a picture of the floor from an angle, and ran it through a transformation to make it look like I took the picture from directly above.
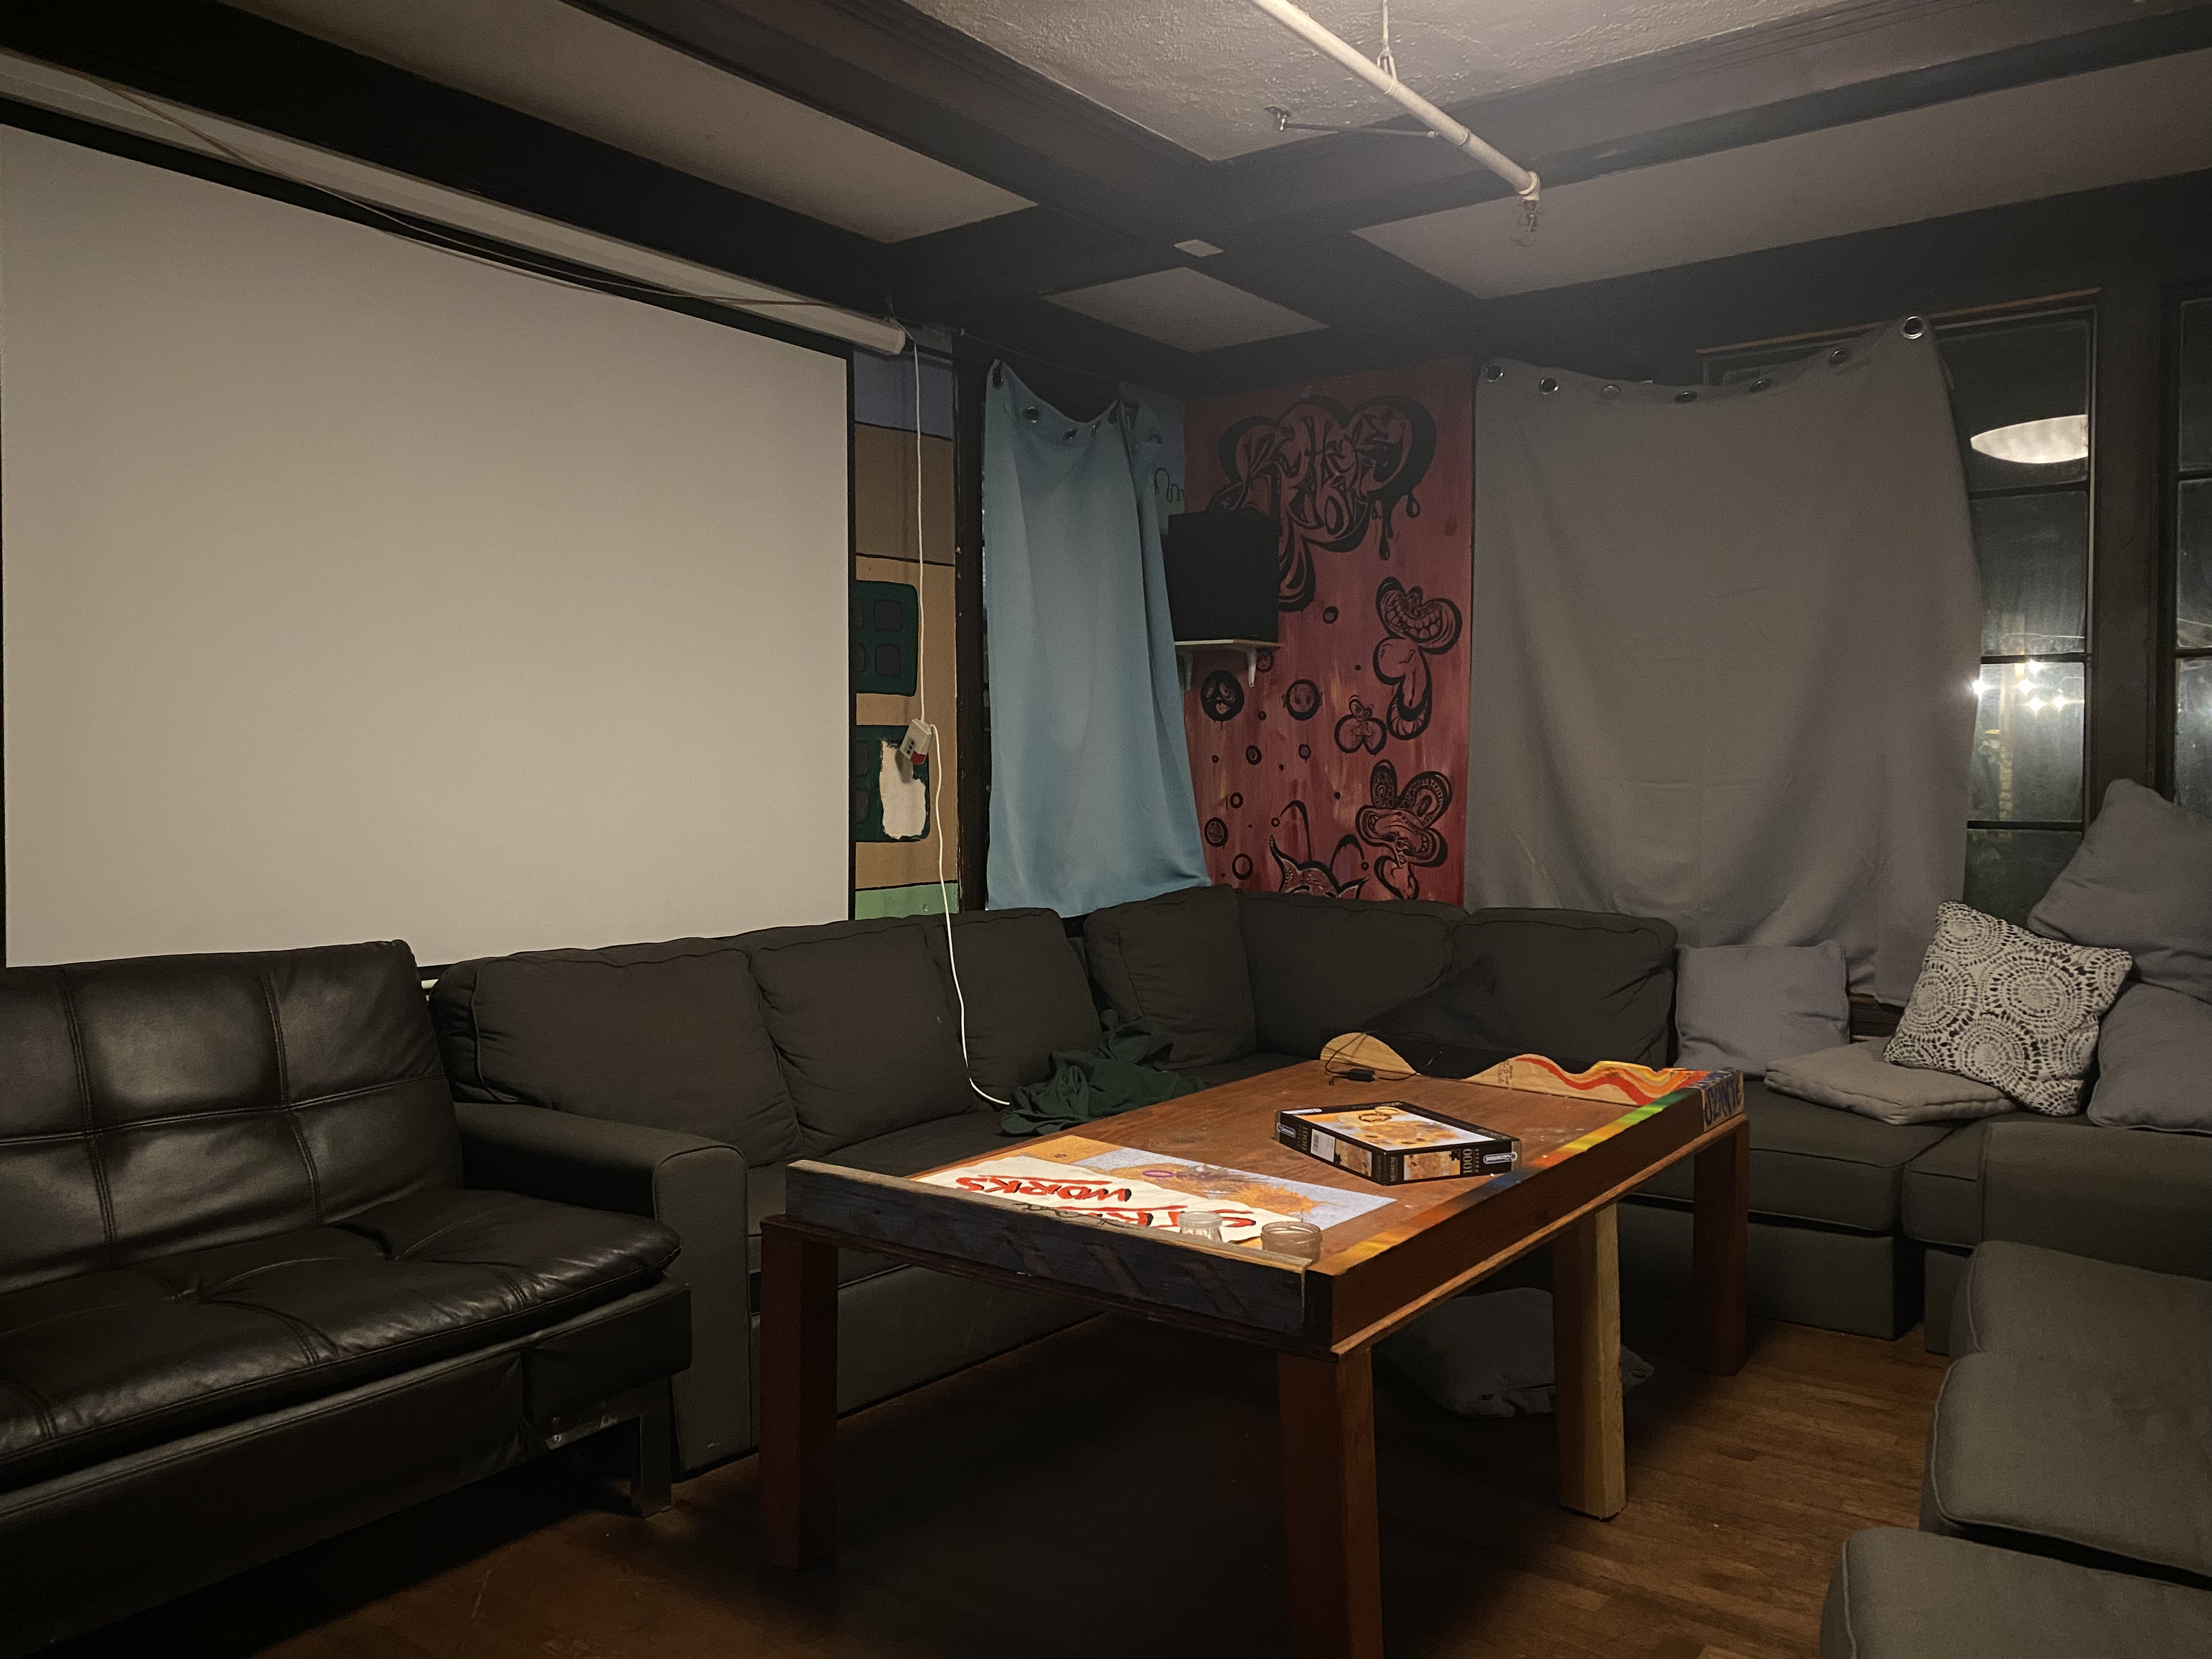
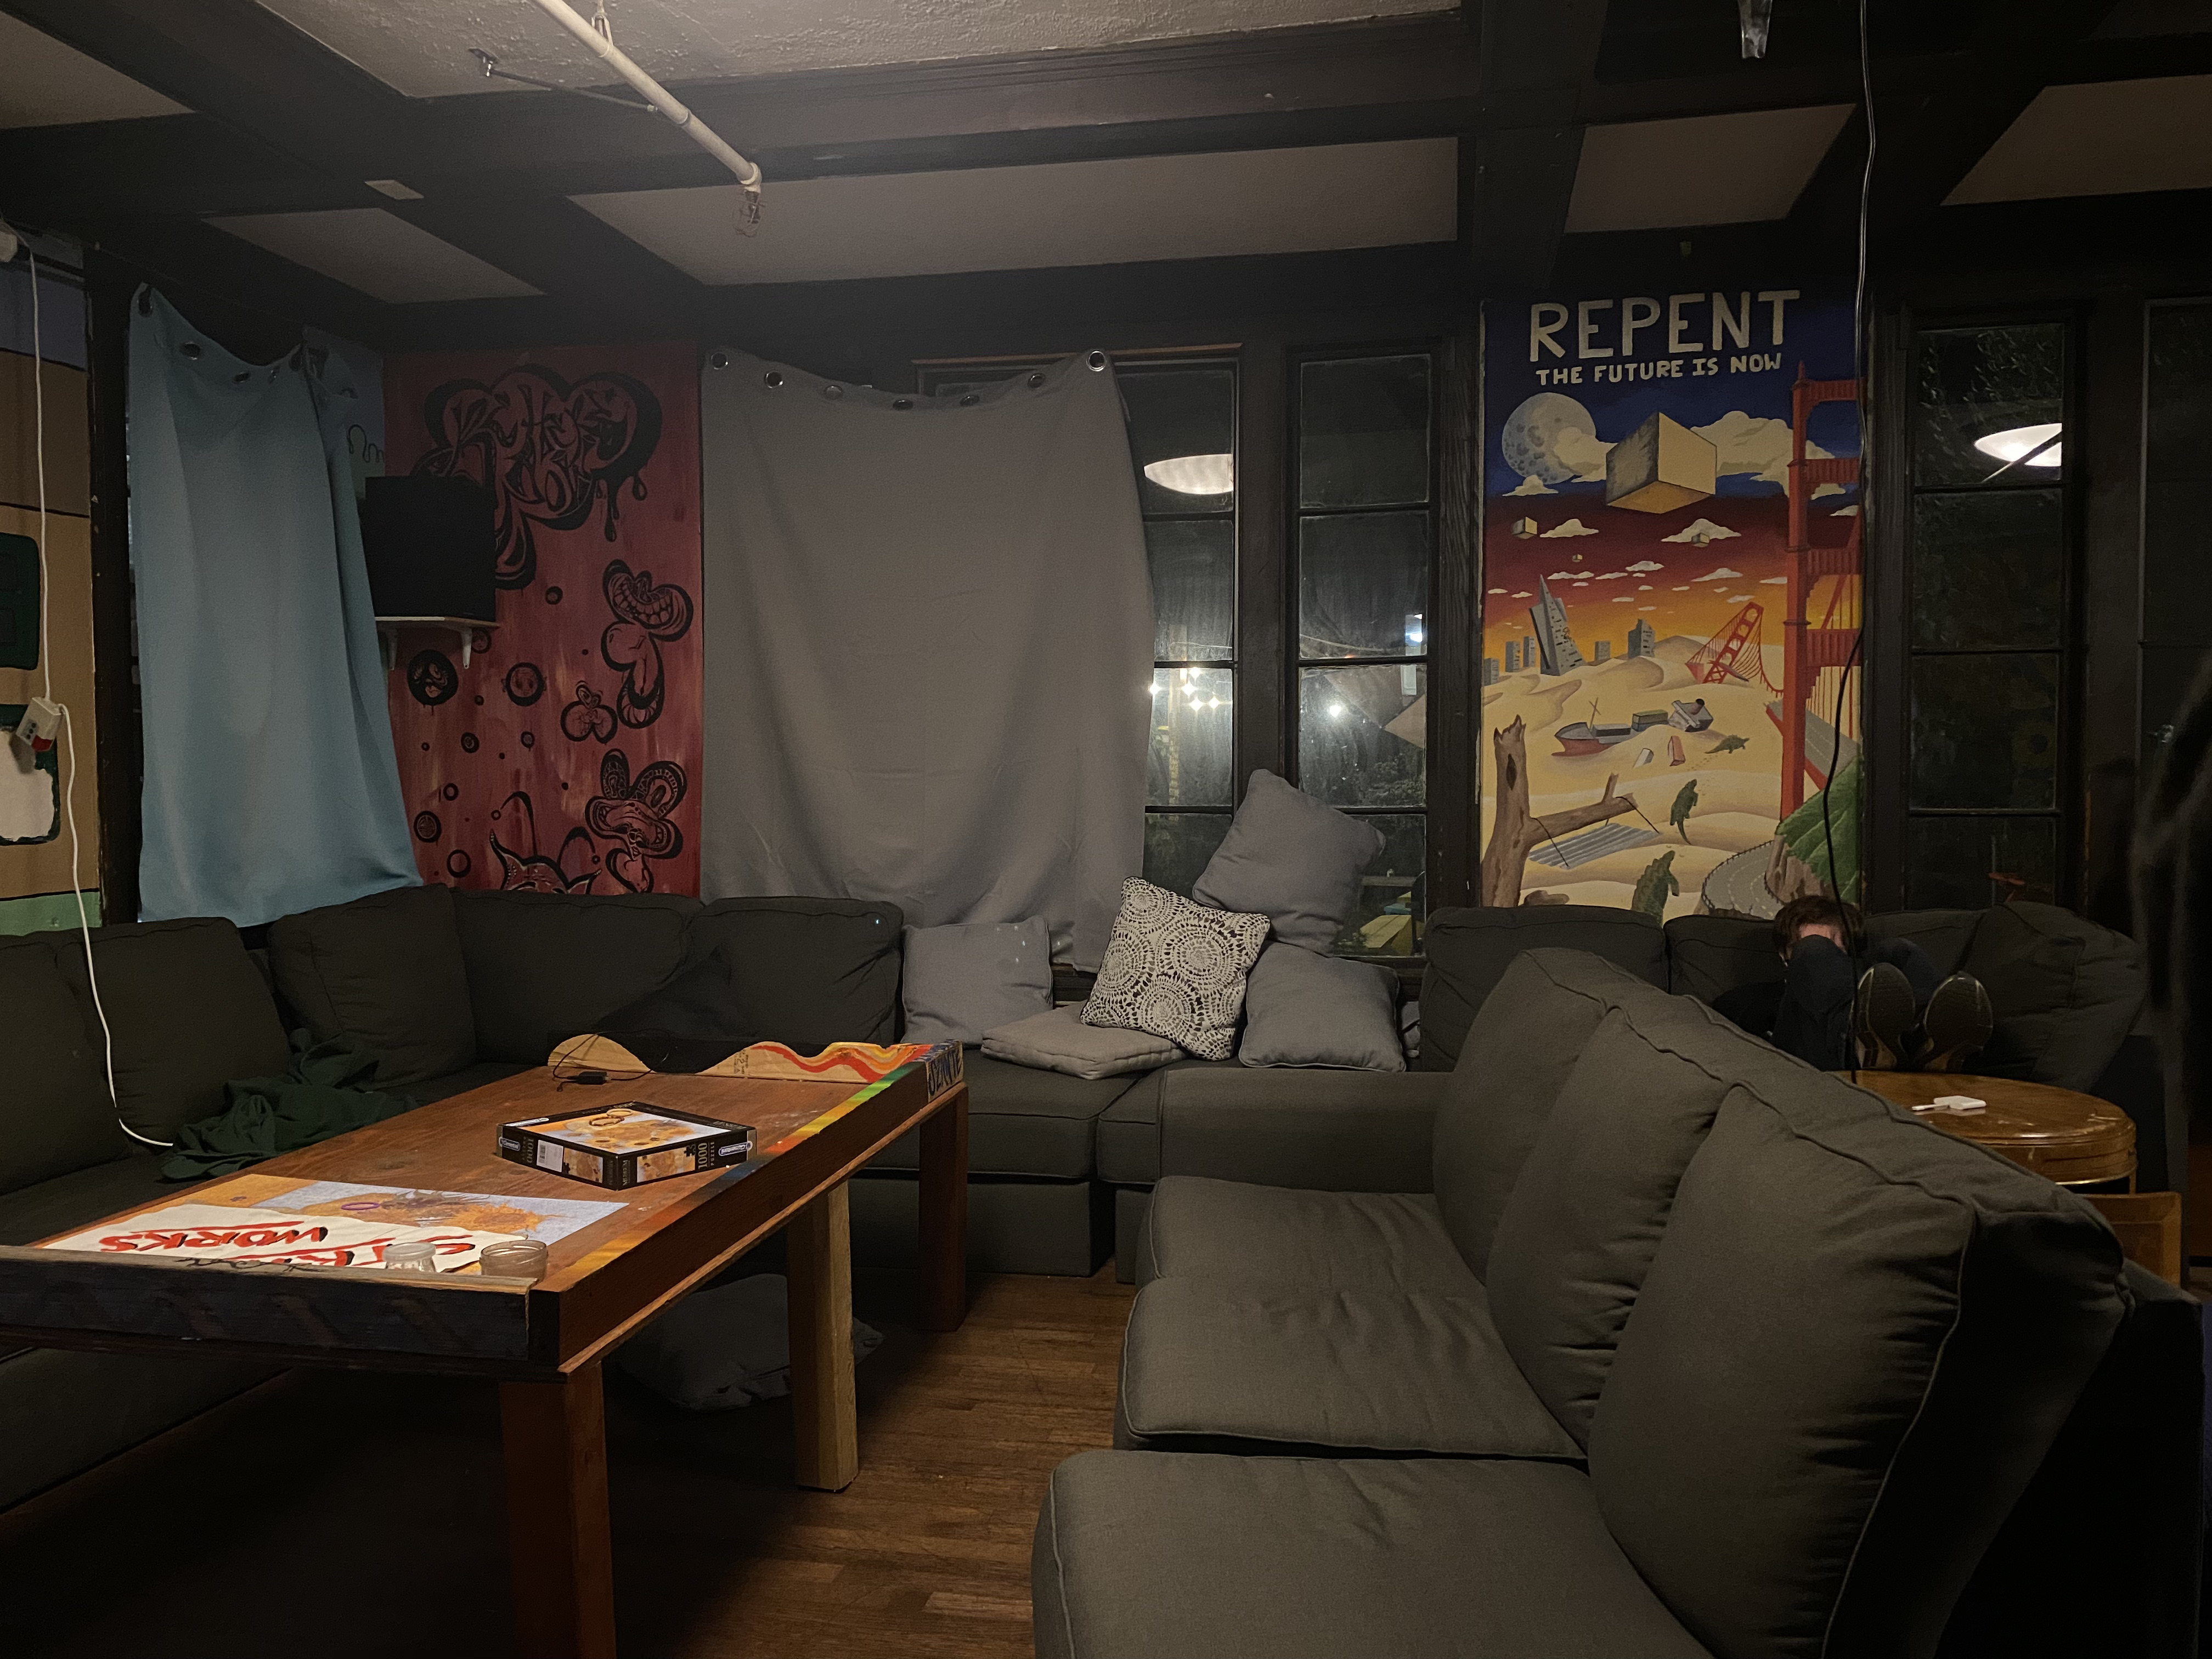
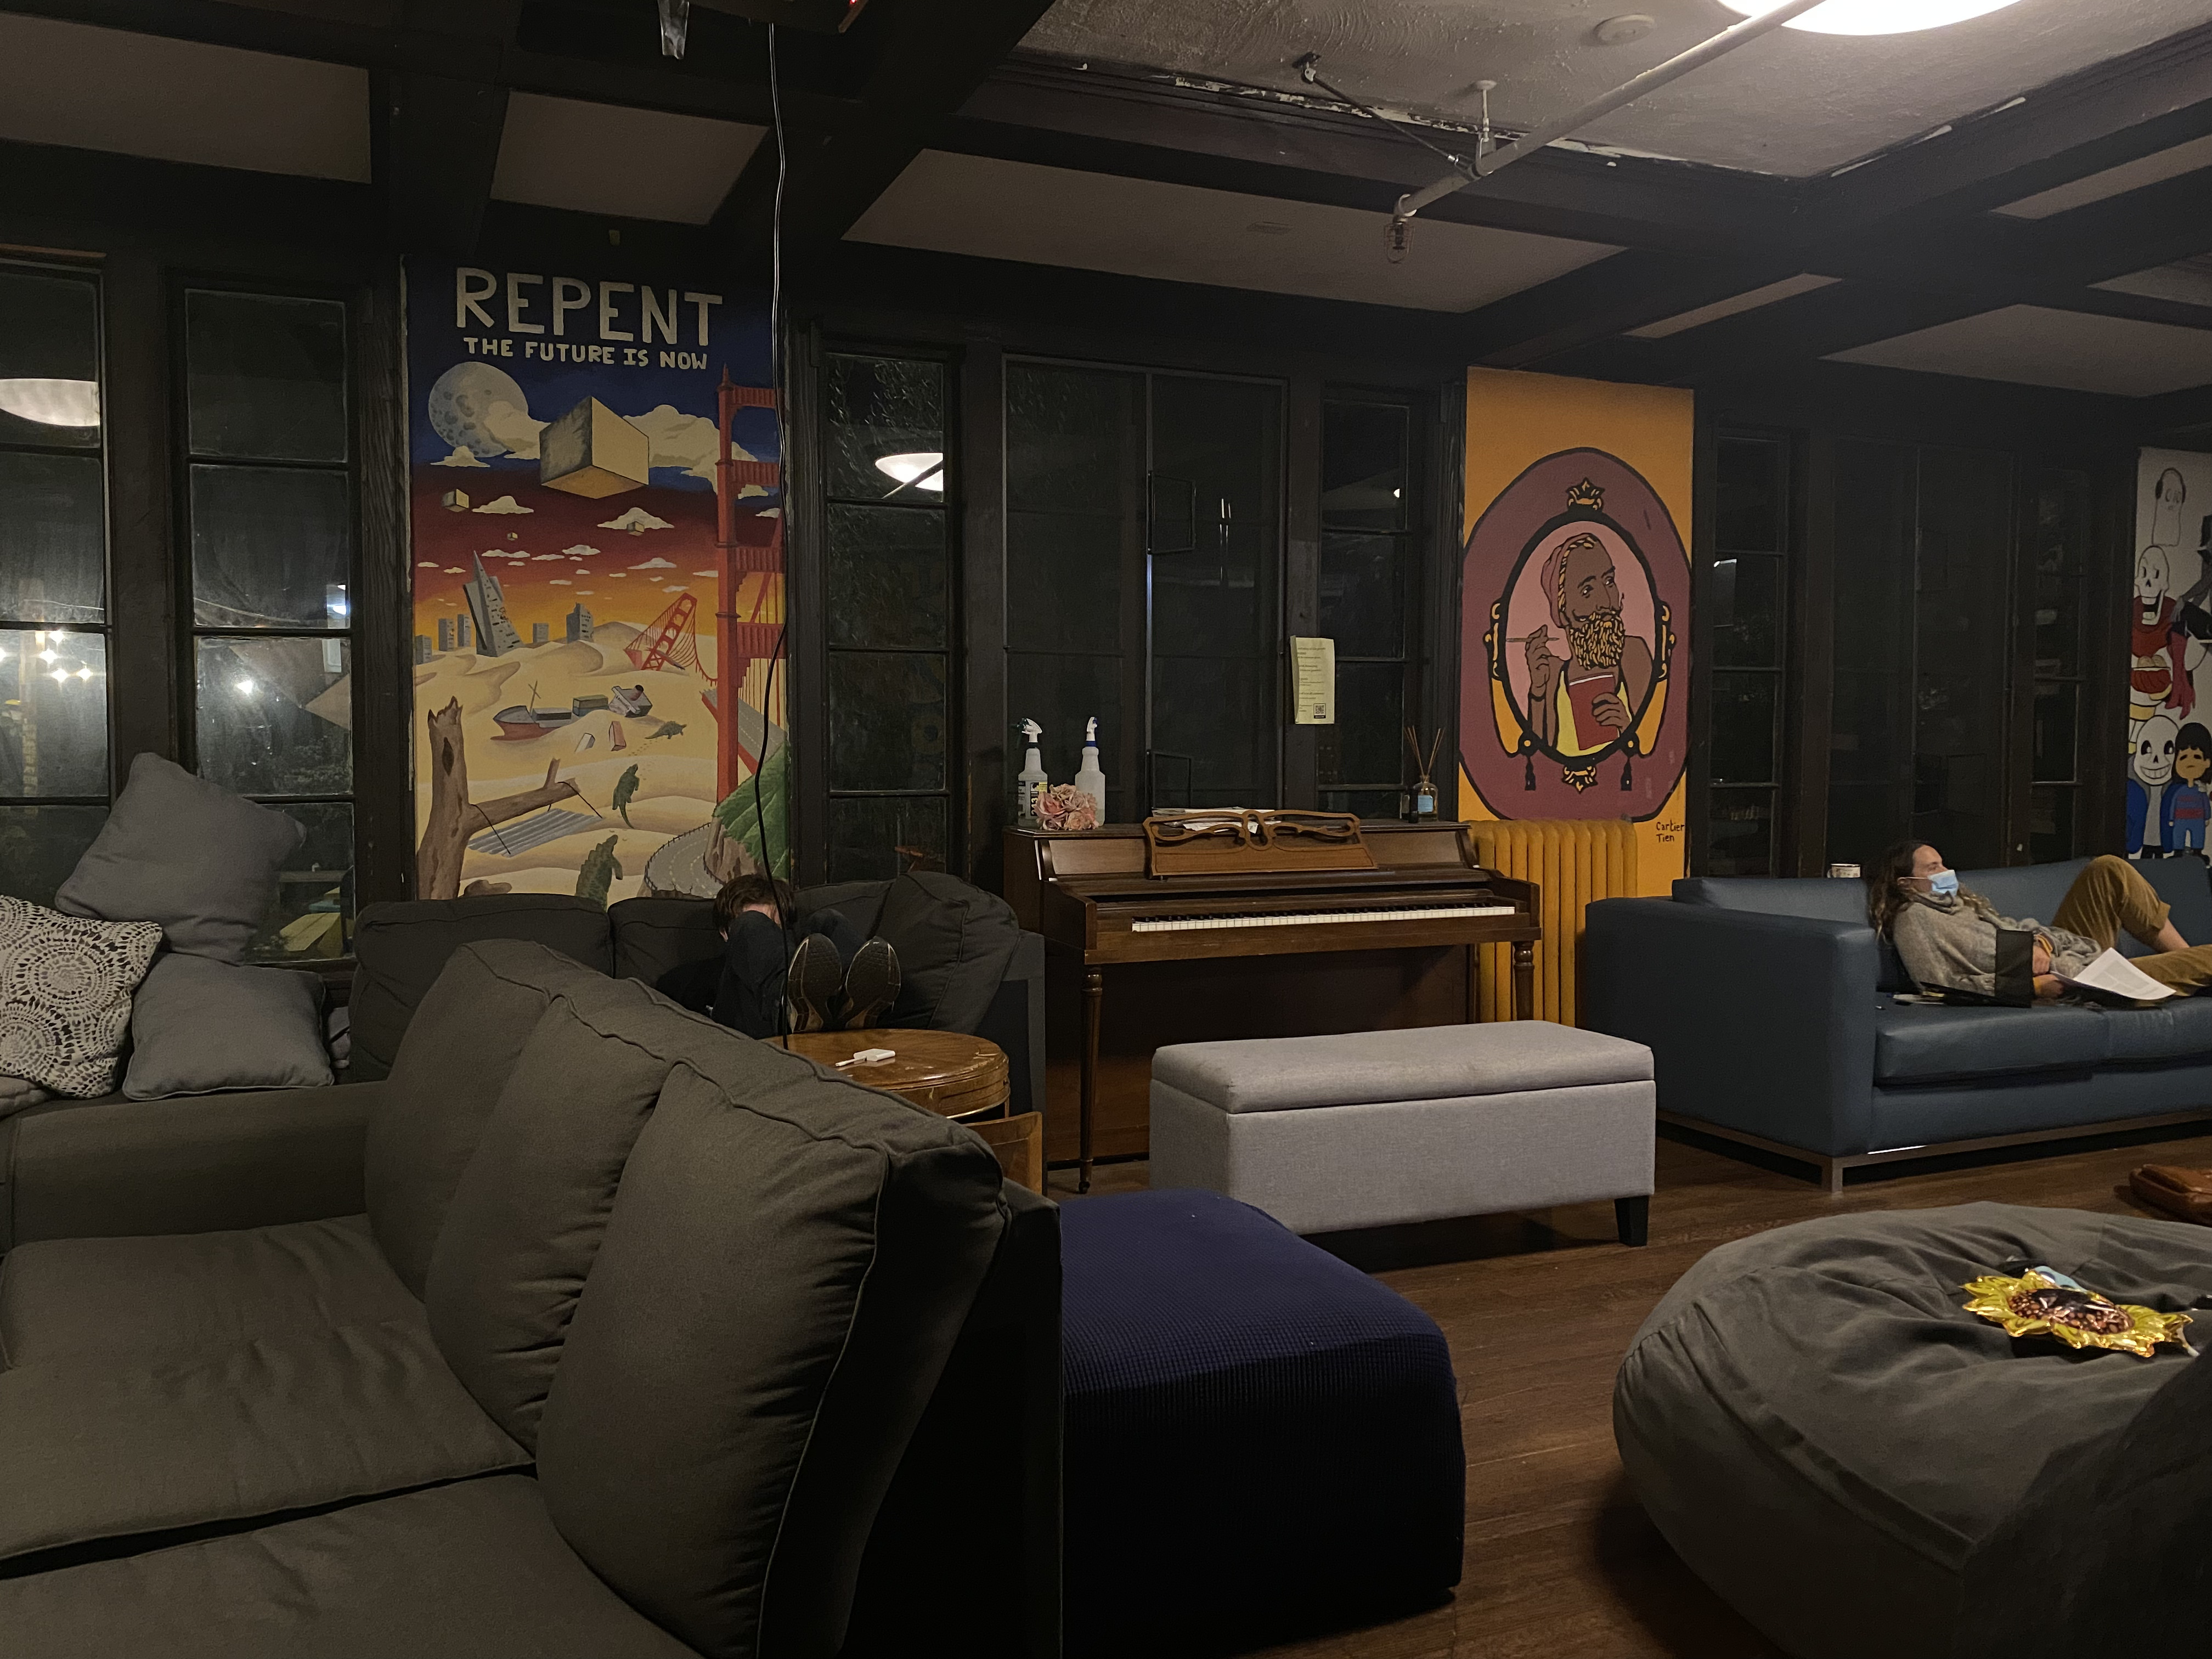
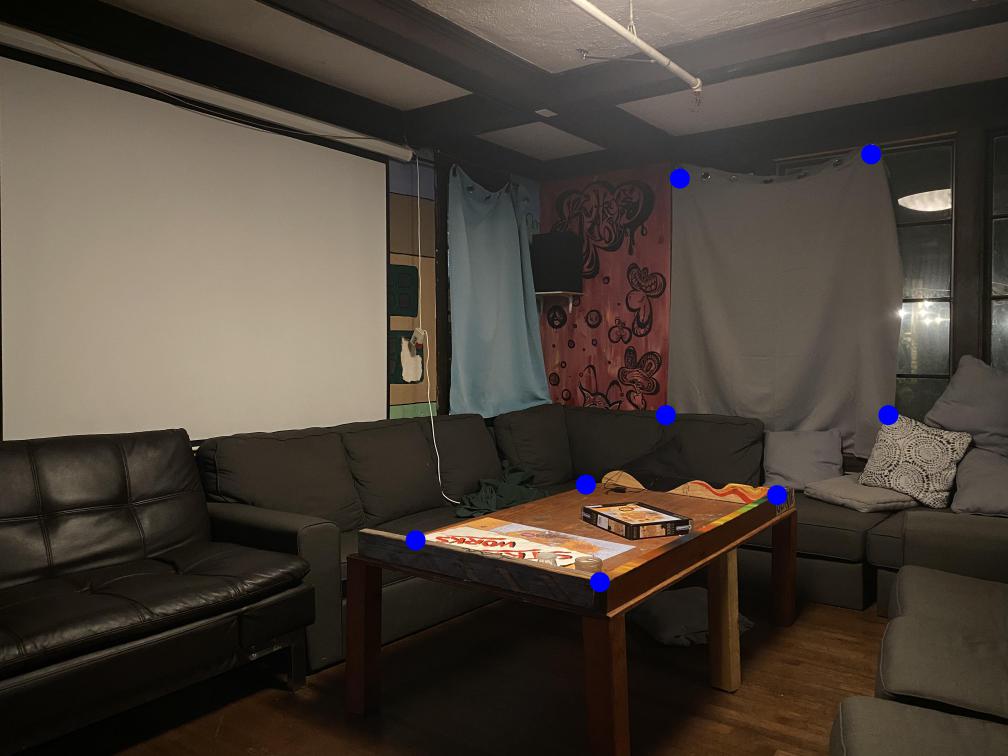
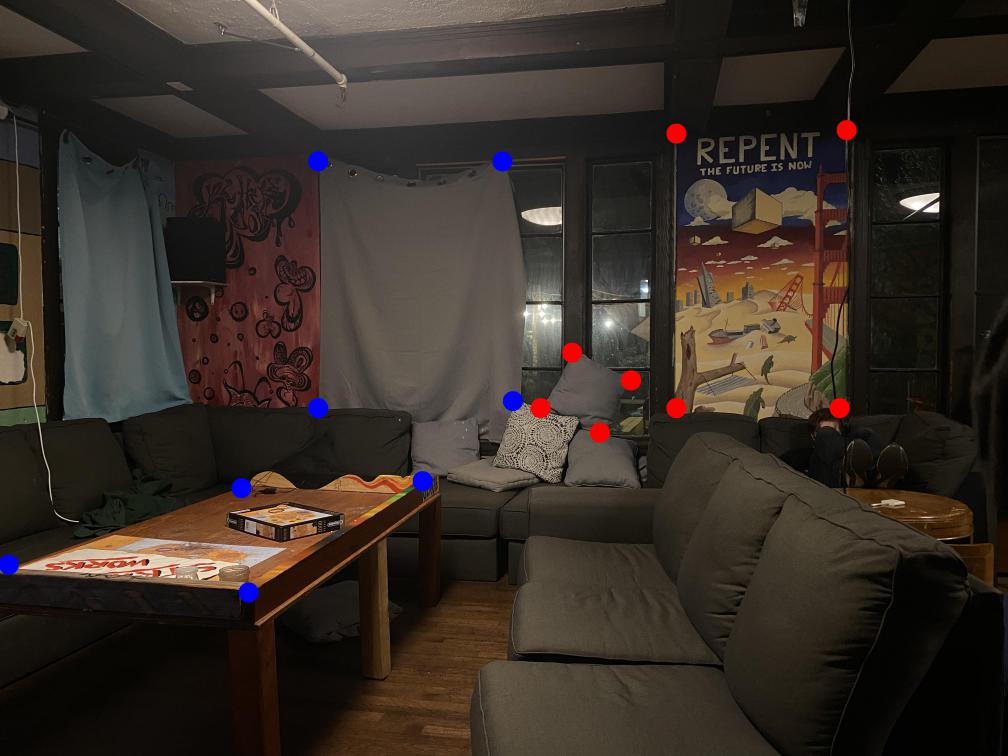
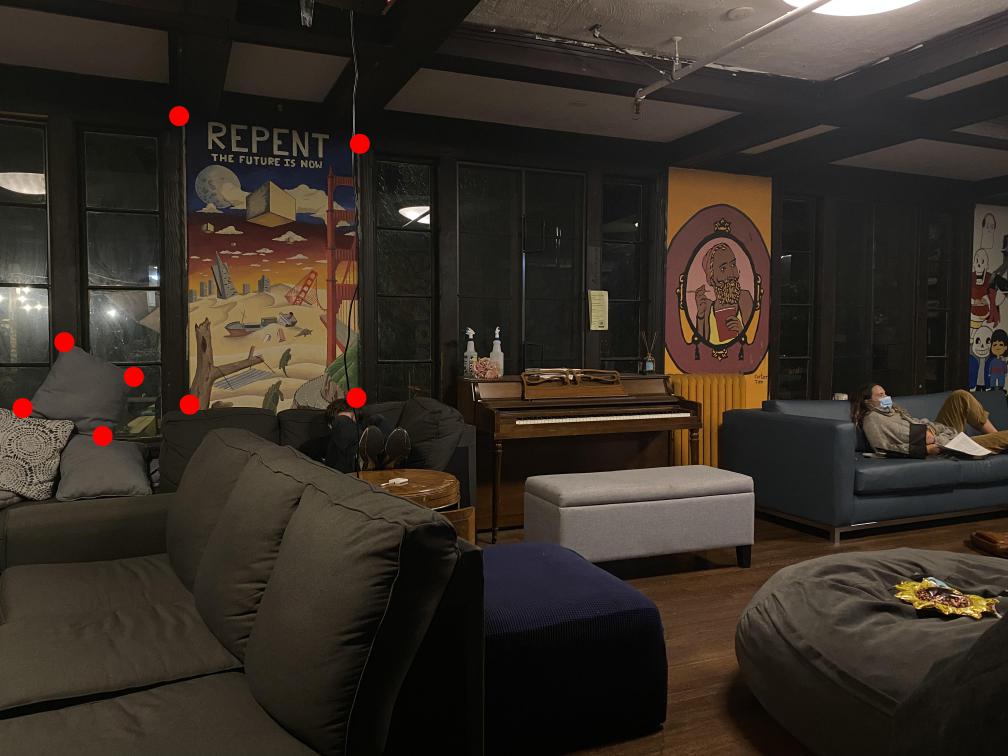
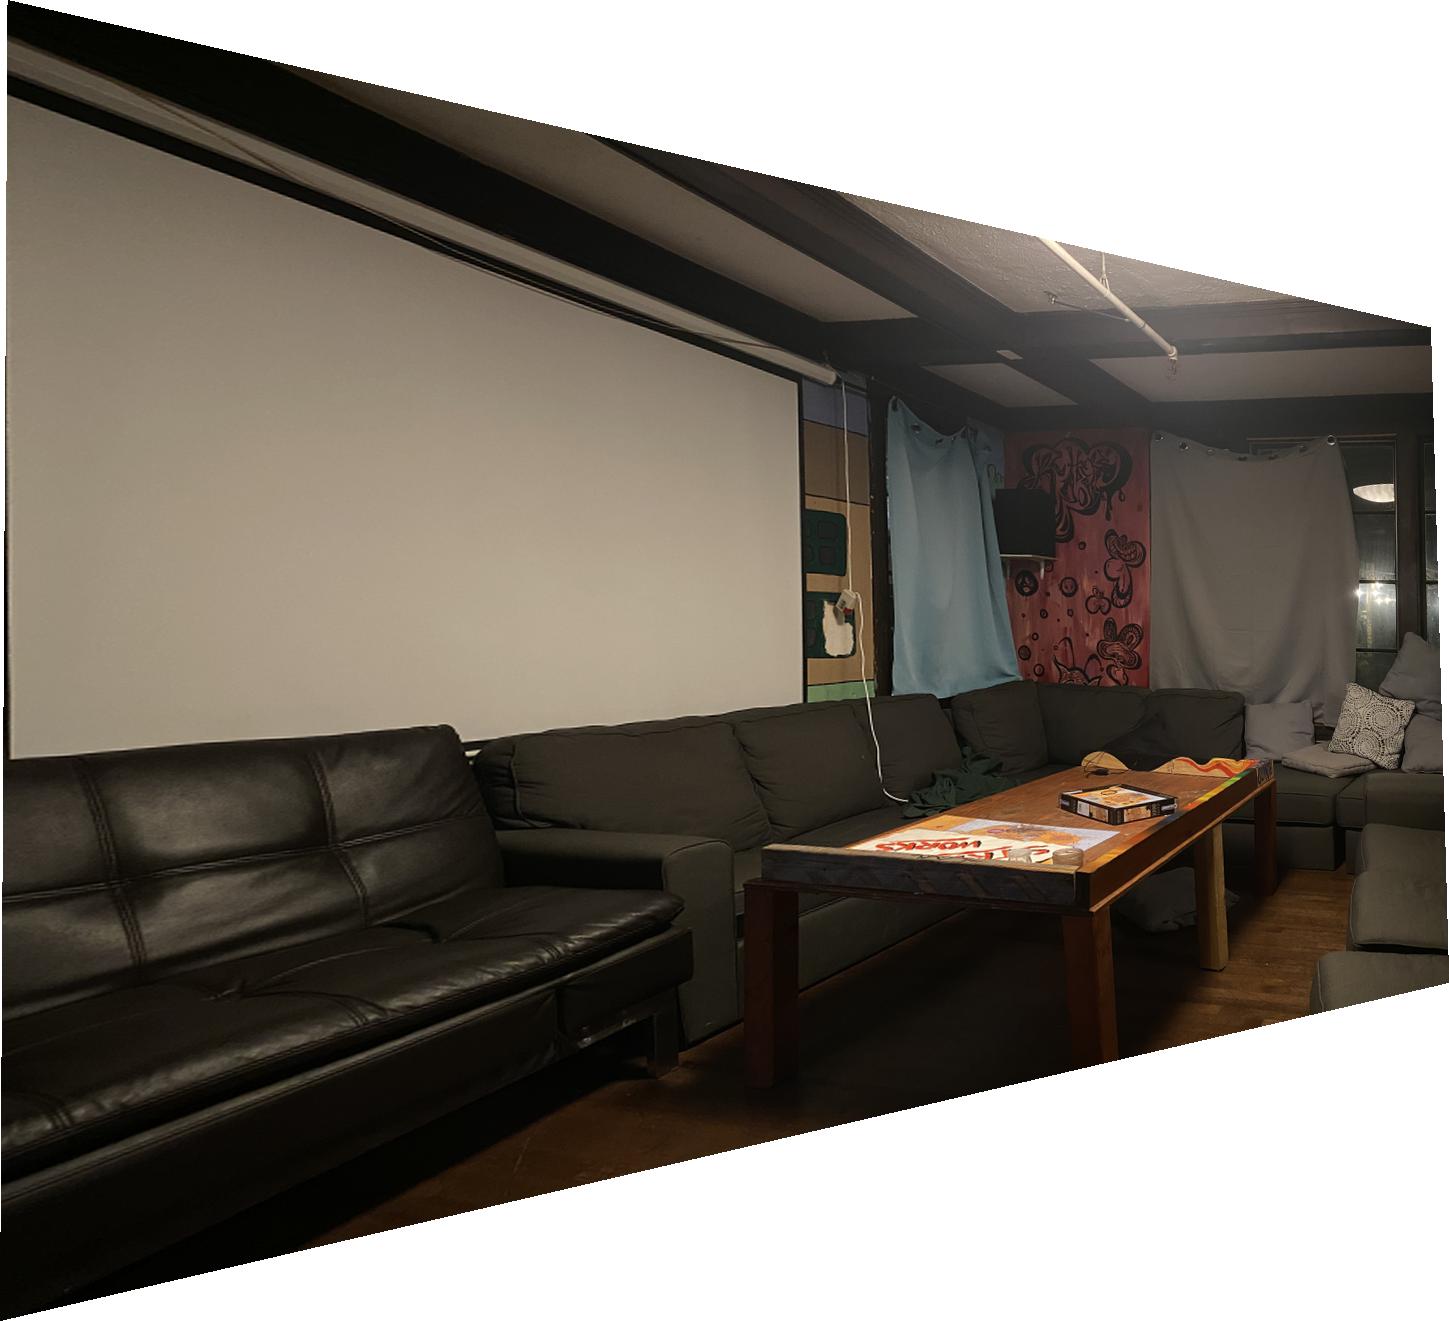
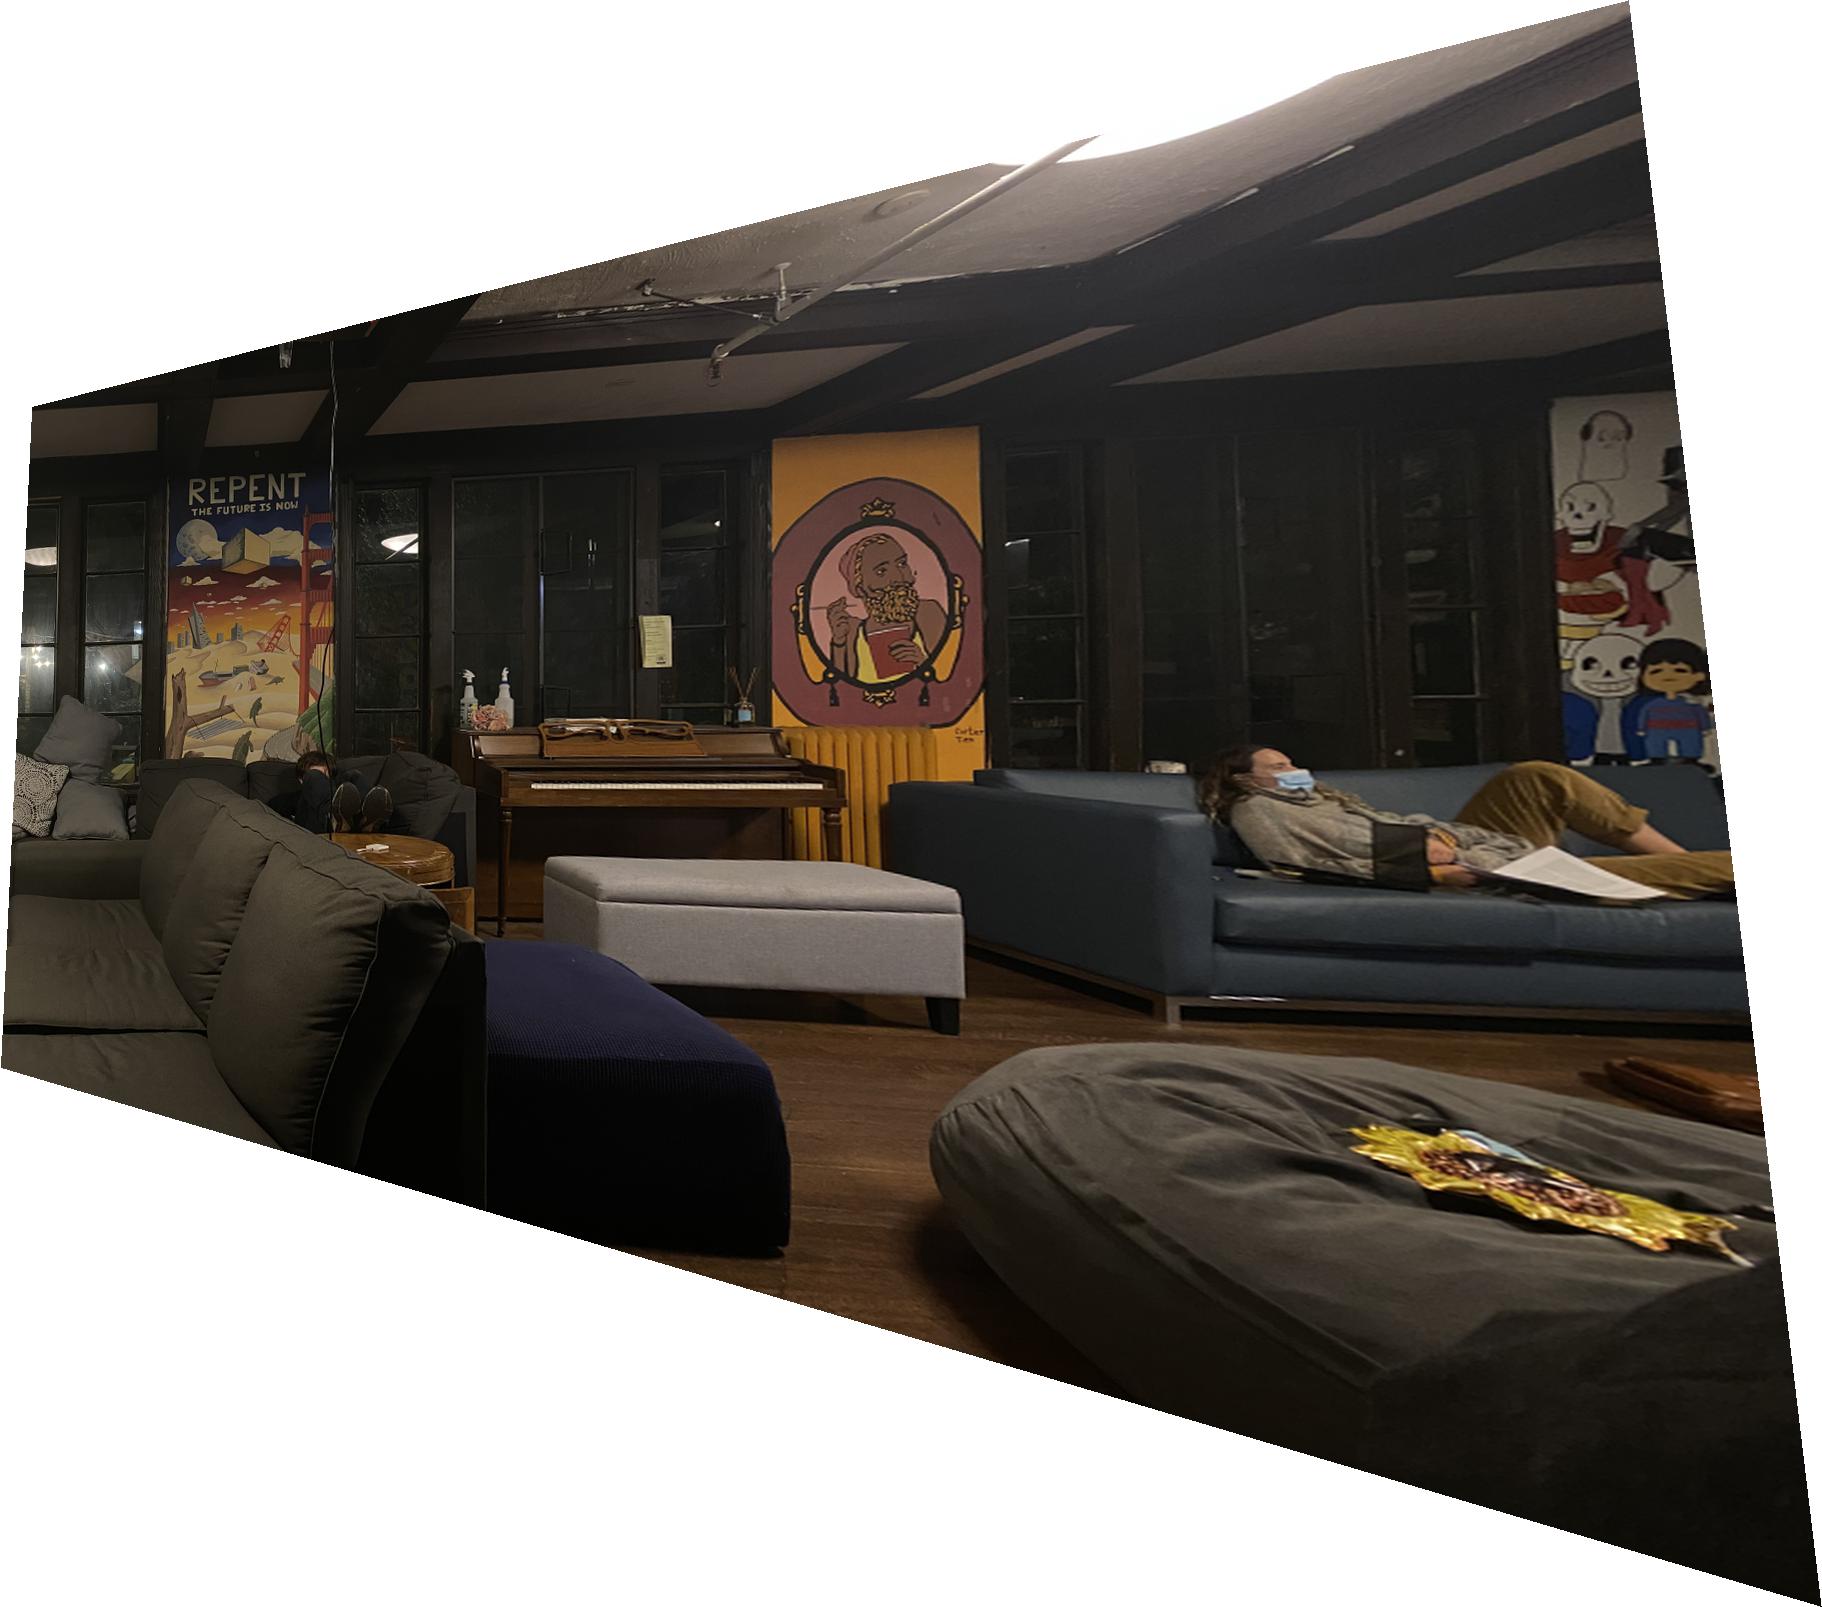
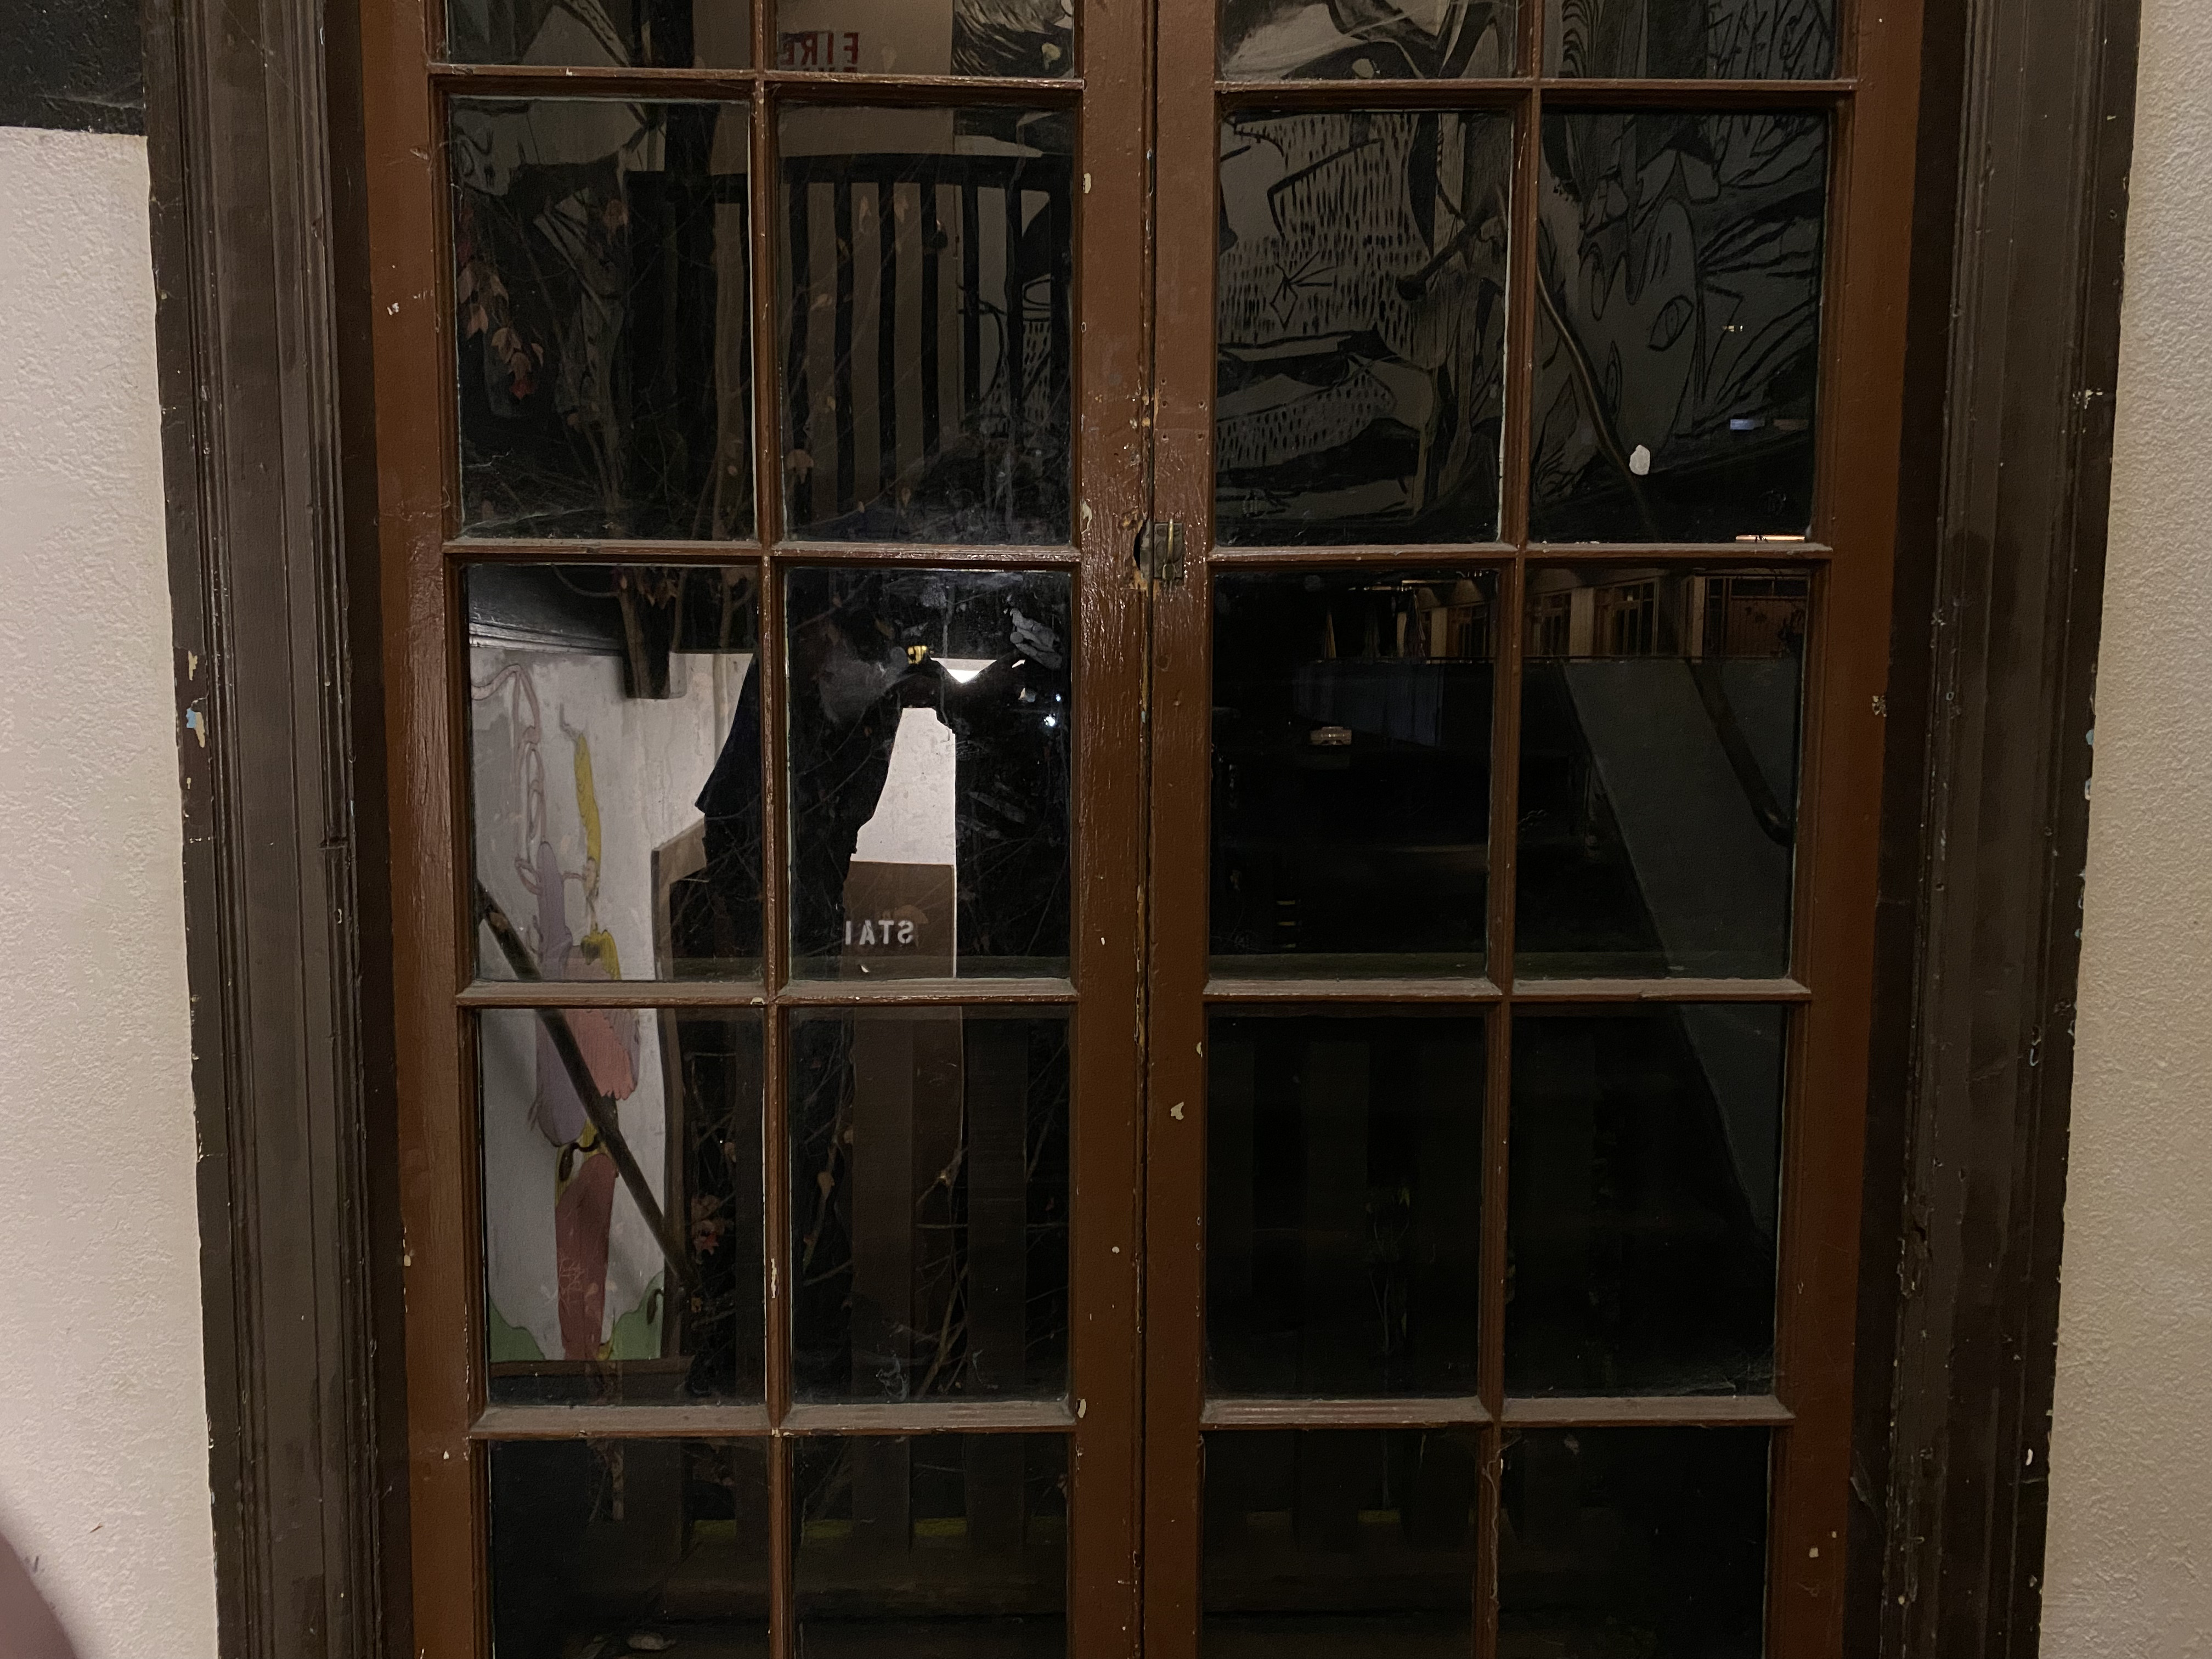
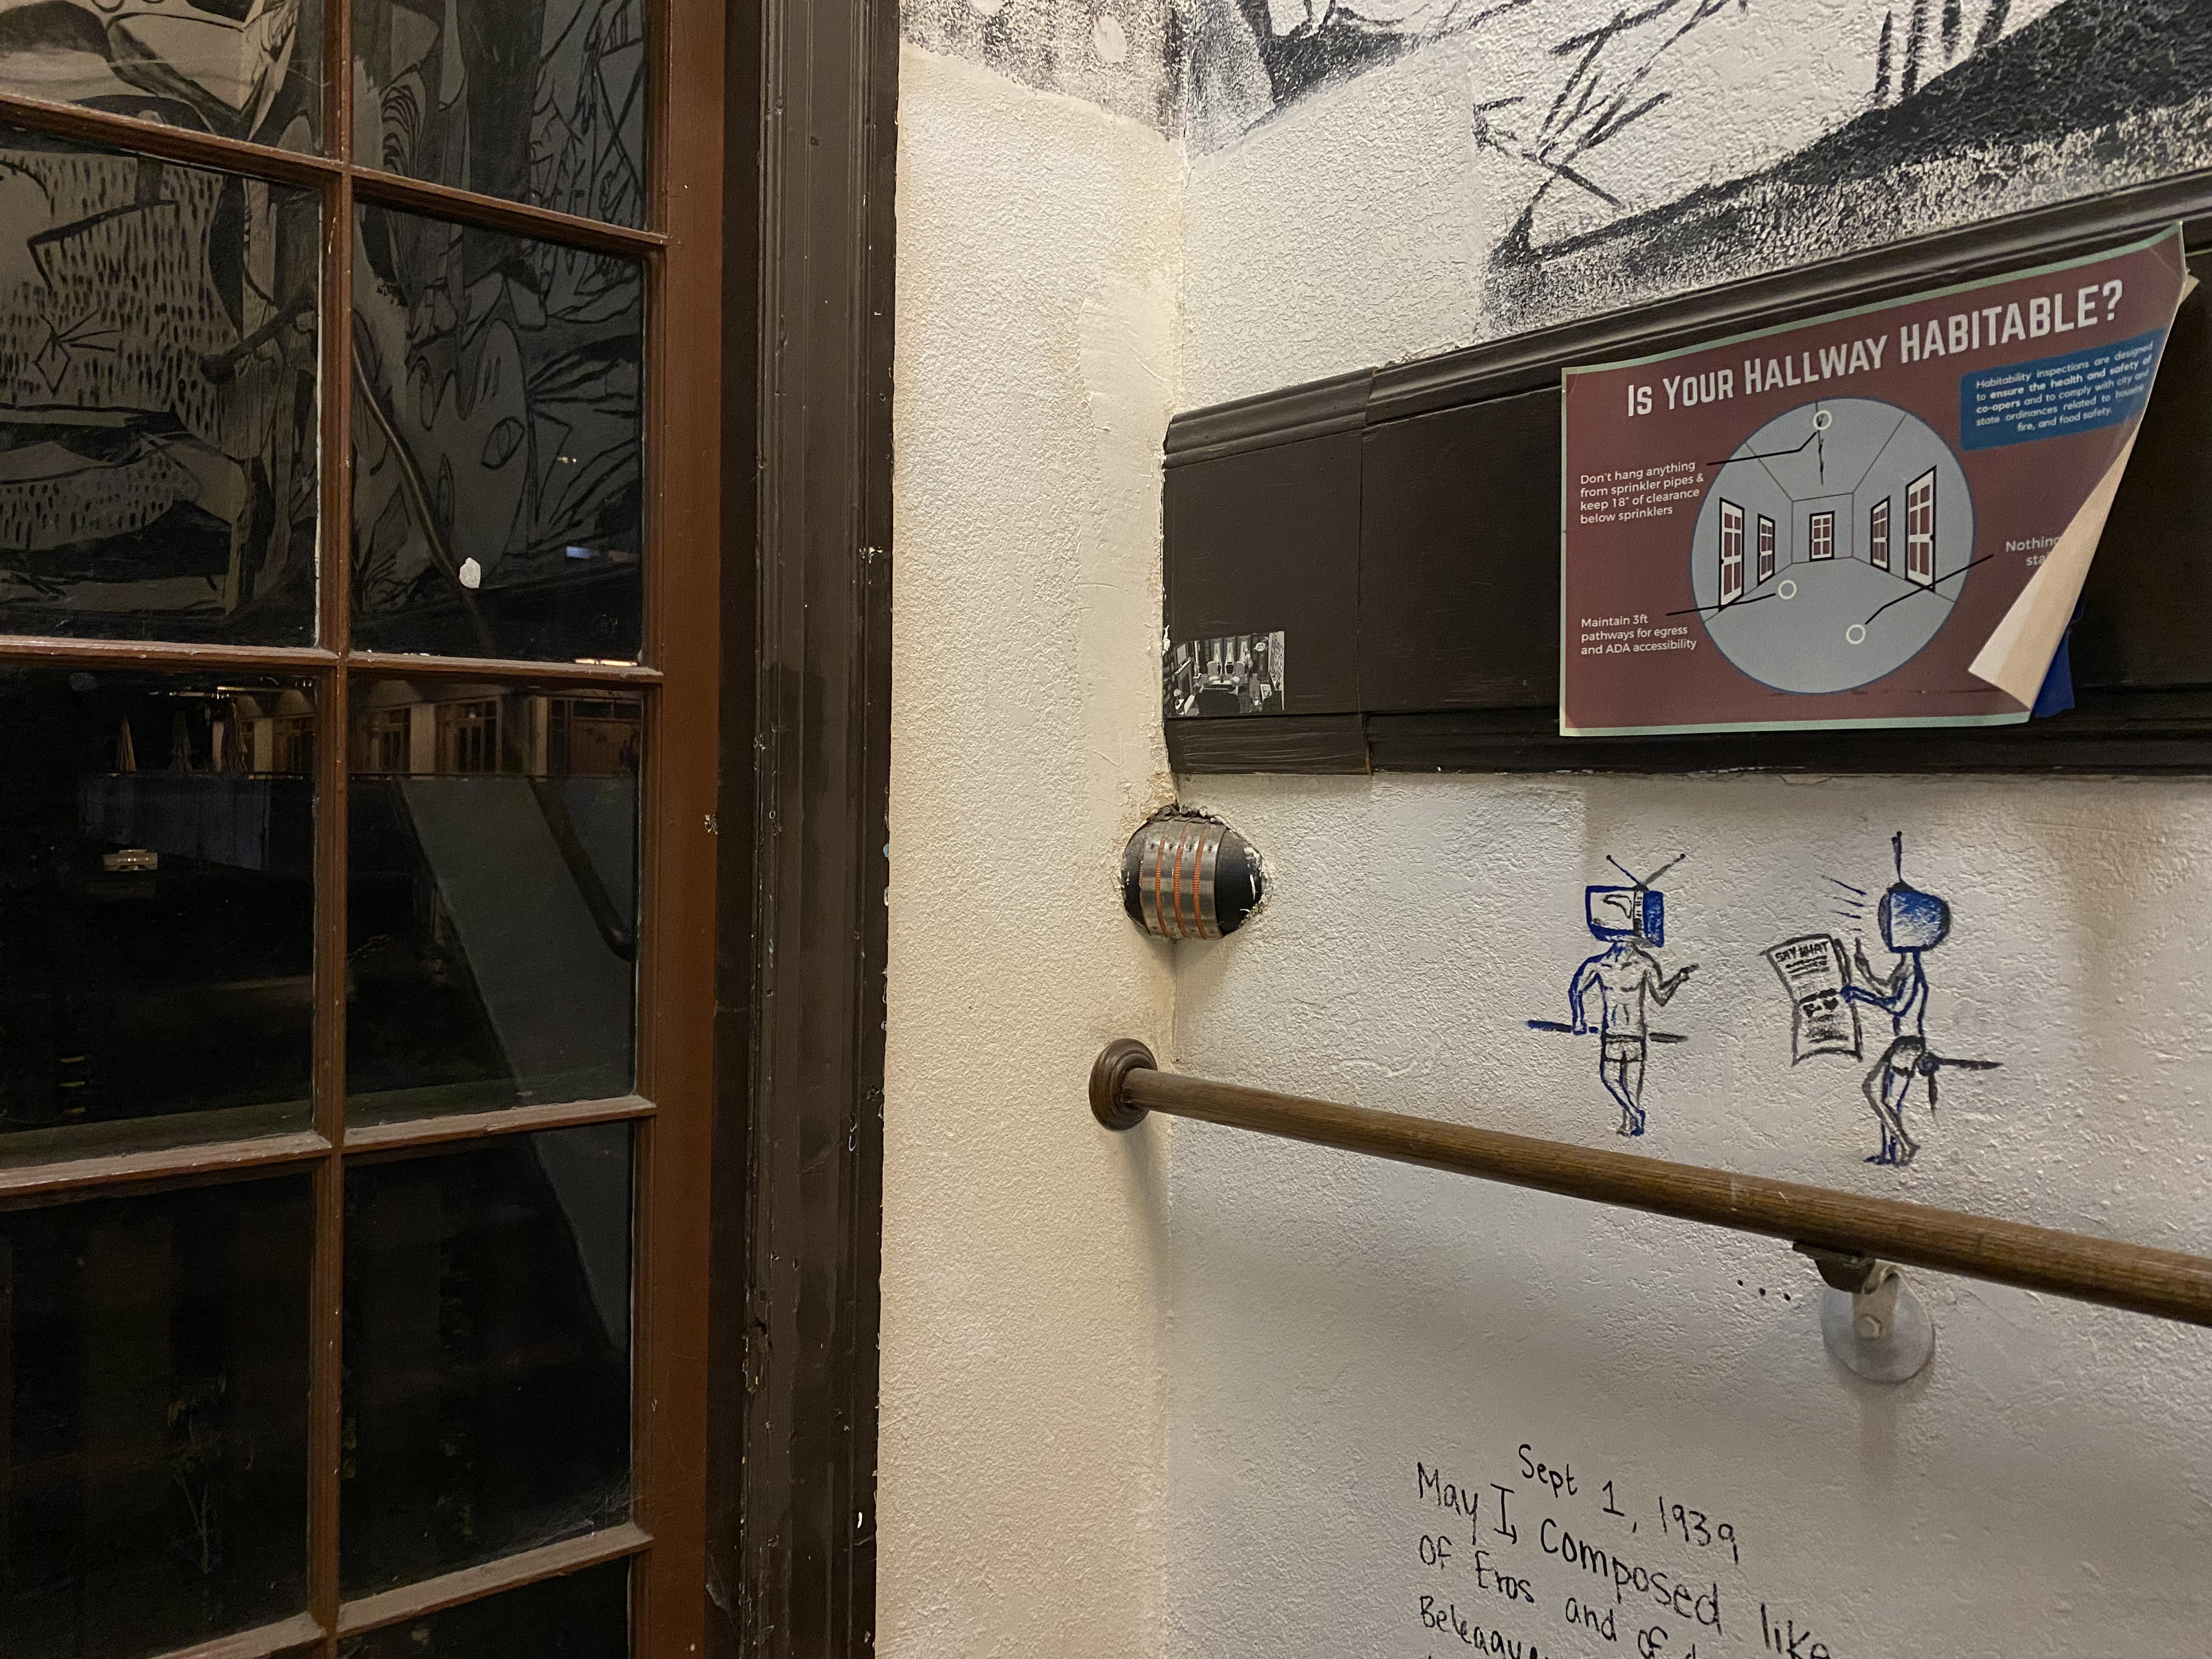
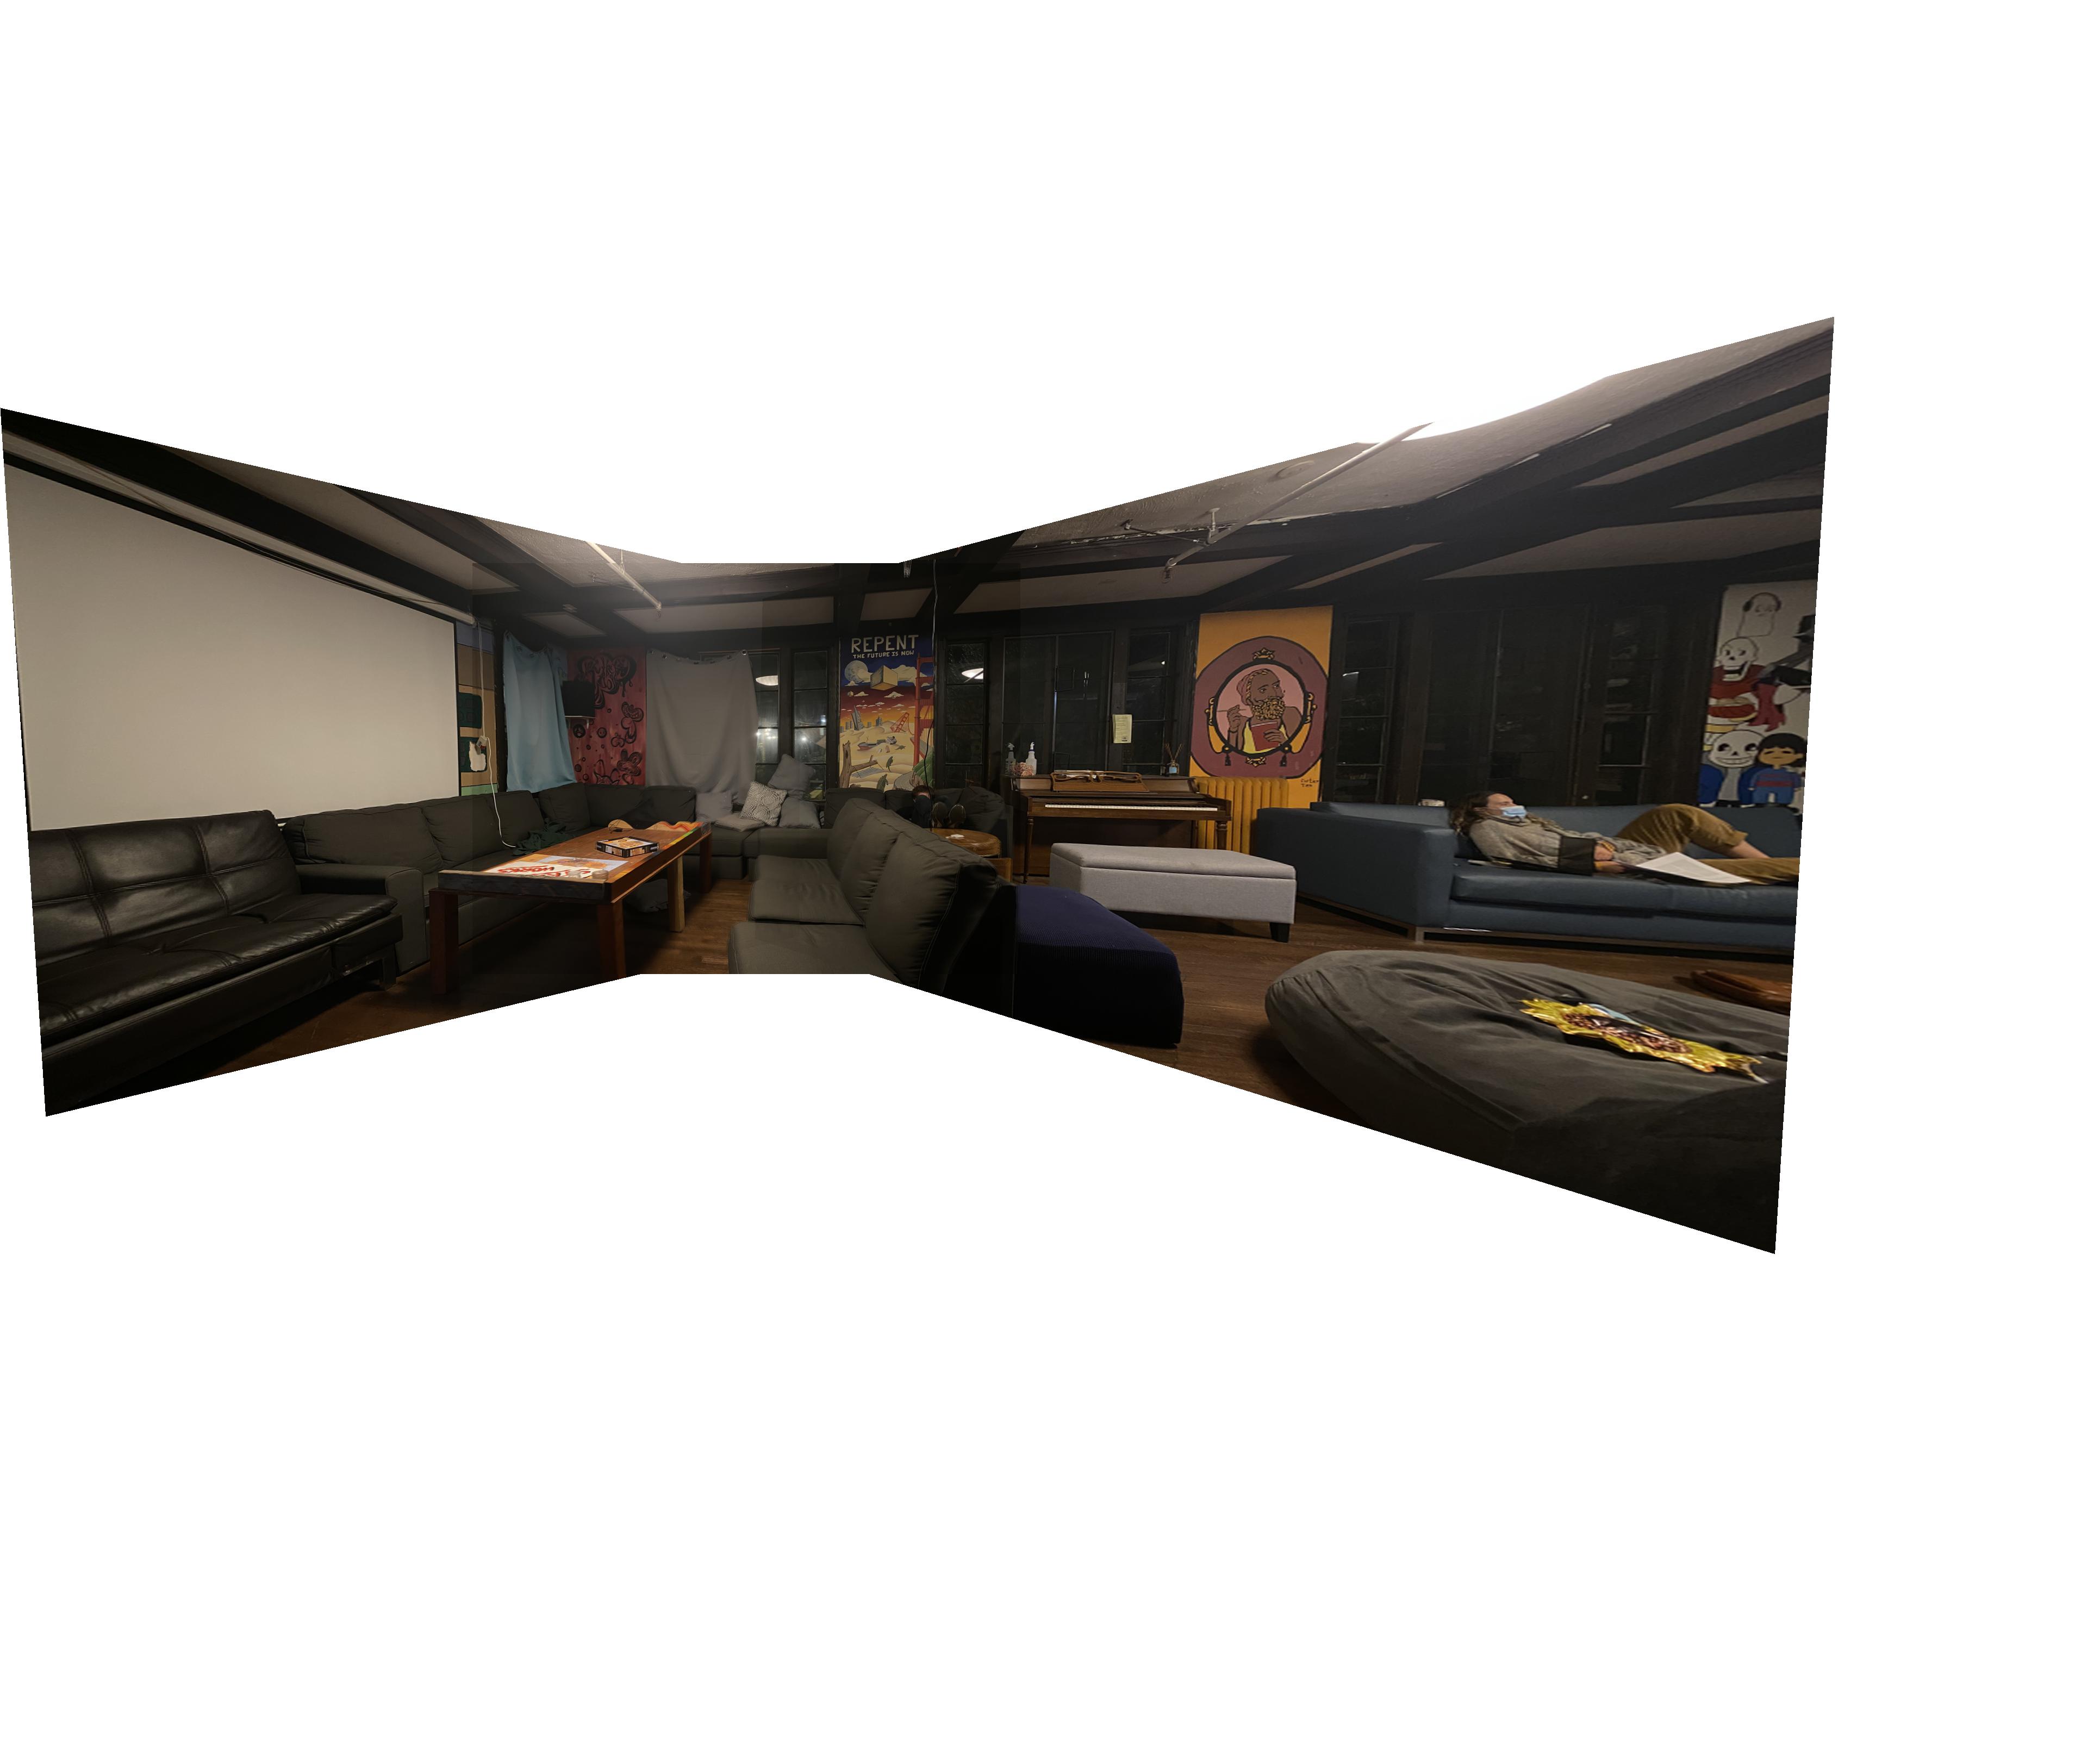
I took three pictures of the lounge in my house. My camera was always in the same spot, but I simply turned it in place to acquire these images.
|
|
|
|
In order to blend these together, I first had to align both the left and right images with the middle image. To do this, I'd need to find the Homographic transformation matrix H, and transform each of the side images to the middle. So for each pair of images, I selected eight feature points that were present in both images.
|
|
|
I had to find a matrix H such that:
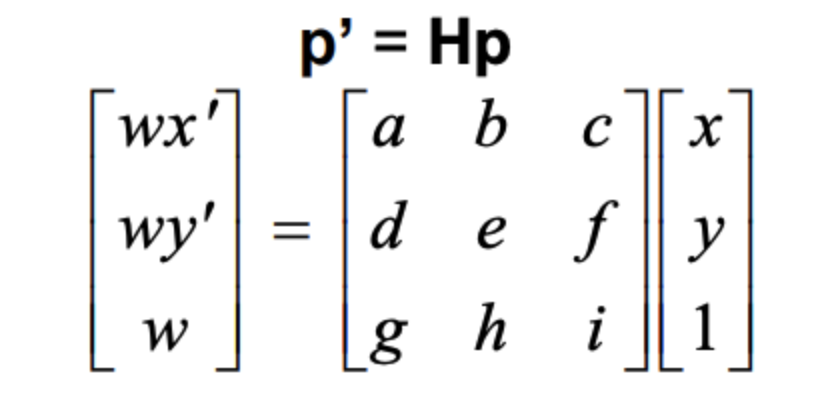
Theoretically, I only need 4 pairs of points for each transformation matrix, but I opted to get 8. Then I could use least squares to solve for each of the relevant unknowns a through h in order to take noise into account.
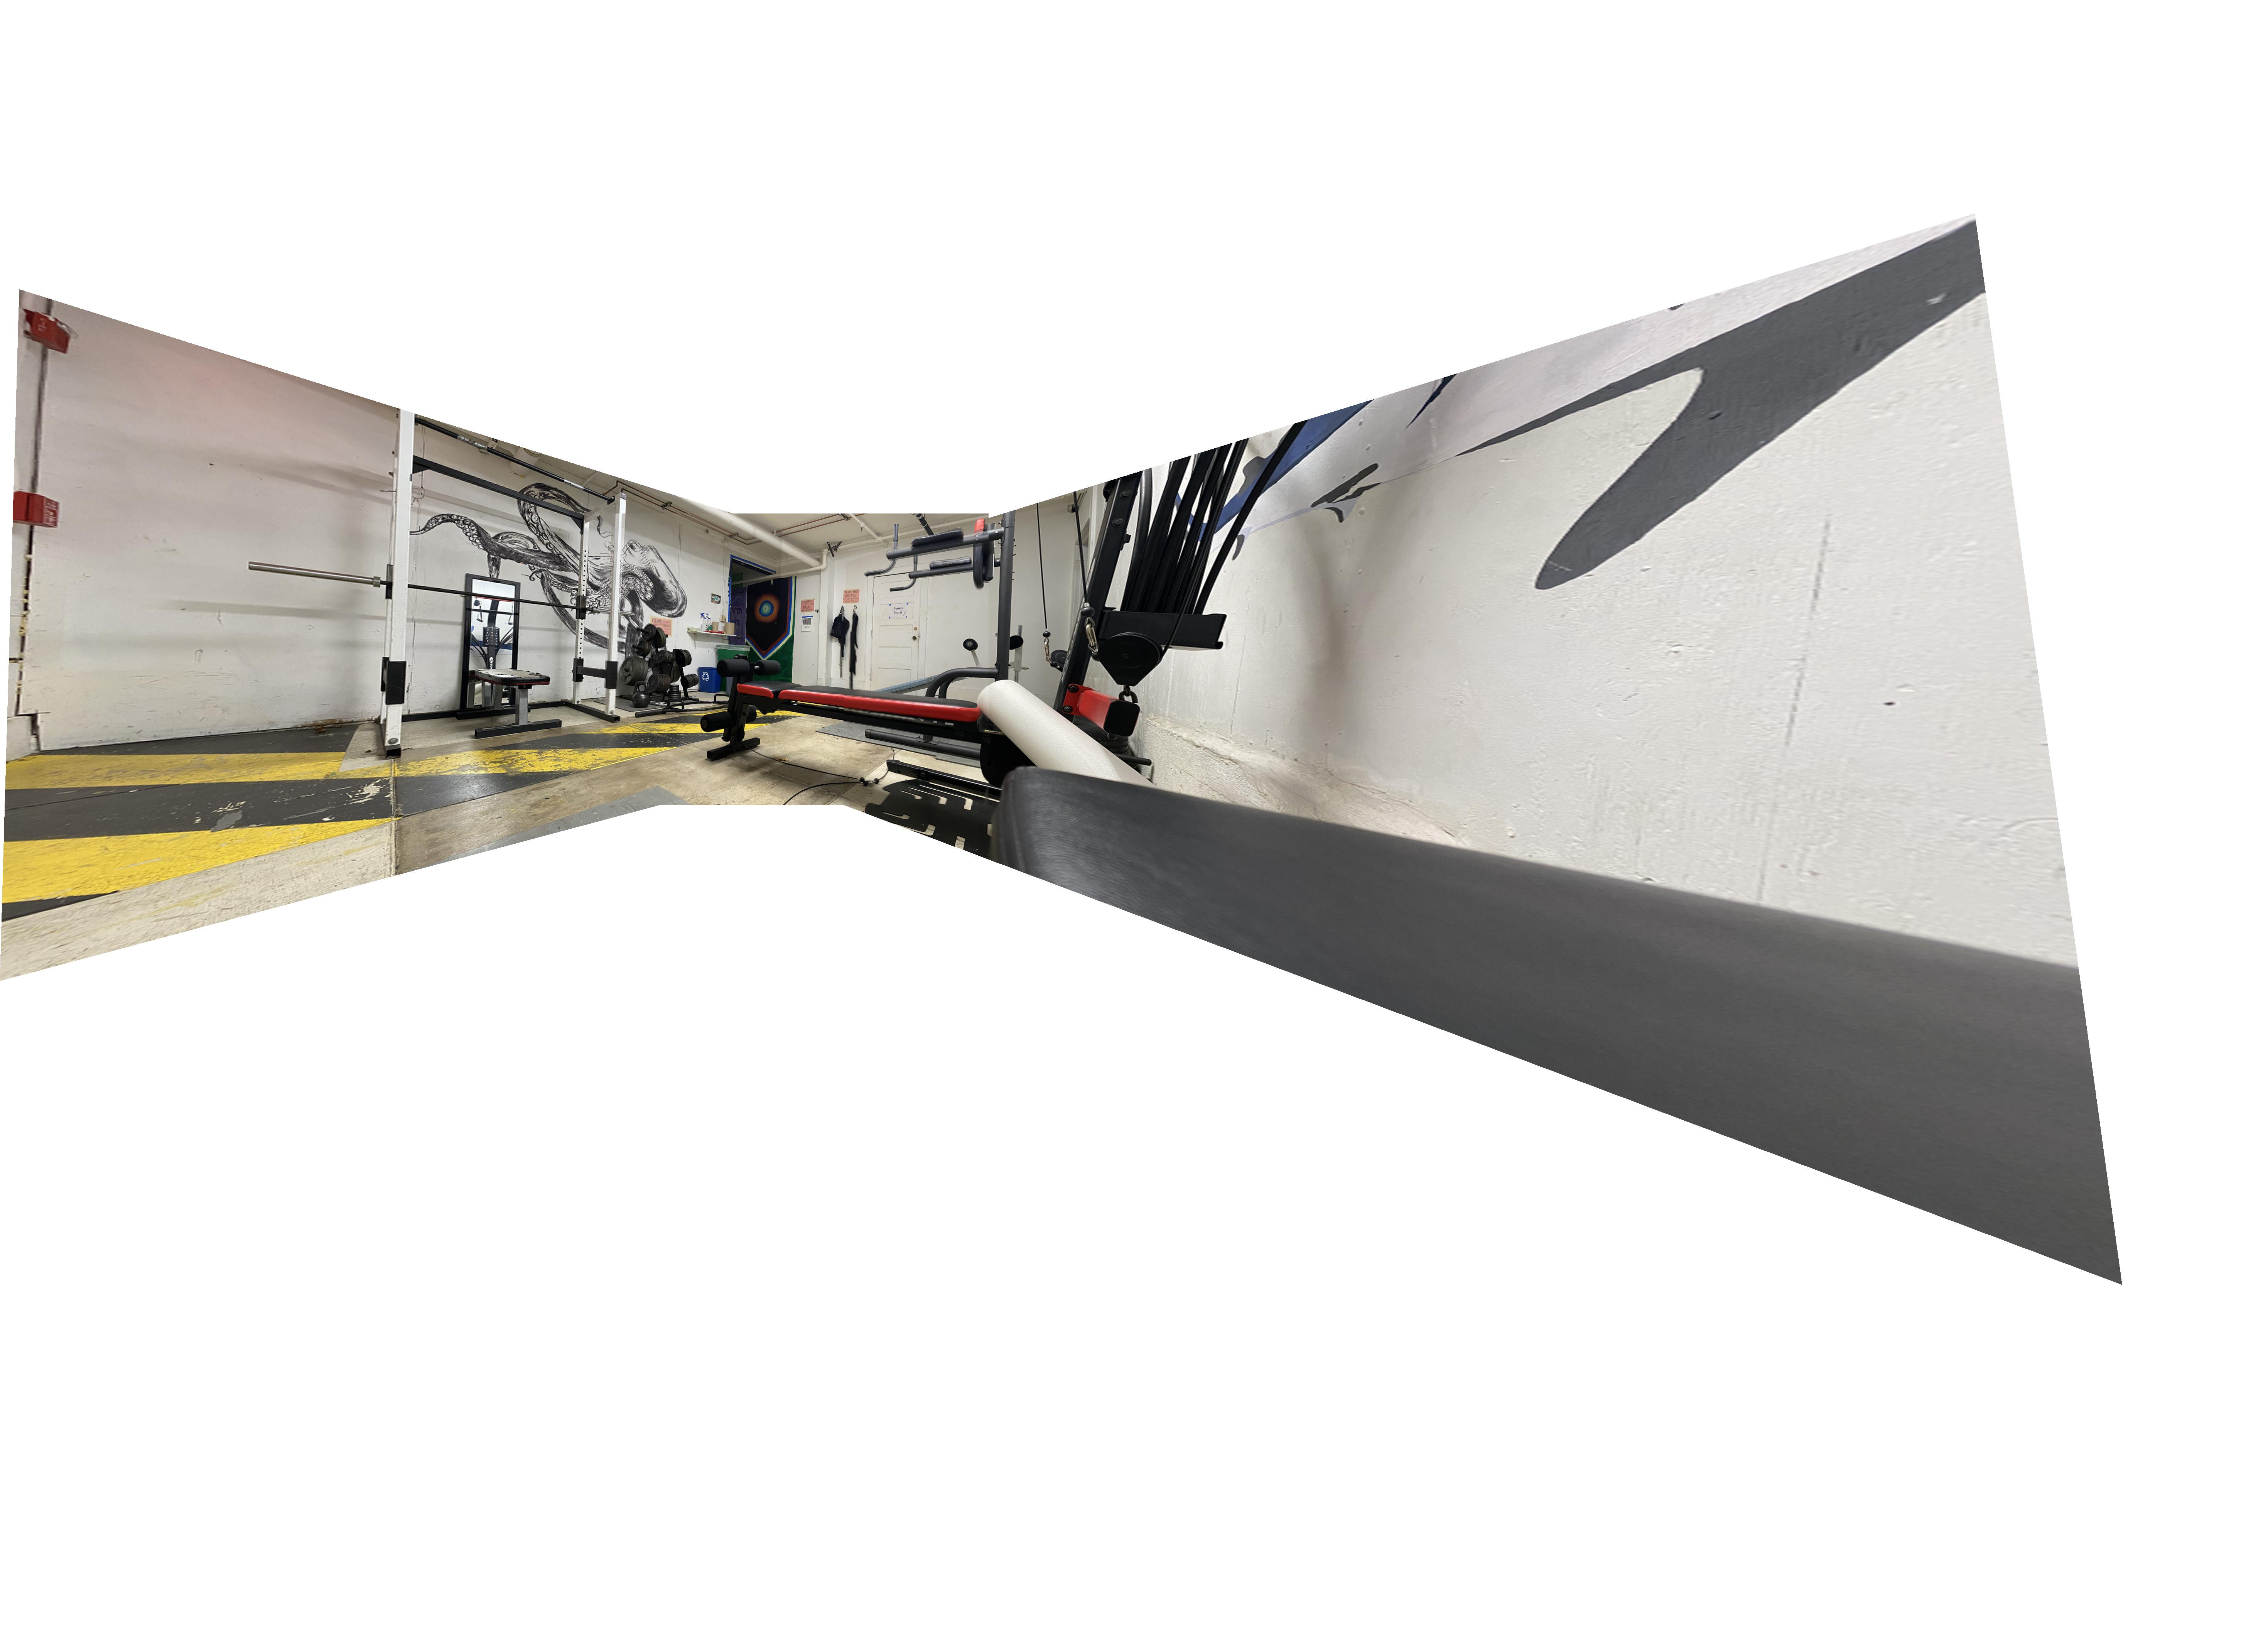
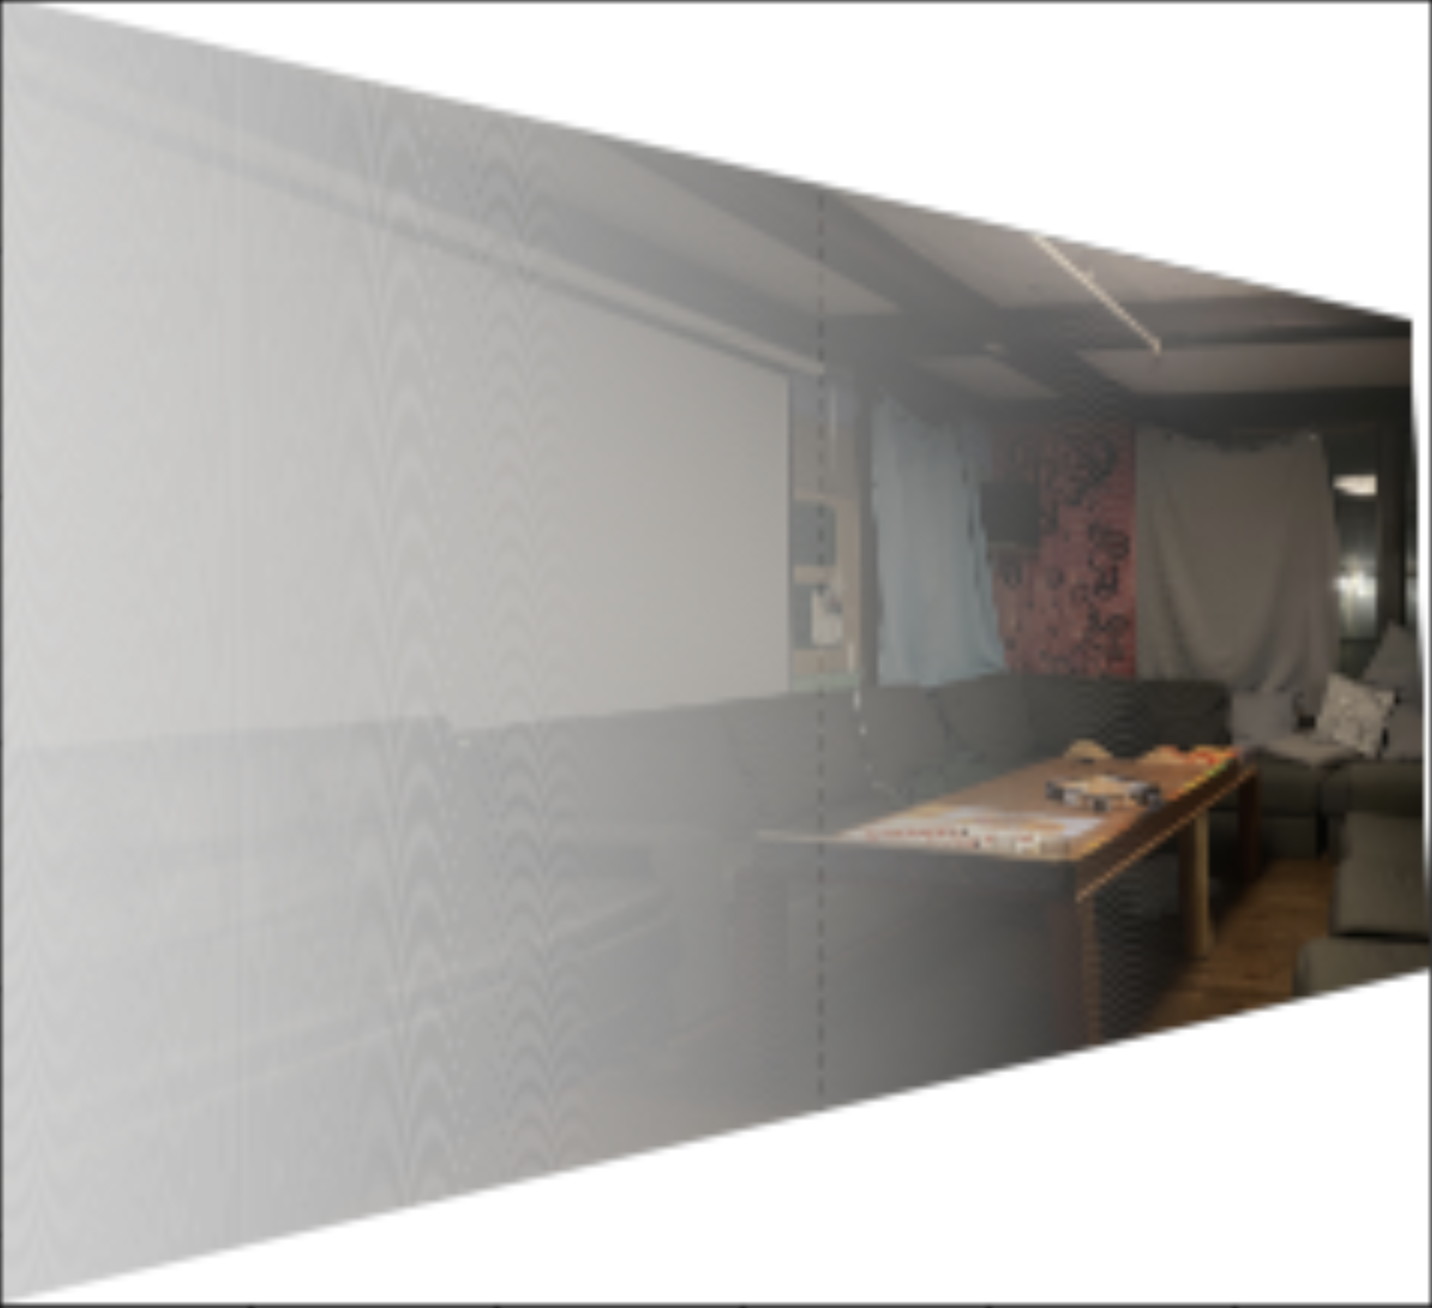
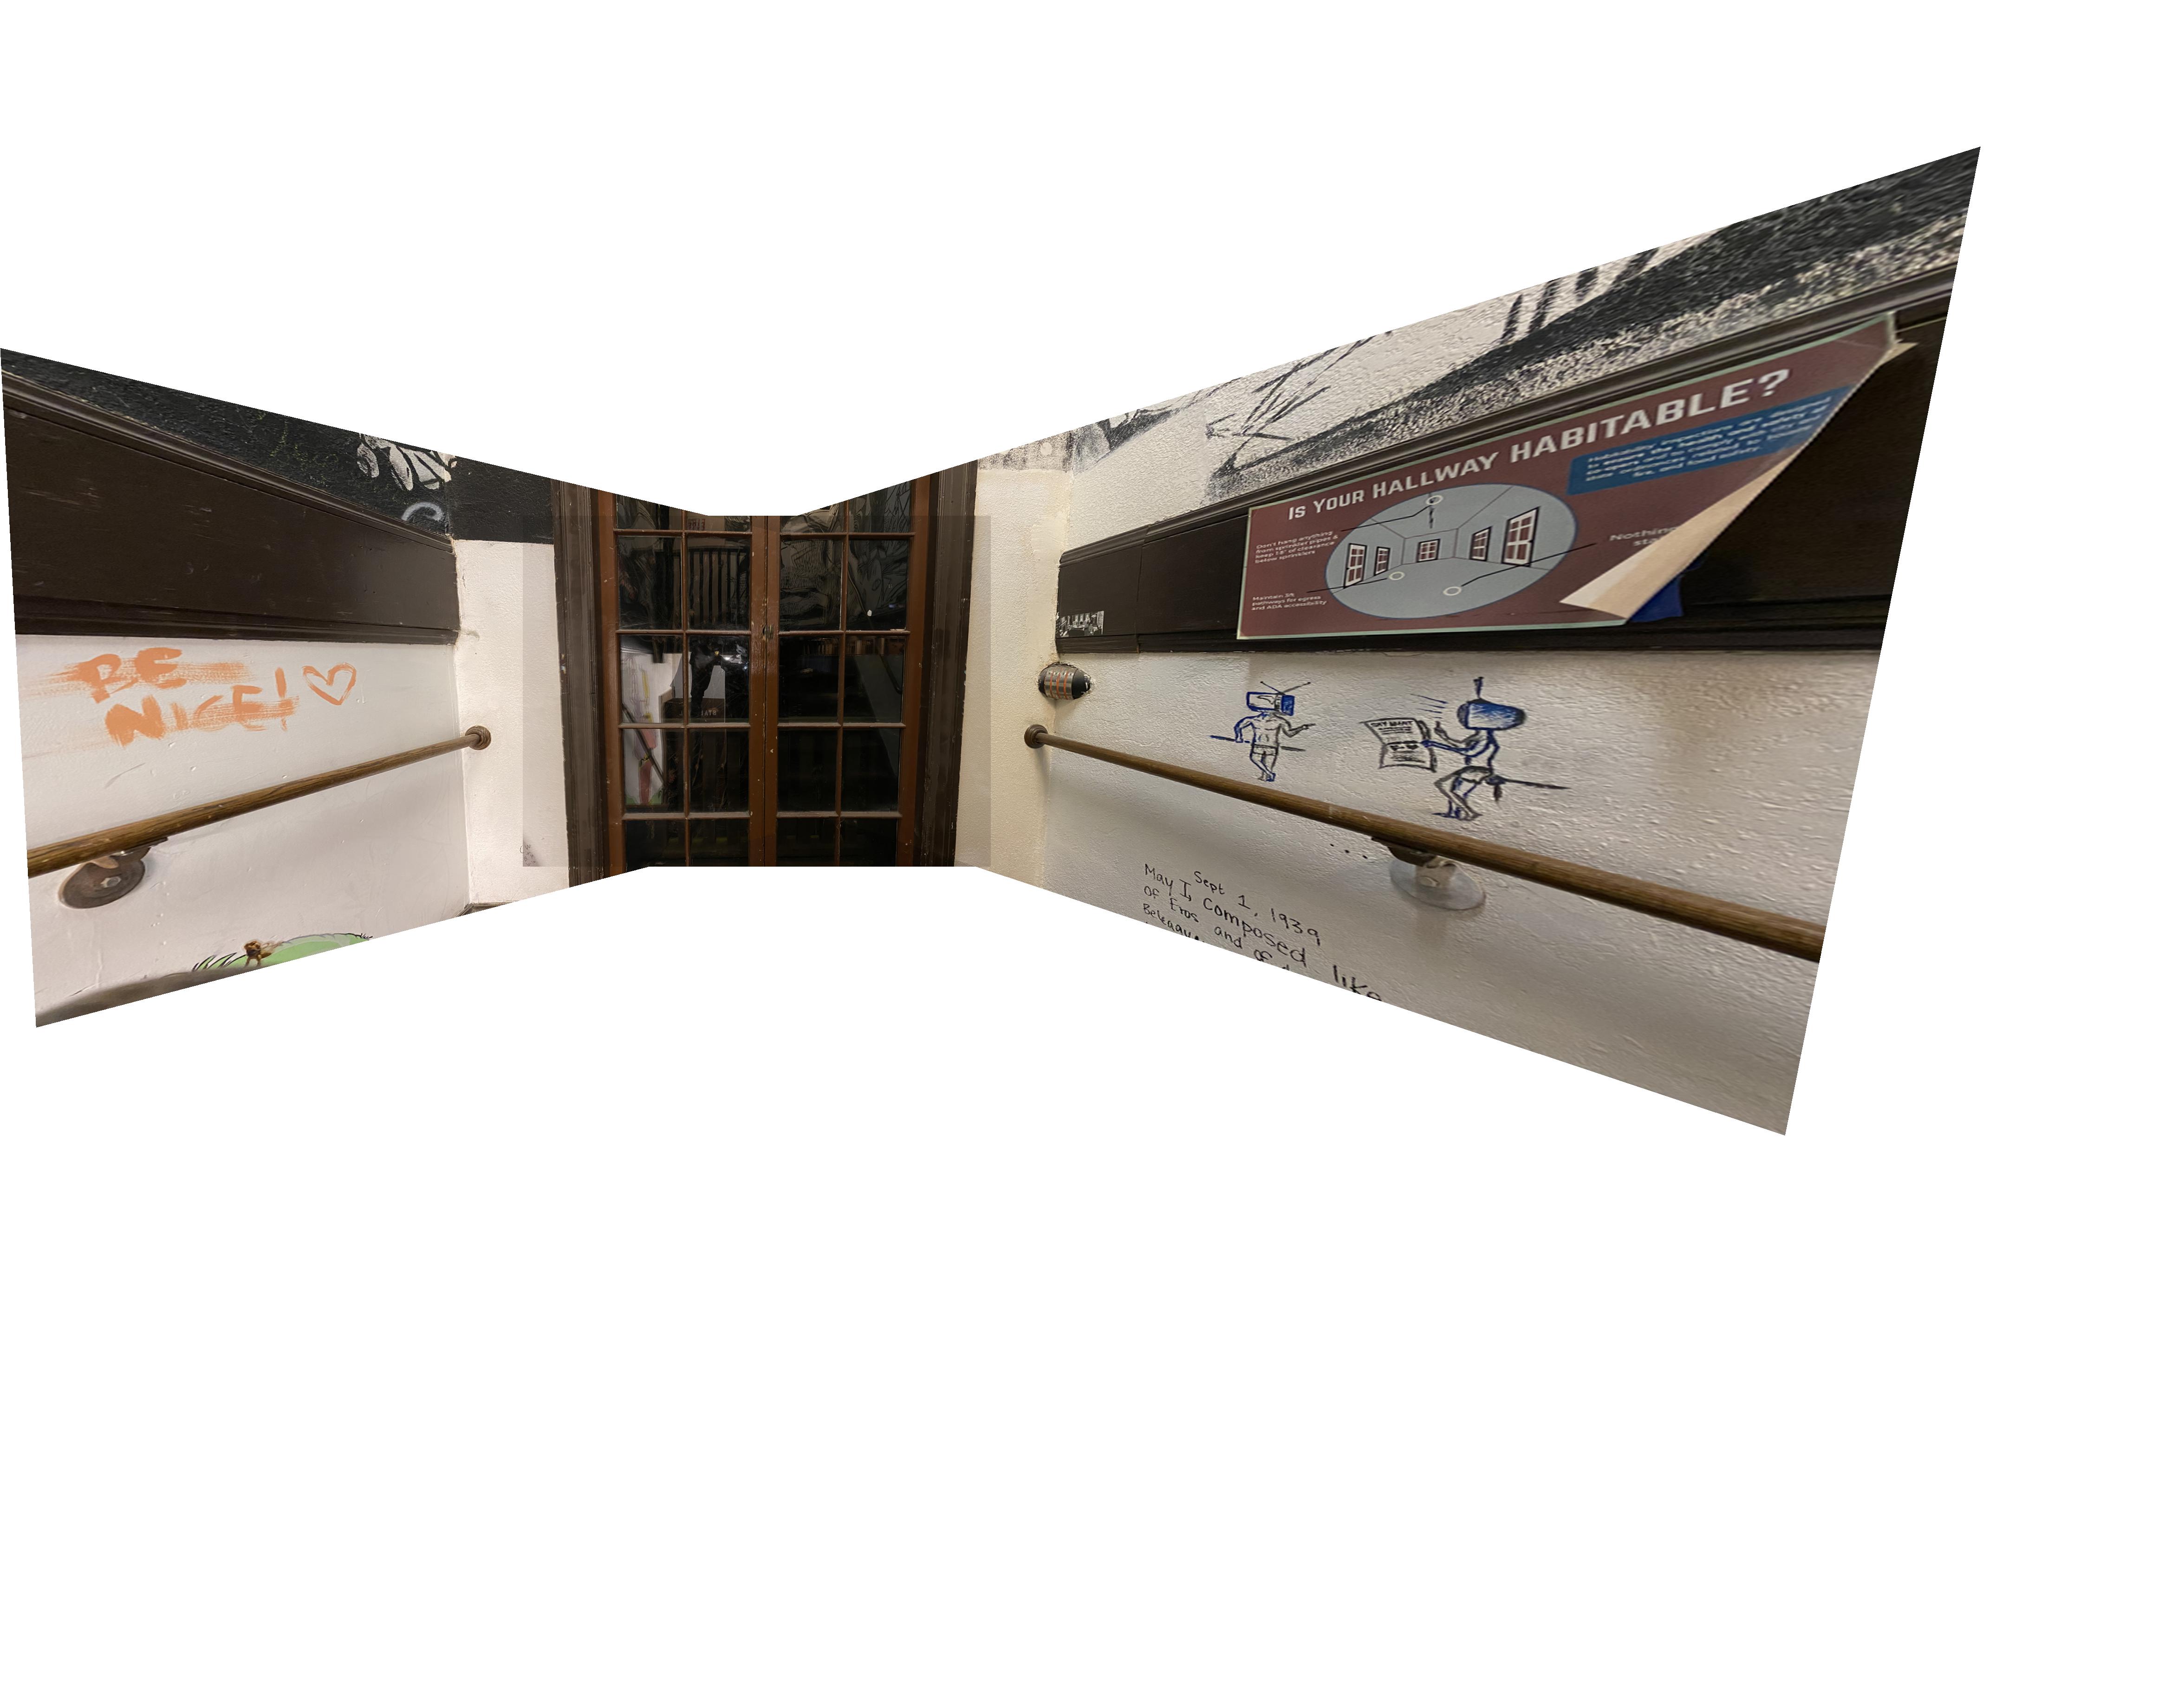
Below are the results of warping both the left and right images using their respective H matrices. These H matrices were calculated with respect to each image's corresponding points with the middle.
|
|
The hardest part of this process was figuring out how to use a 2D interpolation in order to get the smooth
images above. Without interpolating, there'd be a steep dropoff in brightness in the direction of the wider side
of each image. This is a problem that comes with the transformation of an image being larger than the original
image: some of the points in the transformation won't have a mapping from the original image.
Essentially,
what I had to do was transform only the corners of the orginal image to get a feel for the shape of the final
image. Then, I'd create a polygon from those points, and do an inverse transform on all those points back to the
original image space, and use the interpolation function to get their colors. This took the most time for me to
figure out.
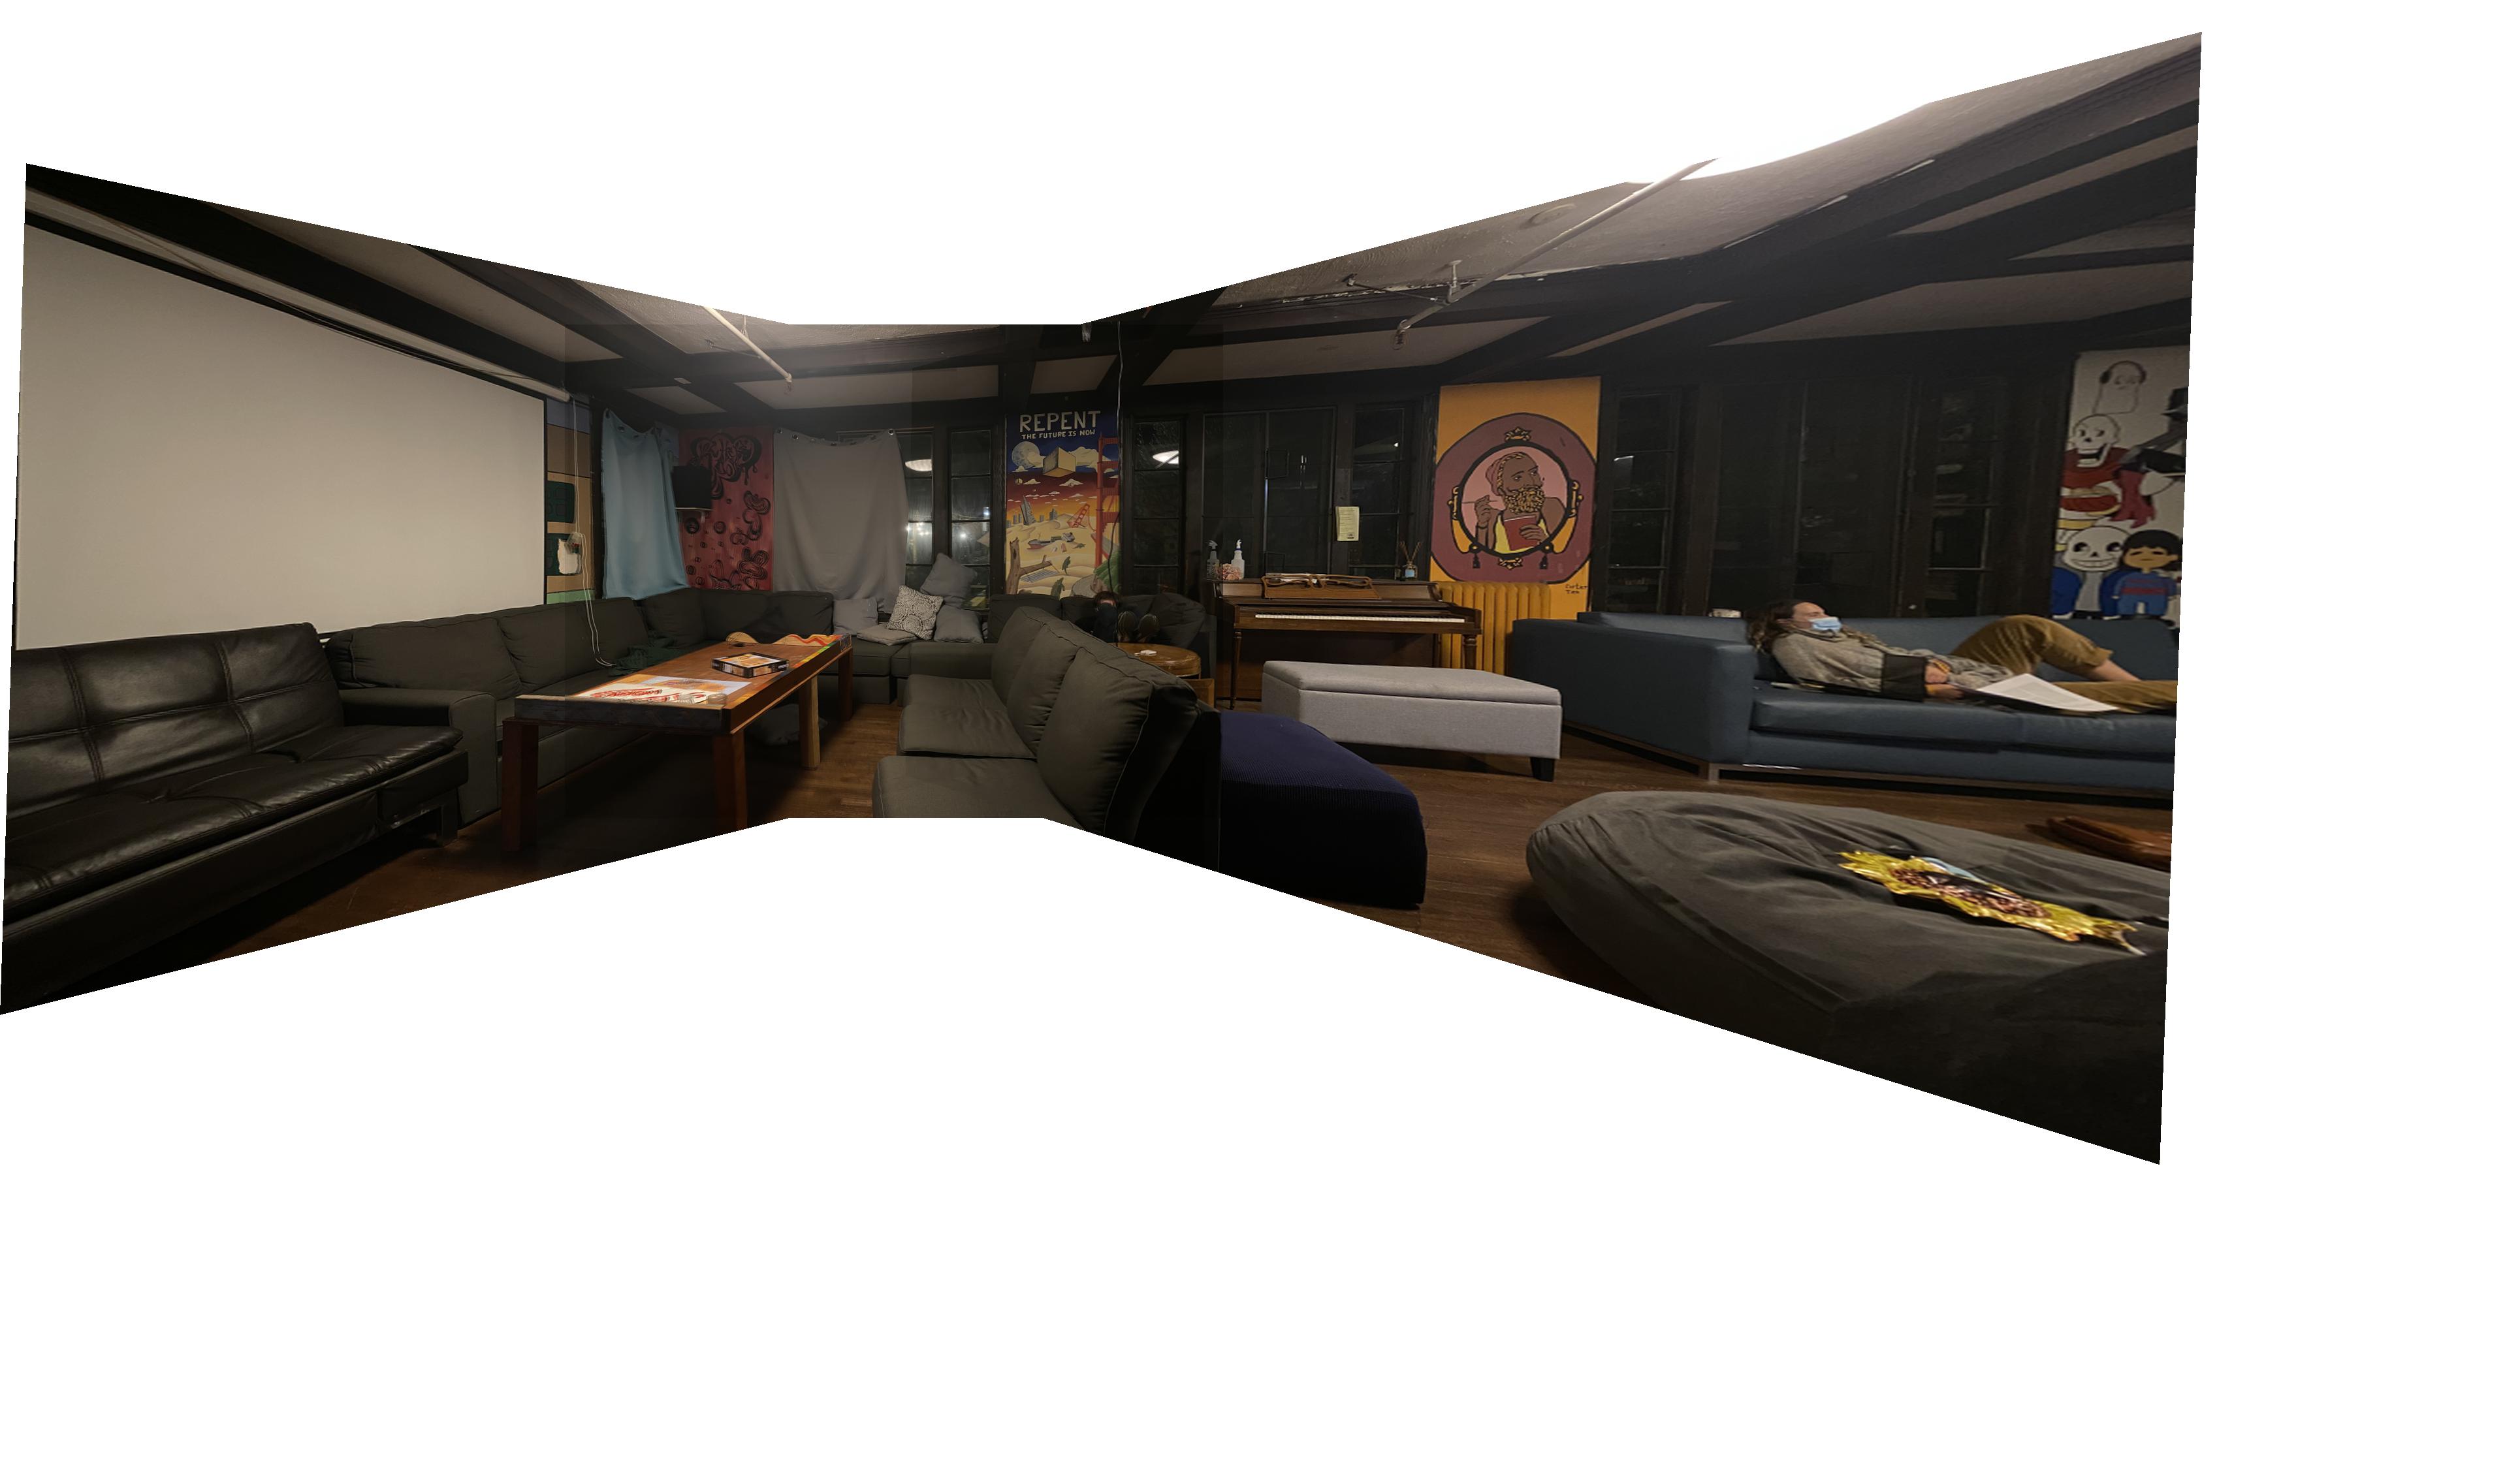
As you can see, the images are aligned fairly well. However, the borders where the overlaps happened are still somewhat visible, which I suspect has to do with how I averaged the images together. I used an alpha channel, setting alpha to 1 where there was supposed to be a pixel, and 0 everywhere else. If there was a pair of corresponding pixels where alpha = 1 for one and alpha = 0 for the other, I'd have to double the alpha = 1 pixel since I would erroneously average that pixel with zero. This may not be the best way of handling this, however.

|
|
|
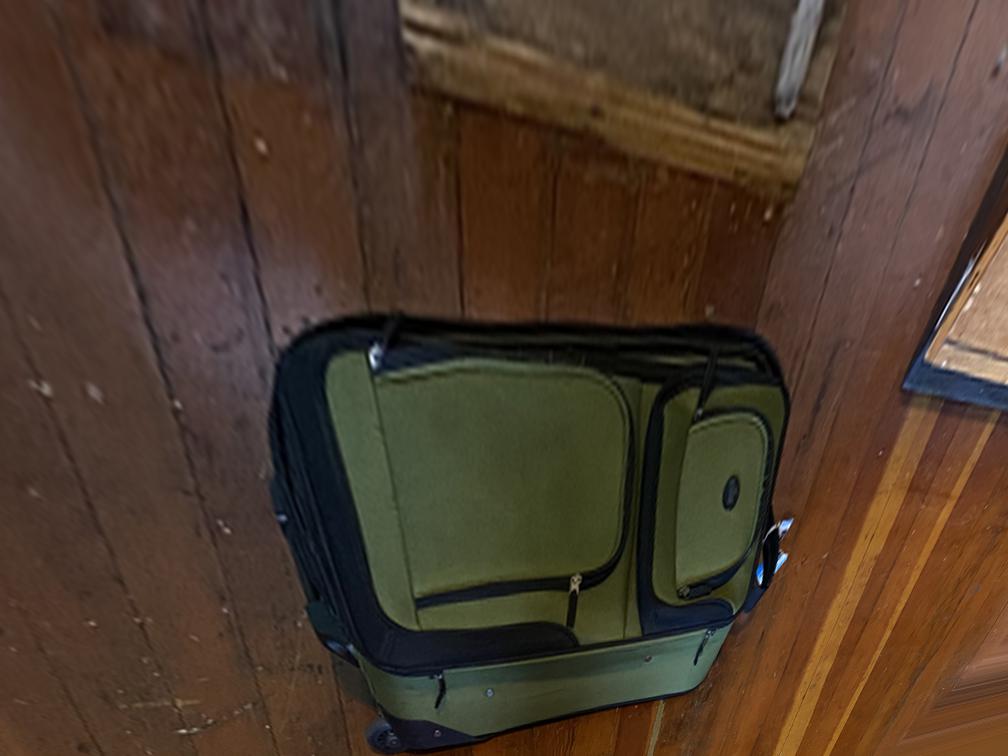
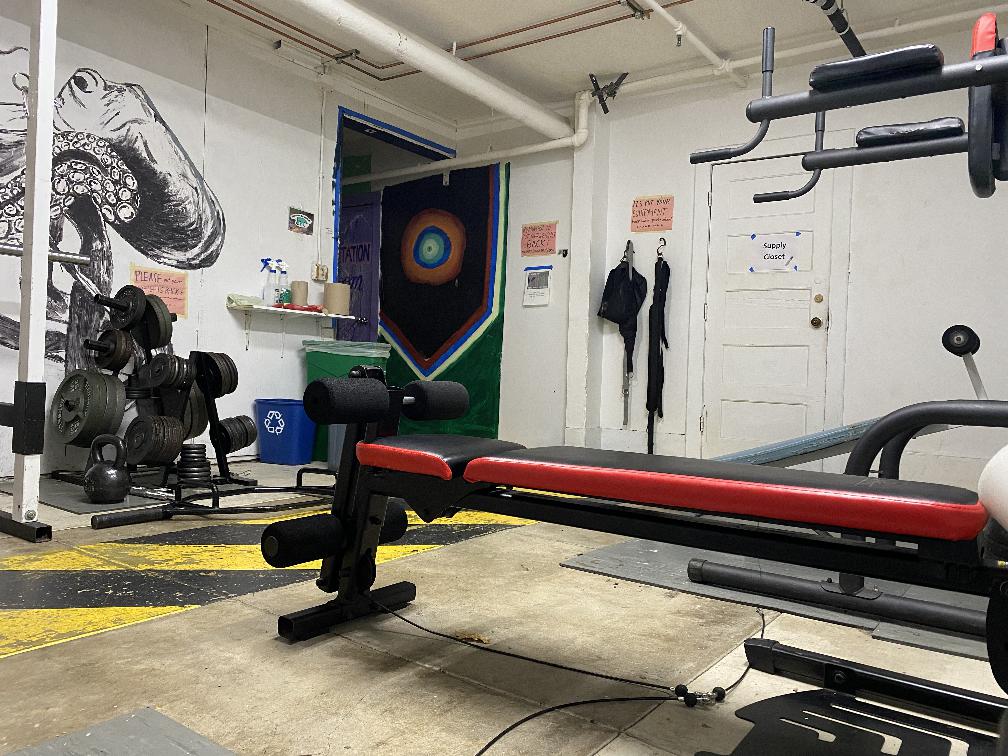
Here, I used a similar process as I did above, but instead of transforming one image to another, I transformed an angled trapezoid to a rectangle.
|

|
|
|
The biggest takeaway I had from this project is how important interpolation is in photography as a whole. If we didn't use it, there would be a lot more incomplete photos.
|
|
|
|
|
|
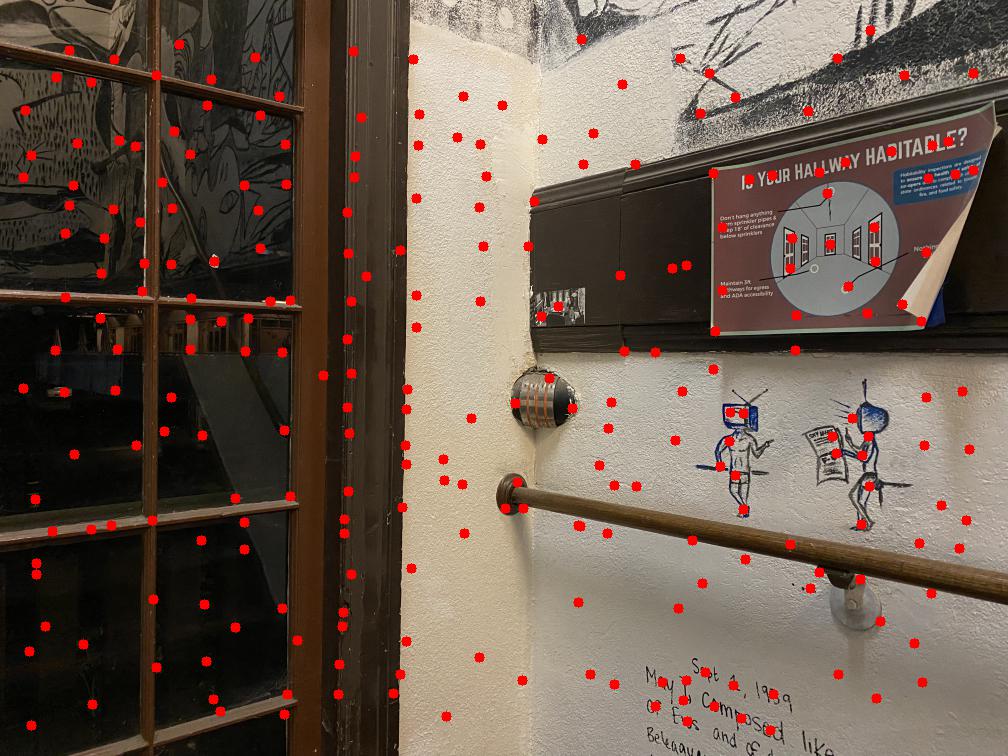
|
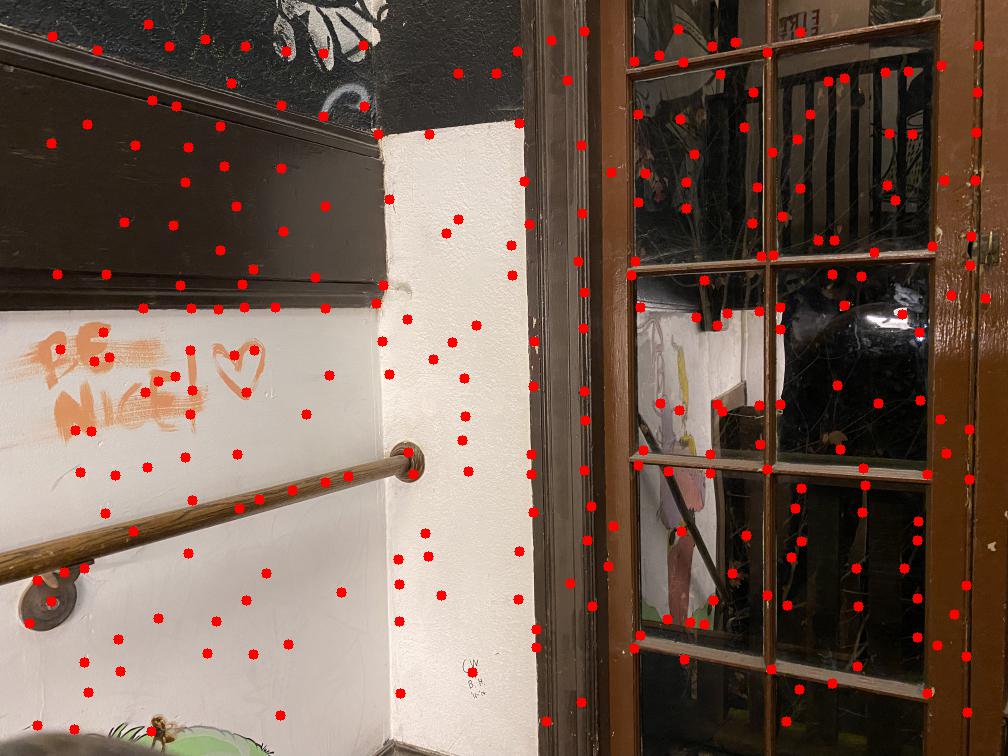
In order to have an invariant feature to describe every point, I used the 40x40 square of pixels around each point, and downsized it to an 8x8 square. I used the grayscale version of the image for the feature descriptor.

|
|
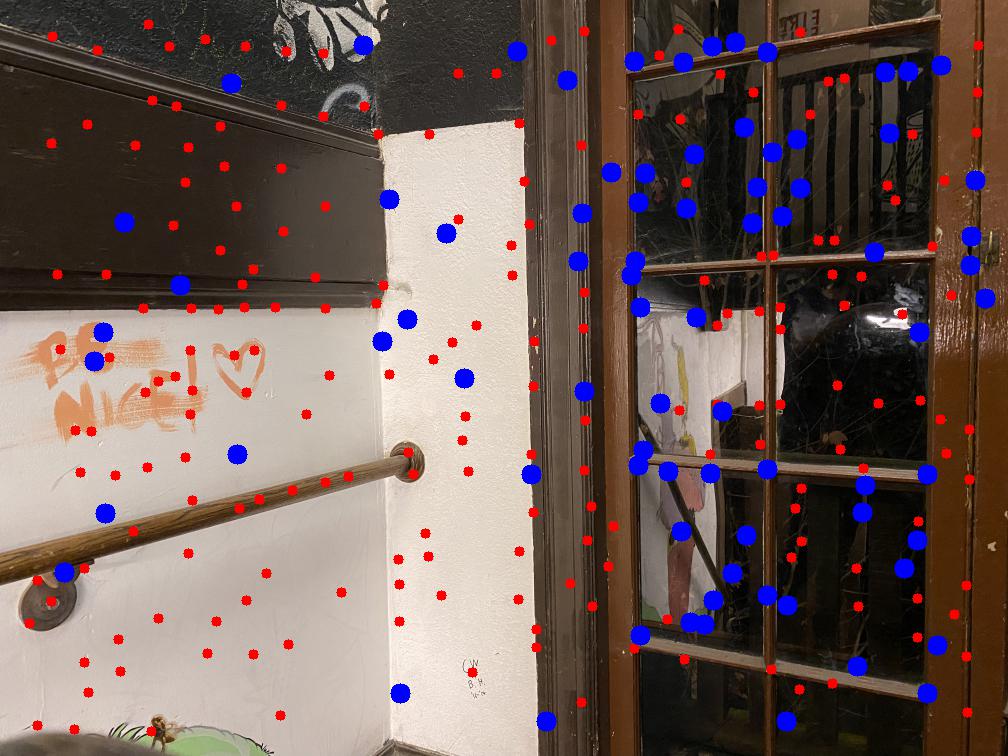
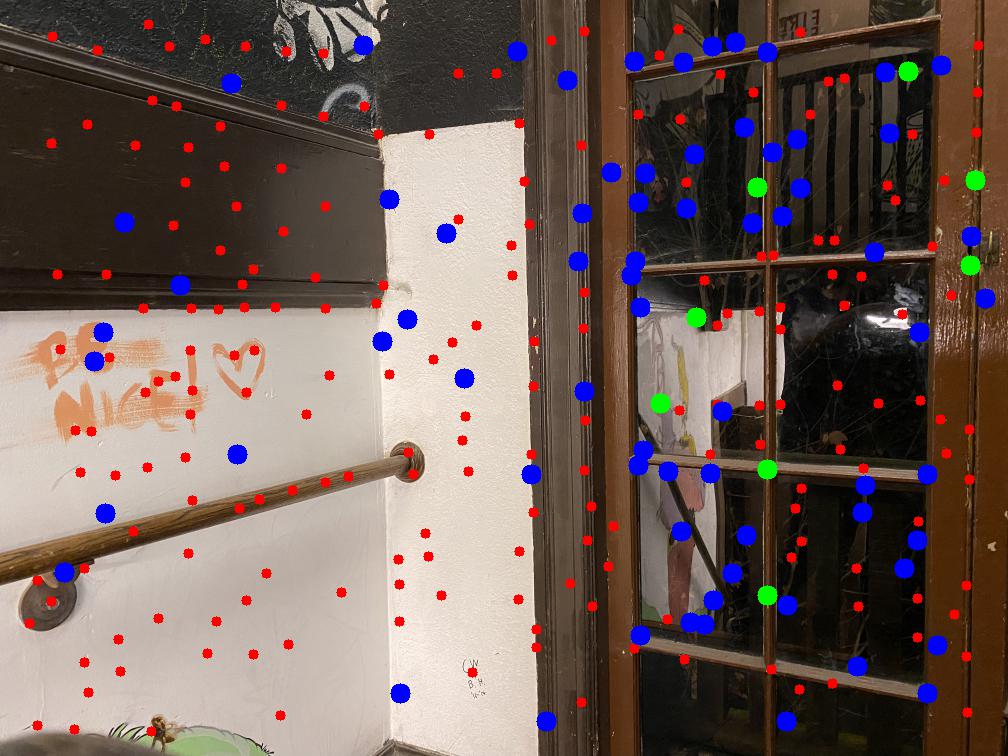
To calculate the homography matrix, I needed to find corresponding points between the two image angles, just as I'd done manually before. I would do this for the harris corners of two overlapping images. First I extracted all of the 8x8 features from image 2, unraveling them to 64x1 vectors. For each corner in image 1, I extracted its feature, and then found the sum of square difference between this and all the image 2 features. I then found the ratio between the smallest difference / the second smallest difference. If this ratio was less than a predetermined threshold, I kept it for the next RANSAC step.
|
|
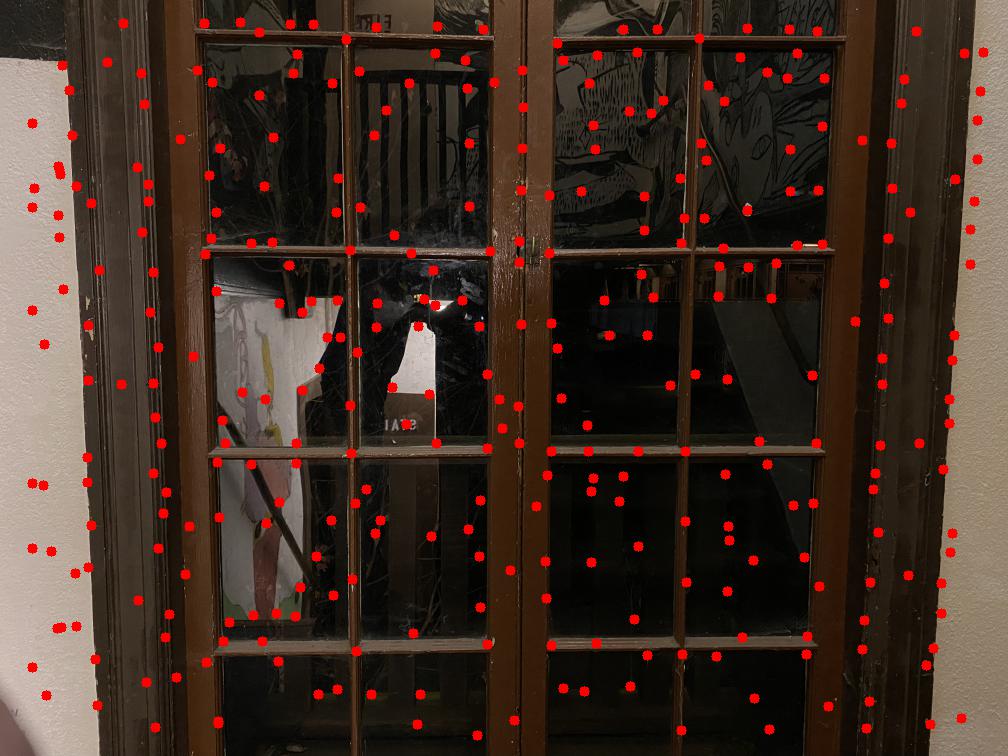
As you can see above, some of the pairs clearly aren't actually matching, since there were points chosen in one
image in an area that doesn't overlap in the other one. In order to account for this, I used the RANSAC loop to
filter out those outliers.
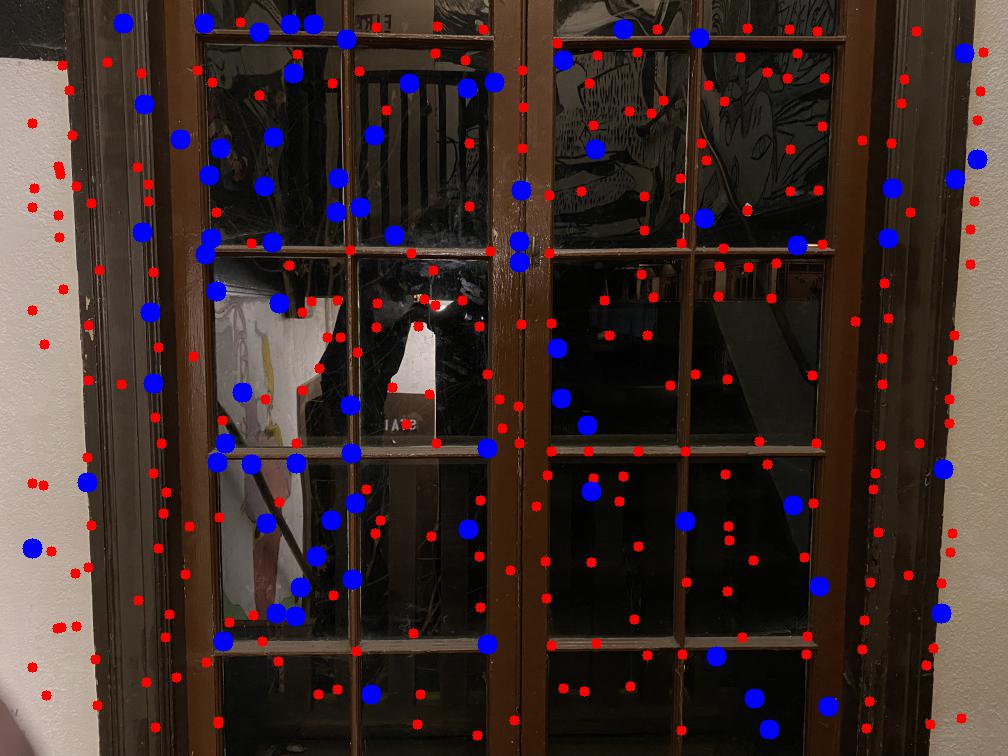
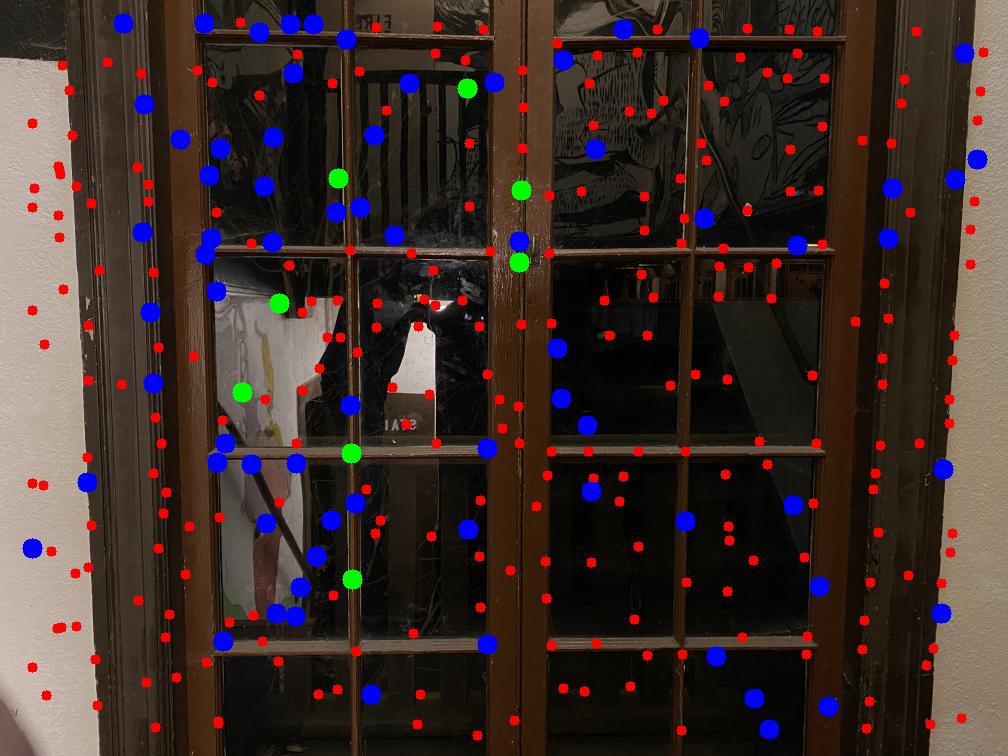
This loop involved first choosing four random pairs from the matching I
calculated earlier. I computed a direct homography matrix, and used this matrix to transform each of the chosen
corners from image 1. If the transformed point was close enough to its match from image2, I considered that
point an inlier. After around 1000 loops of this, I would end up using the homography matrix which resulted in
the most inliers. I would then recalculate the homography using all those inliers.
|
|
Clearly now, the above green points are perfect matches, which allows me to calculate the homography matrix, and use the same procedure as I did before in order to create the mosaic.

|
|
|
|
|
|

|
|
|