|
|
|
|

|
|
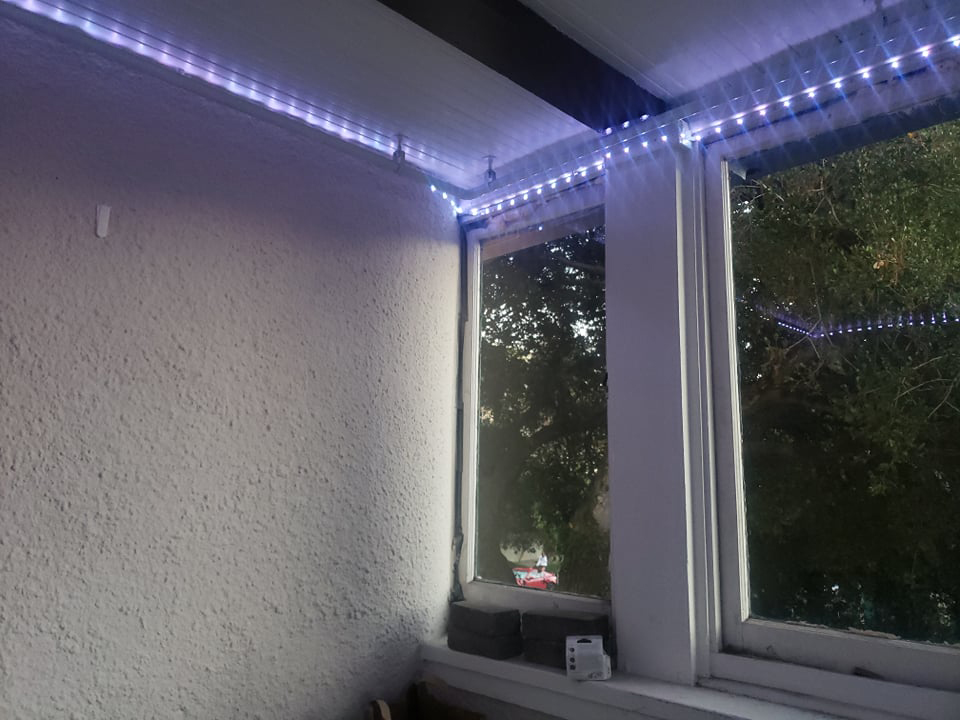
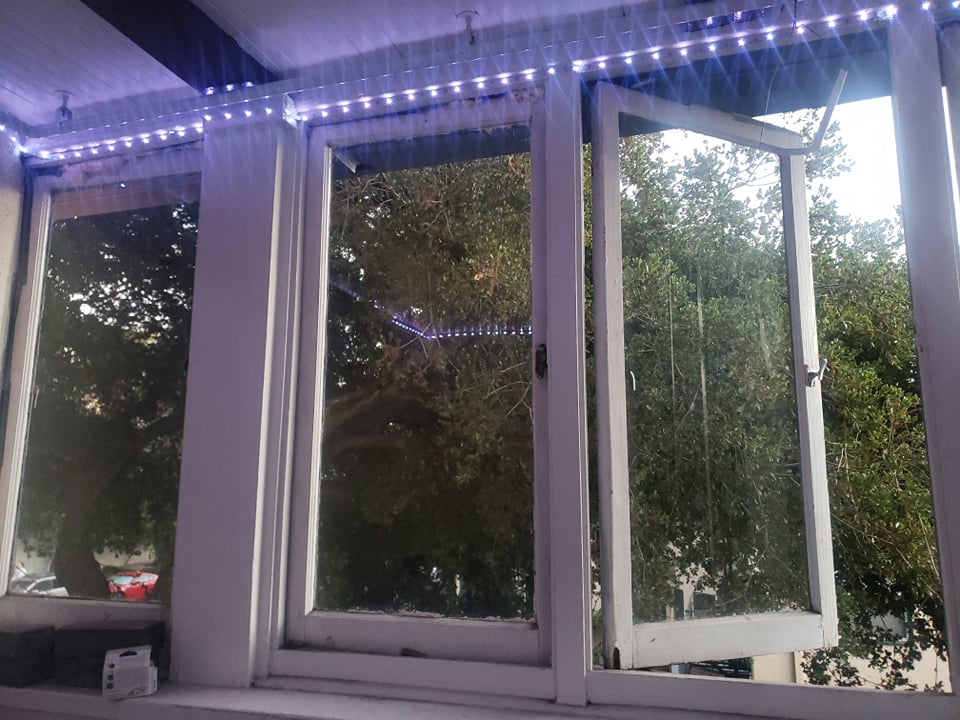
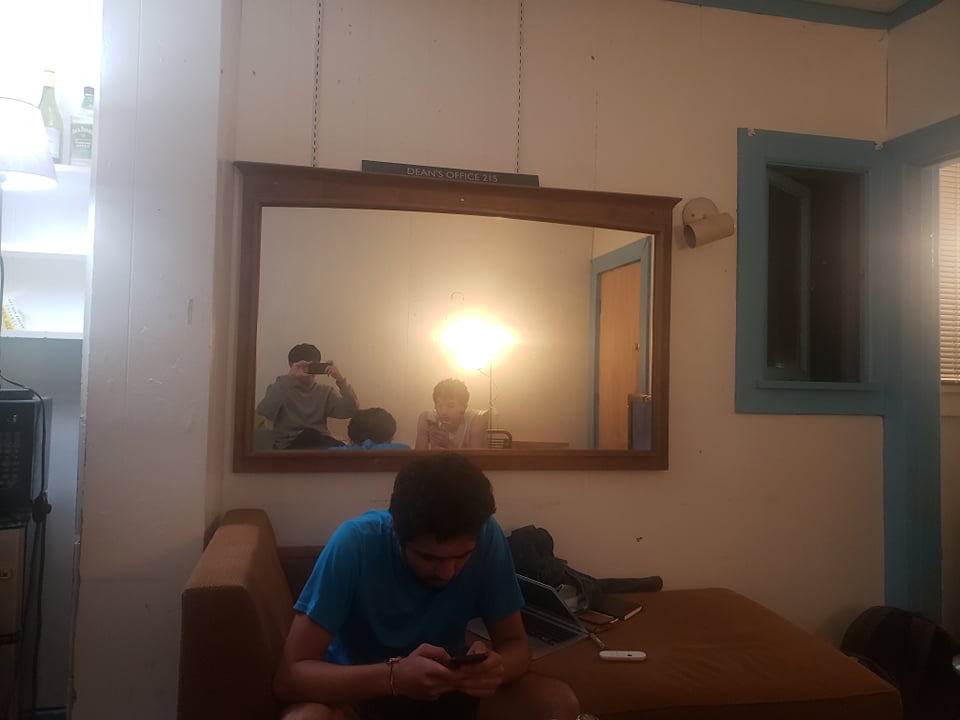
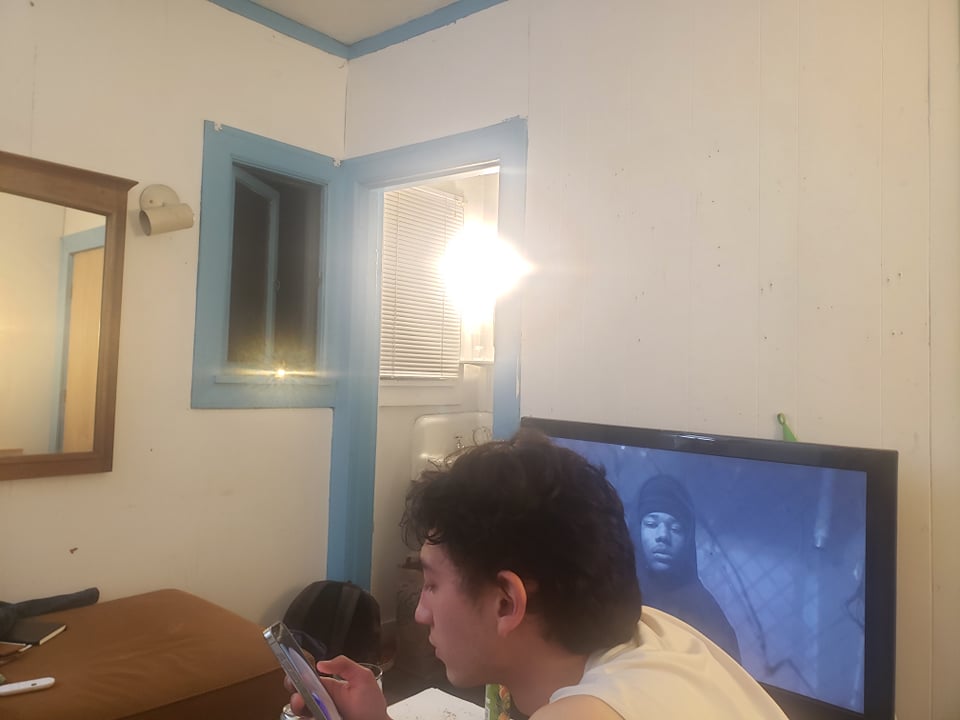
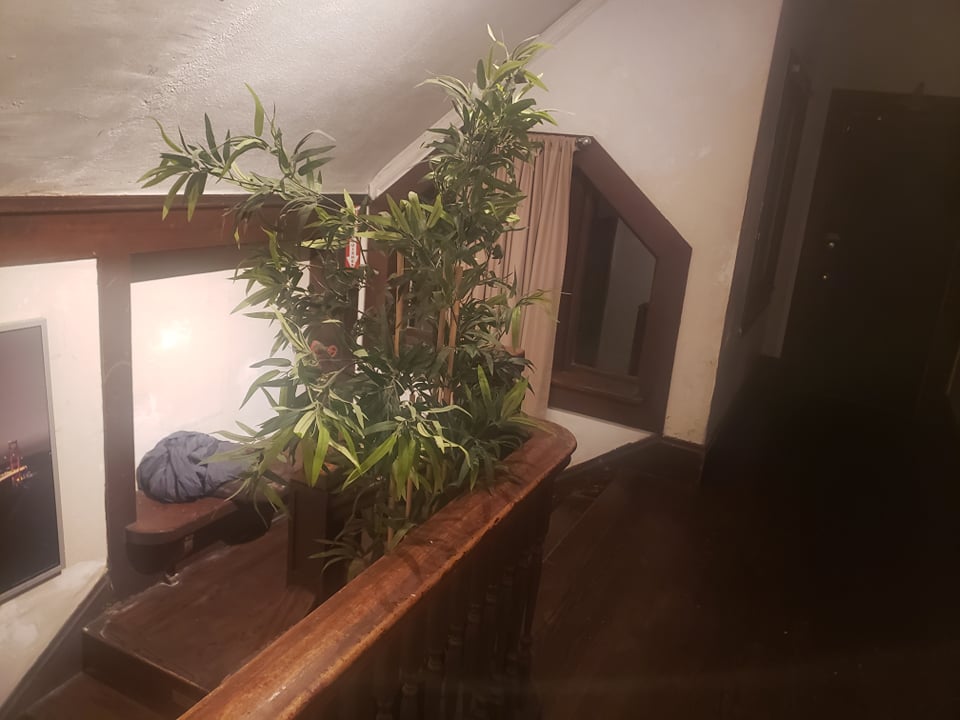
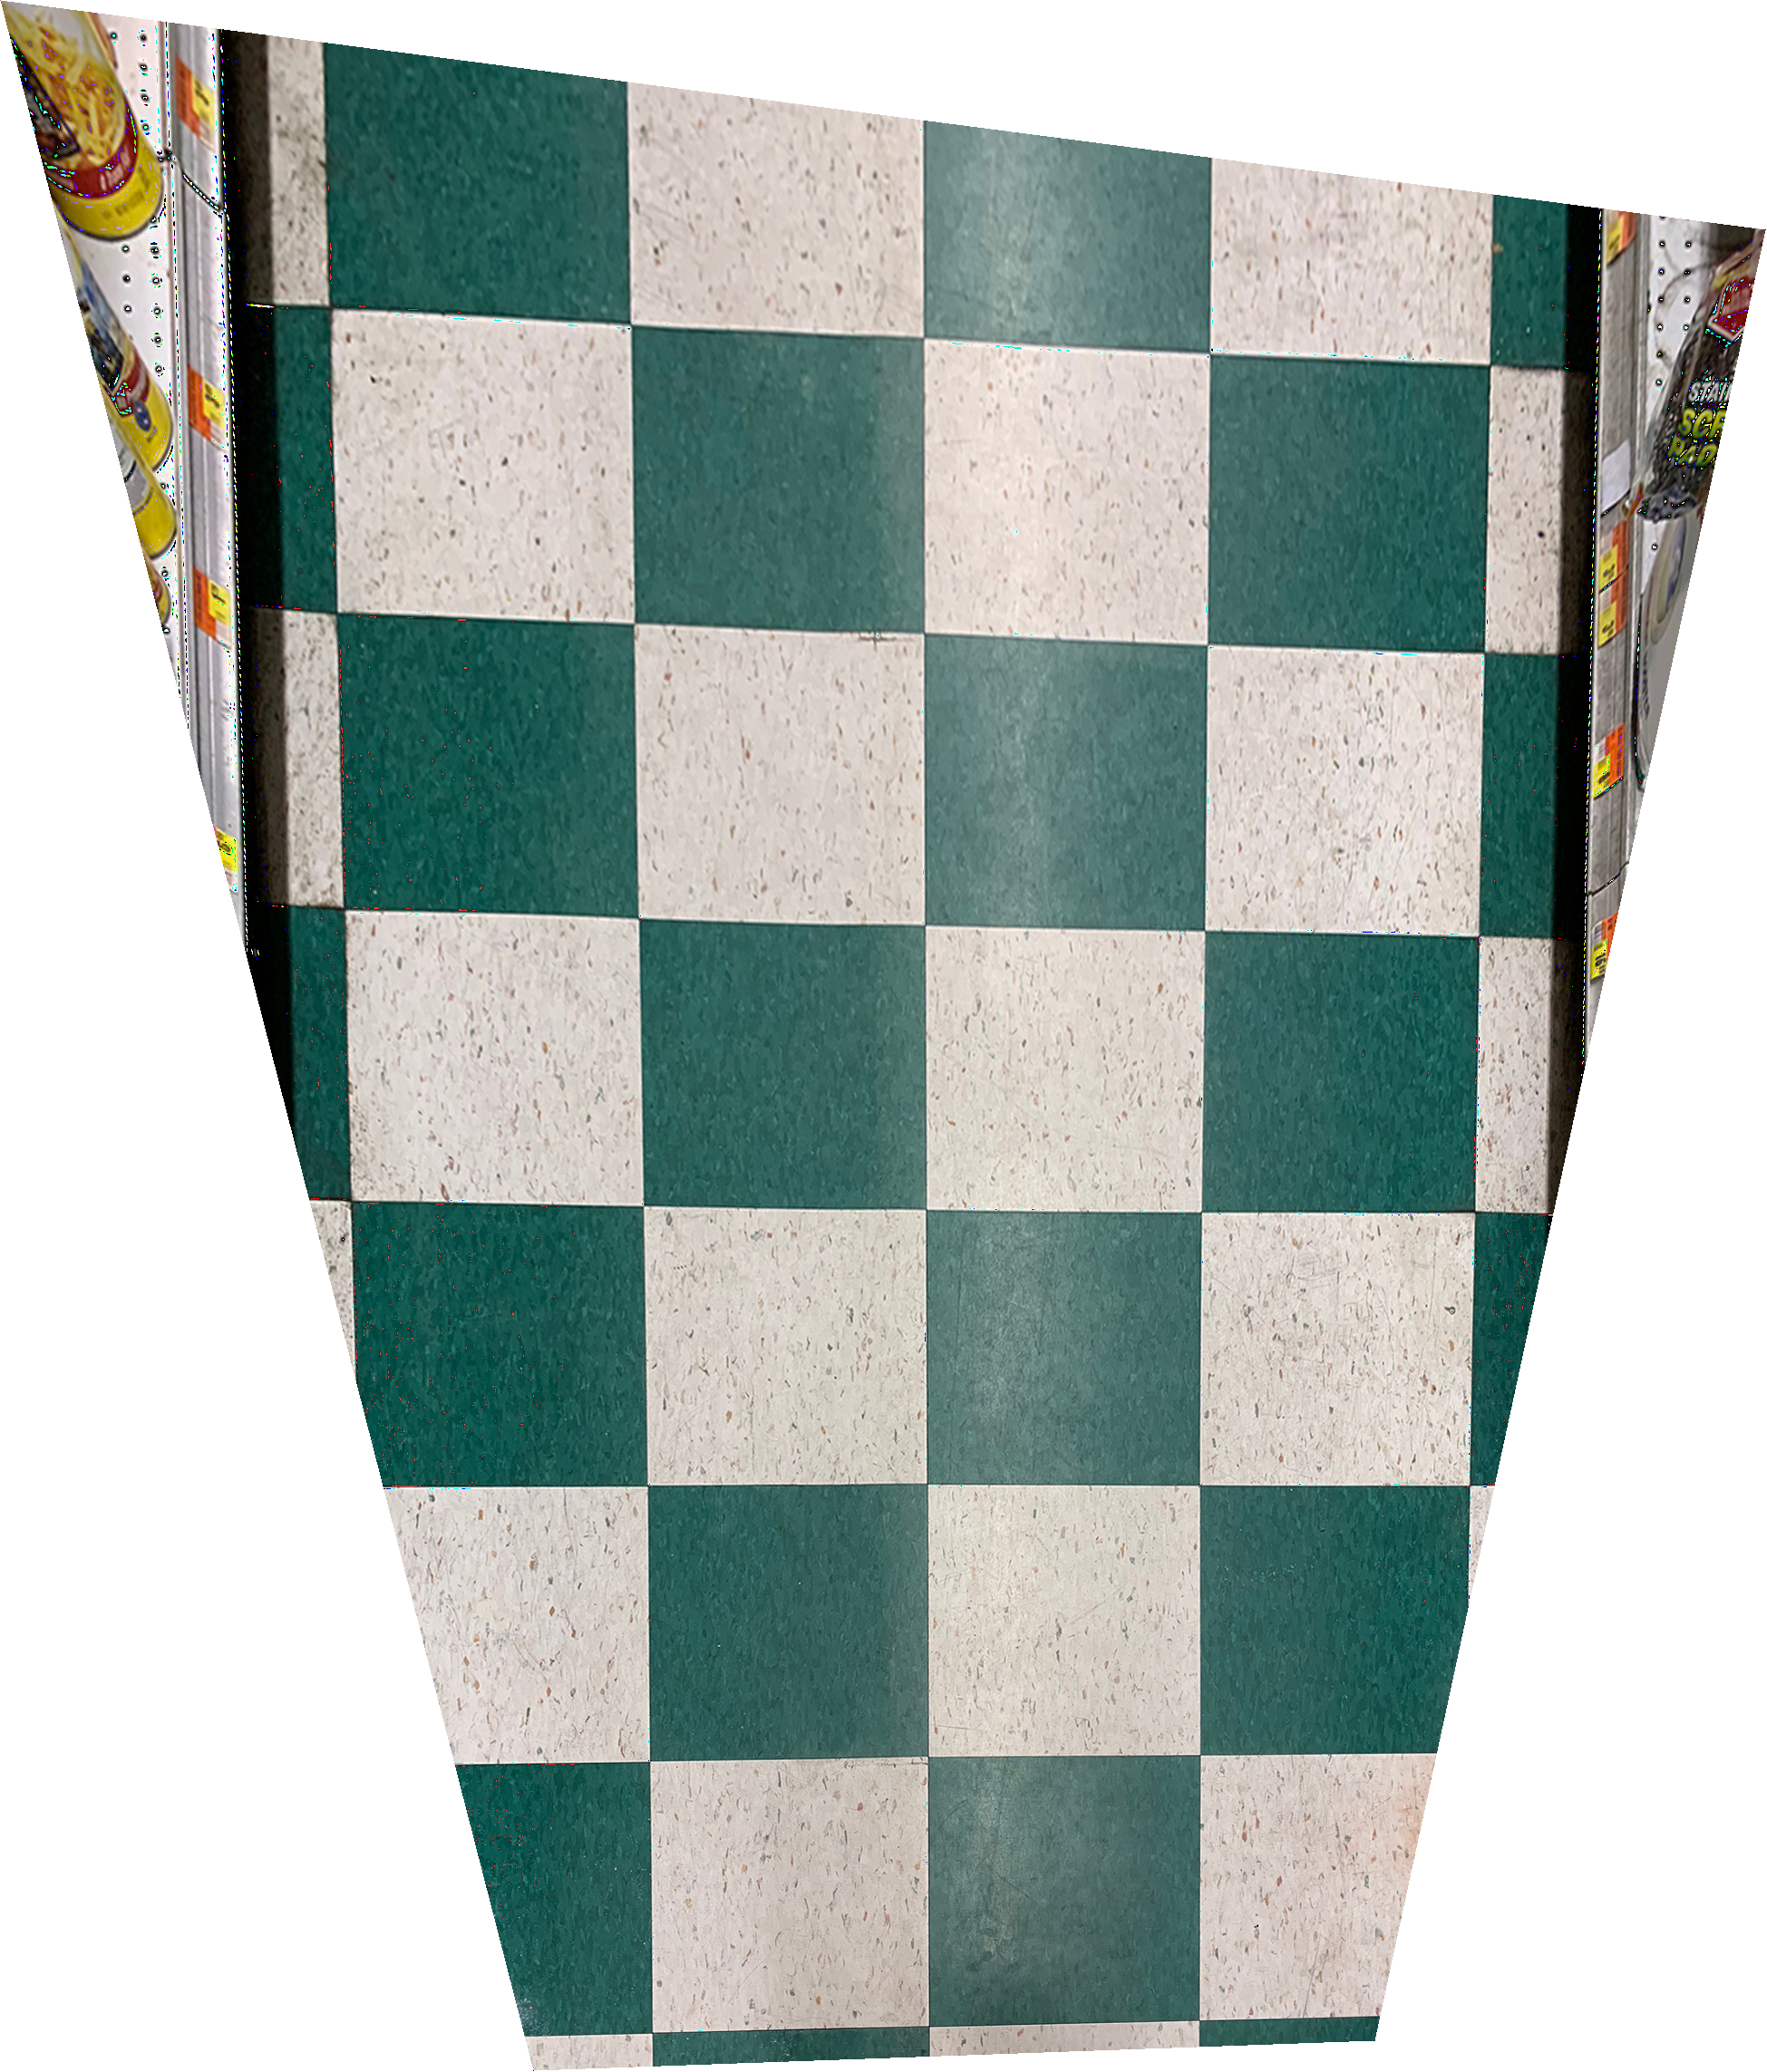
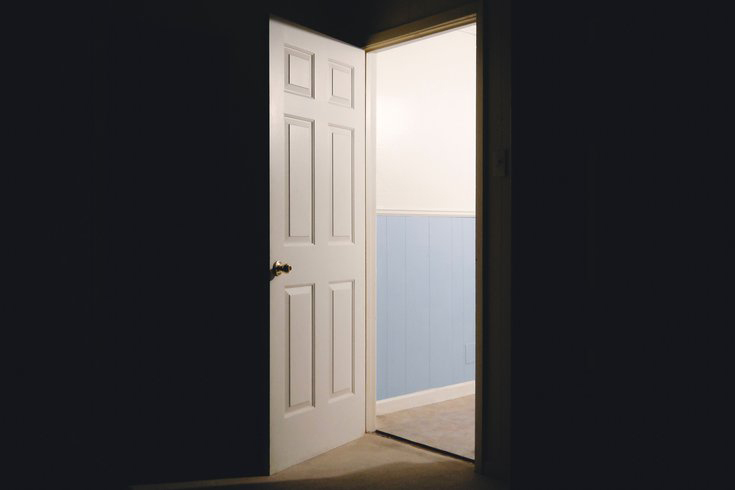
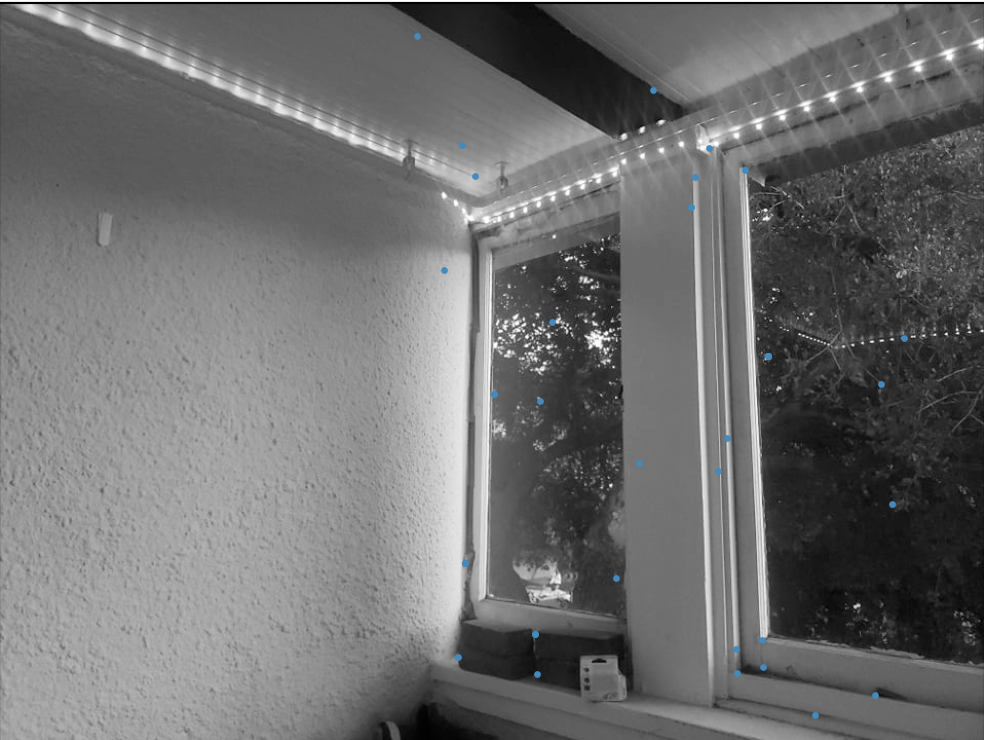
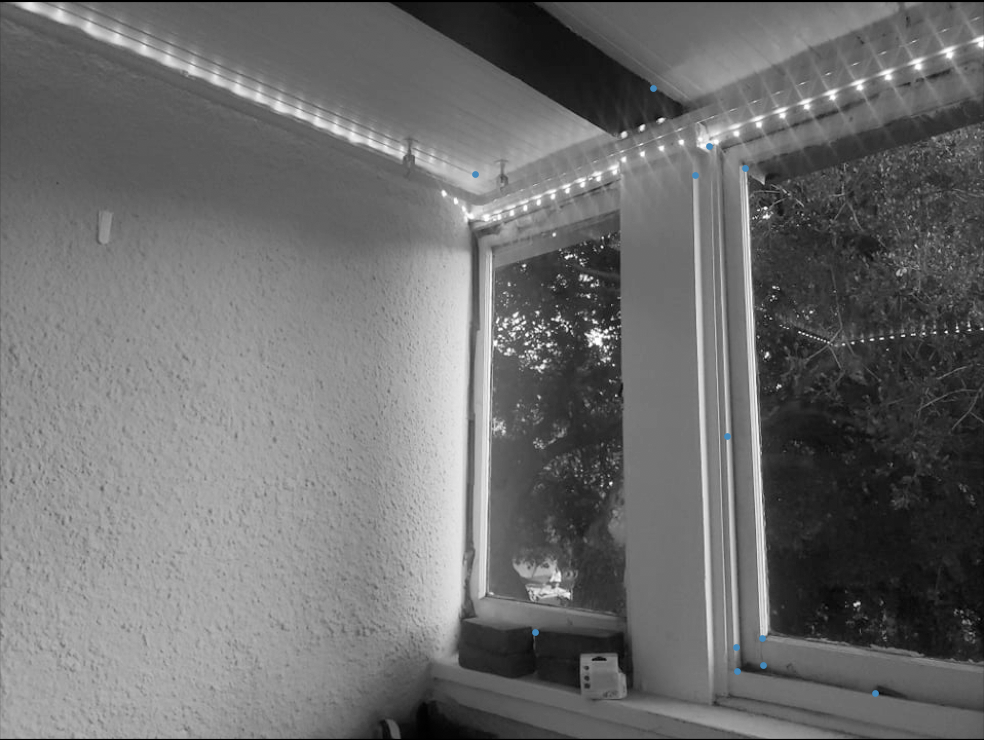
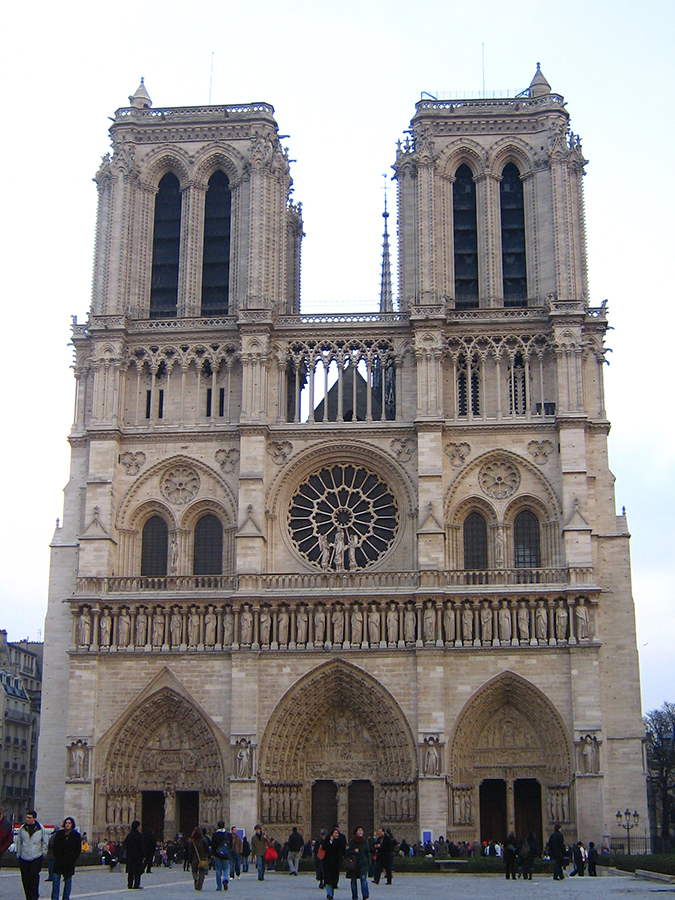
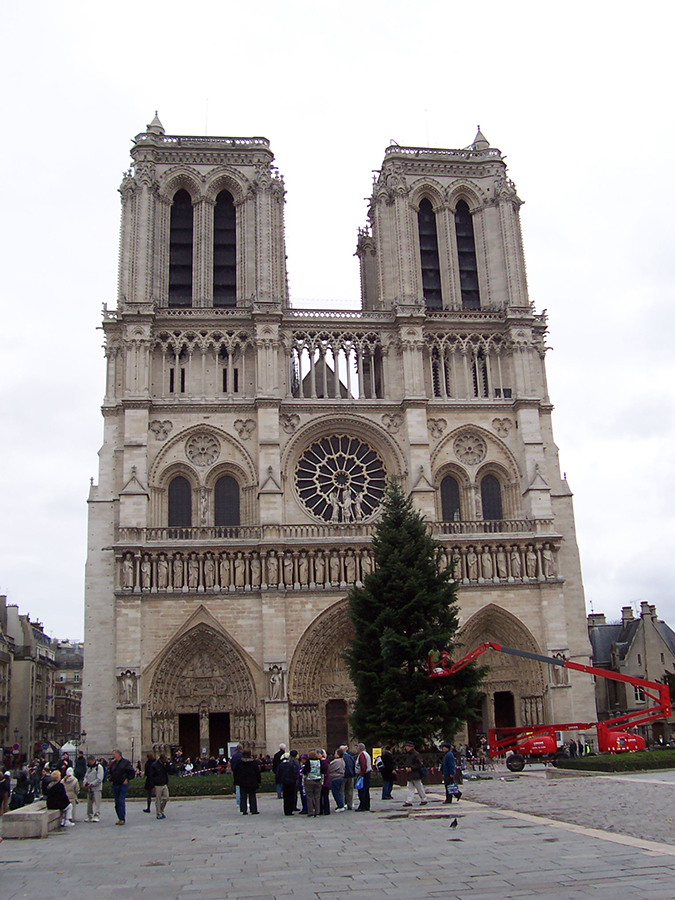
To get some data, I first took a few pairs of images with matching correspondences using my phone. The images shown below are the images I end up stitching together in this project:
|
|
|
|
|
|
|
|
|
Since the pairs of images I plan on stitching together are not yet aligned, it is necessary to recover homographies, or transformation parameters, between sets of correspondence points on the images.
I first manually picked correspondence points on each image pair using Adobe Photoshop. Given a set of p' = [x', y'] and p = [x, y] points, we must estimate a 3 x 3 transformation
matrix H such that p' = Hp. By using the manipulation shown below for each set of correspondence points, we can solve for the a flattened representation of H:
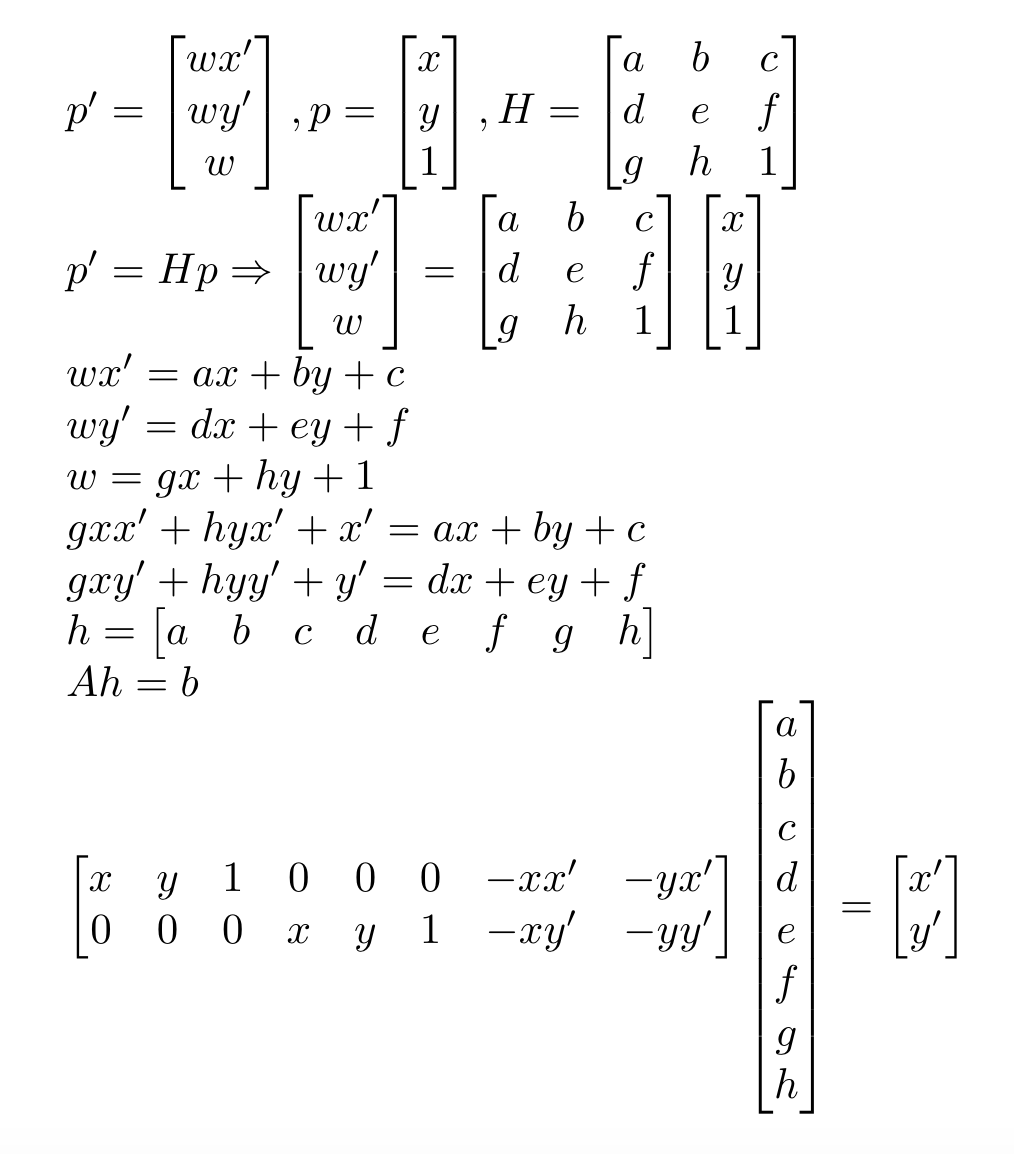
Since I pick more than 4 sets of points, the problem is overconstrained. I can this solve for H by minimizing the norm of AH'=b using least squares.
|
|
|
|
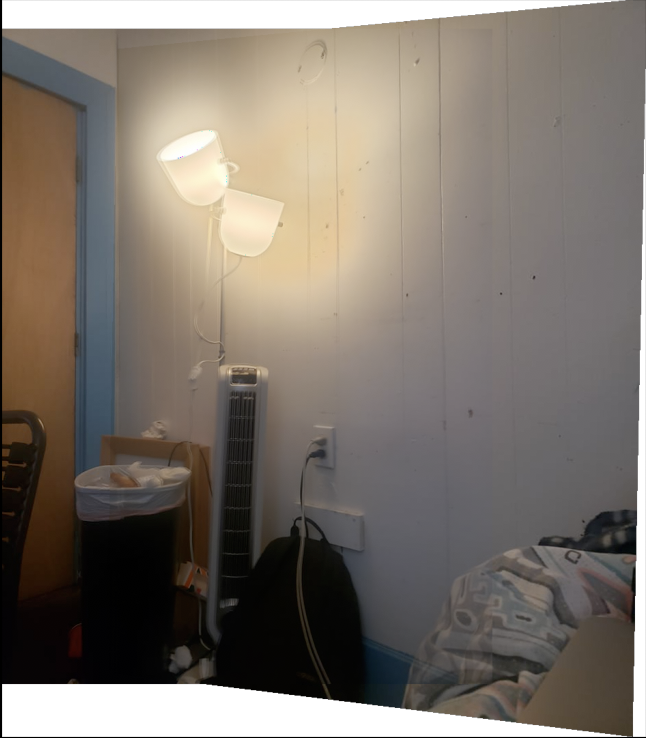
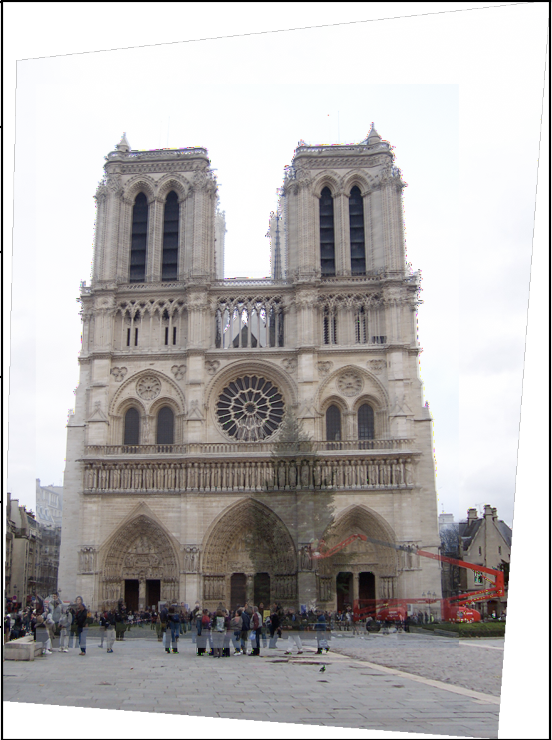
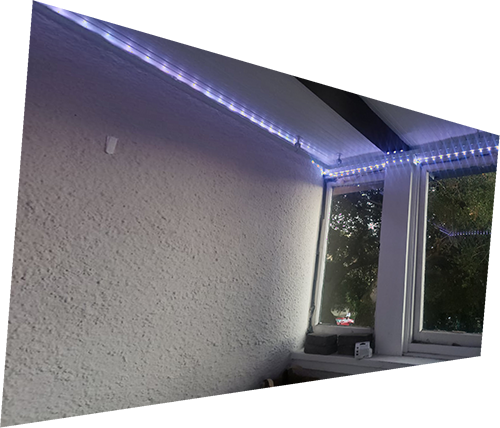
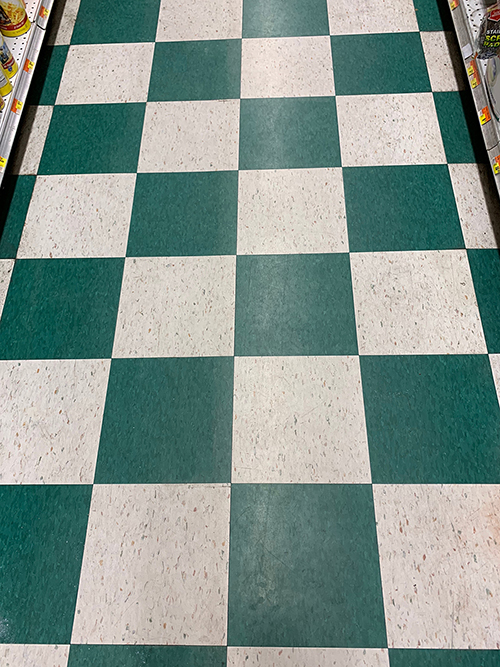
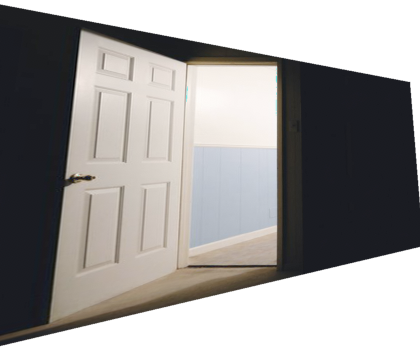
To rectify an image, I take images with planar artifacts and warp them such that the plane is front-parallel. To do so, I first define source points on the image. I then define destination points
corresponding to a rectangular shape. Some results are shown below:
|
|
|
|
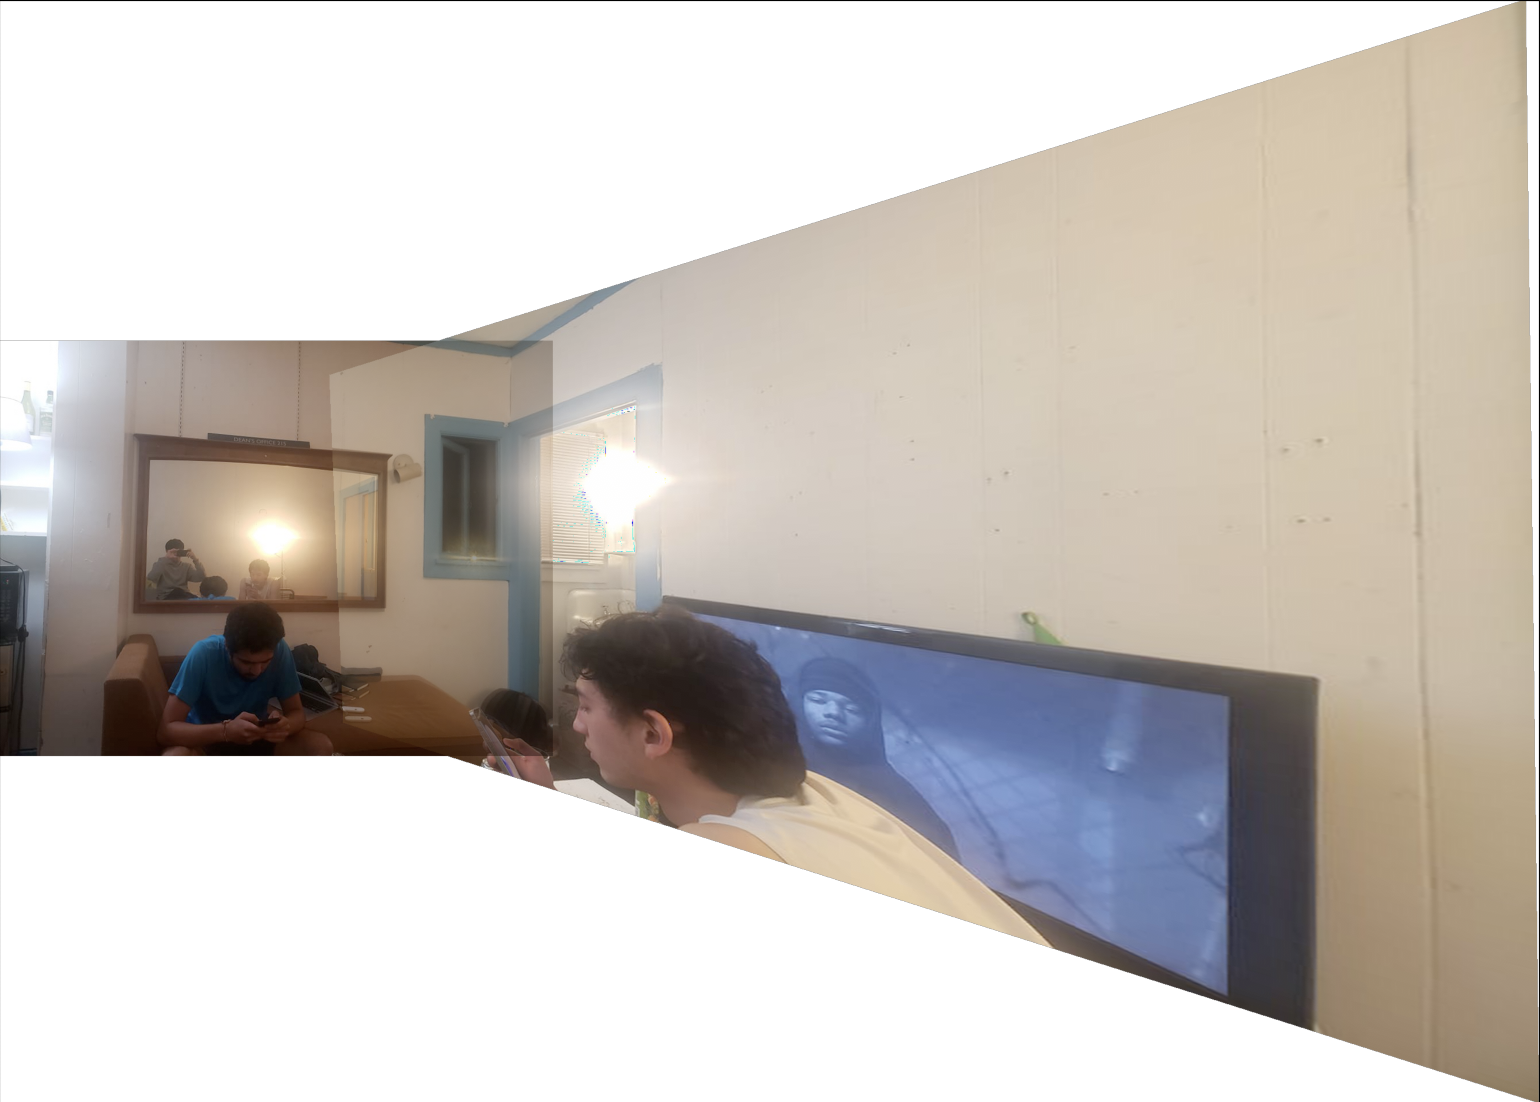
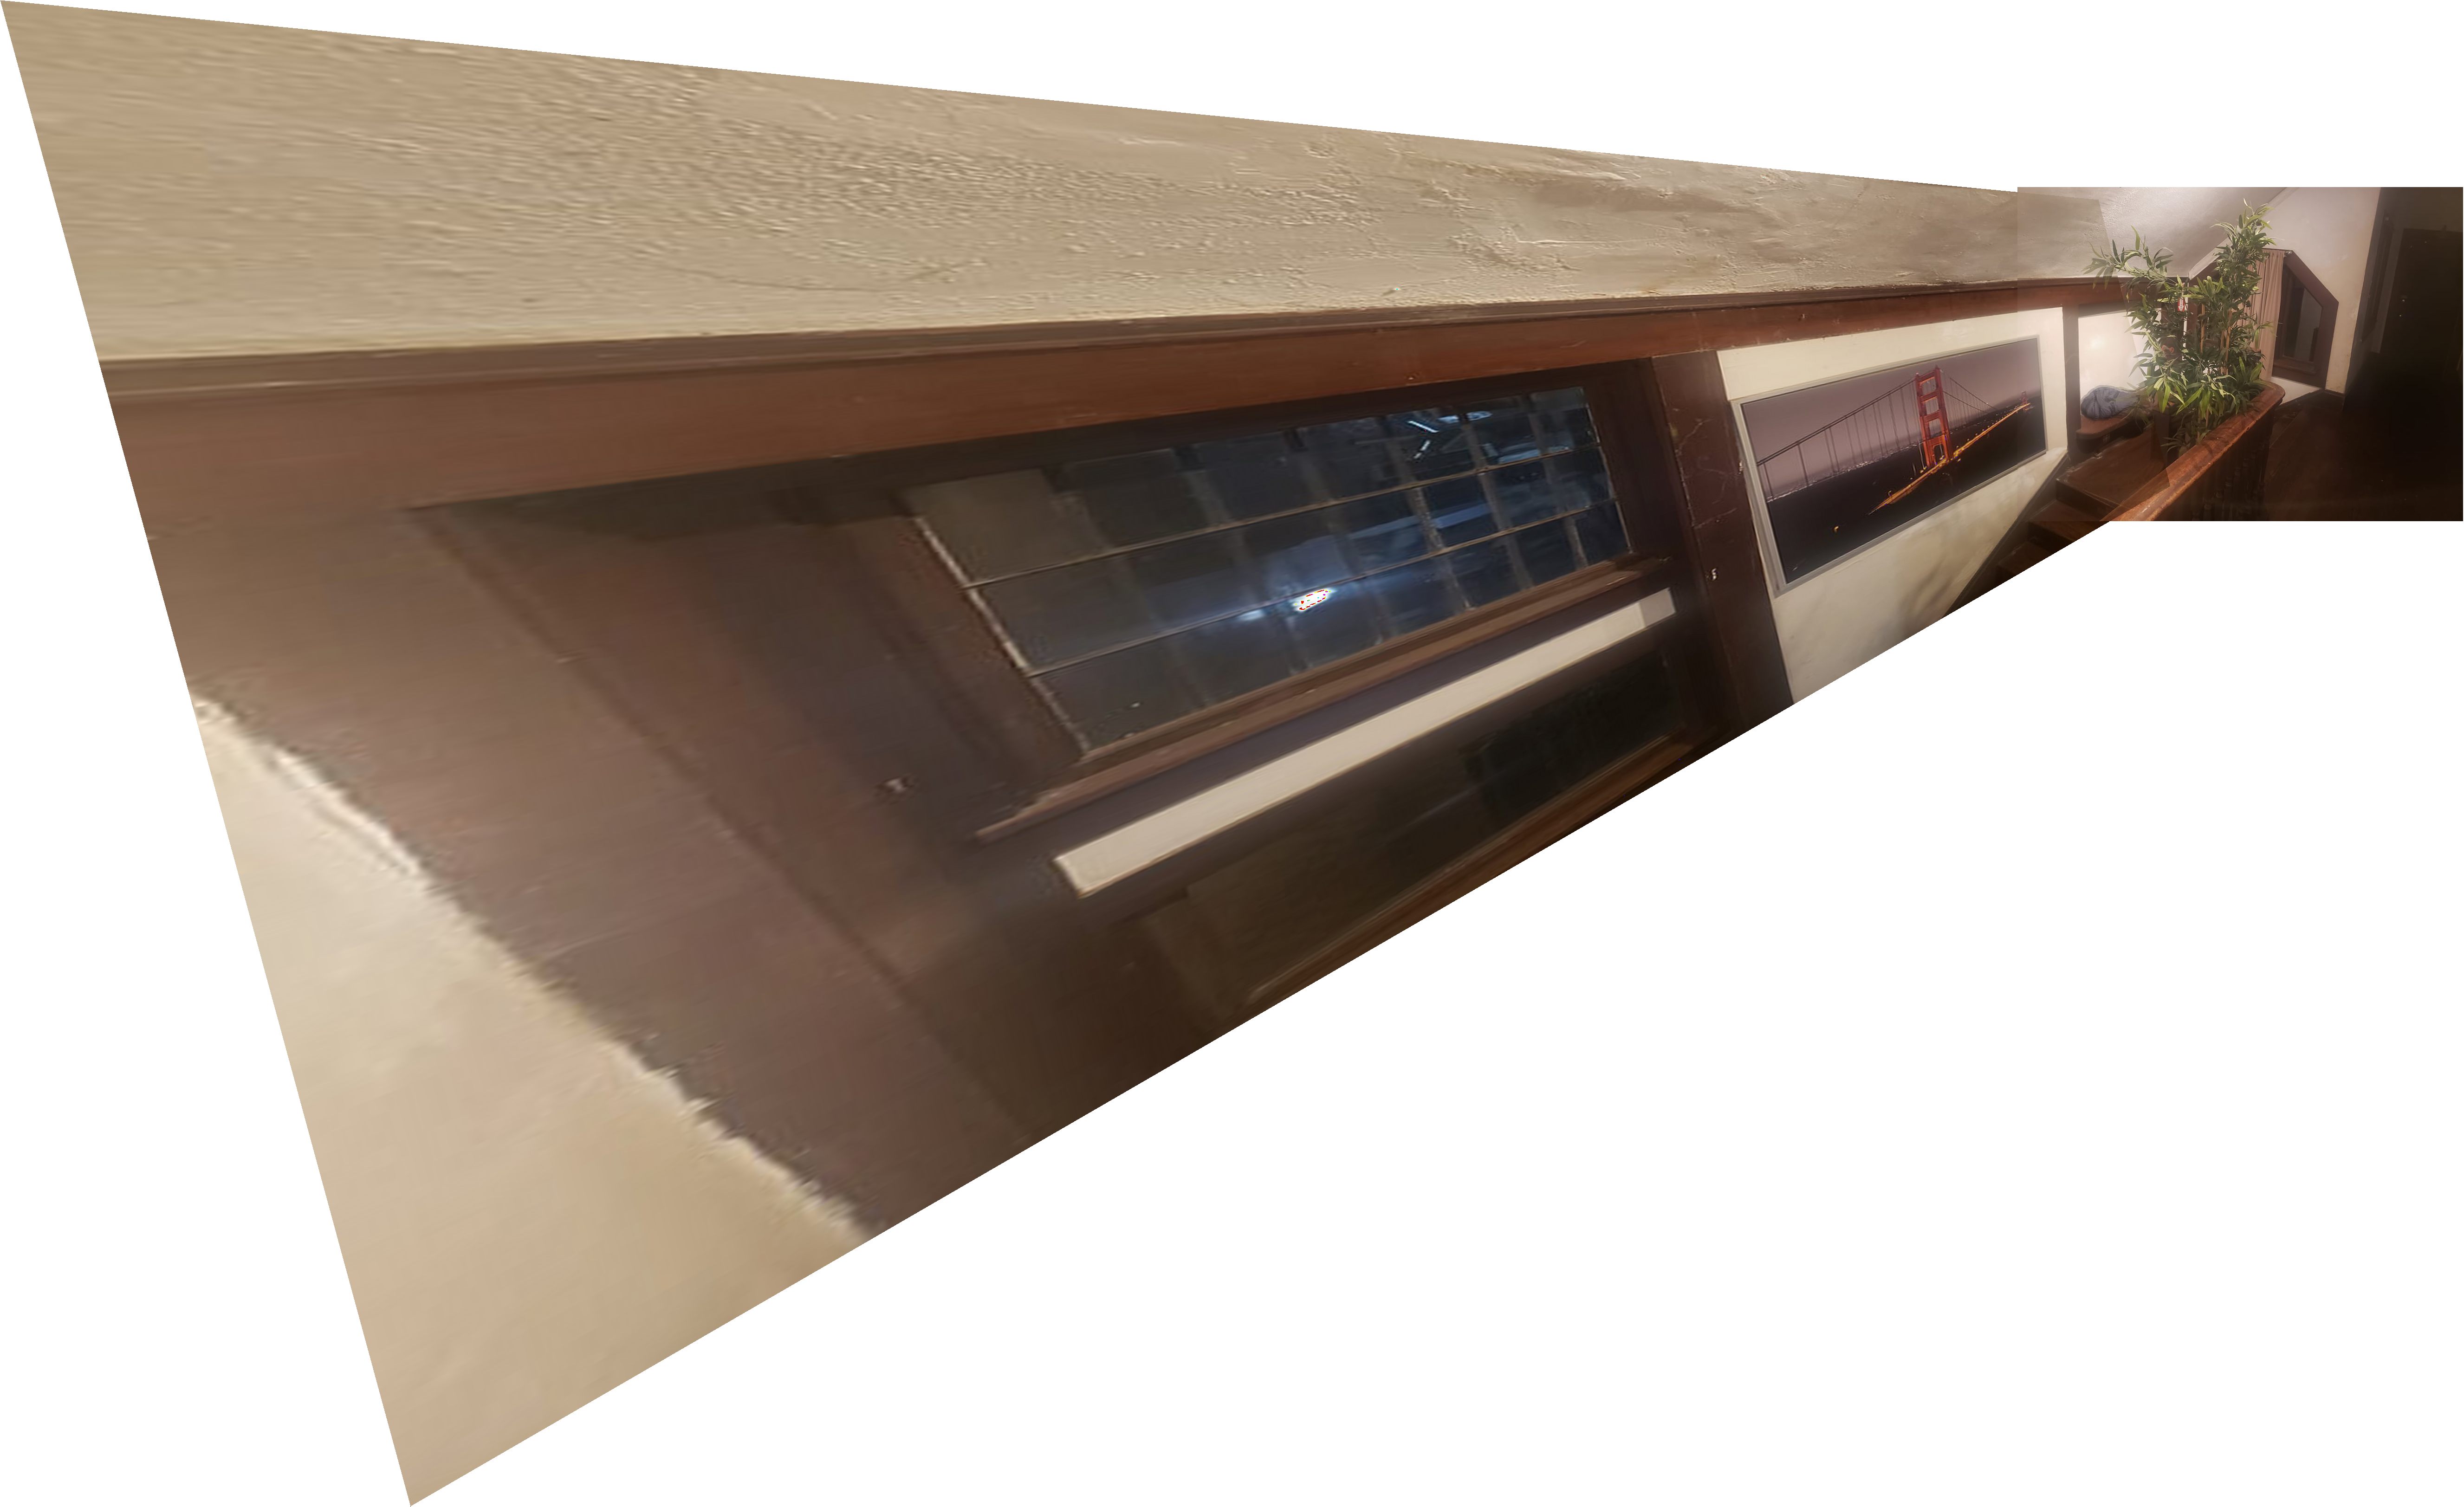
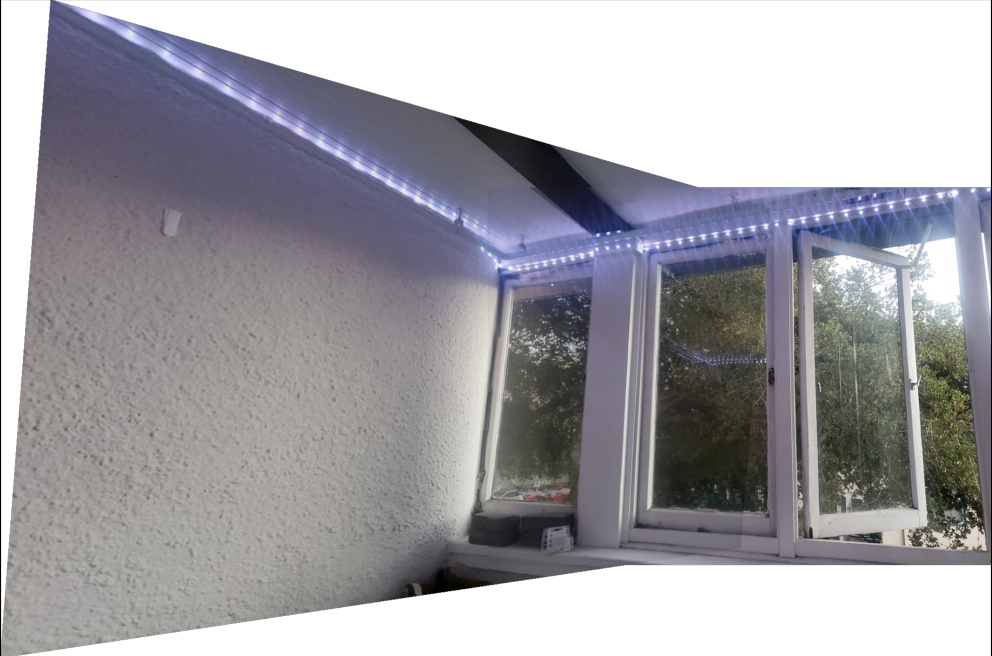
With the previous parts, I can now stitch together multiple images by defining correspondence points. I warp one image such that the correspondence points match up with the other image, then overlay them both
on the same canvas. I calculate the new canvas bounds in a similar manner to the way I calculate those of purely warped images— by using the bounding box containing the warped corner points of one image and the
original corner points of the other. I include an alpha channel as well, setting the alpha values of the area outside of the image to 0. I then average the alpha values of both images where they overlap, to achieve
a somewhat smooth blending effect at the seams. Here are some image mosaics I've been able to create:
|
|
|
|
|
|
|
|
|
From this part of the project, I've learned about the importance of defining a good point correspondence. The results of my stitches vary a lot depending on how close the correspondences are. I also found that manually defining these correspondences is super painful, which makes me excited for the next part of the project where I will figure out how to automatically determine point correspondences.
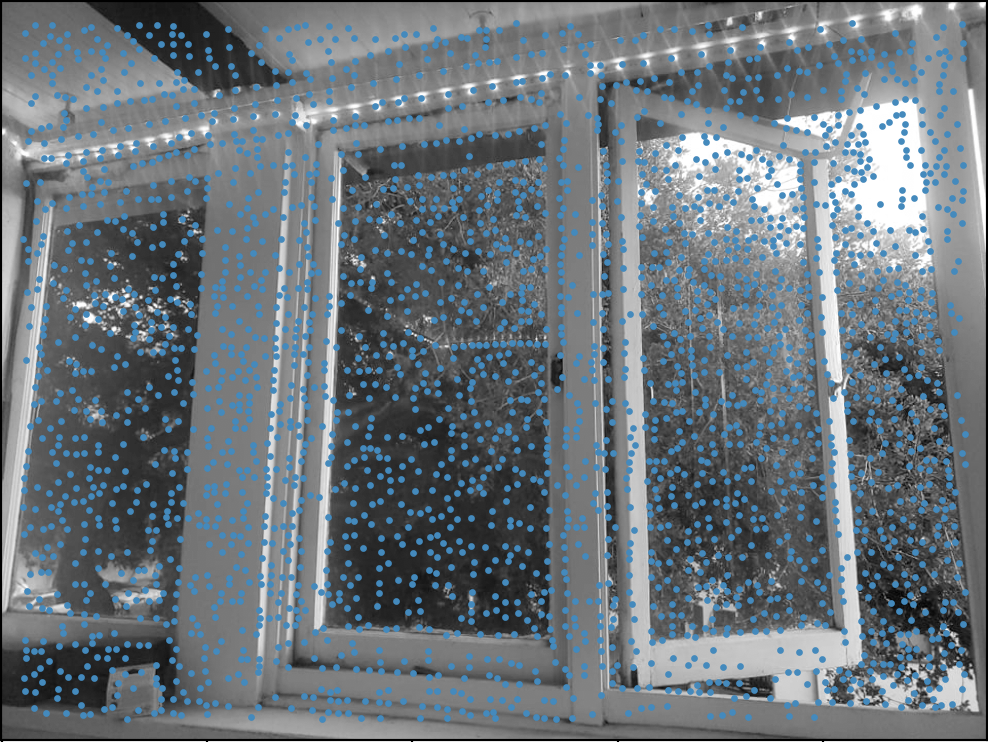
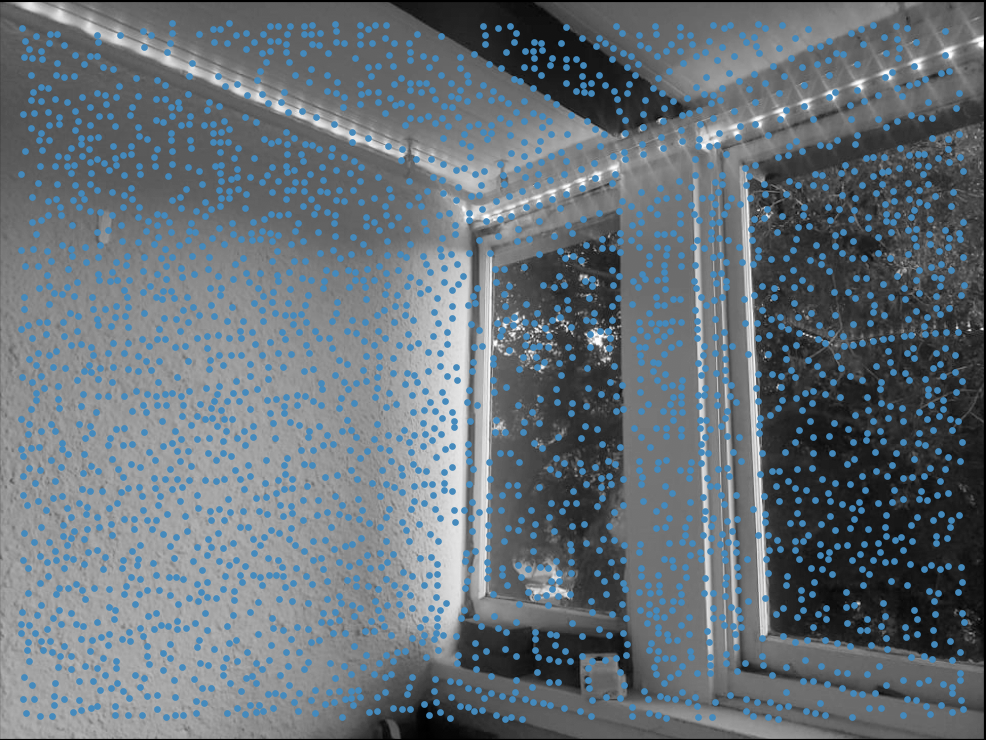
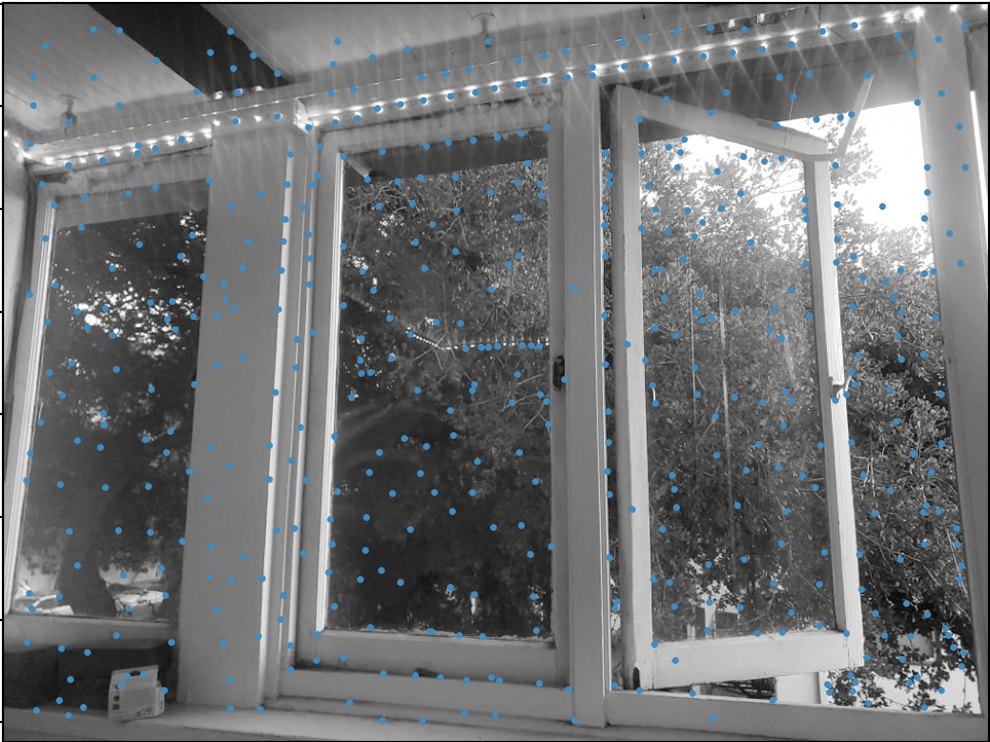
I find potential features using harris corner detection. By using the provided harris.py code, I am able to get the H-values of each image coordinate as well. Here are examples of corner points that
I detected overlaid on their corresponding images:
 |
 |
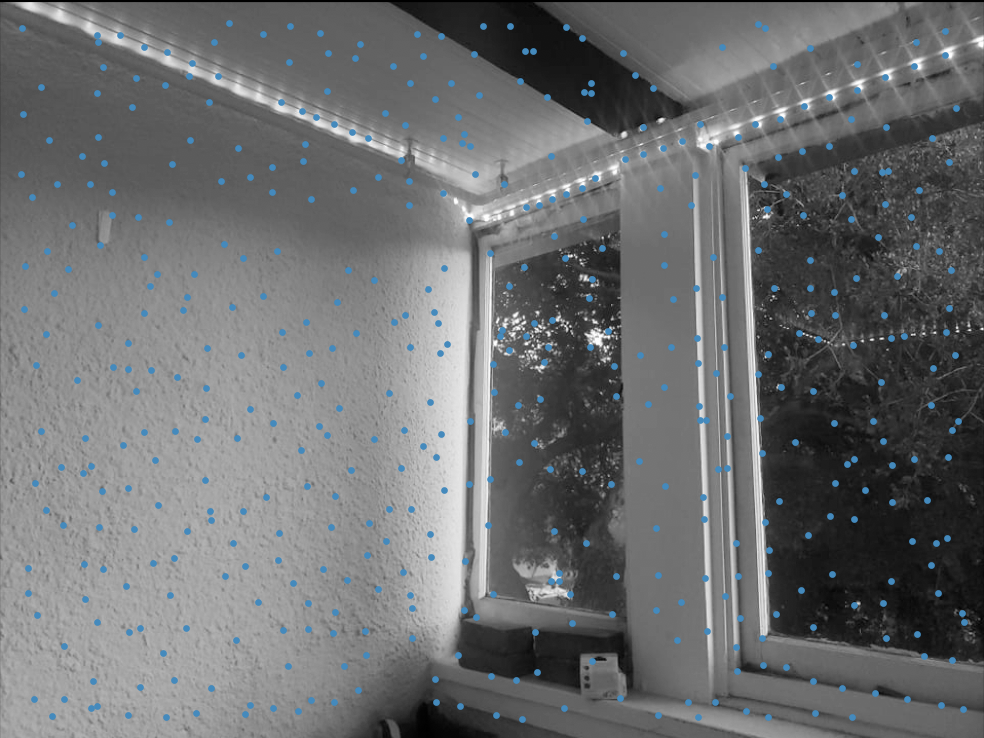
With the harris corner points, I use Adaptive Non Maximal Suppression to pick the 500 most promiment corner points, while making sure that they are all relatively spaced out. Here are a figures of the chosen
corners overlaid on their corresponding images:
 |
 |
After detecting corner points, we want to be able to extract the point's corresponding features. I do this by taking a 40 x 40 patch around the image, downsampling it into a 8 x 8 patch, and then flattening the resulting array. I then implement bias normalization by subtracting the mean from each vector, and gain normalization by dividing each vector by its standard deviation. This provides me with length 64 feature vectors for each corner points.
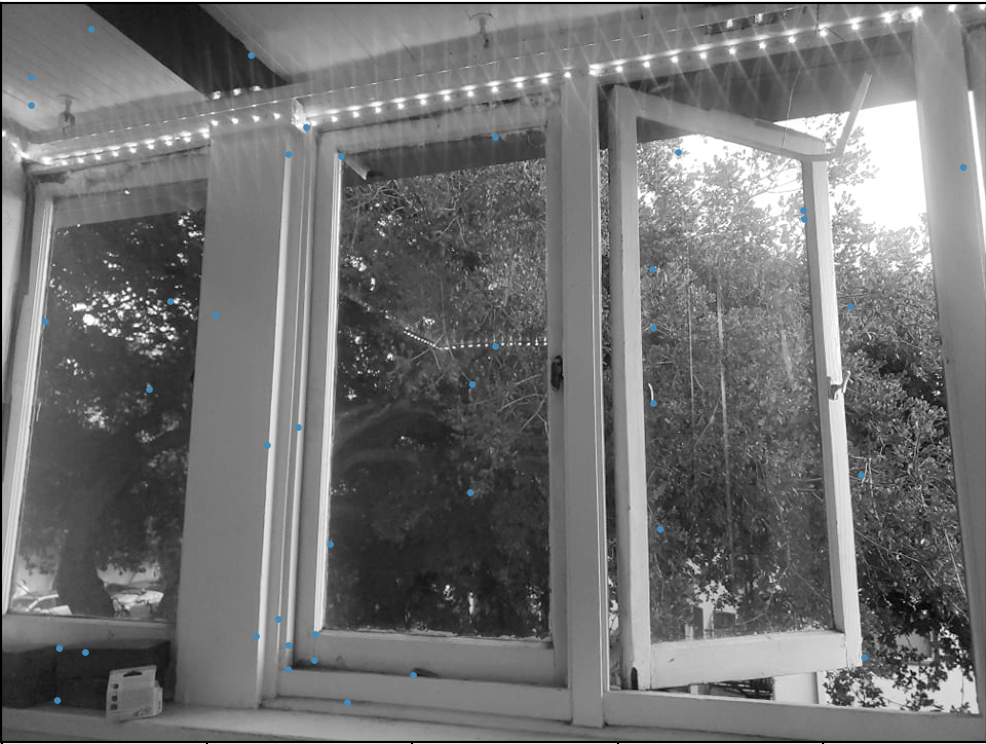
Using the features I was able to extract, I then proceeded to find pairs of matching features. I create a distance matrix between the two sets of feature vectors using the provided dist2 function.
I use squared euclidean distance as a distance metric for comparing the similarity of two feature vectors. I filter good pairs using Lowe thresholding, with a threshold of 0.5 which I found via
experimentation. Here are the pairs of matching features that I was able to generate:
 |
 |
As you can see, some matches are not very accurate, as our features are derived from 40 x 40 pixel patches without rotation invariance implemented. To pick a set of matches that are accurate, I
implemented 4-point RANSAC as described in class. I run RANSAC for 10000 iterations, and keep the set of point inliers that are produced by the best homography estimate on 4 points. Using these
point inliers, I am able to compute a robust homography estimate. Here's the set of matching points produced by RANSAC, overlaid on their corresponding images:
 |
 |
Finally, using the automatically generated point correspondences, I can blend images into a mosaic in the same manner as I did in part A. Here's a comparison of my manual and automatic results:
|
|
|
|

|
It is apparent that the results are pretty comparable. Here are a few more autostitched mosaics:
 |
 |
 |
 |
The coolest thing I learned from this project was how the feature matching algorithm worked. I originally thought that using features derived from 40 x 40 patches might result in false positive matches, but the way we use Lowe's thresholding provided a great way to mitigate that issue that I hadn't thought of. It was also great to finally be able to automatically stitch together images without having to painstakingingly manually label correspondence points.