Table of Contents

Table of Contents
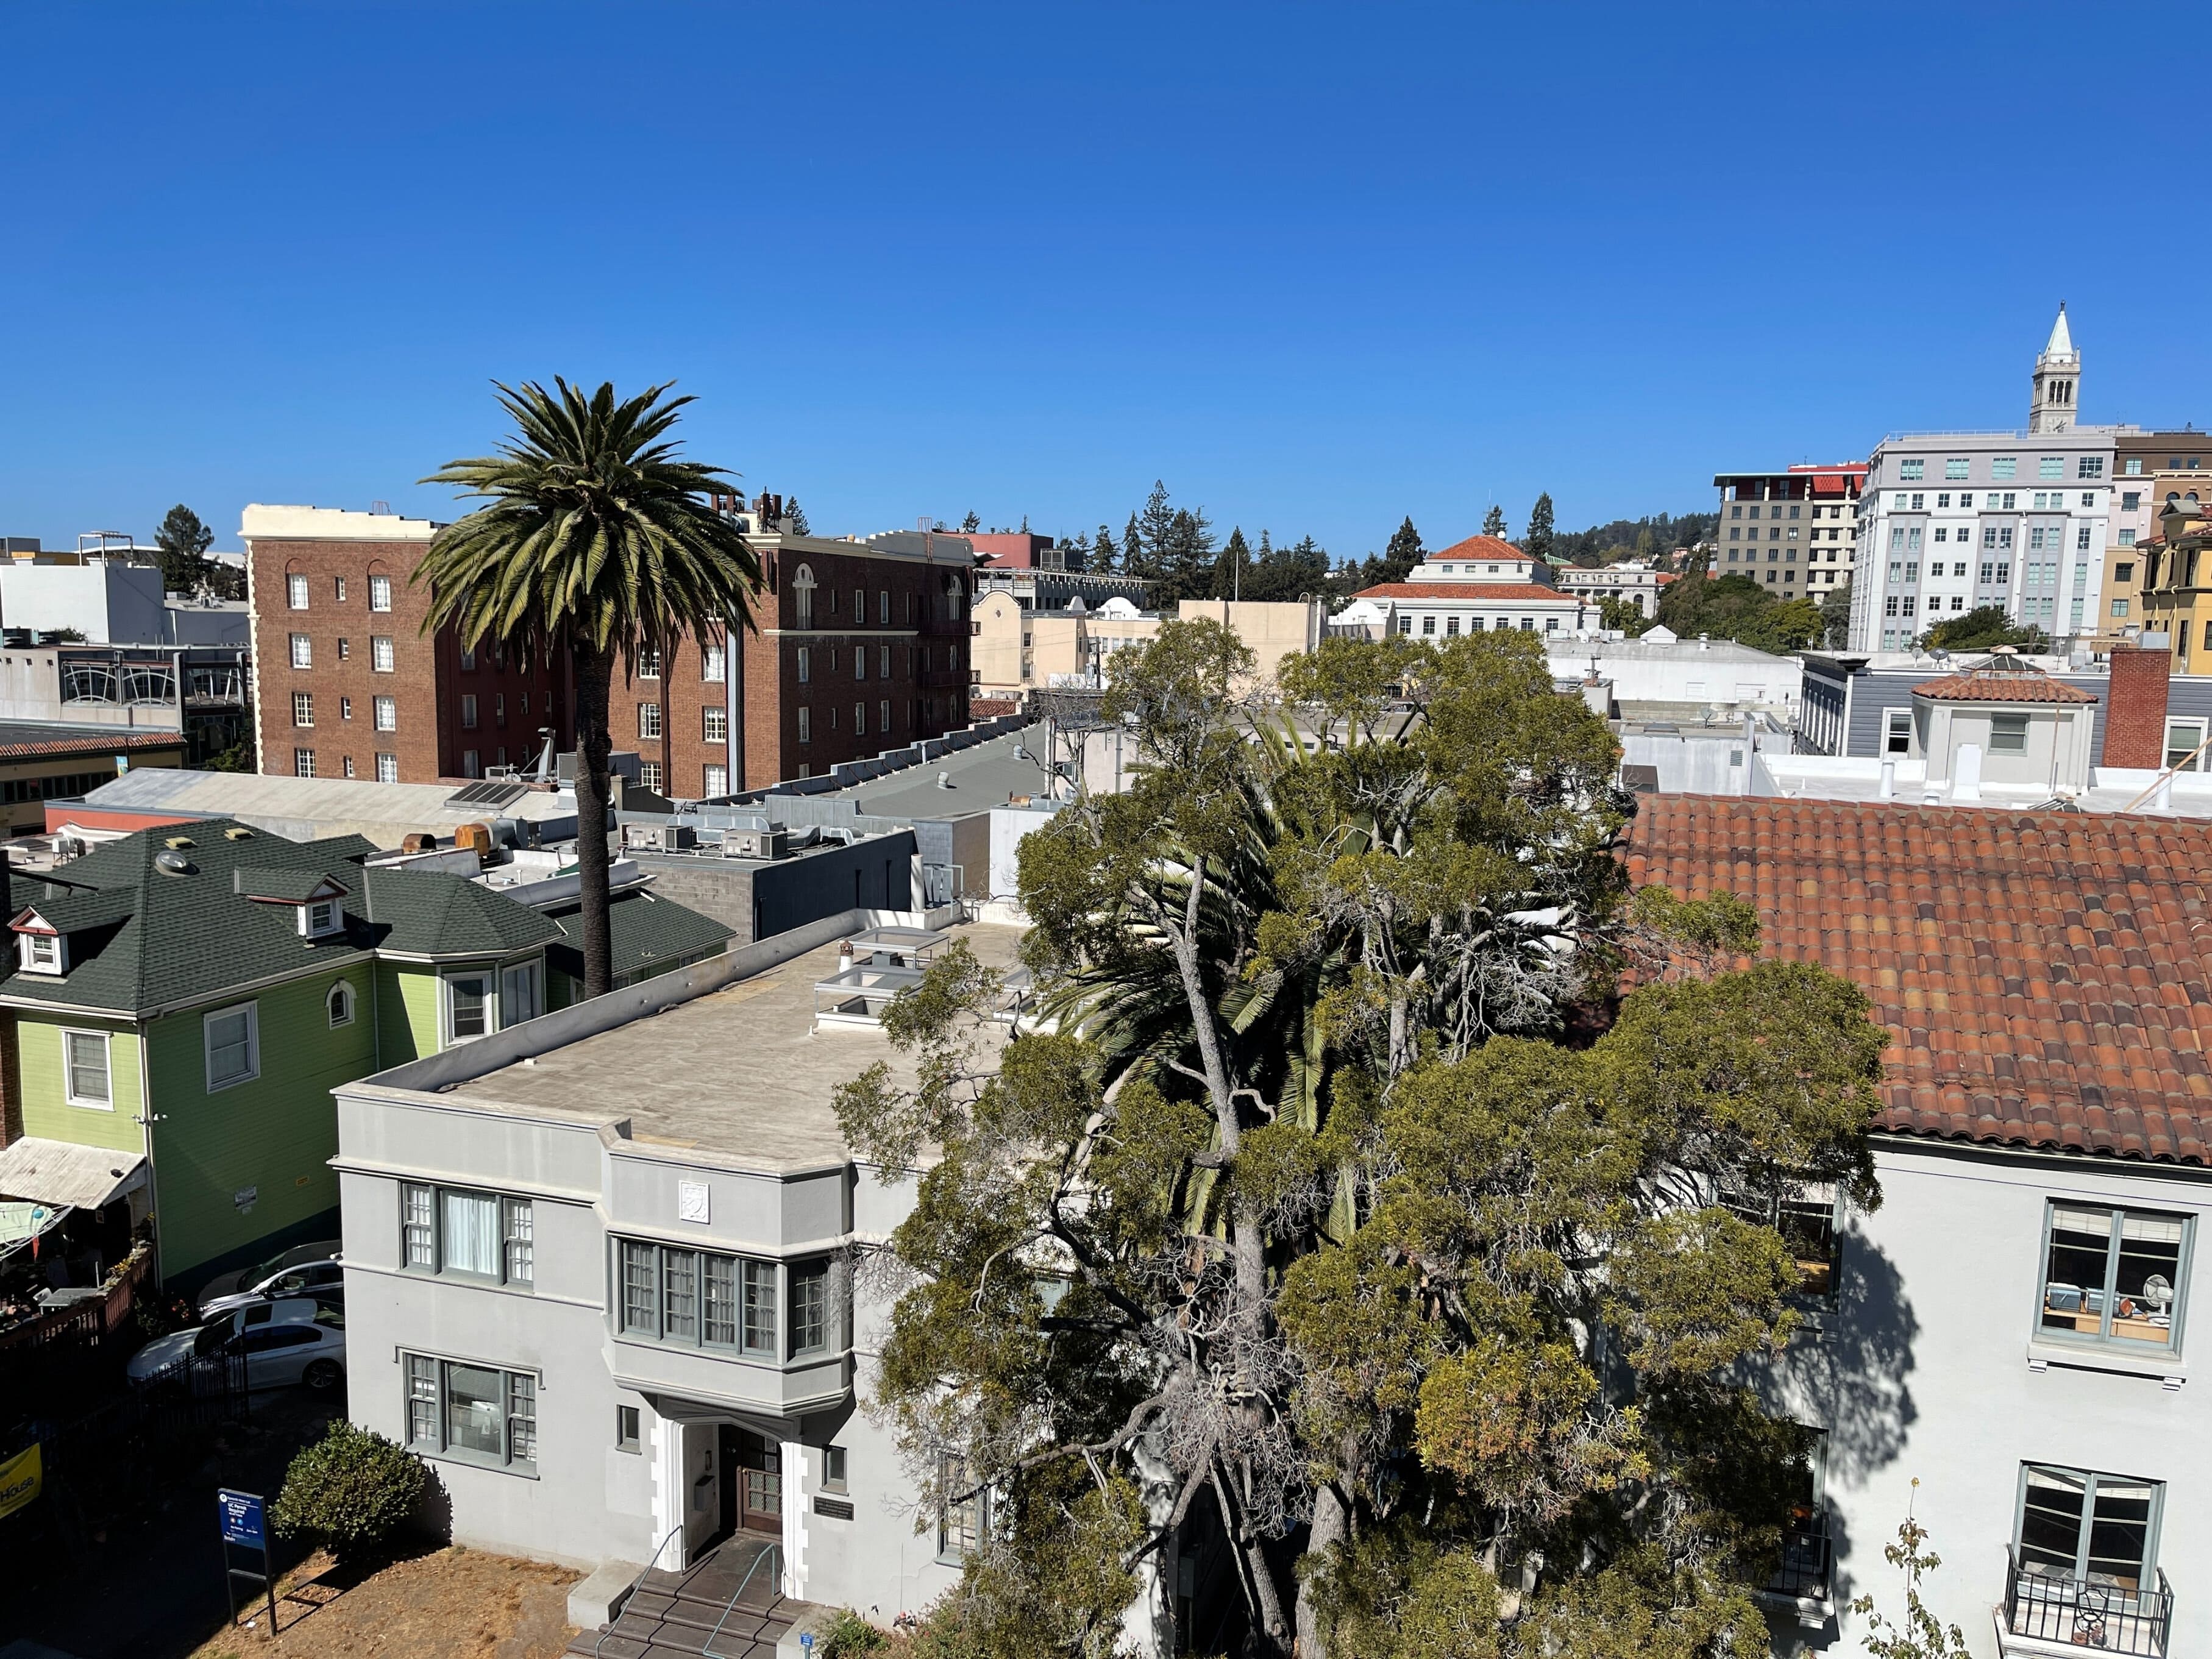
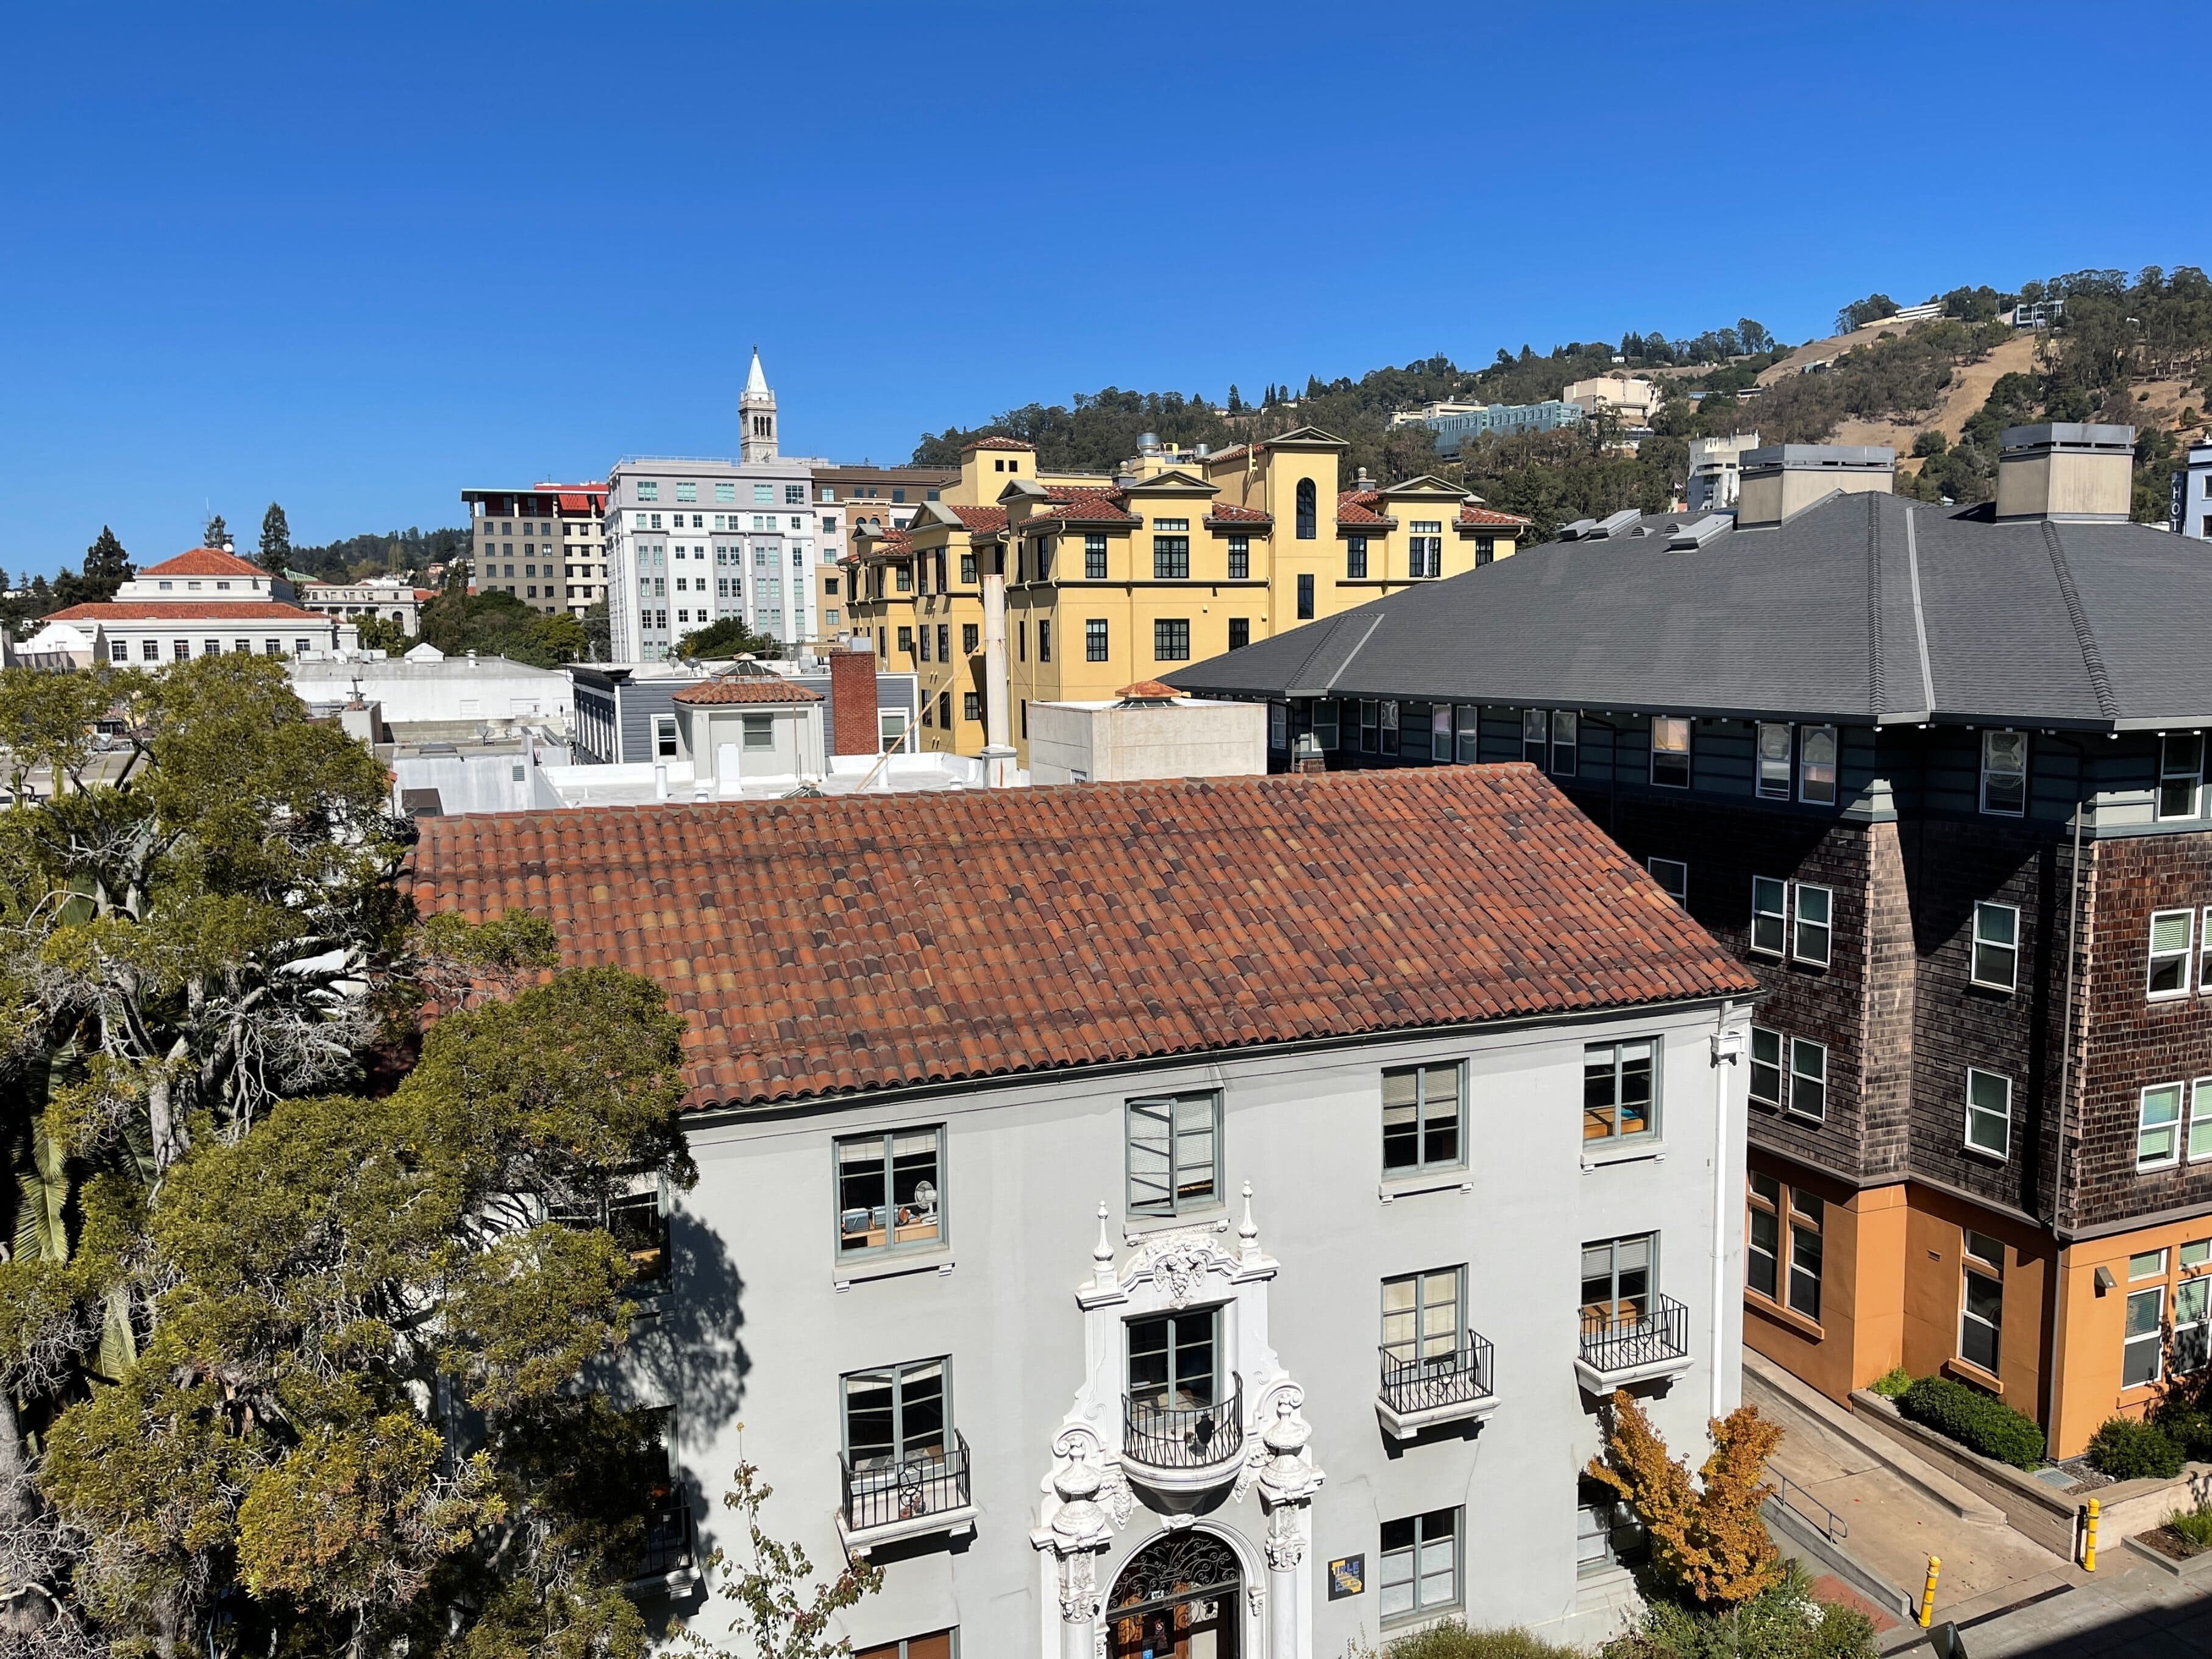
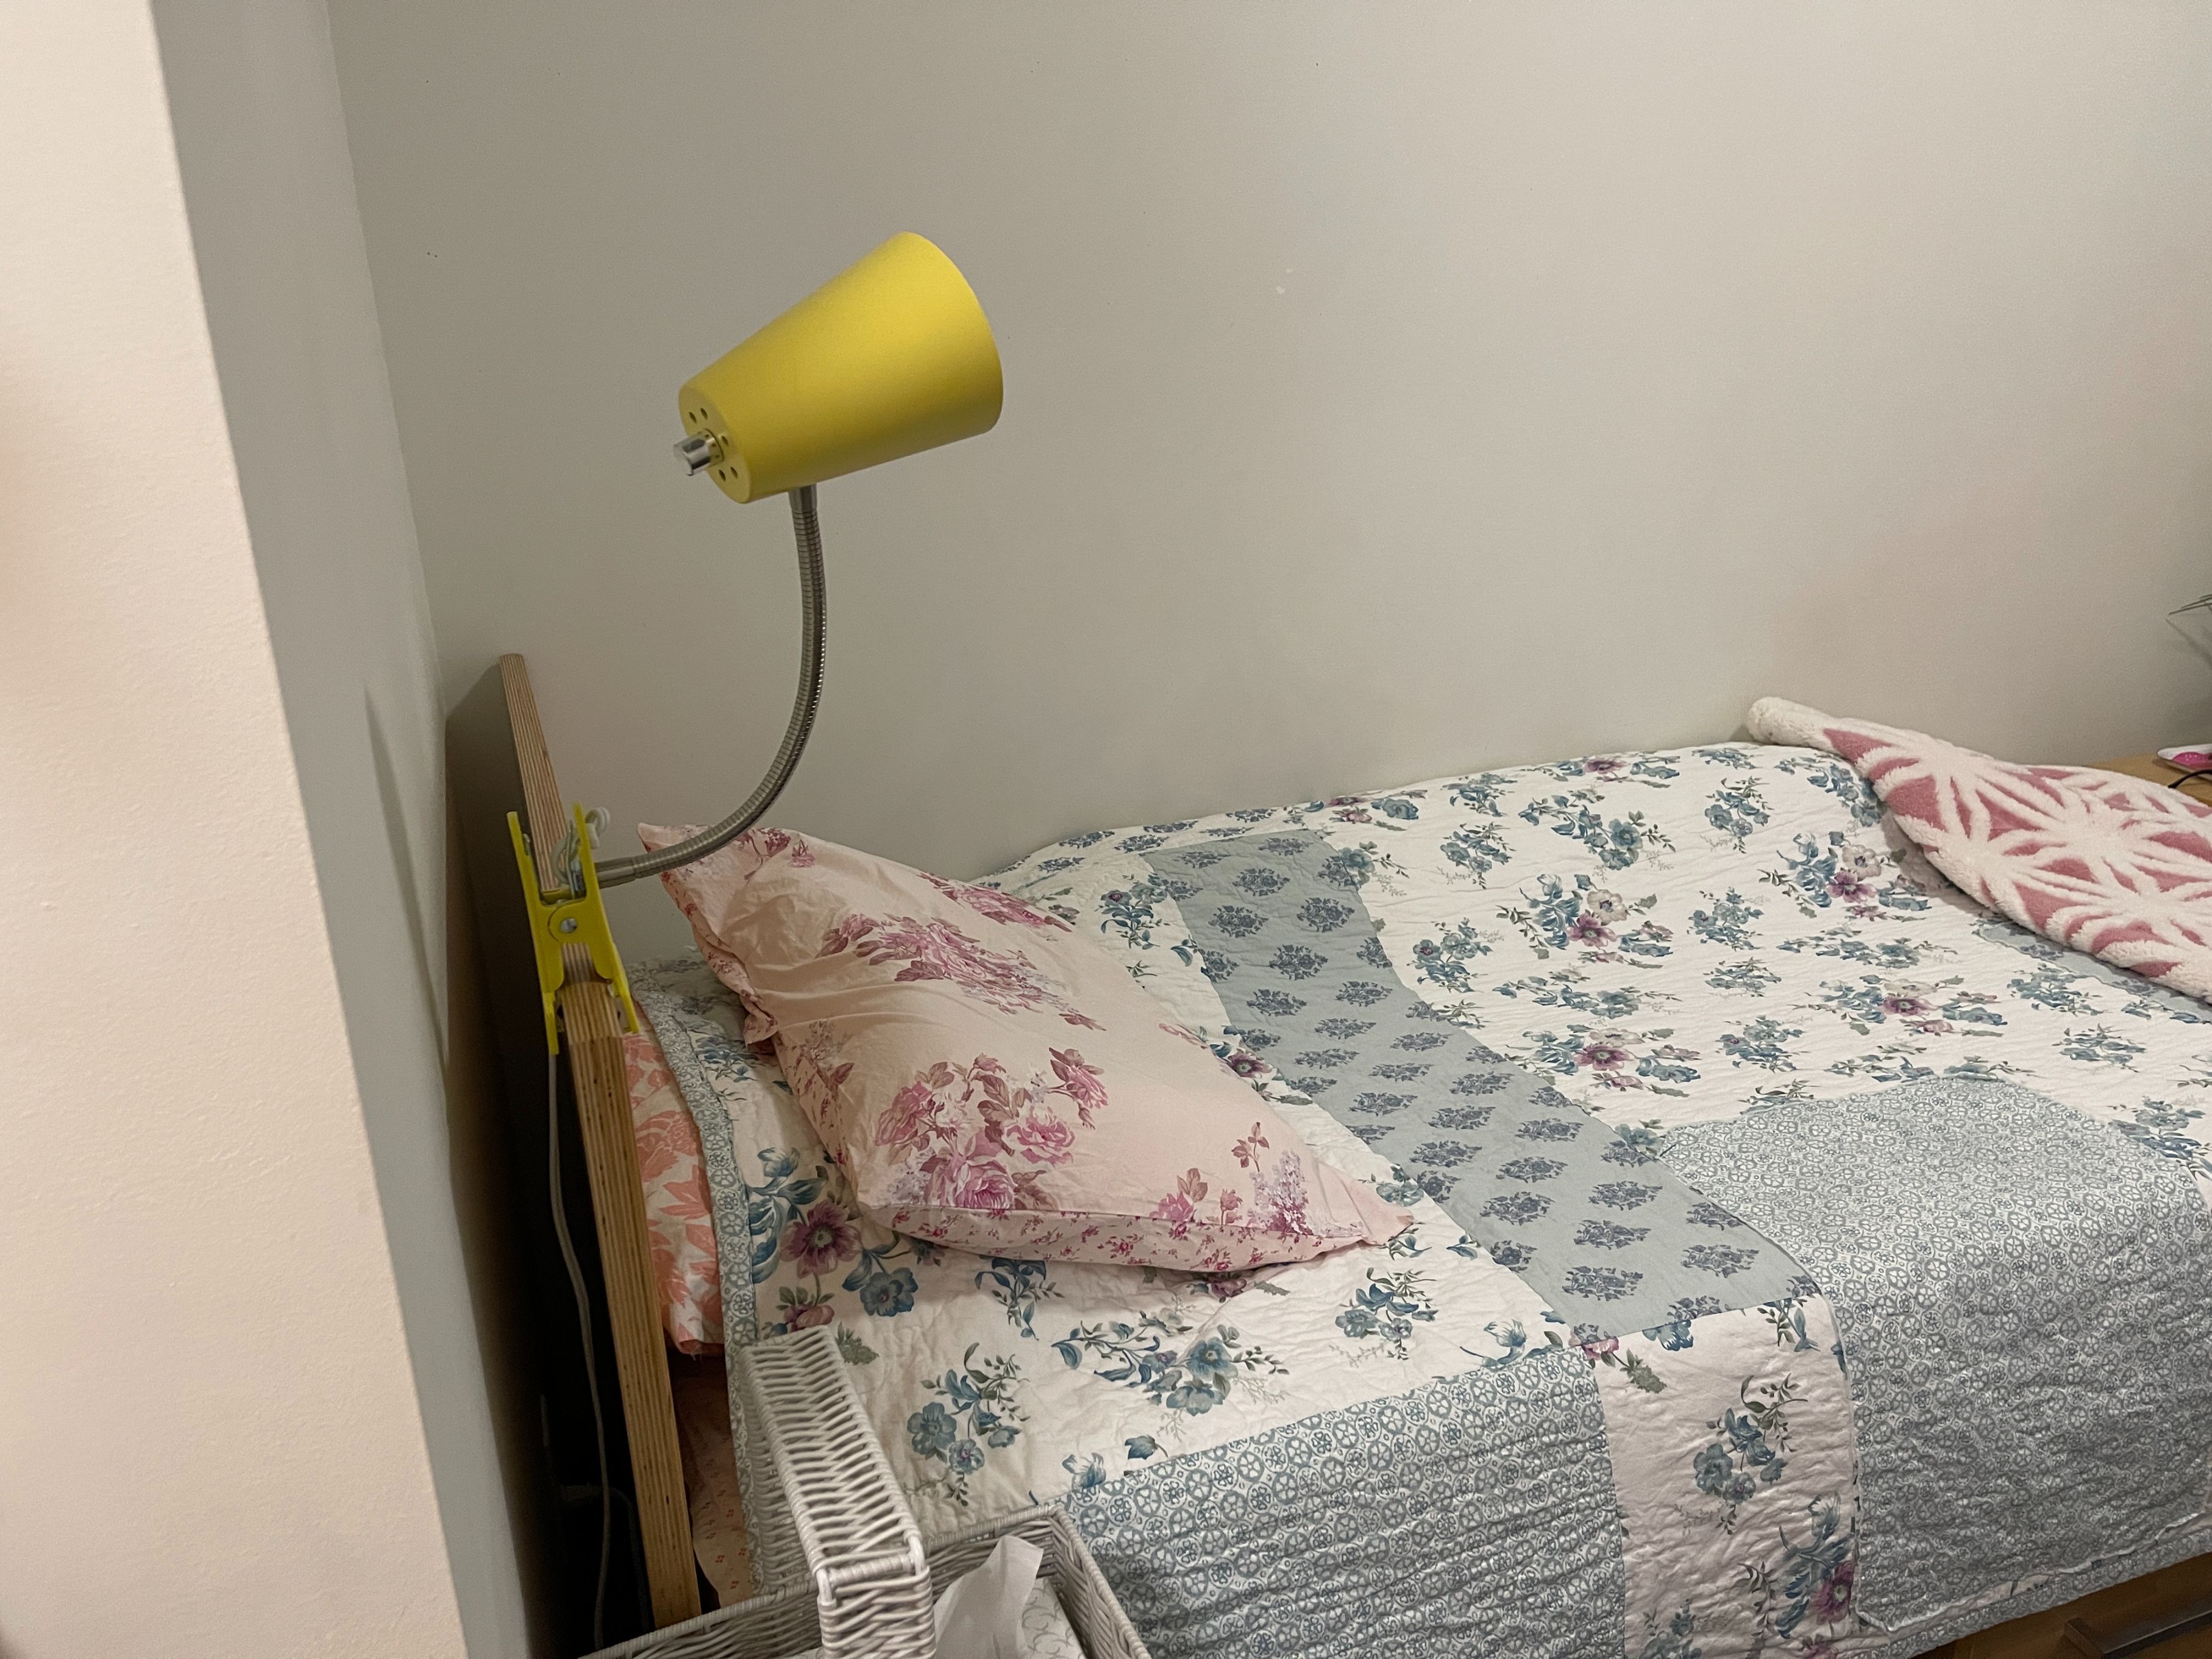
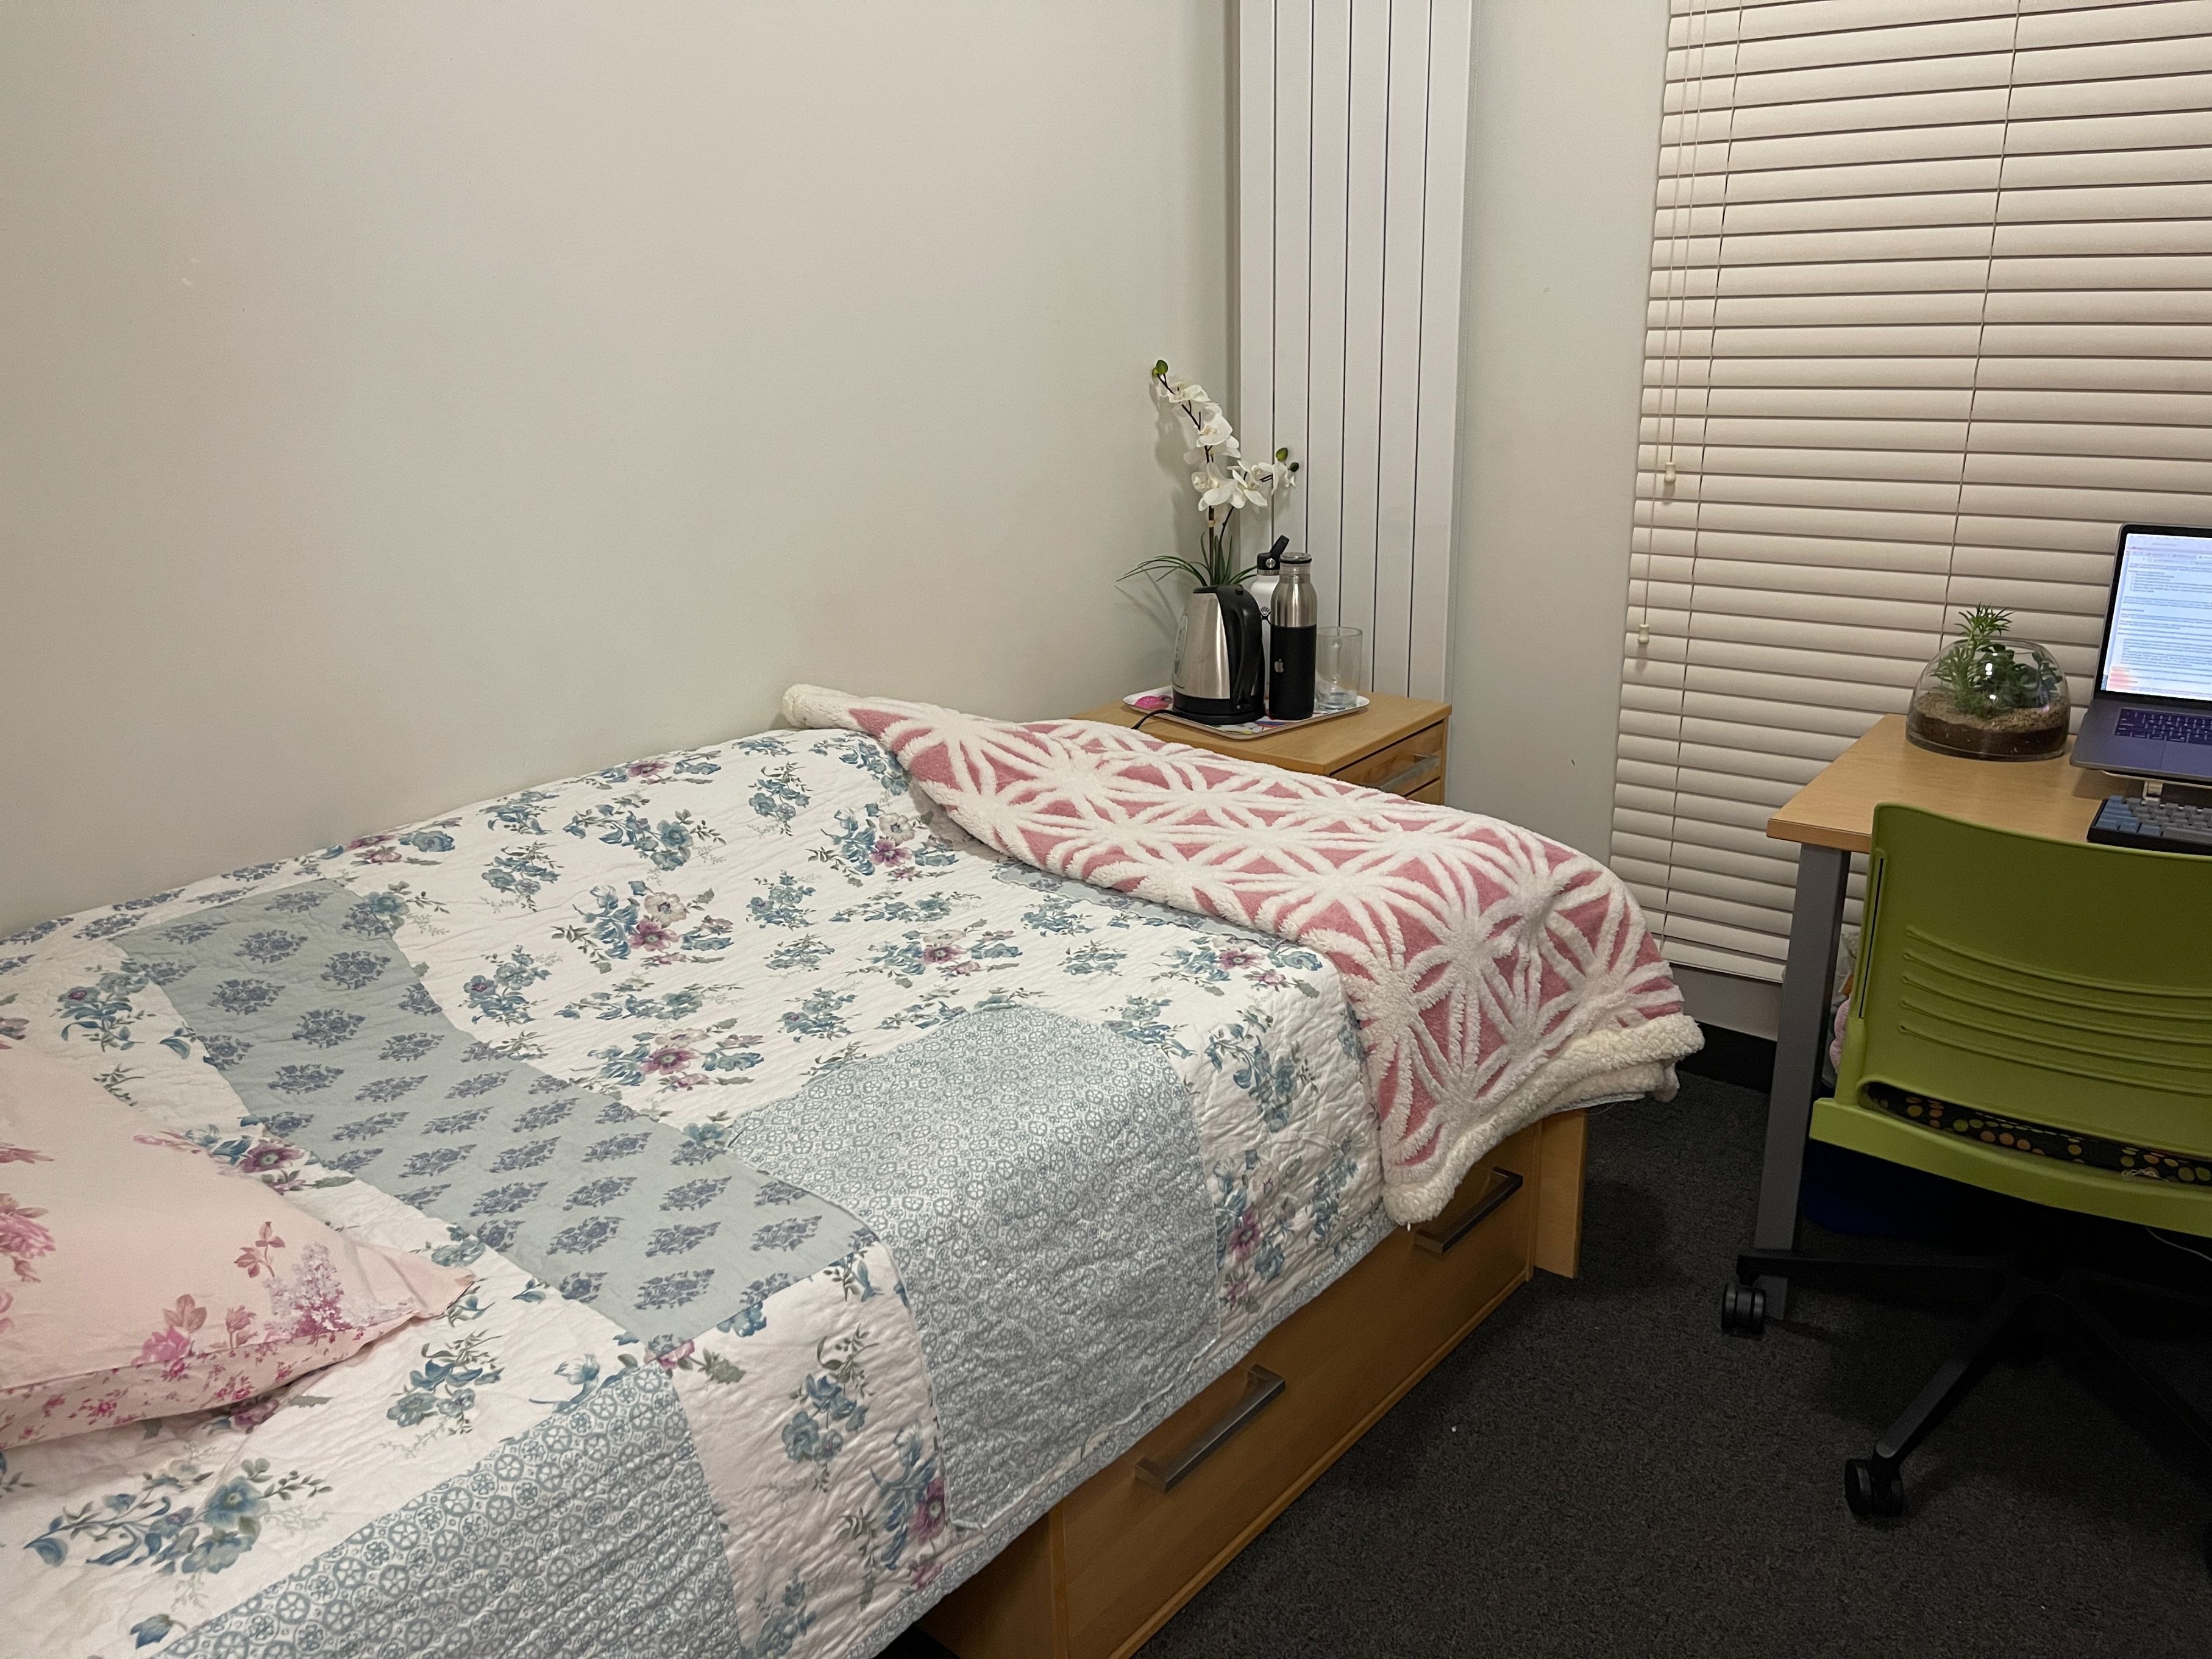
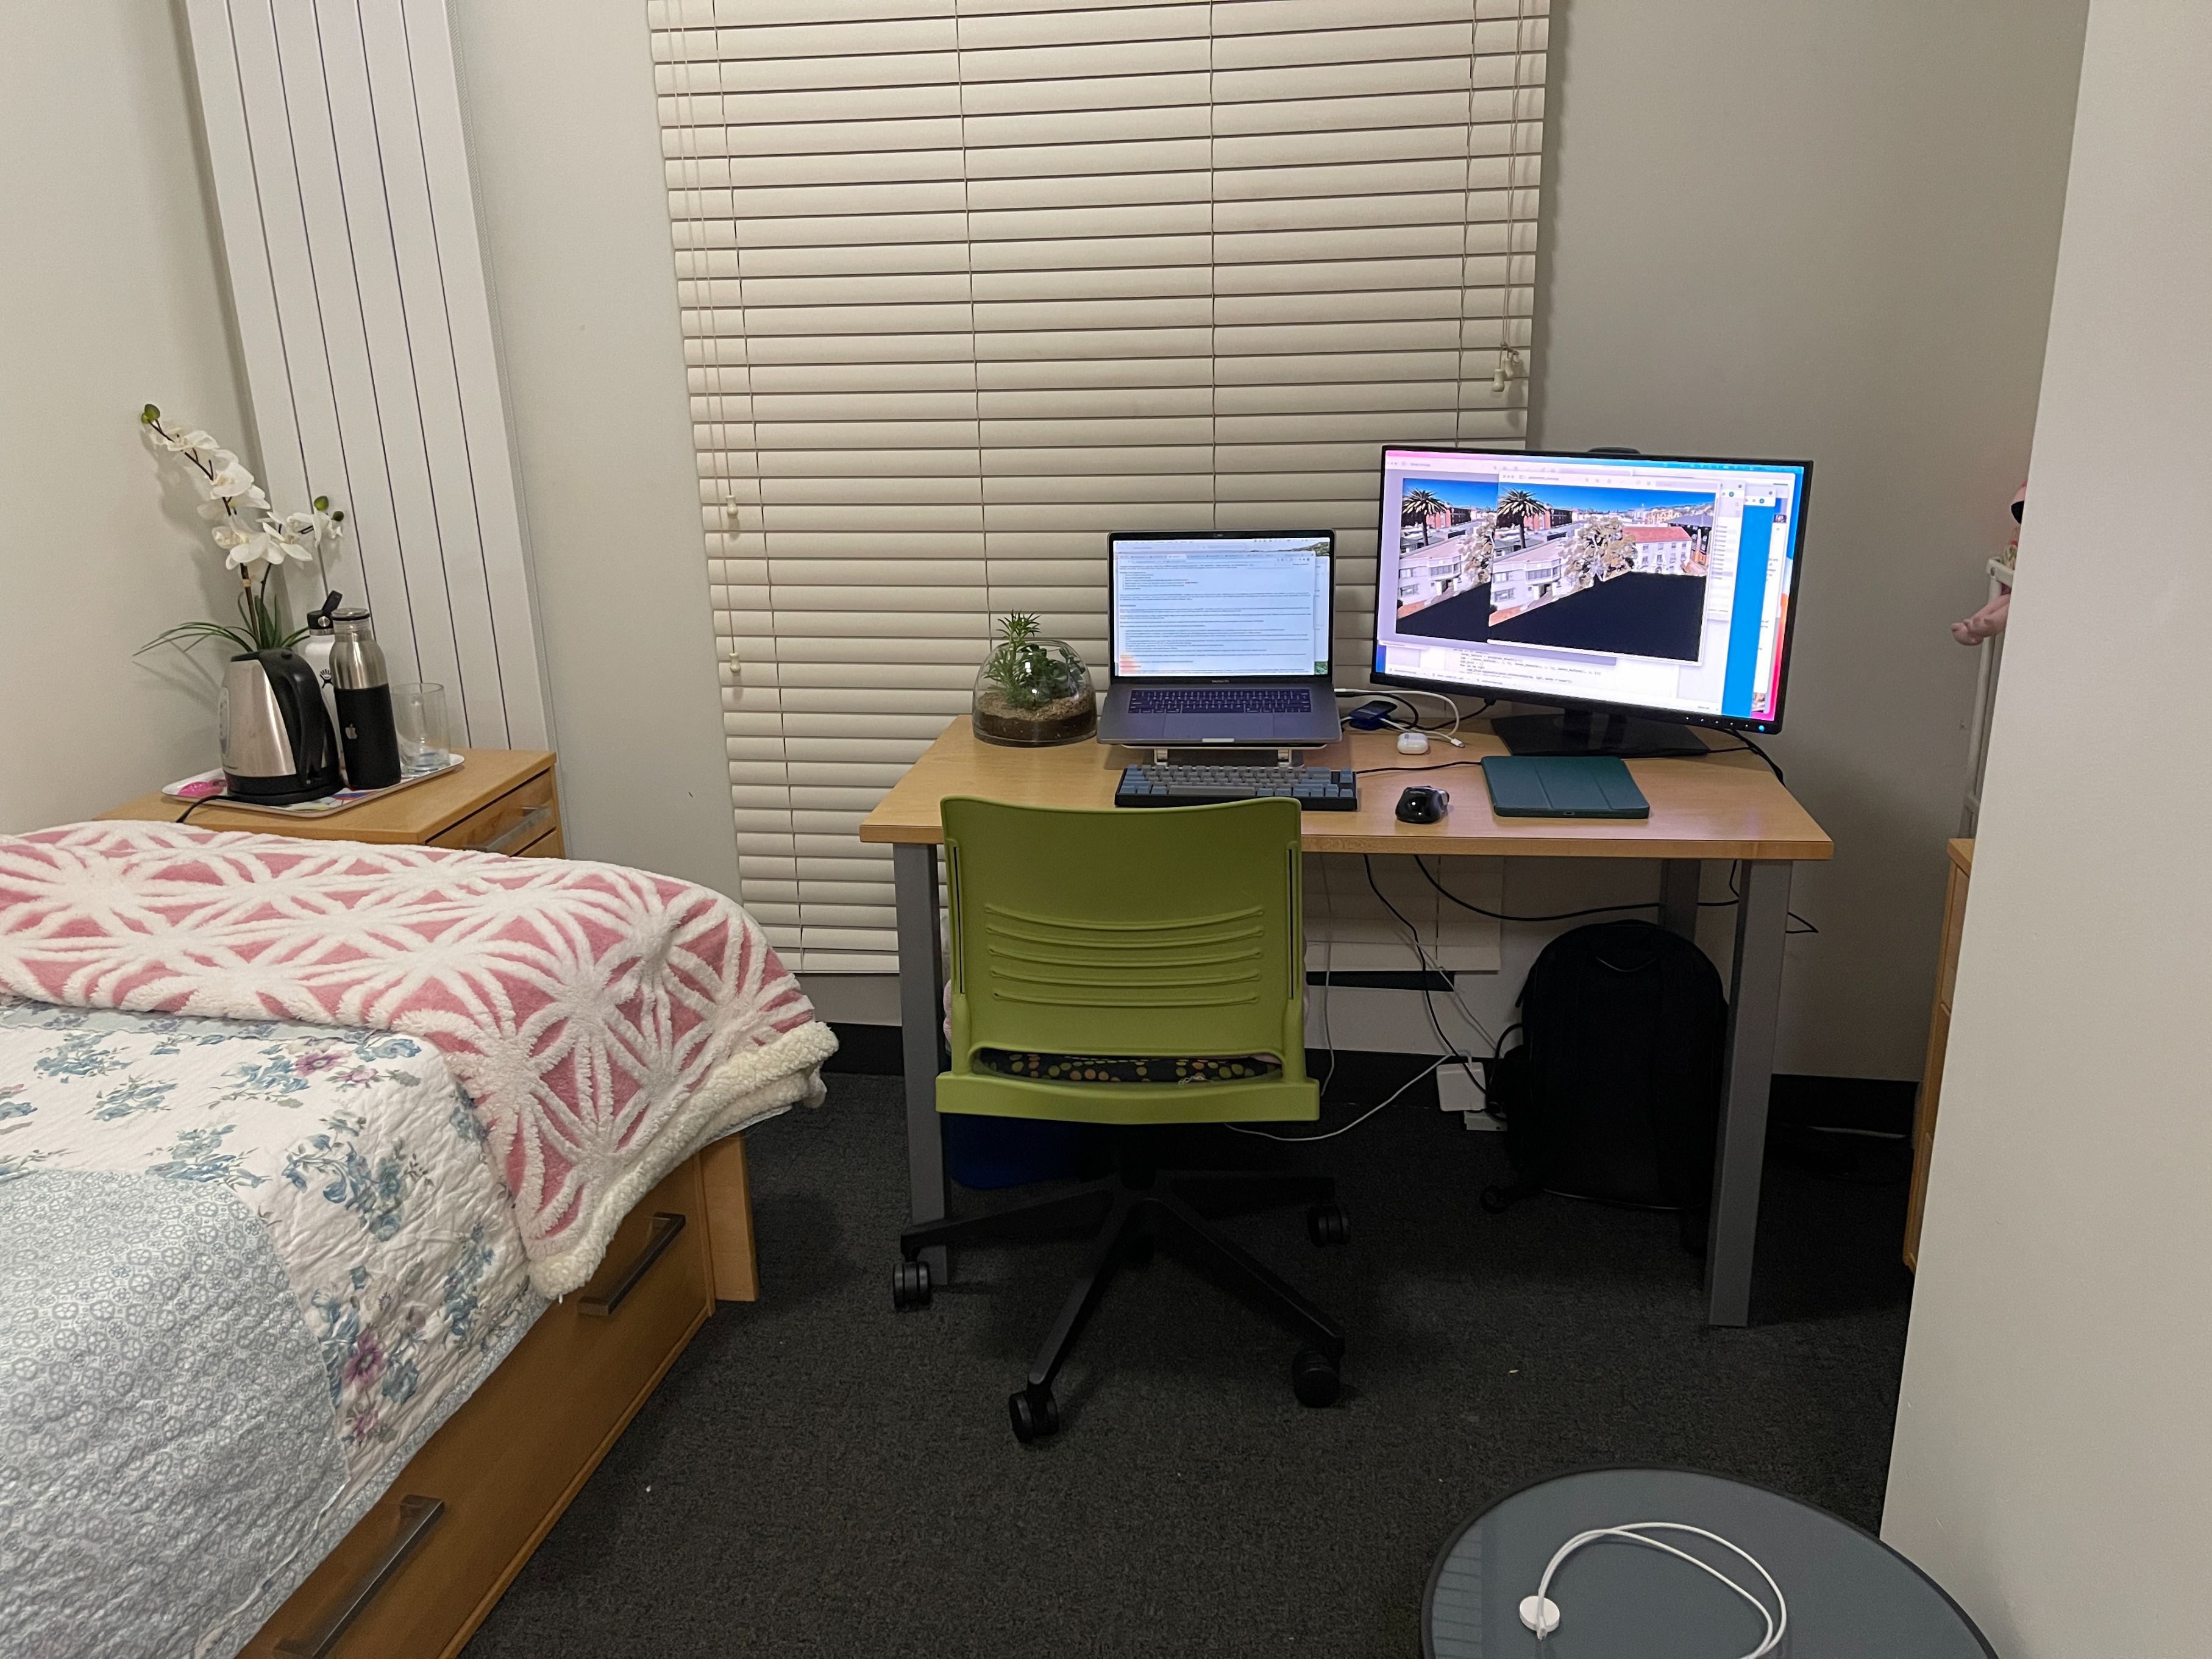
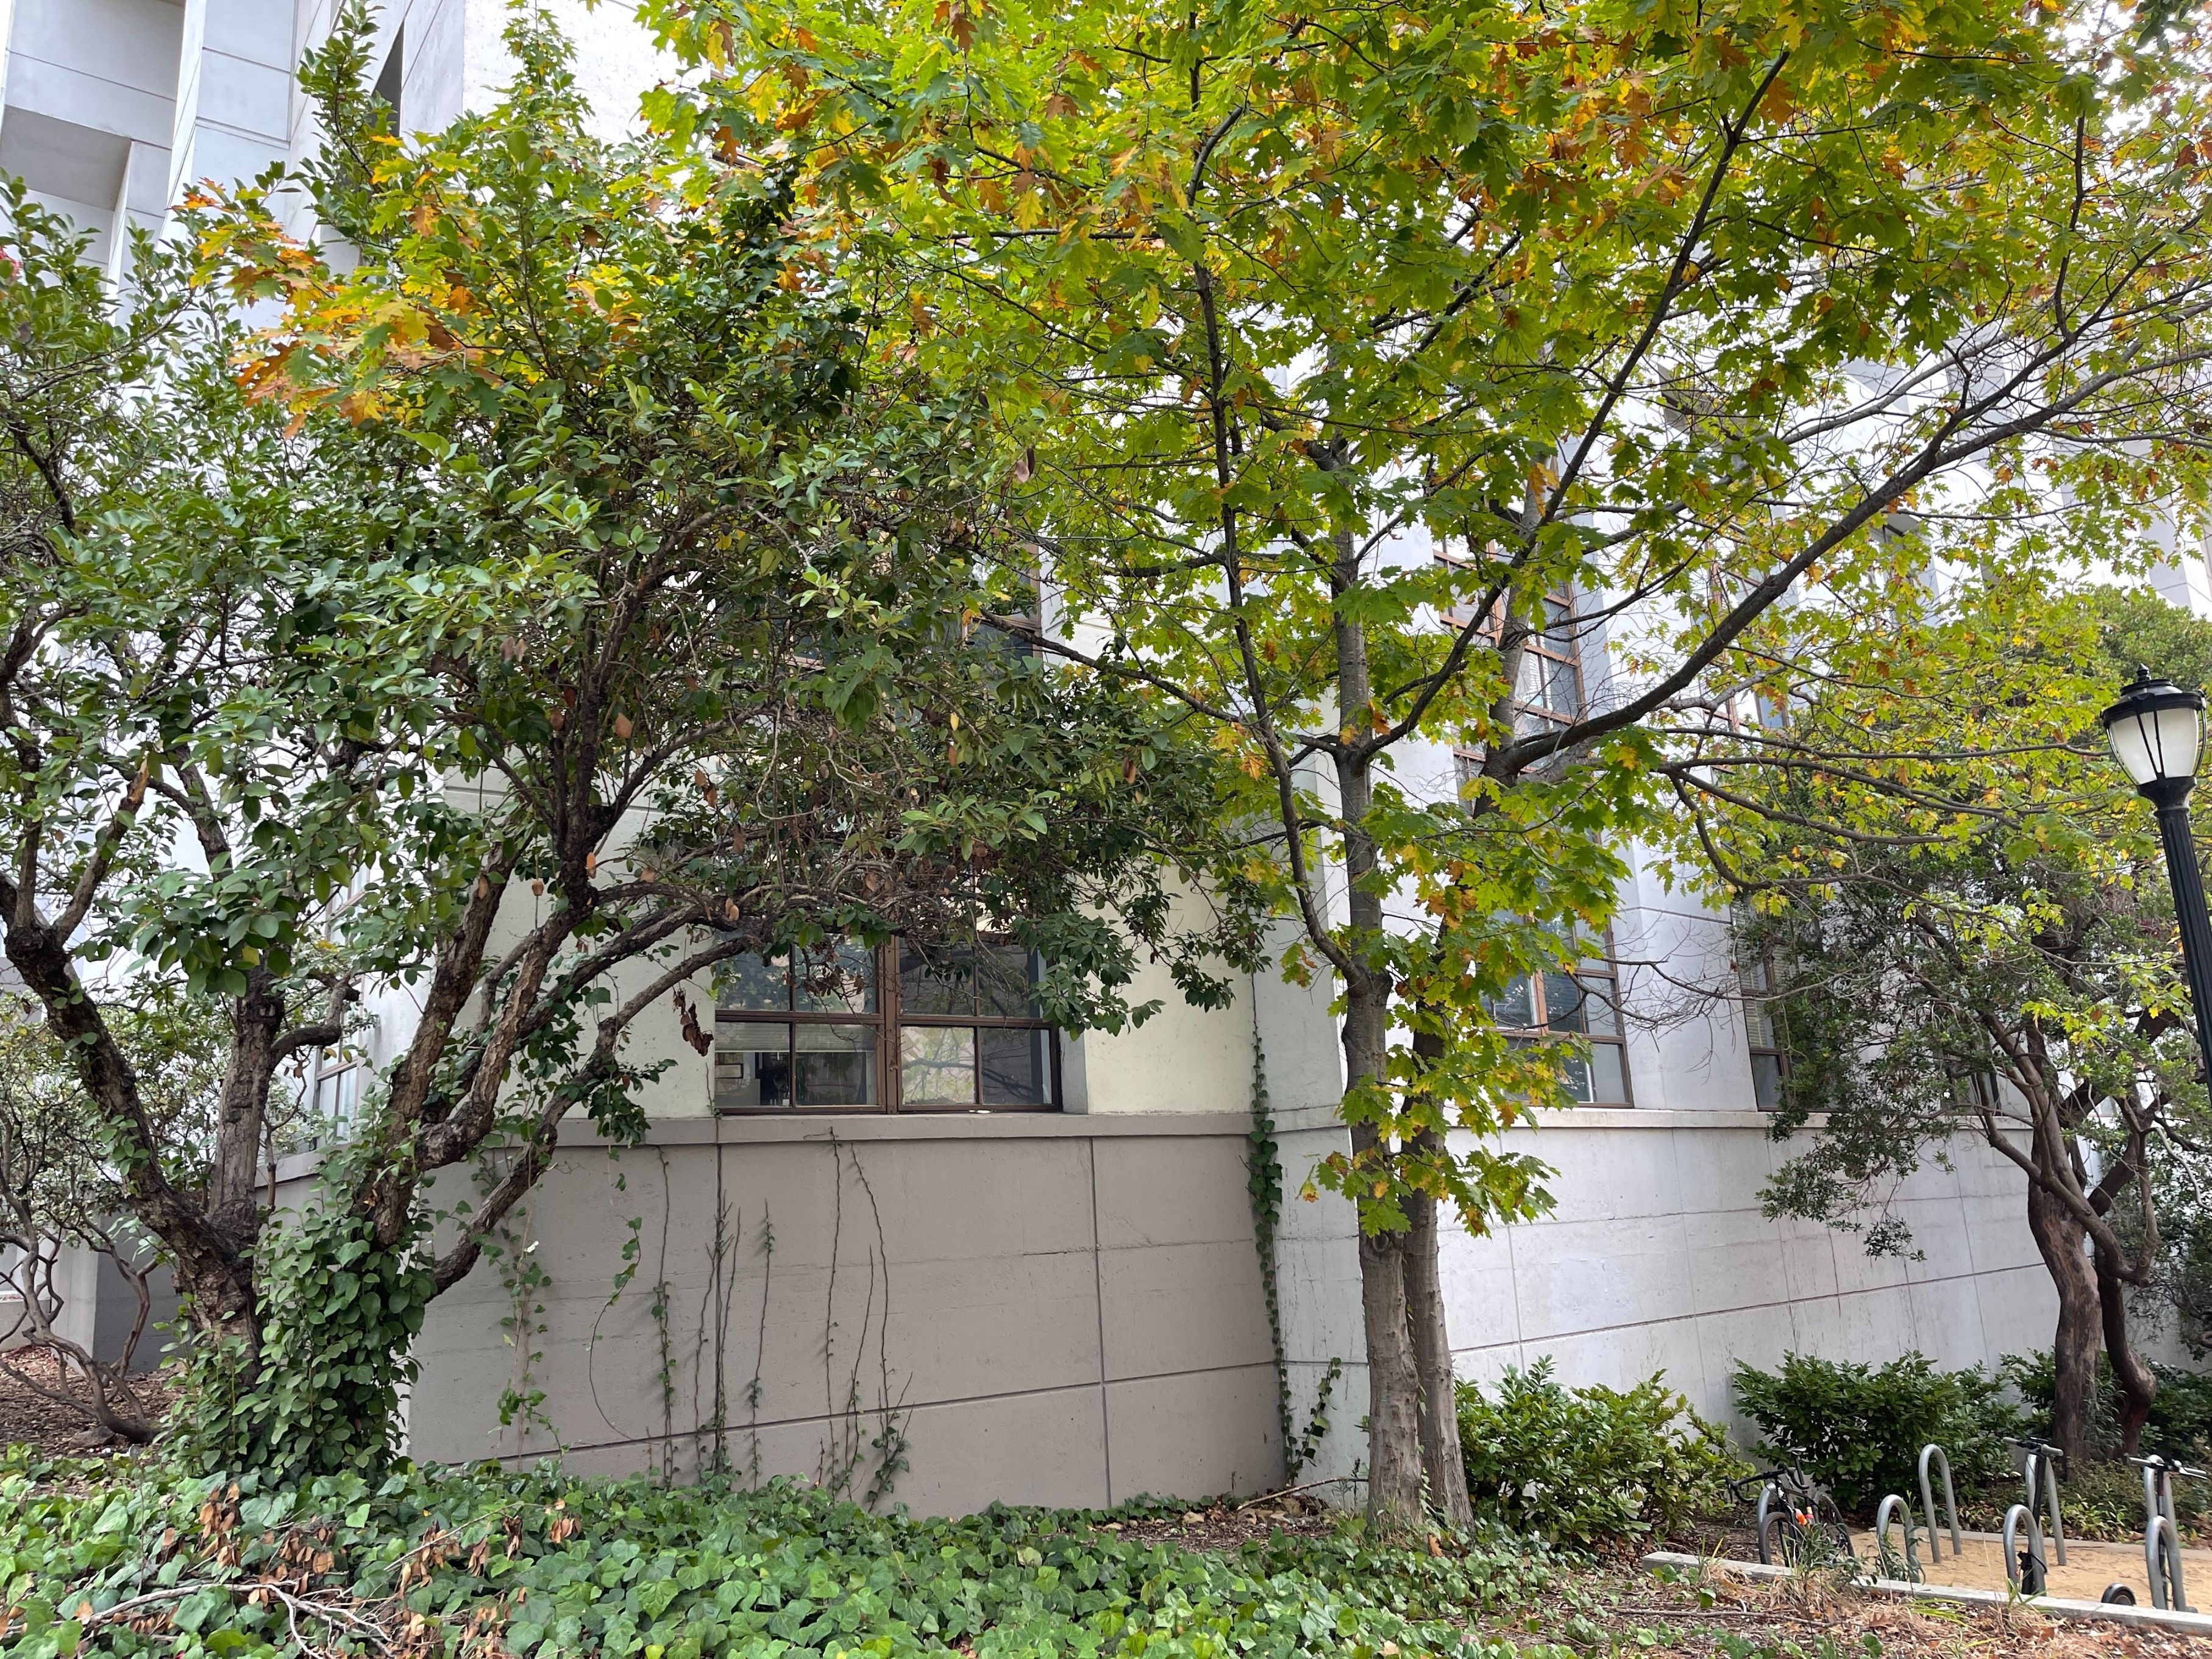
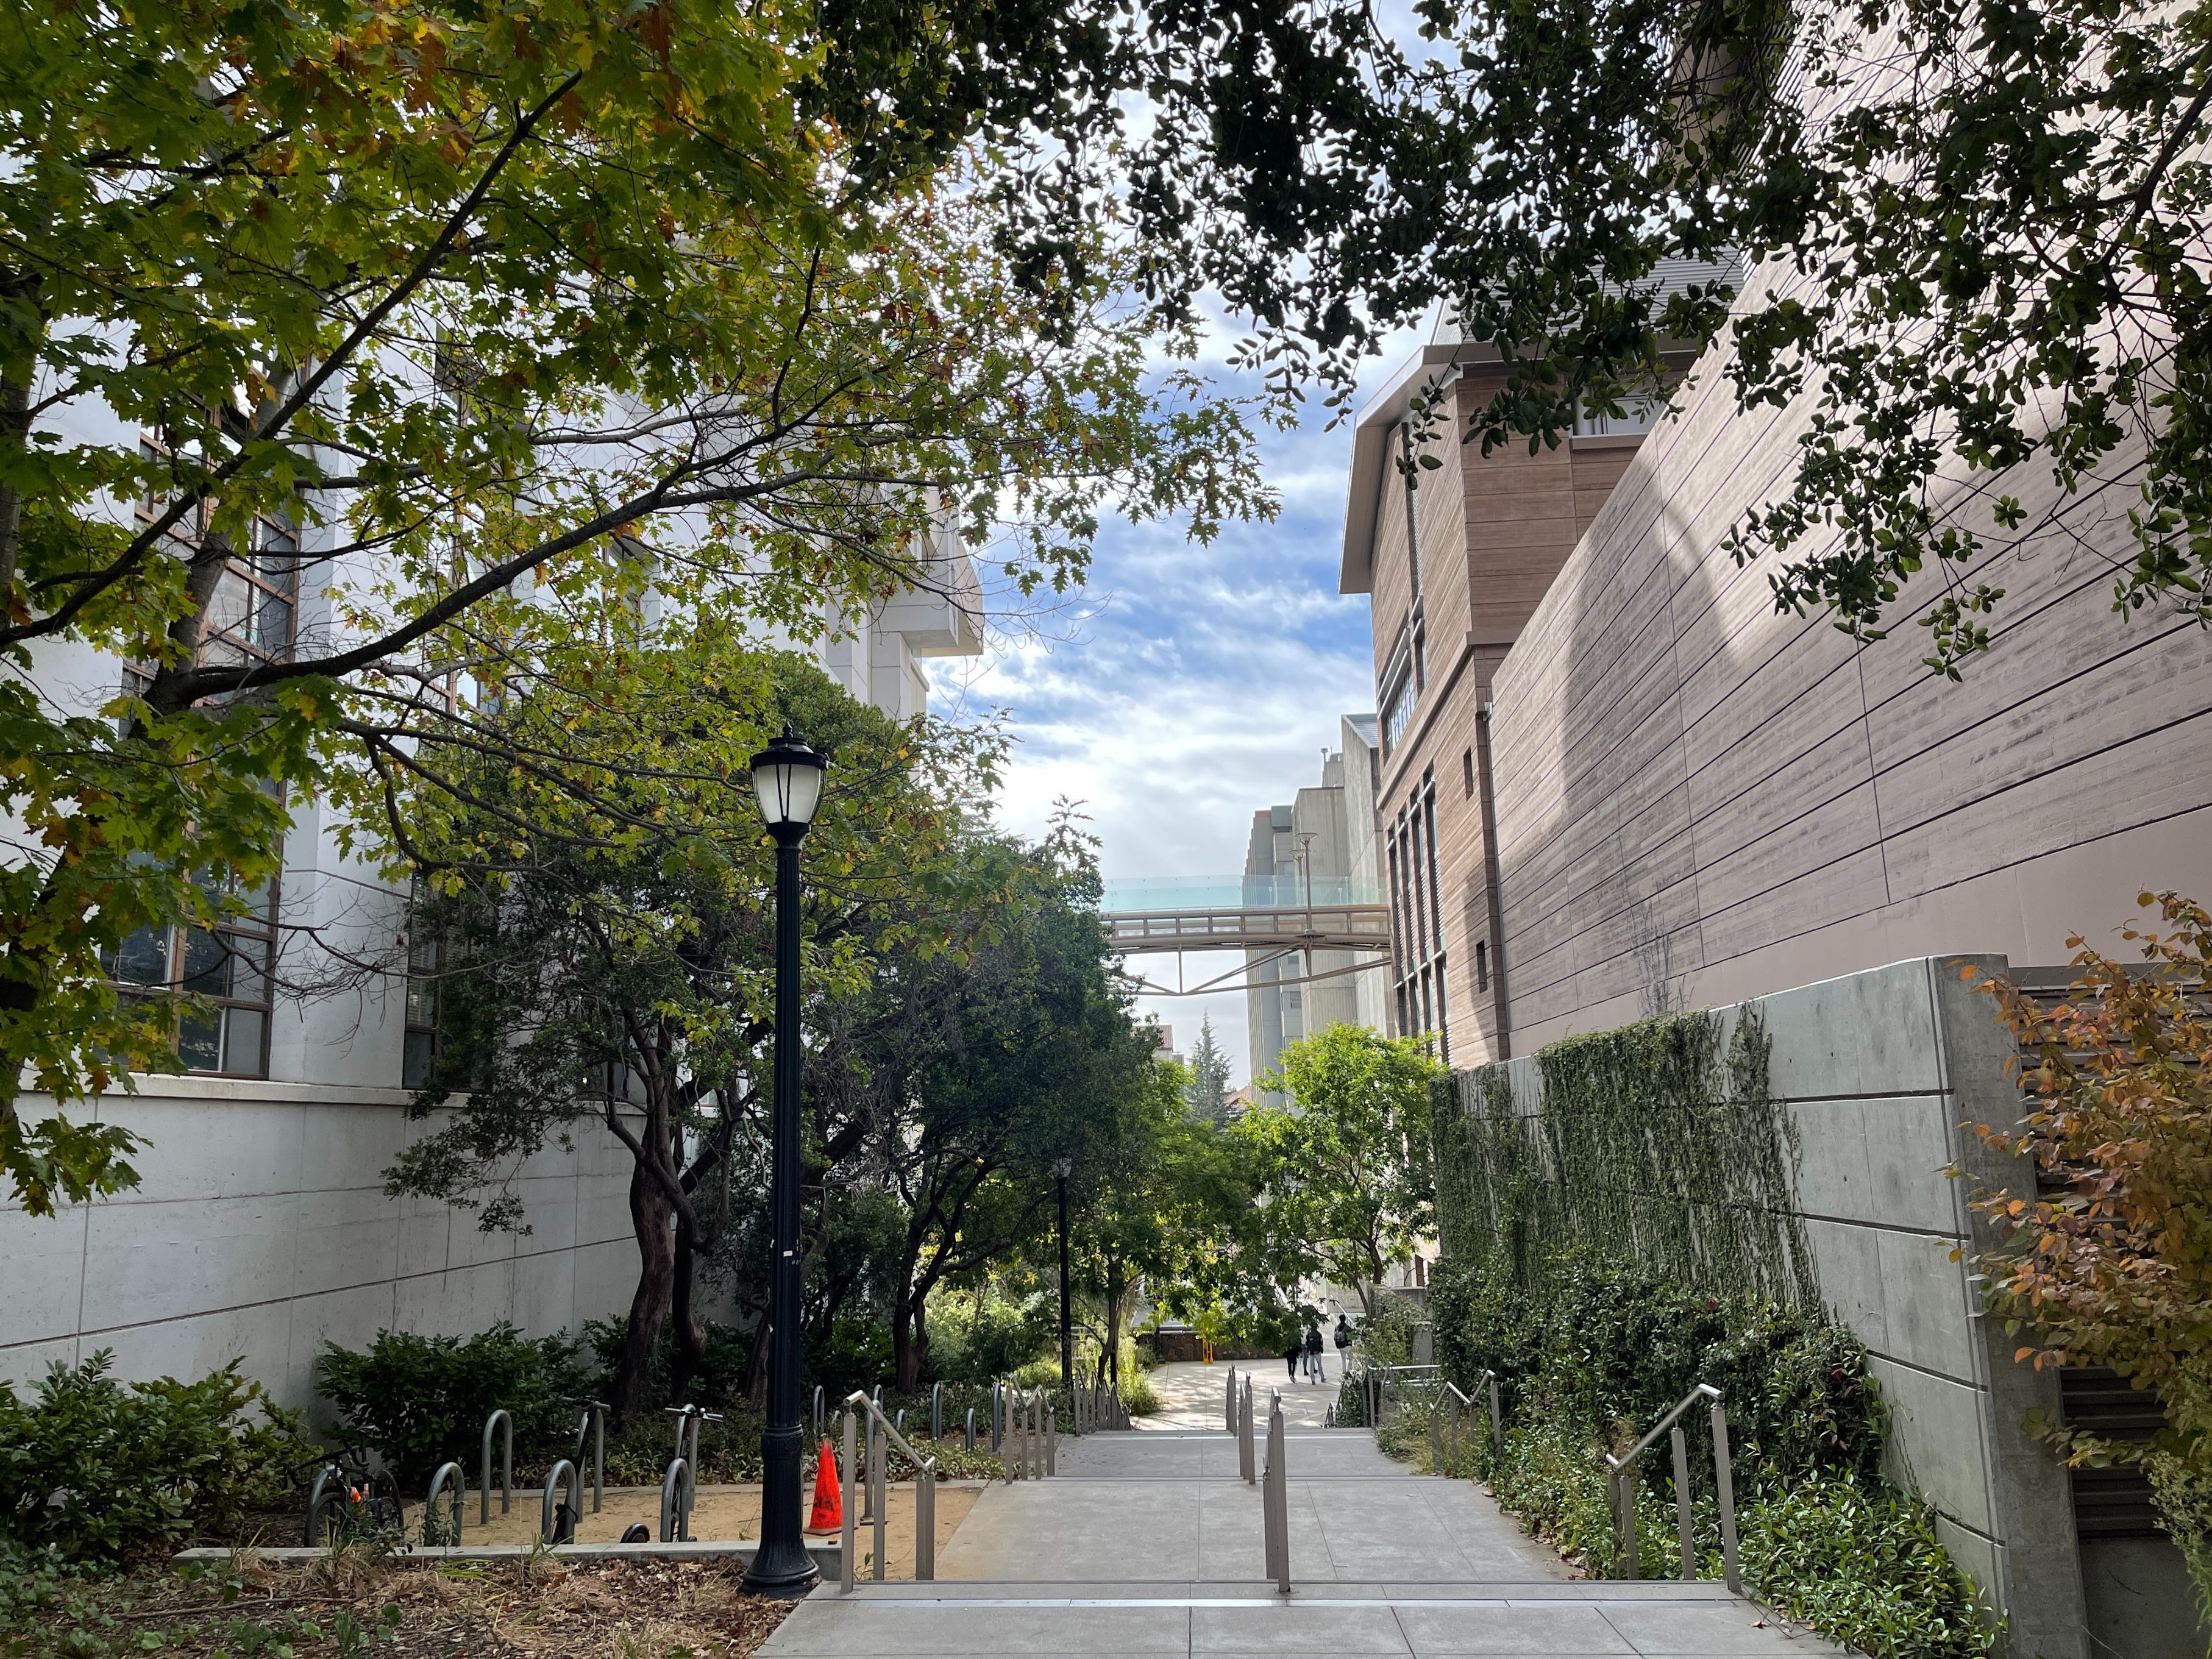
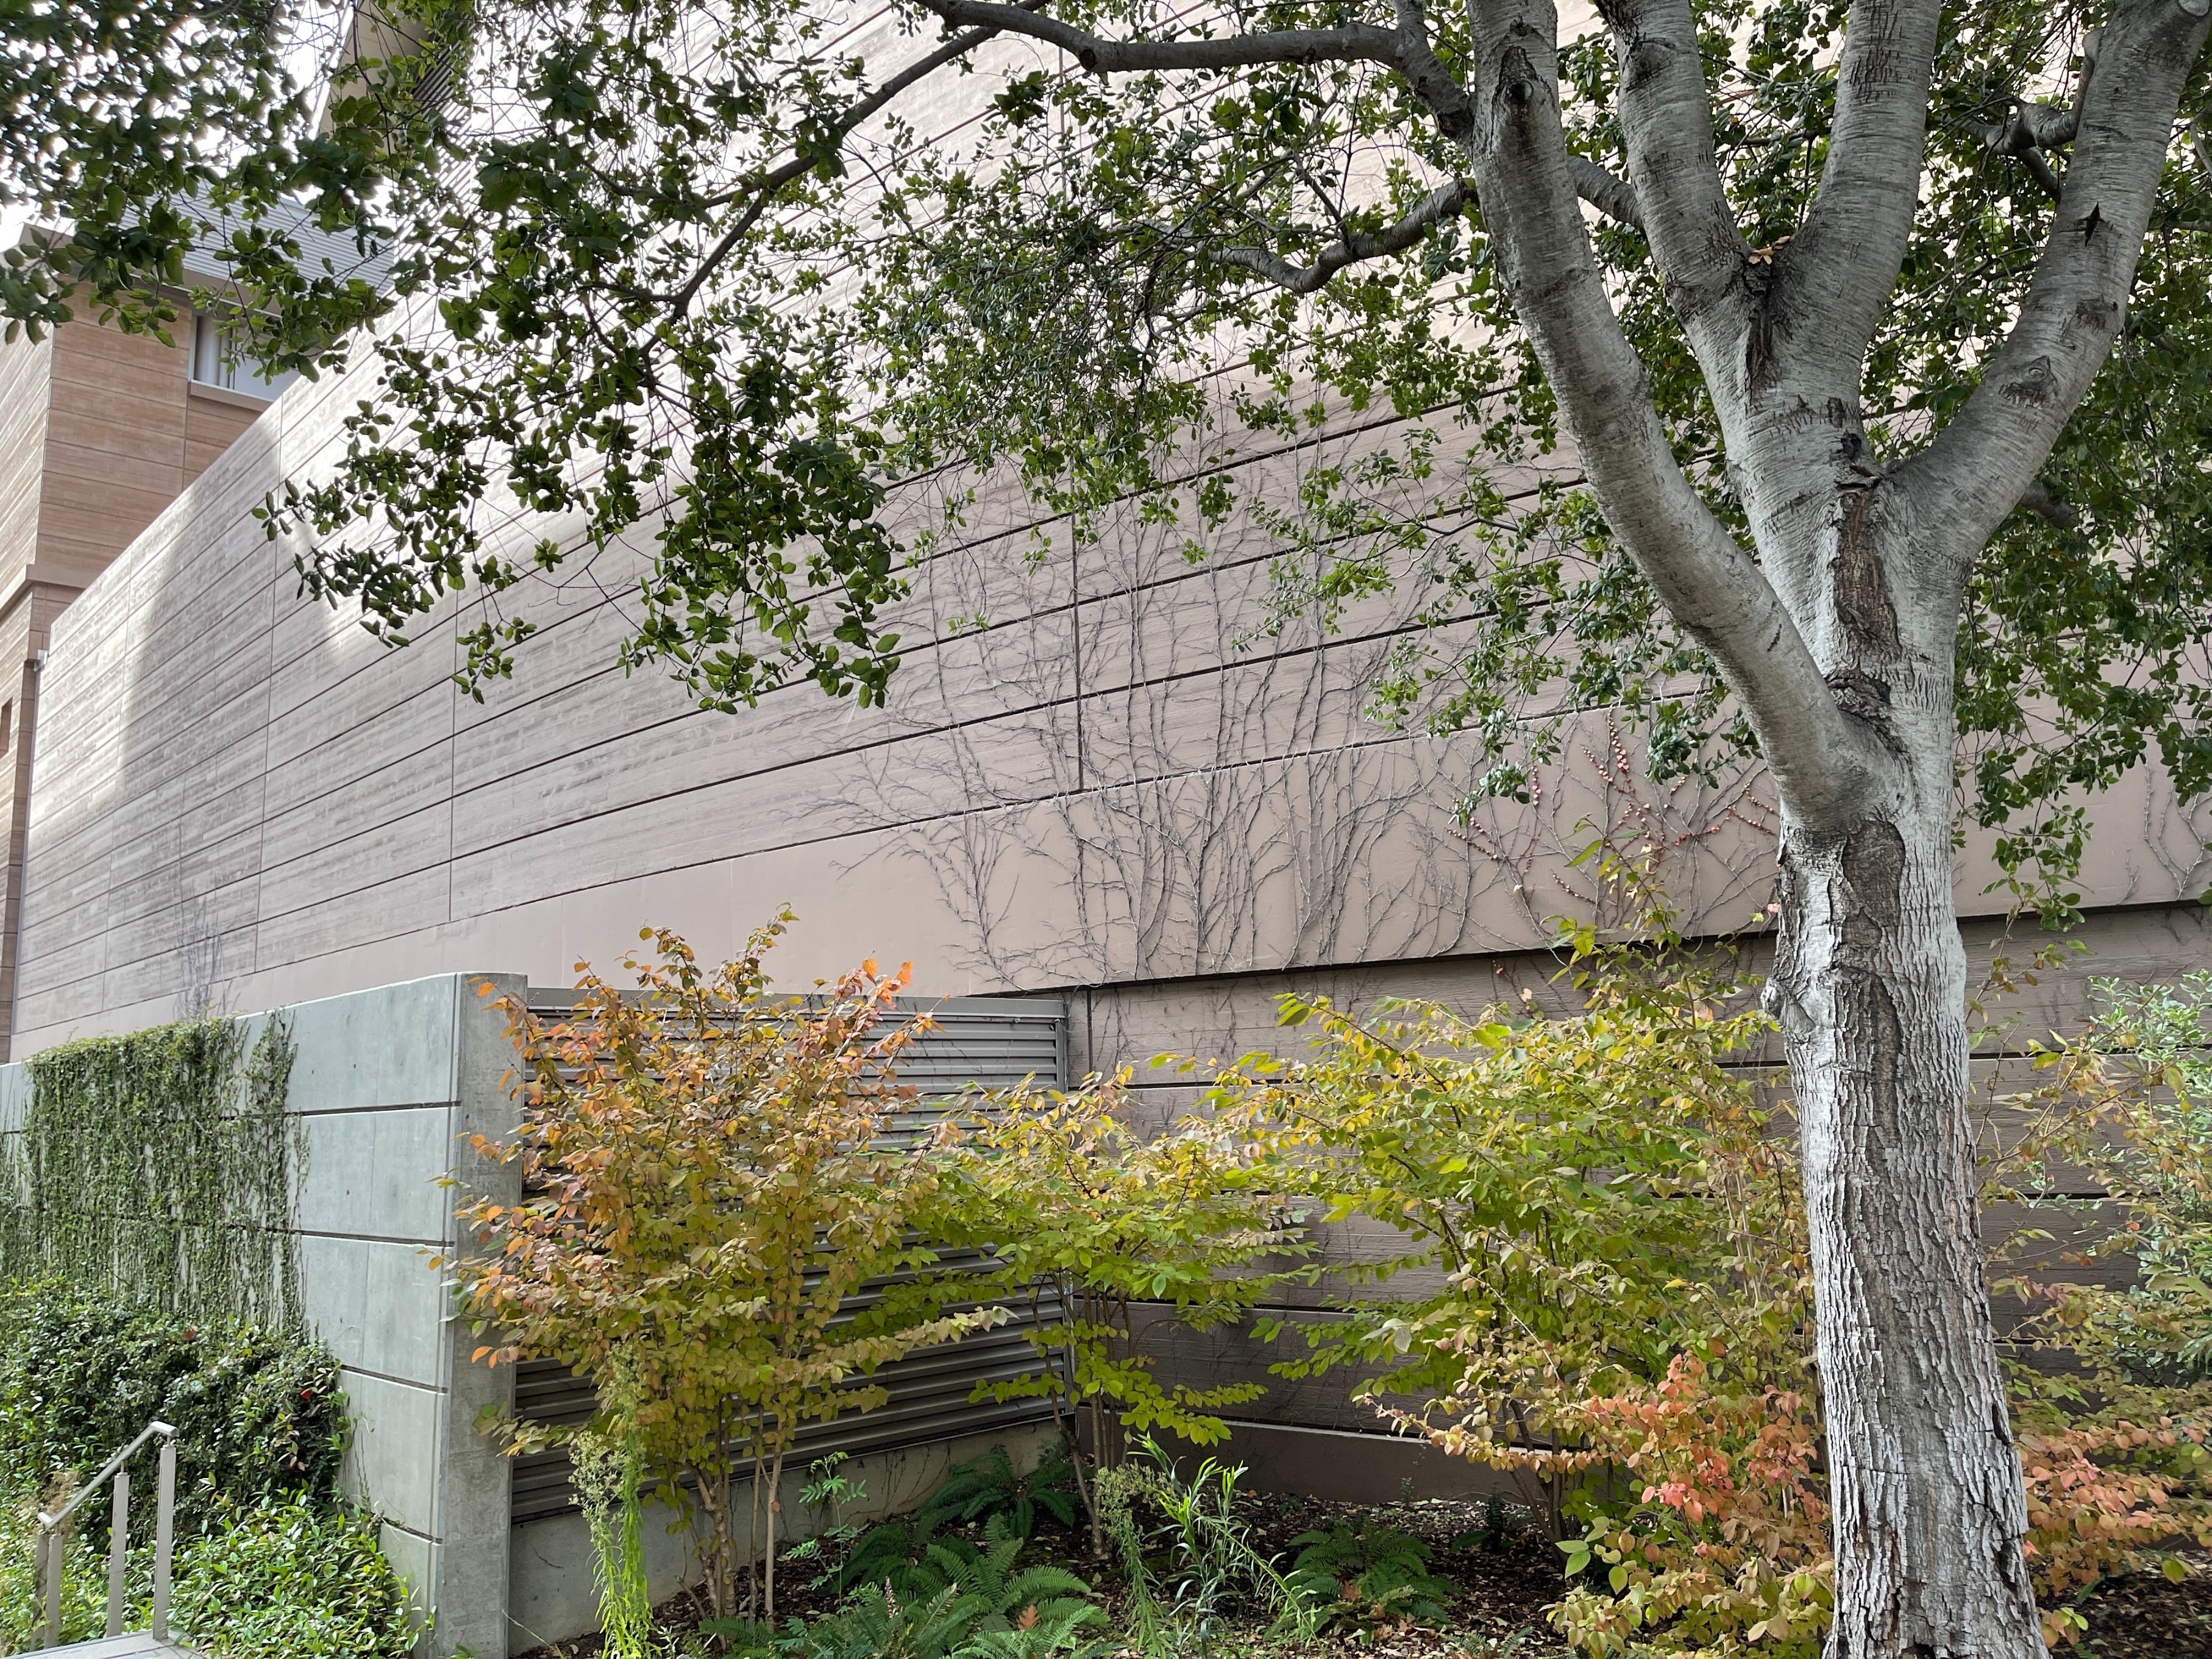
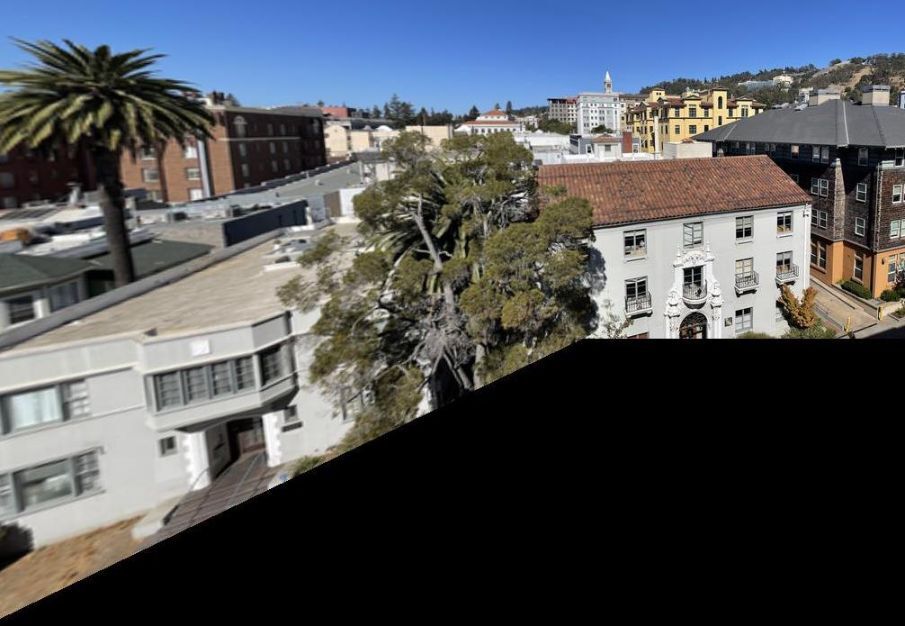
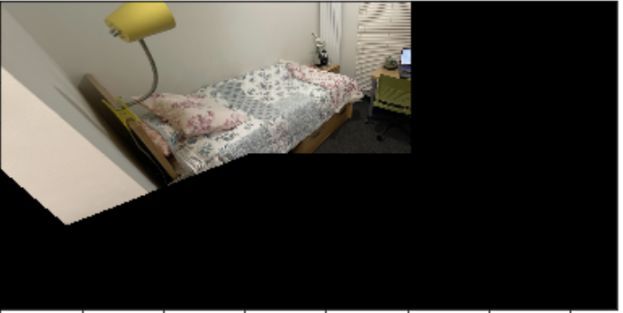
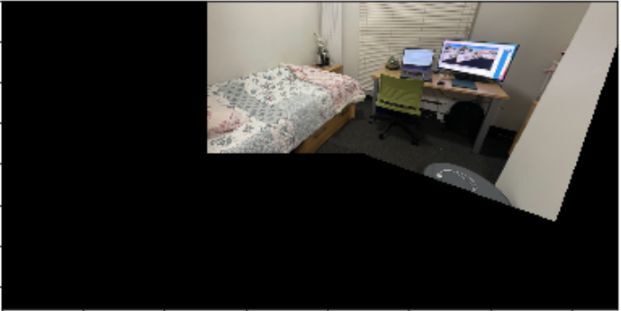
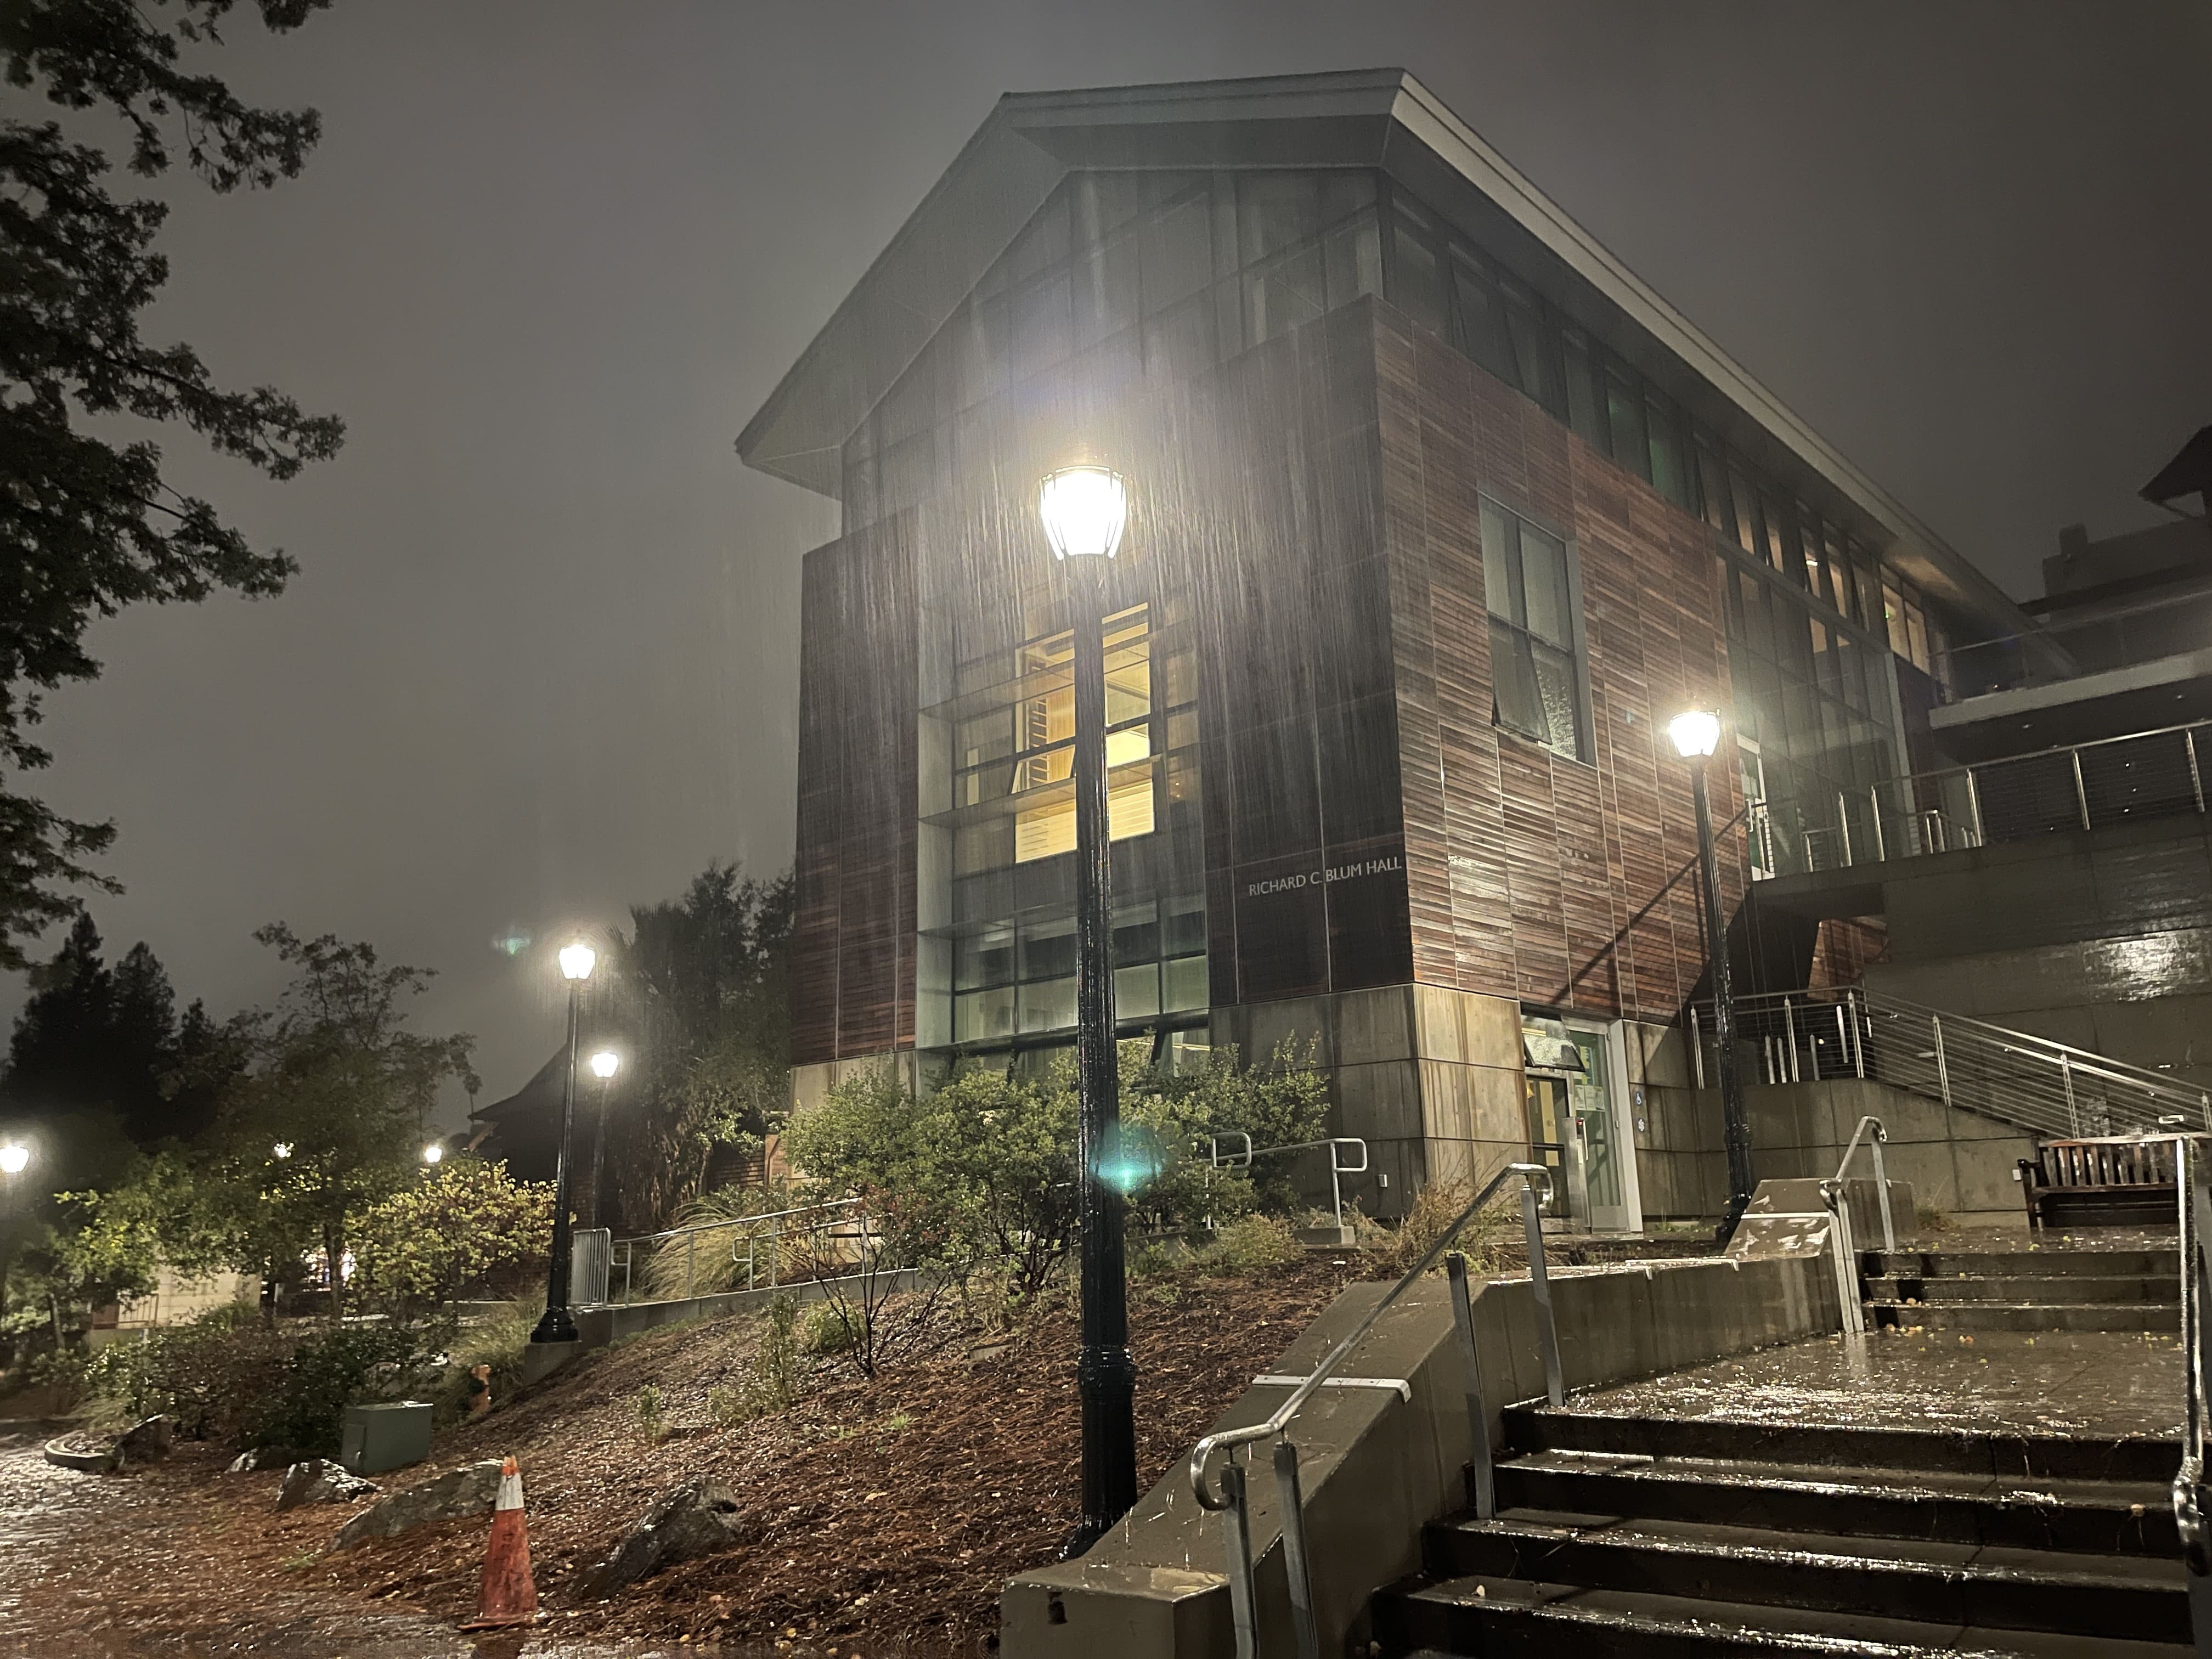
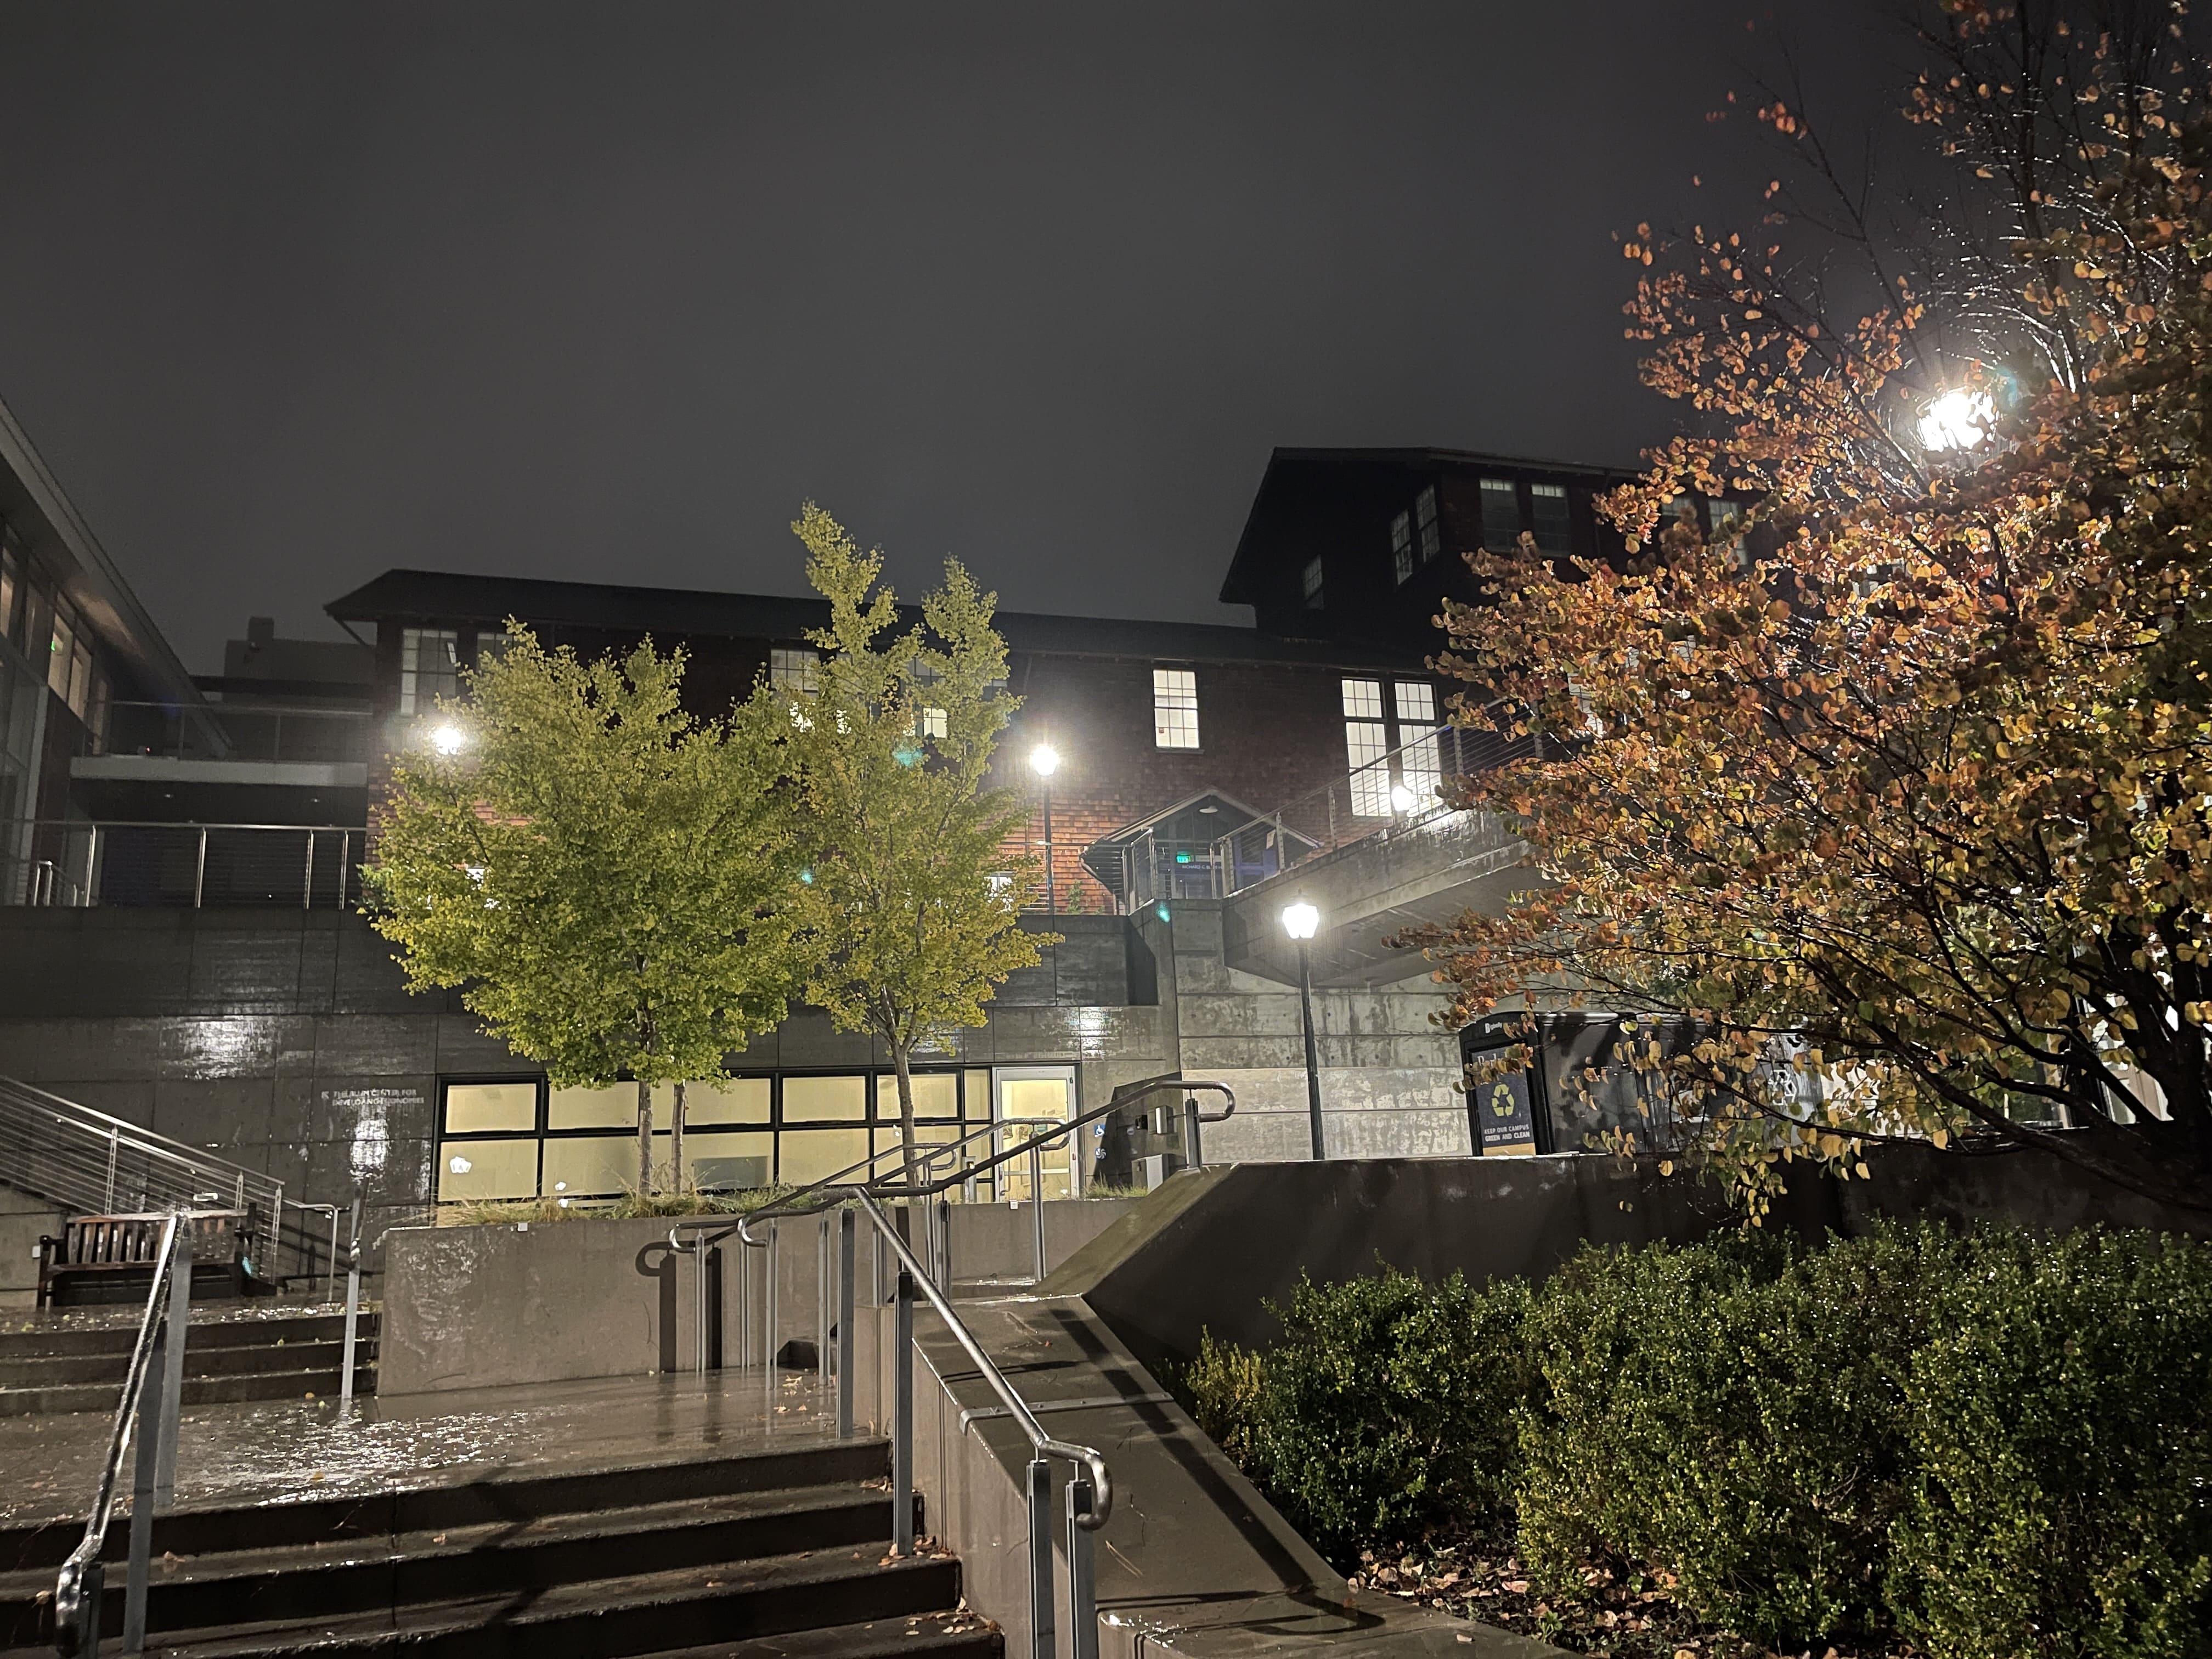
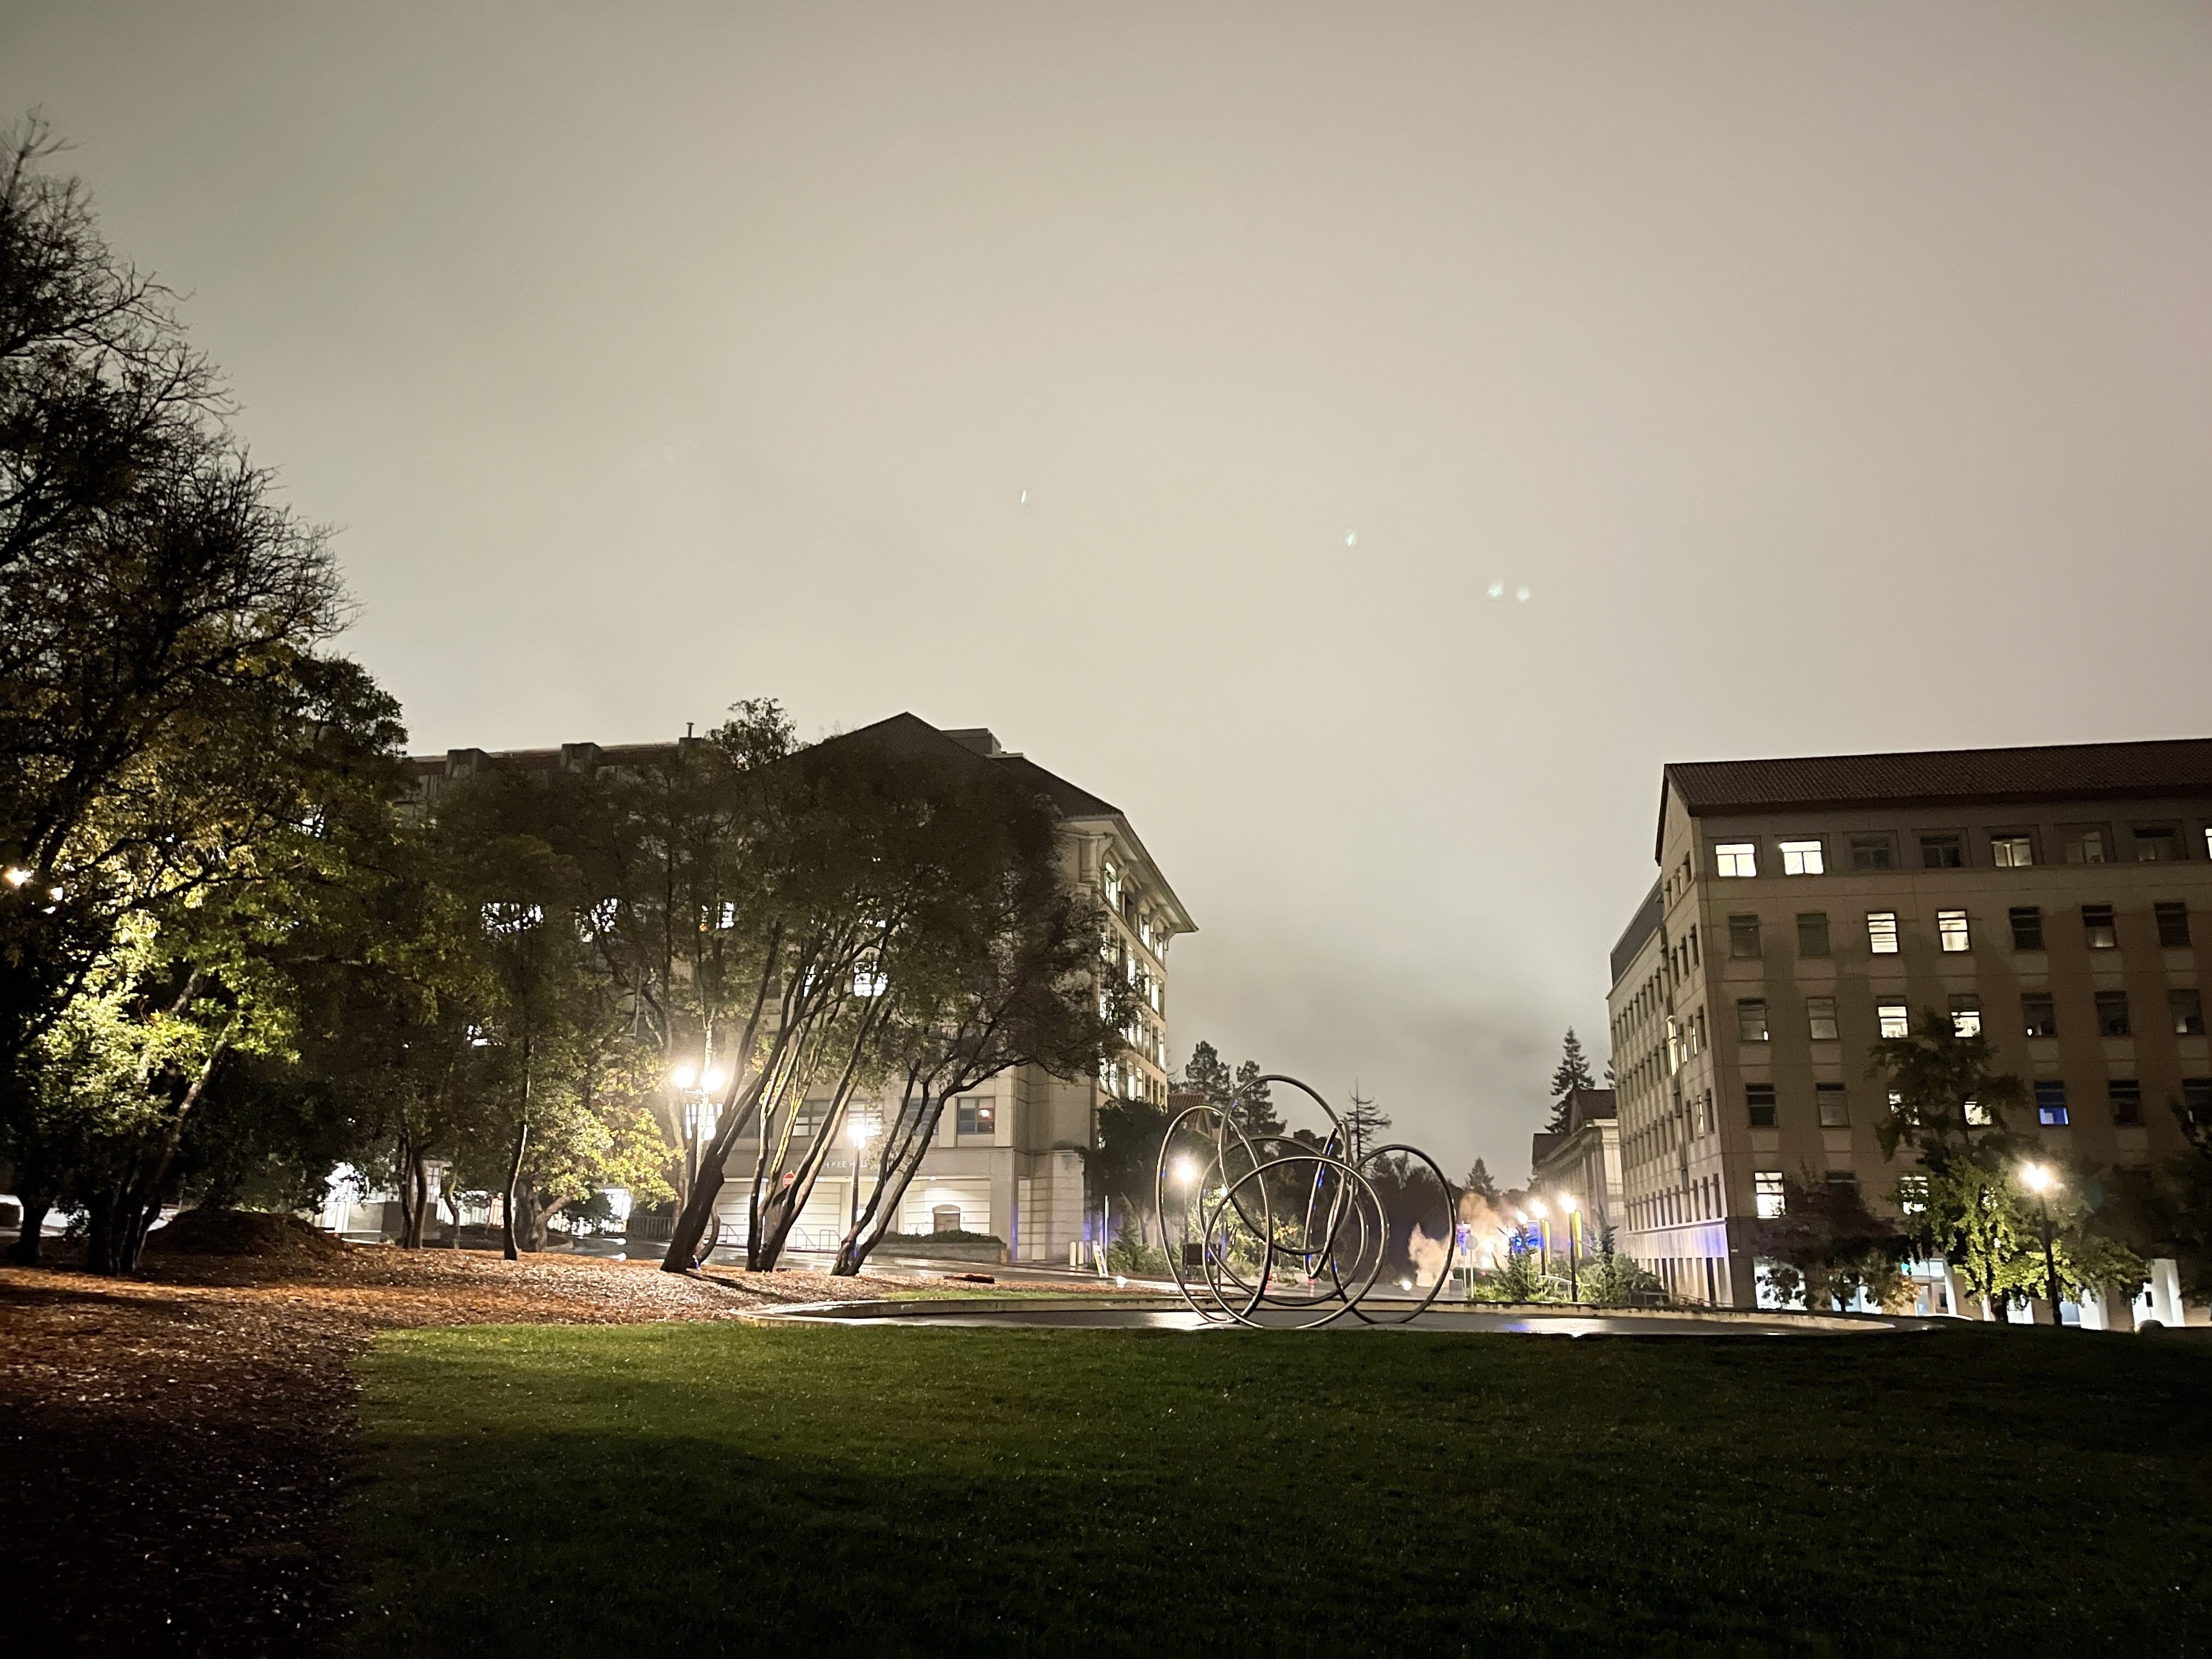
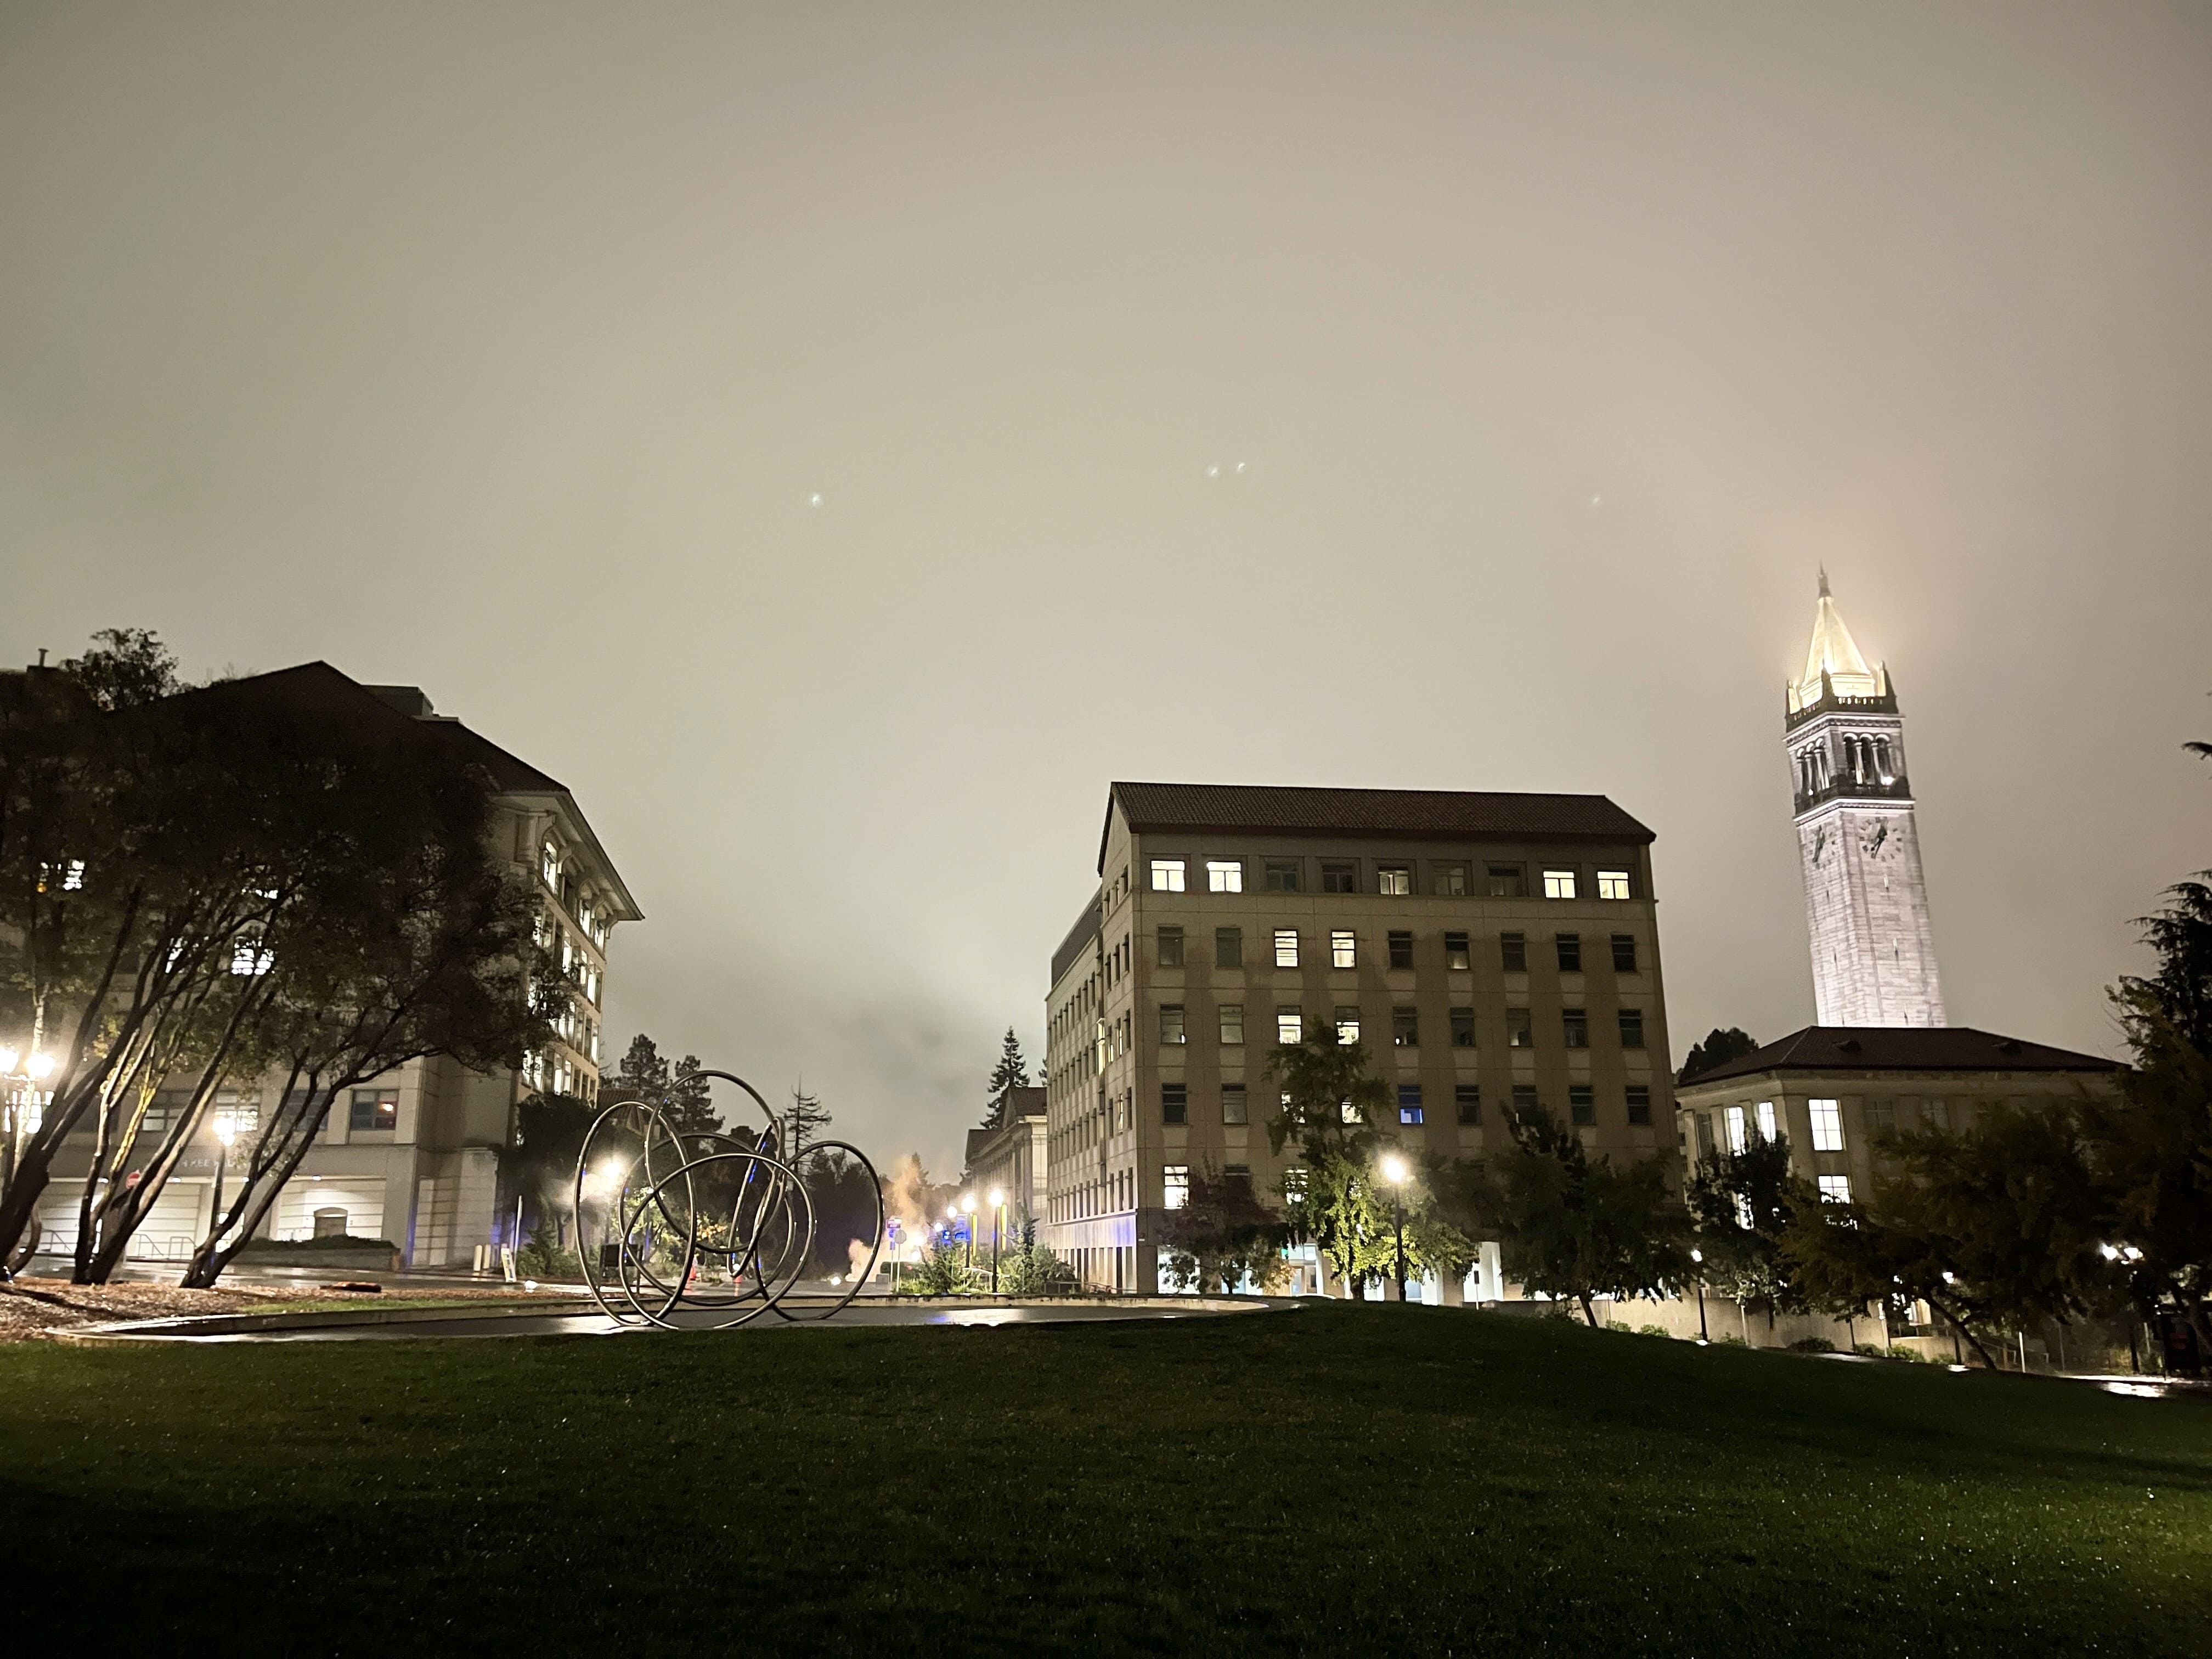
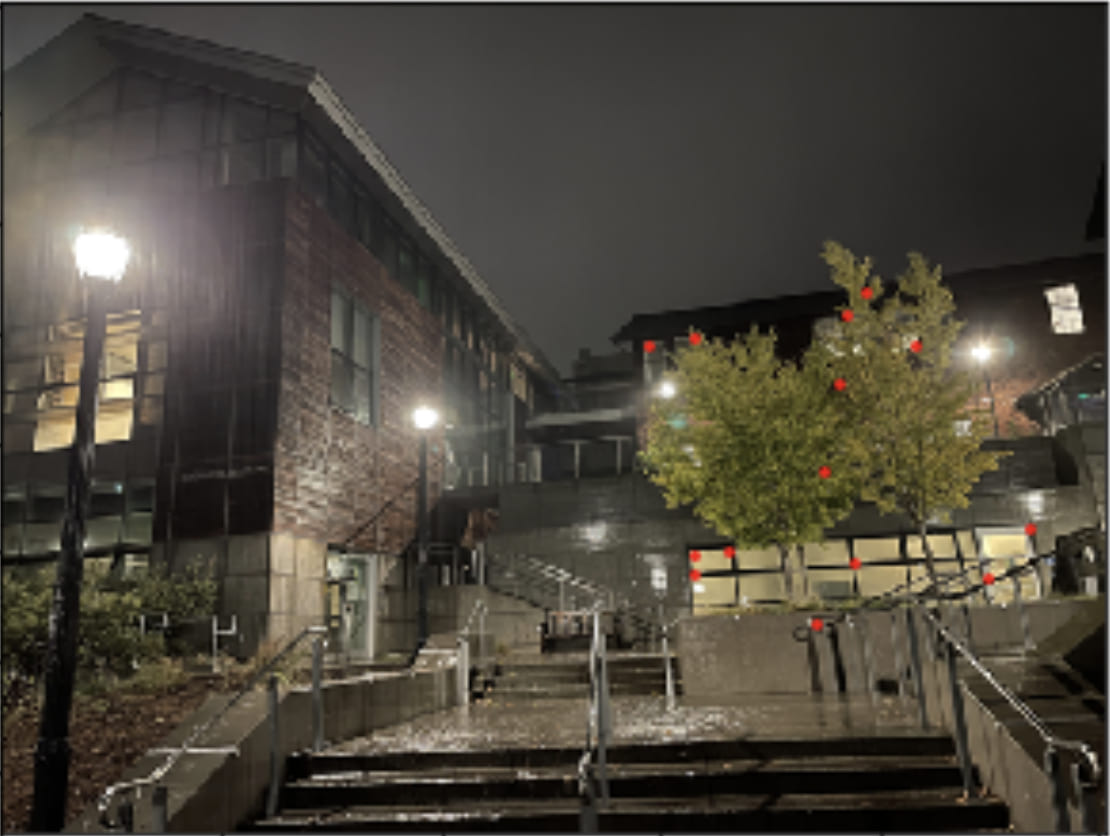
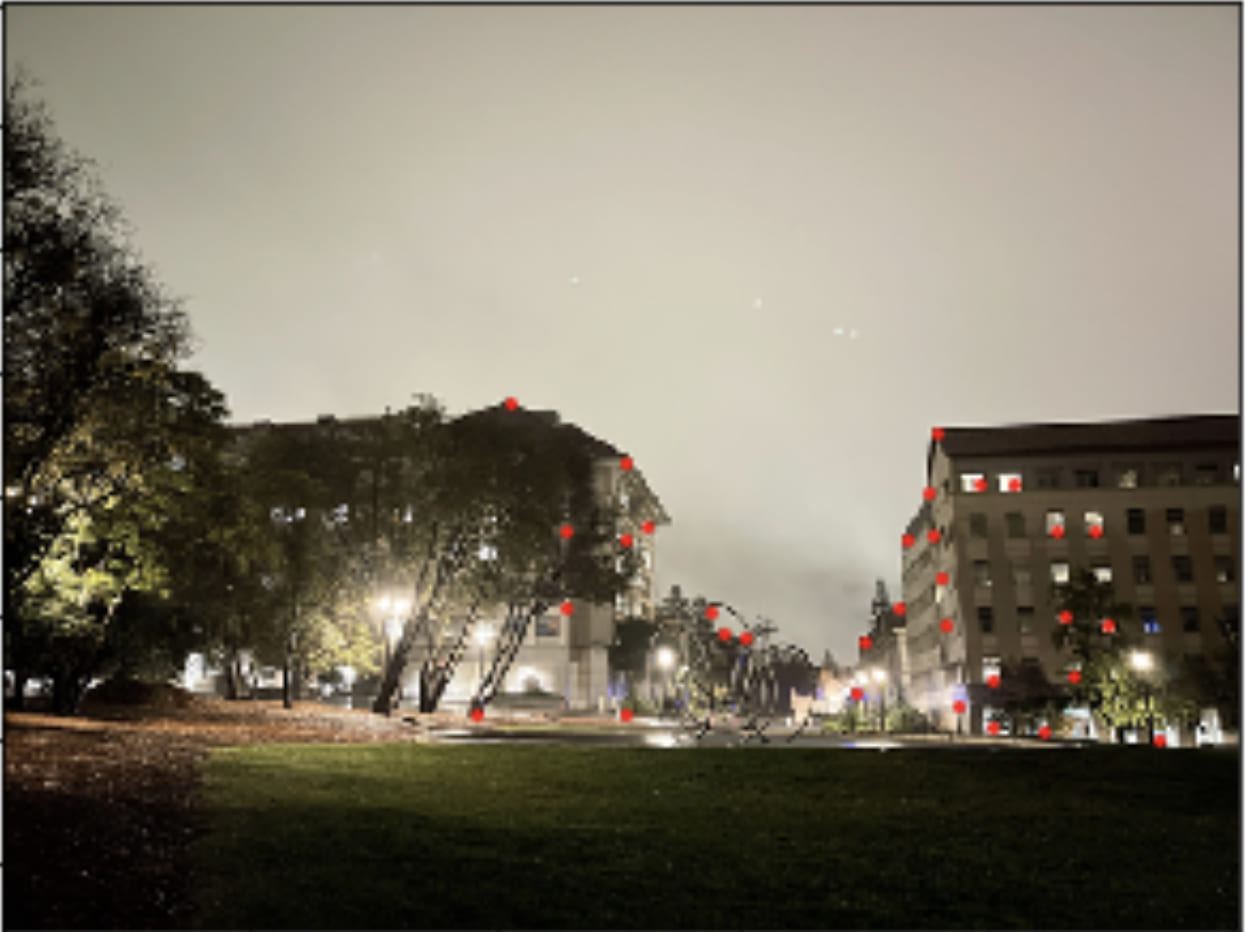
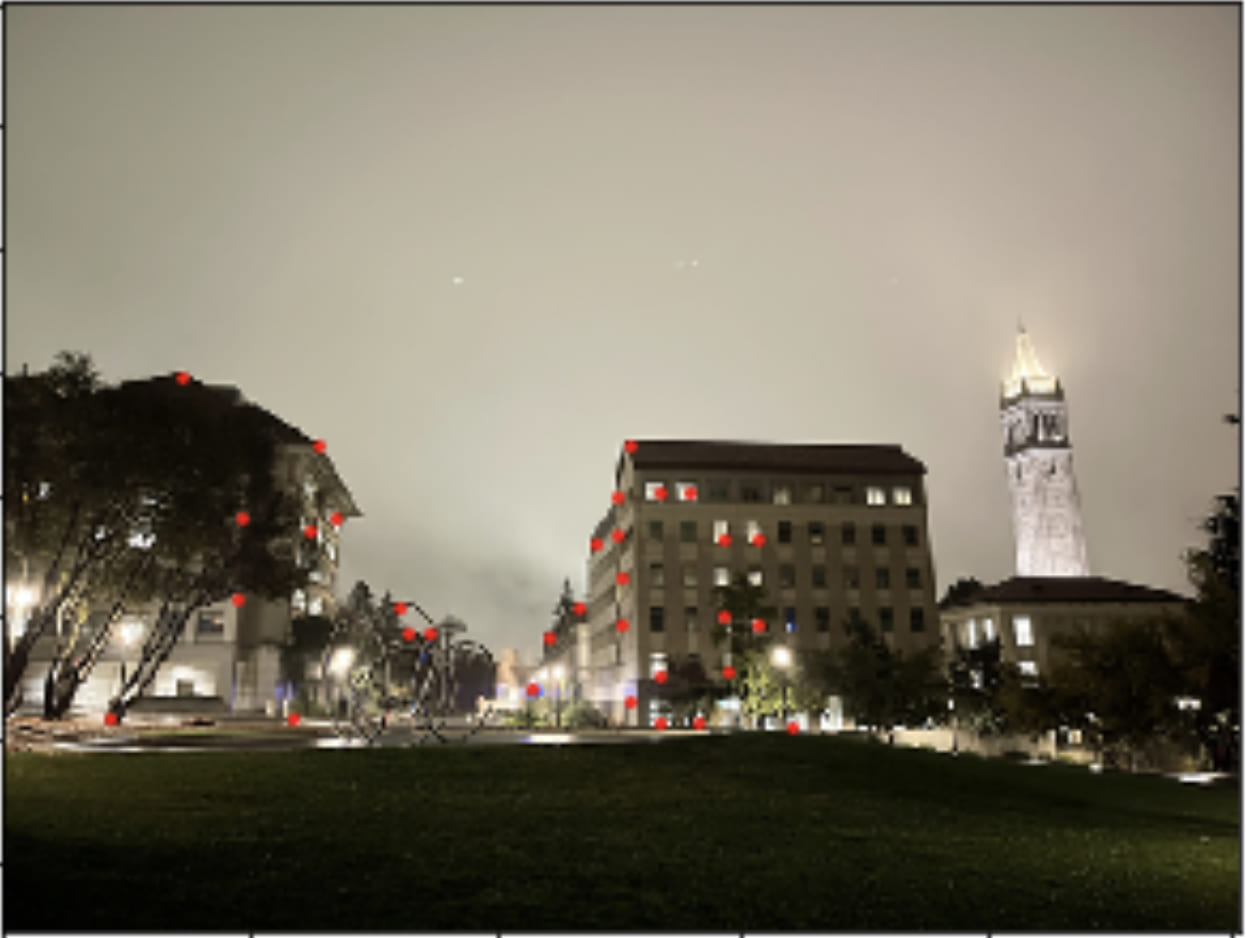
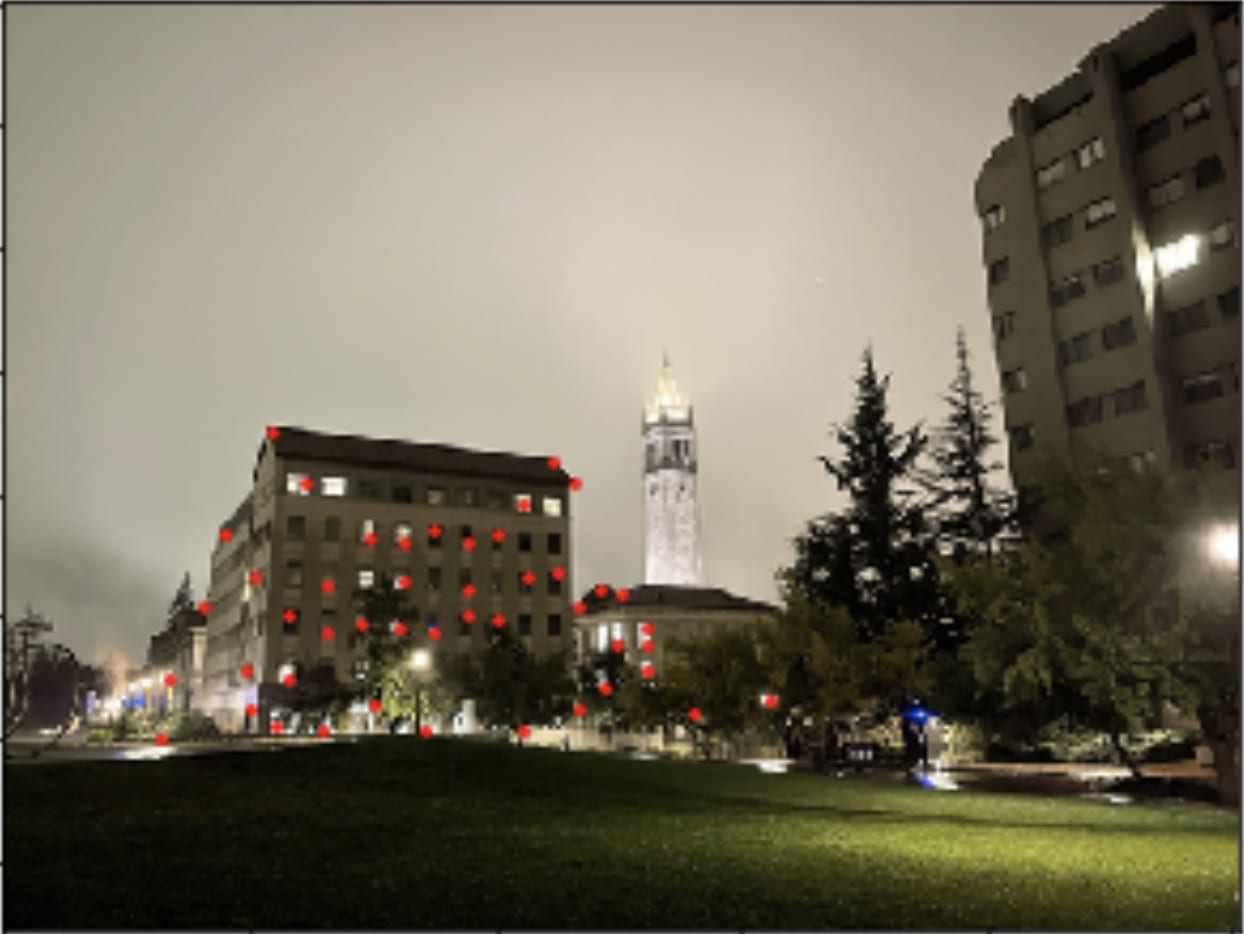
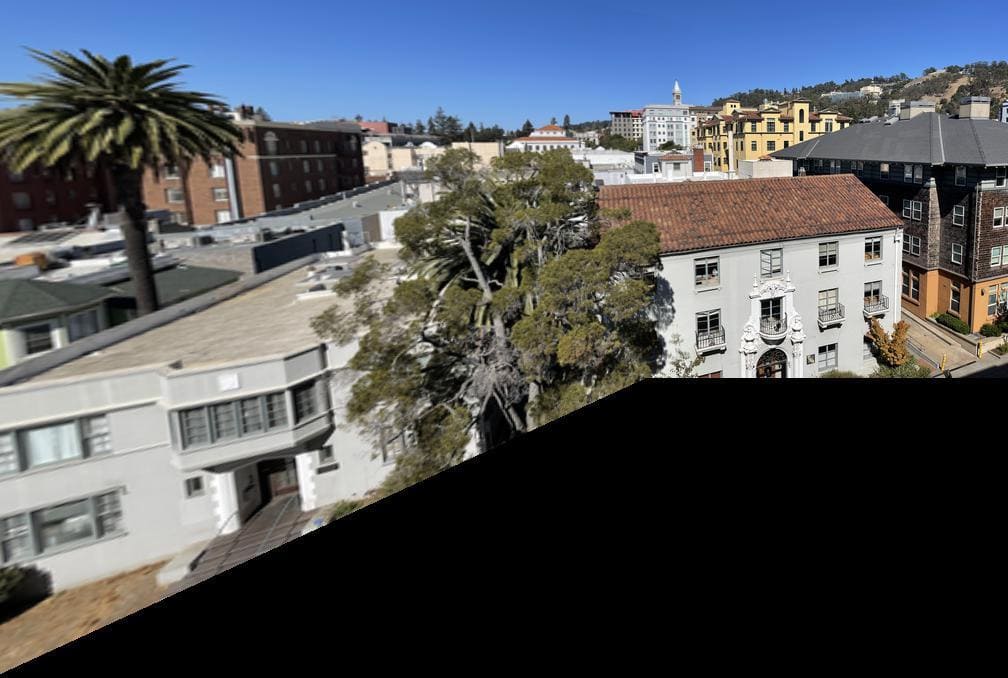
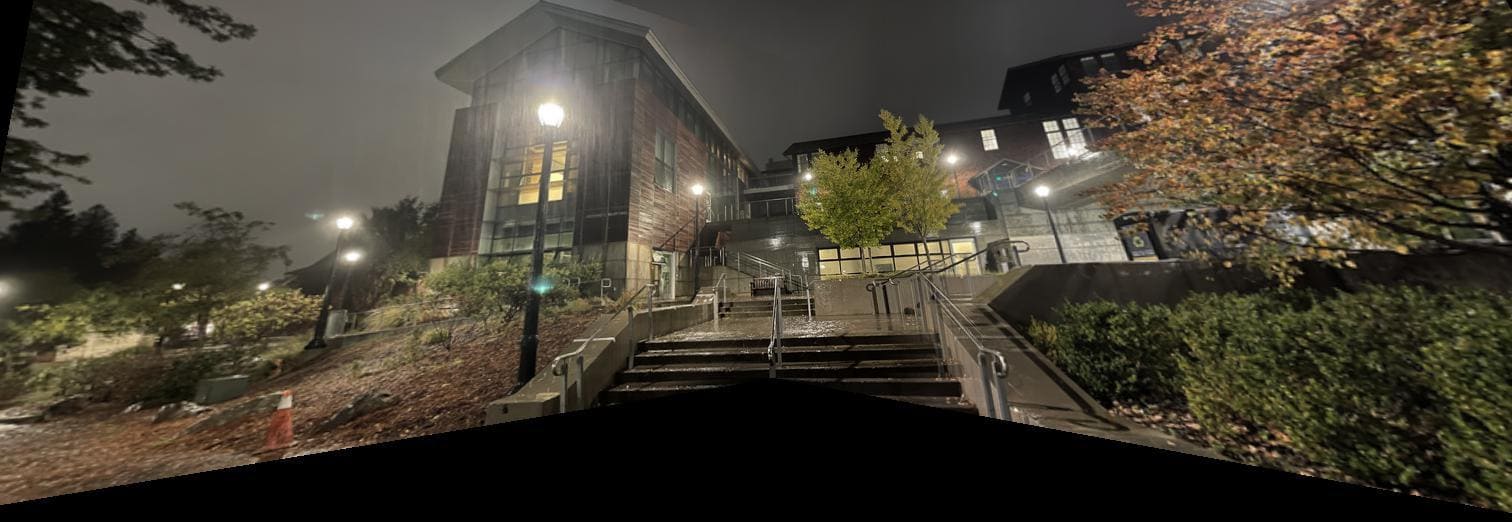
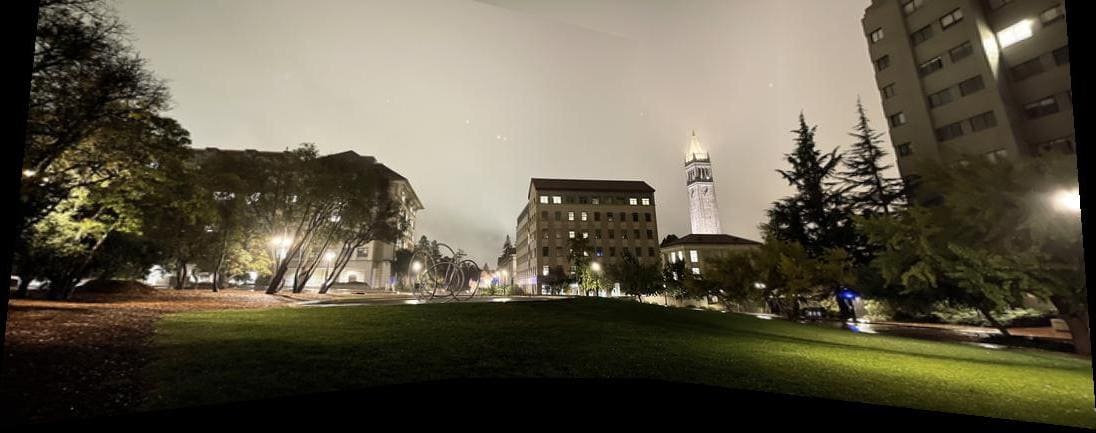
In this part of the project, I aimed to create three different mosaics: a mosaic of the view from my apartment, a mosaic of my room, and a mosaic of a spot on campus. To create each of these mosaics, I took two to three photographs of the scene from the same point of view but with different view directions and with overlapping fields of view. Here are the sets of pictures that I obtained:
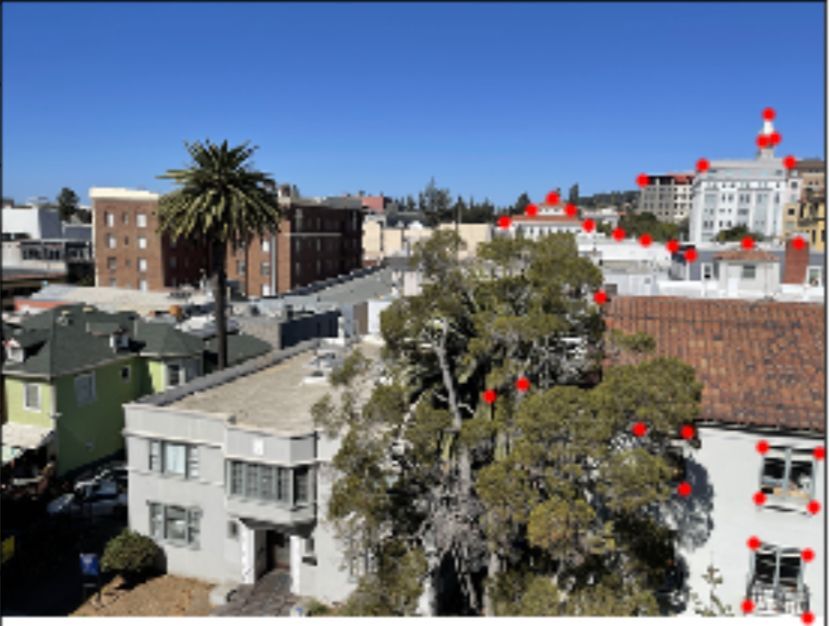
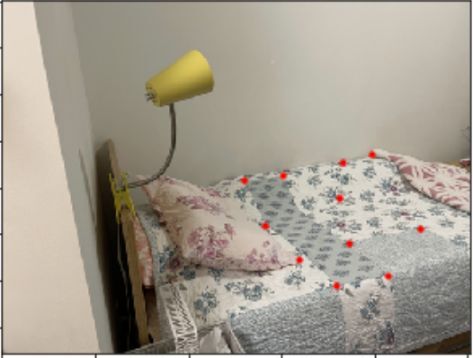
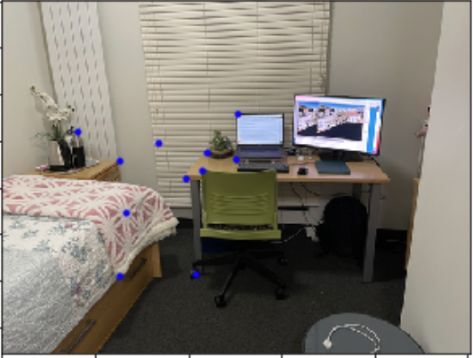
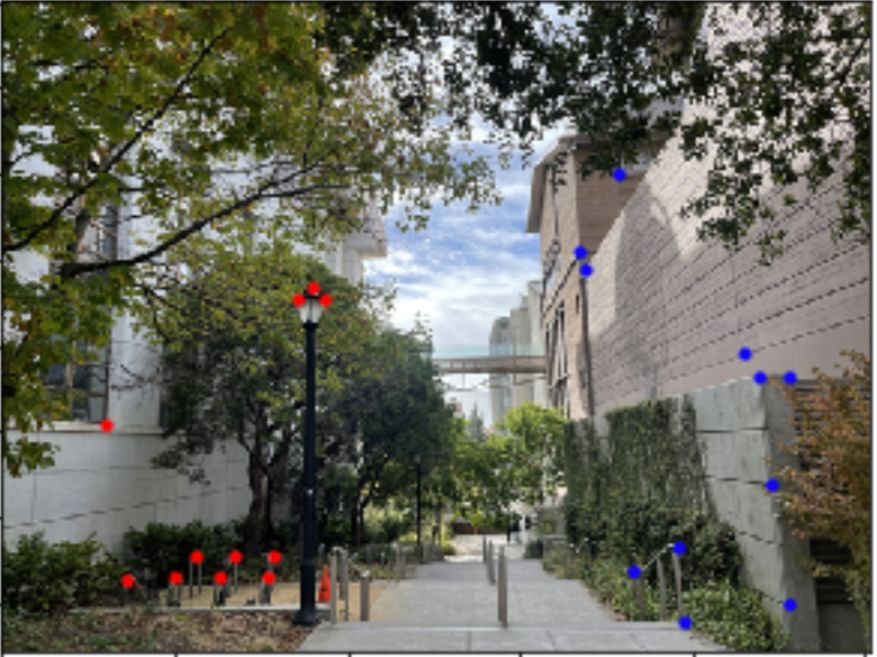
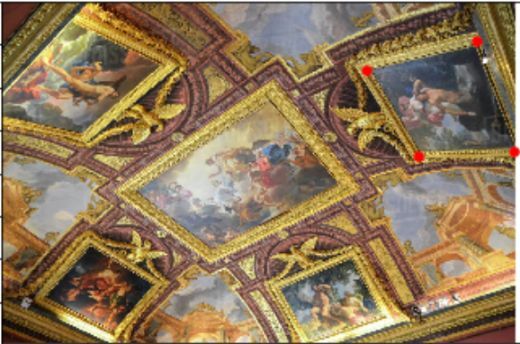
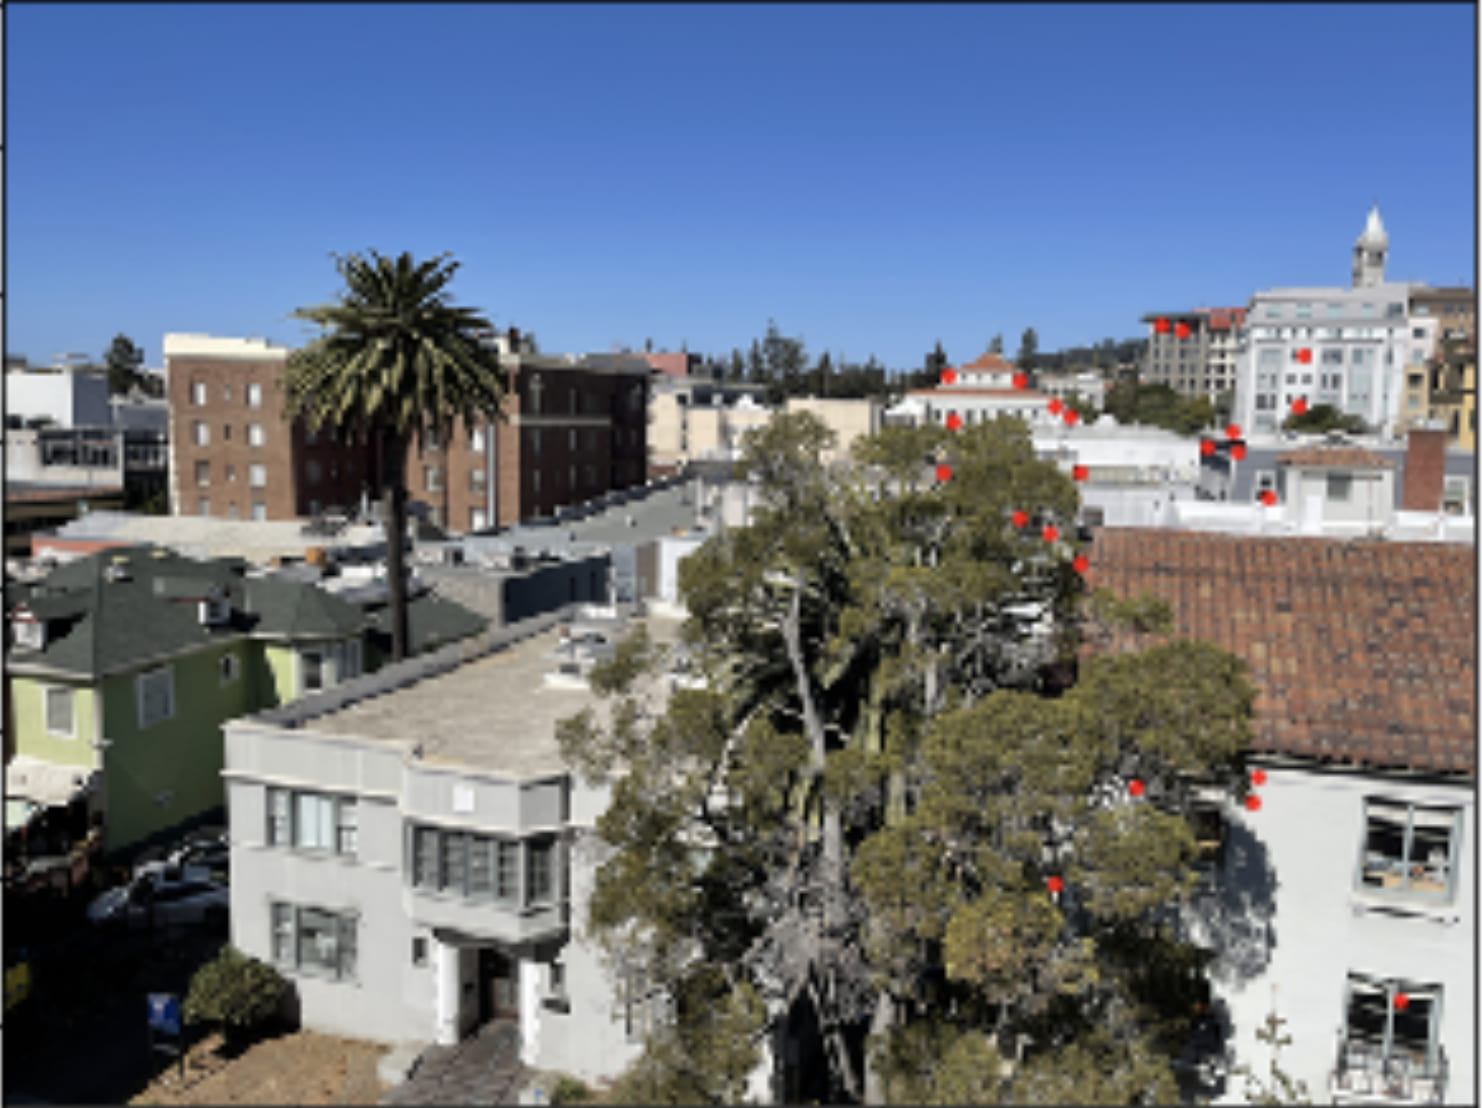
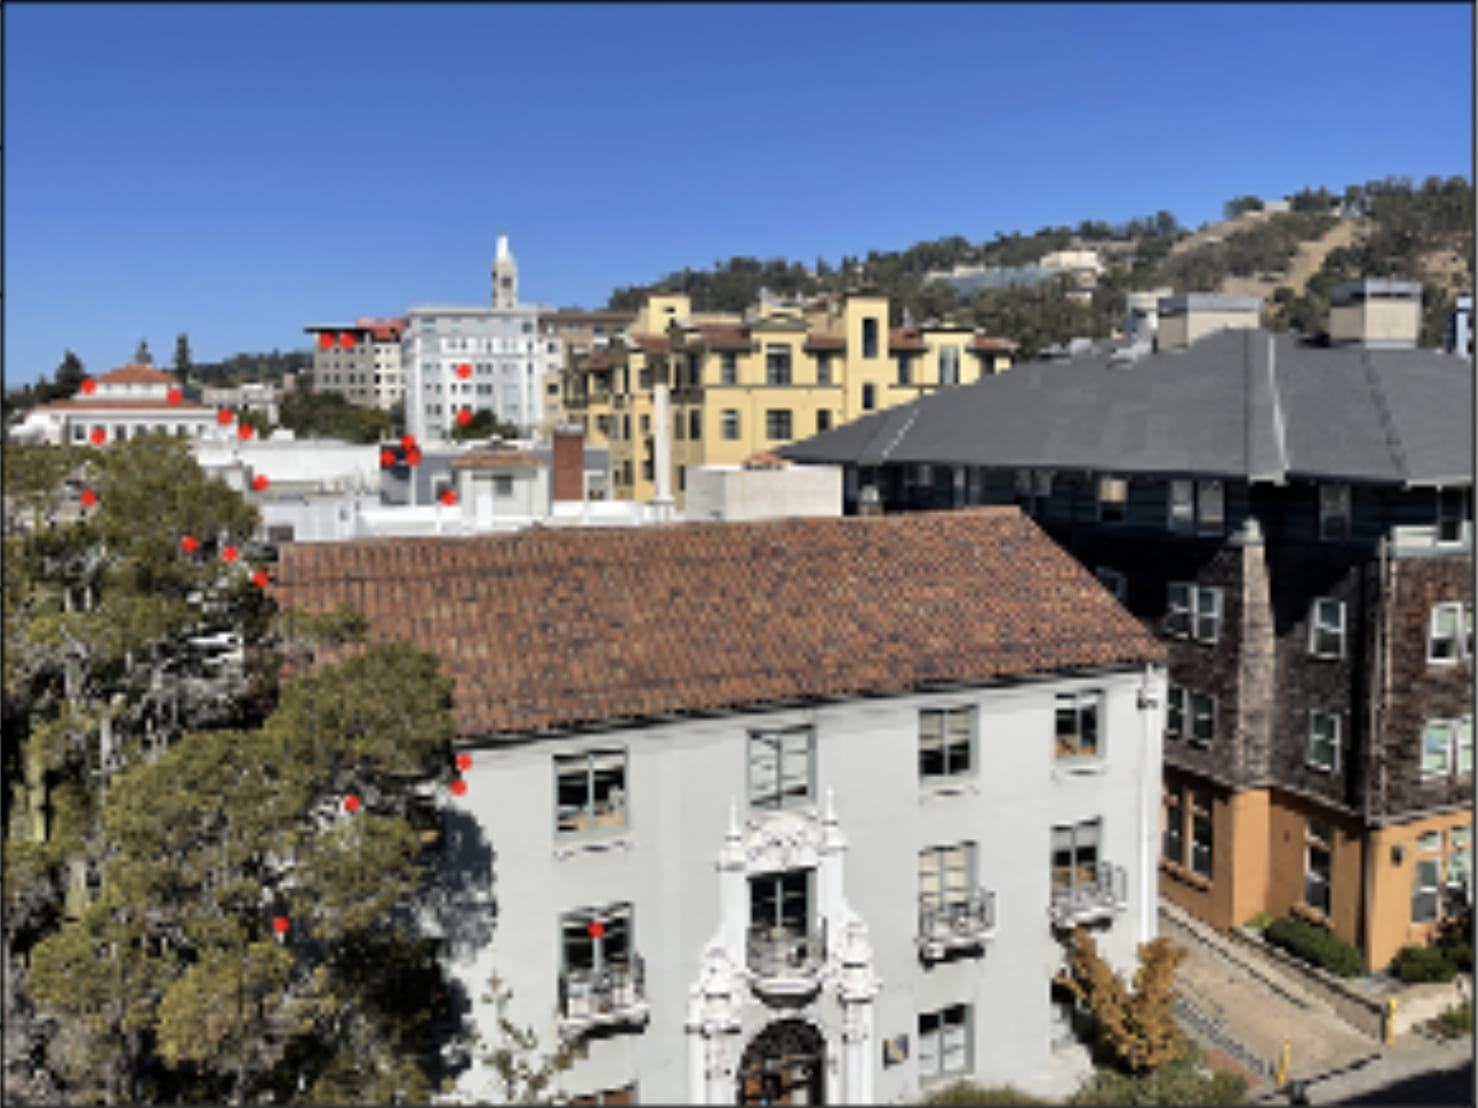
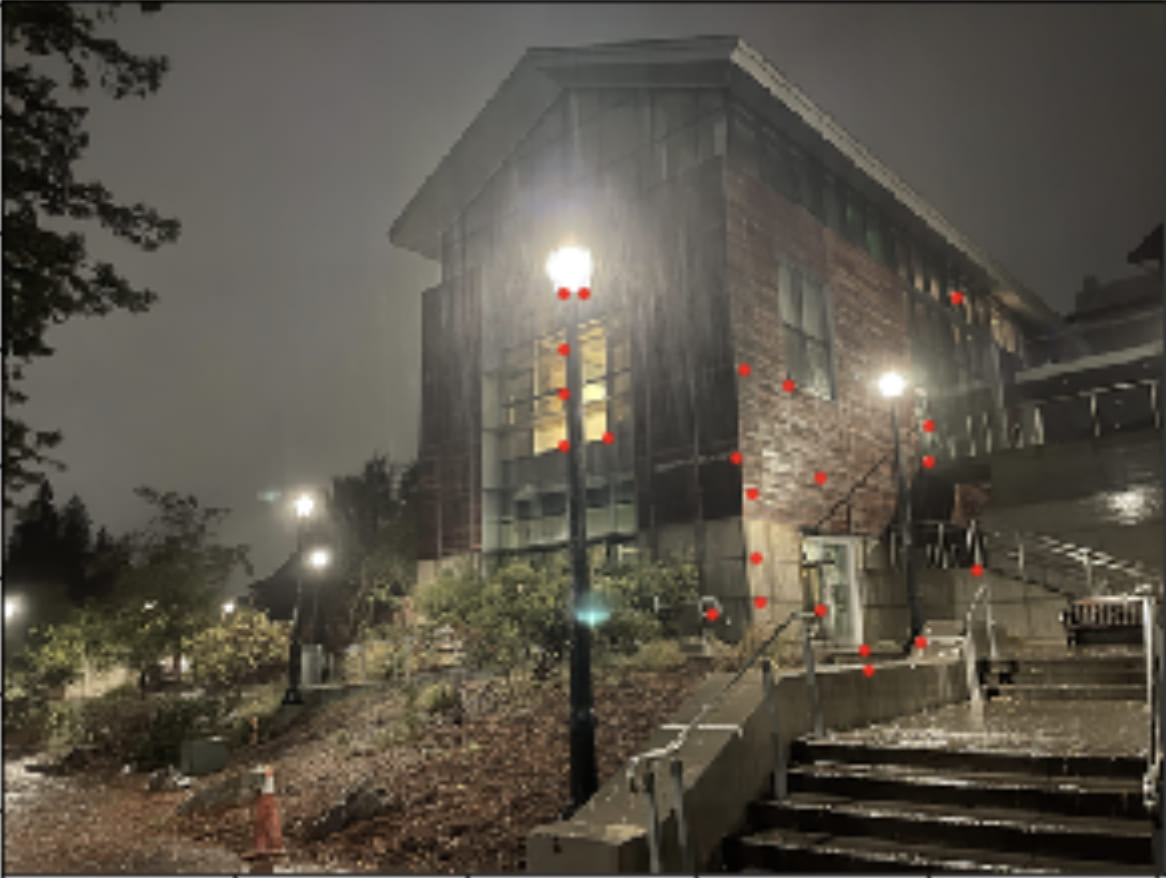
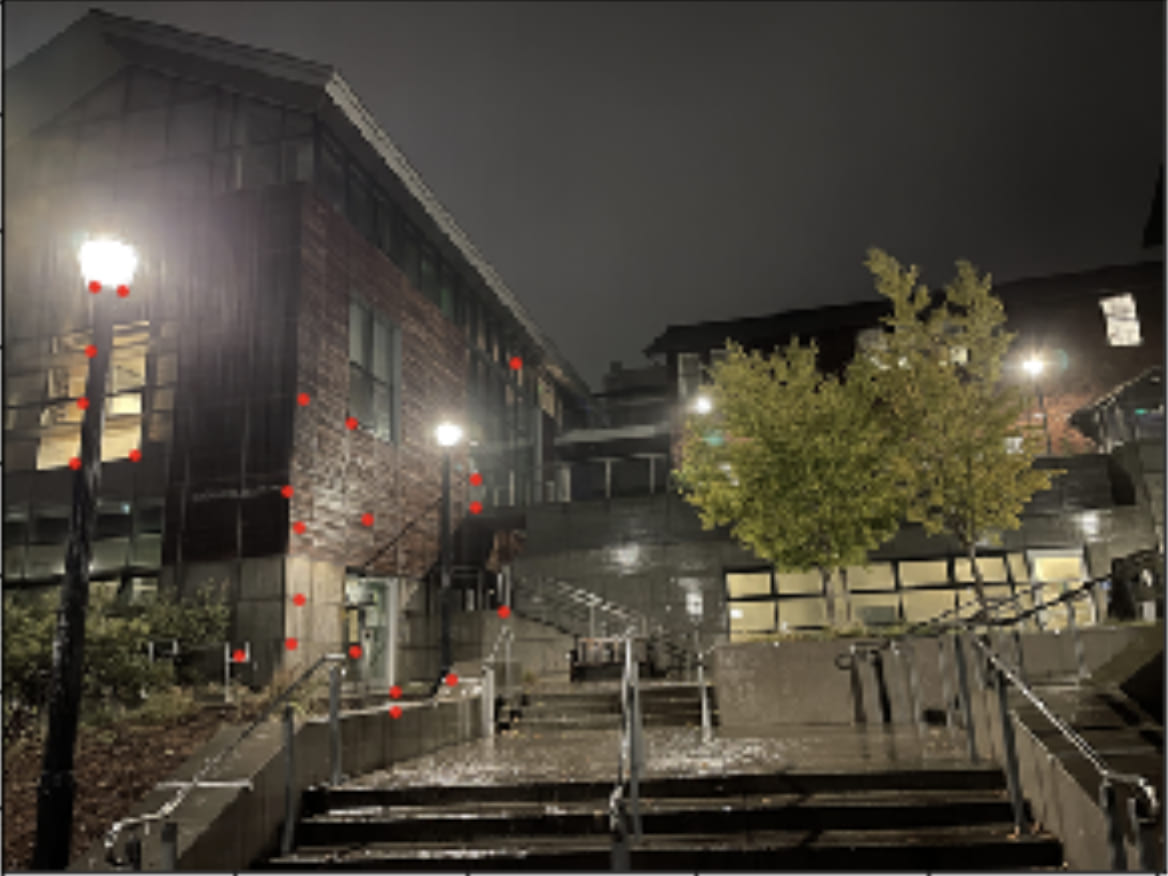
I computed the Homography matrix for each mosaic by first defining point correspondences between each pair of images in the mosaic. My criteria for choosing correspondence points was to find corners shared between the two images, for example, the windowsil on a building, the corner of a desk, etc. Here are the correspondences:


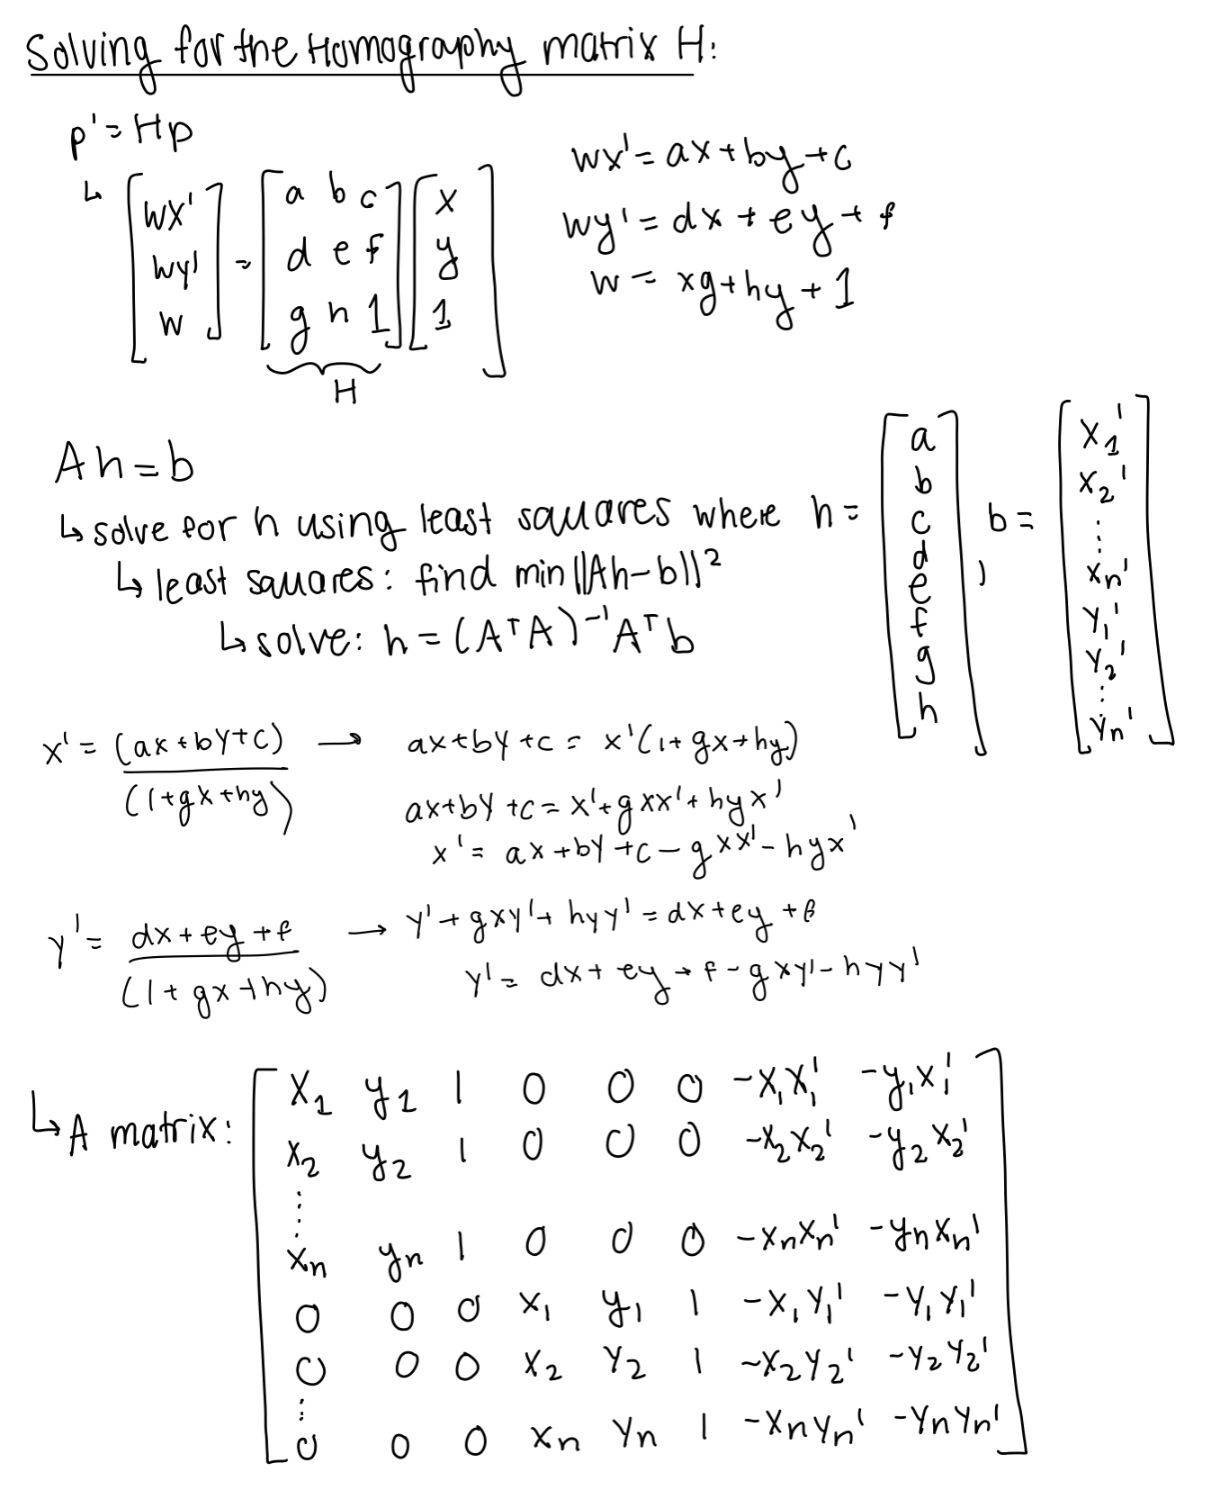
Given the point correspondences, I calculated the Homography matrix H between each pair of images in the mosaic using least squares to solve for the eight unknown entires of the matrix. The correspondence points are represented by p and p', where p are the source points and p' are the target points to which the source points should be warped to. Below is my derivation for finding h, the matrix that contains the 8 unknown entries of the Homography matrix. By obtaining the entries of the homography matrix and solving for h, I was able to find the transformation matrix H between each pair of images in the mosaic:
Next, I attempted to warp the images according to the homography matrix calculated. I defined a method called warpImage that would do the warping: it takes in both the image to be warped as well as the homography matrix and
warps the input image correspondingly to the transformation matrix passed in.
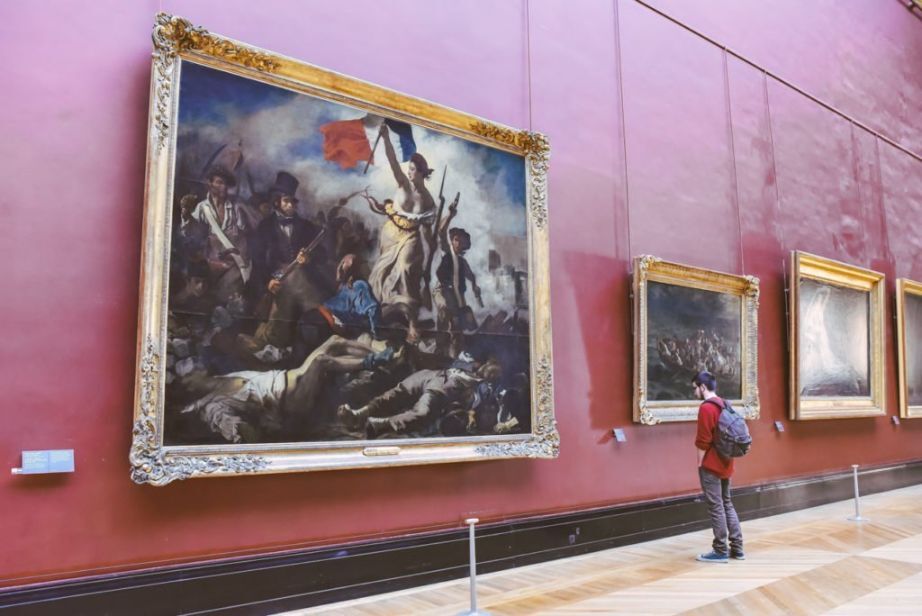
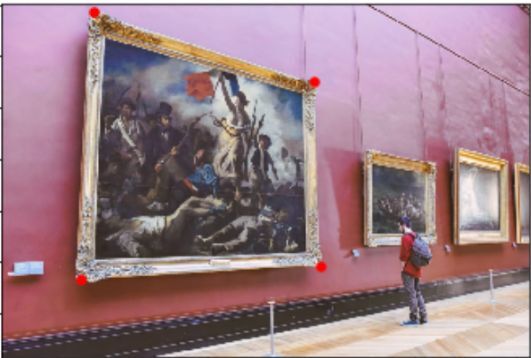
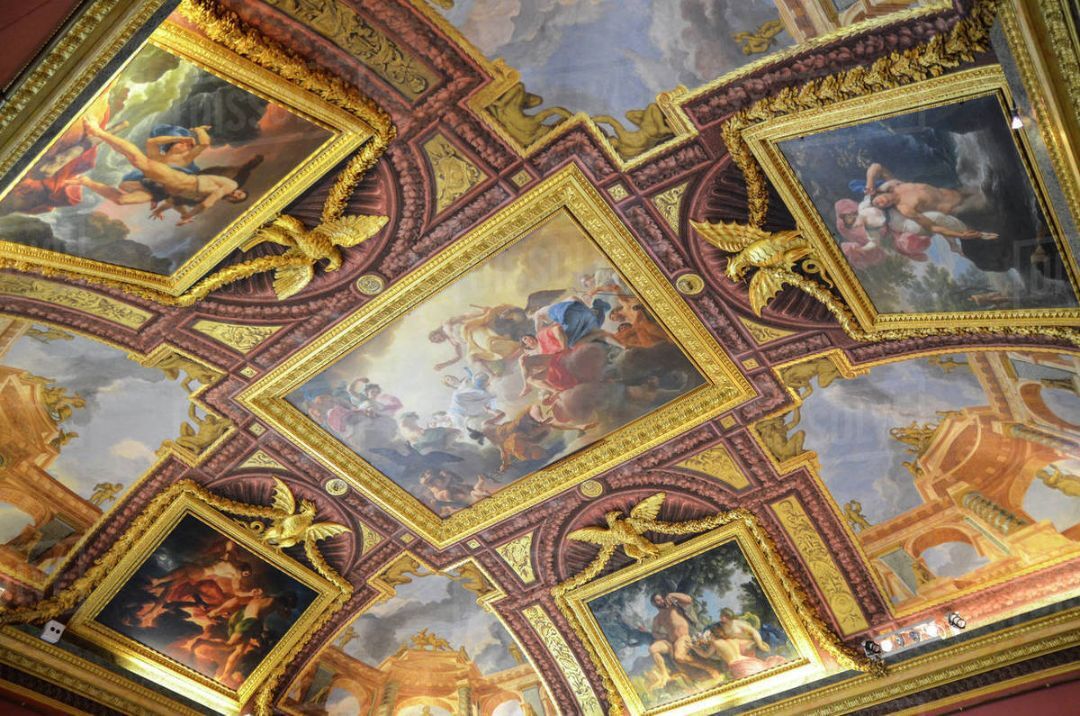
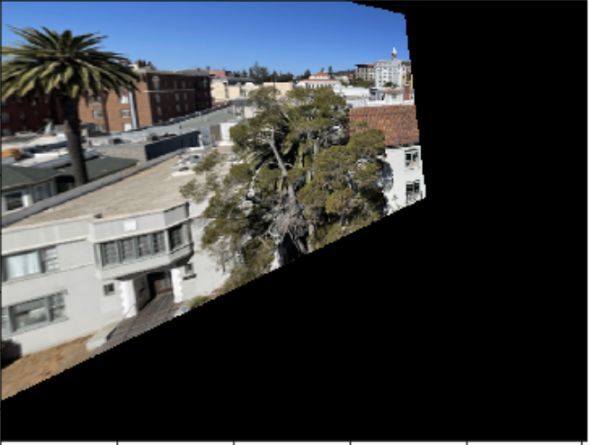
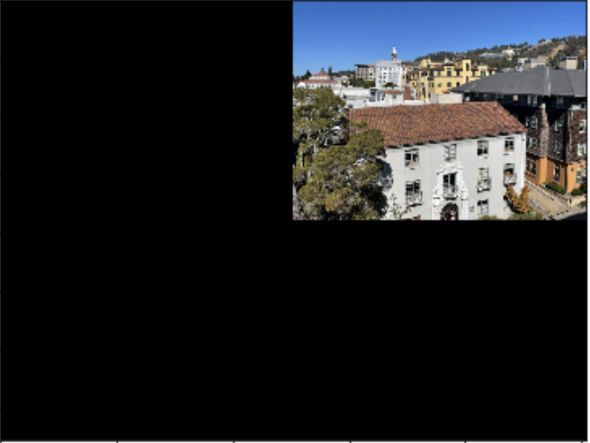
Before warping the images of my mosaic, I tested my warpImage method on some planar surfaces, such as a painting on a wall in a museum and a painting on a ceiling, and warped them so that the planes were frontal-parallel. Below are my results of warping these paintings such that they became frontal-parallel:


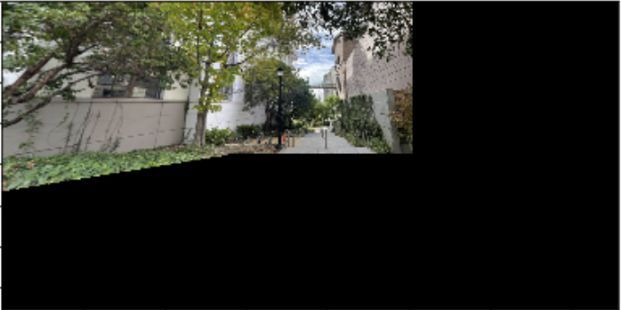
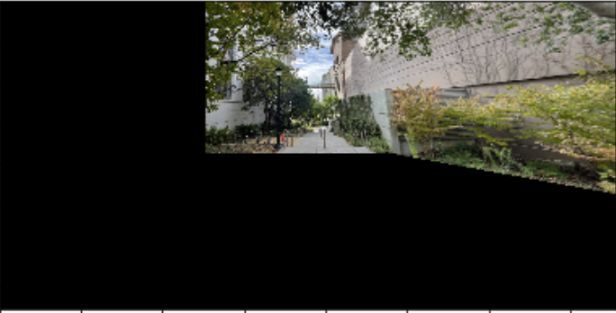
Finally, I tackled creating my mosaics. First I warped the individual pictures of the mosaic using the calculated Homography matrix and displaced the warped images on the canvas such that there was room for me to stitch together the rest of the mosaic adjacent to it. Then, I created an alpha blending mask in order to blend together the two parts of the mosaic. To create a smooth blend, I created the mask such that its values would gradually decrease to 0 with increasing values of x. This process and the resulting mosaics are displayed below:

Overall, I had a lot of fun working on this part project, as I learned how to create my own panoramic images from scratch! One of the coolest aspects of this project was the fact that we implemented open cv's warp perspective method on our own by calculating the projective warping transformation matrix using least squares. I also thought that it was super interesting how we applied concepts in previous projects, such as alpha channel blending, in order to create our mosaics. I learned that many concepts in computer vision translate over in a variety of different contexts and applications.
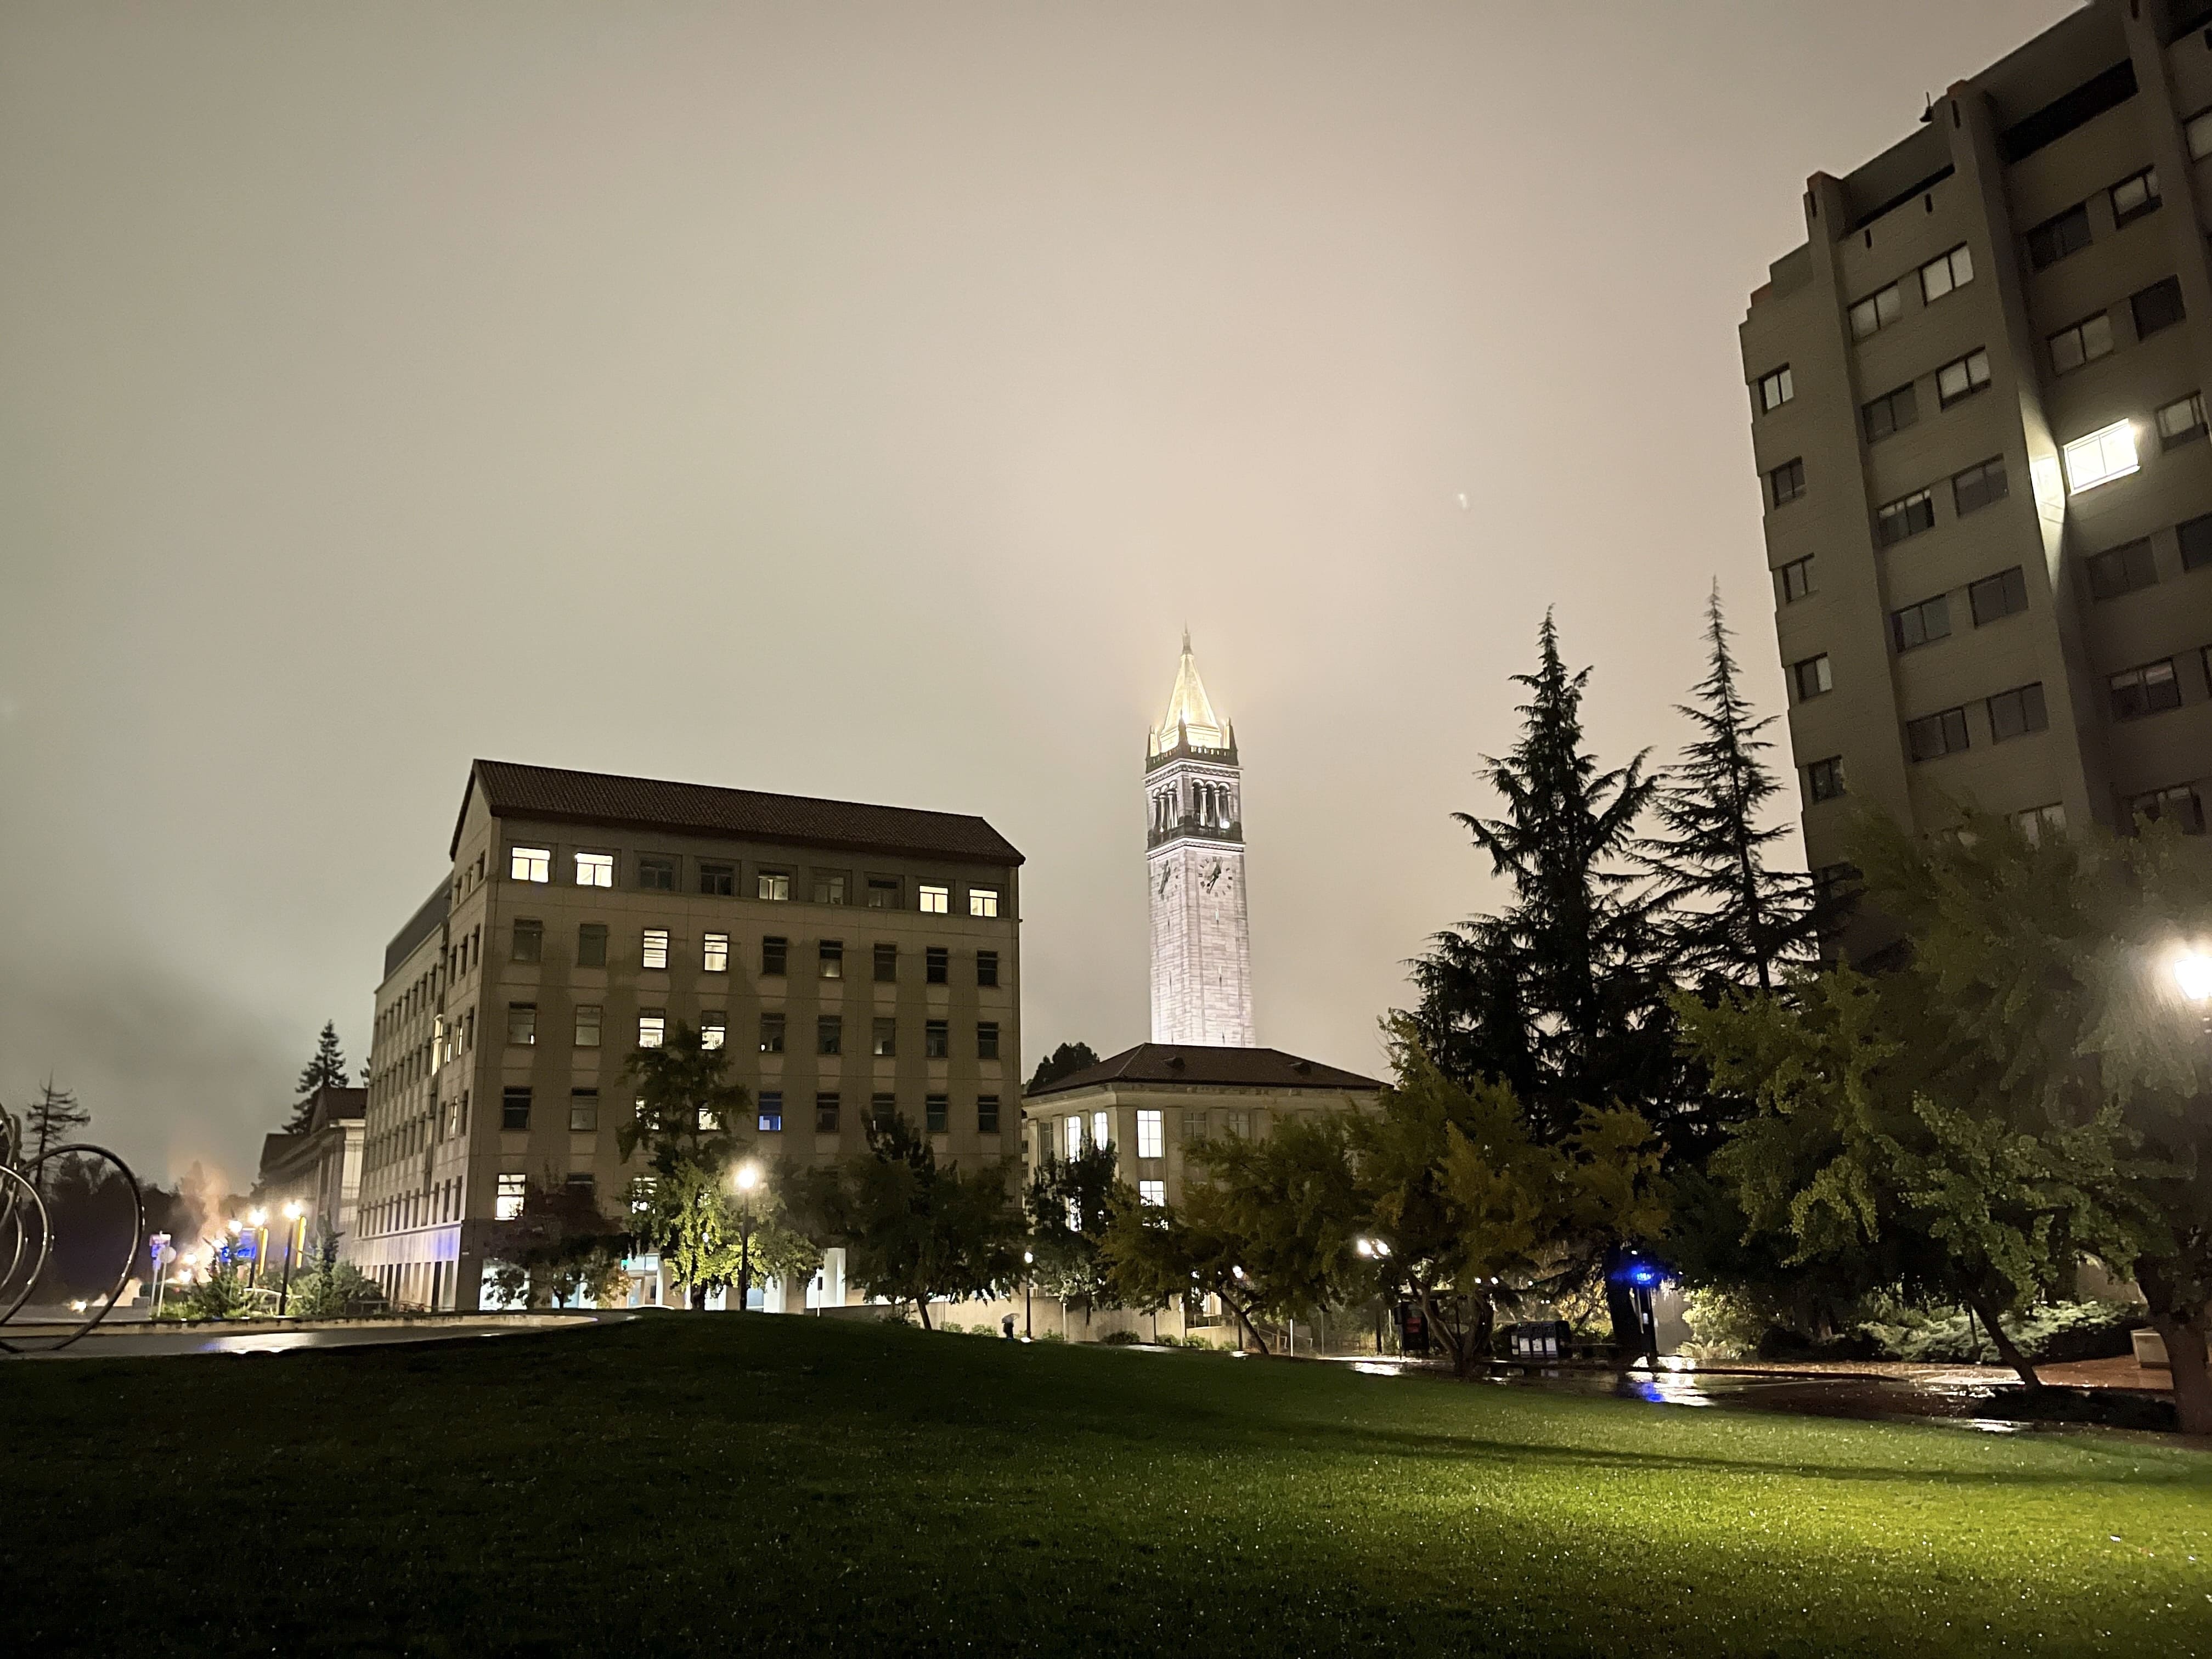
In this part of the project, I recreated the mosaic of the view from my apartment as well two additional mosaics of places on campus using automatic feature matching algorithms as detailed in this paper. Here are the sets of pictures that I obtained to create my mosaics:

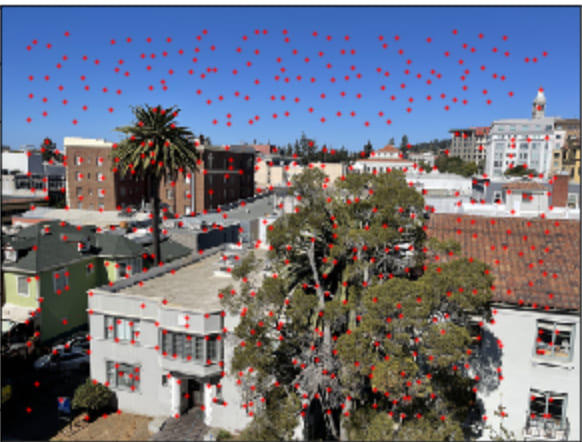
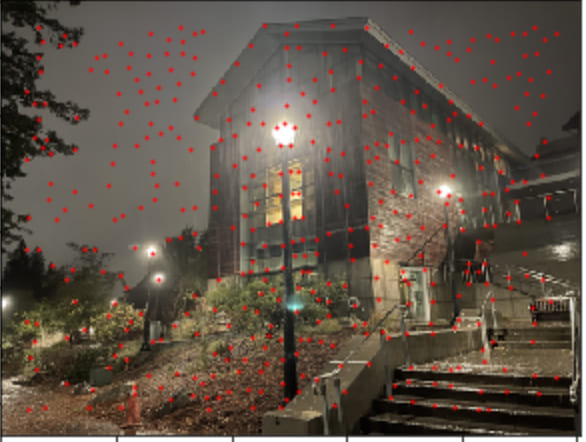
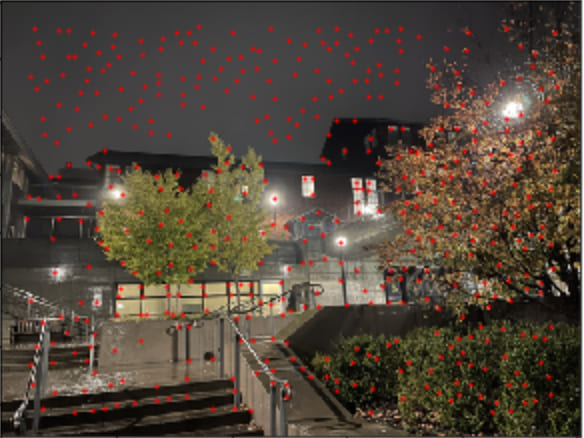
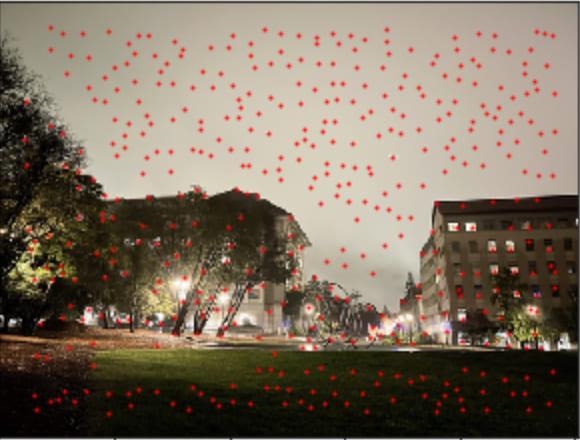
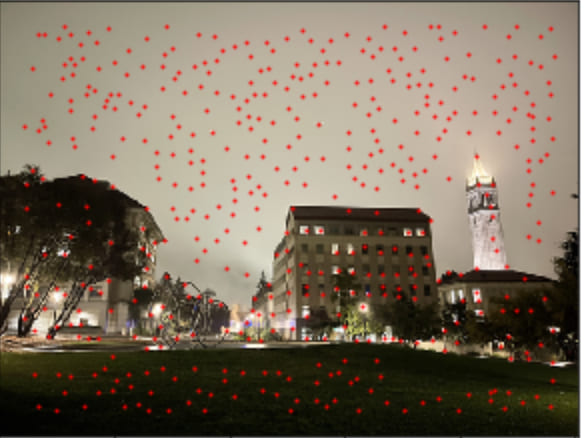
First, I used a Harris Interest Point Detector to detect the corners in each of the input images. As shown below, the Harris detector produced many extraneous outlier points that were not corners:


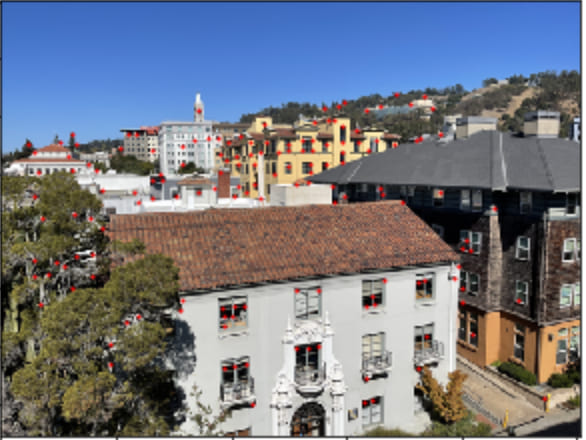
Next, I got rid of many of the outlier points produced by the Harris corner detector by employing Adaptive Non-Maximal Suppression. This produced much more accurate feature points for all of the input images:
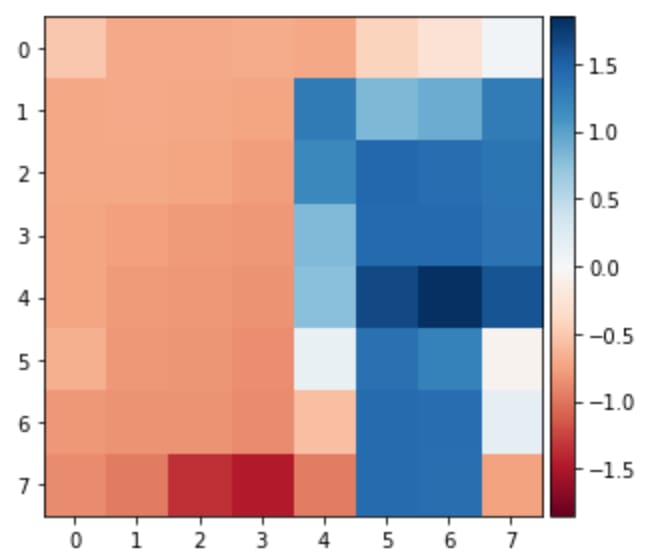
Using the non-max suppressed feature points found in the previous part for each image, I generated feature descriptor patches in order to find the corresponding matching feature patch in the other image of the mosaic. I created these feature descriptors by sampling a 40x40 patch around the feature point, downsampling this patch to a 8x8 sized-patch, and finally bias/gain normalizing the descriptors. Here is an example of a patch I generated from an image:
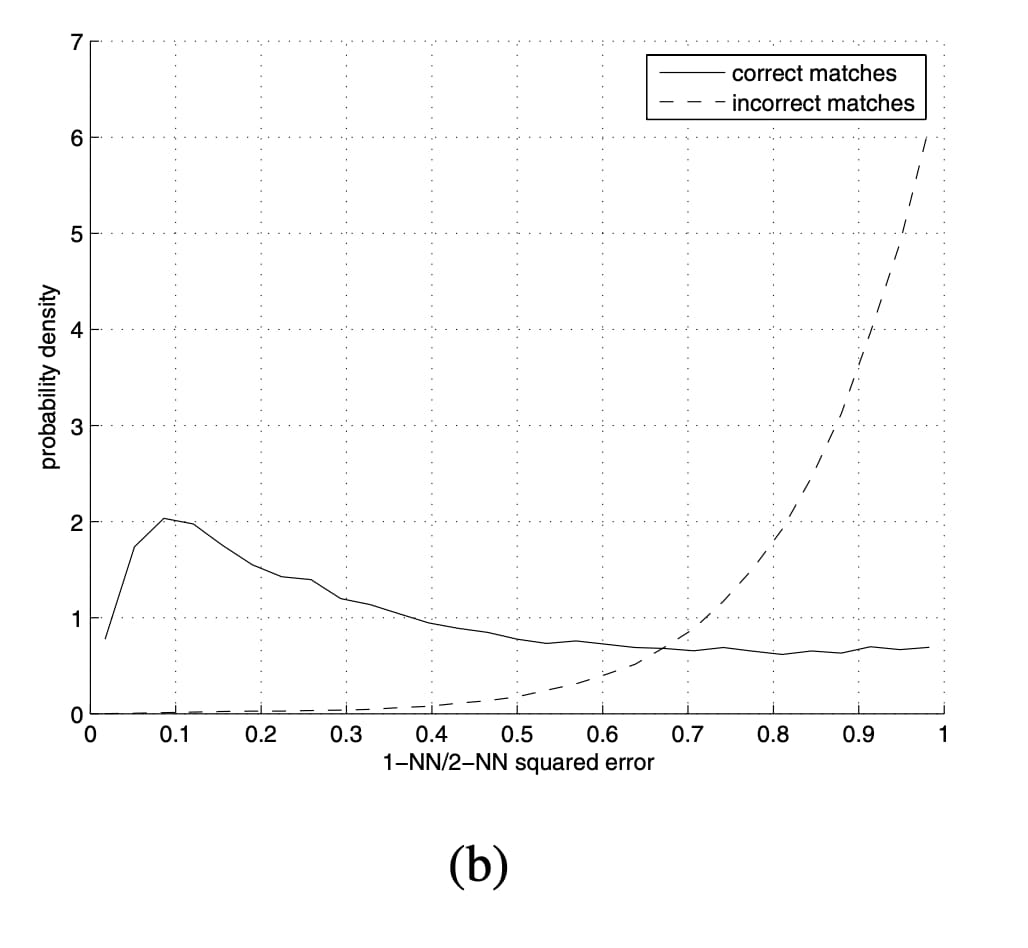
Using the feature descriptor patches, my next task as to find the pairs of features between the images in the mosaic that looked most similar and were good matches to determine the feature correspondence points. I used the Lowe approach detailed in the paper: this entailed finding the patches in the corresponding image pair that were the first nearest neighbor and second nearest neighbor to the current feature patch. I then decided if the feature descriptor/feature point was a good match to the nearest neighbor if the ratio of the error of the nearest neighbor and error of the second nearest neighbor was smaller than a threshold of ~0.67. At this ratio value, the probability of correct matches is grater than the probability of incorrect matches, as shown in the probability density function below. If the ratio was below this threshold, this was an indication that the feature patches were a good match.
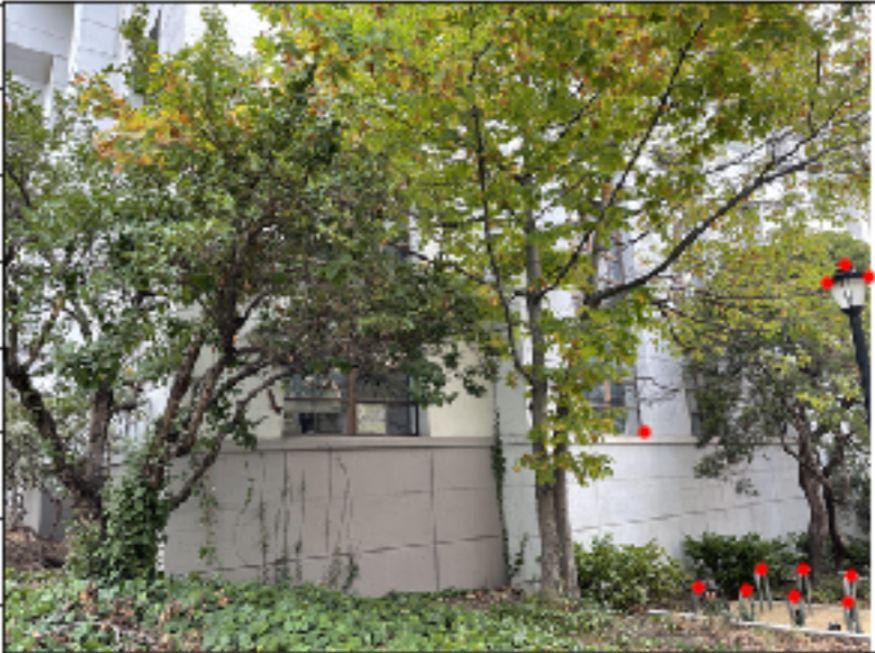
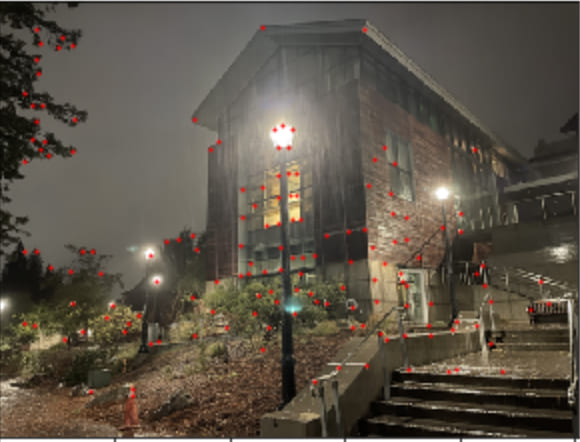
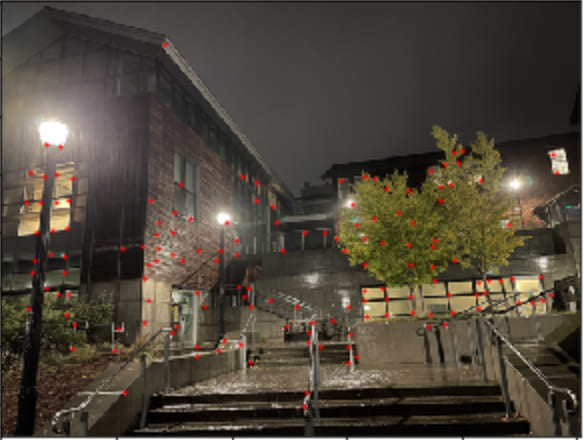
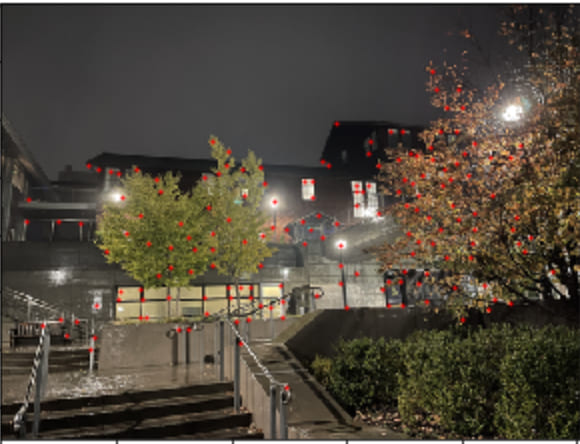
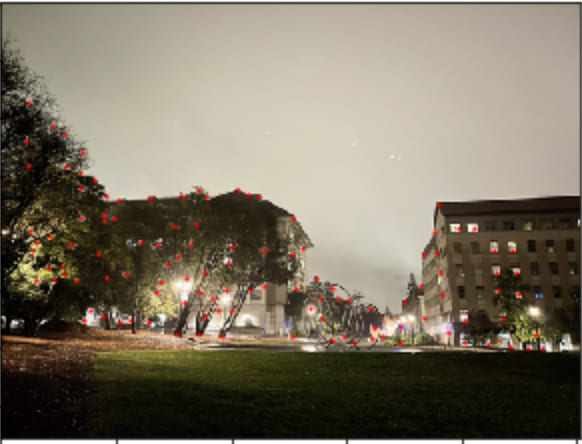
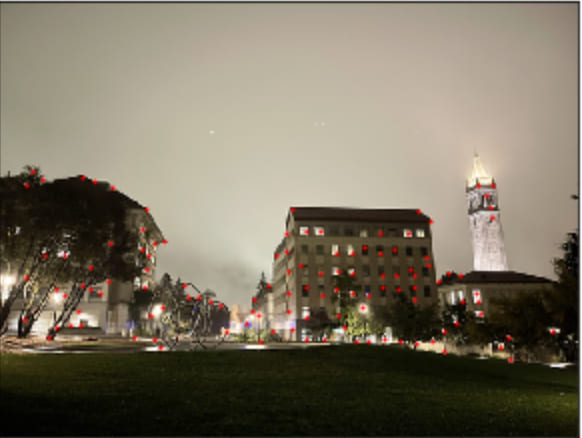
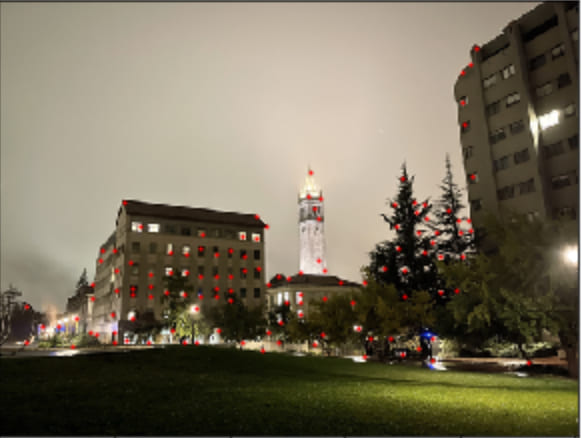
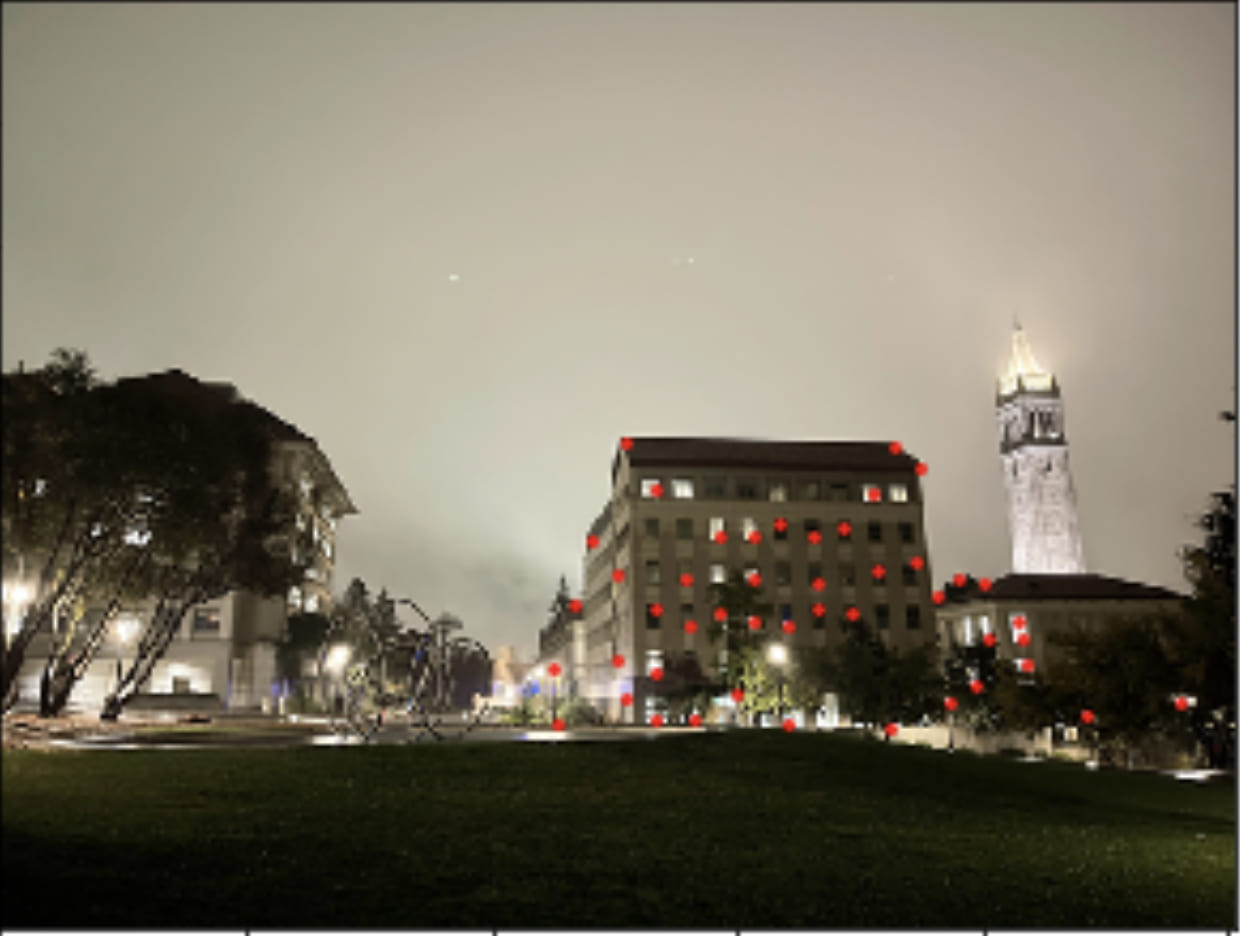
Upon determining the correspondence point pairs in the previous part, the next task was to eliminate additional outliers and find the Homography transformation matrix between the pairs of images in the mosaic. This step resulted in accurate feature correspondence points as shown:

Given the Homography matrix calculated using RANSAC, I finally produced the mosaics using the approach in part 4A of the project. Here are my results!
I recreated this panoramic from the previous part using automatic image alignment. Here's a side-by-side comparison of the mosaics produced using each approach:
I really enjoyed the second part of the project, as it allowed us to directly implement the algorithm as described in the paper in order to automatically stich our own mosaic images. I thought it was really interesting how each step in the automatic stiching process (harris detection, adaptive non-max suppression, RANSAC) got rid of more and more outliers and generated more accurate results with each step. The coolest thing I learned was the RANSAC algorithm: with such a simple set of criteria of just comparing the error of the first nearest neighbor and the second nearest neighbor of each feature patch, we were able to determine correct correspondence points and calculate the homography matrix after a set number of iterations. I will definitely be using my code in the future to generate more cool panoramic images!