Mosaic 1 Picture 1

My bedroom
Mosaic 1 Picture 1

My bedroom
Mosaic 1 Picture 1

My bedroom
In the first part of this project, we captured source photographs, defined correspondences between them, and then warped and composited them.
I took three sets of 3 pictures to make a final mosaic and two sets of 1 picture to rectify. I made sure that the camera settings did not change in between pictures and tried to make the center of projection (COP) not move as much as possible without a tripod.
Mosaic 1 Picture 1

My bedroom
Mosaic 1 Picture 1

My bedroom
Mosaic 1 Picture 1

My bedroom
Mosaic 2 Picture 1

My kitchen
Mosaic 2 Picture 1
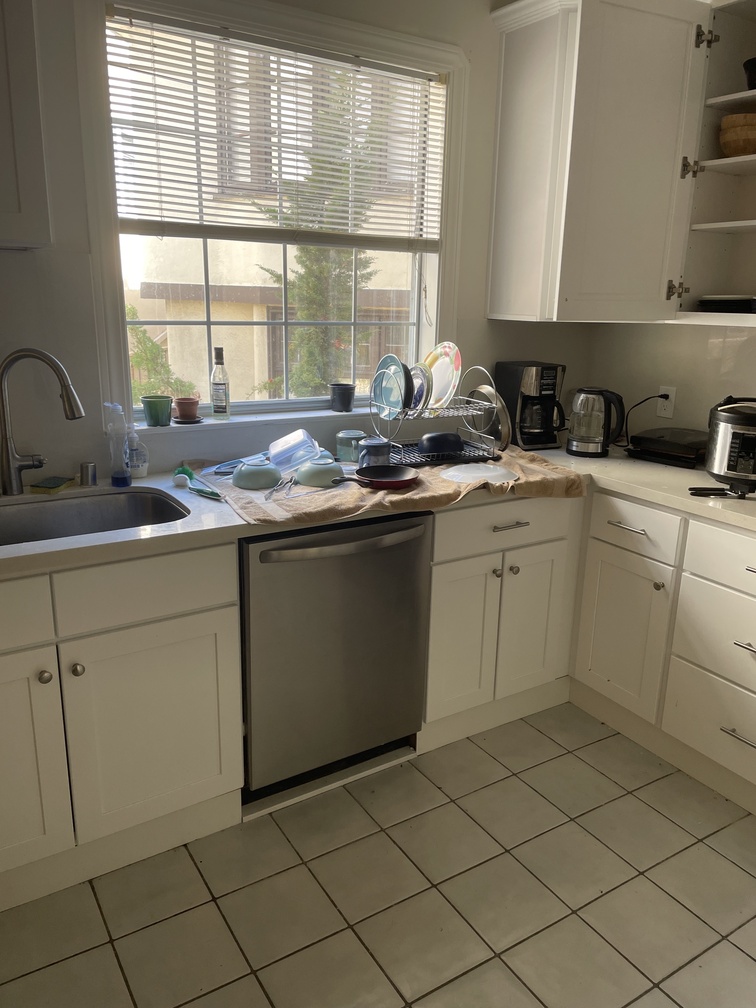
My kitchen
Mosaic 2 Picture 1
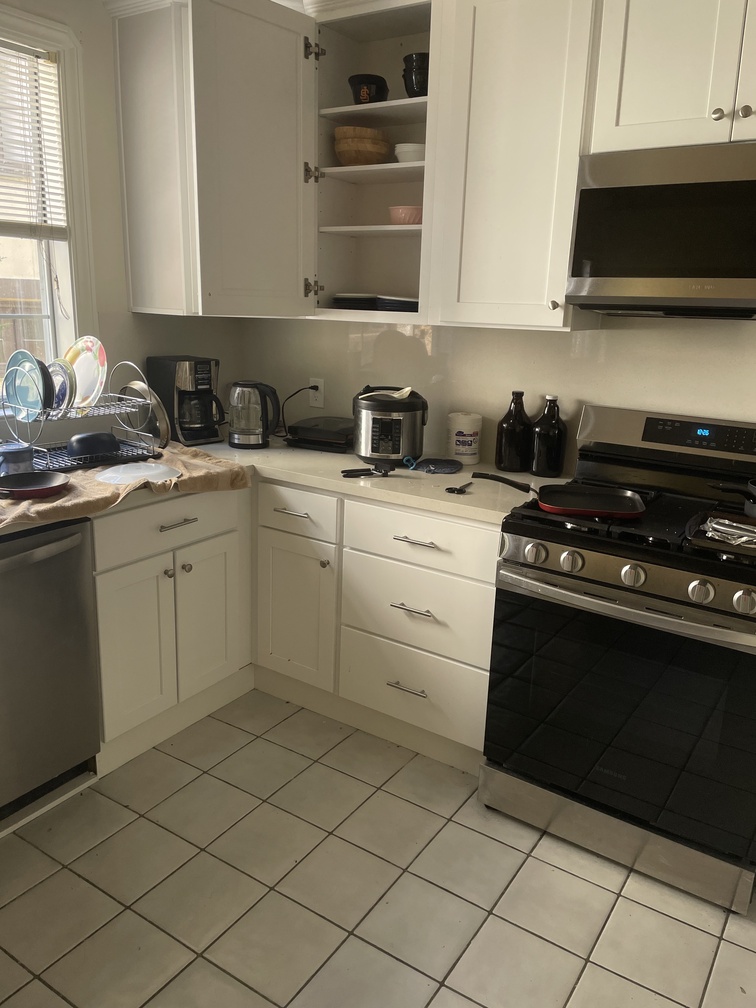
My kitchen
Mosaic 3 Picture 1
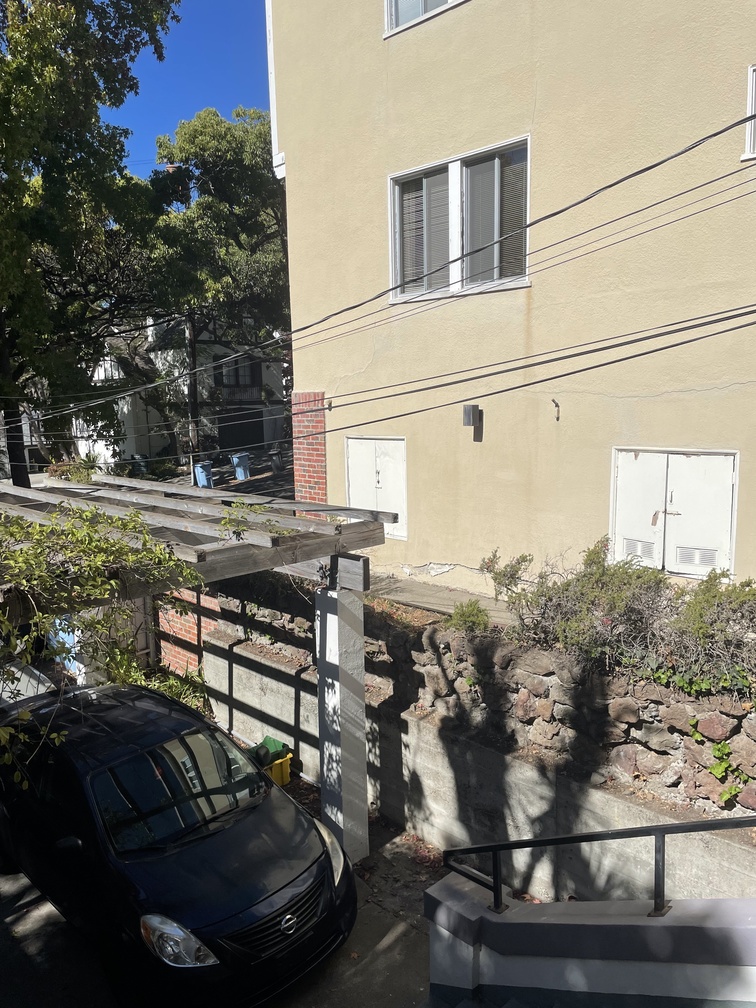
My porch
Mosaic 3 Picture 1
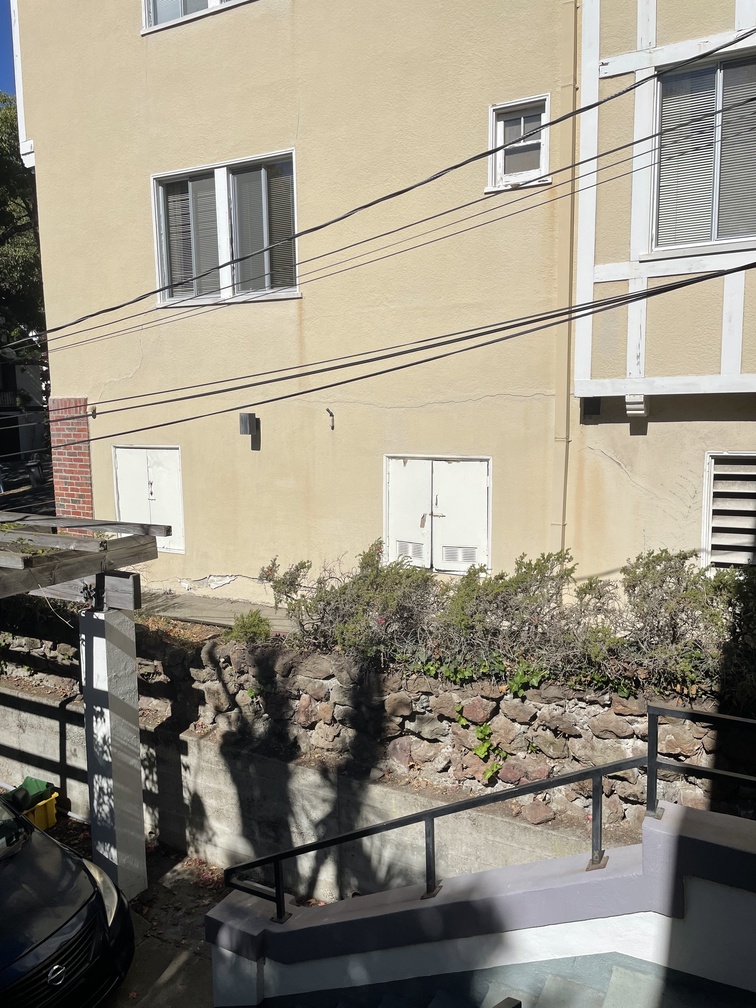
My porch
Mosaic 3 Picture 1
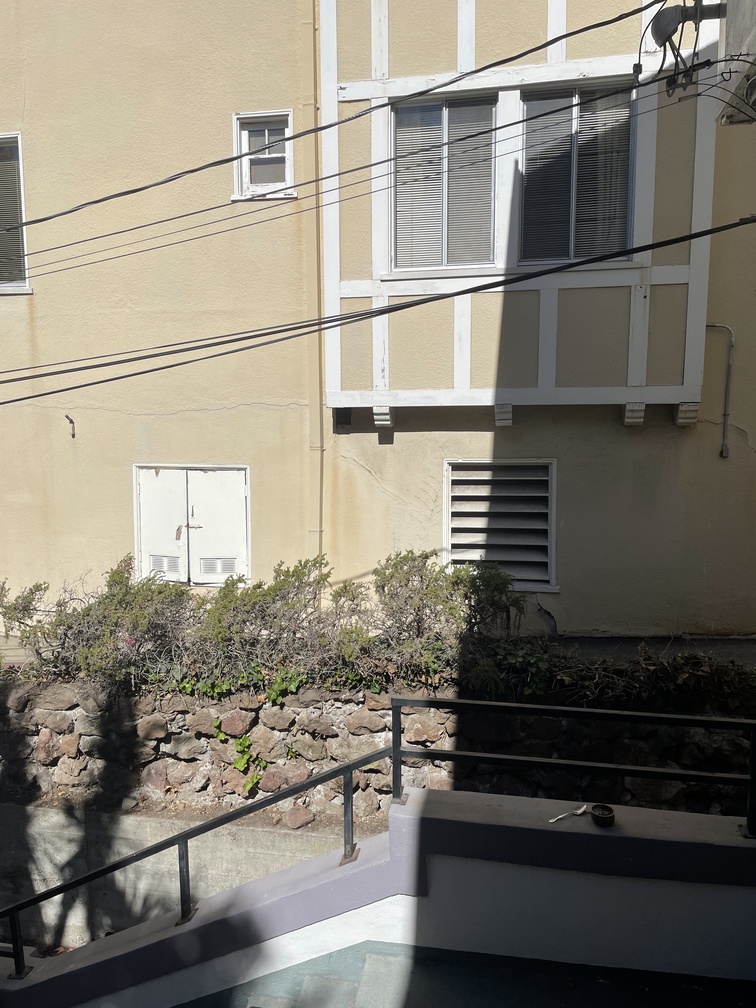
My porch
Pre-rectified Image 1
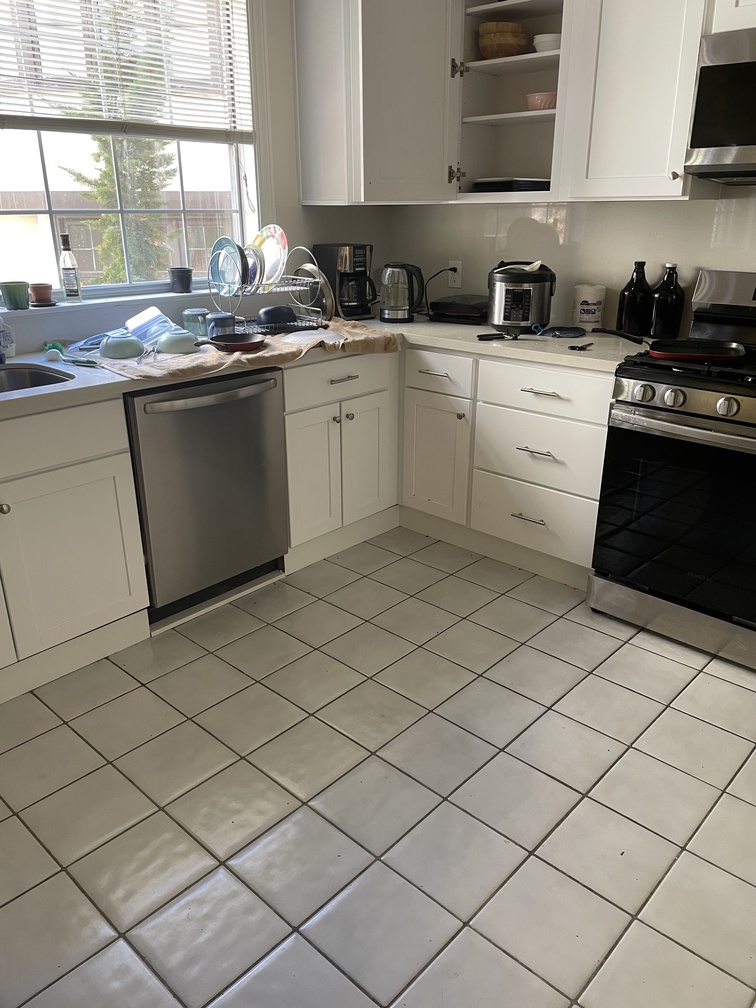
My kitchen
Pre-rectified Image 2
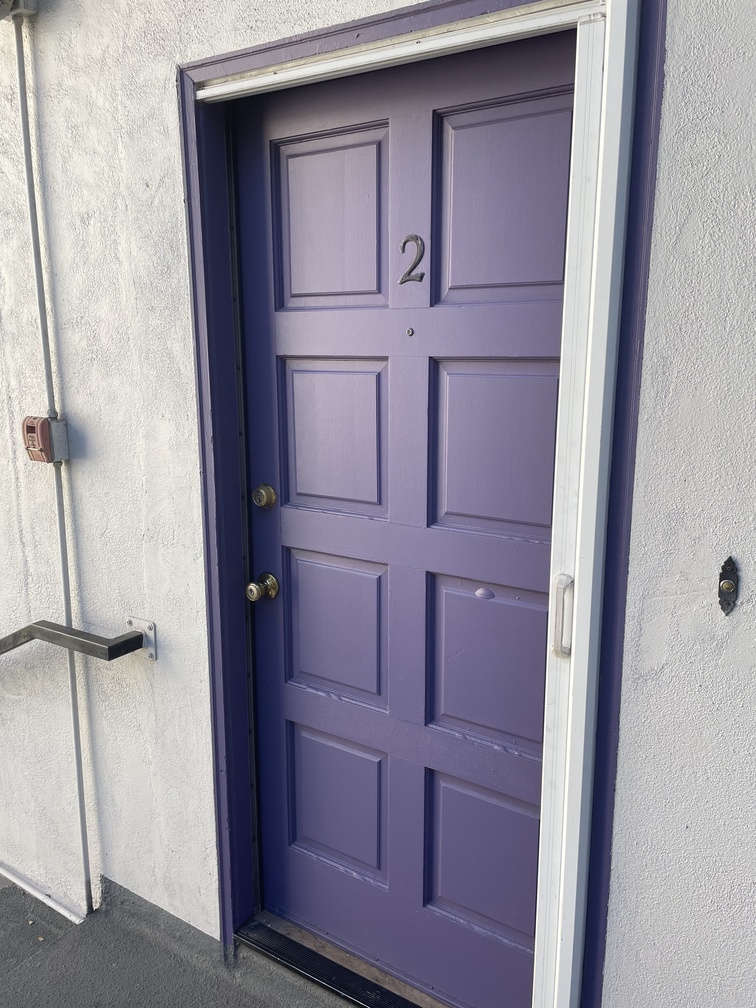
My front door
I manually found the correspondence vectors for each image by utilizing the ginput function and saving the vector as a .npy file so I don't have to repeat this process. Once the vectors were found, we could recover the homography (note: we need >= 4 points to solve for our homography matrix (can use least squares if > 4)). In the image below is the matrix formulation I used to recover the homography from my correspondence vectors.
Homography Matrix Calculation
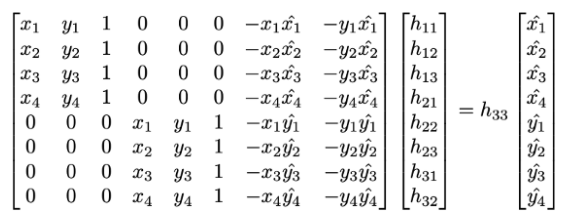
Solved this system of equations with Least Squares
After producing the homography matrices, we can warp all the images to our source image coordinate system. I used inverse warping to populate the color of the warped image. The tricky part here was calculating what the final image size should be which varies depending on the warps of each image. I managed to automate most of this but some images required a little manual tweaking to fit in the canvas. Here are what the rectified images look like after warping parts of the image into a square space.
Pre-rectified Image 1

My kitchen
Rectified Image 1
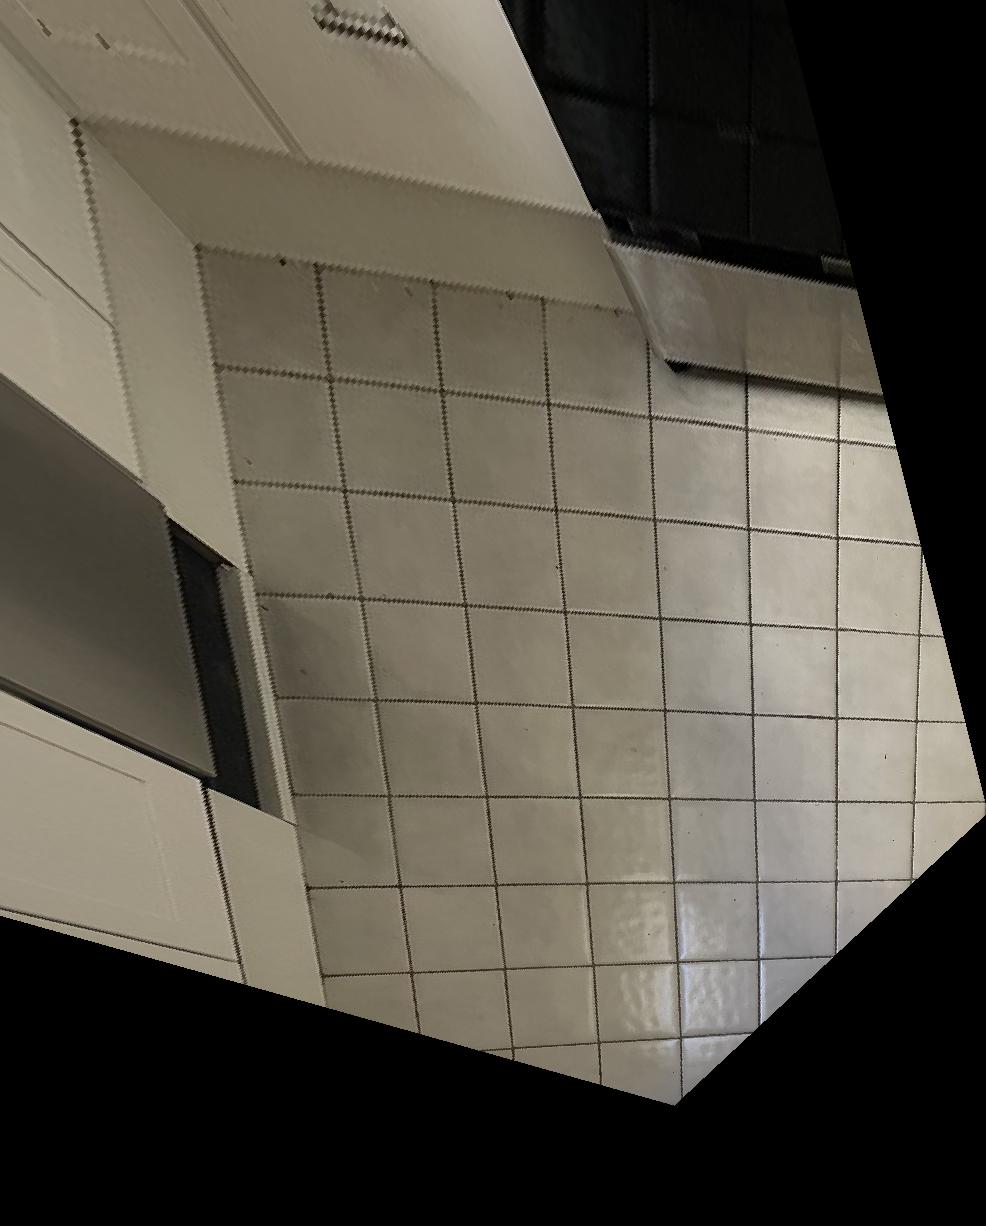
My rectified kitchen
Pre-rectified Image 2

My front door
Rectified Image 2
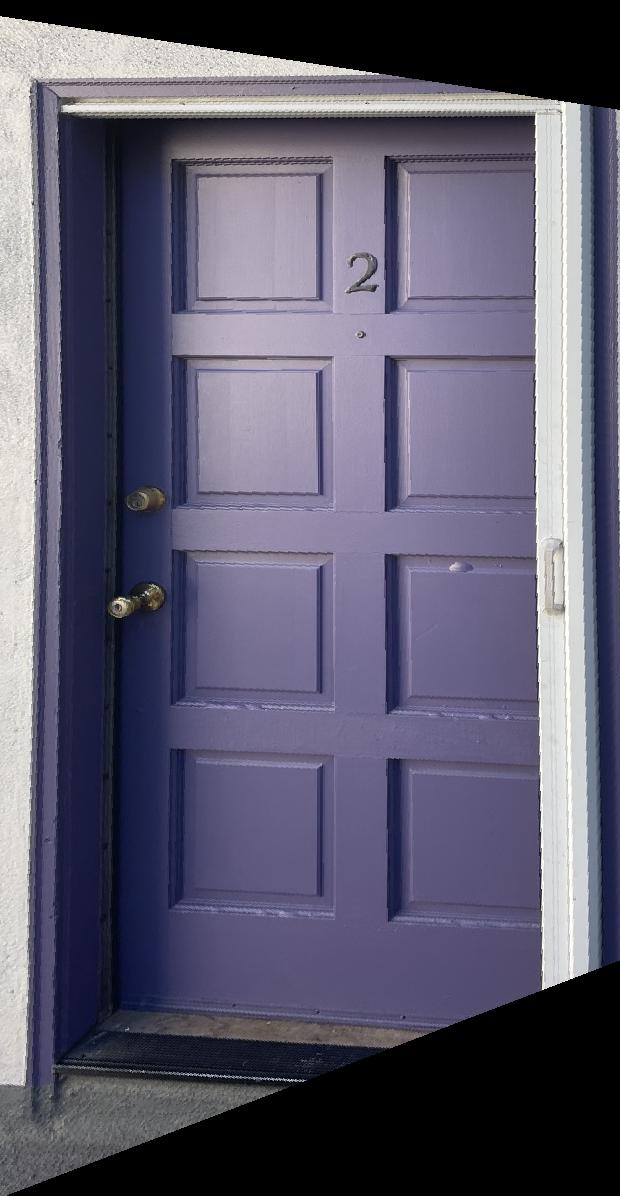
My rectified front door
After checking the warping and homography calculations were correct with the above procedure. We could move onto creating blended mosaics of an arbitrary amount of images put together. Calculating offsets, canvas size, and interpolation were the toughest parts here. I tried using the cv2.remap function for awhile but the documentation was not great and the image often came out cropped and small so I opted on making my own "remap" function, it may not be the best but there's no for loops and the images aren't cropped for the most part so I'm happy with it. Here are the mosaics:
Mosaic 1 Picture 1

My bedroom
Mosaic 1 Picture 1

My bedroom
Mosaic 1 Picture 1

My bedroom
Blended Mosaic 1
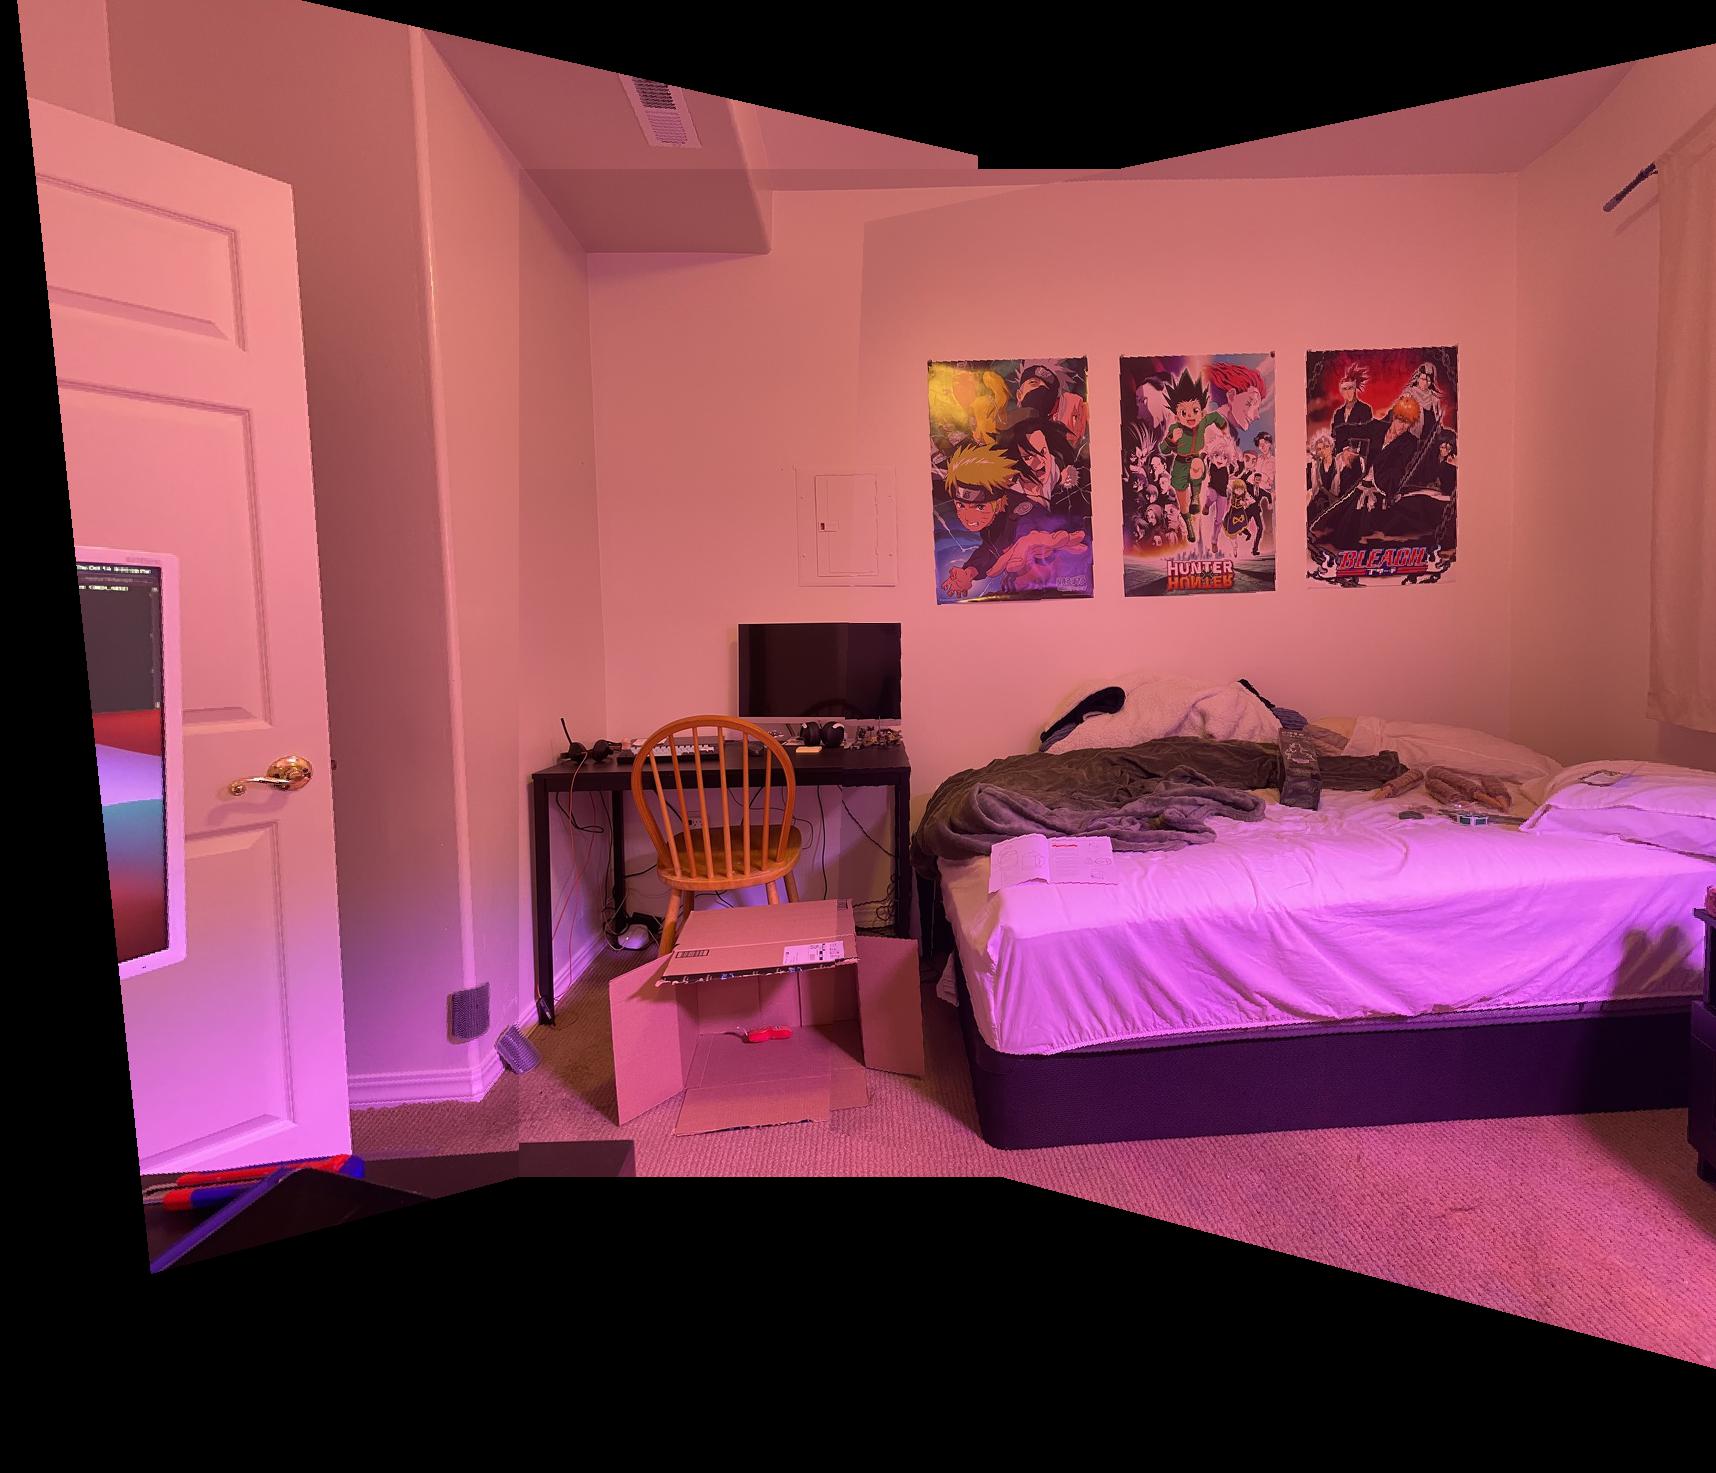
My bedroom mosaic
Mosaic 2 Picture 1

My kitchen
Mosaic 2 Picture 1

My kitchen
Mosaic 2 Picture 1

My kitchen
Blended Mosaic 2
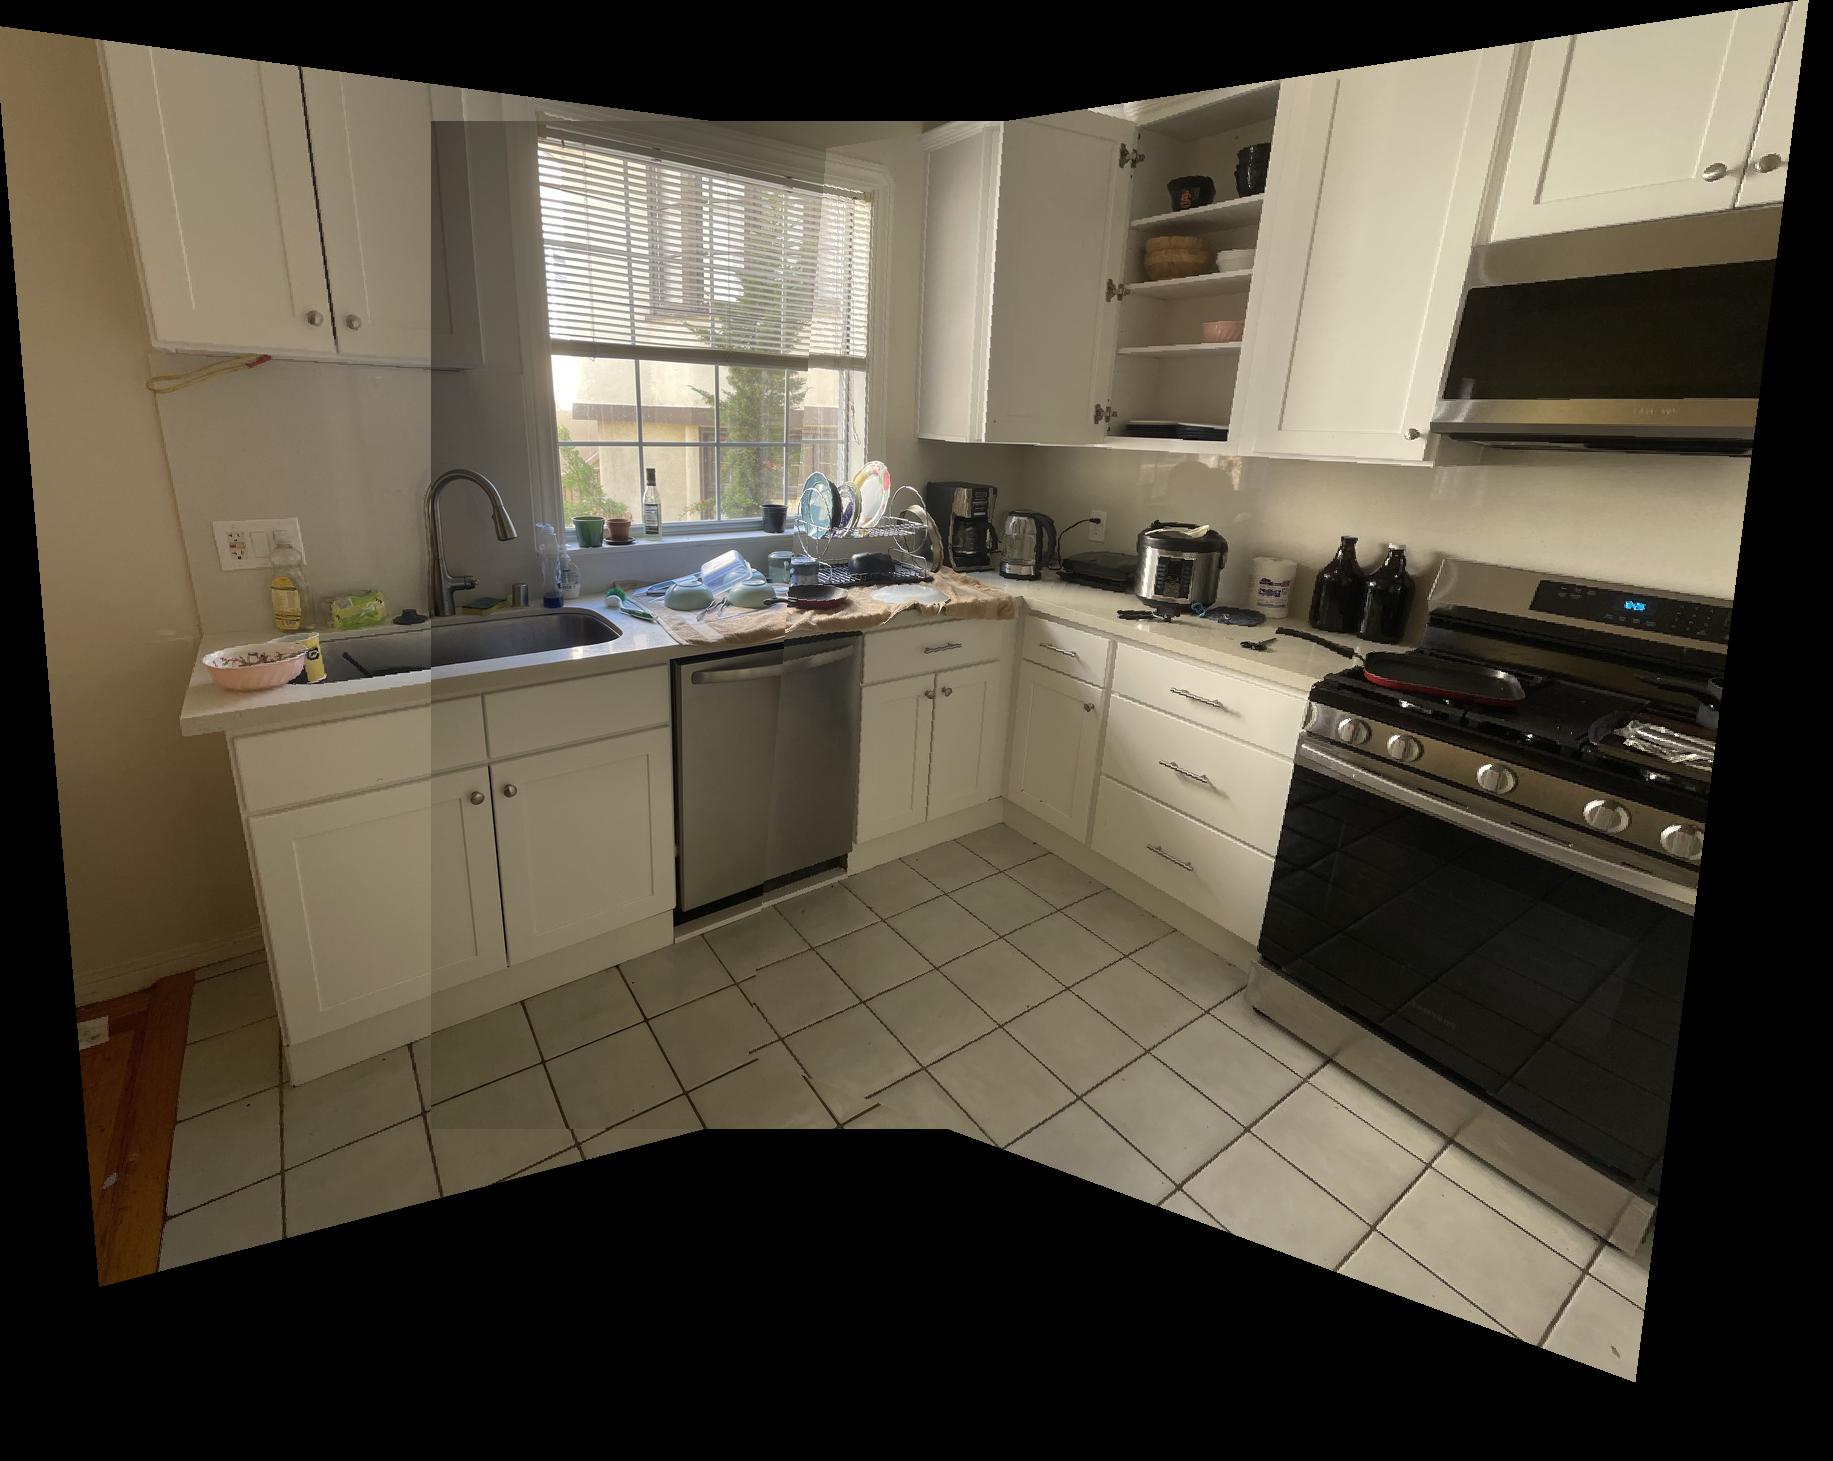
My kitchen mosaic
Mosaic 3 Picture 1

My porch
Mosaic 3 Picture 1

My porch
Mosaic 3 Picture 1

My porch
Blended Mosaic 3
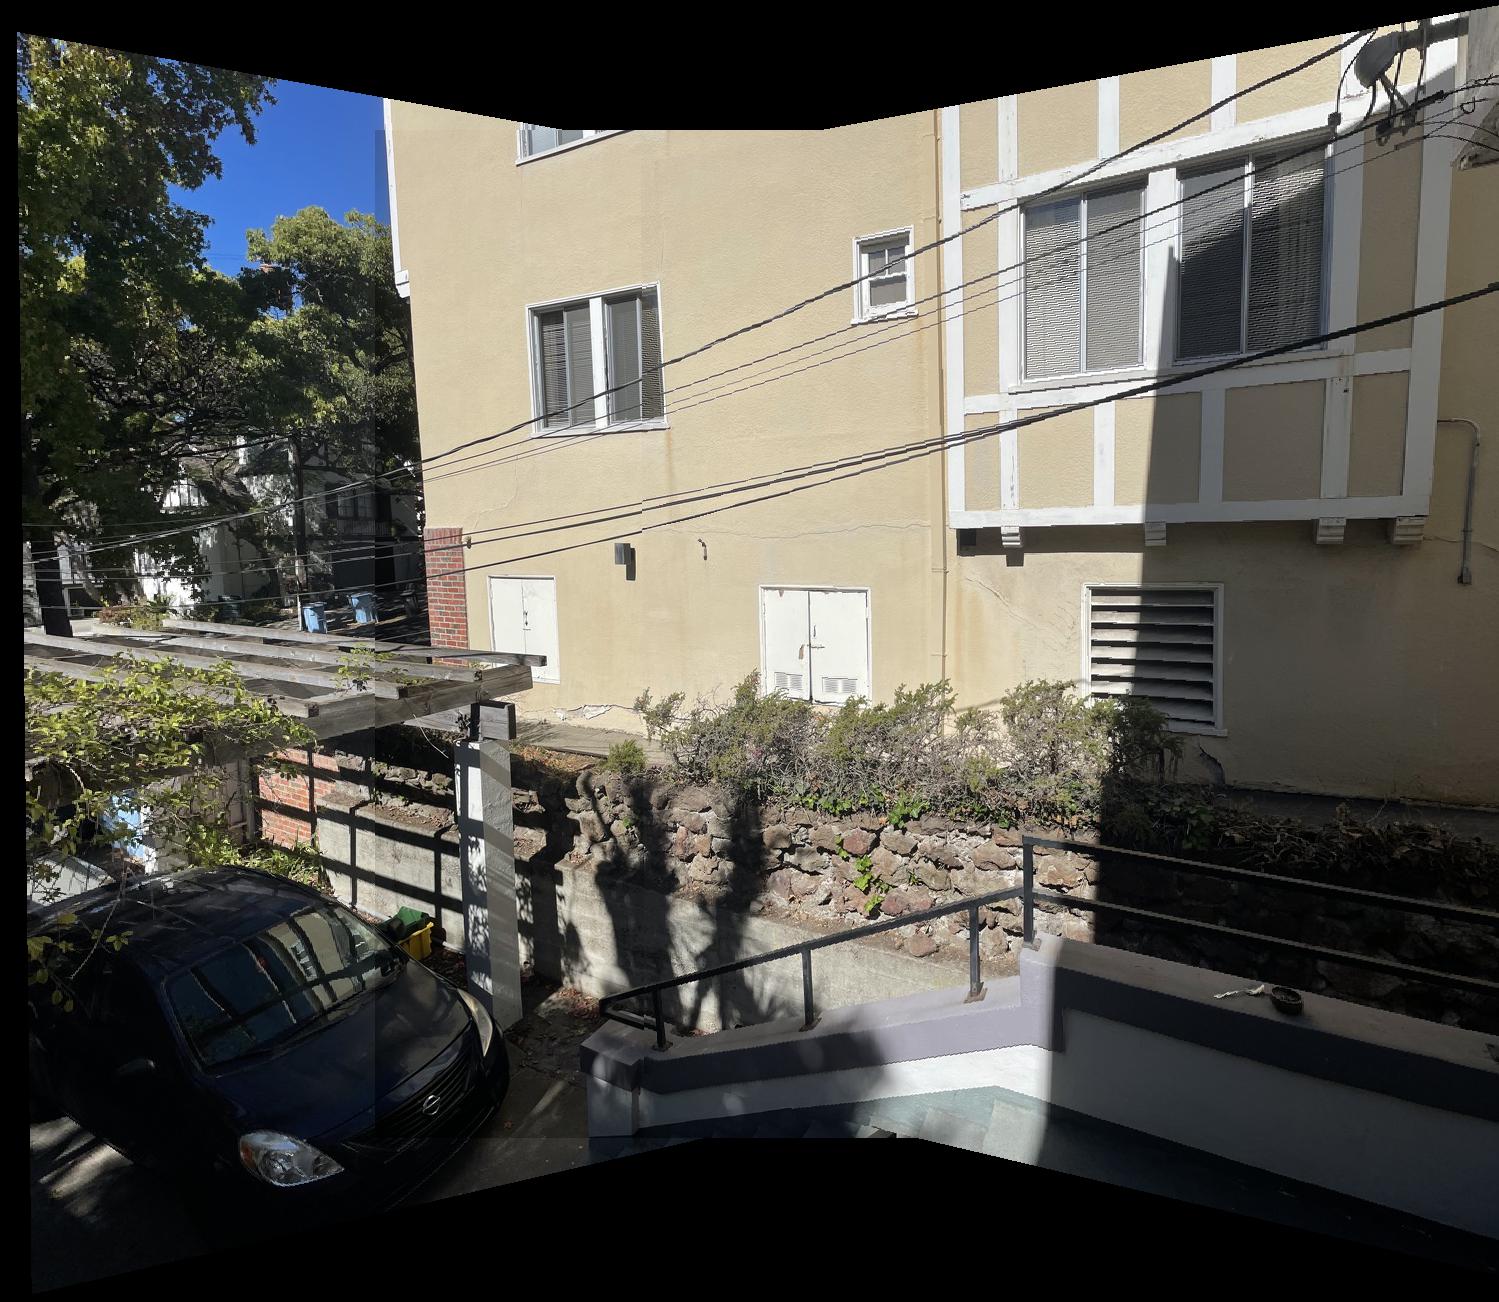
My porch mosaic
I learned a lot from this project. It definitely wasn't as "easy" as just appling the morphing from the previous project to this project. The homography calculation and inverse warping was actually the easiest parts for me. Calculating the bounding boxes, canvas sizes, offsets, and blending were the hardest parts but also rewarding. By not using the cv2 remap function, I had to get my hands dirty and do all the calculations myself which made me understand all the parts of the project really well. I went over all of the early parts multiple times to confirm that there weren't issues there so I could focus on the stitching aspects (the worst part :") ). The final result is really cool that we can take multiple different images and put them together in one image's coordinate system like a panorama.
This part of the project involved automating the manual aspects of the first part of the project. Instead of manually clicking points and maintaining order, now we utilize Harris Interest Point Detection to find corners in our image, apply Adaptive Non-Maximal Suppression (ANMS) to reduce our corners size to a smaller number (e.g N=500) feature descriptors and feature matching to match points in one image to the next, RANSAC to compute the best set of "inlier" points to compute our homography with and then do our classic warping from the first project.
The first part of this project required implementing Harris Interest Point Detector. Thankfully, the code for this section was provided to us. I changed the sigma from 1 to 1.5 to get less points since my images don't have many pixels and there were way too many harris corners. The images are still covered with harris corners but not too many now. Below are the images with their harris corners overlaid.
Bedroom Harris Corners 1
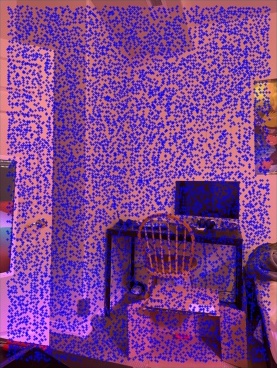
My left bedroom with corners
Bedroom Harris Corners 2
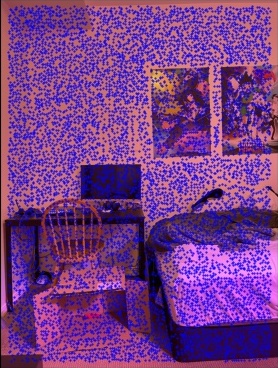
My center bedroom with corners
Bedroom Harris Corners 3
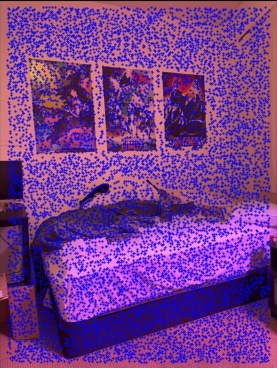
My right bedroom with corners
Kitchen Harris Corners 1
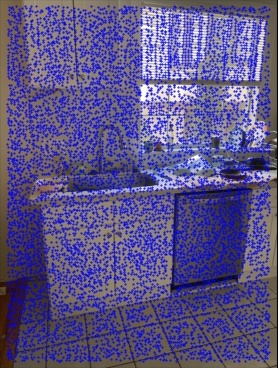
My left kitchen with corners
Kitchen Harris Corners 2
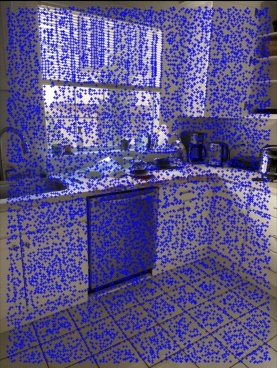
My center kitchen with corners
Kitchen Harris Corners 3
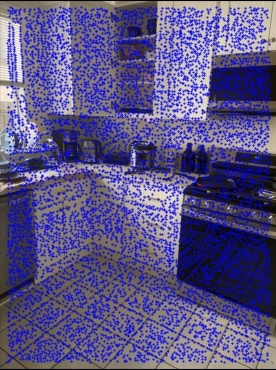
My right kitchen with corners
Outside Harris Corners 1
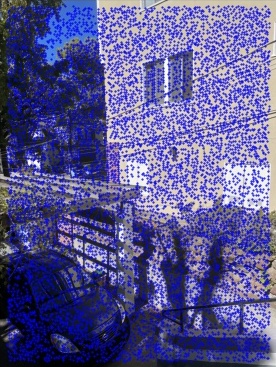
My left outside with corners
Outside Harris Corners 2
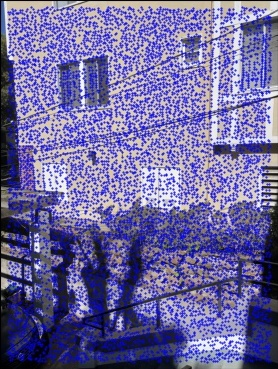
My center outside with corners
Outside Harris Corners 3
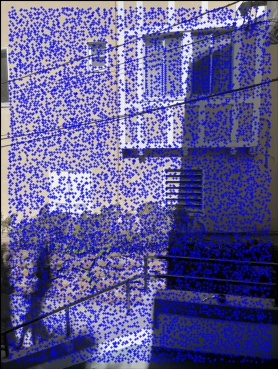
My right outside with corners
After finding the Harris Corners, we apply the ANMS technique to reduce our set of interesting points to a fixed number (e.g I used 500). This technique attempts to find the strongest corners in every region of image so your corners aren't overlapping or focused in one area. This portion of the porject was conceptually really hard for me to get. I saved it for last and it took reading the MOPS paper like 10 times to finally understand it. We use the equation in the paper to minimize ri given the contraint and then we use the maximal 500 ri's out of all our points. Below are my images with Harris corners post-ANMS.
Bedroom ANMS Corners 1
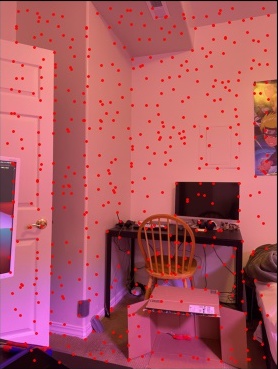
My left bedroom with corners
Bedroom ANMS Corners 2
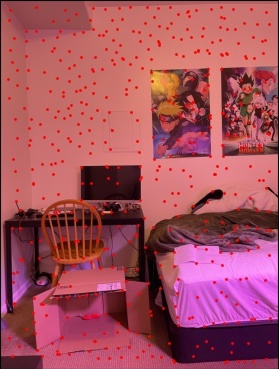
My center bedroom with corners
Bedroom ANMS Corners 3
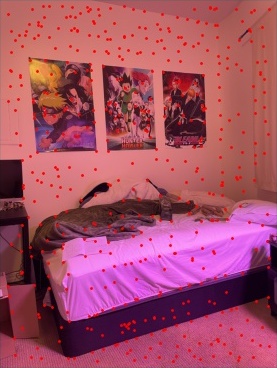
My right bedroom with corners
Kitchen ANMS Corners 1
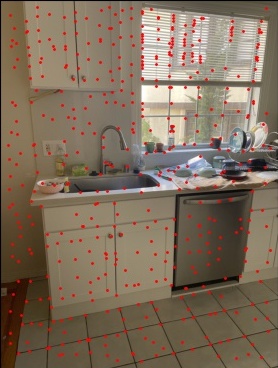
My left kitchen with corners
Kitchen ANMS Corners 2
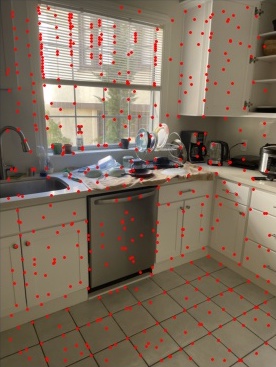
My center kitchen with corners
Kitchen ANMS Corners 3
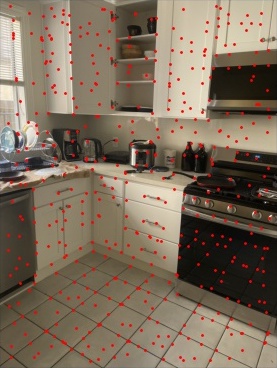
My right kitchen with corners
Outside ANMS Corners 1
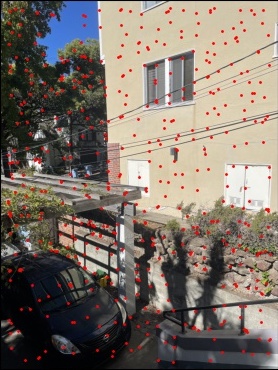
My left outside with corners
Outside ANMS Corners 2
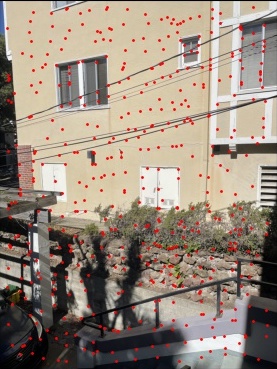
My center outside with corners
Outside ANMS Corners 3
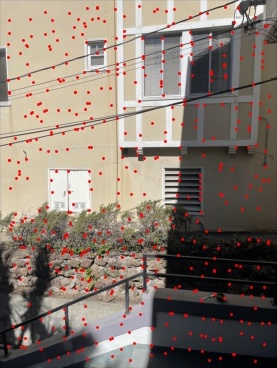
My right outside with corners
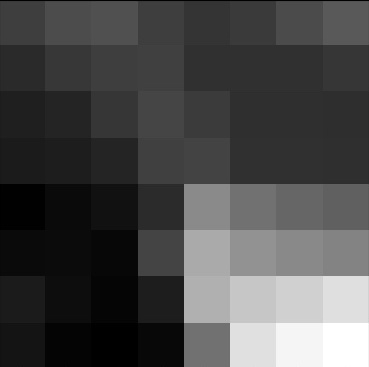
After ANMS, we can now extract features from our images to compare between two images. The idea here is that we'll sample a 40x40 box around our interest point, then subsample the point (I used a factor of 1/5), then normalize and standardize the subsampled patch and compare those to all the other feature patches. Below is an example of what a subsampled, normalized/standardized feature patch looks like with reference to the unsampled patch and the corresponding point in the image (cyan point).
Feature Example Point on Image
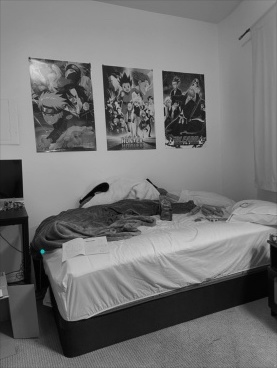
Feature Example Original
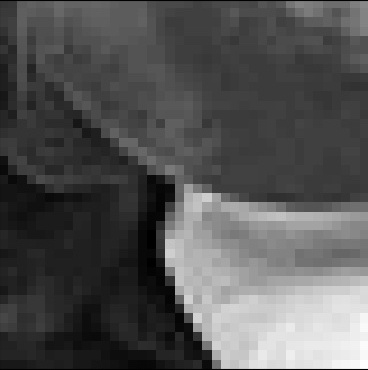
Feature Example After Downsampling/Normalization
After recovering our feature descriptors, we can try to match features between two images. The idea is to find two patches that look similar and match them together. The trick we used here was Lowe's approach. We found the Sum of Squared Distance (SSD) between two patches and noted the 1st and 2nd lowest errors for every patch. Then, we use the 1st_lowest_error / 2nd_lowest_error as a threshold value to find the most unique patches that have a good match. Here, I used a threshold of .1 as that had the highest probability density in the paper. Here's an example of the remaining points after feature matching.
Bedroom ANMS Corners 1

Left bedroom with corners post ANMS
Bedroom SSD Corners 1
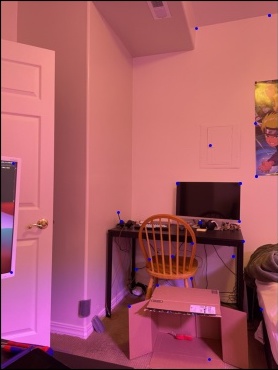
Left bedroom with corners post Feature Matching
Bedroom ANMS Corners 2

Center bedroom with corners post ANMS
Bedroom SSD Corners 2
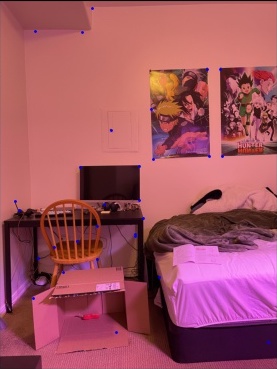
Center bedroom with corners post Feature Matching
Note: Even after this step, we still have mappings between the two images that are invalid (though most of them are correct). Our next step is to use RANSAC to help us find a good set of points to use in our homography calculation.
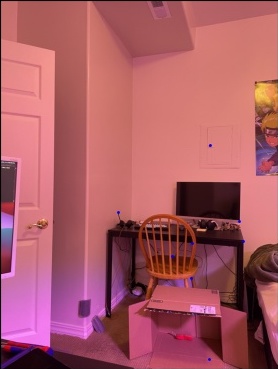
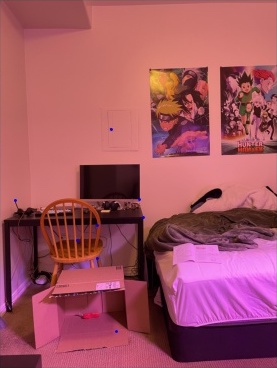
After finding some mapping from our features in one image to the features in the next image, we have to find a way to get rid of the outliers. Well, the solution I used is the RANSAC method which helps us find our largest set of inliers for some epsilon error threshold (I used 1). RANSAC involves choosing 4 random points to calculate an estimate of our homography matrix and then find how many points in our set react positively to this homography estimate. We loop through this thousands of times (I did 10000), to find the largest set of inliers and use the inliers as our points for our final homography matrix. Below is an example of points remaining post-RANSAC.
Bedroom SSD Corners 1

Left bedroom with corners post SSD
Bedroom RANSAC Corners 1
Left bedroom with corners post RANSAC
Bedroom RANSAC Corners 2
Center bedroom with corners post RANSAC
Bedroom SSD Corners 2

Center bedroom with corners post SSD
As you can see, in the RANSAC image, ALL of the points match the points in the other image now :") After performing RANSAC, we can continue with the work we did earlier in this project by computing the homography matrix with our set of inliers and then performing inverse warping and setting up our canvas to get our panorama stitched together!
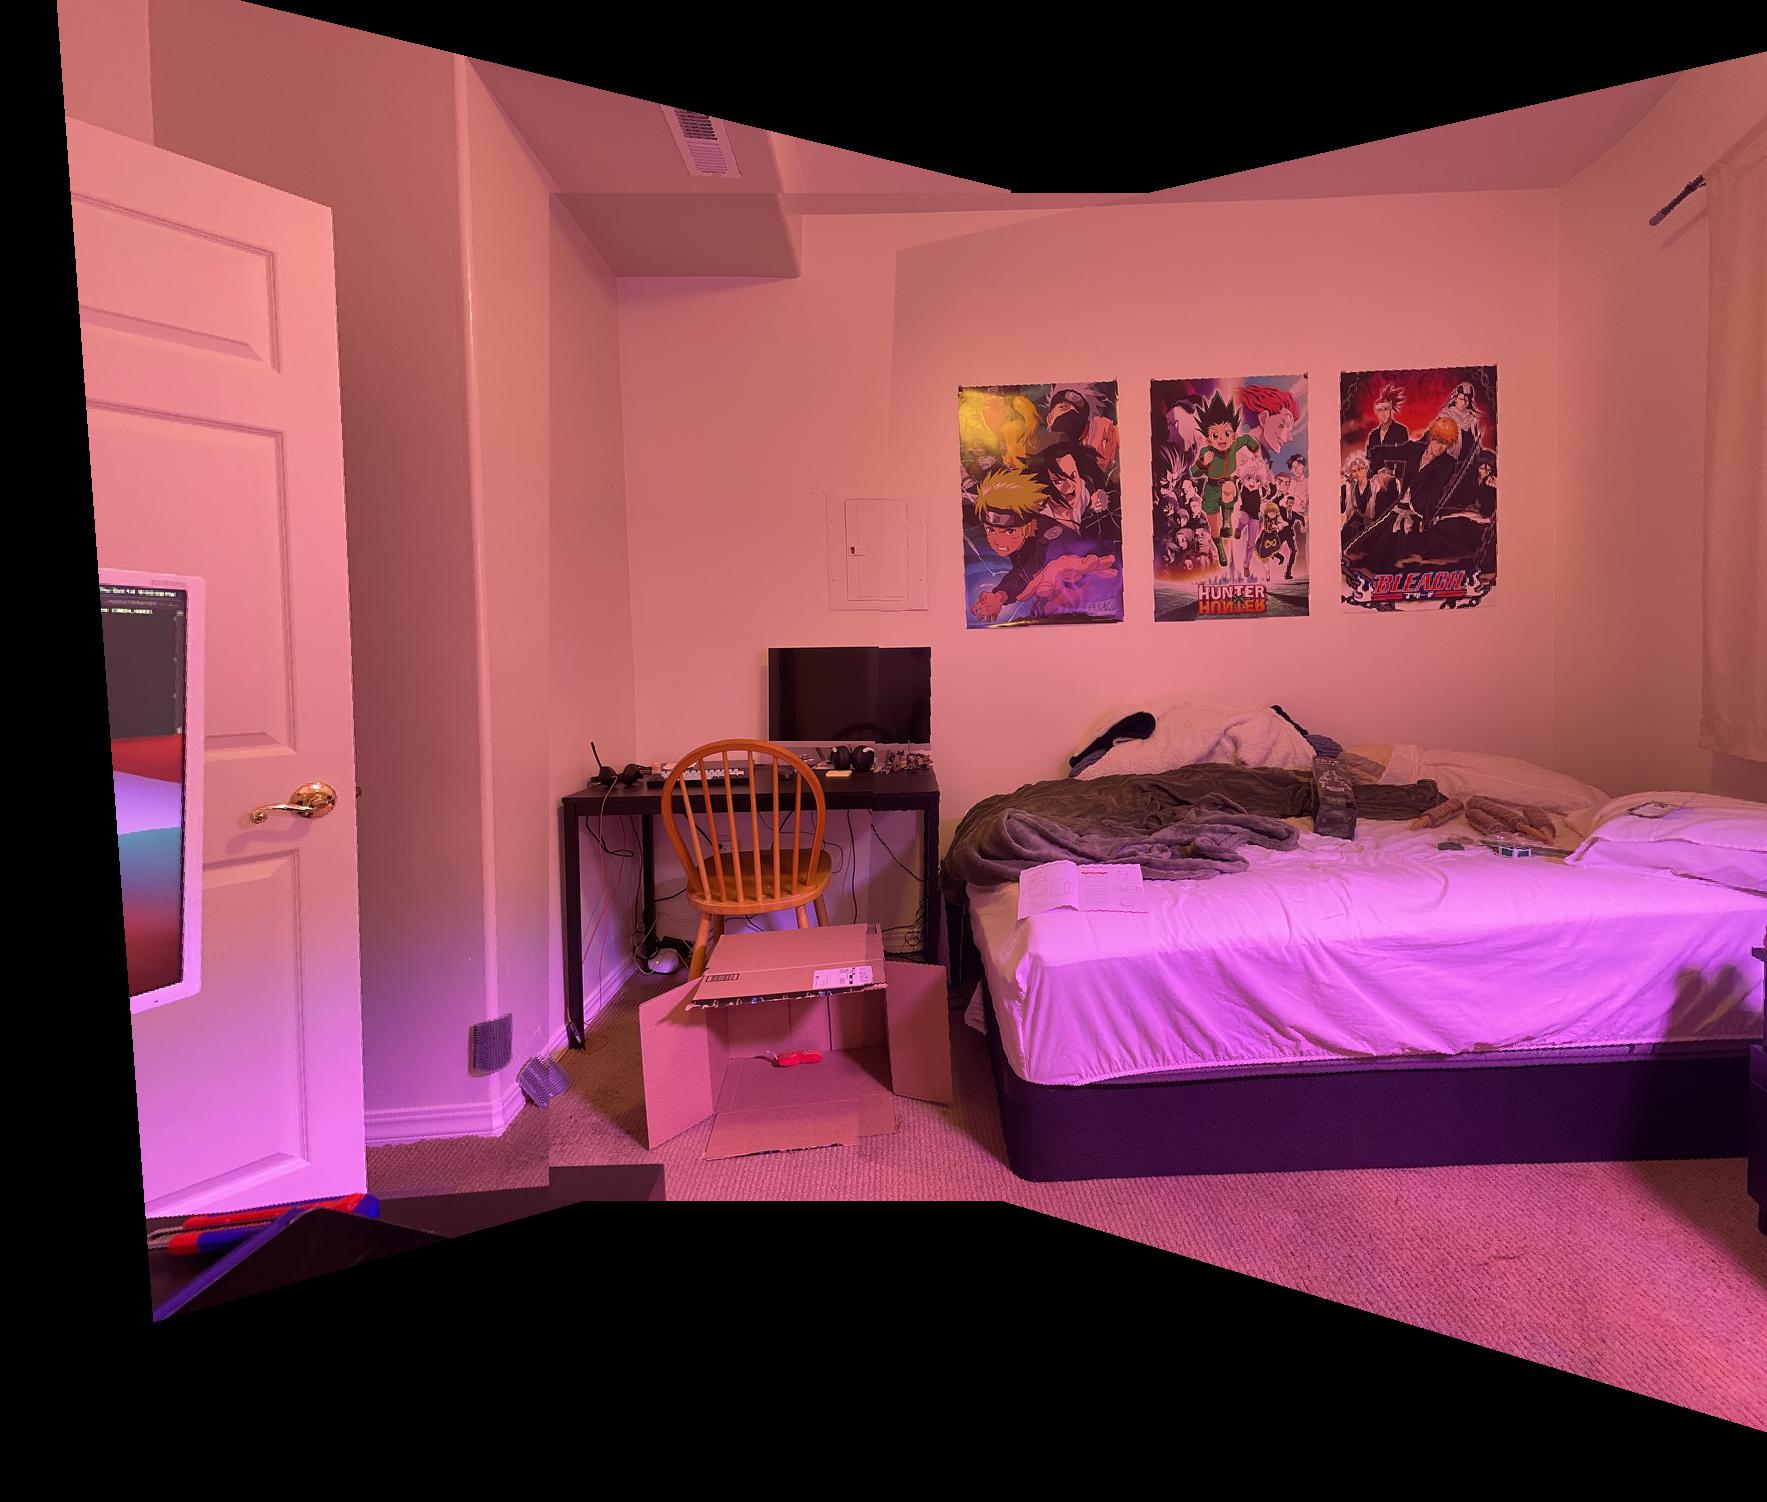
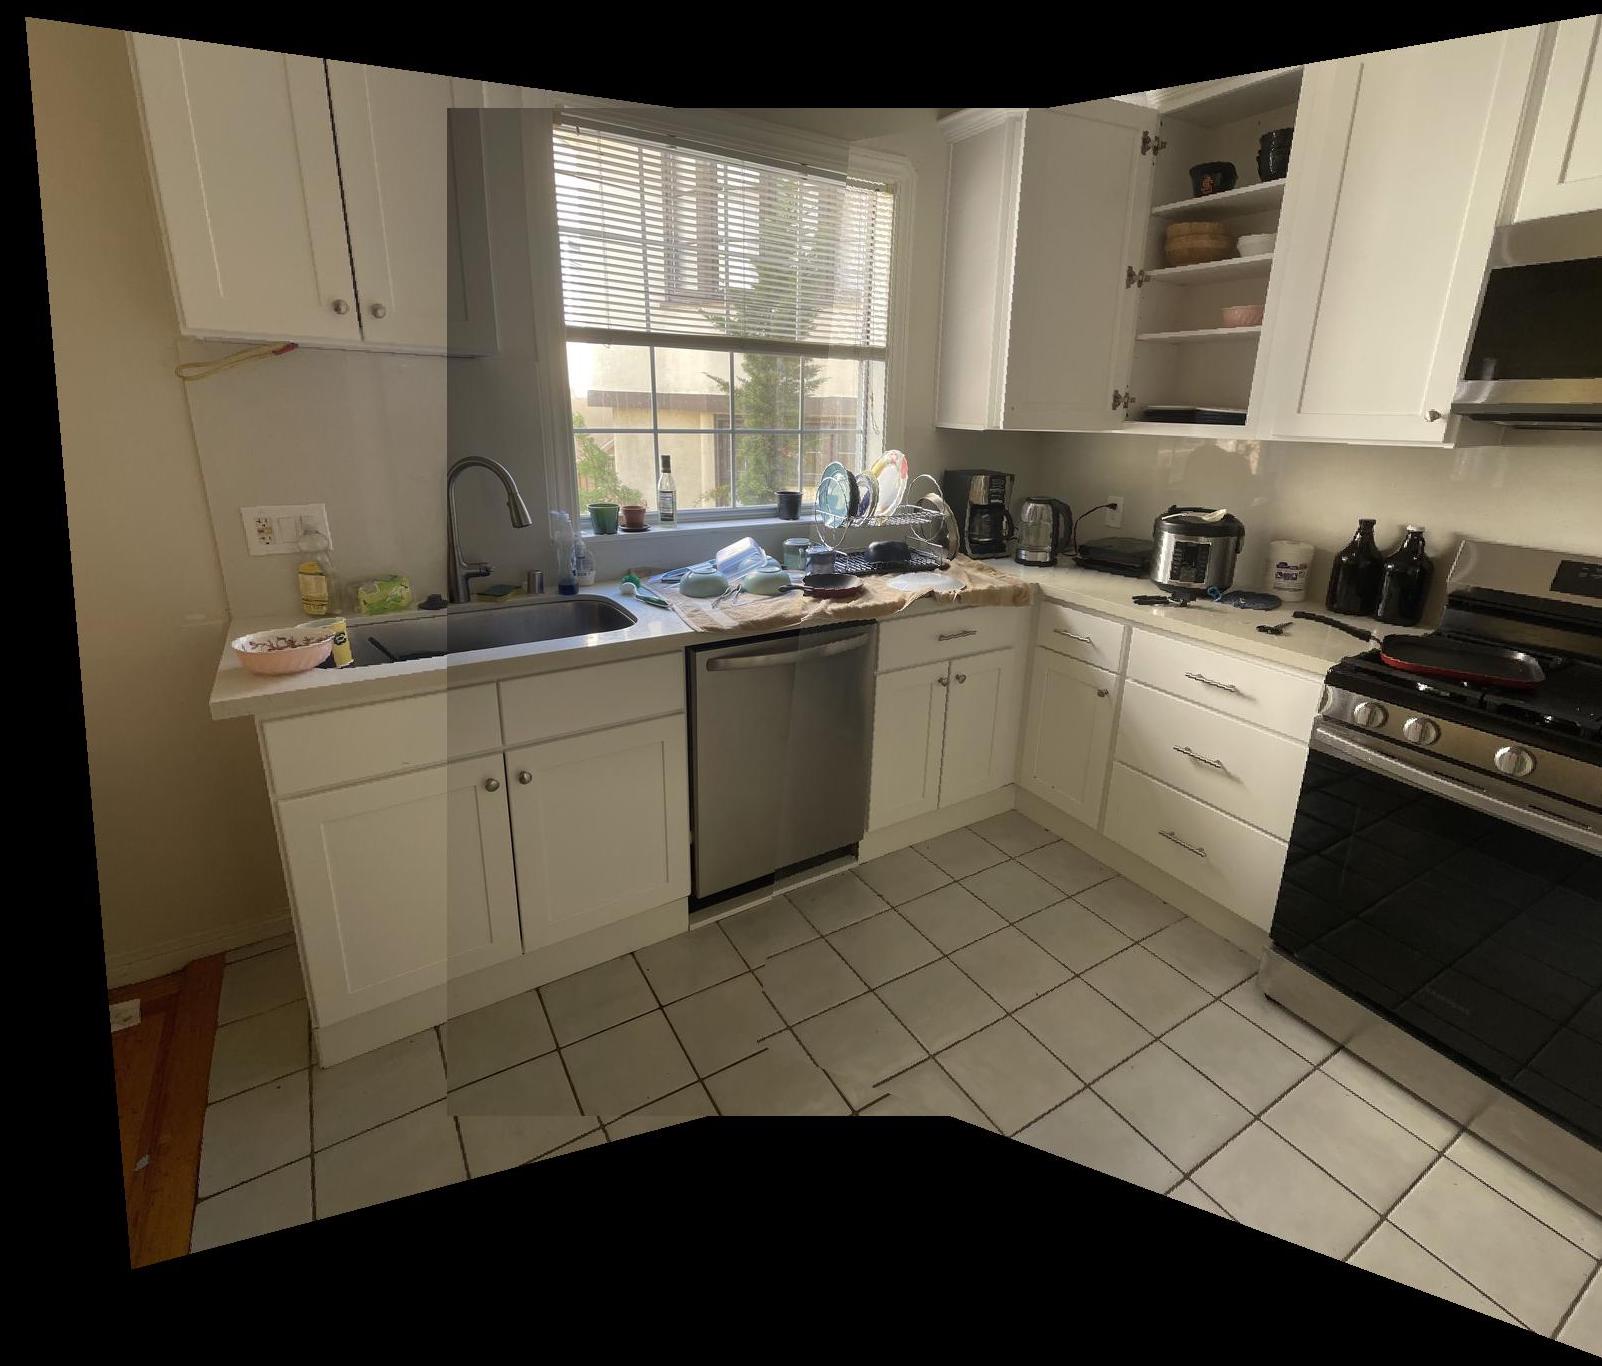
Now let's compare the results of the autostitching mosaics vs the manual mosaics!
Manual Bedroom Mosaic

Auto Bedroom Mosaic
Manual Kitchen Mosaic

Auto Kitchen Mosaic
Manual Outside Mosaic

Auto Outside Mosaic
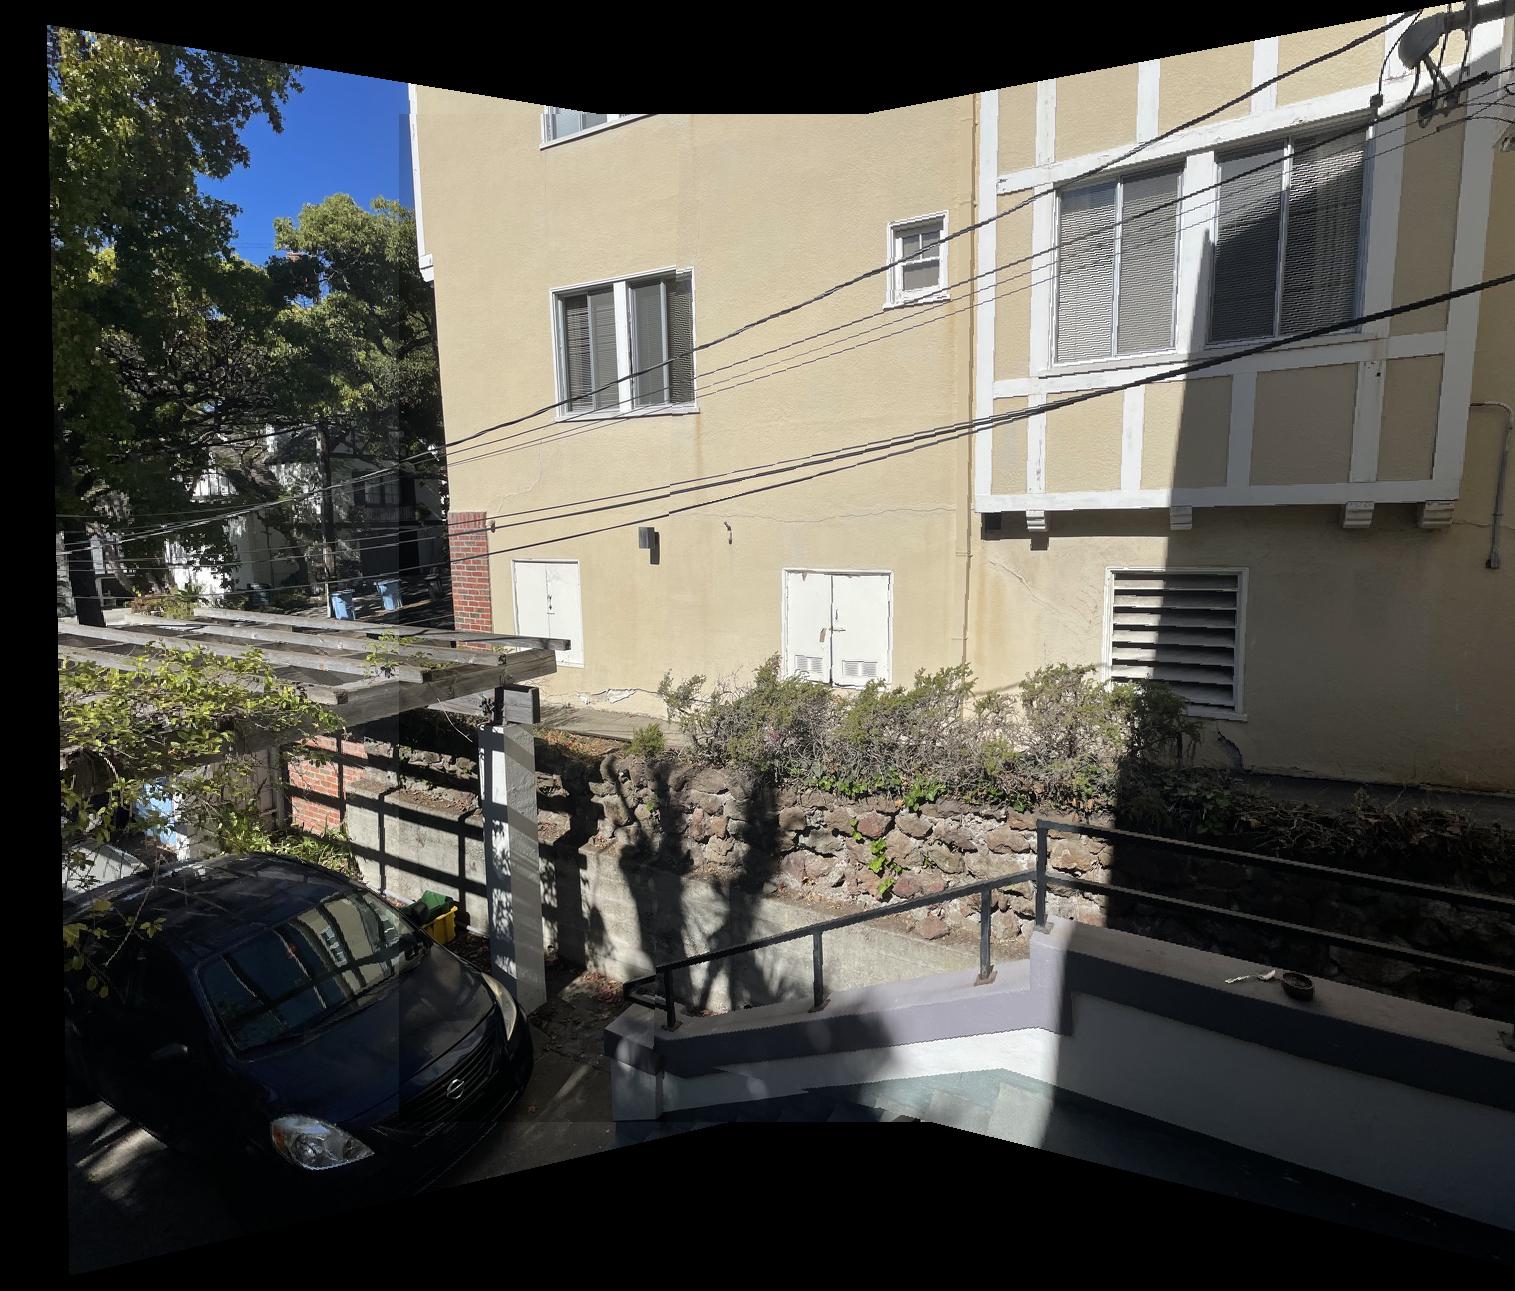
The images look pretty similar to each other but the nice part is we don't have to do any manual point clicking now! Note: the bottom of images (where the objects are closer to the camera) can be weird, mainly because they perceive the change of COP greater than objects in the distance and our edge detection avoids 20 pixels around our image.
The coolest thing I learned from this project was the idea behind the RANSAC method. I thought the idea behind the algorithm was really ingenious and I don't think I could have thought of something like that to find the largest set of inliers. Besides that, I really enjoyed automating the manual process of clicking correspondences from the previous part. Even though it took many hours to complete, the time it would take to autostitch panoramas would be much less! Shoutout time