In this project, we used image warping and stitching to rectify images into a planar form and stitch images together to create mosaics. First I recovered image homographies using 4 points in each image.
To recover the homography matrix, I realized I could perform an operation similar to that of the last project, wheree I figure out how to inverse warp from one image to another, and to do that I required 4 corresponding points between images. I created a largee matrix similar to the one in equation 13 in this article: https://towardsdatascience.com/estimating-a-homography-matrix-522c70ec4b2c. To do this, you construct a matrix to take you to the target image from the source image by first solving for the variable "z" variable (which is normalized out anyway) then vectorizing the homographies. Thus, we can solve for the homographies if we have 4 corresponding points in each matrix
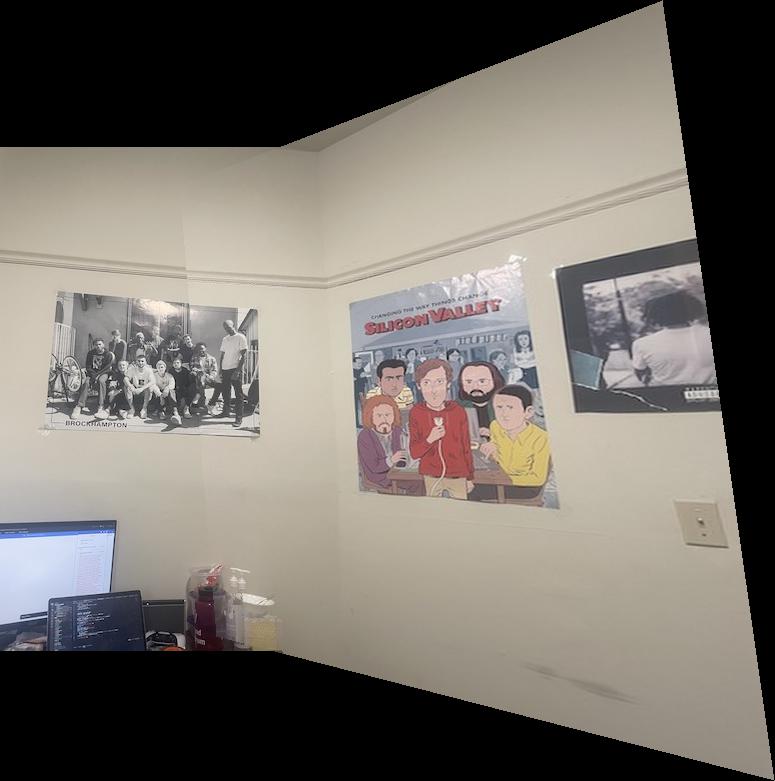
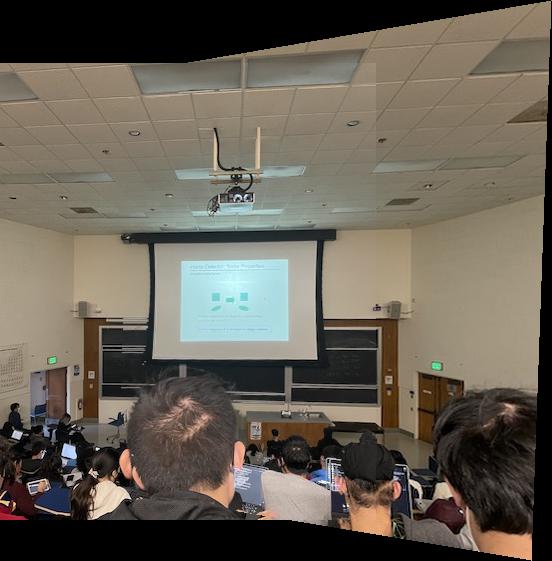
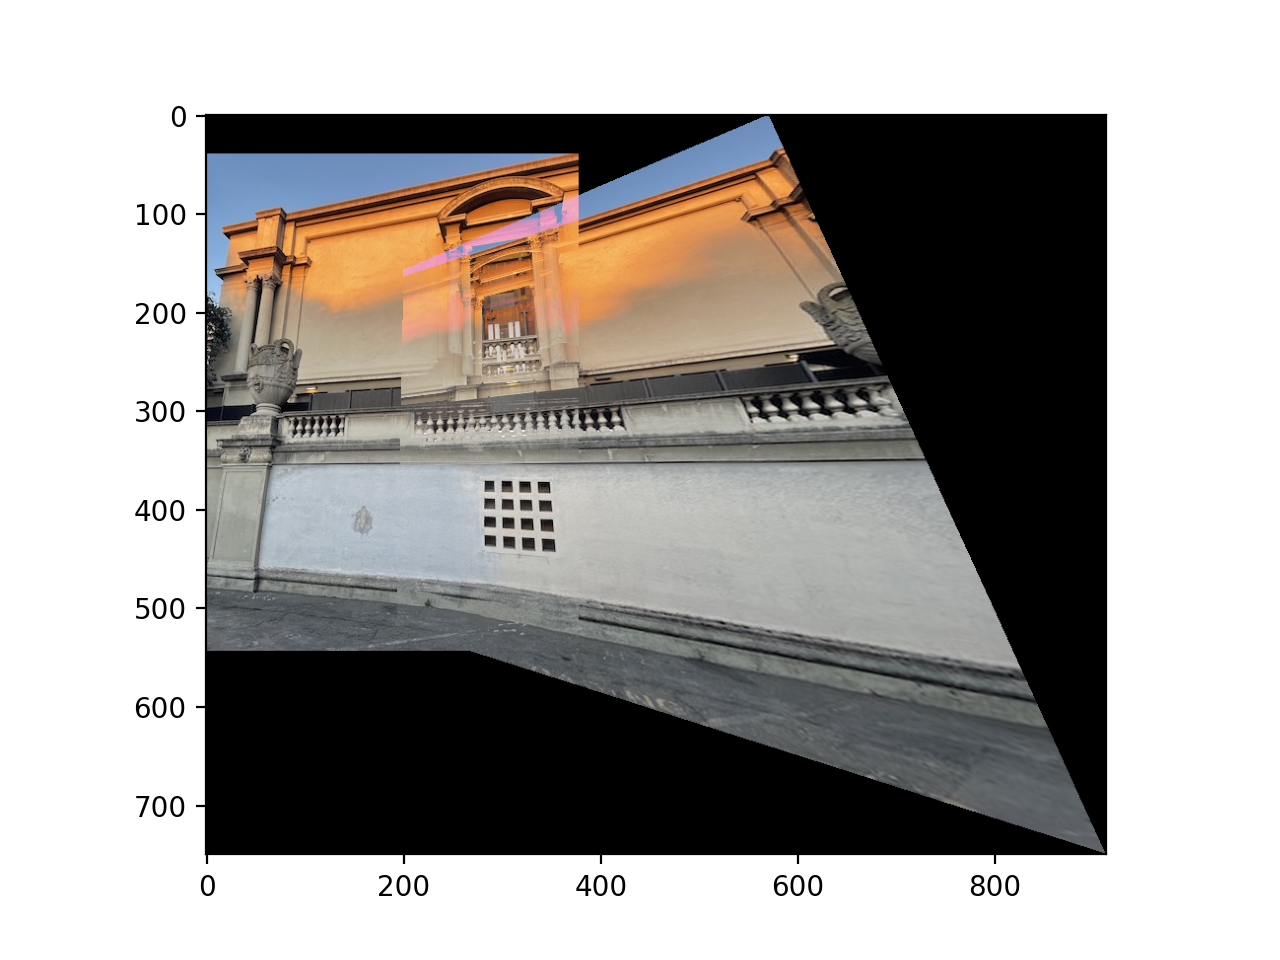
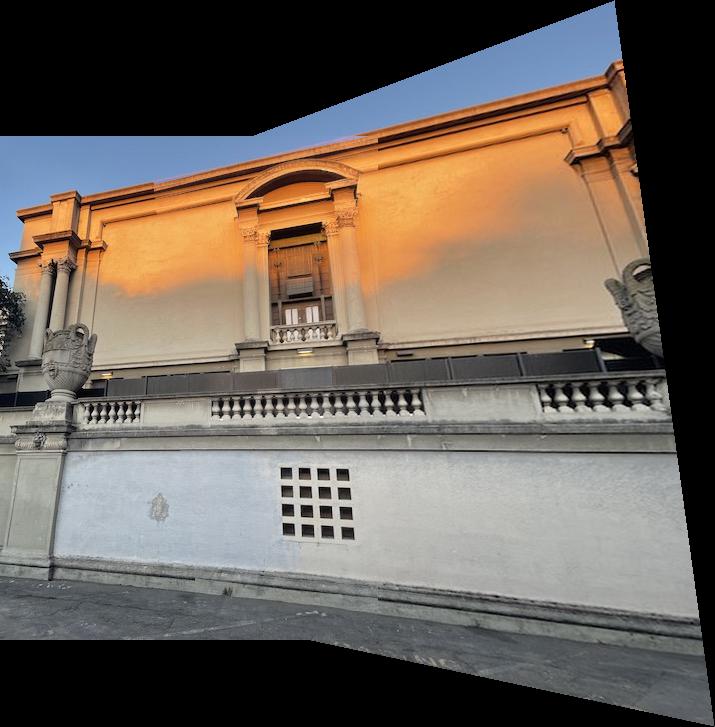
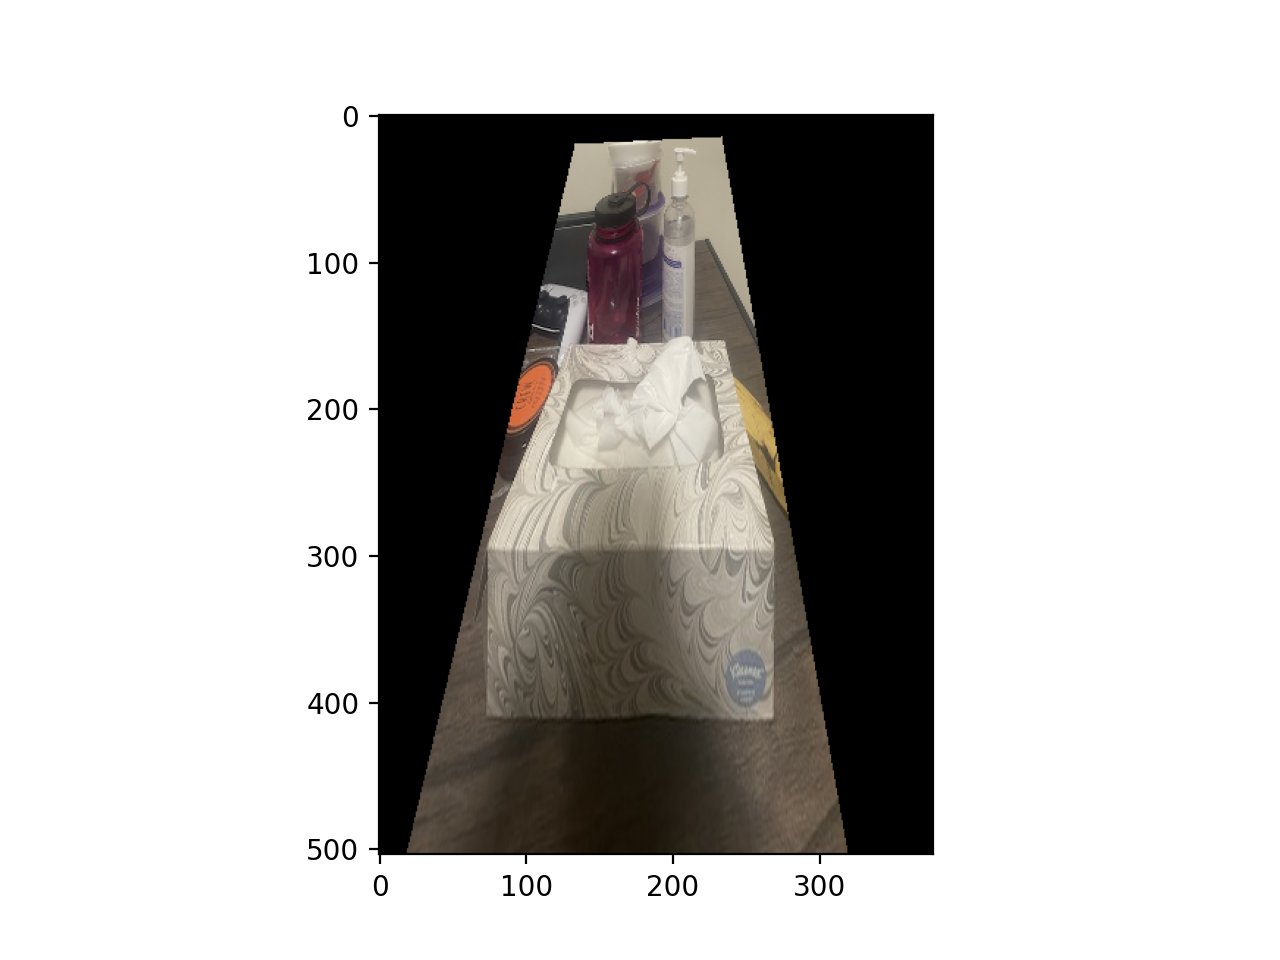
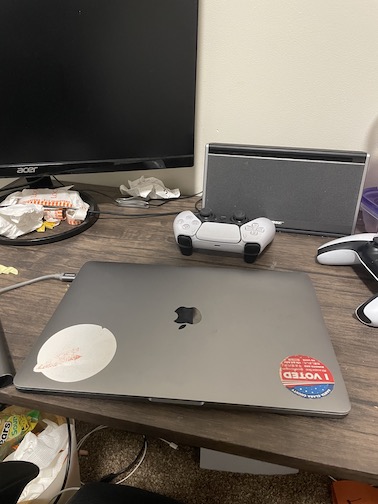
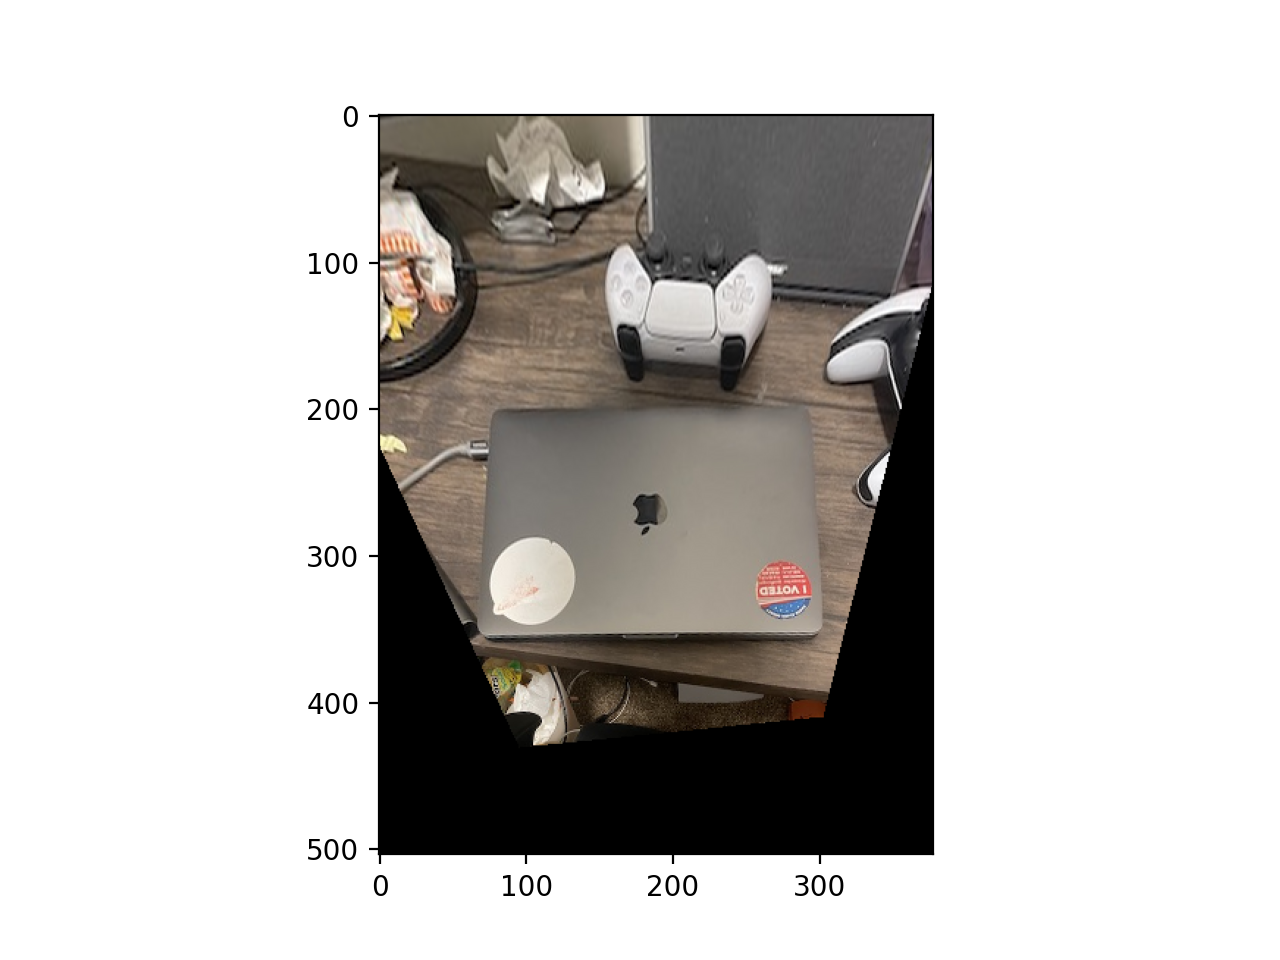
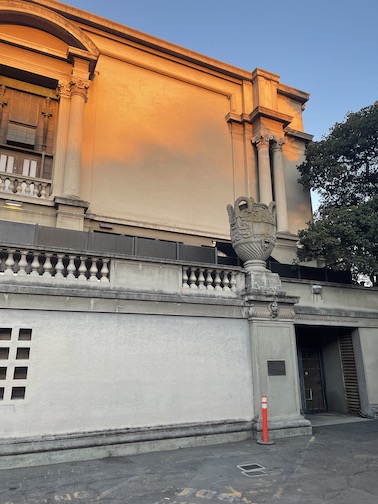
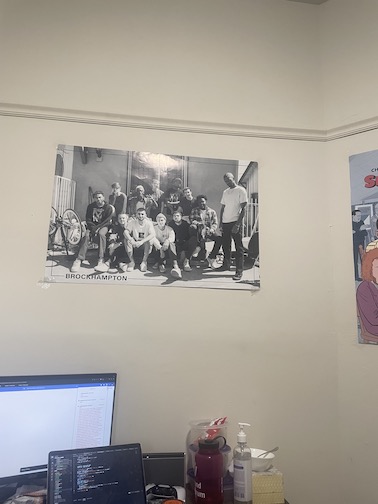
For this, I first calculated my homography matrix to take me from the source image to the desired coordinates as talked about above. I actually did it backwards in the code, but I inverted it during my calculations so it worked out. After I get my homography matrix, I warp the bounding coordinates of the source image with the homography matrix, and generate a polygon out of that, then clip out the coordinates that wouldn't fit in the dimensions of the image. Then I inverse warp to grab all of the polygon coordinates from the source image, and that's it! Some examples pasted below.
For this, similar to rectify, I calculate the homography matrix recursively to the leftmost image from the image to the right of it. I have to inveert it the same way for most of my calculations like above. This time, I don't crop the coordinates, generating the entire polygon and expanding my canvas as much as I need to fit all of both images. Then, to blend, I used a max blending, where I took the max of both images on the overlap of their masks (which I generated), which had mixed results. My blended image became my new leftmost image, then I'd blend the image to the right of it. Eventually I had my mosaic! One thing I noticed is due to the method I selected the warp got moree skewed the further right I went on the image mosaic. Some results below
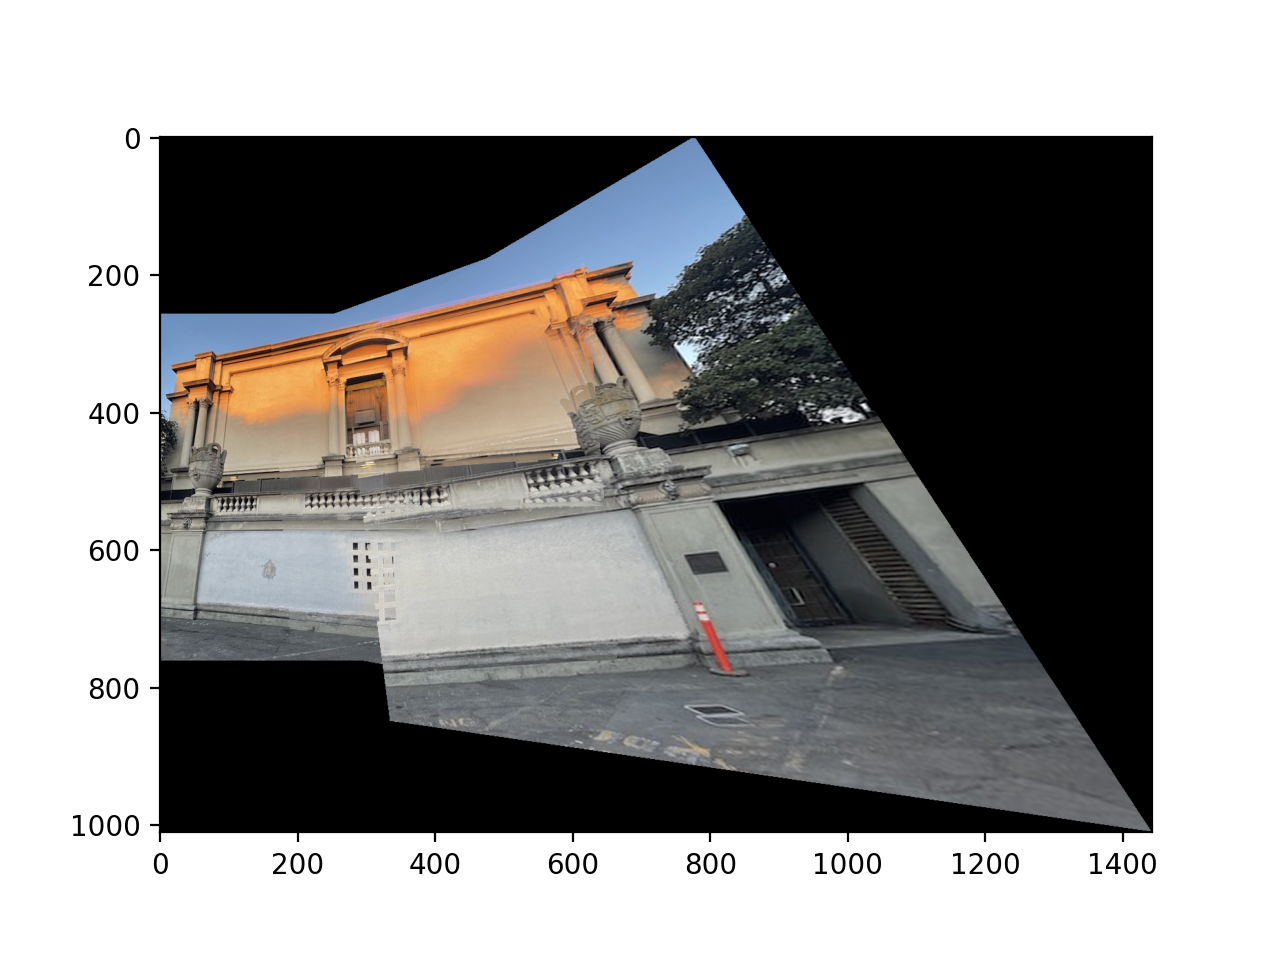

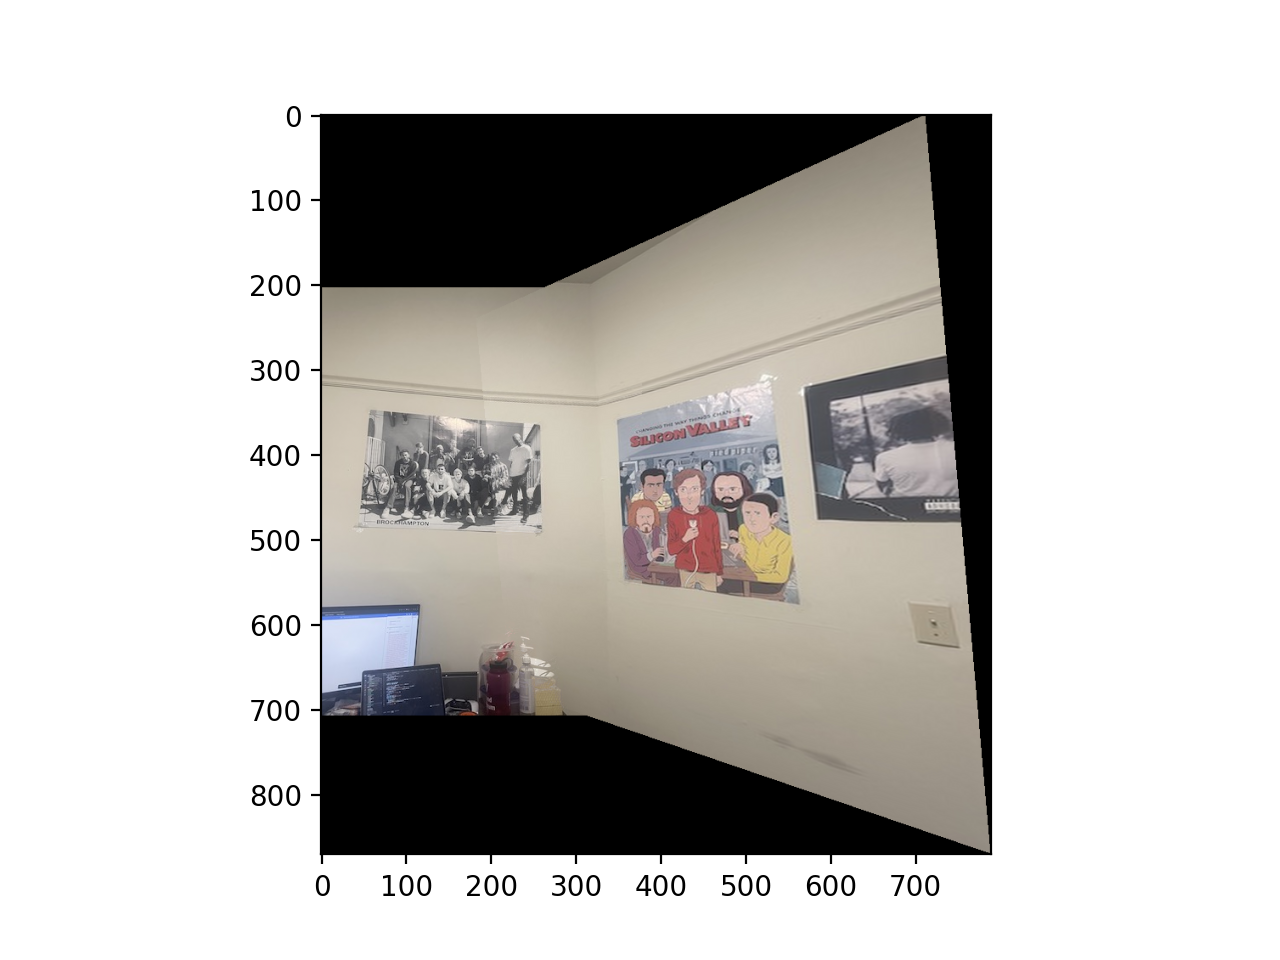
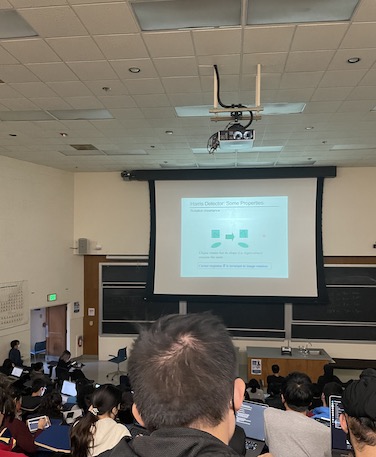
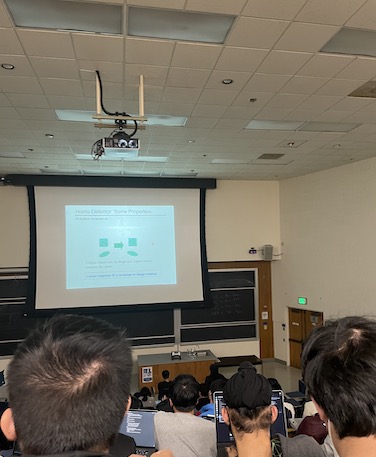
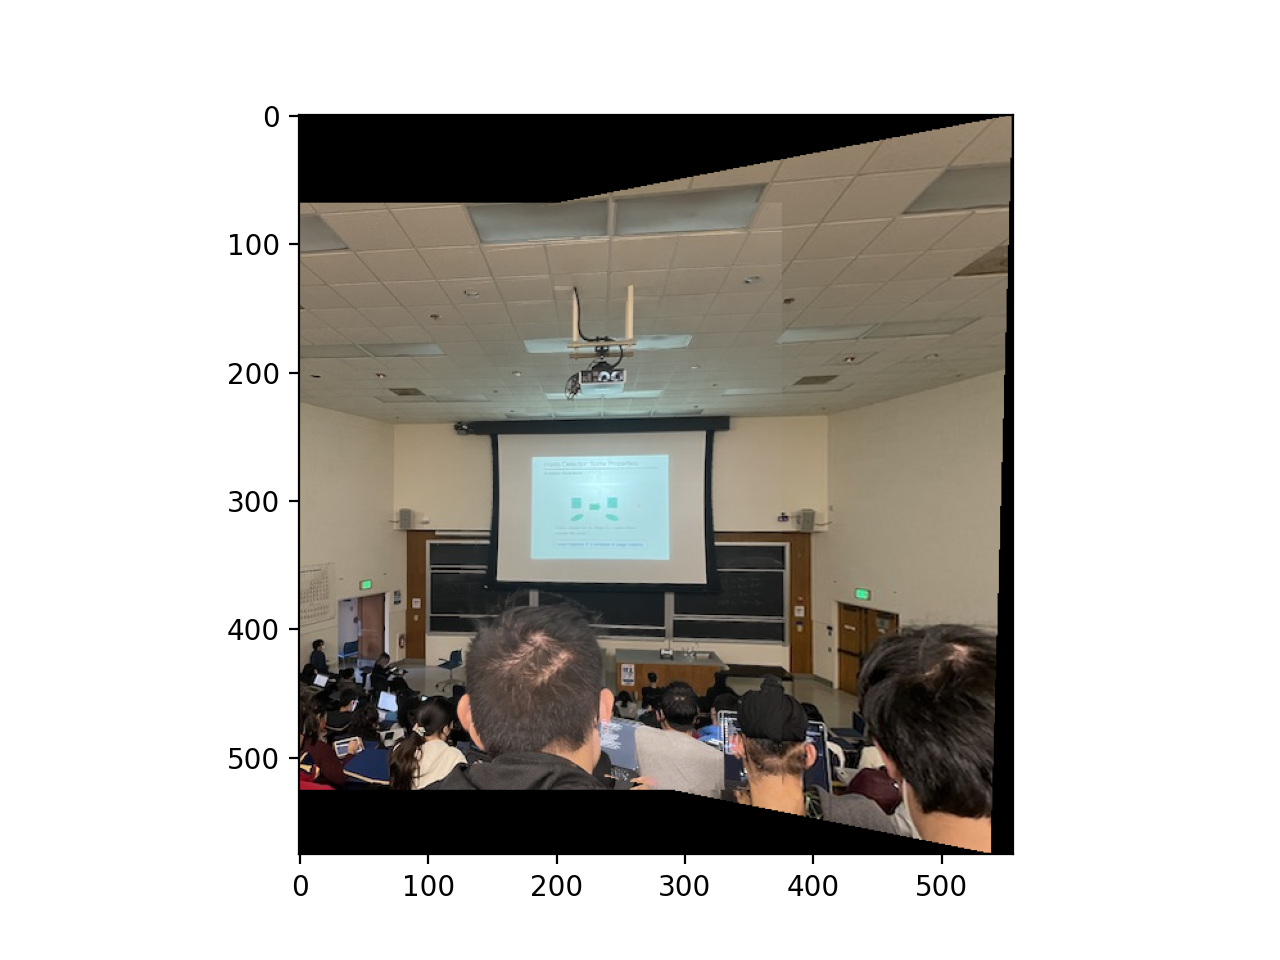
The biggest thing I learned was that finding proper coordinates to map is tough, and small discrepancies in labeling can cause your mosaics to be severely off. There are several artifacts in my blends above due to this discrepancy.
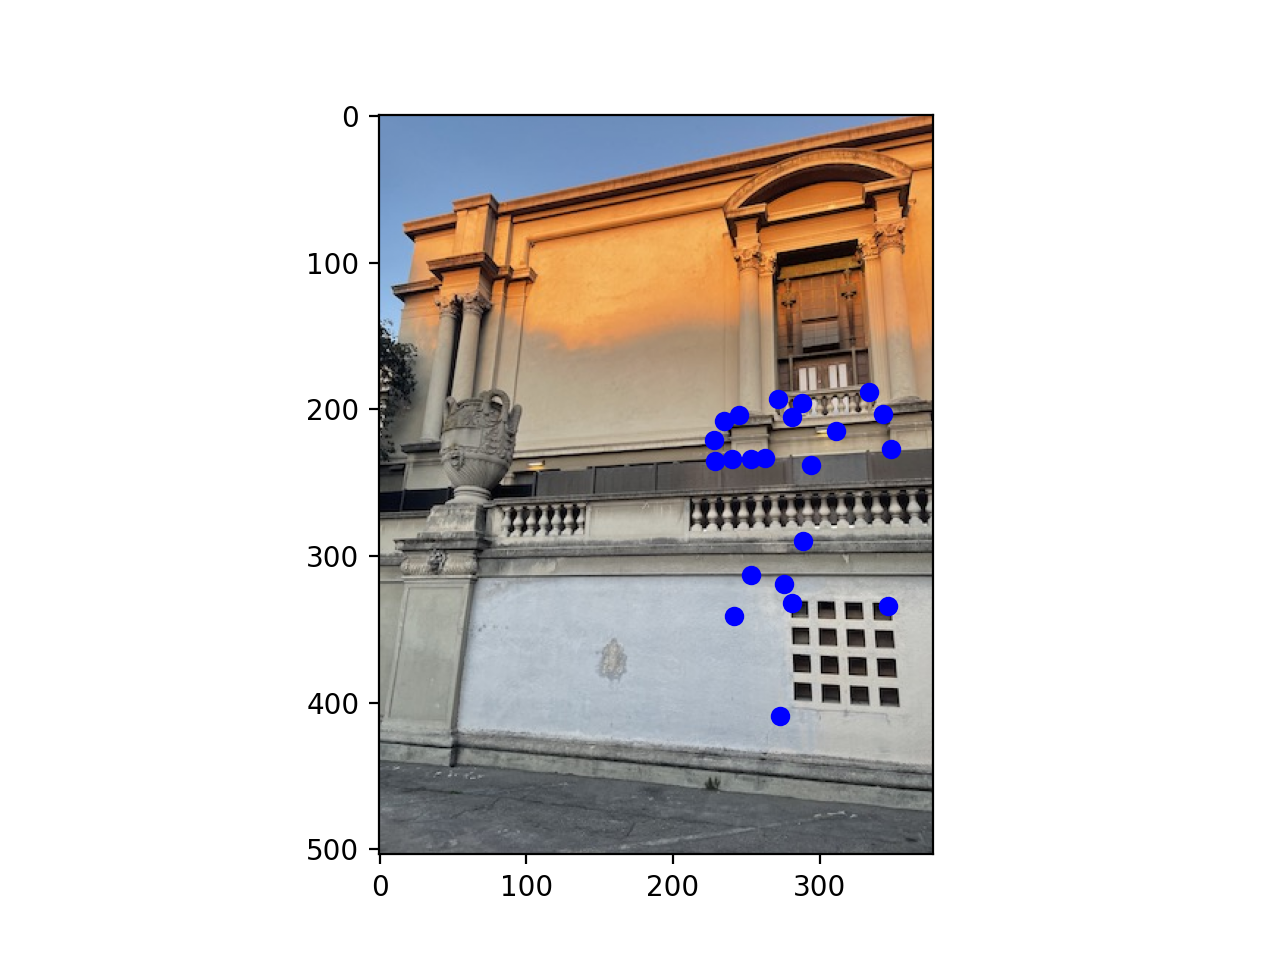
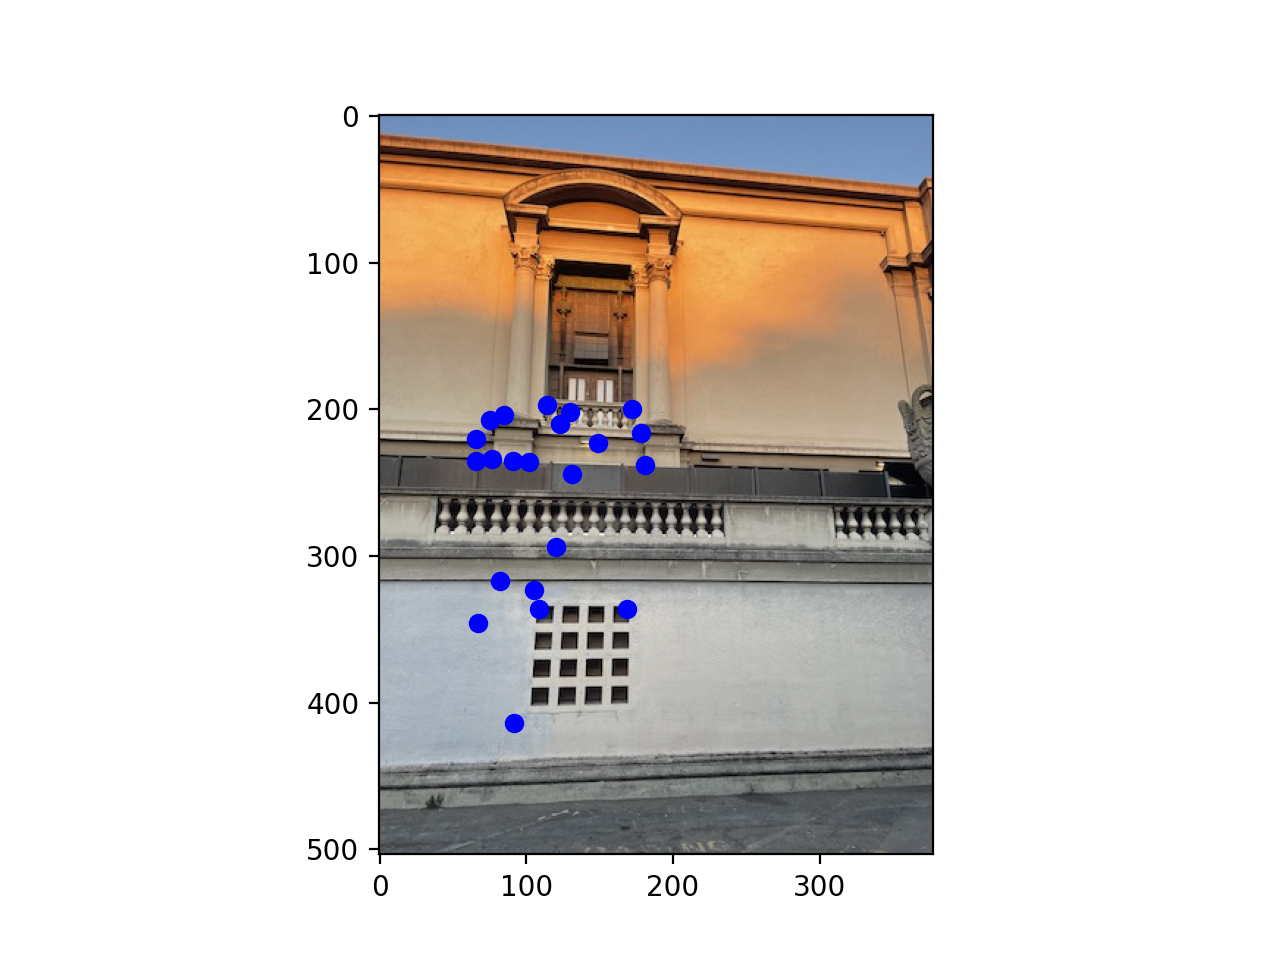
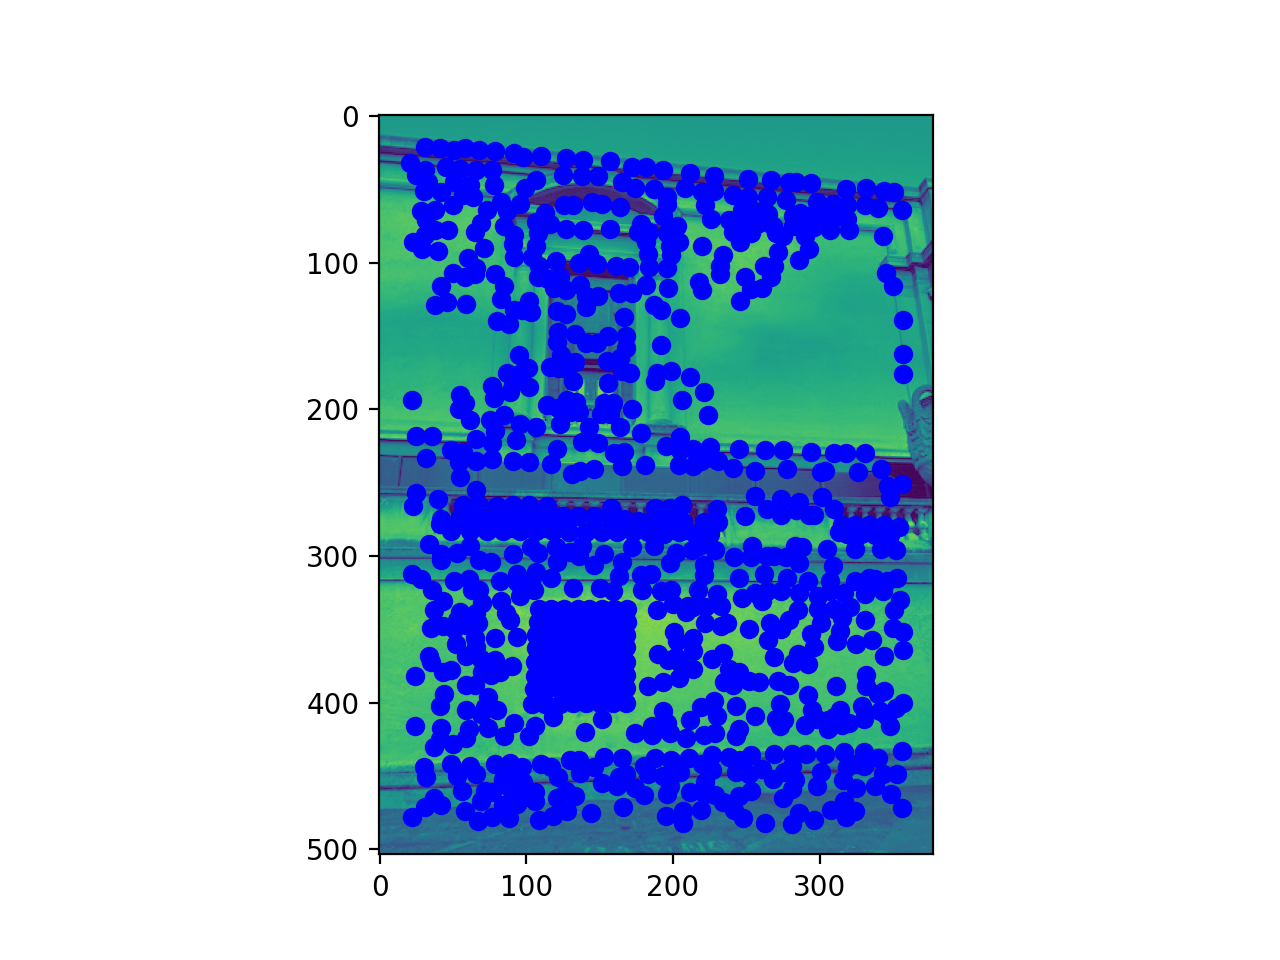
For this, I just copied over the harris point detector code that was currently there. Each point gets an intensity, or feature value associated with it. This can be used later to generate features. I have some images below showing that harris ran on all the points, except those on the edge.
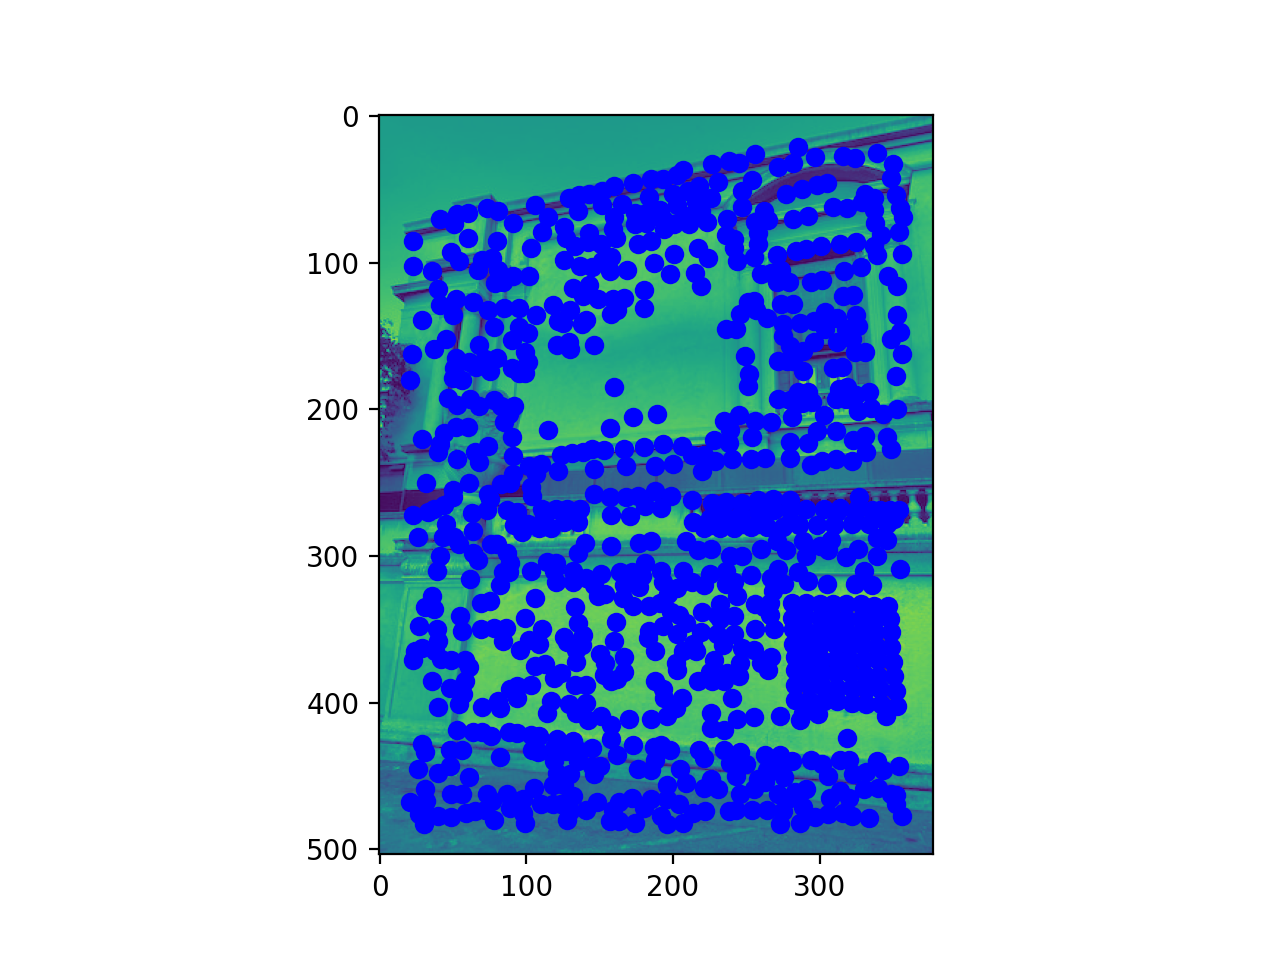
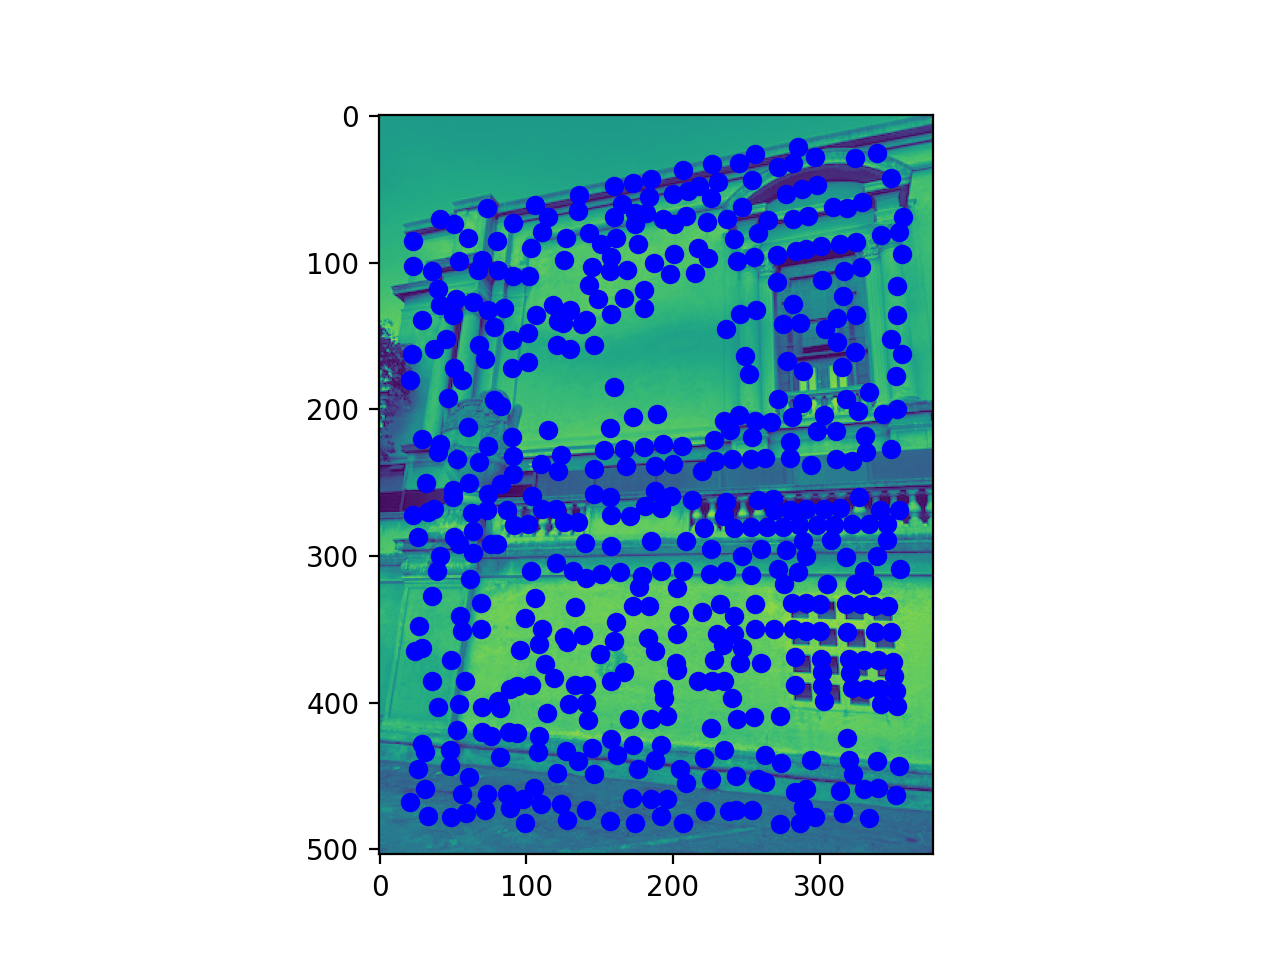
For this, I took the harris points and then found the minimum distance to another point with a feature value below a threshold of 0.9 times the original point. Then I sorted descending by these distances, which gave me the points that are most prominent in the image. I chose the 500 most prominent which I listed below.
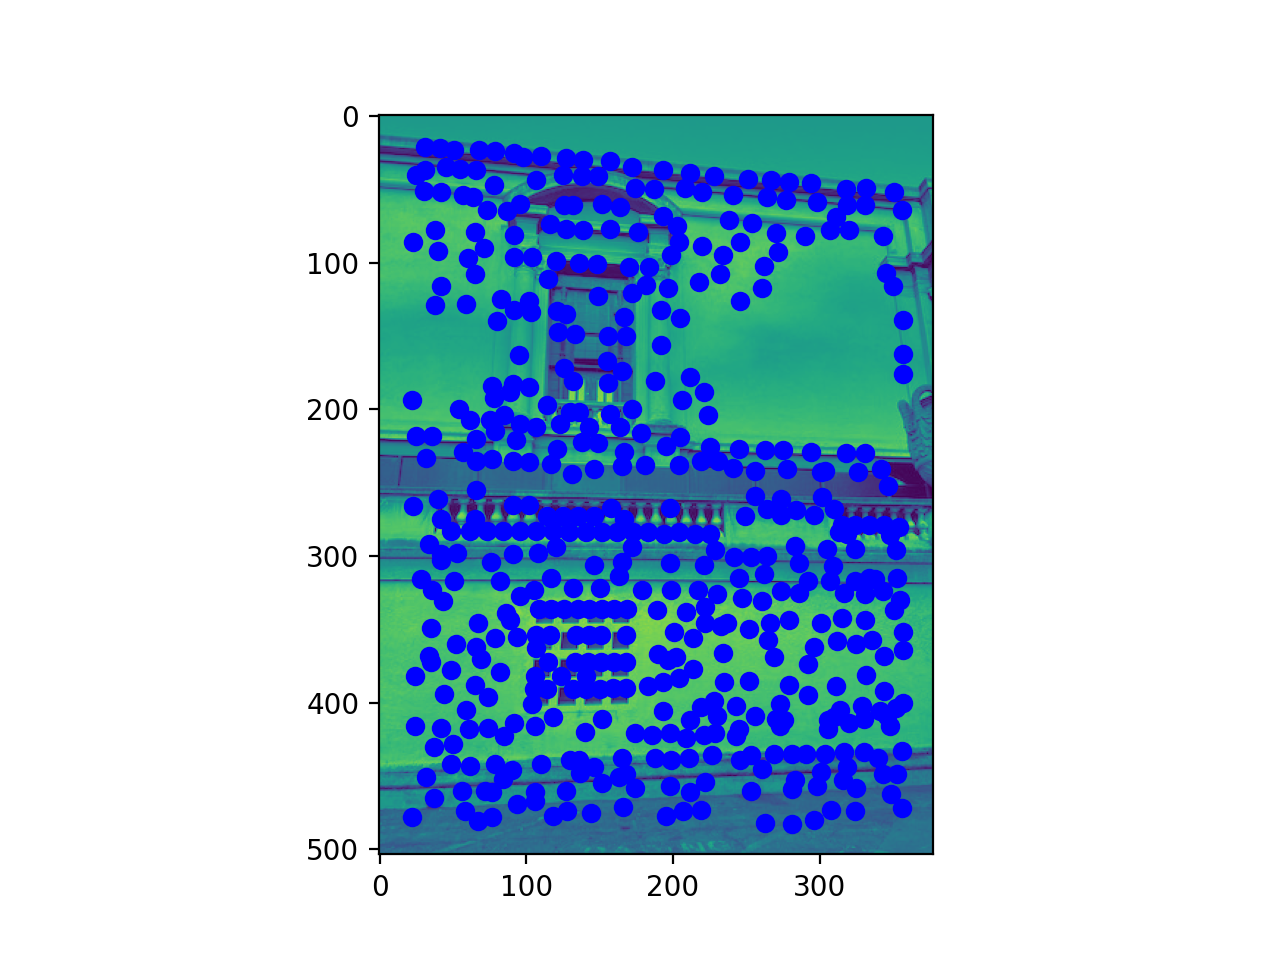
For this, I took the ANMS points for both images and generated feature vectors for them by taking a 40x40 patch around them, then downsampling it to 8x8, vectorizing it, then normalizing it around a mean of 0 and standard deviation of 1. To match the feature vectors, I found the nearest neighbor, and only kept it if the ratio between the distance to the nearest neighbor and distance to thee 2nd nearest neighbor were below a certain value (I chose 0.3). This only kept 'confident' matches, producing the images below.
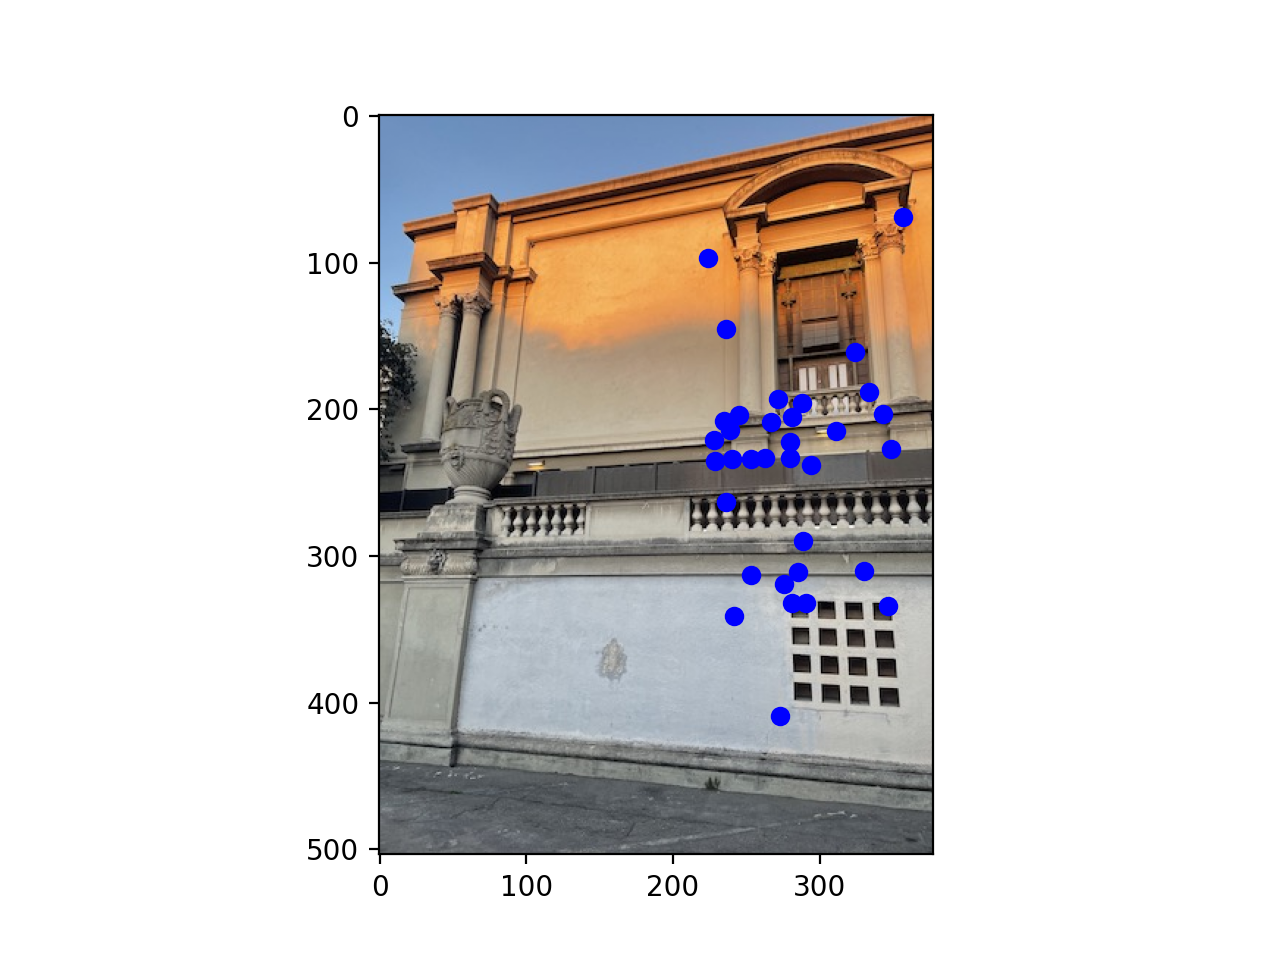
For the final step of RANSAC, I took my matched points from the previous step, then randomly sampled 4 points from them and used that to get the homography matrix. Given the homography matrix, I used it to transform all the points from one image to the other, then evaluated how many were within a 1 pixel error, which we called inliers. For the matrix with thee maximum amount of inliers, I use all the inliers to compute the homography matrix, which gives me my homography matrix from going from one image to the other. I have the RANSACed points below, which are pretty similar to the matched points.