Part 1
Recover Homographies
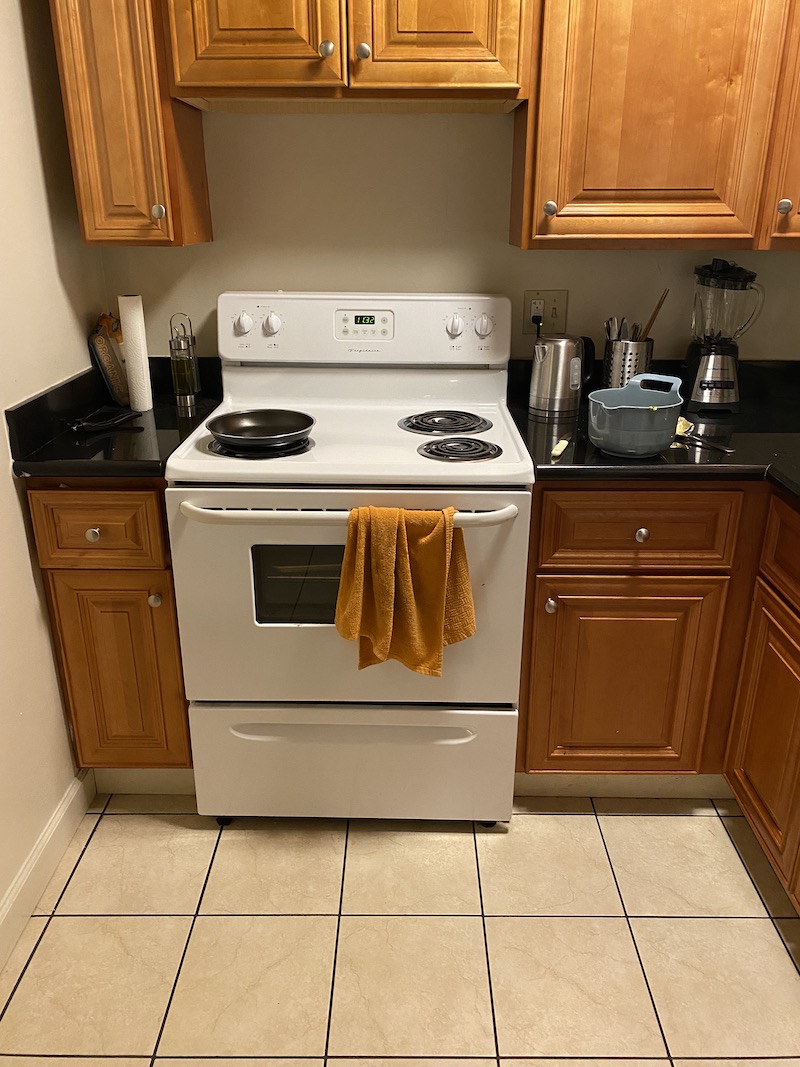
In order to change the projection of the image, we will first find the Homography Matrix. We will do this by finding corresponding points between the two images, we will need at least 4 points with x, y coordinates to find the points in the homography matrix which will be [[a, b, c], [d, e, f], [g, h, 1]]. This will give at least a matrix to solve for the values and we can use Least Squares to solve for the values when we have an overdetermined matrix. For example, in this image, we mark the points on one of the white square tiles on the floor and project it onto a square with coordinates of [0,0], [0, 50], [50, 50], [50, 0].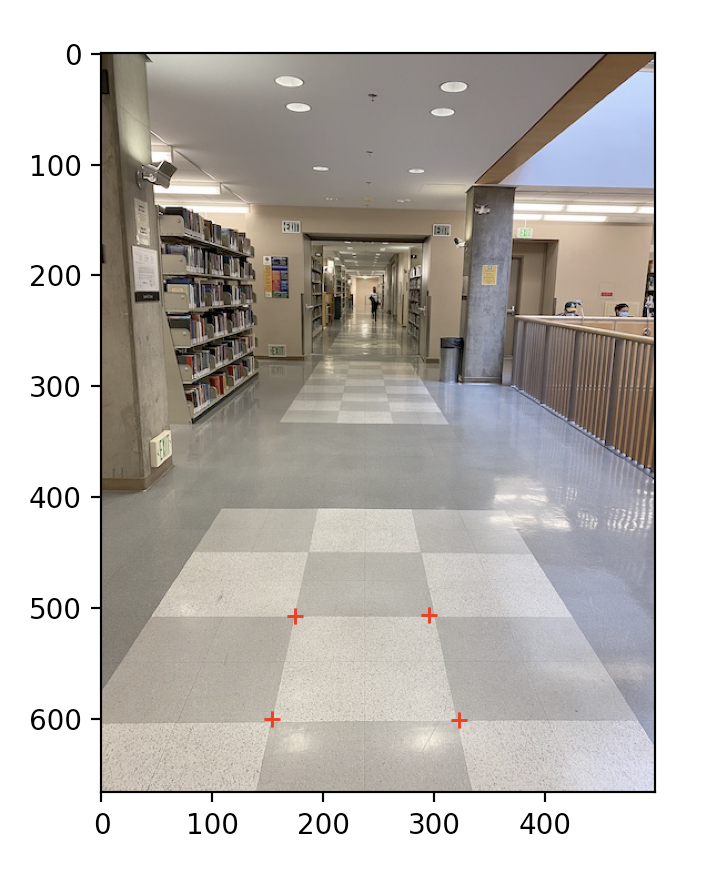
This ends up giving us the Homography matrix of [[-7.13772107e-01, -1.59386004e-01, 2.05490744e+02] [-9.47764326e-03, -1.27000420e+00, 6.45965513e+02] [-1.43481394e-04, -3.59221424e-03, 1]].
Warp the Images
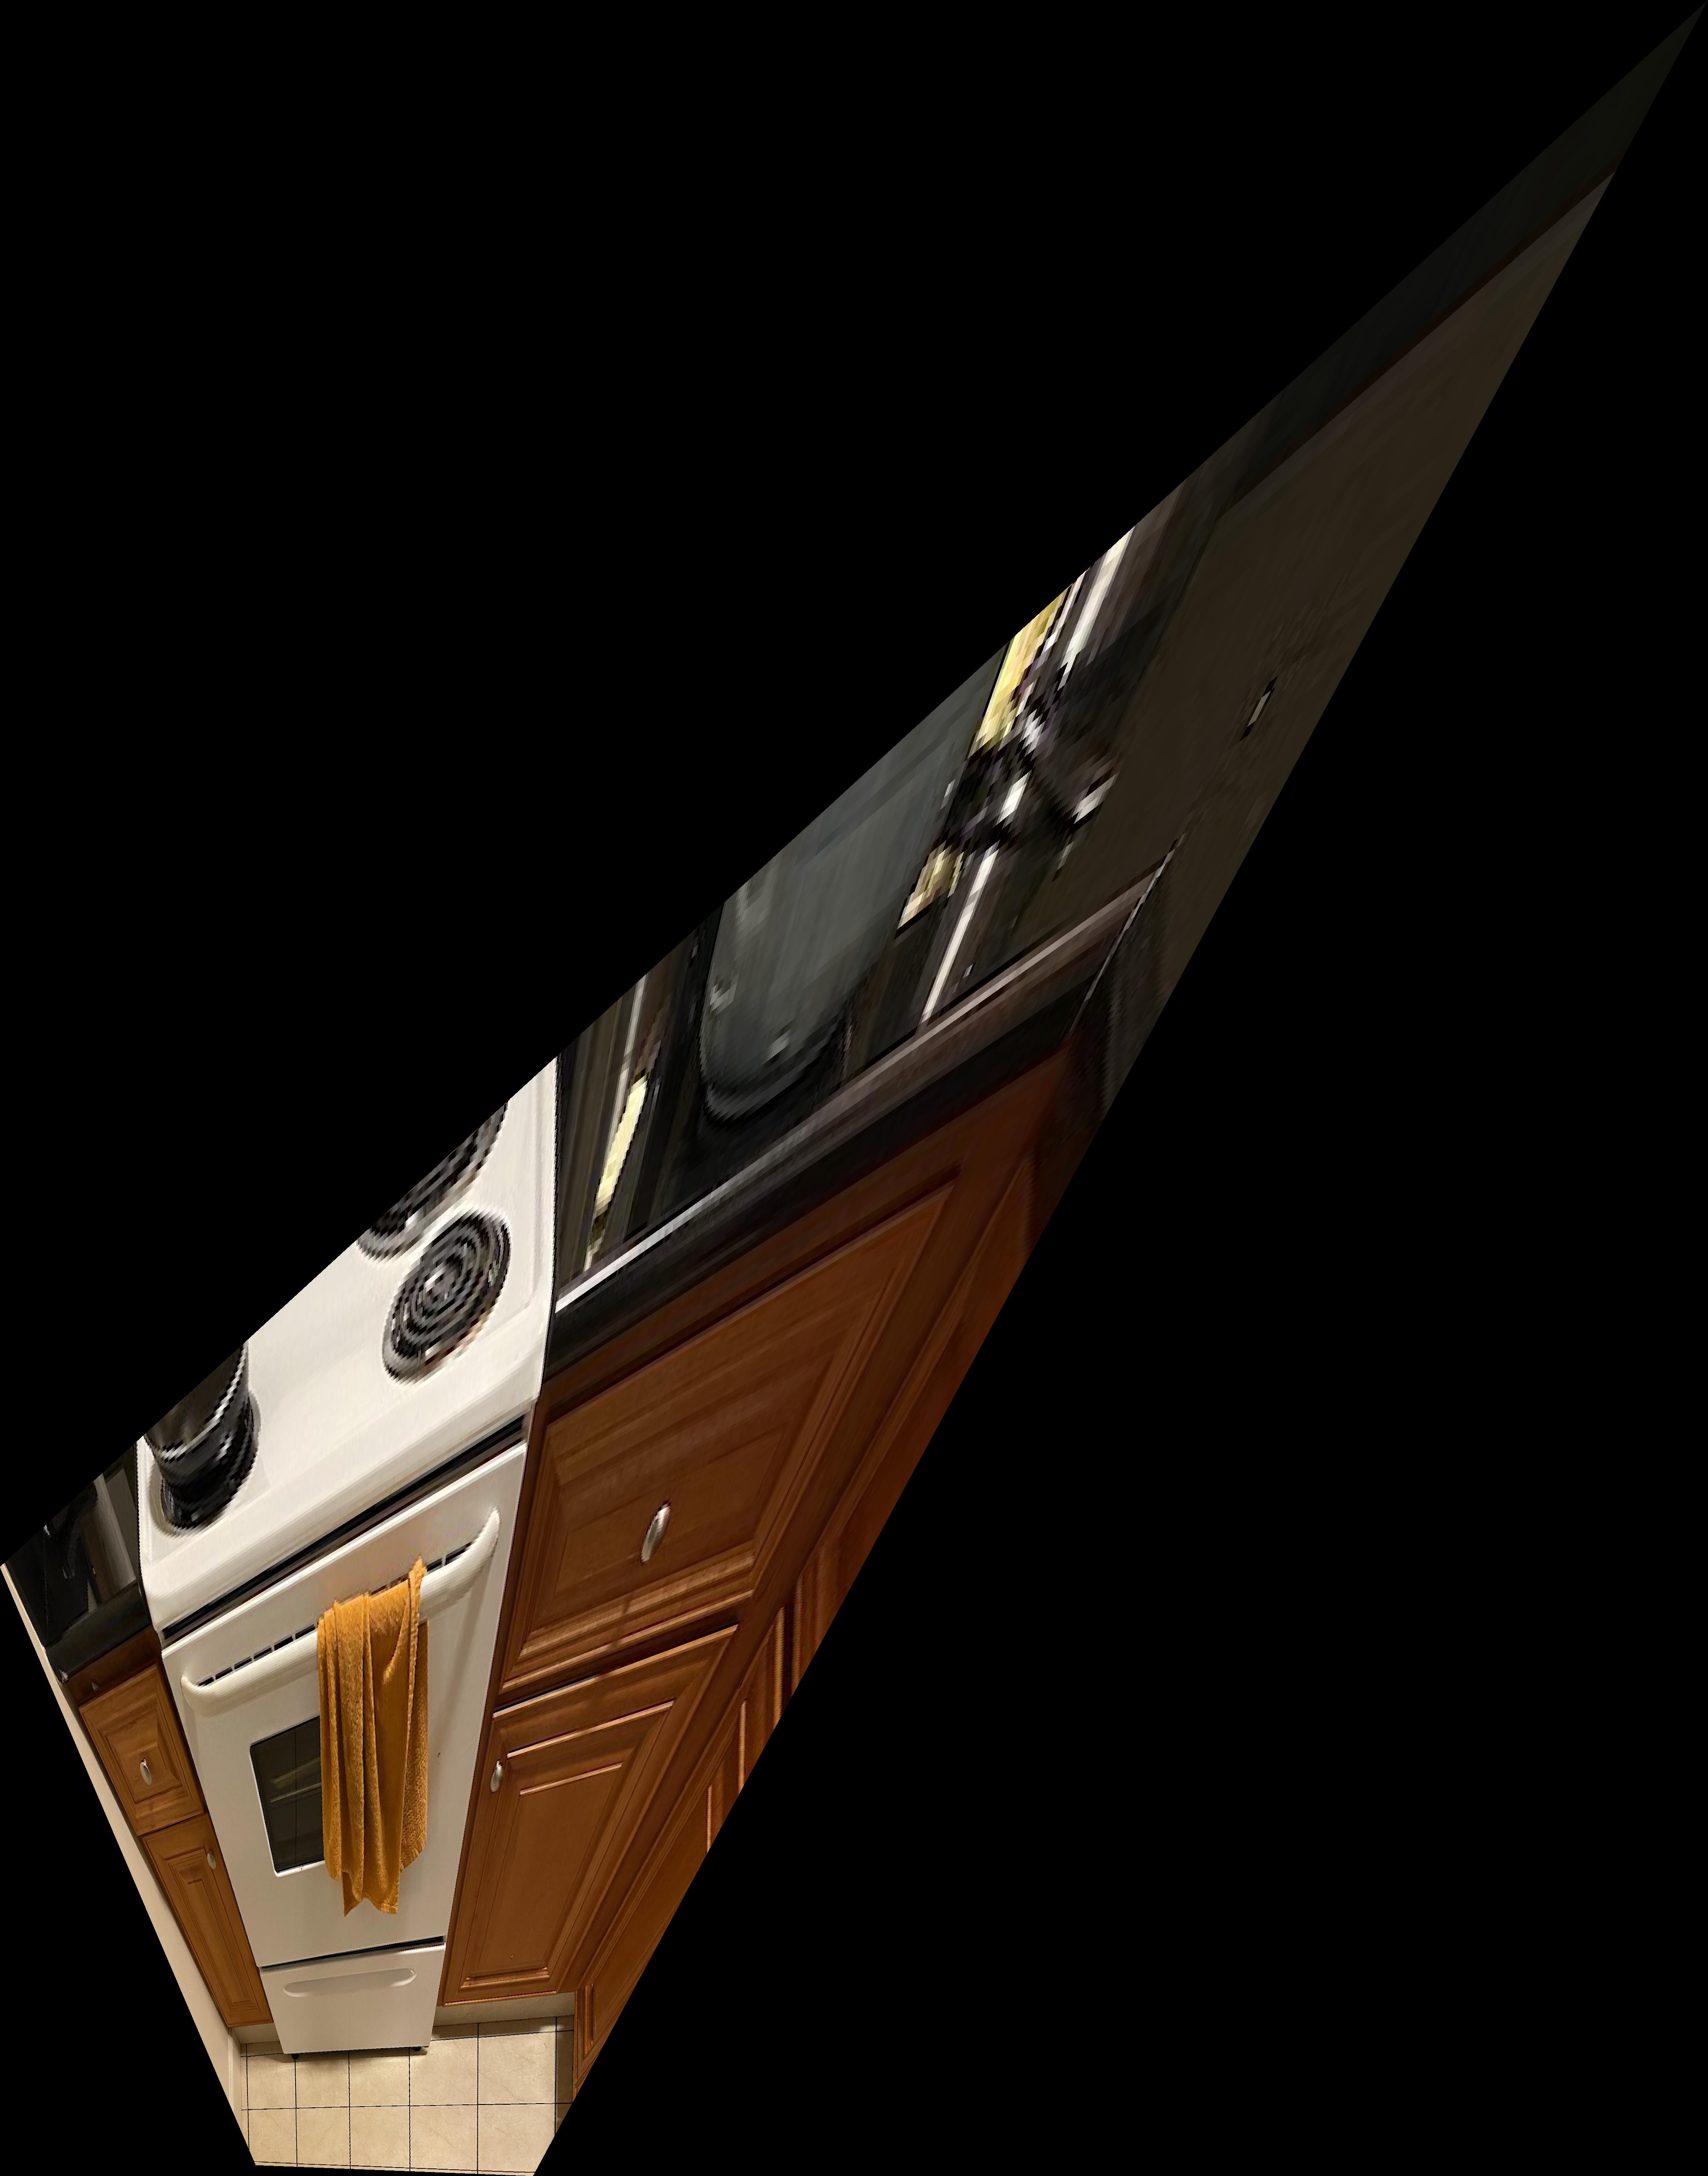
We then use our knowledge of interpolation and warping in order to show the image as projected onto this plane. We will do this by using inverse warping. I will first project all the corners of the points into the new plane and then using polygon, get the interpolation of all the points into the new plane and get the corresponding values on the original image. We are then able to show the image after converting all points on the original image to this plane.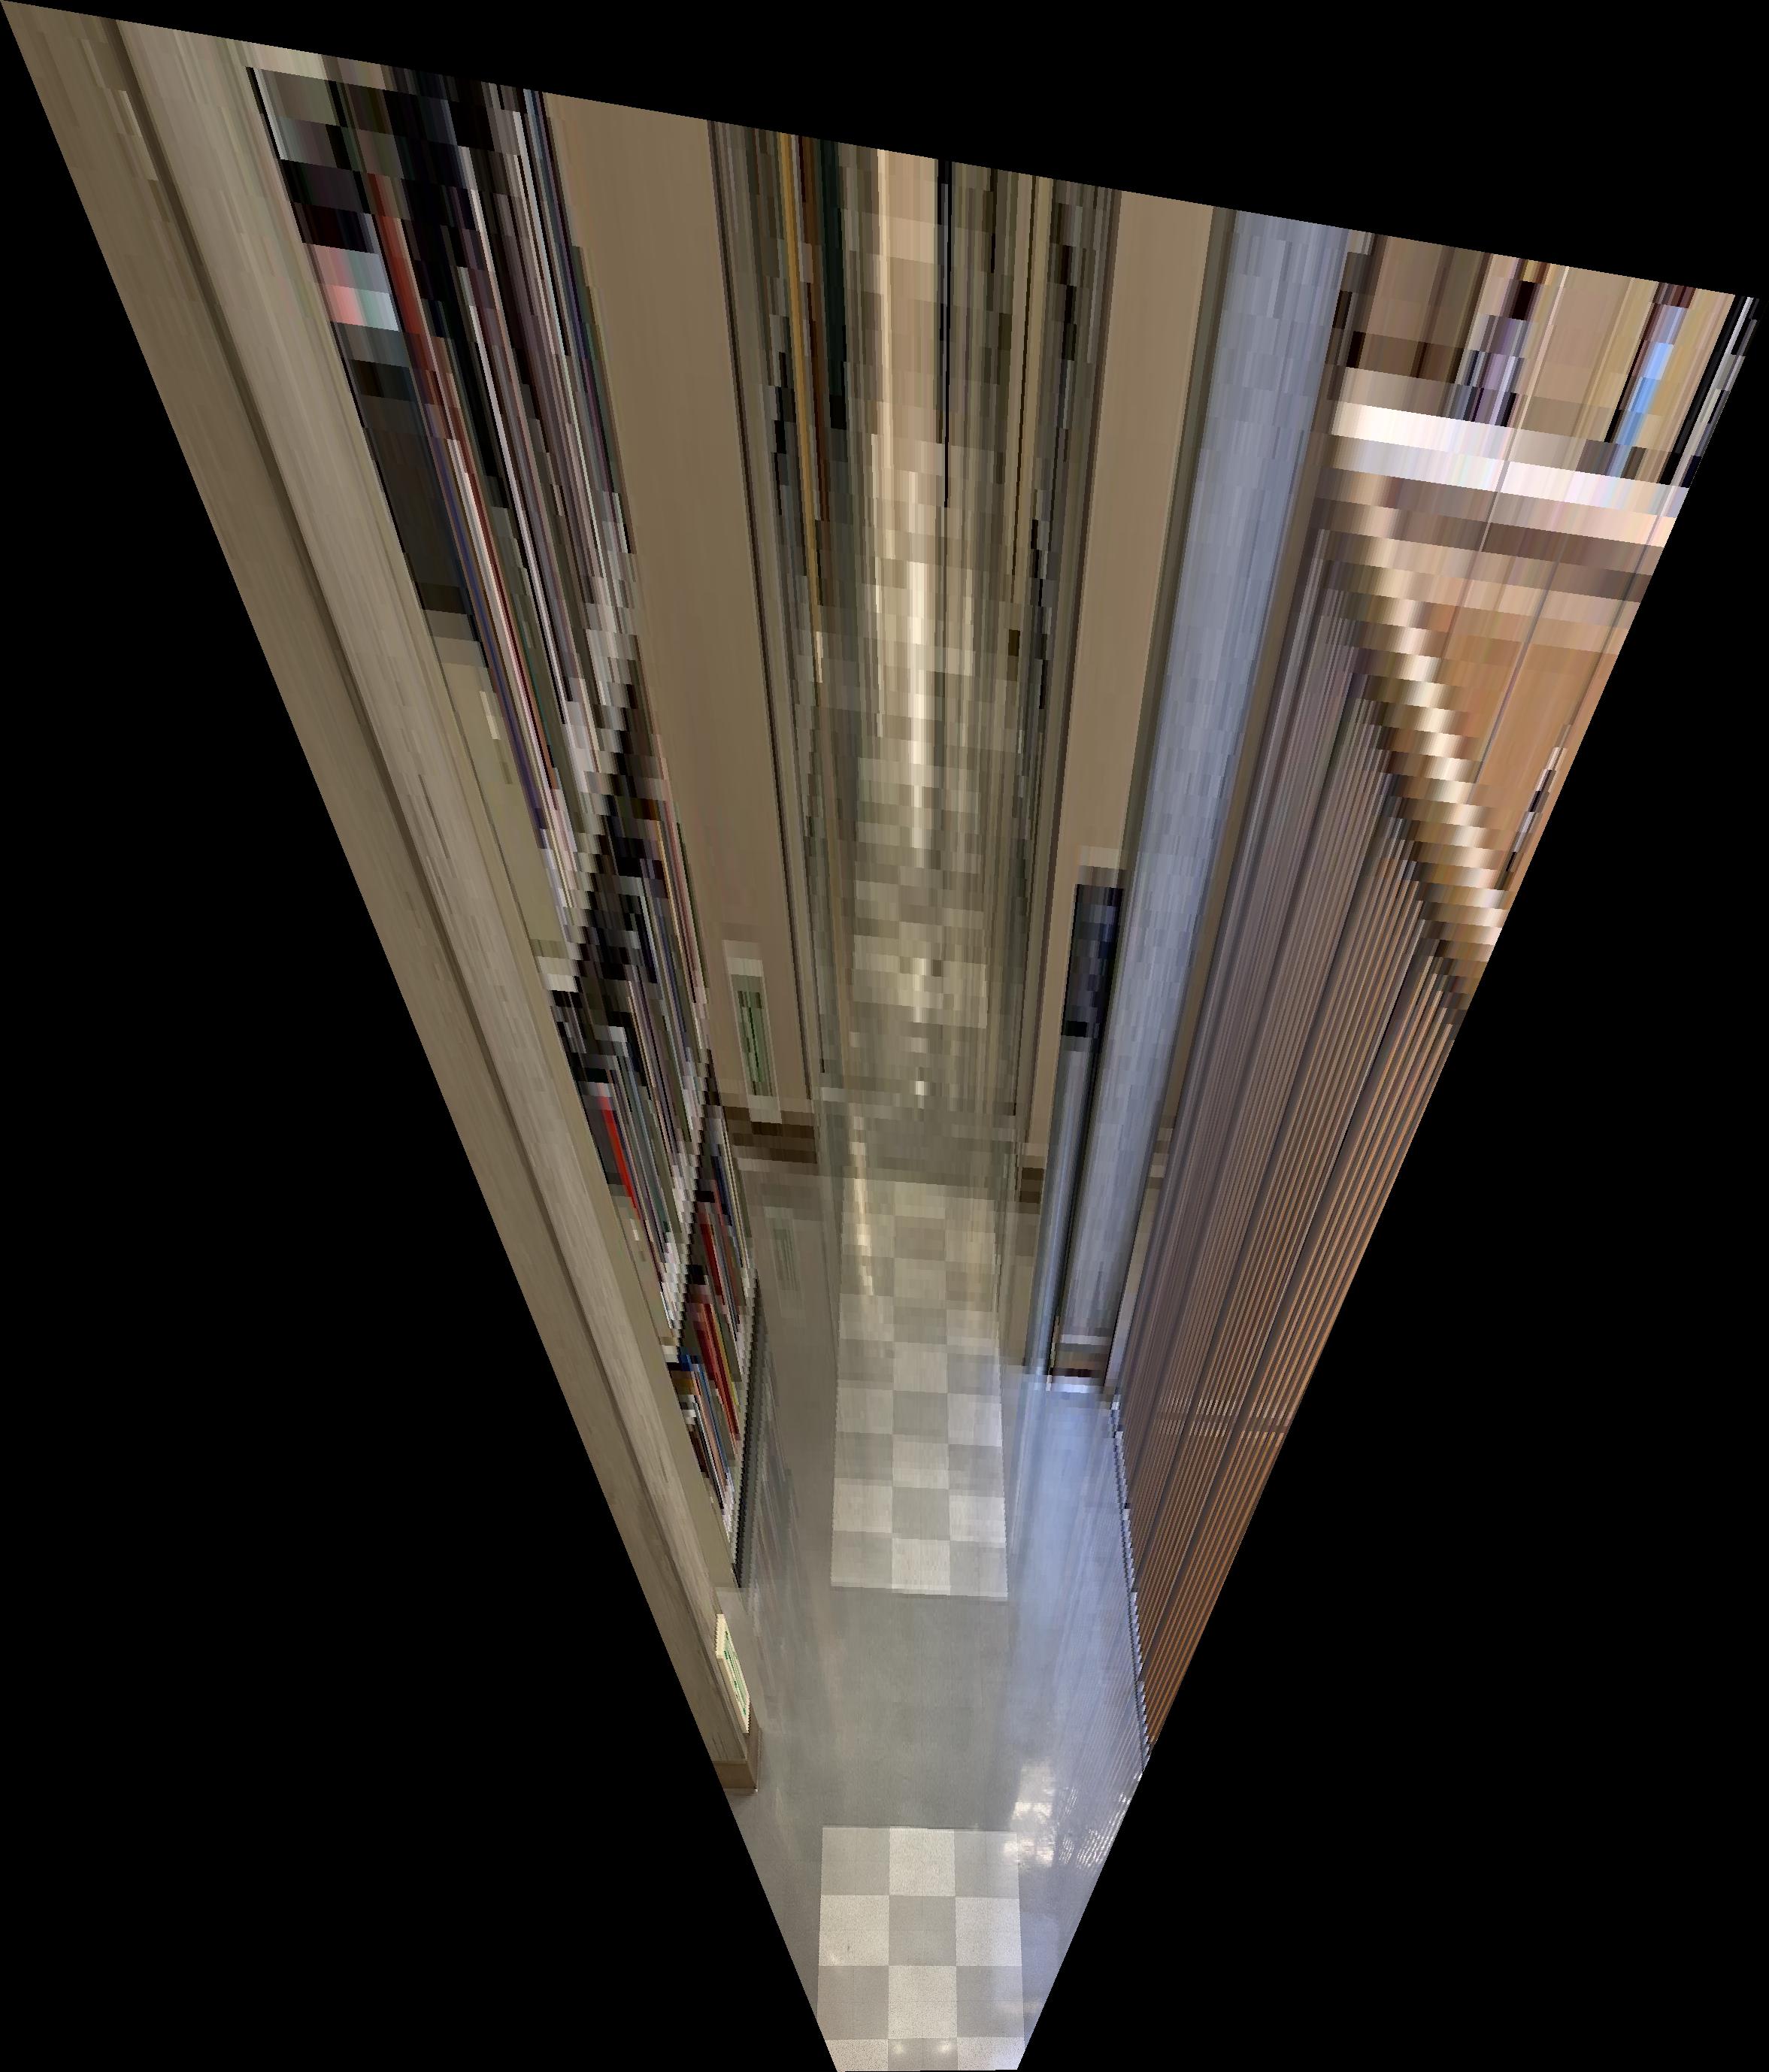
Image Rectification
We are able to complete image rectifications on many different images, and get the viewpoint of the image from a different angle. We do this by selecting a square points on the image and projecting it onto a flat square in the plane. Here is the previously shown image as well as the rectification.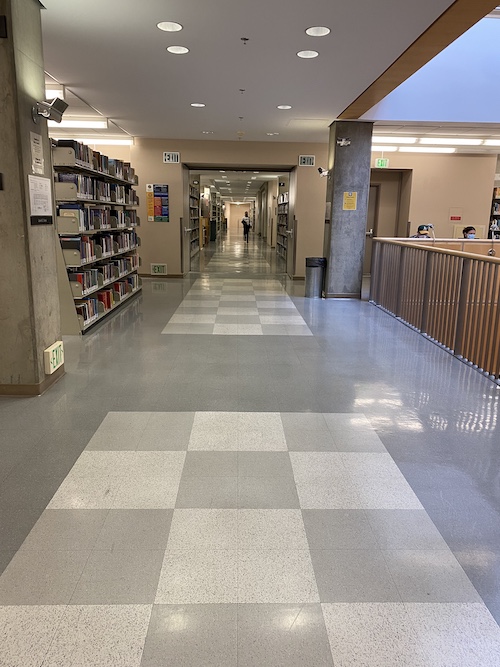

Blend the Images into a Mosaic
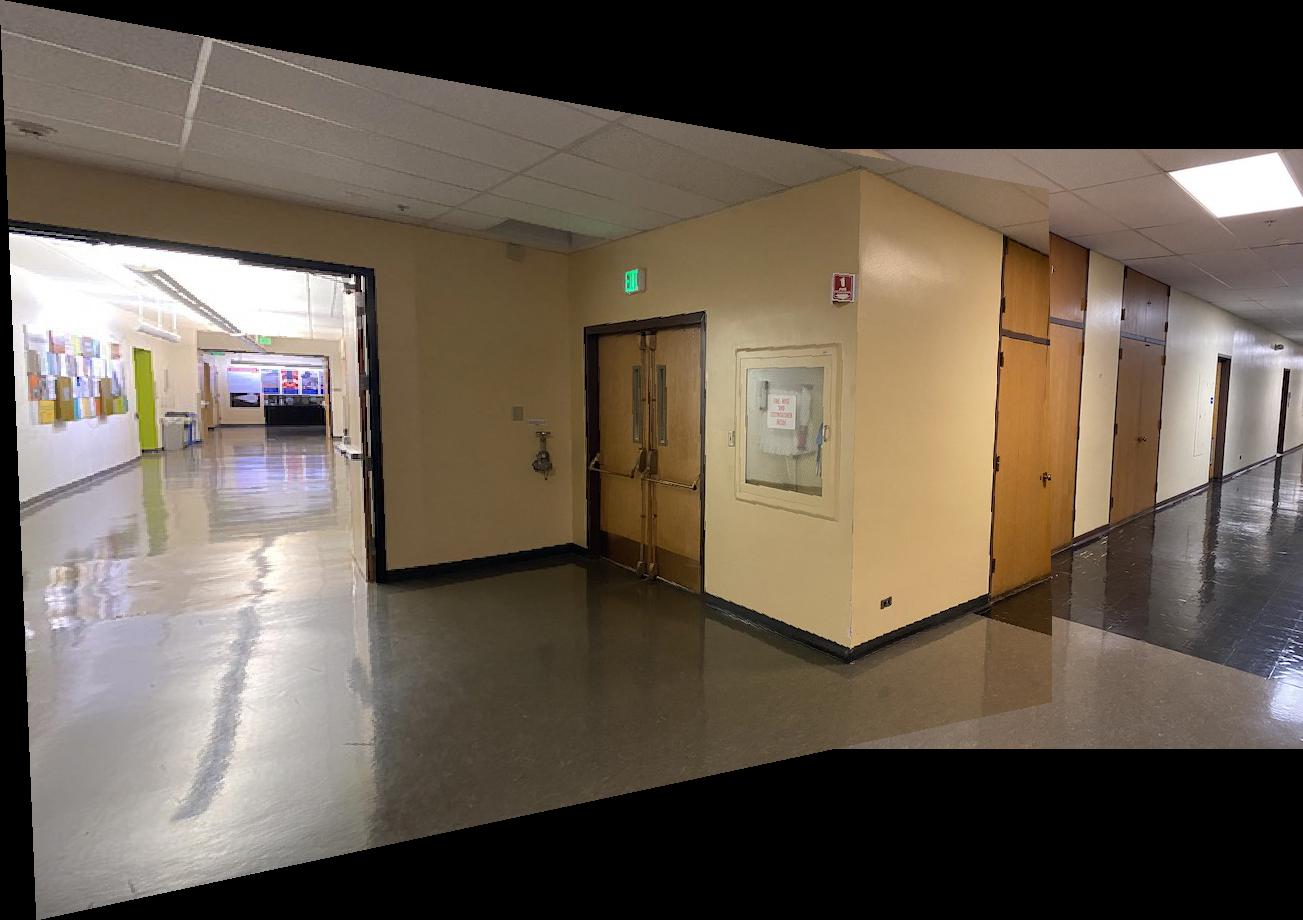
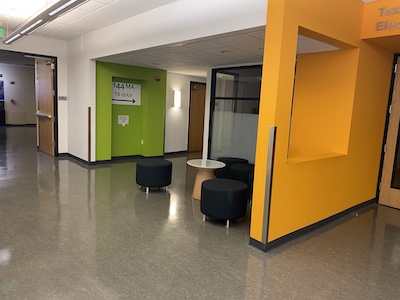
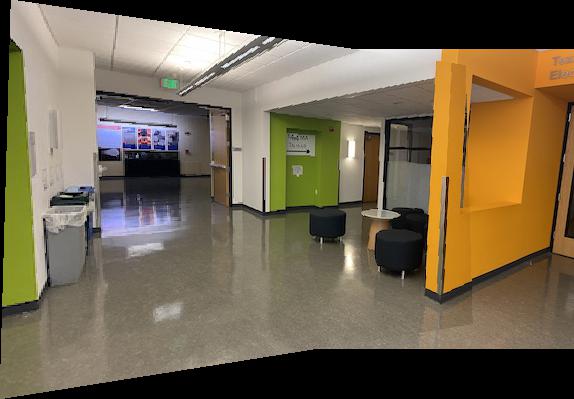
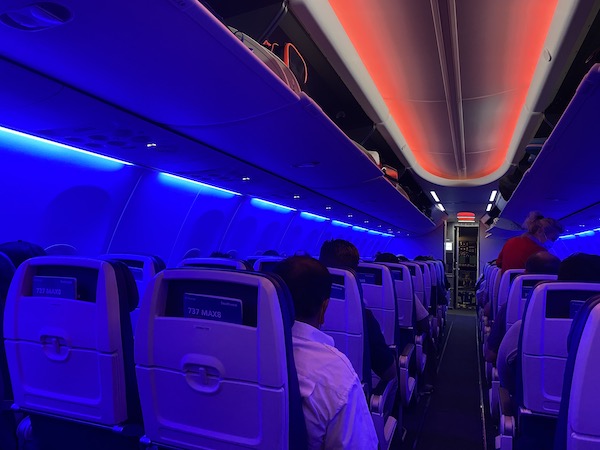
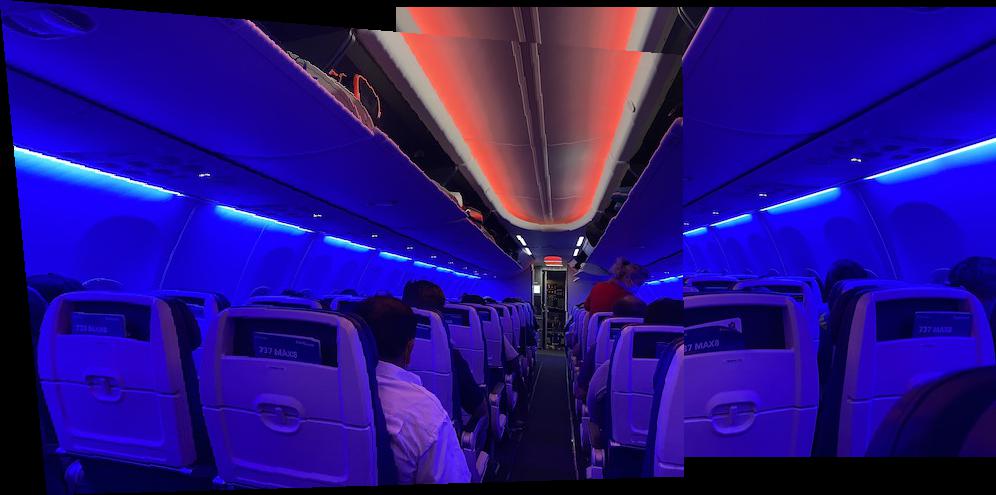
We can create a Mosaic by performing a projection on multiple images so that we can have a panorama image all in terms of one plane. We can do this by selecting corresponding points between the two images, find the Homography matrix between then, then use inverse warping to get the interpolated points to the original image. We use the corners to first find where the image will be on the final image and interpolate from there. We can also blend the images together using gaussian blur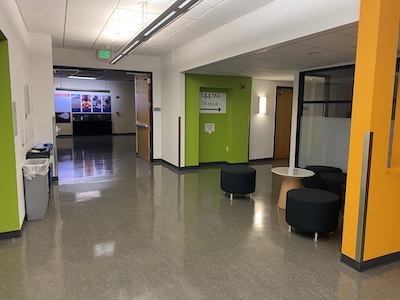



\
Bells and Whistles
Own IdeaI wanted to try a rectification on the seal on campus from the top down and see how wel it could recreate it the image as if you were looking at it straight on. Here's the original image well well as a rectificaition
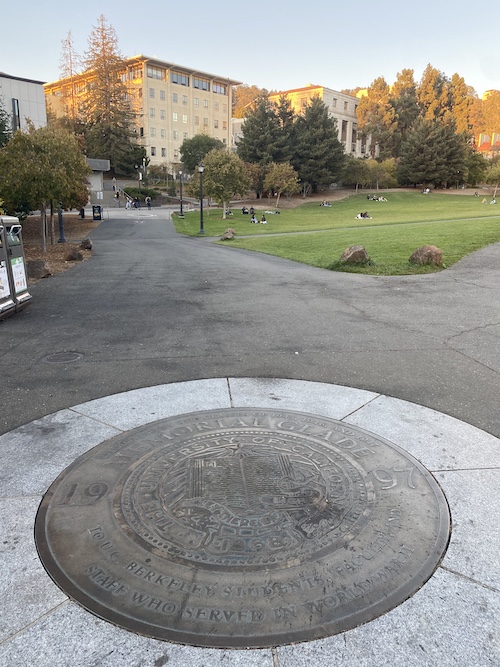
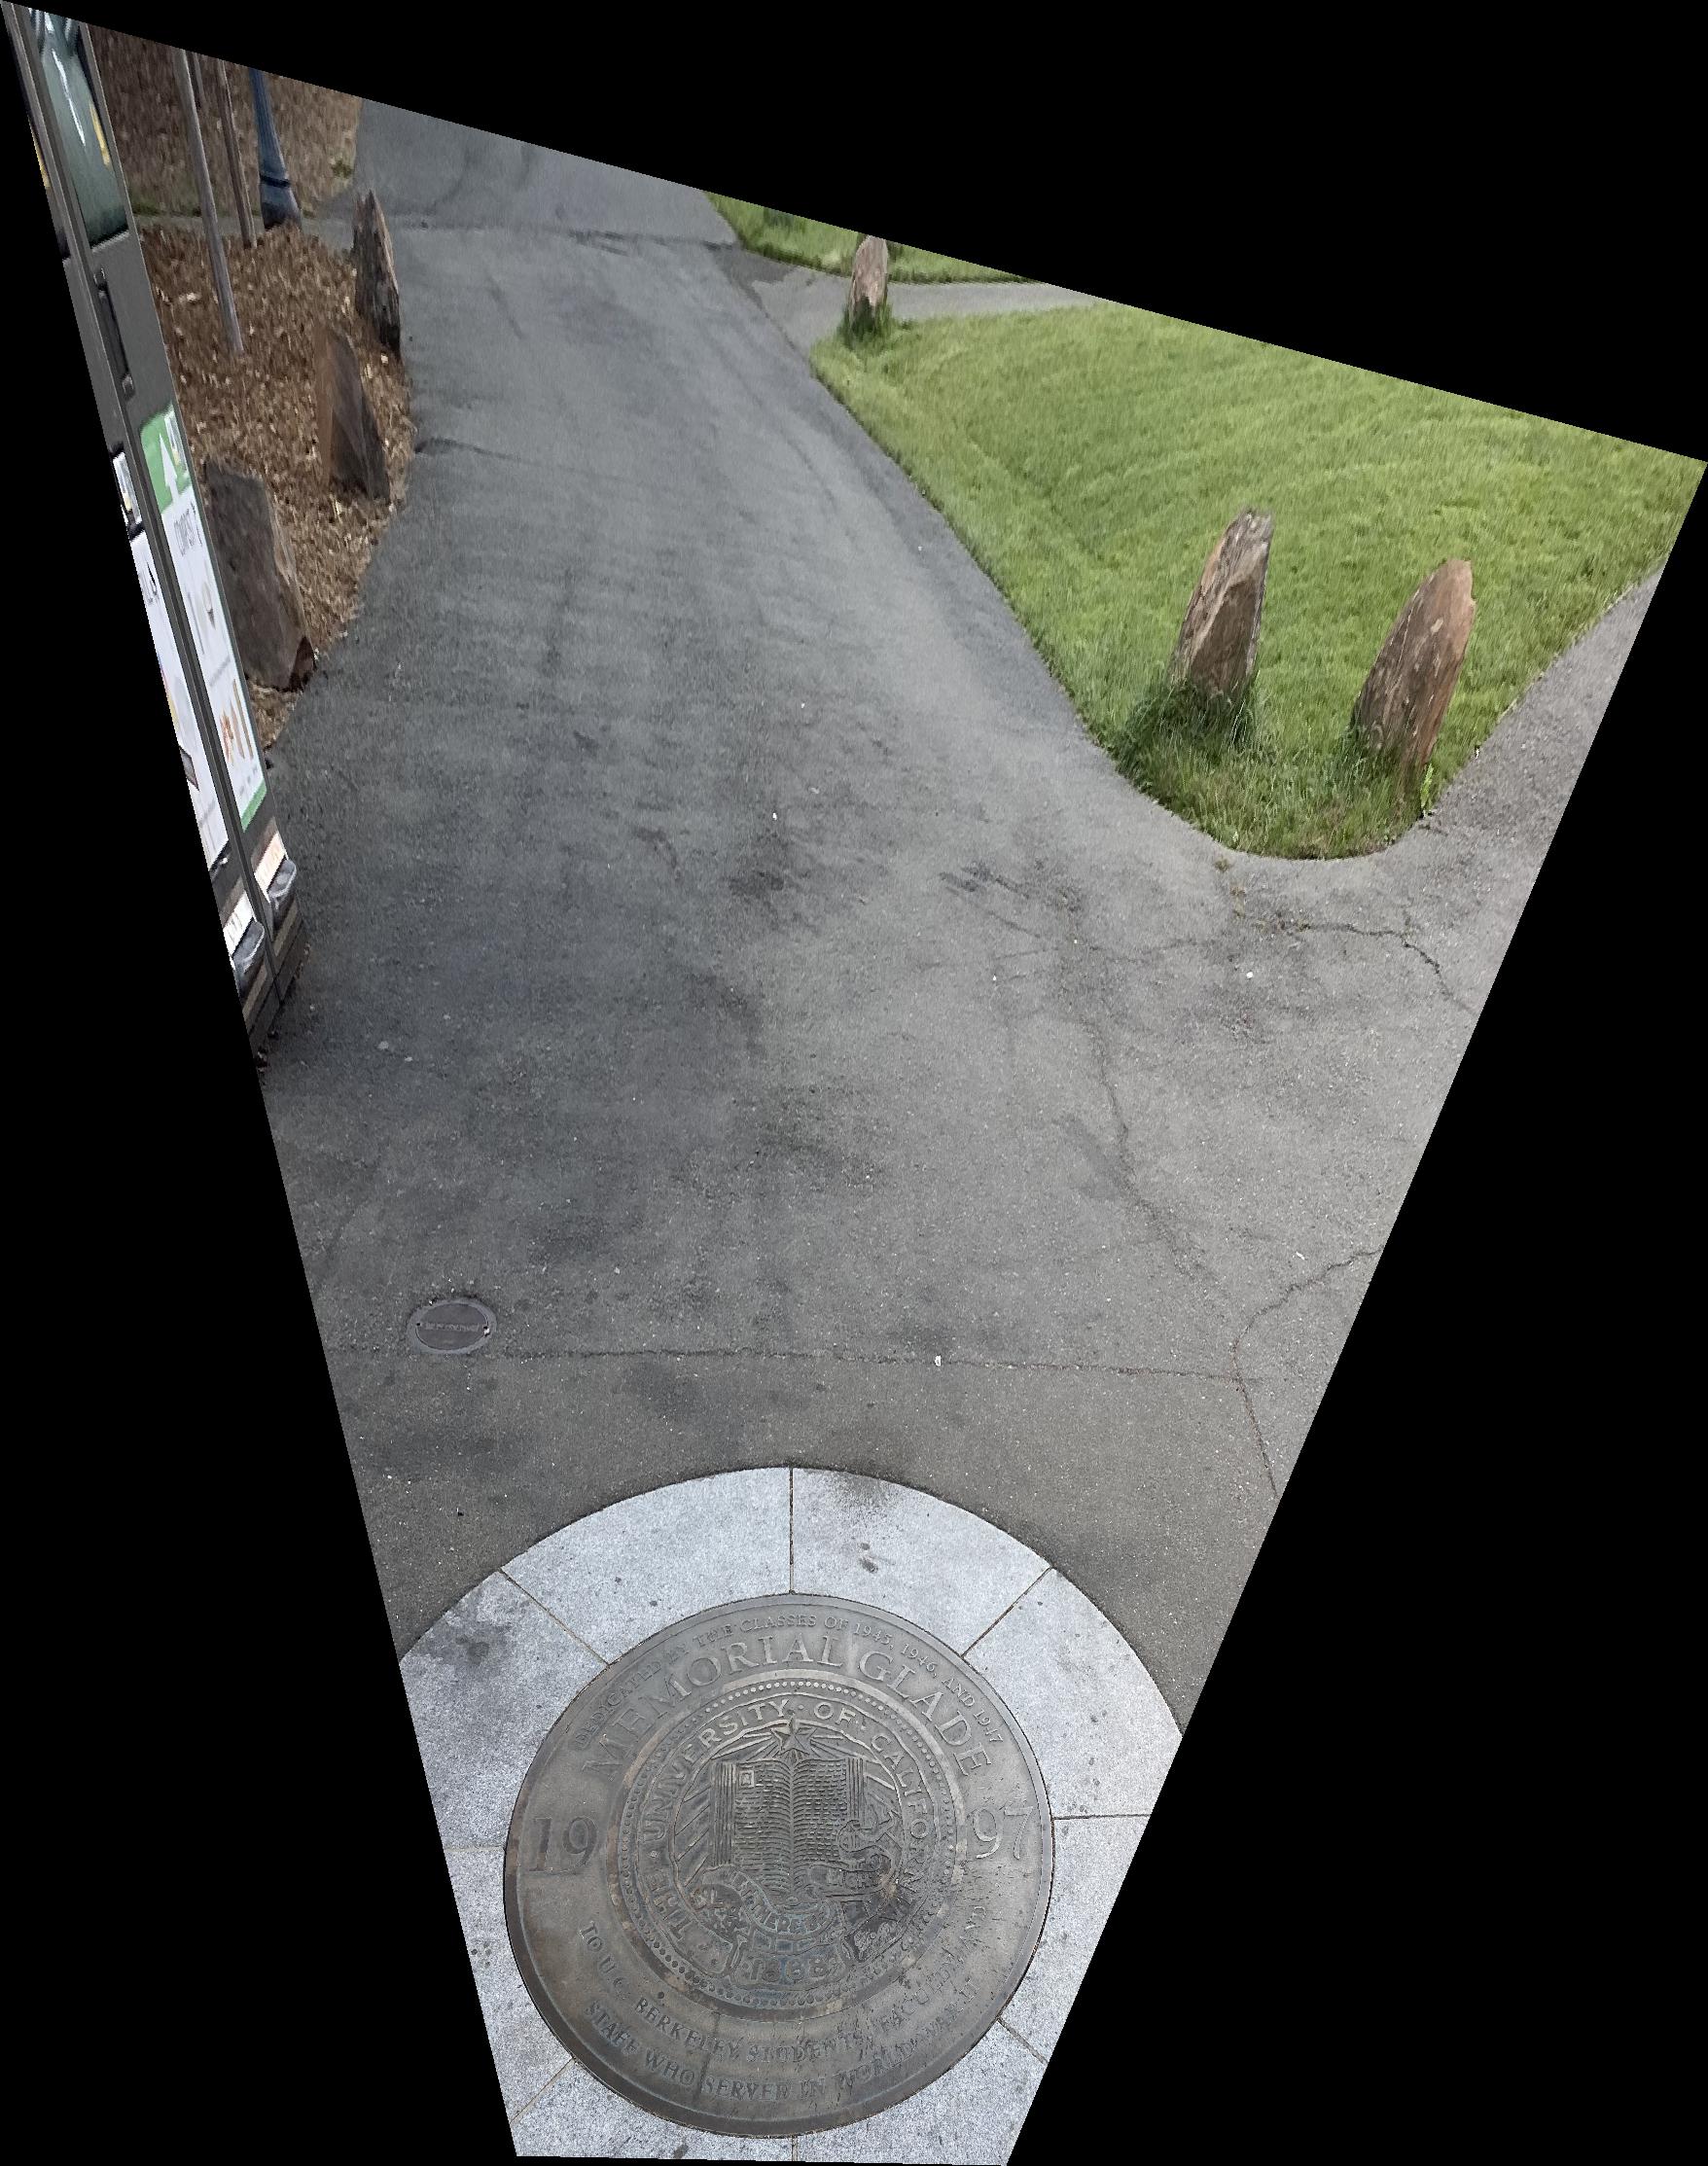
Now, we will do a close up of the seal through cropping and adjusting resolution and see how it turns out.
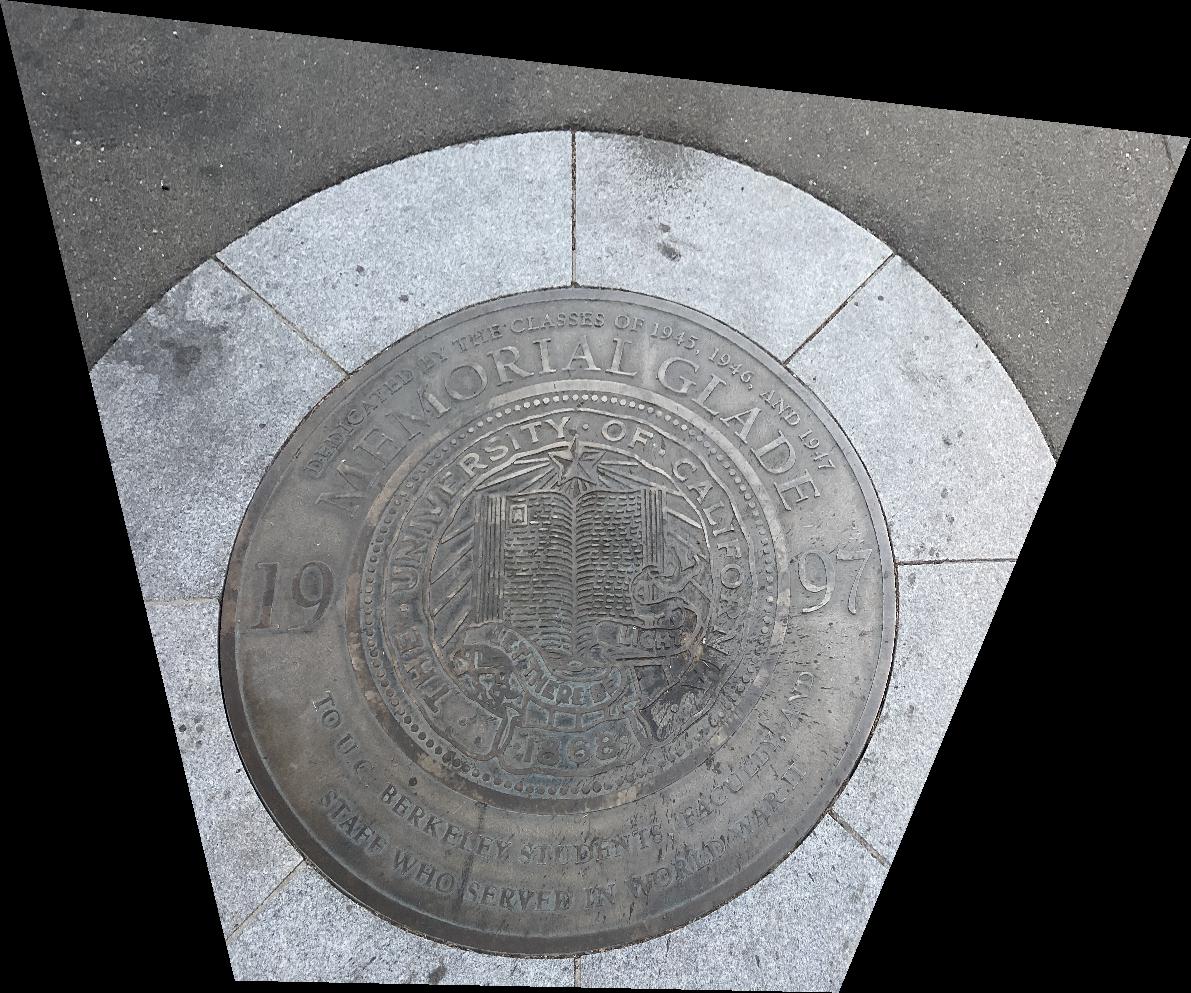
It turned out very clear, and I'm extrememly suprised and how detailed it was able to get from a slanted image.
Tell us what you've learned
I learned alot about persepctive warps this project! It still blows my mind that you can get so much information from a rectification and that the seal is so clear by looking down. It is also really cool to get to make your own persepctive warps to create a panorama image and see how it is created. I would have loved to get to create a cylindrical or spherical mapping of the image but unfortunely did not have enough time with the short deadline.Part 2
In part 2 of the project 4, we want to have cooresponding points of the two images automatically selected through using corner detection algorithms and match up the points algorithmically through SSD comparsion of patches and RANSAC.Detecting Corner Features in an Image
We want to find corner features using the Harris Corner algorithm. Given this algorithm, we can find and plot the corner points on our image.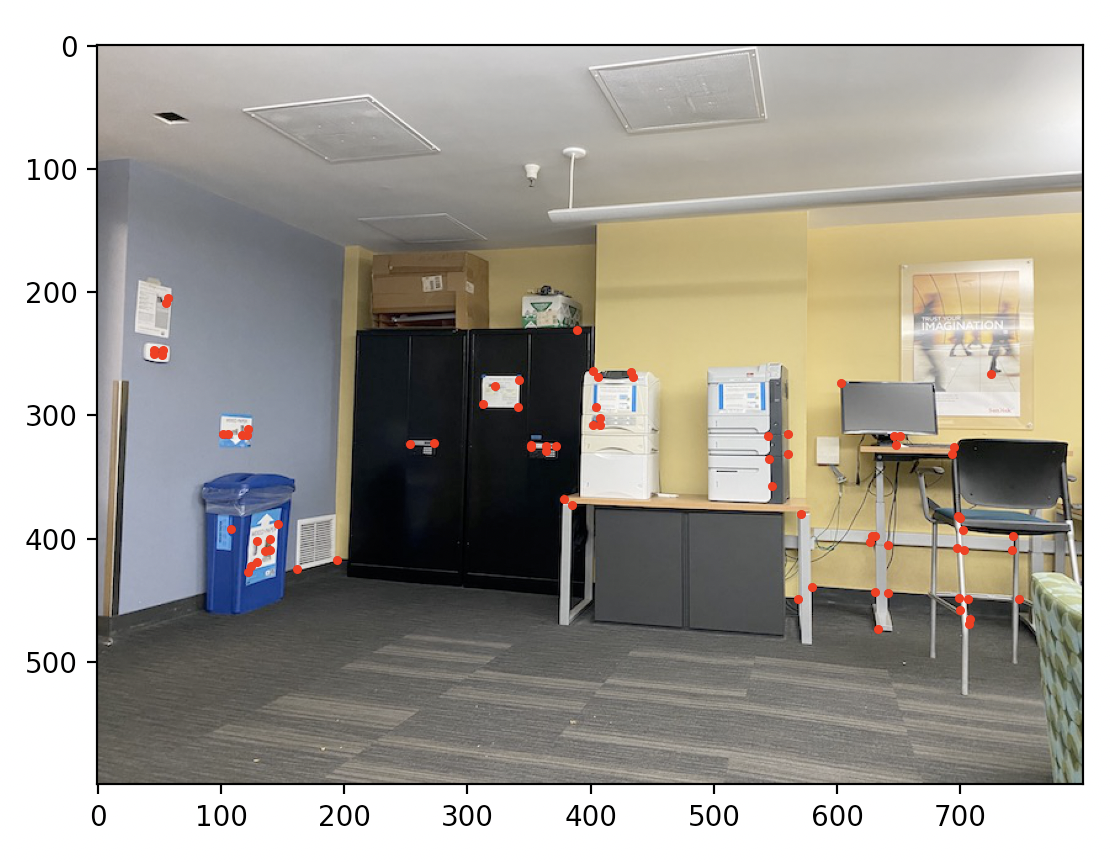
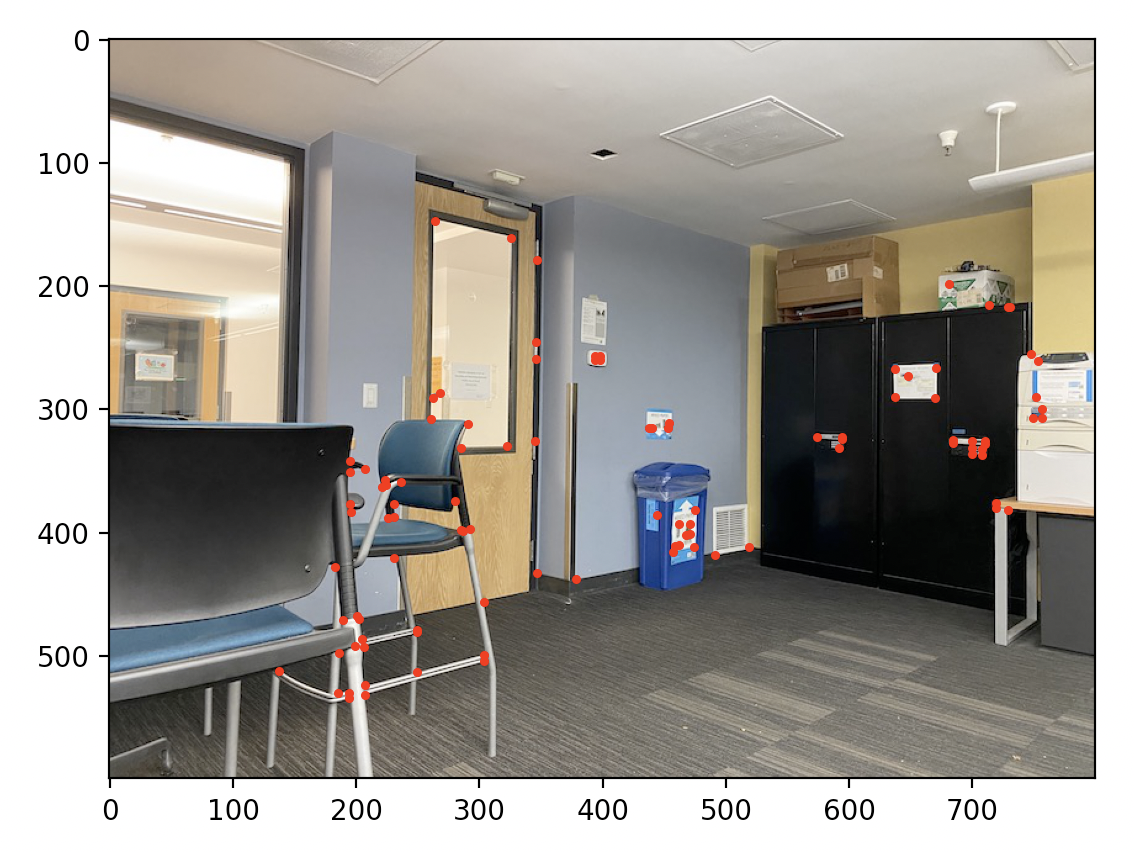
In order to get a better set of corners, we can also employ the adapative non max suppression algorithm which reduced the number of less strong corners in the same radius, this helps to ensure we have a more even spread of points as well as corners that are stronger. Here is the results of the new set of points.
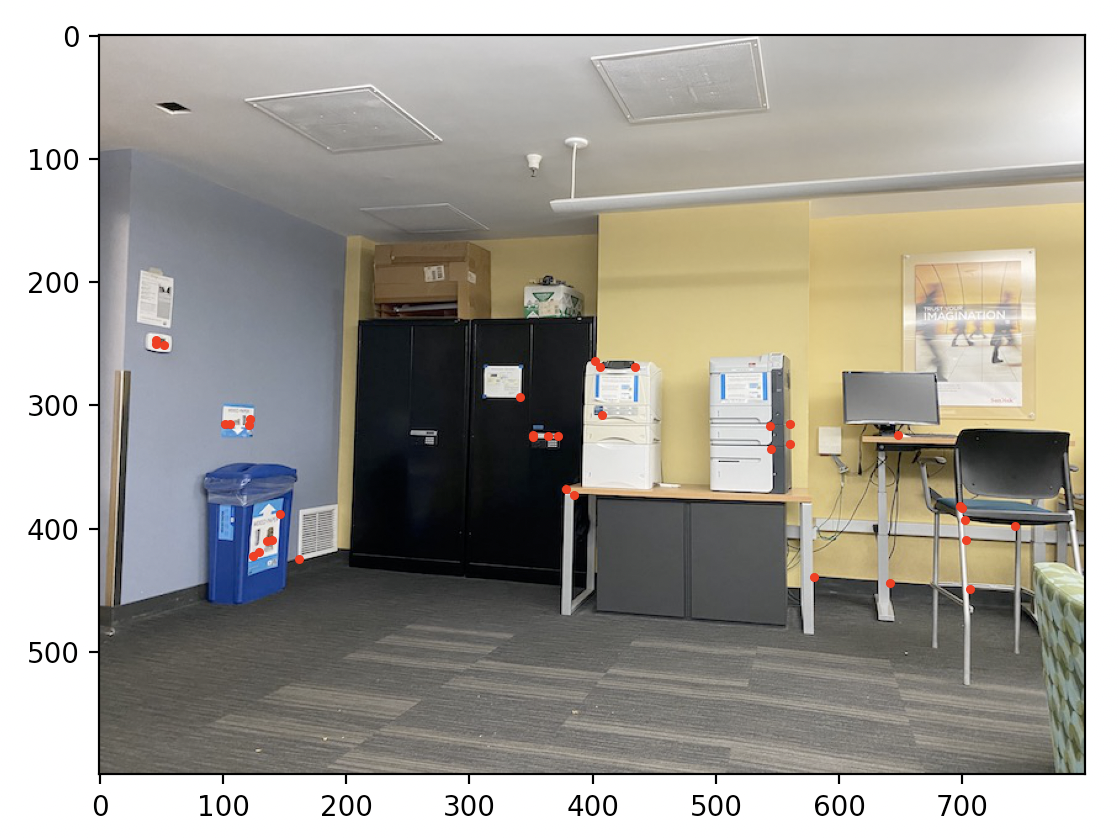
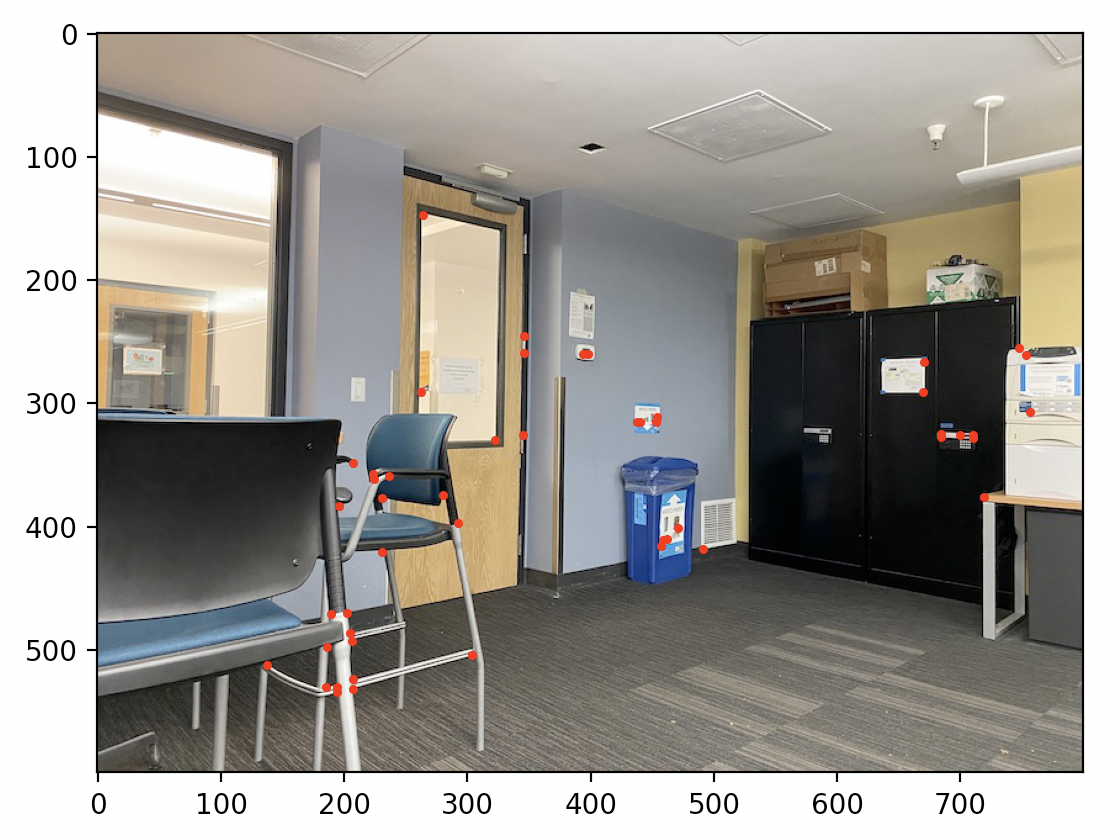
Extracting a Feature Descriptor for each feature point
Then for each corner feature, we want to generate a feature descriptor which consists of an 8x8 image that was scaled down from a 40x40 block surrouding the feature corner. We will use this feature descriptor in order to match surrounding areas with the points. We can also apply normalization and averaging to this feature descriptor in order to ensure it remains consistent among different patches. Here is an example of a feature descriptor from the above image.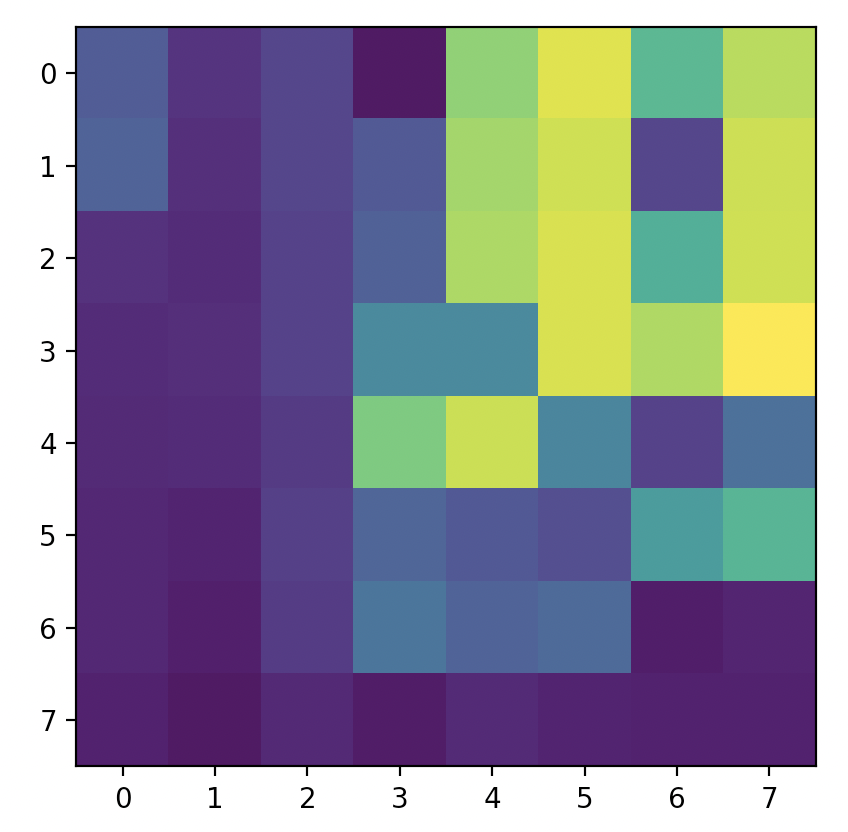
Matching these feature descriptors between two images
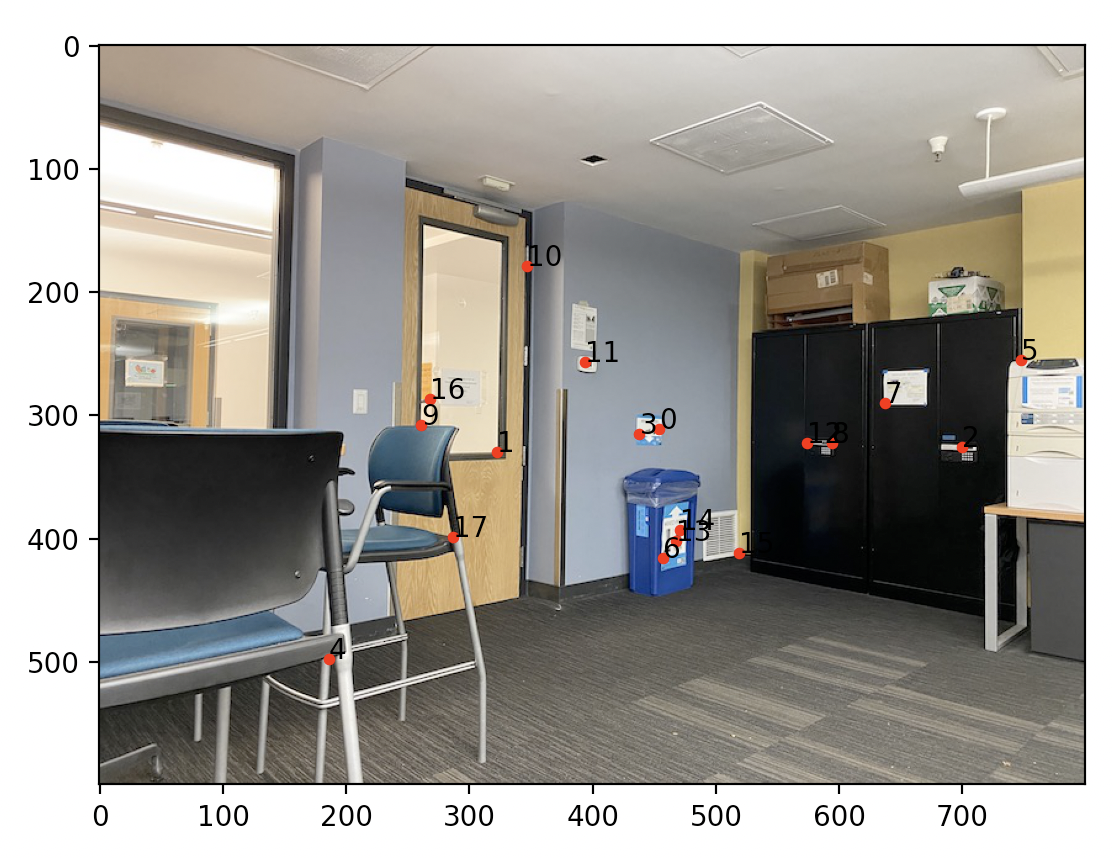
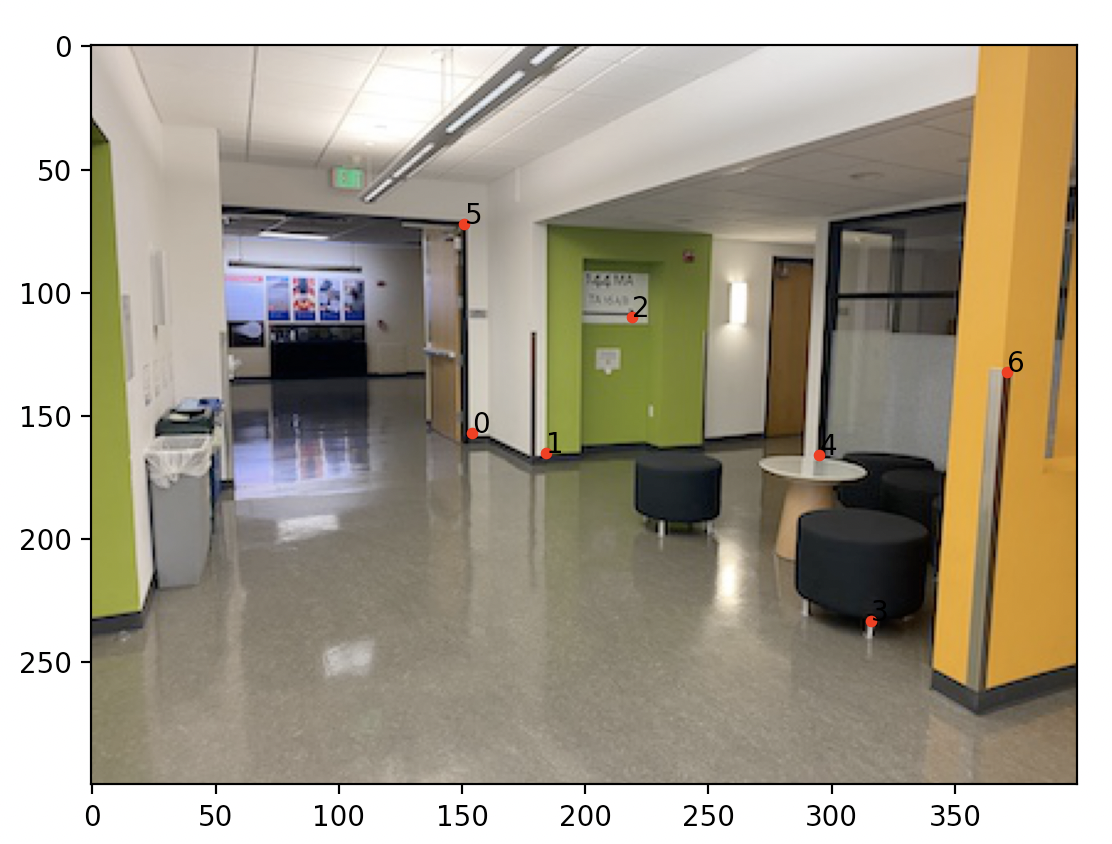
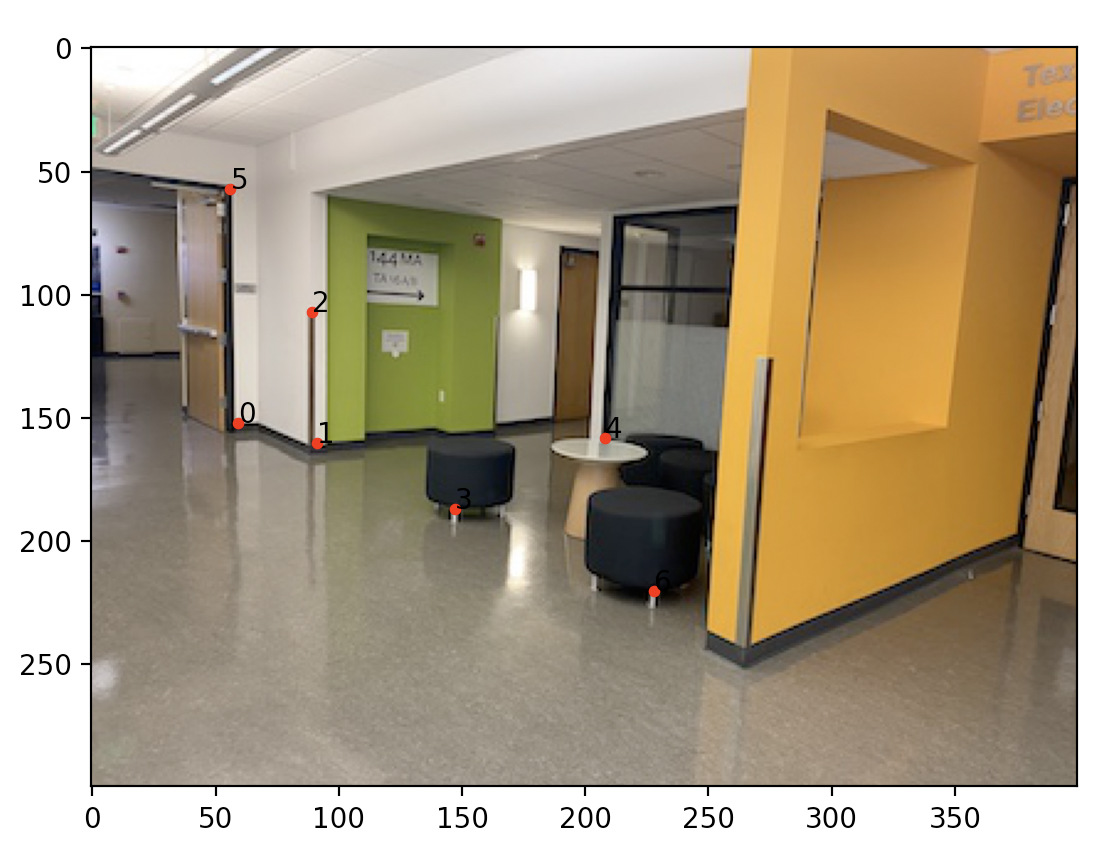
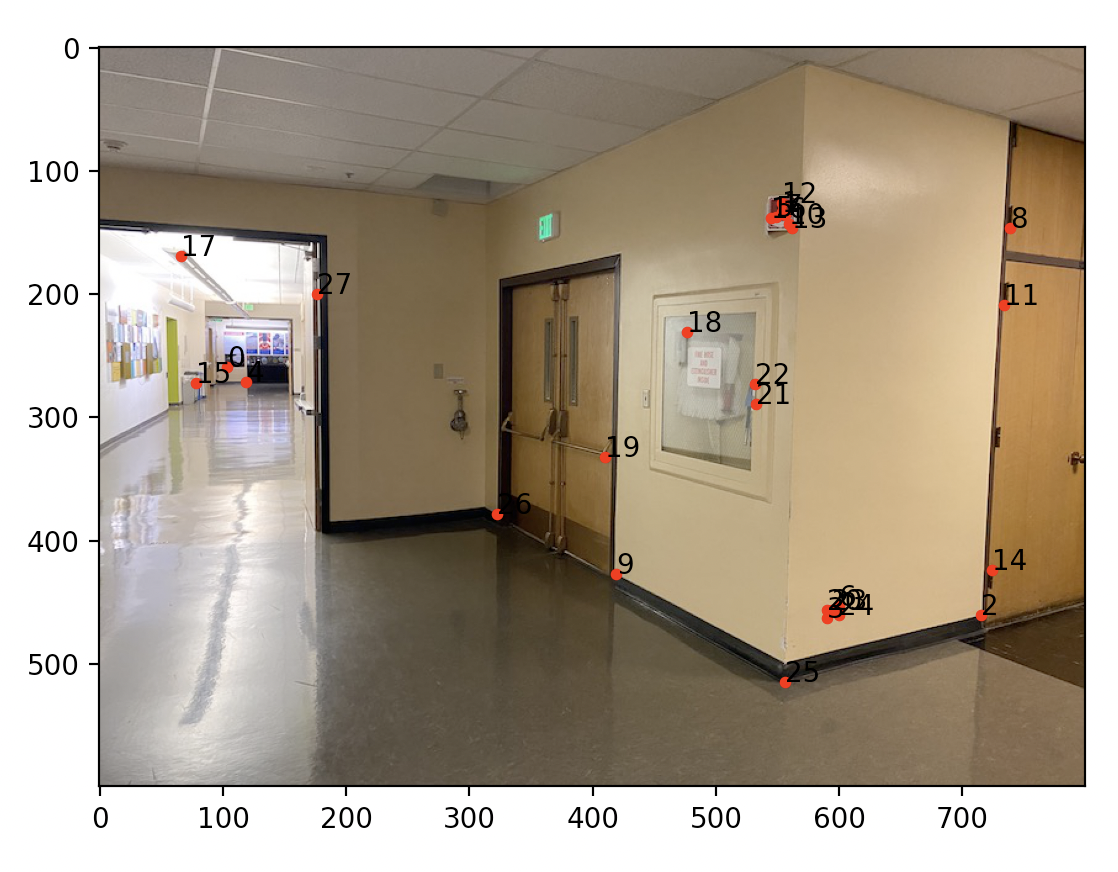
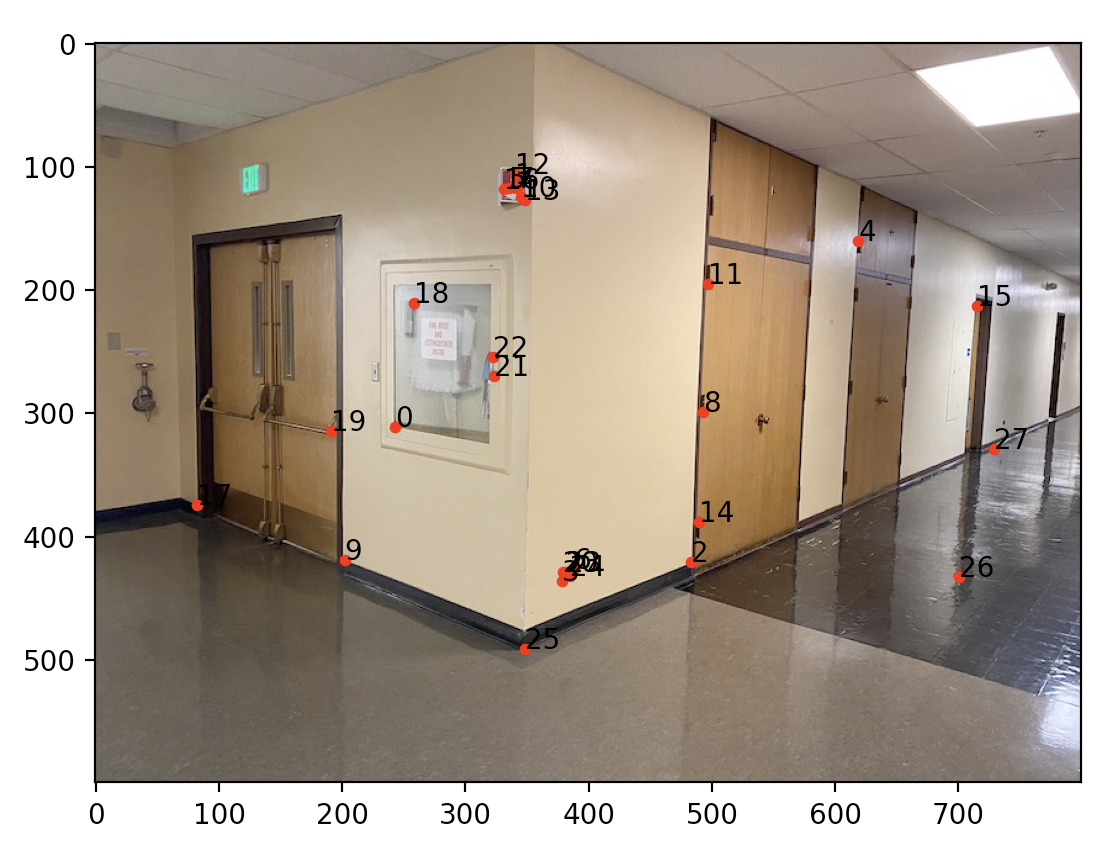
In order to match the feature descriptors between two images, we will use the SSD to compare the two patches. For each patch in image 1 I attempted to match it to a patch in image 2 by looking through each patch in image2 and selecting the match if the smallest SSD value was smaller than some threshold and there was a large enough difference between the smallest value and th next smallest value. This will ensure that we have good matches. Then, I realized there were duplicate matches so I employed a reverse correspondance from image 2 to image1 and took the final correspondenes as only the ones that were in both cases. This ensured that we had reasonable correspondences between them. Here is an example of the correspondences with the associated numbers for each correspondance between the images.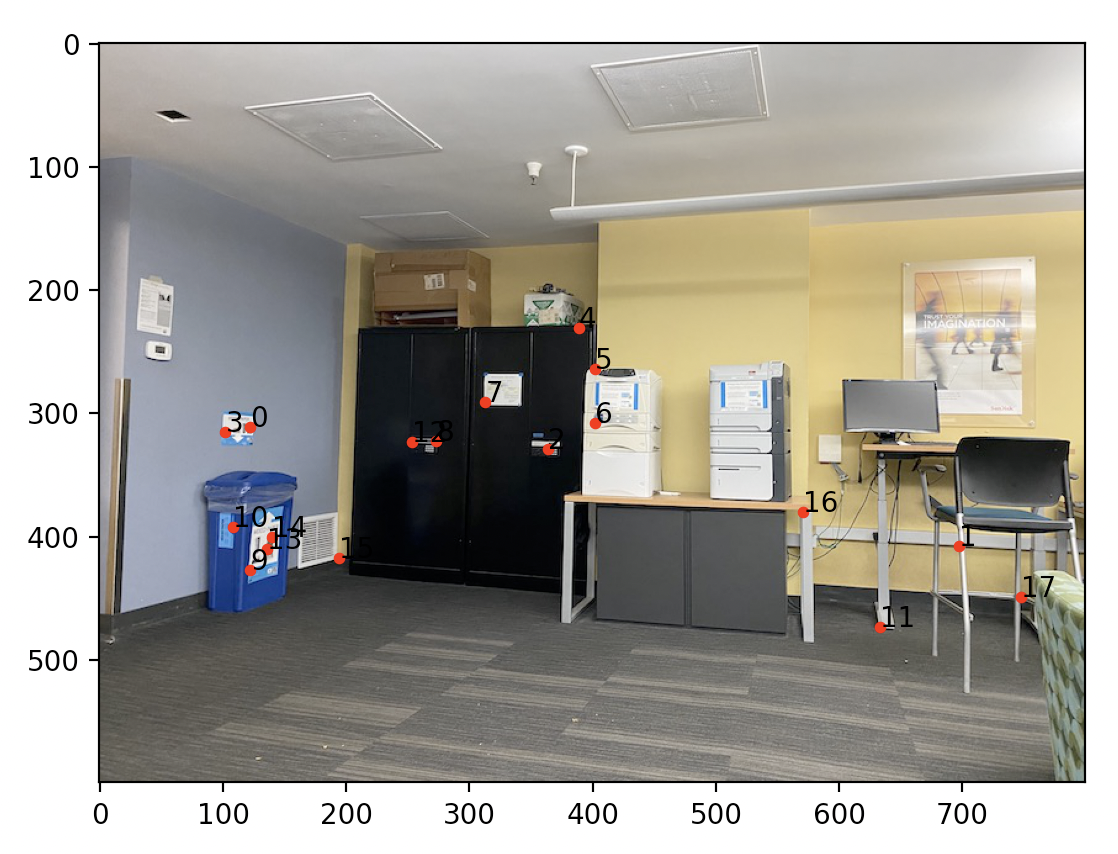
RANSAC to compute Homography
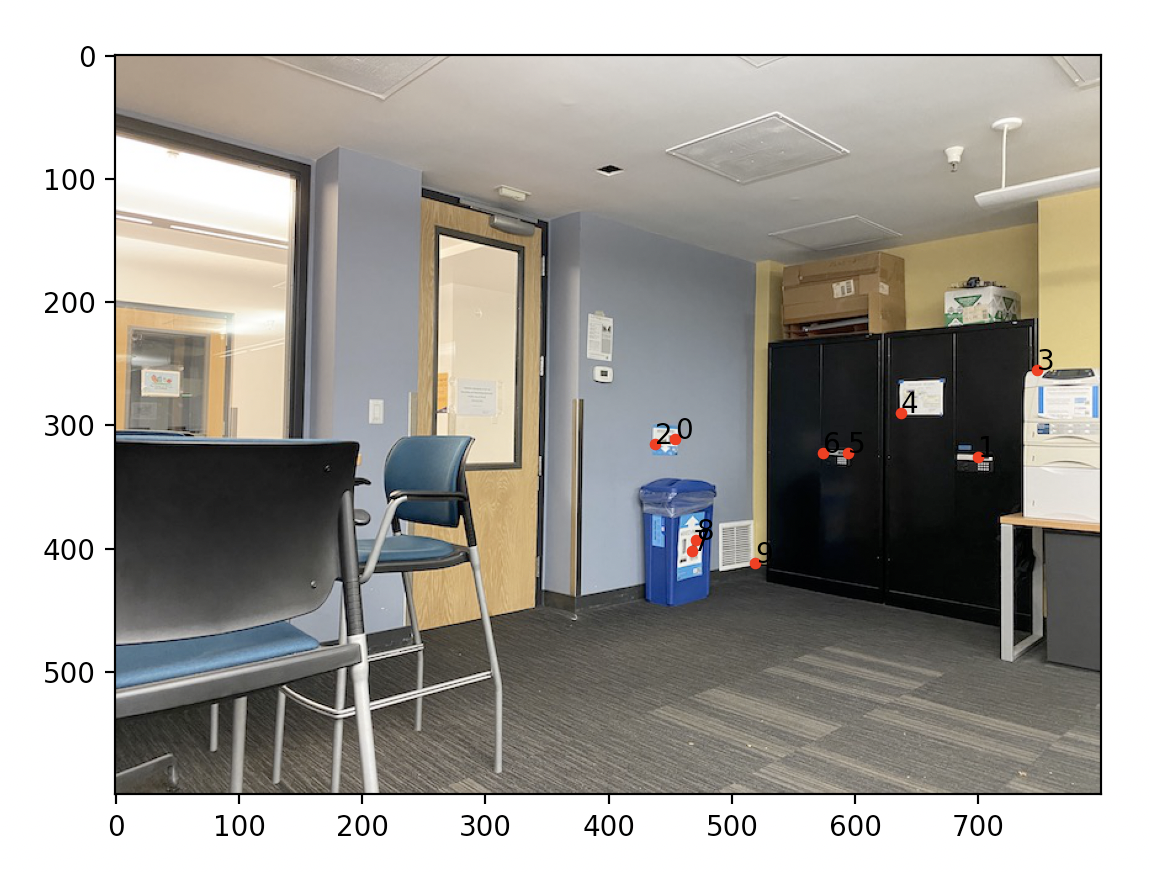
In order to ensure we have robust correspondences to create our Homography matrix, we will employ the RANSAC algorithm to find the corresponding points that lie within an inlier. We will do this by sampling 4 random points, generating the homography matrix, and comparing the output from the homogrphy matrix points to the associated points on the second image. We will choose the inliers that have the most inlier points and choose those points to generate our homography matrix using the inlier corresponding points. This gives us a smaller subset of correspondoing points as shown below. You can see that the correspondances match more robustly as compared to the previous set of corresponding points.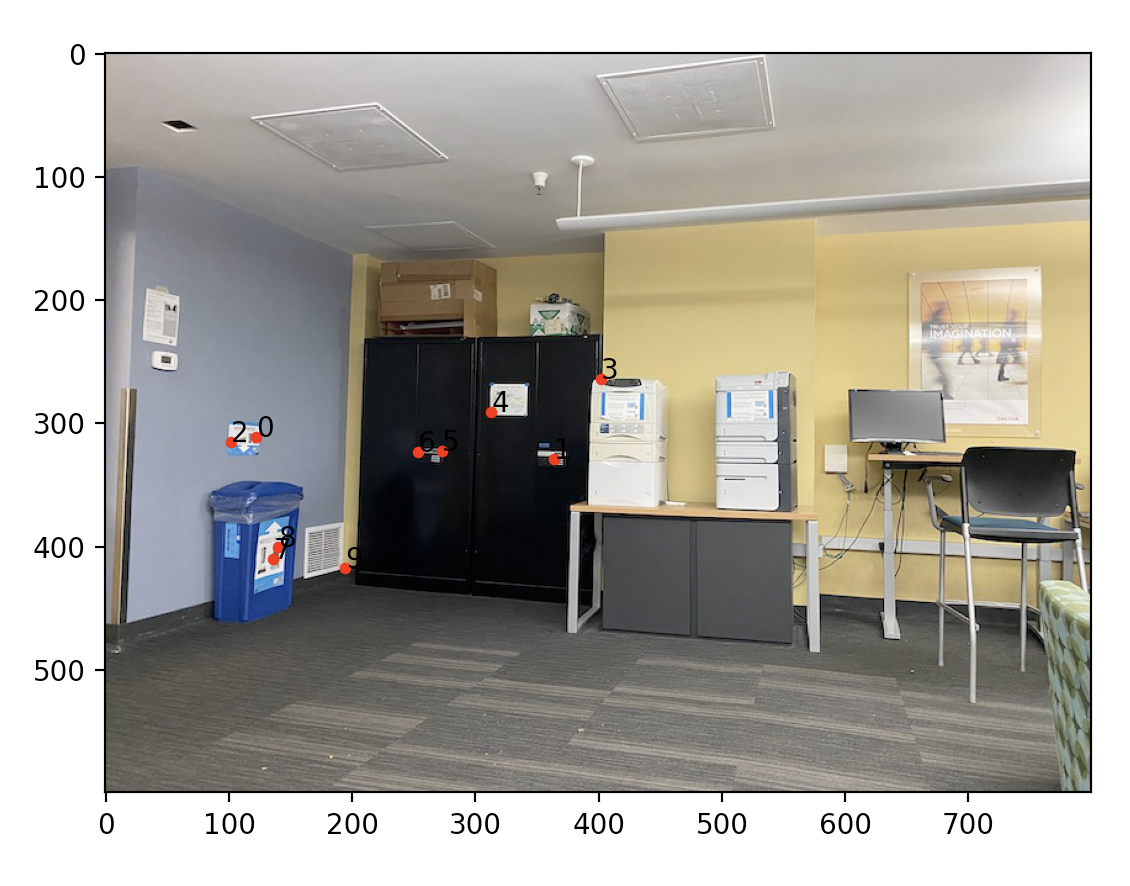
Mosaics
Finally, using the code from our previous part, we can generate a mosaic using our newly formed H matrix that was formed from auto generated correspondences. We find the H matrix of [[ 3.91881665e-01 -1.70466560e-02 3.60512594e+02] [-2.35755147e-01 7.65371005e-01 6.74737288e+01] [-7.27466002e-04 -7.58553331e-05 1.00000000e+00]] and combine the two images into a mosaic.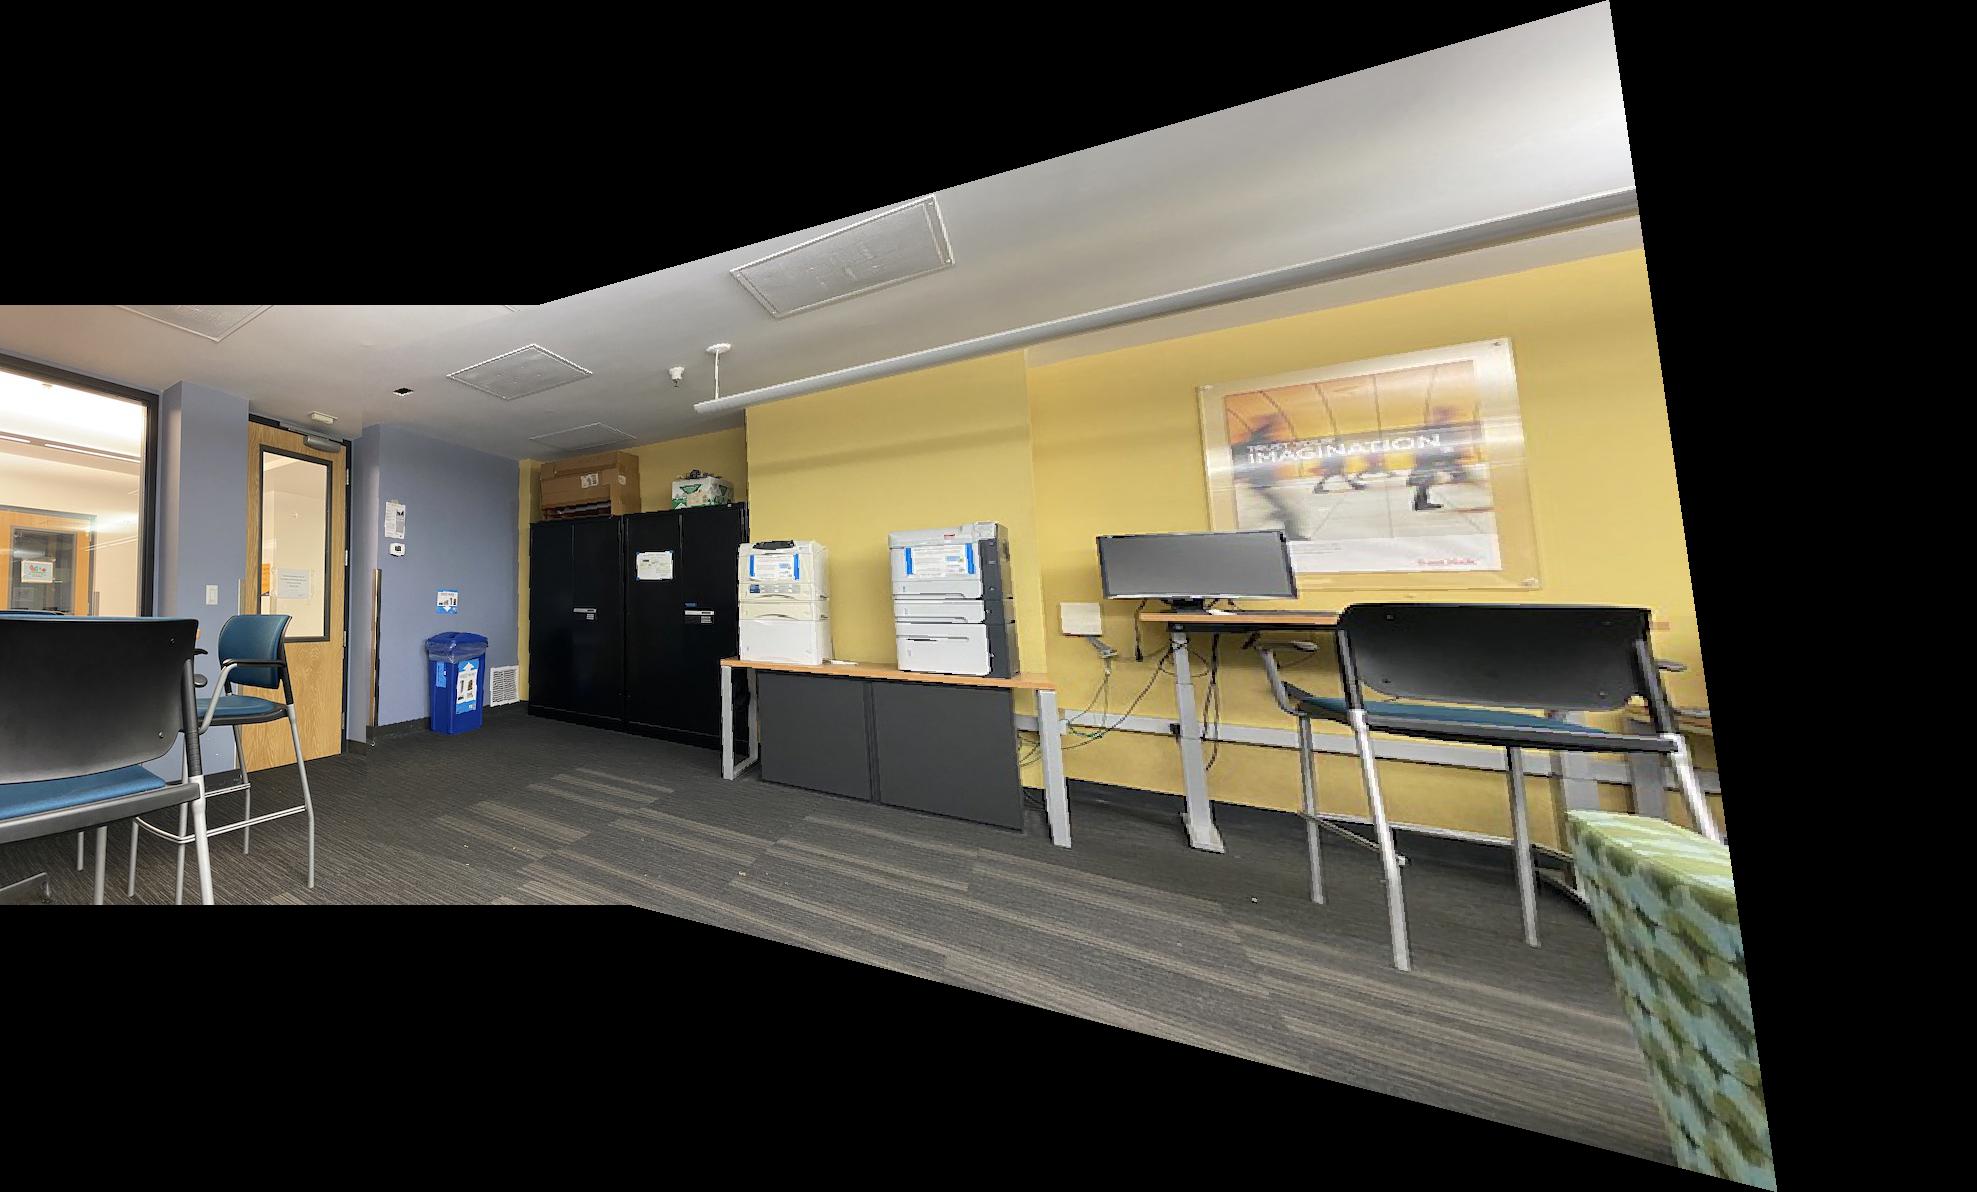
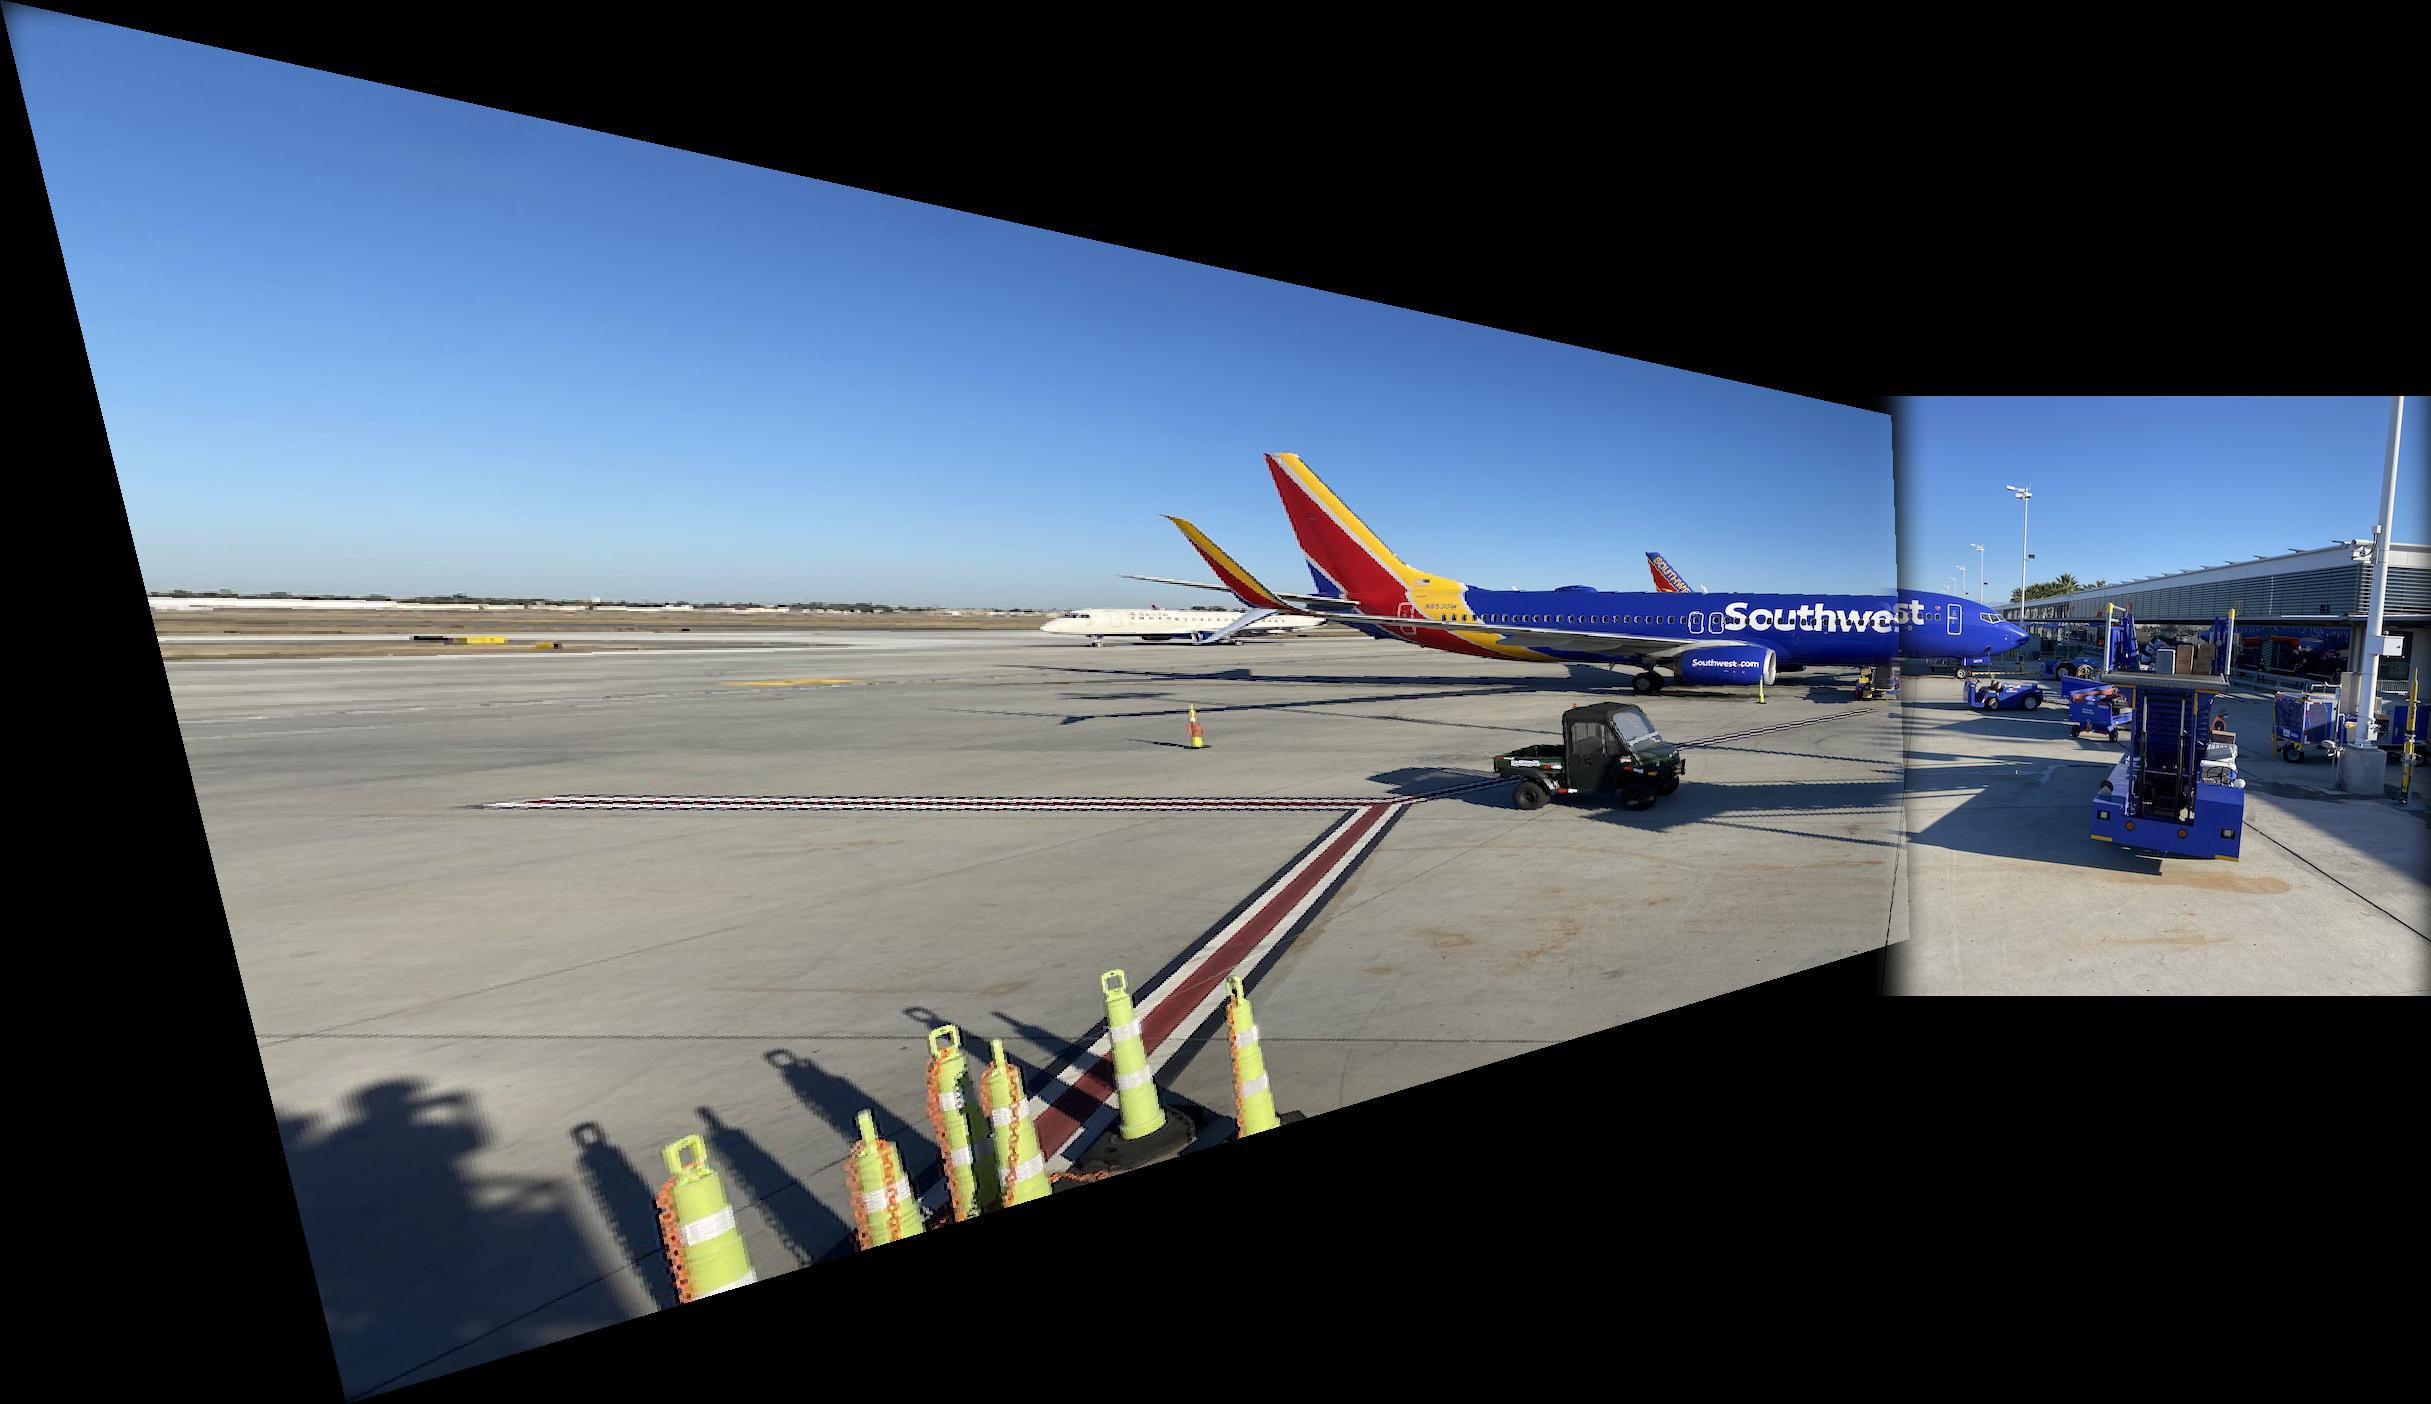
Here are some of the other mosaics generated from auto generated correspondances: Here is the image with the corresponding points (before RANSAC):
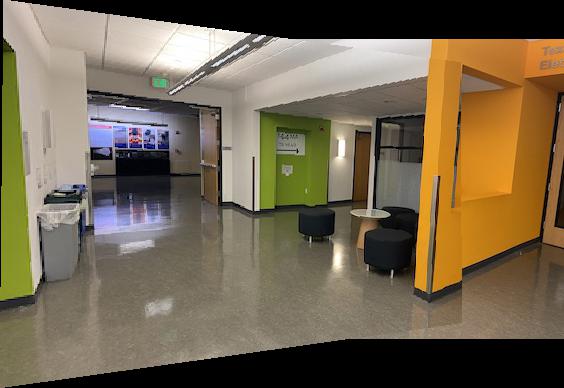
Here is the mosaic from generated points(left) compared with selected points (right)

Here is another image with the corresponding points (before RANSAC)
And the Final mosaic
