COMPSCI 194-26: Project 4
Varun Saran
4a: Image Warping and Mosaicing
Image Rectification
I used inverse warping to get the warped image, so the H matrix takes points from the final warped shape coordinates to the old unwarped shape coordinates.
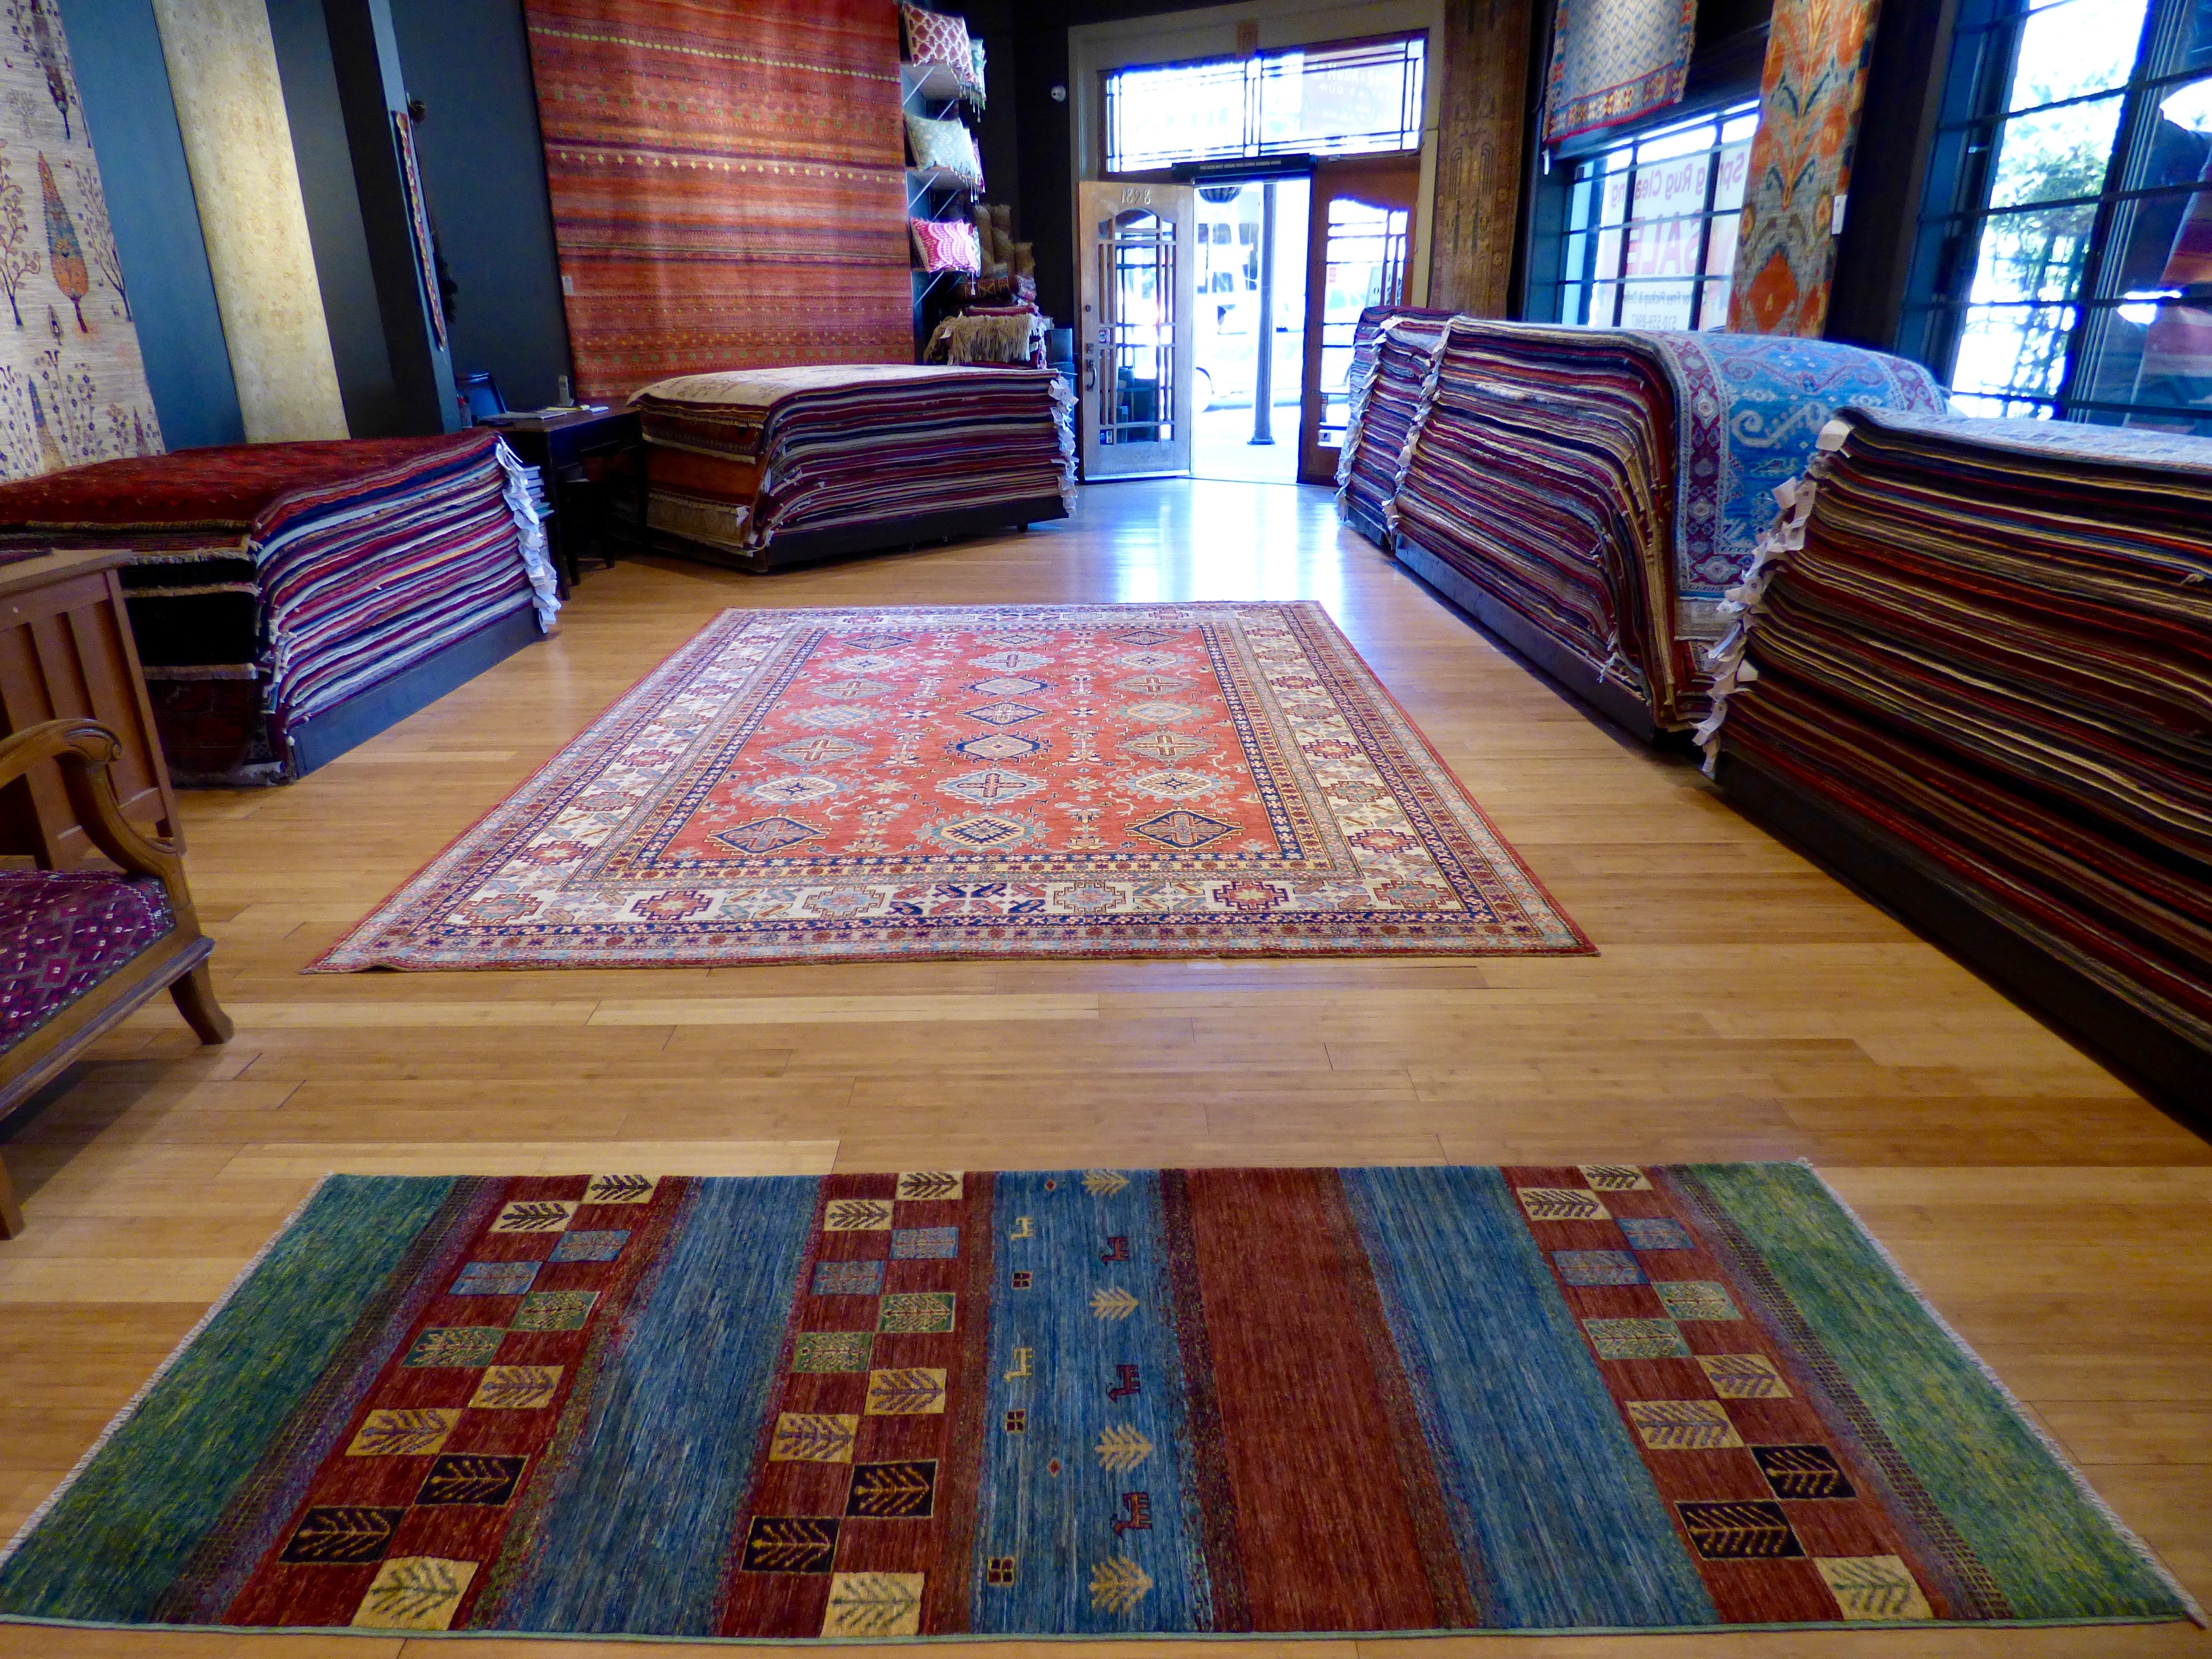
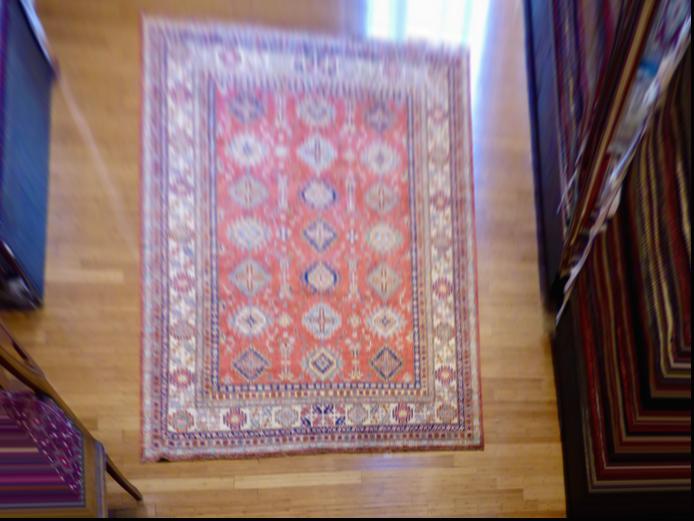
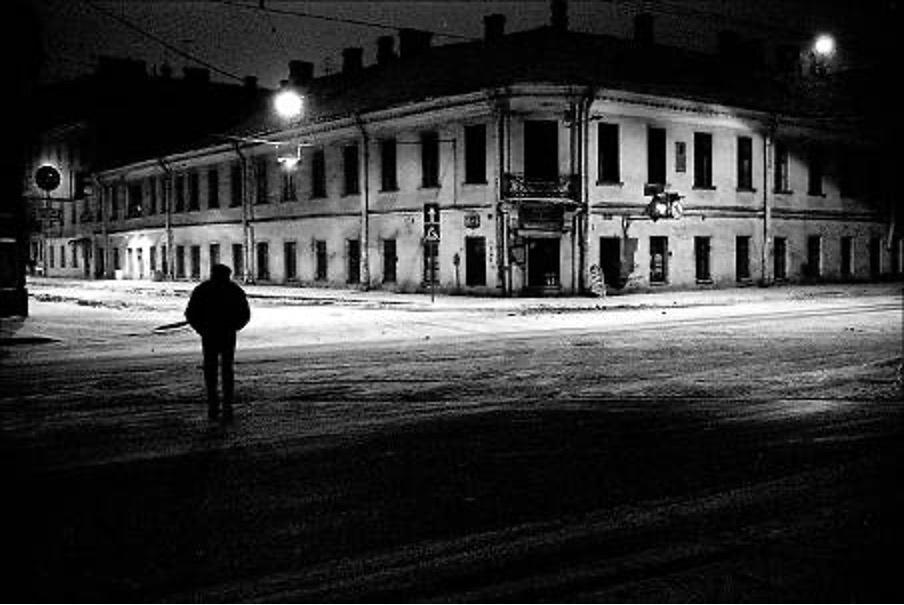
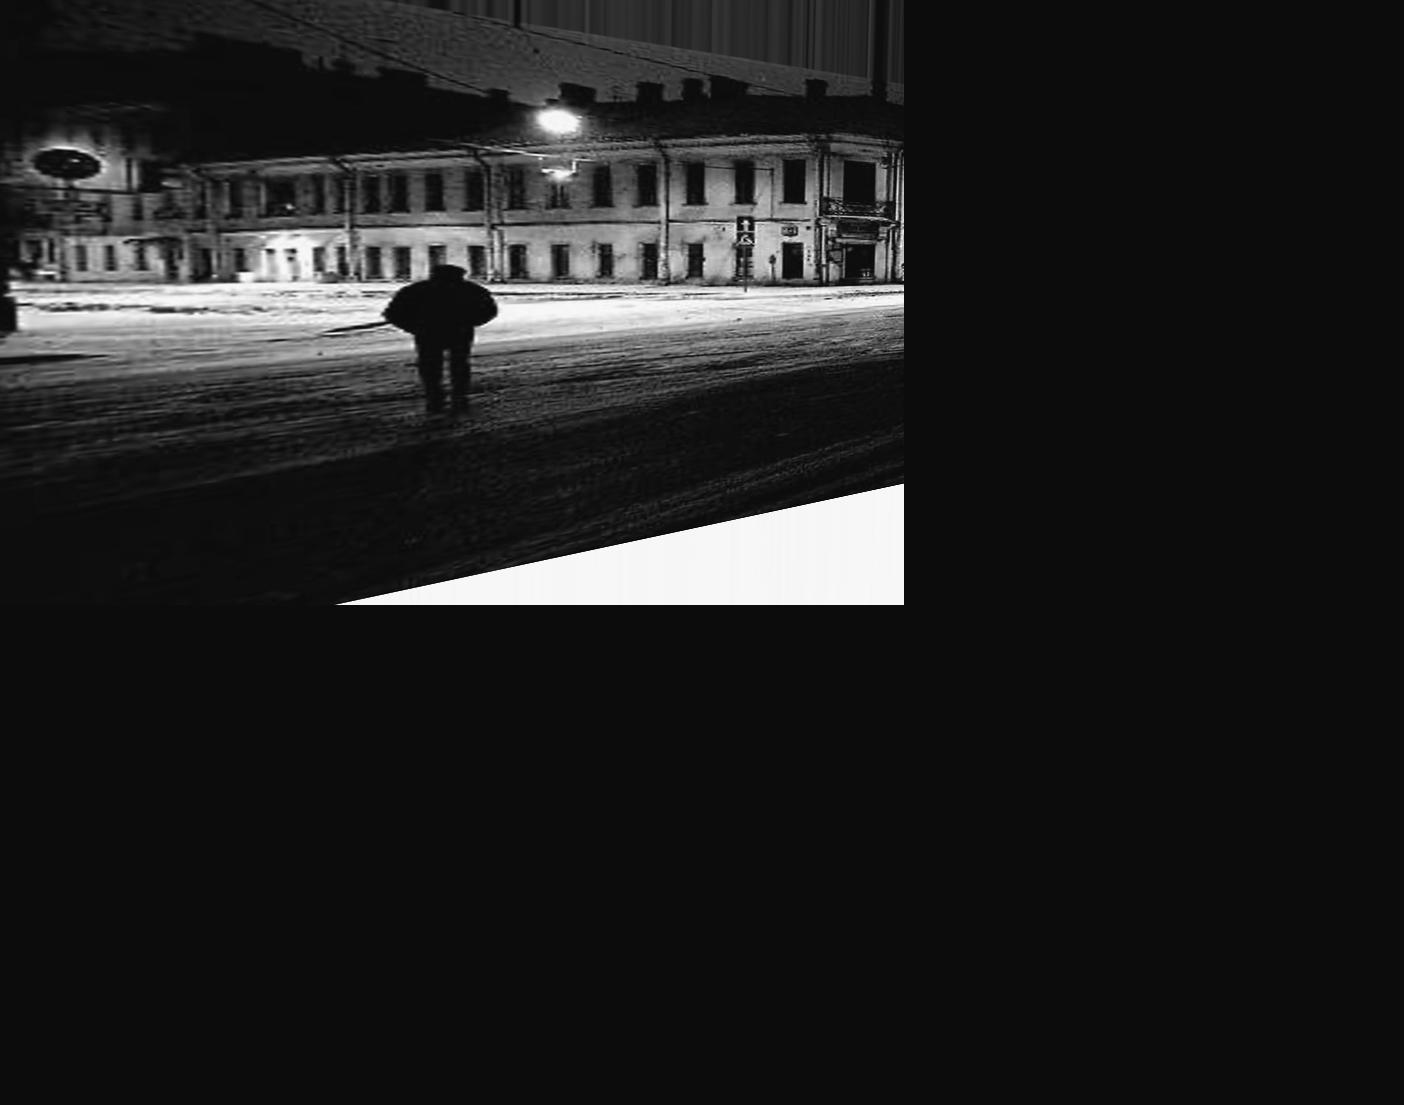
To test my warping, I used a carpet (similar to the example seen in lecture), and warped it into a top-down view where the pattern is much more visible. I also did the night street example shown in the slides.
Bluring images into Mosaics
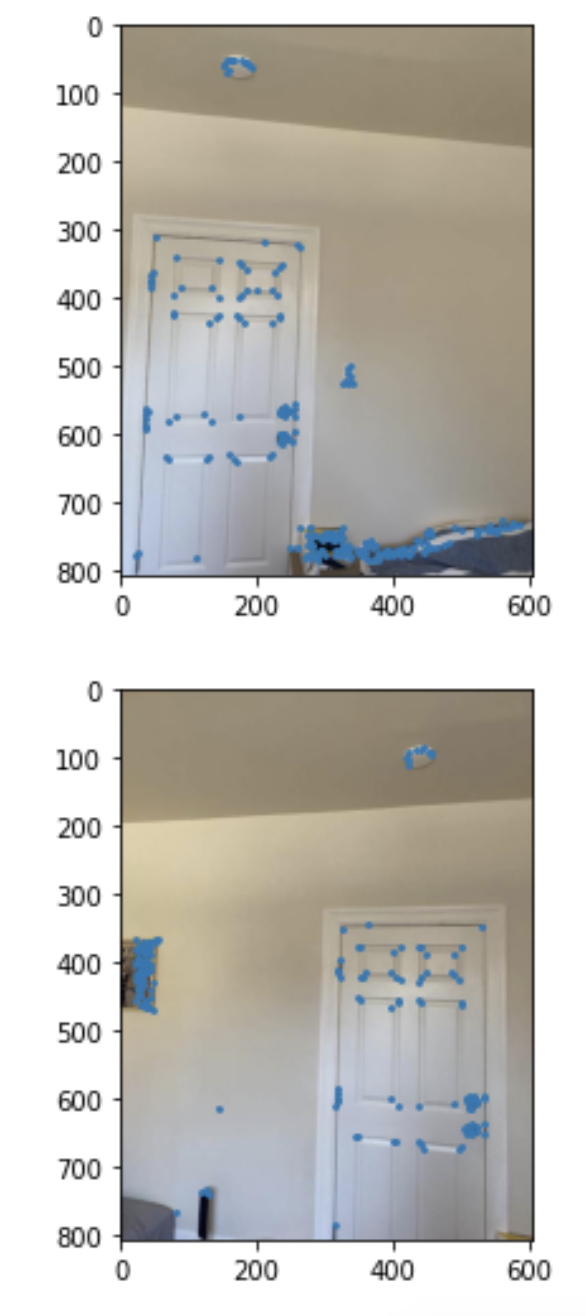
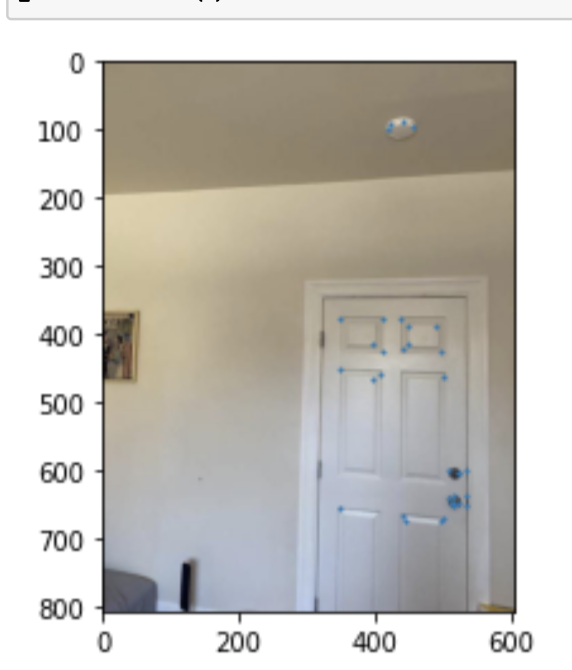
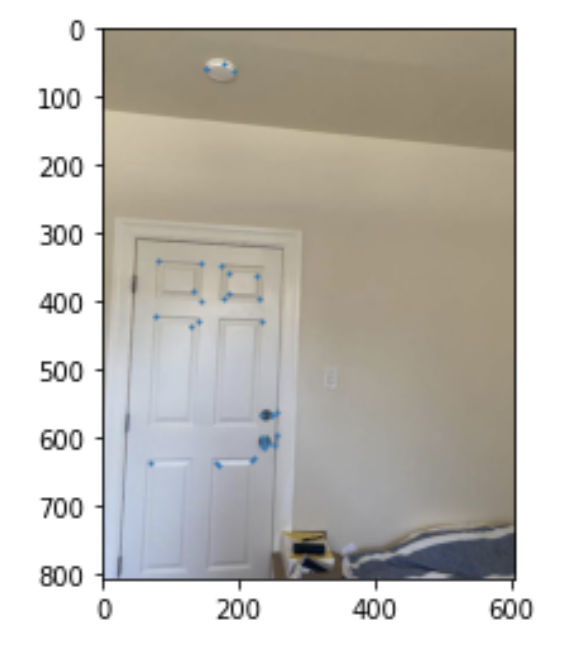
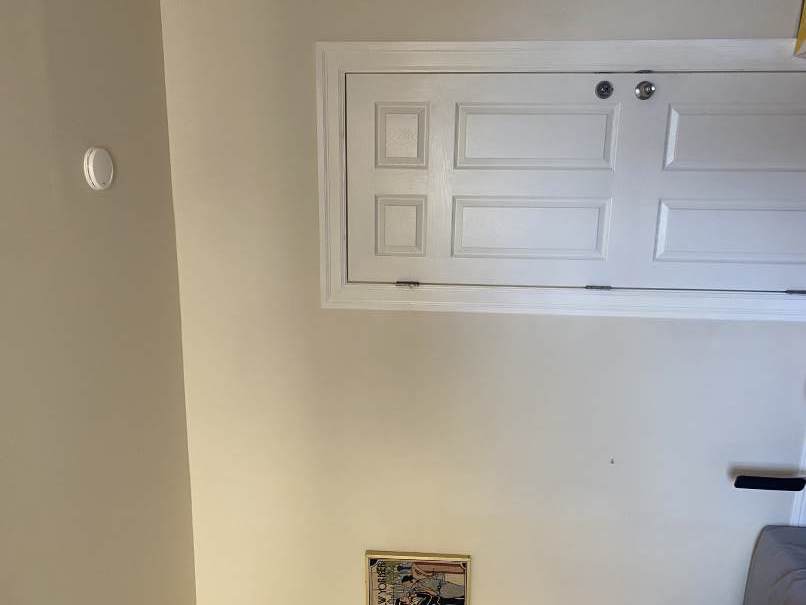
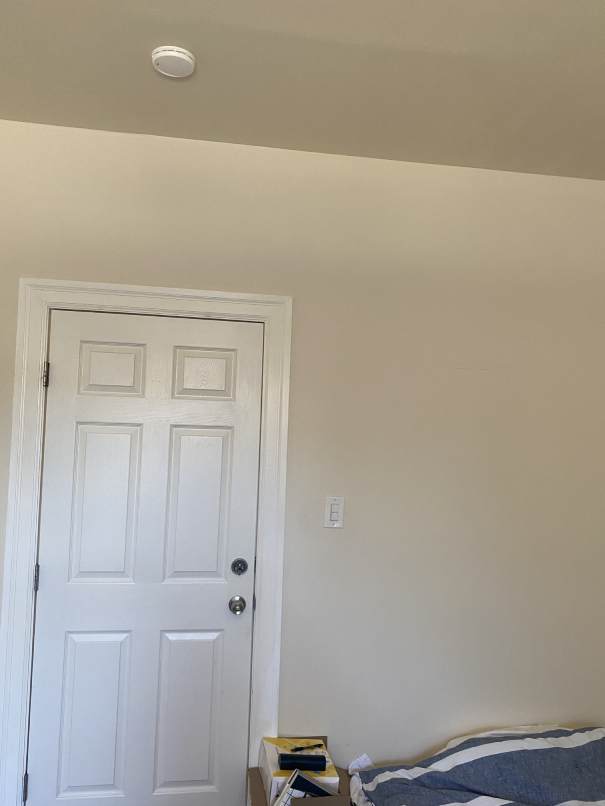
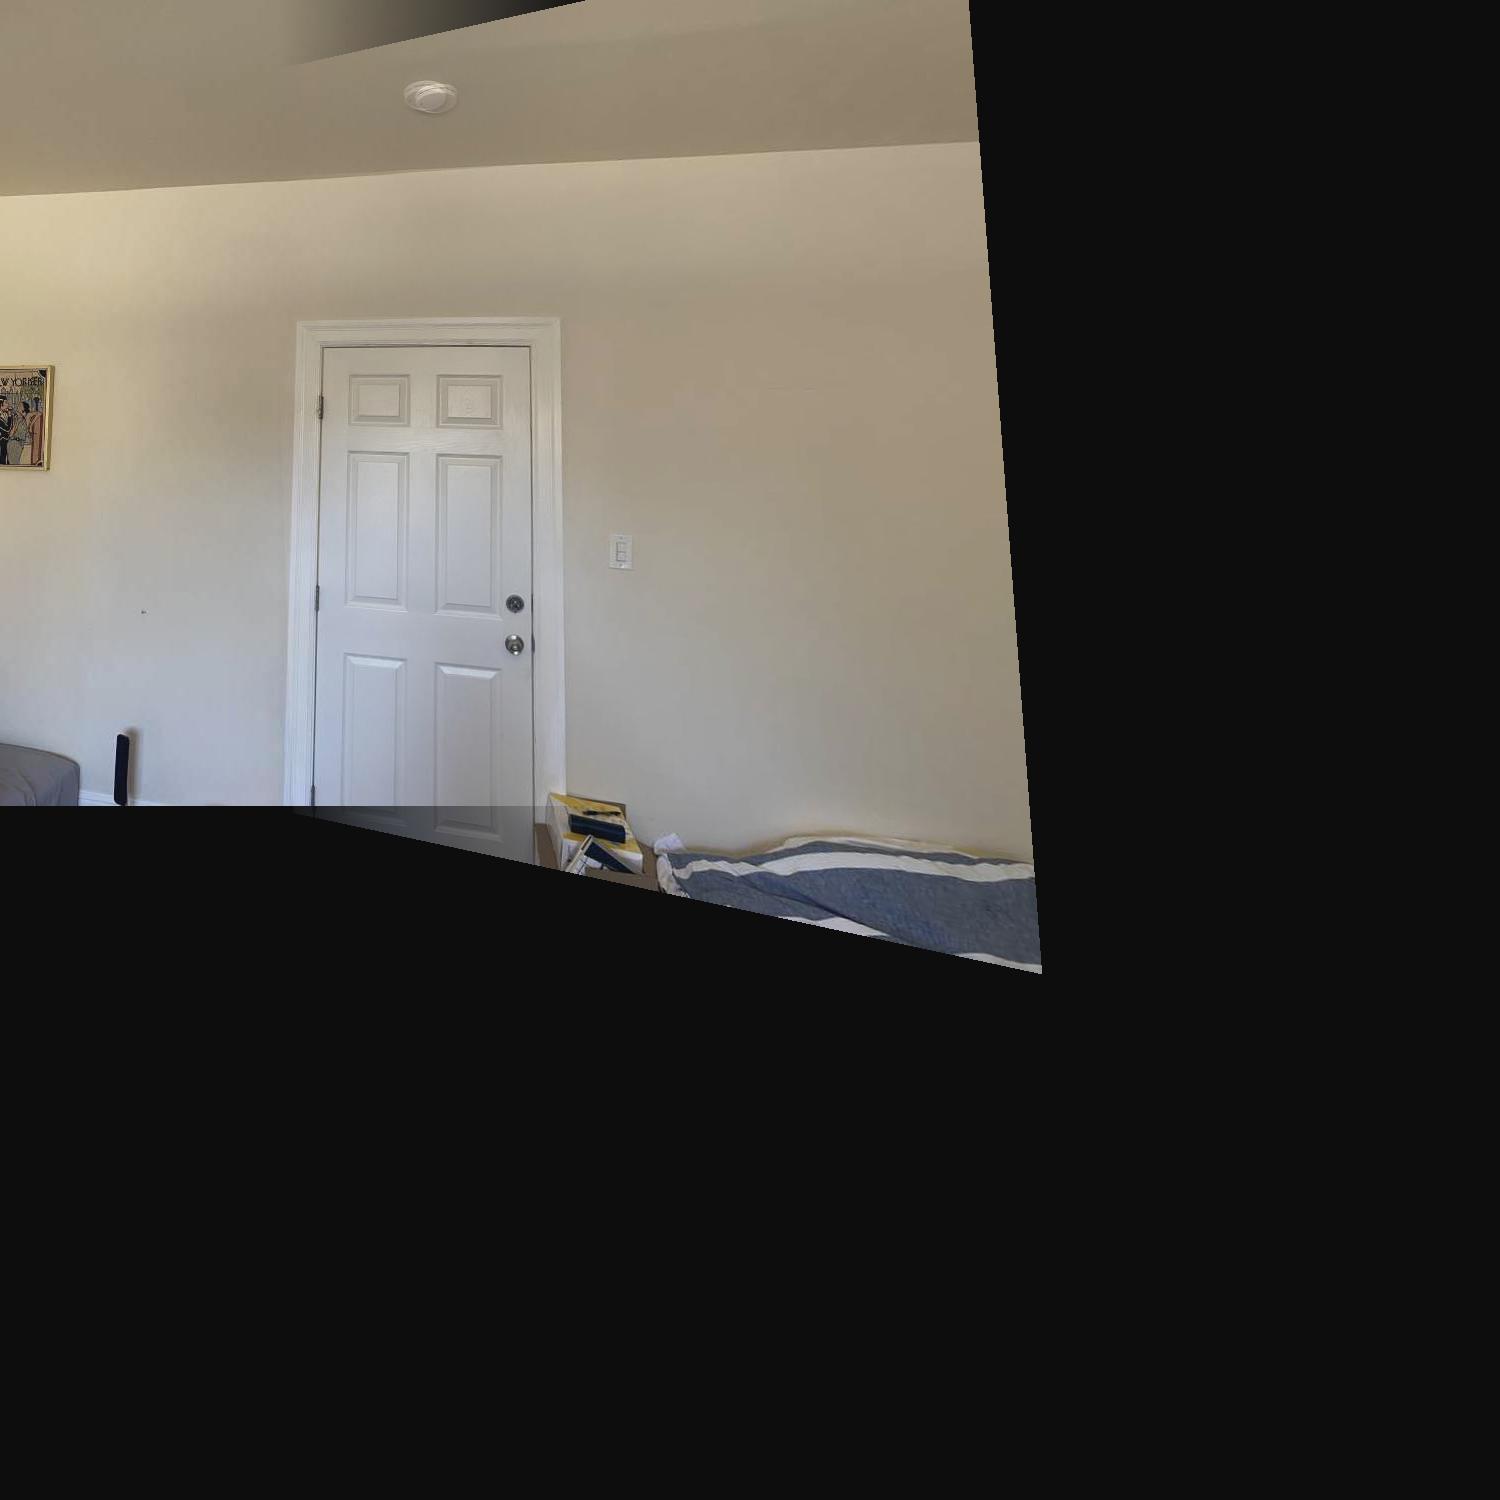
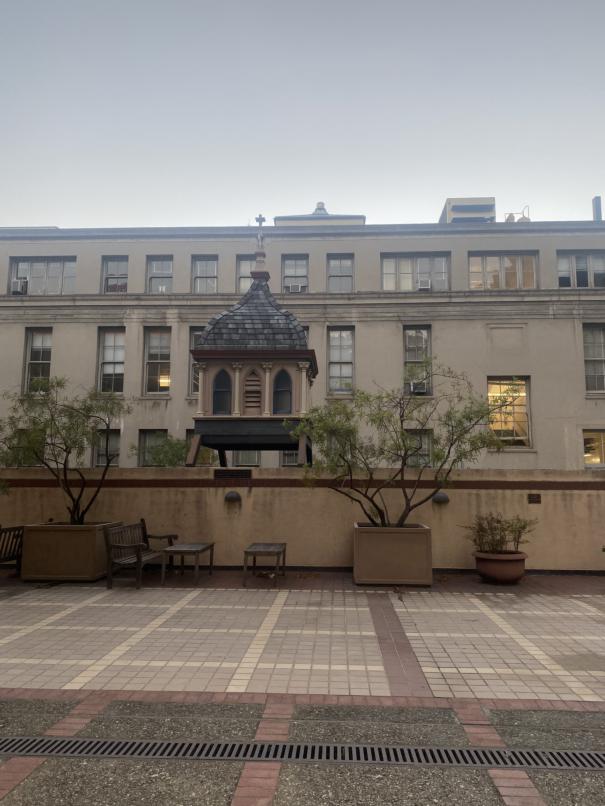
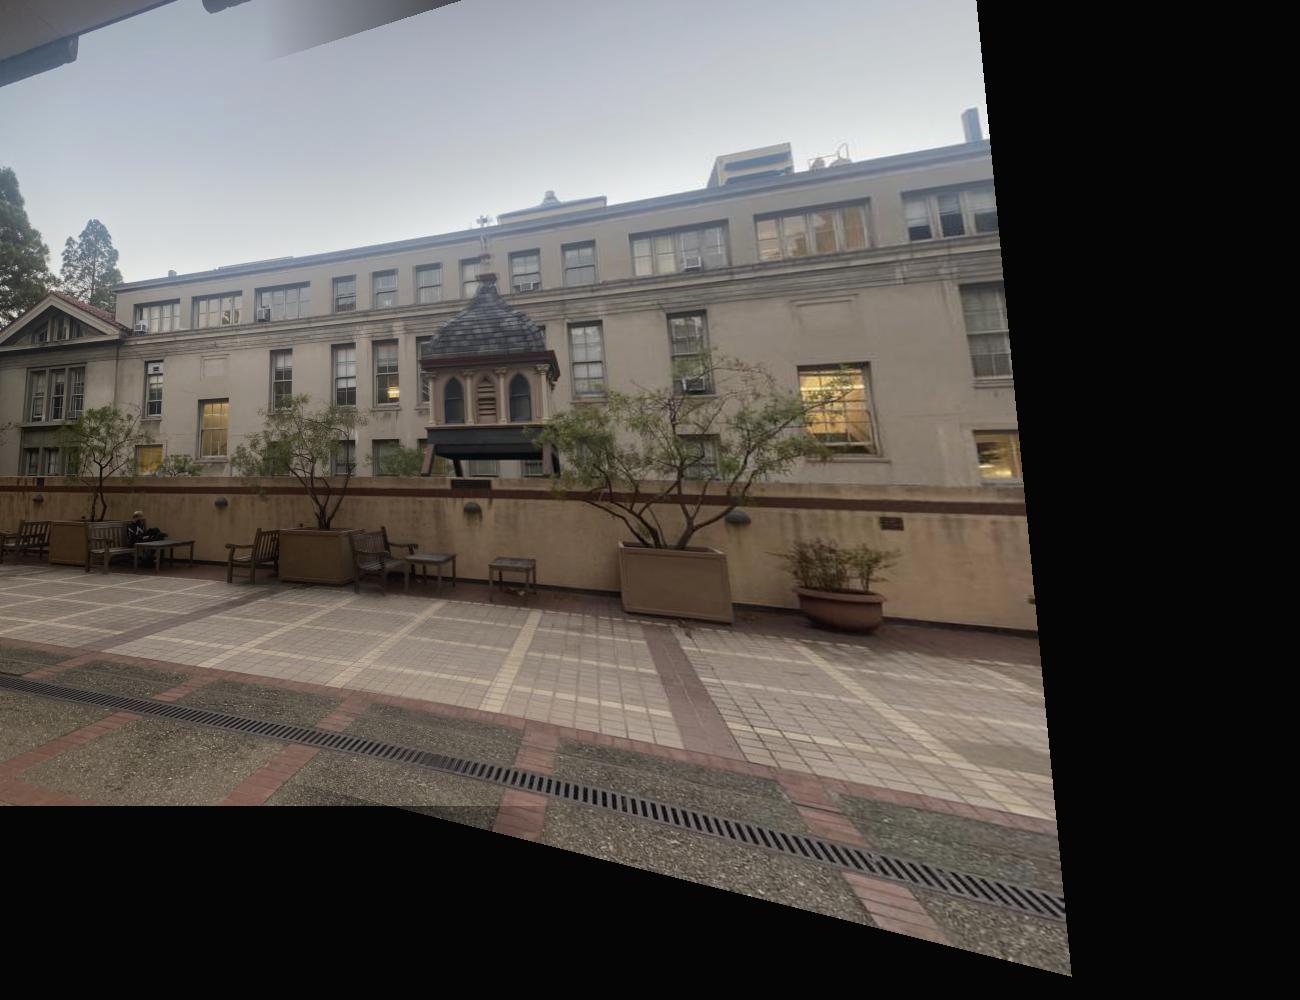
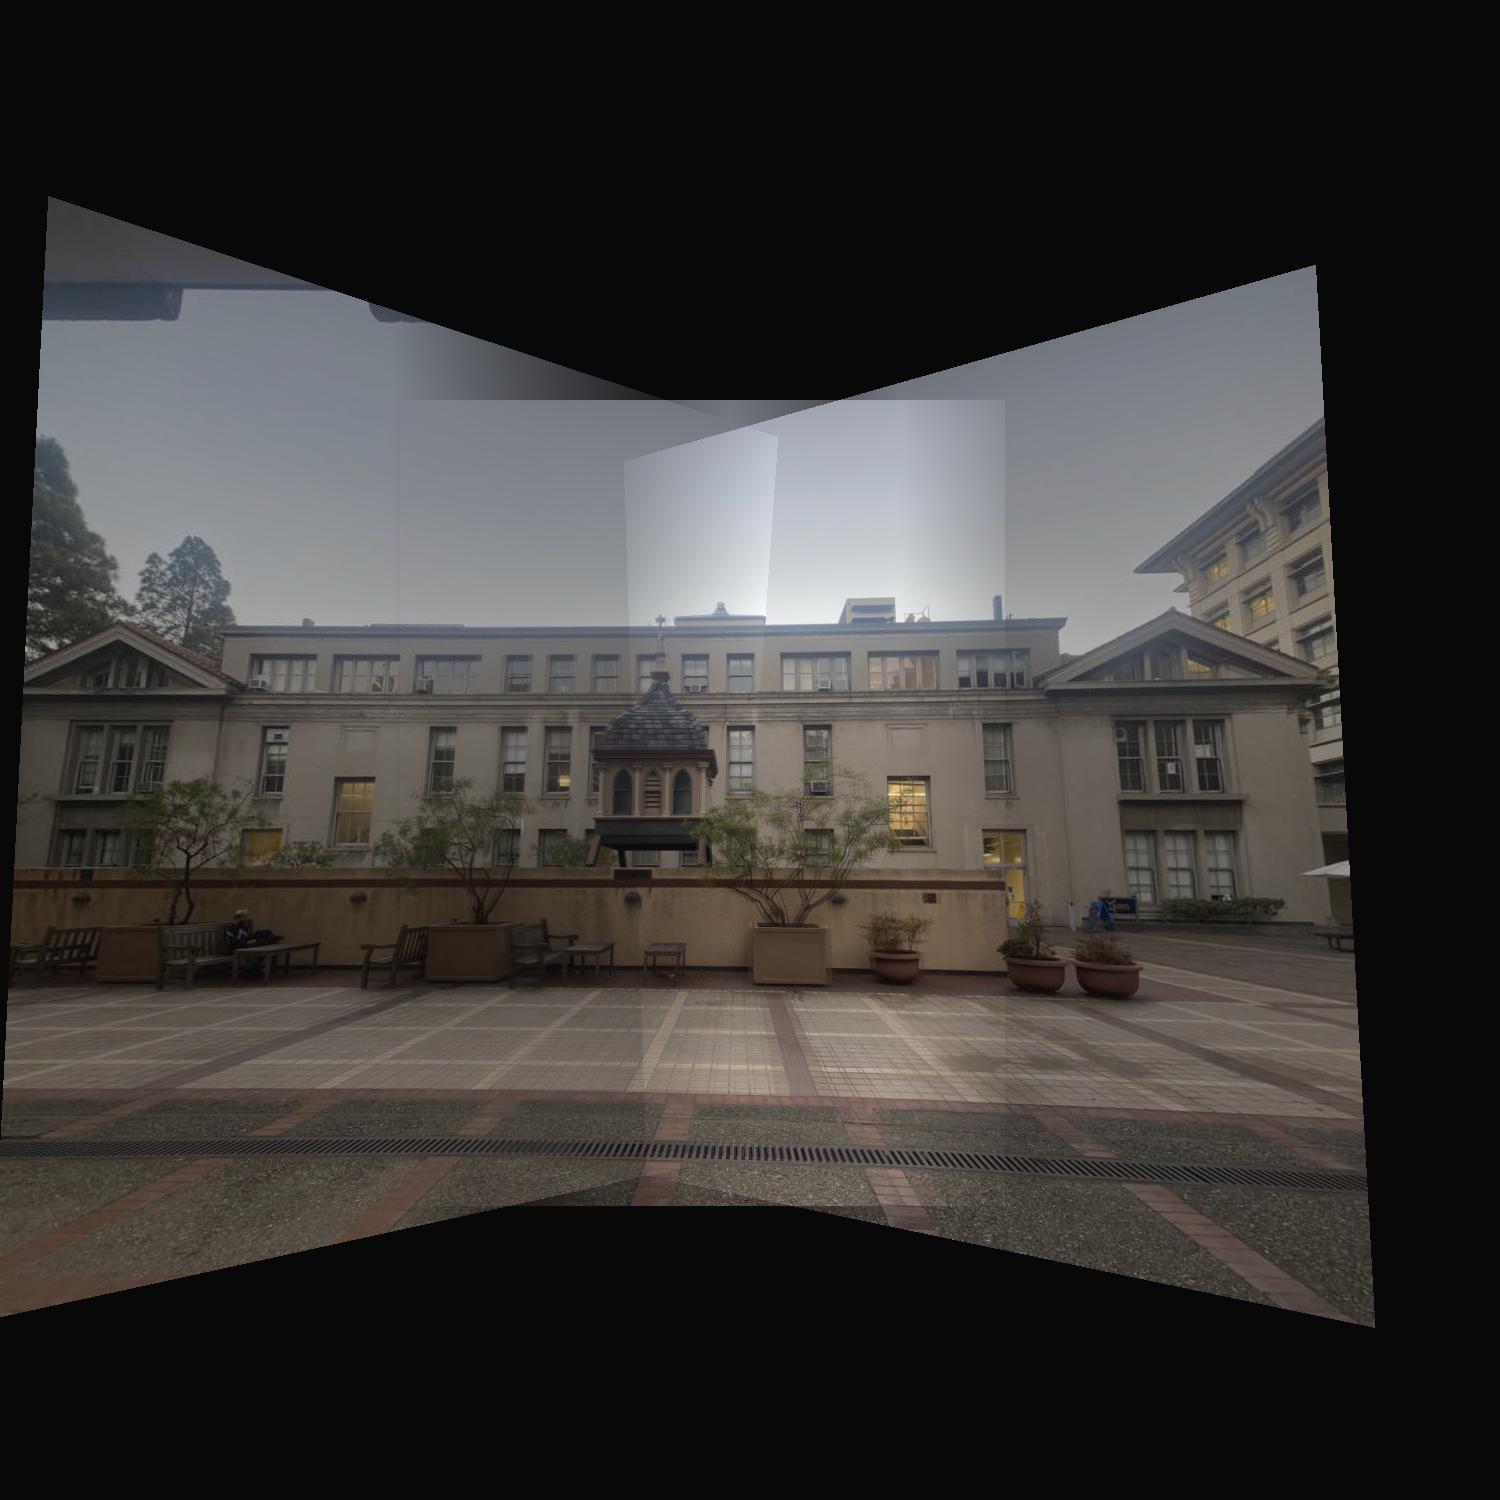
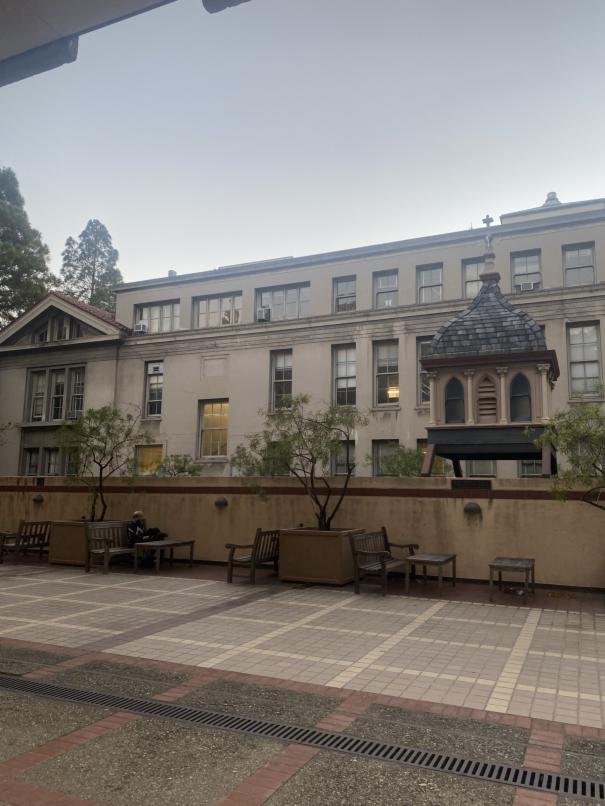
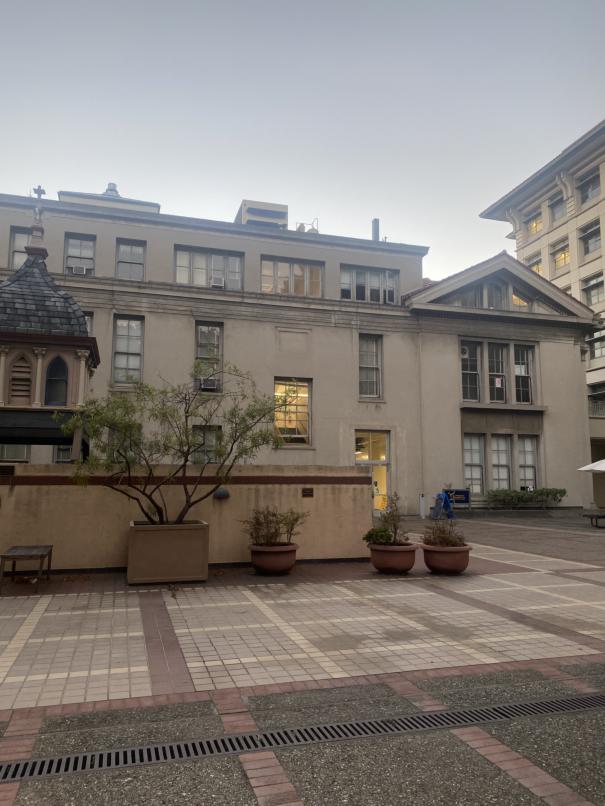
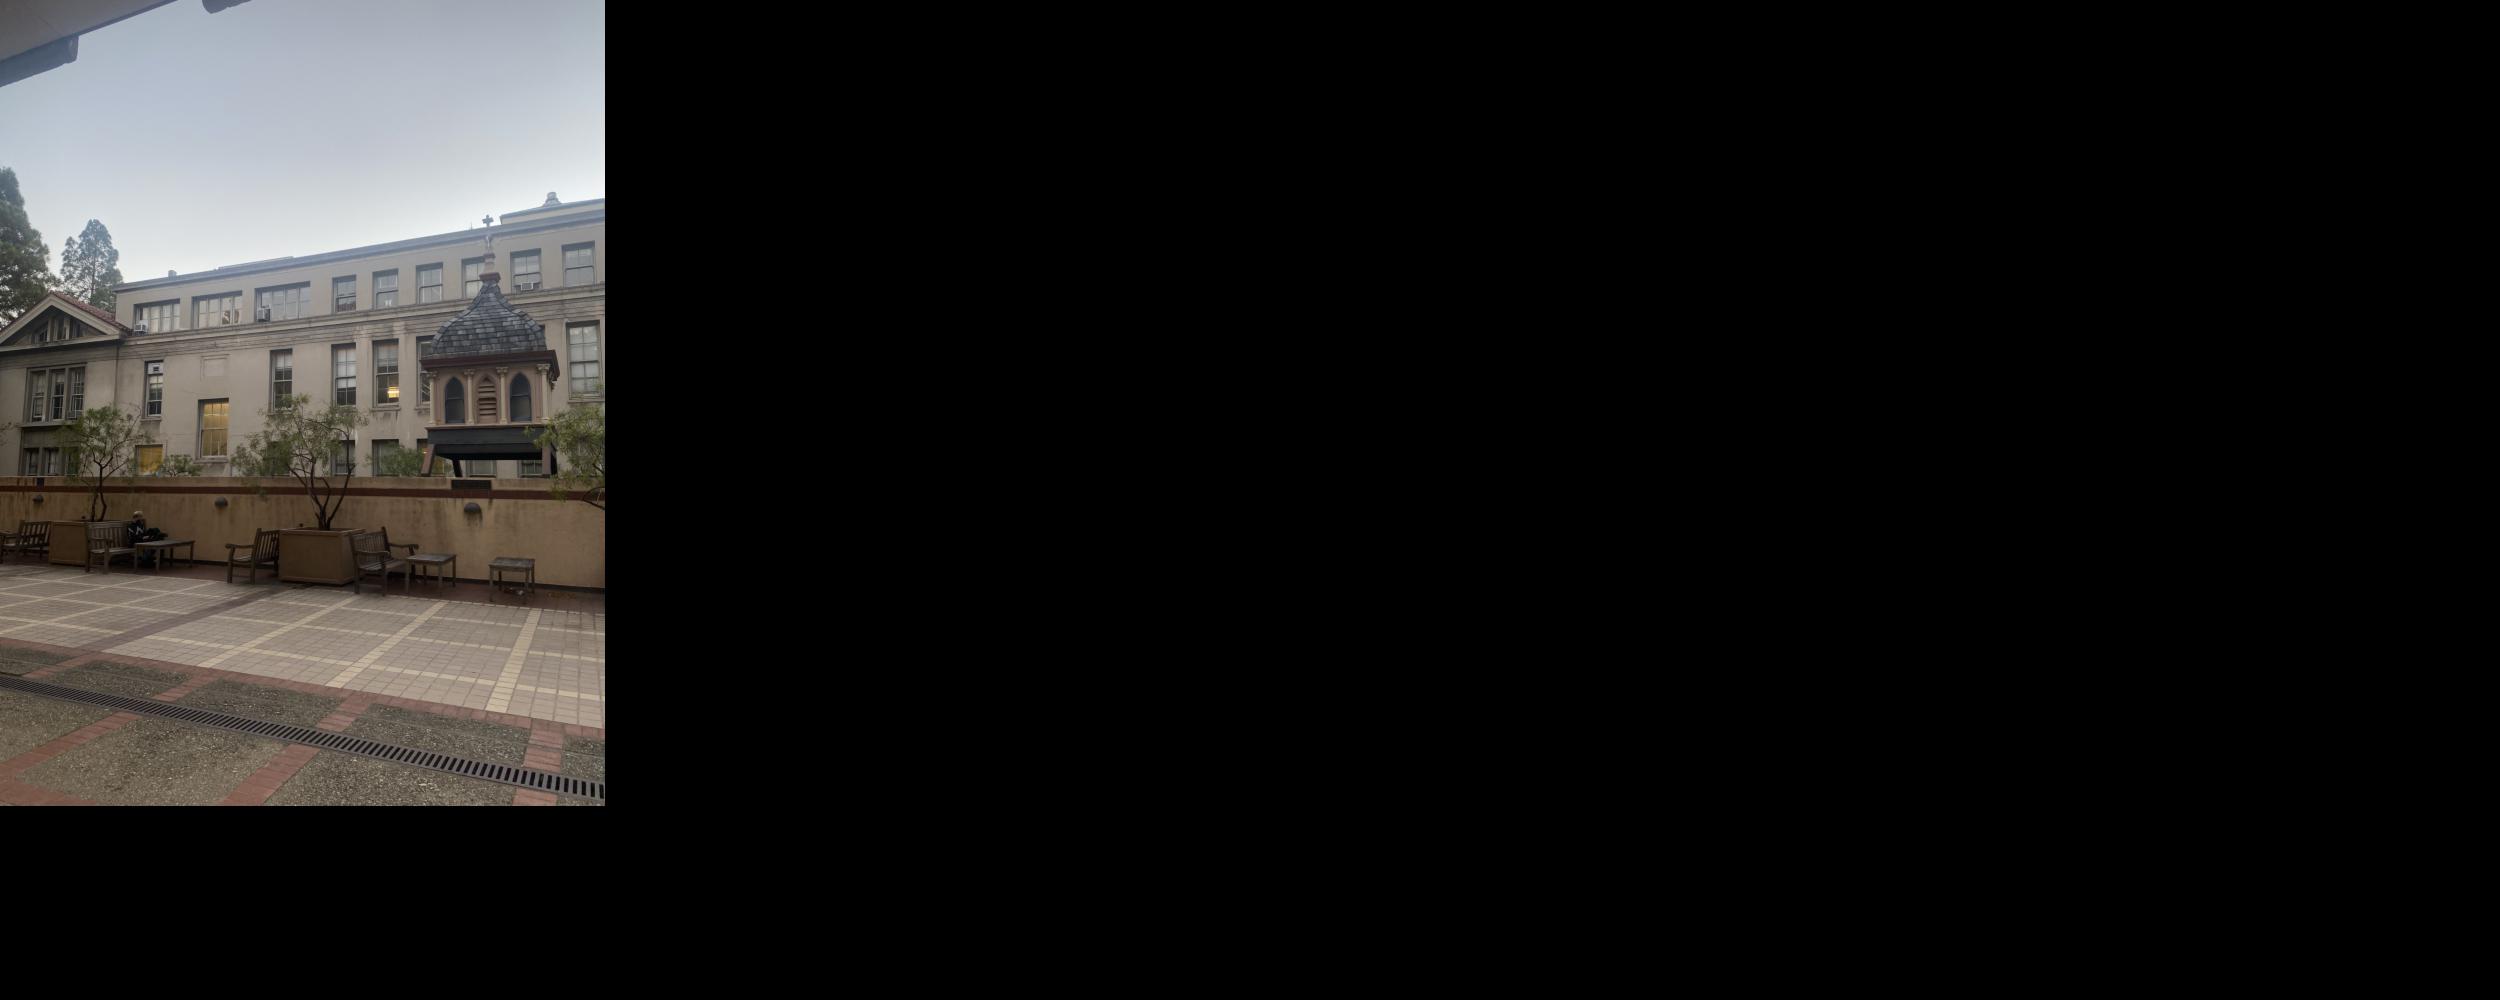
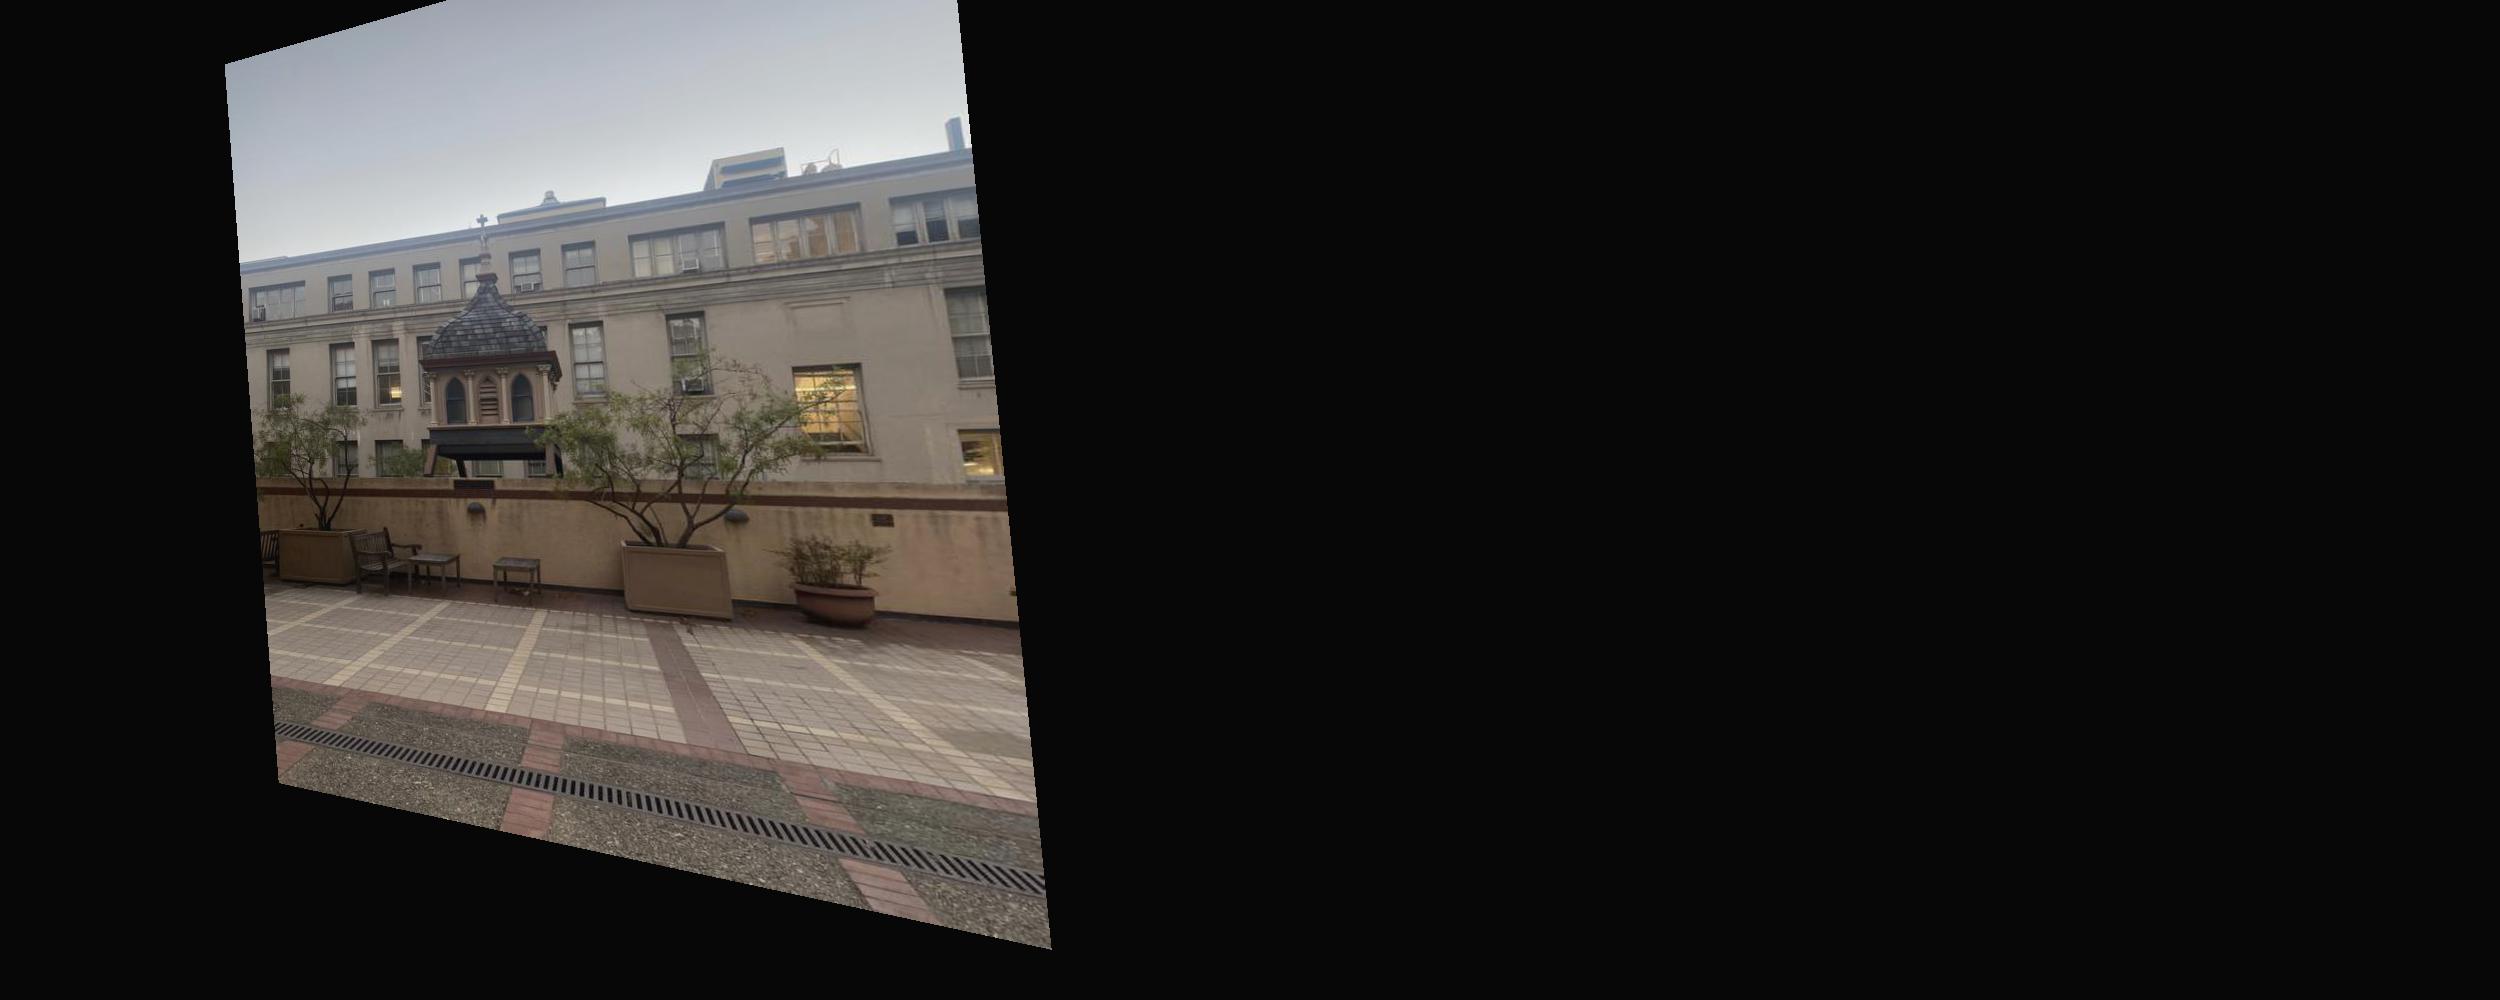
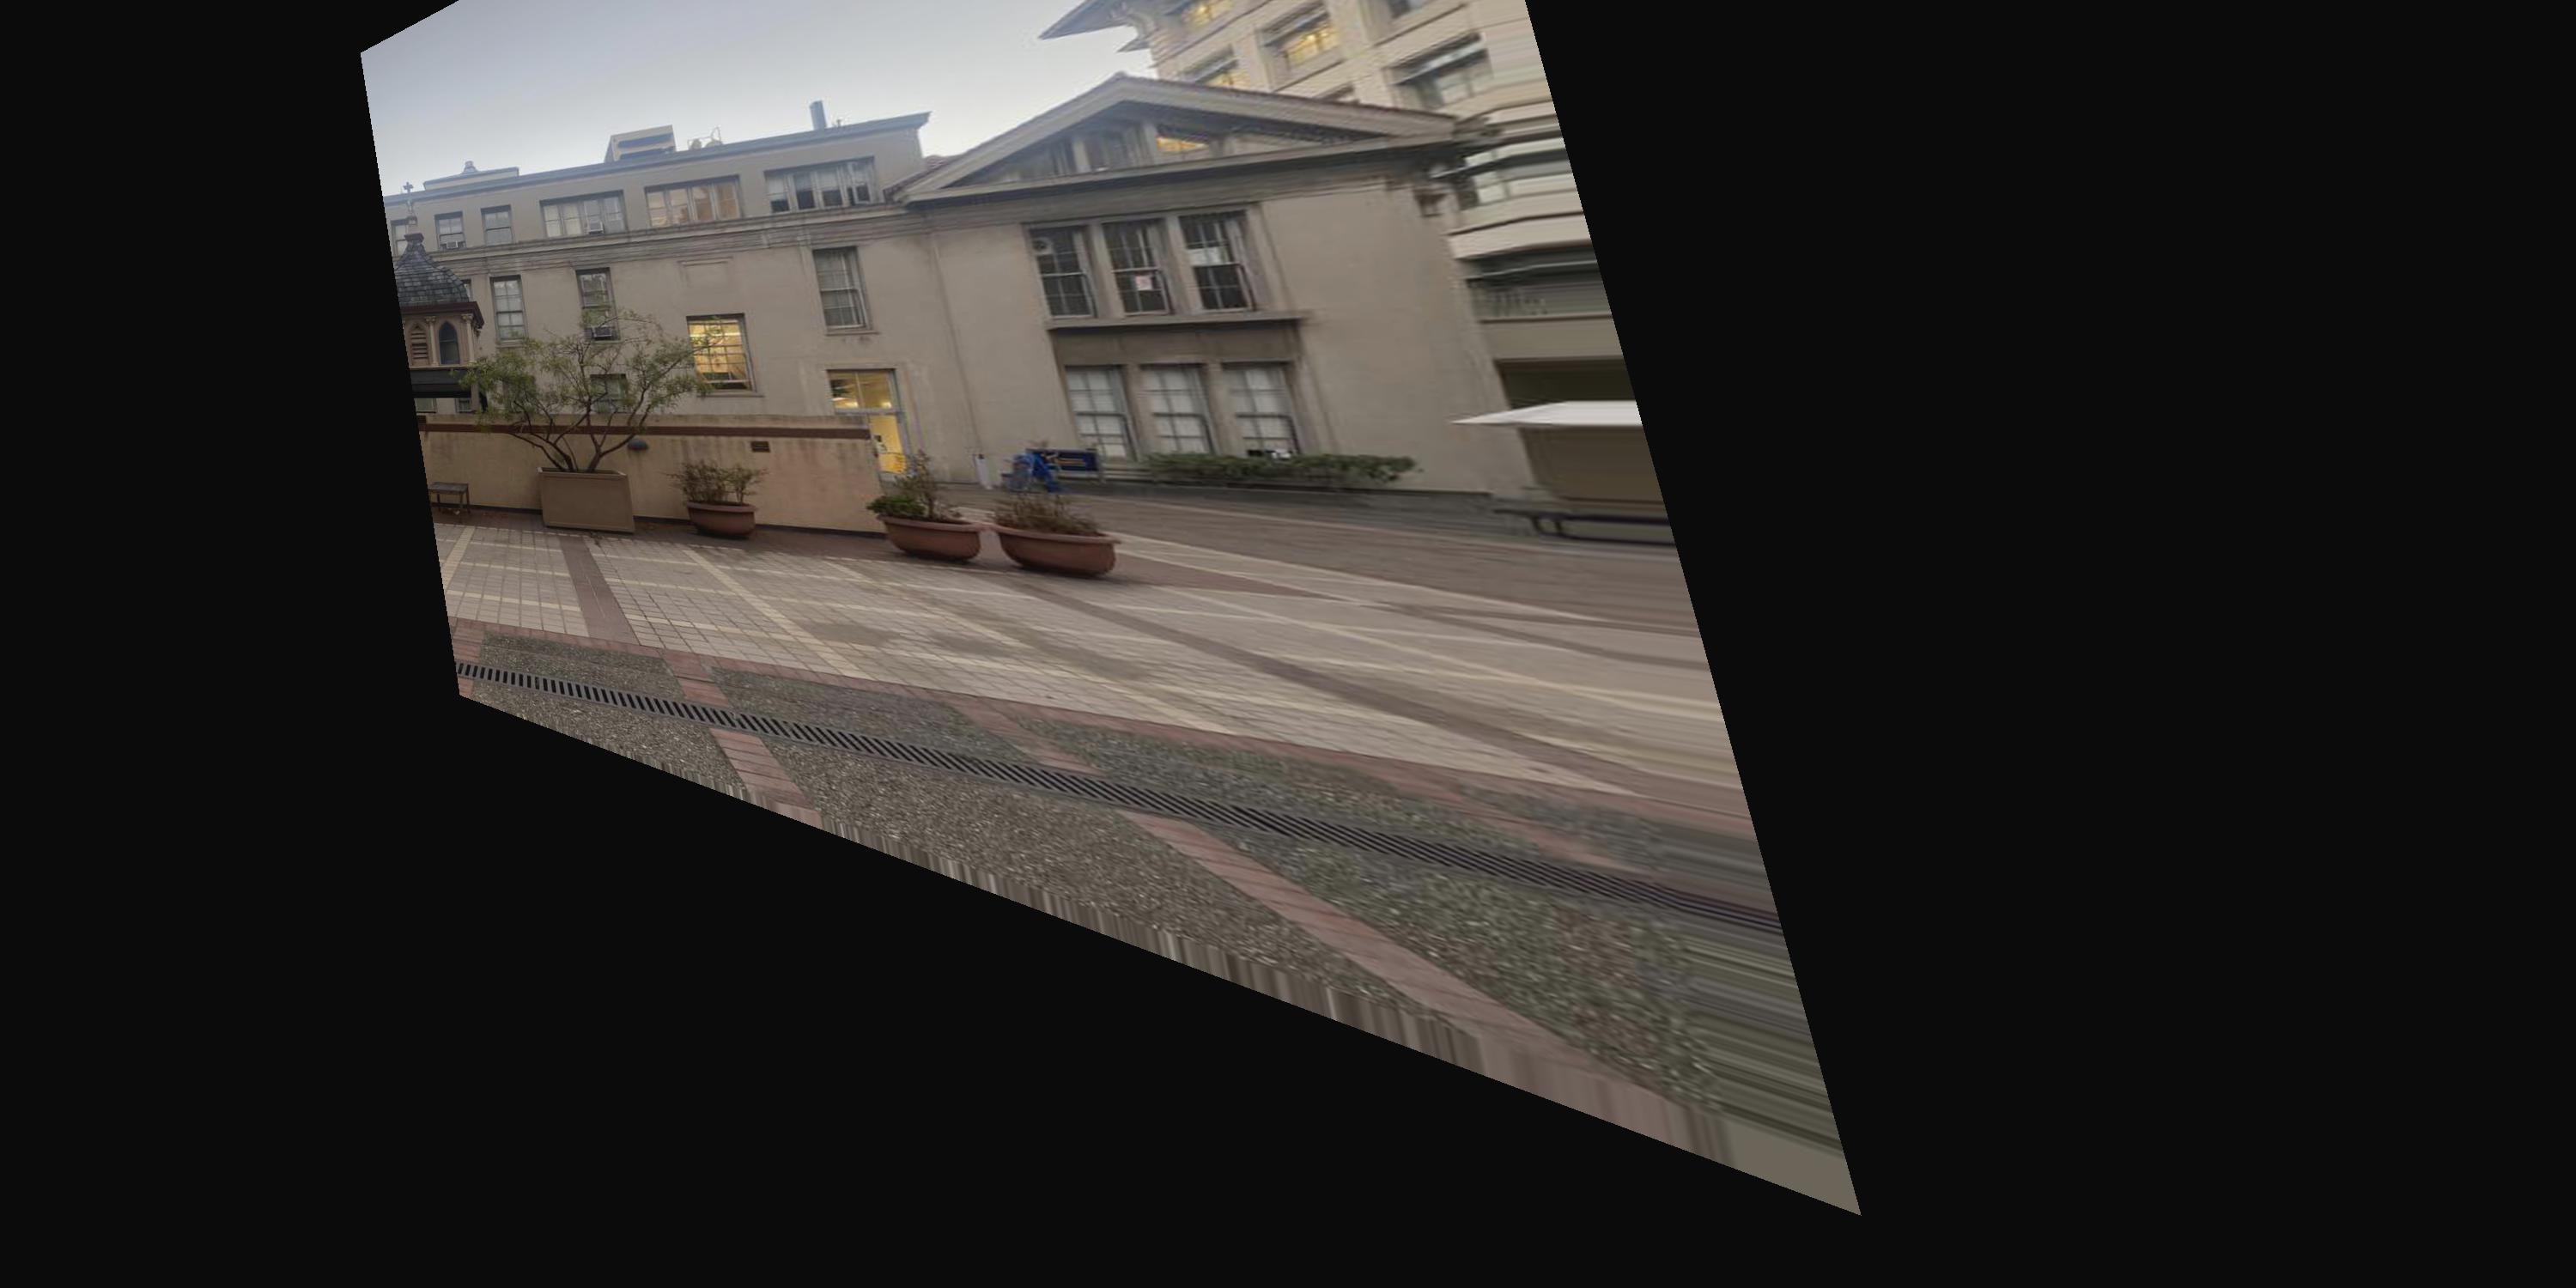
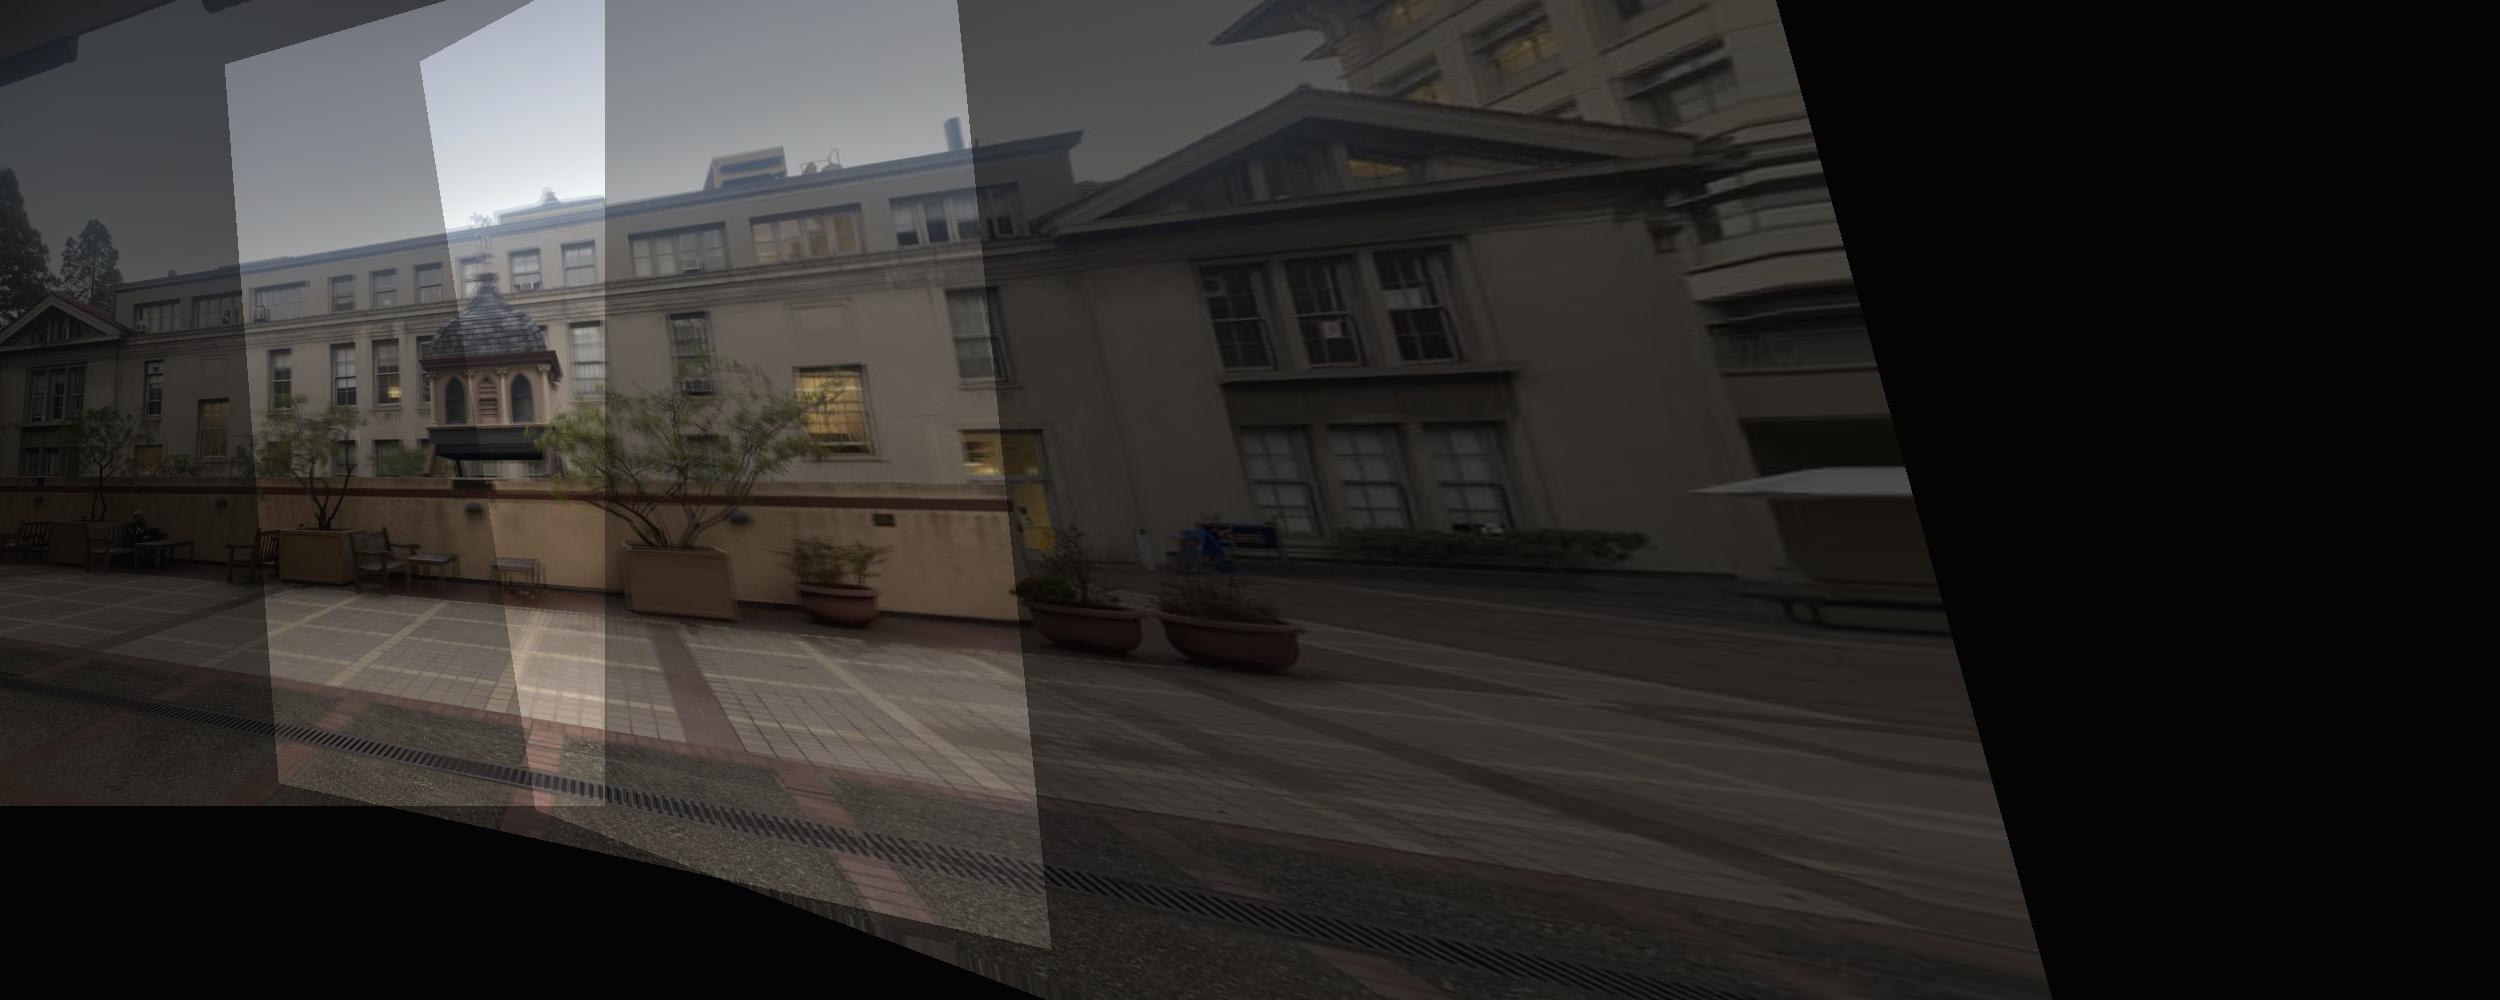
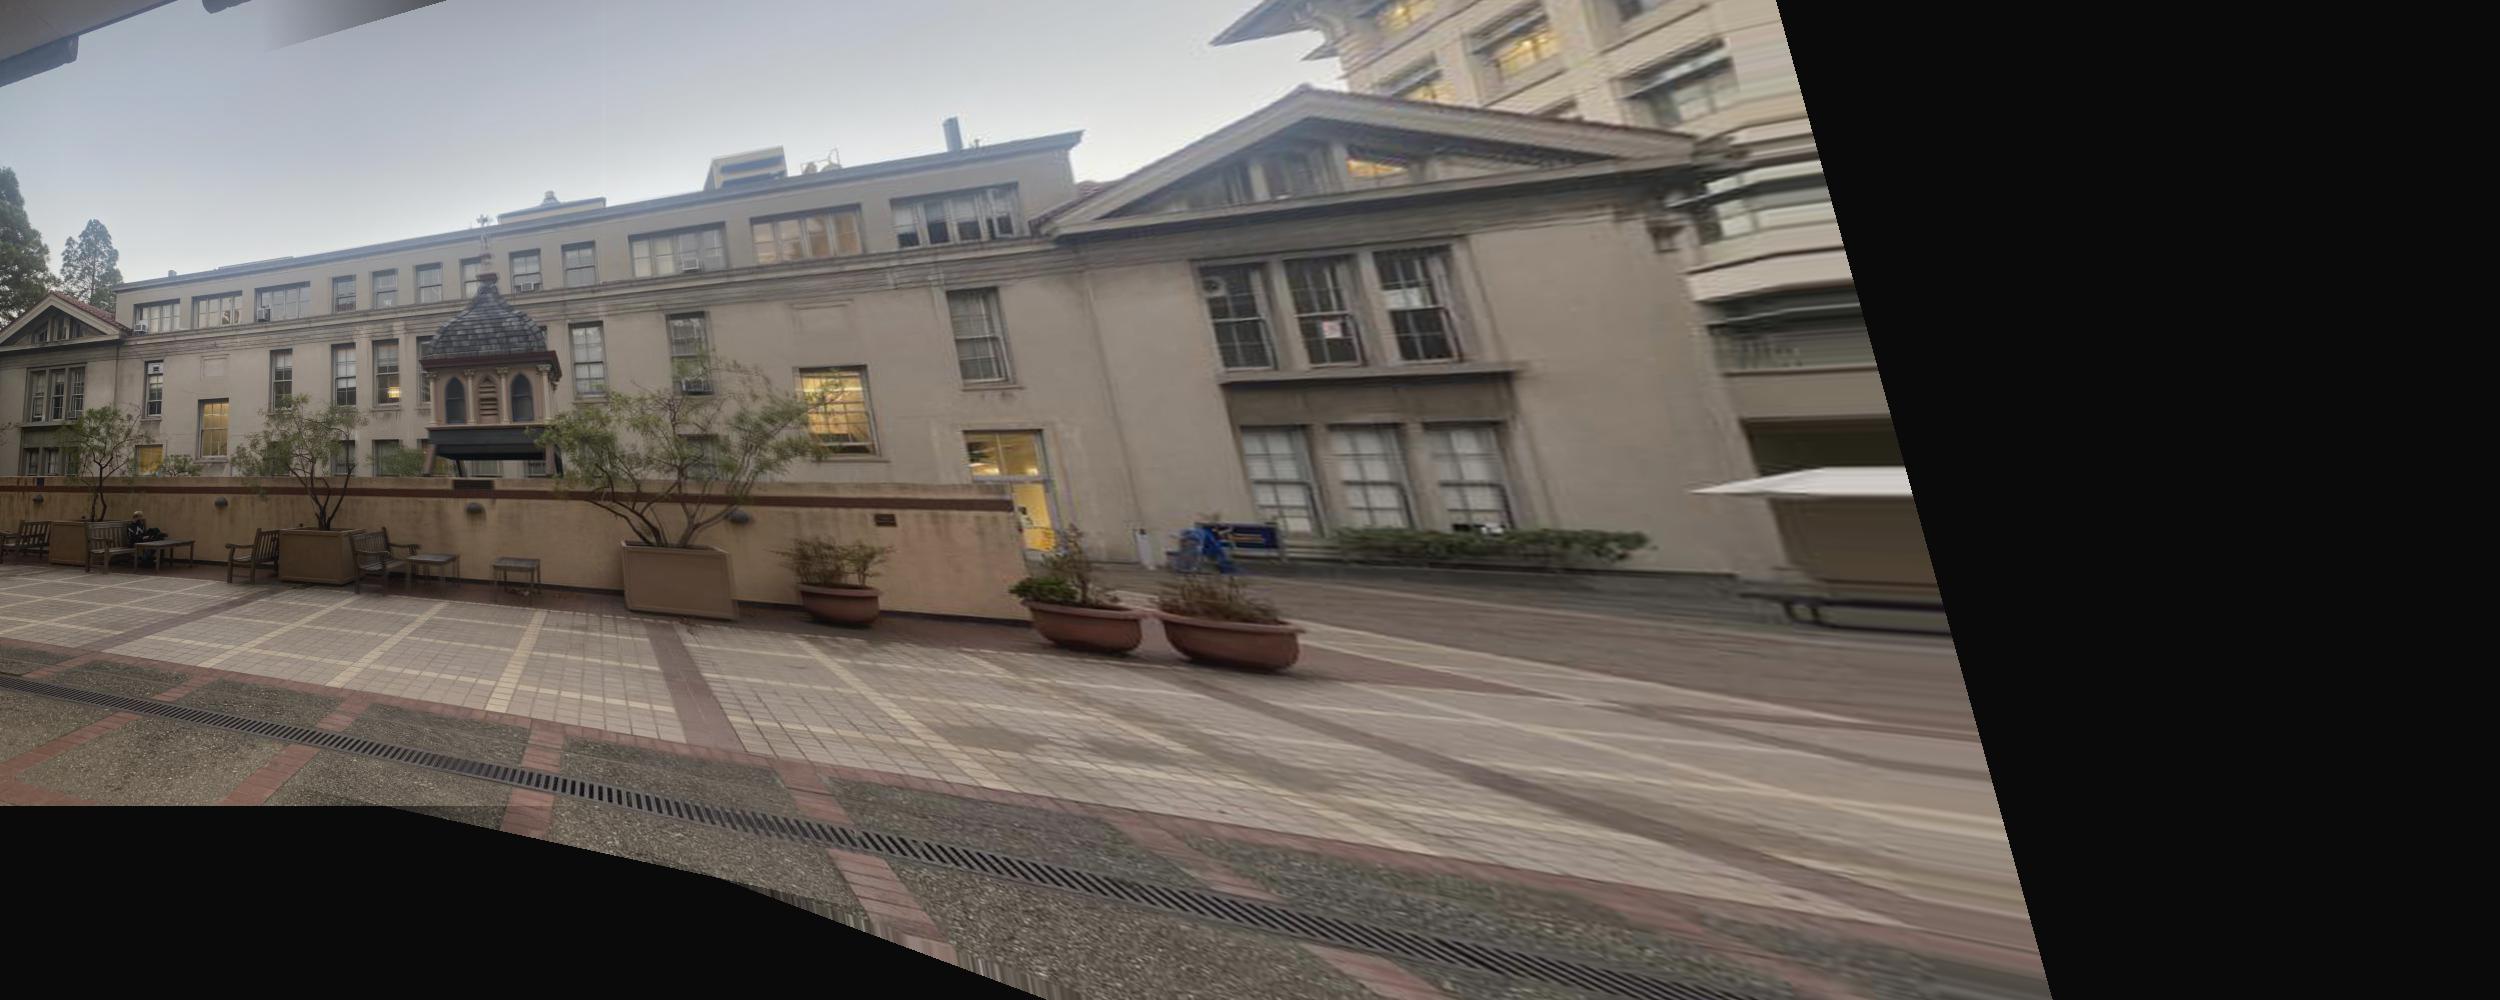
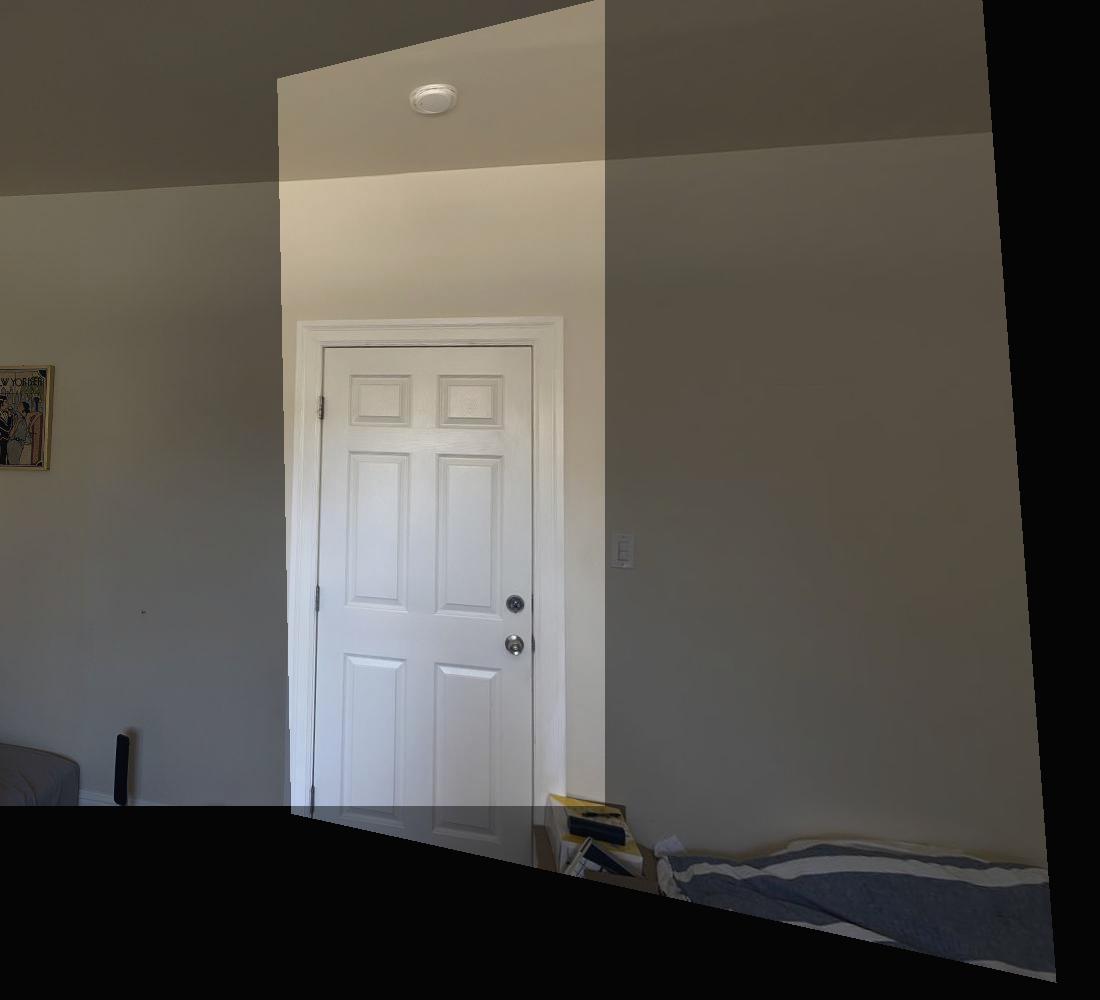
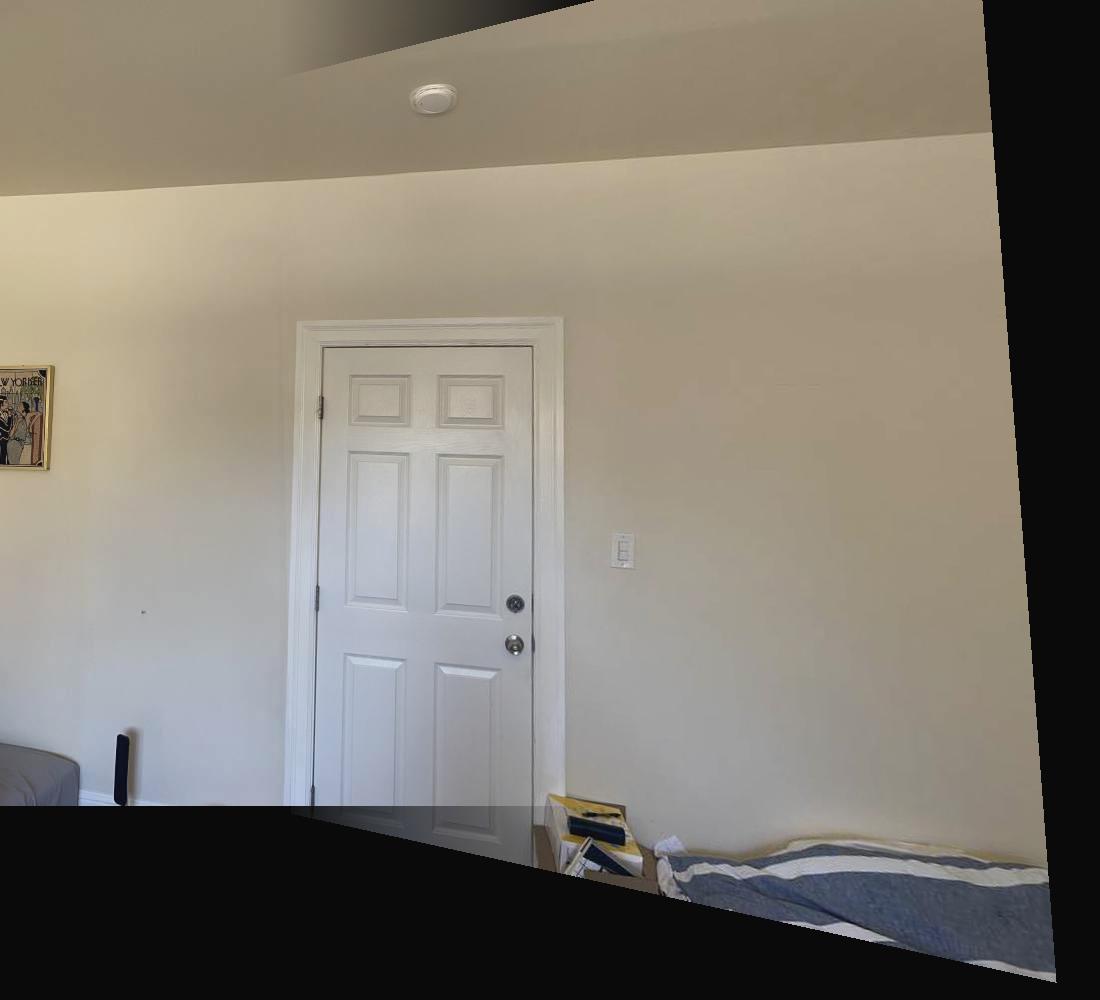
Now that we can successfully warp images, the next step is to take multiple images from the same spot (with the camera slightly rotated), and then stitching these images together to form a mosaic. For the first set of images, I took these photos by the building near Lewis hall.
A naive overlapping of the images causes a strange coloration, so I gradually increased/decreased the alpha of 2 images to gradually blur from 1 image to the other. This makes the image coloration much better.
The bluring was the hardest part, and I ended up using a 1D blur (every pixel in the same column had the same alpha) so along x the image looks pretty clean. However, along y, along the top and bottom where only 1 image is present (most of that column is overlapping, but due to the warp the top or bottom only comes from 1 image), there are some awkward artifacts.

Another example, making a mosaic of a planar surface.
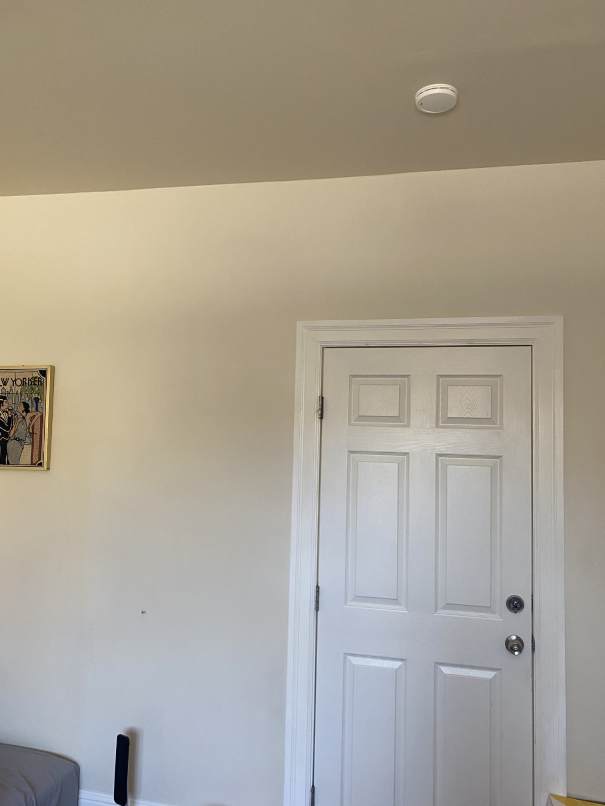

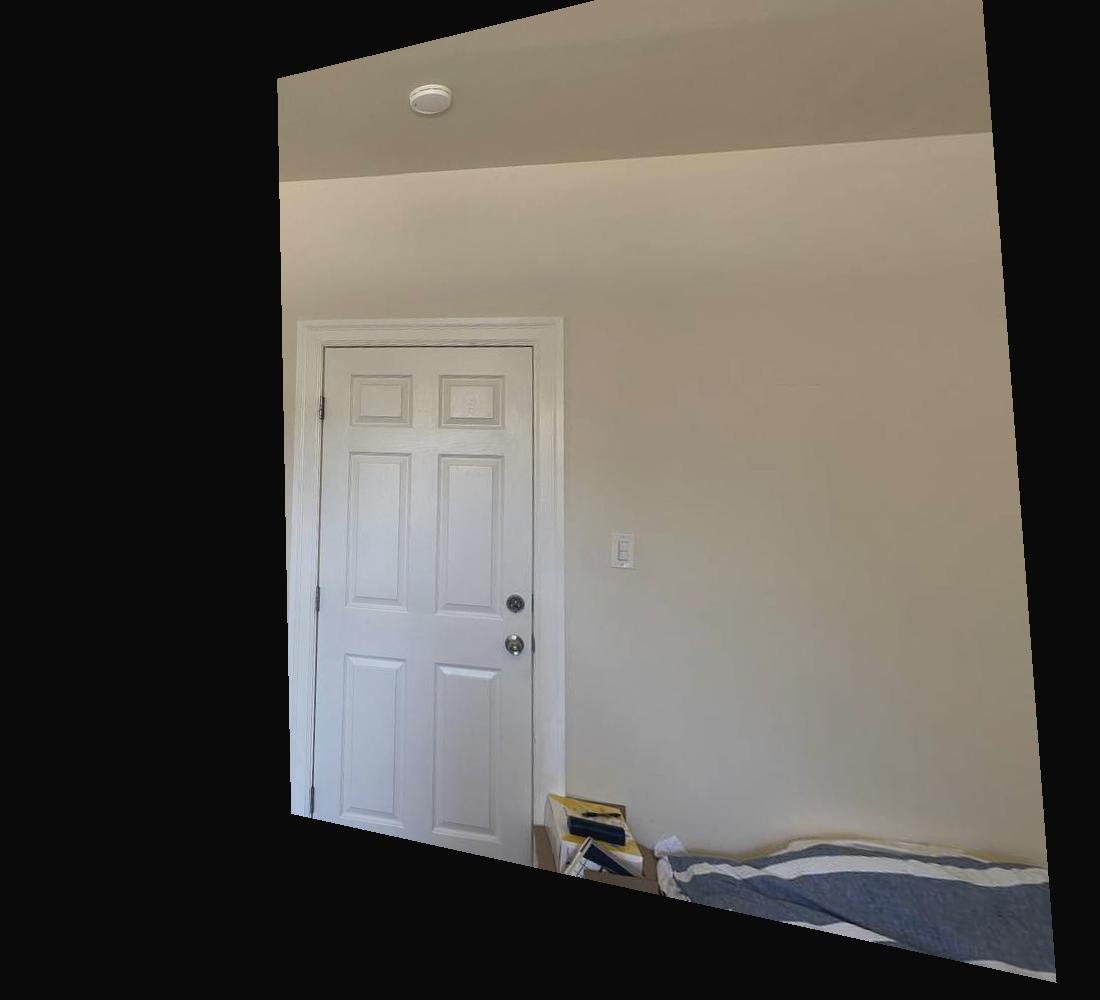
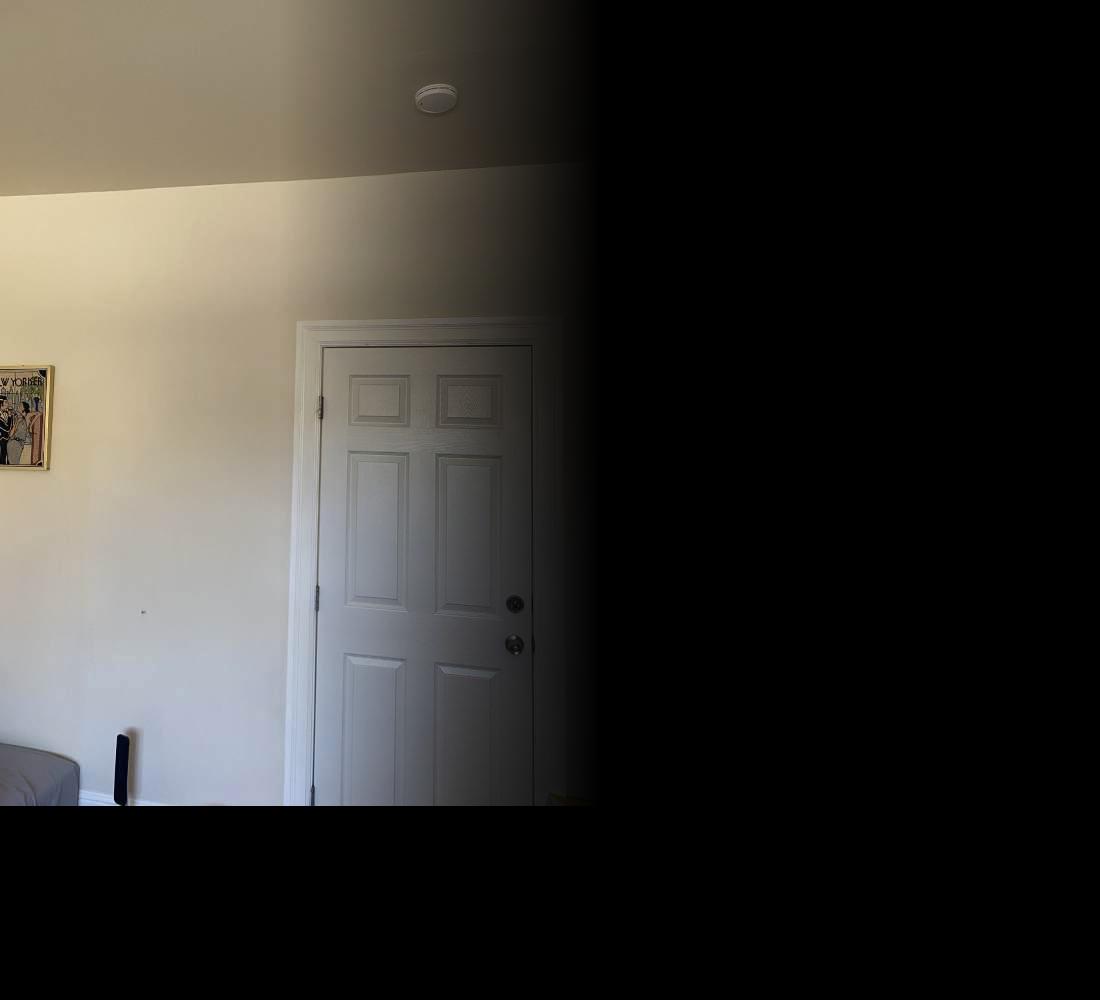
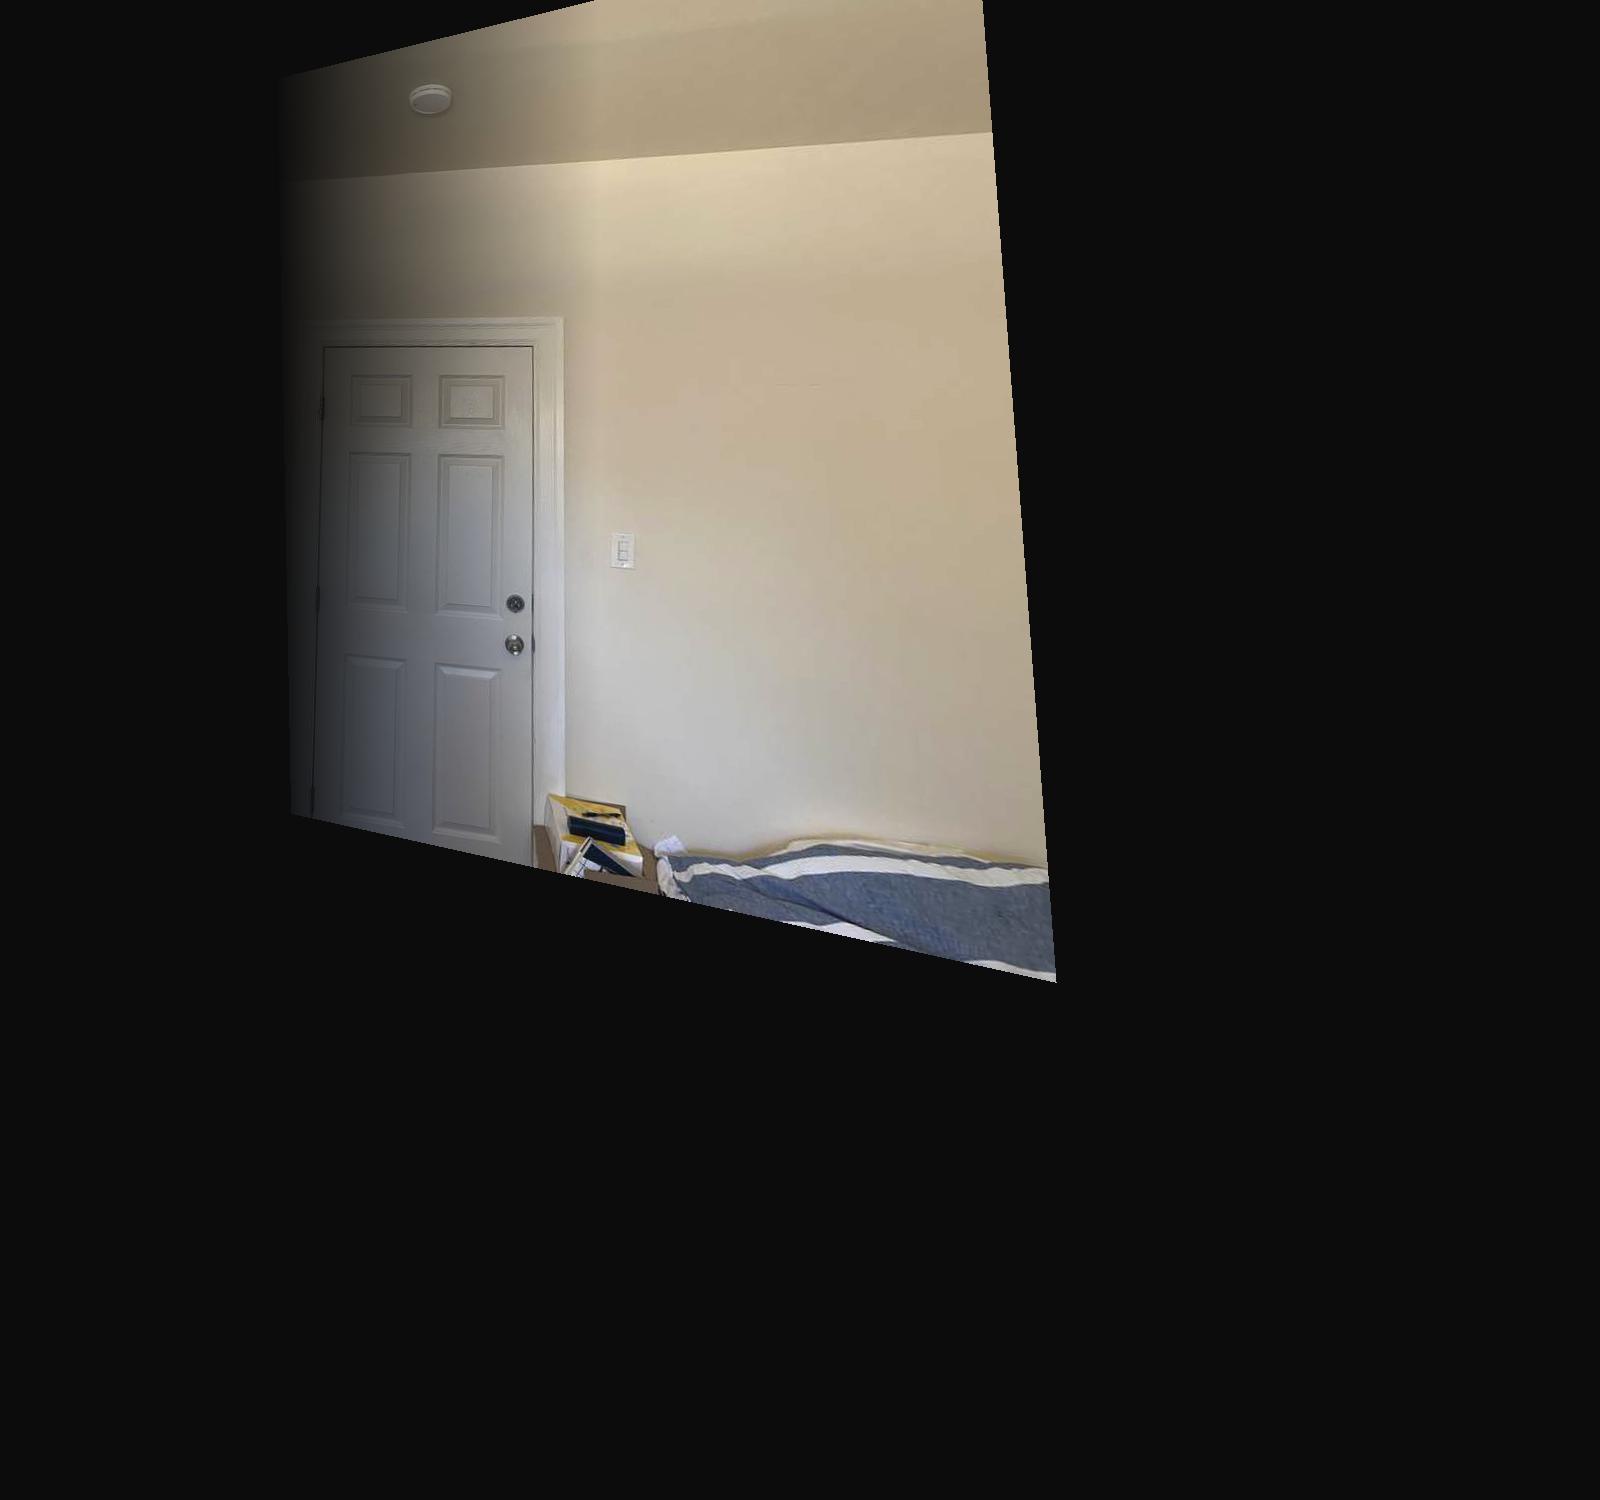
Another example, making a mosaic of a planar surface.
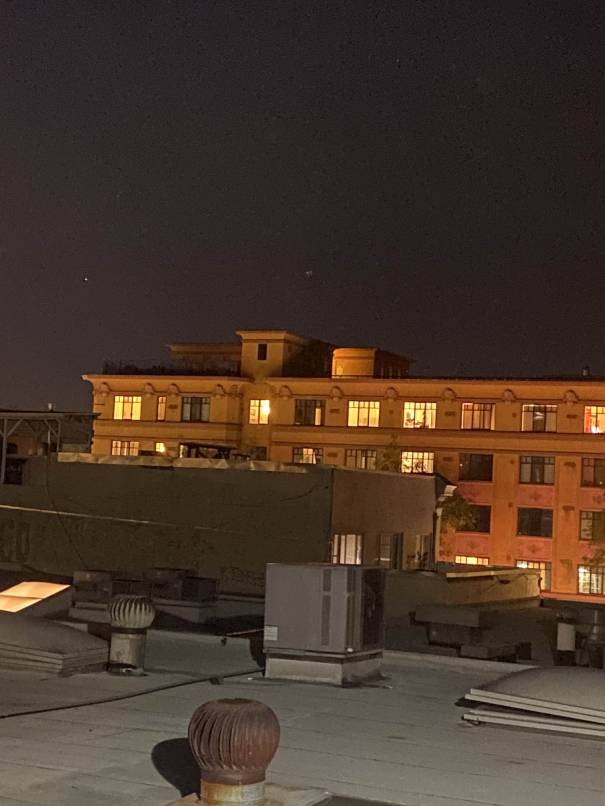

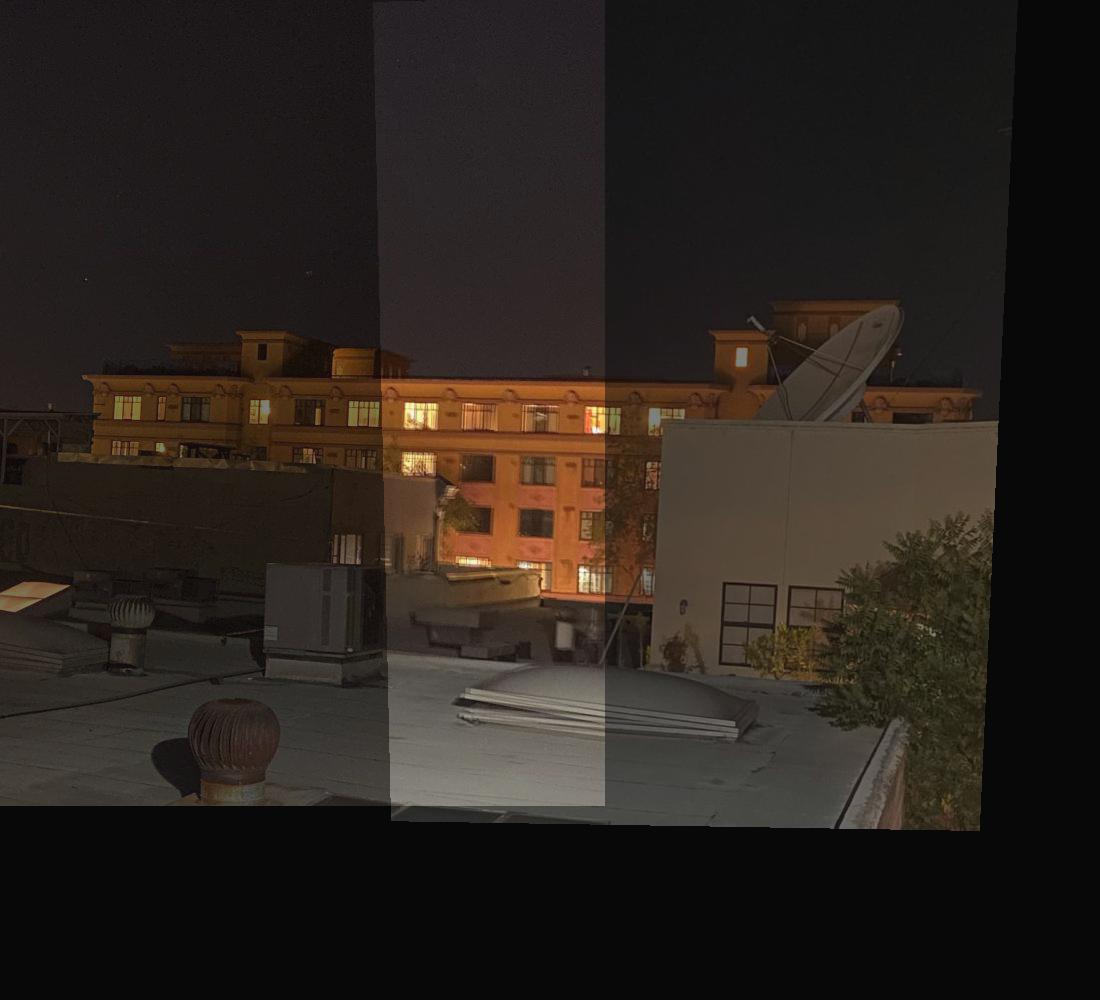
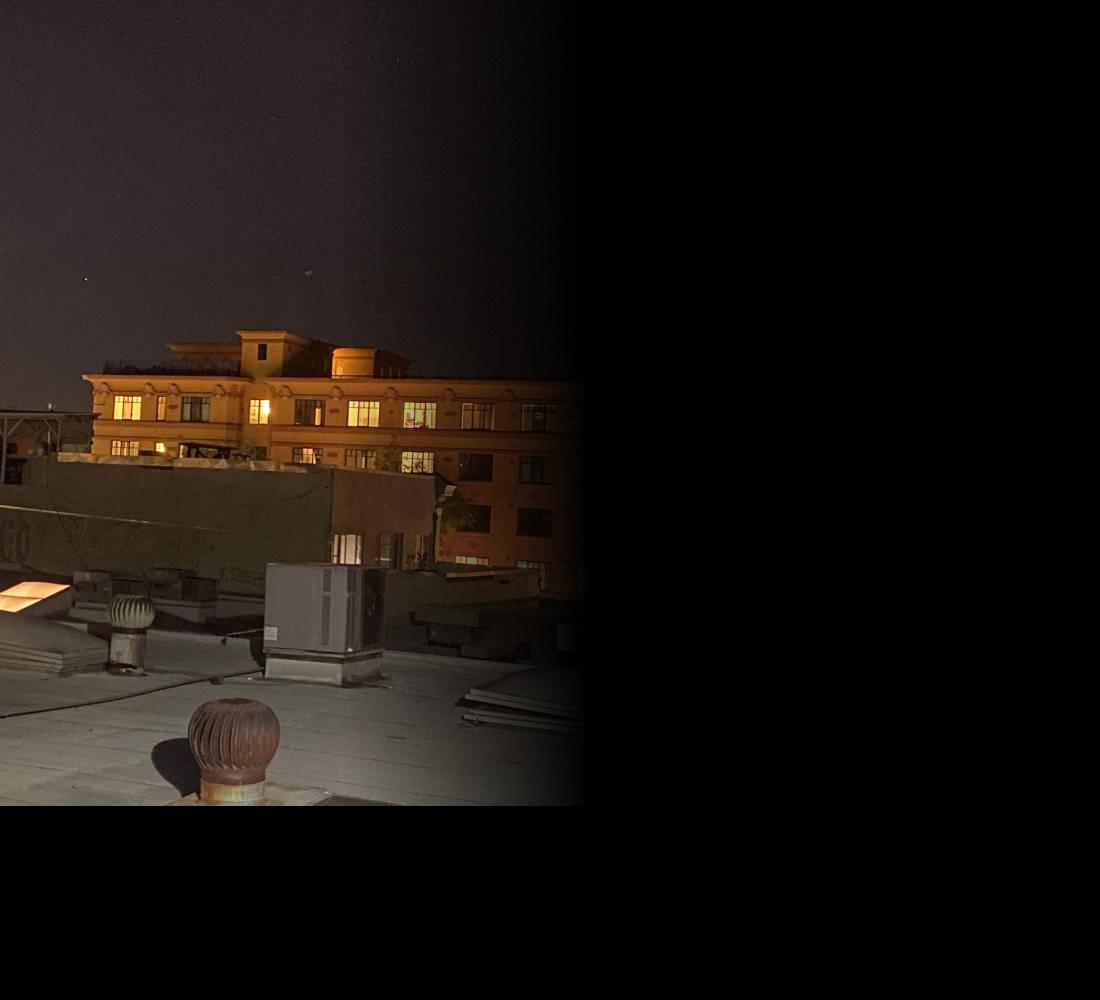
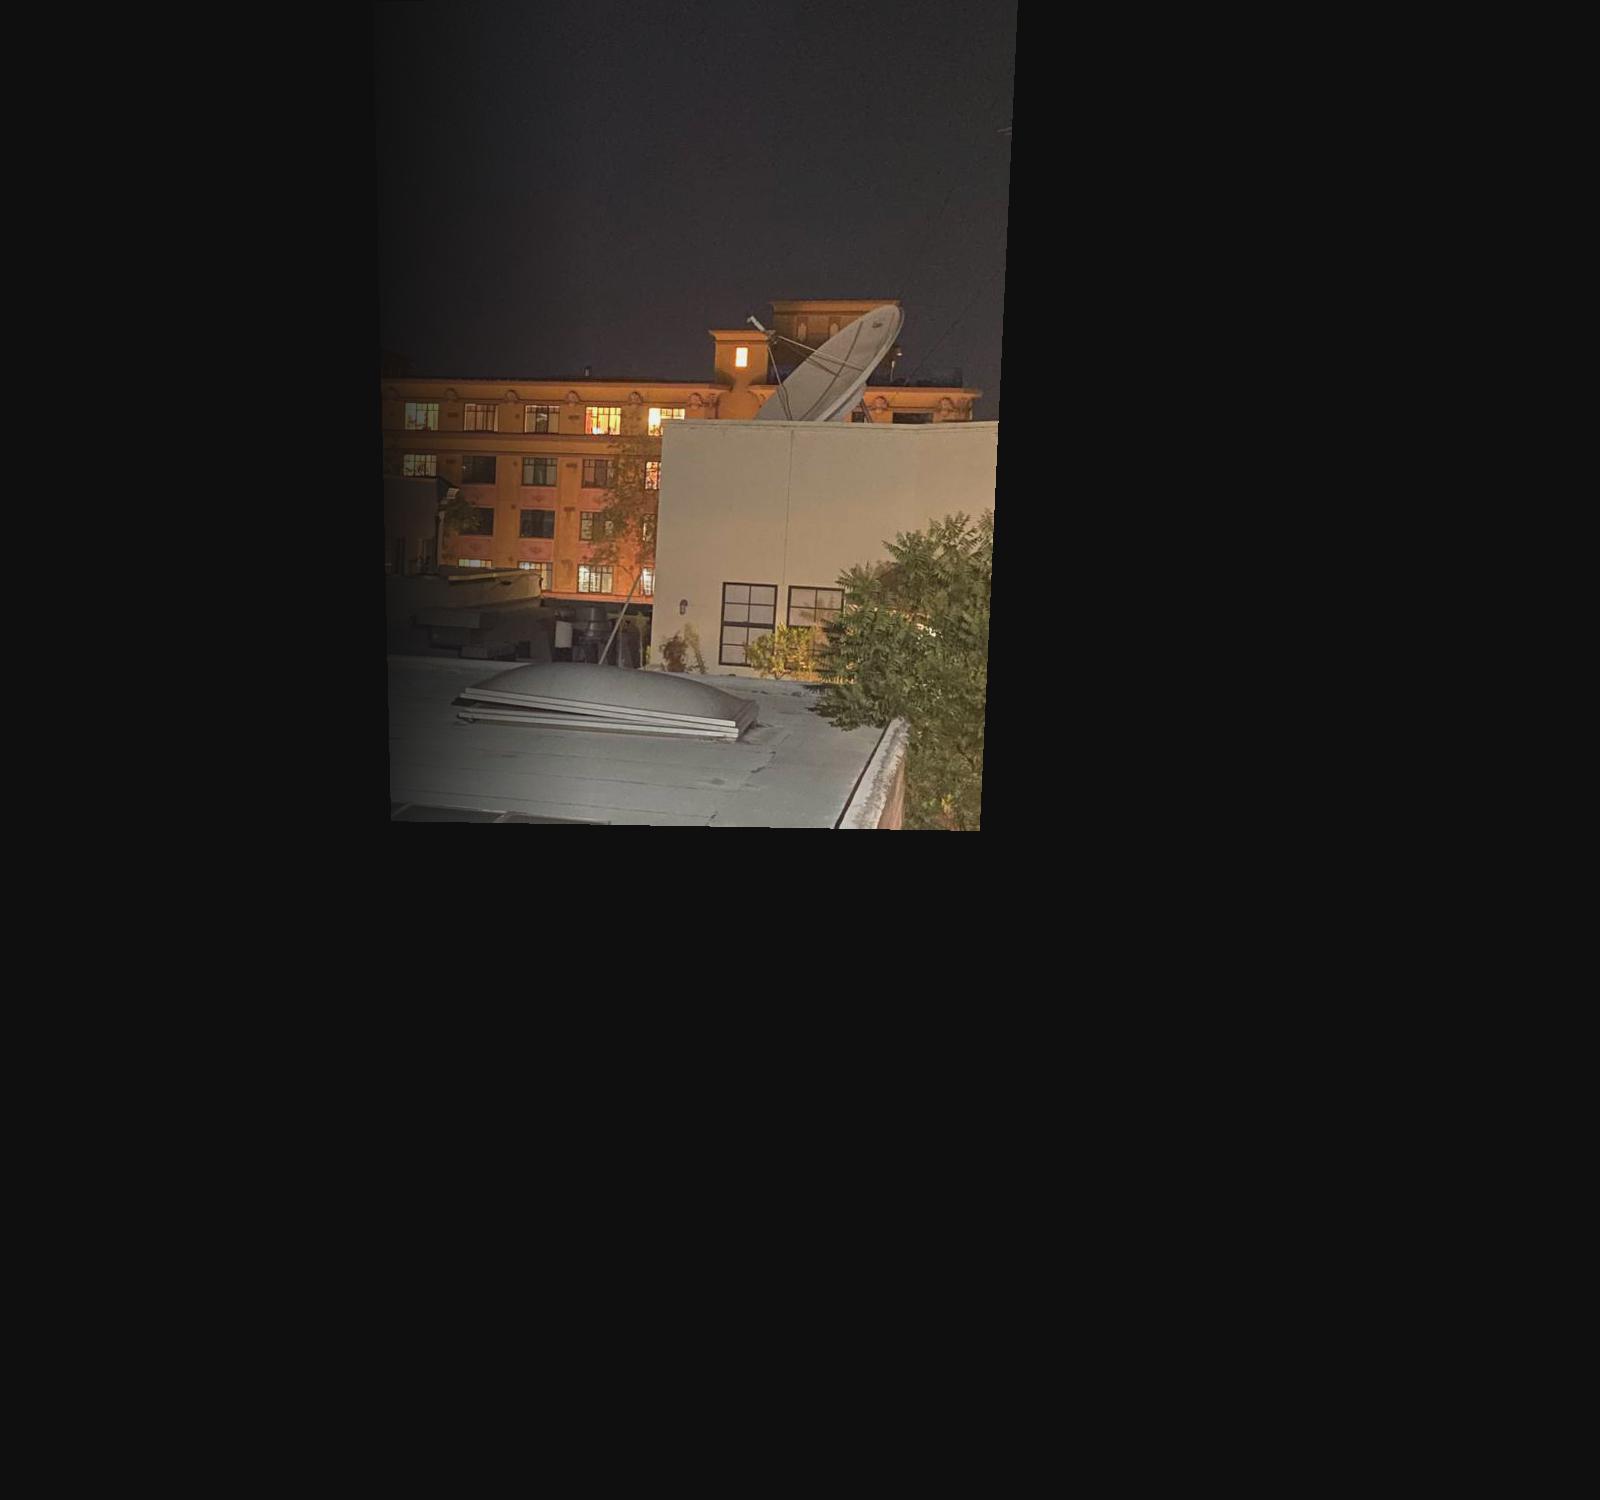
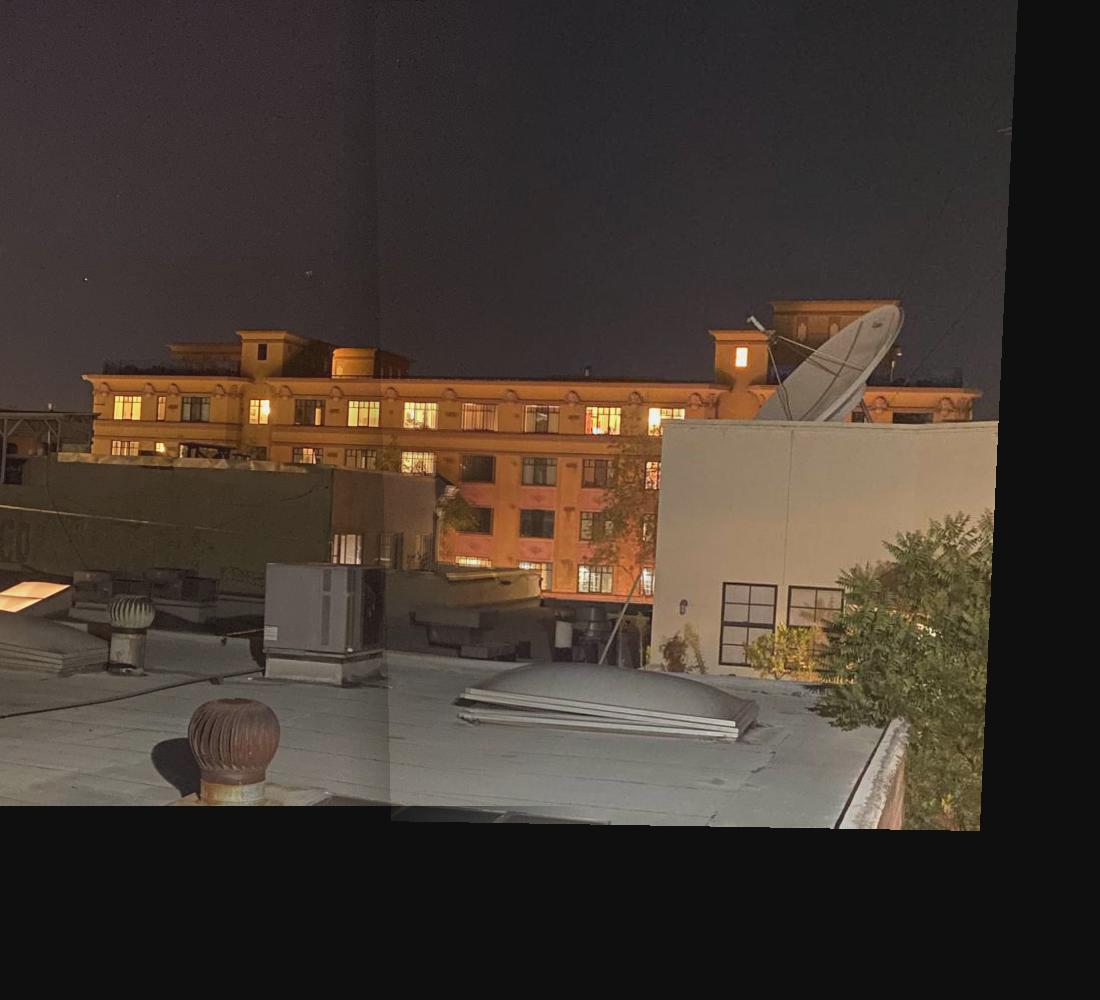
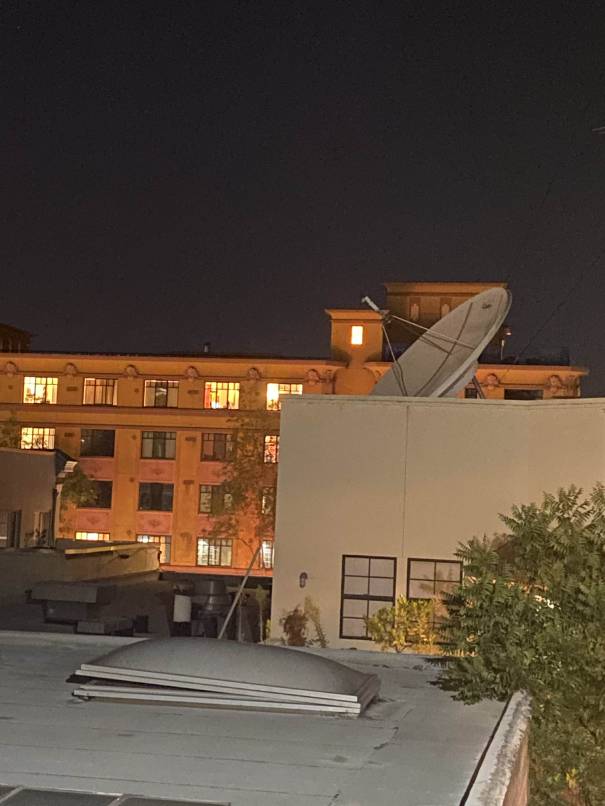
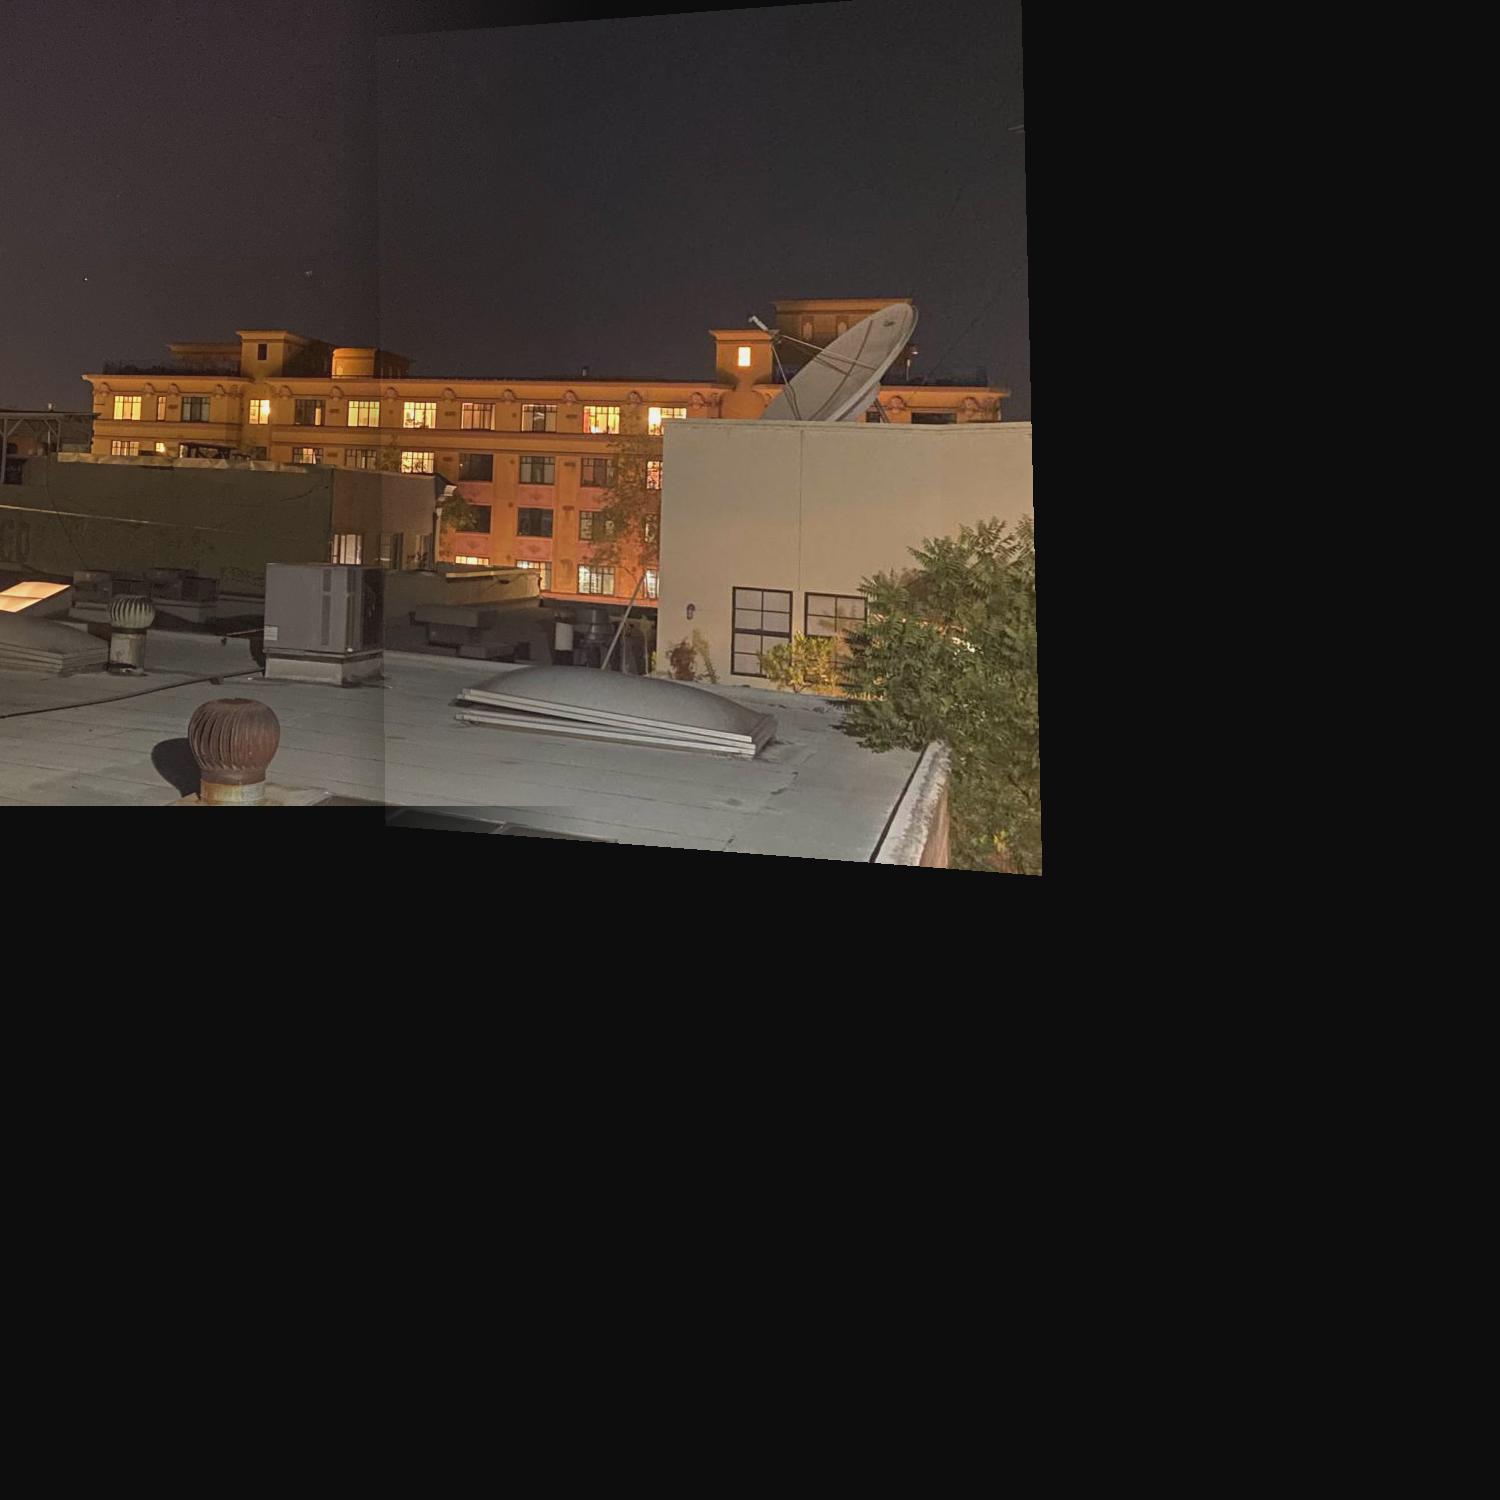
I tried taking these photos at night to see the difference, but it just ended up with the 2 photos having different lighting autmatically chosen by my iPhone. The bluring is still a lot better than a naive overlap, but a vertical line is still clearly visible.
tell us what you learned
I found the warping part to be really cool, as well as the mosaicing. For the homography section, I took the time to understand the derivation of the A matrix in Ax=b for least squares. I saw some resources online that kinda gave it away, but at first I couldn't figure out why it was structured that way so I started with the p' = H*p and really understood how the A matrix eventually got its structure (it had both an x and x') The alpha bluring took a lot of trial and error to get it to show 1 image with normal looking intensities instead of weird overlapping images or strange colorations or random transparent parts depending on how images overlap. I ended up just using a gradually increasing alpha along x when a new image was added to the mosiac, and that was merged with the old image and a gradually decreasing alpha. The end result is actually pretty good. I'm excited for the next part of the project, where we'll use automatic feature learnning, instead of having to manually click on features and figure out the corresponding pixel coordinates. Manual mosaicing required quite a bit of manual work to find corresponding points in the right coordinate systems, so the automatic detector will be really cool.