In this project, we create panoramics by finding transforms between multiple images based on common points in the images (first selected manually and then programmatically) and blending them together.
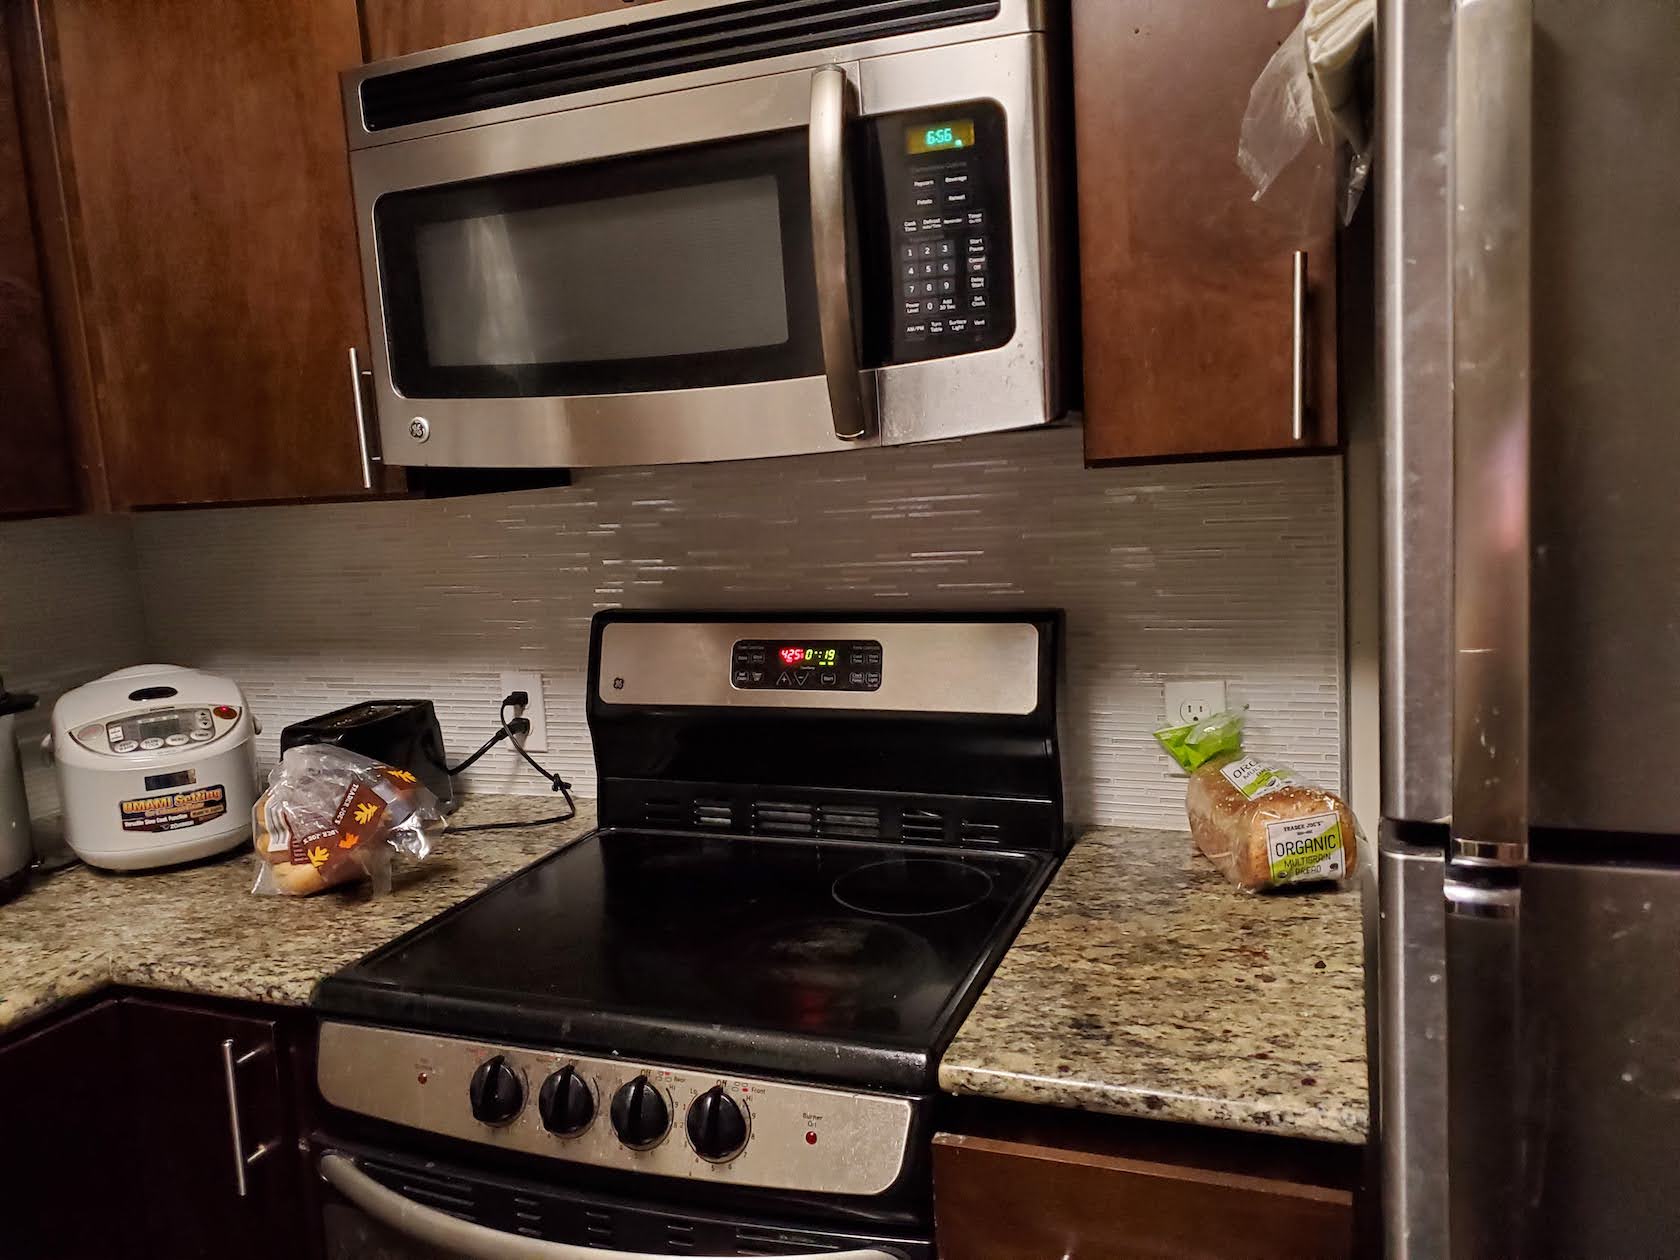
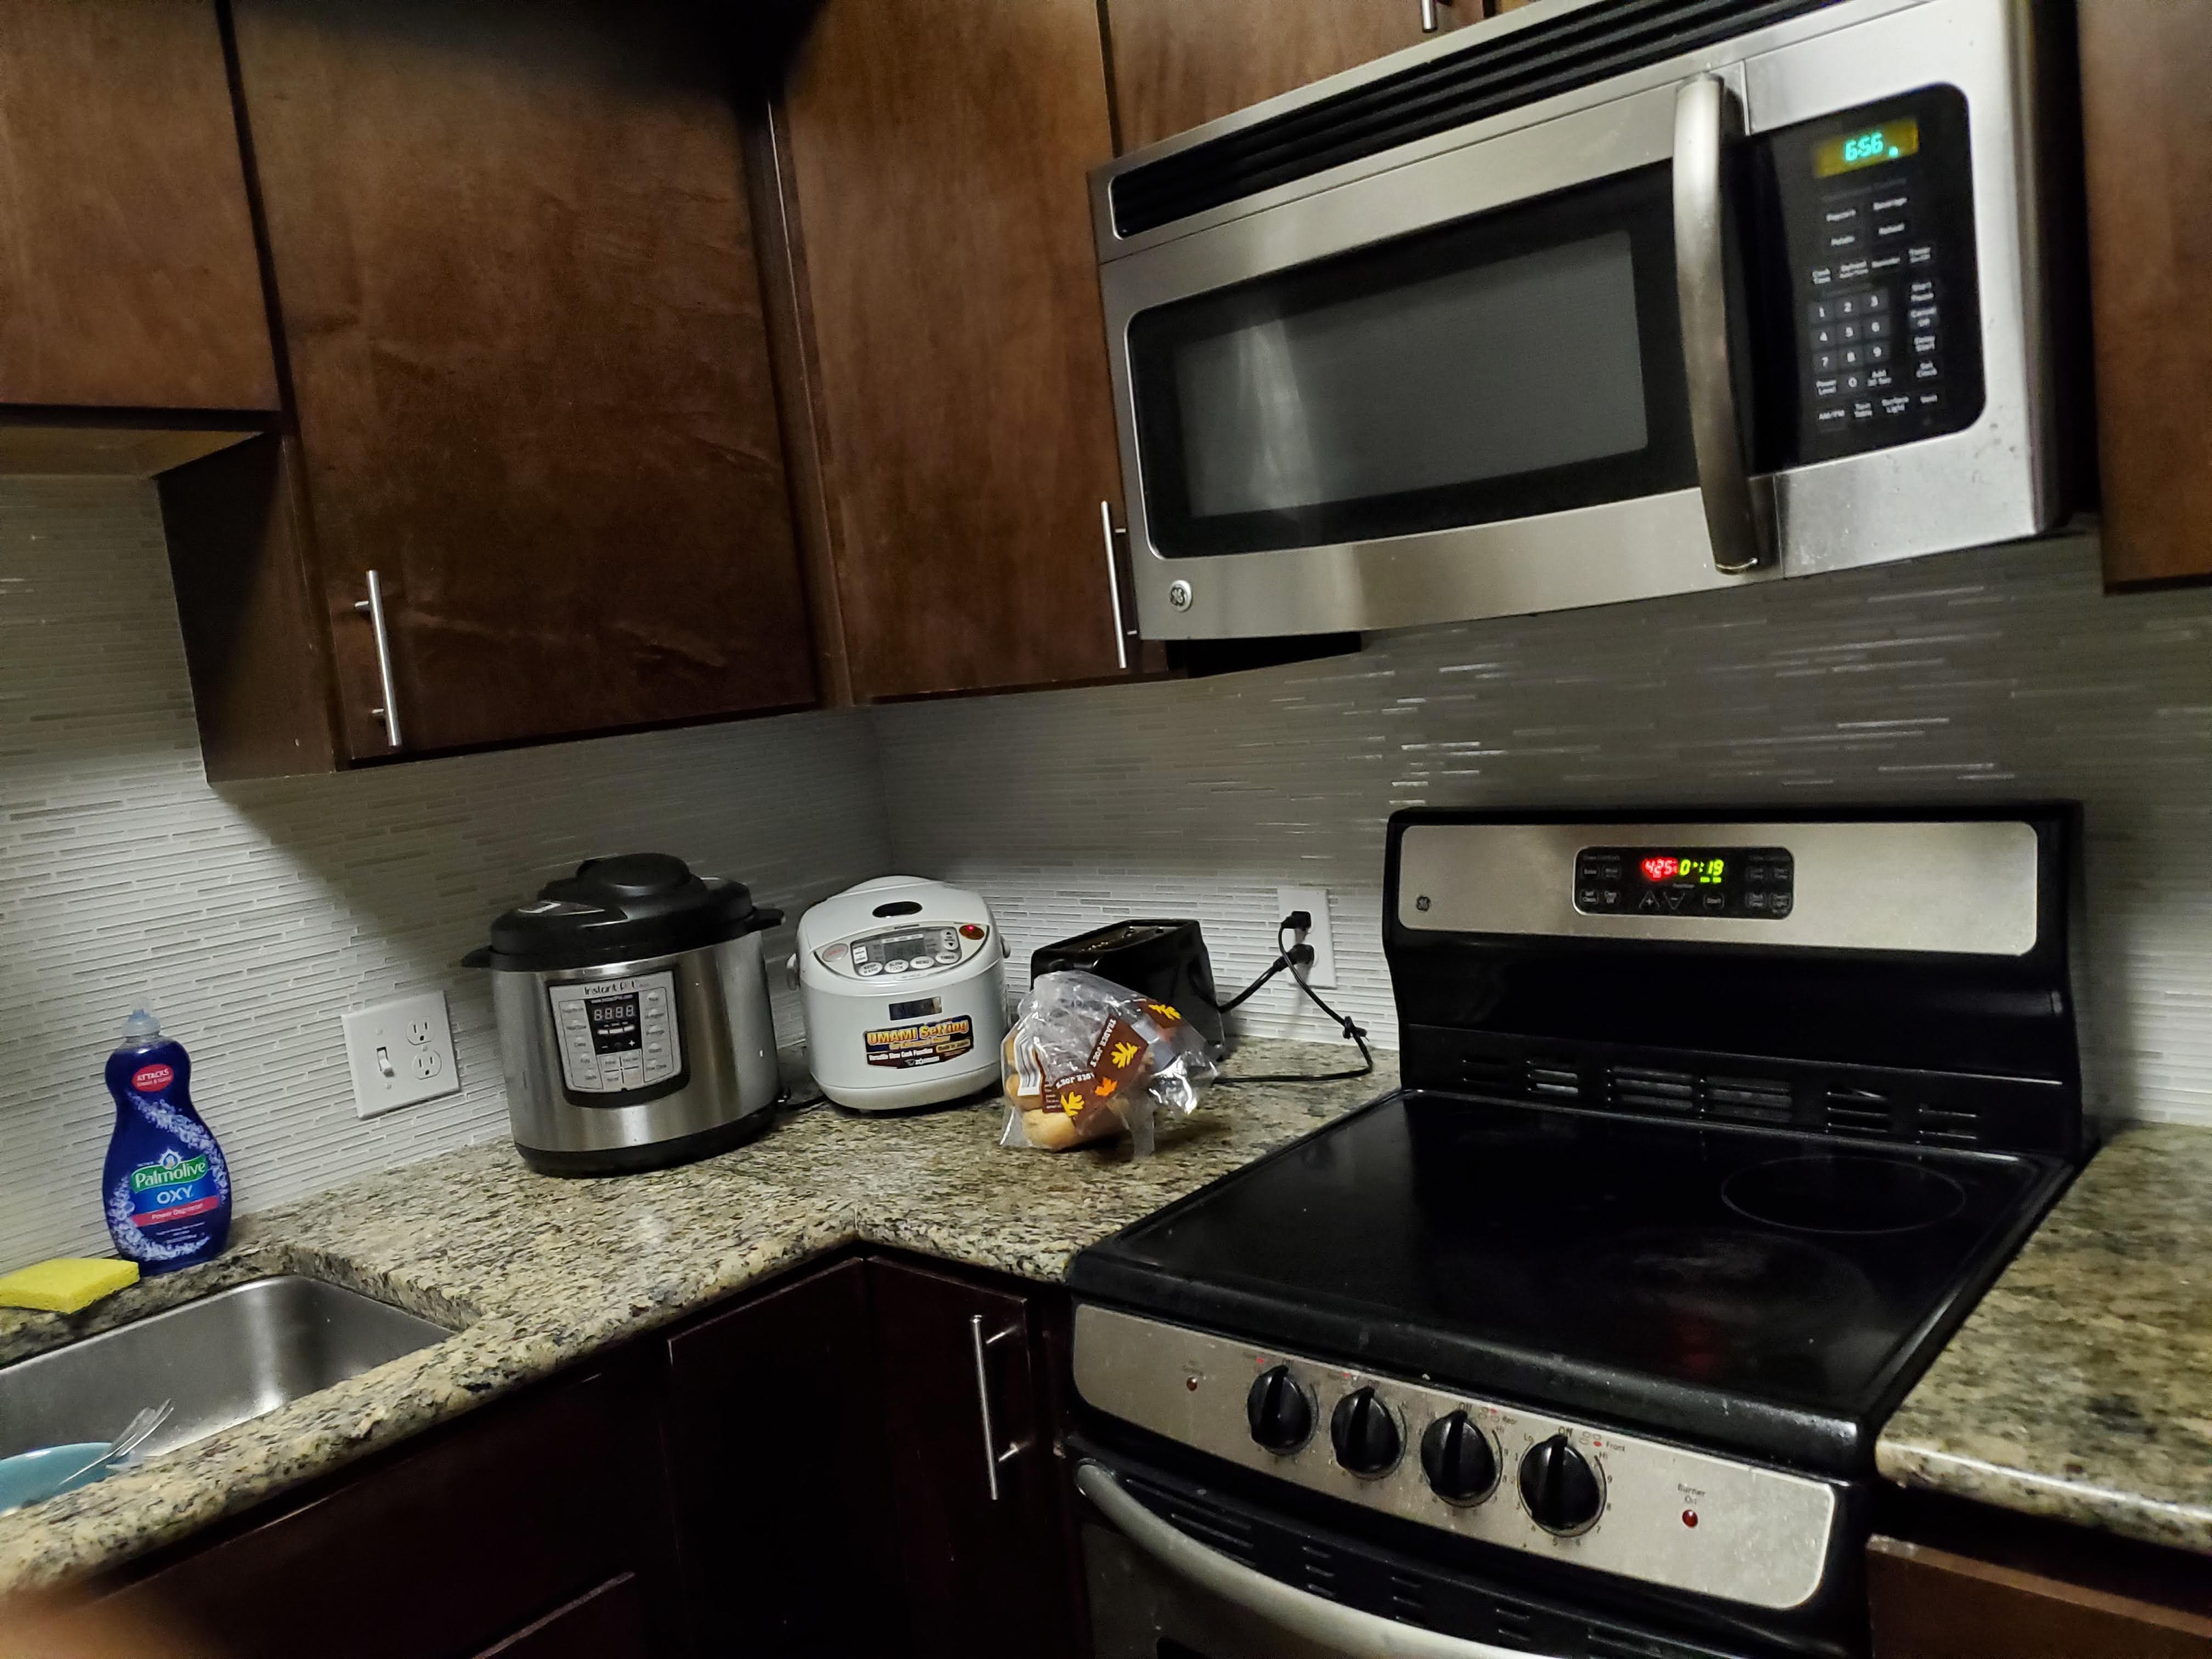
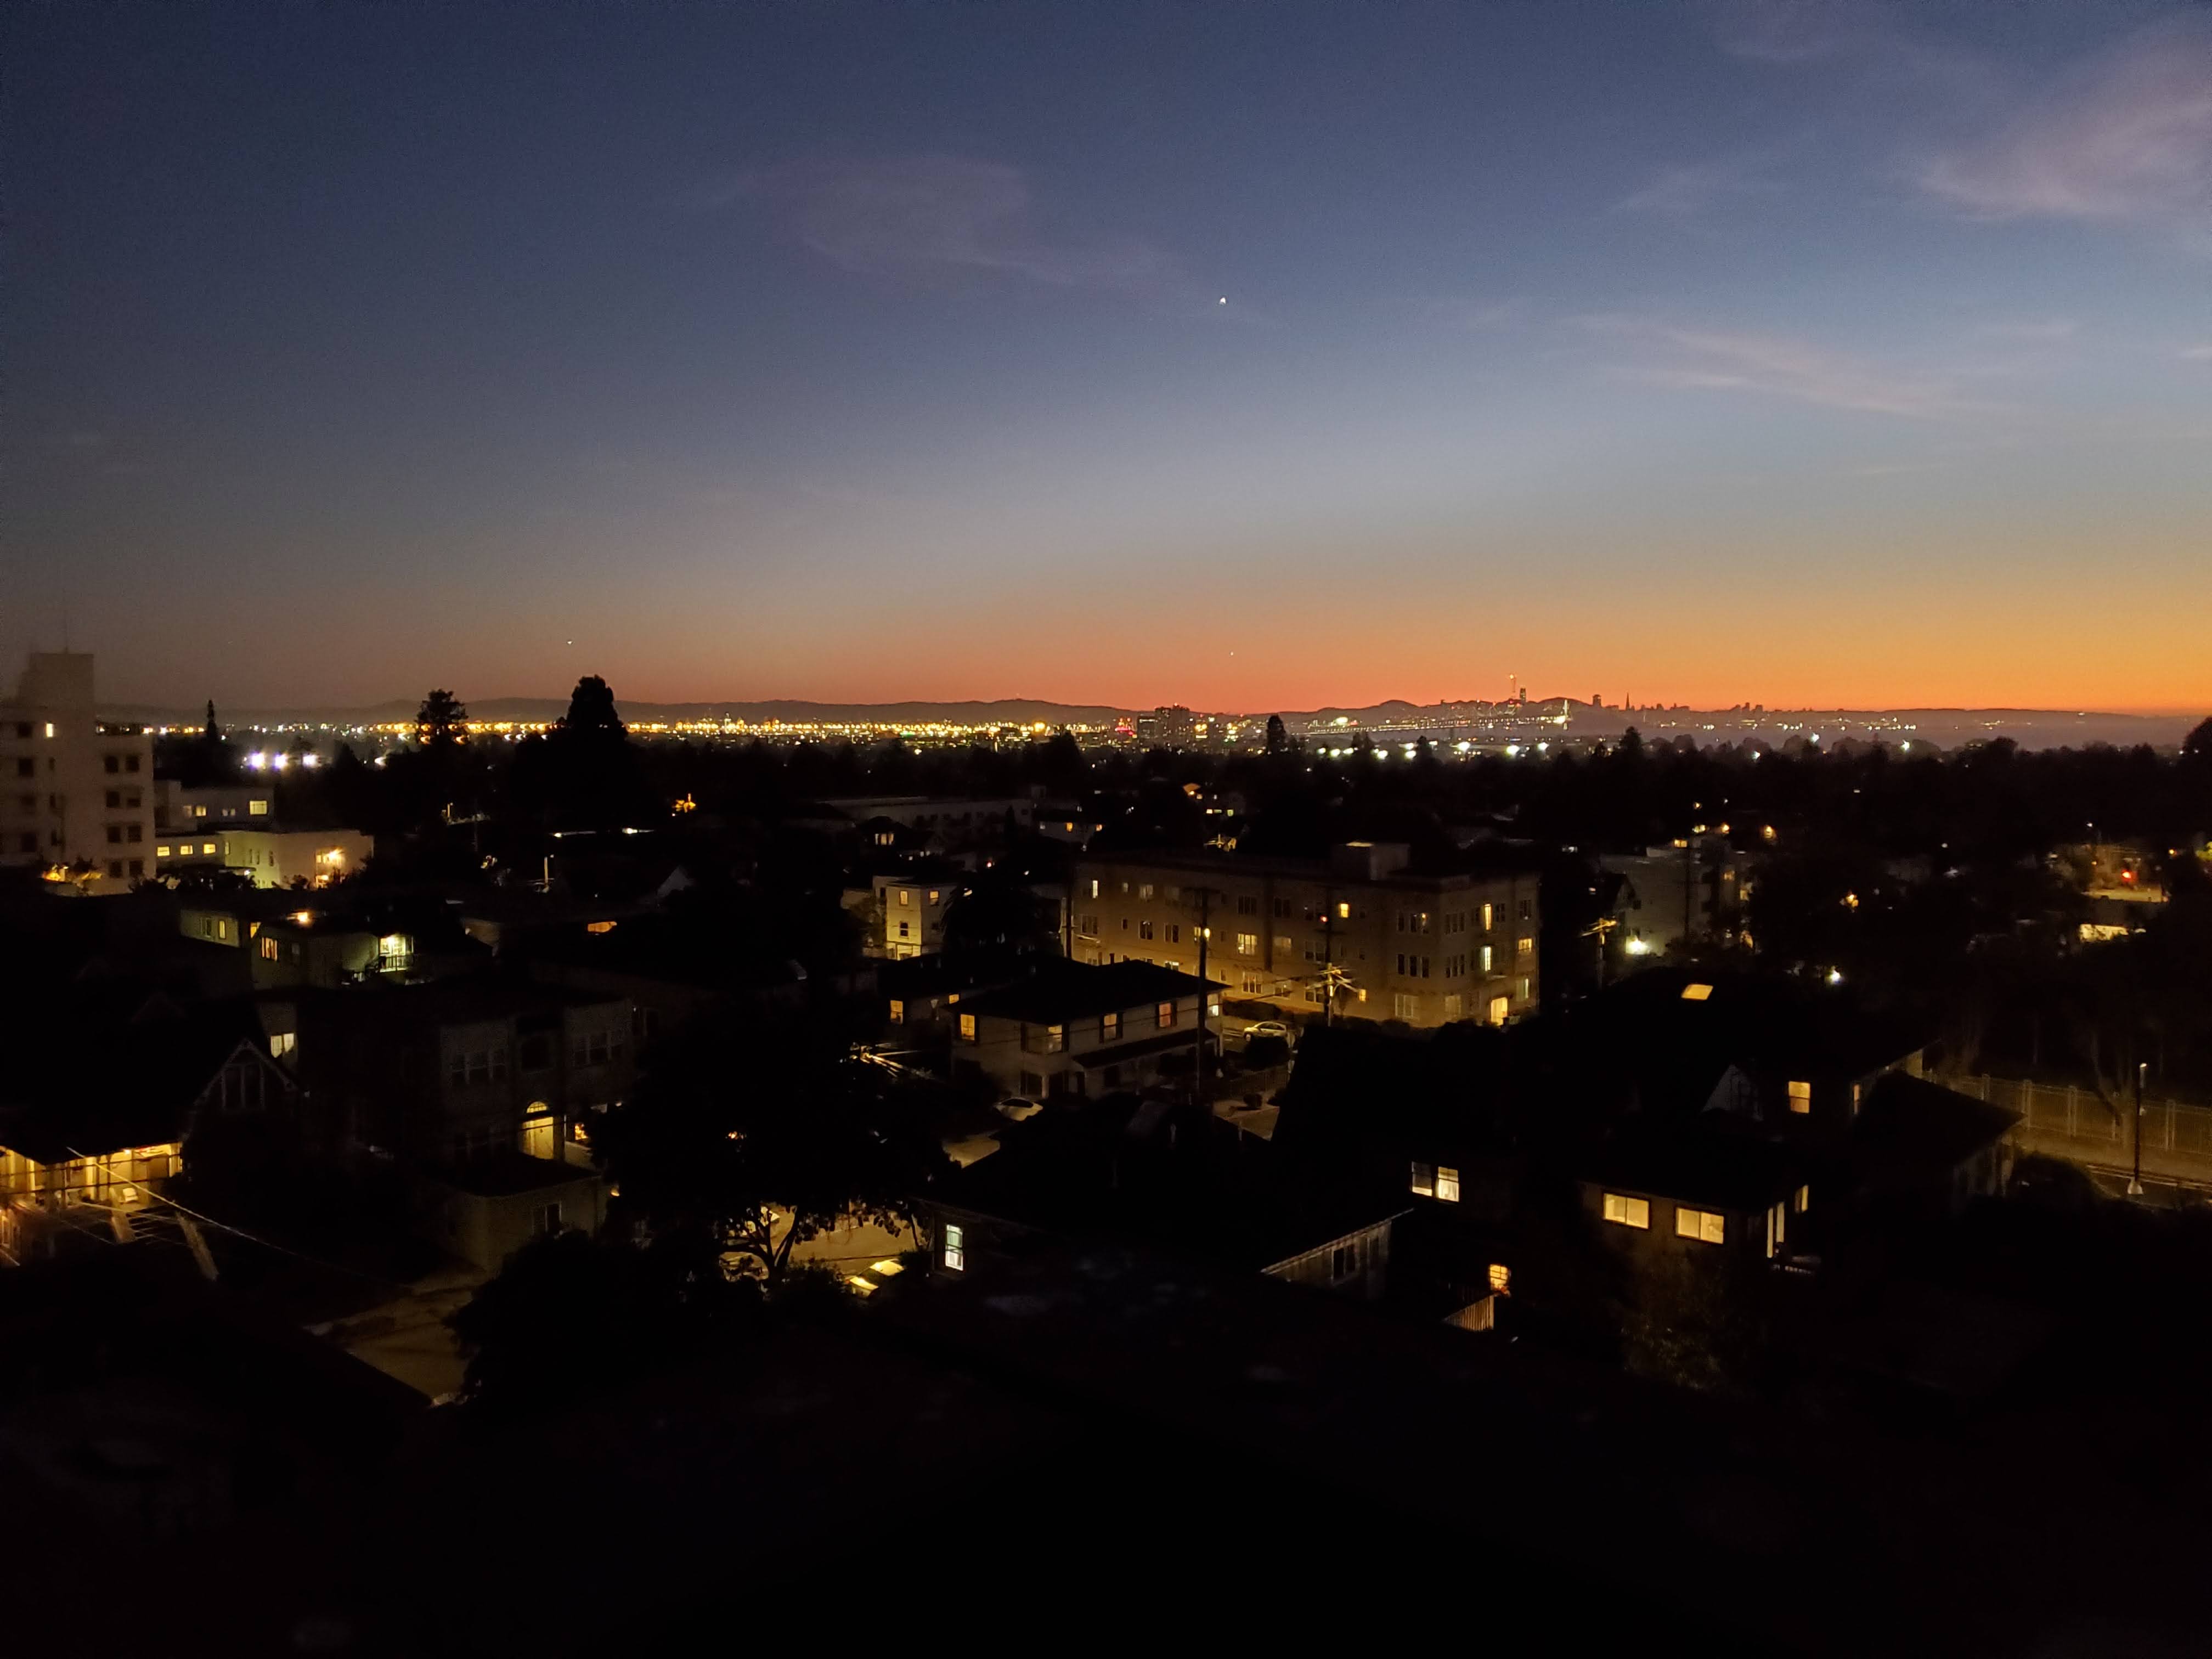
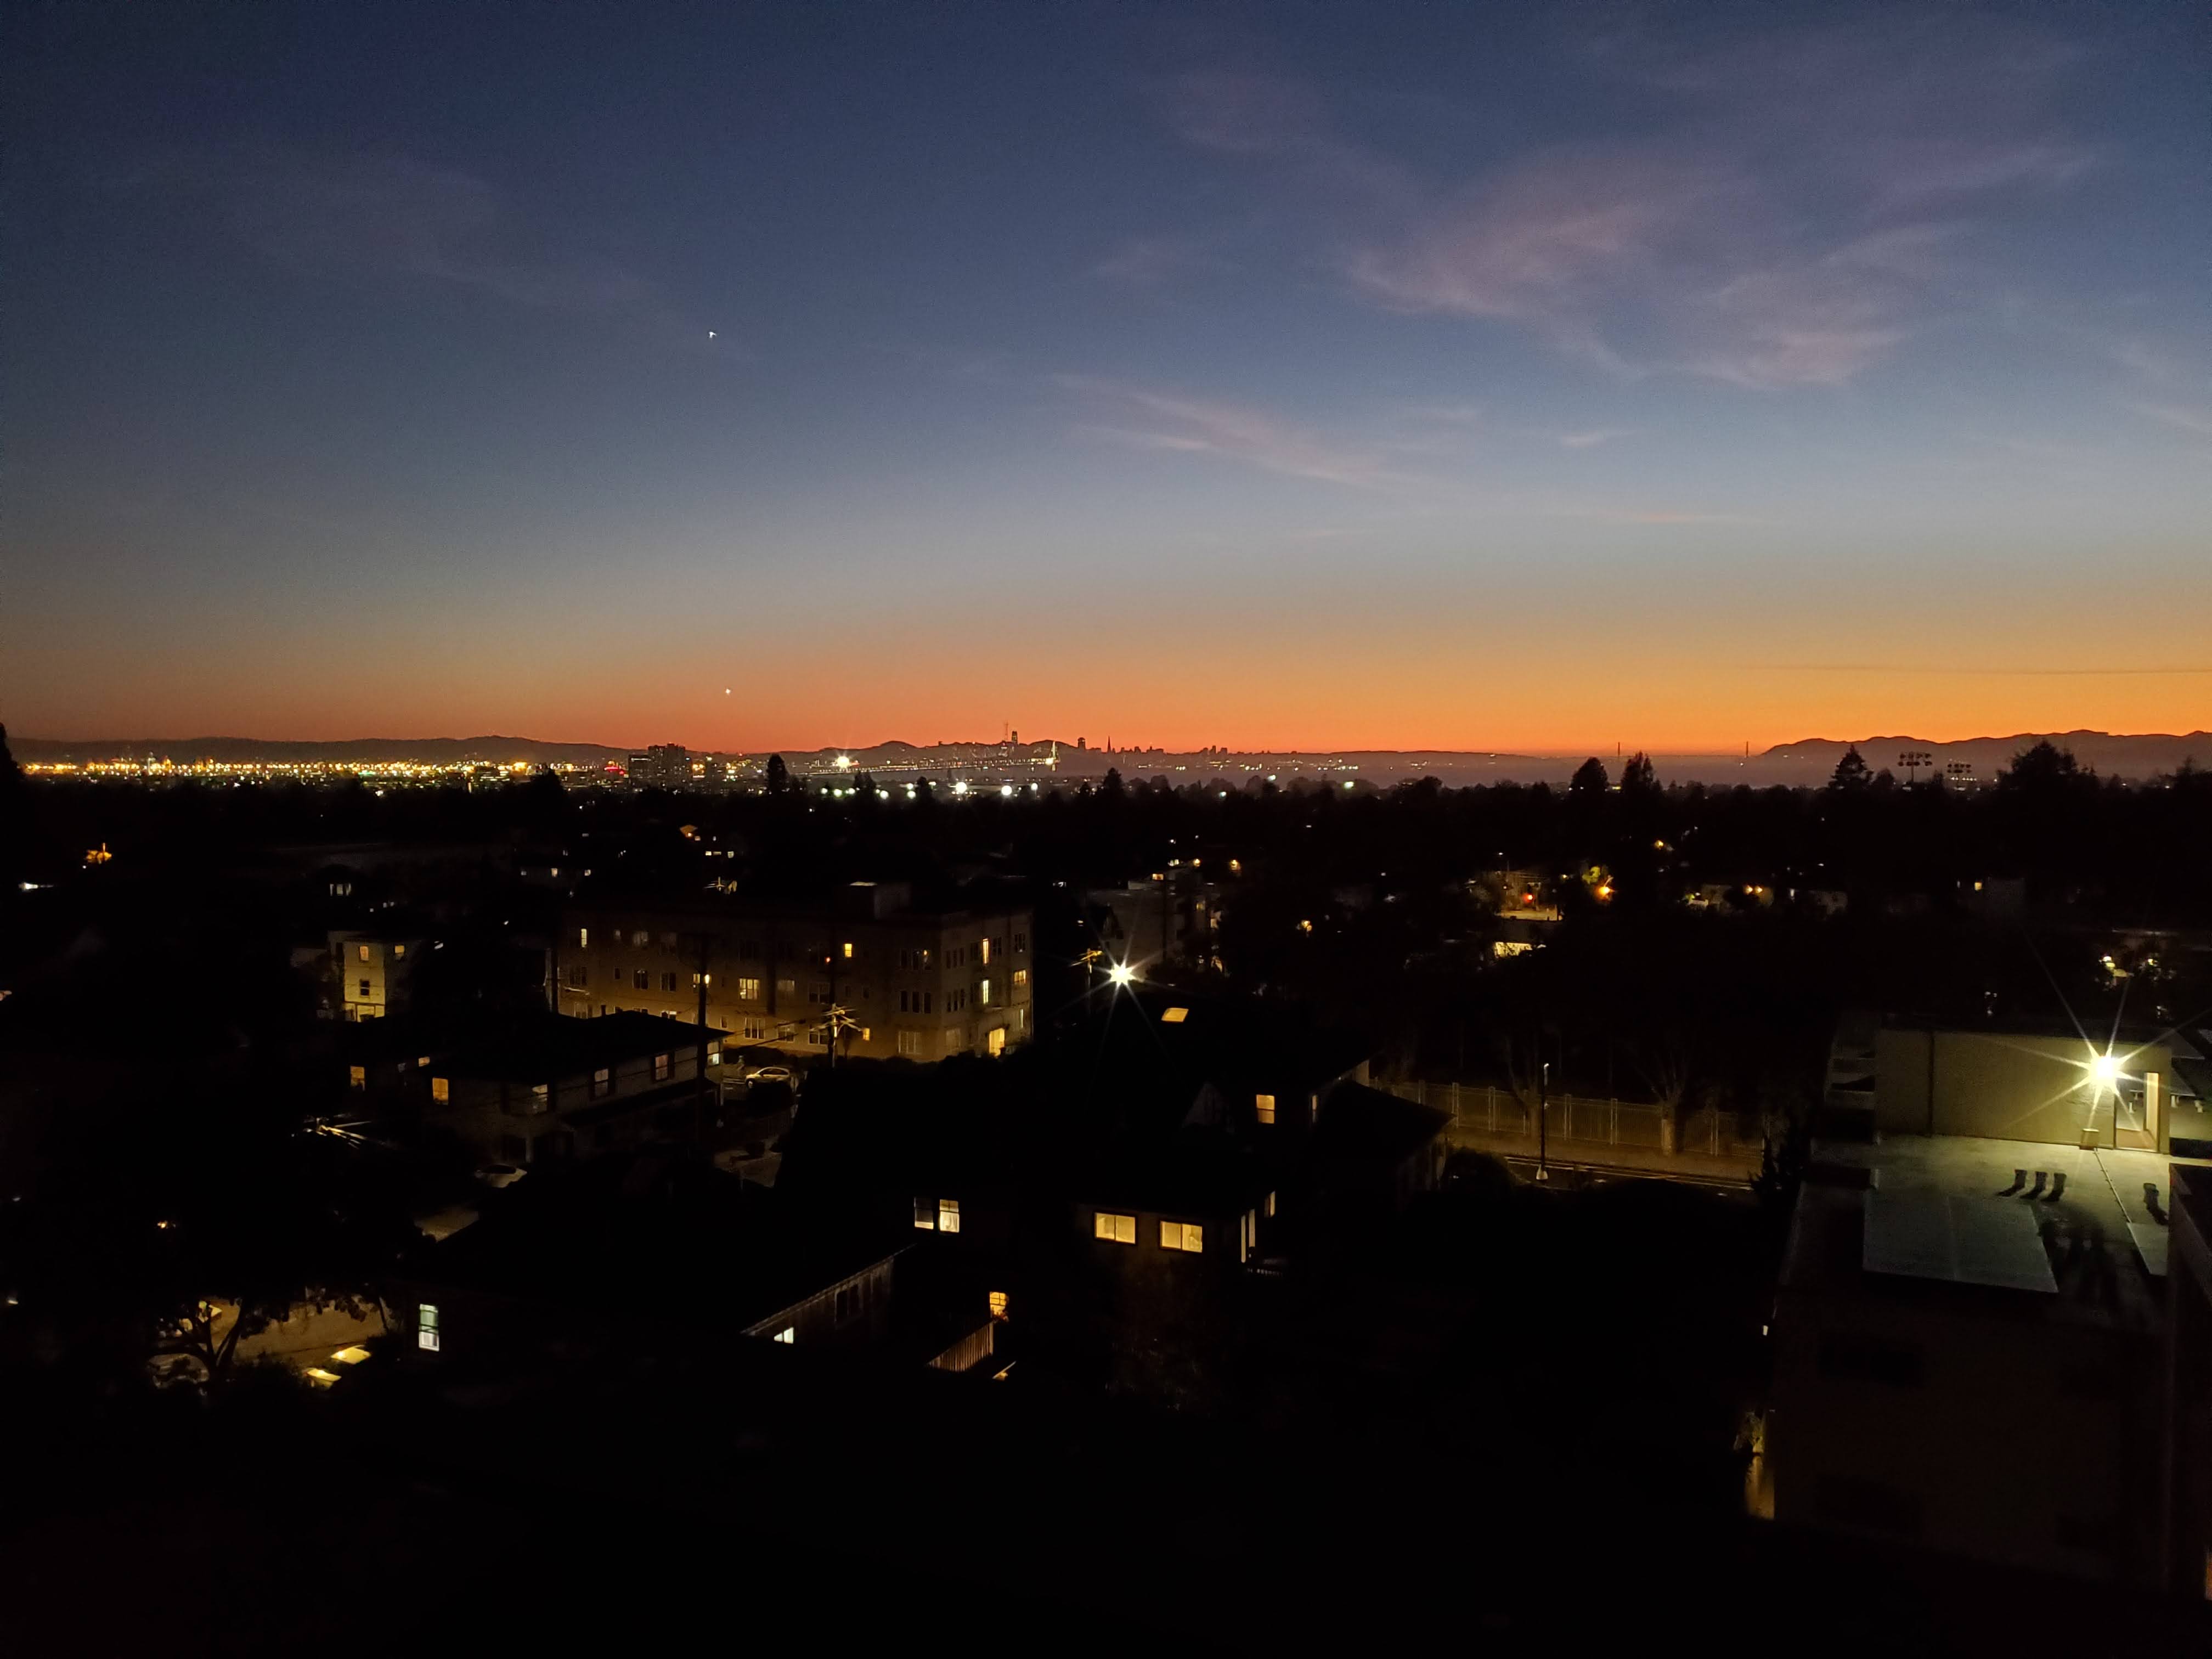
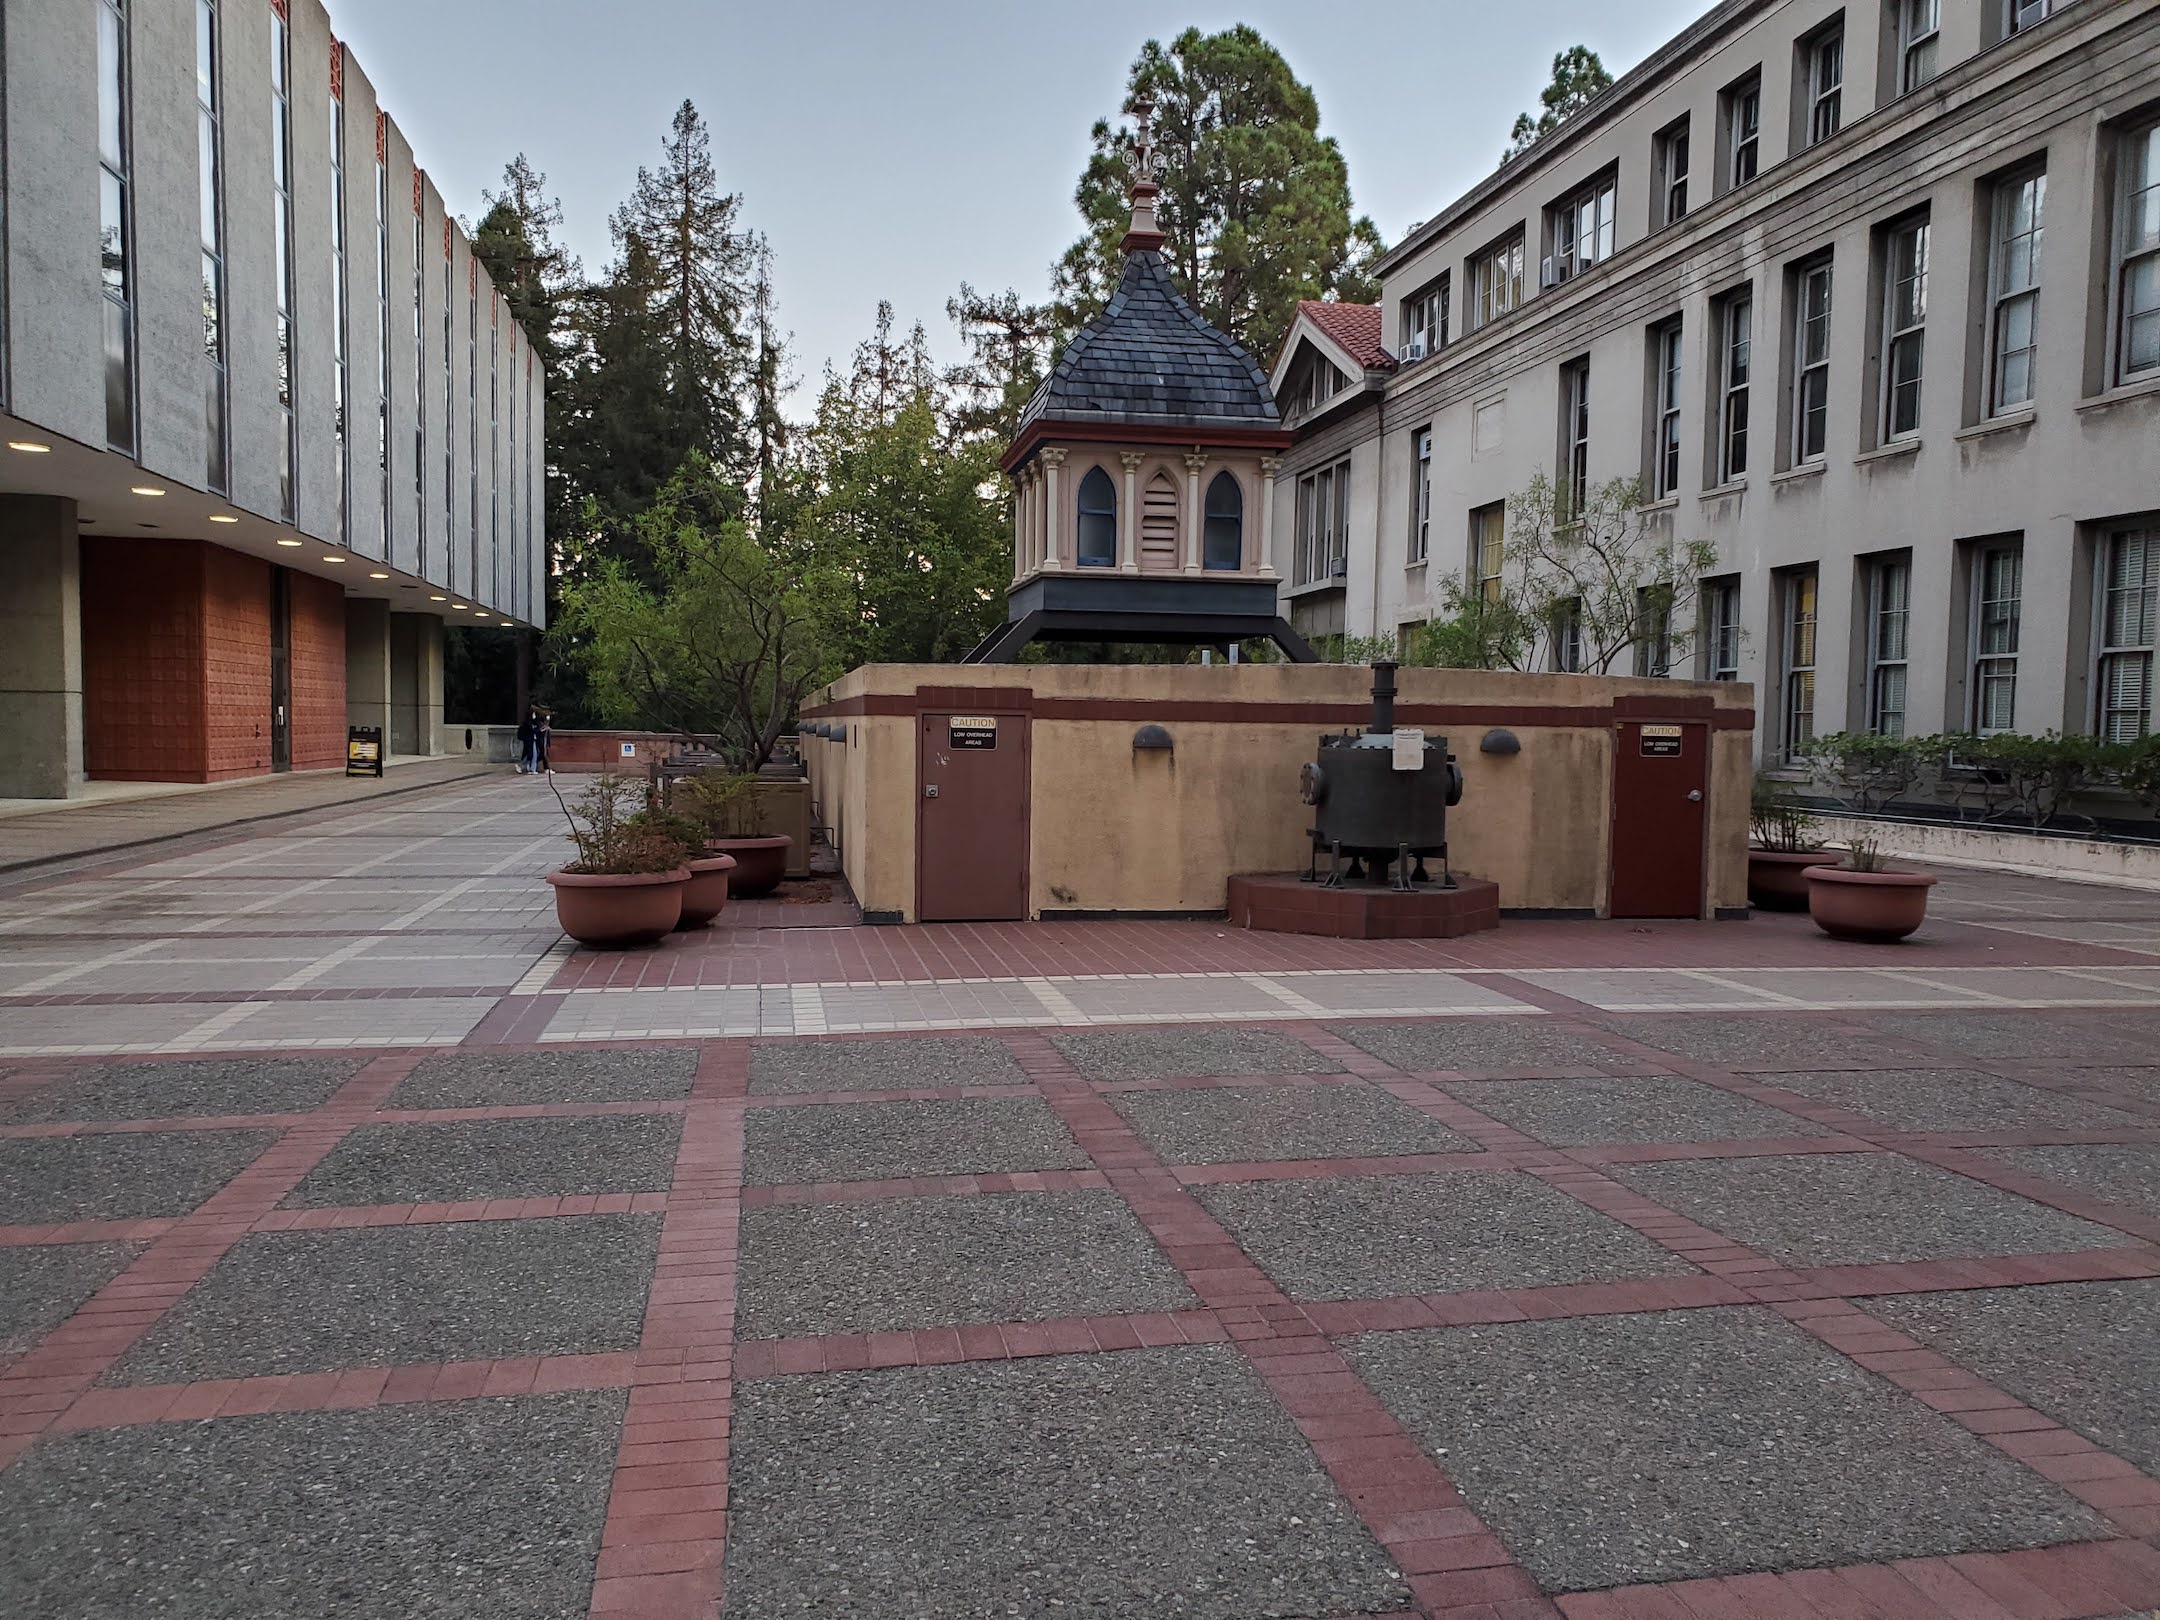
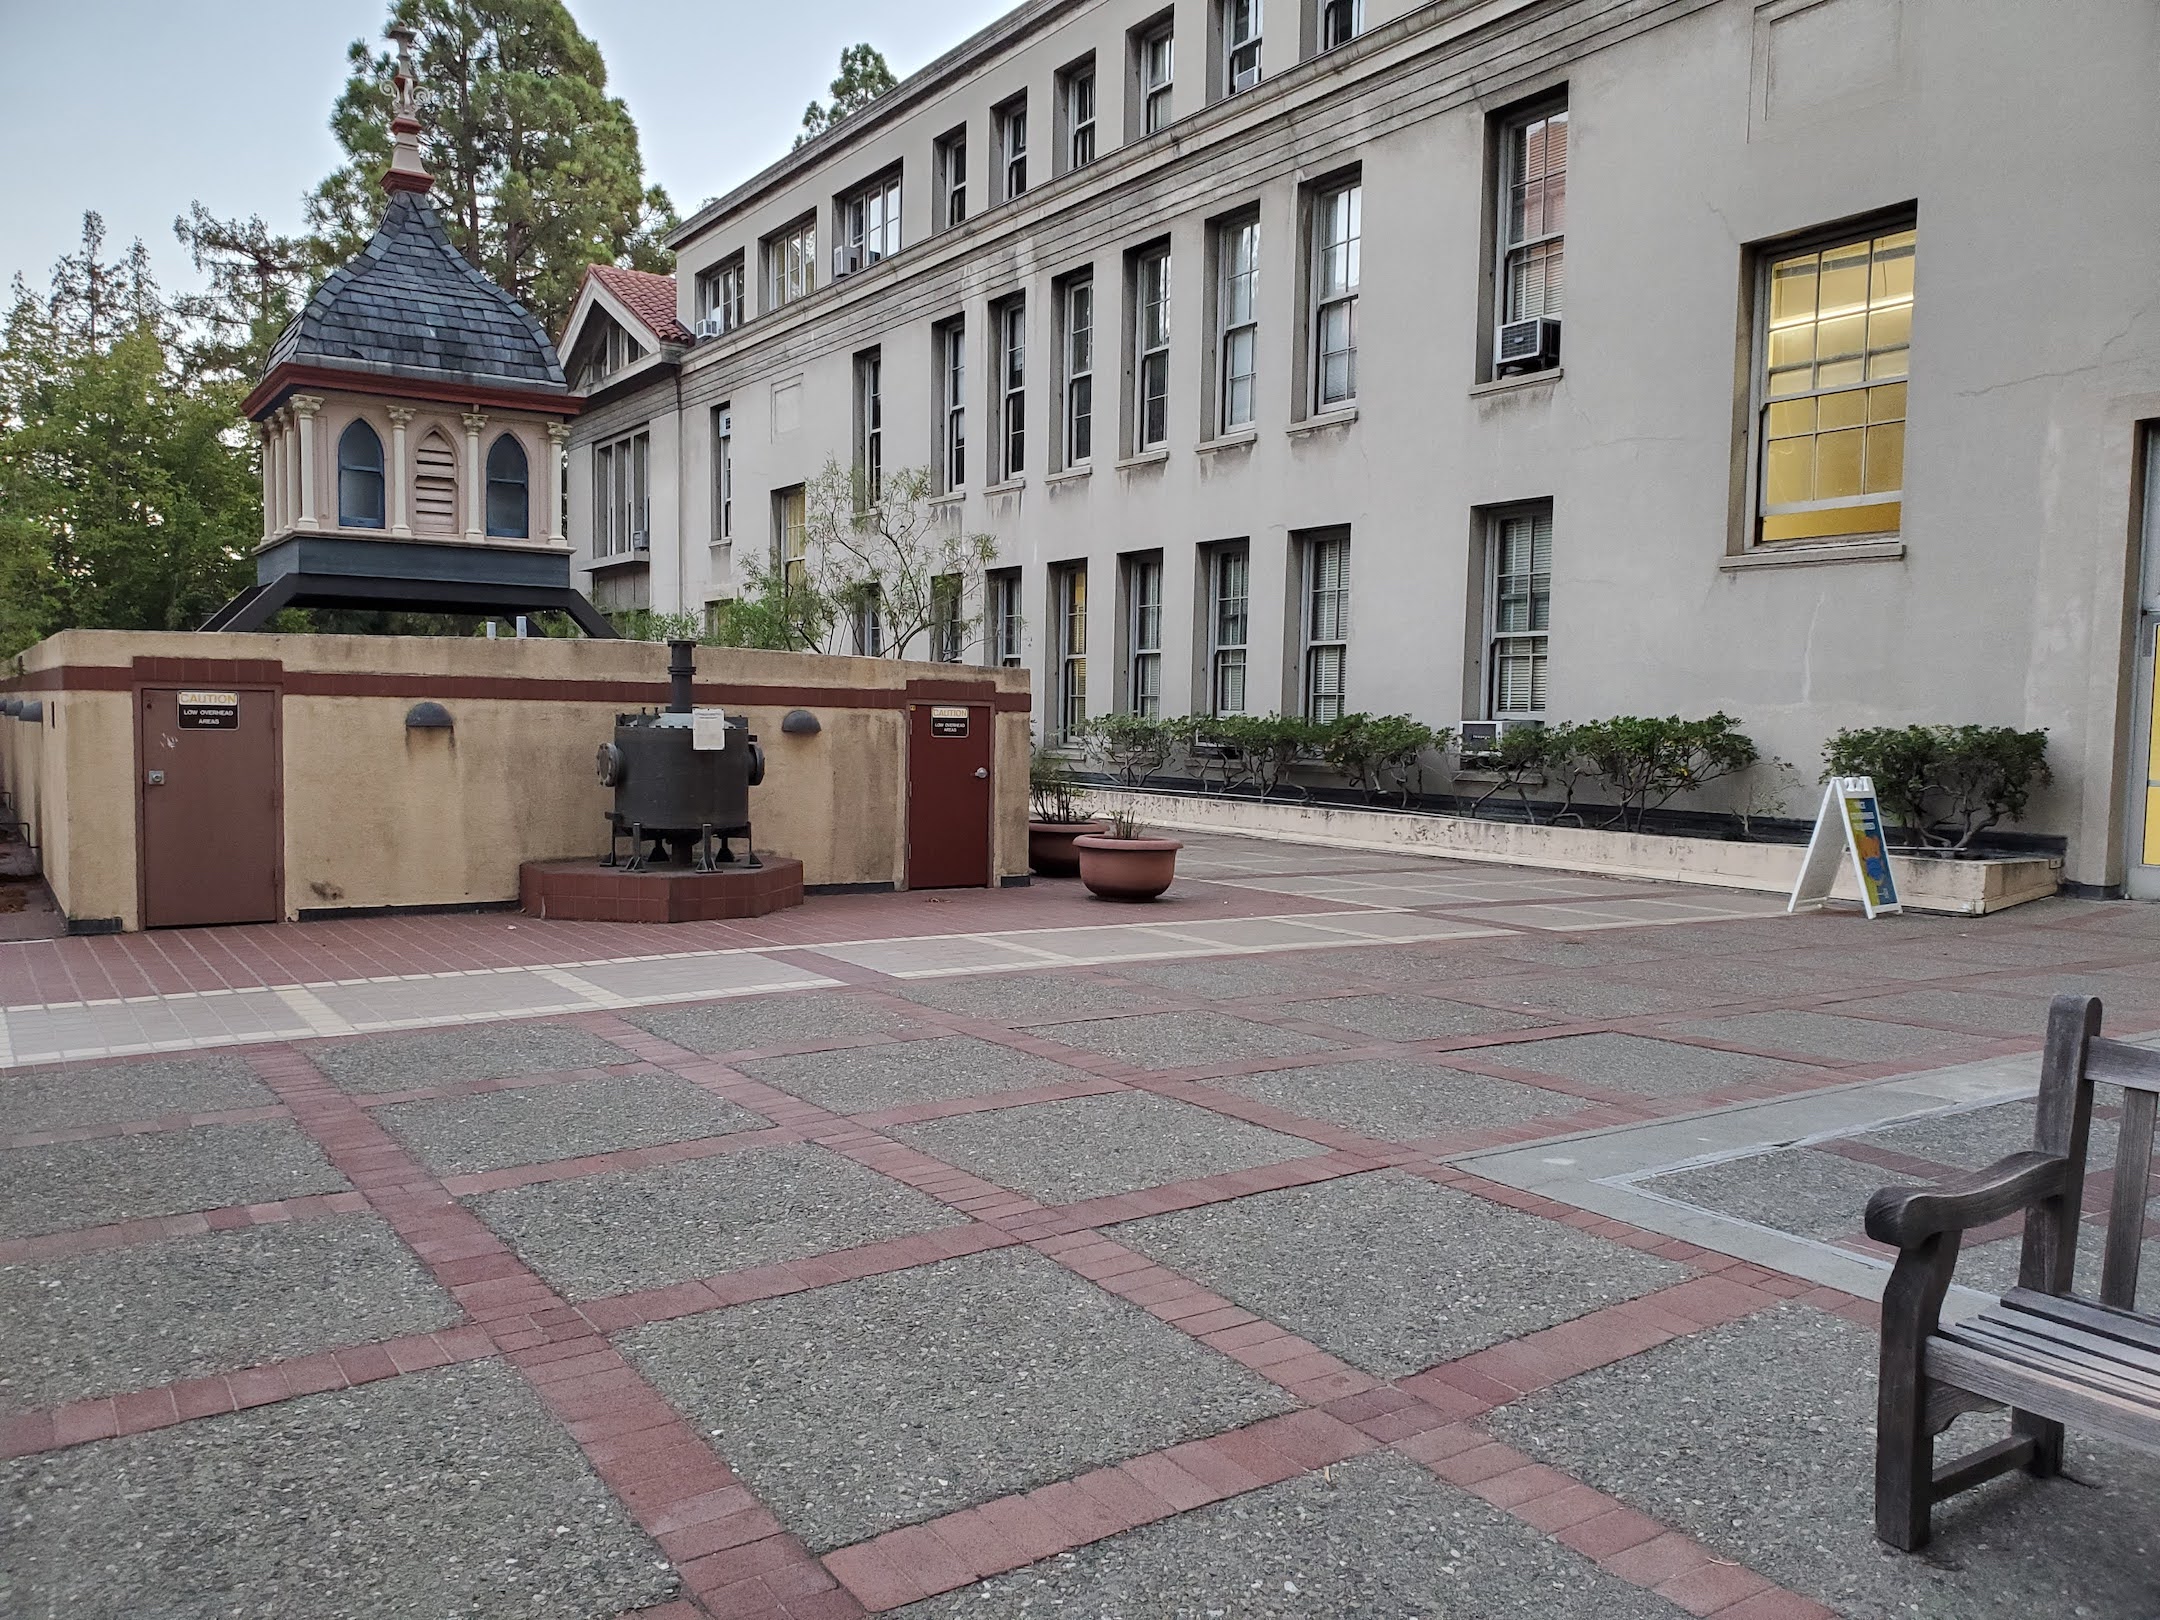
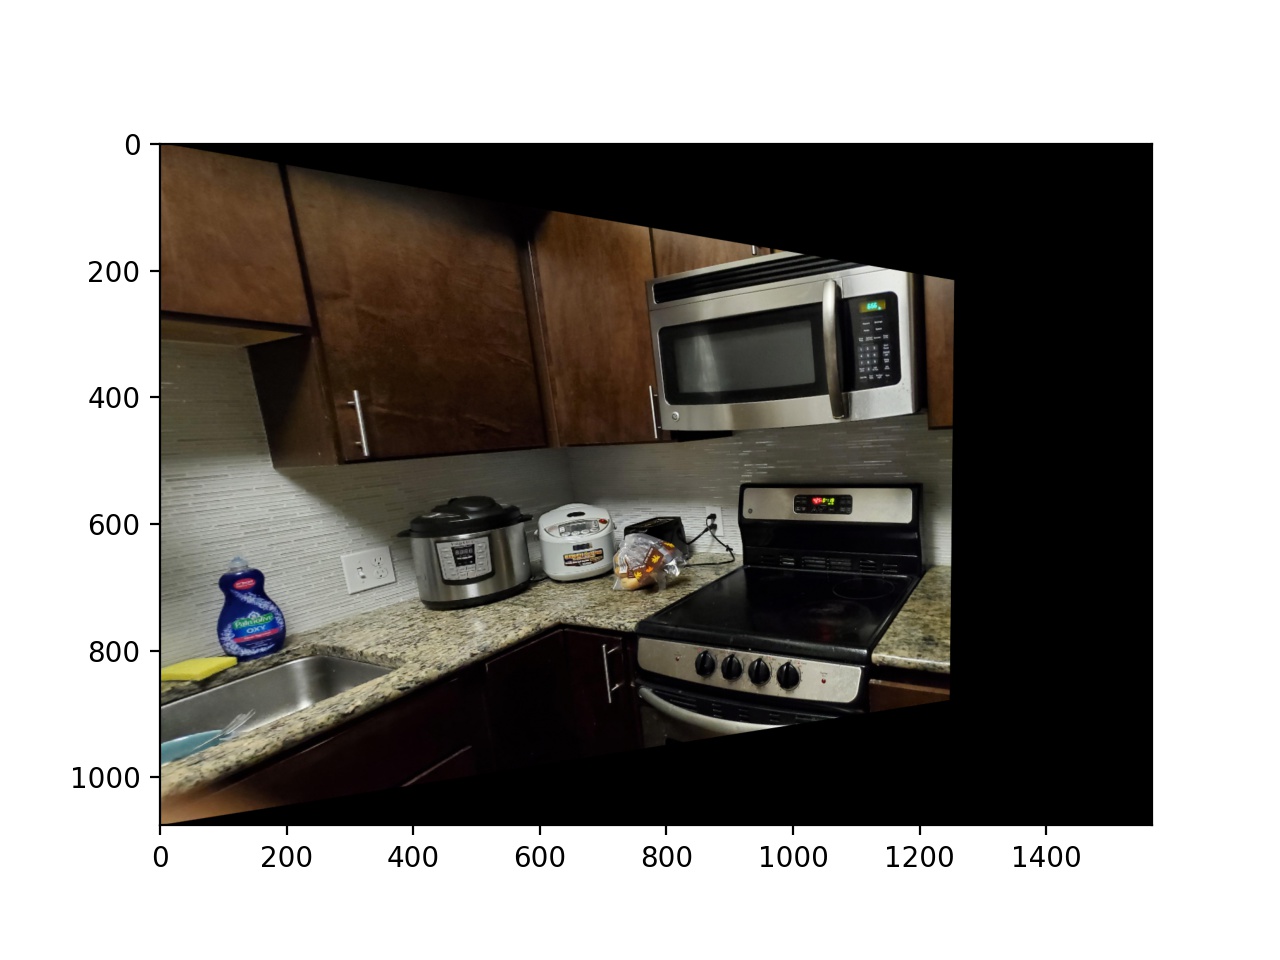
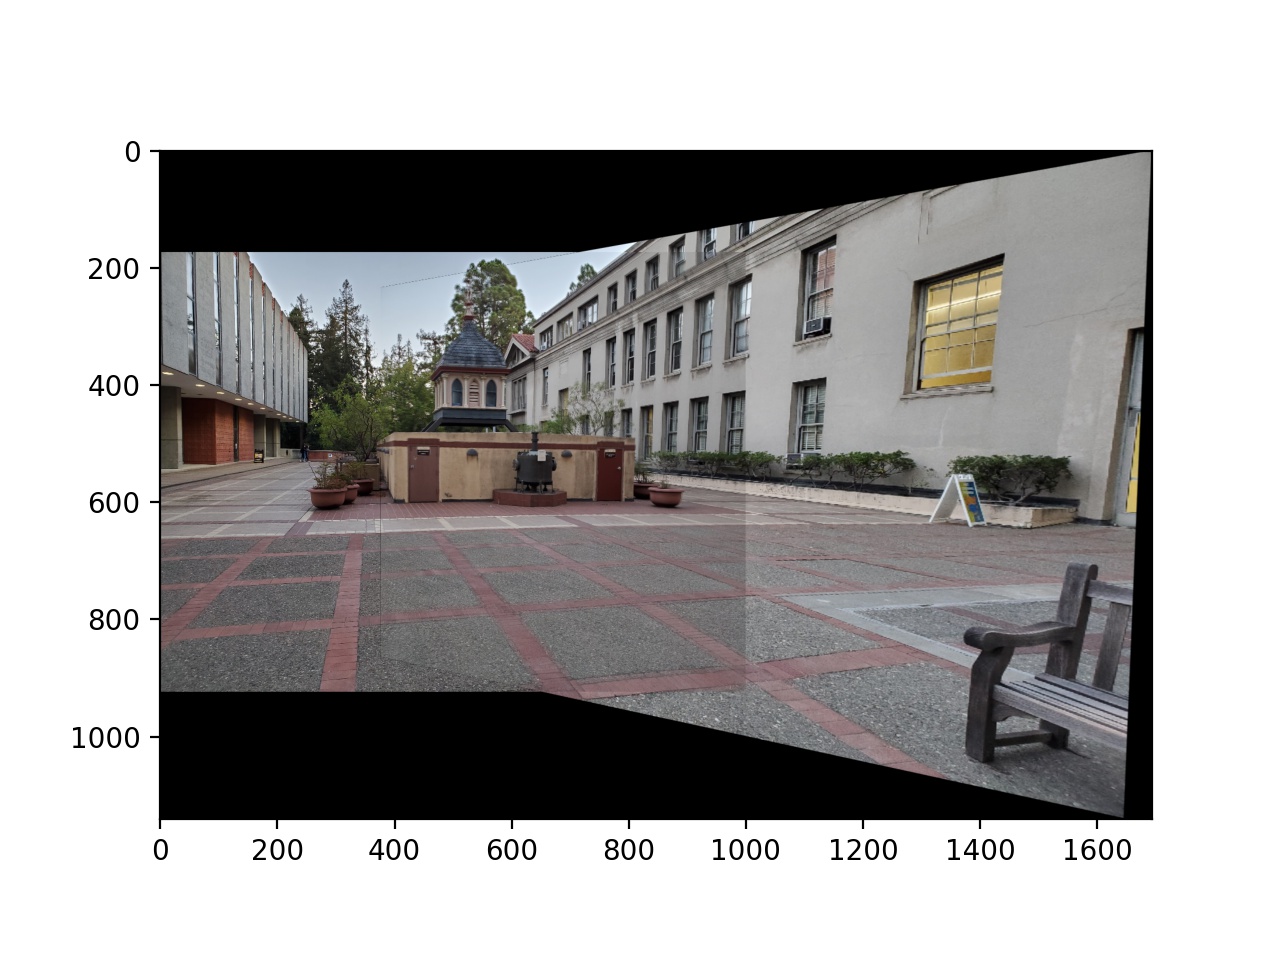
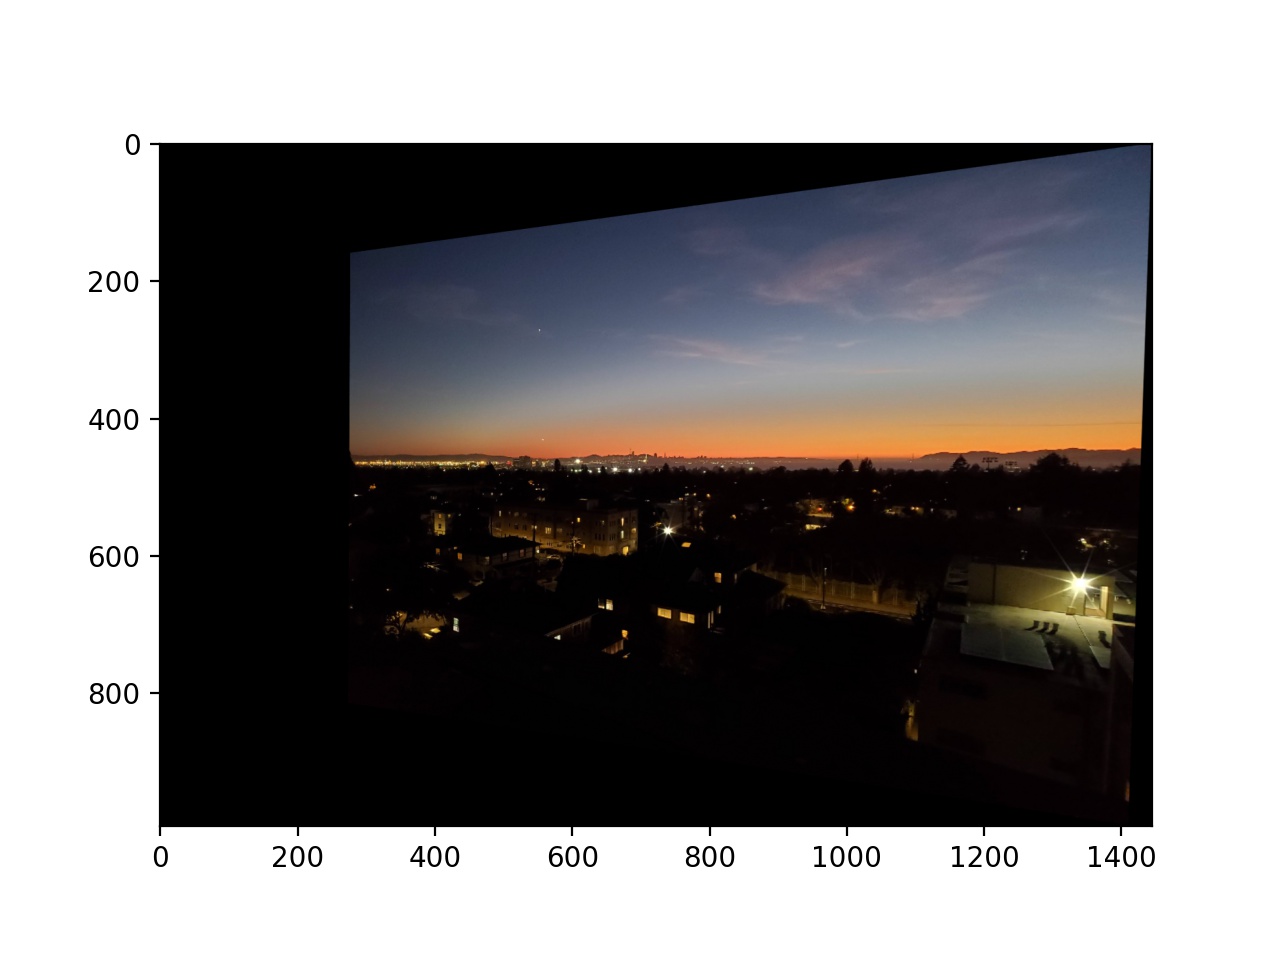
I took pictures of three different areas: my kitchen, towards the bay from the roof of my building, and in the Chemistry plaza. It was important to have a significant amount of overlap between the pictures so that matching points could be found for computing the transforms.
|
|
|
|
|
|
Next, I computed the transform between the images. This was done by assuming that the lower right corner of the transform matrix was 1, and then using the fact that p' = Hp, where p' = [wx', wy', w], H = [[a, b, c], [d, e, f], [g, h, 1], and p = [x, y, 1].
This gives us the equations ax + by + c - gxx' - hyx' = x' and dx + ey + f - gxy' - hyy' = y'.
So, I selected 10 corresponding points in each image (4 are necessary for there to be exactly one solution, since we have 8 unkowns), applied those equations, and used least squares to solve for H.
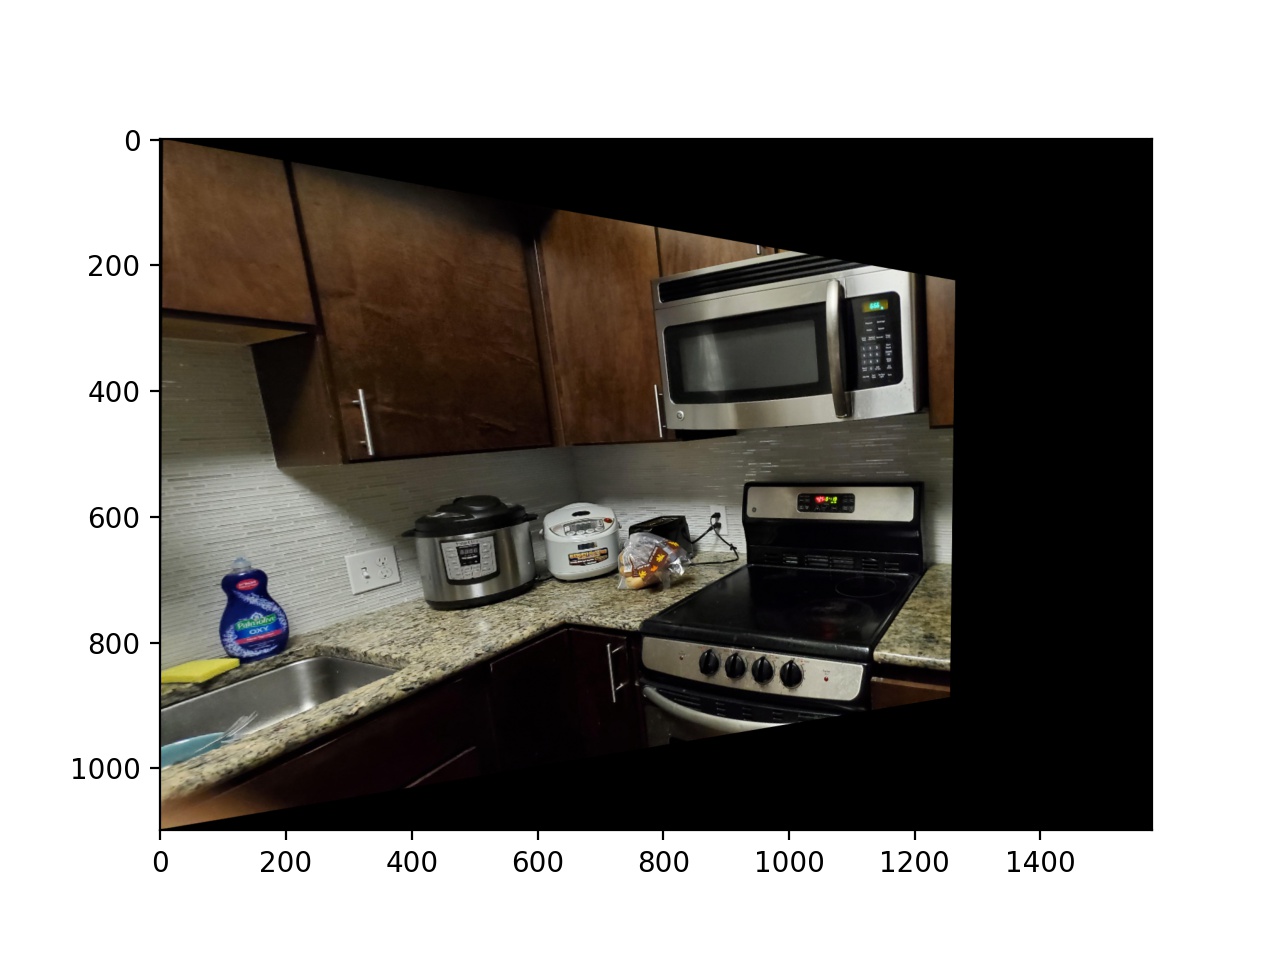
Next, to warp the images, I used inverse warping by using cv2.remap to map the coordinates of the second image to the corresponding locations in the original image and take those pixel values.
To make sure that the warping was working correctly, I tried rectifying a straight wall so that it was close to frontal parallel in the image.
|
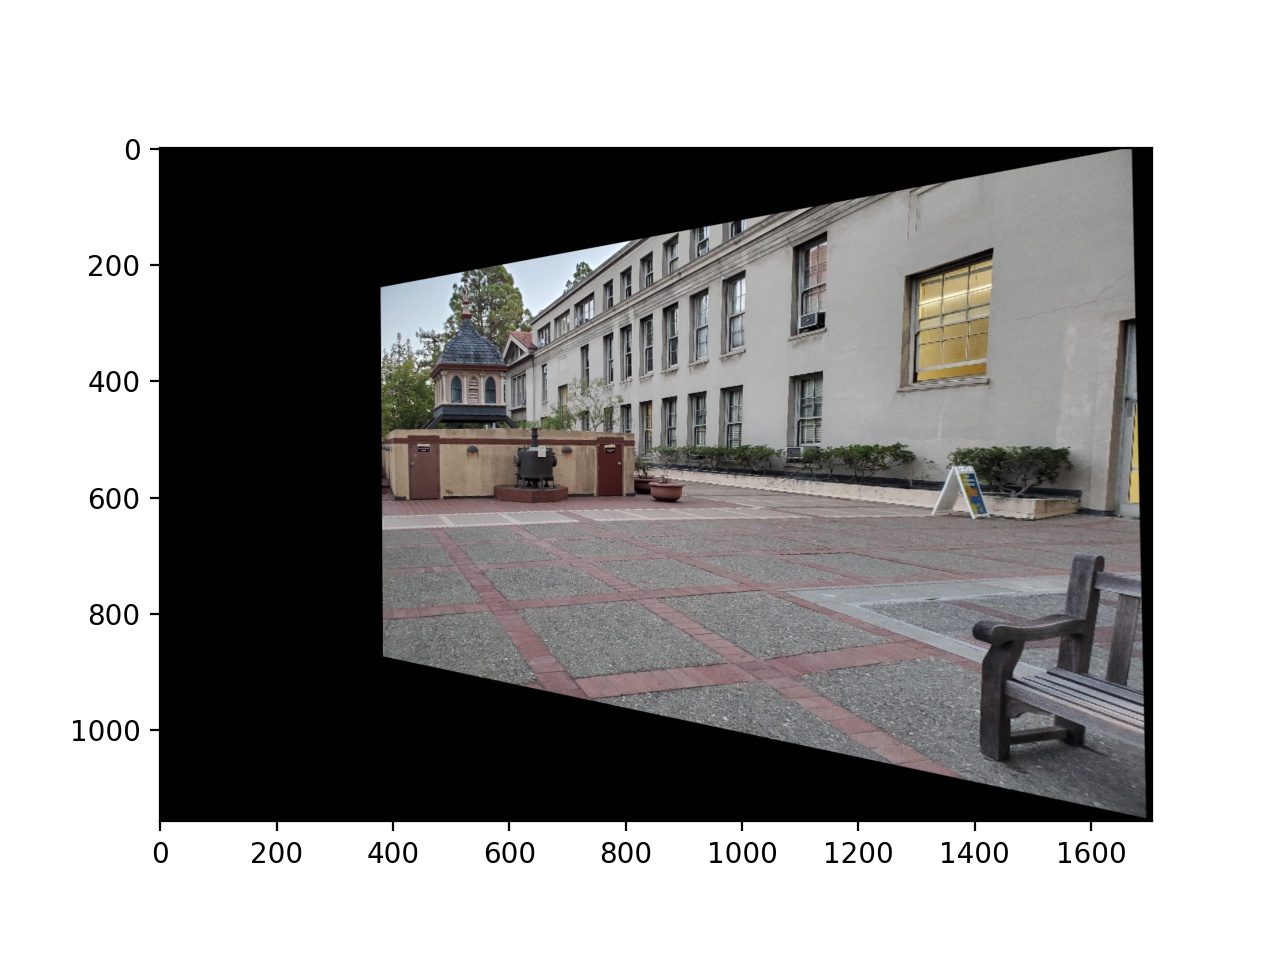 |
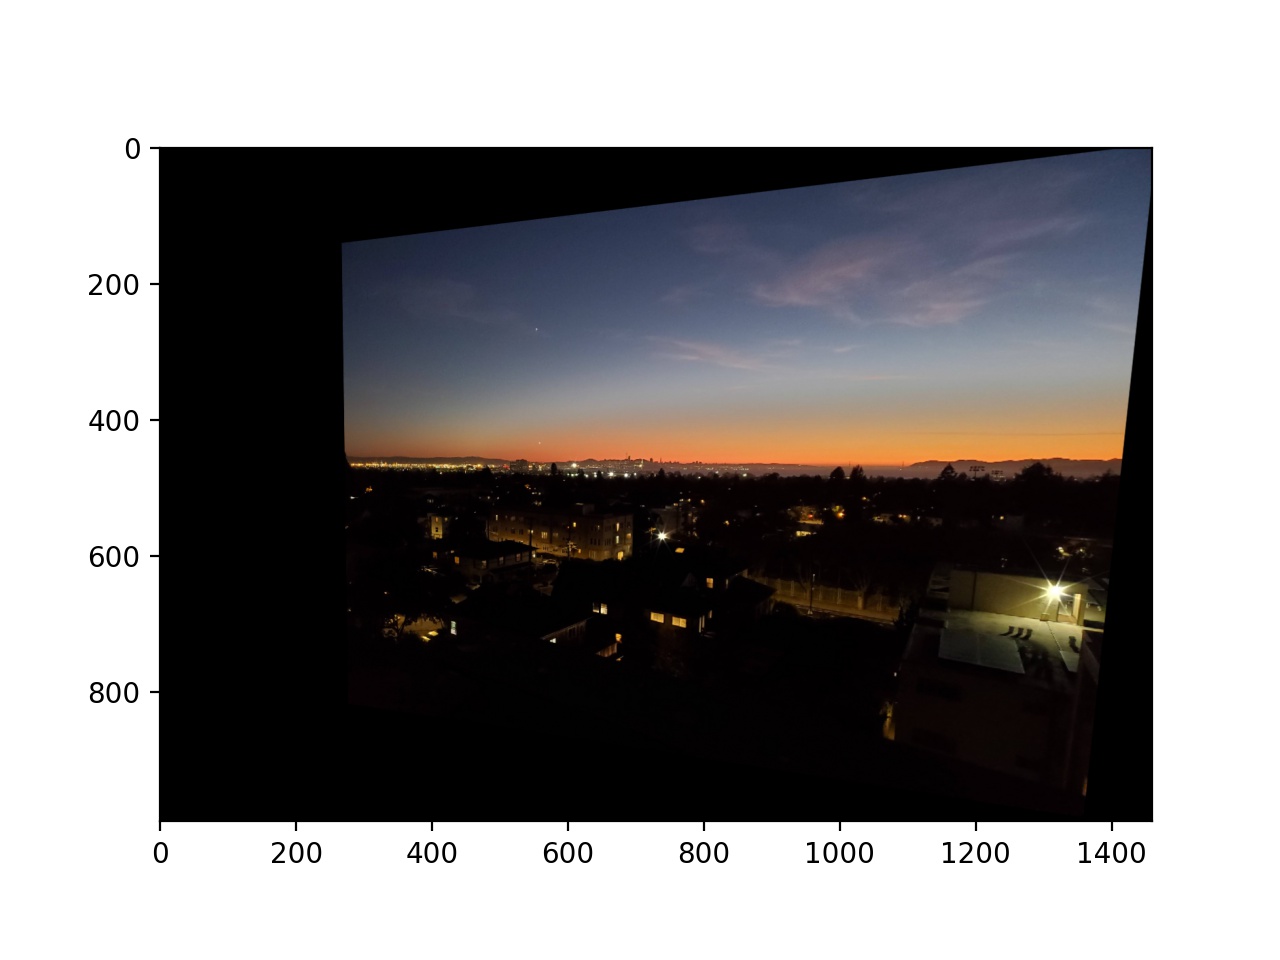
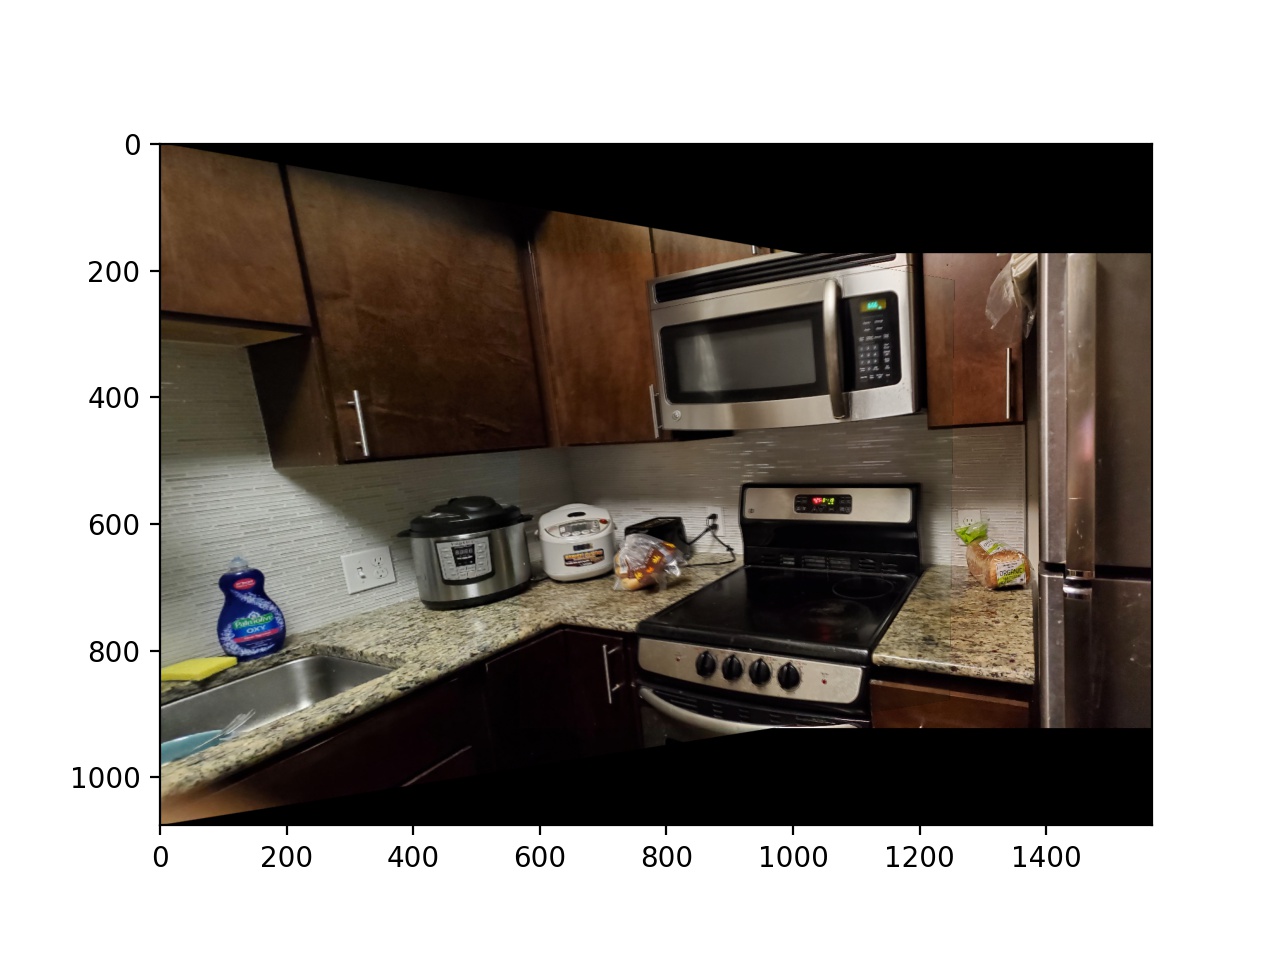
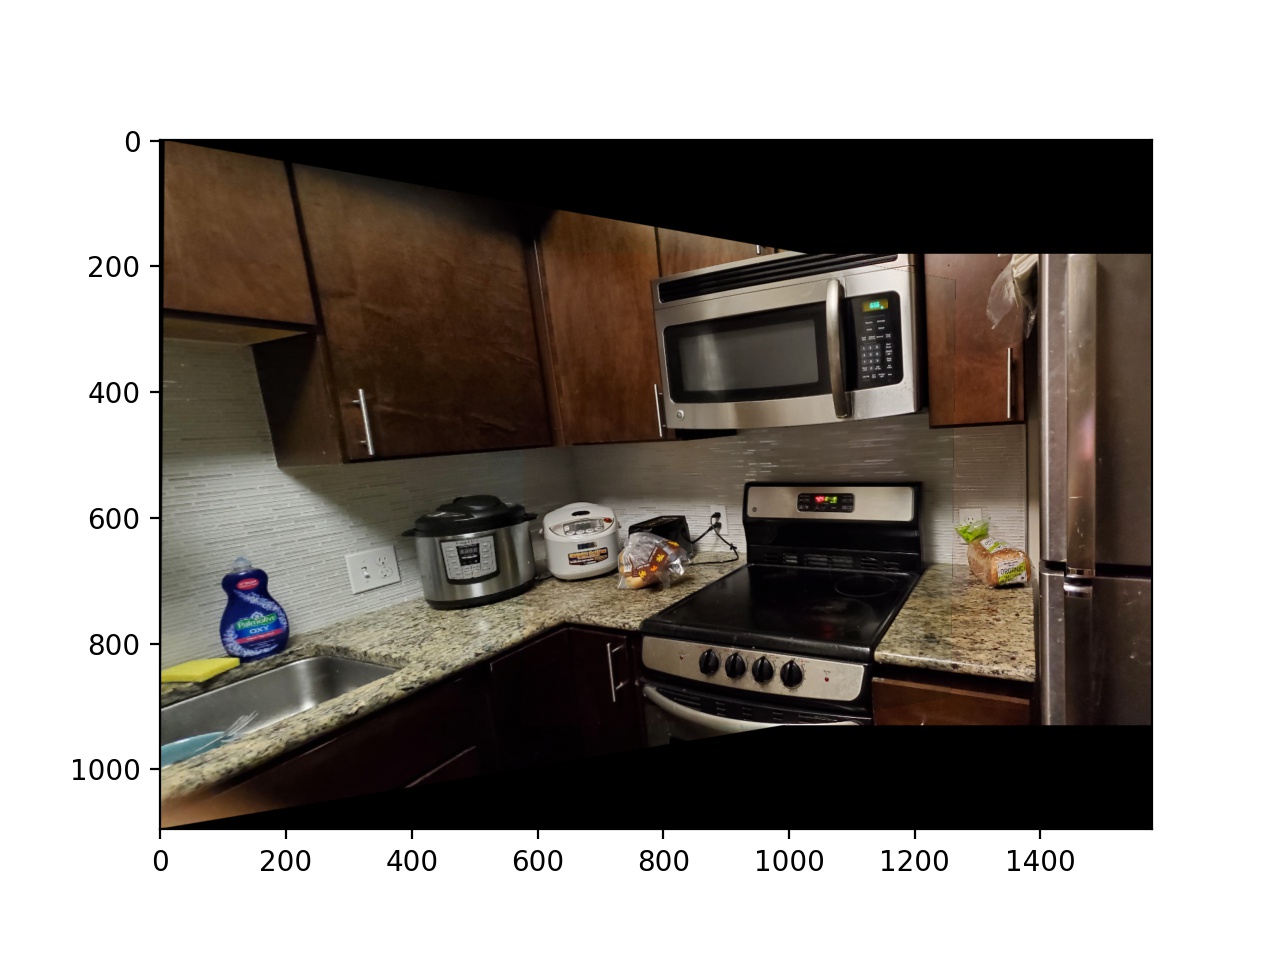
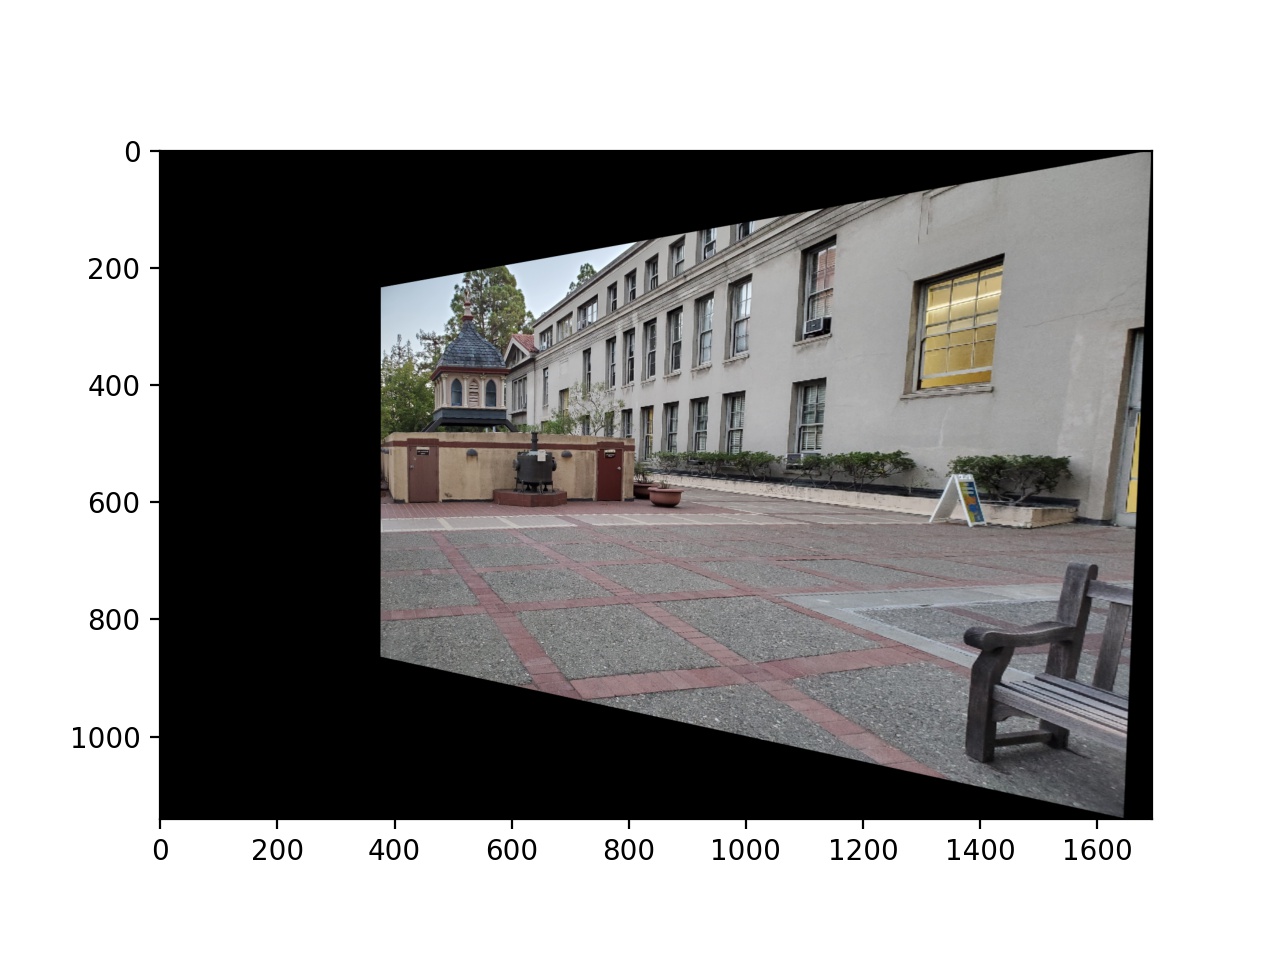
Then I warped the rest of my images as well. These are all the second image being warped to match the perspective of the first image.
|
|
 |
|
|
 |
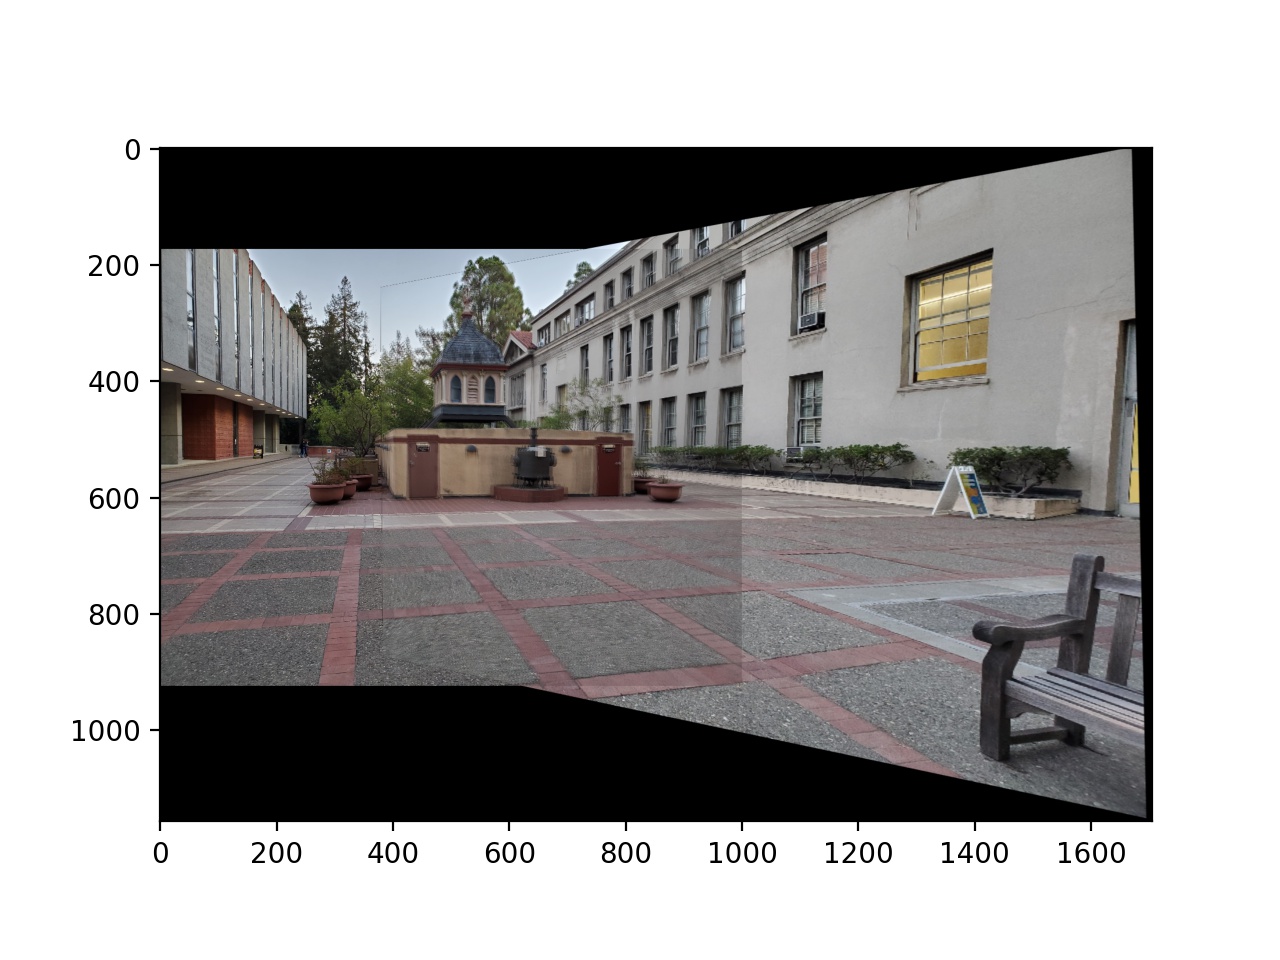
So, I warped all of the second images to match the first one's perspective, and then I overlaid them on each other. I do not show any examples here, but for more than 2 images, I first create a mosaic of 2 images, then ask the user for more correspondence points between the newly created mosaic and a third image, and so on. To blend them together, I found the coordinates of pixels for which both images were not 0, and added 0.5 of each image in that region. For the rest of the images, I simply added the images together, since one of the images was 0, so its contribution would not increase the brightness of the result. The lines between the images in the roof and Chemistry plaza mozaics are pretty visible; I think that is because the brightnesses differ between the images; I should have made sure that my camera used the same brightness setting for the different images.
|
|
 |
|
|
 |
|
|
 |
The most interesting thing that I learned was how relatively simple it was to warp the images into each others' perspectives. It is just a simple system of equations to solve for the transformation, and then that transformation can be applied to every point in an image. I would have expected there to be multiple different transformations, or some nonlinear transformation that would be required.
Next, I used the following paper: Multi-Image Matching using Multi-Scale Oriented Patches” by Brown et al. to attept to find and match features programmatically instead of selecting common points manually.
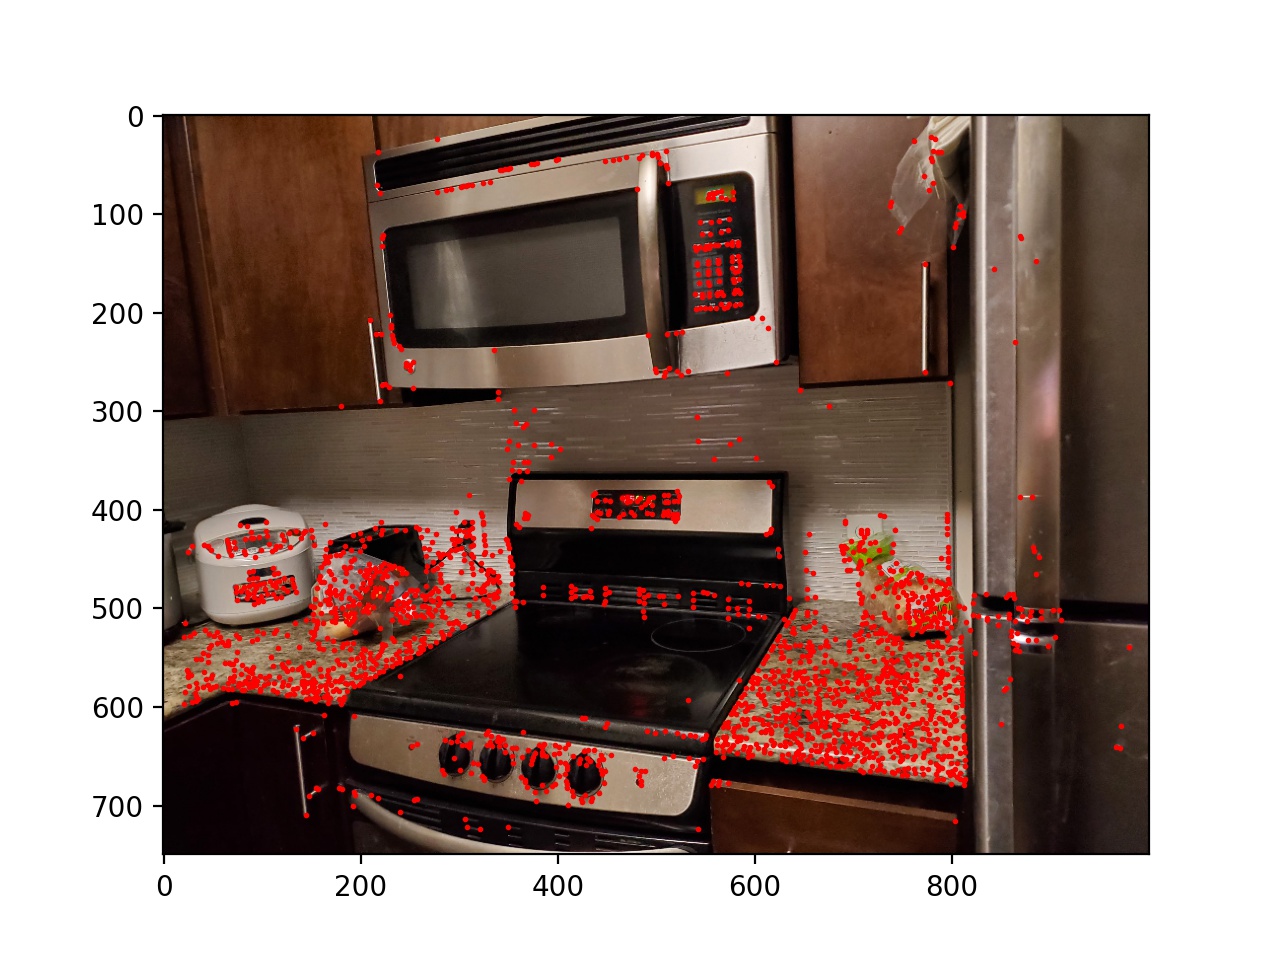
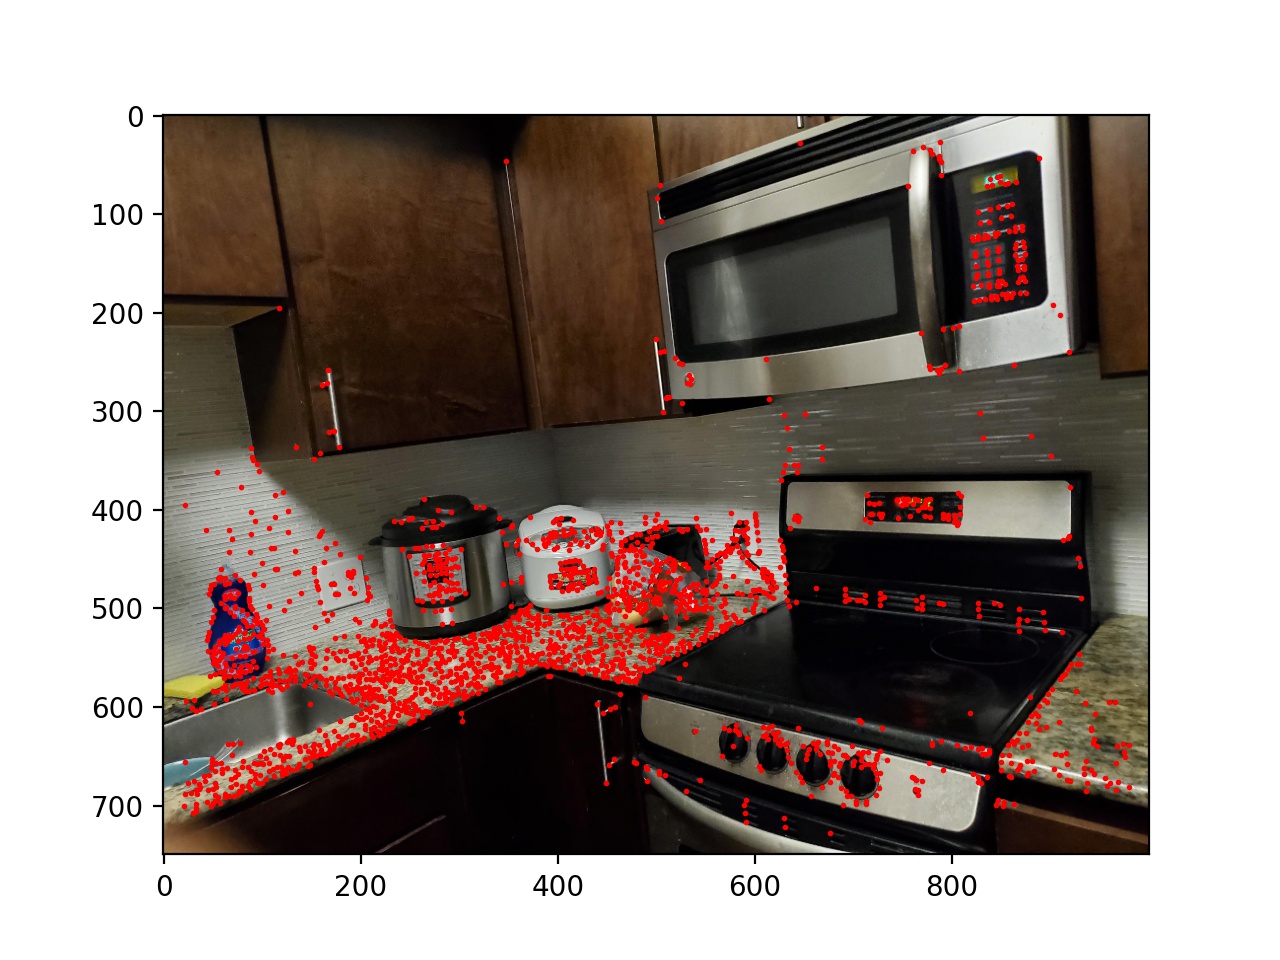
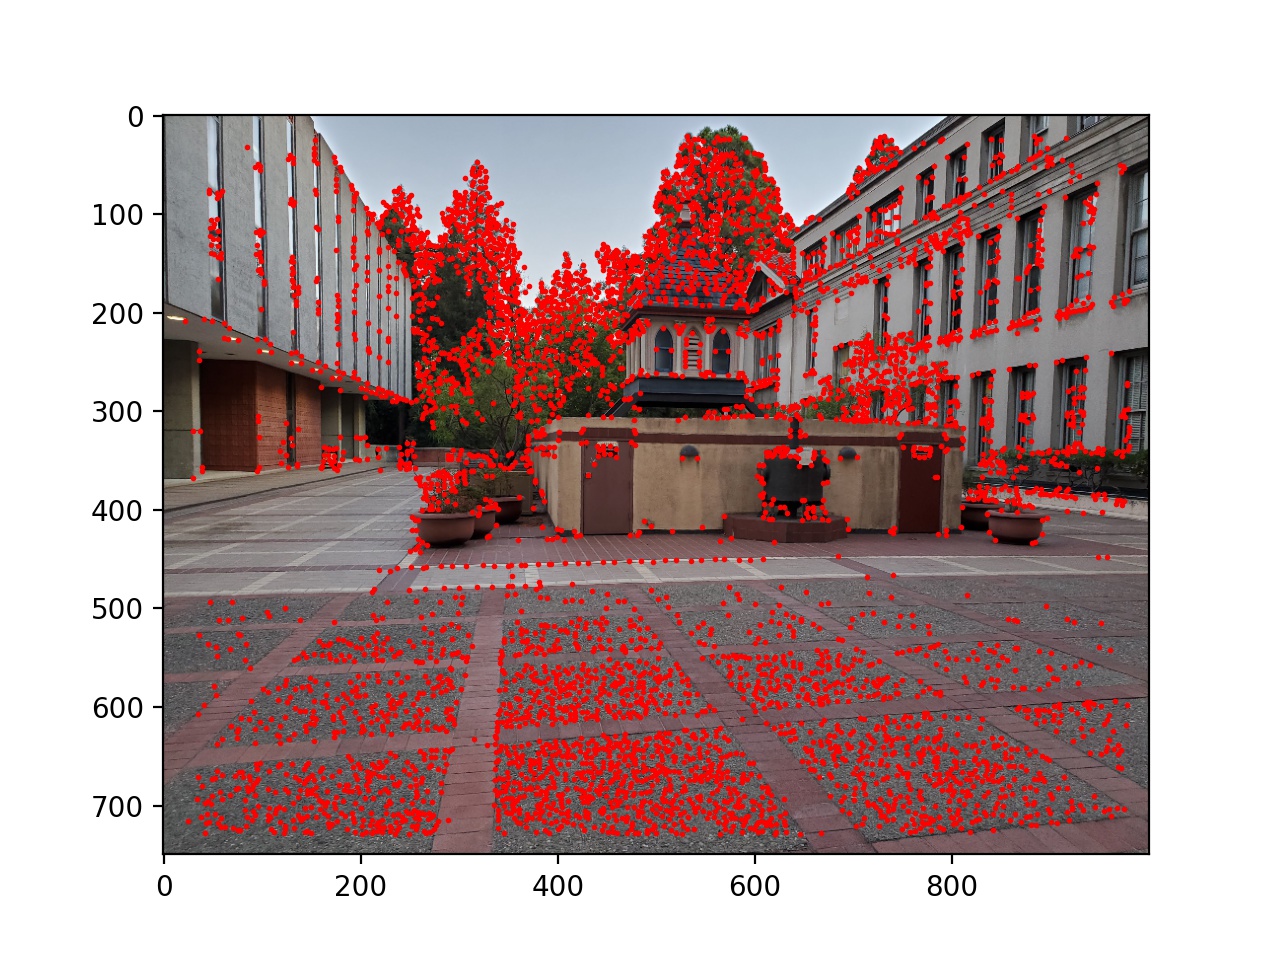
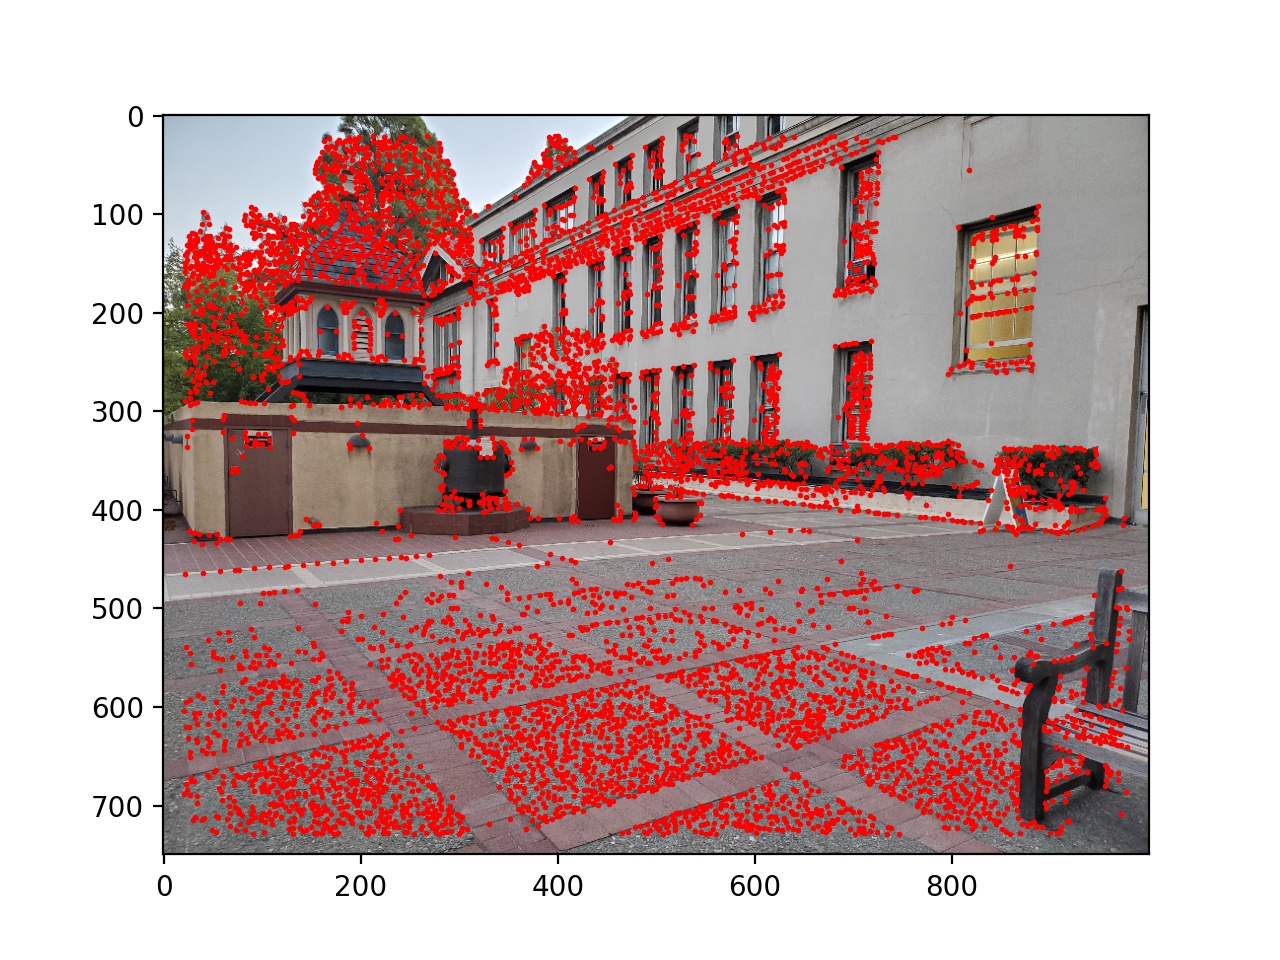
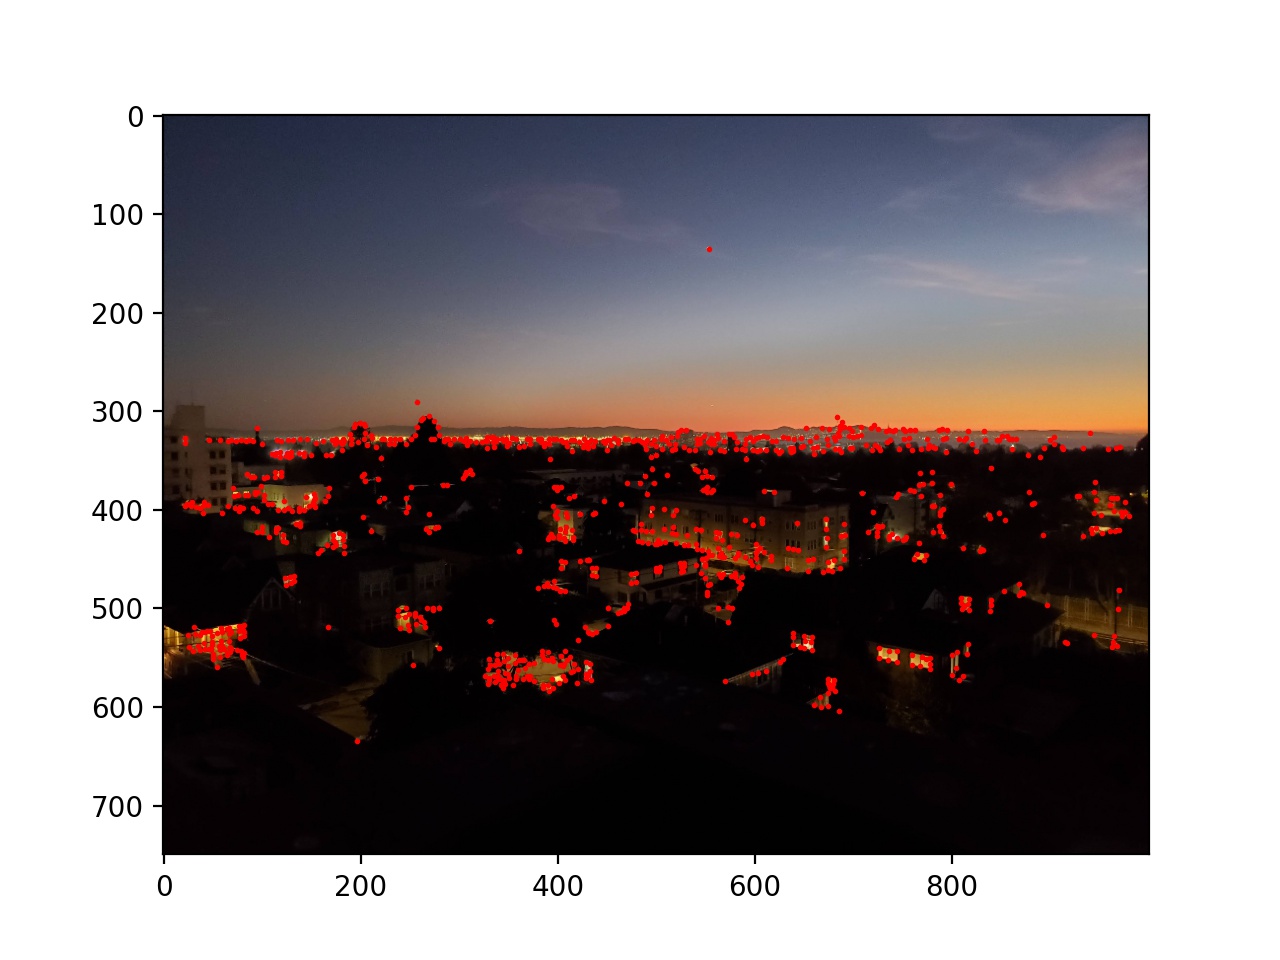
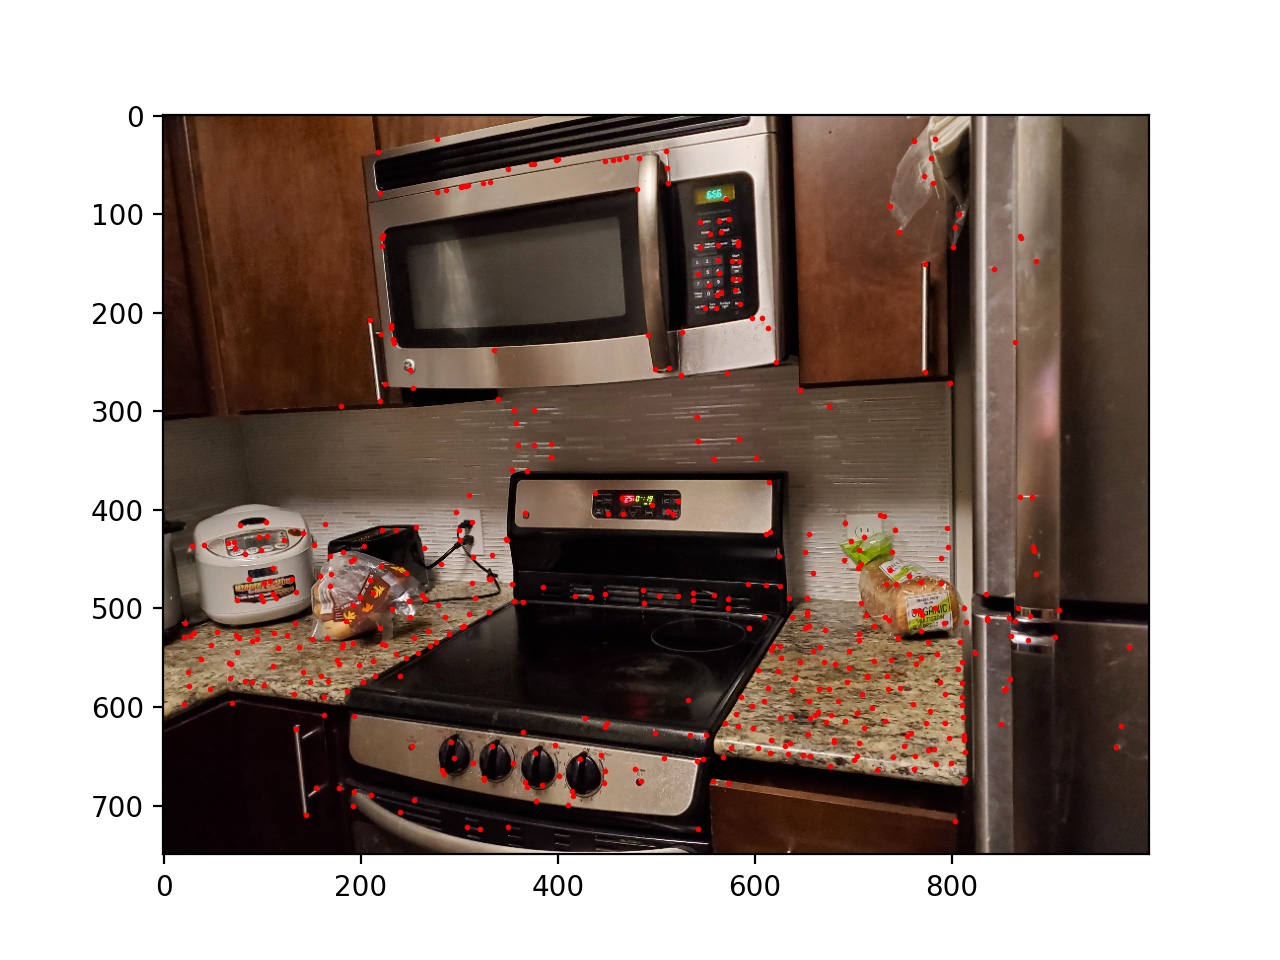
First, I used the provided starter code to find Harris corners on each of the images, and then thresholded those corners such that the value of each corner was greater than 0.1.
 |
 |
 |
 |
 |
 |
Next I used adaptive non-maximal suppression to limit the number of interest points to 500. I sorted the list of interest points by the closest other interest point with a significantly larger Harris value (in equation form min_j(|x_i - x_j|), s.t. f(x_i) < 0.9f(x_j), where x_i and x_j are chosen from the existing Harris corners, and f is the Harris value of each corner). Then I took the top 500. This essentially removes points while keeping then distributed around the image instead of possibly being all in one location.
 |
 |
 |
 |
 |
 |
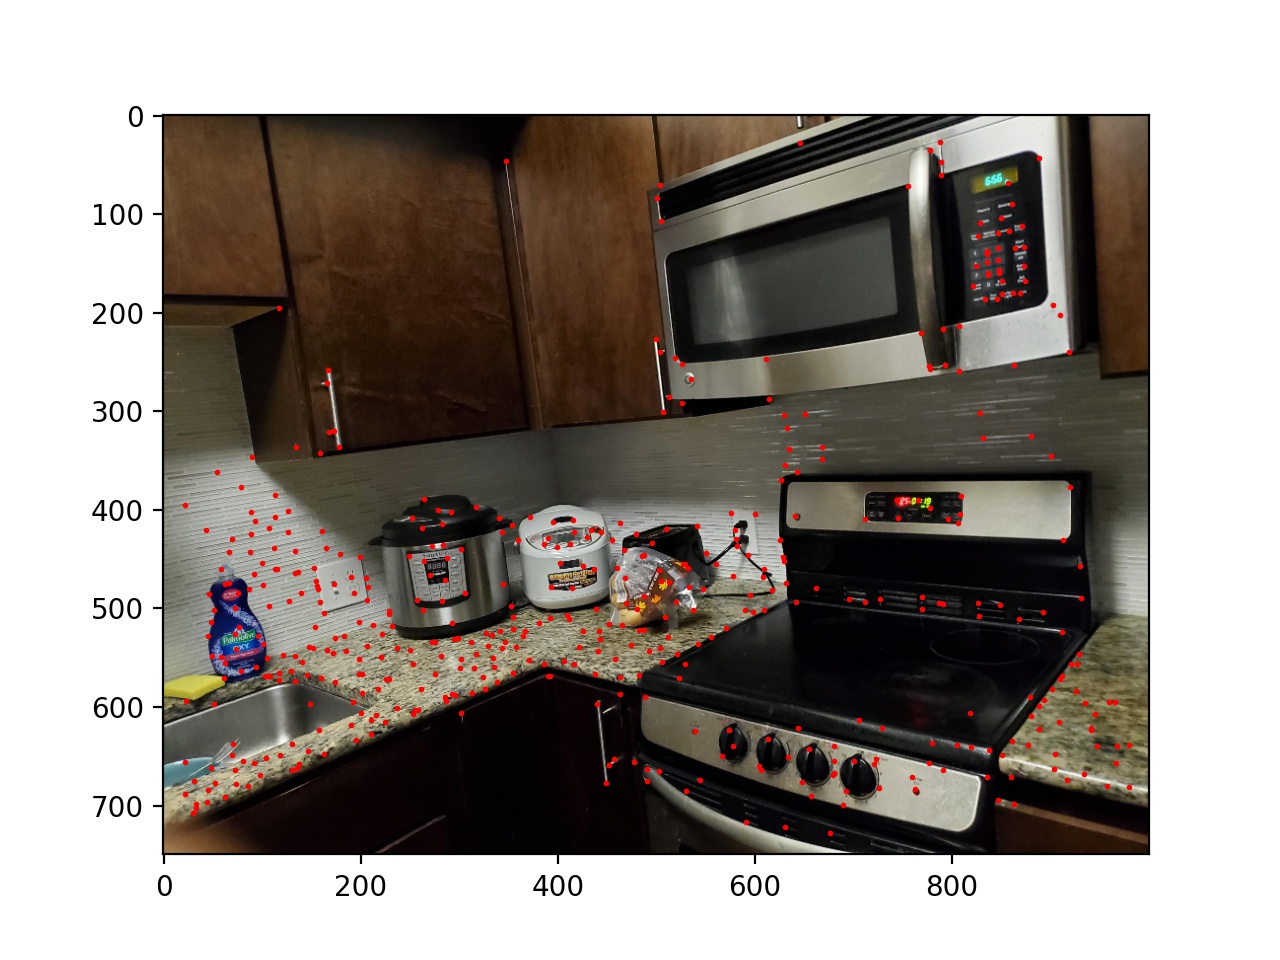
Next I blurred and downsampled the input images by a factor of 5 and chose feature vectors for each remaining interest point as an 8x8 square of the pixels (in the downsampled image) around the interest point. These vectors were then normalized to have a standard deviation of 1 and a mean of 0. Then, for each of the interest points, I found the best and second best match of interest points in the other image by SSD. If the second best match's SSD was 0.3 as large as the best match, I threw away that interest point; otherwise they were kept. This reduces incorrect matches, as some interest points have similar feature vectors to a number of others; we want to be sure that the best match is correct.
 |
 |
 |
 |
 |
 |
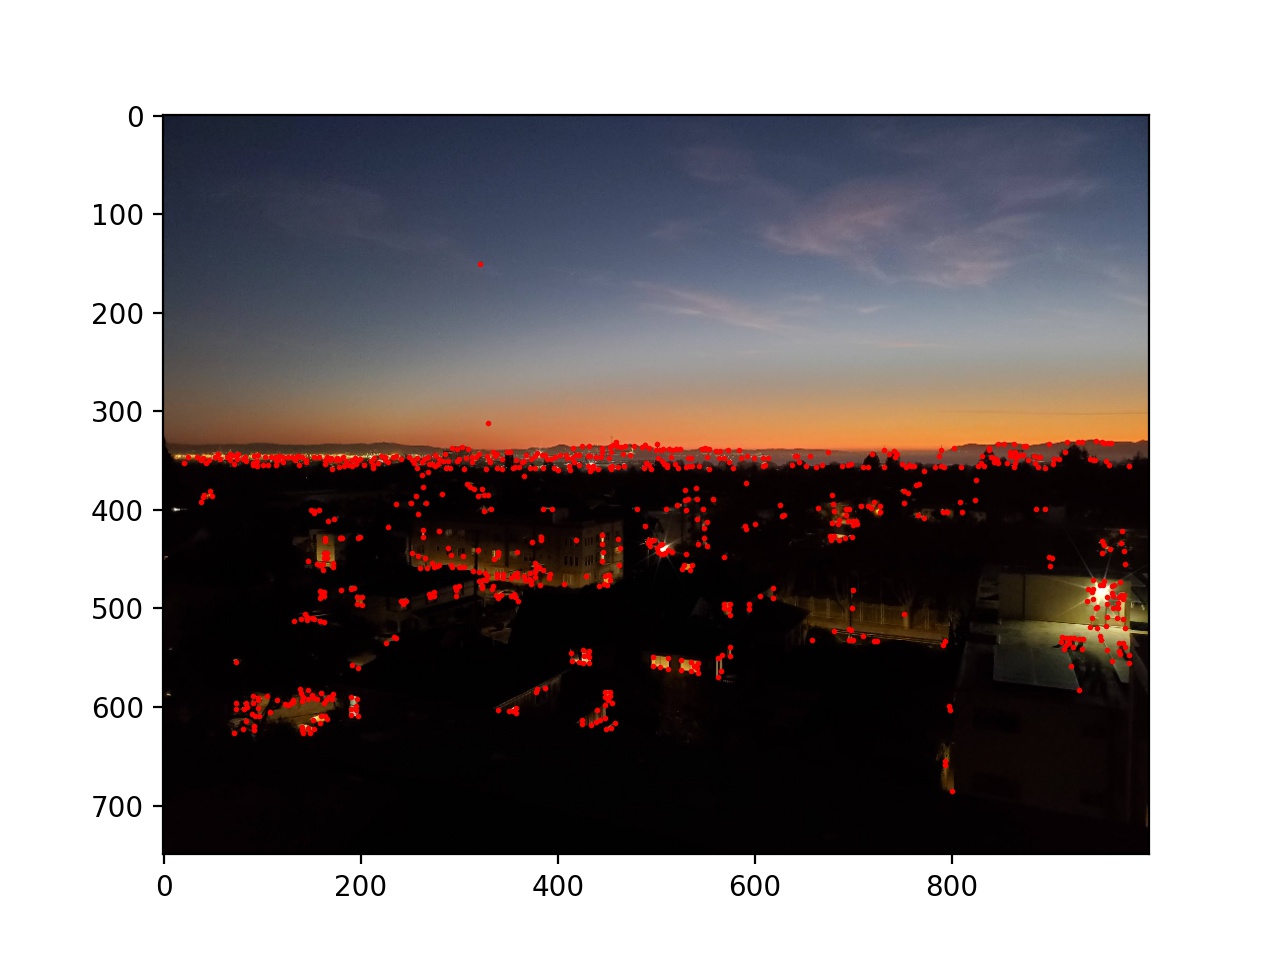
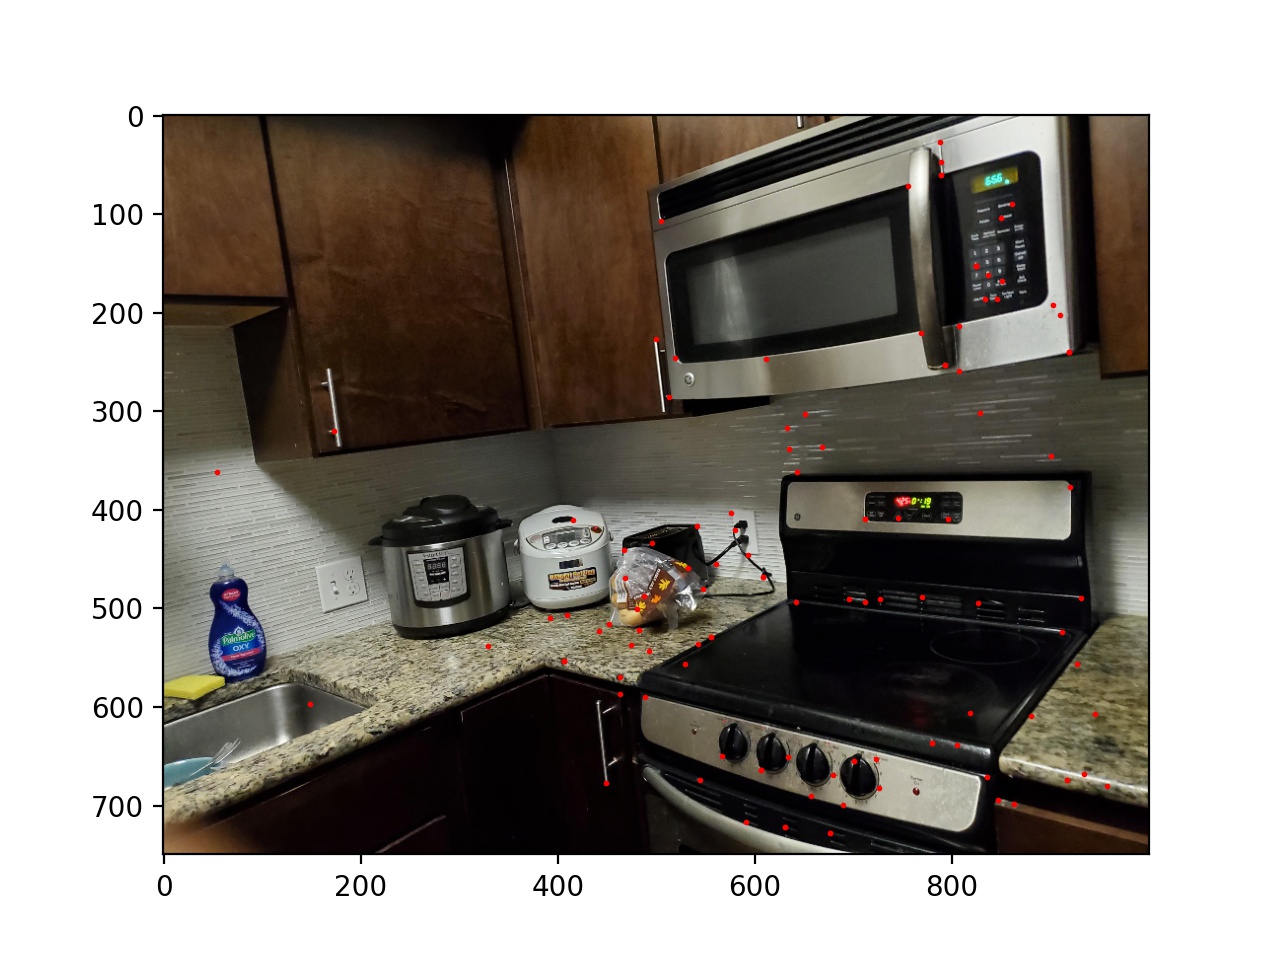
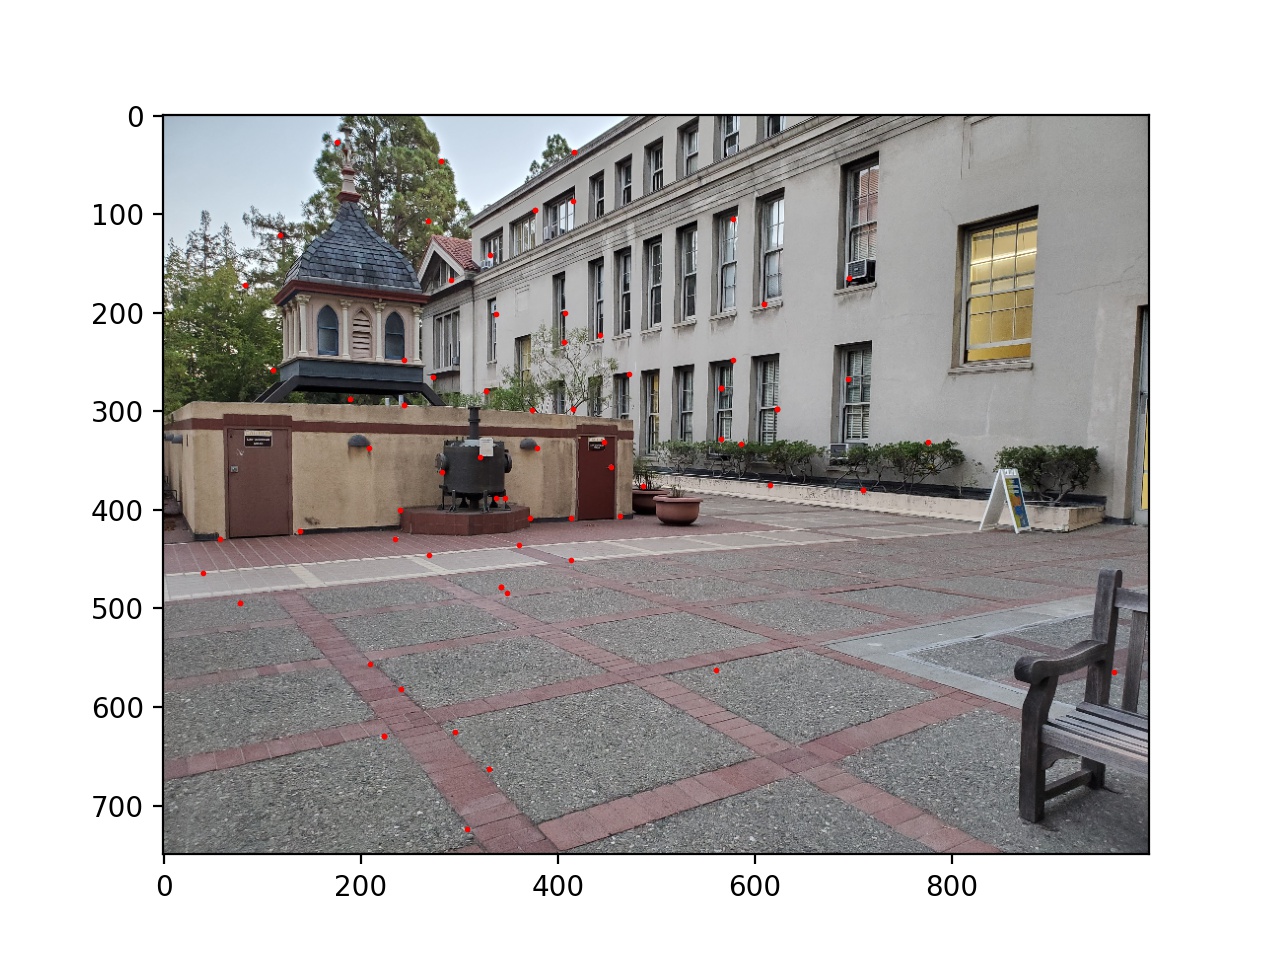
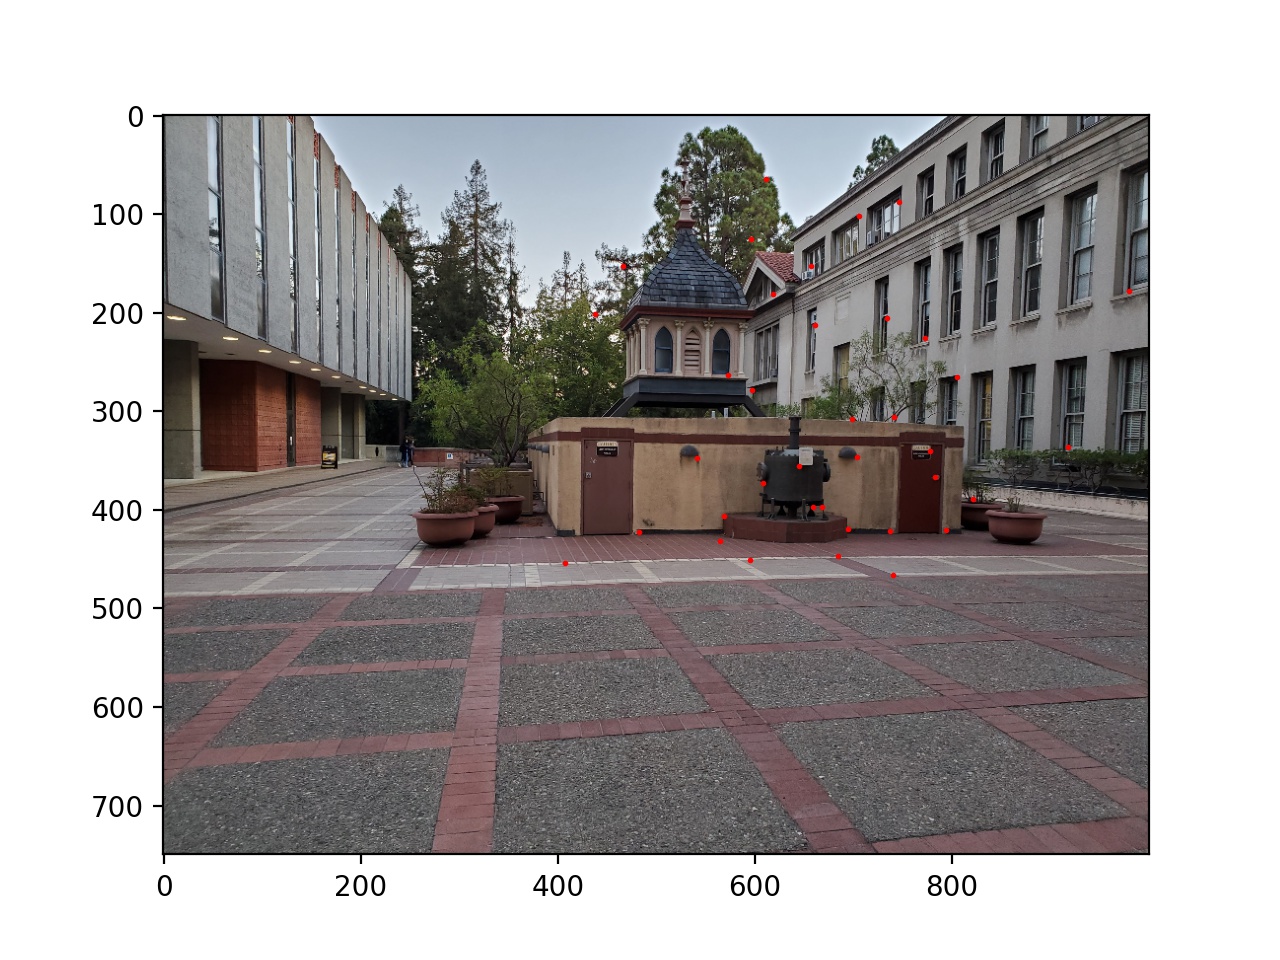
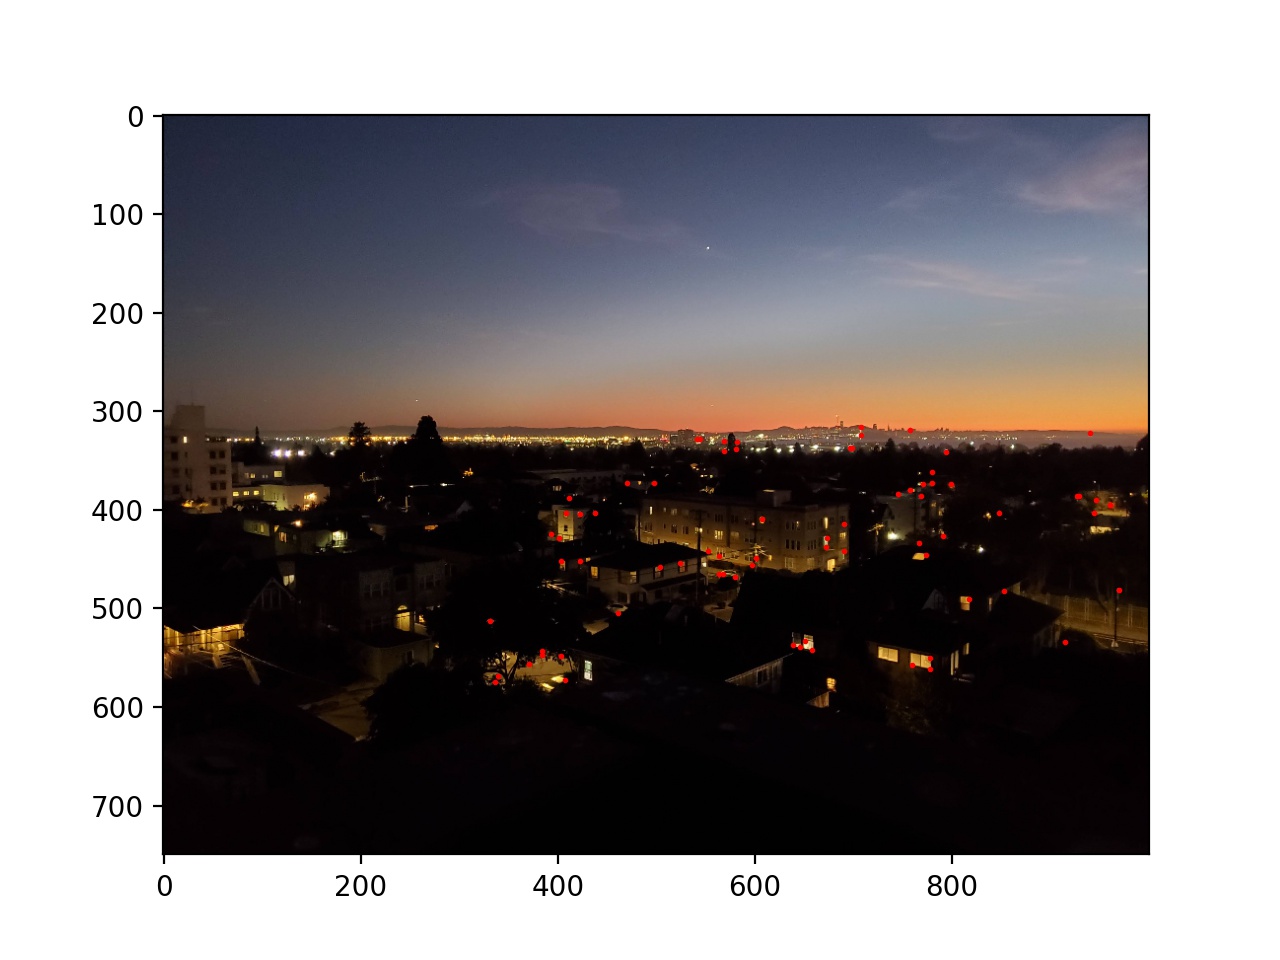
Finally, to get rid of any outliers, I used 1000 iterations of the RANSAC algorithm. For each iteration, I select 4 pairs of matching interest points at random, compute the transform between them, and create a set of inliers such that SSD(p'_i, Hp_i) < 10. I then keep the largest such set of inliers and use that as my final set of interest points.
 |
 |
 |
 |
 |
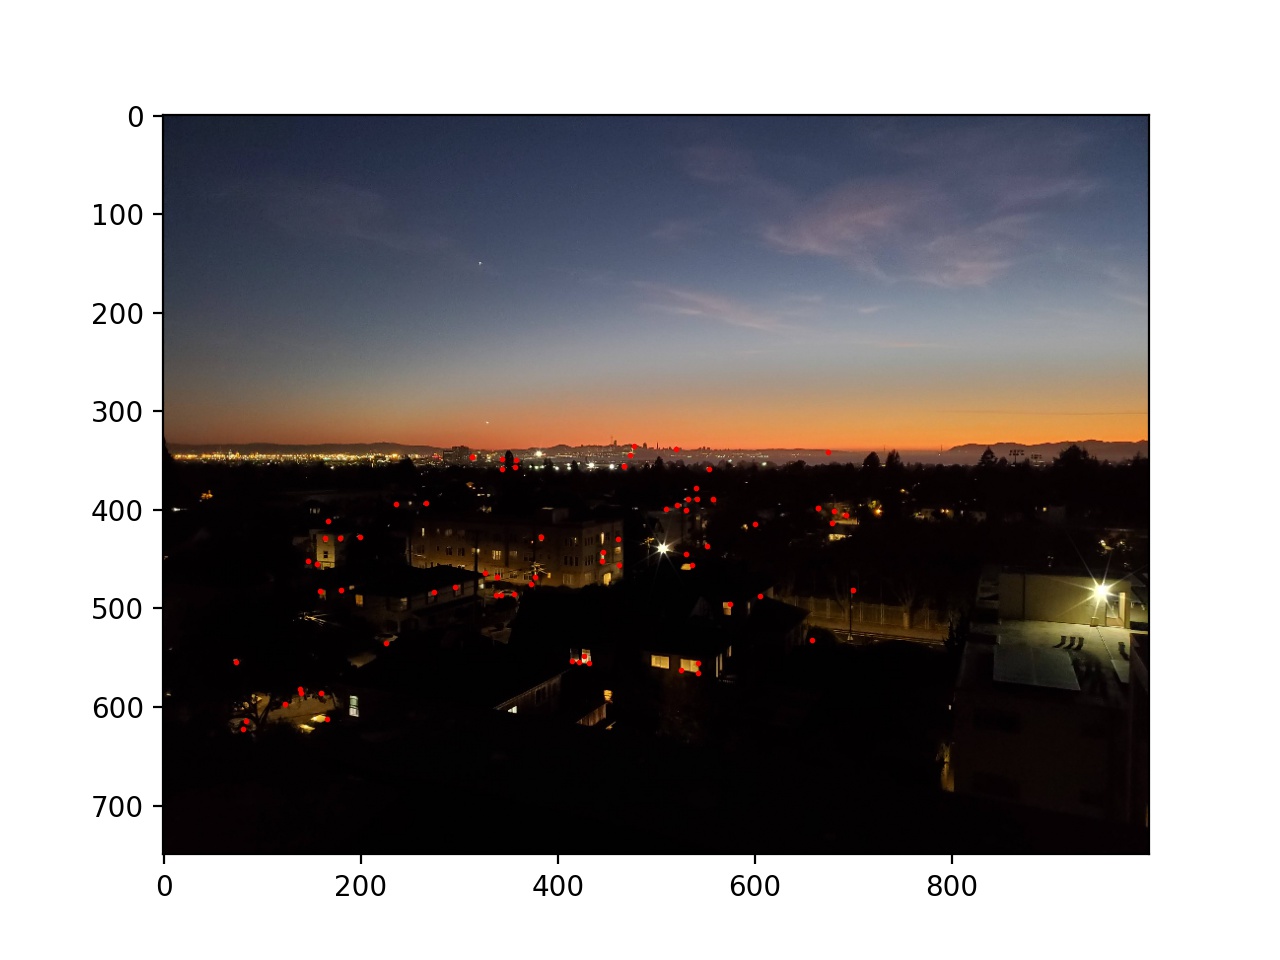 |
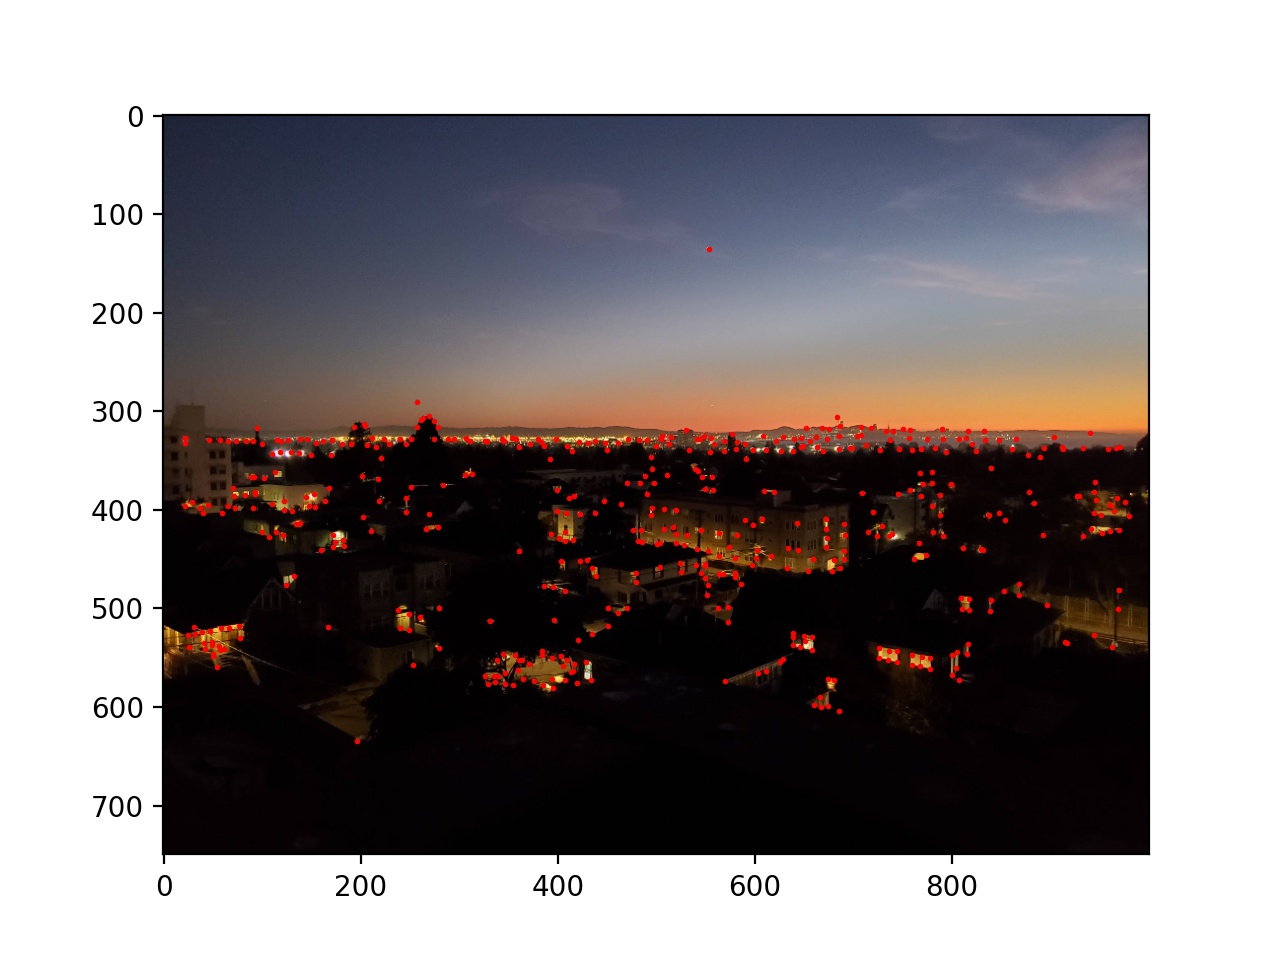
Here are the final images and mosaics created by the automatic feature selection.
|
|
 |
 |
||
|
|
 |
 |
||
|
|
 |
 |
The coolest thing that I learned was RANSAC. It seems so simple, and doesn't take an insanely long time to run, and yet it is still so effective at removing incorrect matches.