In this project, we used perspective transformations to rectify images (see them from a different angle/perspective), and we generated panoramas using these morphed images.
I took three sets of pictures of different scenes to create my three panoramics, and two pictures of planar surfaces for the image rectification section.
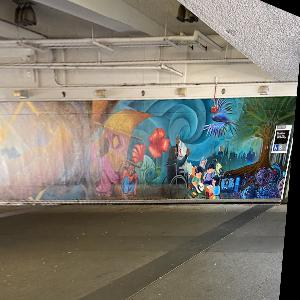
Planar surface images
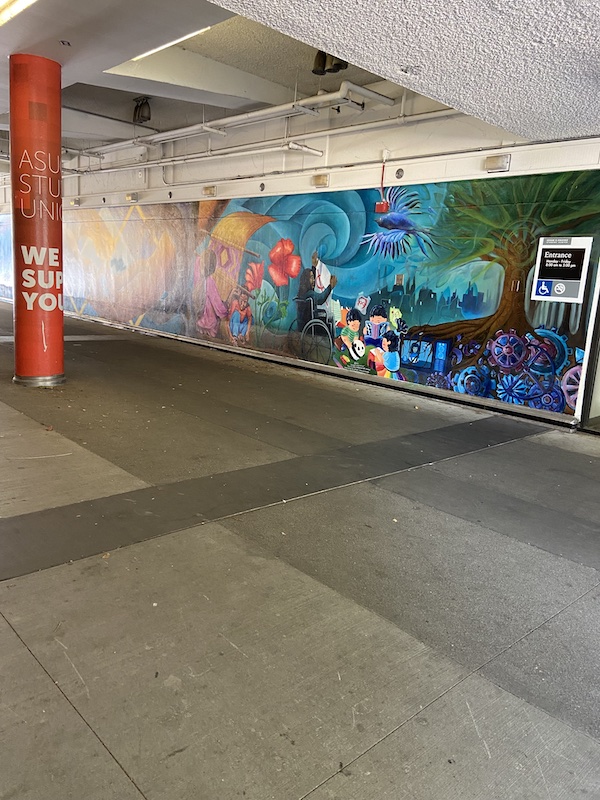
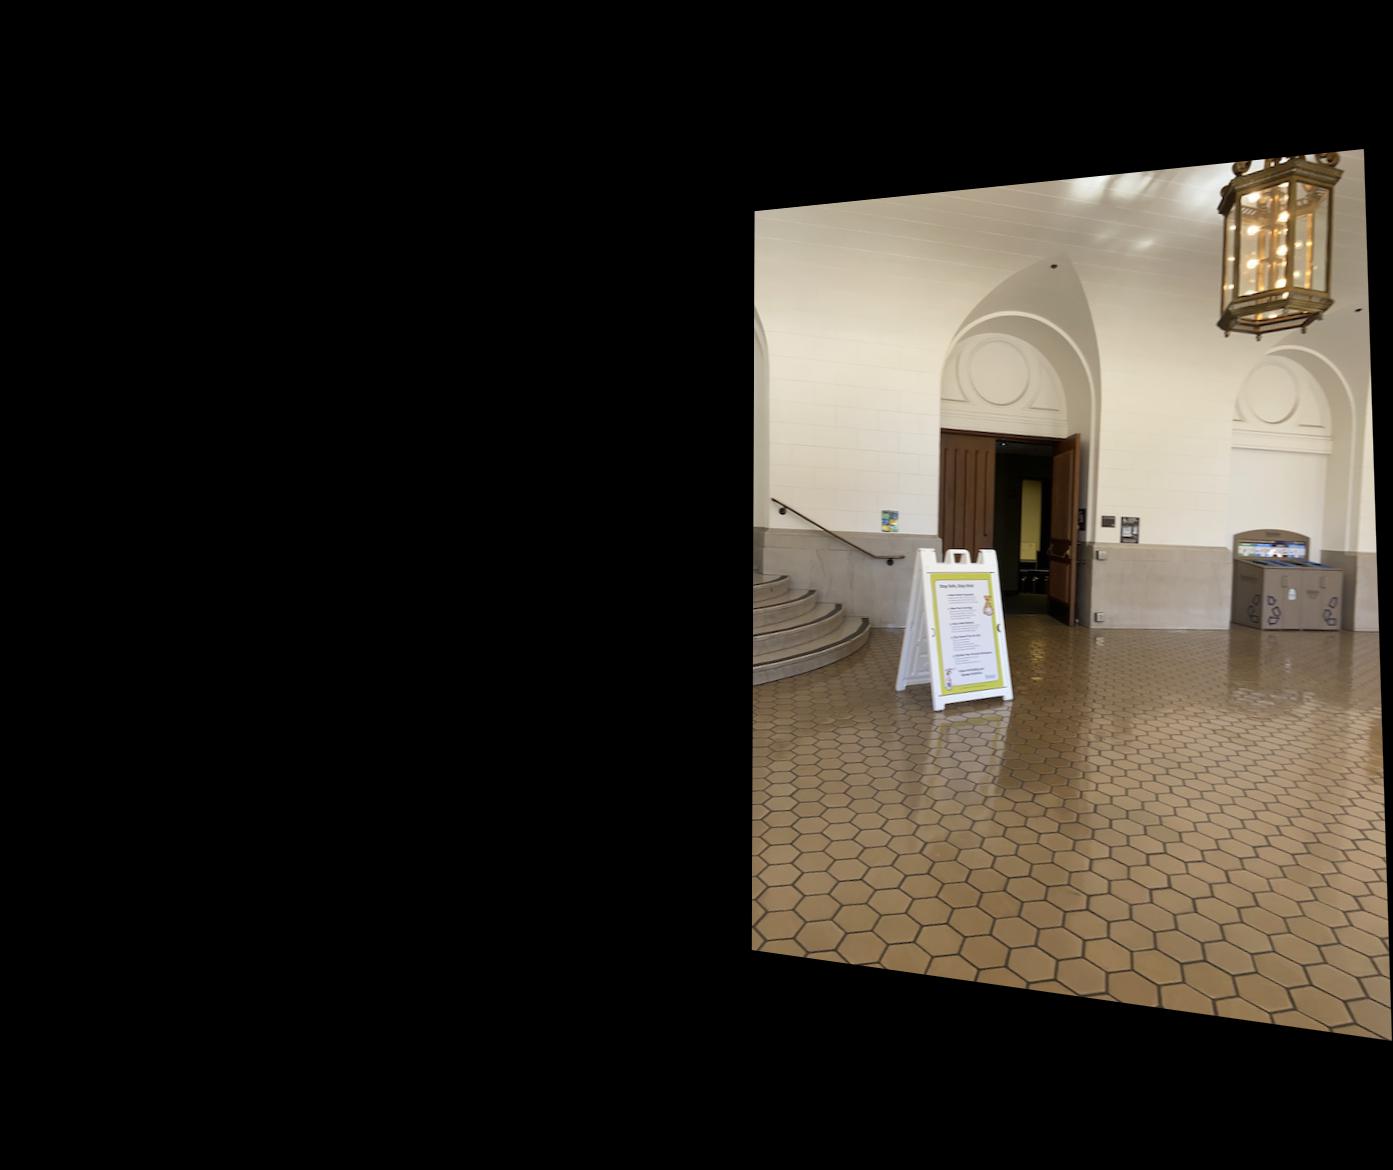
The first image is an image of a wall I found on campus! The wall is the planar surface.
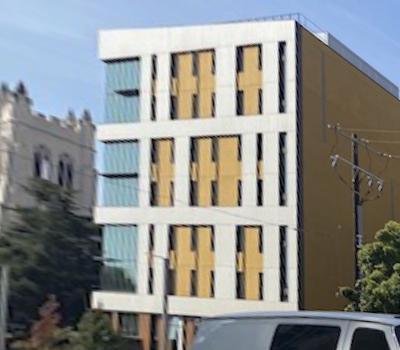
The second image is a picture of Blackwell hall. The side of the building is the planar surface.


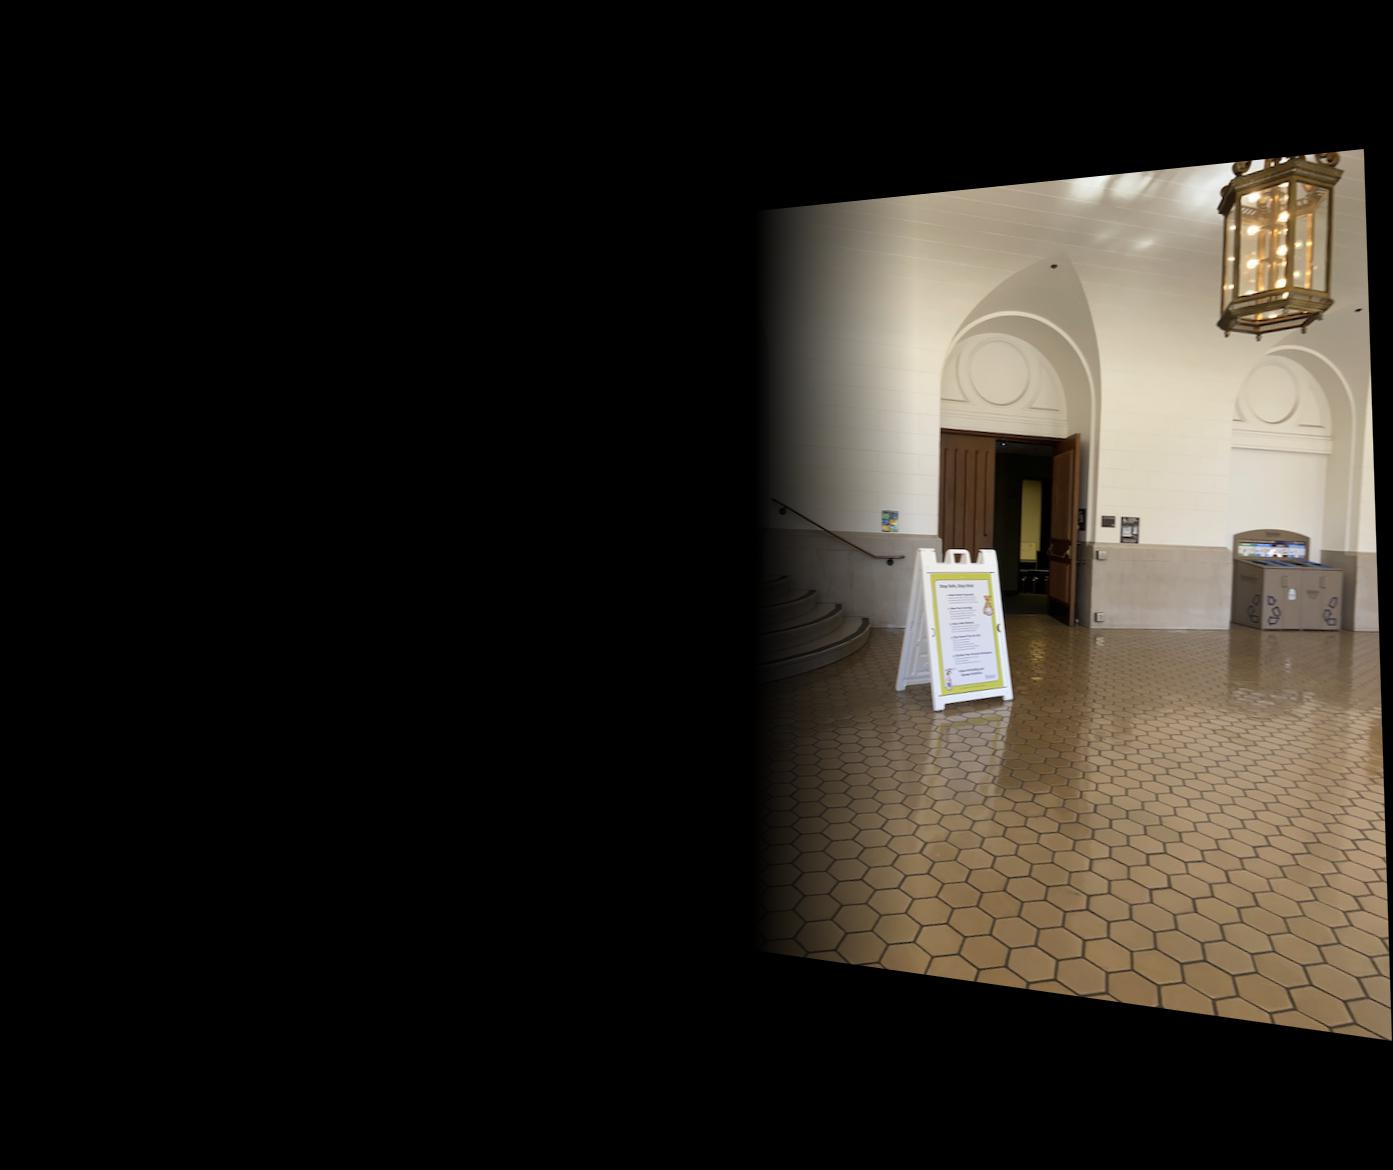
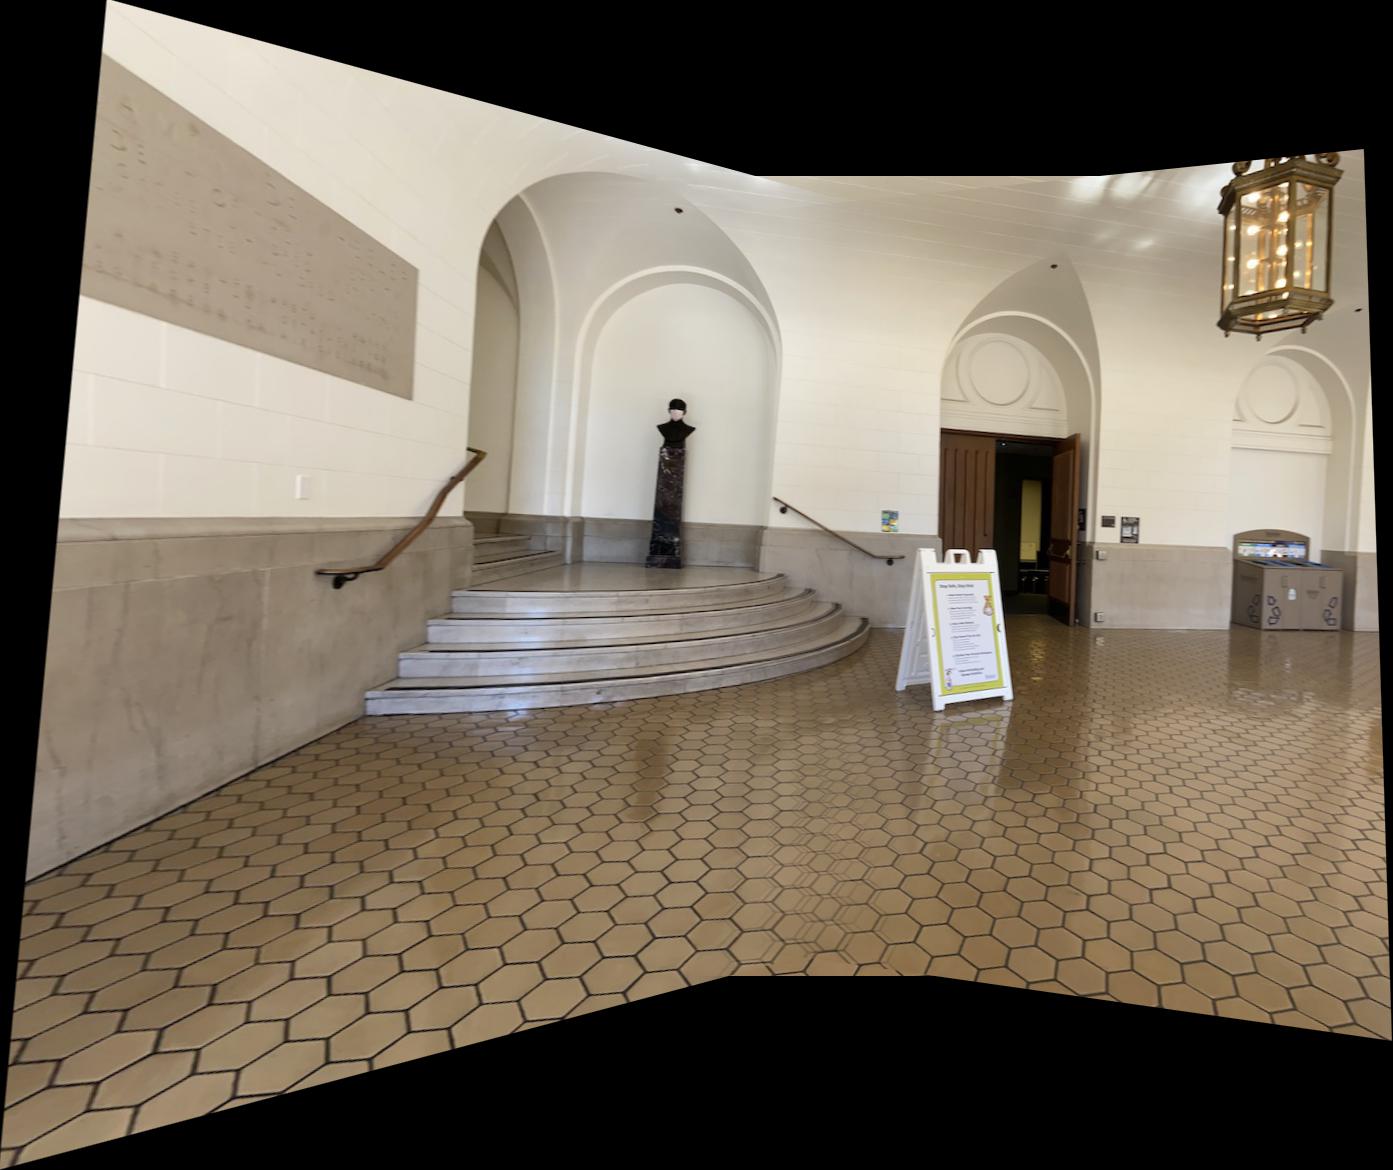
For each panorama, I selected the correspondences between each image and the "central" image. These are shown below.
Wheeler hall: (the right images show the central image, and the left images show the two side images)


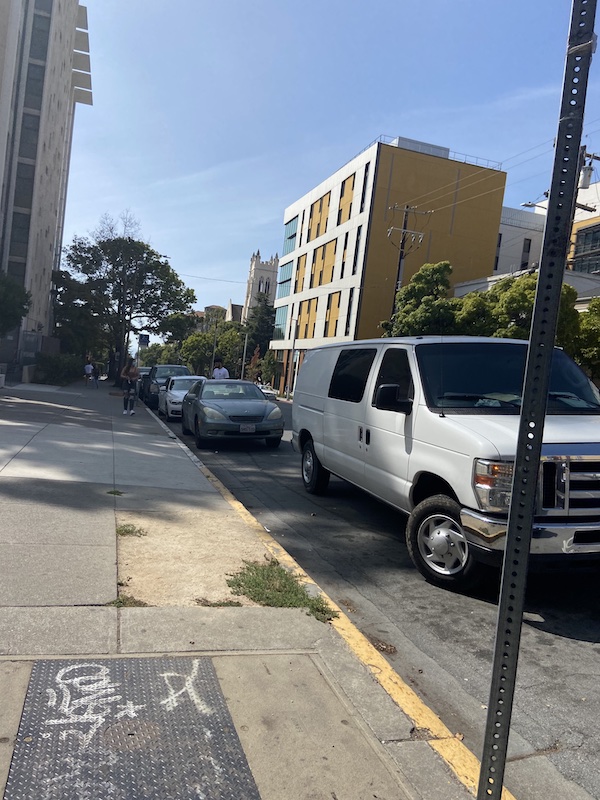
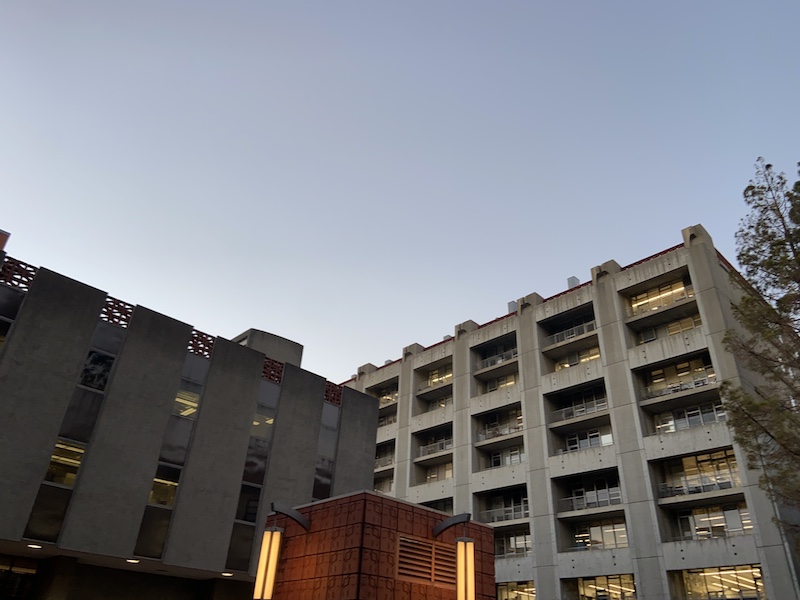
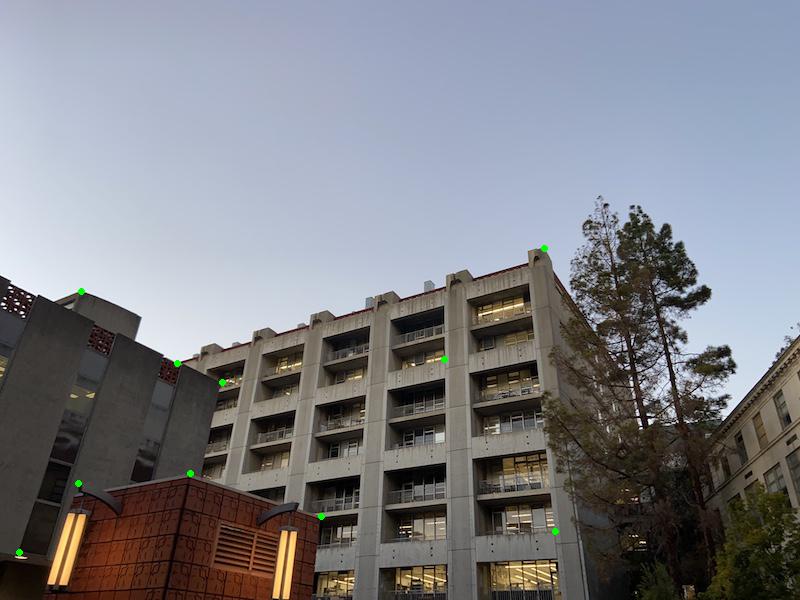
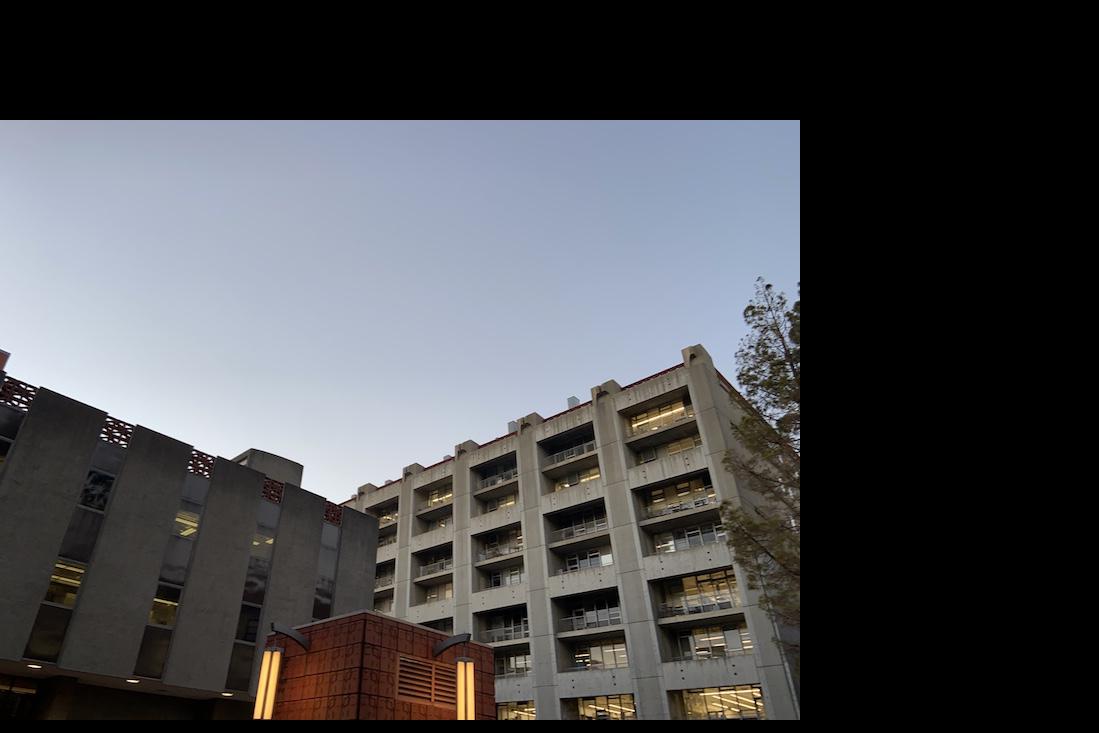
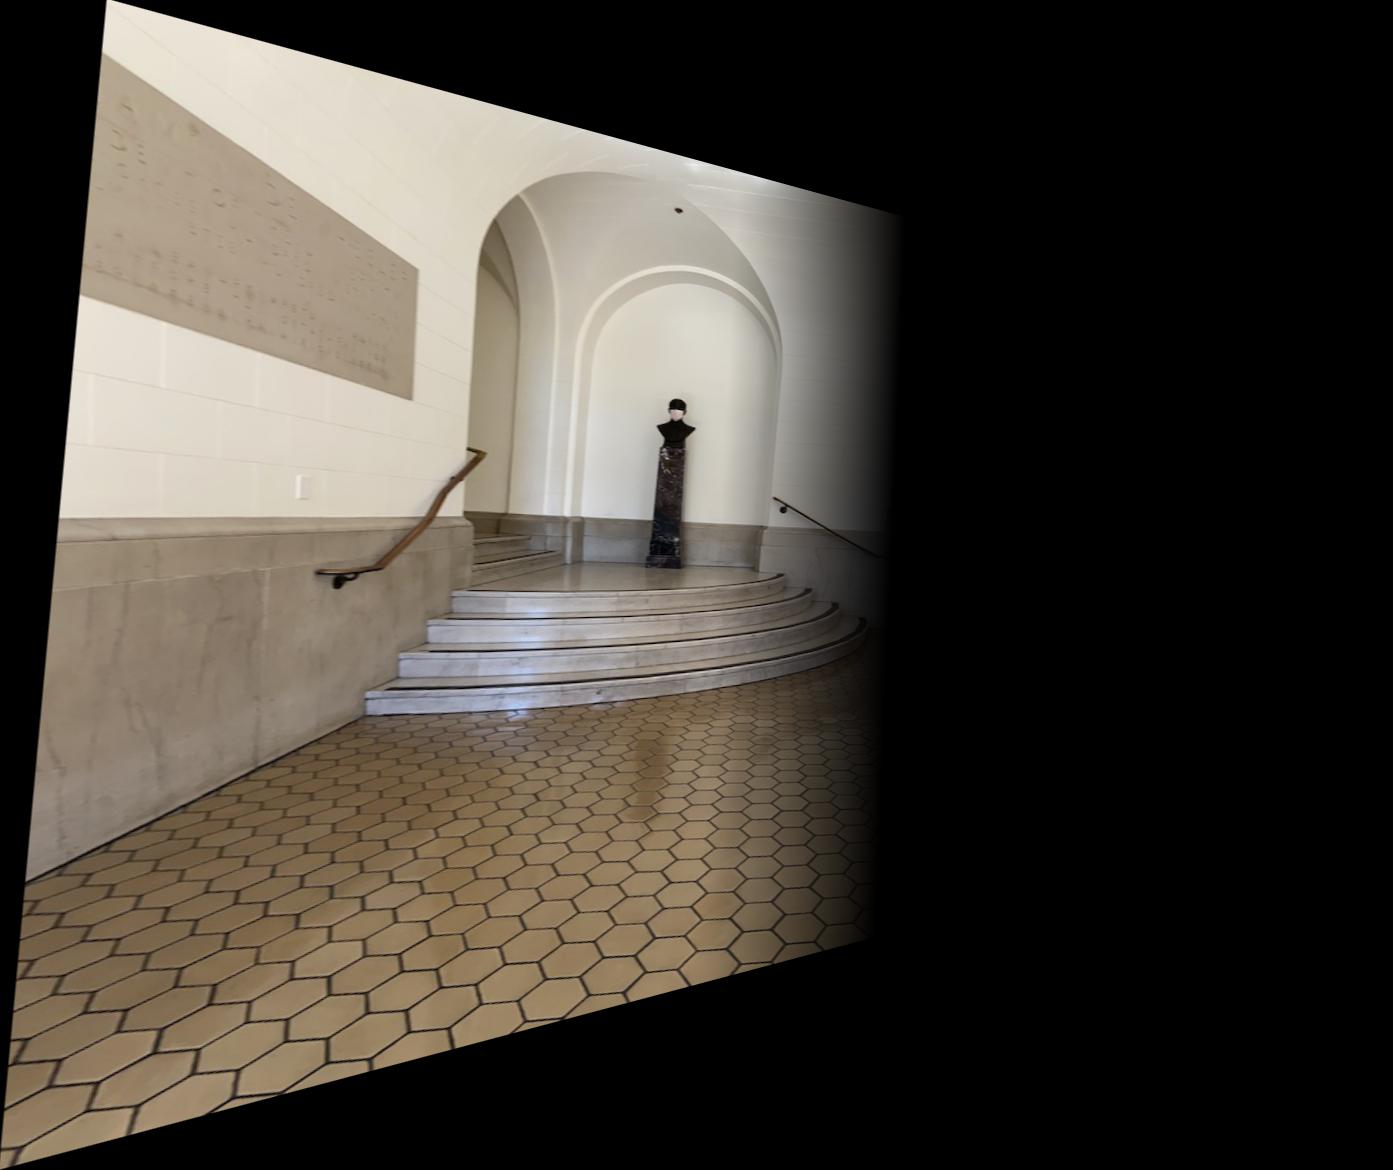
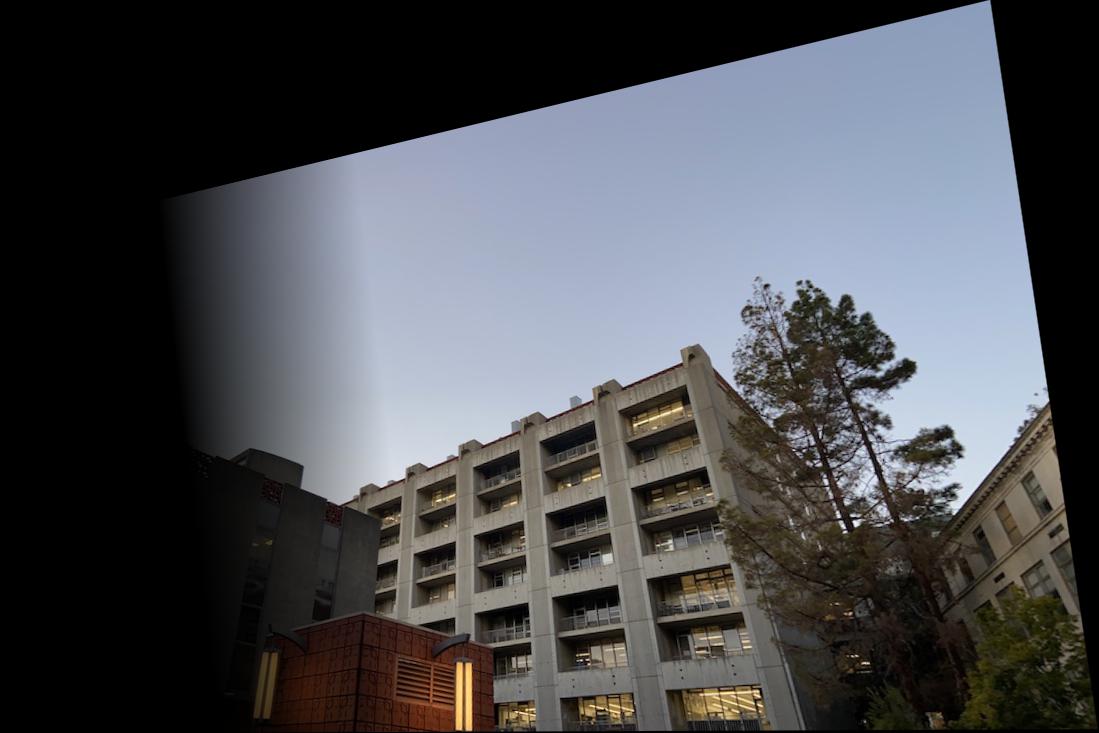
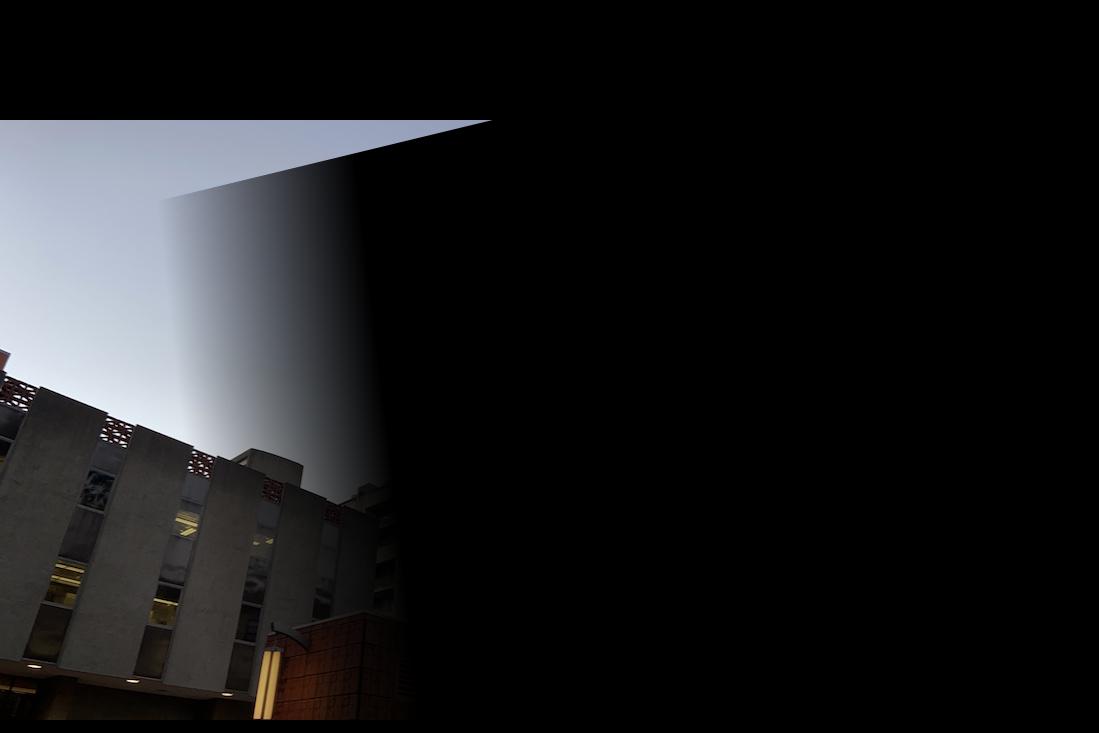
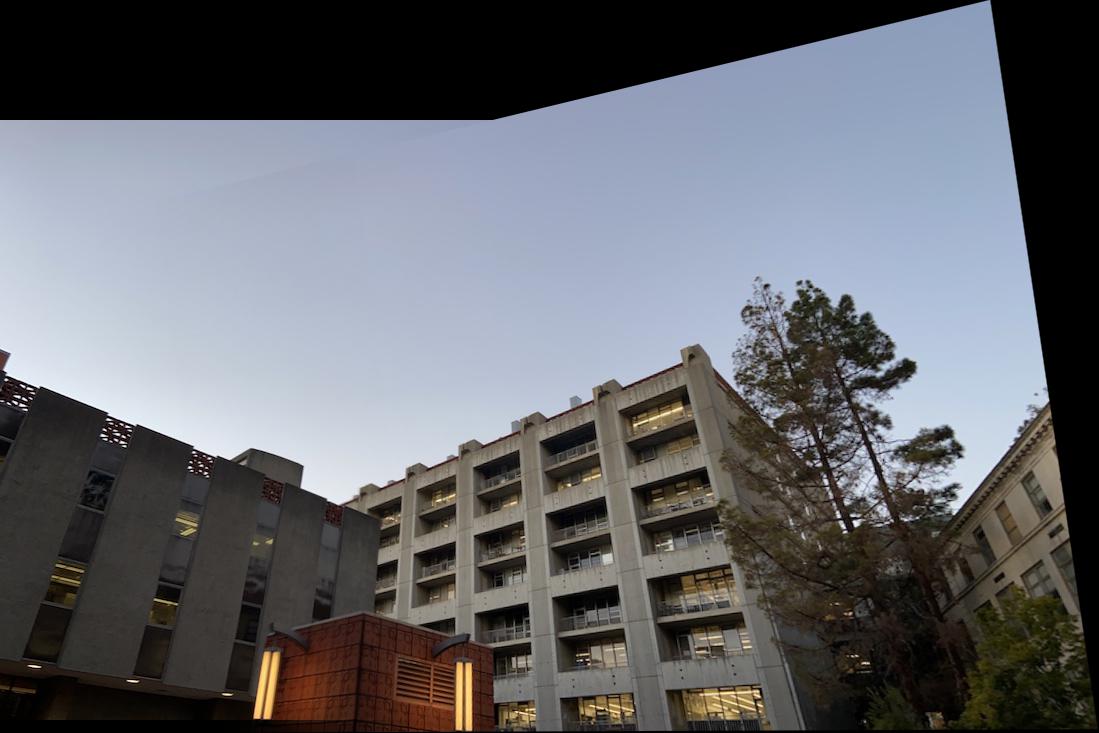
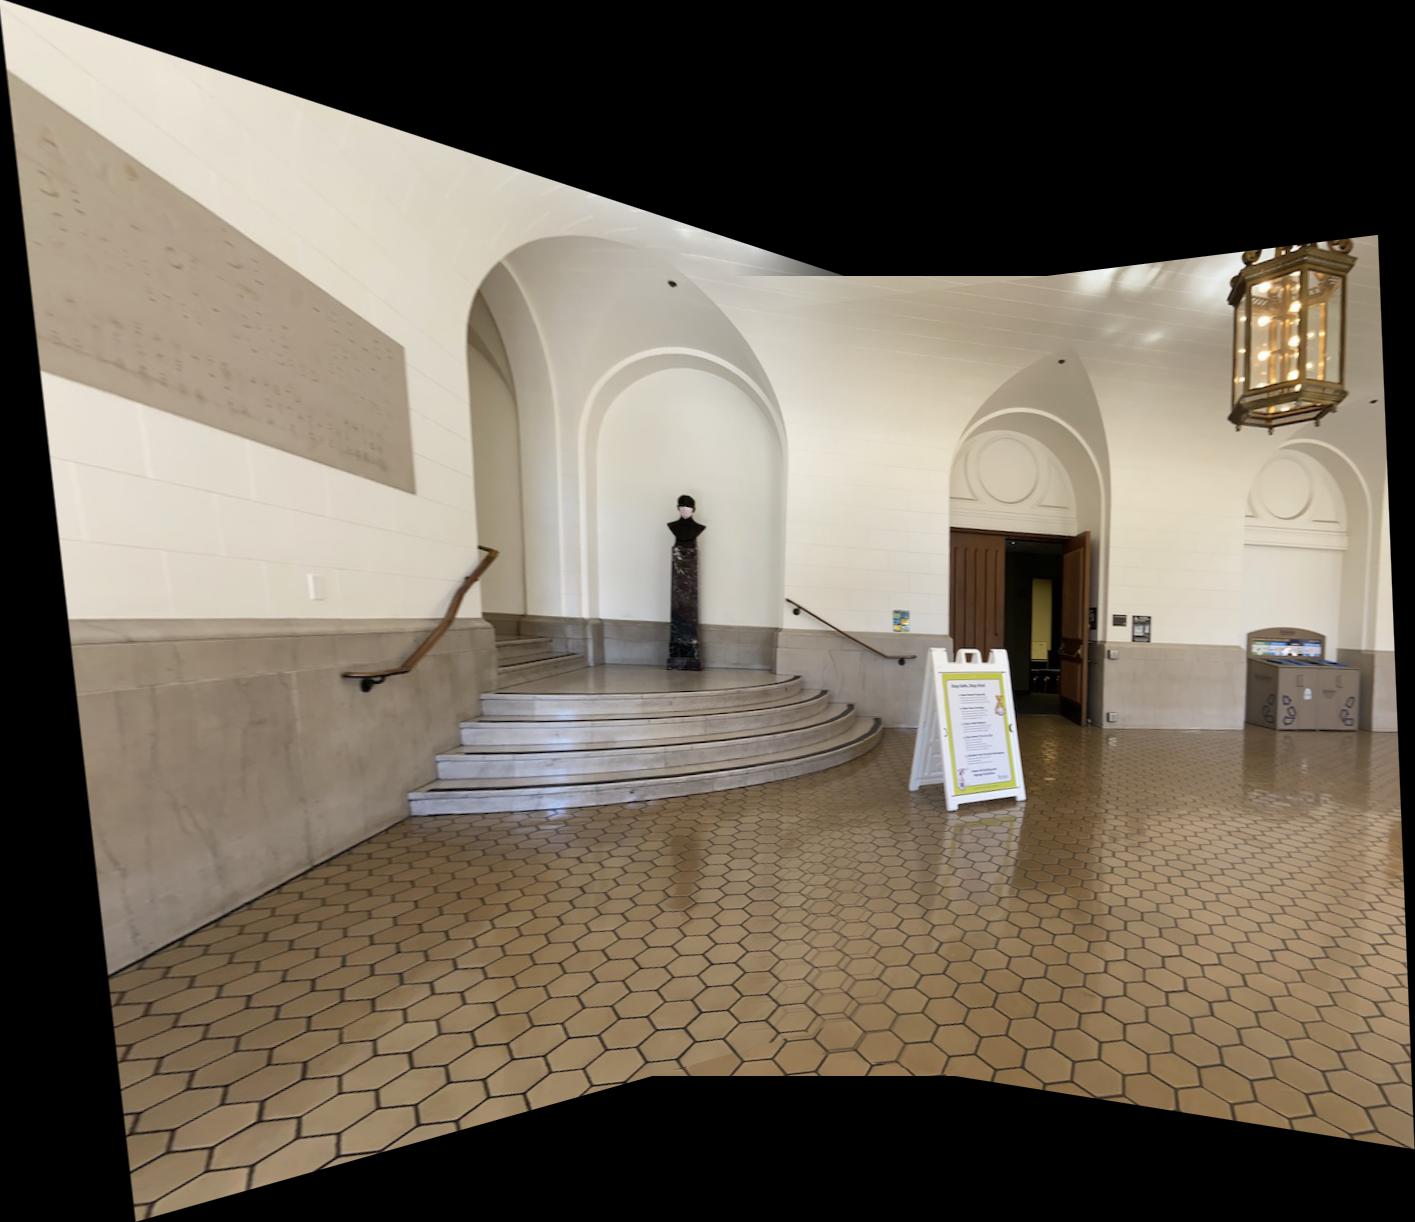
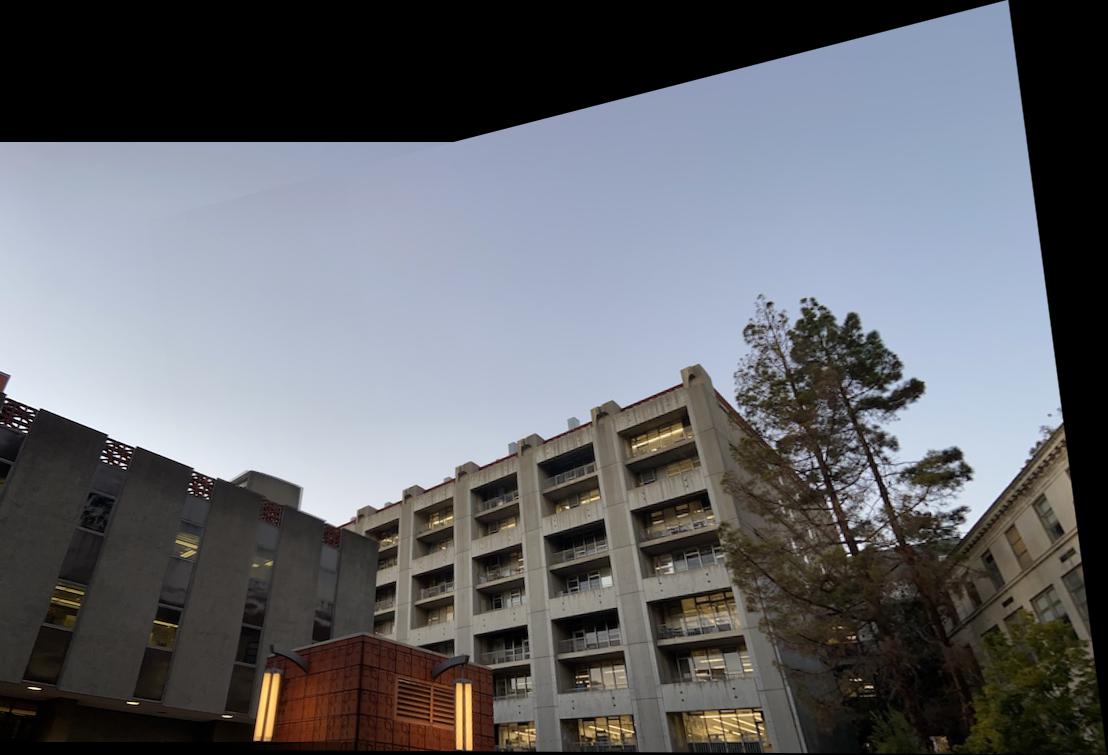
Random building (the left image is the "central" image)

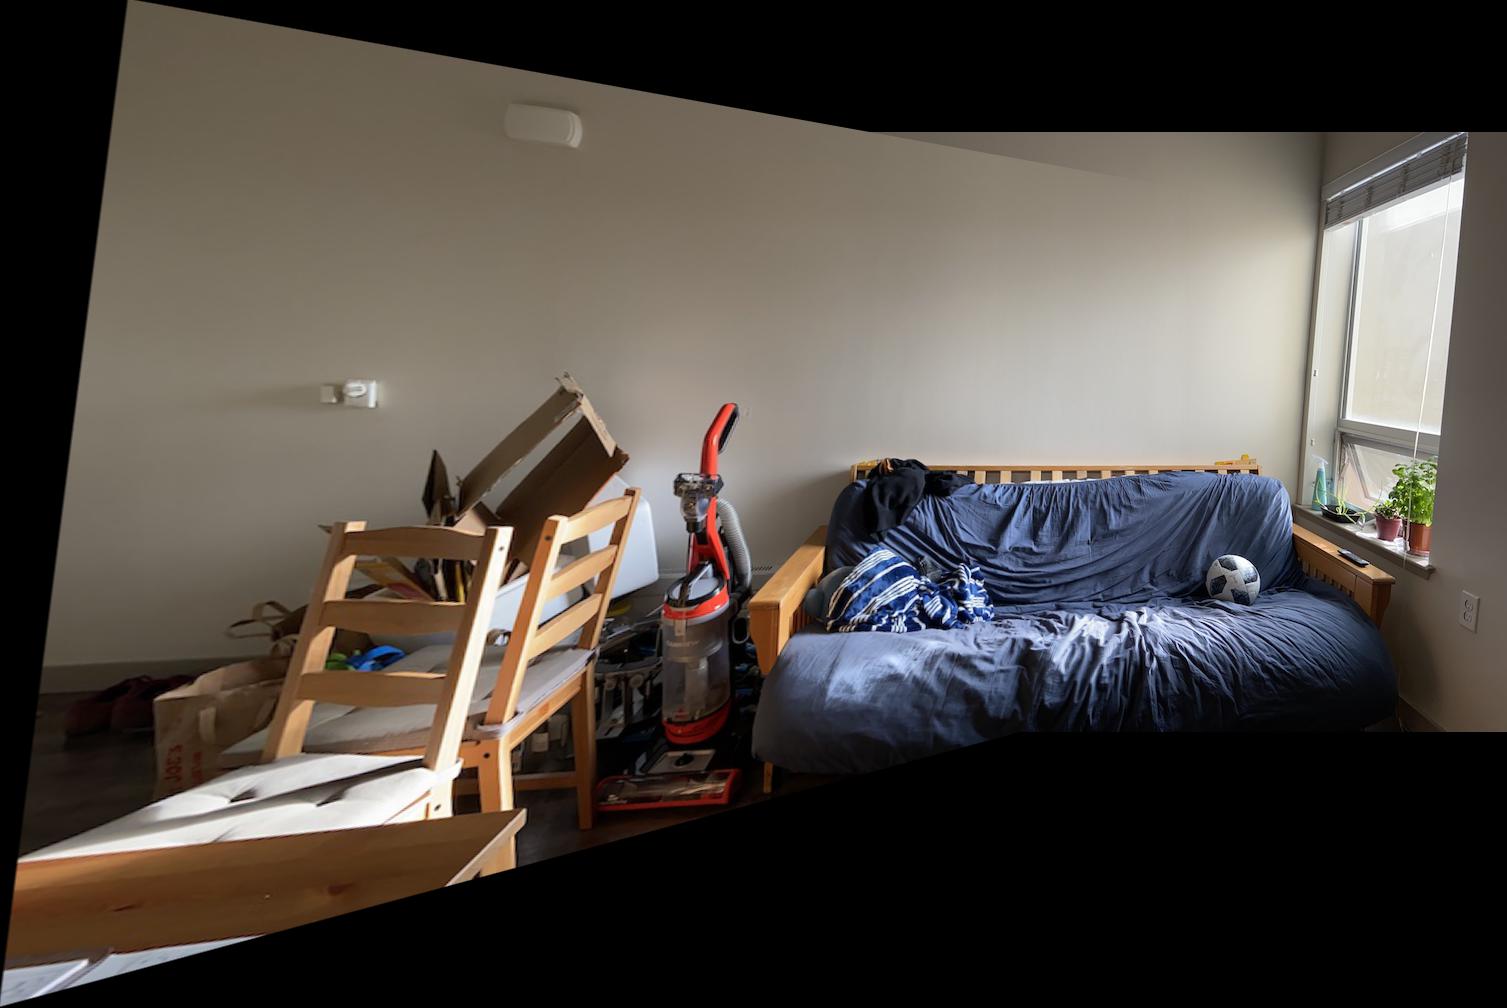
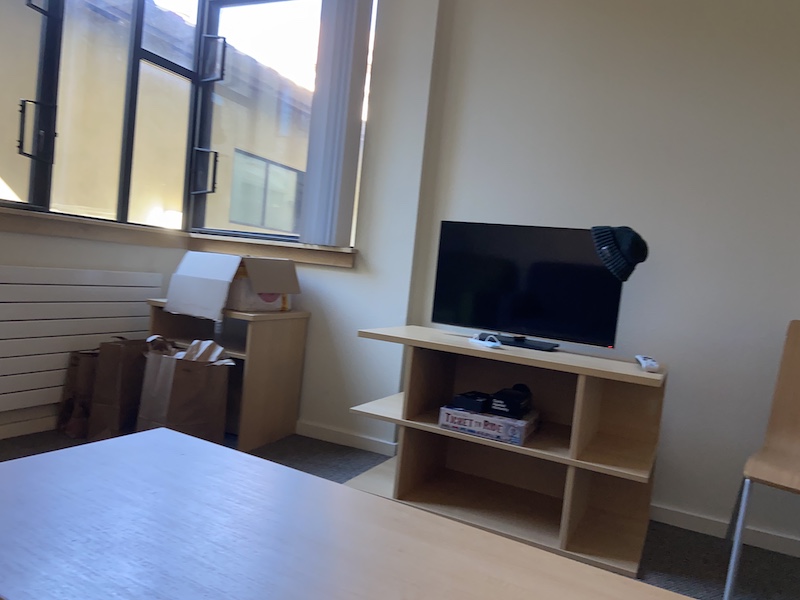
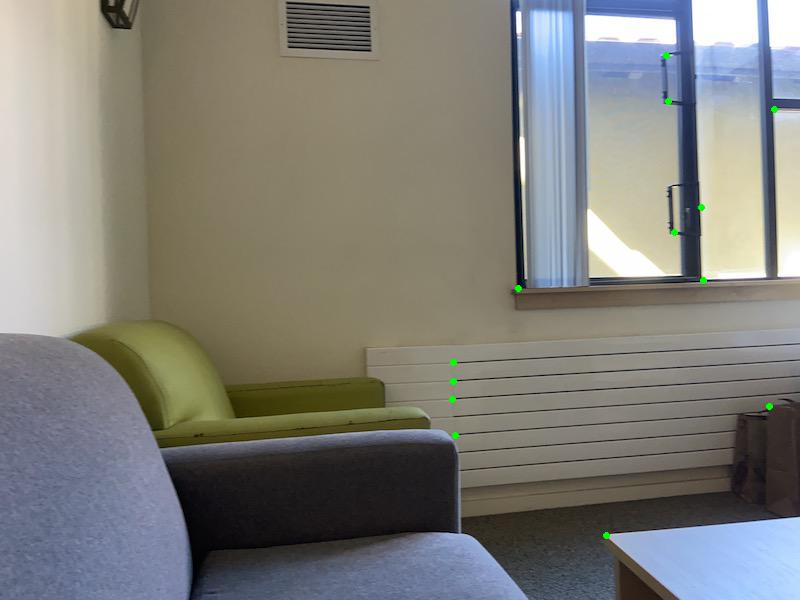
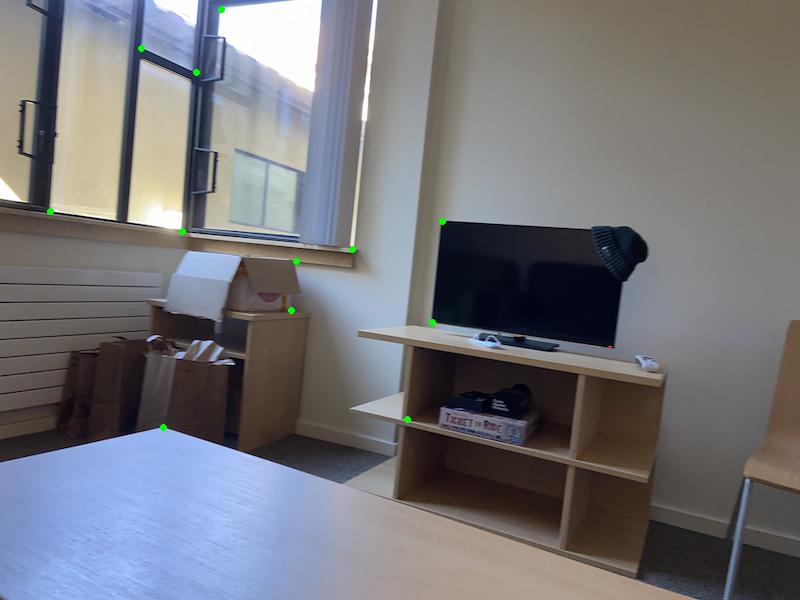
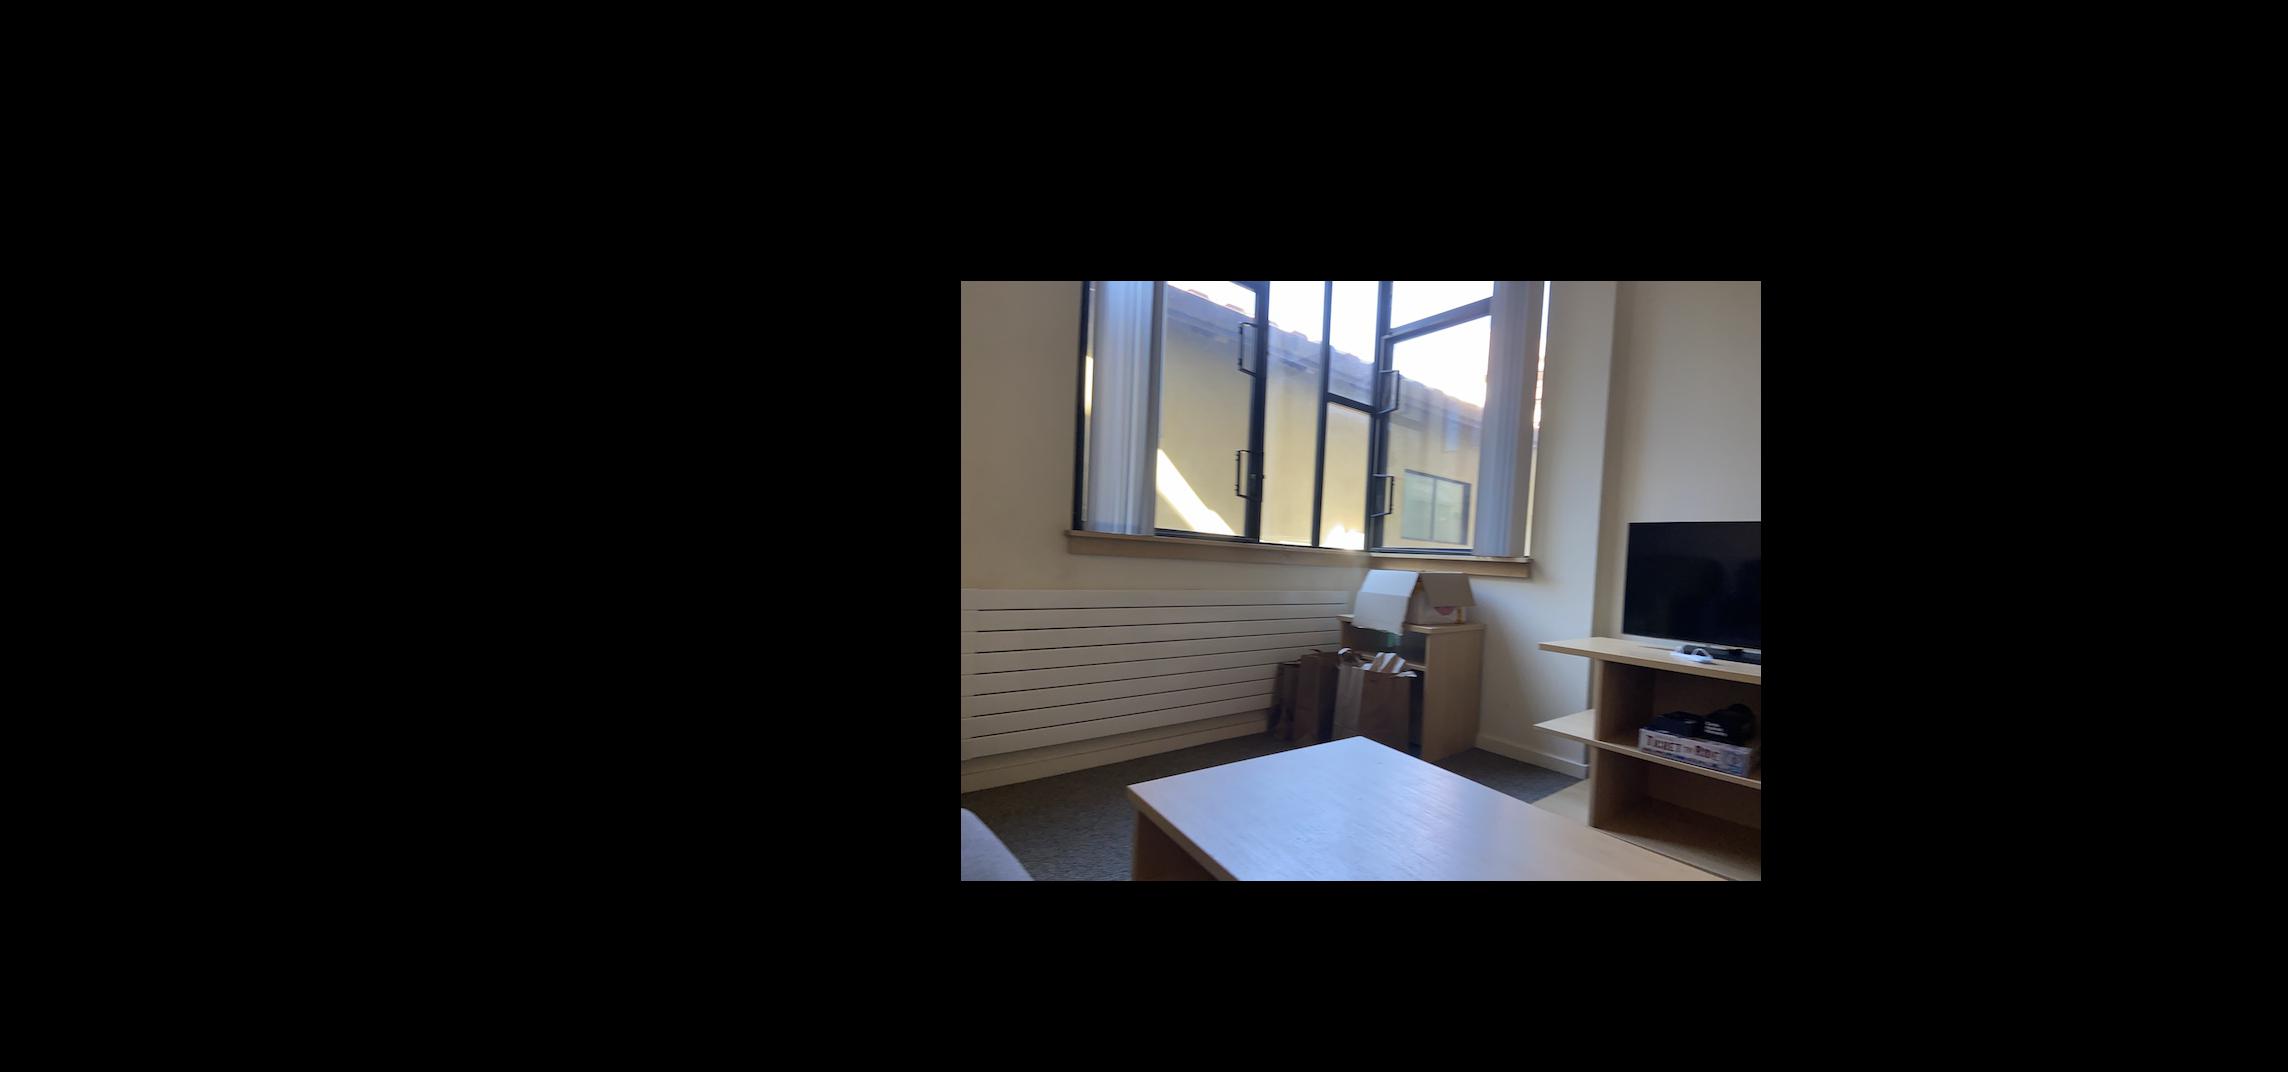
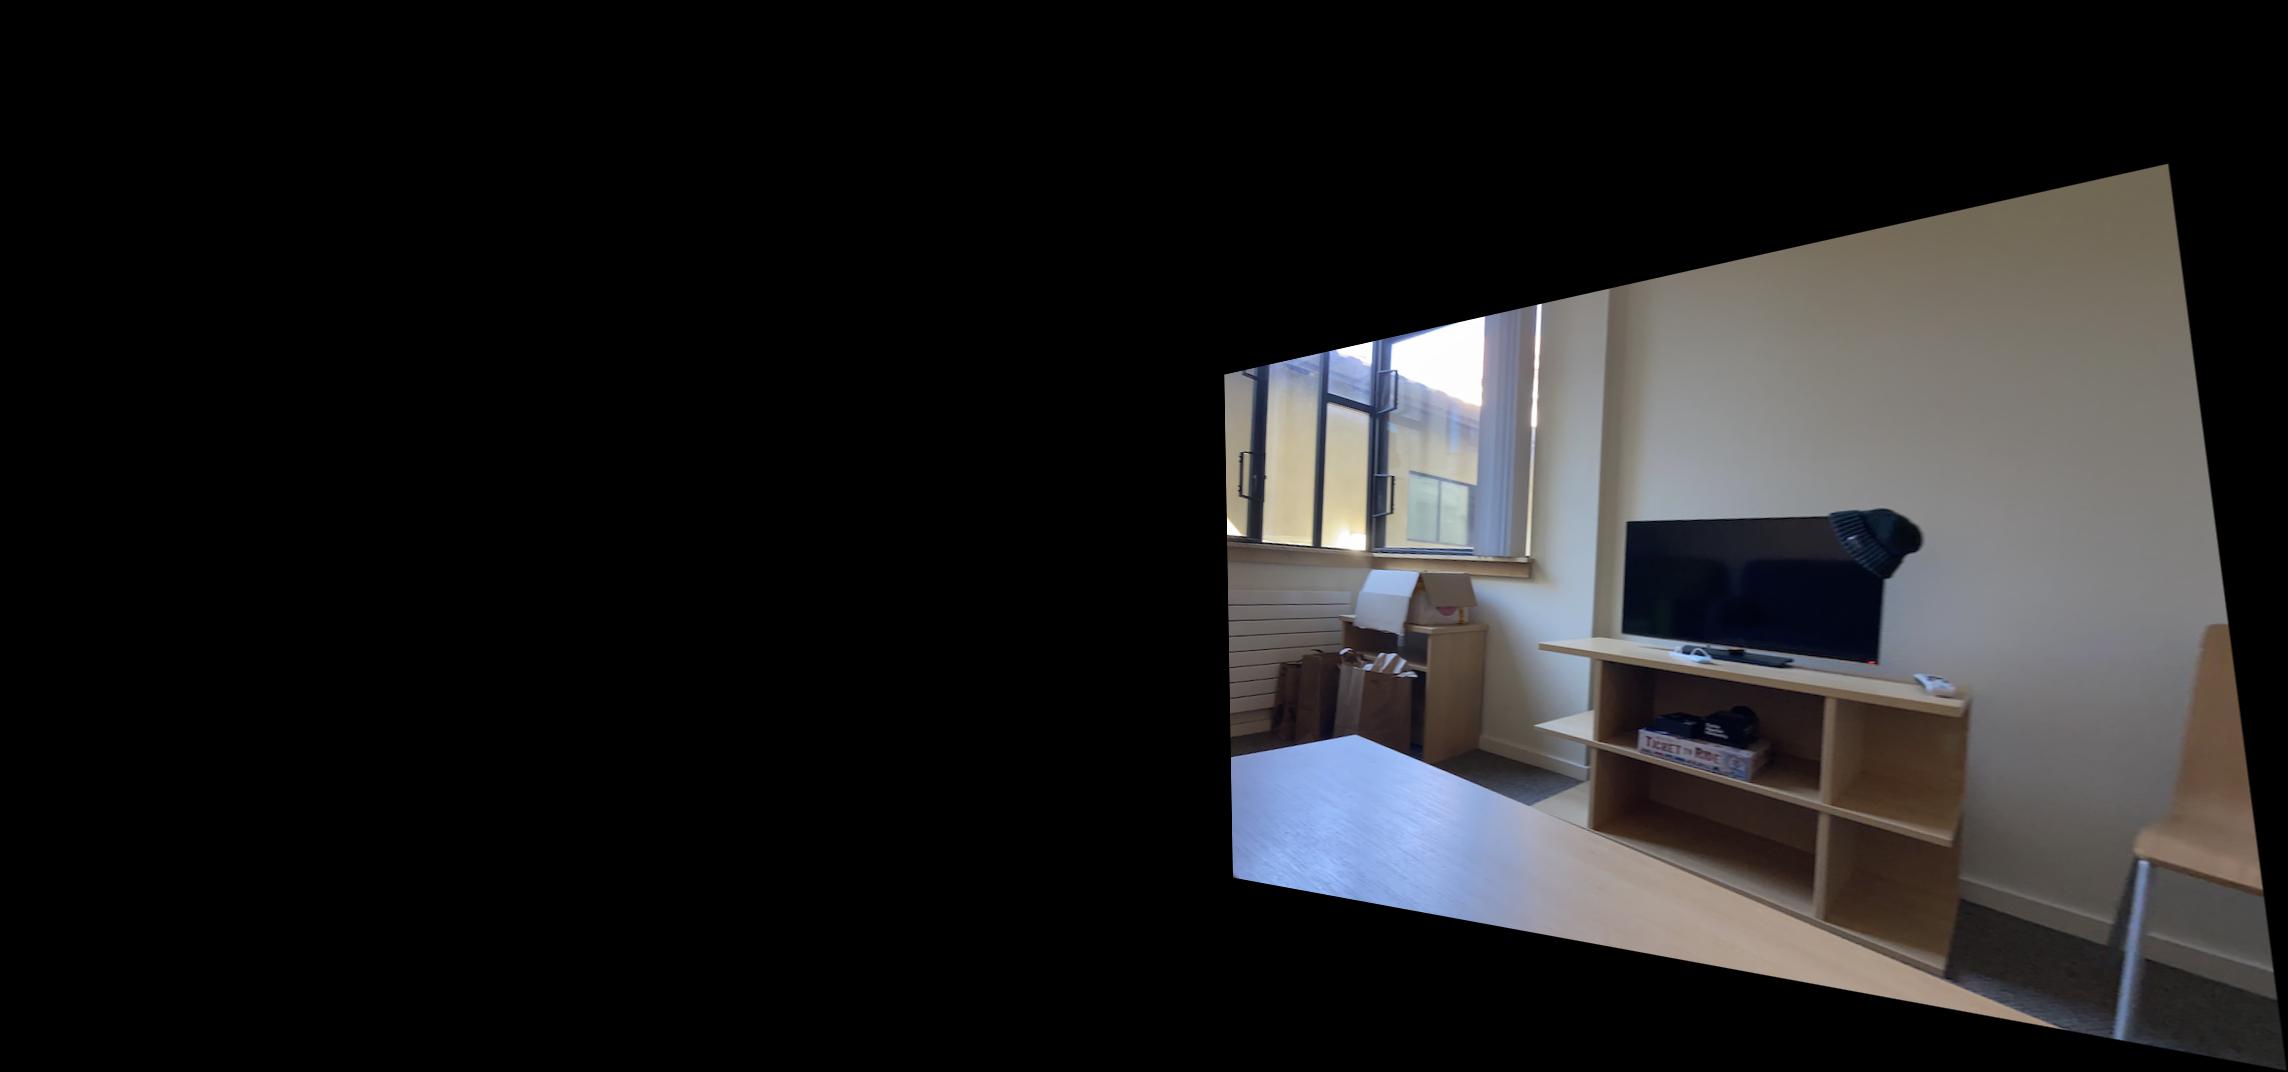
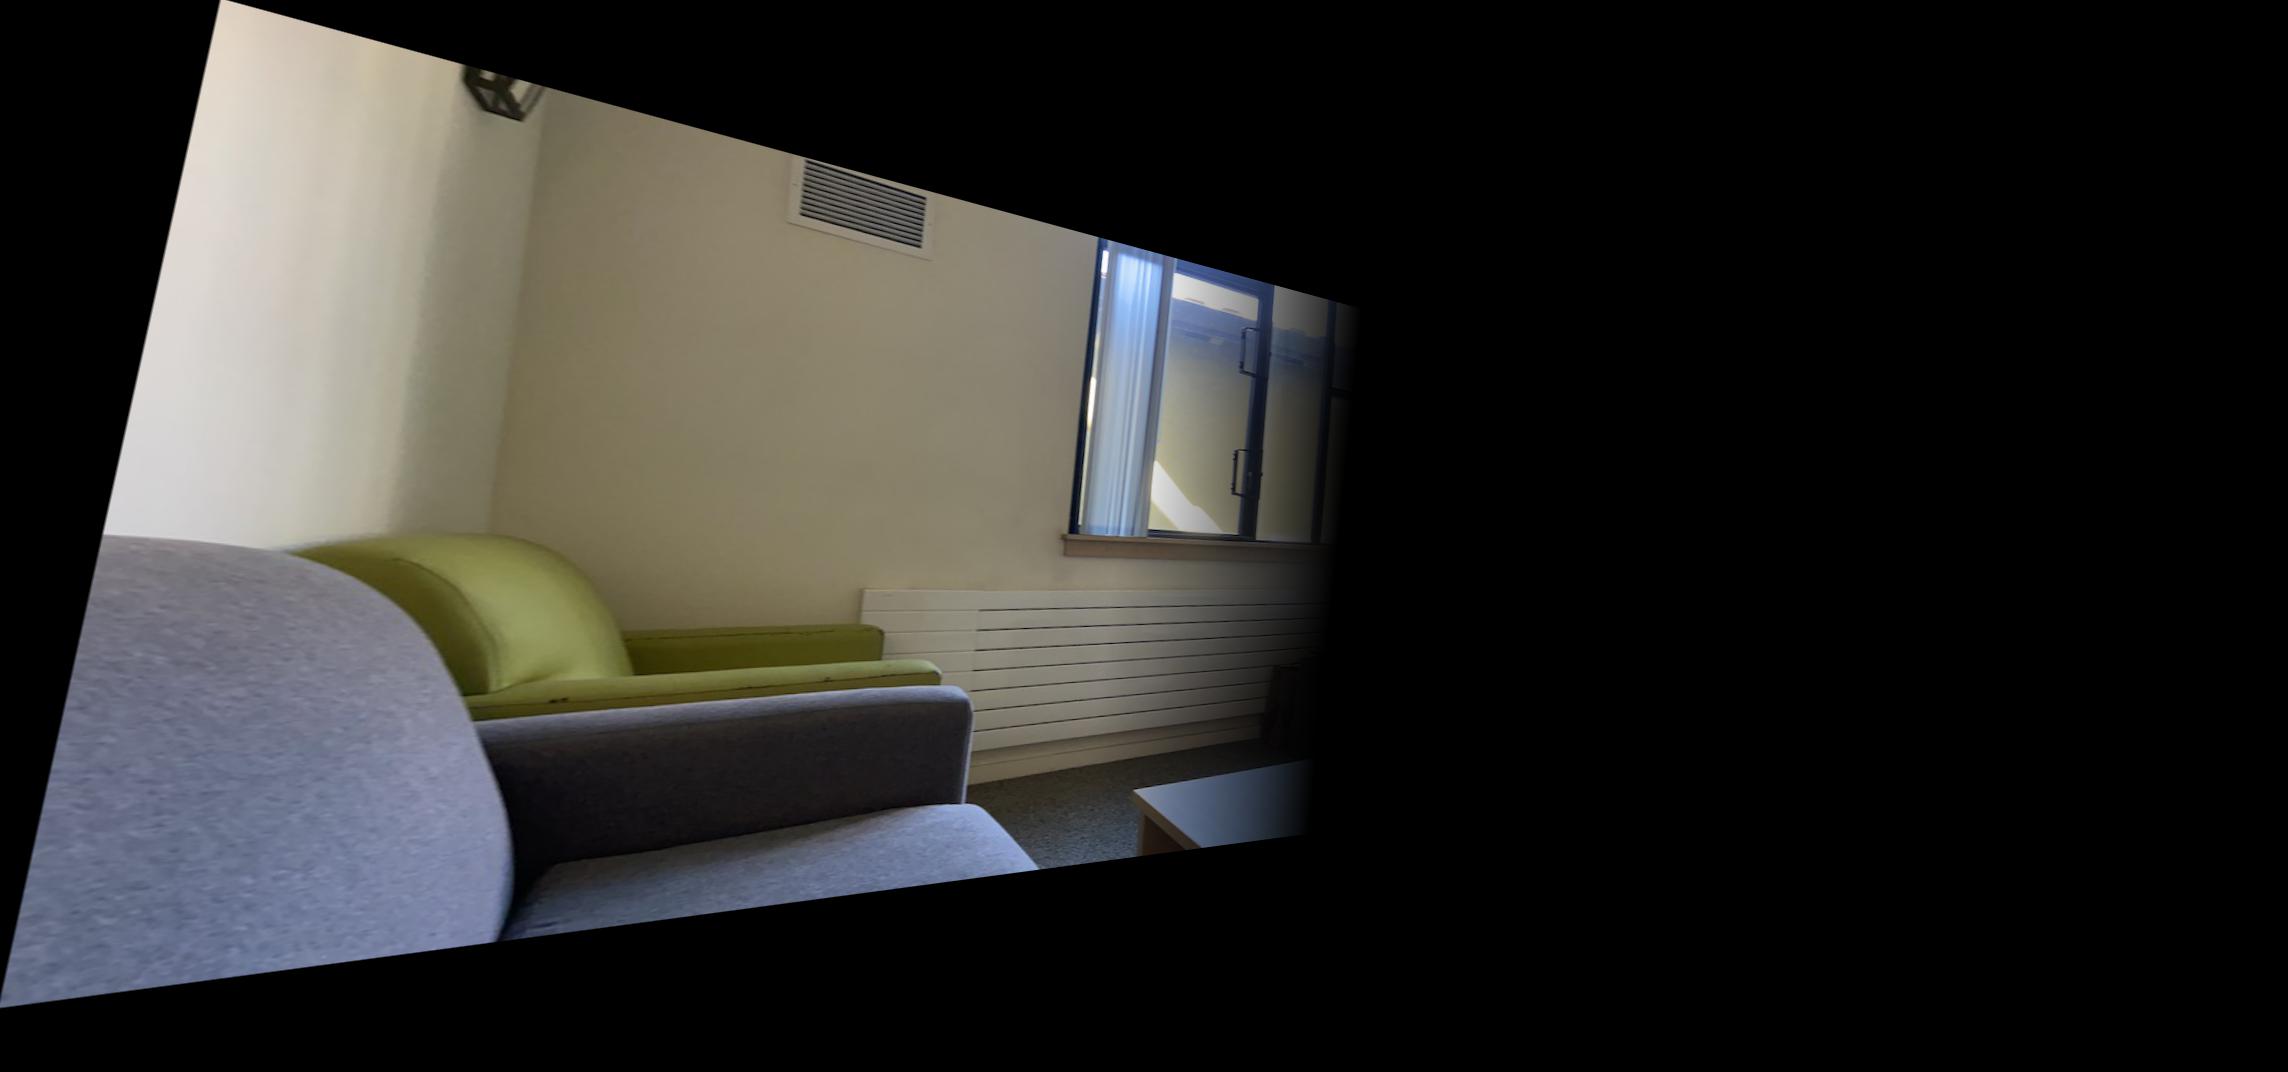
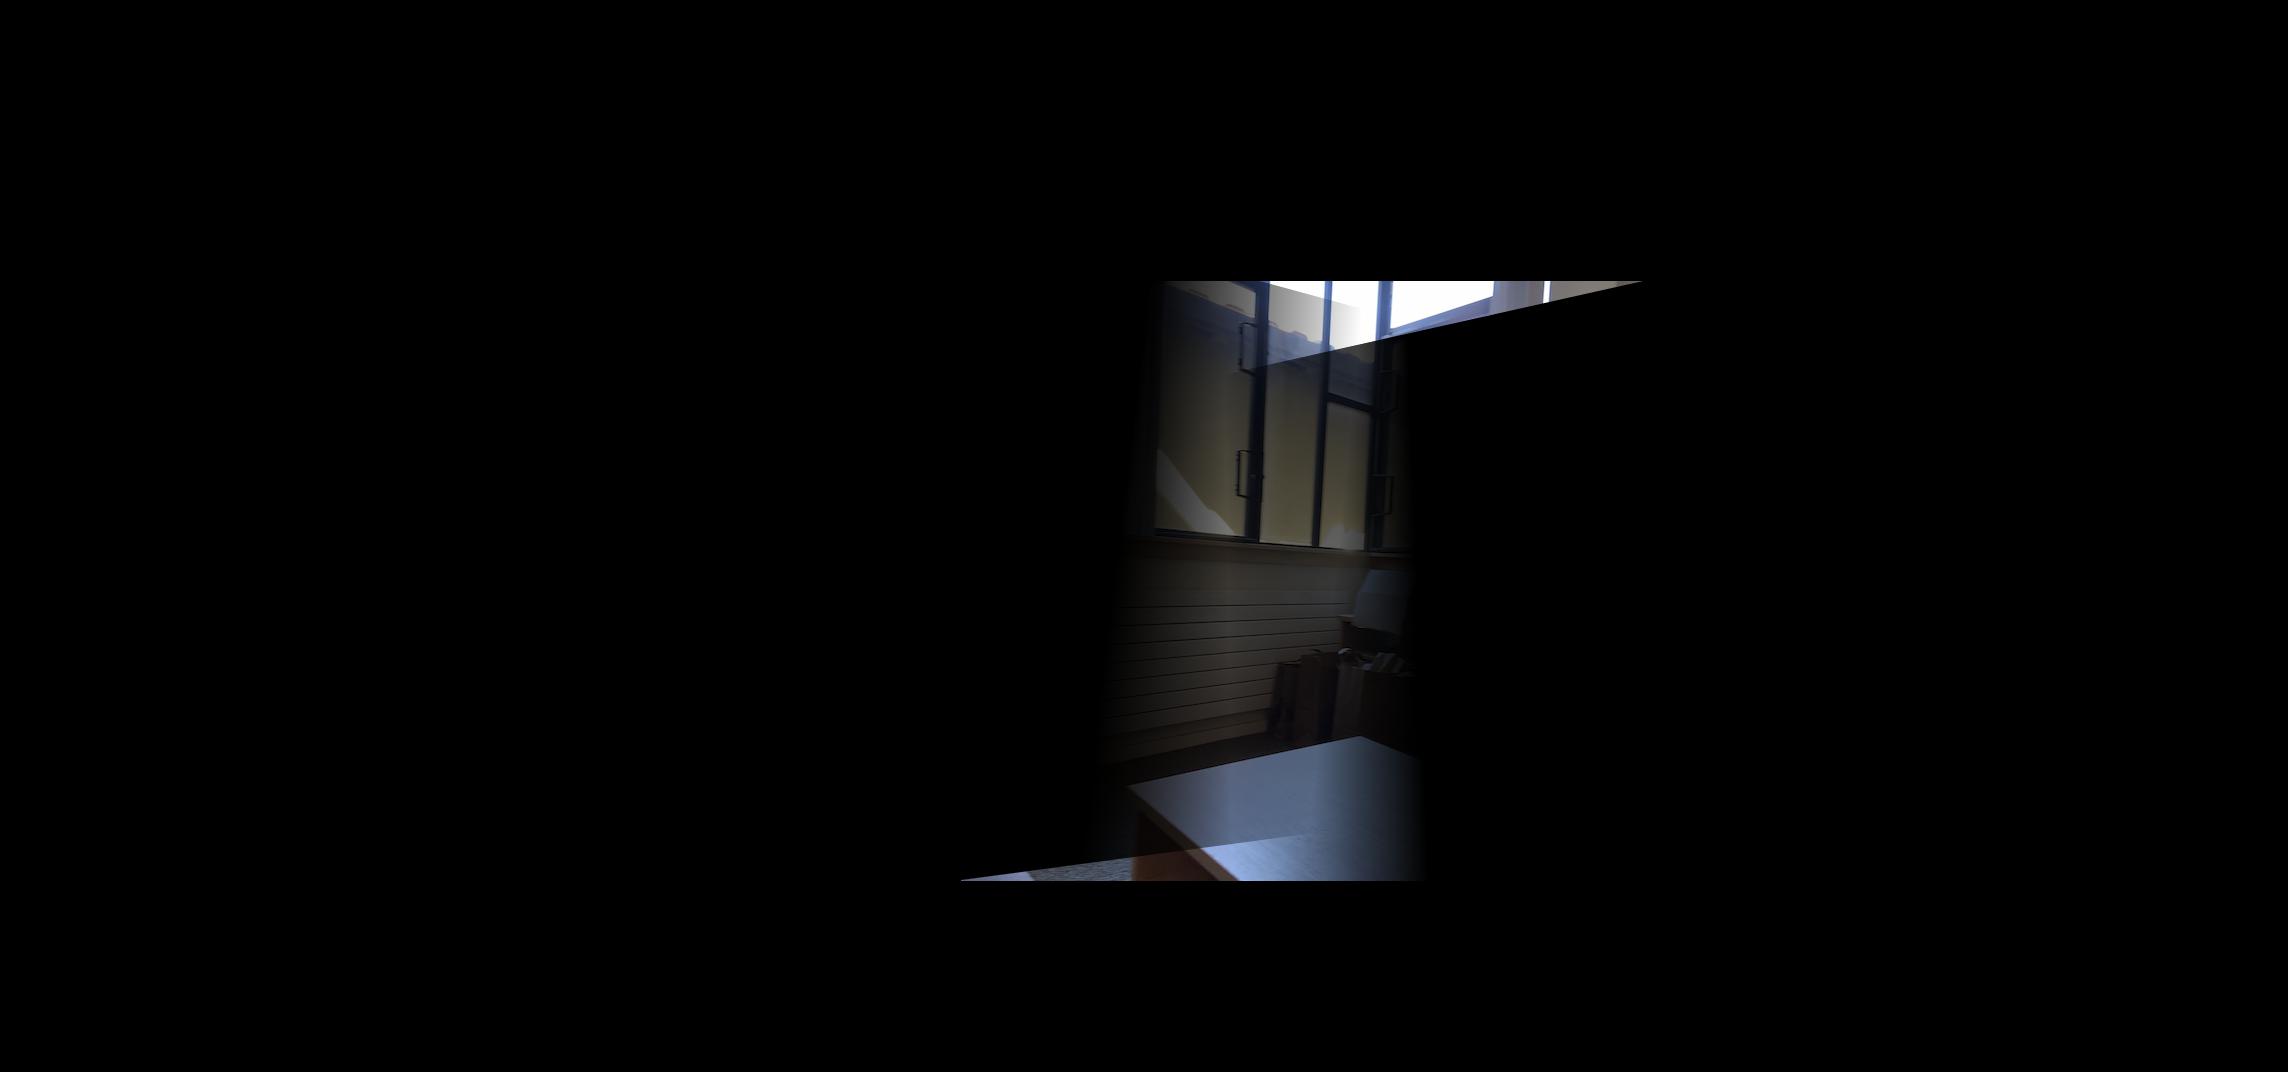
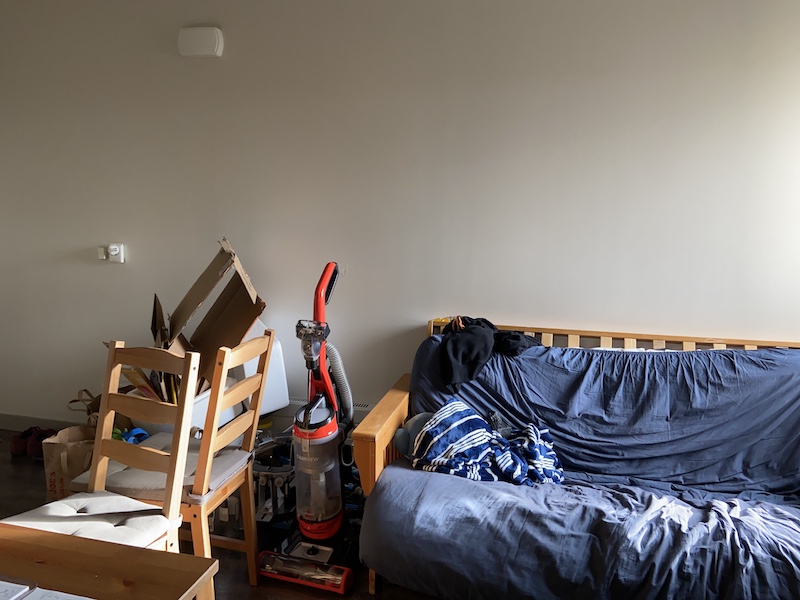
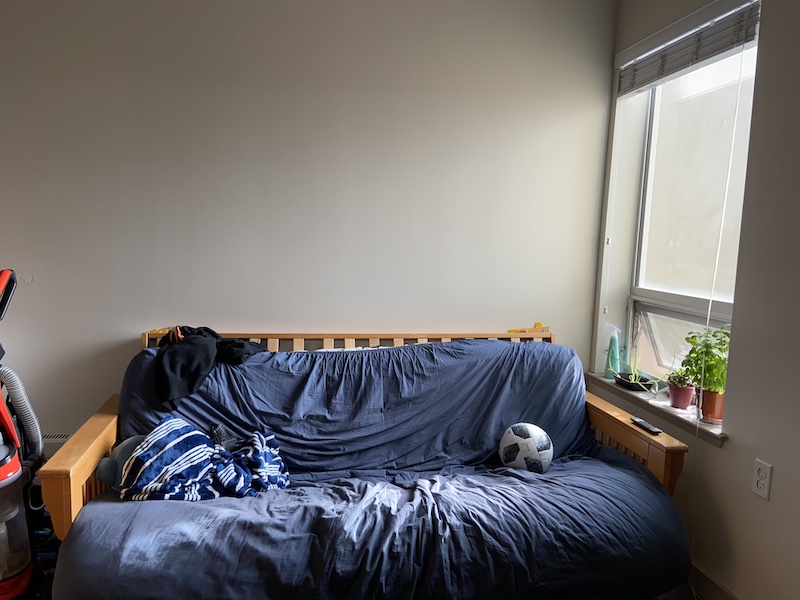
My apartment (the left images show the two side images, and the right images are the "central" image)


After selecting correspondences, I needed to warp the side images to the central image perspective. To recover the homography between the side images and the central image, I used the formula
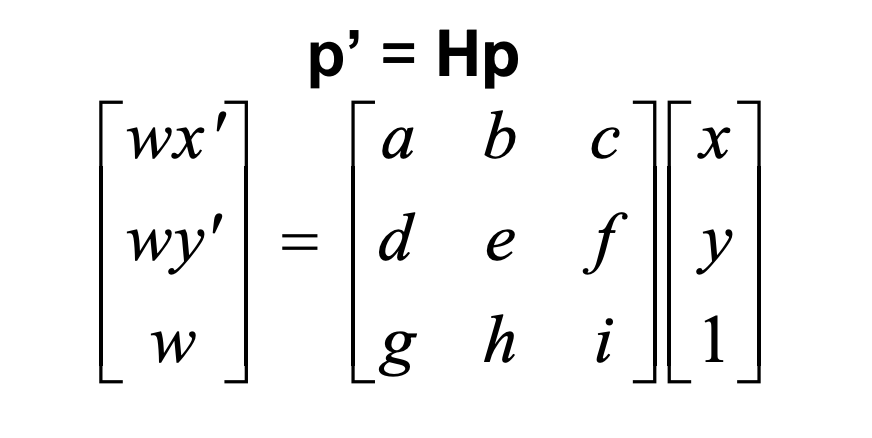
where p' represents the central image points and p represents the side image points.
Just placing the warped images on top of each other did not produce a smooth panoramic. So, I used blending to create a smoother transition between the images. I applied a mask to each of the side images that falls off linearly. I applied this mask before warping the image. Some examples of these masks are shown below:


Apartment right image mask Wheeler left image mask
Then, to generate a mask for the central image, I warped the masks for the side images, added them together, and then subtracted that from a mask of pure ones. I applied this mask to the "warped" central image. The resulting blended images and panoramics are shown below.
Wheeler hall:
The results look okay, but you can see some slight misalignment in the tiles. I also should have spaced the angles between my images more so more of the central image ended up in the result.
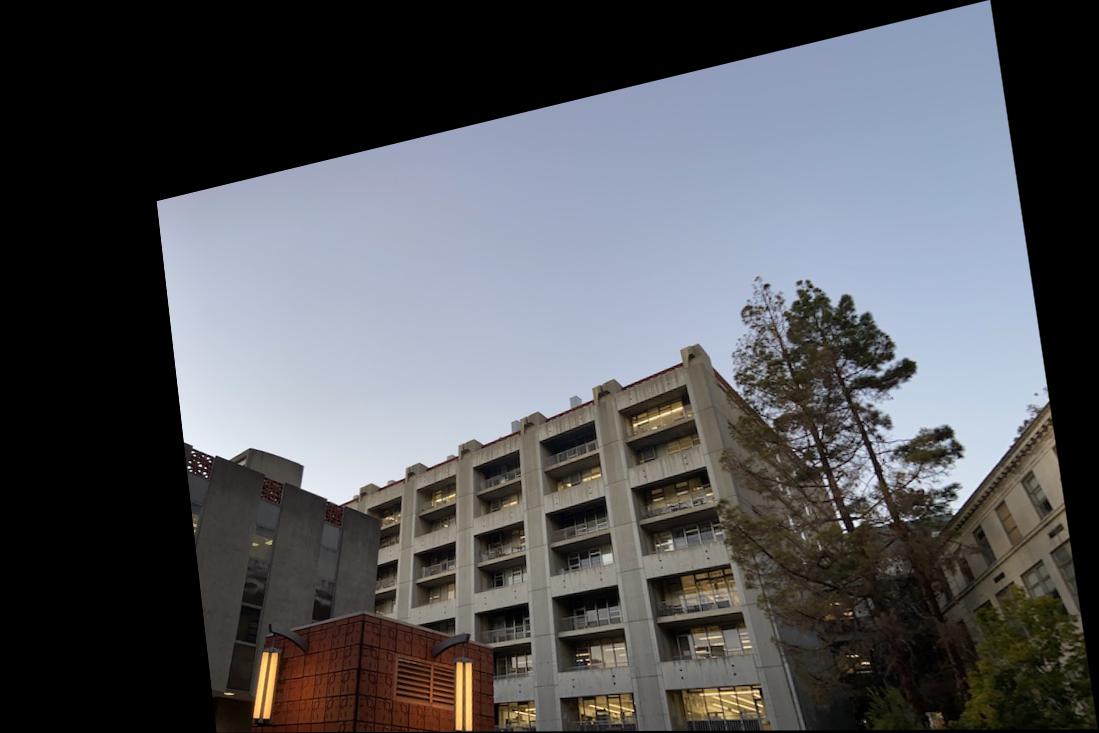
Random building:

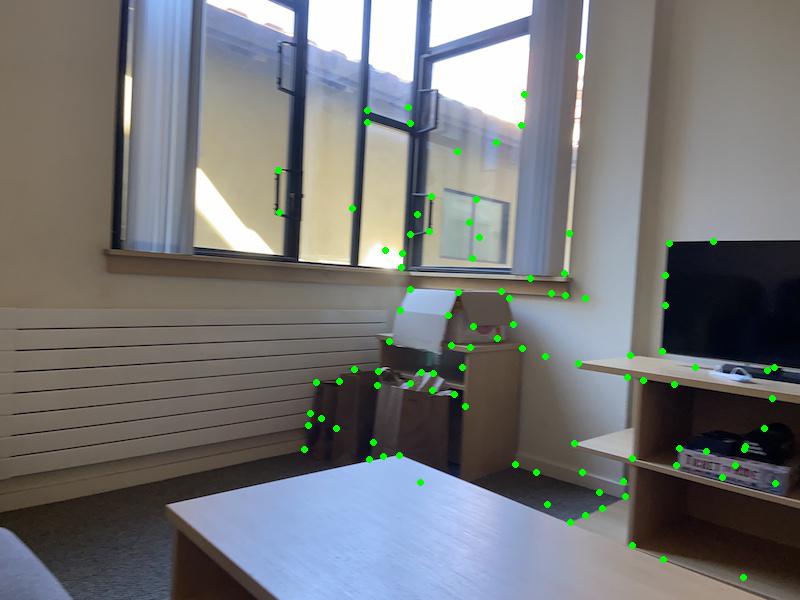
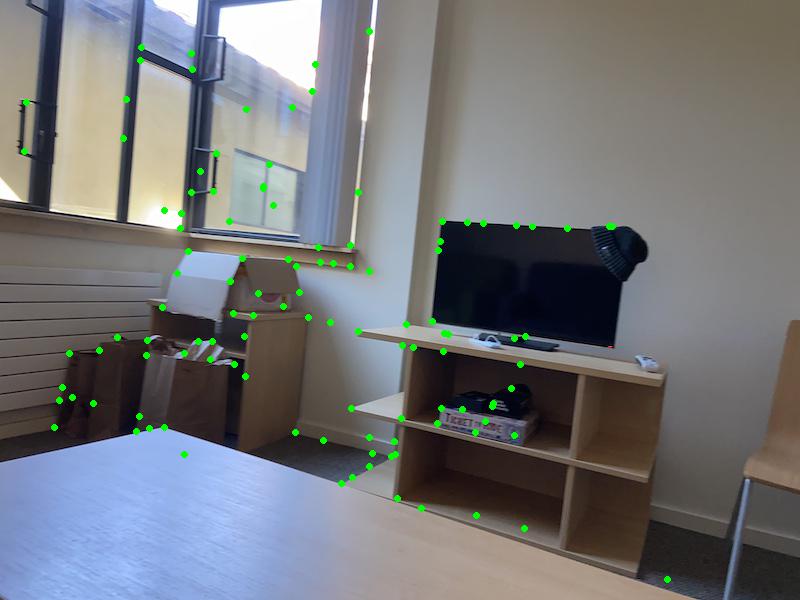
In this part of the project, we replaced the manual correspondence selection with automatic feature identification/matching. This was done using Harris corner detection, adaptive non-maximal suppression, nearest neighbors, RANSAC, and more! I used the same input images for the panoramas as before, along with one extra set of images, shown below.
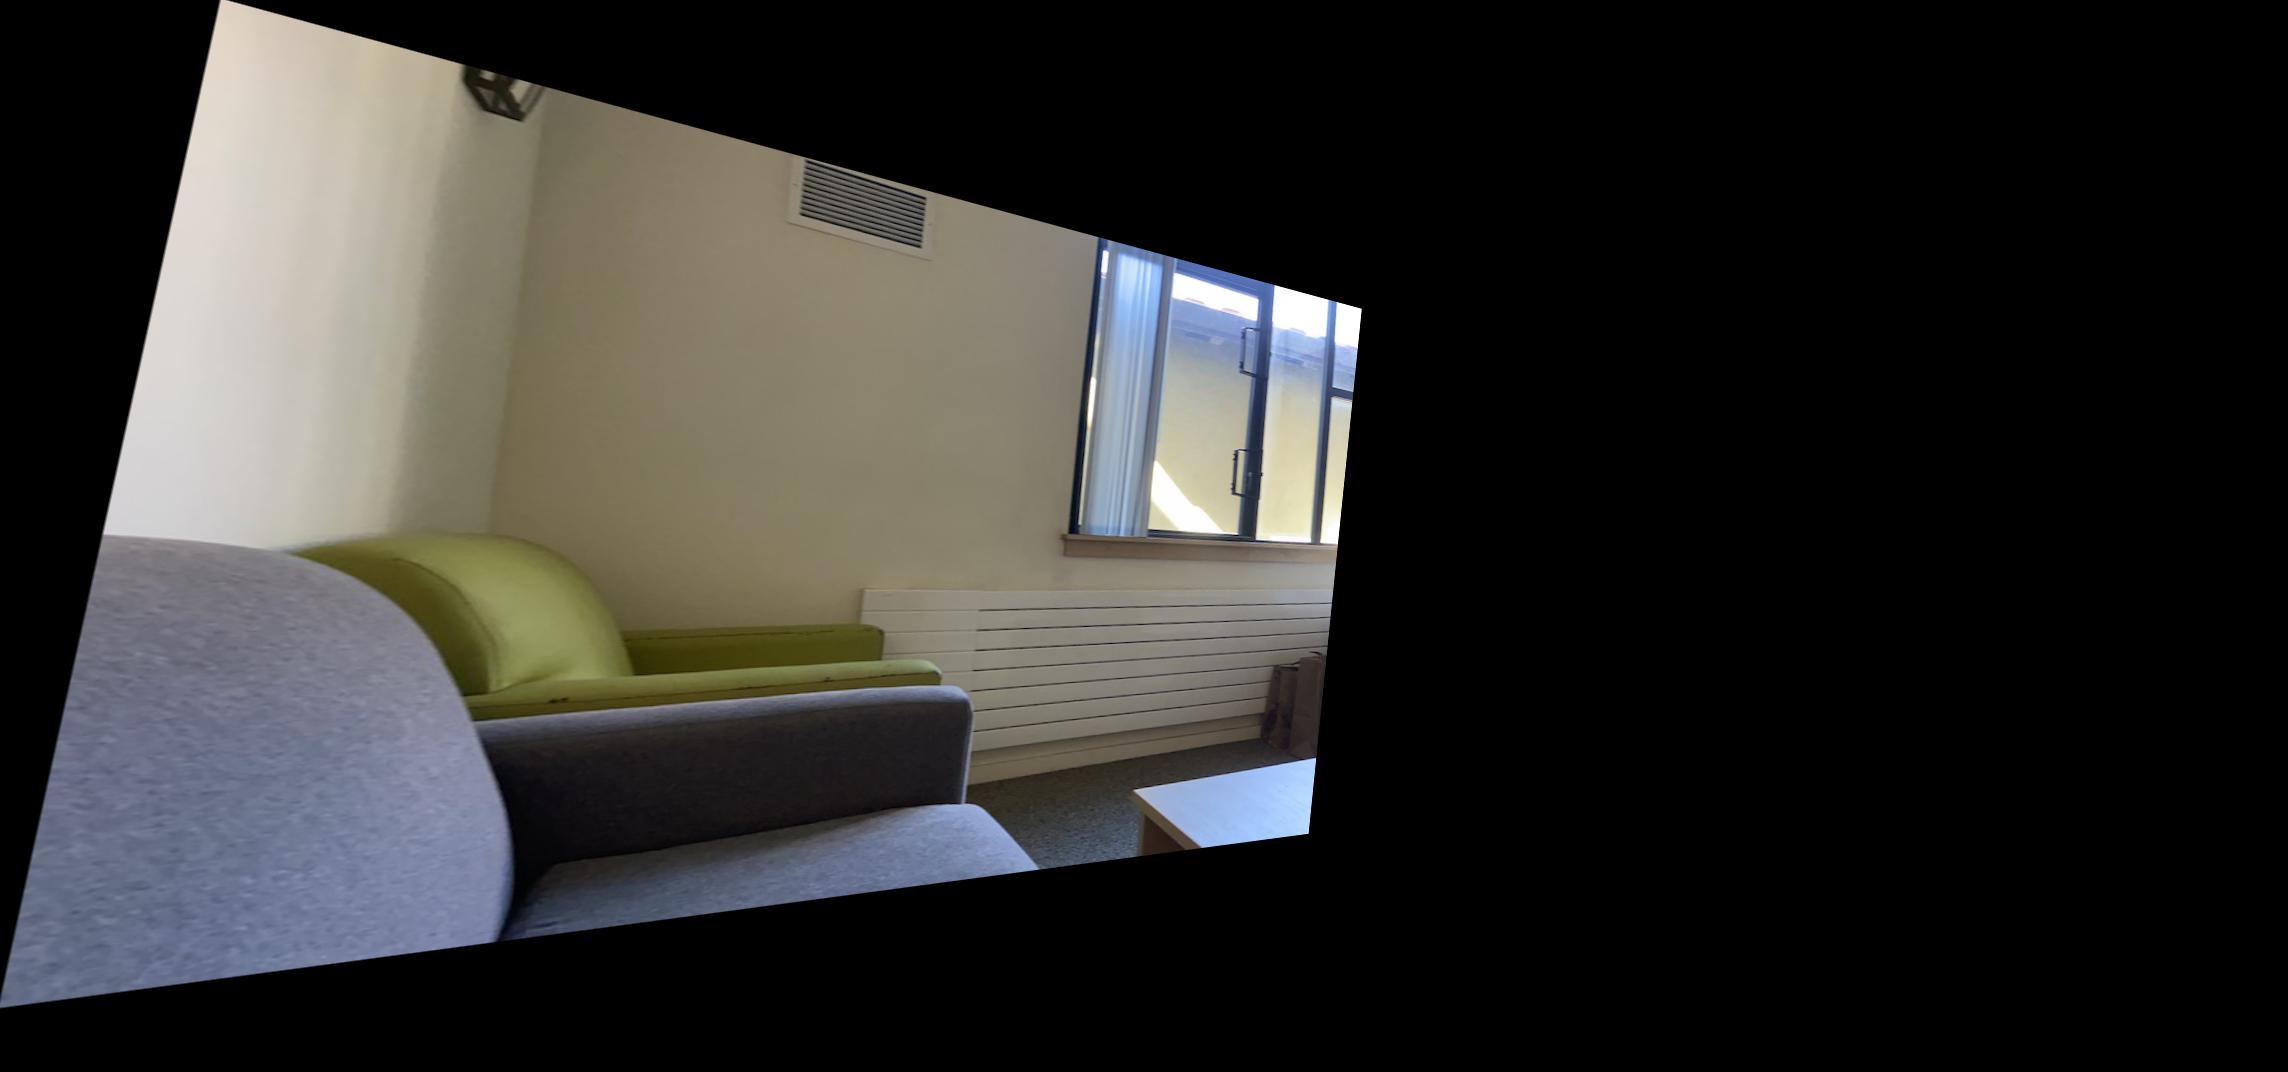
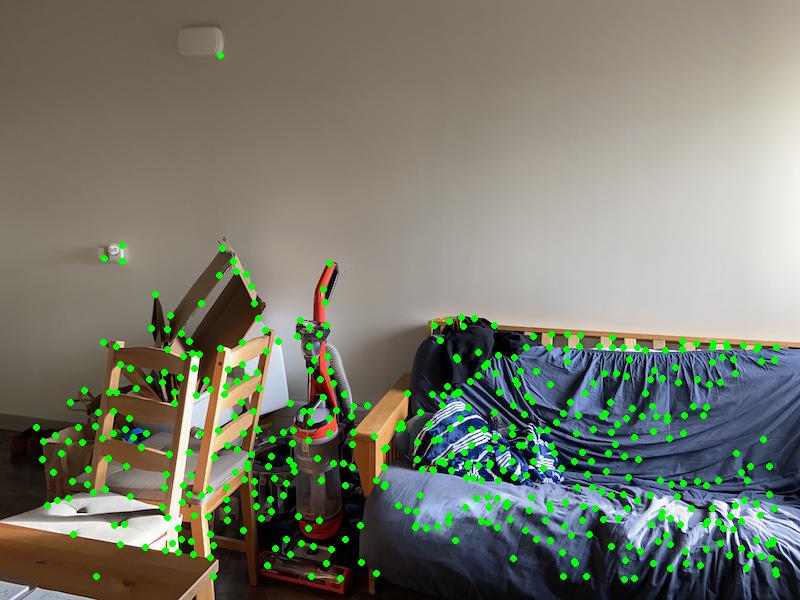
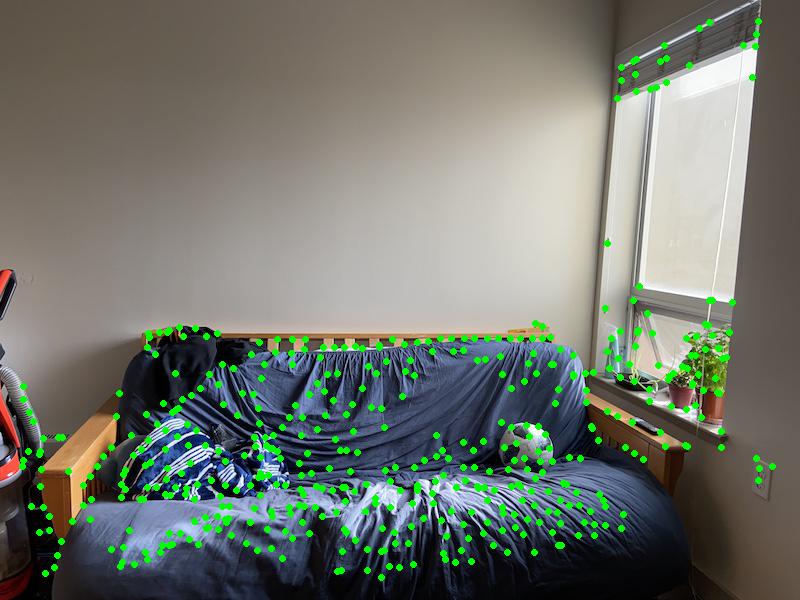
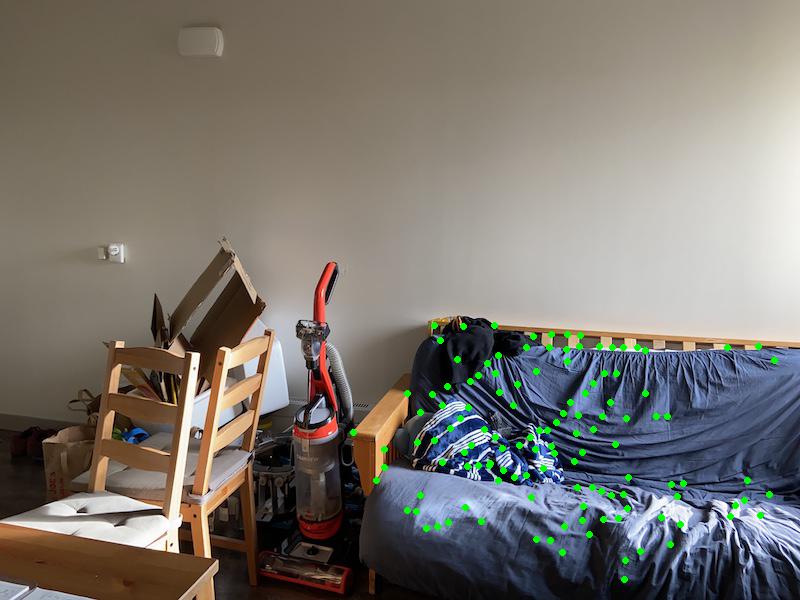
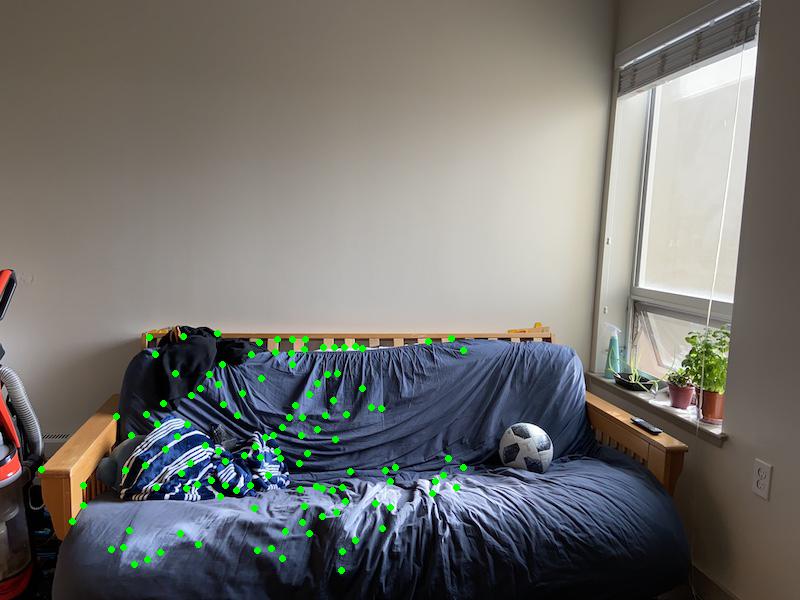
Sofa images:
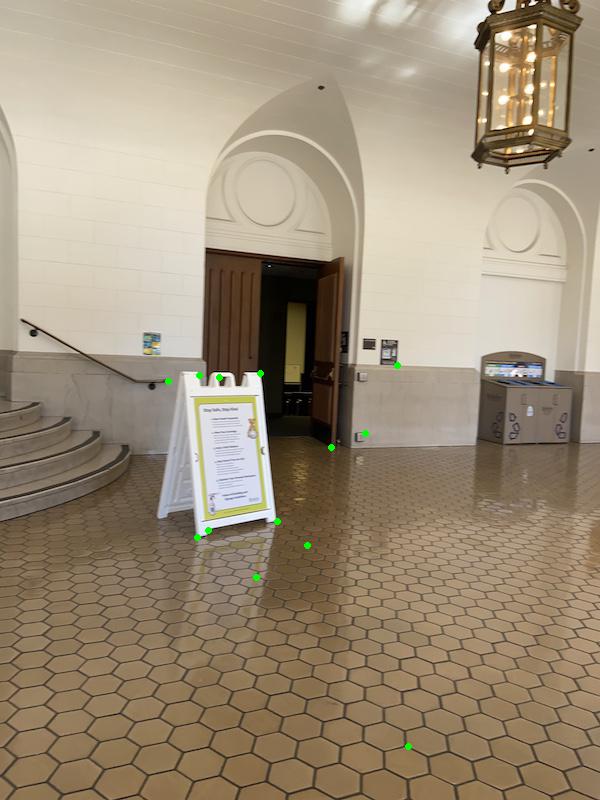
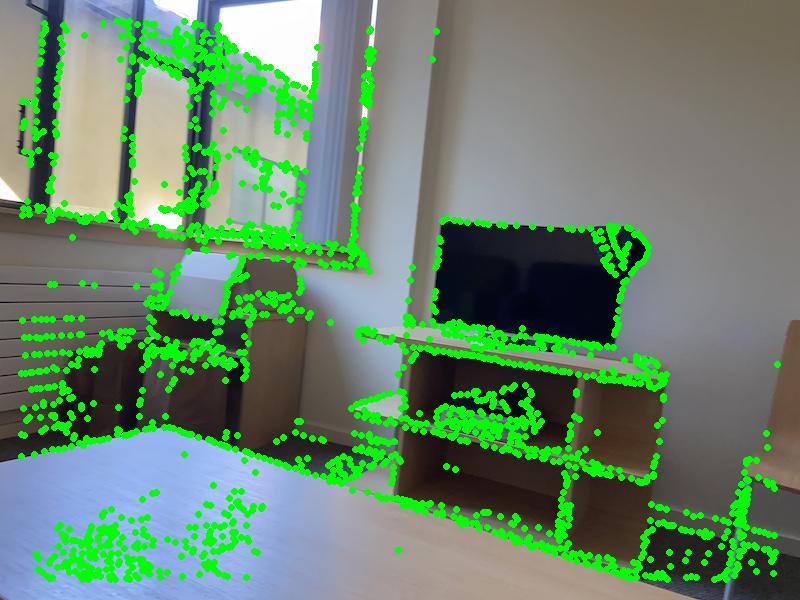
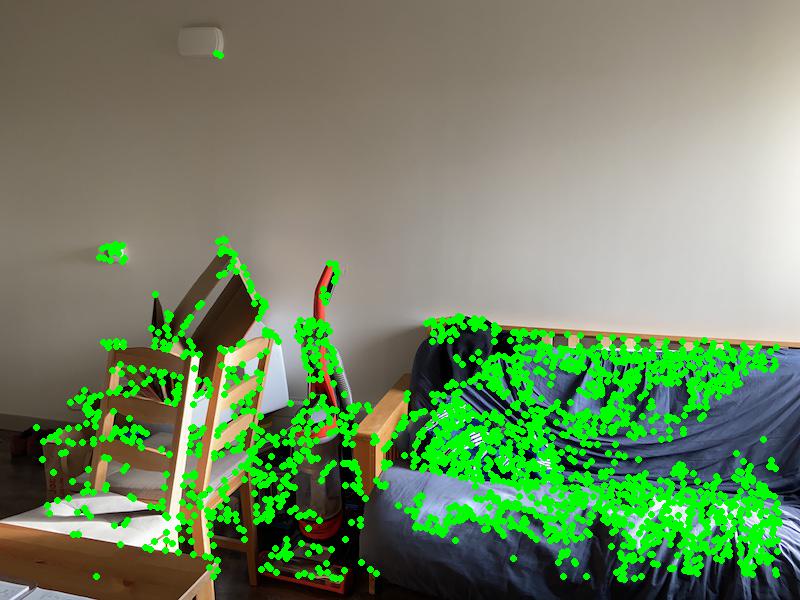
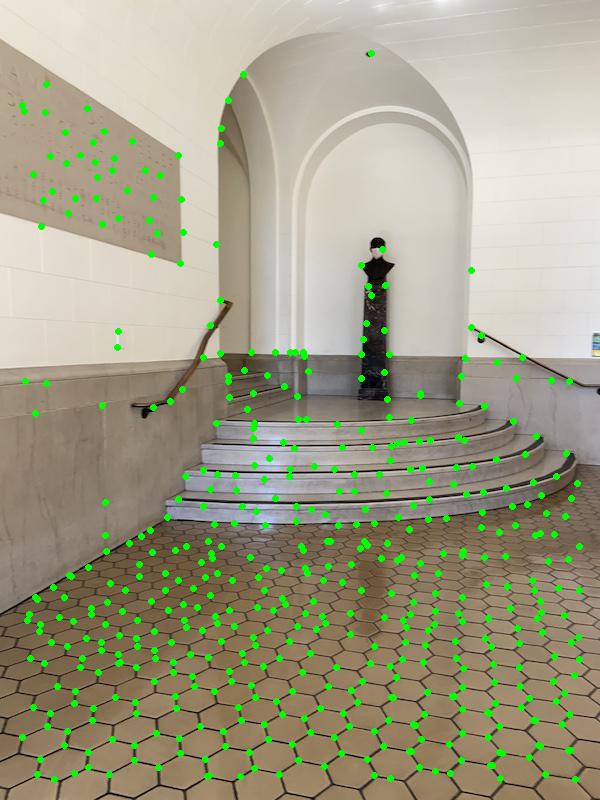
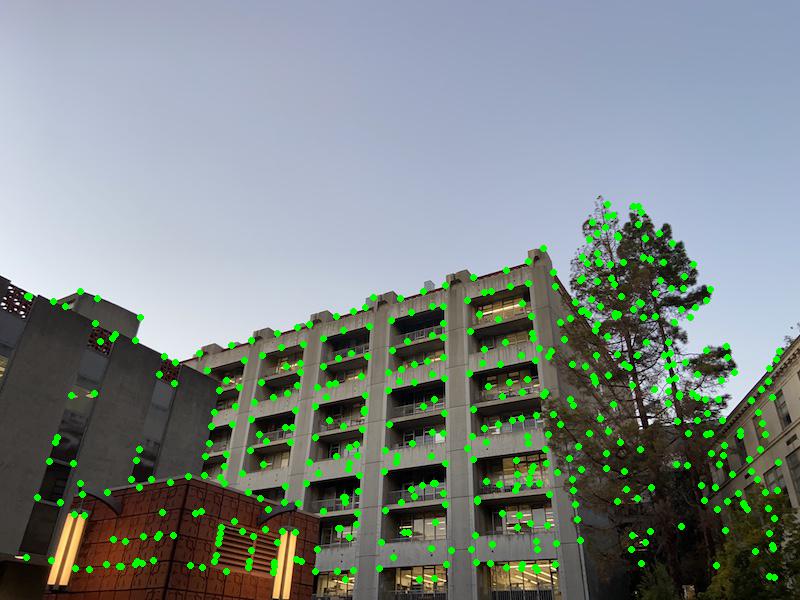
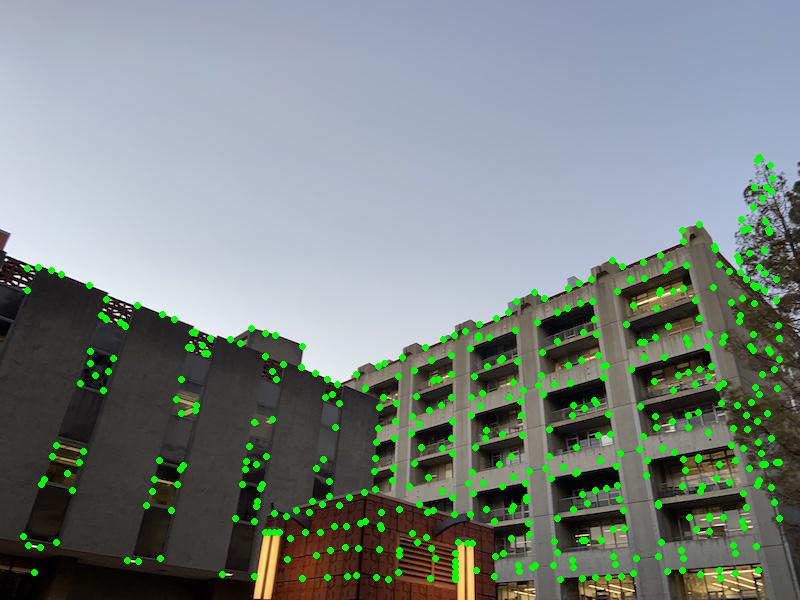
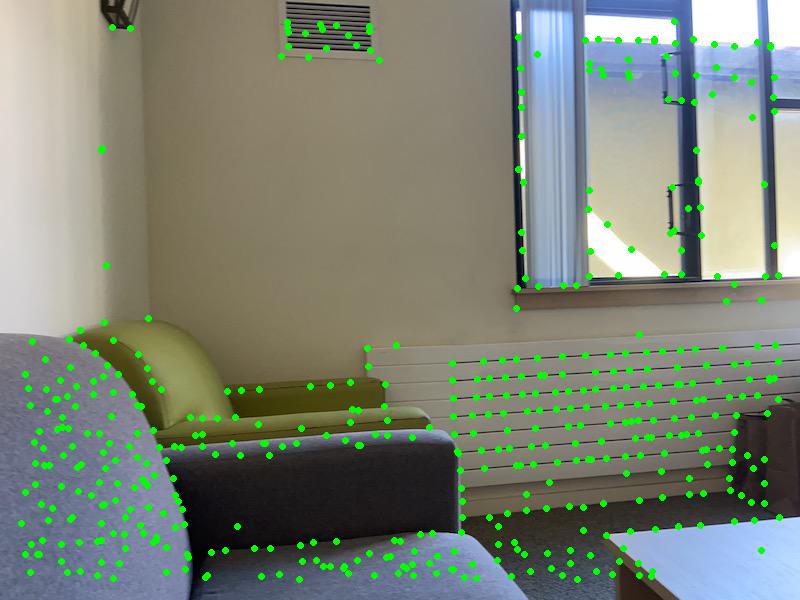
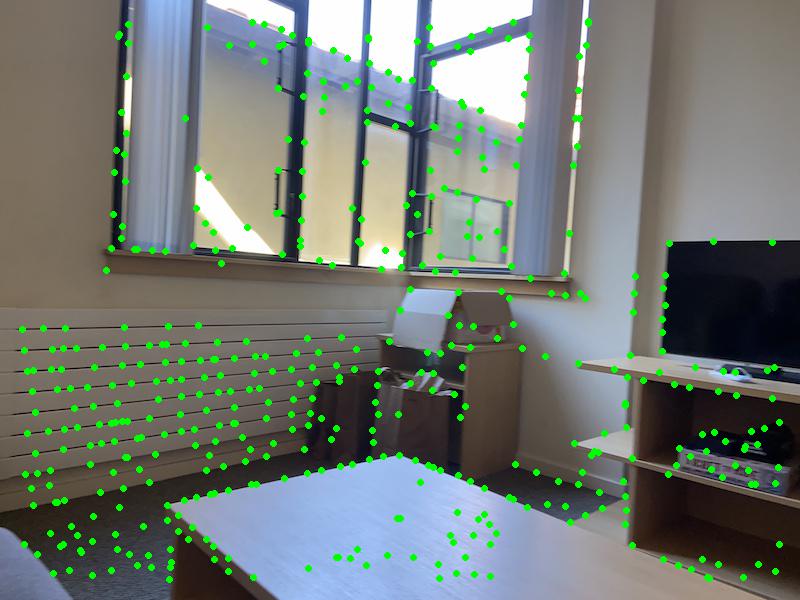
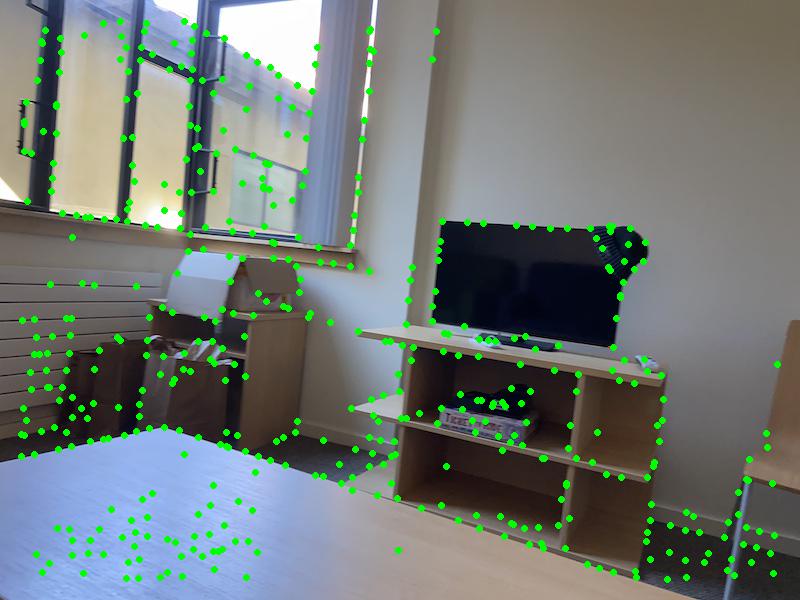
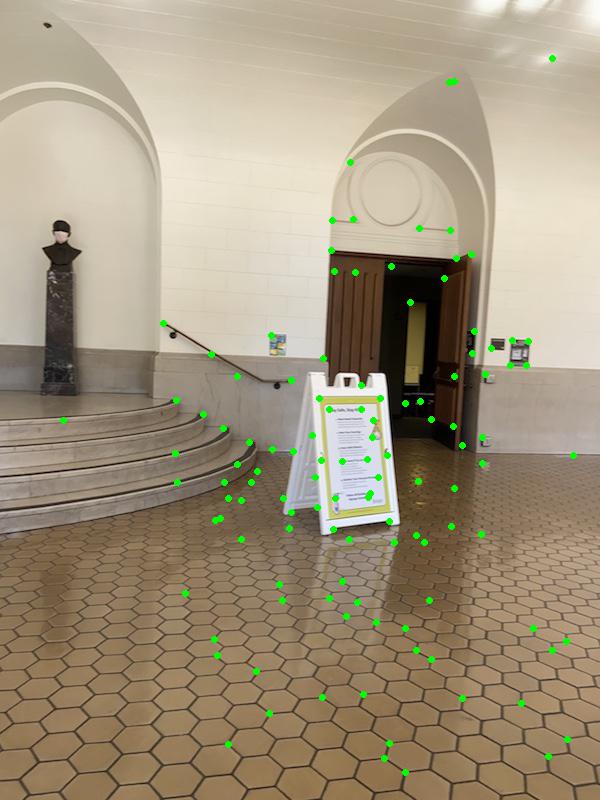
To generate interest points, I used the provided code for Harris corner detection. Some examples of the detected Harris corners are shown below.
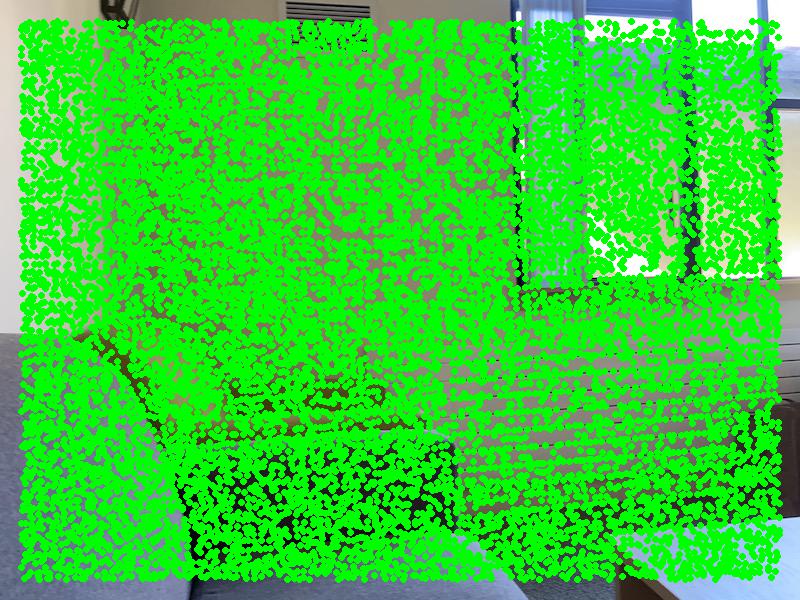
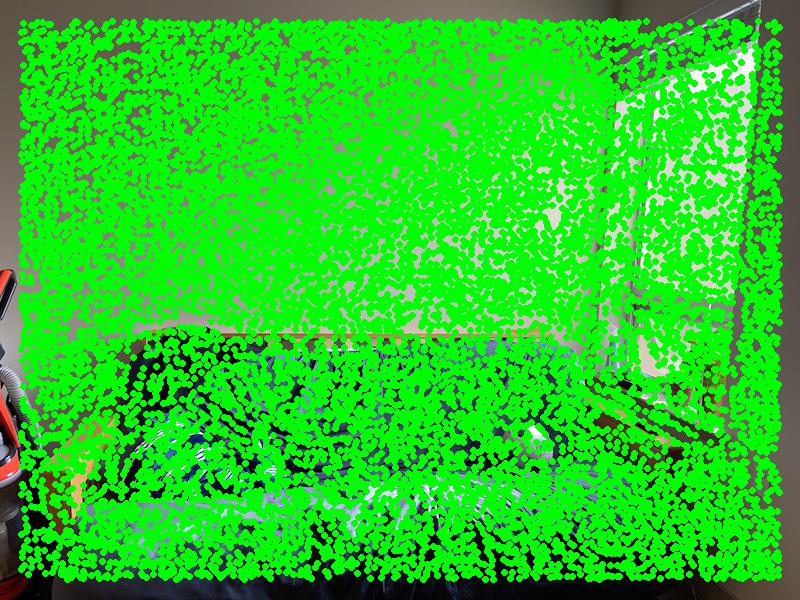
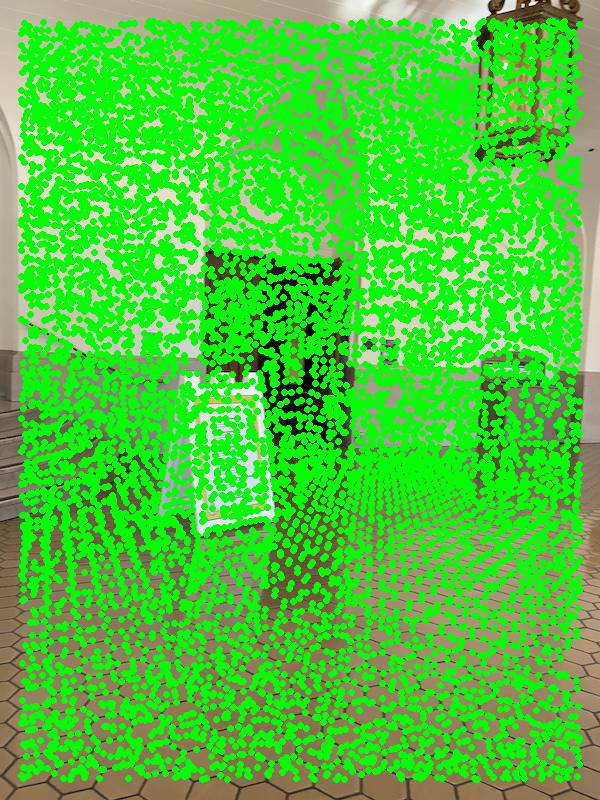
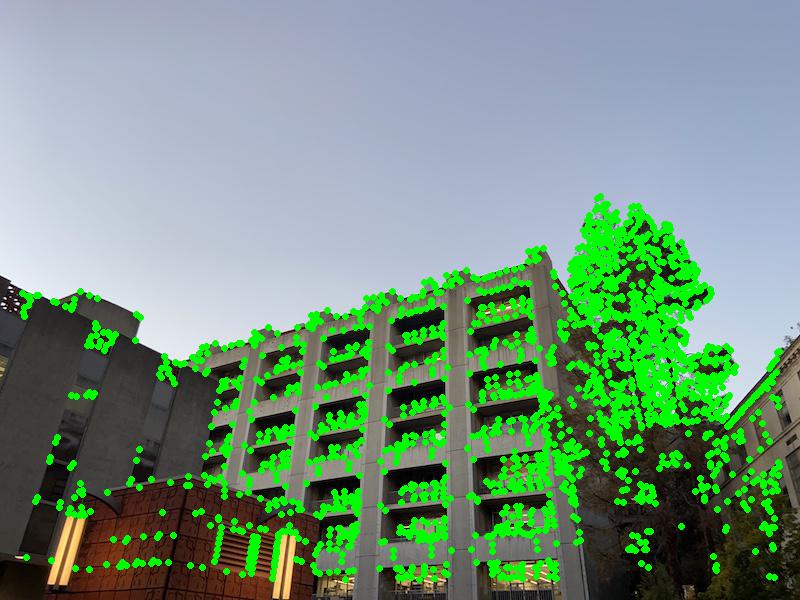
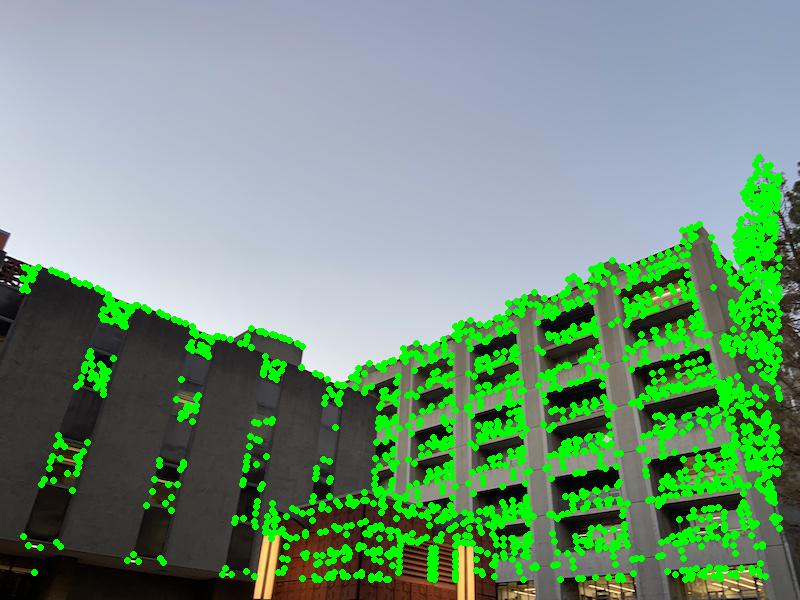
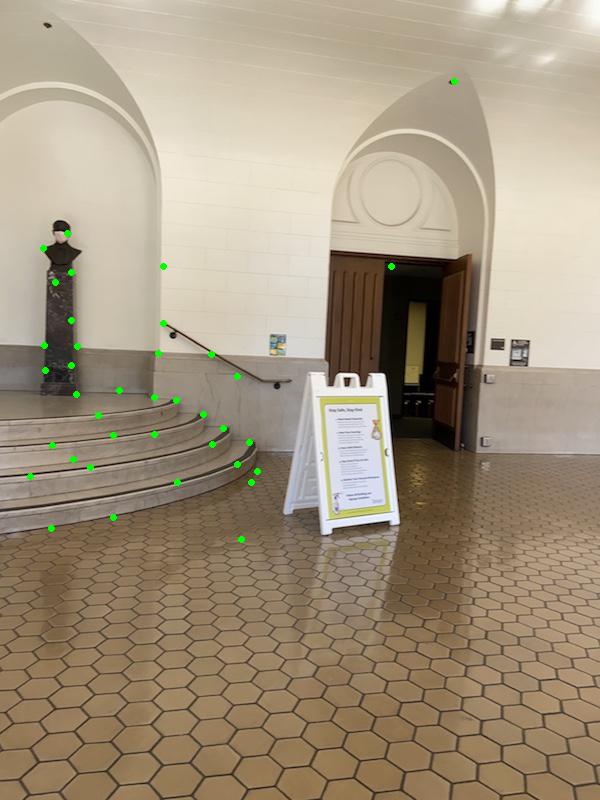
As you can tell, there were A LOT of corners detected. To reduce the number of corners, I picked the top 2000 corners by sorting the corners by their score. This was necessary so the next step would not take too long. The results after this step are shown below.
Wheeler:
Building:
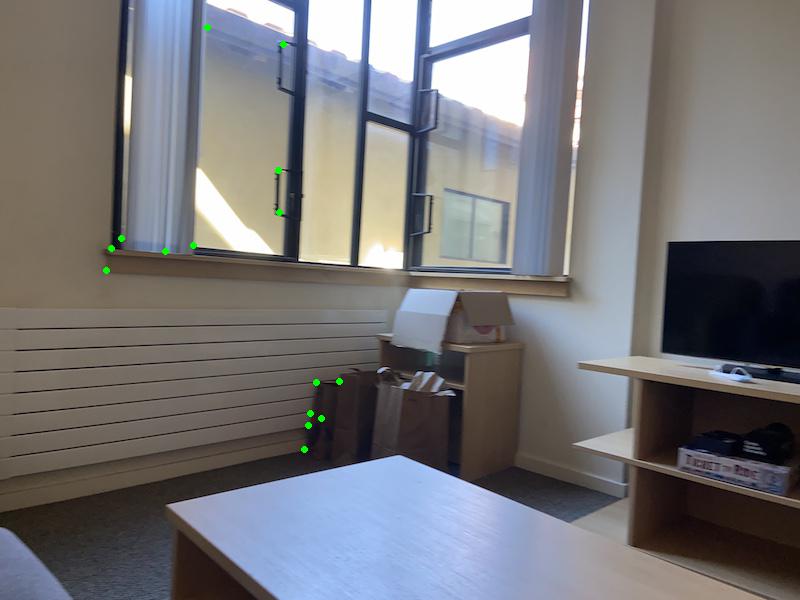
Apartment:
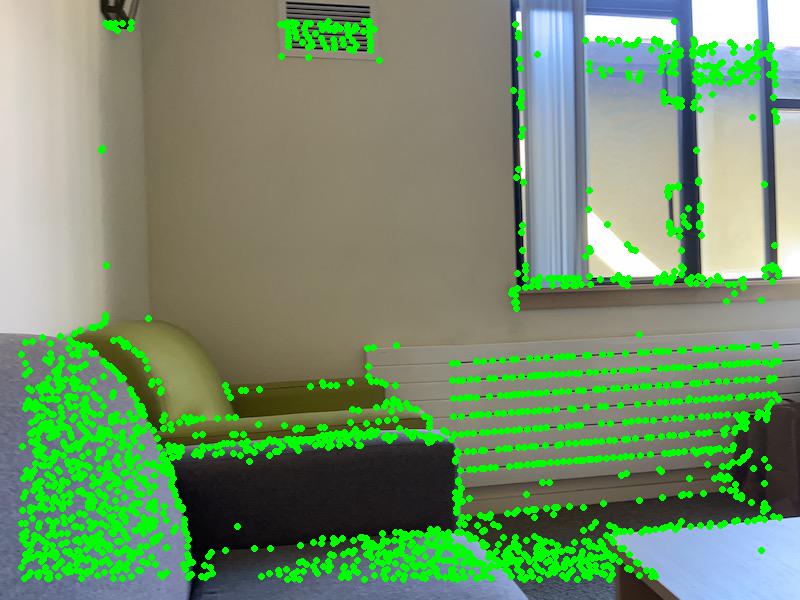
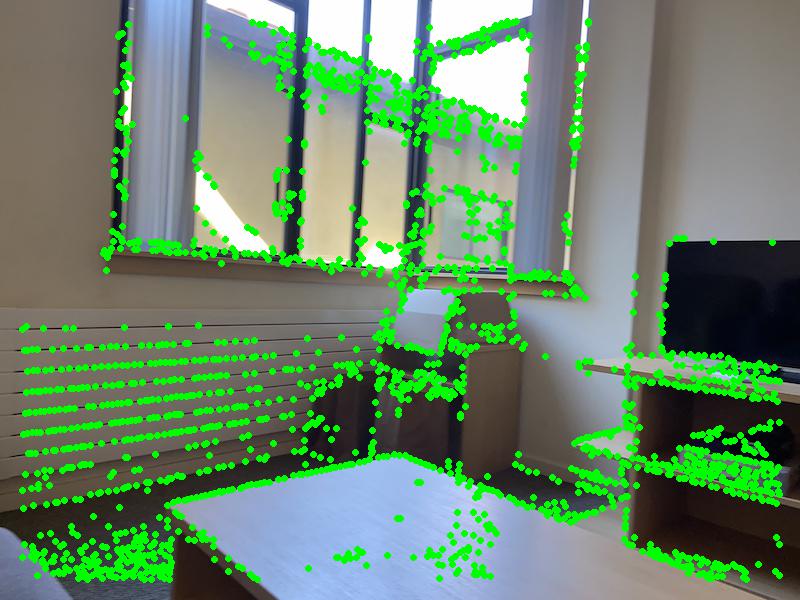
Sofa:
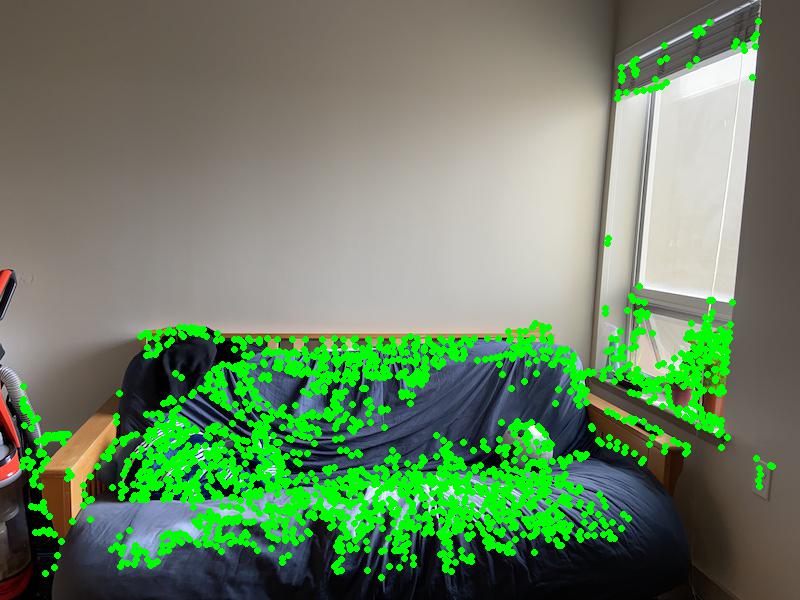
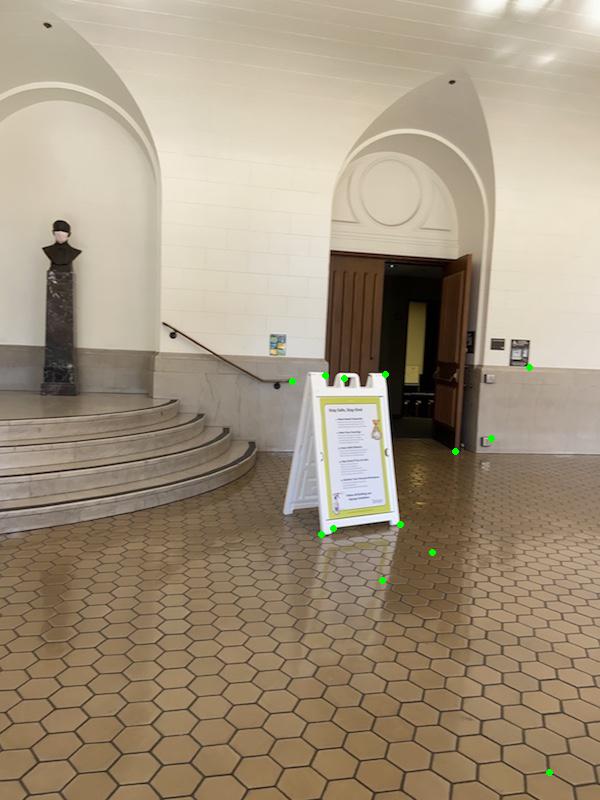
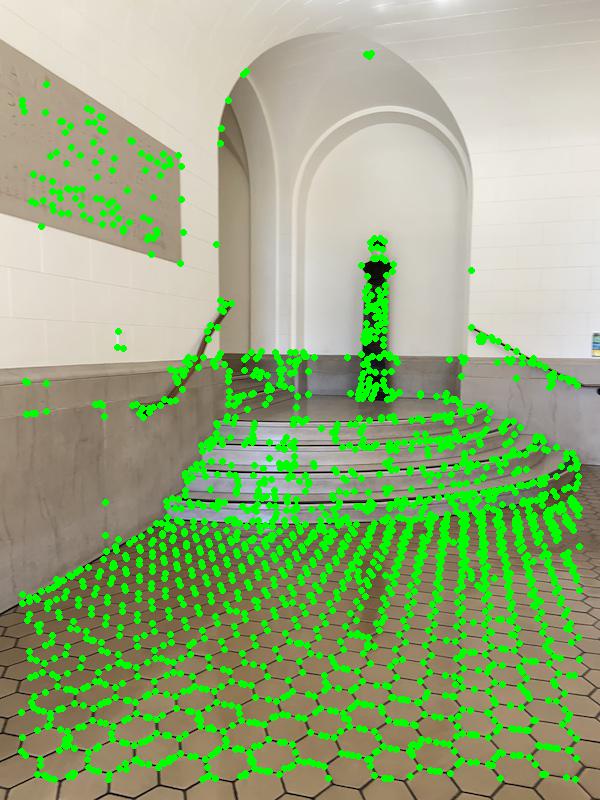
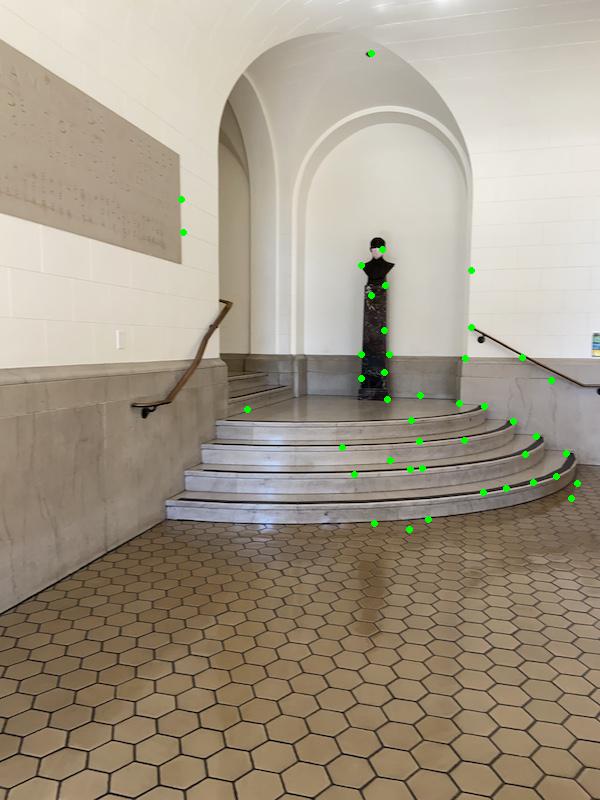
I used adaptive non maximal suppression to get 500 strong, well spaced out interest points. The way the algorithm works is that each point is assigned an r-value, which is the distance to the closest point that has score somewhat greater than the current point's score (0.9 other point score > current point score). Then, you choose the 500 points with the greatest r-value.
The results after adaptive non maximal suppression are shown below.
Wheeler:
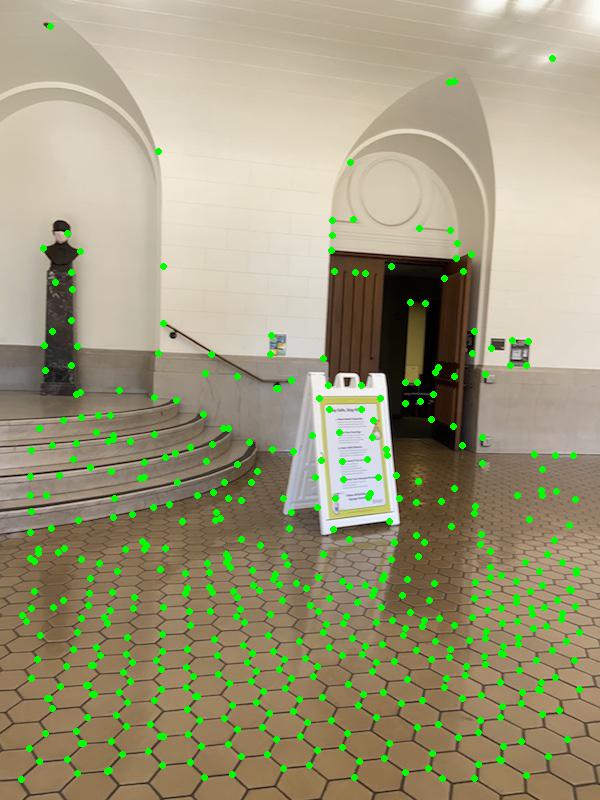
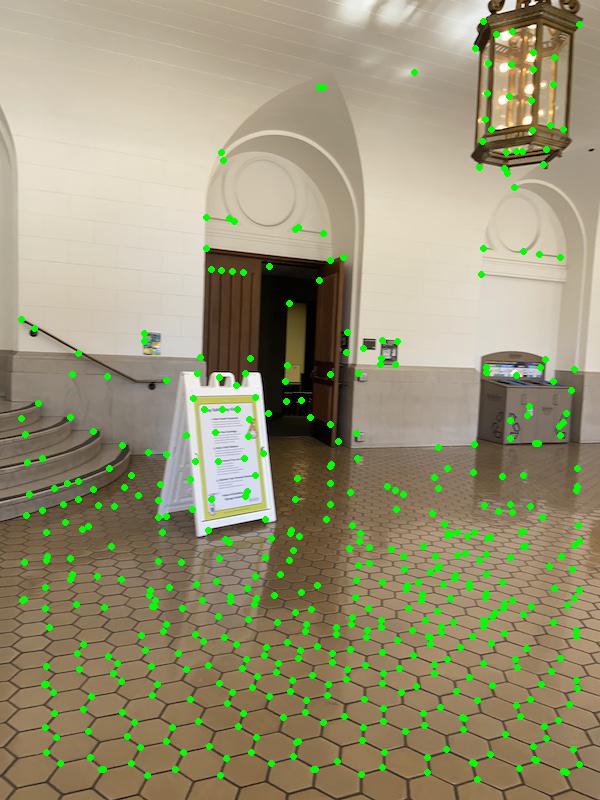
Building:
Apartment:
Sofa:

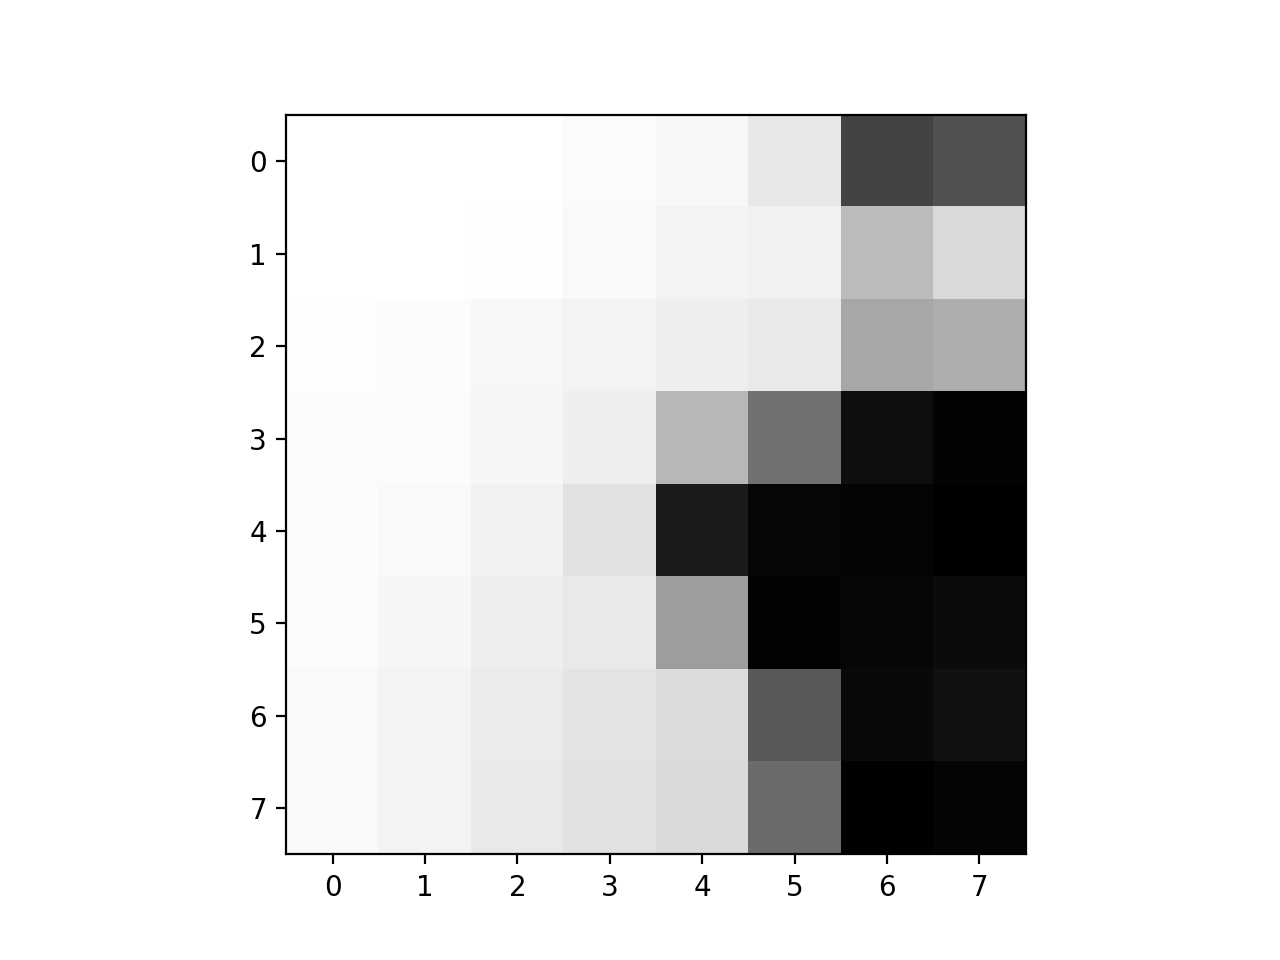
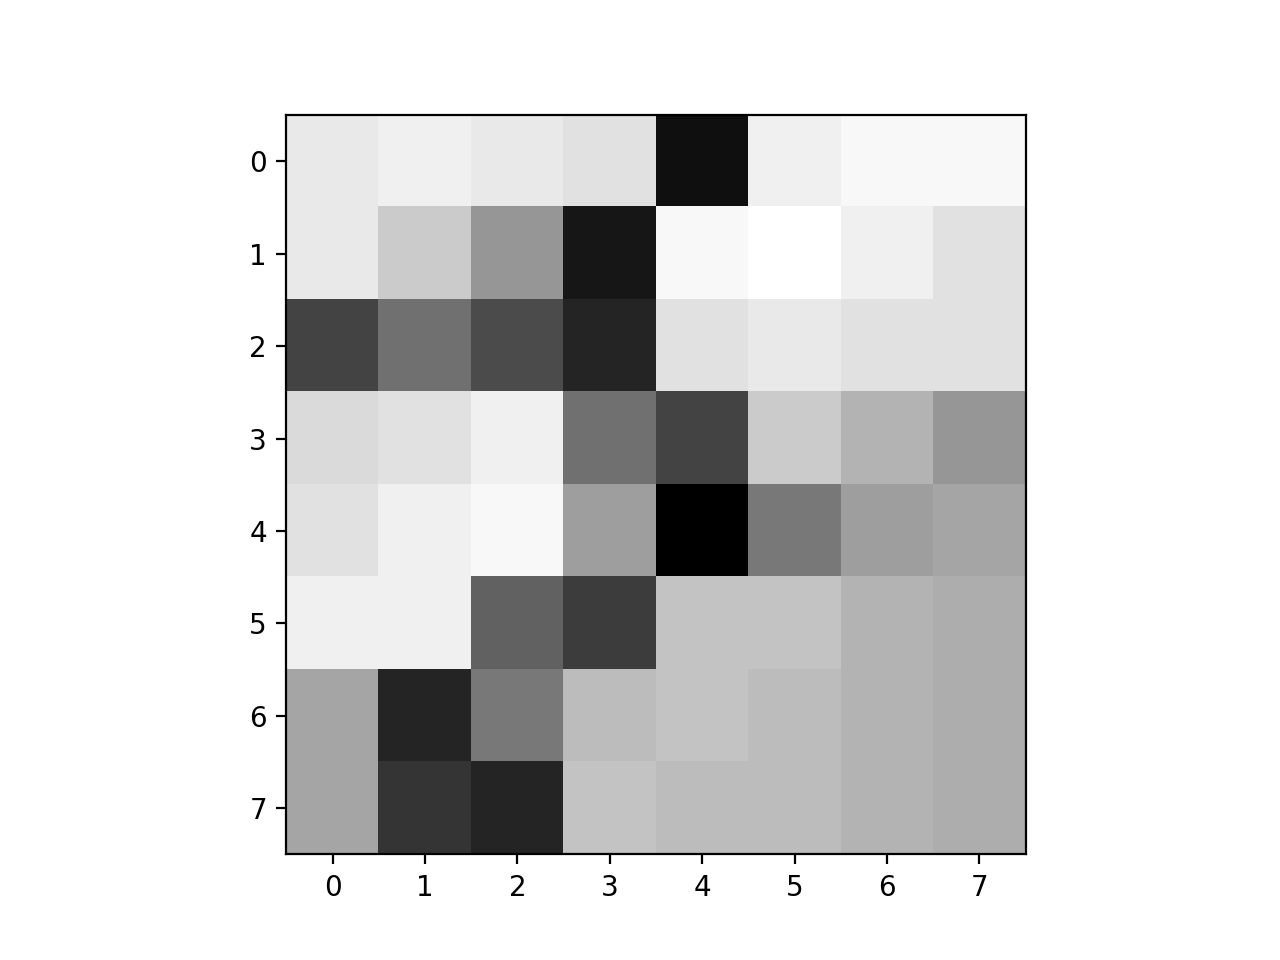
For each interest point, I sampled a 40 by 40 patch around the point, then downsampled this to be 8 by 8. Then, I normalized the patch so it had mean 0 and standard deviation 1. Finally, I turned the 8 by 8 patch into a vector, to get feature vectors for each of the interest points. Some example downsampled/normalized patches are shown below.
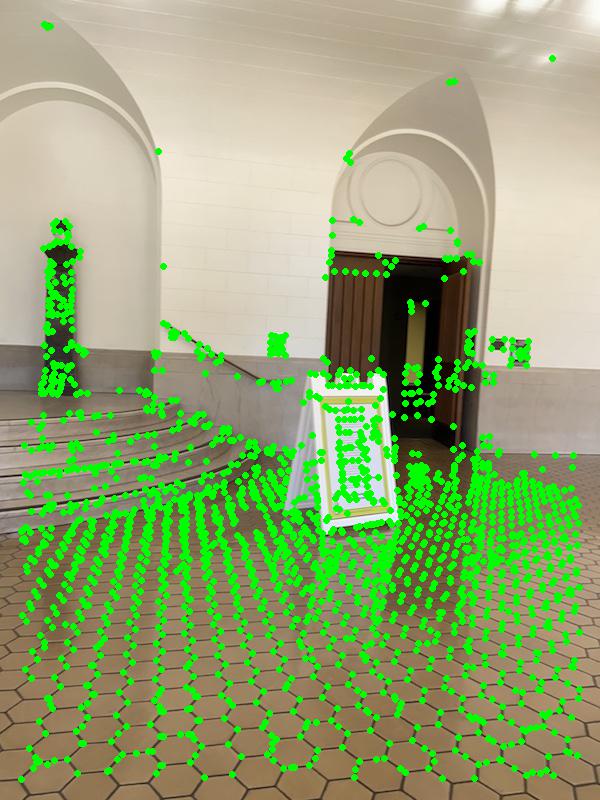
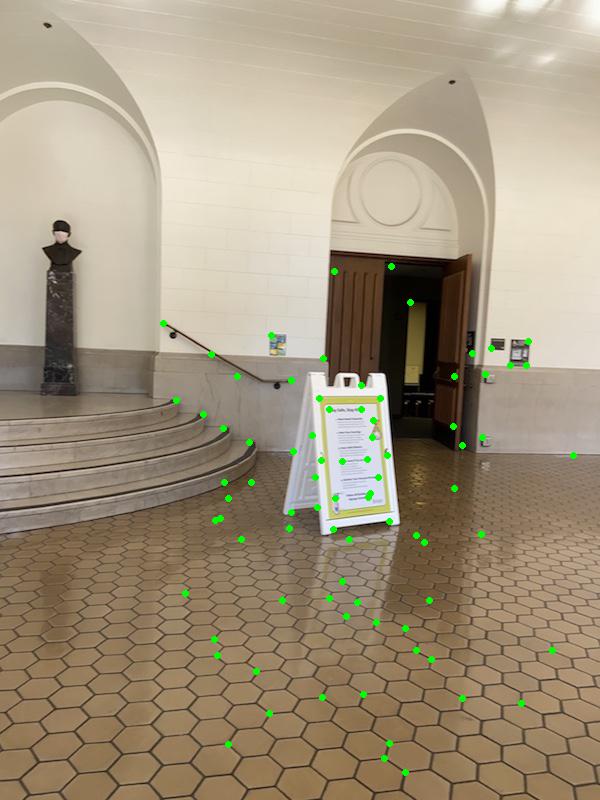
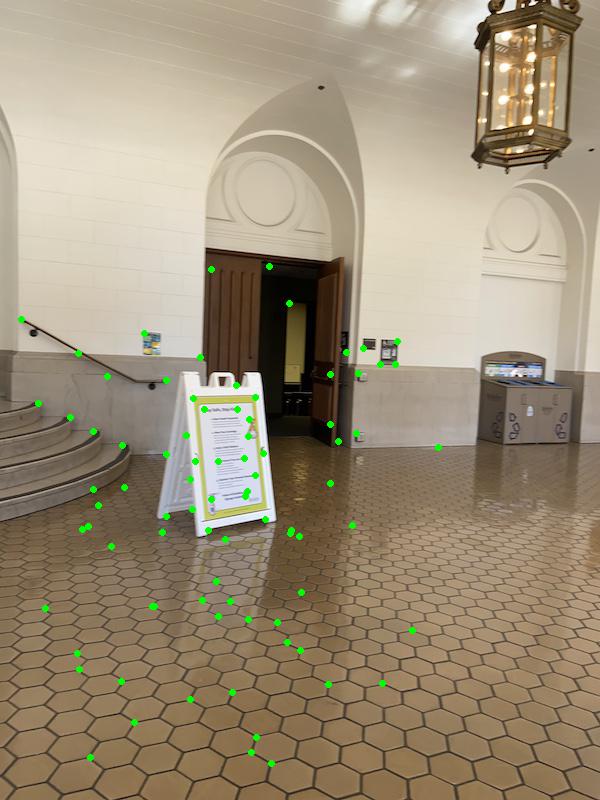
In order to match interest points between pairs of images, I used a nearest neighbor technique, along with Lowe thresholding. Essentially, for each feature vector from the first image, I found the closest two feature vectors in the second image, by SSD distance. Then, if the ratio of the SSD distance of the closest neighbor and the SSD distance of the second closest neighbor was < 0.5, I kept the closest neighbor as a match with the current point, otherwise I threw the match away. The reason for doing this was to remove outliers: if a feature vector has a similar SSD distance to multiple feature vectors in the other image, there is a higher chance that the match is incorrect. Below, I show the results after applying feature matching to each pair of images.
Wheeler:

Building:


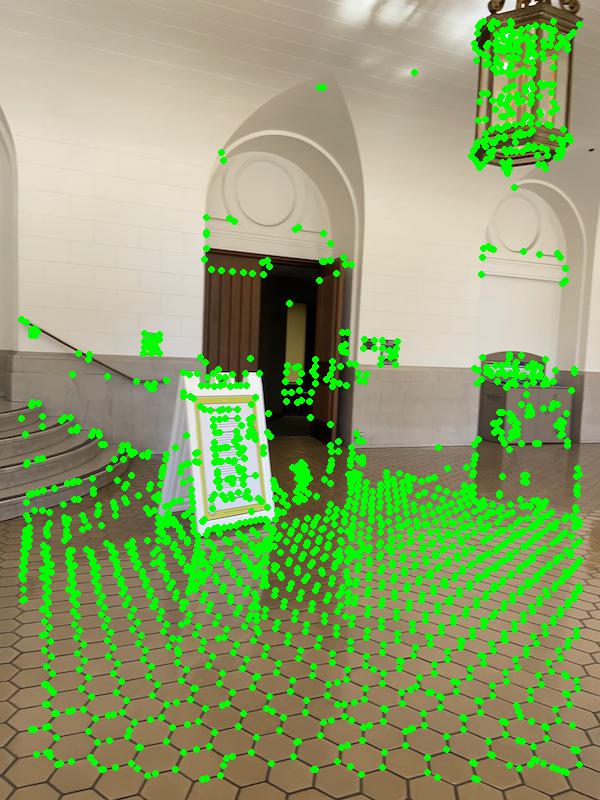
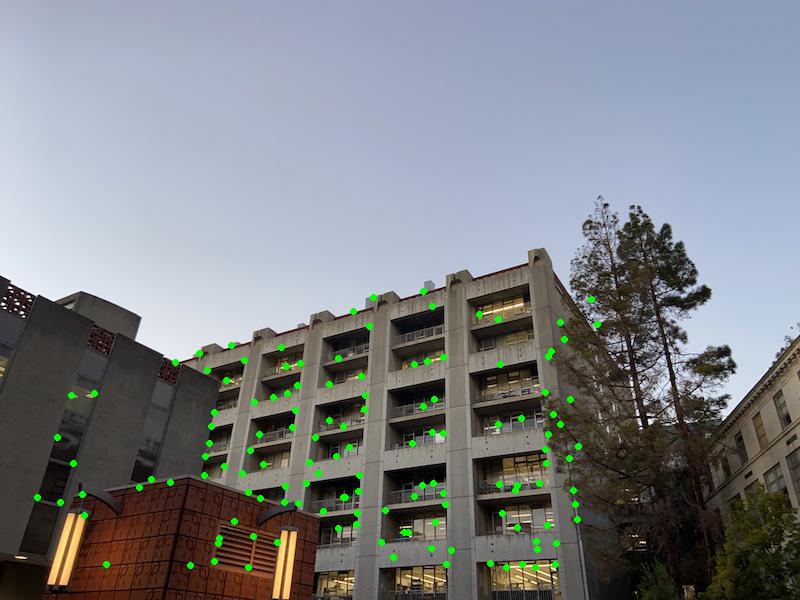
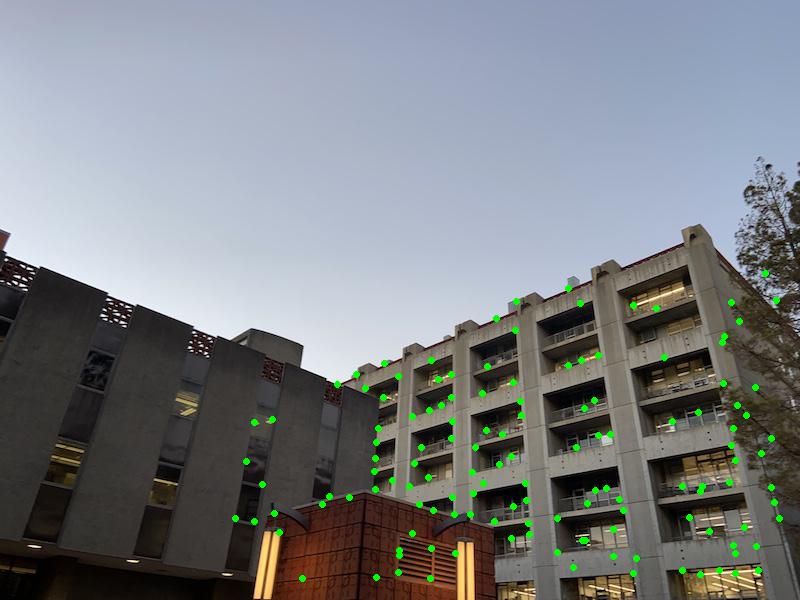
Finally, I needed to compute a homography between each pair of images, and remove any remaining outliers. To do this, I used the RANSAC algorithm. For 1000 iterations, I selected four matches at random, then computed a homography based on these four matches. I then looked at all the other matches and classified them as outliers or inliers (an inlier is when the SSD distance between where the point maps to with the homography and where it actually is in the second image is less than 10). Then, I determined which iteration resulted in the most inliers, and used this set of inliers to compute the homography matrix. Below, I show the matches used to compute the final homographies for each pair of images.
Wheeler:


Building:


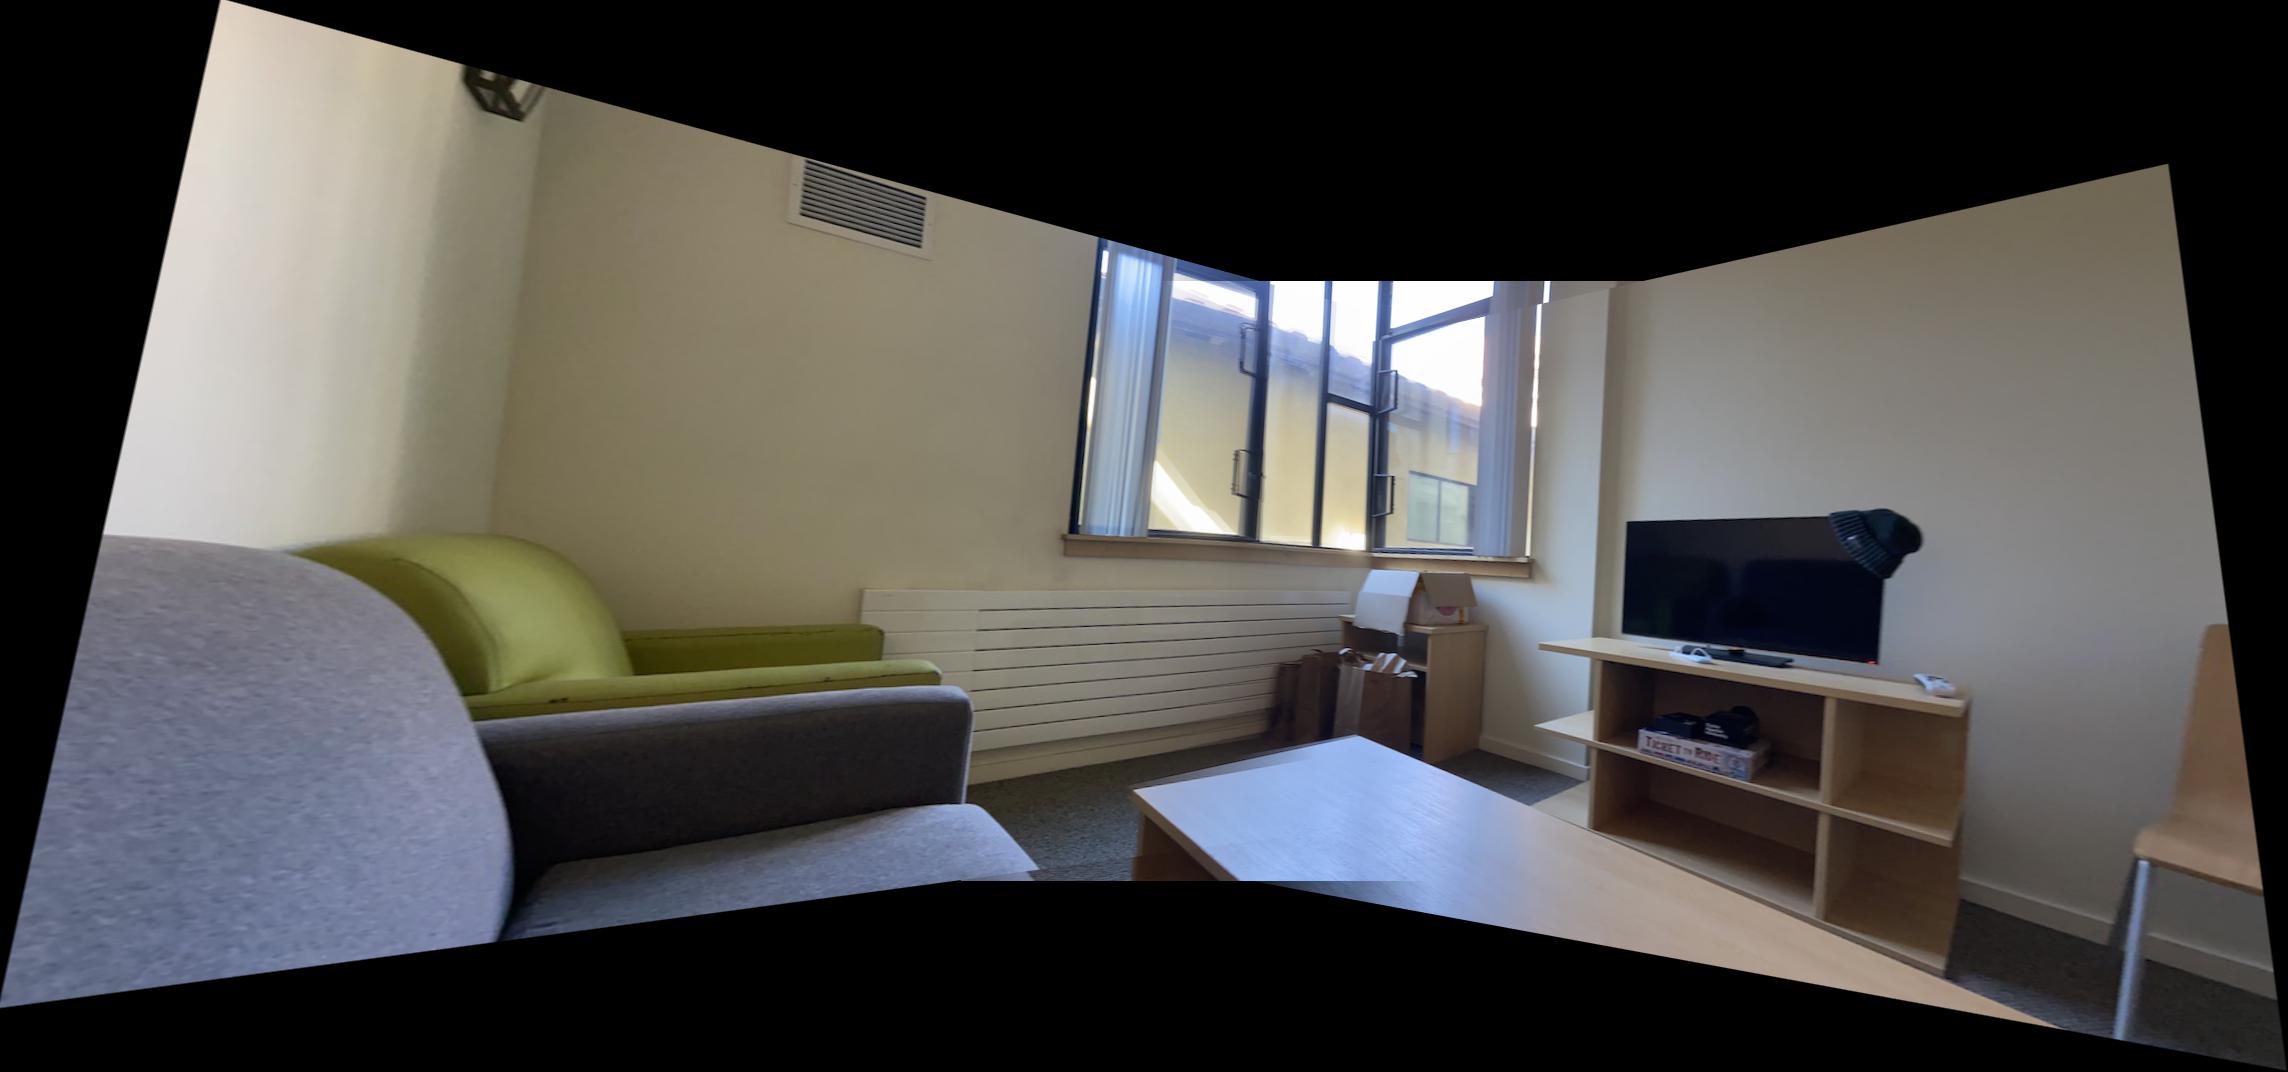
I used the homographies calculated from the previous part, and the same steps as part 1 of the project, to get the final panoramas.

Sofa