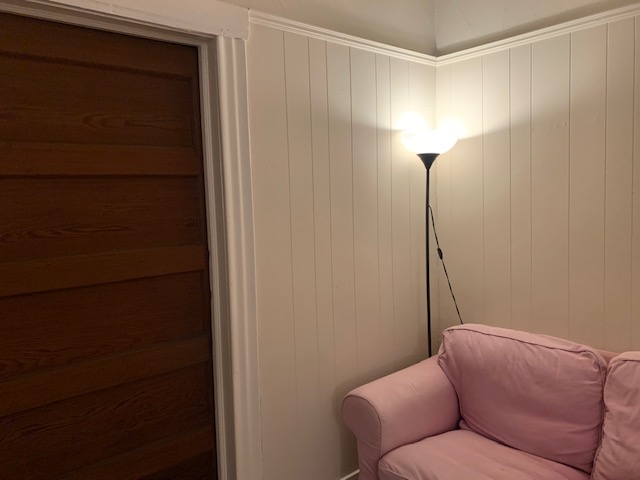
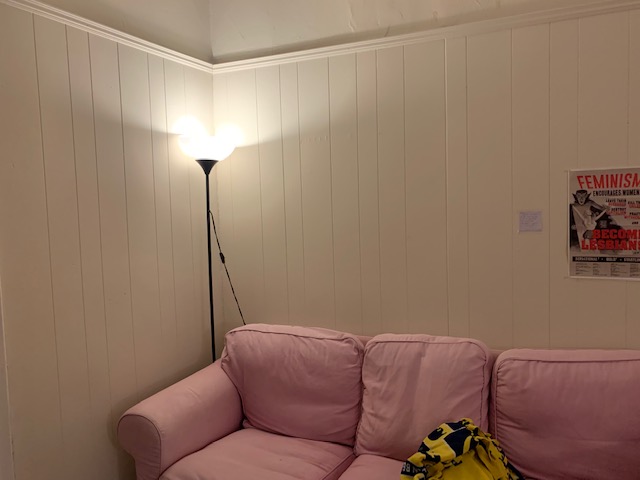
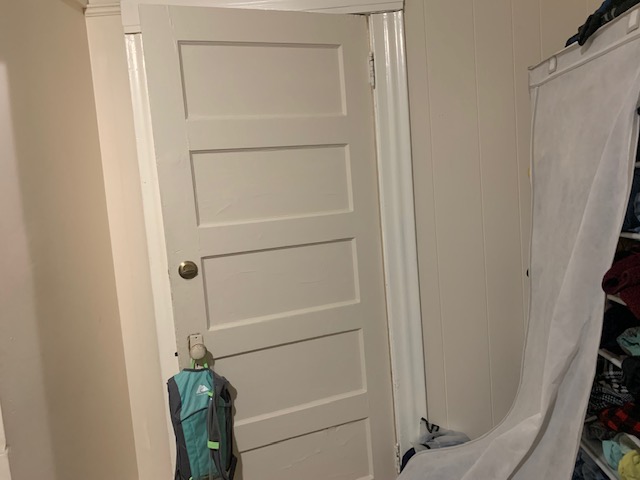
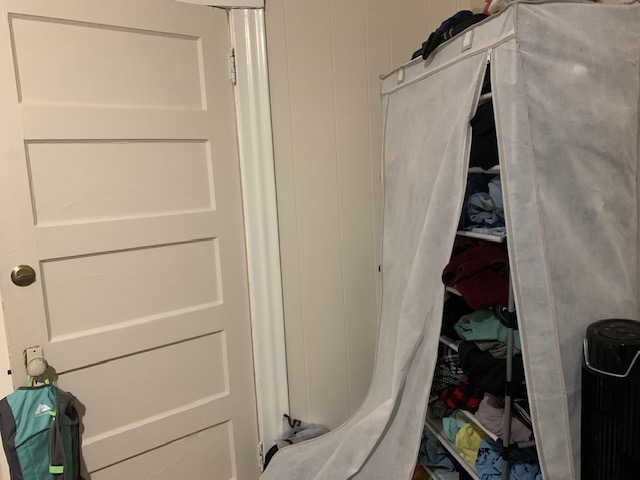
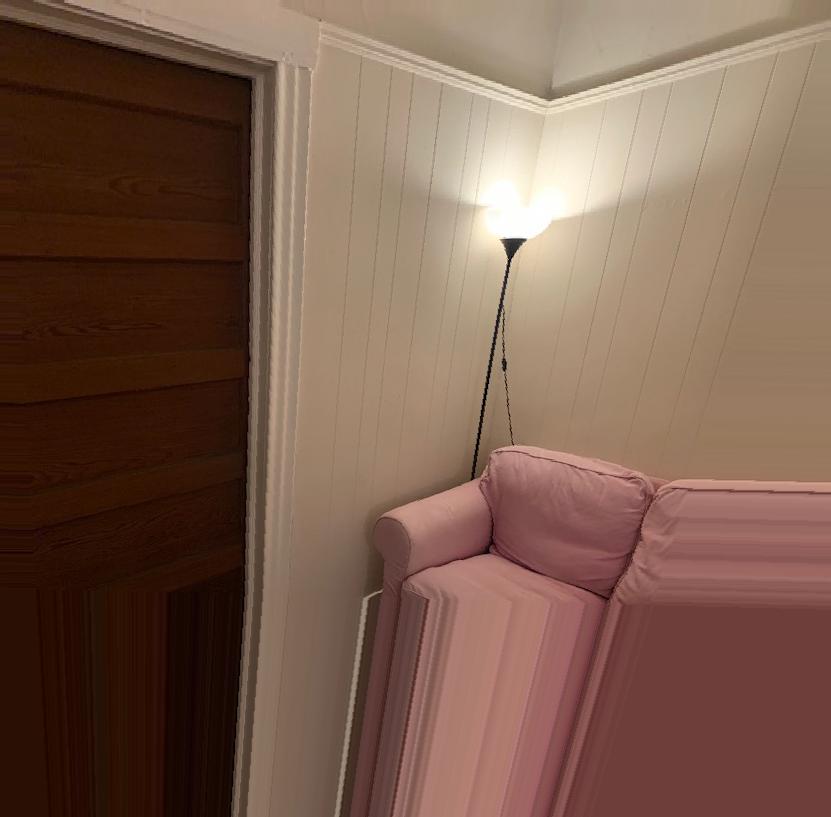
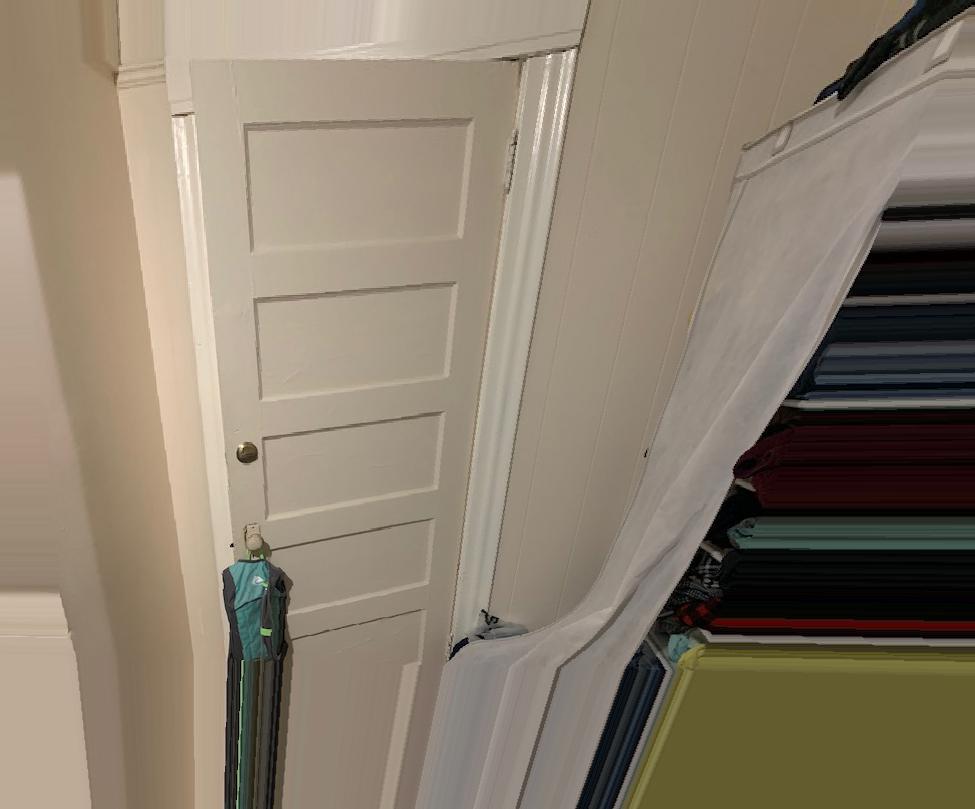
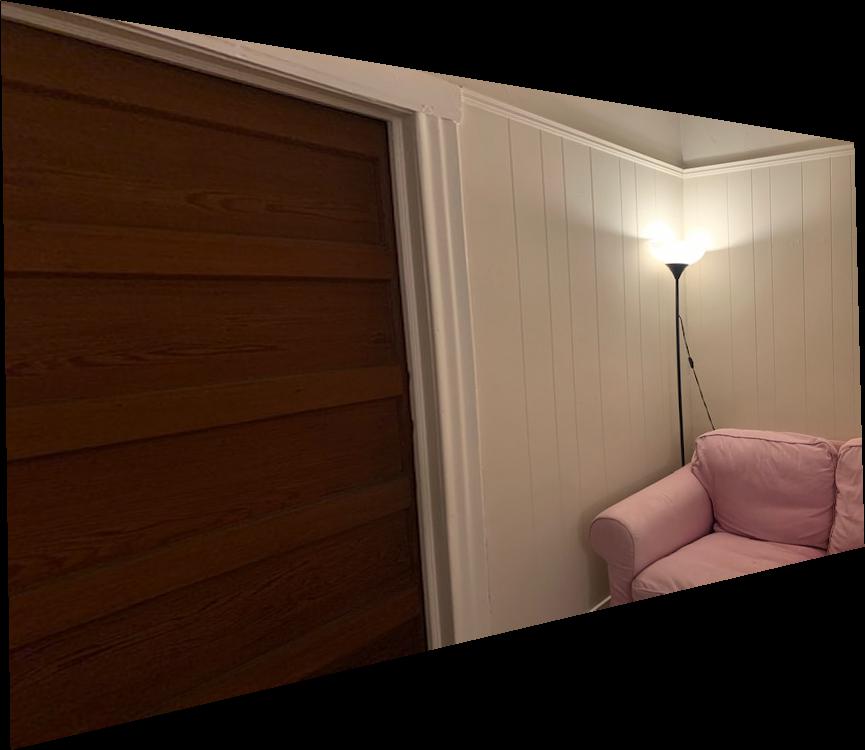
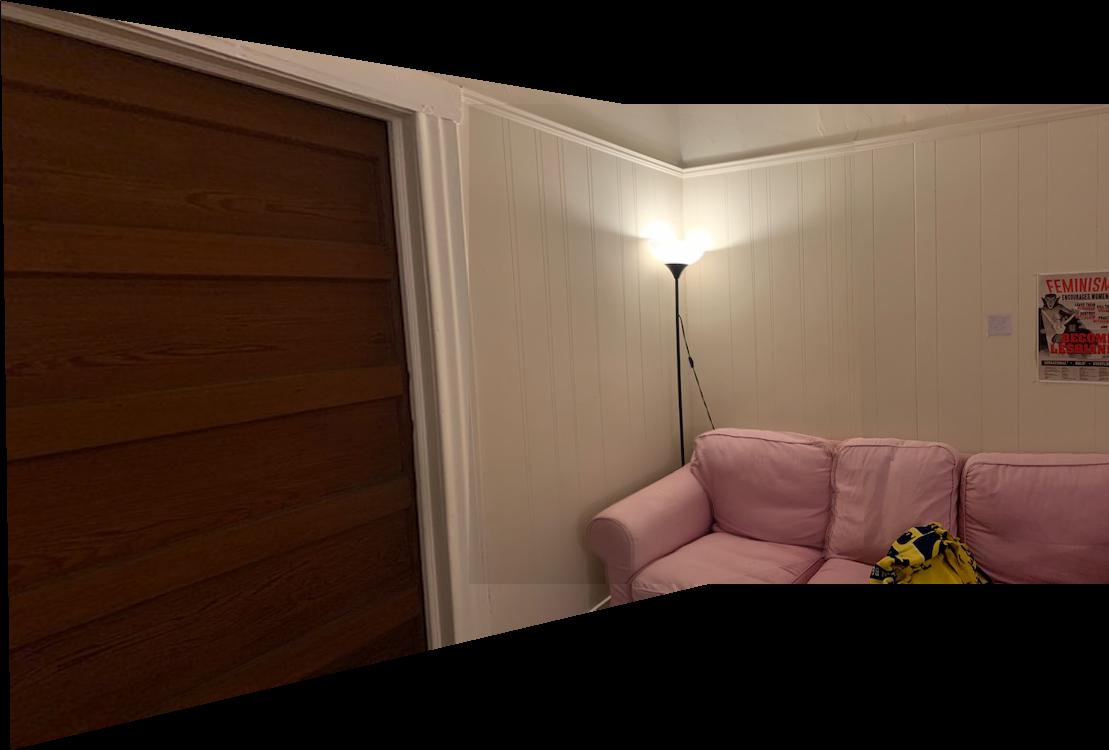
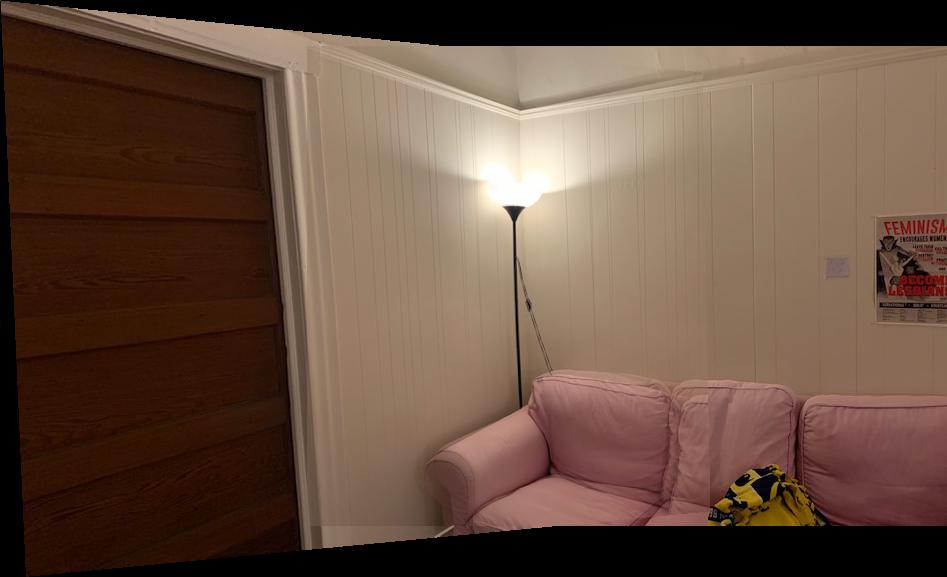
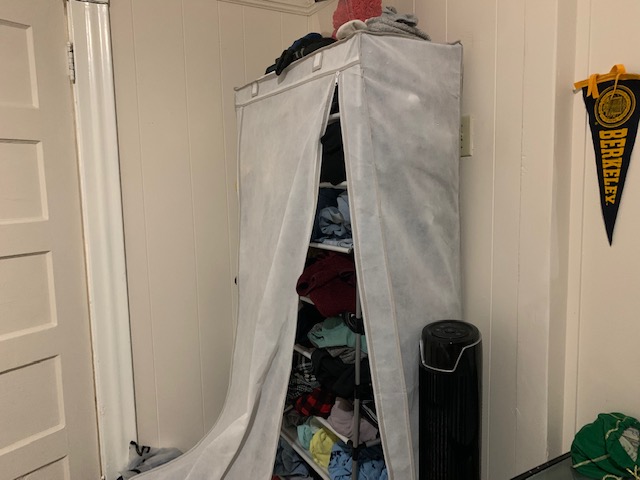
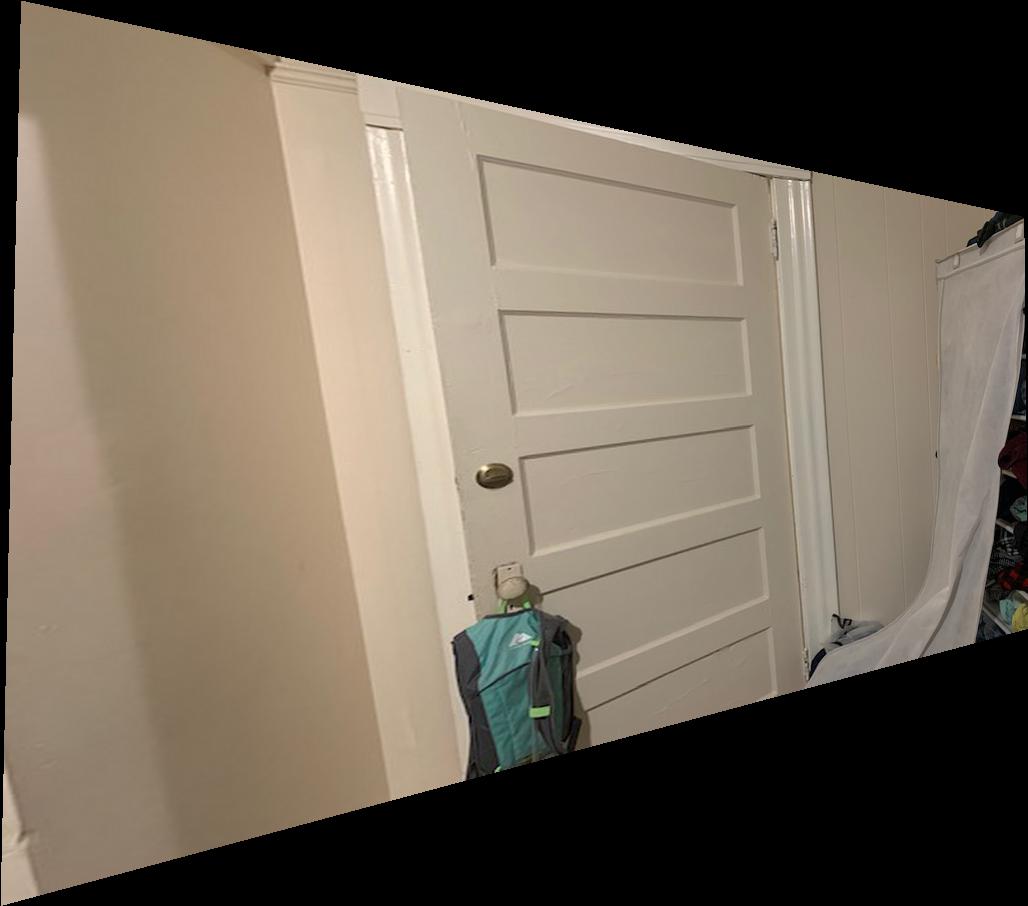
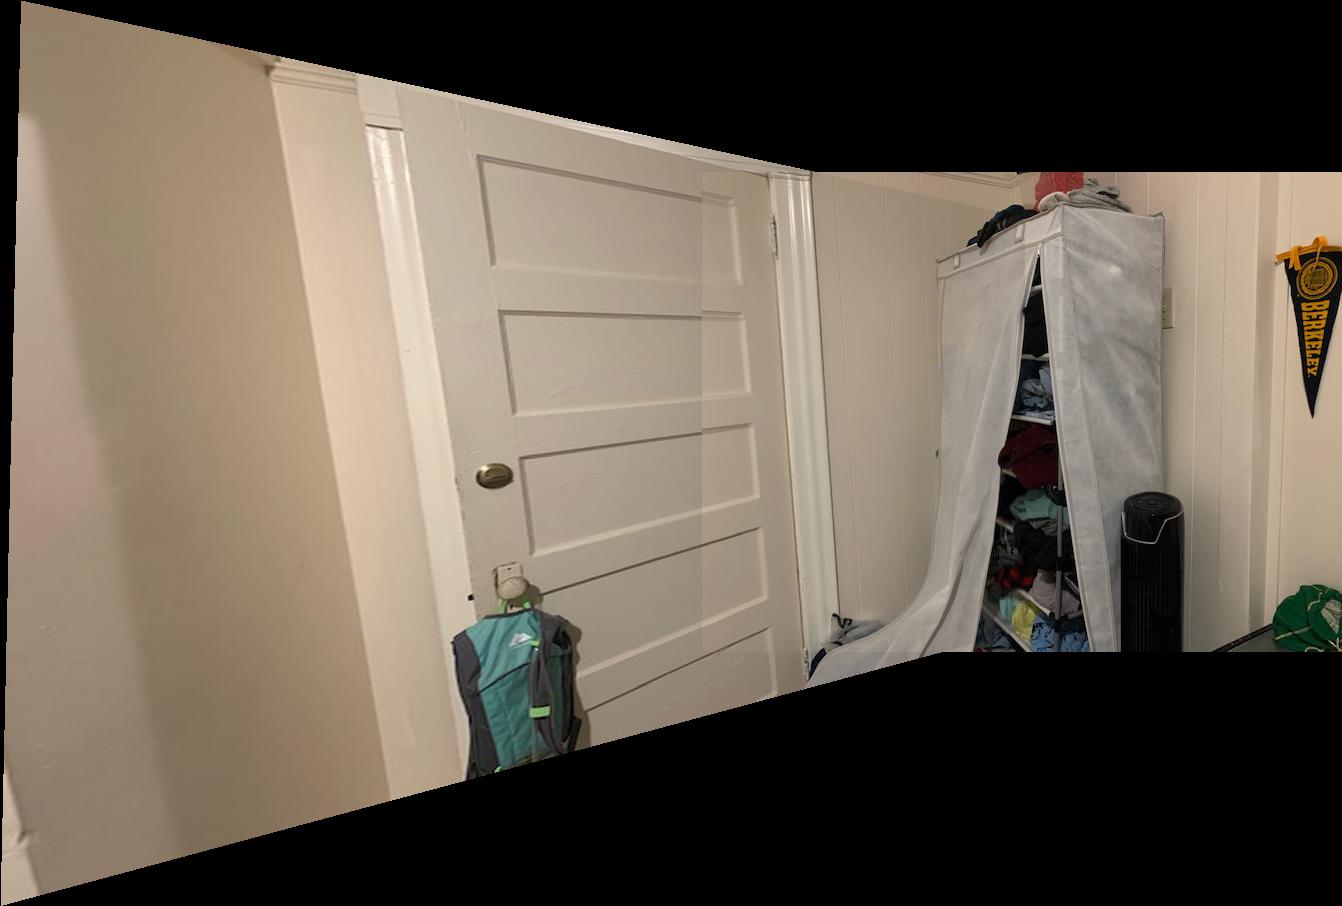
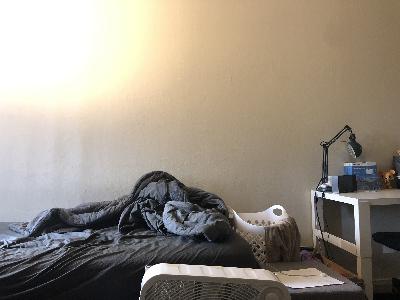
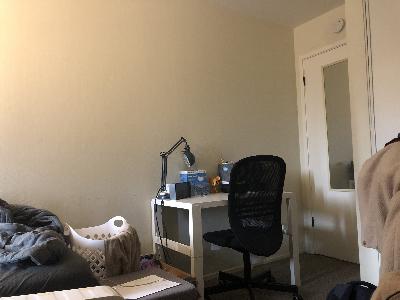
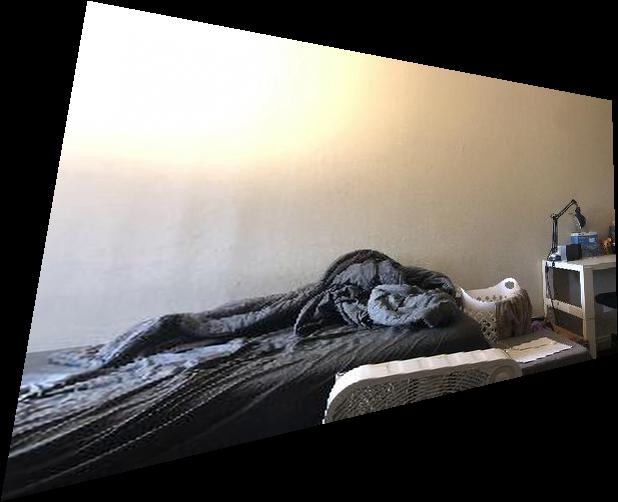
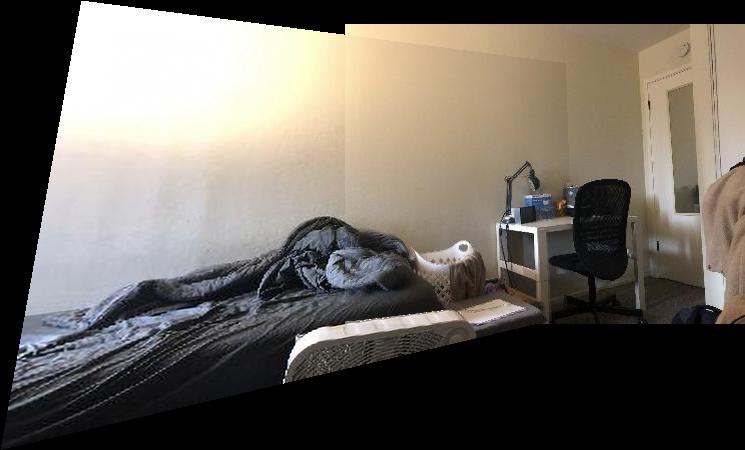
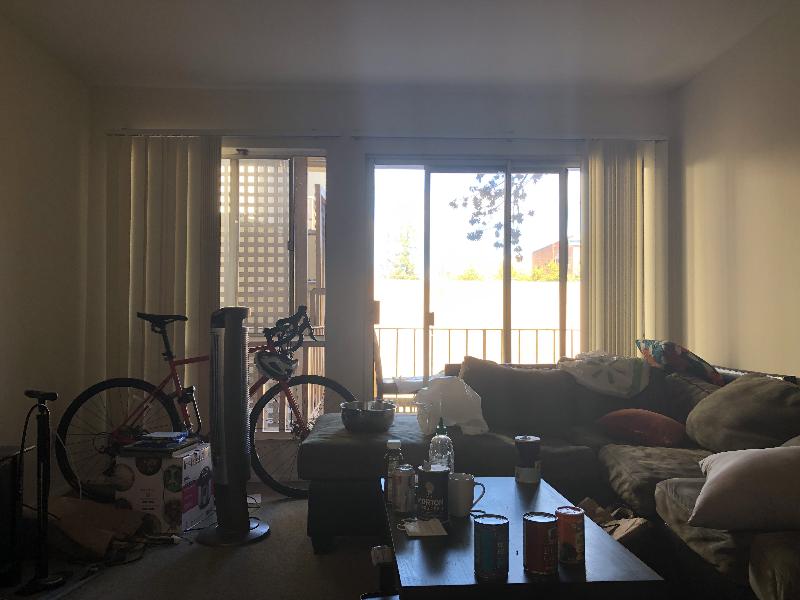
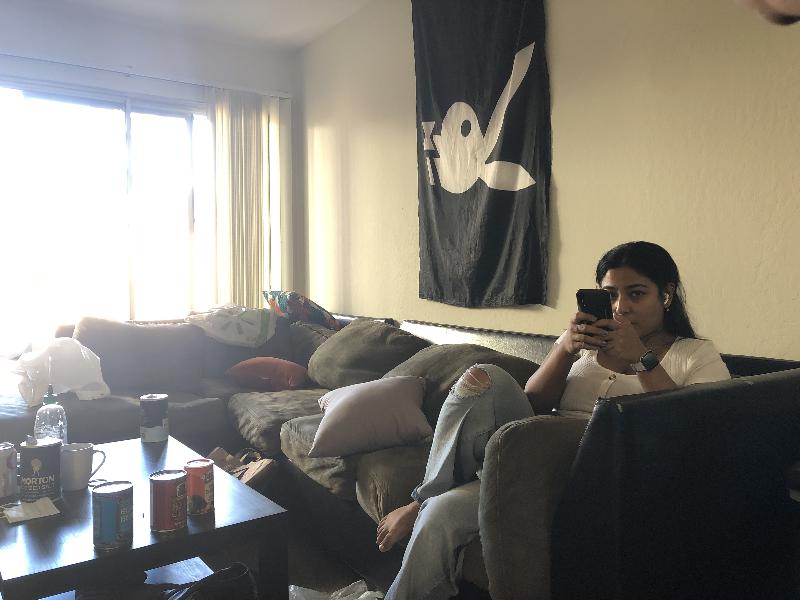
The following images are the images I was using to try to warp and mosaic. I know some of these images aren't perfect, but I was trying to get my code working first before going back and perfecting the images. Since I never was able to get the code completely working, I just ended up sticking with these images.
I selected the points with ginput on python. I used this article as a guide to help me build my function to compute the homographies. I had difficulty finishing the project so I double checked my homogaphy implementation against cv2.findhomography() to double check my implementation was correct.
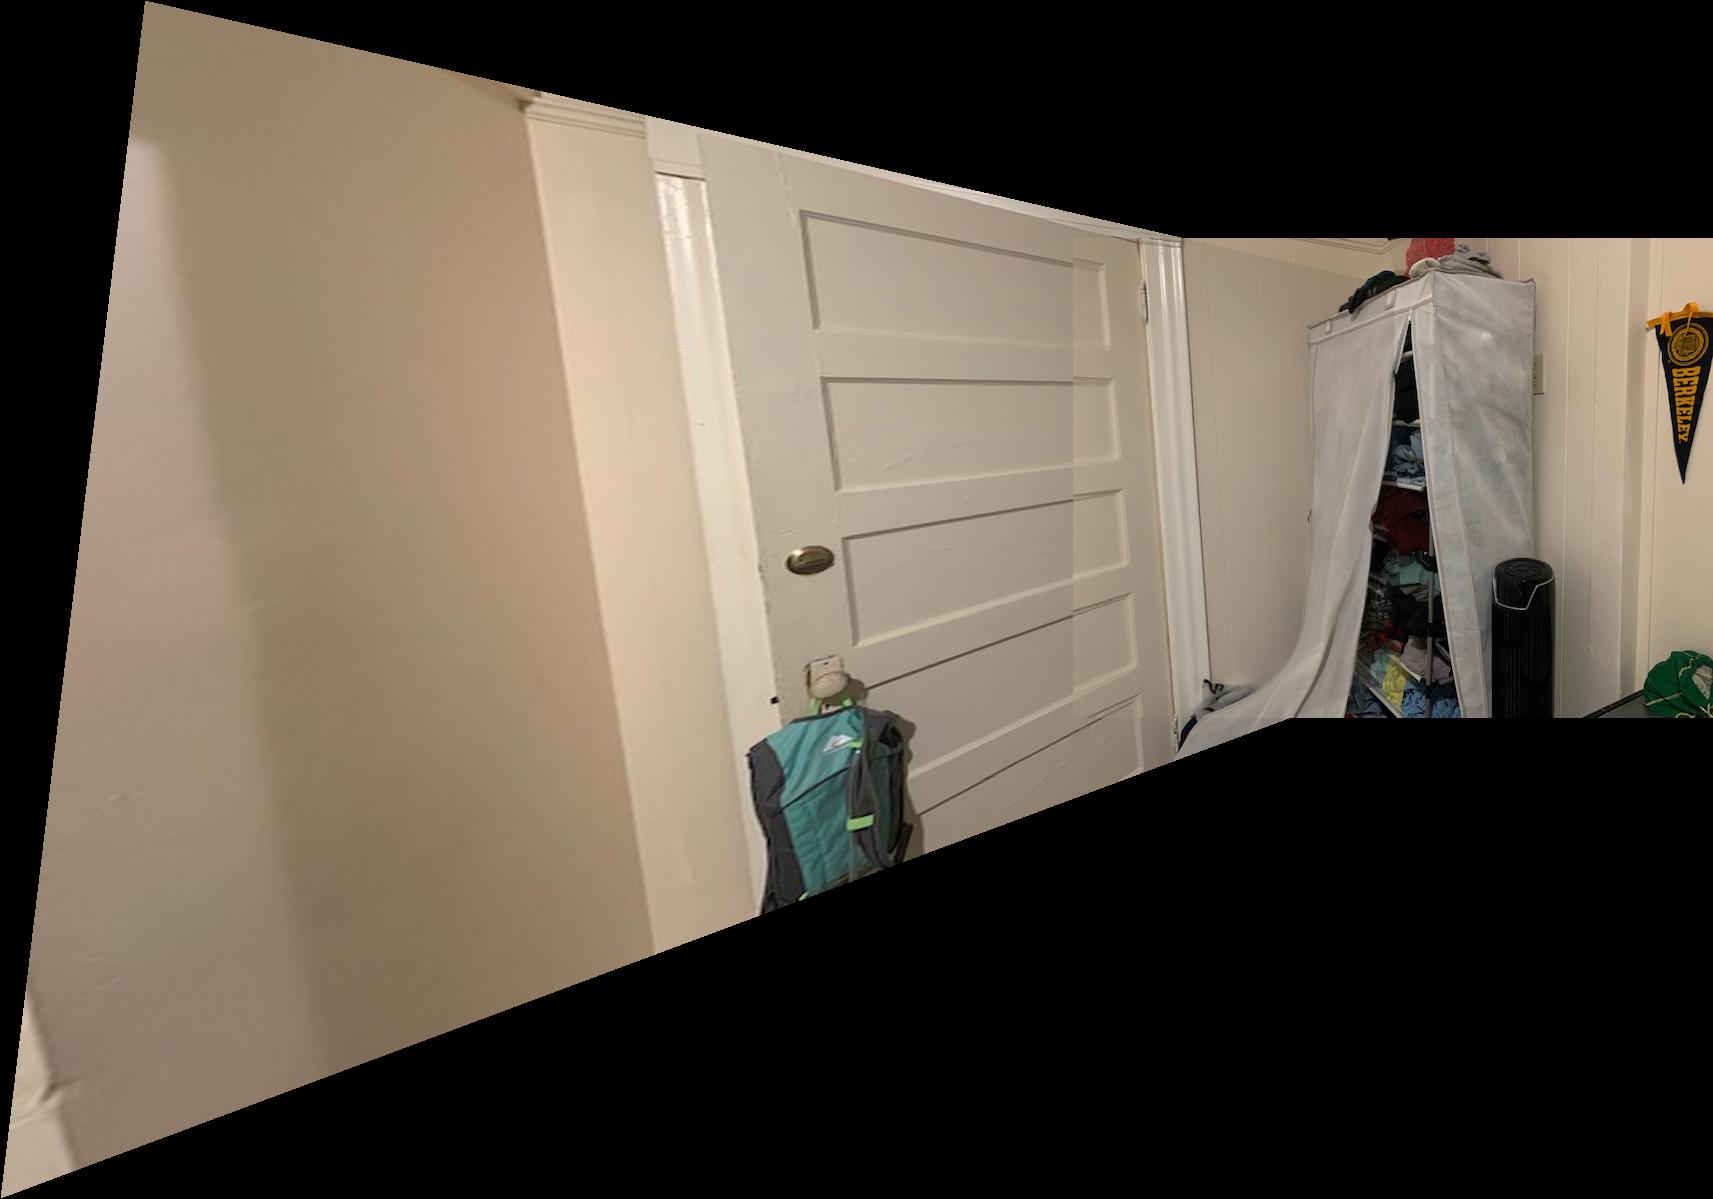
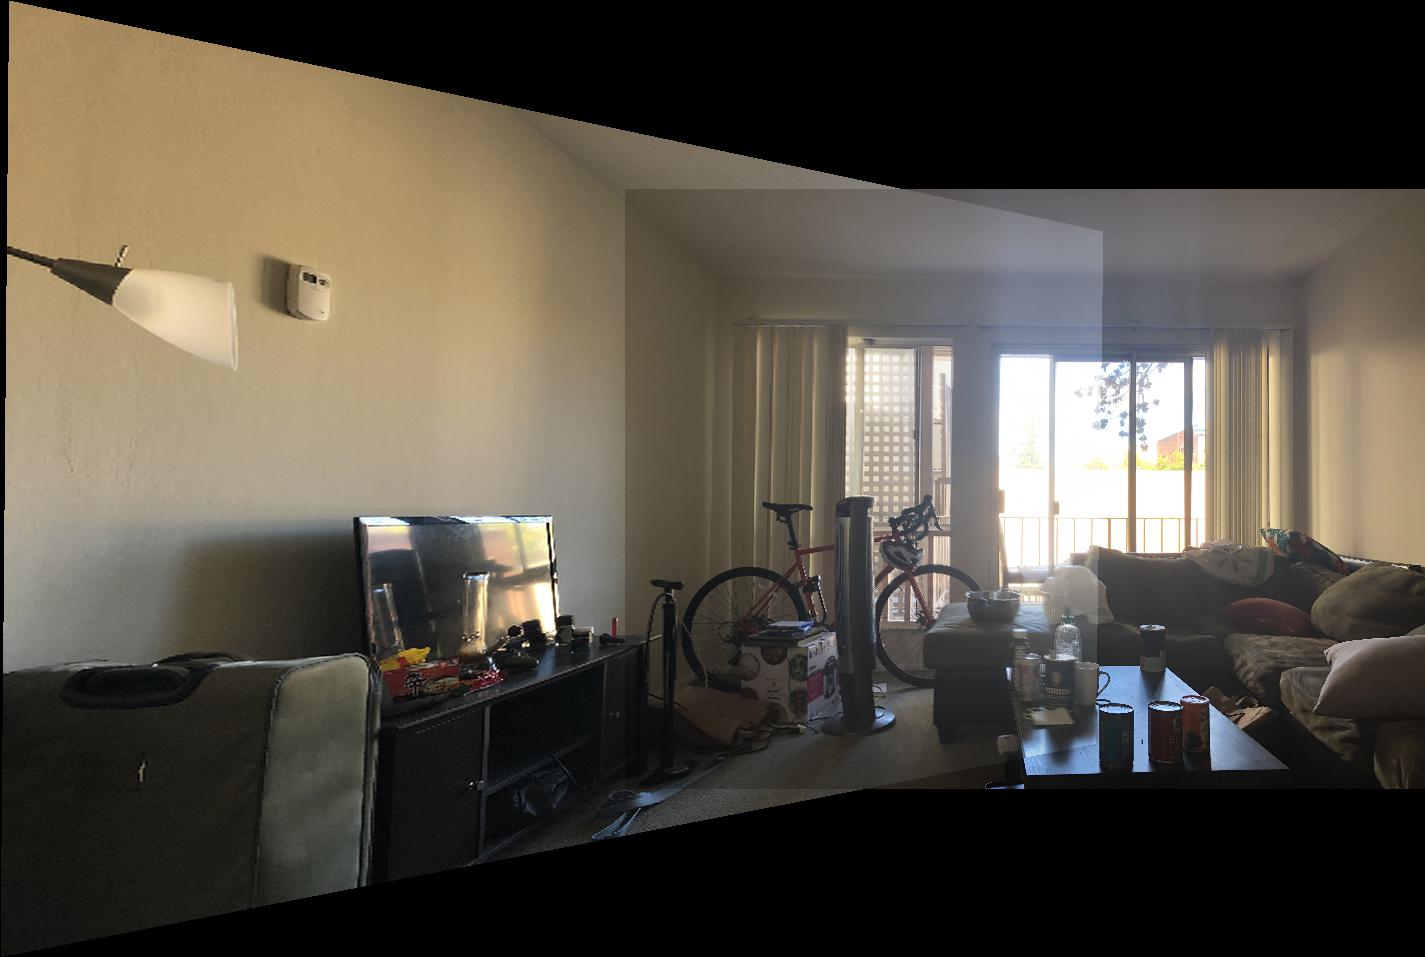
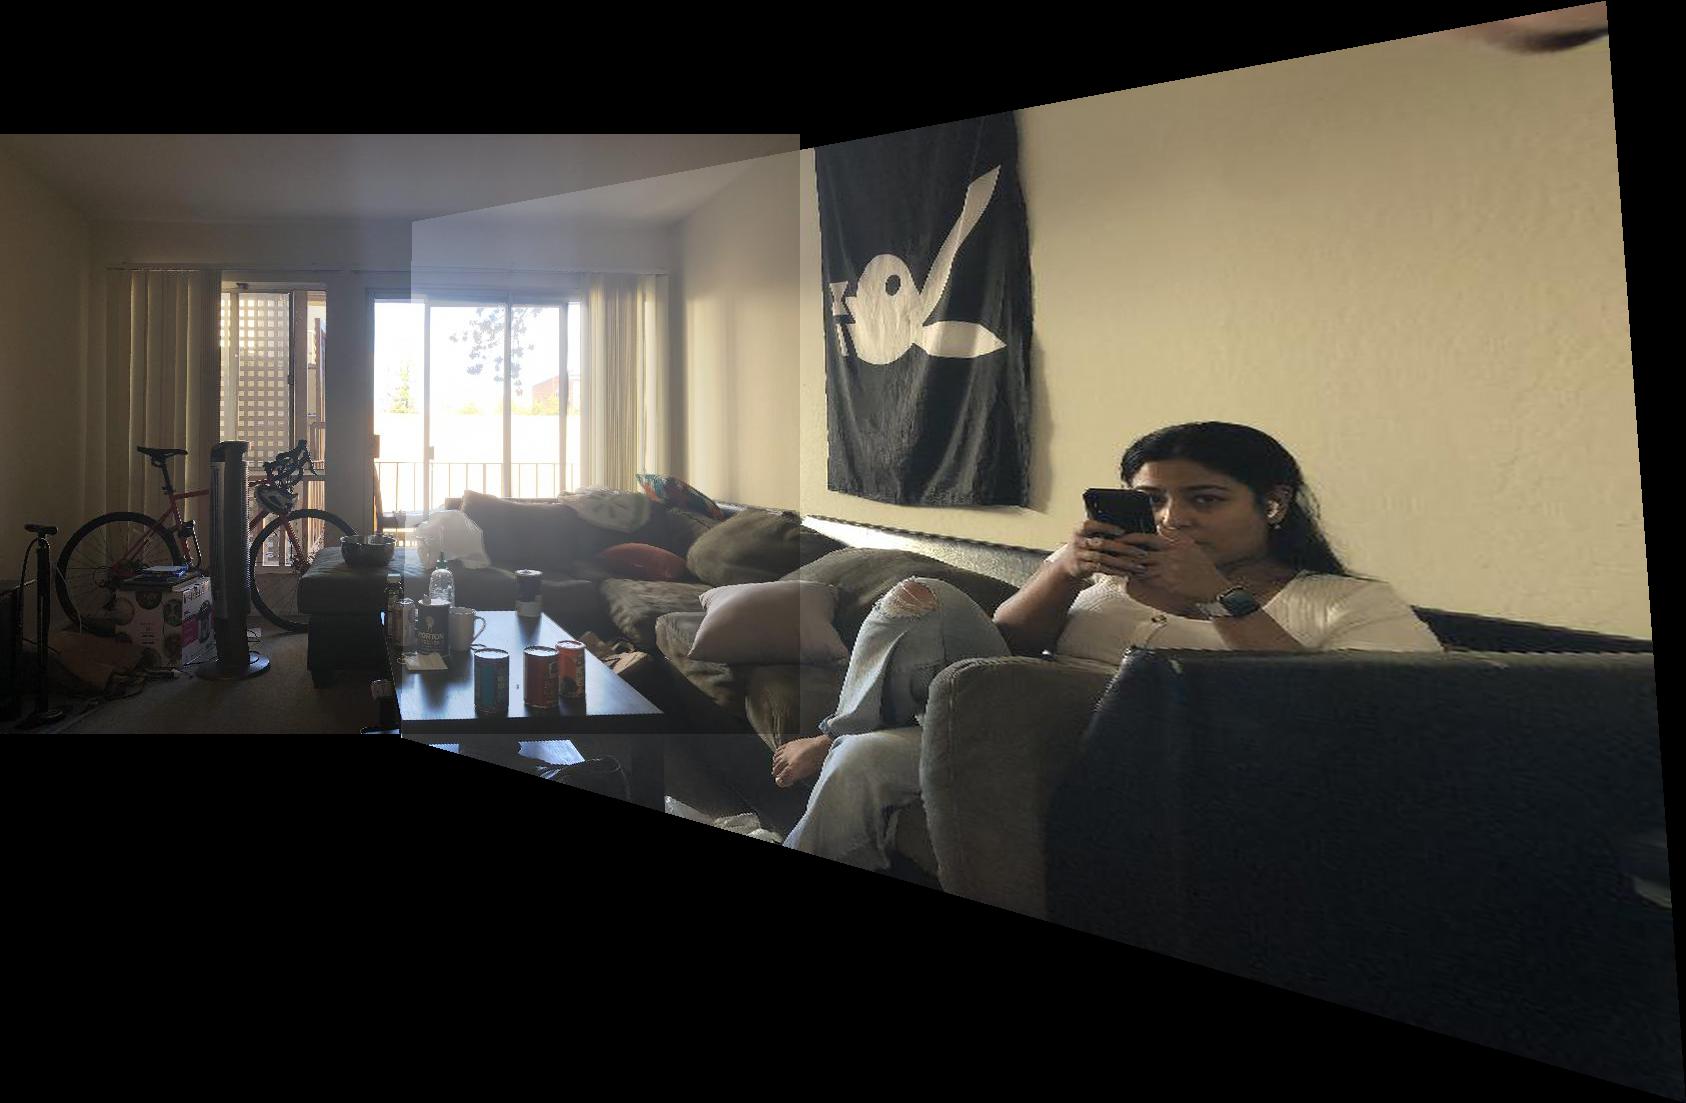
I had a lot of difficulties implementing my warp function. Below are the best results I could get. I couldn't figure out in the end how to remove the weird stretching artifacts. I think this is from the interpolation function I was using. I think if I could've found a way to 0 out that part of the image, the results would look a lot cleaner. Below are the left image, right image, and left image after warping.
I also tried to rectify my images as well, but the results did not turn out too well. The code for my attempt is in my notebook
Not done
I originally was using 6+ points for computing my homography and I was not getting my matrix correct. When I limited my points to just 4, my function immediately worked. I think in the future instead of assuming something won't work and trying to fix it ahead of time, I'll just try the simplest method first before trying something more clever or (what I think to be) more robust.
--------------------------------------
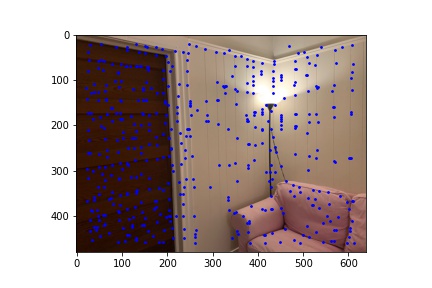
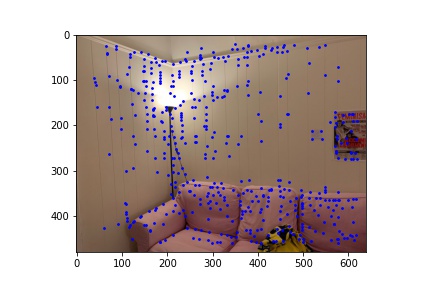
I used Prof. Eros's harris.py when implementing detecting corner features in an image. Below are the original left and right images and the detected corner features on those images.
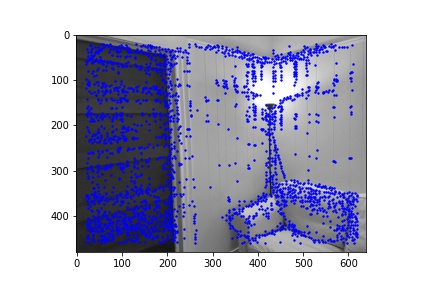
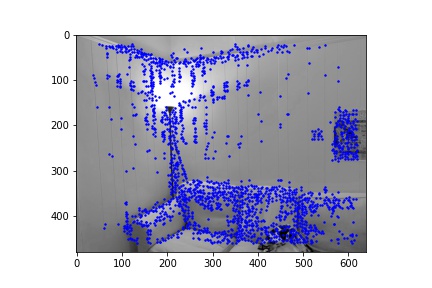
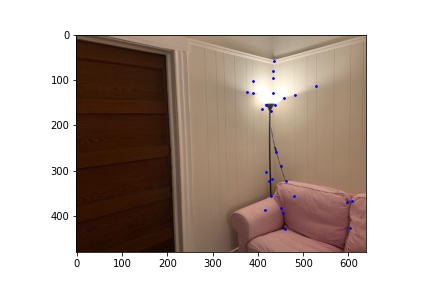
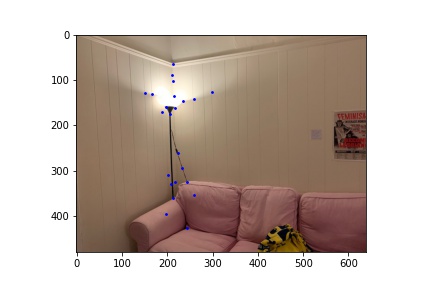
ANMS was used to decrease the number of detected corner features while also trying to keep the set of points somewhat spread uniformly on the image. Below is the result of running ANMS on the same detected corner features as above.
To extract the features I blurred the image and downsampled the 40 x 40 window centered around each detected corner (which survived ANMS) to an 8 x 8 window. These features are then normalized (subtract mean and divide by standard deviation). To match features, the SSD is found between feature_i and every other feature_j. If the ratio of the best_match SSD and the second_best_match SSD is below some threshold (0.1), then feature_i and its best_match feature are assumed to be the same feature (this will be checked later in our next steps). Below shows the locations of the matched features in the left and right image (same images as above).

The RANSAC algorithm was used to find a set of points from each image such that a robust homography could be estimated from them. Below are the matched features after RANSAC for the left and right image (the main difference is the triplet of points on the couch which were thrown out).

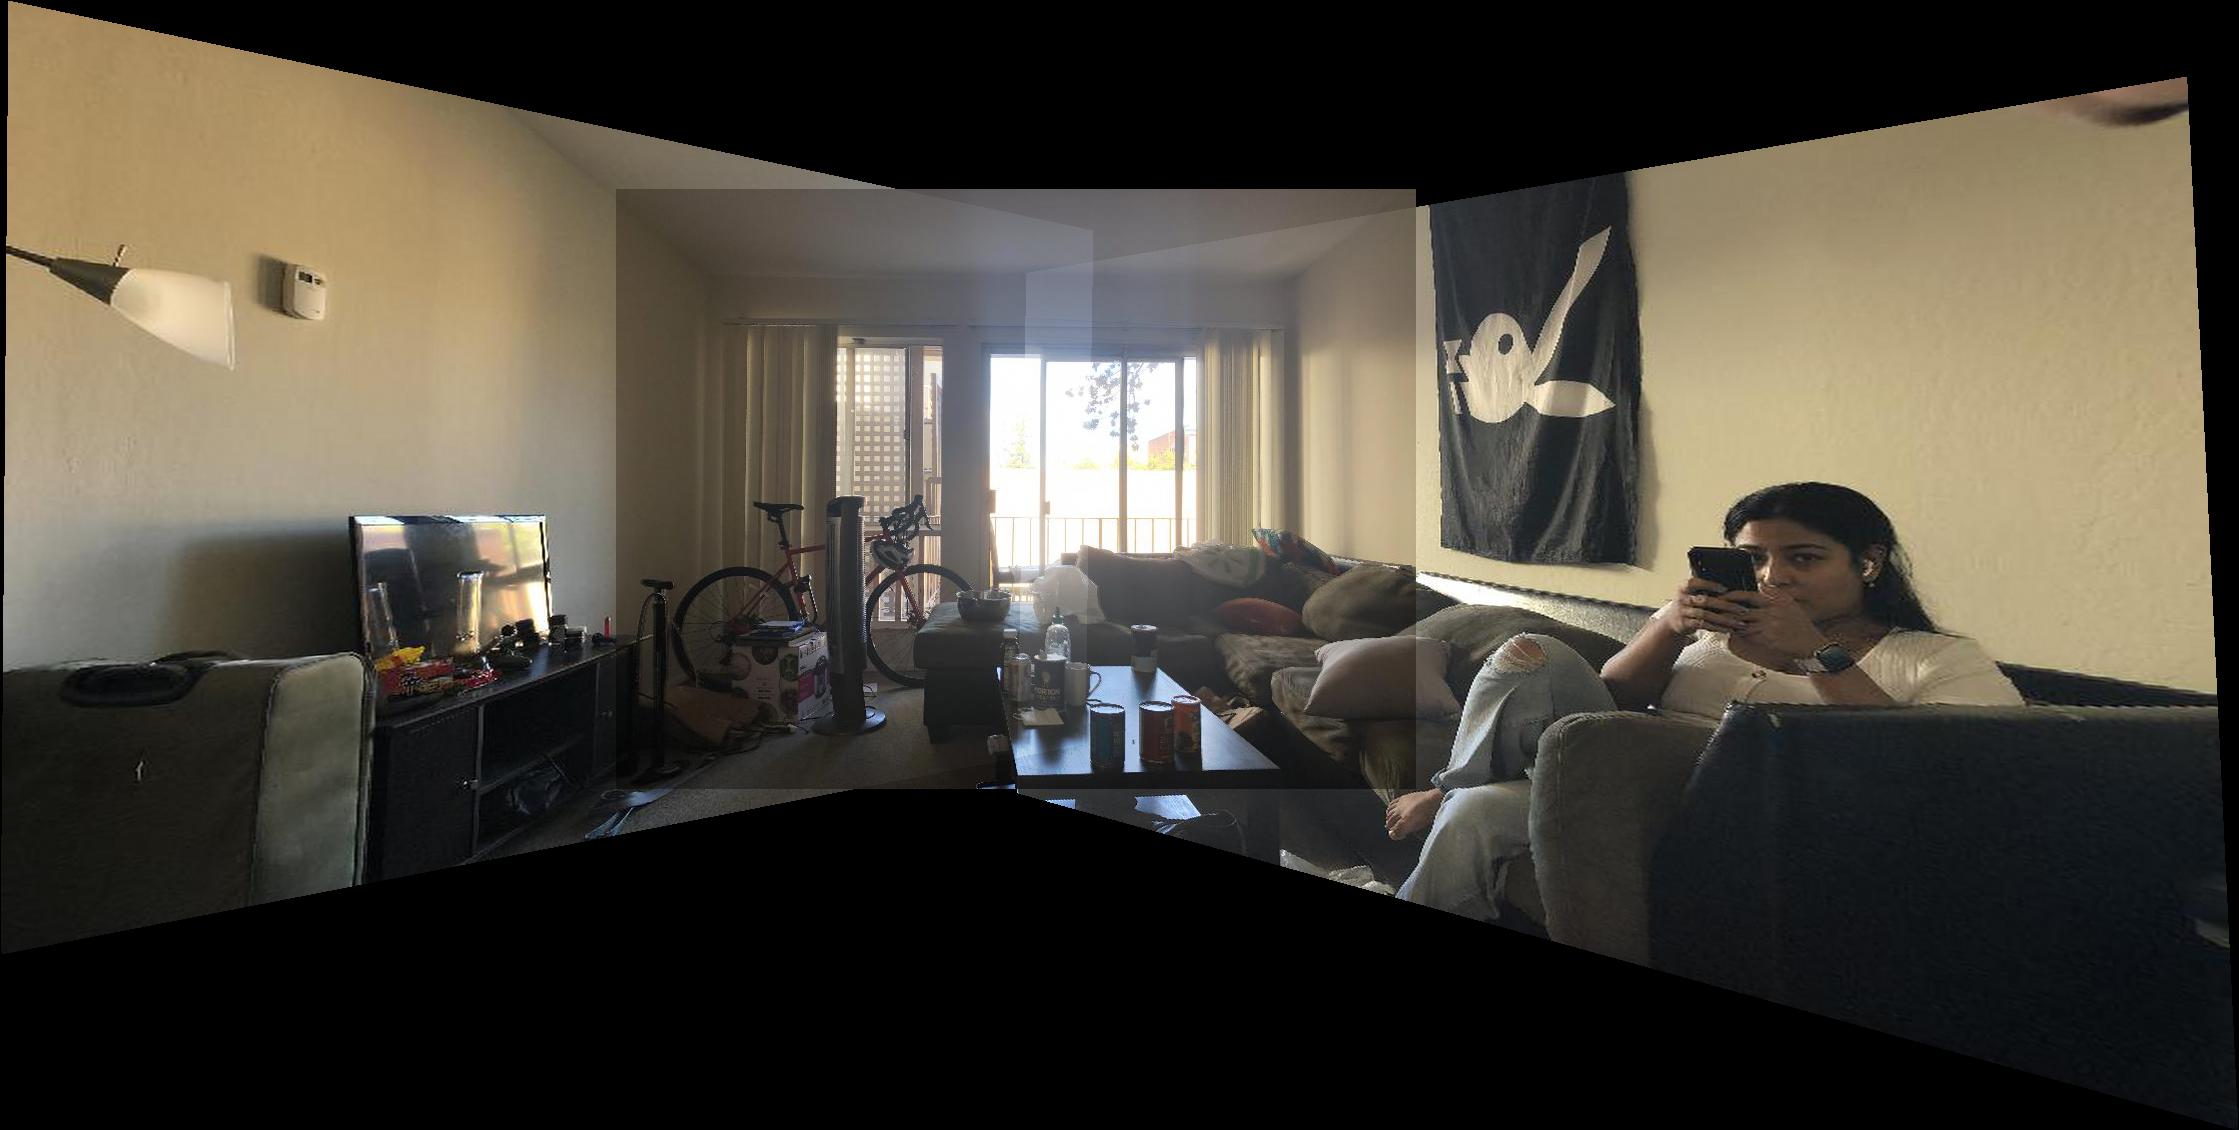
After narrowing down our set of points with RANSAC, we can use these set of points to find a robust homography. With the homography matrix we can then warp our image and create the mosaic. Below are the original left and right image, the warped left image, and the final automated mosaic. The last image is the same mosaic but done through the methodology of part A. My code didn't work too well for part A so I fixed it and created the mosaic that way.
This section will show the other results I have. Each section will show the original images, the automated warped intermediate(s), the final automated mosaic, and the final manual mosaic (generated with fixed part A code). For these images it shows how the robust points from part B are better than part A. Specifically, the warps seem to be tighter (closer to all corners) and the mosaics are a bit clearer, at least to my eyes, from part B compared to part A, which is cool to see!

For this example I was not able to generate the results for part A. I fixed my code for part A for every other example, but was not able to get it working for mosaics with > 2 images.

I didn't realize how sensitive part A was w.r.t. the correspondences until I did part B. The automation of selecting points was much easier, at least for me, than selecting points and trying to get a good homography. I also learned how its important to write code that is easy to expand upon. For example, originally I was only warping my left image and creating the mosaic that way. However, for the 3 image mosaic I had to warp and mosaic the right image. This took me a while to figure out when I could've had a generic mosaic function that worked regardless of the direction. Another thing I learned was the importance of trying to balance out brightness and other natural things when taking the picture. I feel like some of my mosaics could have been a bit better if I was able to get the brightness more uniform across all the images. I tried normalizing the images, but some images (such as the Living Room 2 example) were too different in brightness intensities for the normalization to have a smoothening impact on the outputted mosaic.