[Auto]Stitching Photo Mosaics
Francis Pan
In the first part of this project, I will be using point correspondences (at least 4 points) to recover
homographies to perform perspective warping on images. This can then be used to "rectify" images as well
as create images that can be used for photo mosaics or panoramas.
Part 1: Image Warping and Mosaicing
Recovering Homographies
In order to begin warping, we need to be able to recover homographies, using at least 4
corresponding points to do so (more is better). A homography is defined as such:
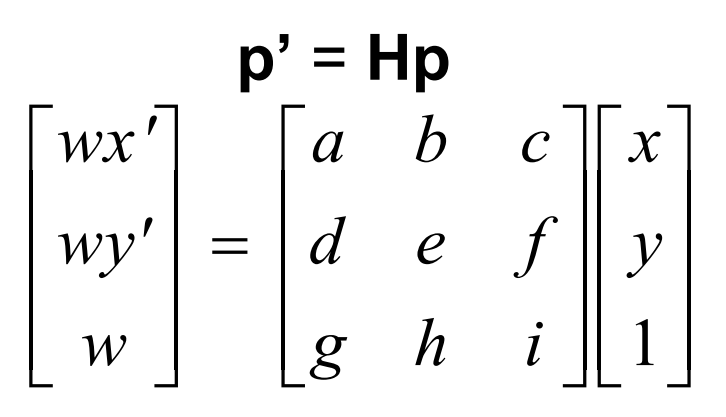 p is our original point and p' is the desired point
|
As you can see, there are 8 unknowns, meaning we need at a minimum 8 equations to solve for our
homography matrix H. This is why we need two sets of 4 points at a minimum, to build those 8 equations.
We will then use the n >= 4 corresponding points from both "source" and "destination" to set up the
matricies below and then use least squares to solve for the h vector, which can then be reshaped to form
our H matrix.
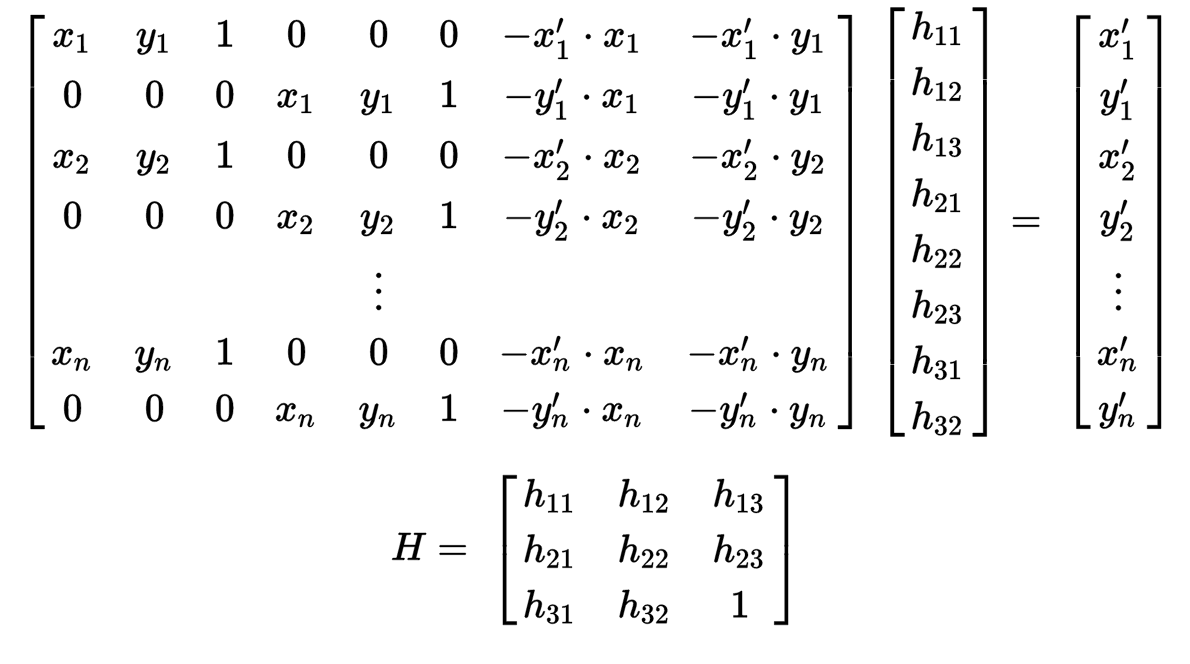 Matrix setup to solve for H using least squares
|
After we have the homography matrix, we are now ready to warp images.
Image Rectification
One use of homographies is to warp images such that they are "rectified". We can achieve this by
solving for the homography matrix from points in an image that are meant to be square/rectangular, paired
with hard coded square/rectangles (such as [[0, 0], [0, 1], [1, 1], [1, 0]]). Below are some examples
of images that have been "rectified".
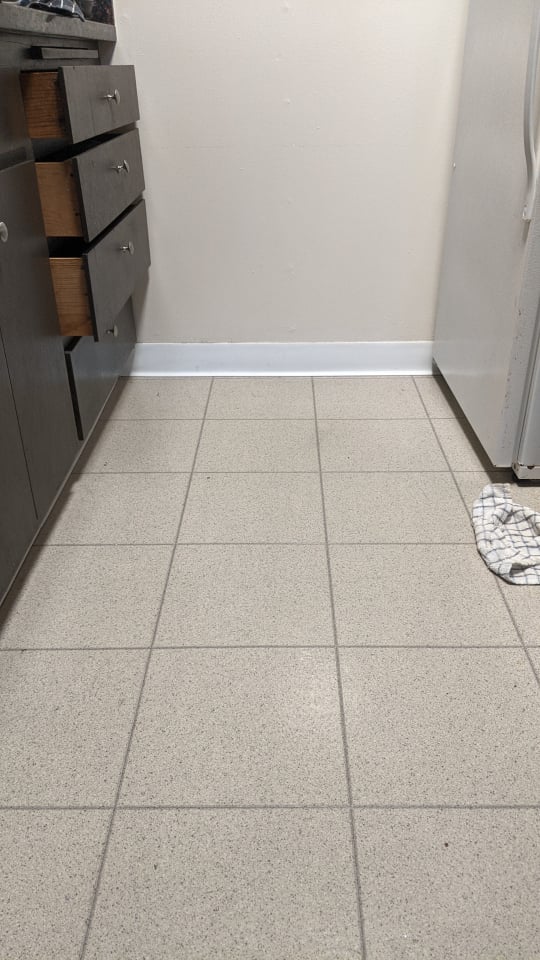 Original image of kitchen floor
|
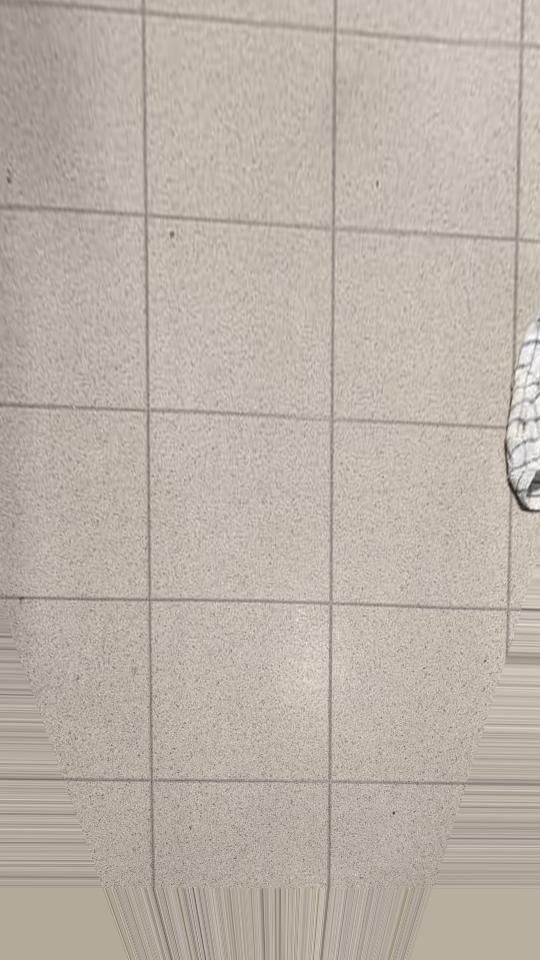 "Rectified" image
|
 With points for reference. Blue: orig, Red: new
|
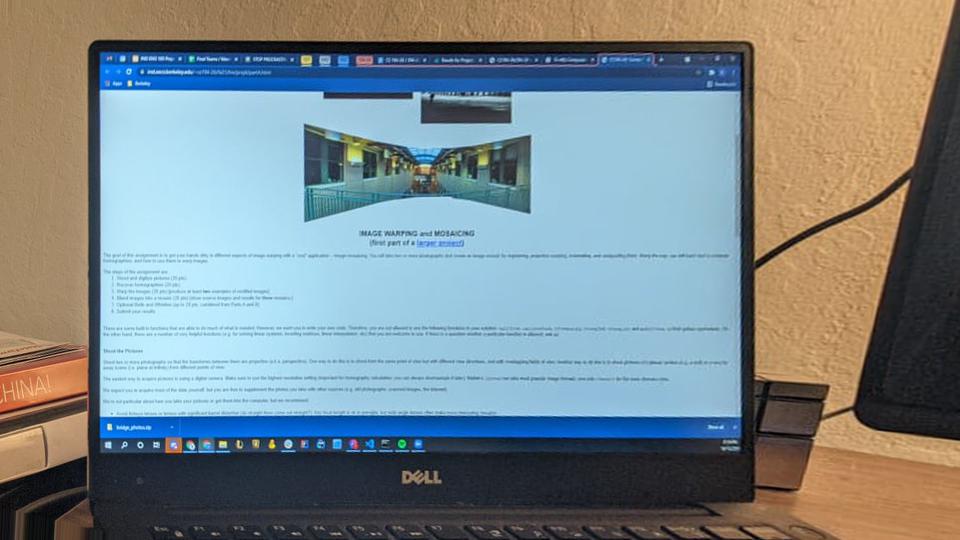
 Original image of laptop screen
|
 "Rectified" image
|
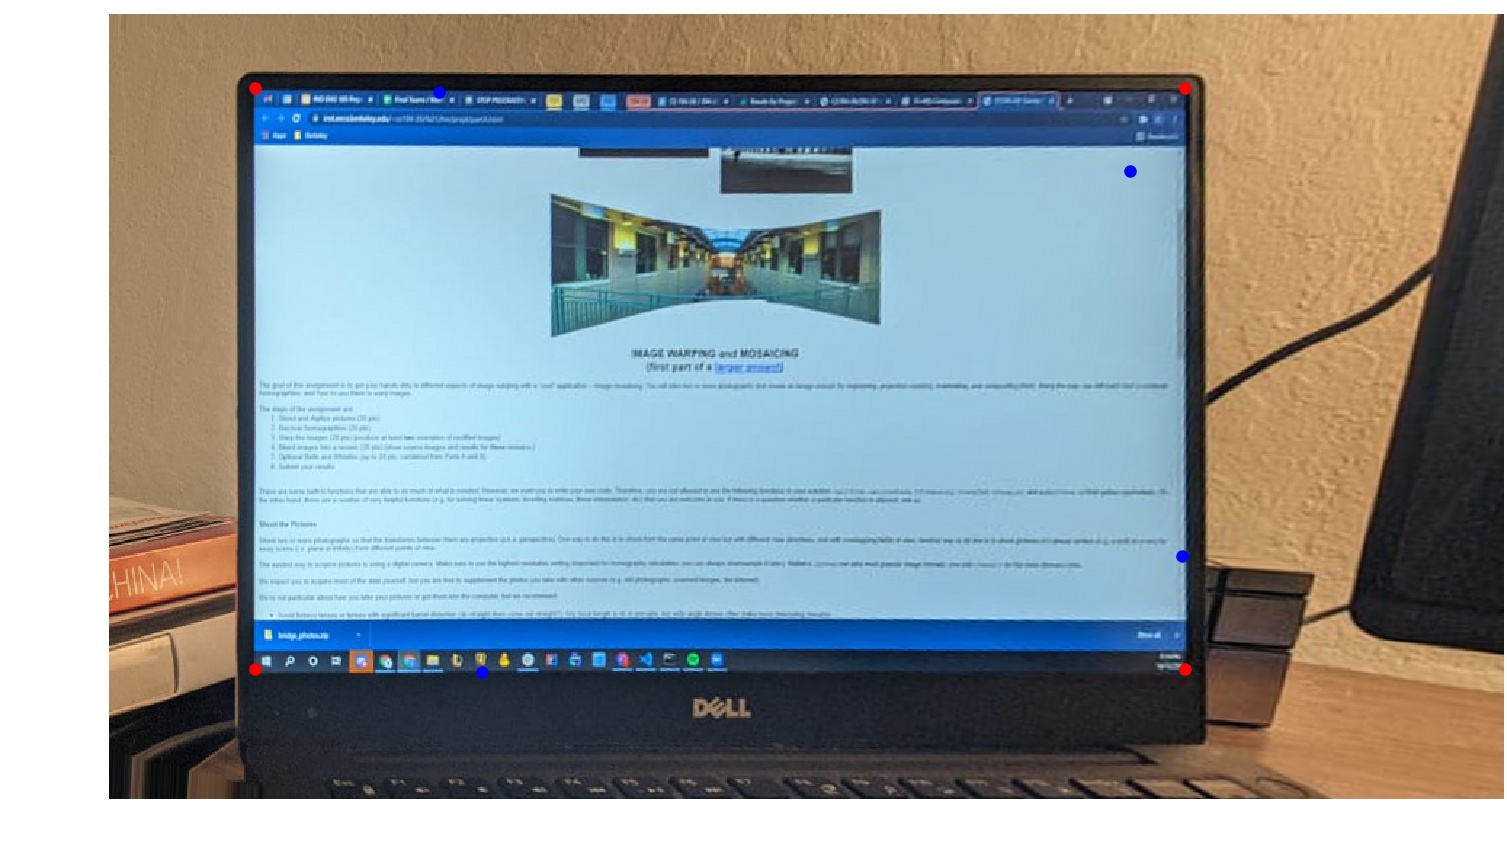 With points for reference
|
Blending in Mosaics
The next step is to warp and blend two or more images together to produce mosaics, or
panoramas. The process is very similar to rectification, but now we are simply warping one or more
images to the same perspective (could be the perspective of a base image of our choosing). We then
average the images where they overlap, and blend the edges of the overlap by taking a weighted average
(using alpha feathering). Because we not need to fit both images into one, we also need to calculate
the size of the bounding box that will accomodate both the warped image and the base image, and then
fit them both into the bounding box prior to blending. Below are some examples.
David's Desk
 Original Left
|
 Original Right
|
 Left image fit into bounding box
|
 Warped Right image
|
 Blended images in bounding box
|
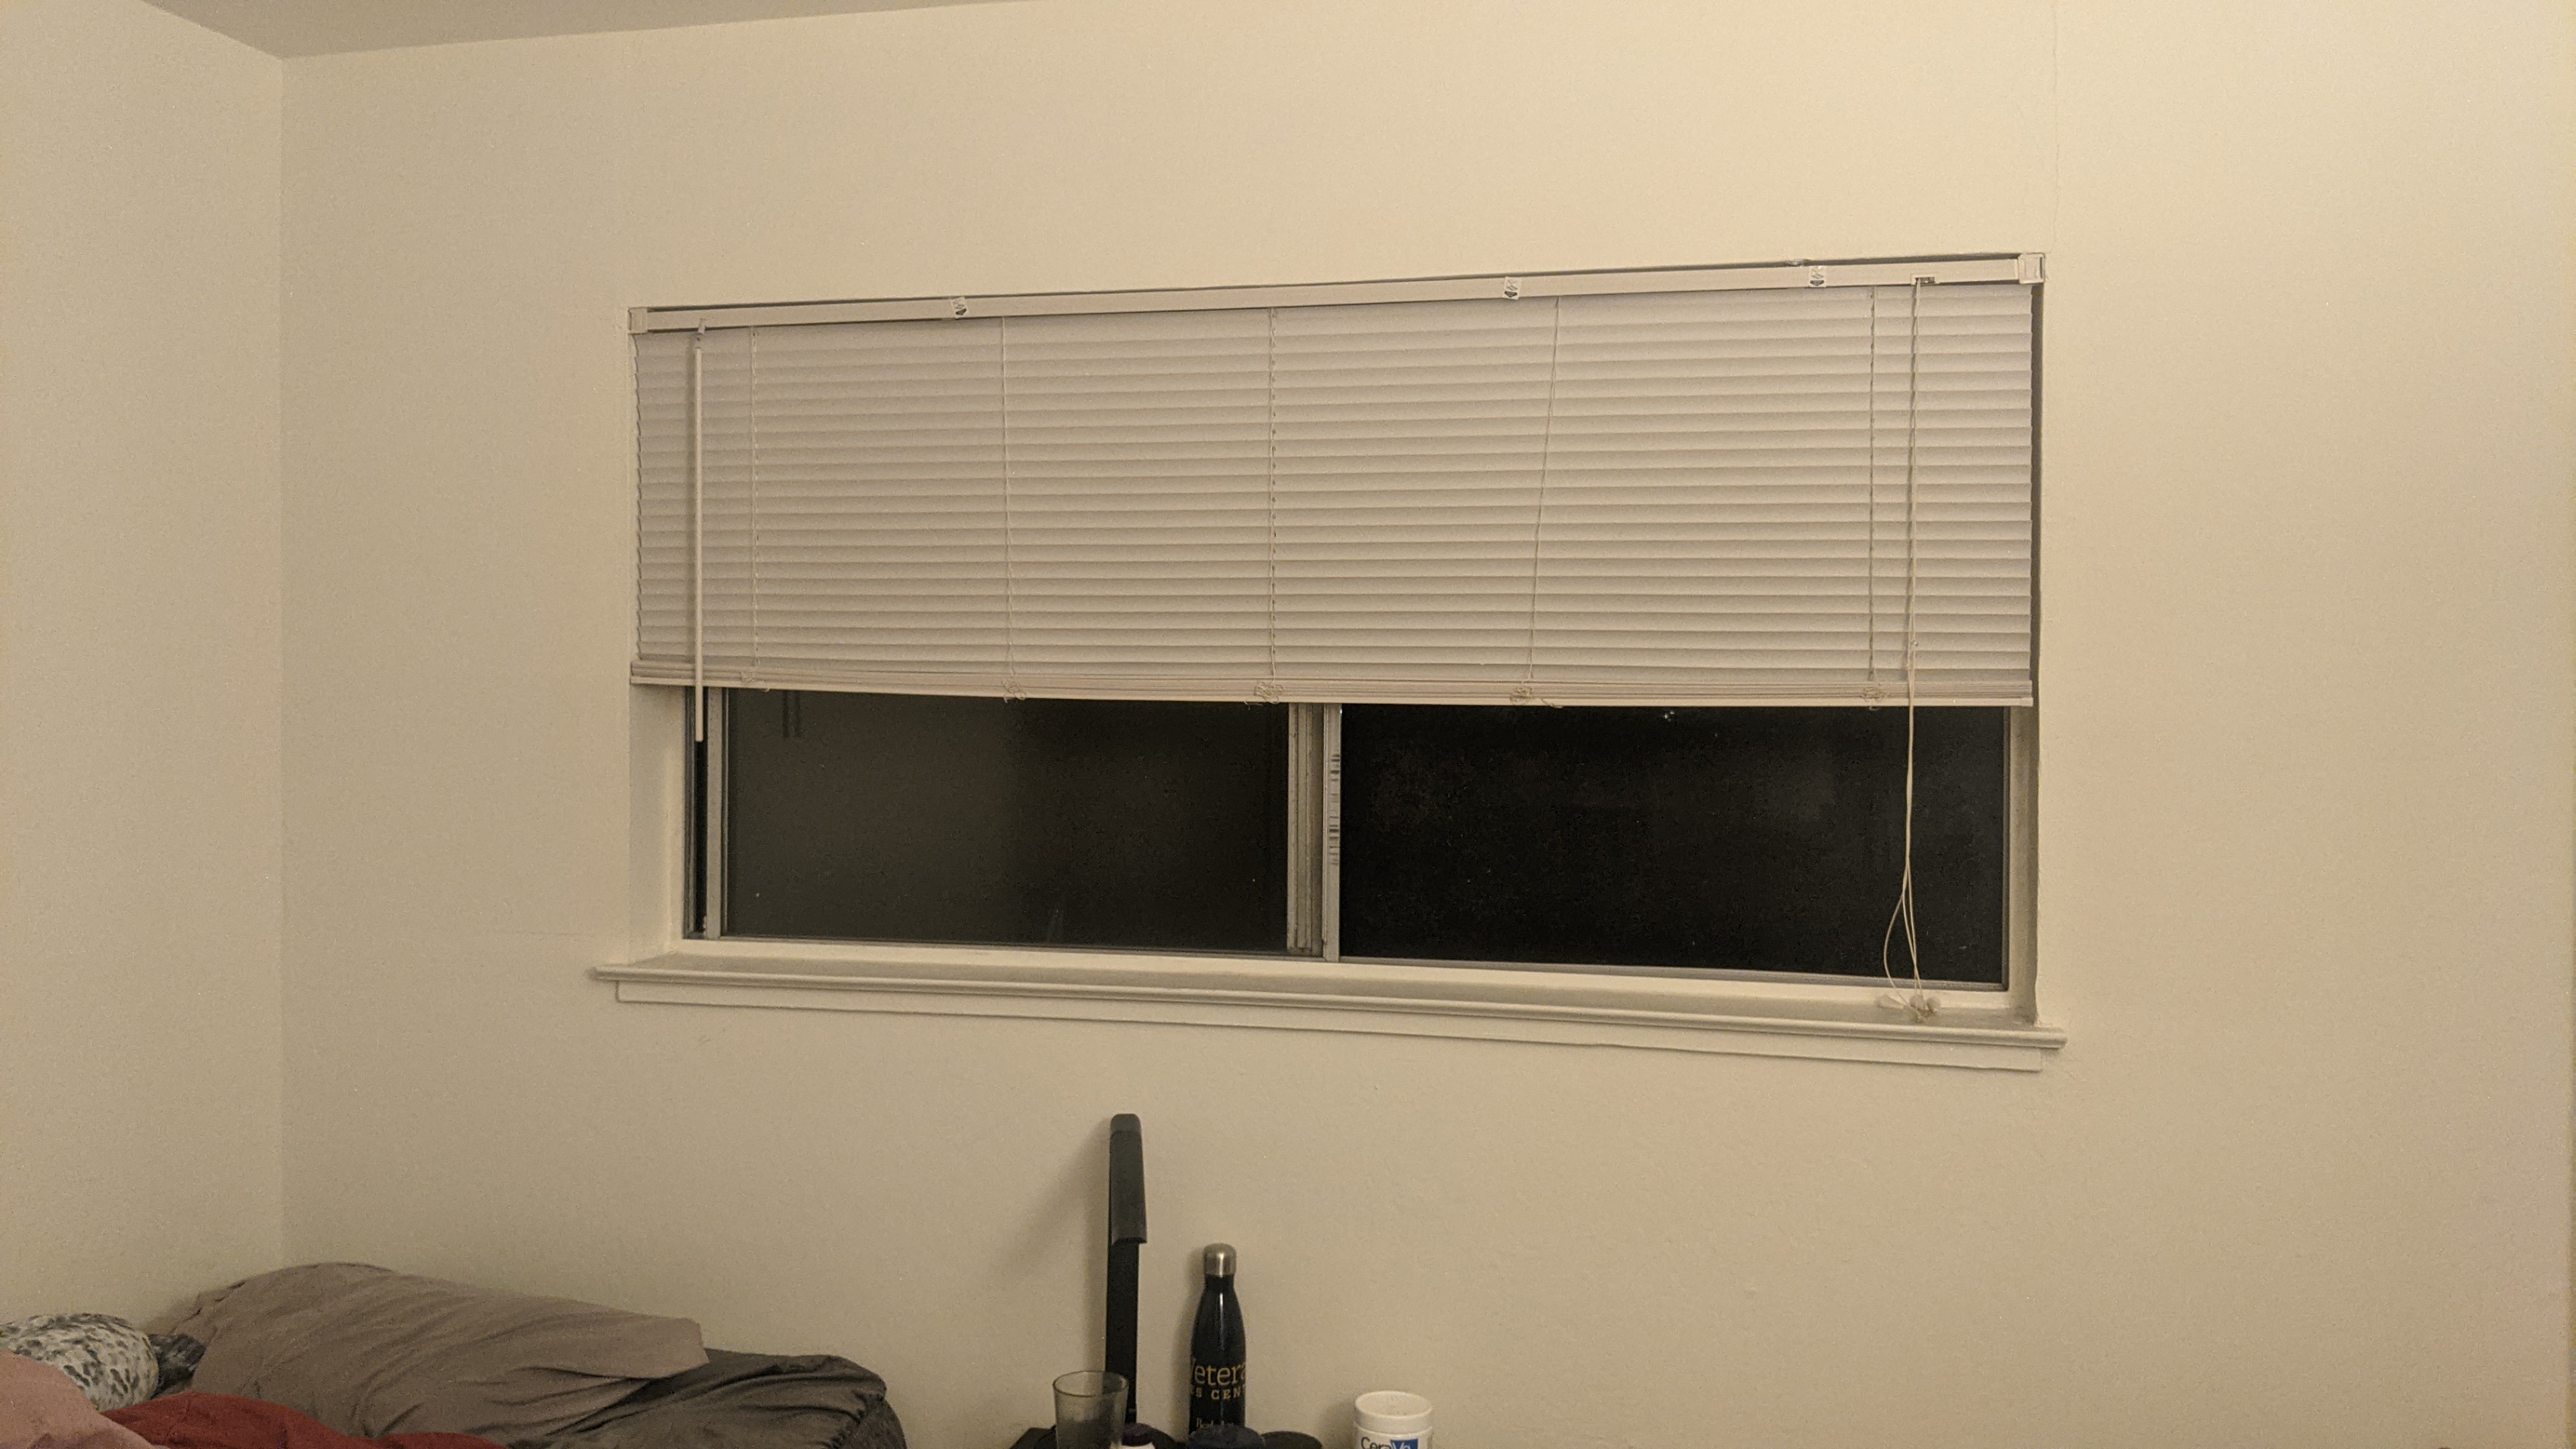
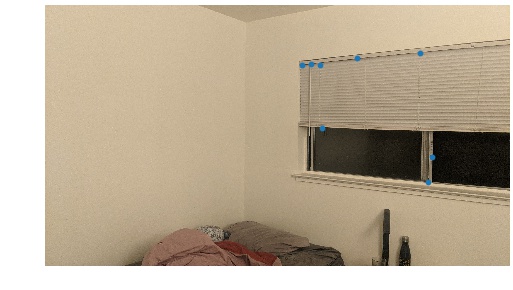
Bedroom
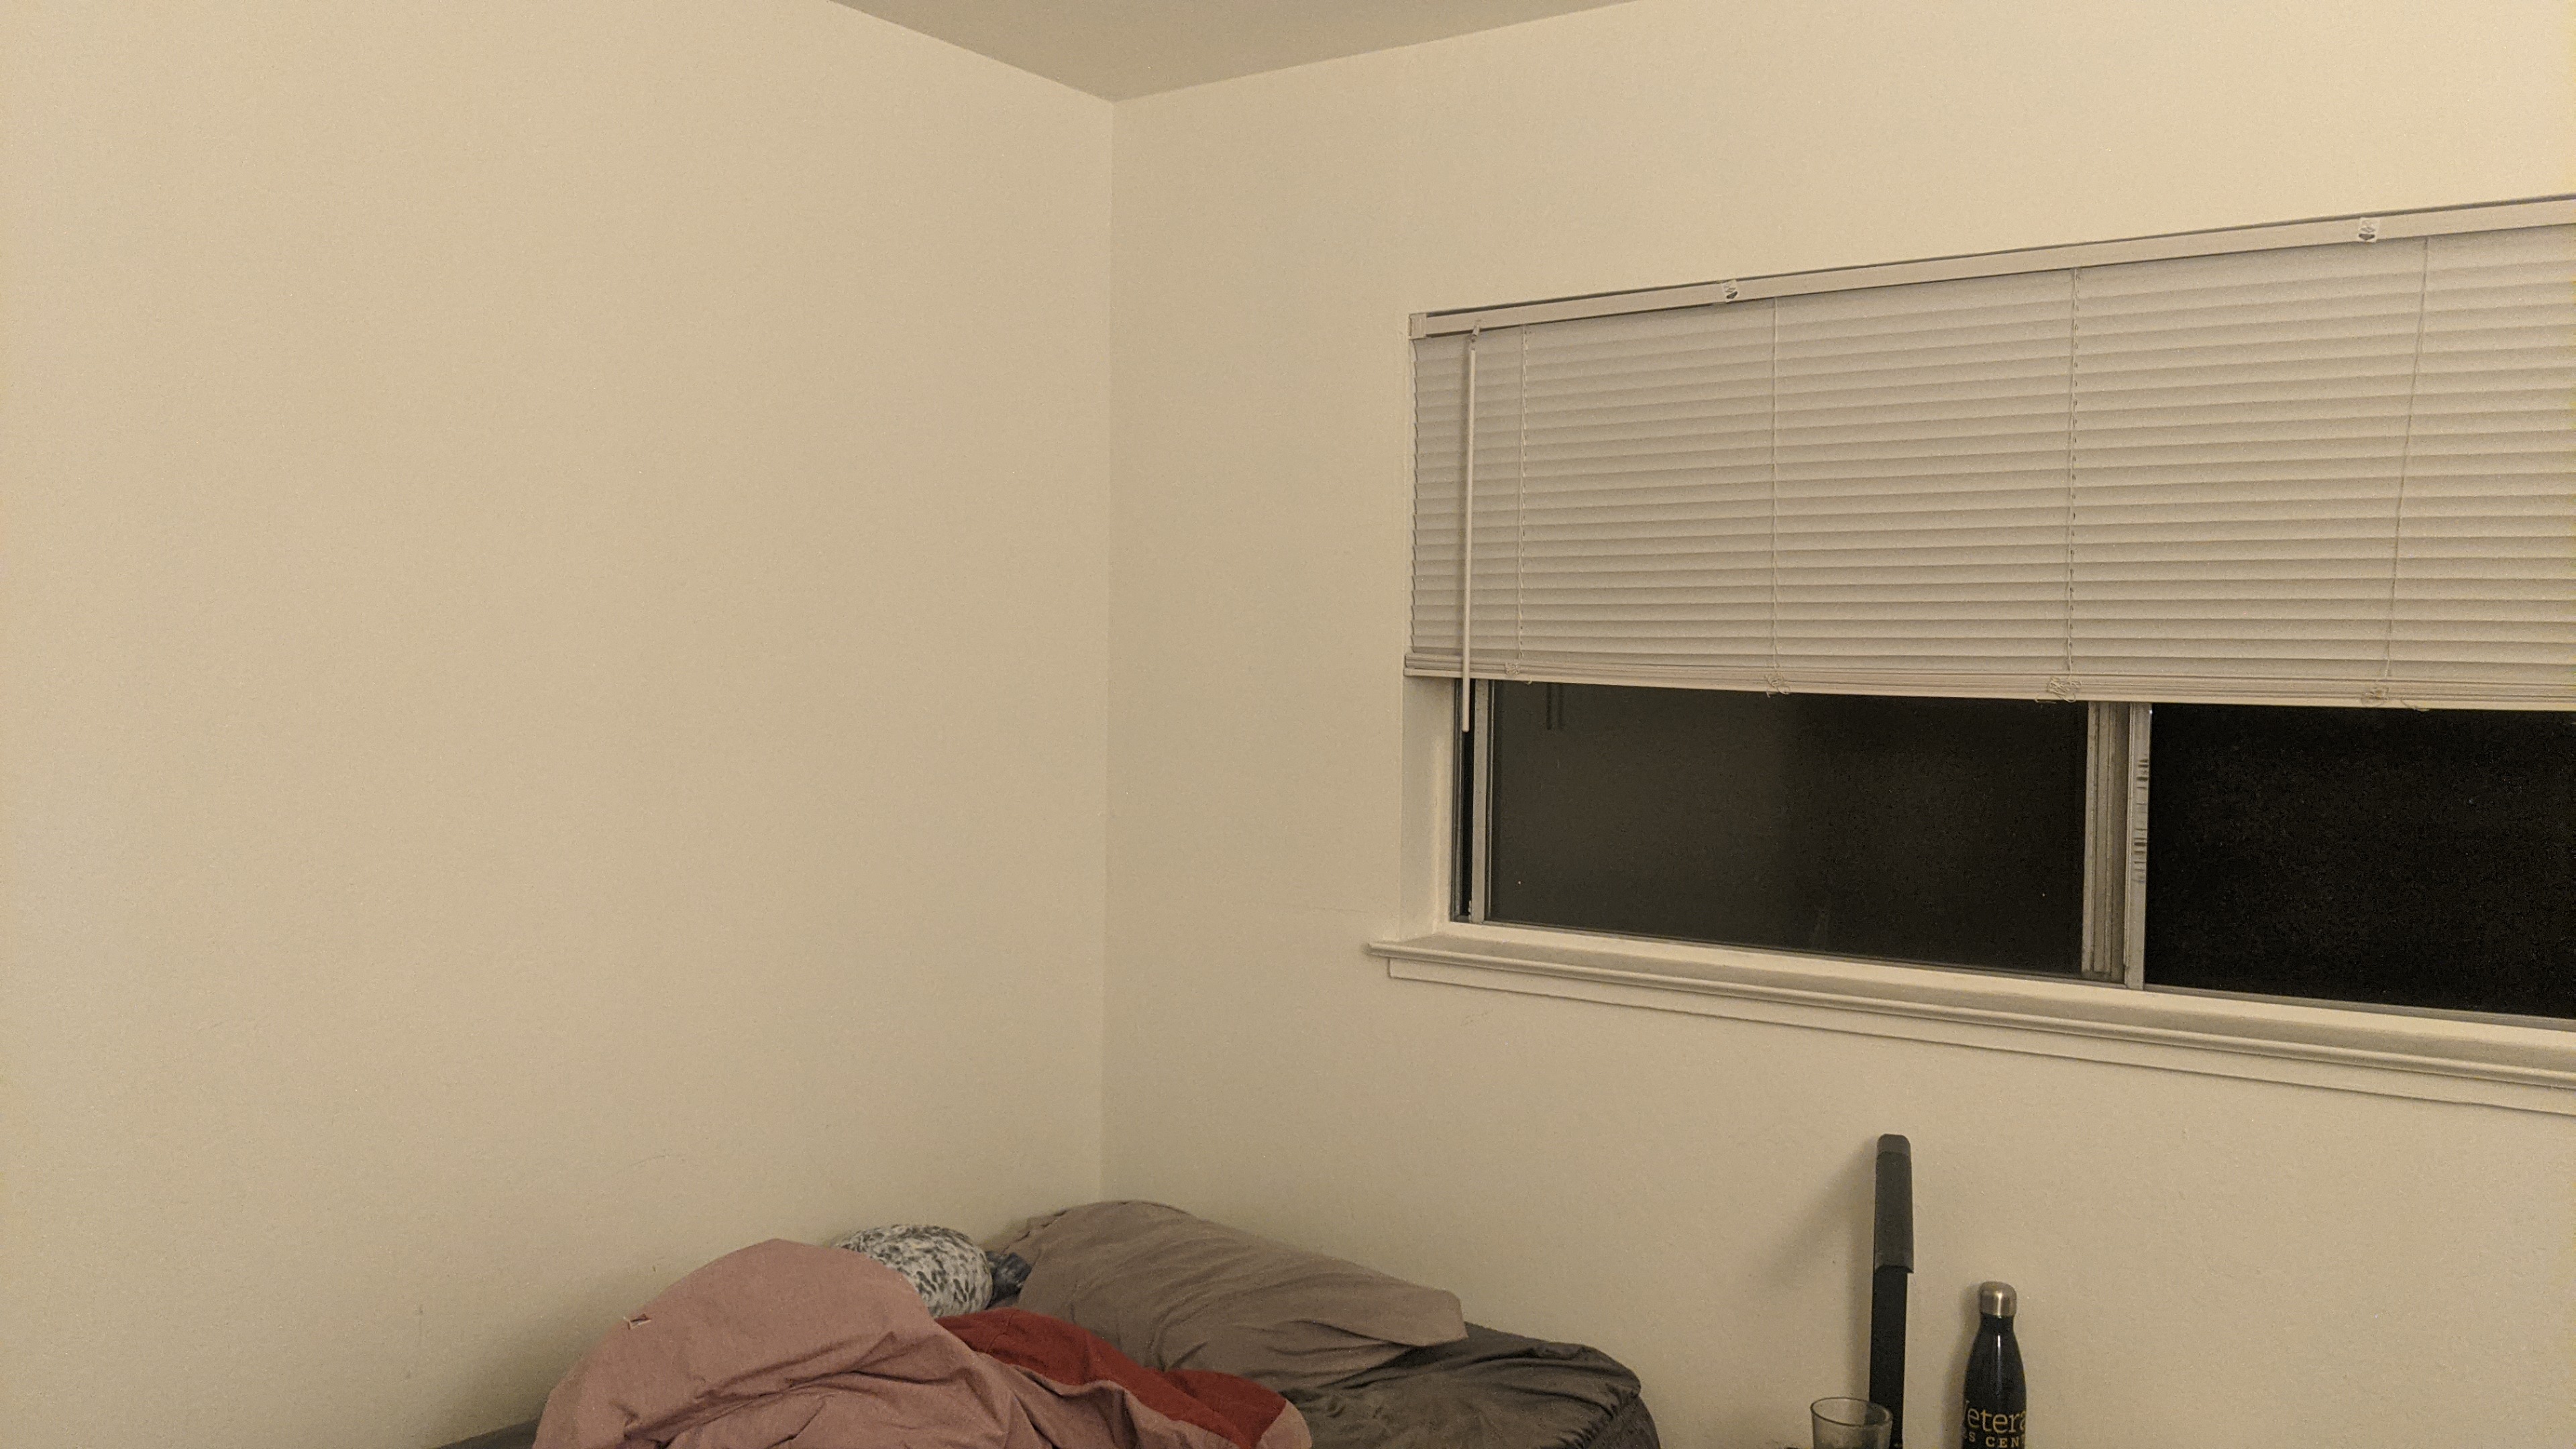 Original Left
|
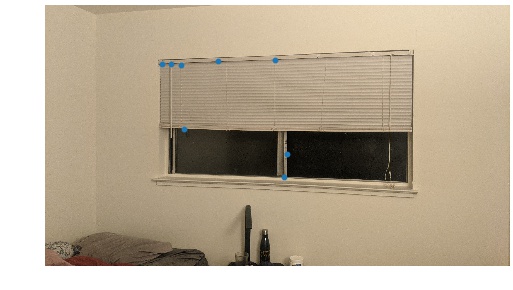
 Original Right
|
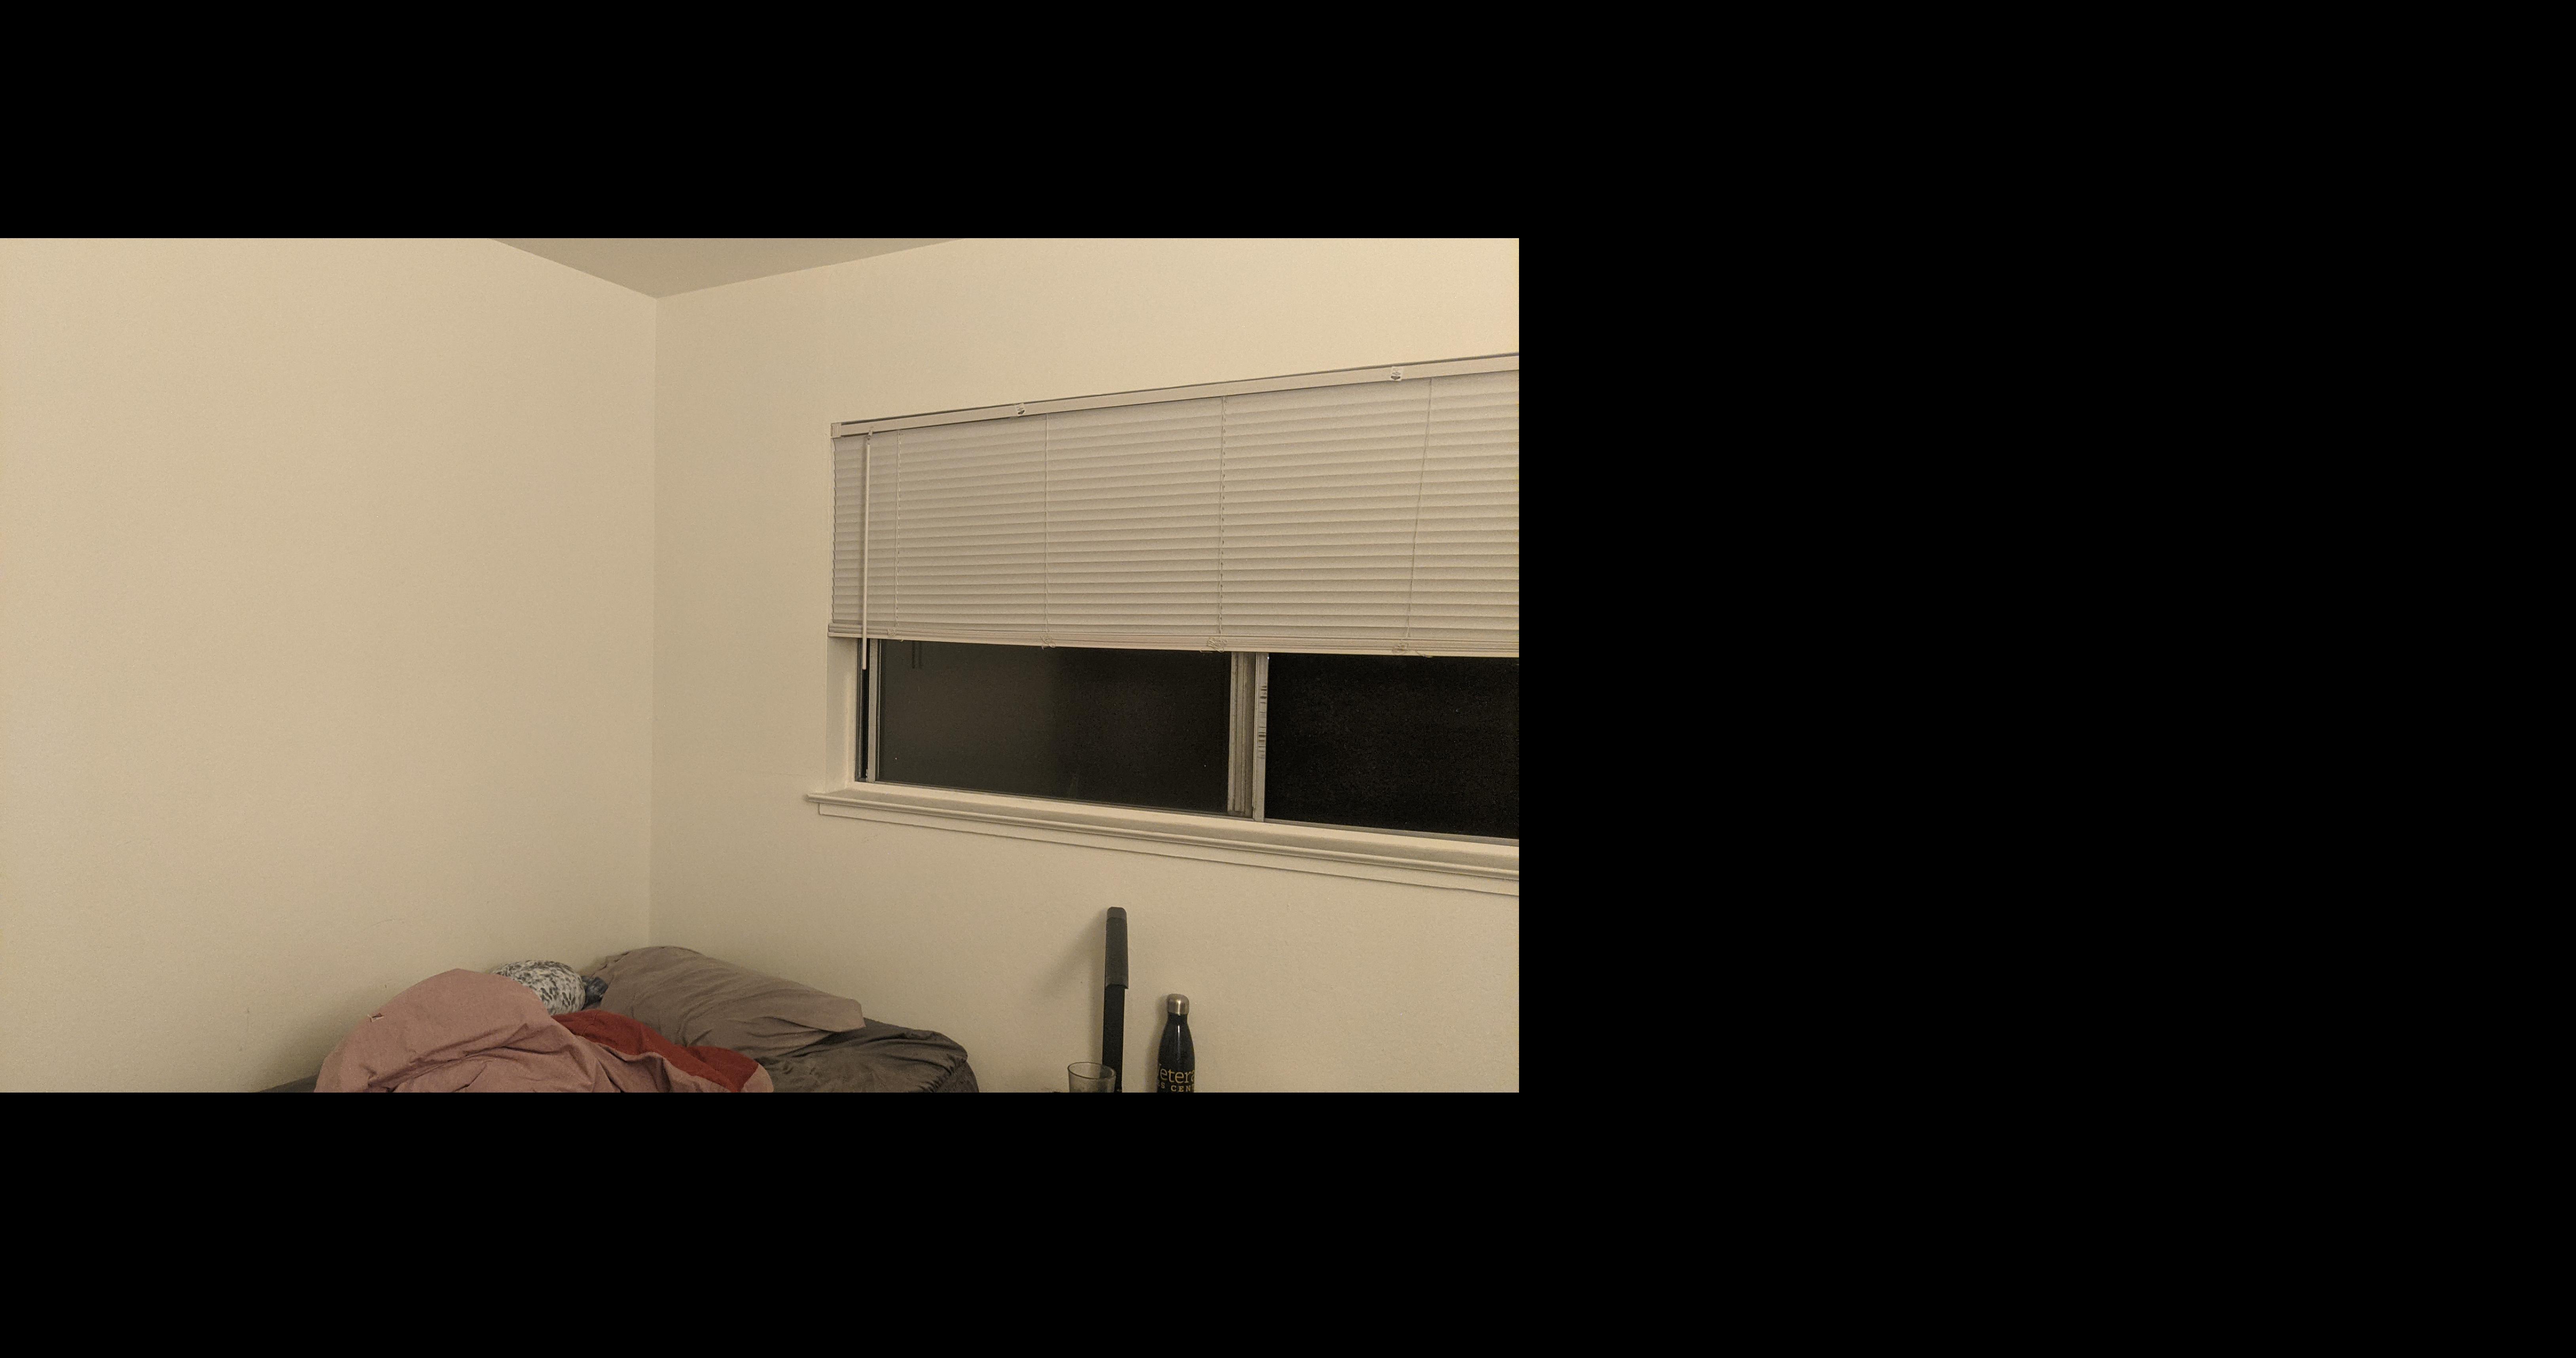 Left image fit into bounding box
|
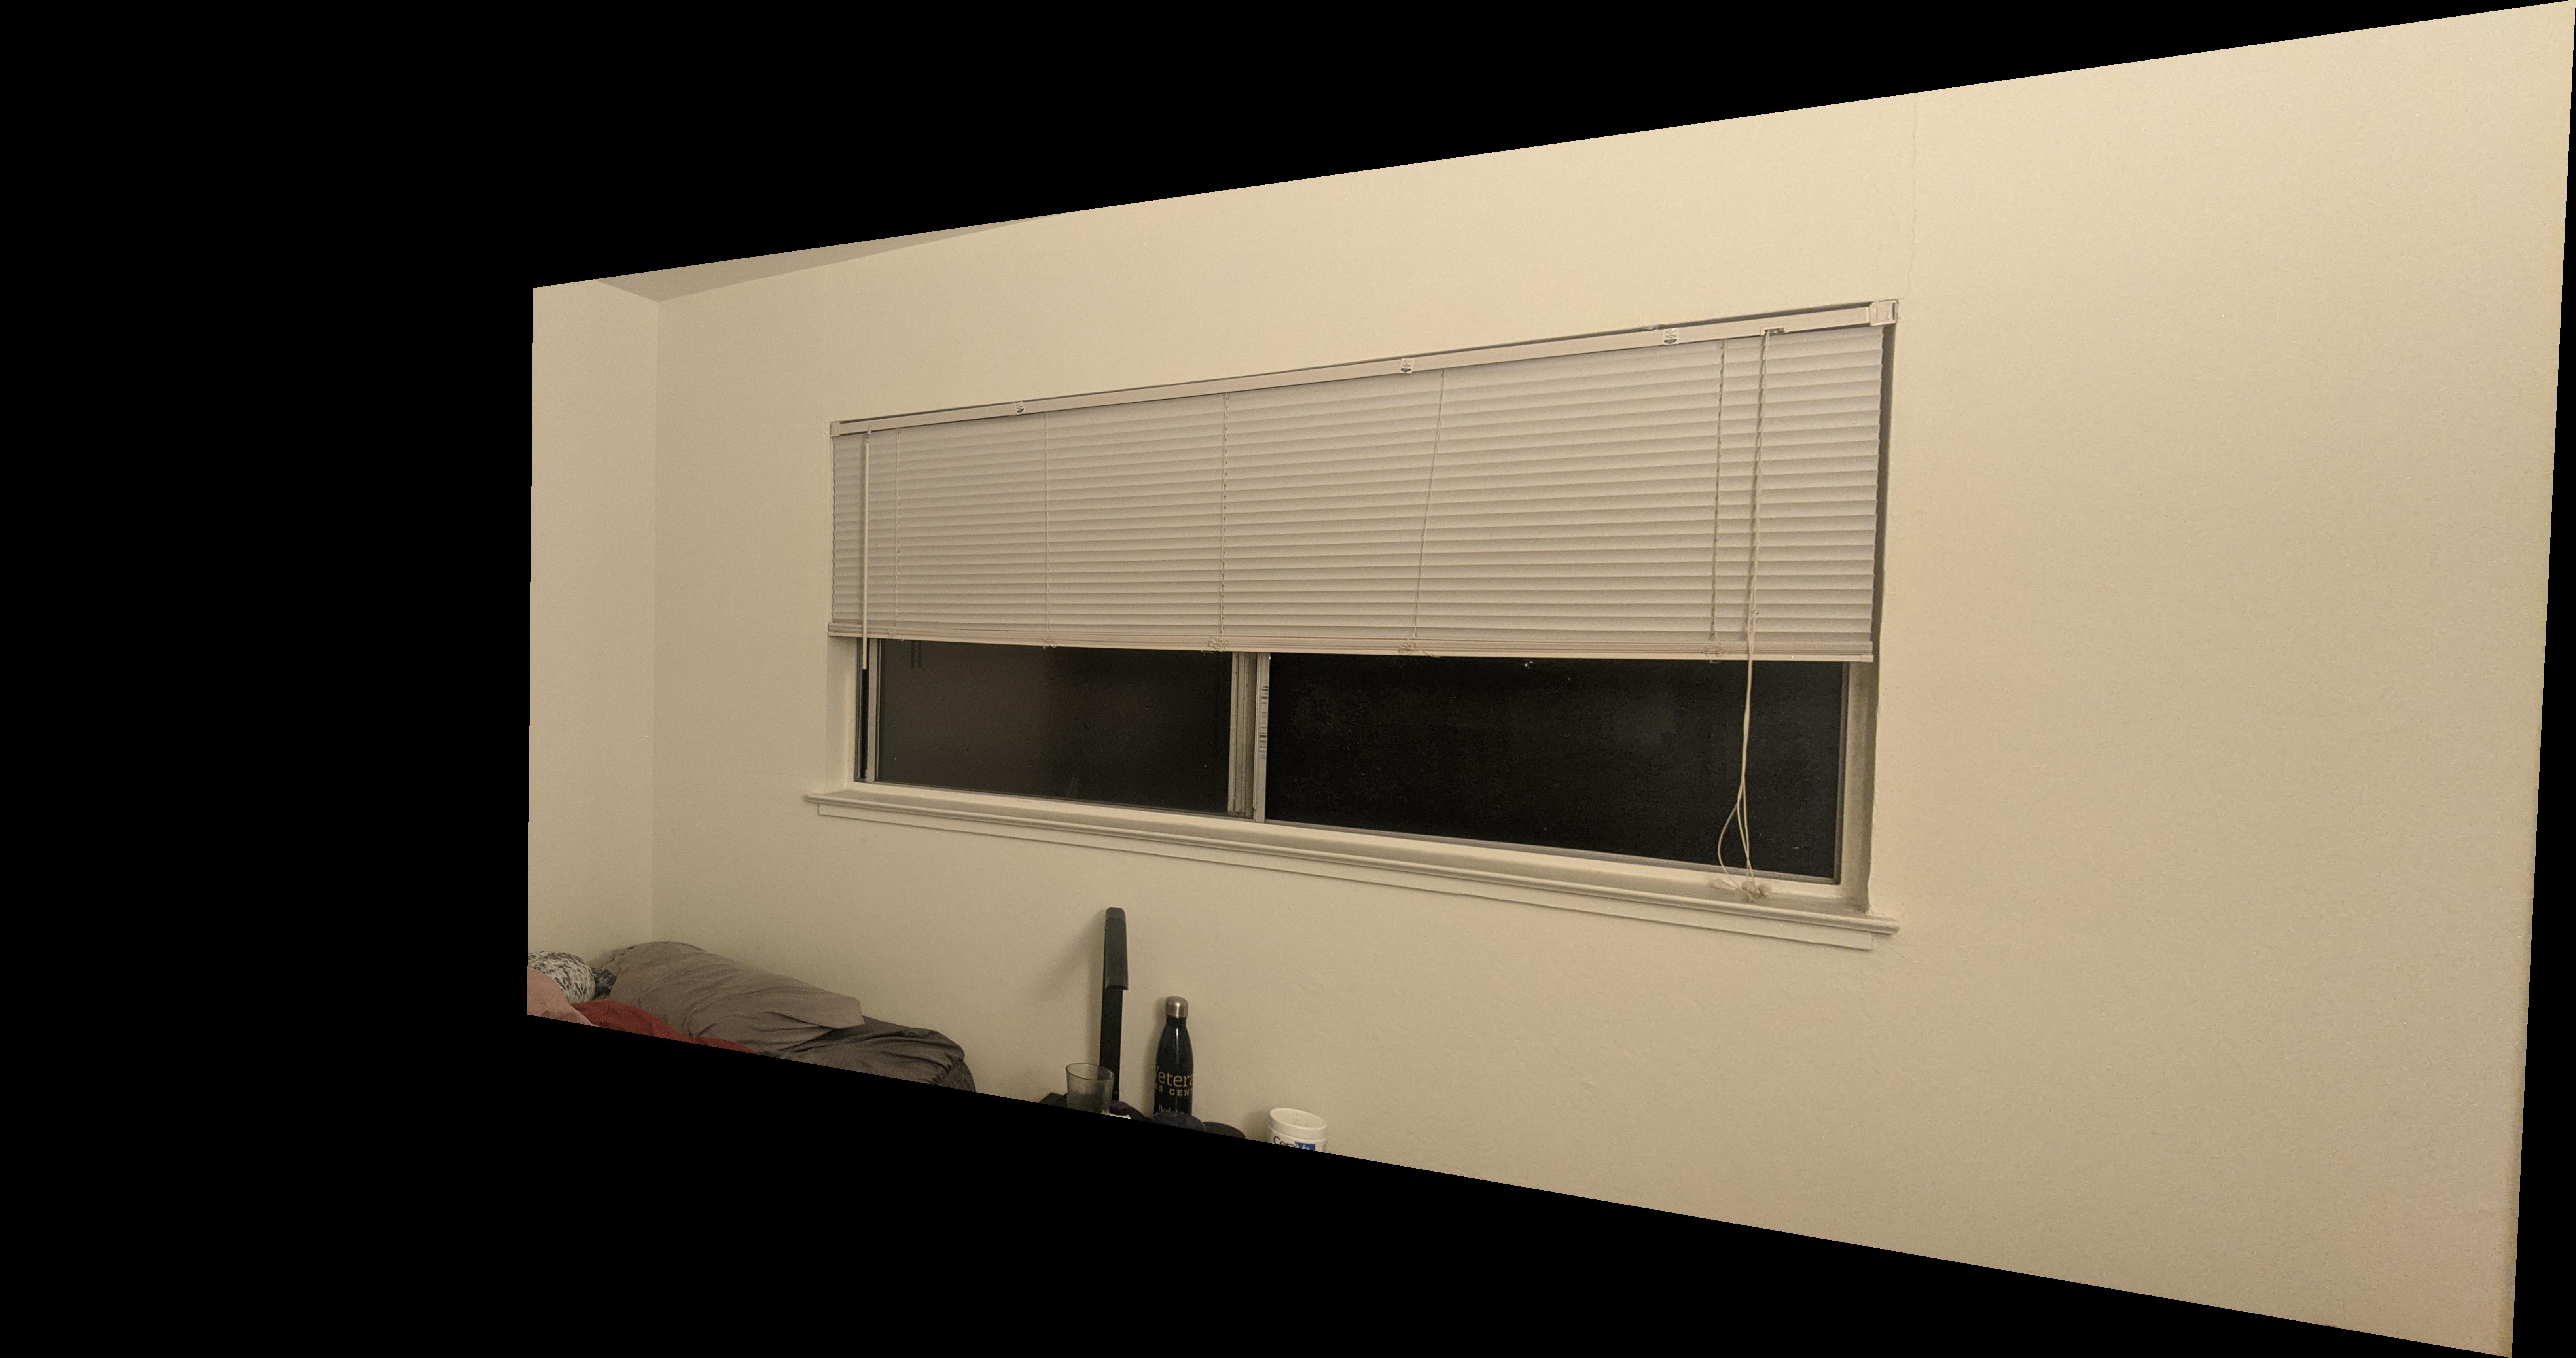 Warped Right image
|
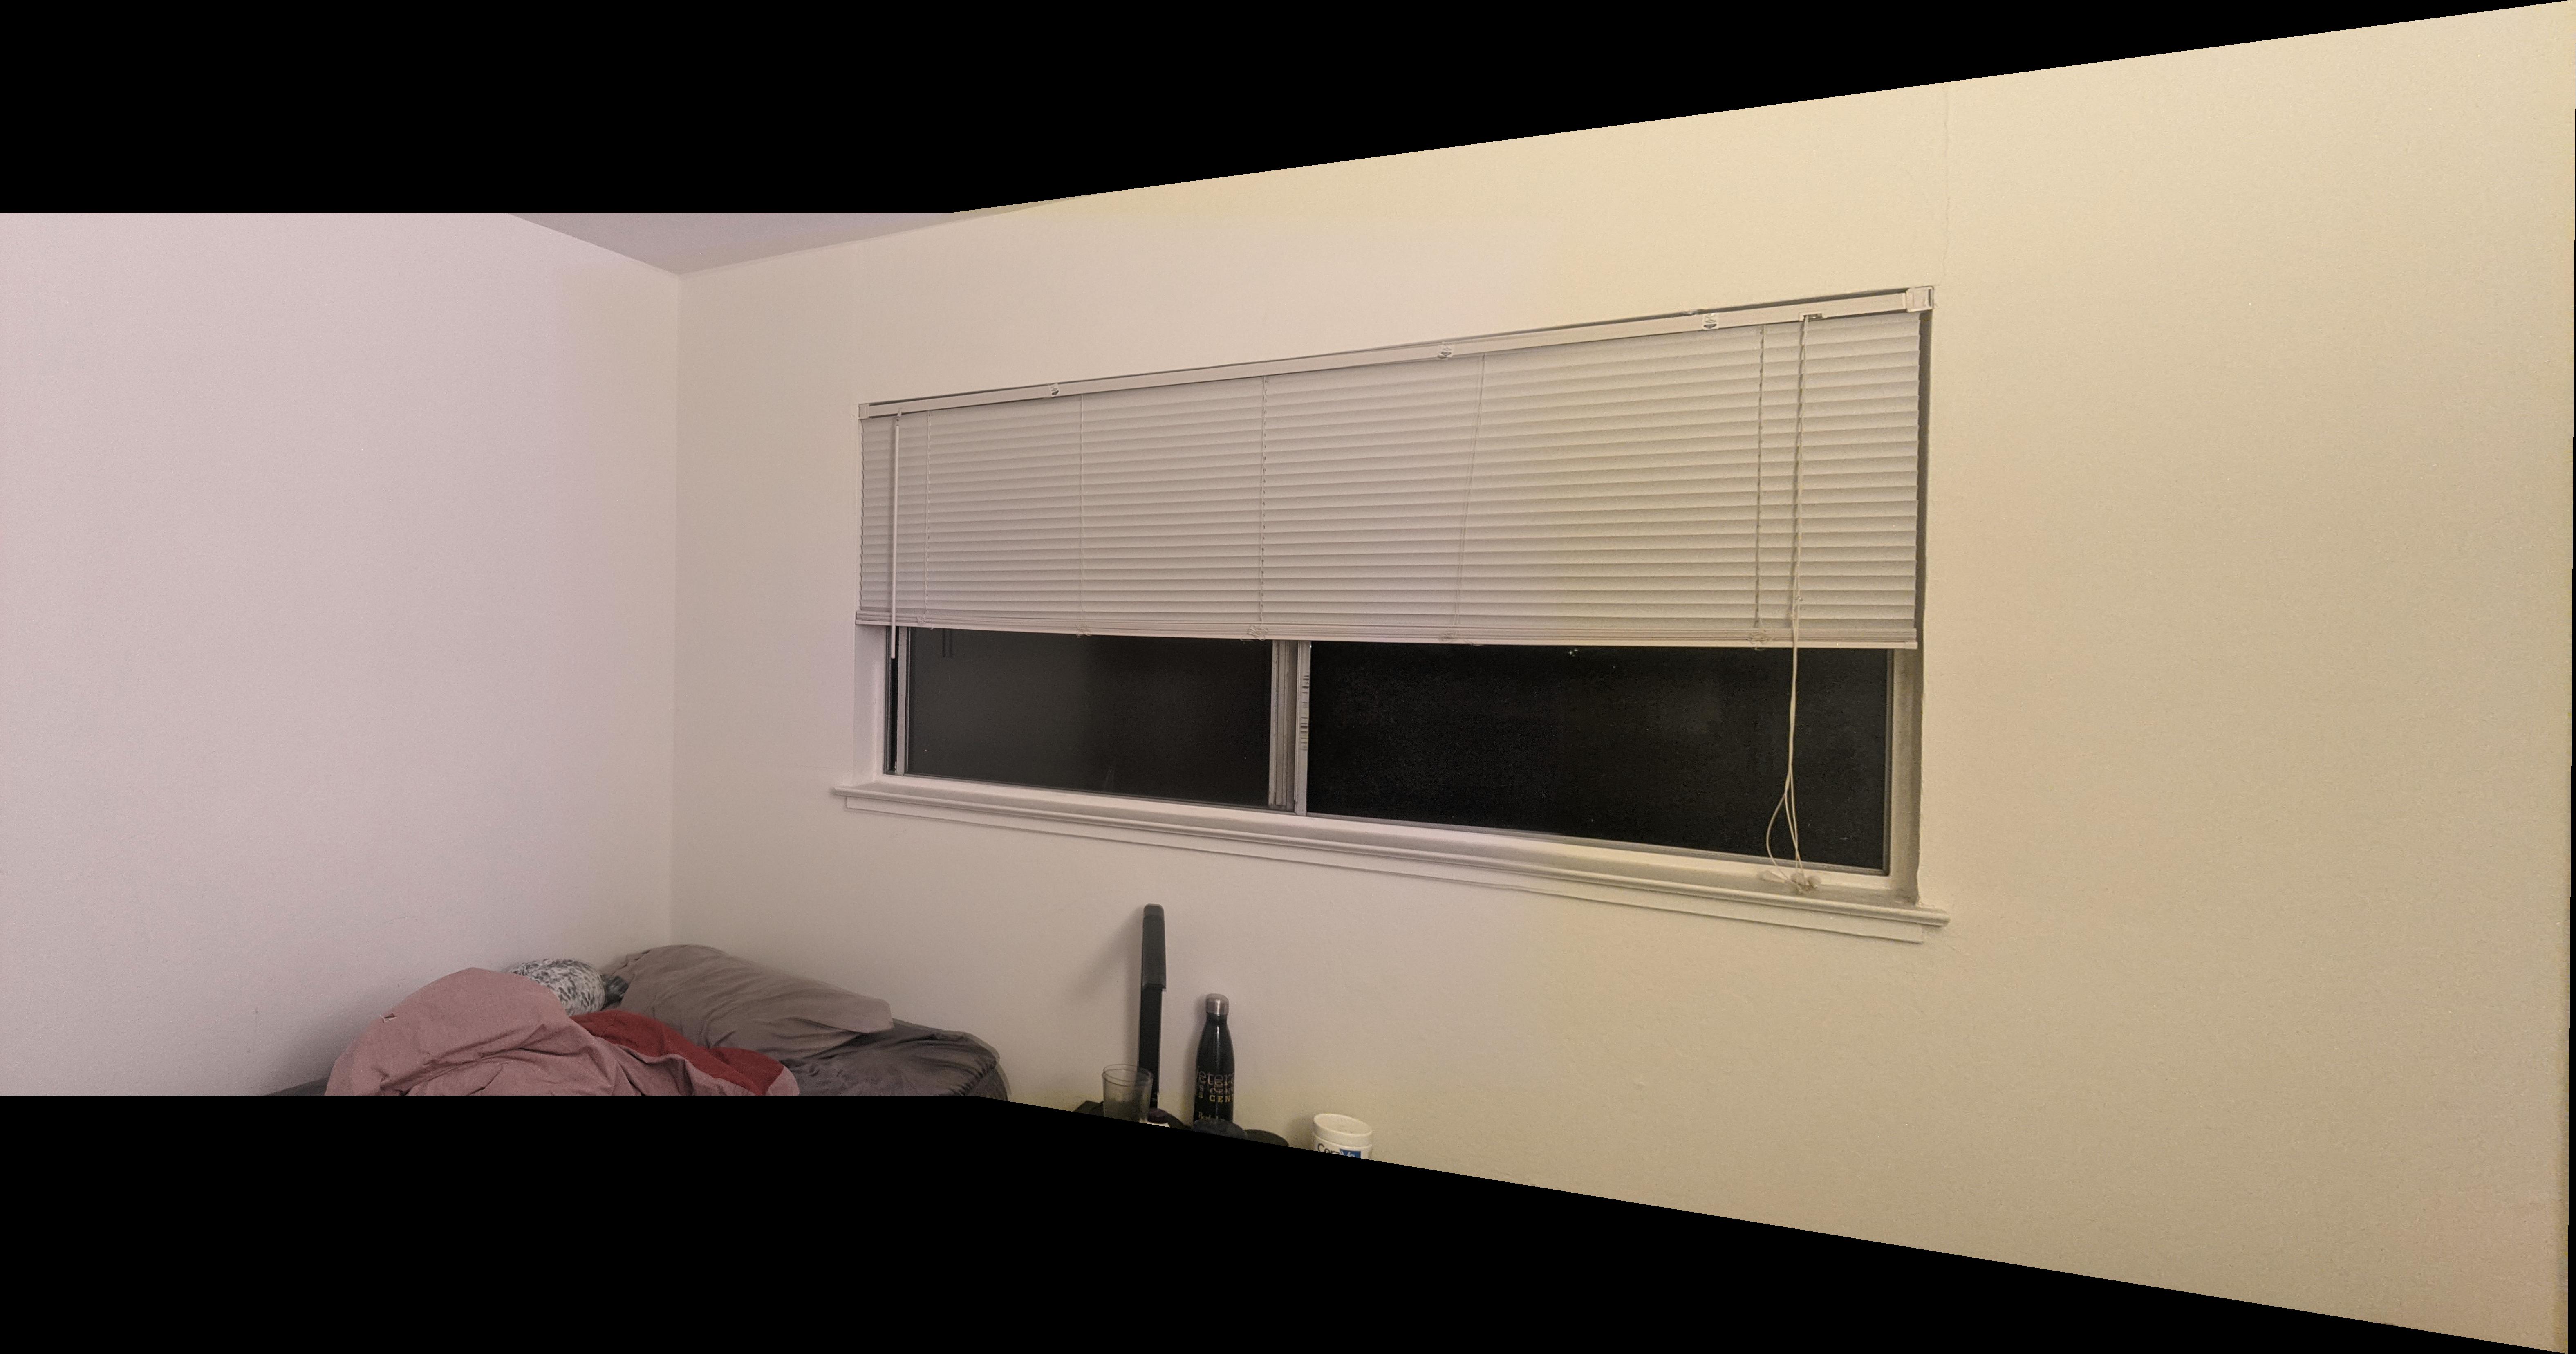
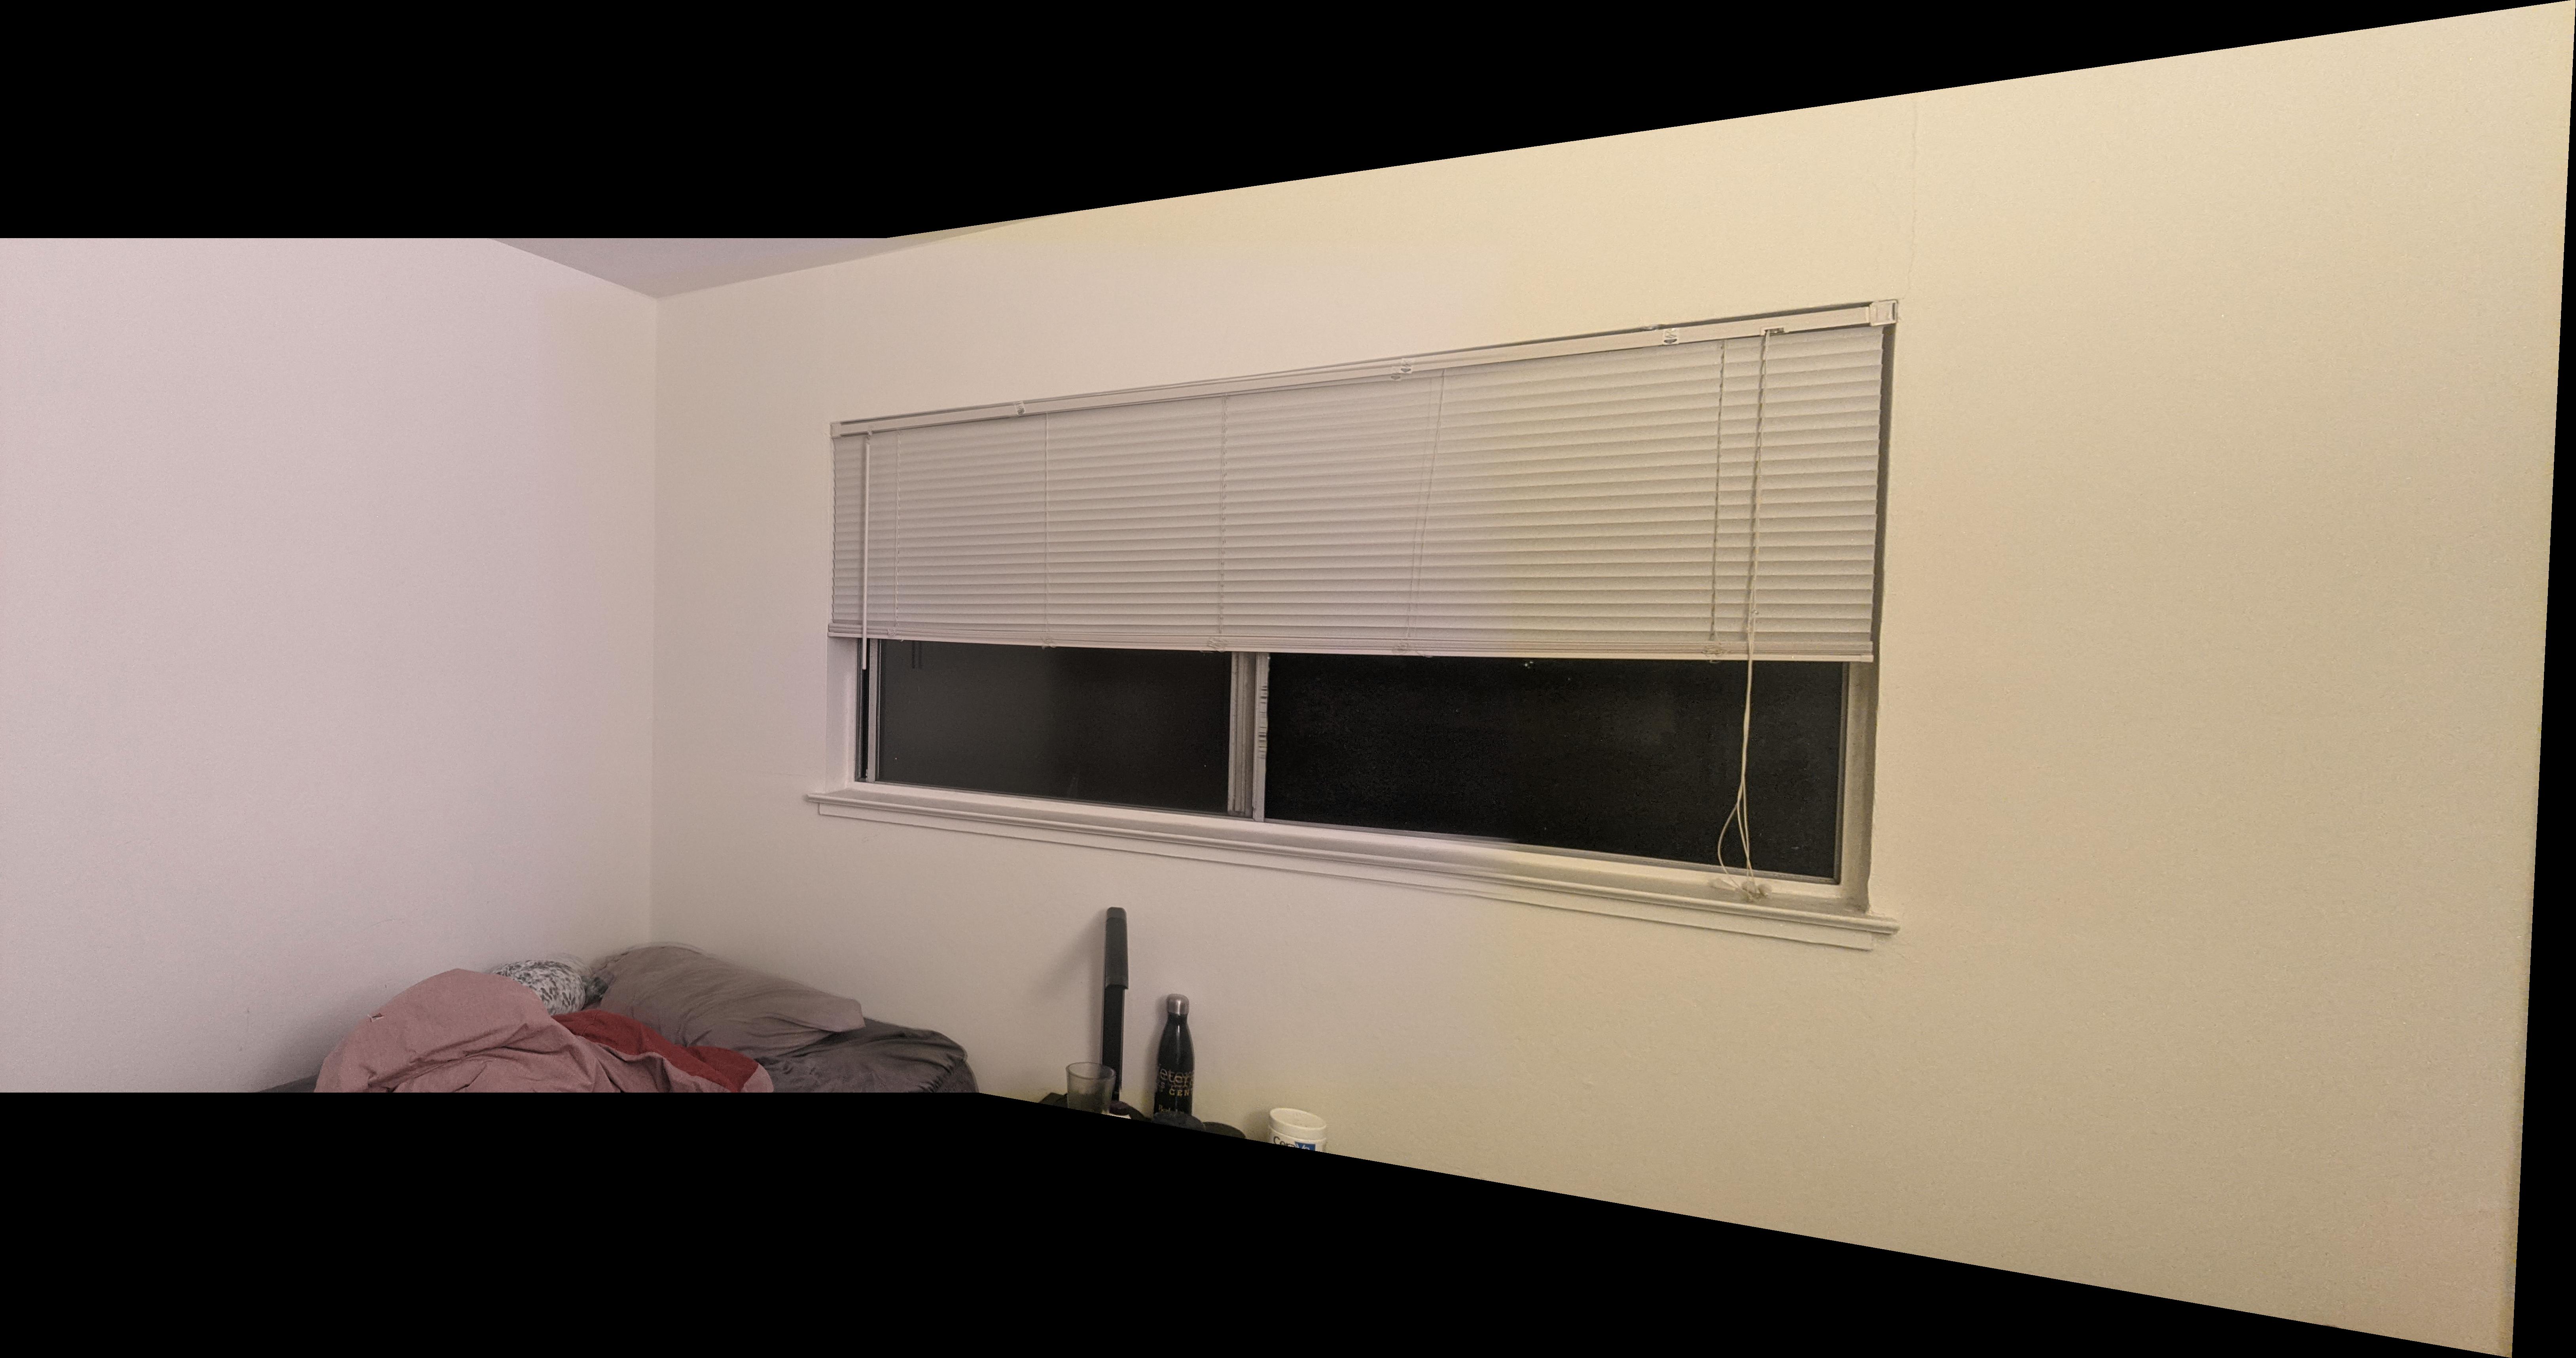 Blended images in bounding box
|
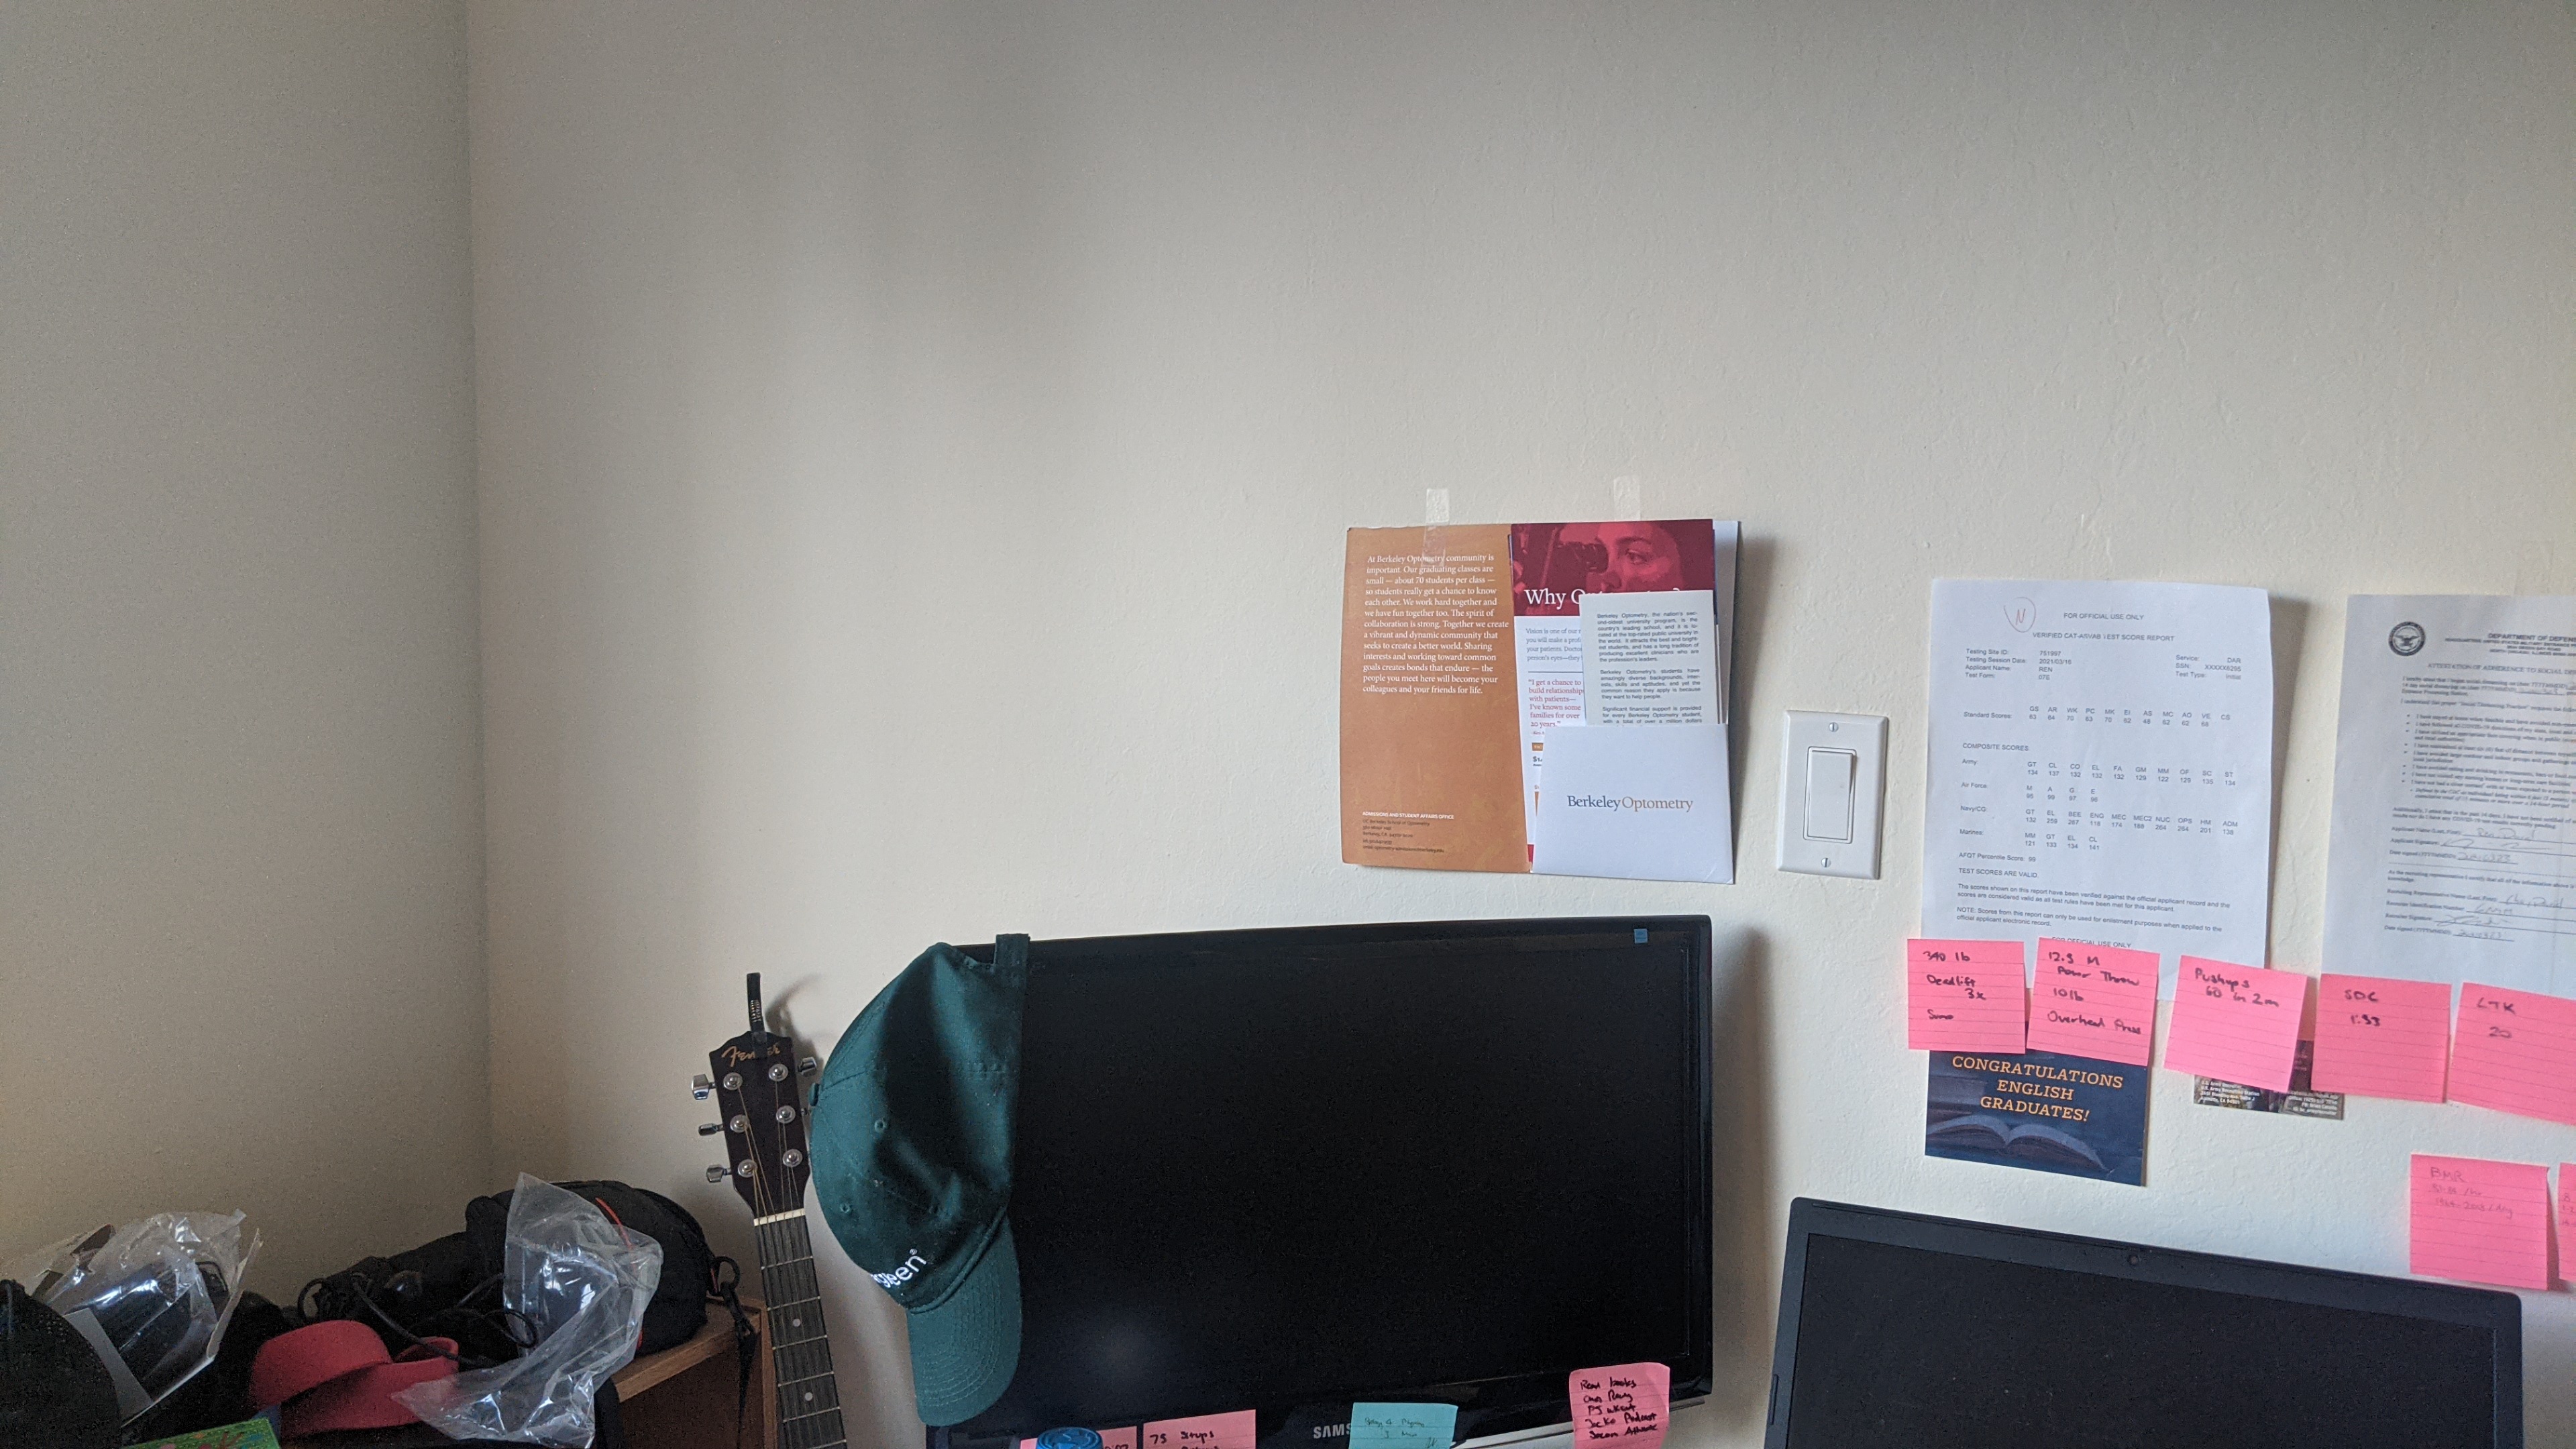
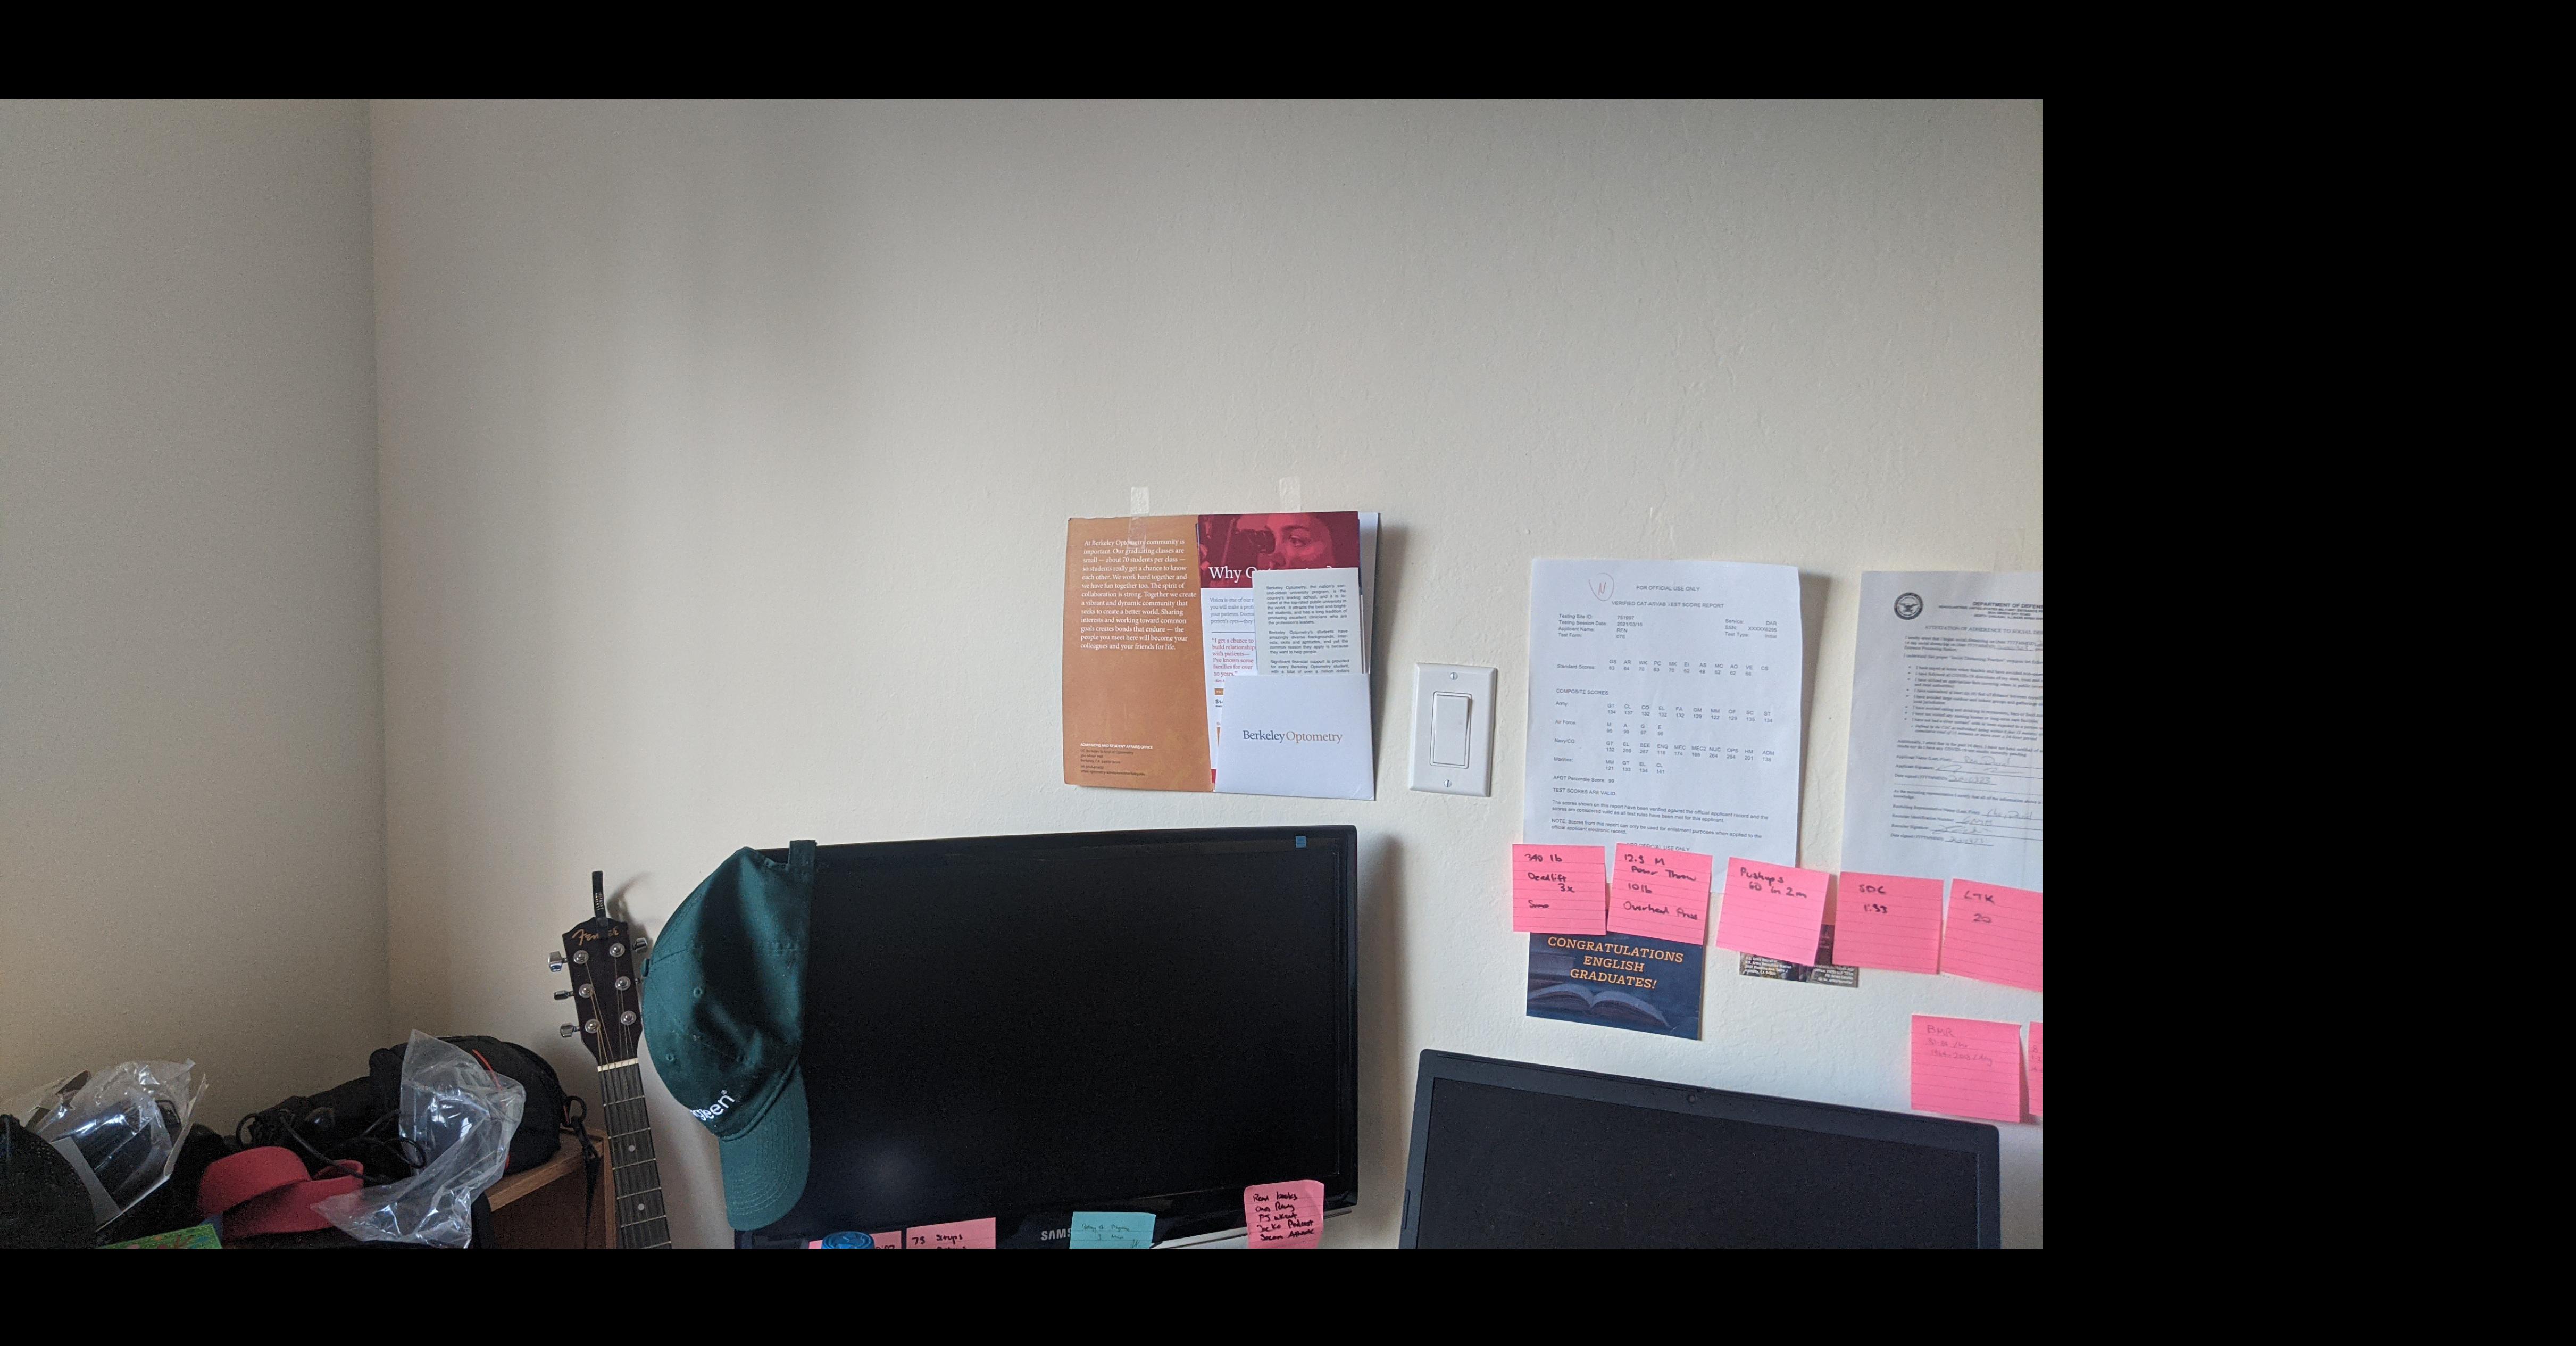
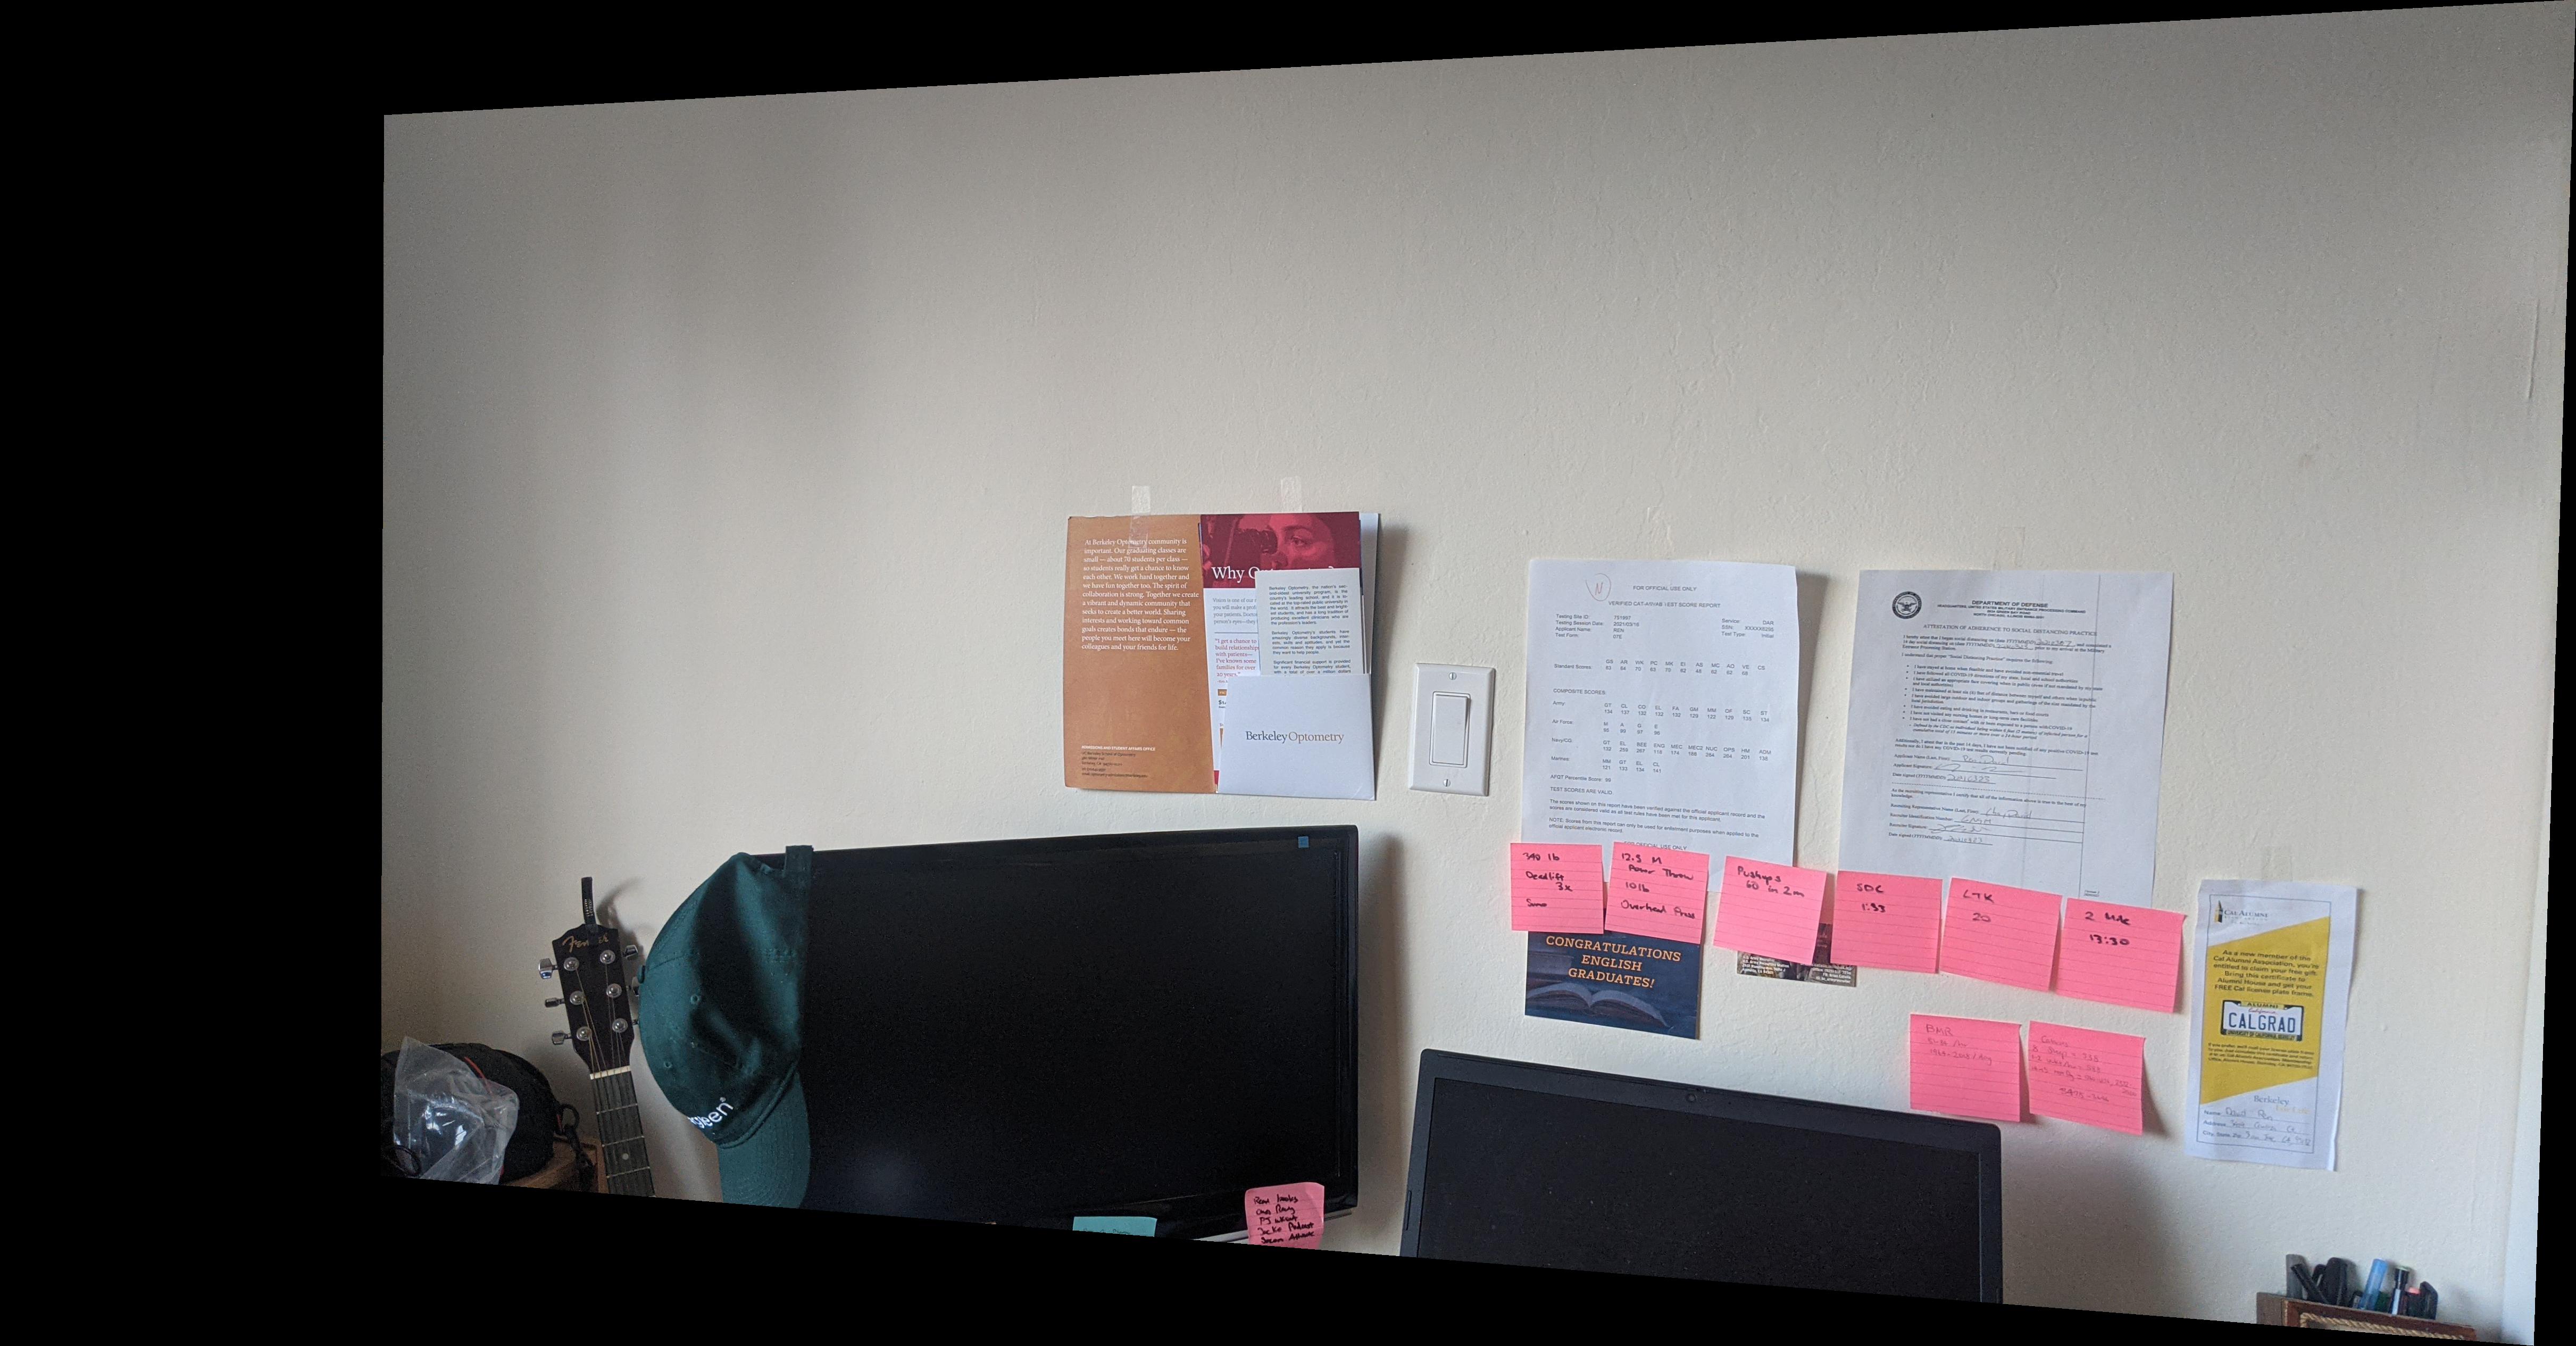
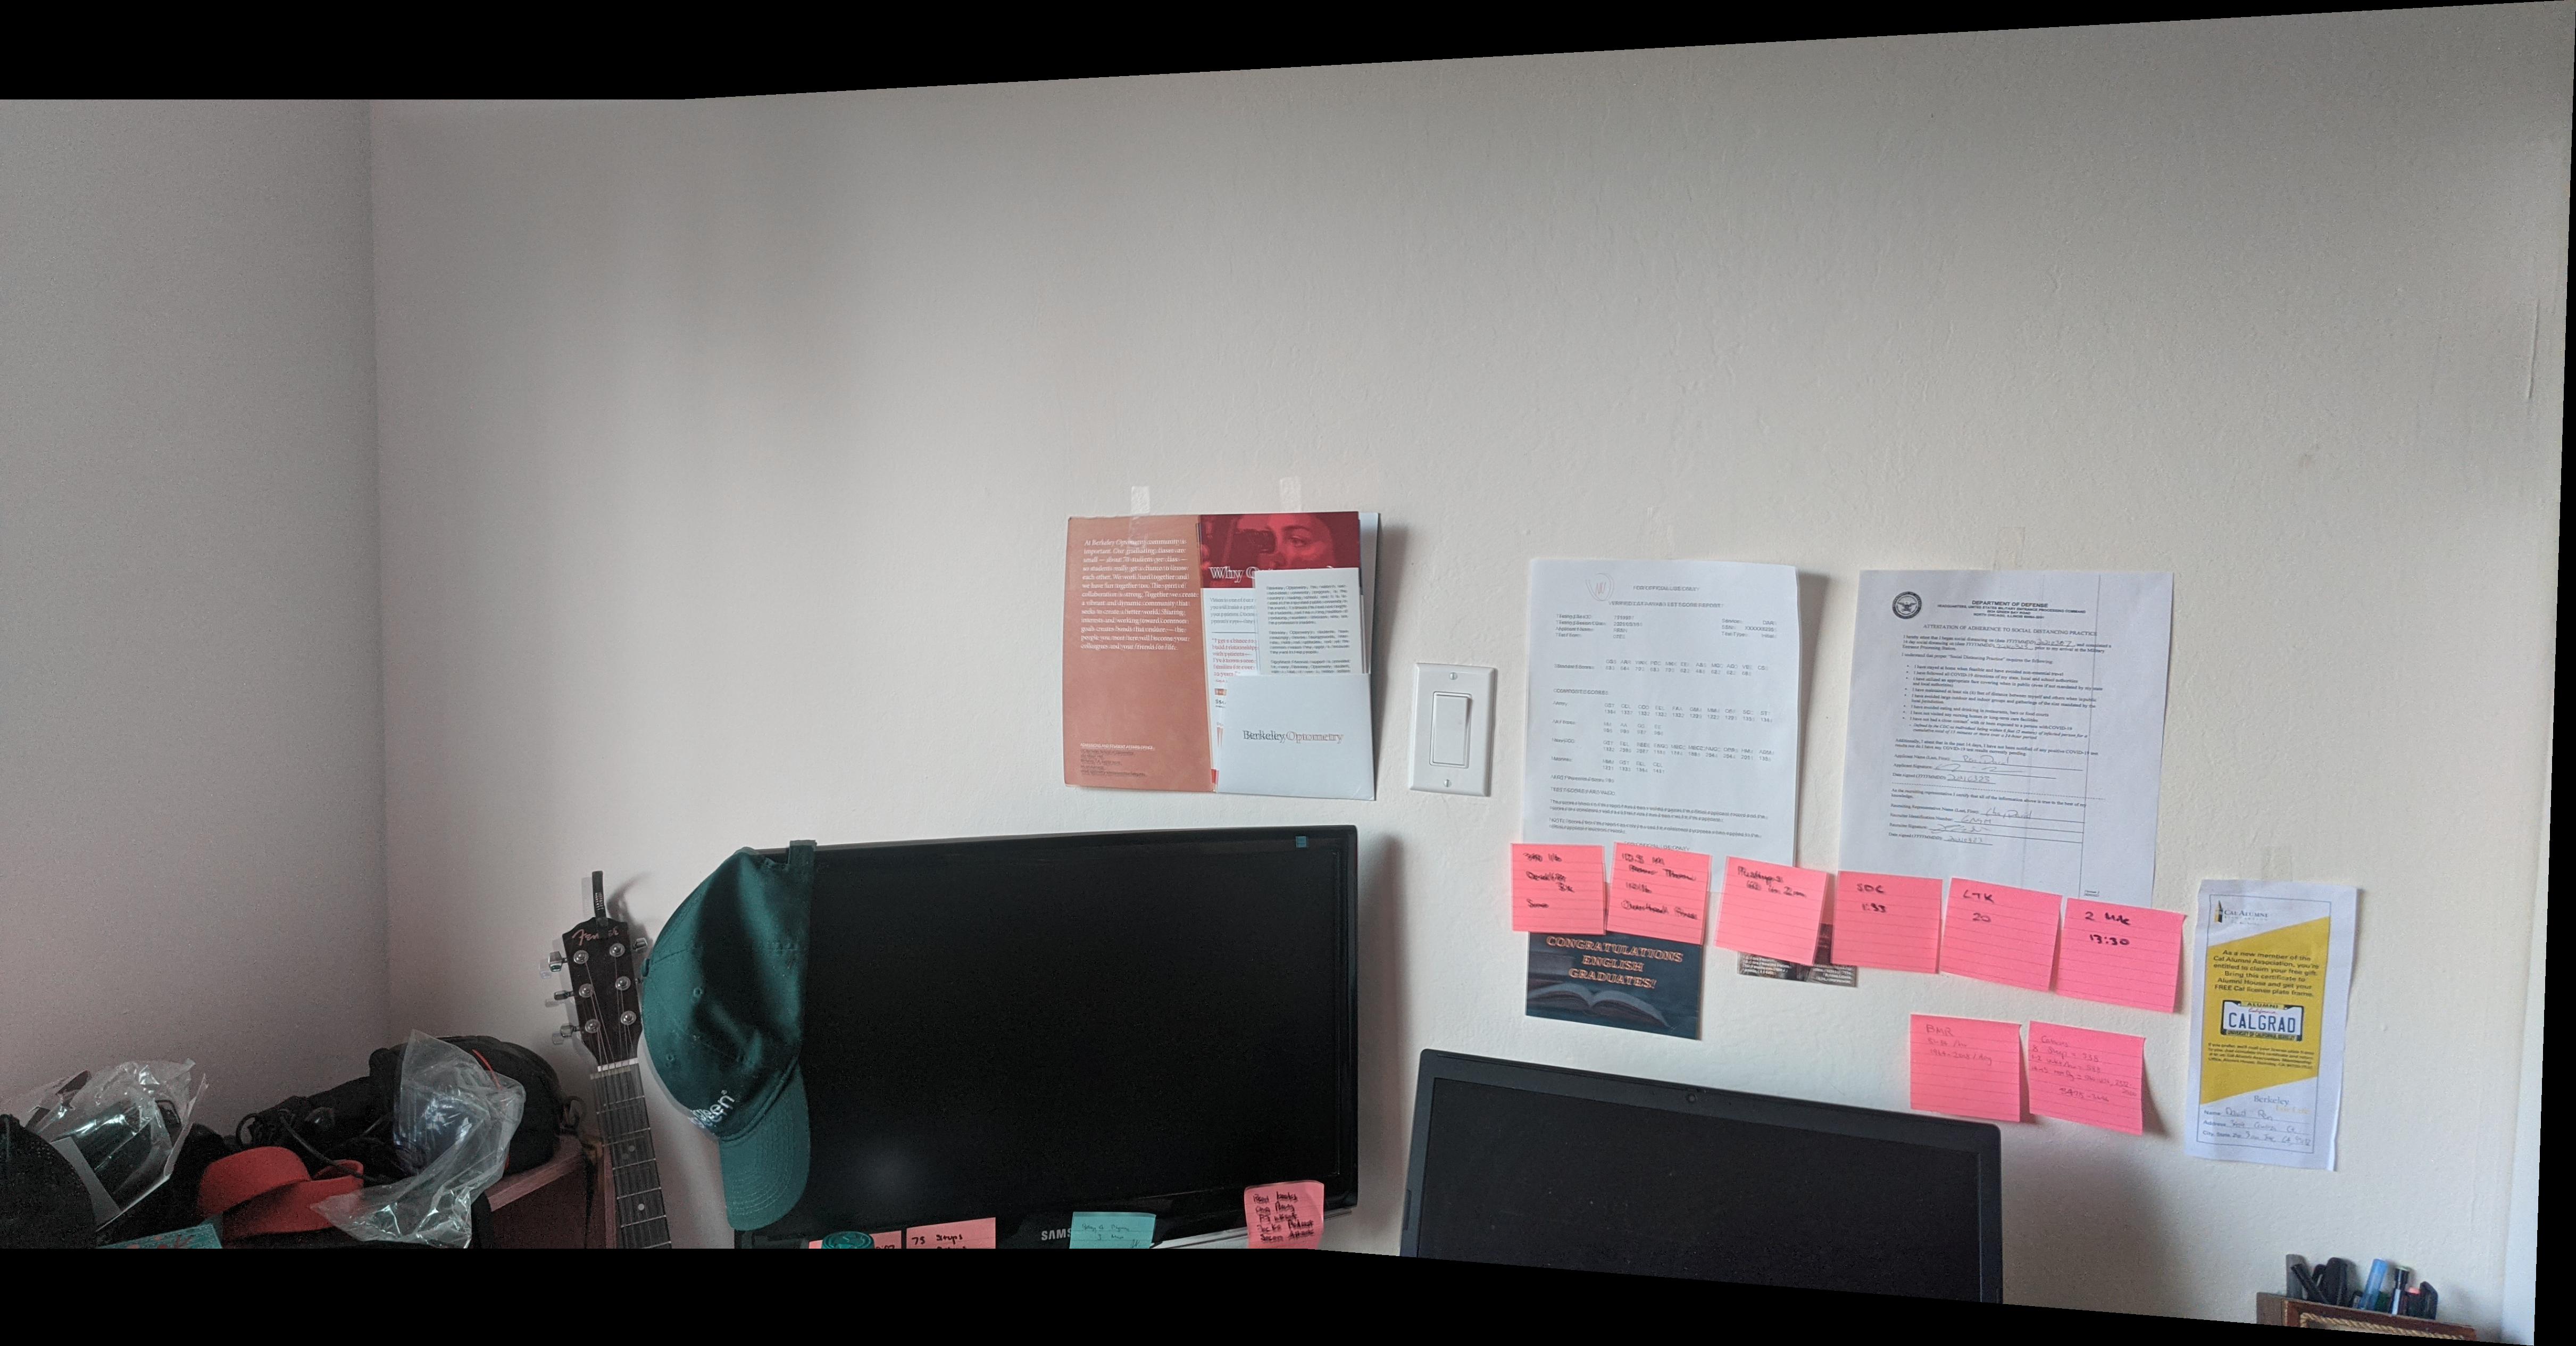
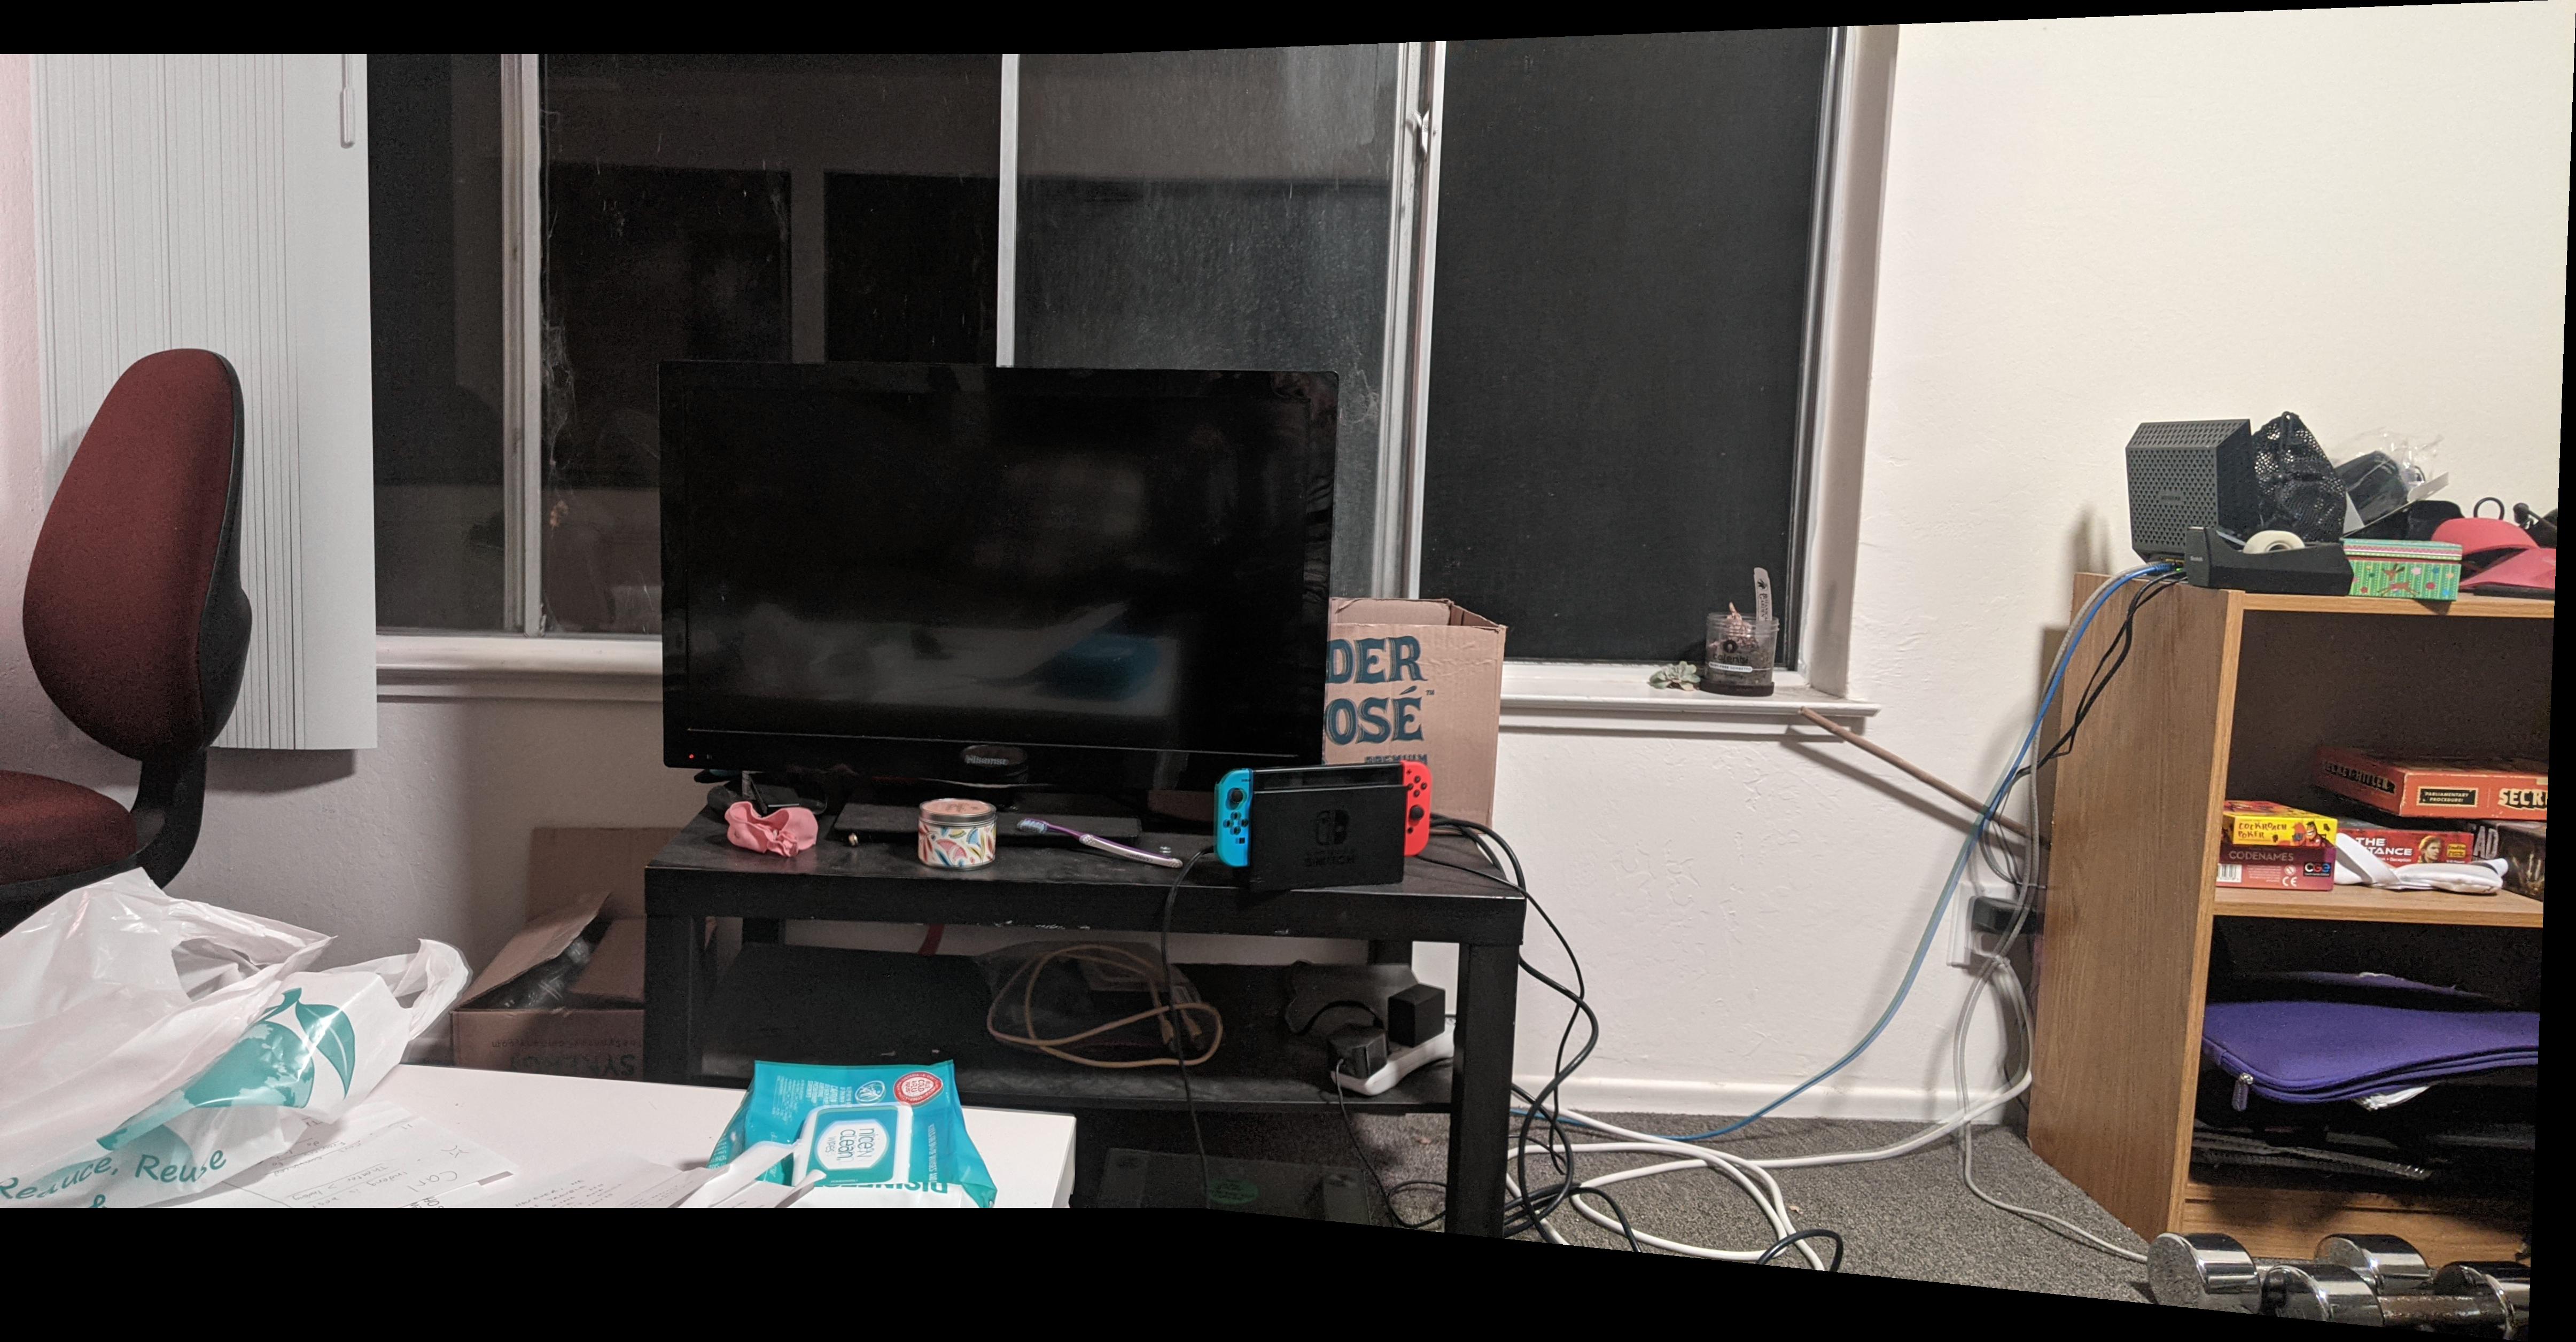
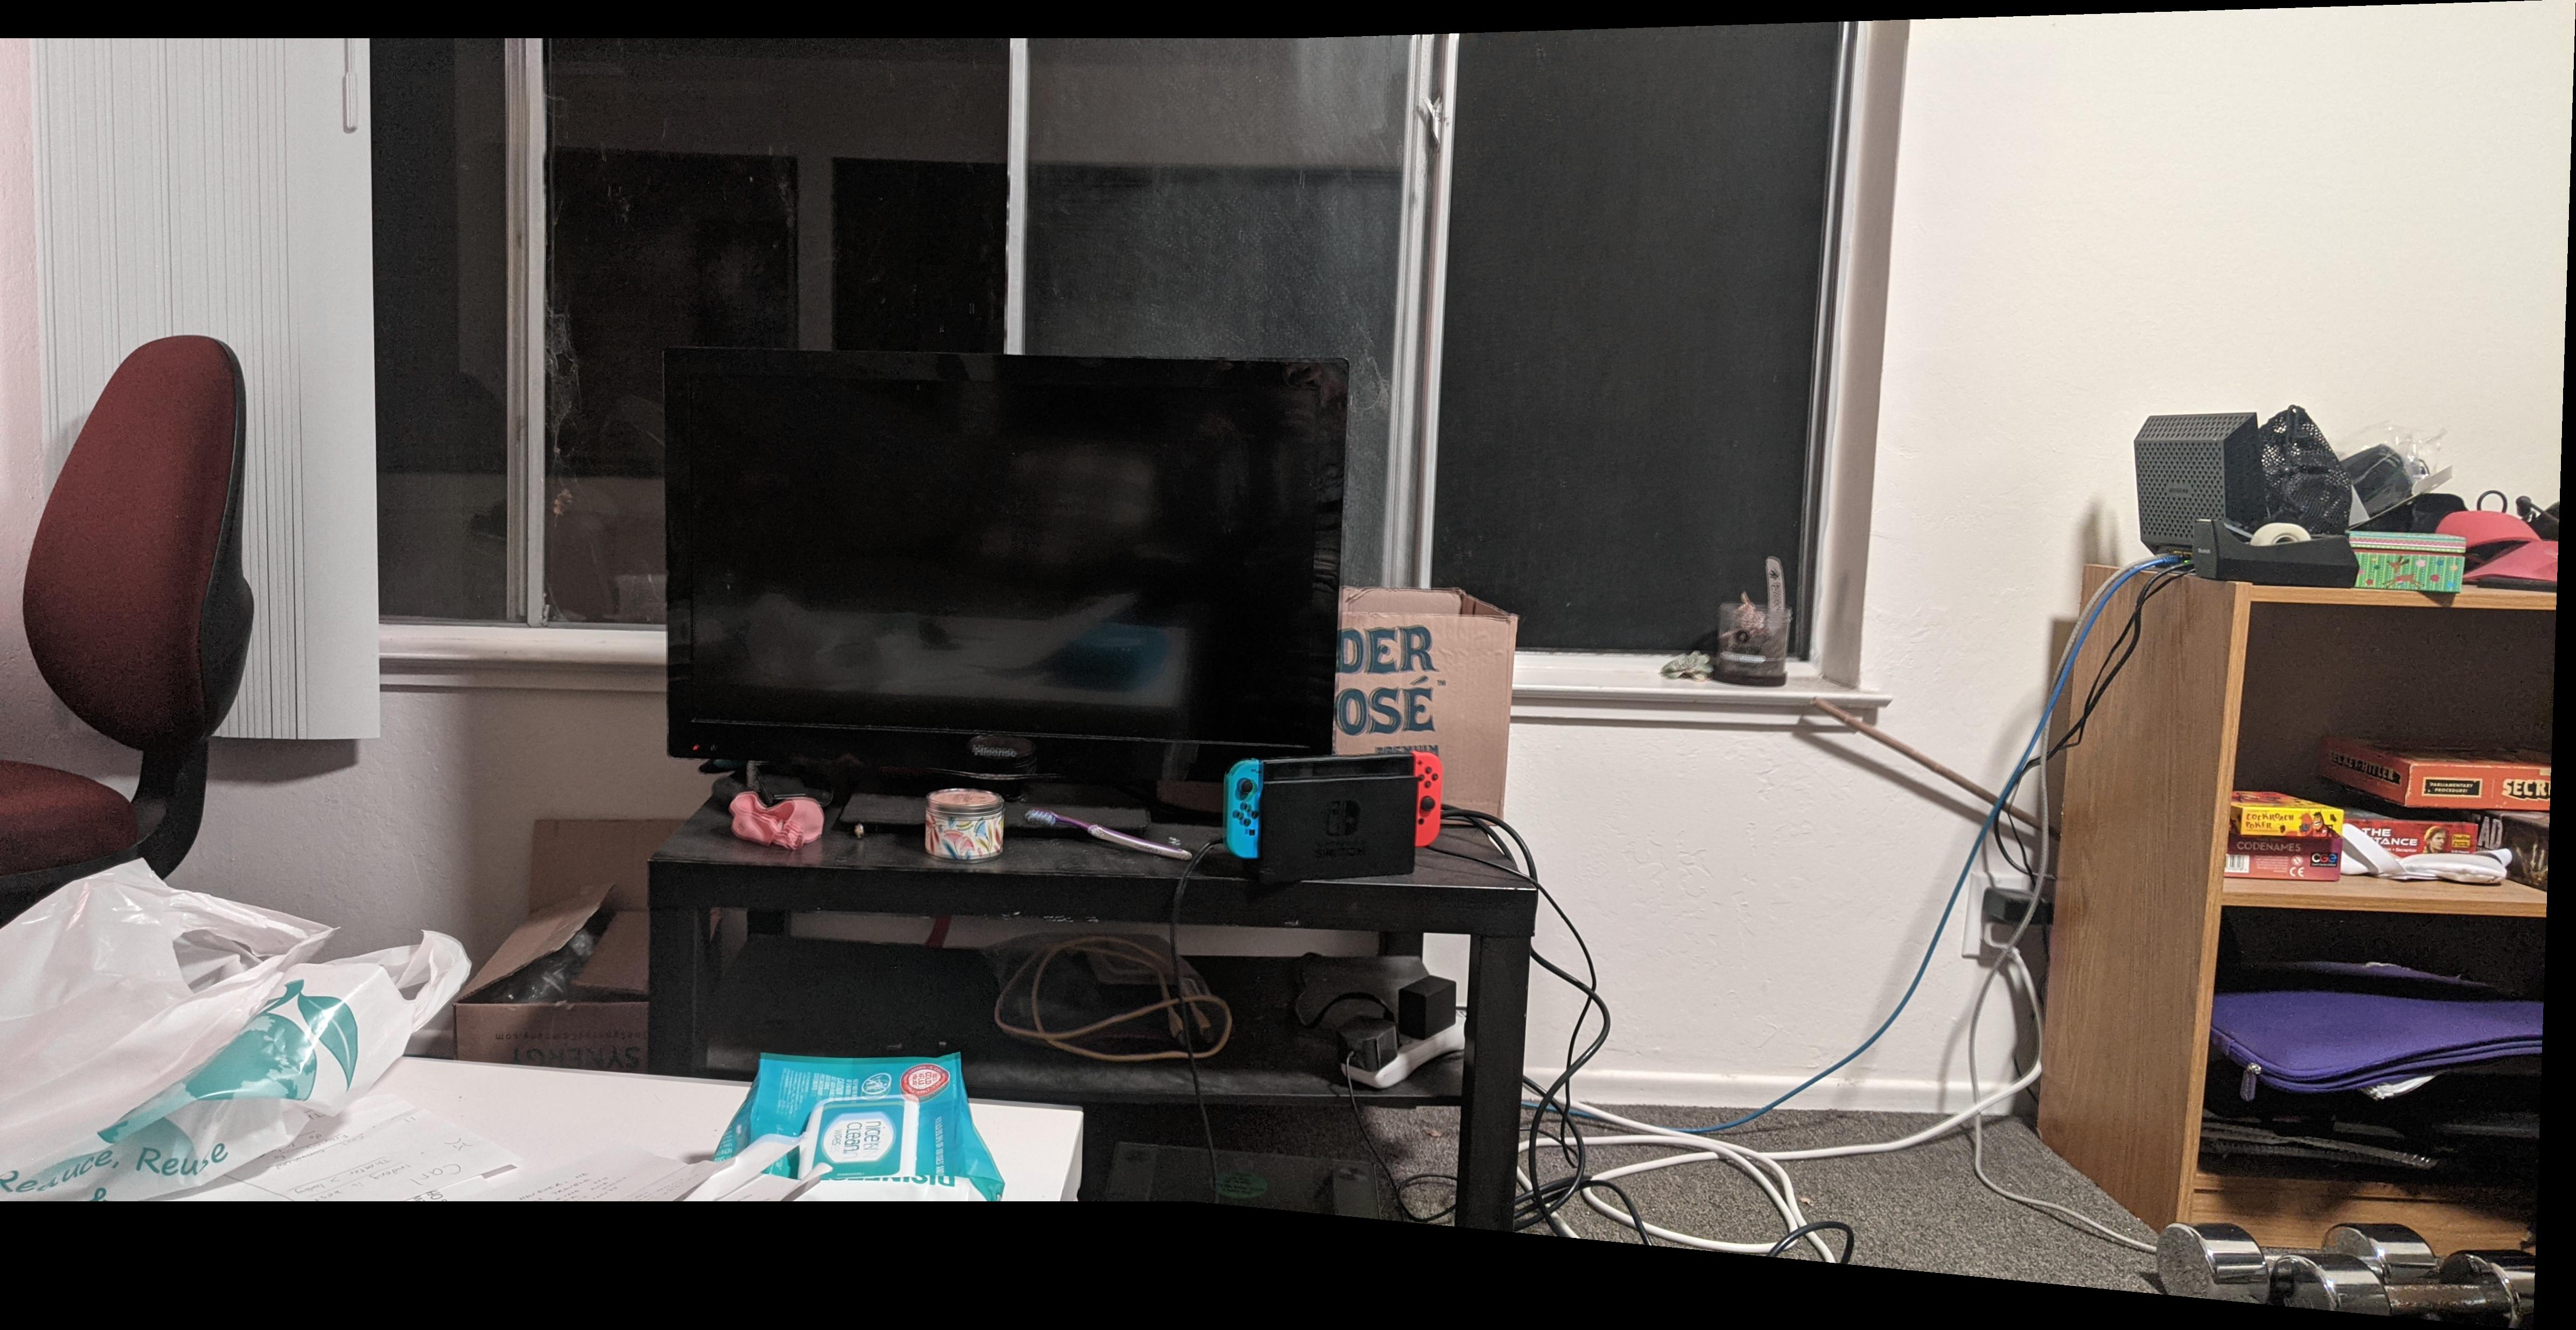
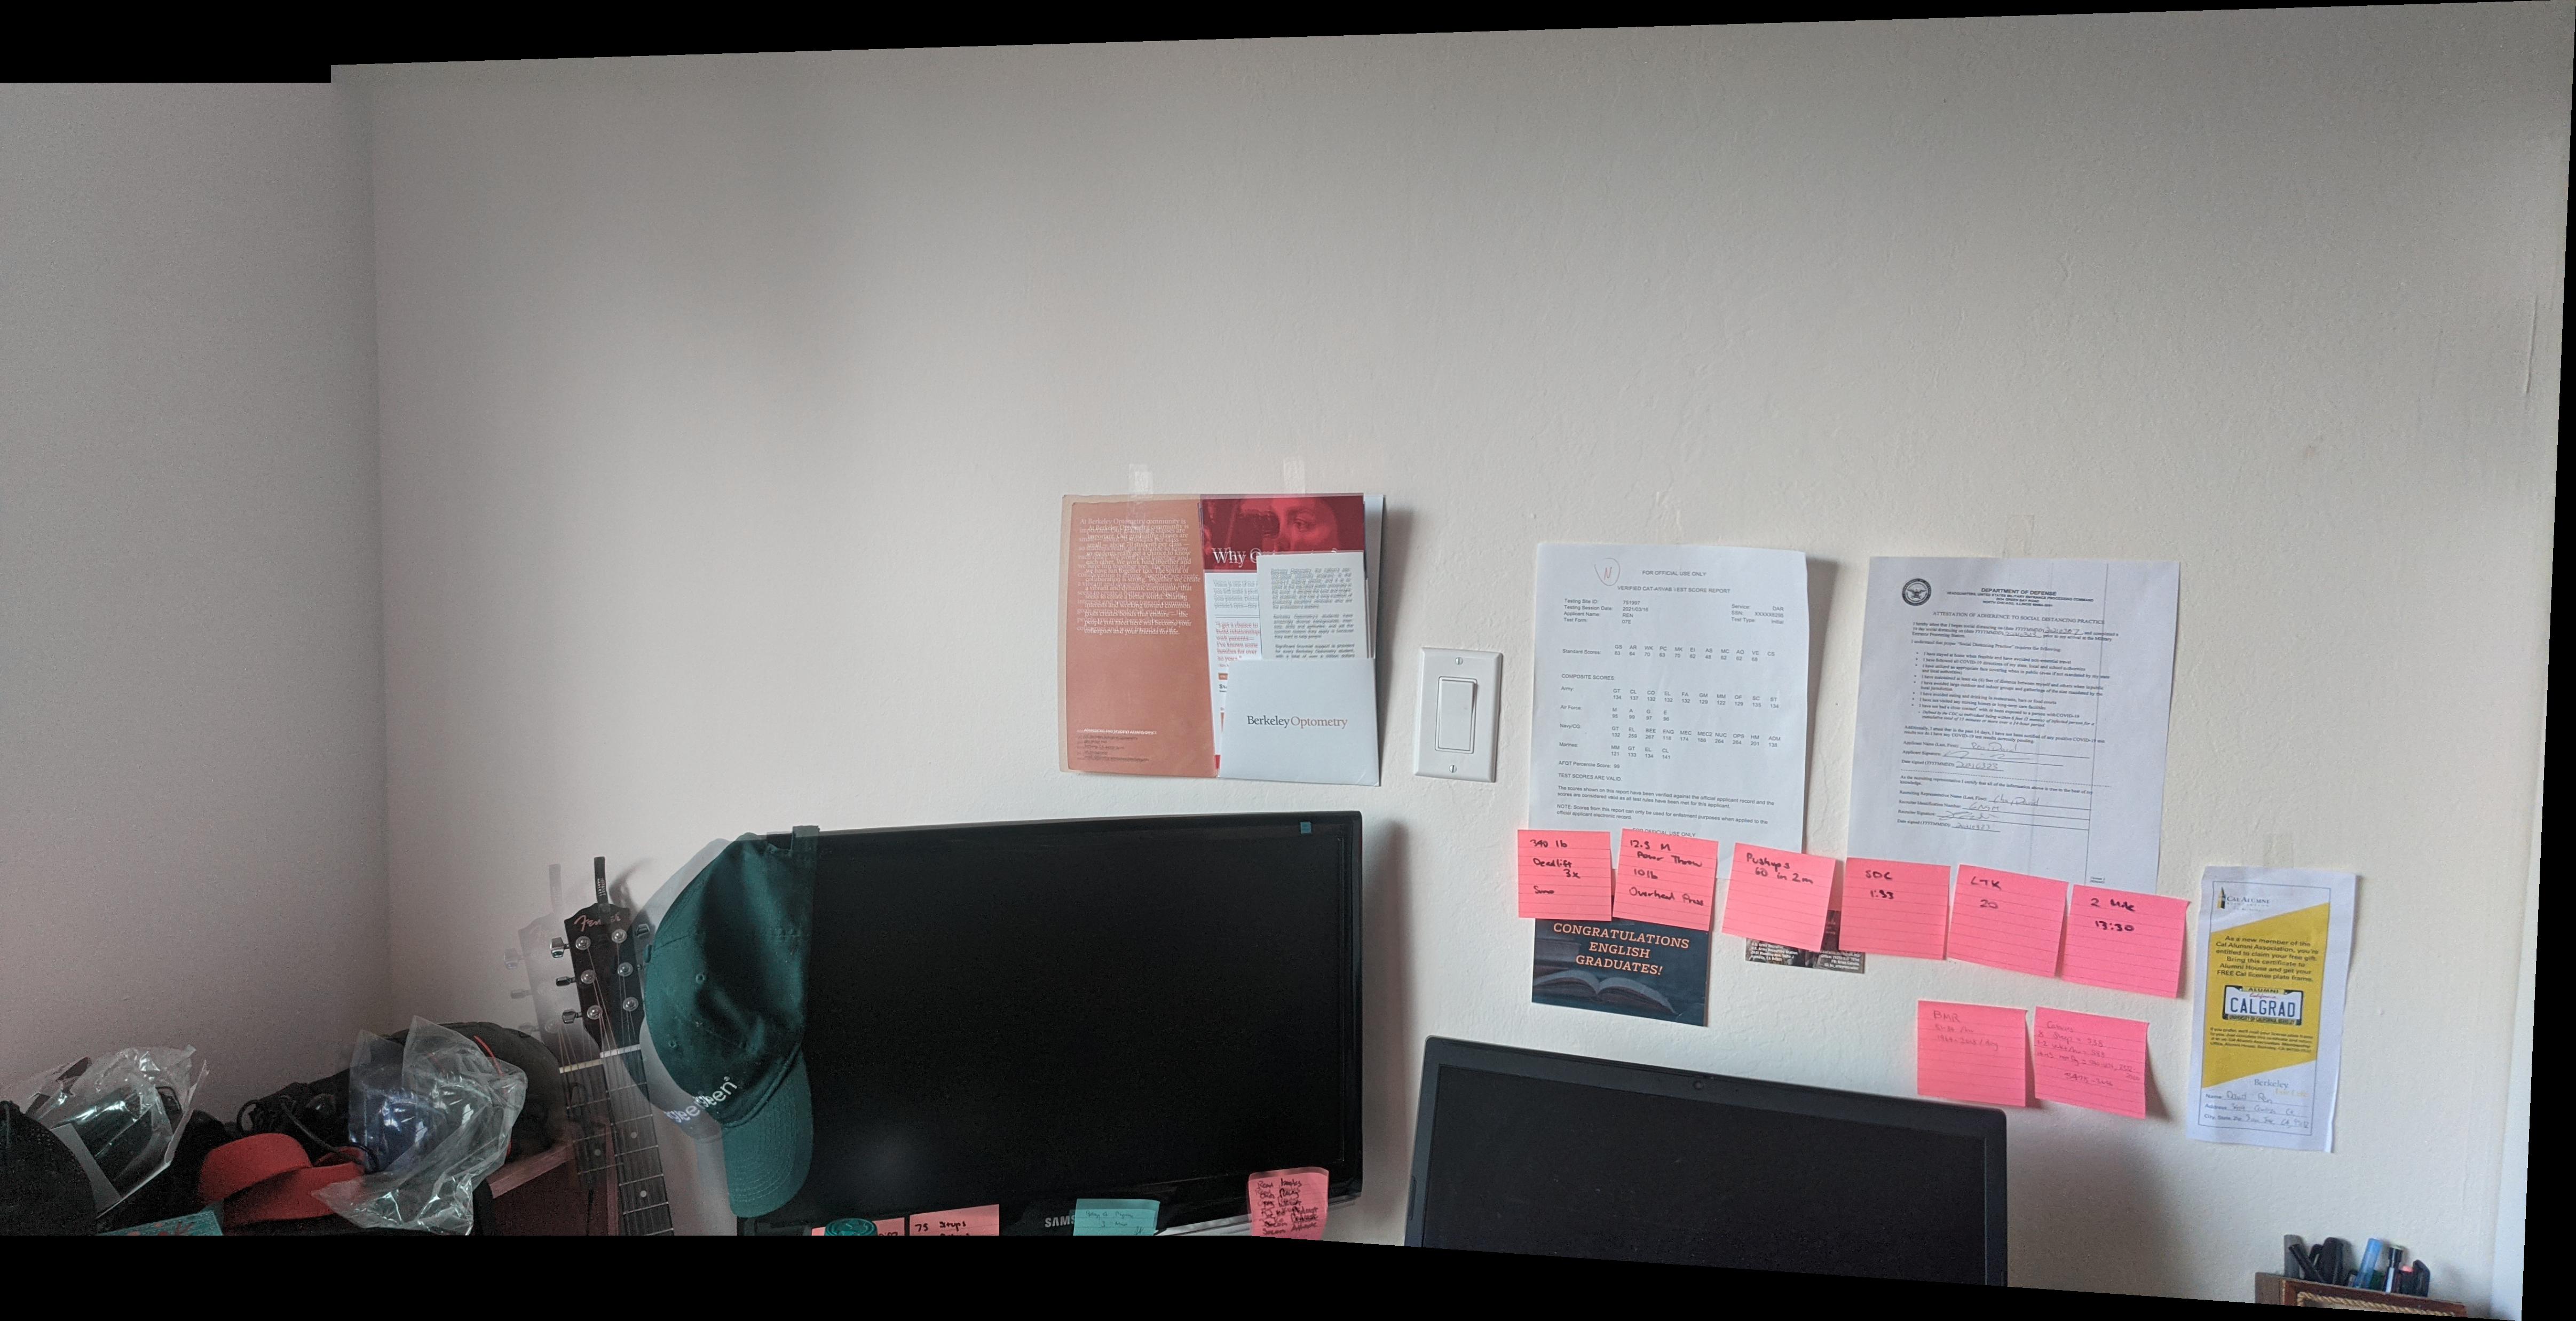
Living Room TV (Ignore the mess :'))
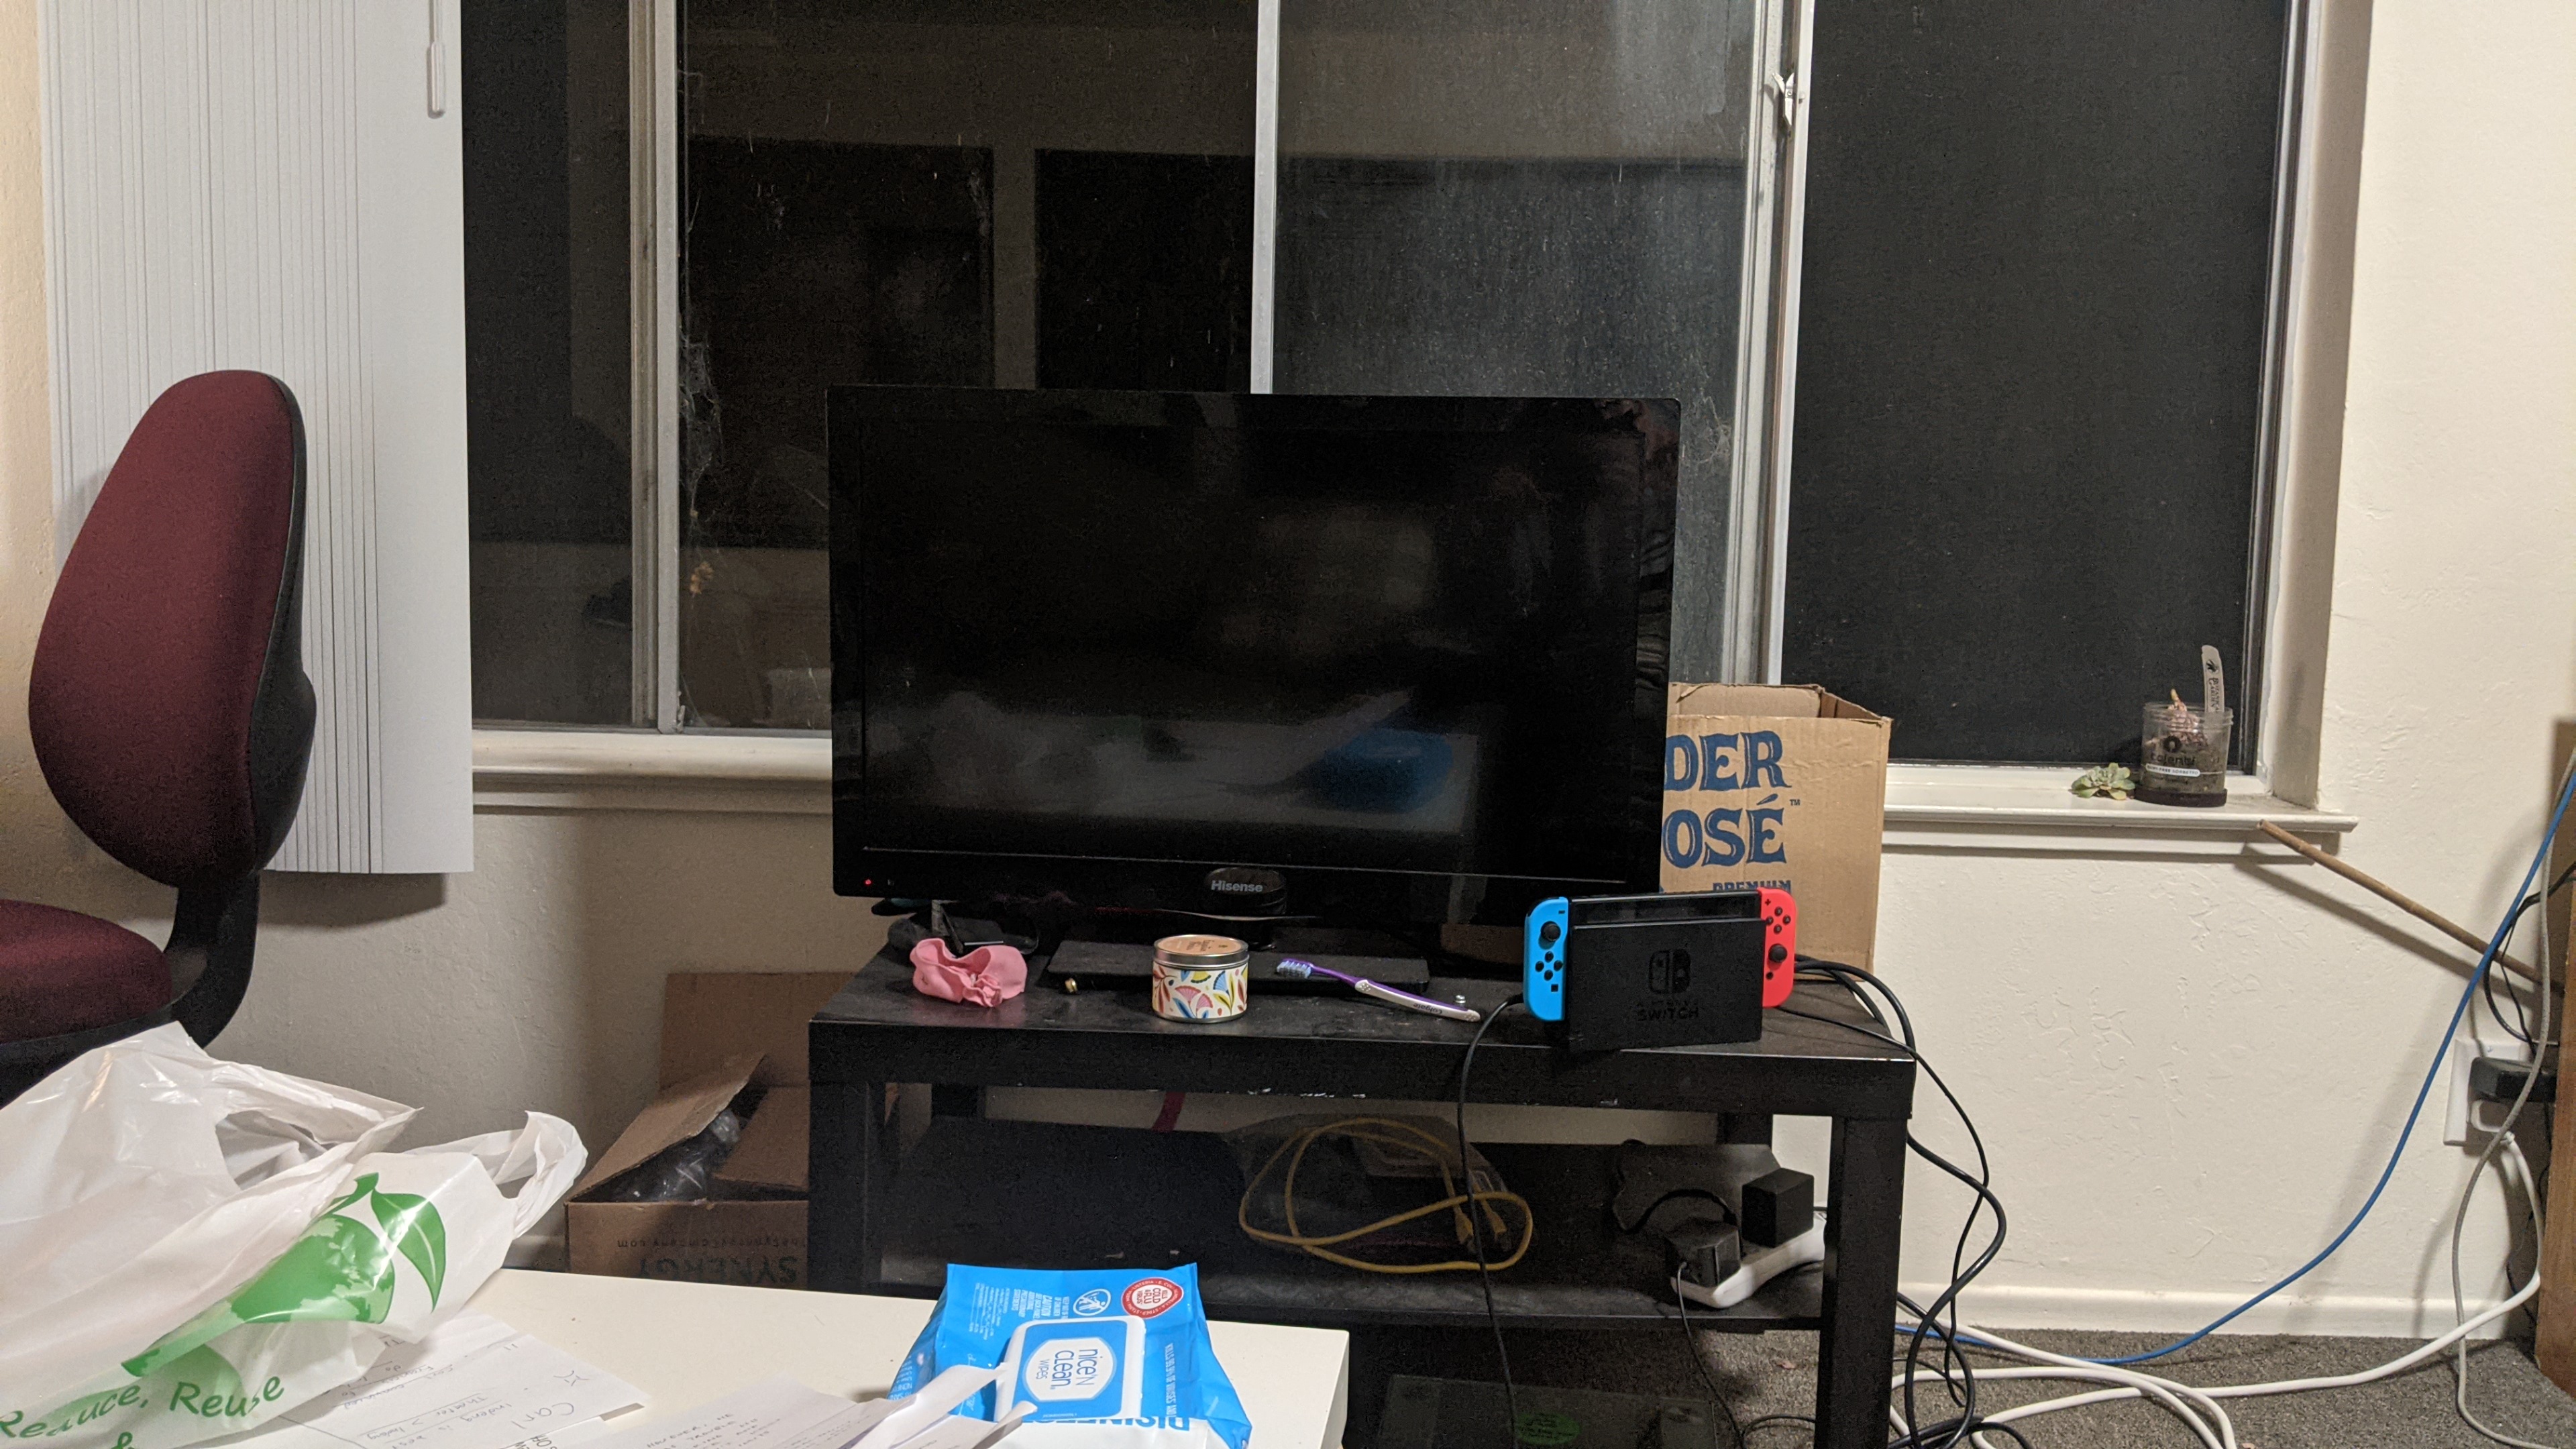 Original Left
|
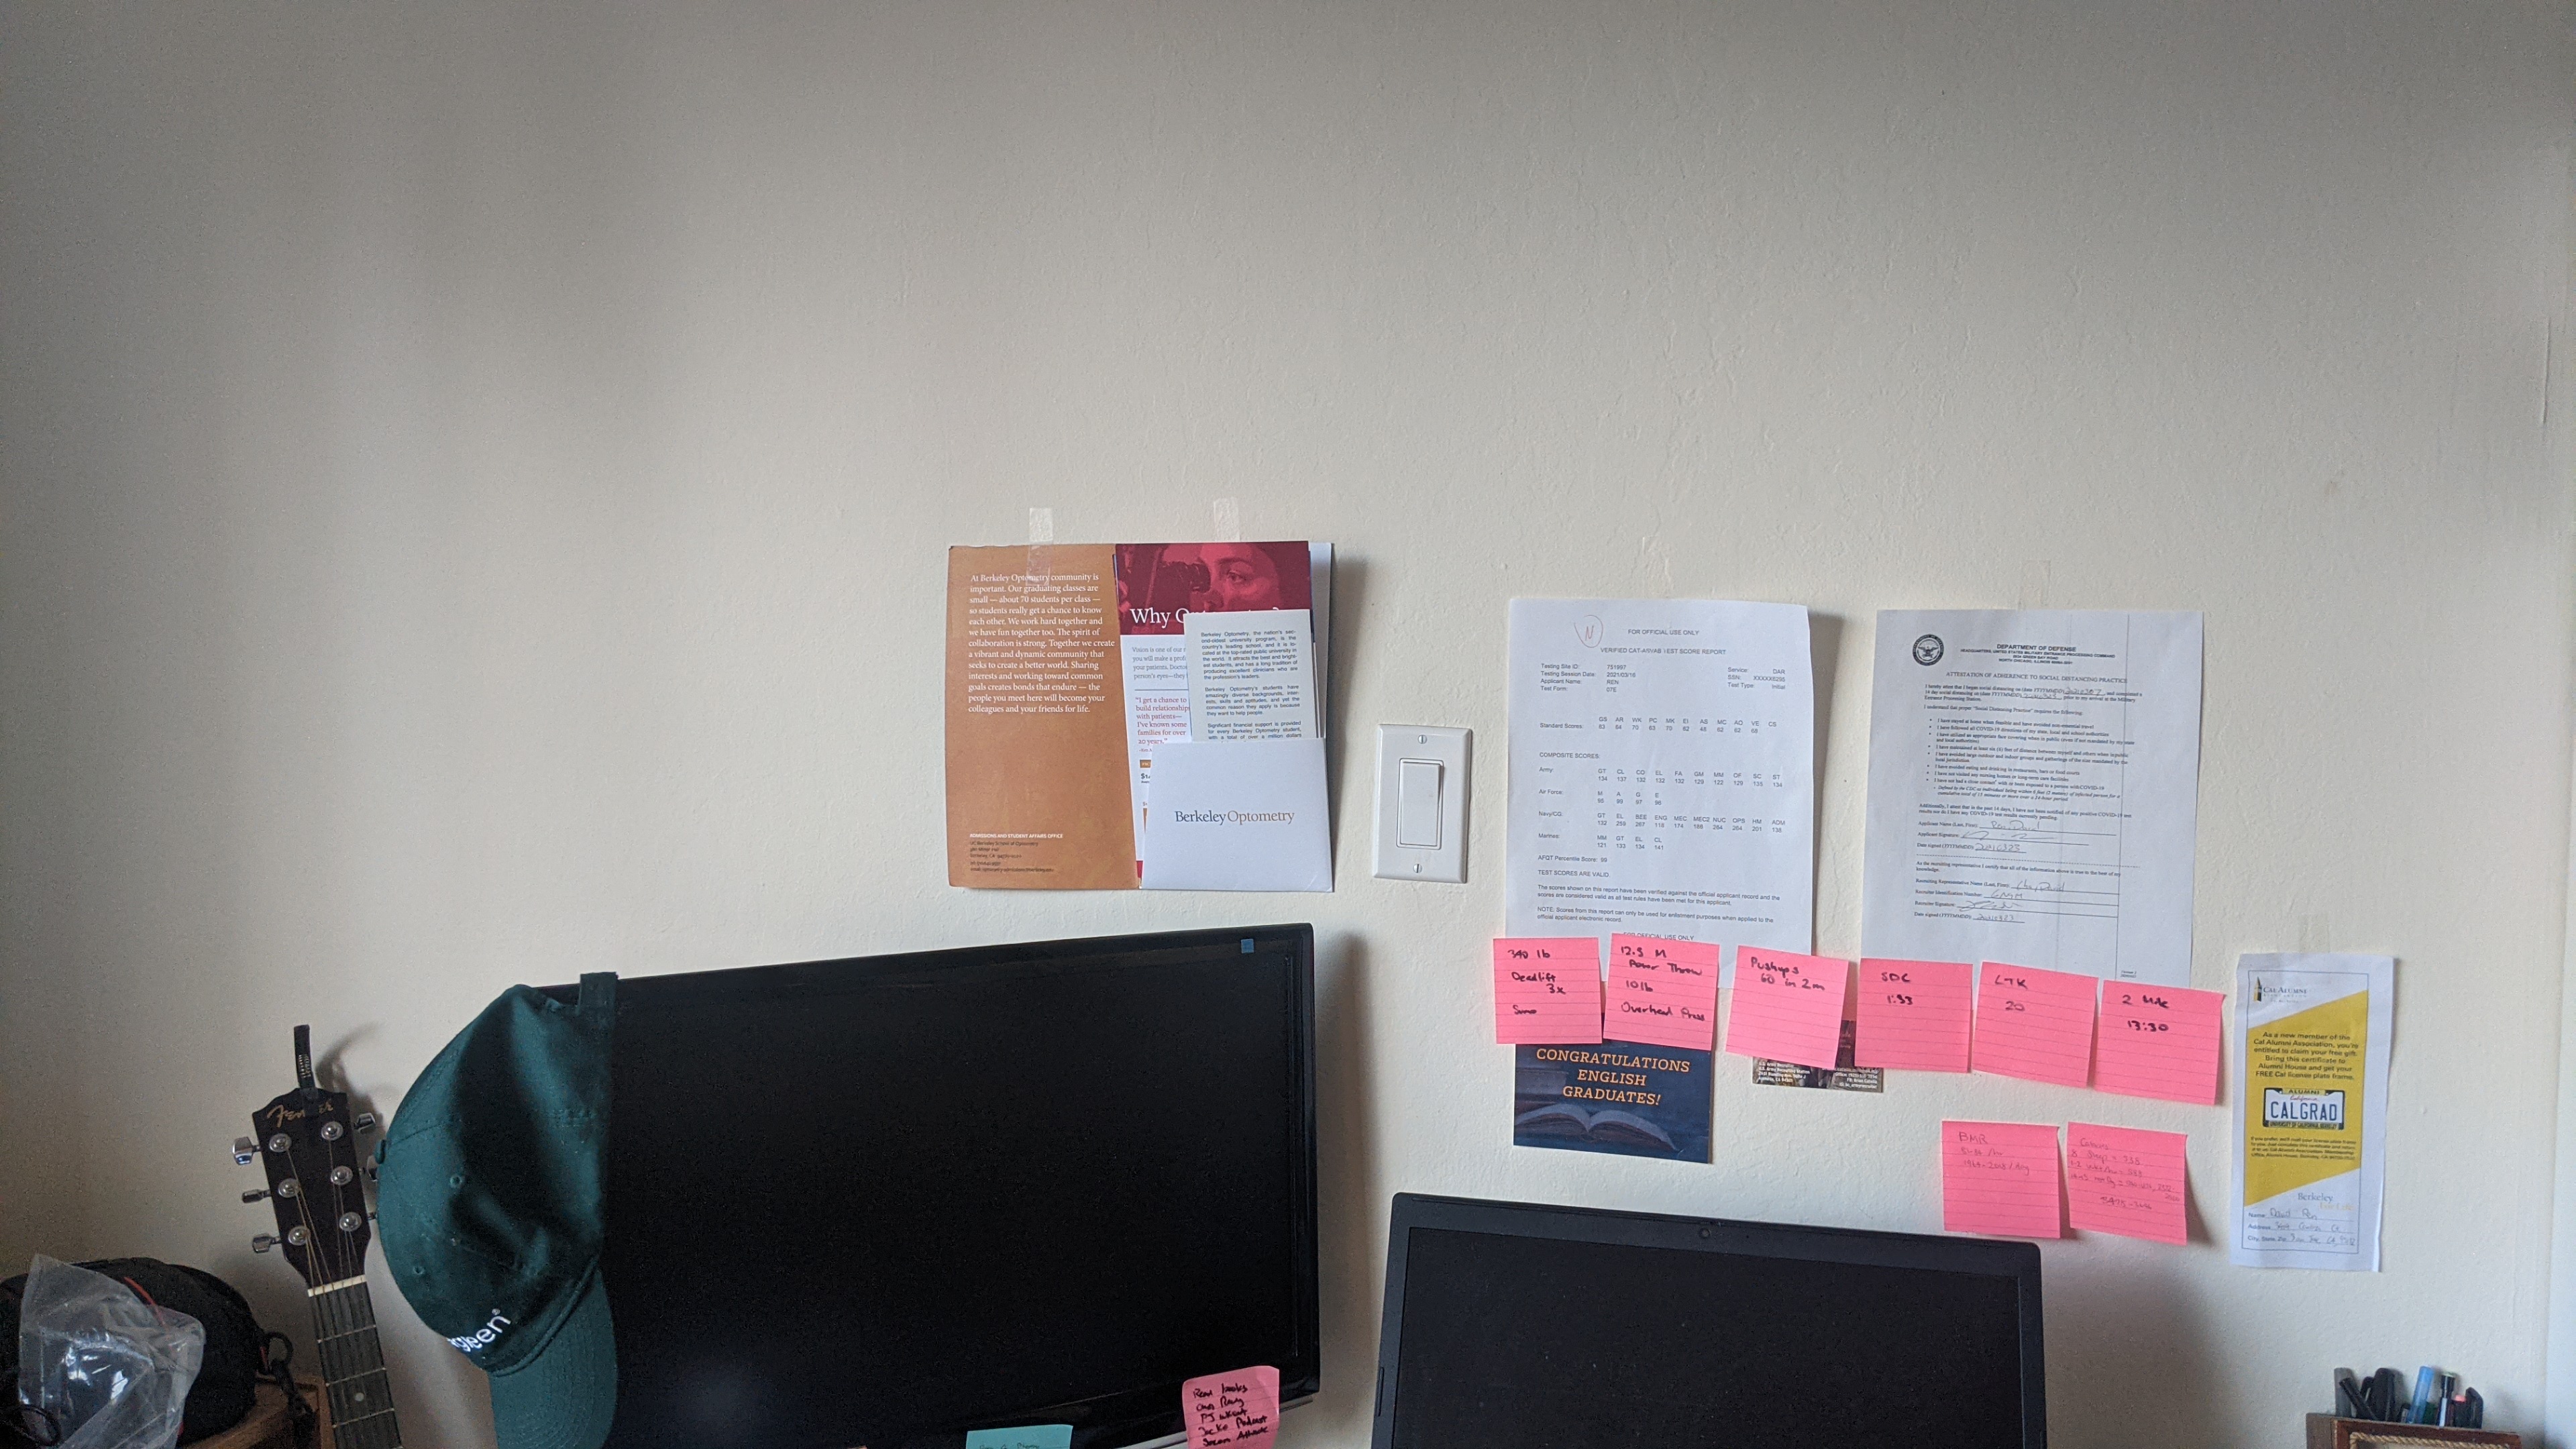
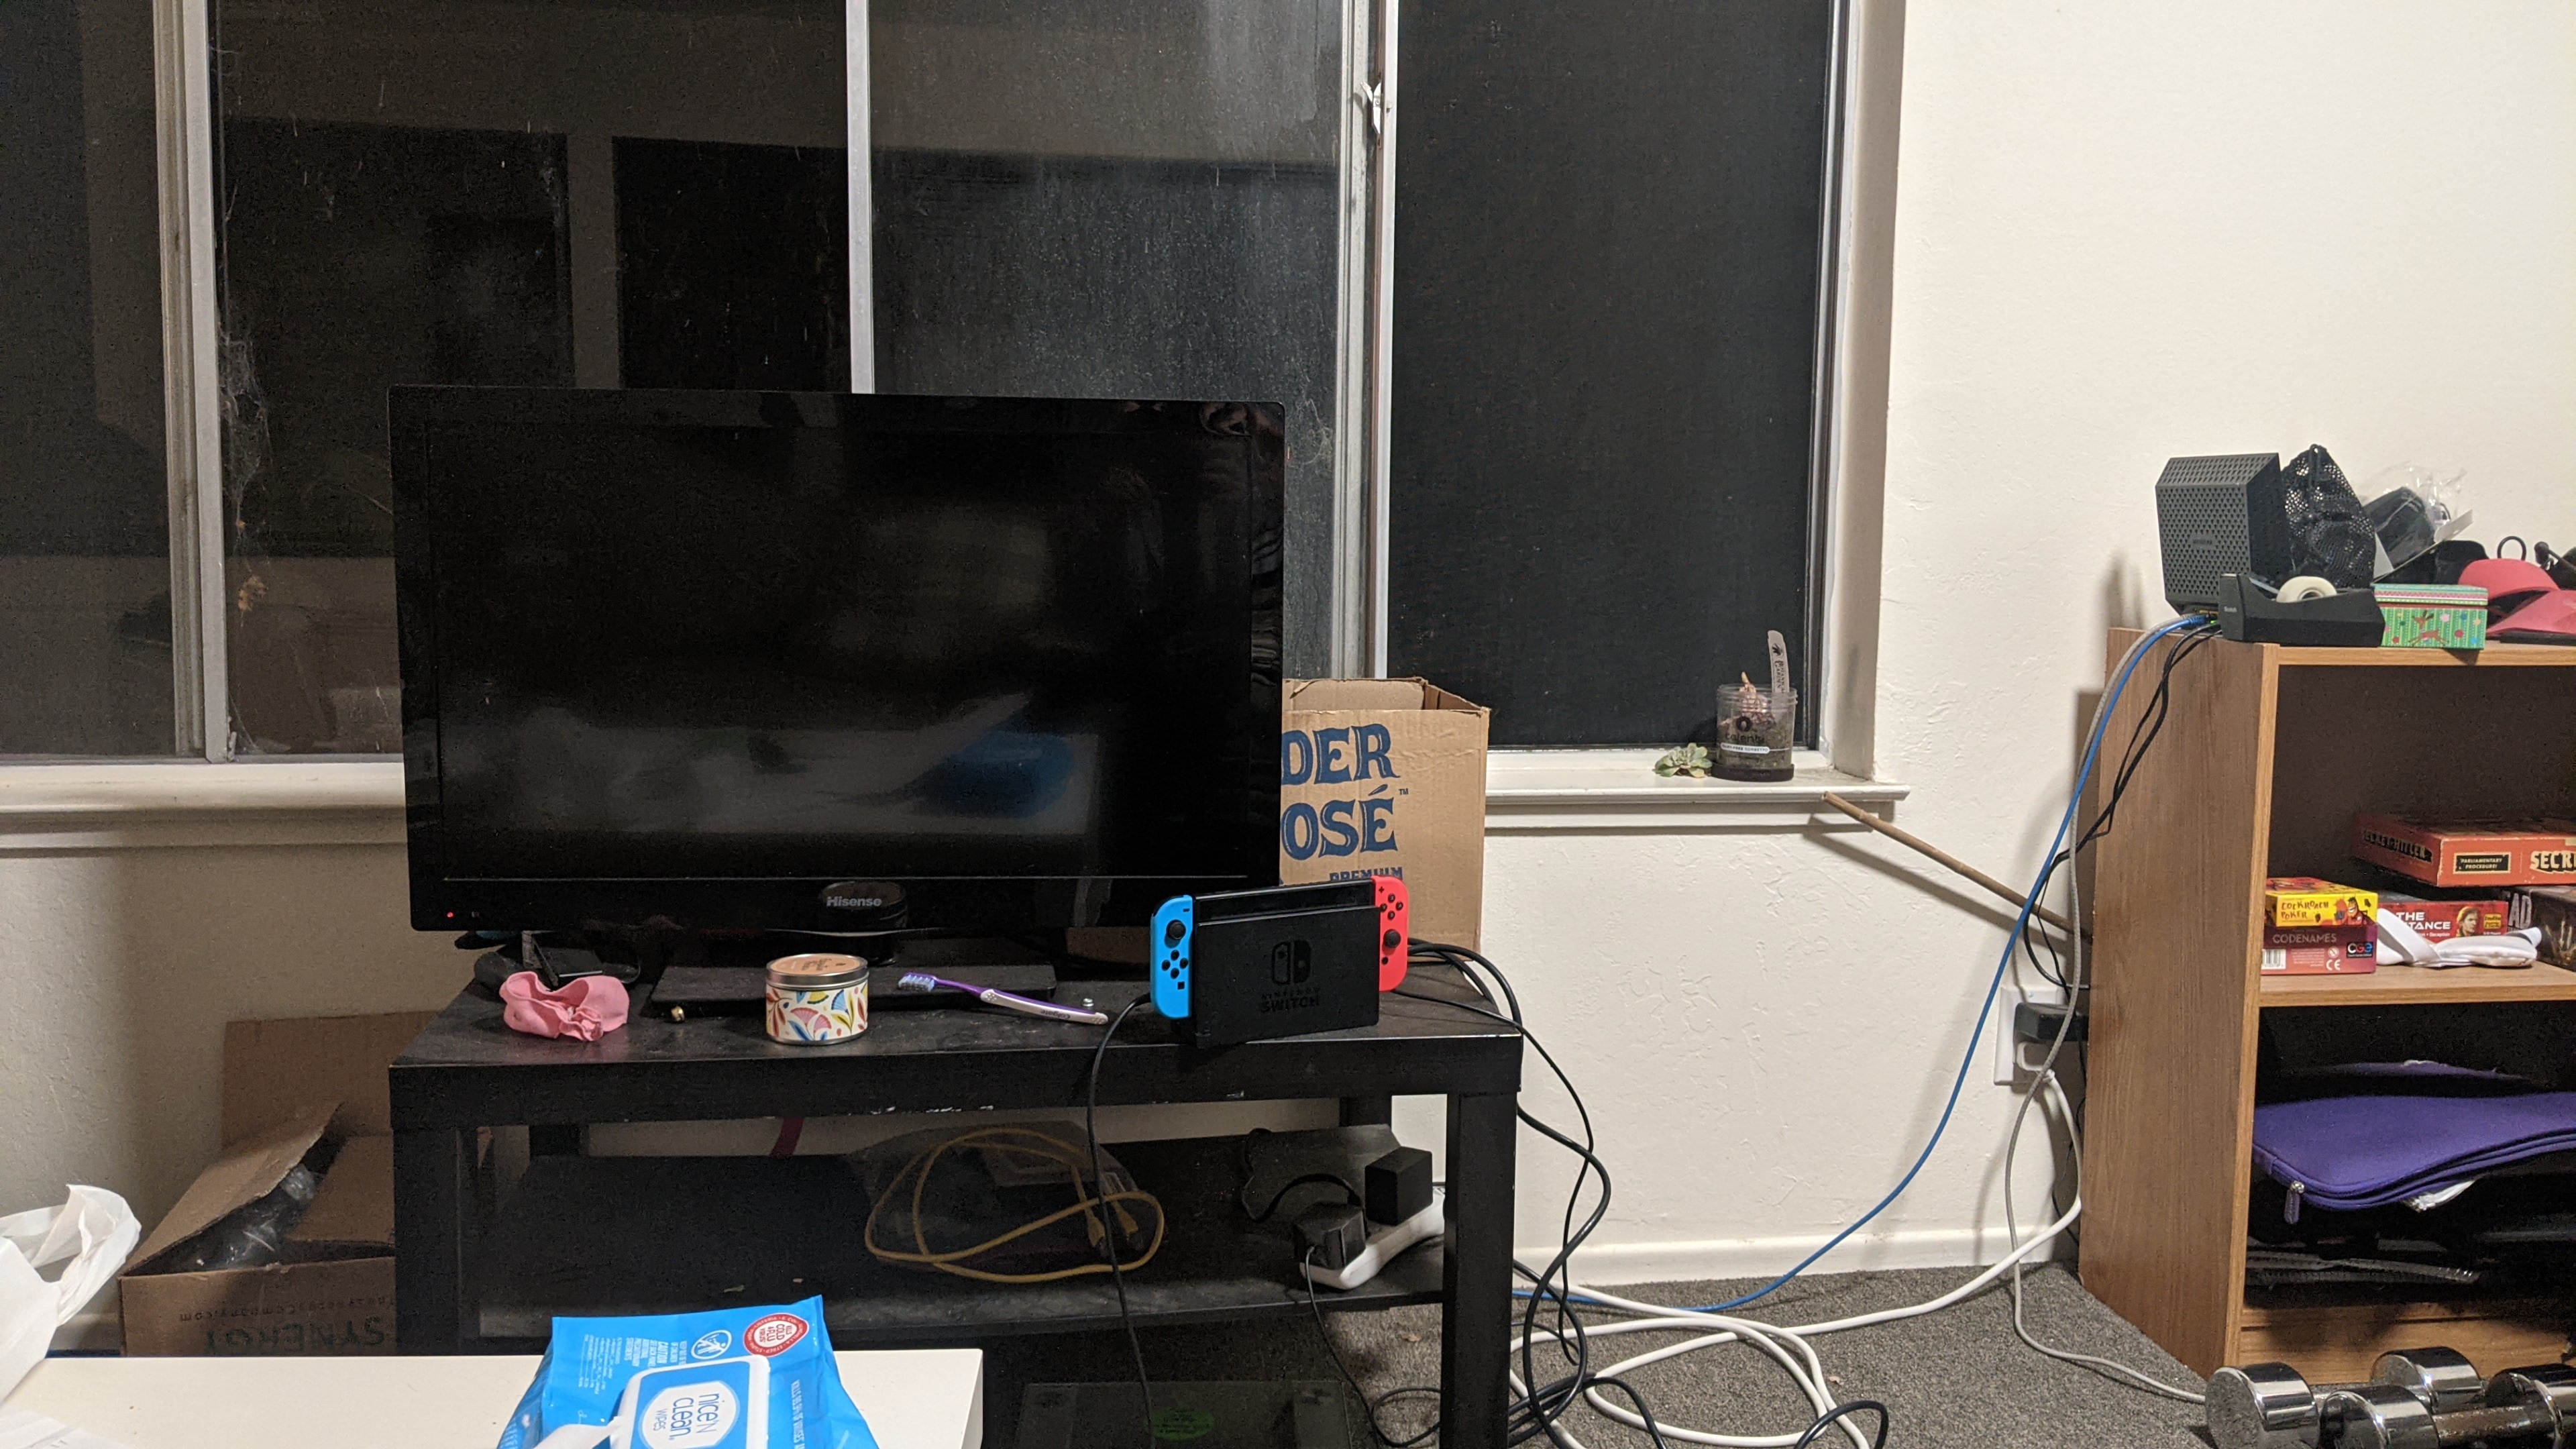 Original Right
|
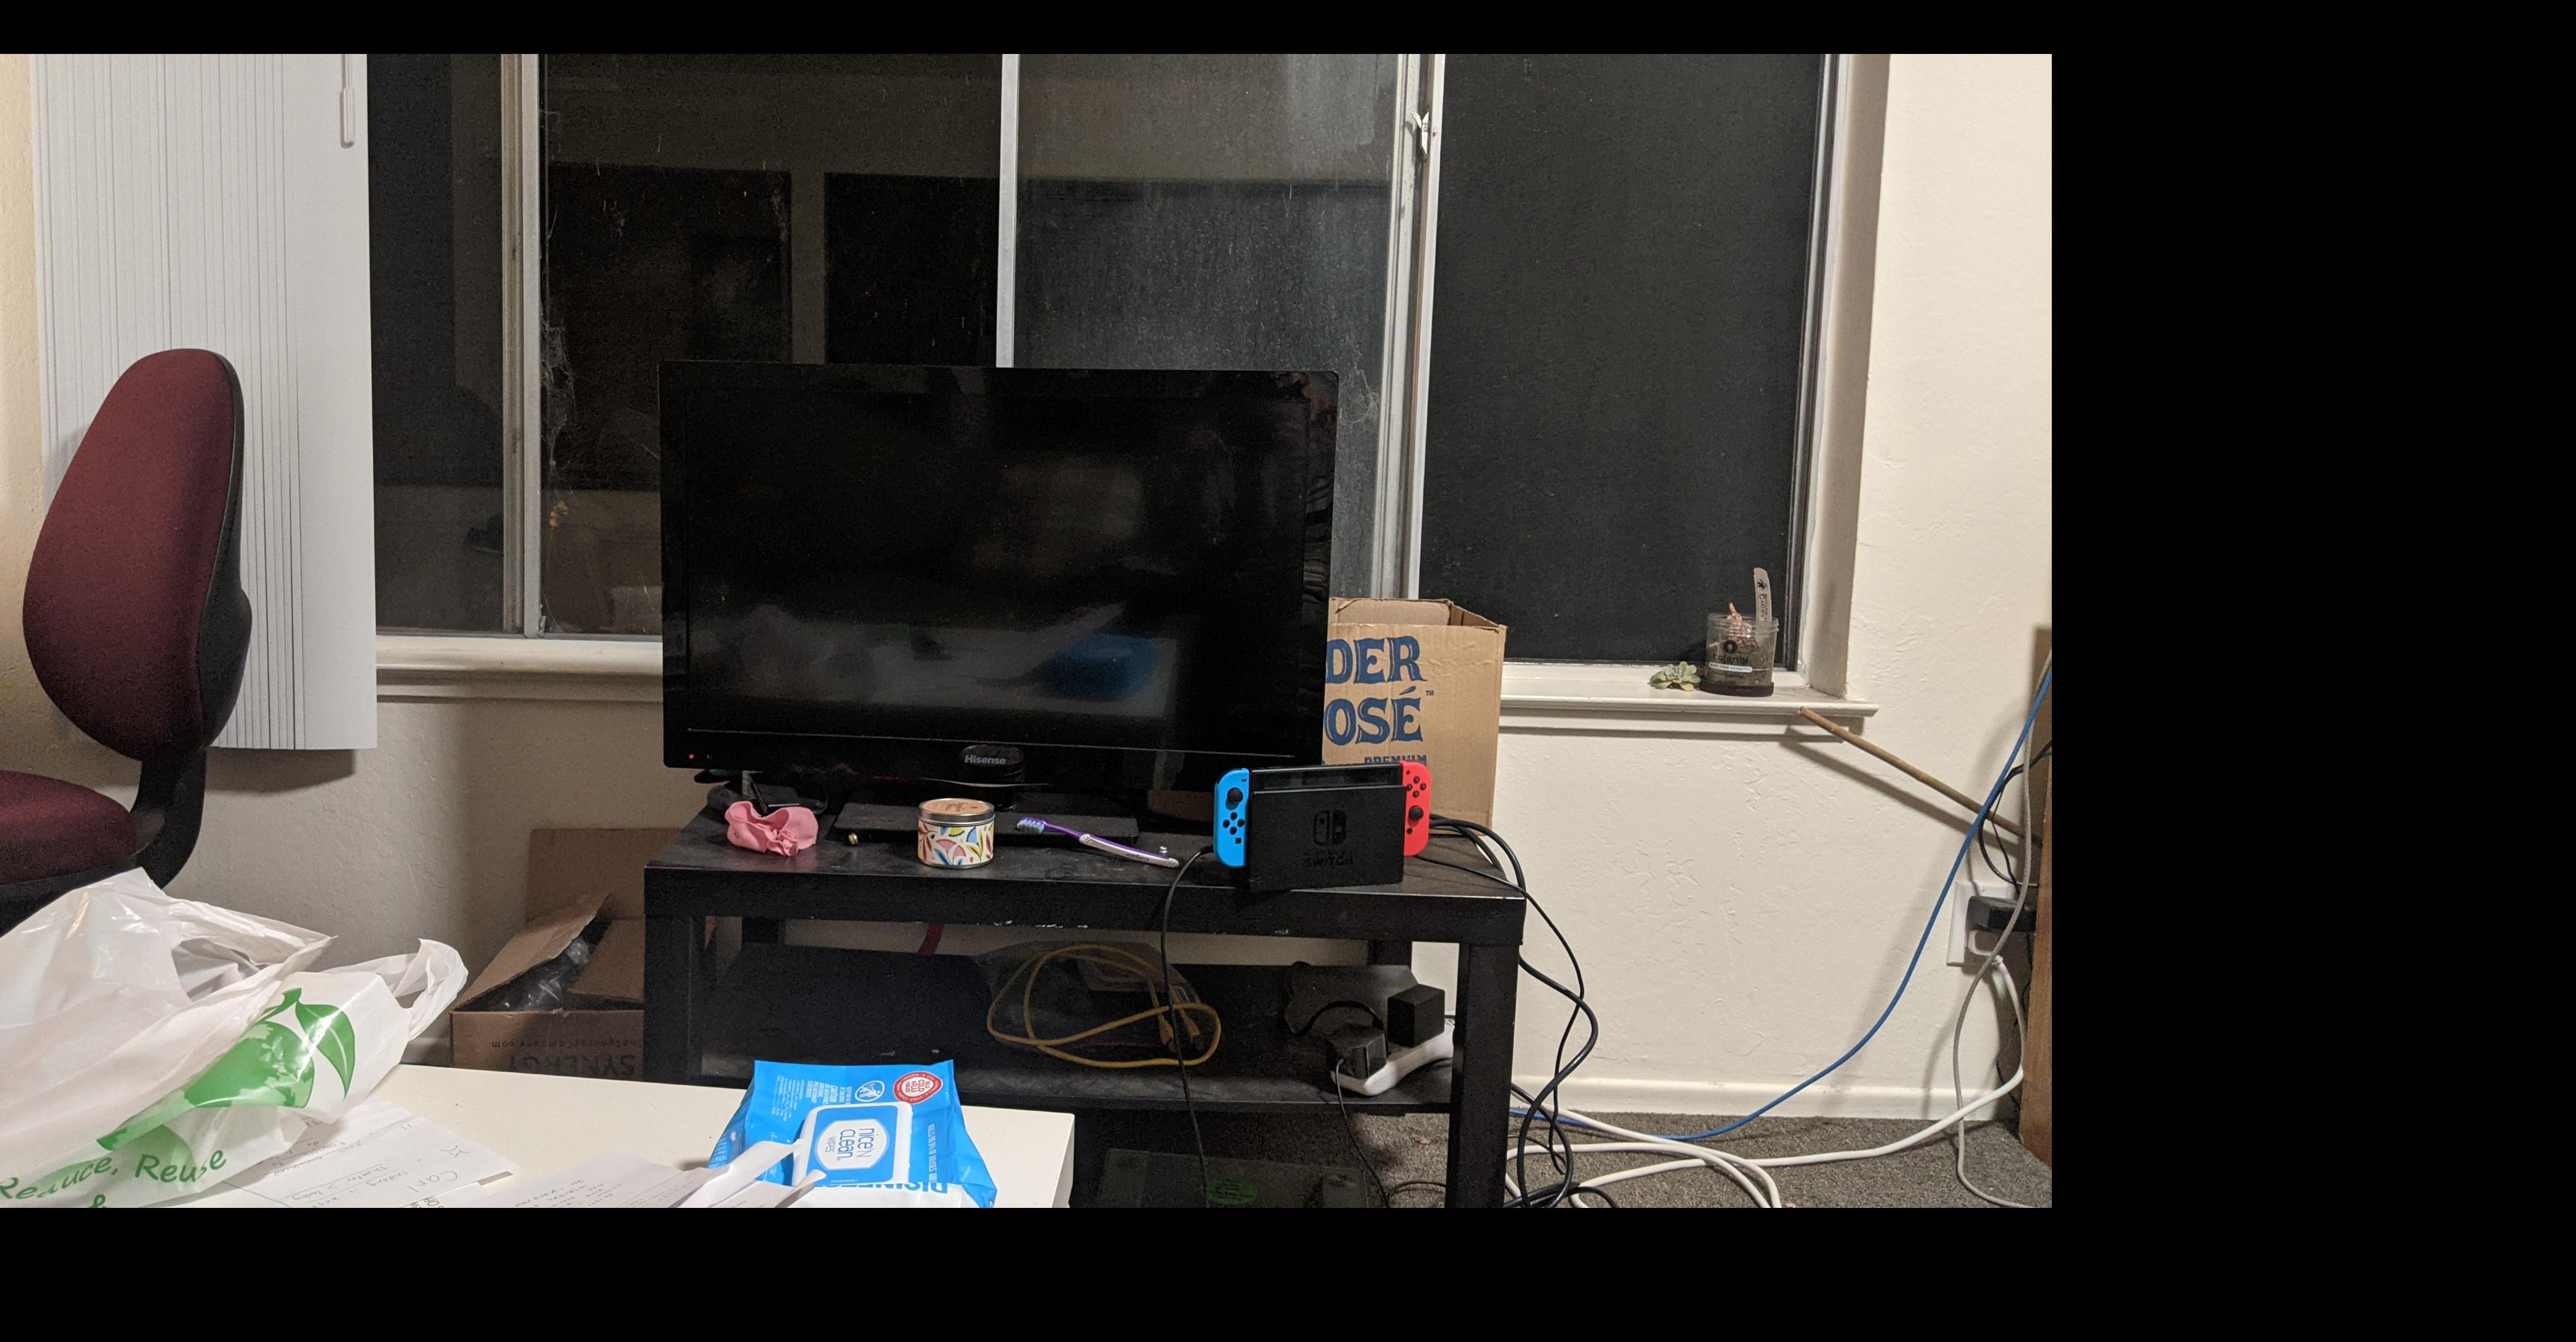 Left image fit into bounding box
|
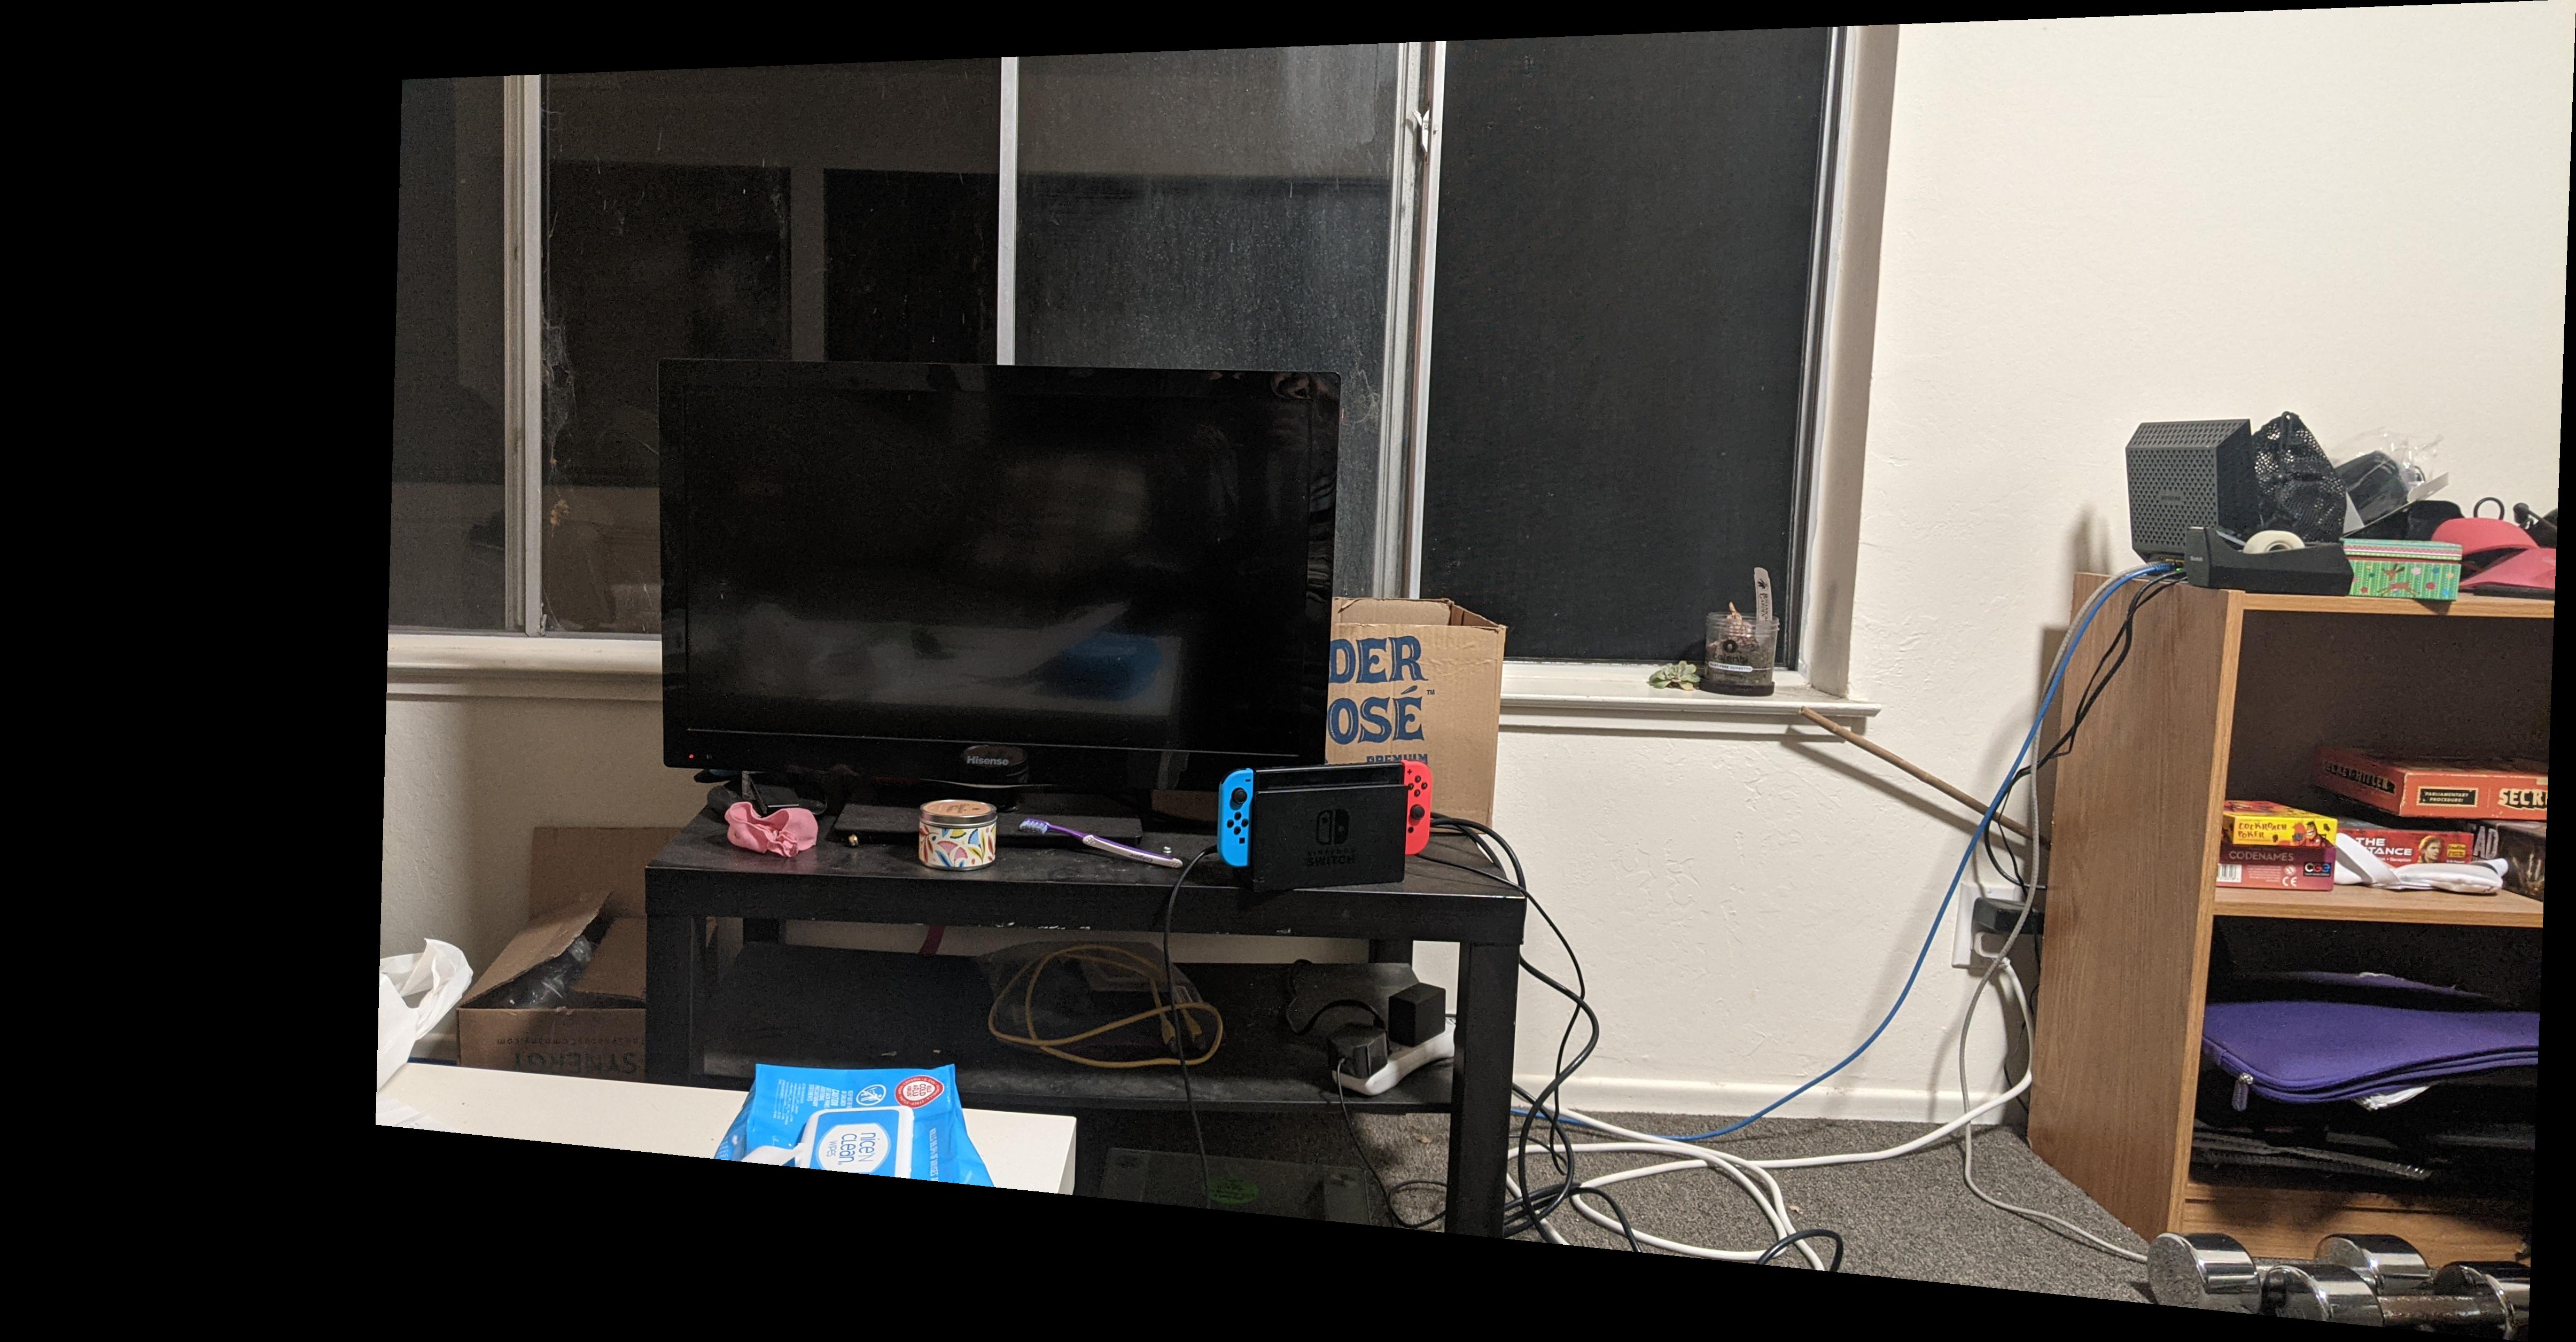 Warped Right image
|
 Blended images in bounding box
|
Part 2: Feature Matching for Autostitching
Now that we know how to make panoramas/mosaics using manualy selected correspondences,
we want to be able to do the point selection automatically.
Detecting corner features in an image
To begin our feature matching process, we need to first detect corners within our images.
We can do this by using a harris corner detector. Below are the harris corners of the two
room images.
 Coners for room image 1
|
 Coners for room image 2
|
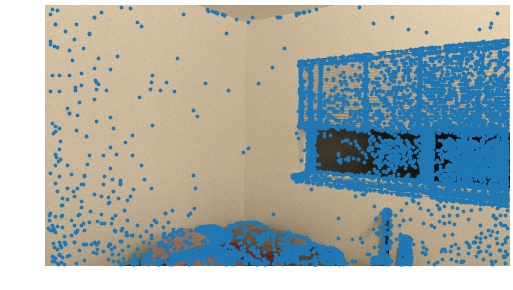
Adaptive Non-Maximal Suppression (ANMS)
As you can see, the harris corner detector gives us way too many points. We can trim these points down
to a desired quantity by using ANMS. Below are the same two images, now with the top 500 well-distributed
points after running ANMS.
 Top 500 for room image 1
|
 Top 500 for room image 2
|
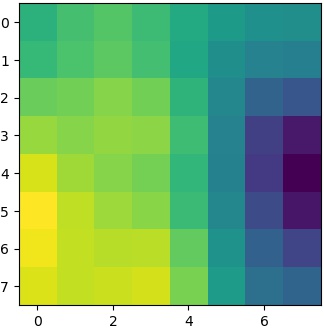
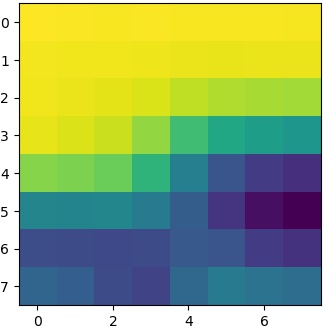
Extracting a Feature Descriptor for each feature point
After we have a nice amount of feature/corner points to work with, we can extract the feature descriptors for
each of the point to perform feature matching. We do this by taking a 40x40 sample centered at the point,
blurring it, and then resizing it to a 8x8 feature descriptor. Below are a few feature descriptors from the
two images.
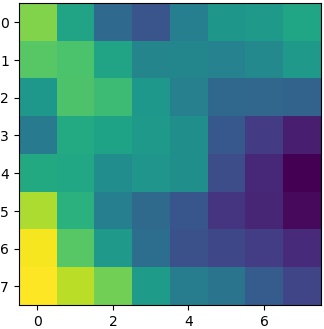 Patch 1 for room image 1
|
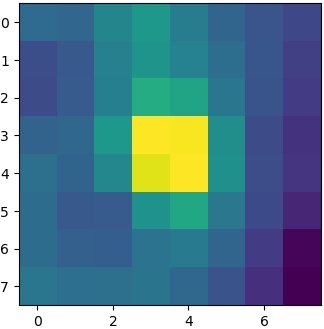 Patch 2 for room image 1
|
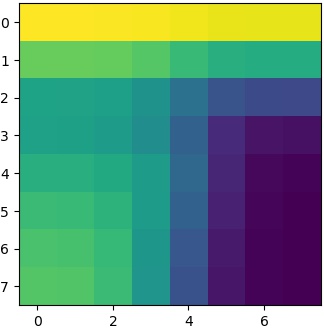 Patch 3 for room image 1
|
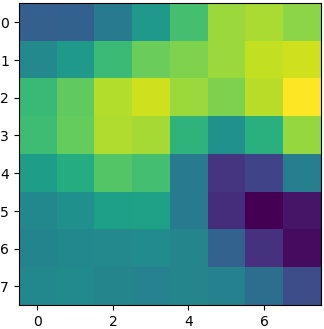 Patch 1 for room image 2
|
 Patch 2 for room image 2
|
 Patch 3 for room image 2
|
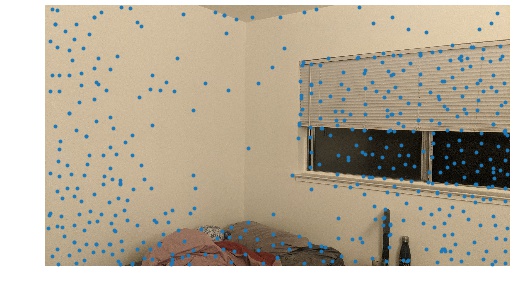
Matching these feature descriptors between two images
Now we use these feature descriptors to narrow down our valid points. We do this by using the
"Russian Grandma" method: we comute the SSD between each pair of feature descriptors, and only
pick the ones where the ratio between the best and second best match is significant. Hence
Russian Grandma, if the best match and second best match aren't that different, they're probably
both bad. As usual, shown below are the points selected by feature matching.
 Feature matched points for room image 1
|
 Feature matched points for room image 2
|
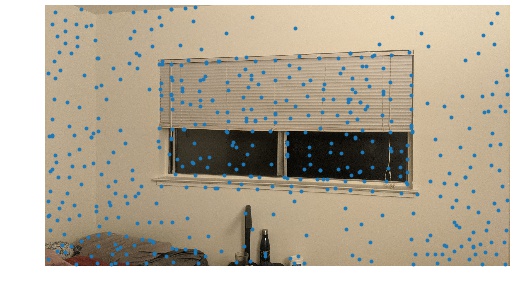
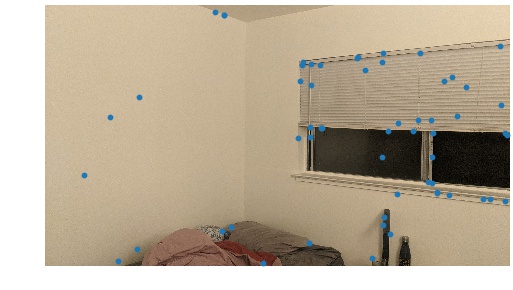
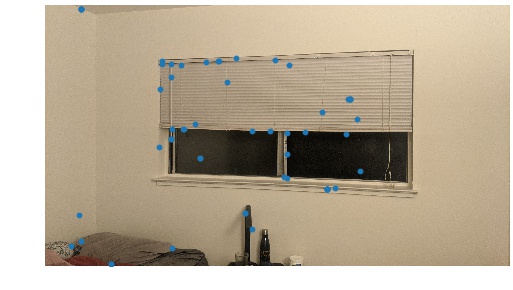
RANSAC
Even with feature matching, we still have some "incorrect" points. To eliminate these, we can
use RANSAC. In RANSAC, we randomly select 4 sets of points (we need 4 for a homography), compute
a homography using these 4 correspondences, and then check to see how many other points "agree" with
the homography. At each iteration, if the number of "agreeing" correspondences is more then our
current best, we switch to it. After just a couple thousand iterations of RANSAC, we almost always
end up with a perfect set of correct correspondences. Once again, the RANSAC selected points are
shown below.
 Final points for room image 1
|
 Final points for room image 2
|
Autostitching!
Putting this all together with Part 1, we can now auto stitch out photo mosaics! Below are the side
by side comparisons of manul and auto stitching of the 3 sets of images I used from part 1.
|
Manual Room Pano
|
 Auto Room Pano
|
|
Manual TV Pano
|
 Auto TV Pano
|
|
Manual Desk Pano
|
 Auto Desk Pano
|
As you can see, auto is better for the first two, but worse for the desk. I think this is probably
due to the thresholding is both the harris corners and the feature matching steps. (Perhaps also
needed more iterations of RANSAC)
Final Thoughts
It was very cool to see the points gradually get narrowed down at each step (with selection improving as well).
Also interesting to see that threshold values and RANSAC runs change the results dramatically. At one
point I had a smaller number of RANSAC iterations and results were of poor quality, but simply increaing
the runs improved the results significantly. The coolest thing I learned was either the "Russian Grandma"
method of matching features, or RANSAC. Both algorithms were very simple yet also very effective.