Part A: Image Warping and Mosaicing
Shoot the Pictures
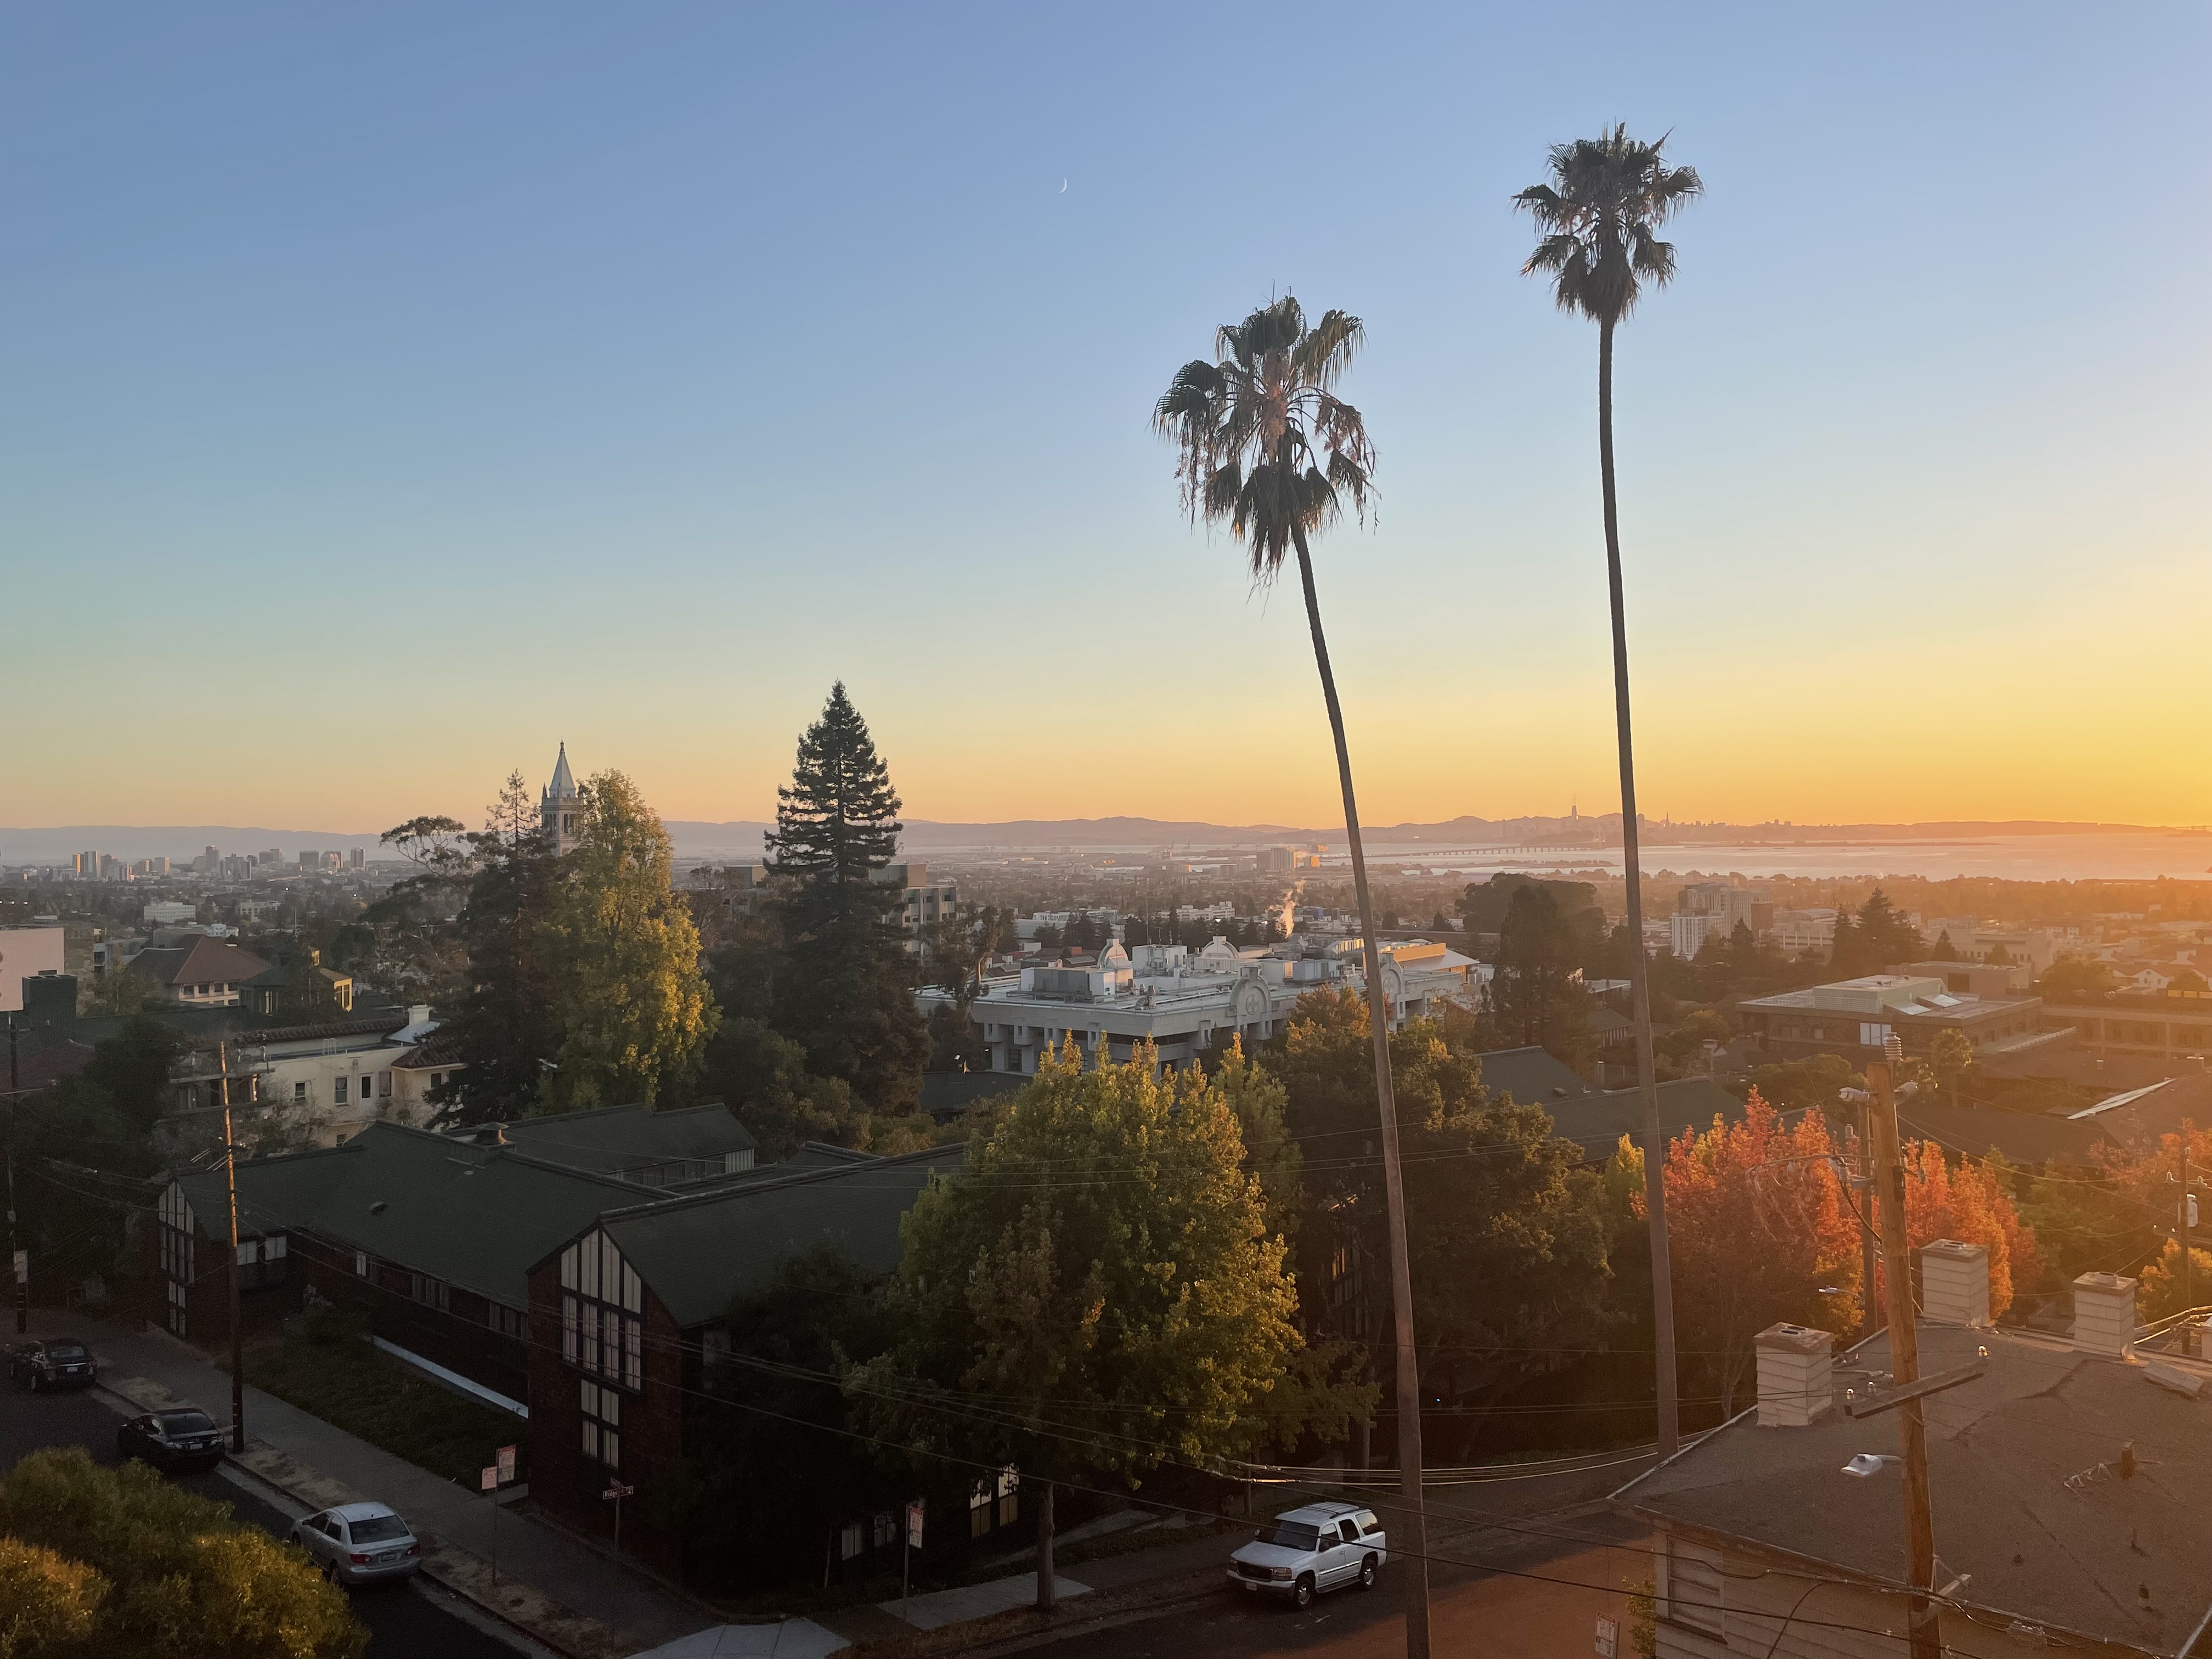
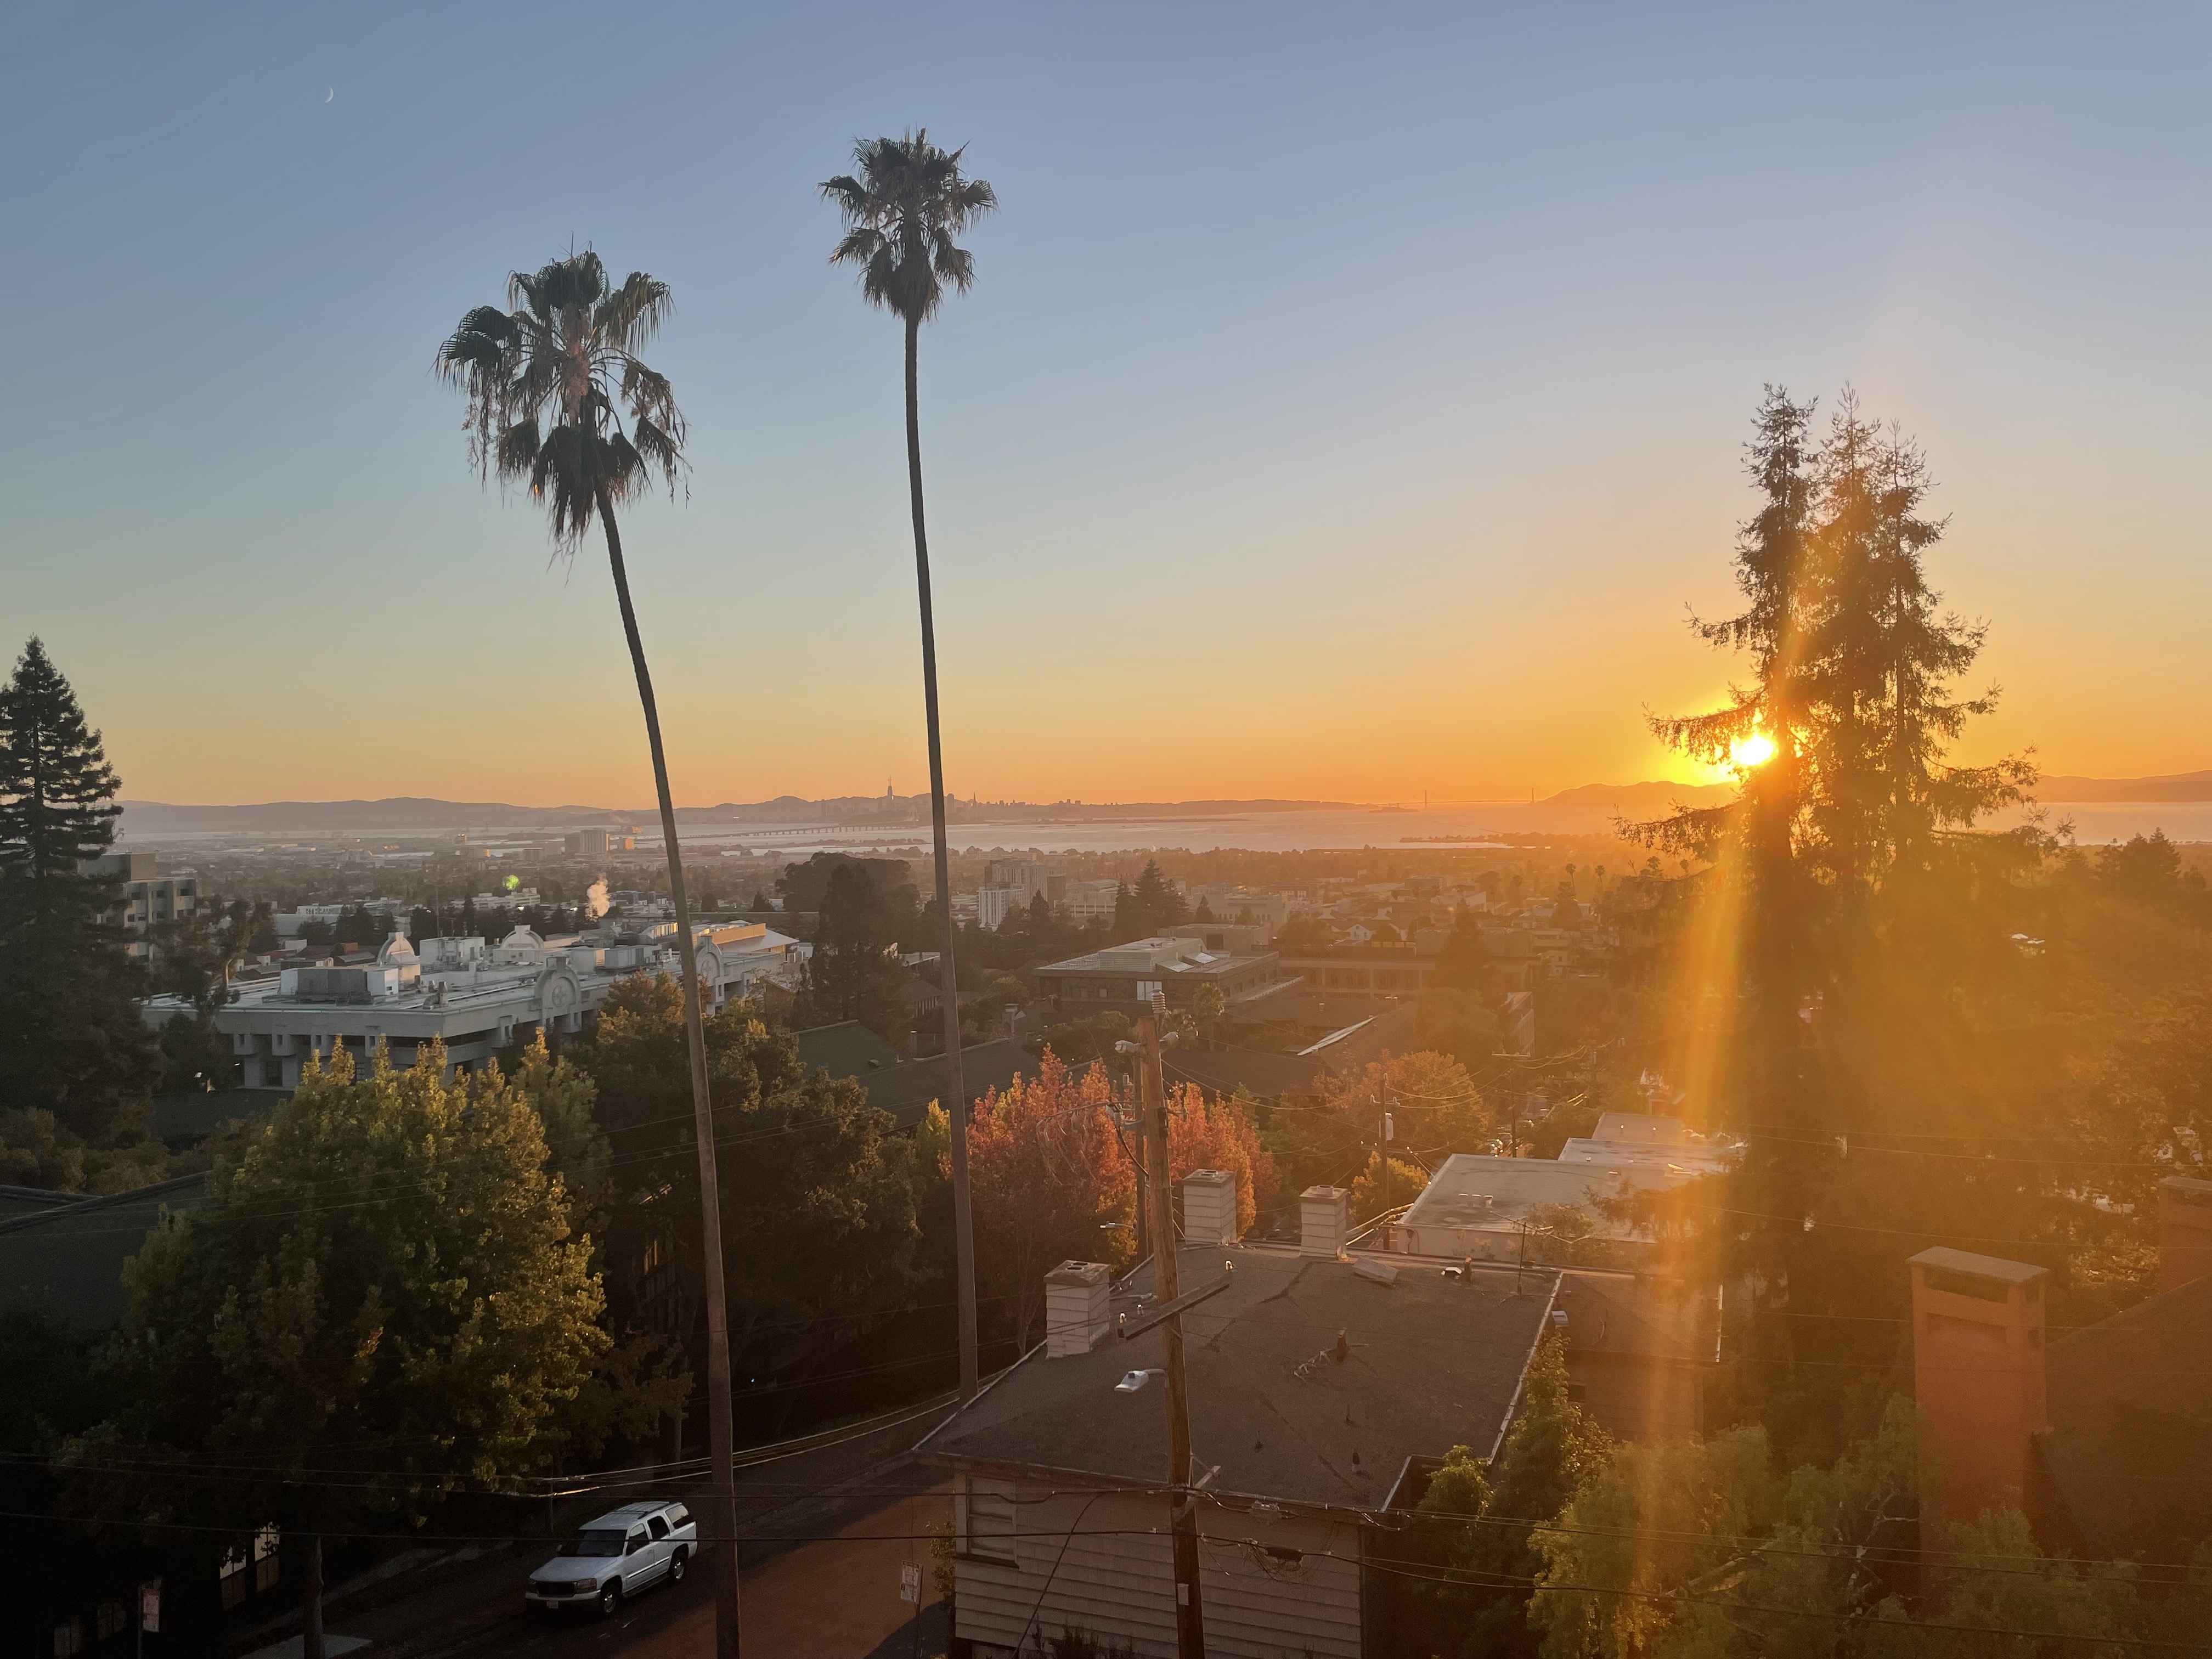
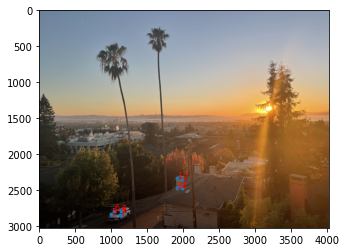
Here are the photos I will be warping and blending into a mosaic:
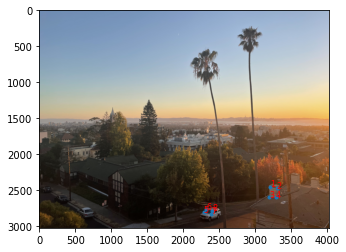
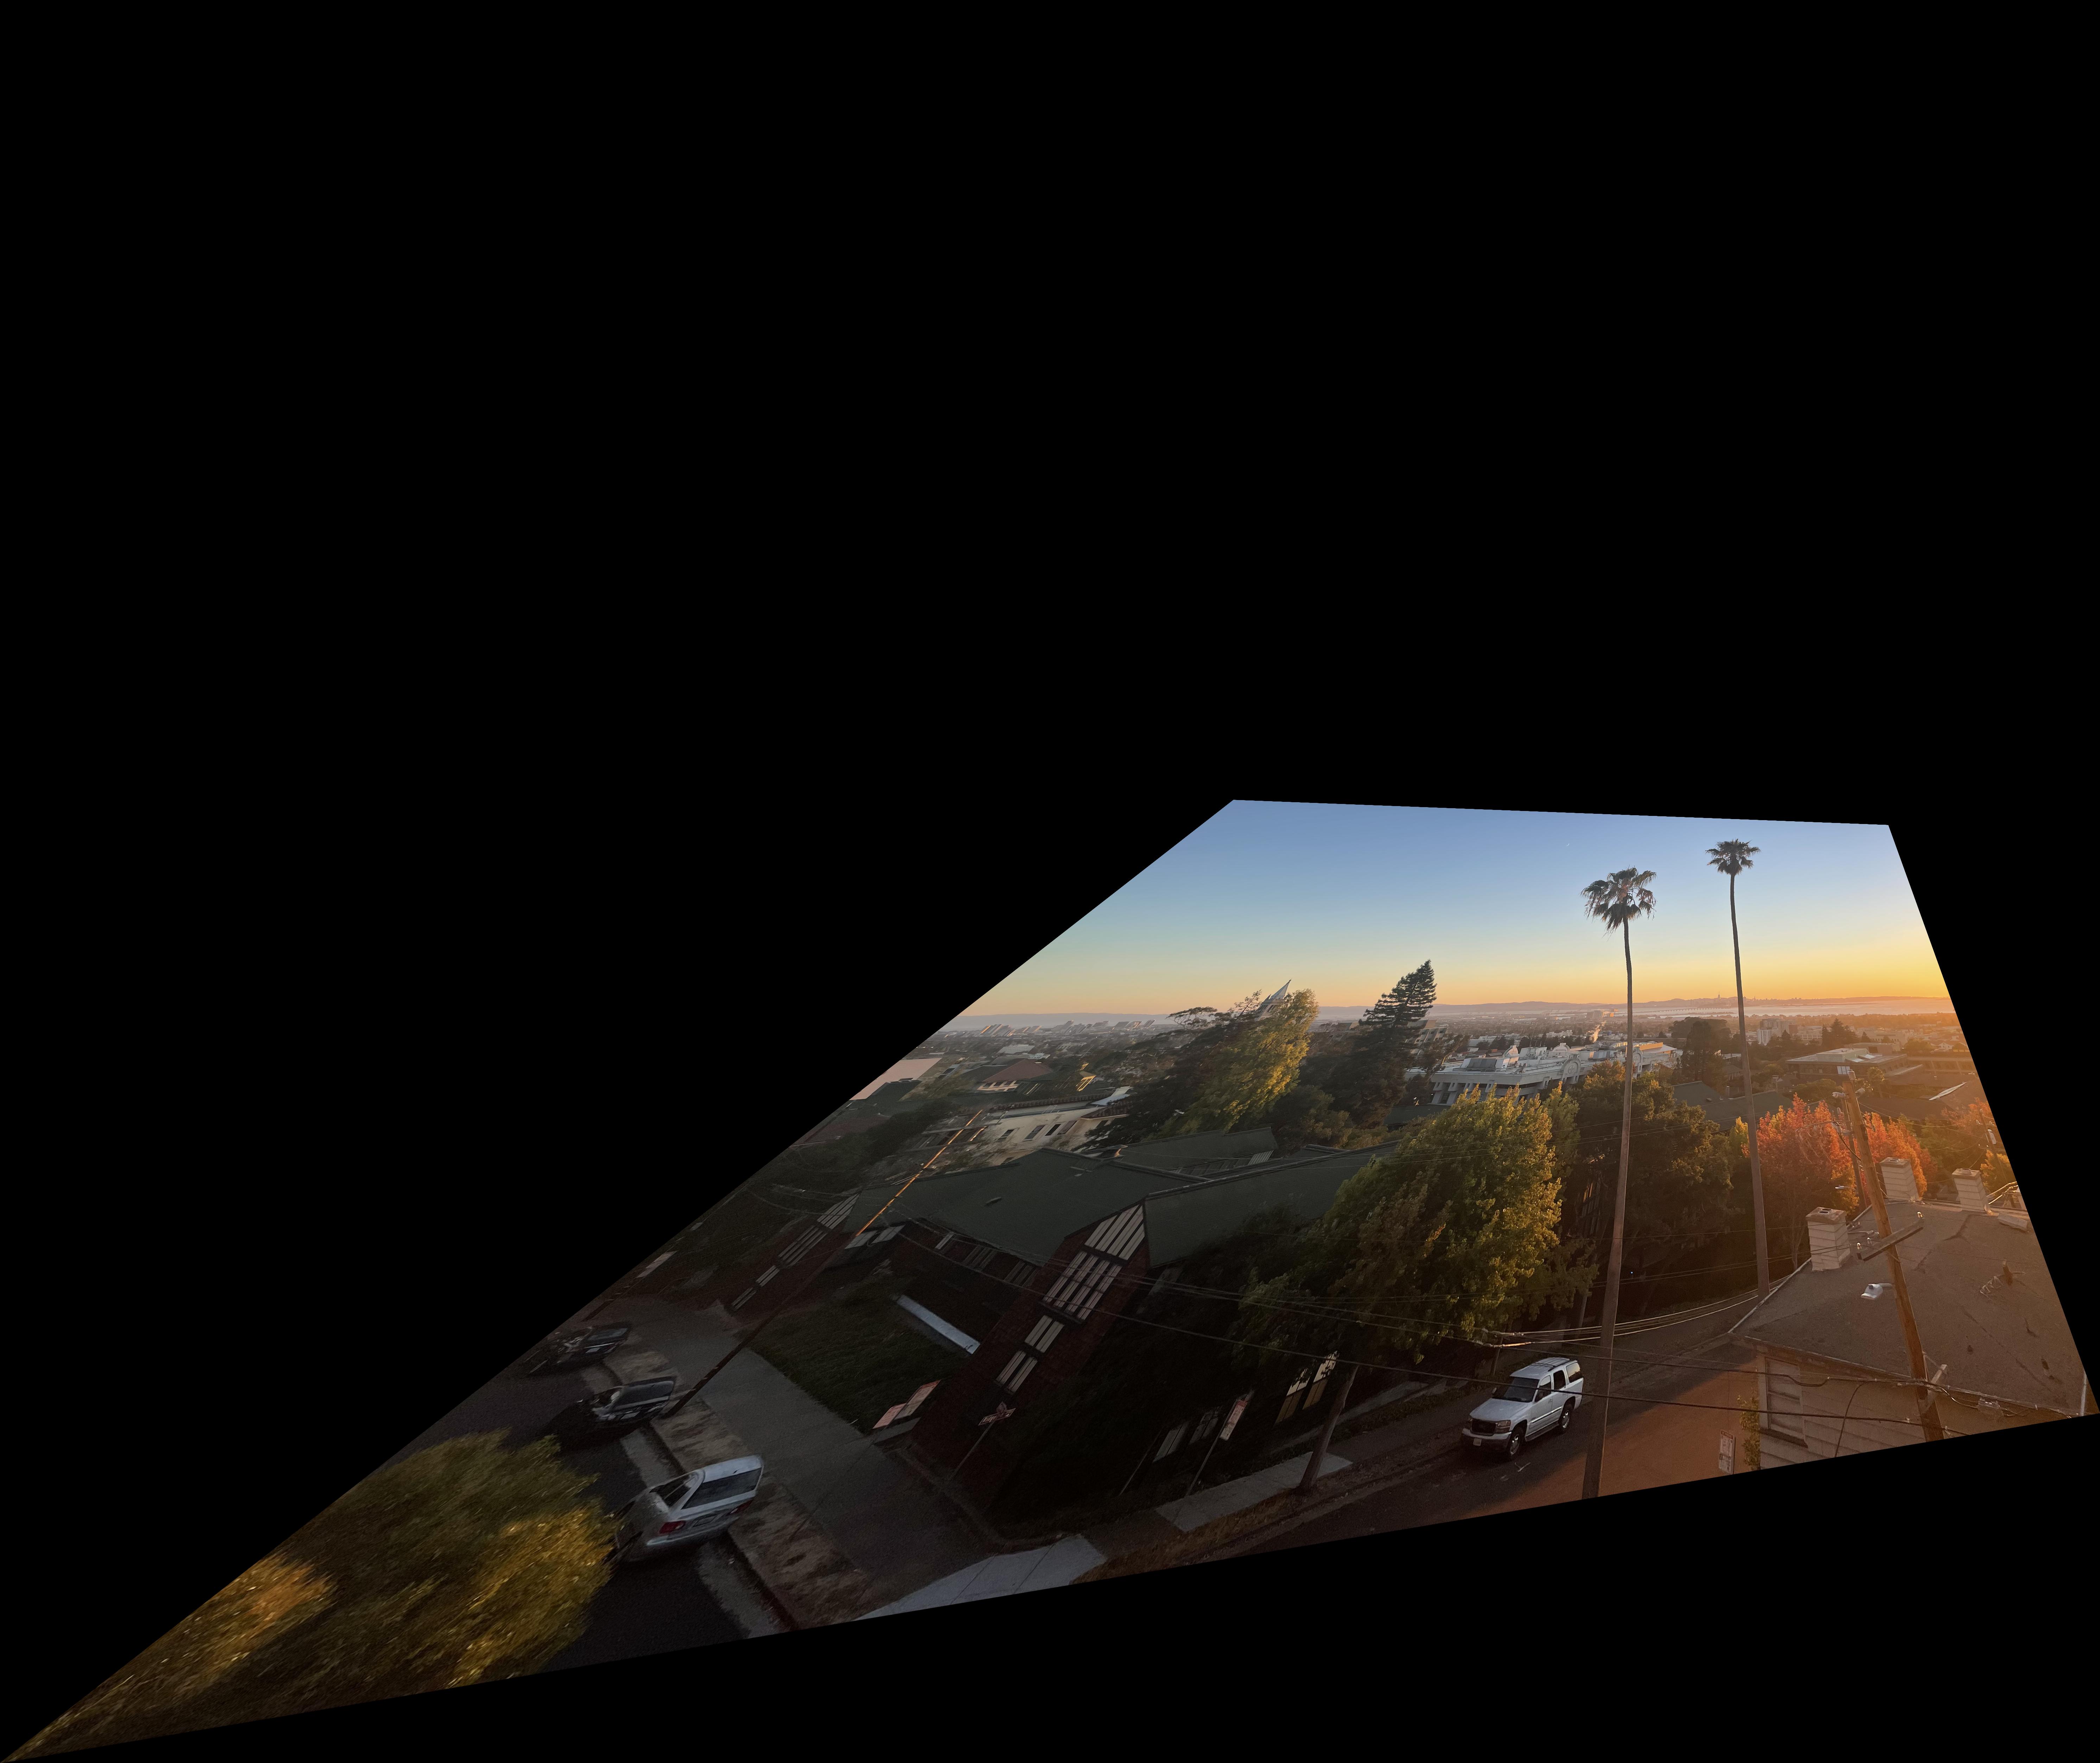
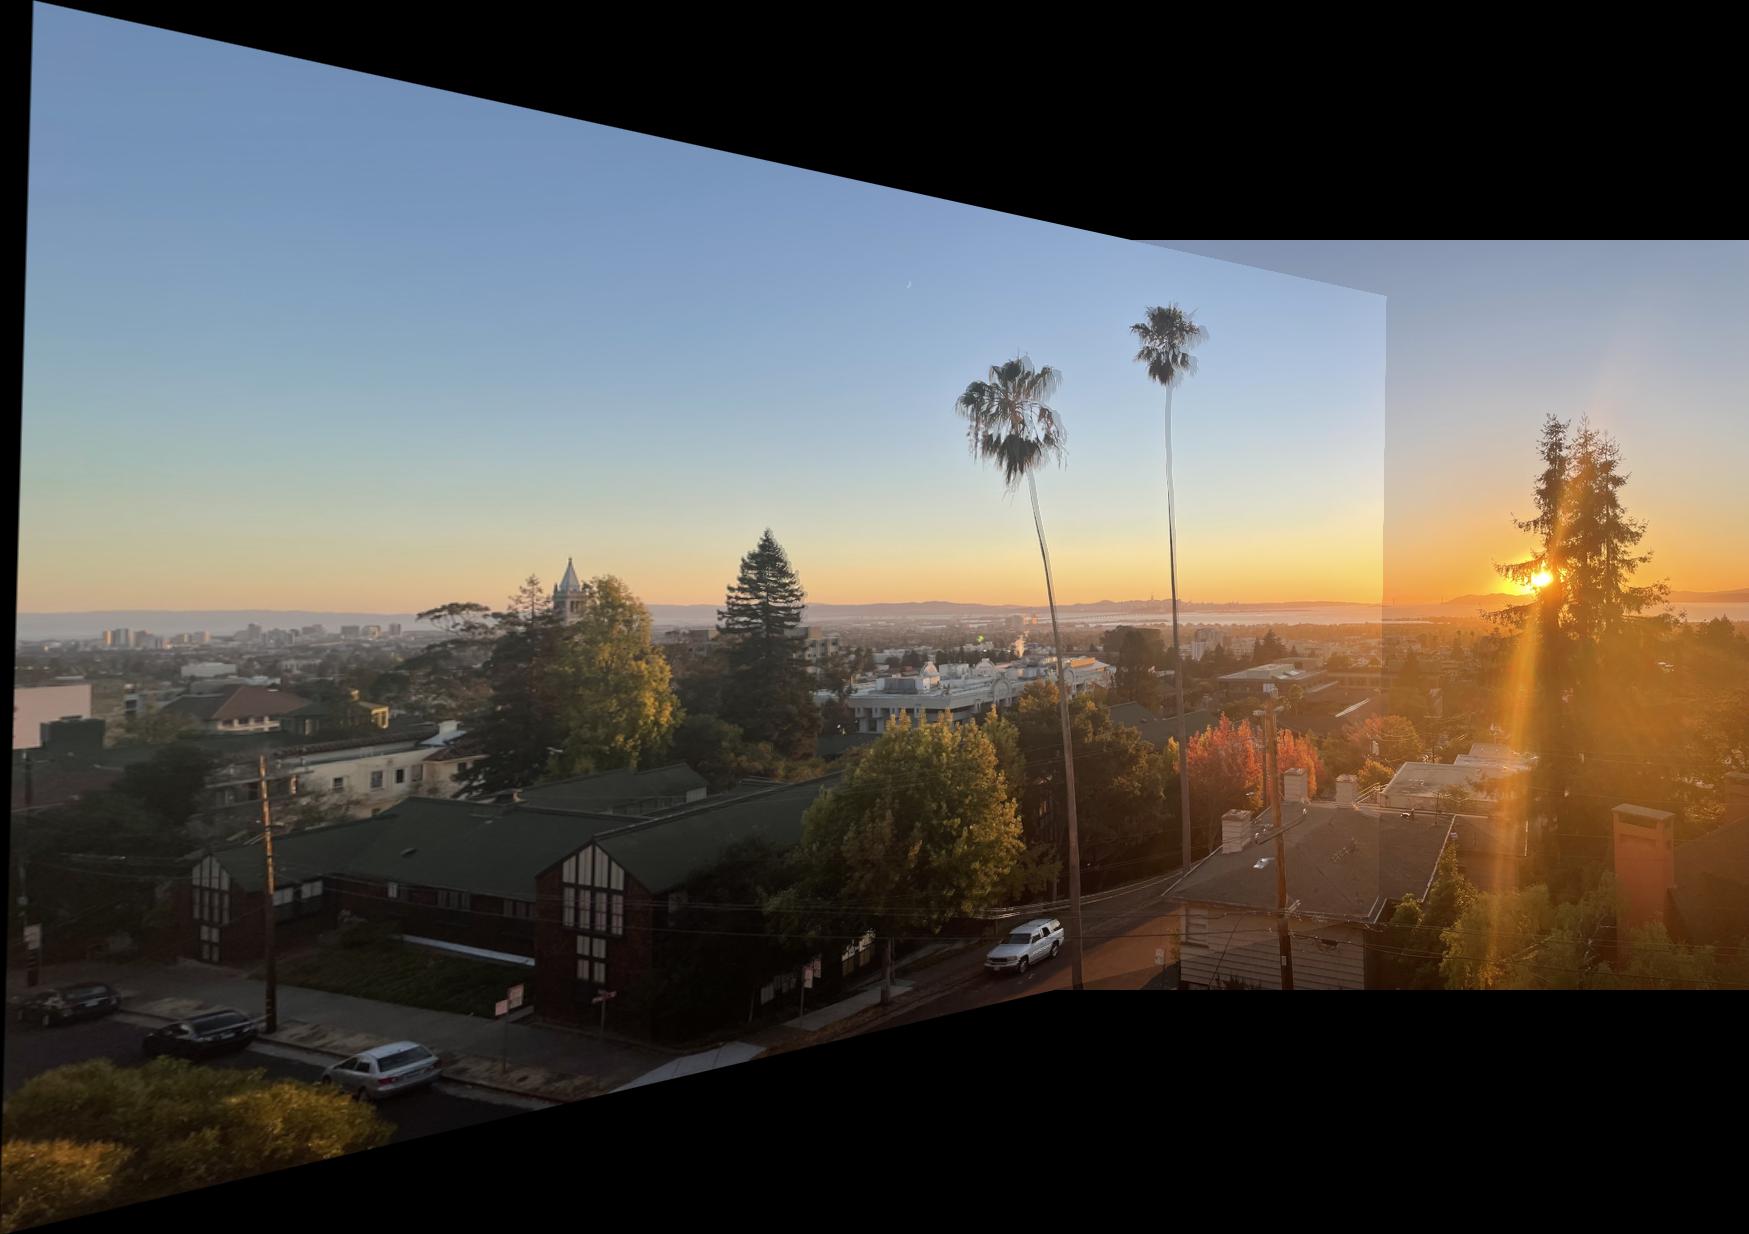
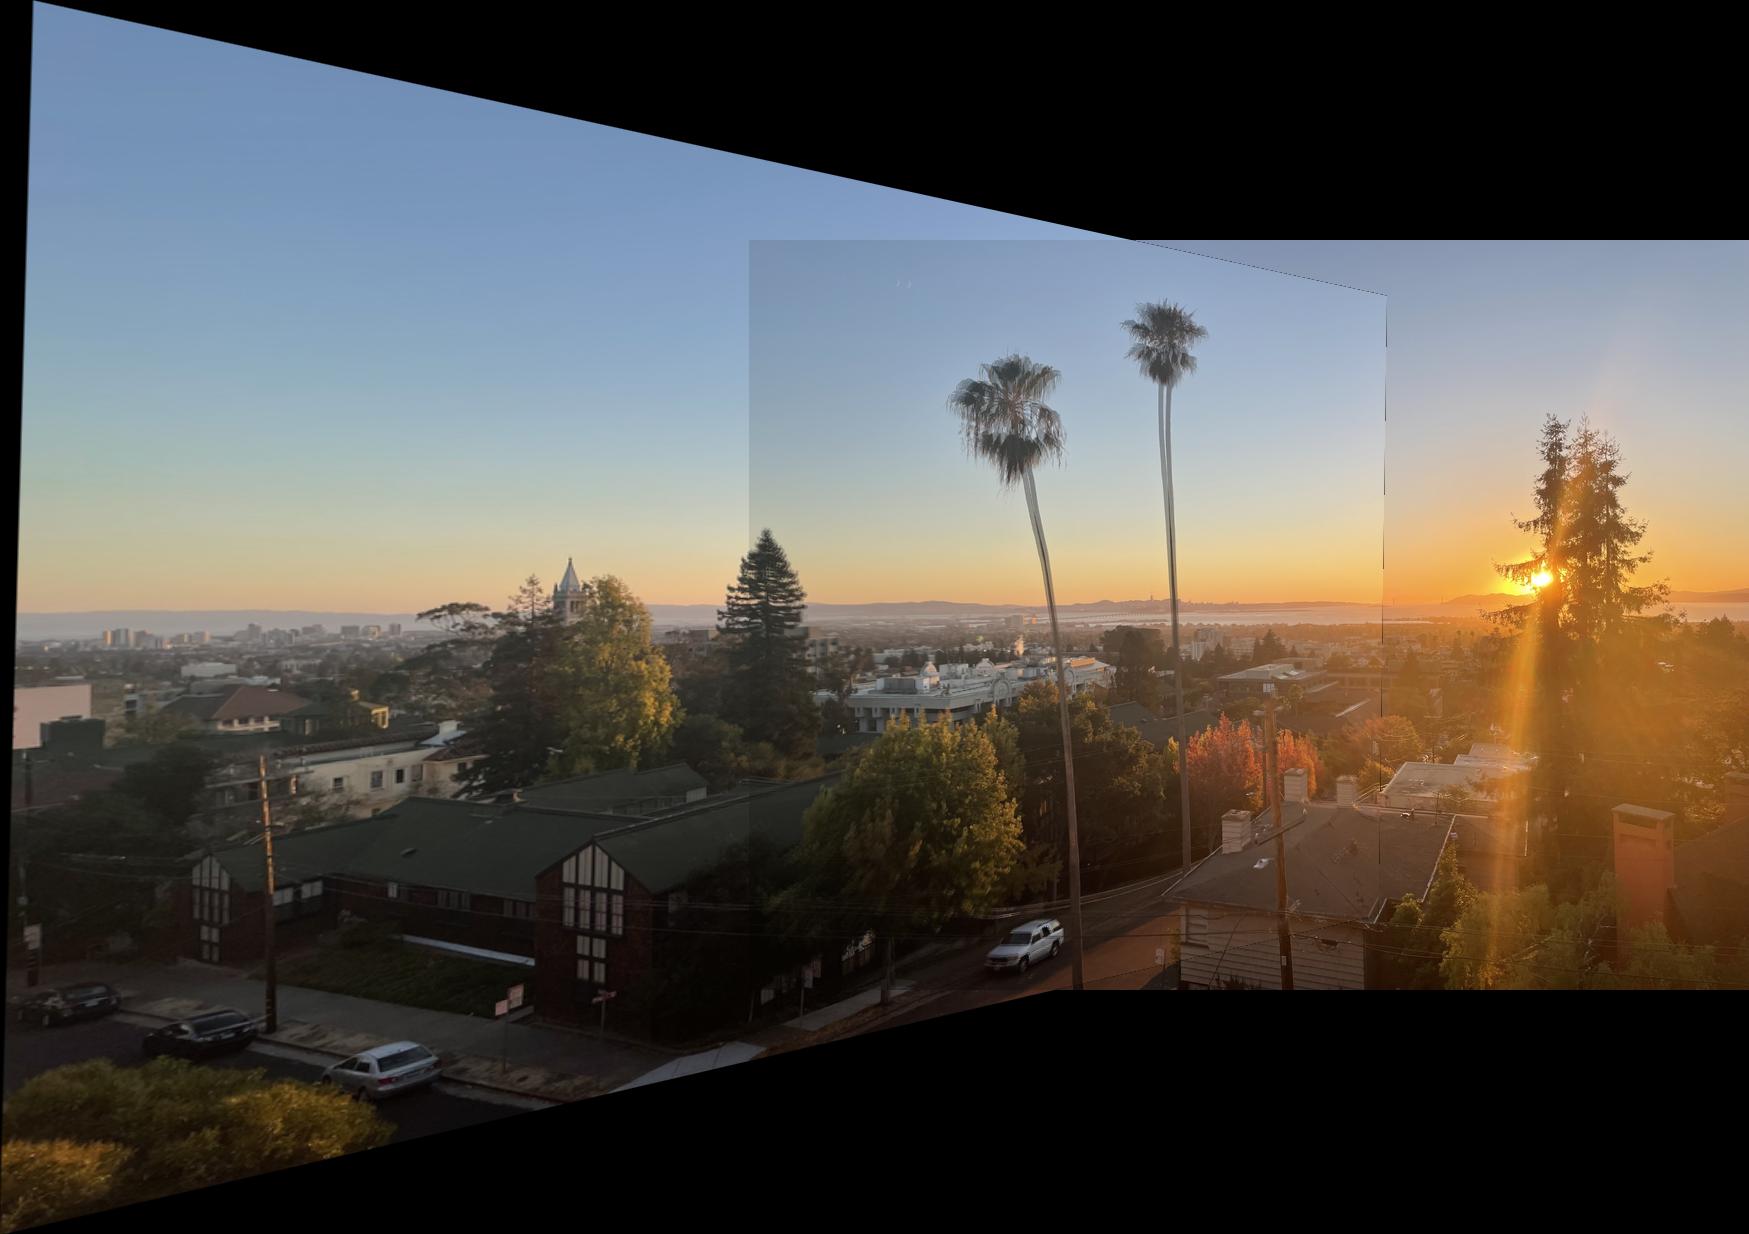
Sunset taken from my apartment window.
|
|
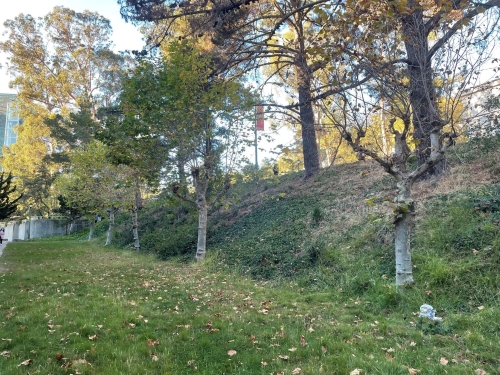
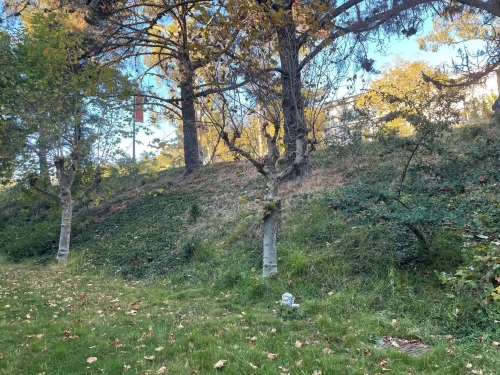
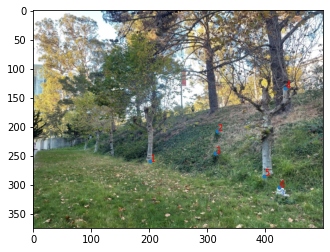
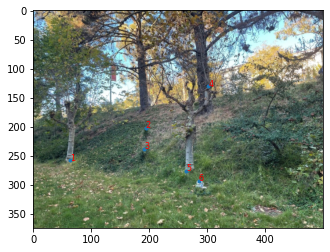
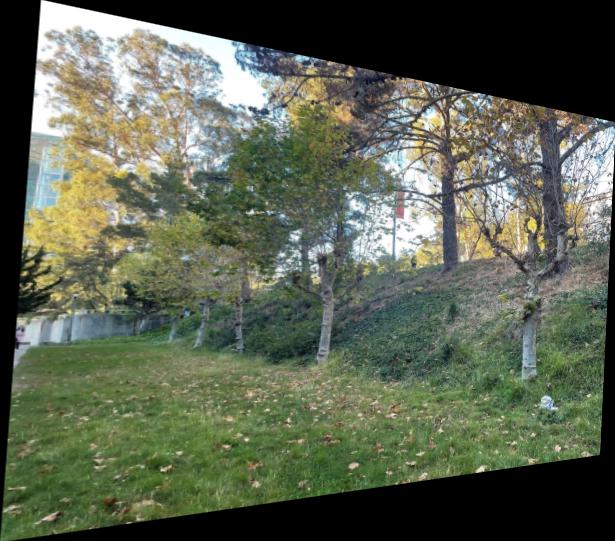
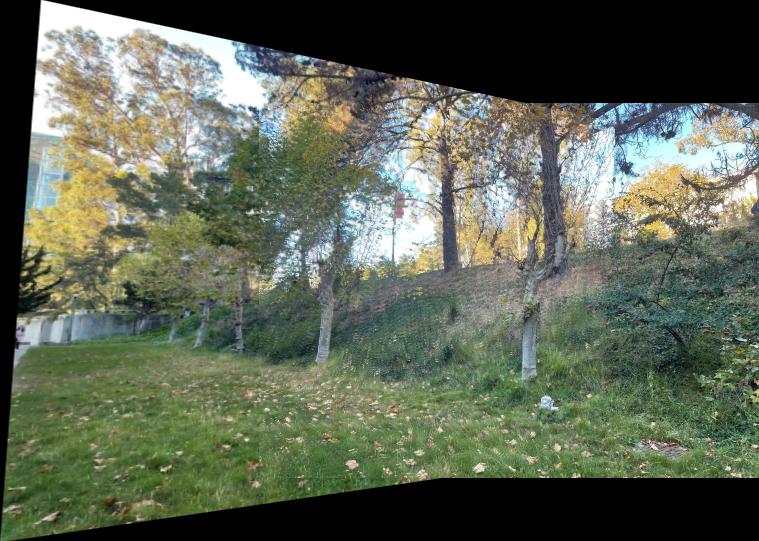
Trees taken outside Lewis Hall.
|
|
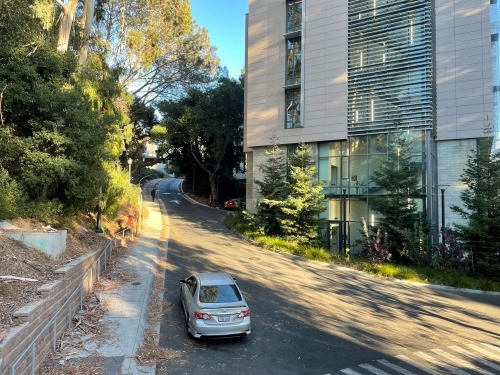
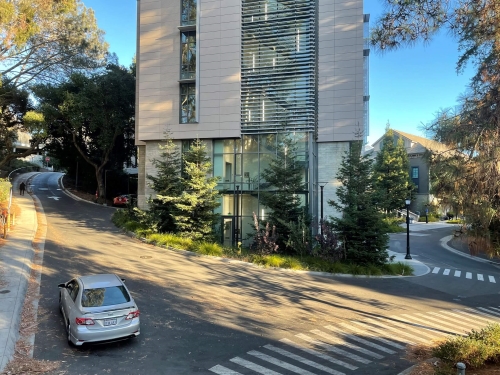
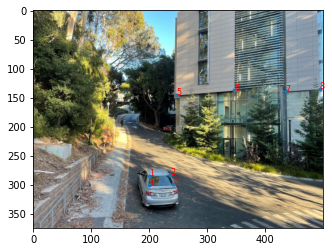
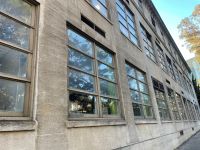
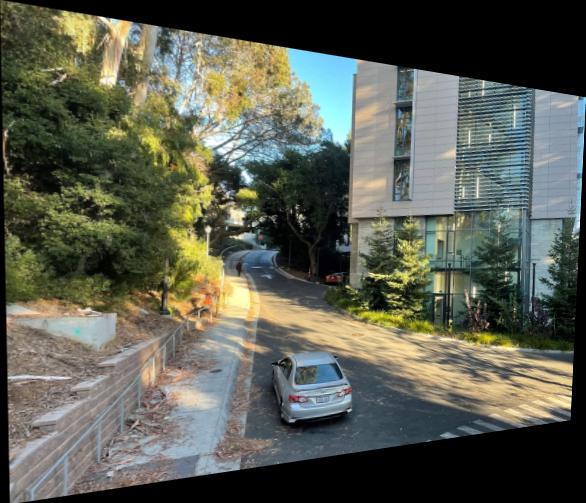
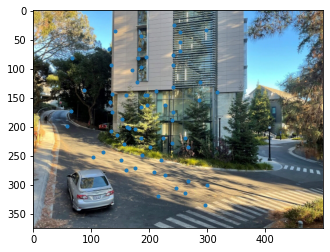
Street and building outside Lewis Hall.
|
|
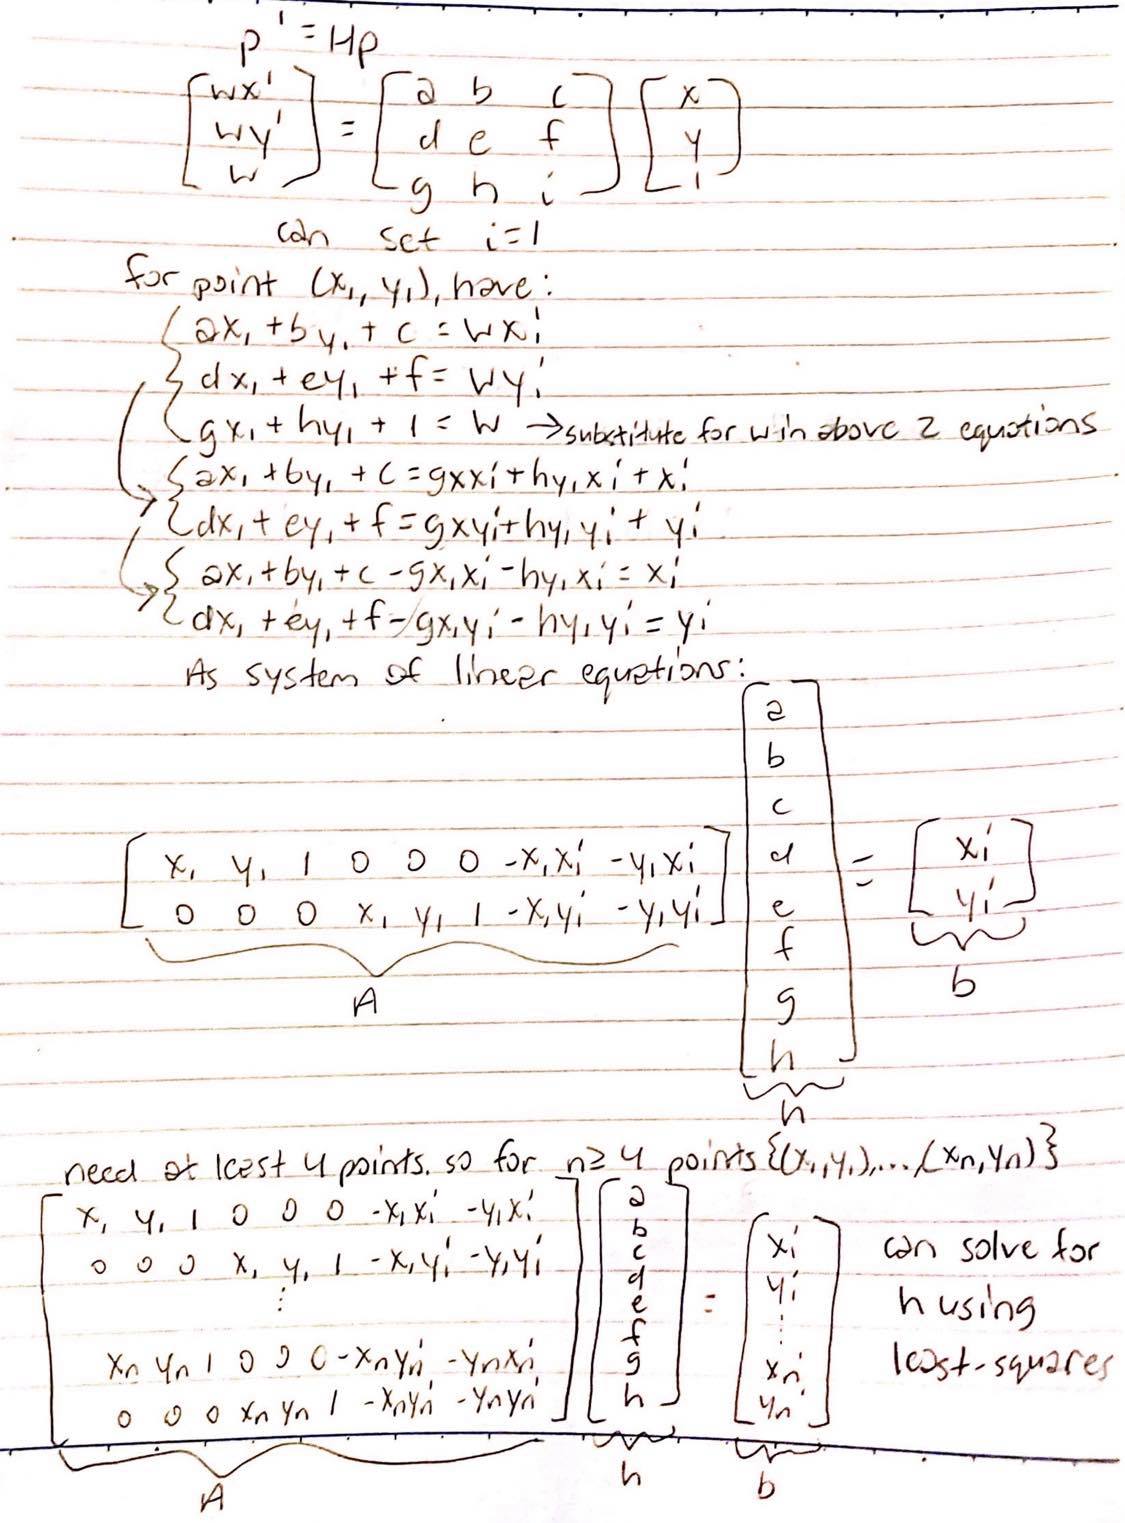
Recover Homographies
To find the 3x3 homography matrix, H, I set the last bottom-right entry to 1 and solved for the other 8 unknowns using least-squares.
Here is how I derived my least-squares setup:
For the sunset images, I wanted to warp the other sunset images to sunset1.jpg, so I defined corresponding points between sunset1.jpg and each sunset image.
|
|
For the tree images, I wanted to warp the other tree images to tree1.jpg, so I defined corresponding points between tree1.jpg and each tree image.
|
|
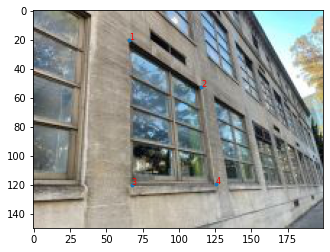
For the building images, I wanted to warp the other building images to building1.jpg, so I defined corresponding points between building1.jpg and each building image.
|
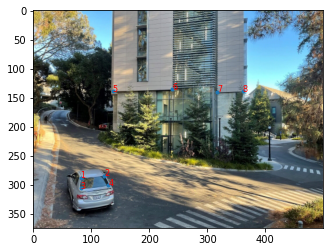
|
Warp the Images
Once I have H, I can warp one source image into the perspective of another target image. To find the corresponding source coordinate for each target coordinate, I used the inverse of H to compute an inverse warp with interpolation. I used cv2.remap() to fill in the target pixels after I computed the source and target coordinates.
Image Rectification
To test my warping, I rectified two images into a "front-parallel" or bird's eye view.
Tile in my apartment.
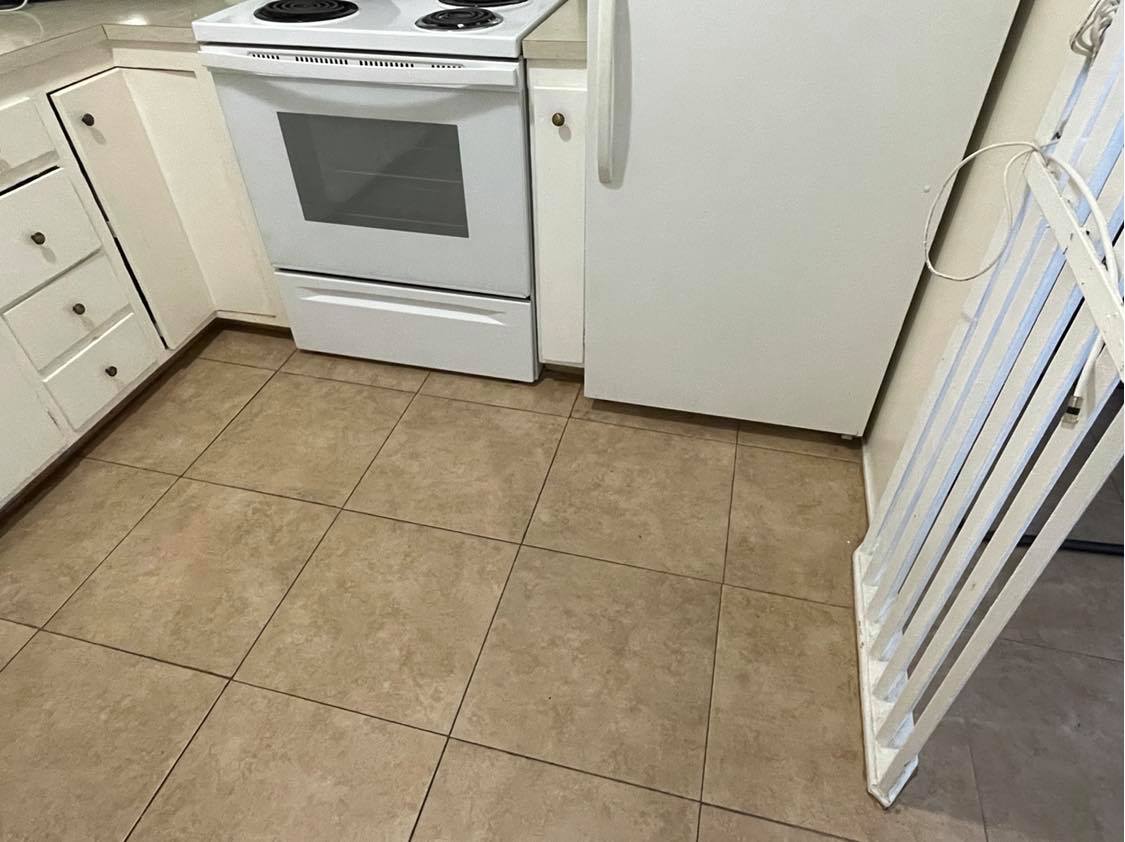
|
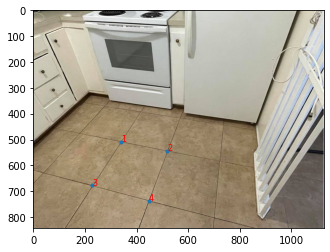
|
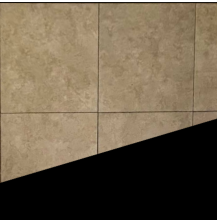
|
Window of Lewis Hall. The original image was very large so I had to resize it to be much smaller, so there's some blurring in the original image.
|
|
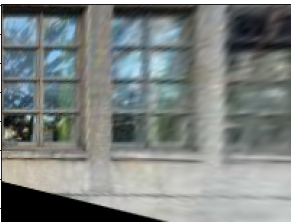
|
Blend Images into a Mosaic
After warping, I attempted to blend my images into a mosaic.
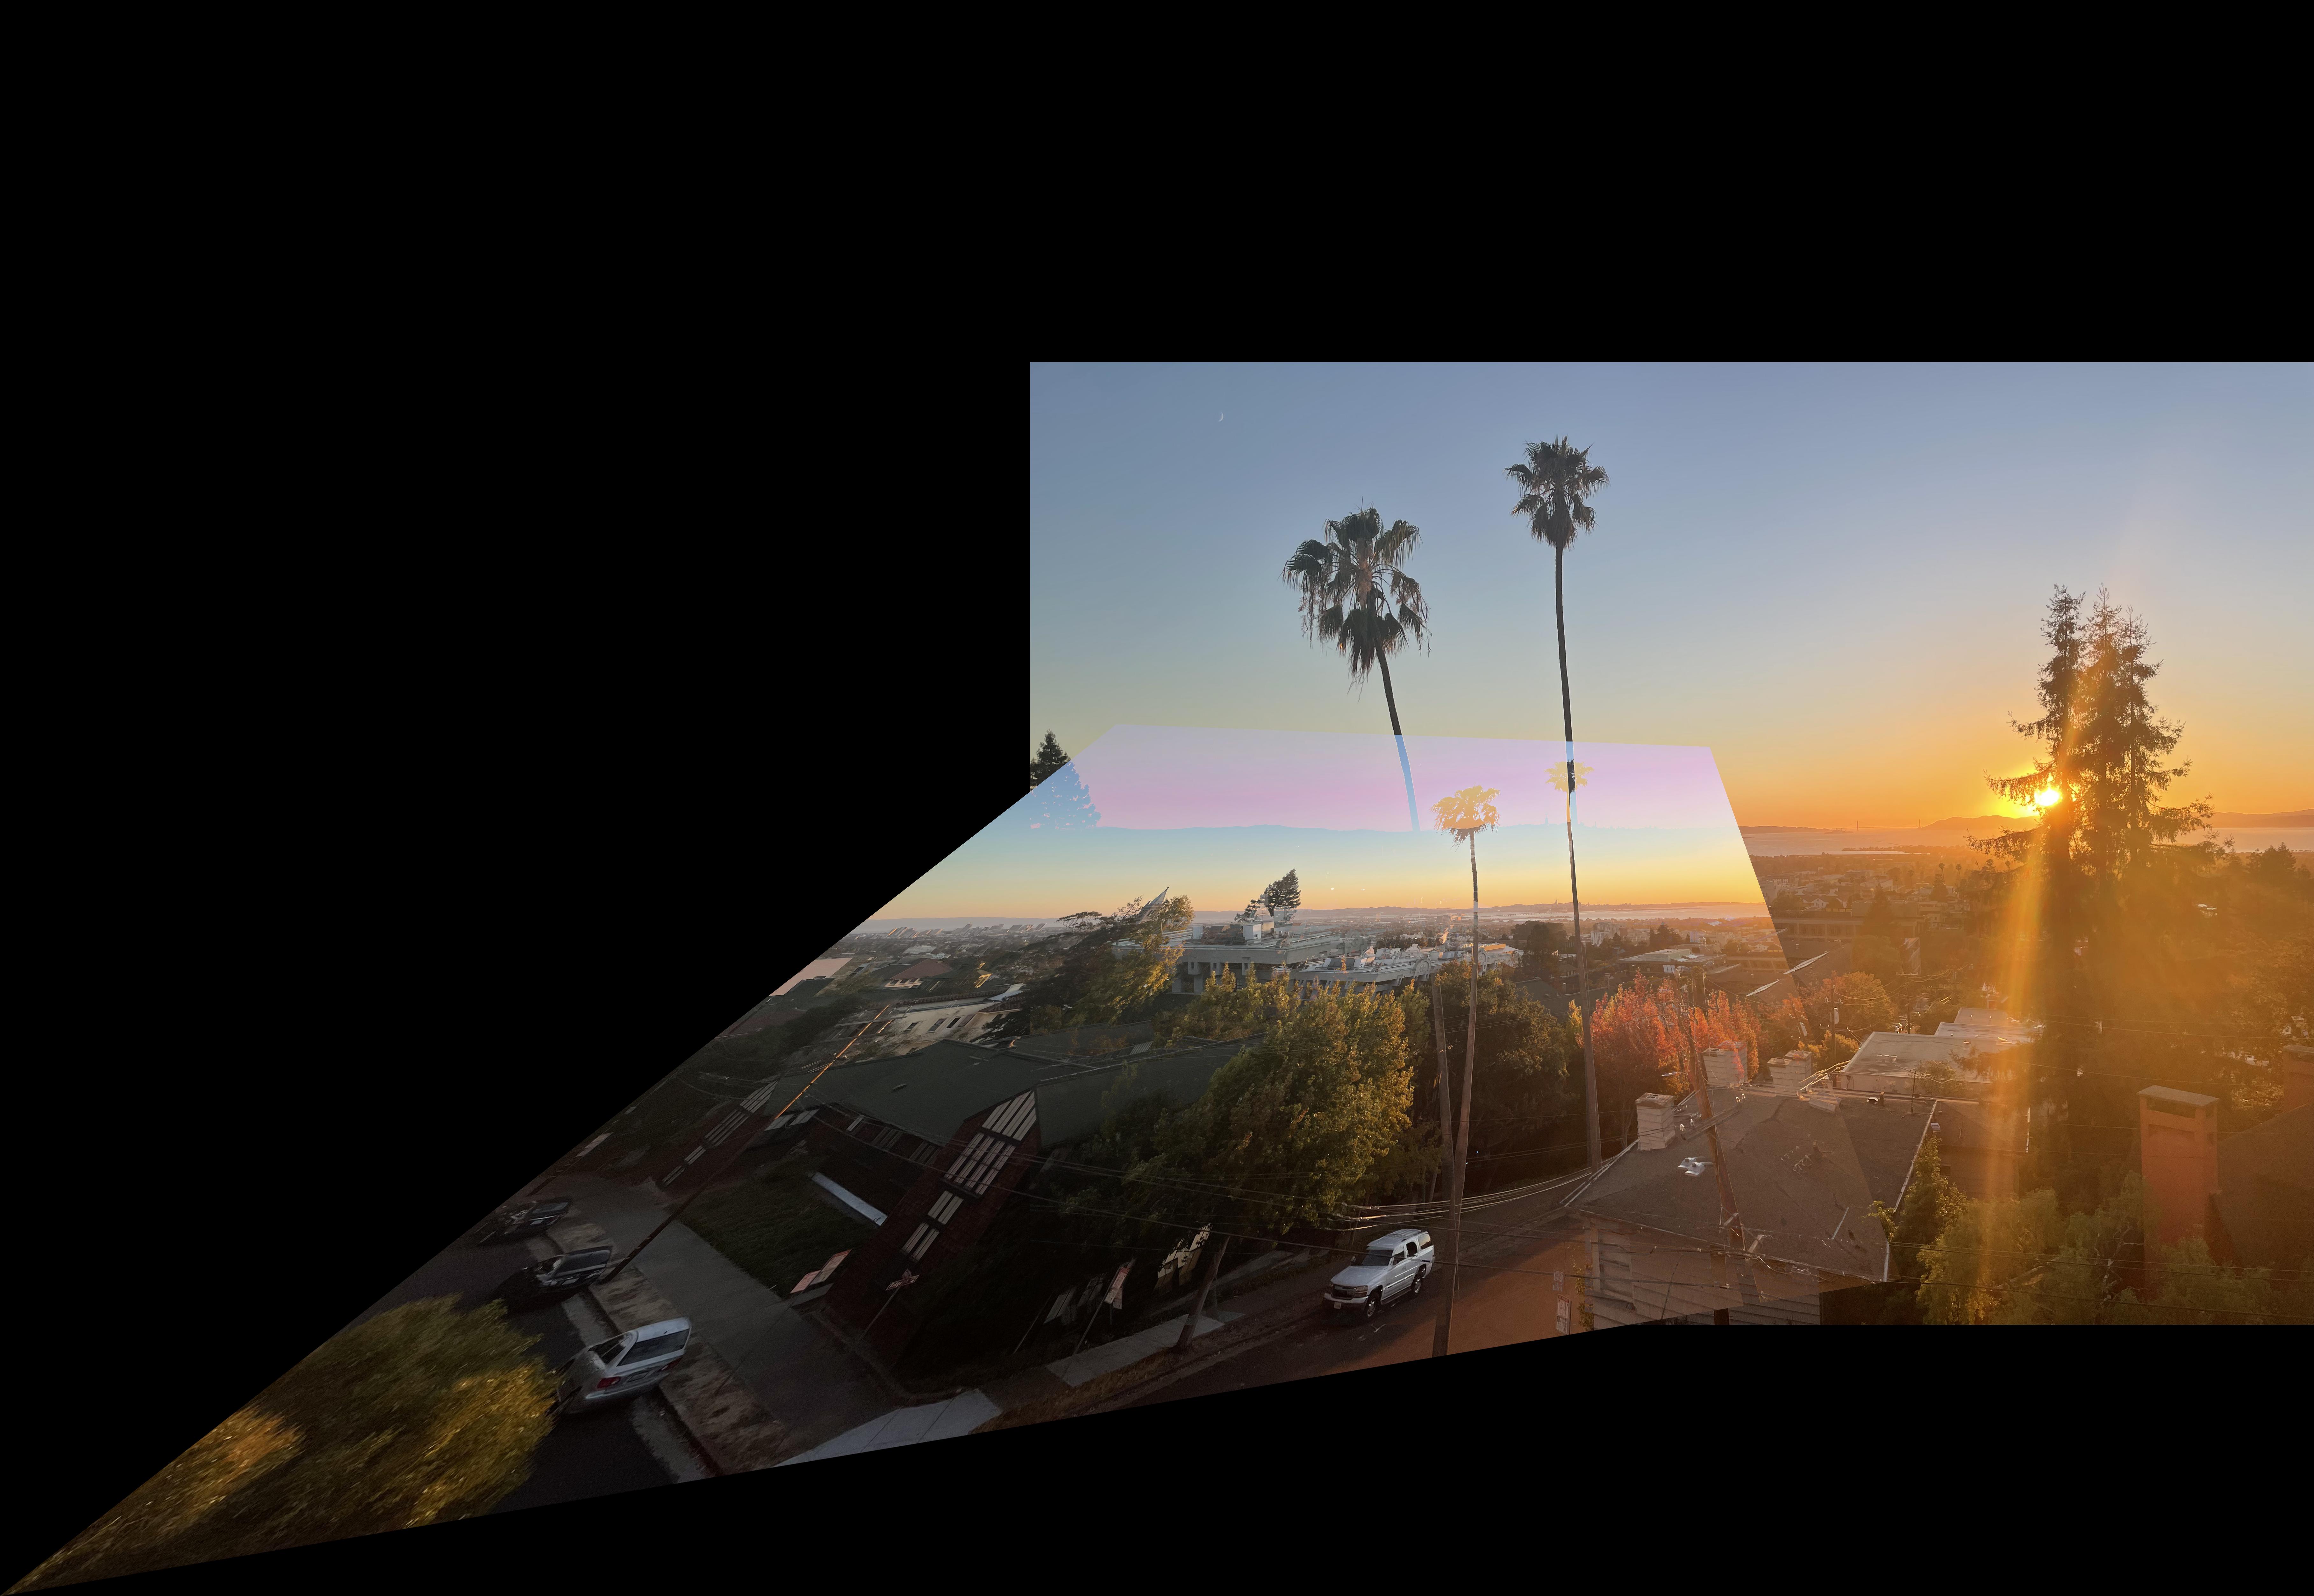
Here's the sunset:
|
|
Here's the tree:
|
|
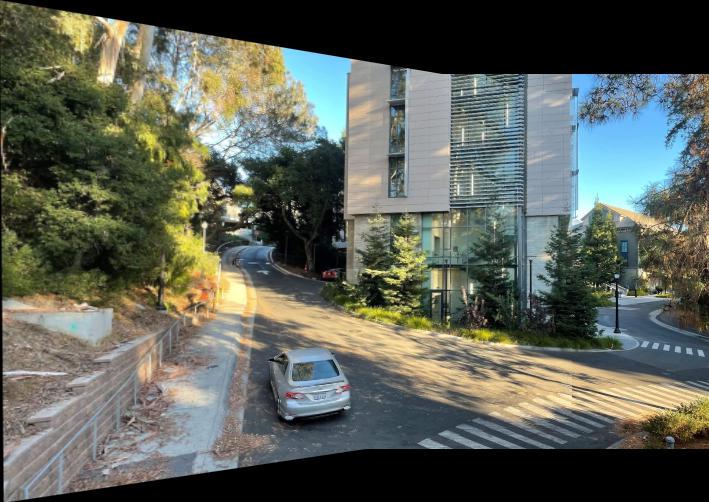
Here's the building:
|

|
The tree and building mosaics look pretty good but the sunset one not so much. I'm not sure what necessarily went wrong with the sunset mosaic since I used the same code and procedure. I'm thinking it's most likely due to the correspondence points I picked that caused the poor alignment and weird warping. Perhaps I should have picked more points or points that were more spread out in the image rather than condensed in an area. Or maybe I just wasn't accurate enough when manually picking the points.
Tell Us What You've Learned
The coolest thing that I've learned in this part is the power of the homography matrix. With at least 4 corresponding points for each image, you can transform one image into the perspective of another image. I think that's so fascinating and shows the power of matrices and linear algebra!
Part B: Feature Matching for Autostitching
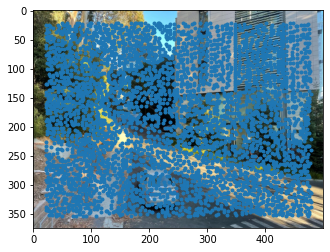
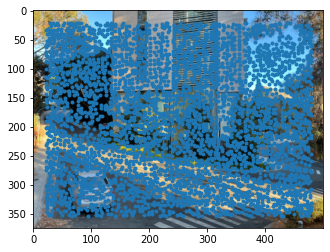
Detecting Features
To automatically detect features, I used a Harris Interest Point Detector to get the Harris corners.
|
|
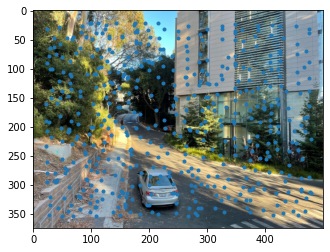
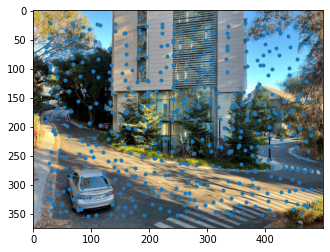
The Harris corners returns too many interest points, so I want to suppress most of them. I want to get a good number of interest points that are spread out among the image. To do this, I implemented adaptive non-maximal suppression. I calculated the minimum suppression radius for each interest point. I then took the top 500 interest points with the largest suppression radius.
|
|
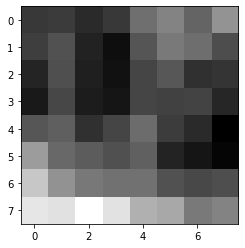
Extracting Feature Descriptors
For each interest point, I extracted the surrounding 20 pixels on each side for a 40x40 pixel patch. I then down-sampled this 40x40 patch into an 8x8 patch and normalized it so that the mean is 0 and the standard deviation is 1.
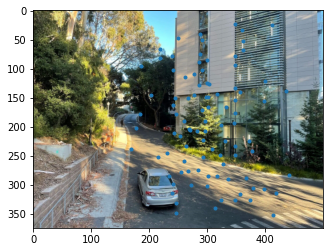
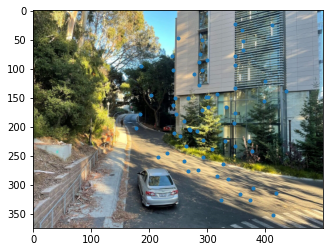
Matching Features
After getting interest points and feature descriptors, I want to find pairs of features that look similar and are likely to be good matches. To do this, for each patch in image 1, I calculated the SSD between that patch and all patches in image 2. I found the first and second nearest neighbors to the patch in image 1, which are the patches in image 2 with the smallest and second smallest SSD, respectively. If the ratio of the first nearest neighbor SSD to the second nearest neighbor SSD is less than a certain threshold, then I select that point in image 1 and the corresponding point in image 2 with the smallest SSD. If the ratio is larger than the threshold, then I discard the points.
|
|
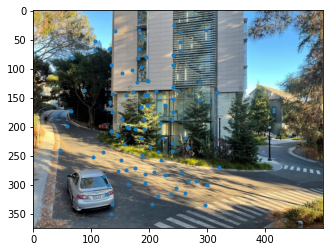
Robust Homographies
To get rid of even more outliers in order to compute a robust homography estimate, I implemented 4-point RANSAC. In the RANSAC loop, I selected four feature pairs at random and computed the homography H between them. I then computed inliers where dist(p', Hp) is less than some threshold I declared. After the RANSAC loop, I kept the largest set of inliers and recomputed the least-squares H estimate on all of the inliers in the set.
|
|
Create Mosaics
Here's the building:
|
|
|
The trees in front of the building look a lot cleaner, more detailed, and less blurry in the automatically stitched mosaic than in the manually stitched mosaic. I'm glad this shows that my implementations for automatically finding feature points work quite well. I'm also glad this affirms that my warping from the previous part works.
Here's the tree:
|
|

|
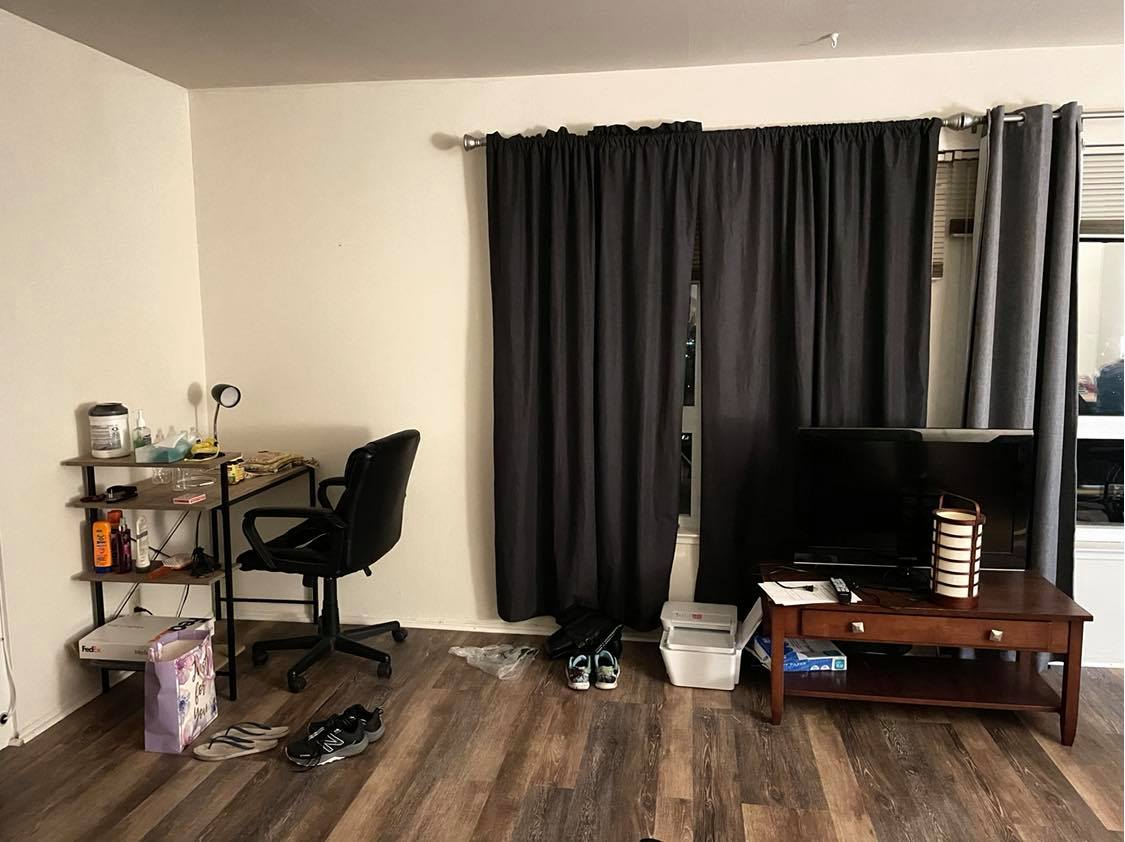
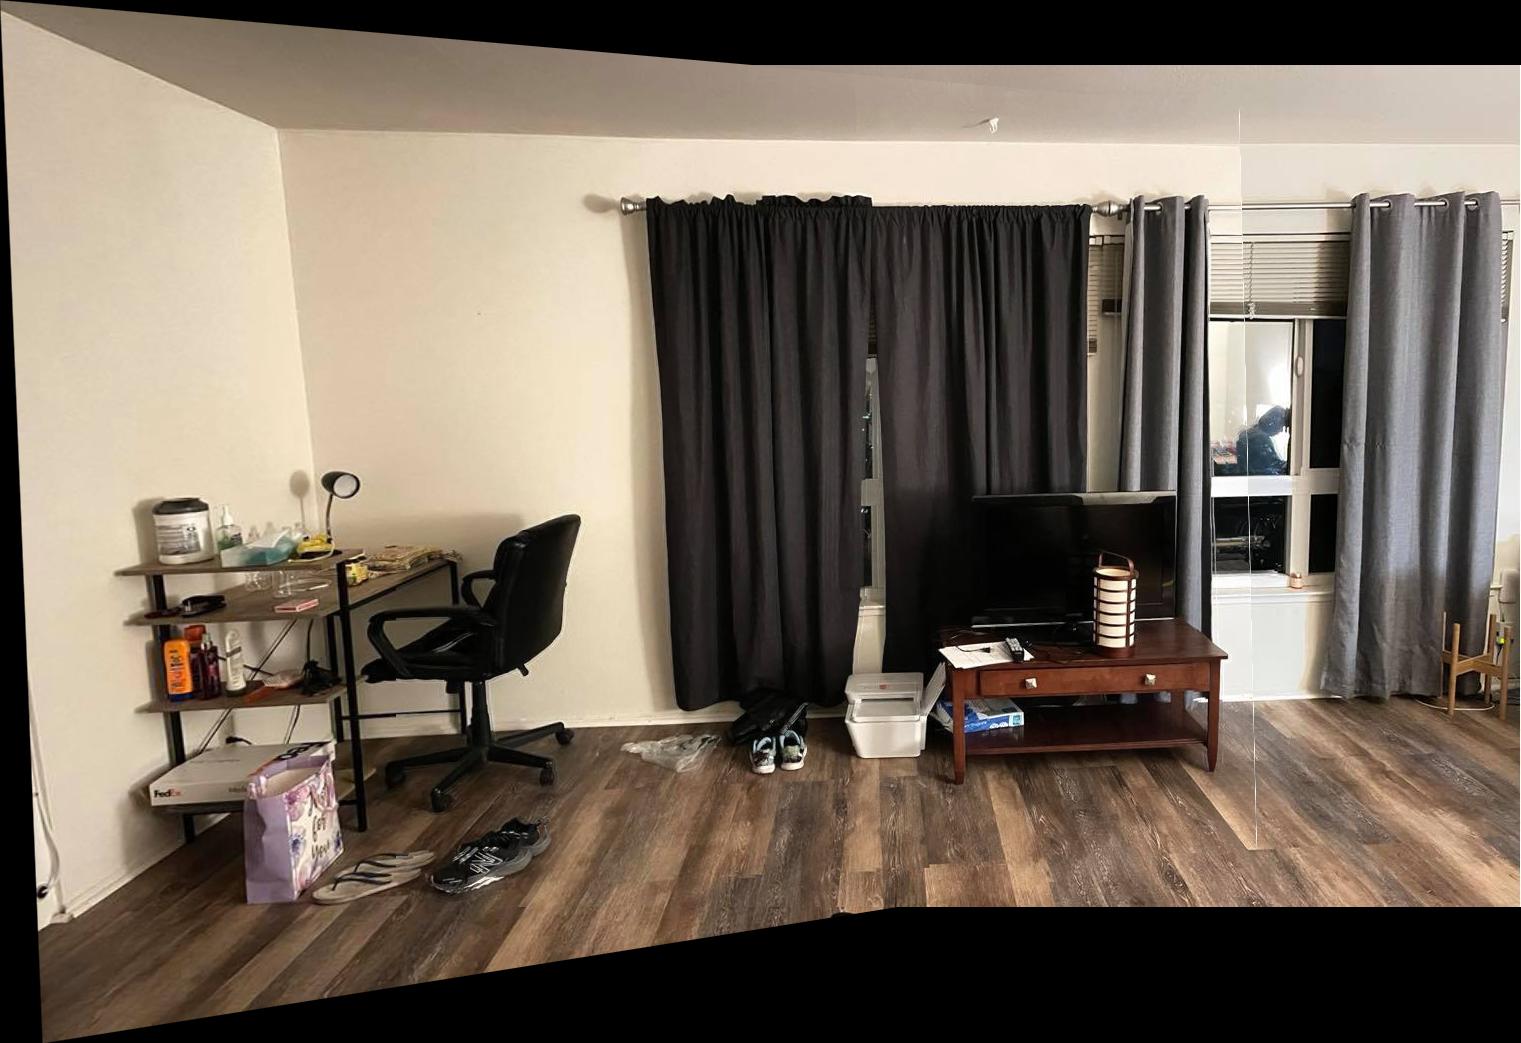
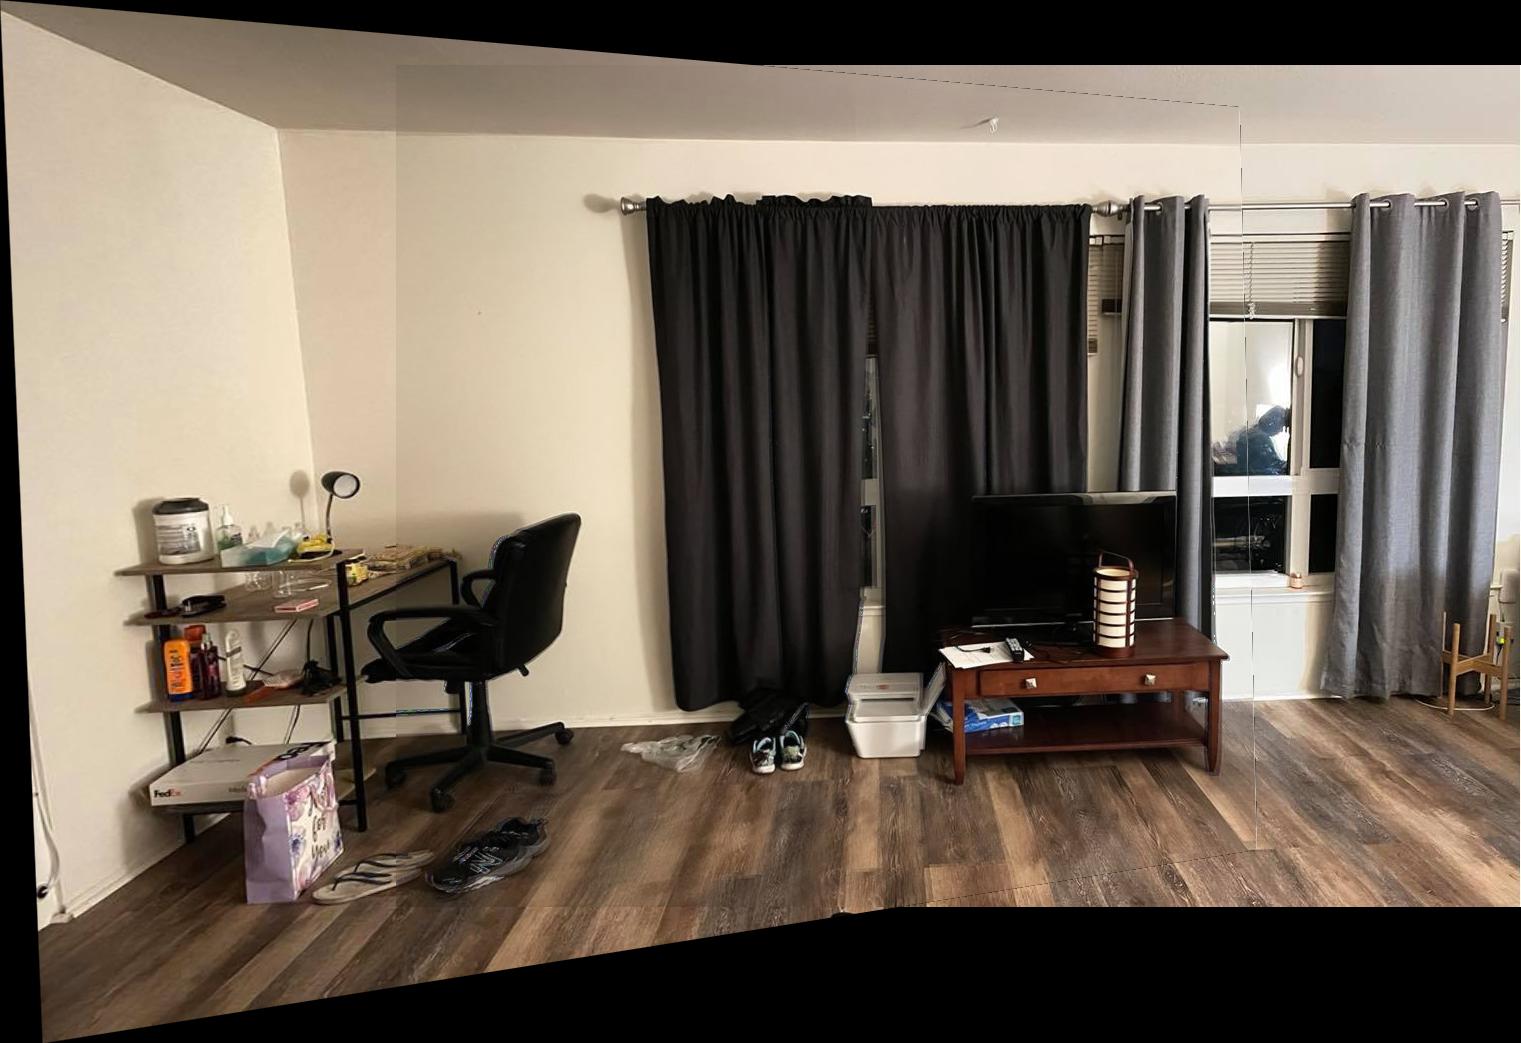
I took some pictures of my living room to make a new mosaic.
|

|
For blending I used both np.maximum() and weighted averaging. np.maximum() worked pretty well on the building and tree, but I wanted to see if I could improve the blending for the other images..
|
|
Here's the sunset:
|
|
|
The alignment looks much better in the automatically stitched mosaic. So I'm pretty sure I had a poor choice of correspondence points when I did the manual stitching of the sunset mosaic.
Tell Us What You've Learned
The coolest thing that I've learned in this part is how cool and powerful Harris corners are. From getting Harris corners, you can automatically whittle them down to a few interest points to compute pretty robust homographies to stitch images together and create mosaics! It's pretty amazing how nearly the entire process of selecting feature pairs, computing homographies, warping images, and stitching them together to create mosaics can be automated!