In this project, I defined correspondances between images by hand and projected the images onto the same plane so that they could be blended together
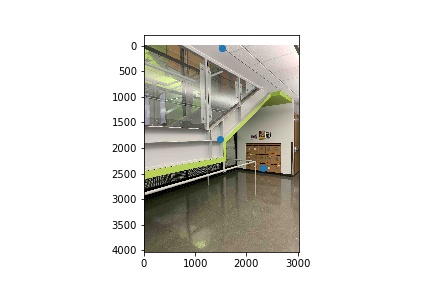
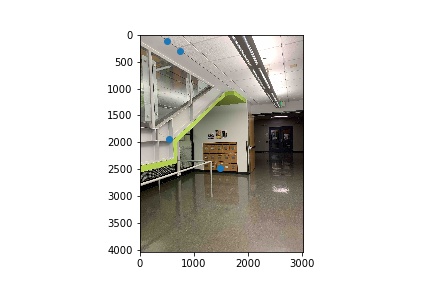
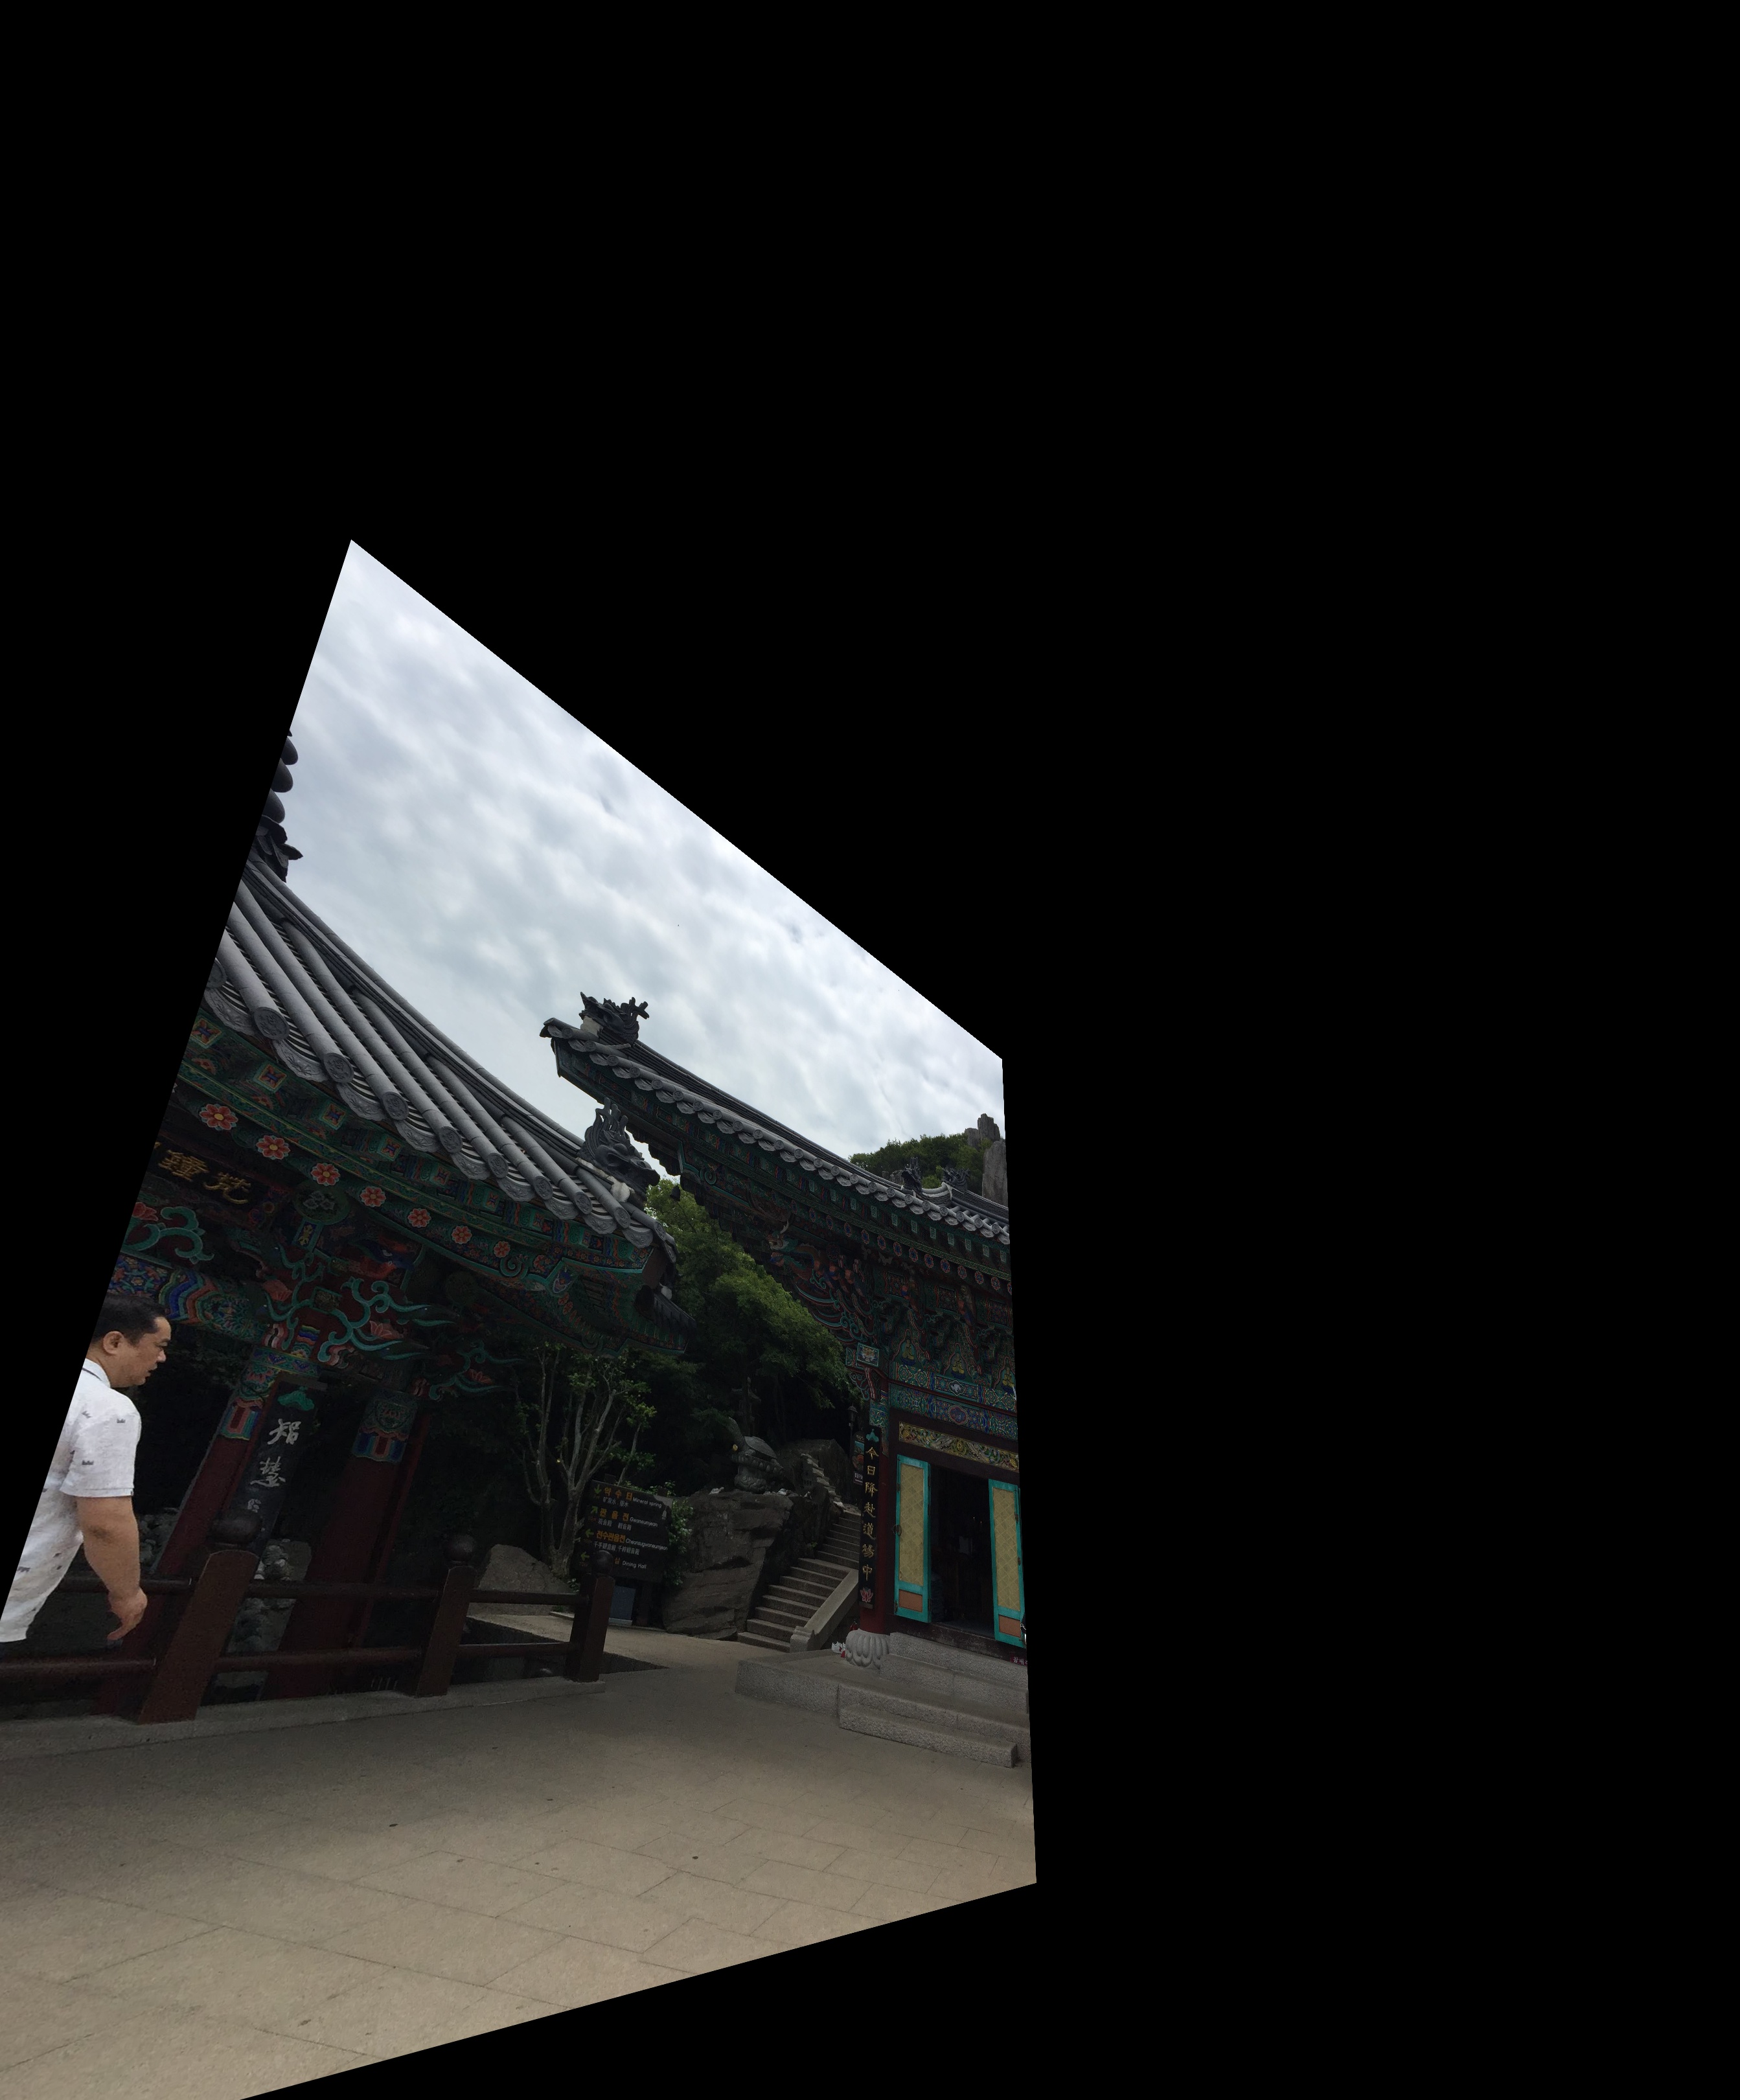
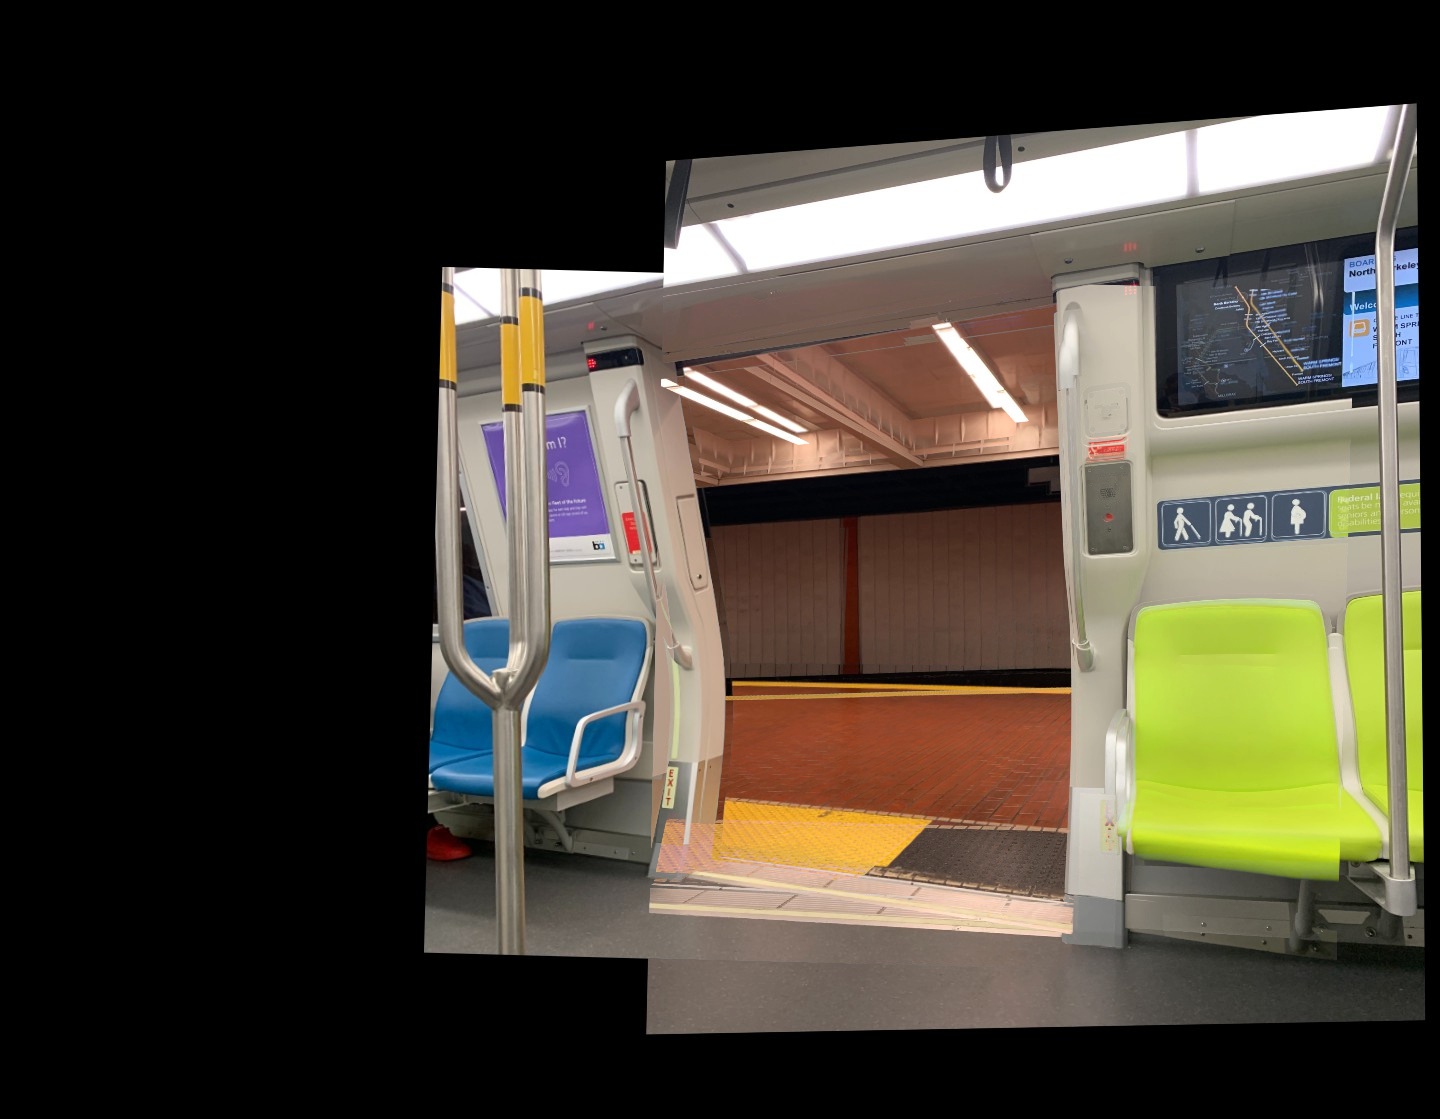
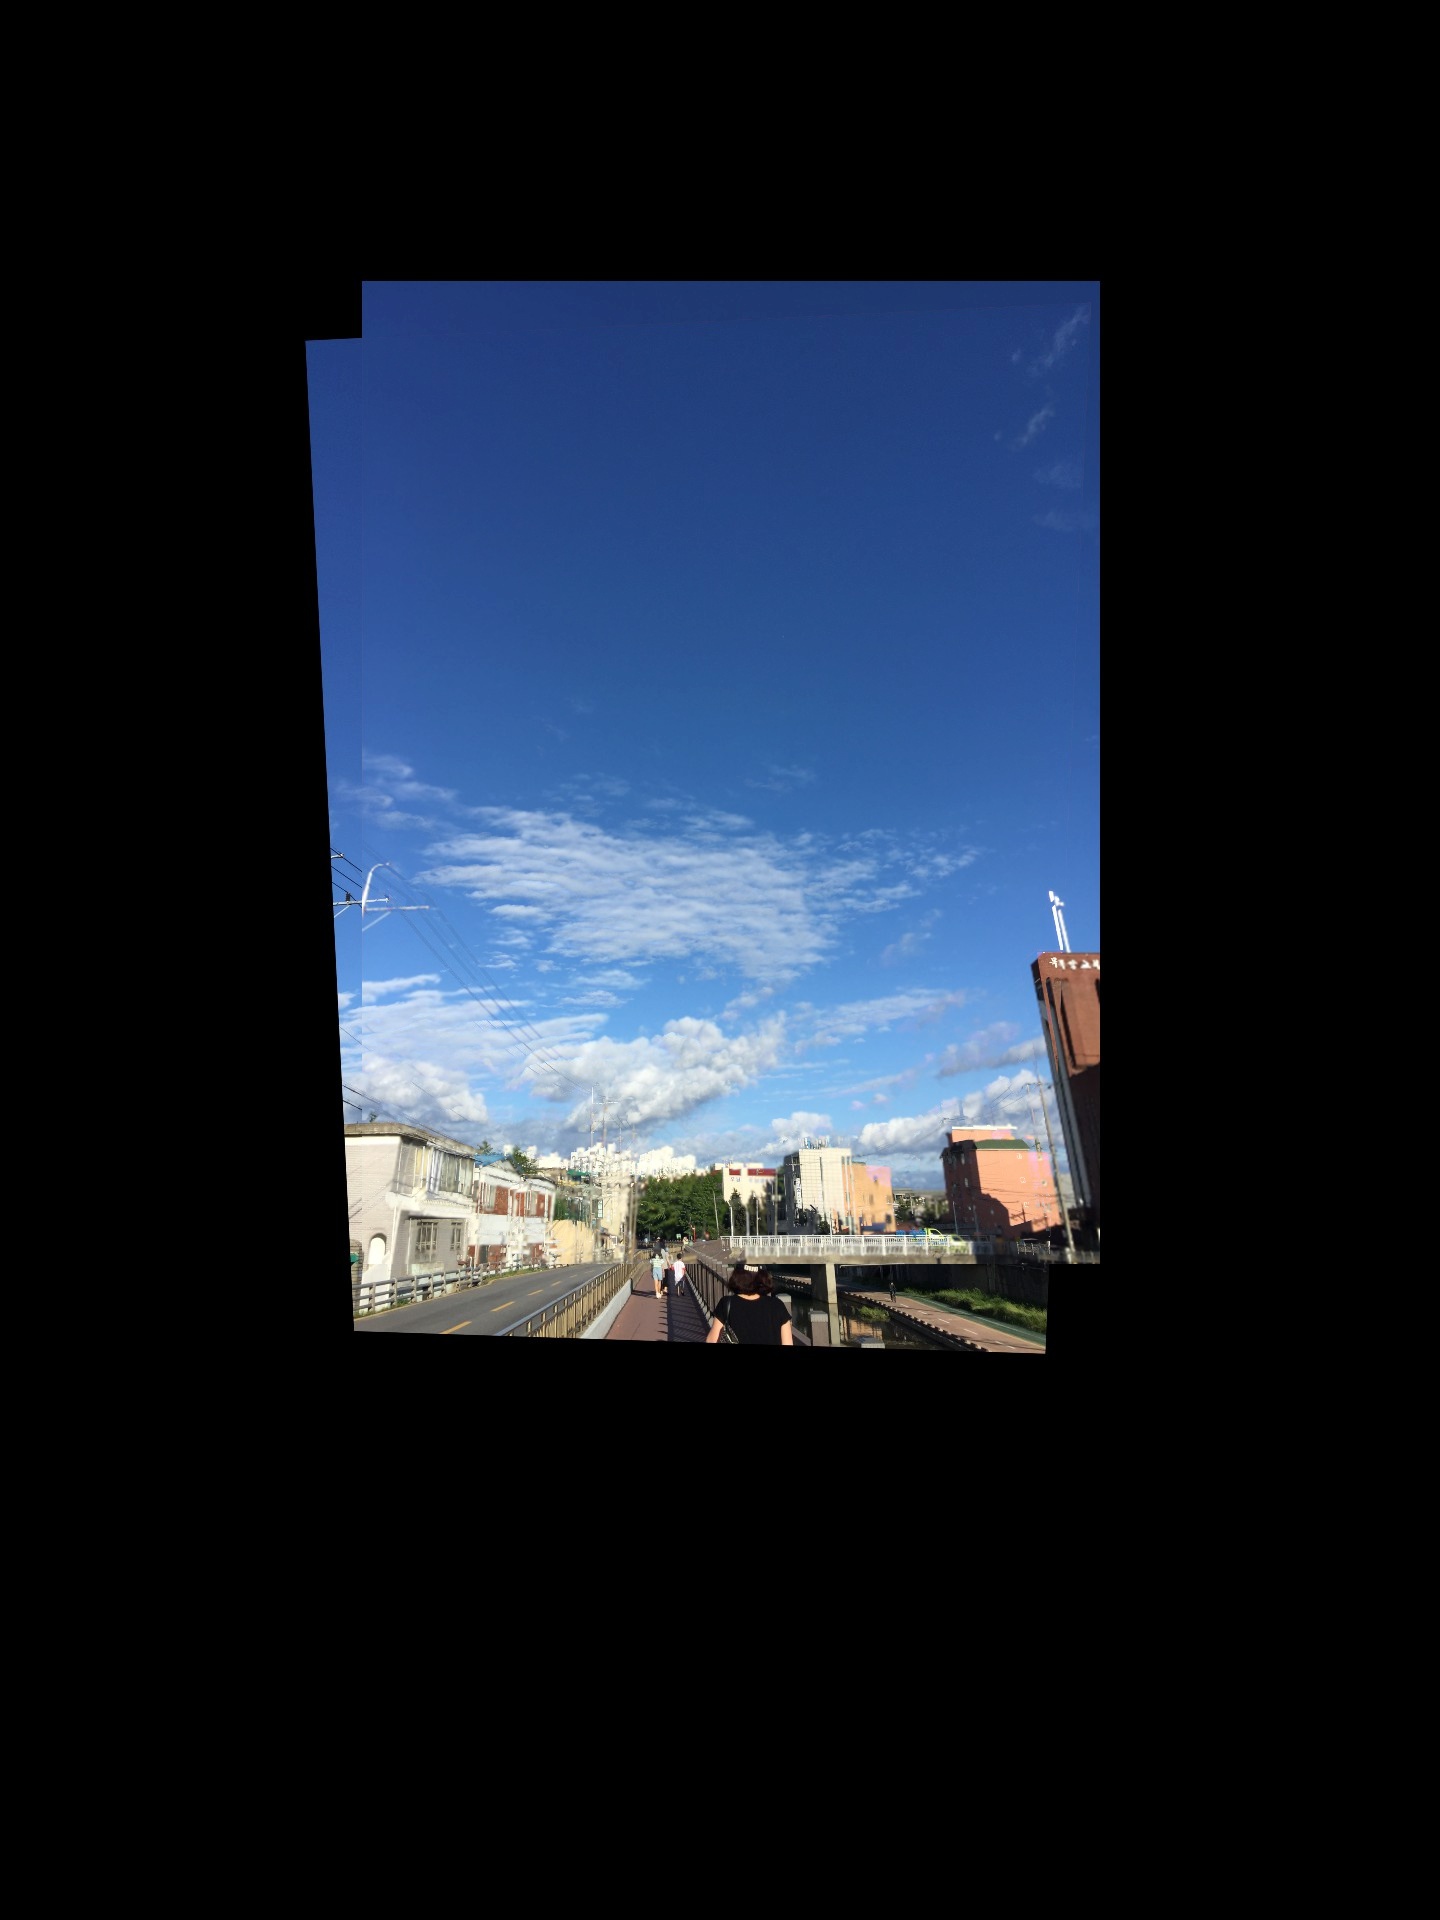
I first found the following images that I decided to use for this project:


After specifying correspondances by hand, I found the projection matrix using least squares. I first defined vector $h$ to contain each element of the projection matrix in row major order and then defined matrix $A$ to contain the partial products between the correspondances of one image. Then, the matrix vector product $Ah$ is defined to be equal to an estimate of $x$, the correspondances of the second image.
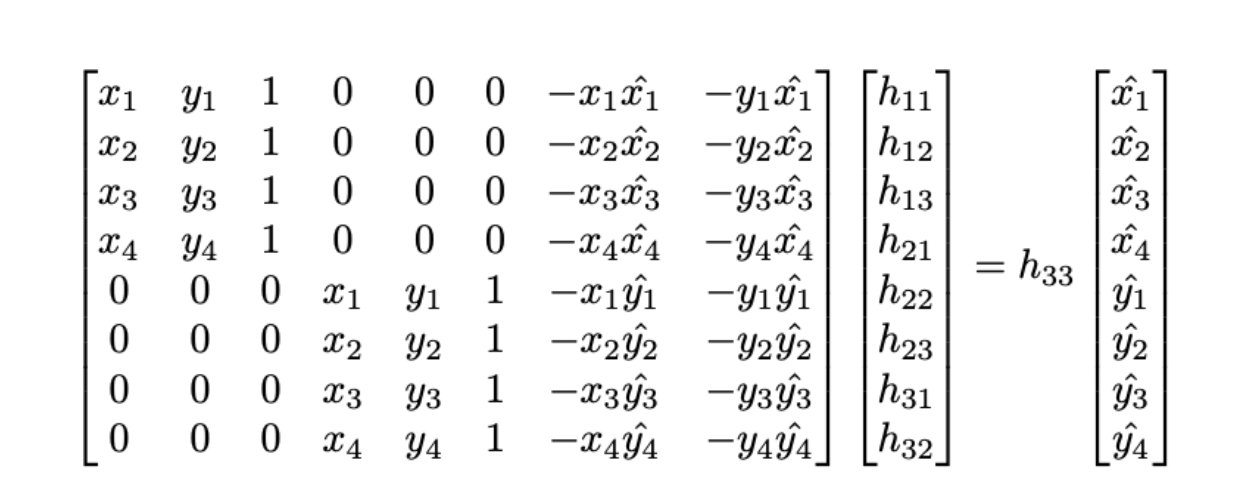
This then allows us to calculate $h$ as $(A^TA)^{-1}Ax, using more than four correspondances.
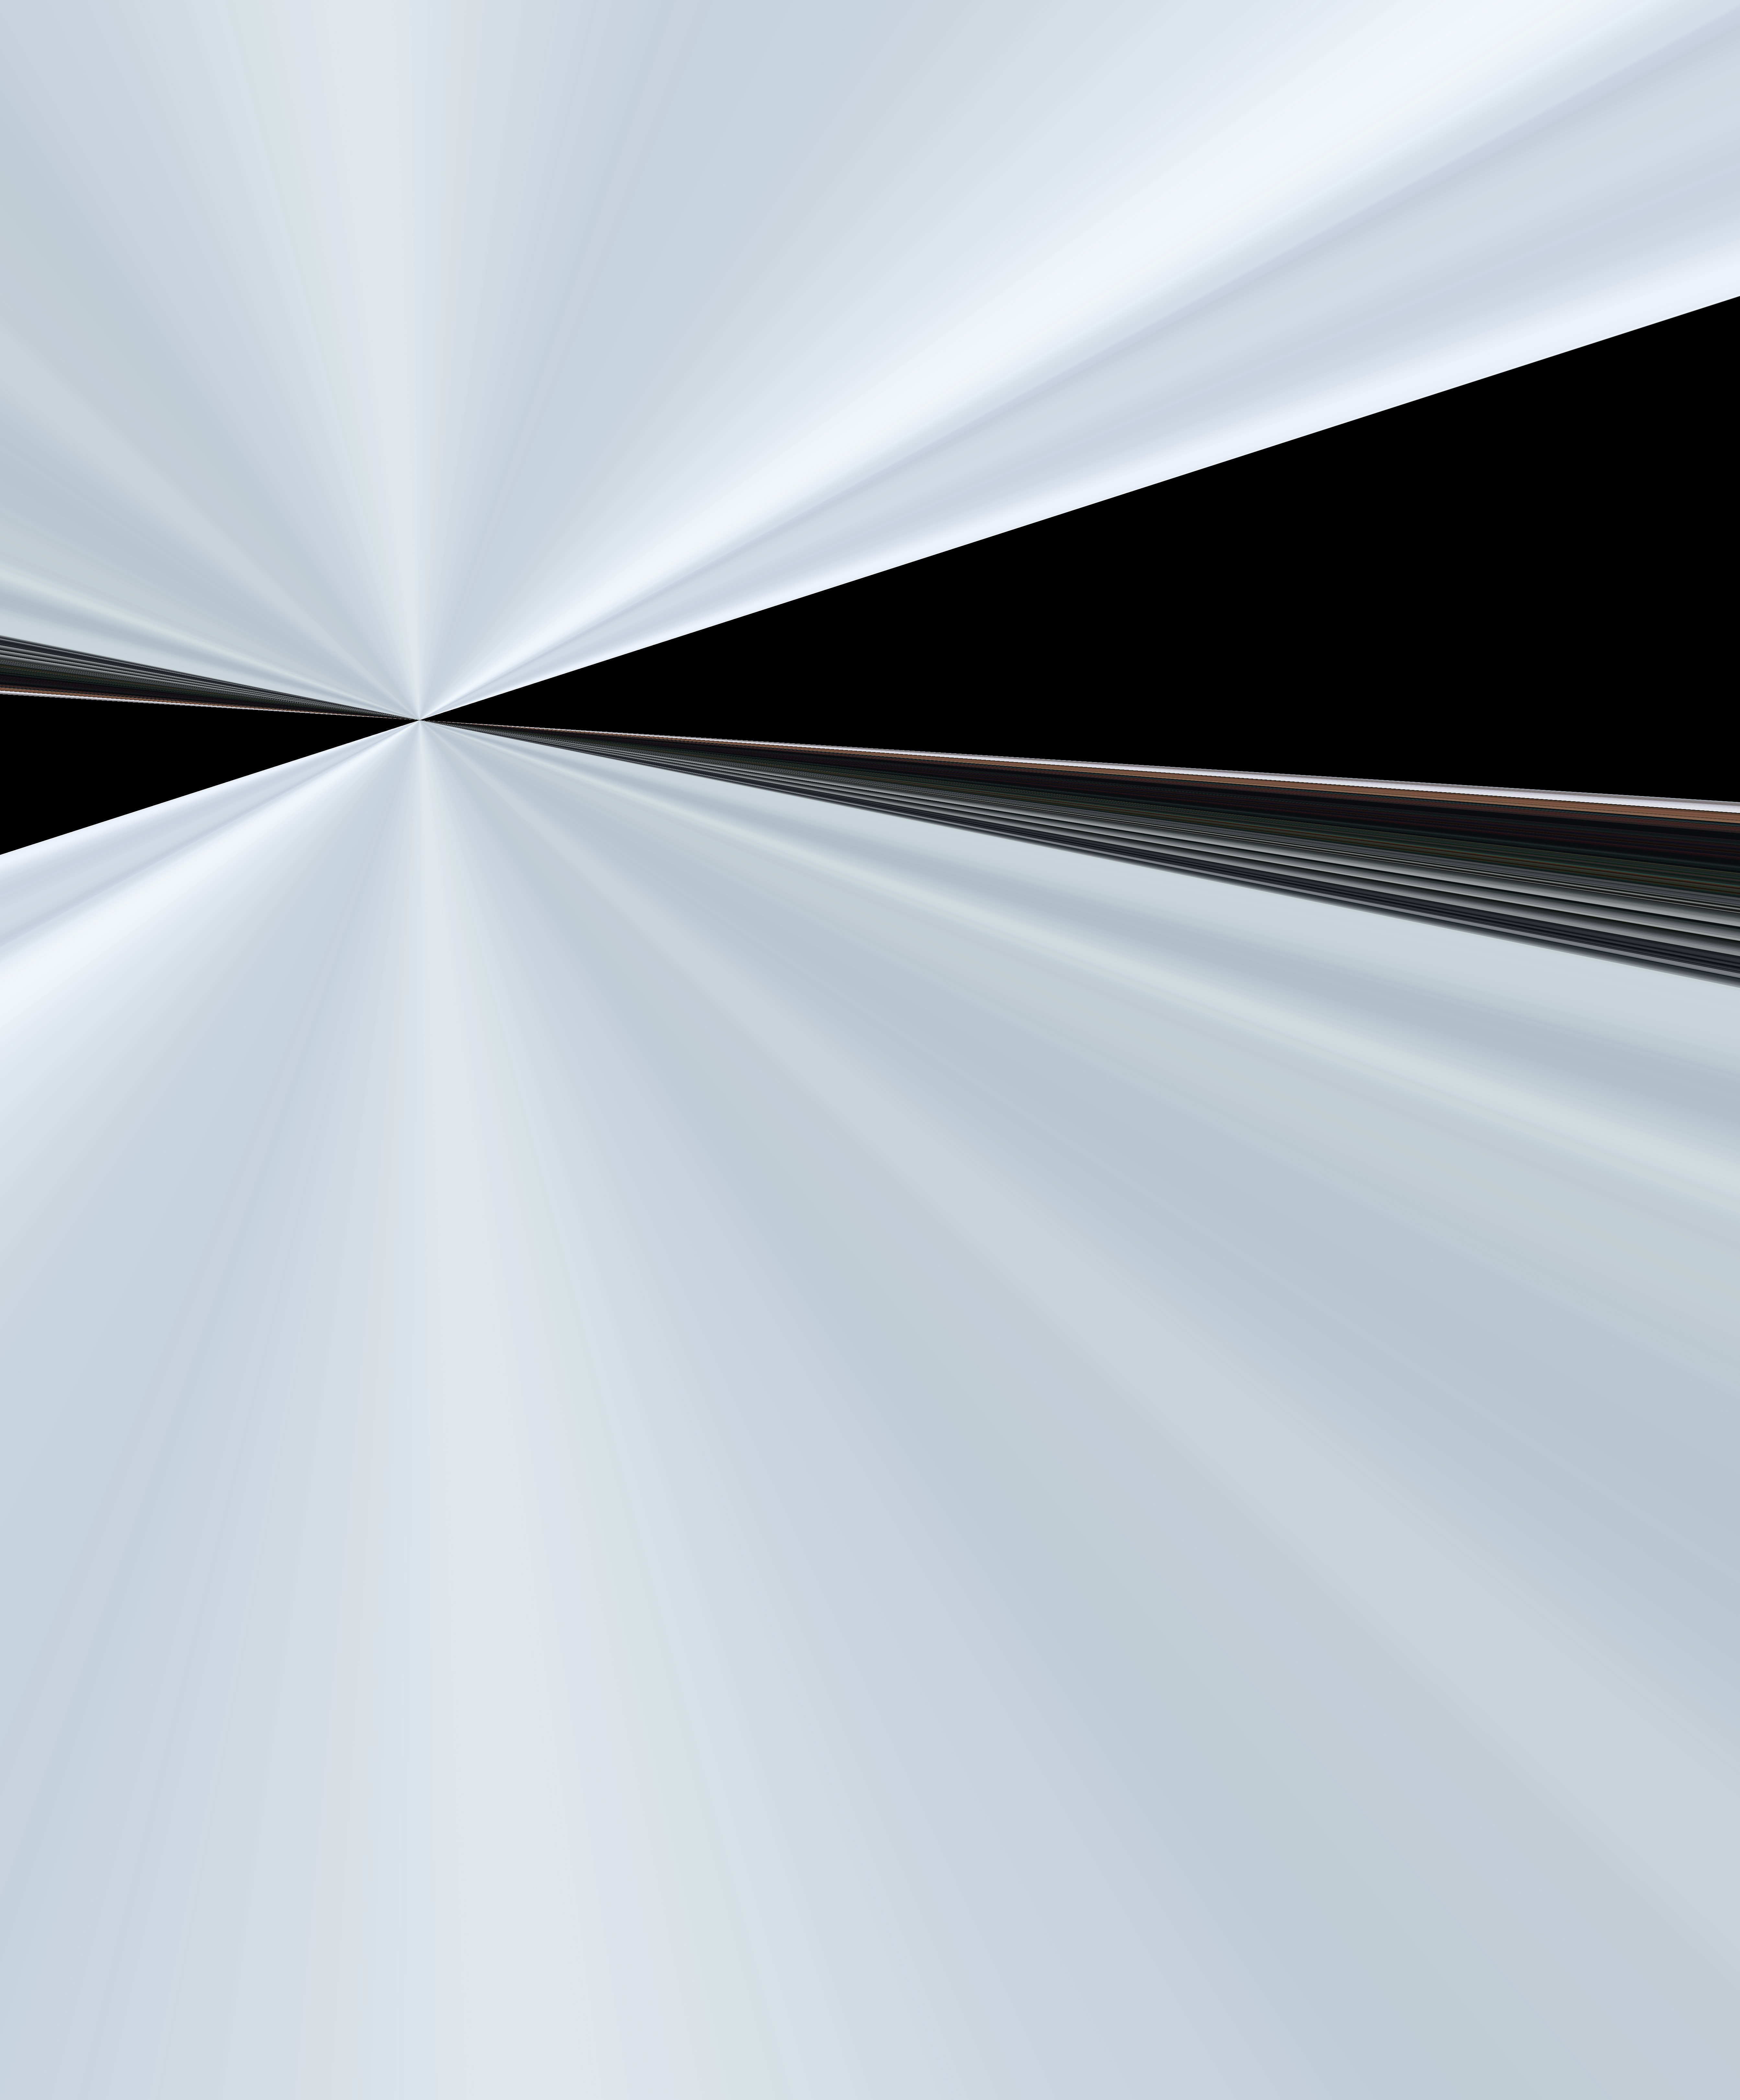
In this section, I was able to warp images to a specific plane with the following steps:
1. Find the projection matrix og_H from images x to y using the steps in thre previous section
2. Use the projection matrix to calculate the size of the new image x'.
3. Take the inverse of og_H and multiply it with a vector of the coordinates of our new, empty image x'.
4. Interpolate the colors of x' from x using the results of og_H^{-1}x'.
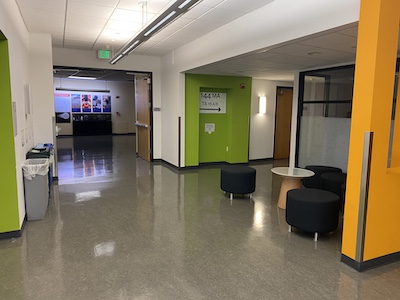
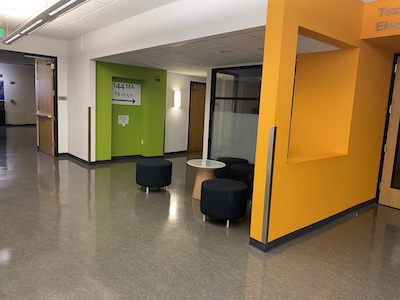
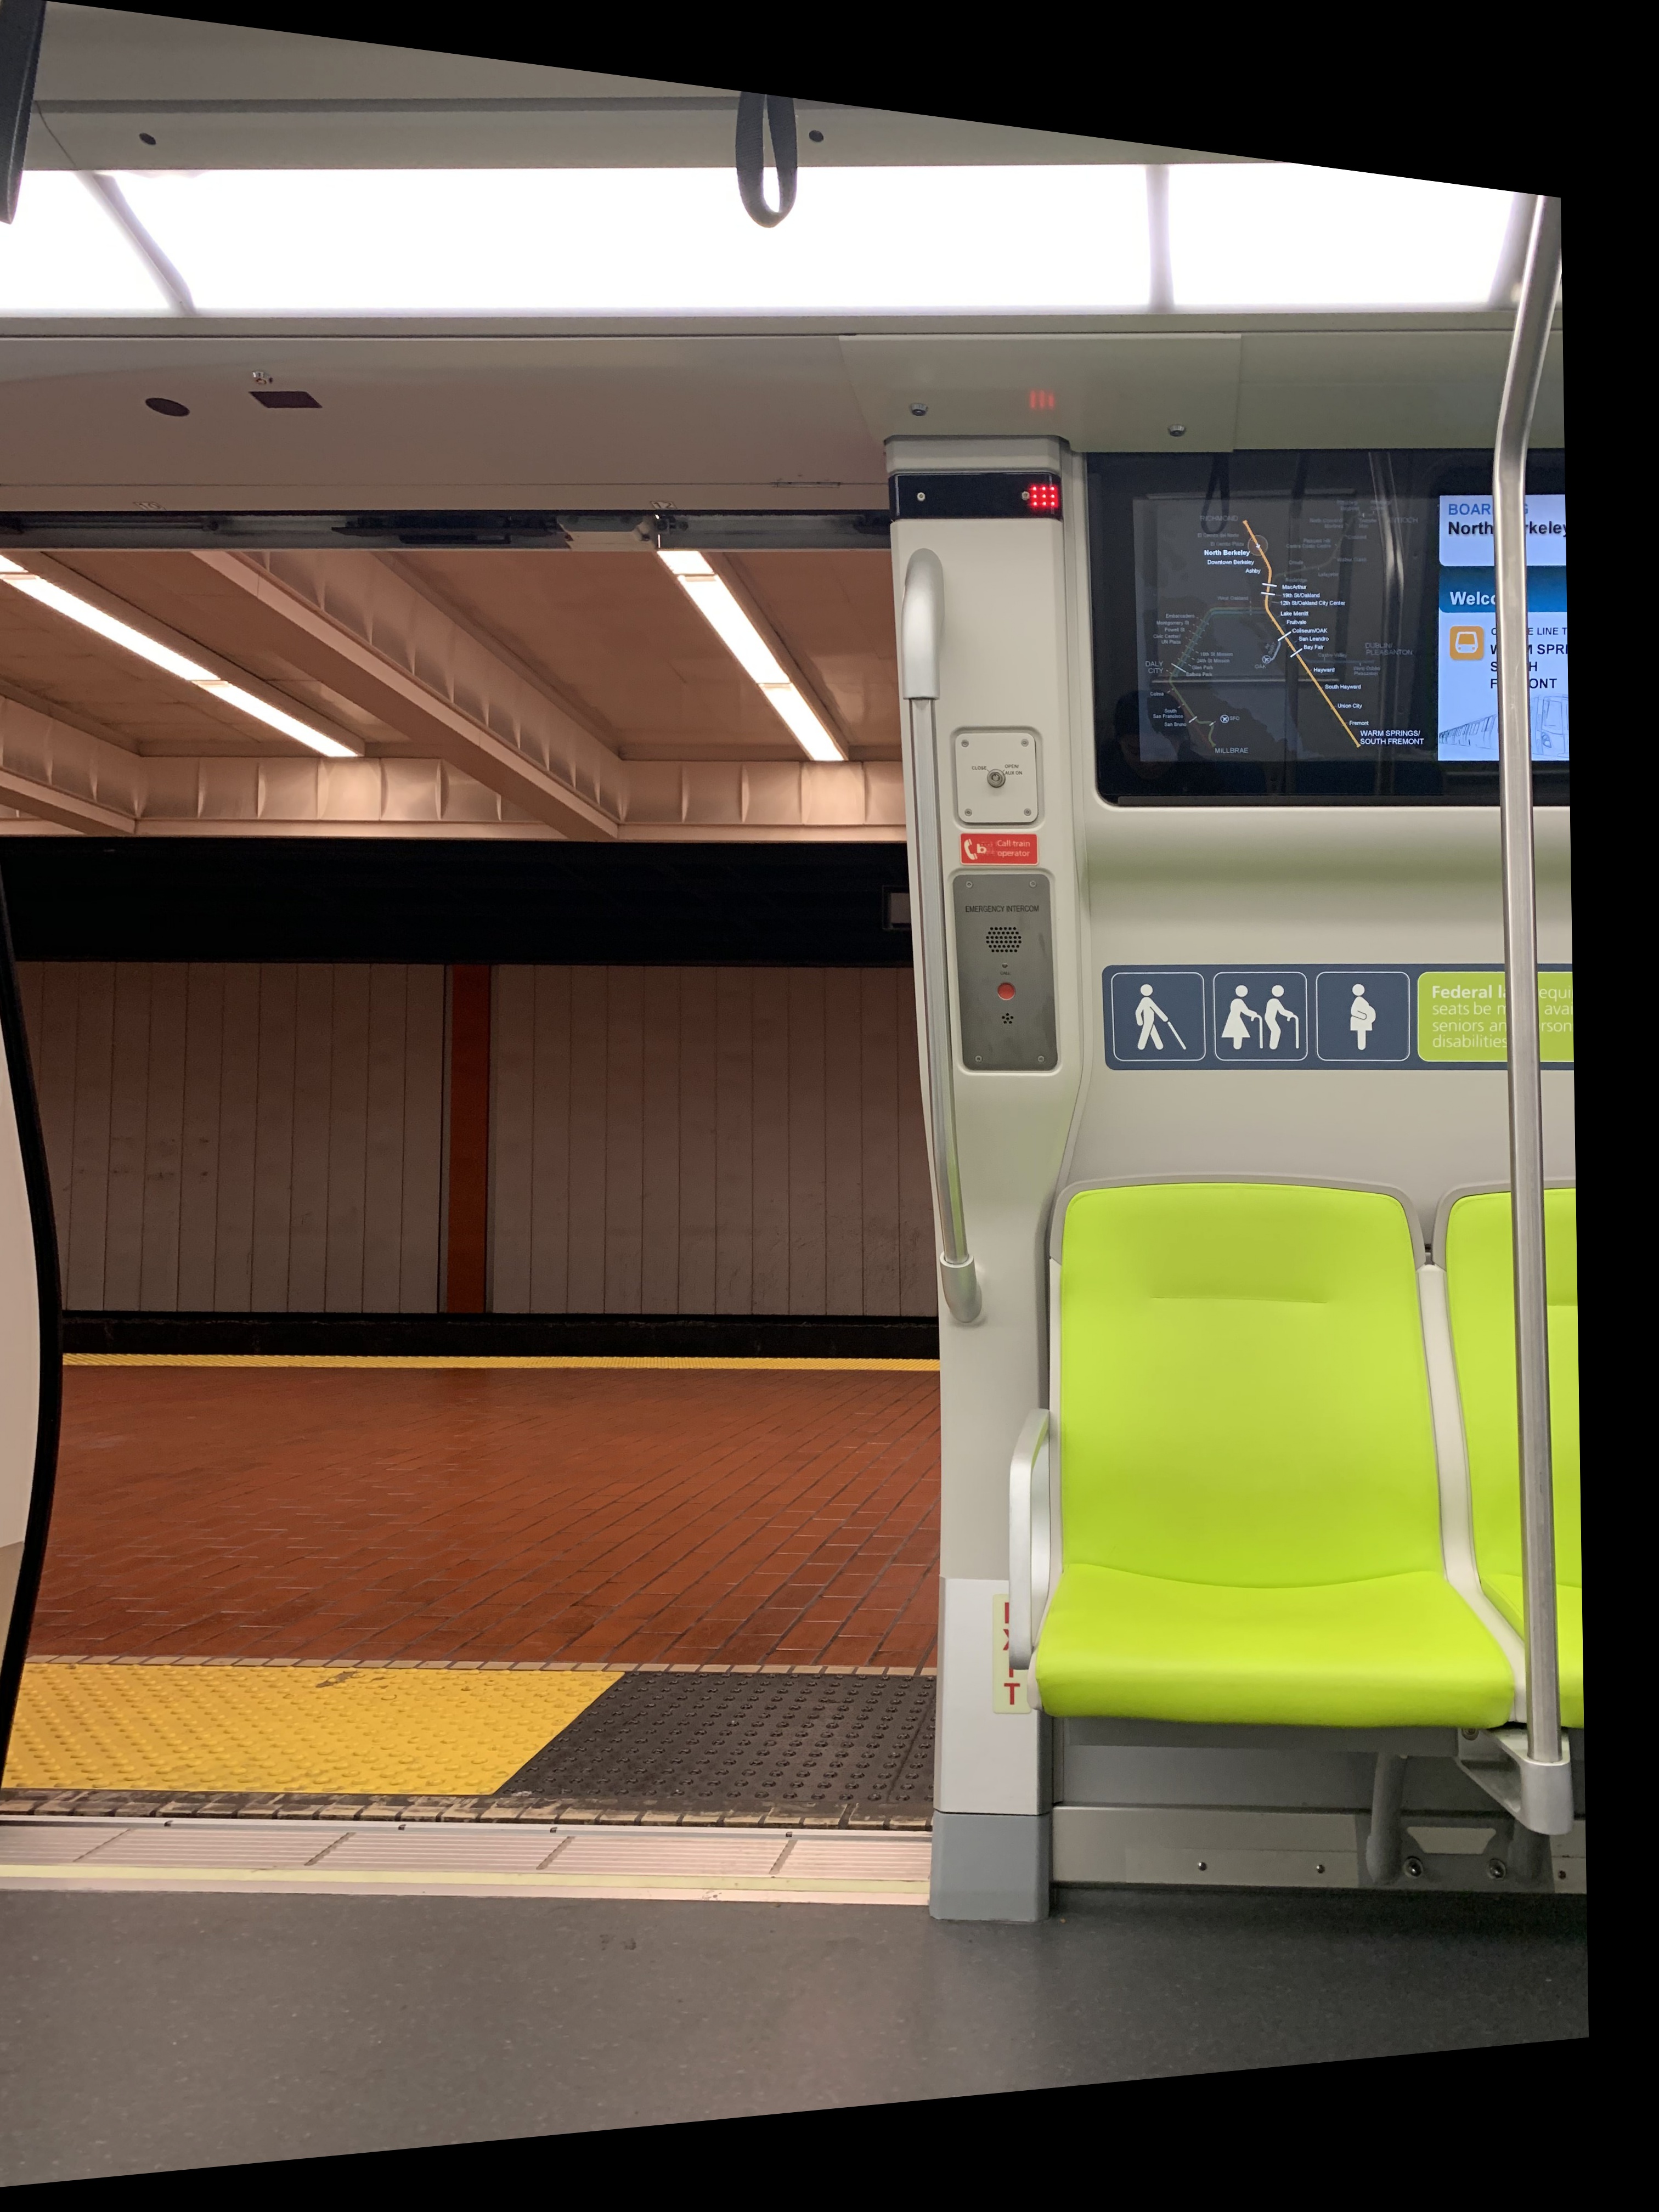
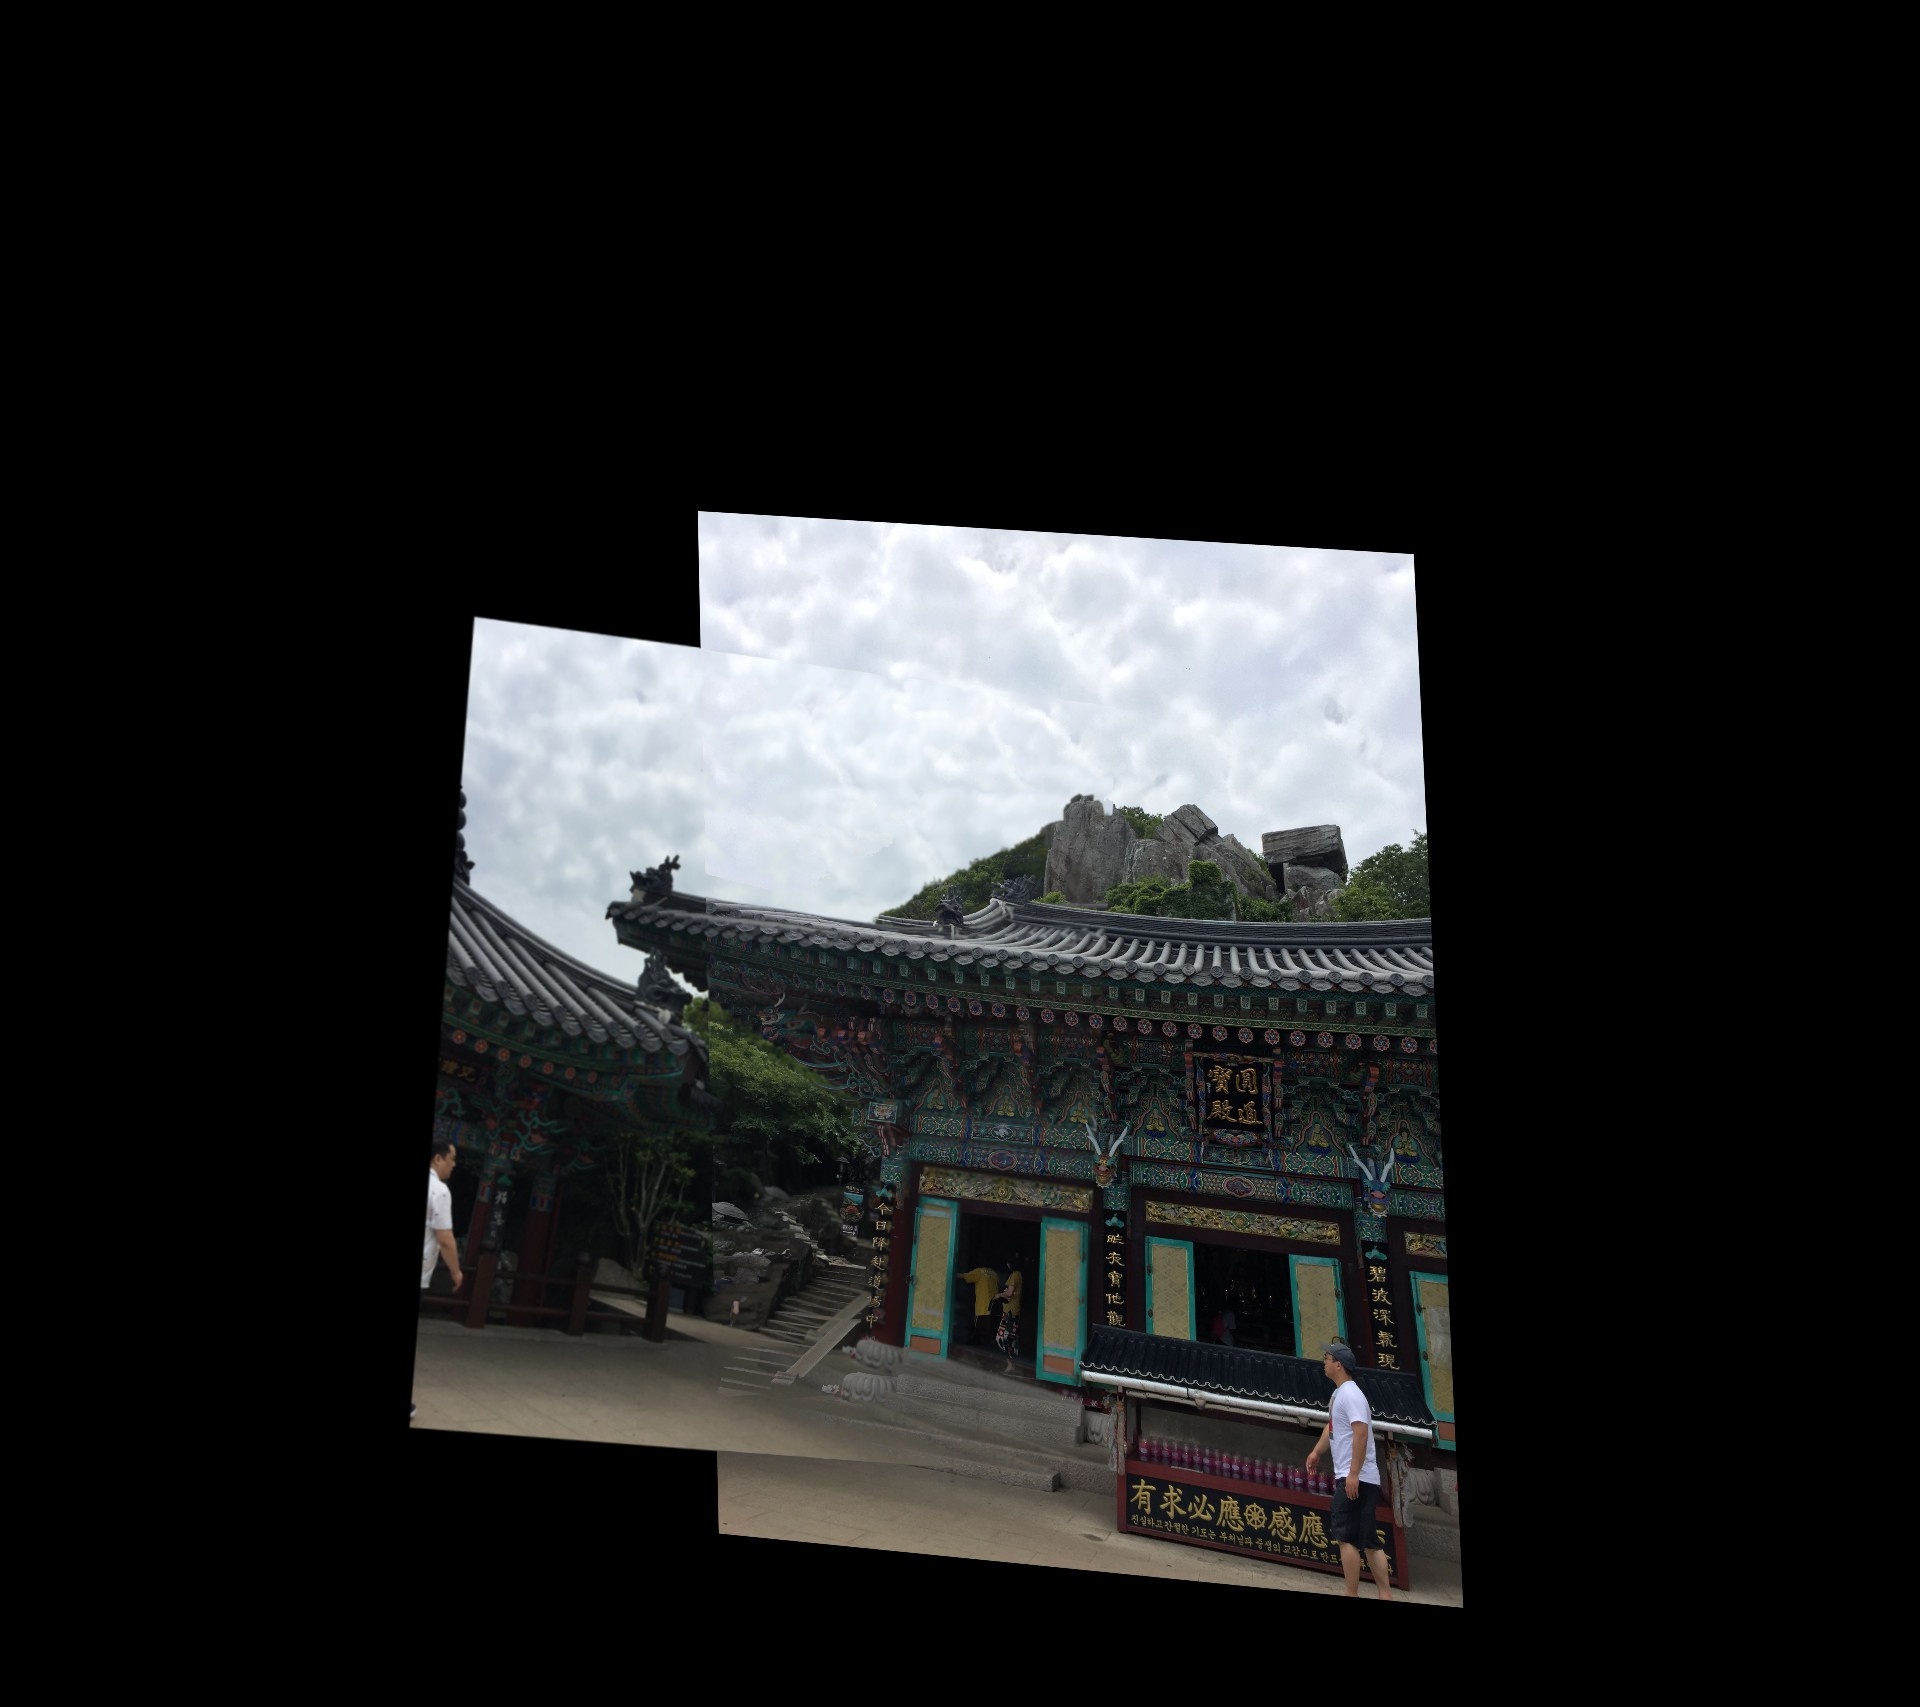
Although I have a working implementation of these steps, relying on the remap function of the CV2 library ultimately worked best. Using these steps, I then retificated the following images below.
I learned a lot about how information from images can be manipulated. The coolest part of this project was rectifying the images, since the images looked somewhat natural in many cases—it seemed like just a difference in perspective. That was the coolest part of this project: understanding how much information is in an image and being able to take advantage of that information.
In this section, I queried the code (https://inst.eecs.berkeley.edu/~cs194-26/fa21/hw/proj4/harris.py) provided for us by the course. I implemented single-scale corner detection and adaptive non-maximal suppression in the following manner:
1. Find the corners using harris.py
2. Run adaptive non-maximal suppression by
(a) Sorting the points by their Harris value, so that points more likely to be corners are chosen.
(b) Then, set the radius to the length of the diagonal of the image and find the point with the largest Harris value in the radius.
(c) We then decrease the radius by 0.75 and increasingly find more points by going back to step (a).
This often worked quite well, but some images occasionally had most of their points clustered in one area.
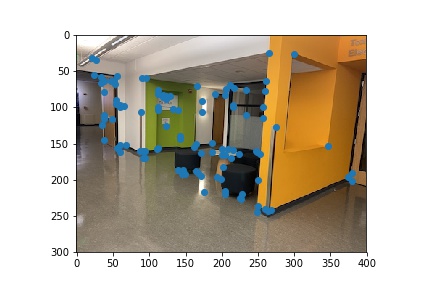
Here are the corners that the harris.py code found for the hallway images:

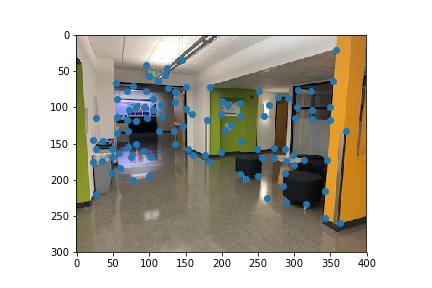
Here are the corners after running ANMS:

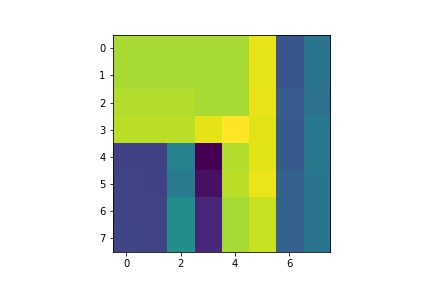
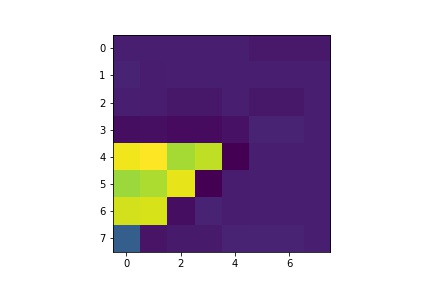
I then extracted the feature descriptors for each points. I did this by taking a 40-by-40 patch around each point found by and then downsampling the patch to an 8-by-8 image.
Here are examples of feature detectors of the images of the stairs above. The first feature detector is from the first image of the stairs, and the second feature detector is from the second image of the stairs.
I tried matching two different ways: I first attempted to match points by the bias-normalized features, and then I attempted to match points by the non-standardized features. Surprisingly, it was much more affective to match by non-normalized features. For reference, here is the result from using bias-normalized features on the stairs:
I then implemented RANSAC to find a good homography matrix representing the transformation between the images. I did this in two ways: I implemented RANSAC normally by only checking that Harris points correspodned with each other, and I also impelmented a version where I checked an entire 10-by-10 patch around each Harris point. The latter version was slightly more robust and gave reliable results every time. I only ran RANSAC for at most 40 iterations, with an epsilon of 10, before stopping. Here are the points that were used for the RANSAC transformation of the stair images: