CS194-26 Project 4
4A: Image Warping and Mosaicing
Recovering Homographies
In order to recover the homography between the images, we need to manually select corresponding points between the images and create a mapping between them. For my processes I mostly used 4-8 points, but since we can select arbitrarily many (over-constrained), I used a least-squares algorithm rather than a normal linear equation to solve for the variables.
We want to solve for the following matrix H:
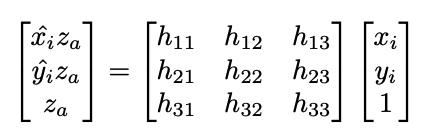
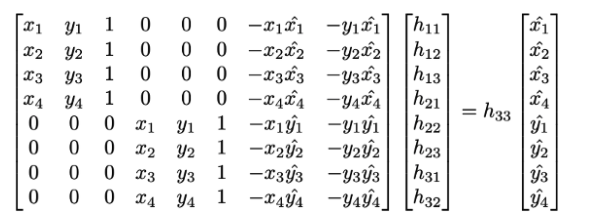
The system of equations we want to solve
If we use 4 sets of points, we can cancel out the Z_a variables above and will result in the following equation. We also assume h_33 to be equal to 1. I used this in my least-squares calculations.
Warping and Image Rectification
In order to test my image warping, I decided to align 2 images: one of an art piece at the SF Van Gogh Popup exhibit and the other of my phone. In this part, I kind of arbitrarily guessed the points (rectangles) that the image would warp to, so there is definitely some human error here. I tried aligning the front plane to both images- first to the sunflower, then to the moon.
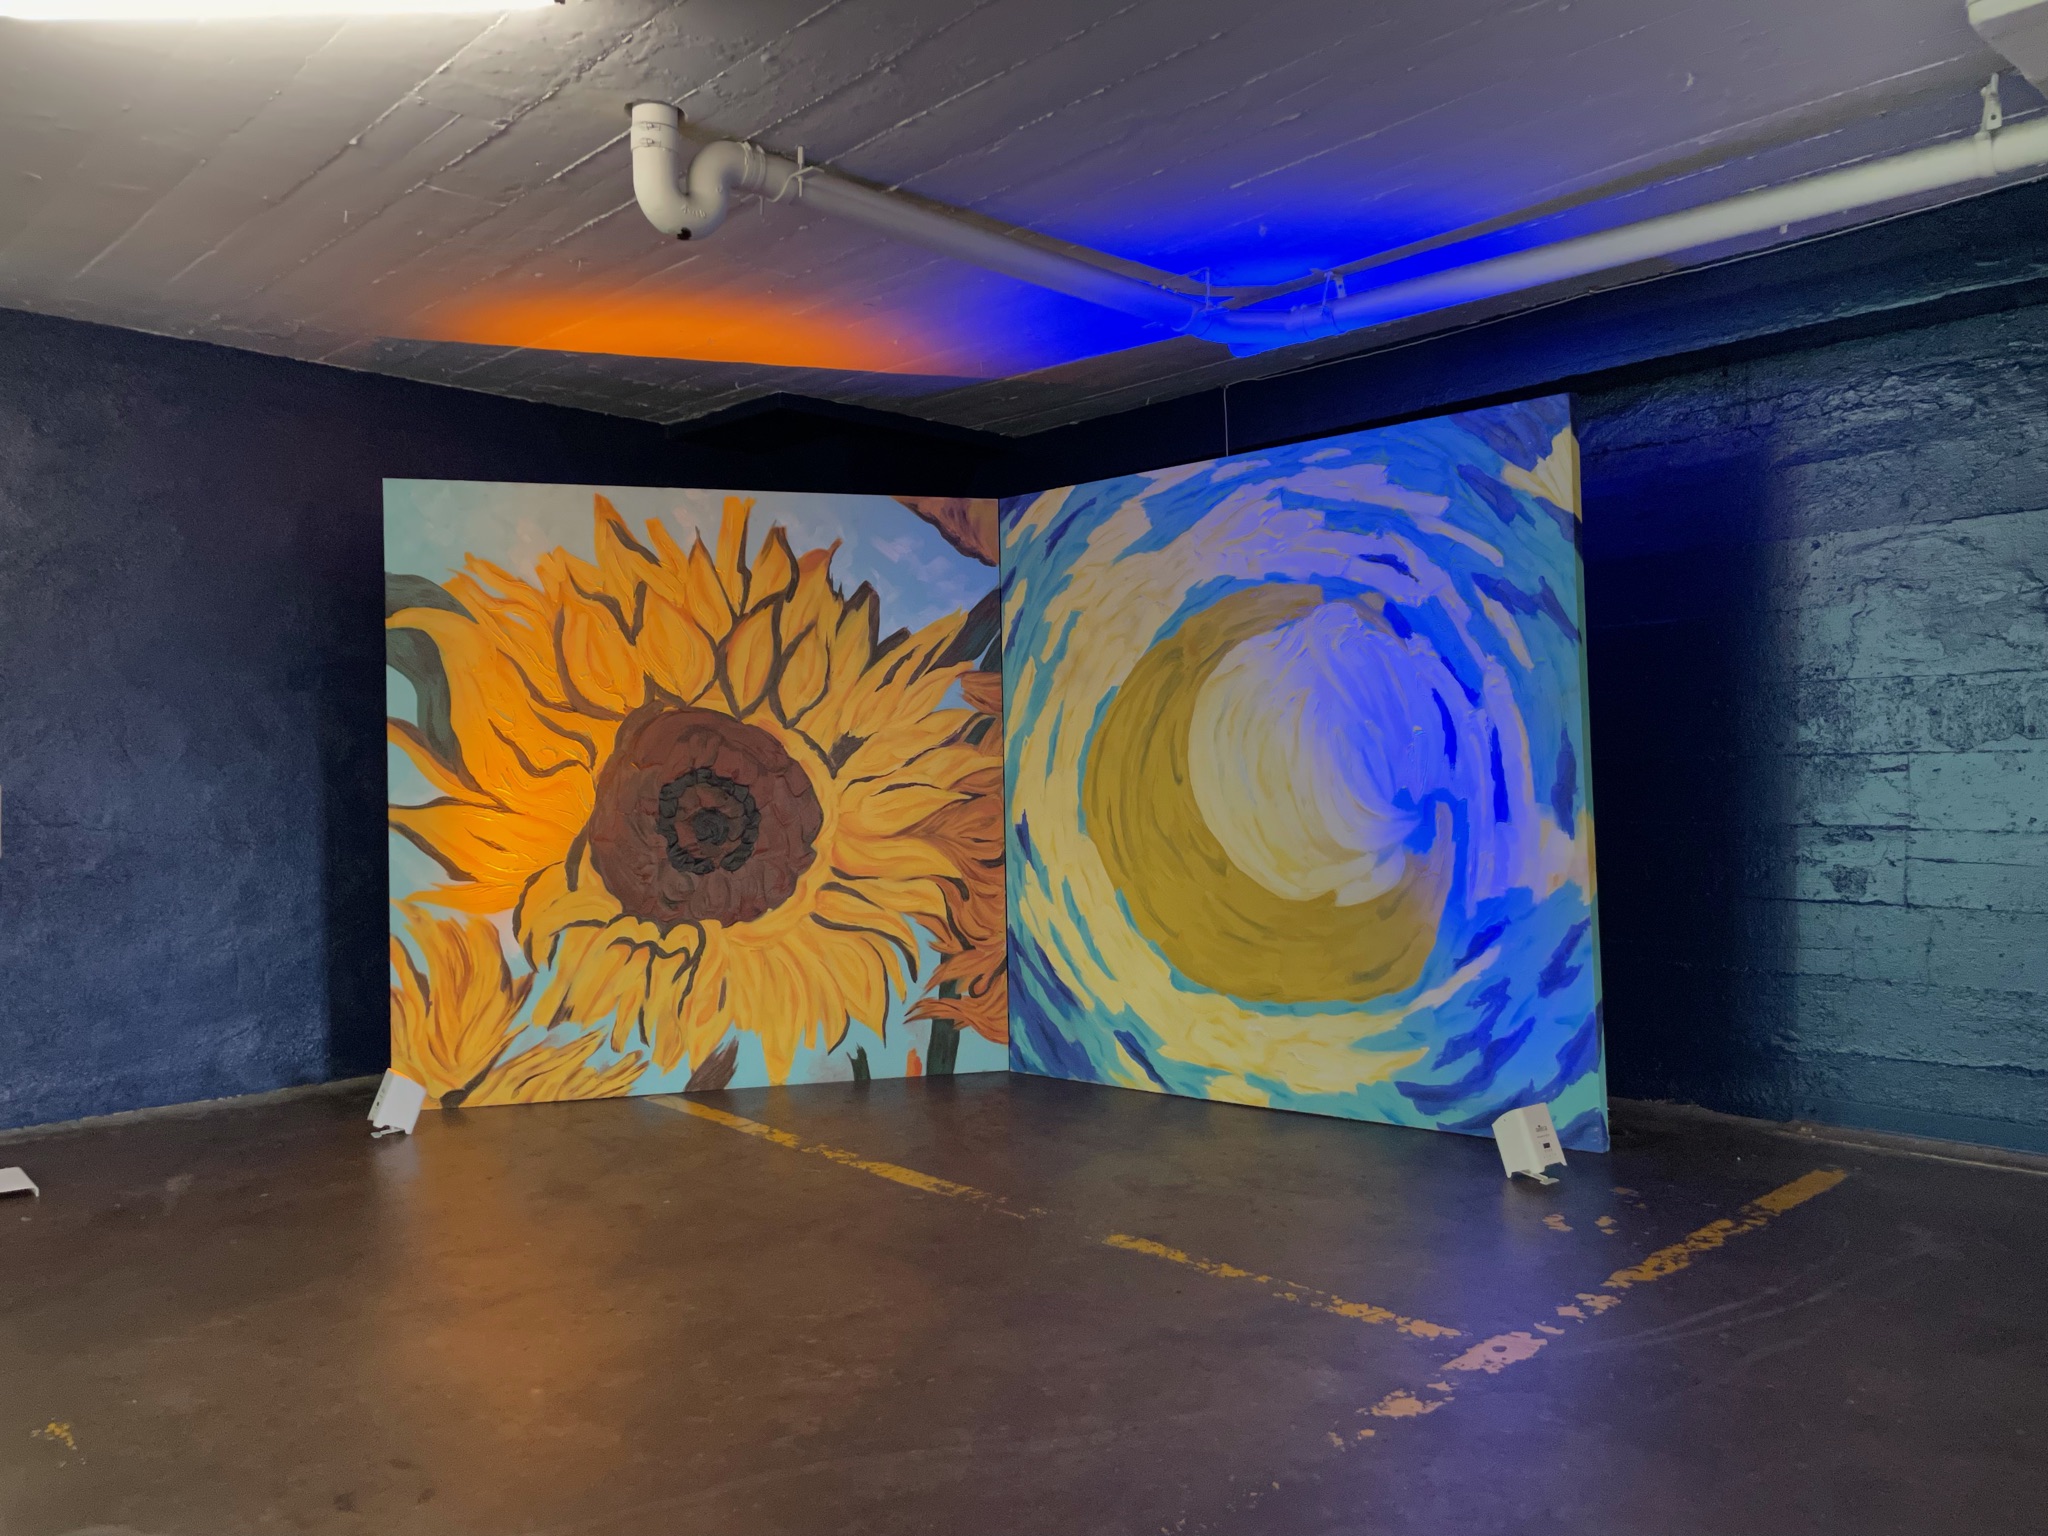
The original art exhibit
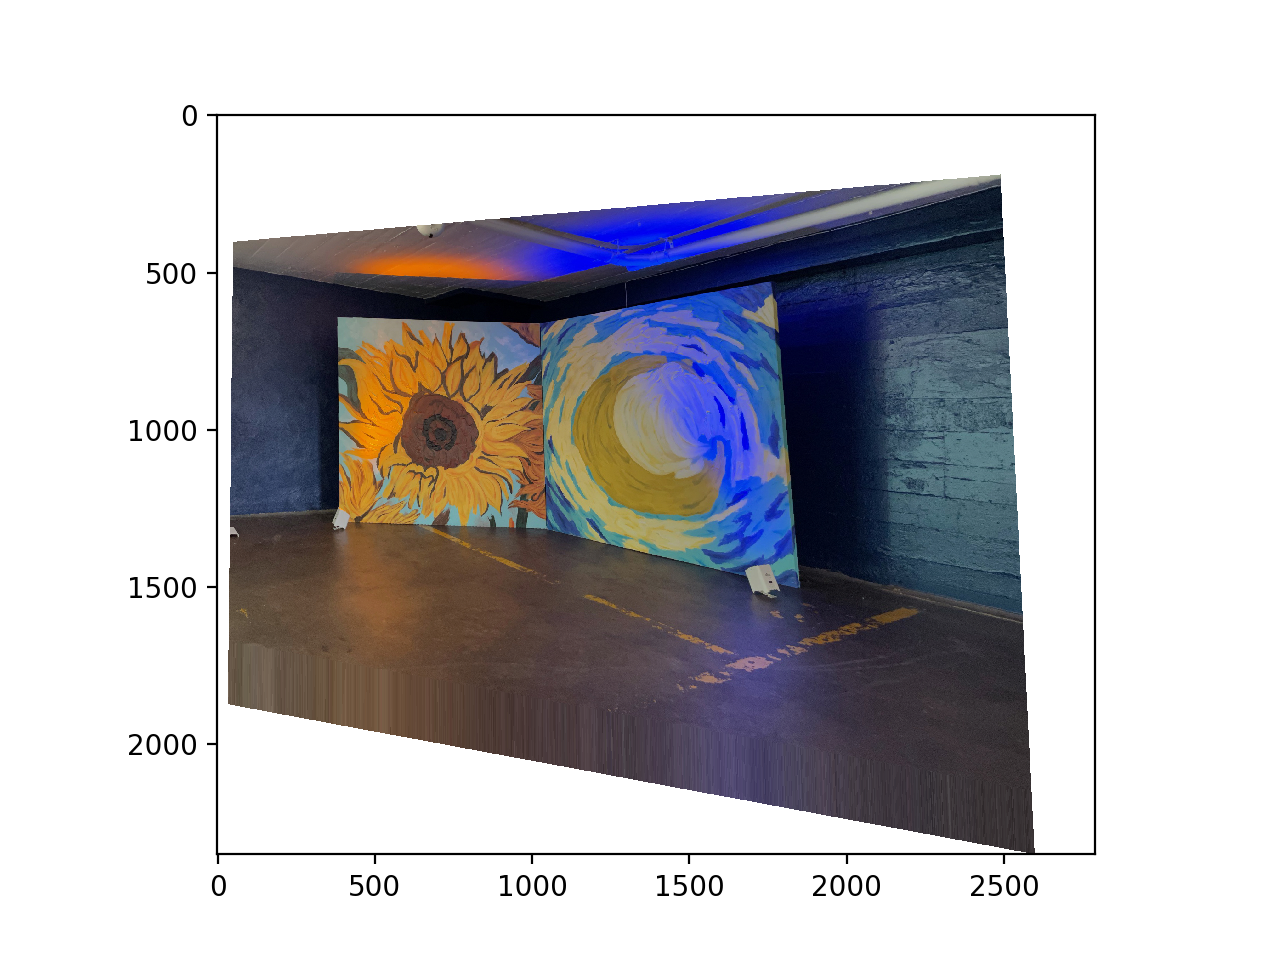
Sunflower as the front-parallel plane
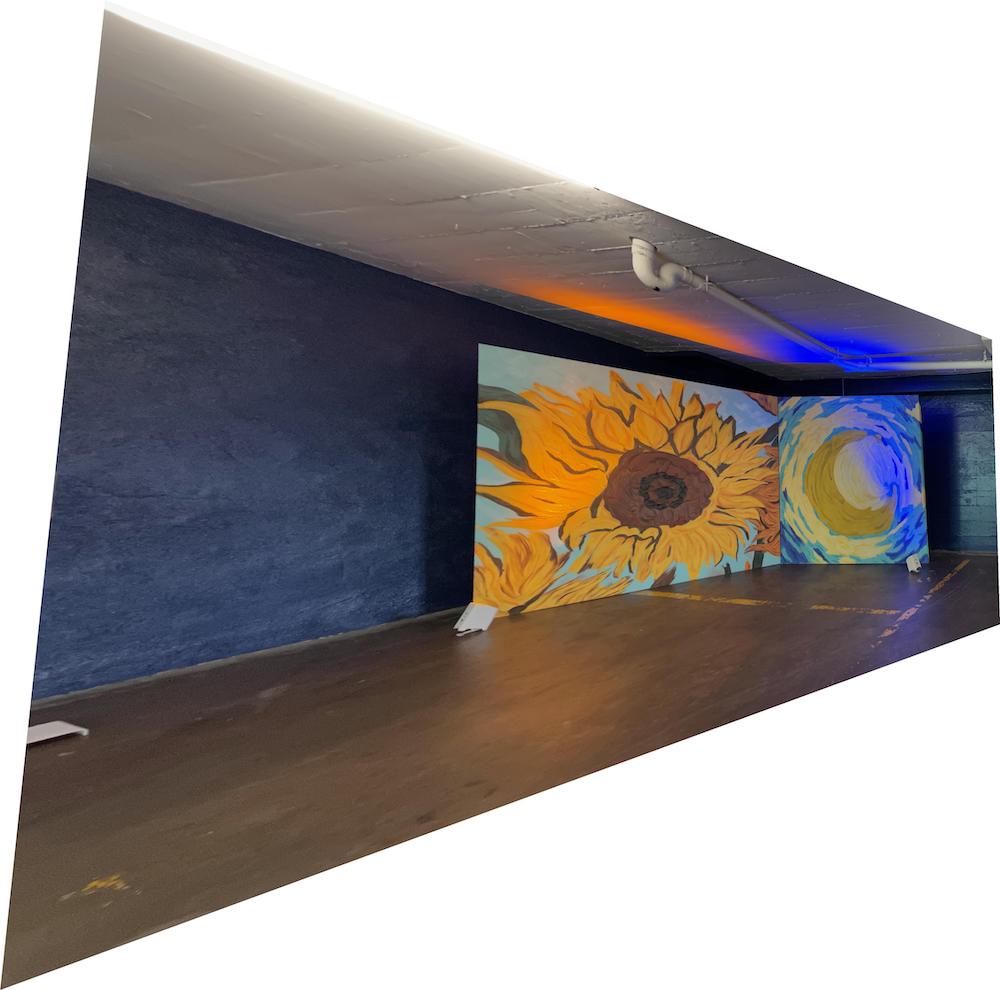
Moon as the front-parallel plane
I then also tested the warping on the image of my phone. I think this one was pretty successful.
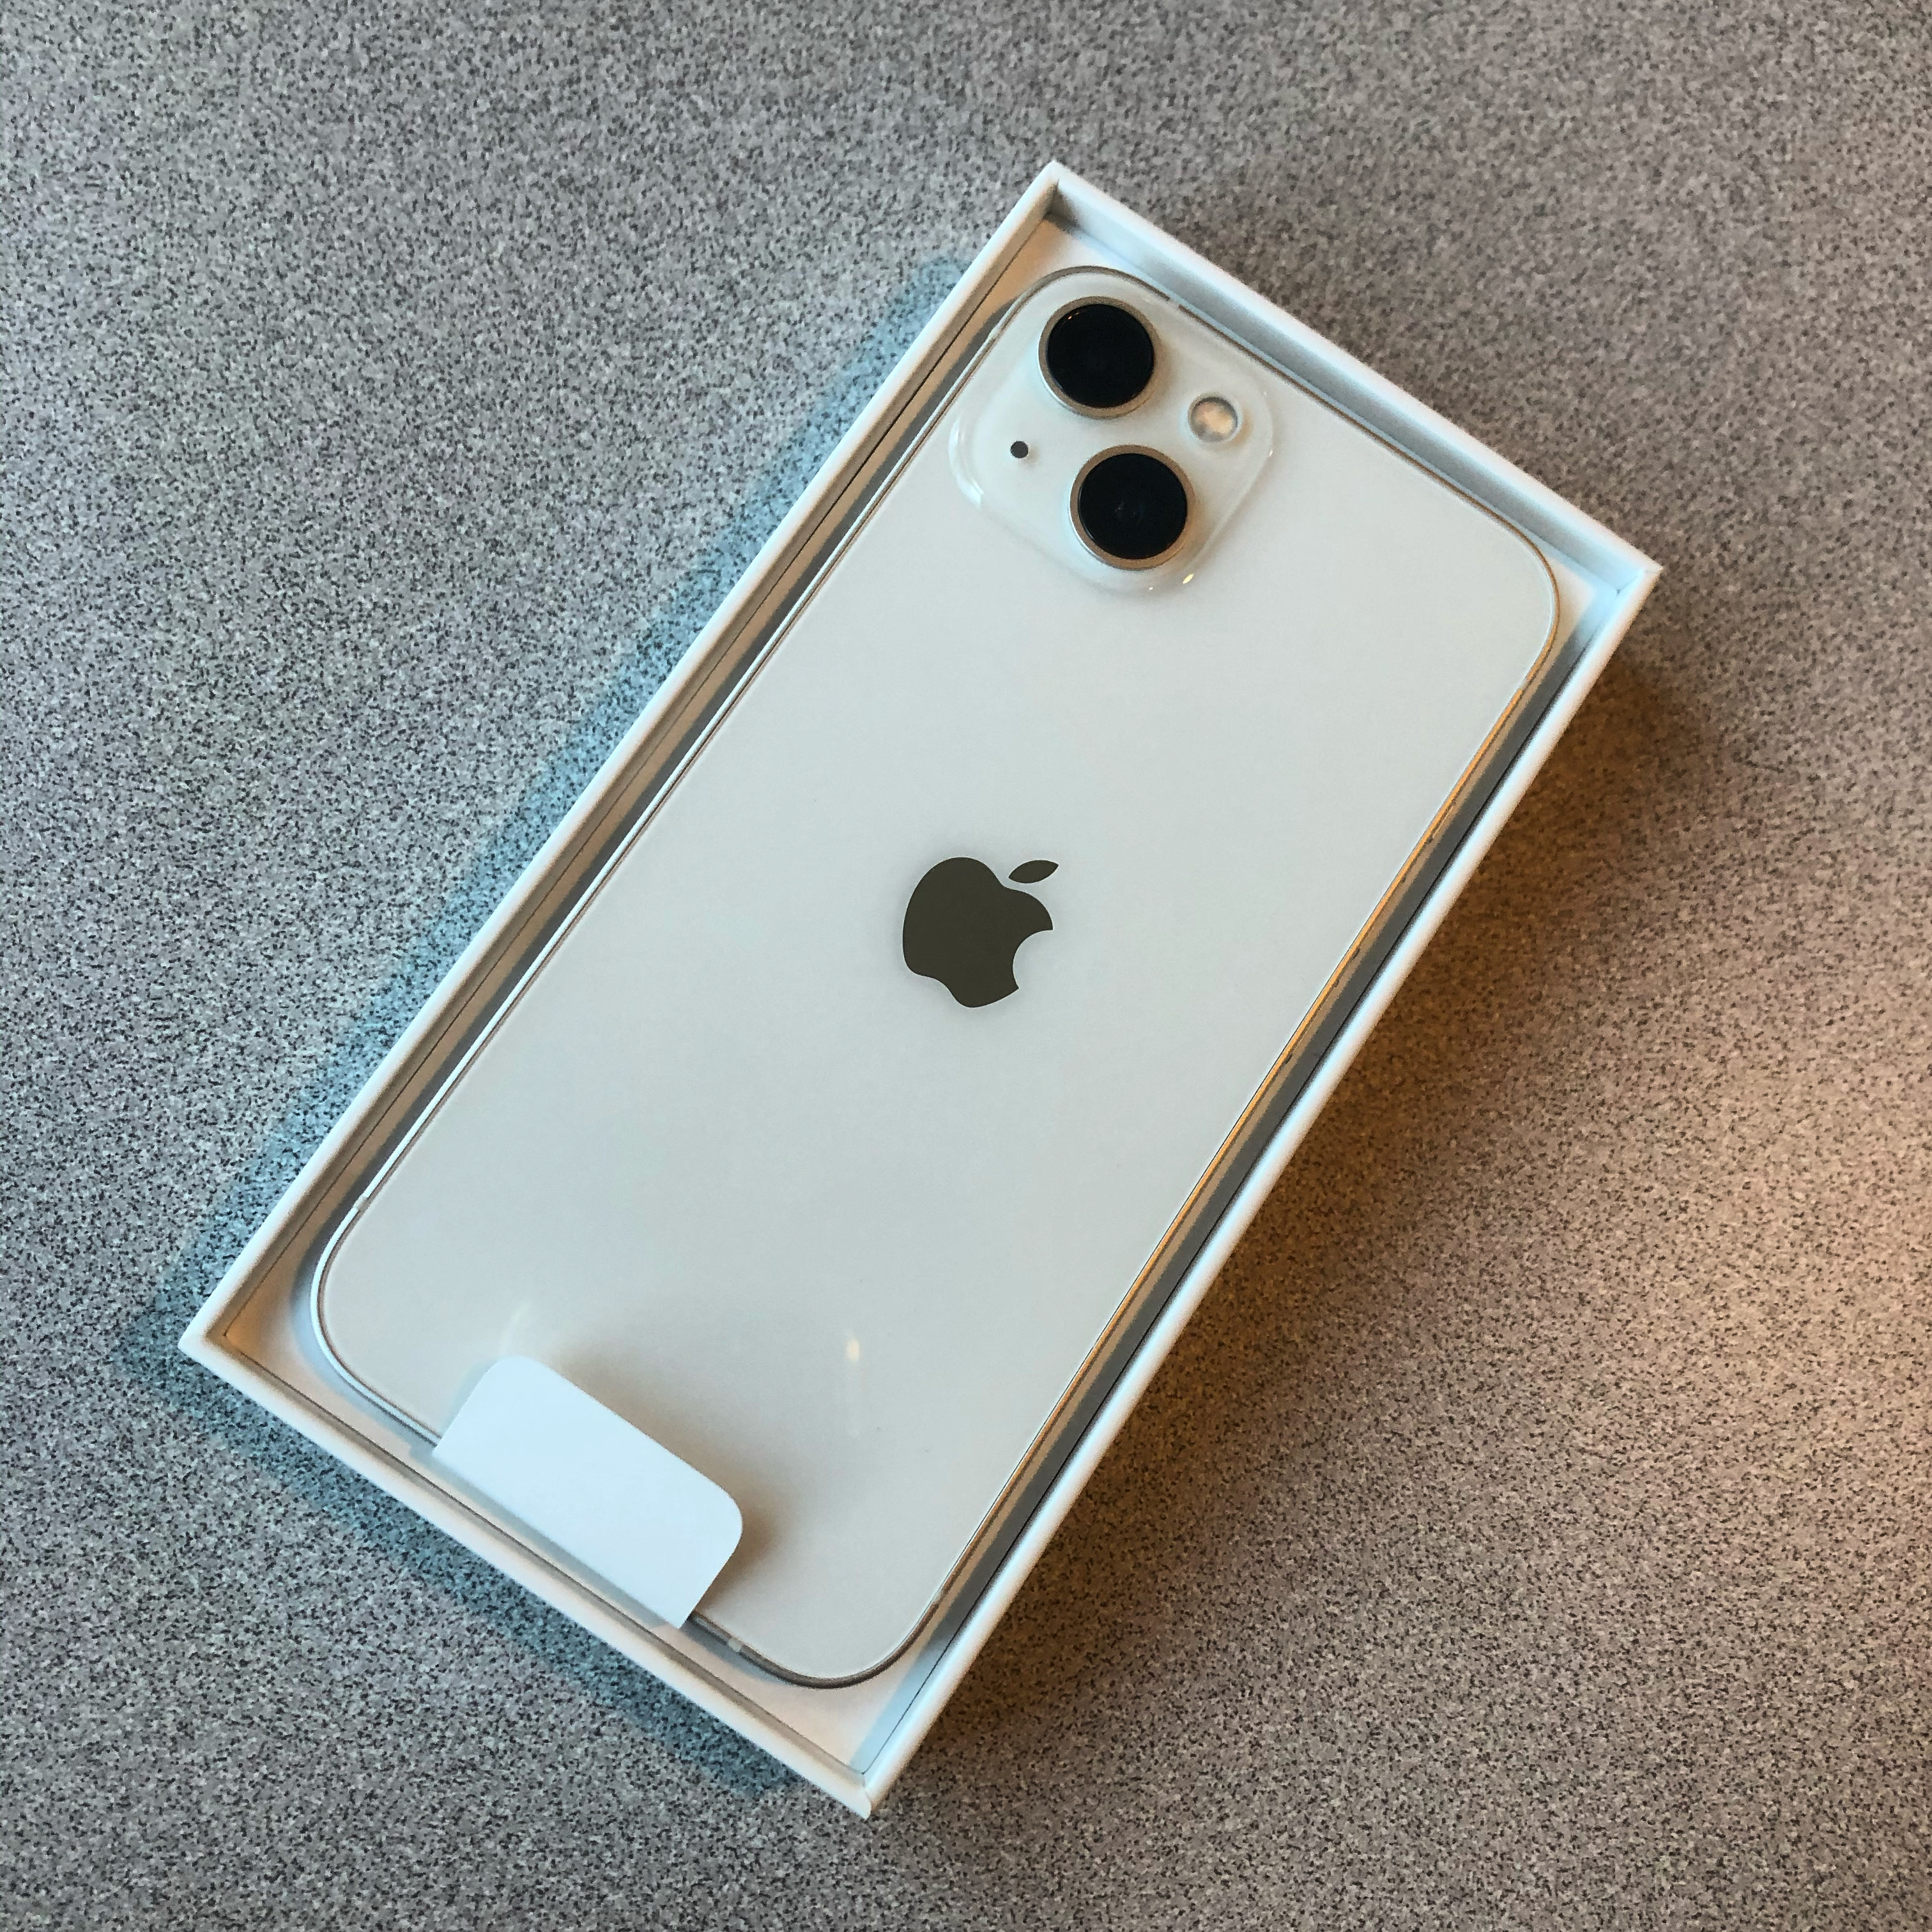
Original Phone photo
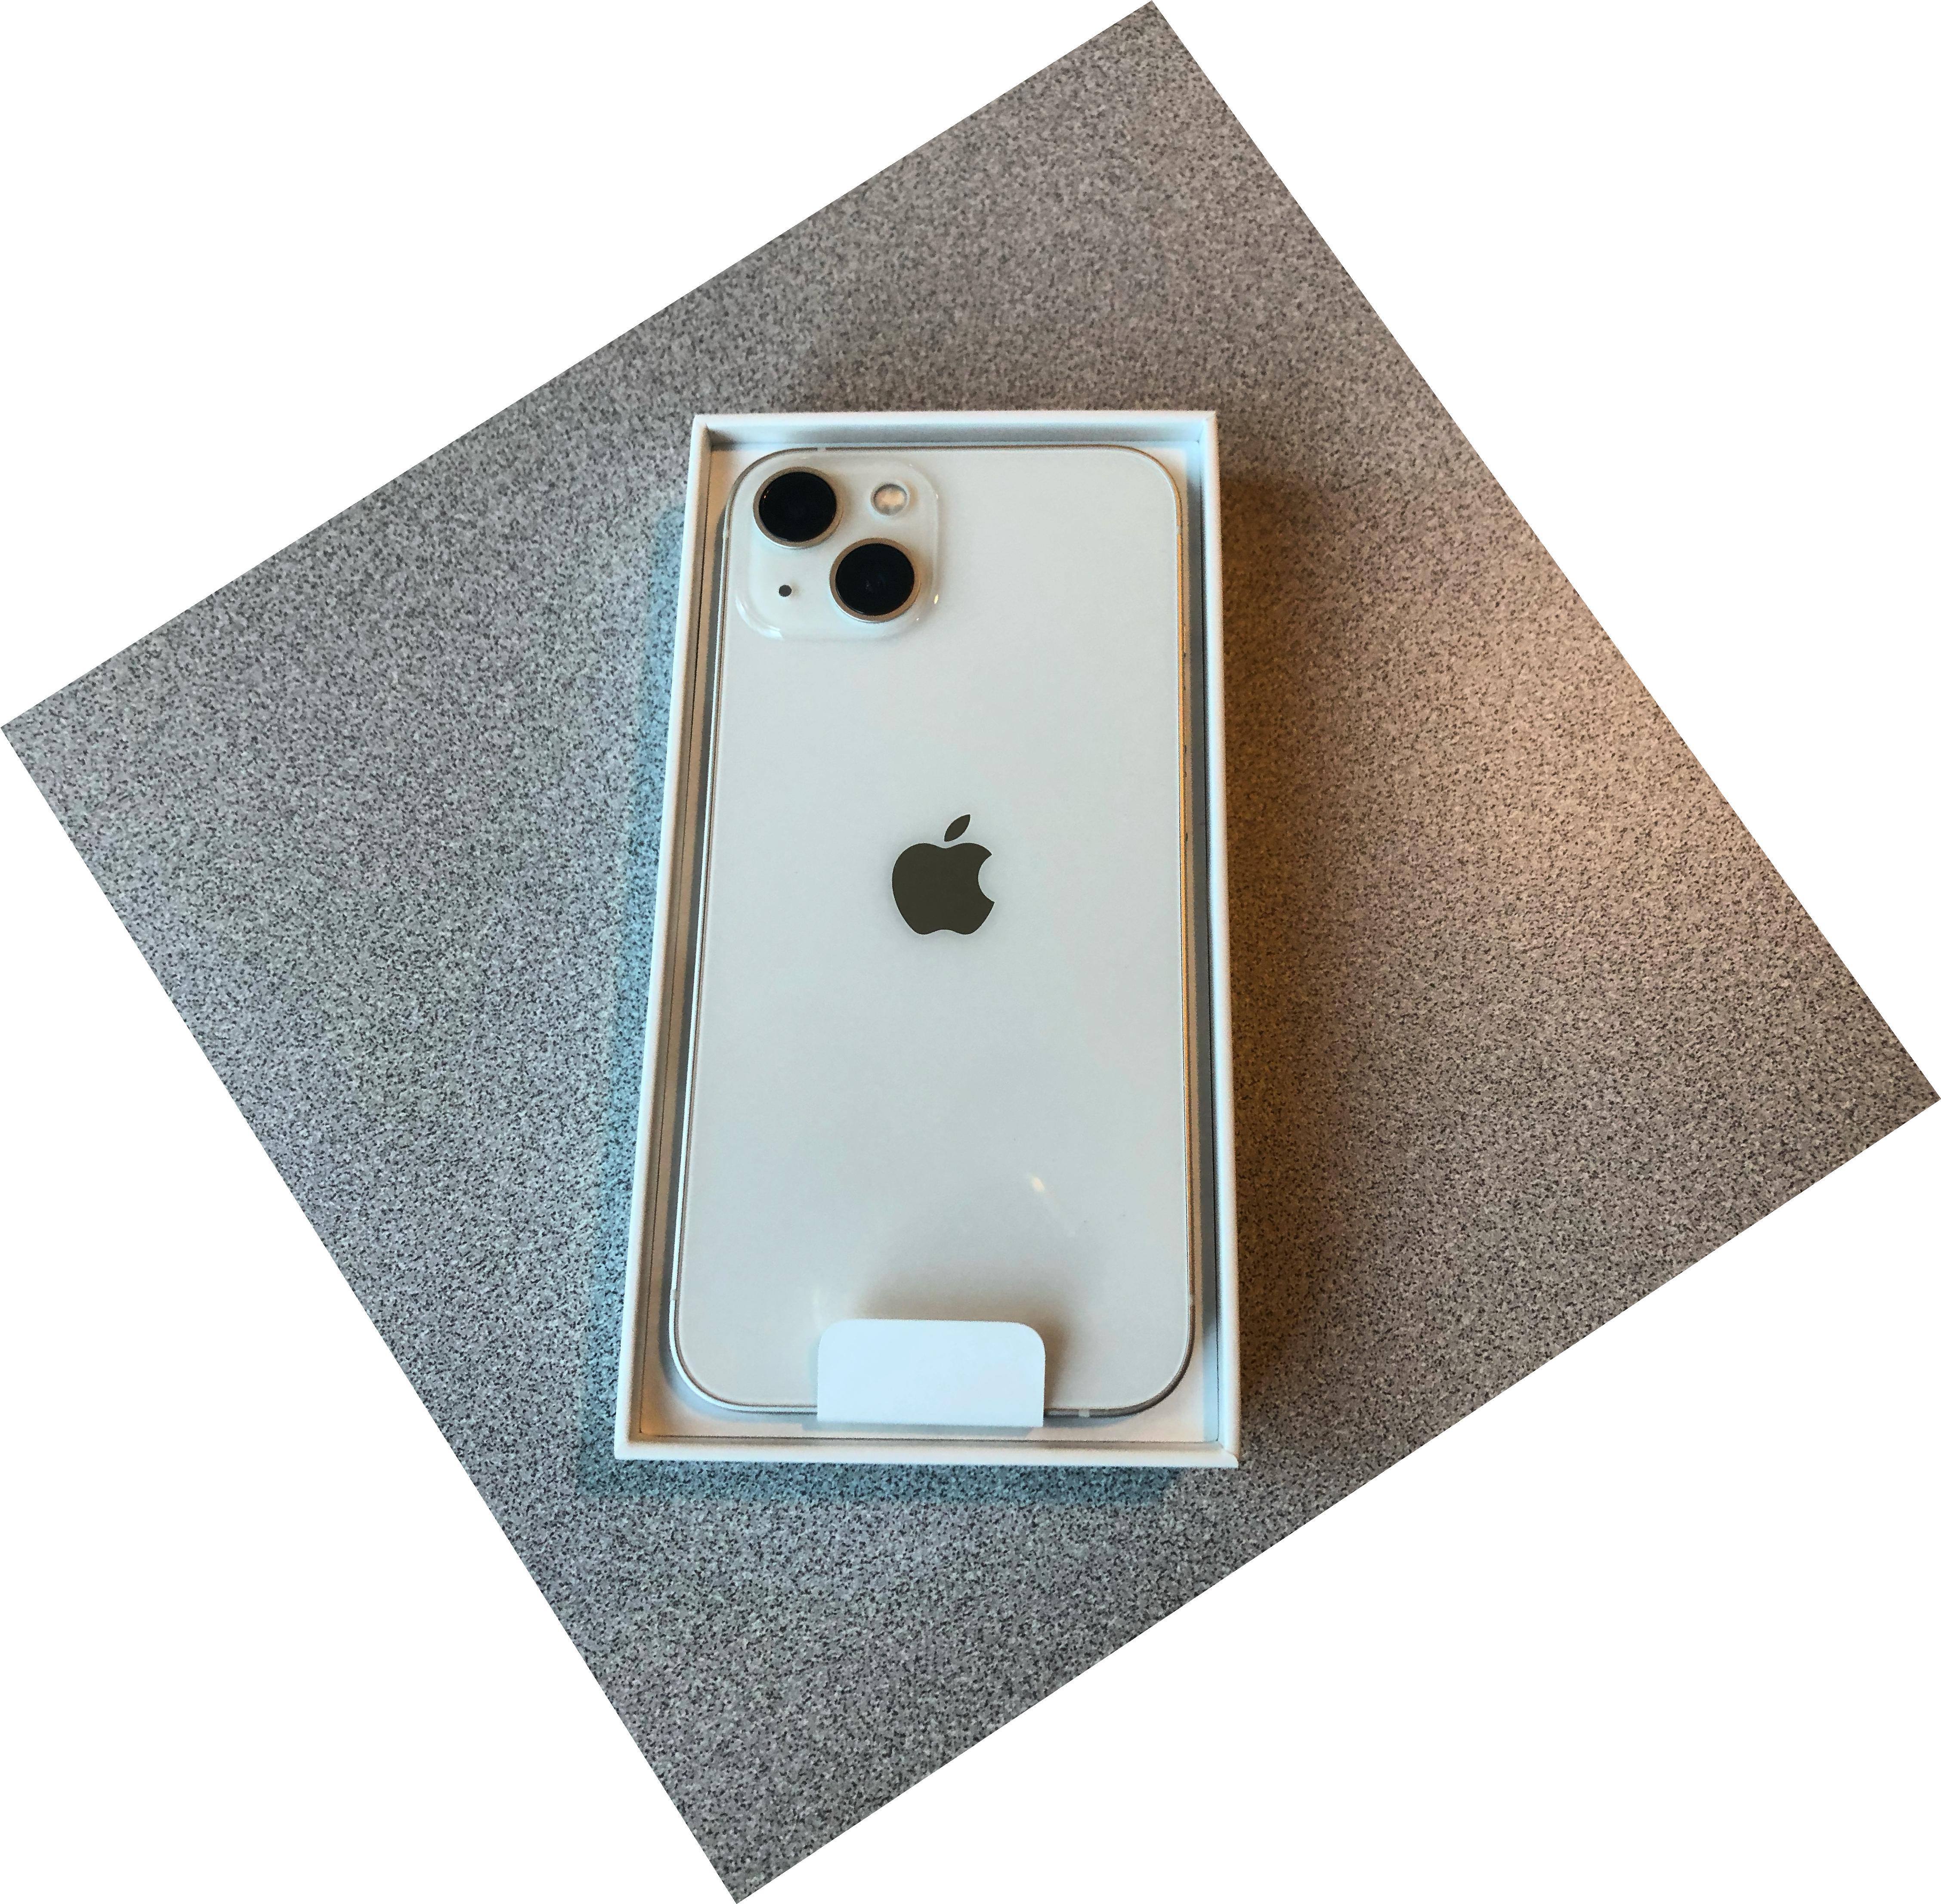
Warped Phone
Blending the Images into a Mosaic
I tried creating 3 different mosaics here. My process was to take in an arbitrary number of images, and blend each new image to fit the previous one/mosaic. In the case of 2 images, I would warp the second image to the first, then pad the first image to the size of the second, then add them together with some blending.
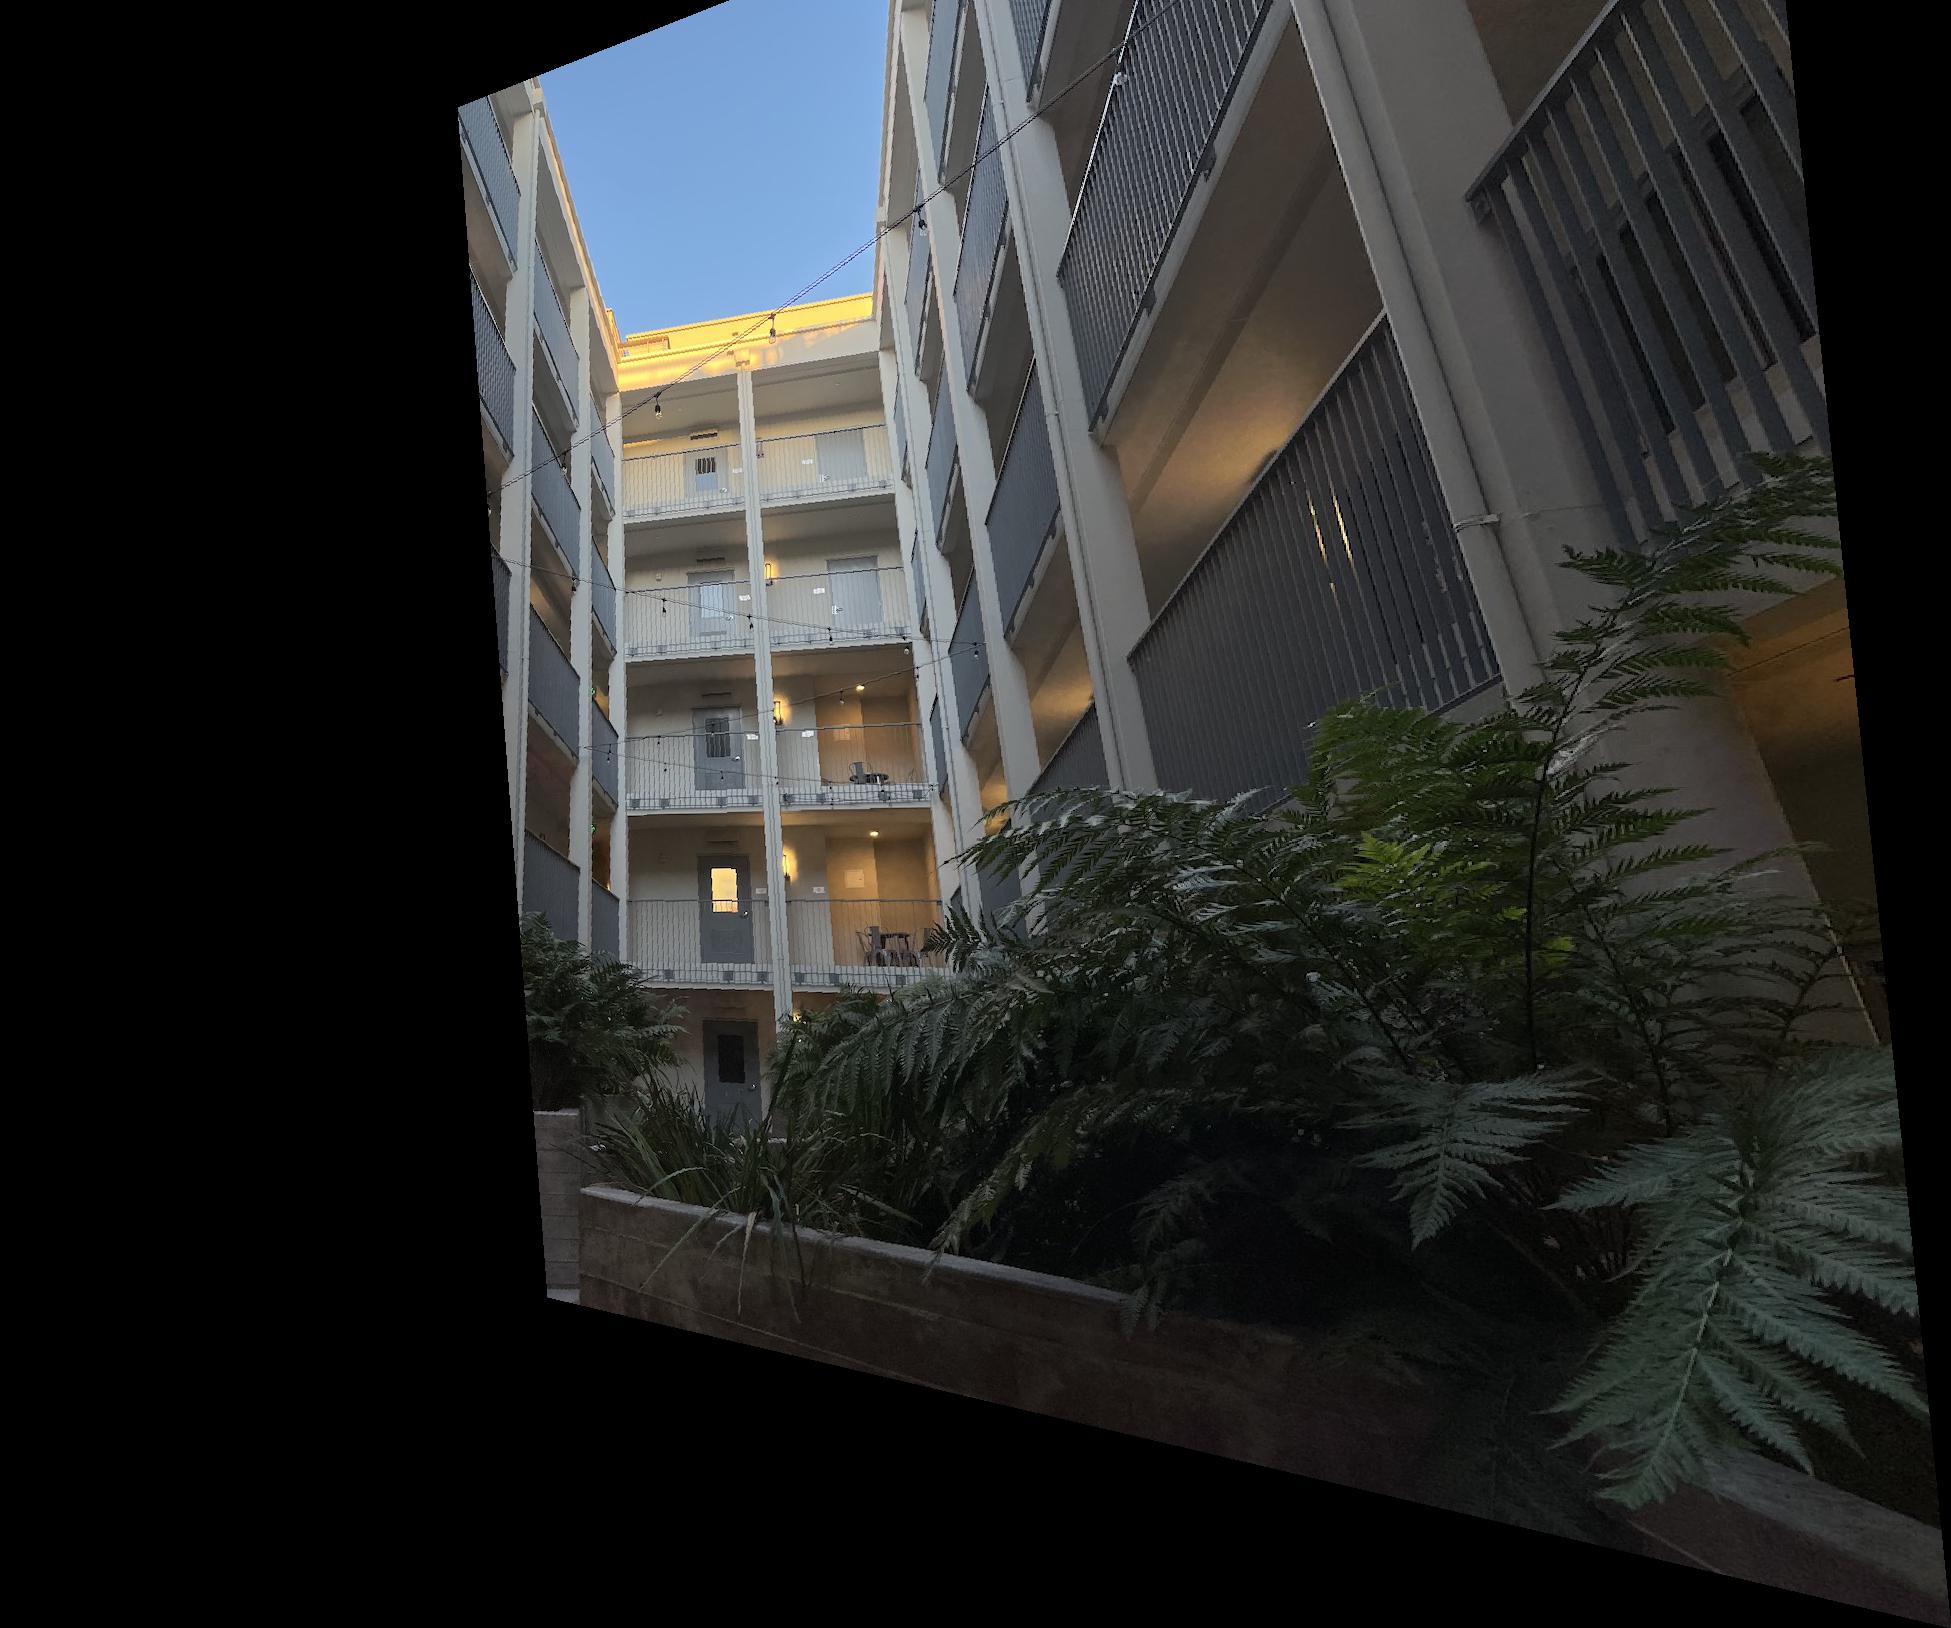
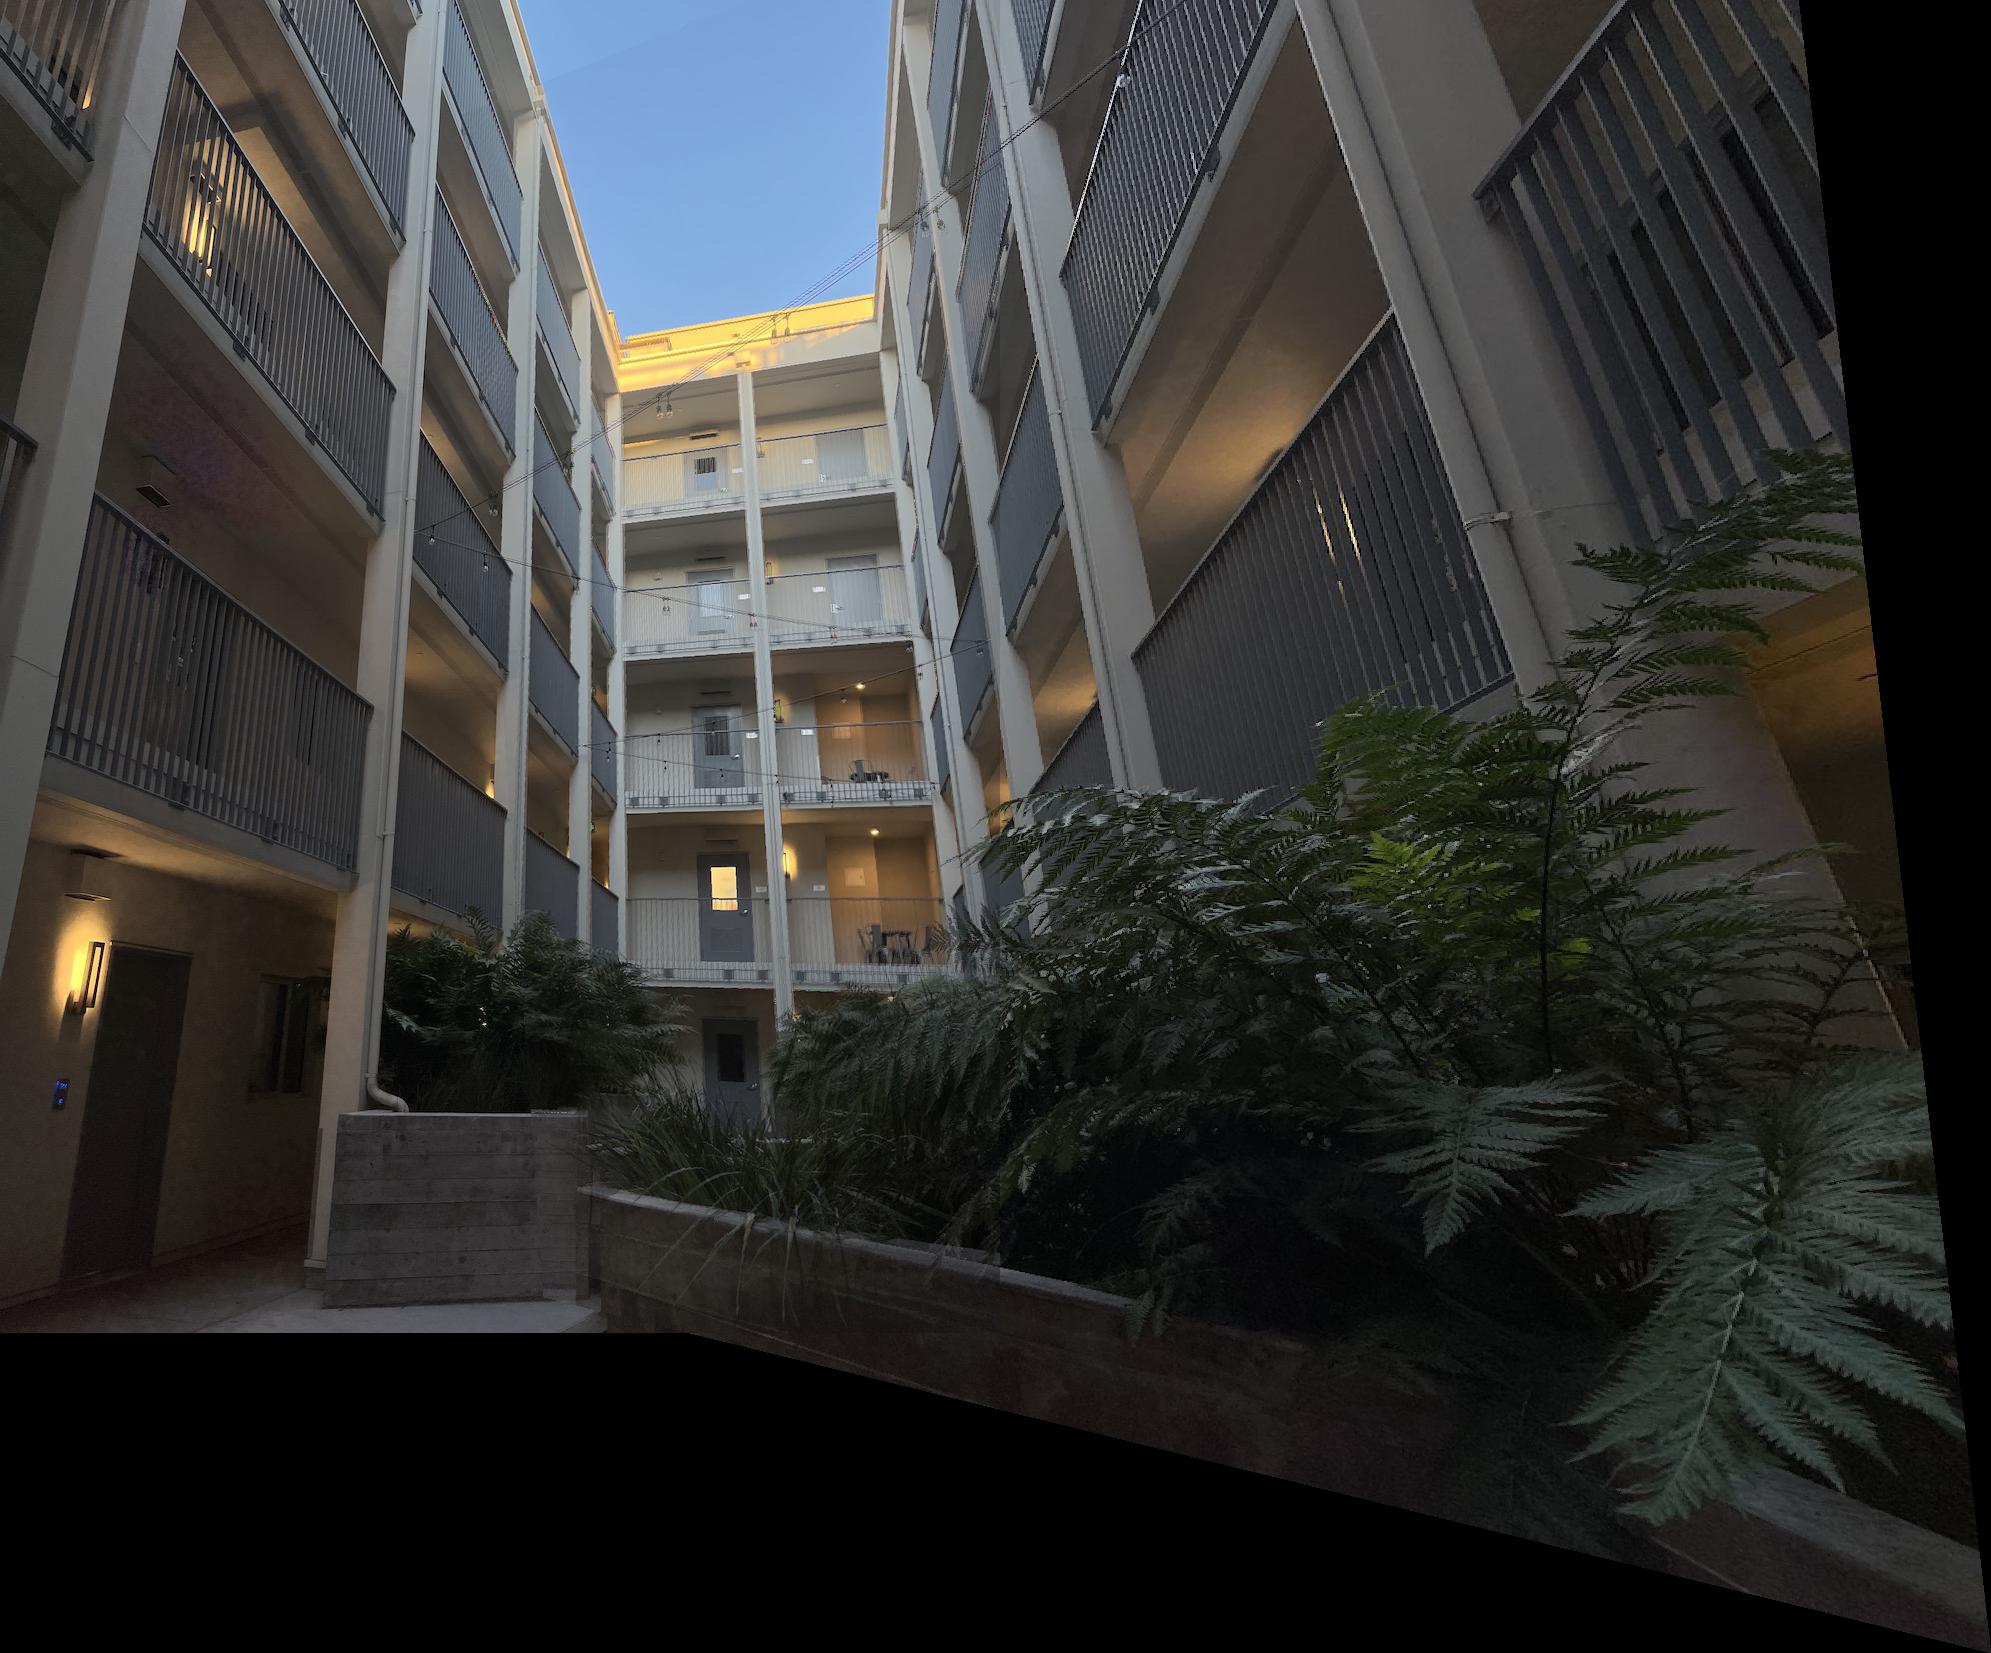
First Mosaic: apartment courtyard
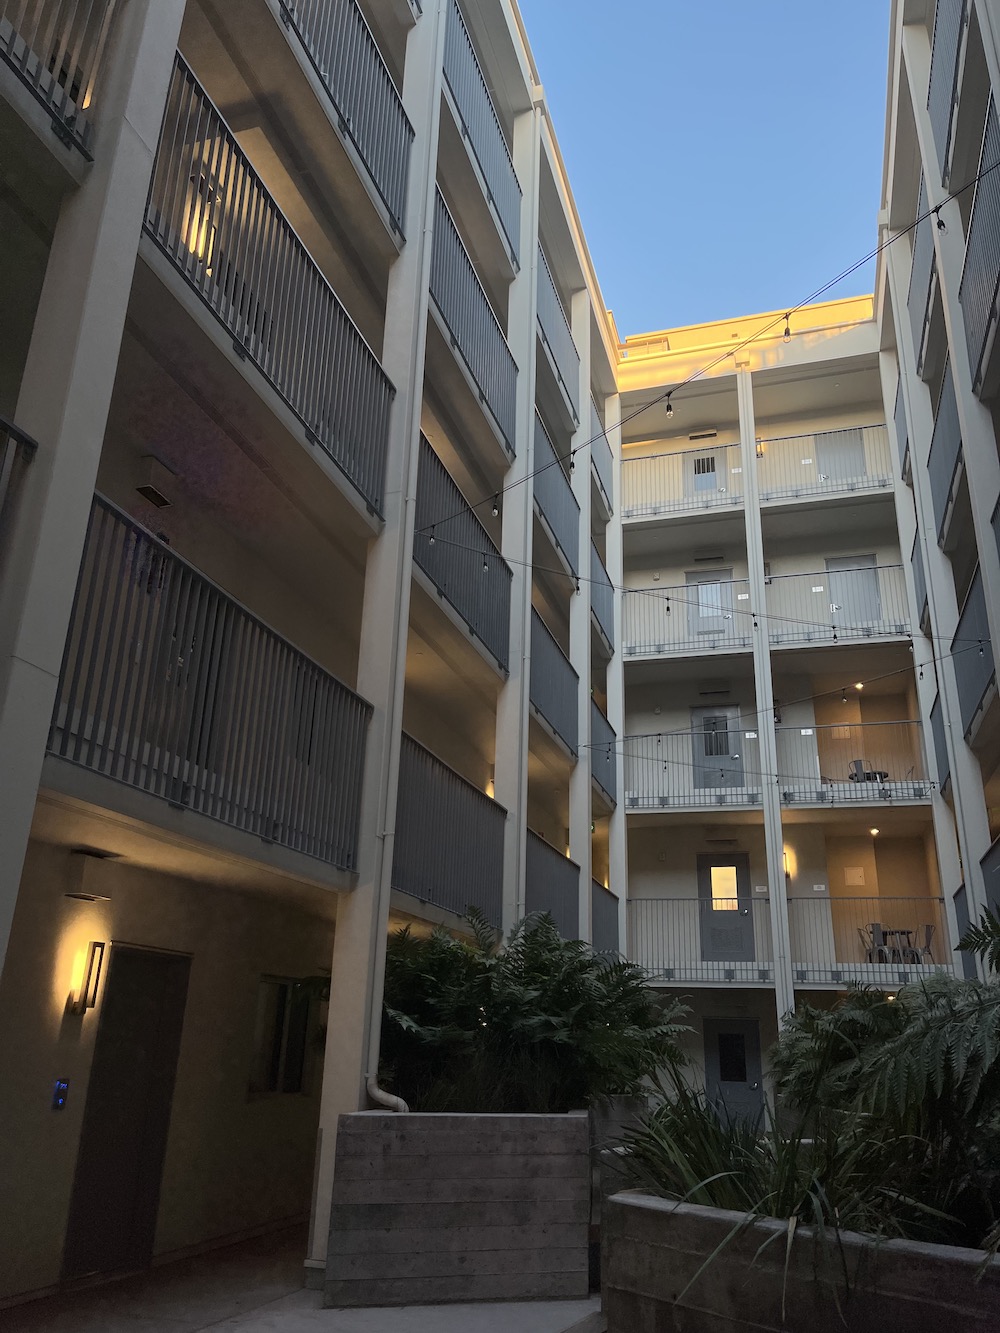
Left of the Courtyard

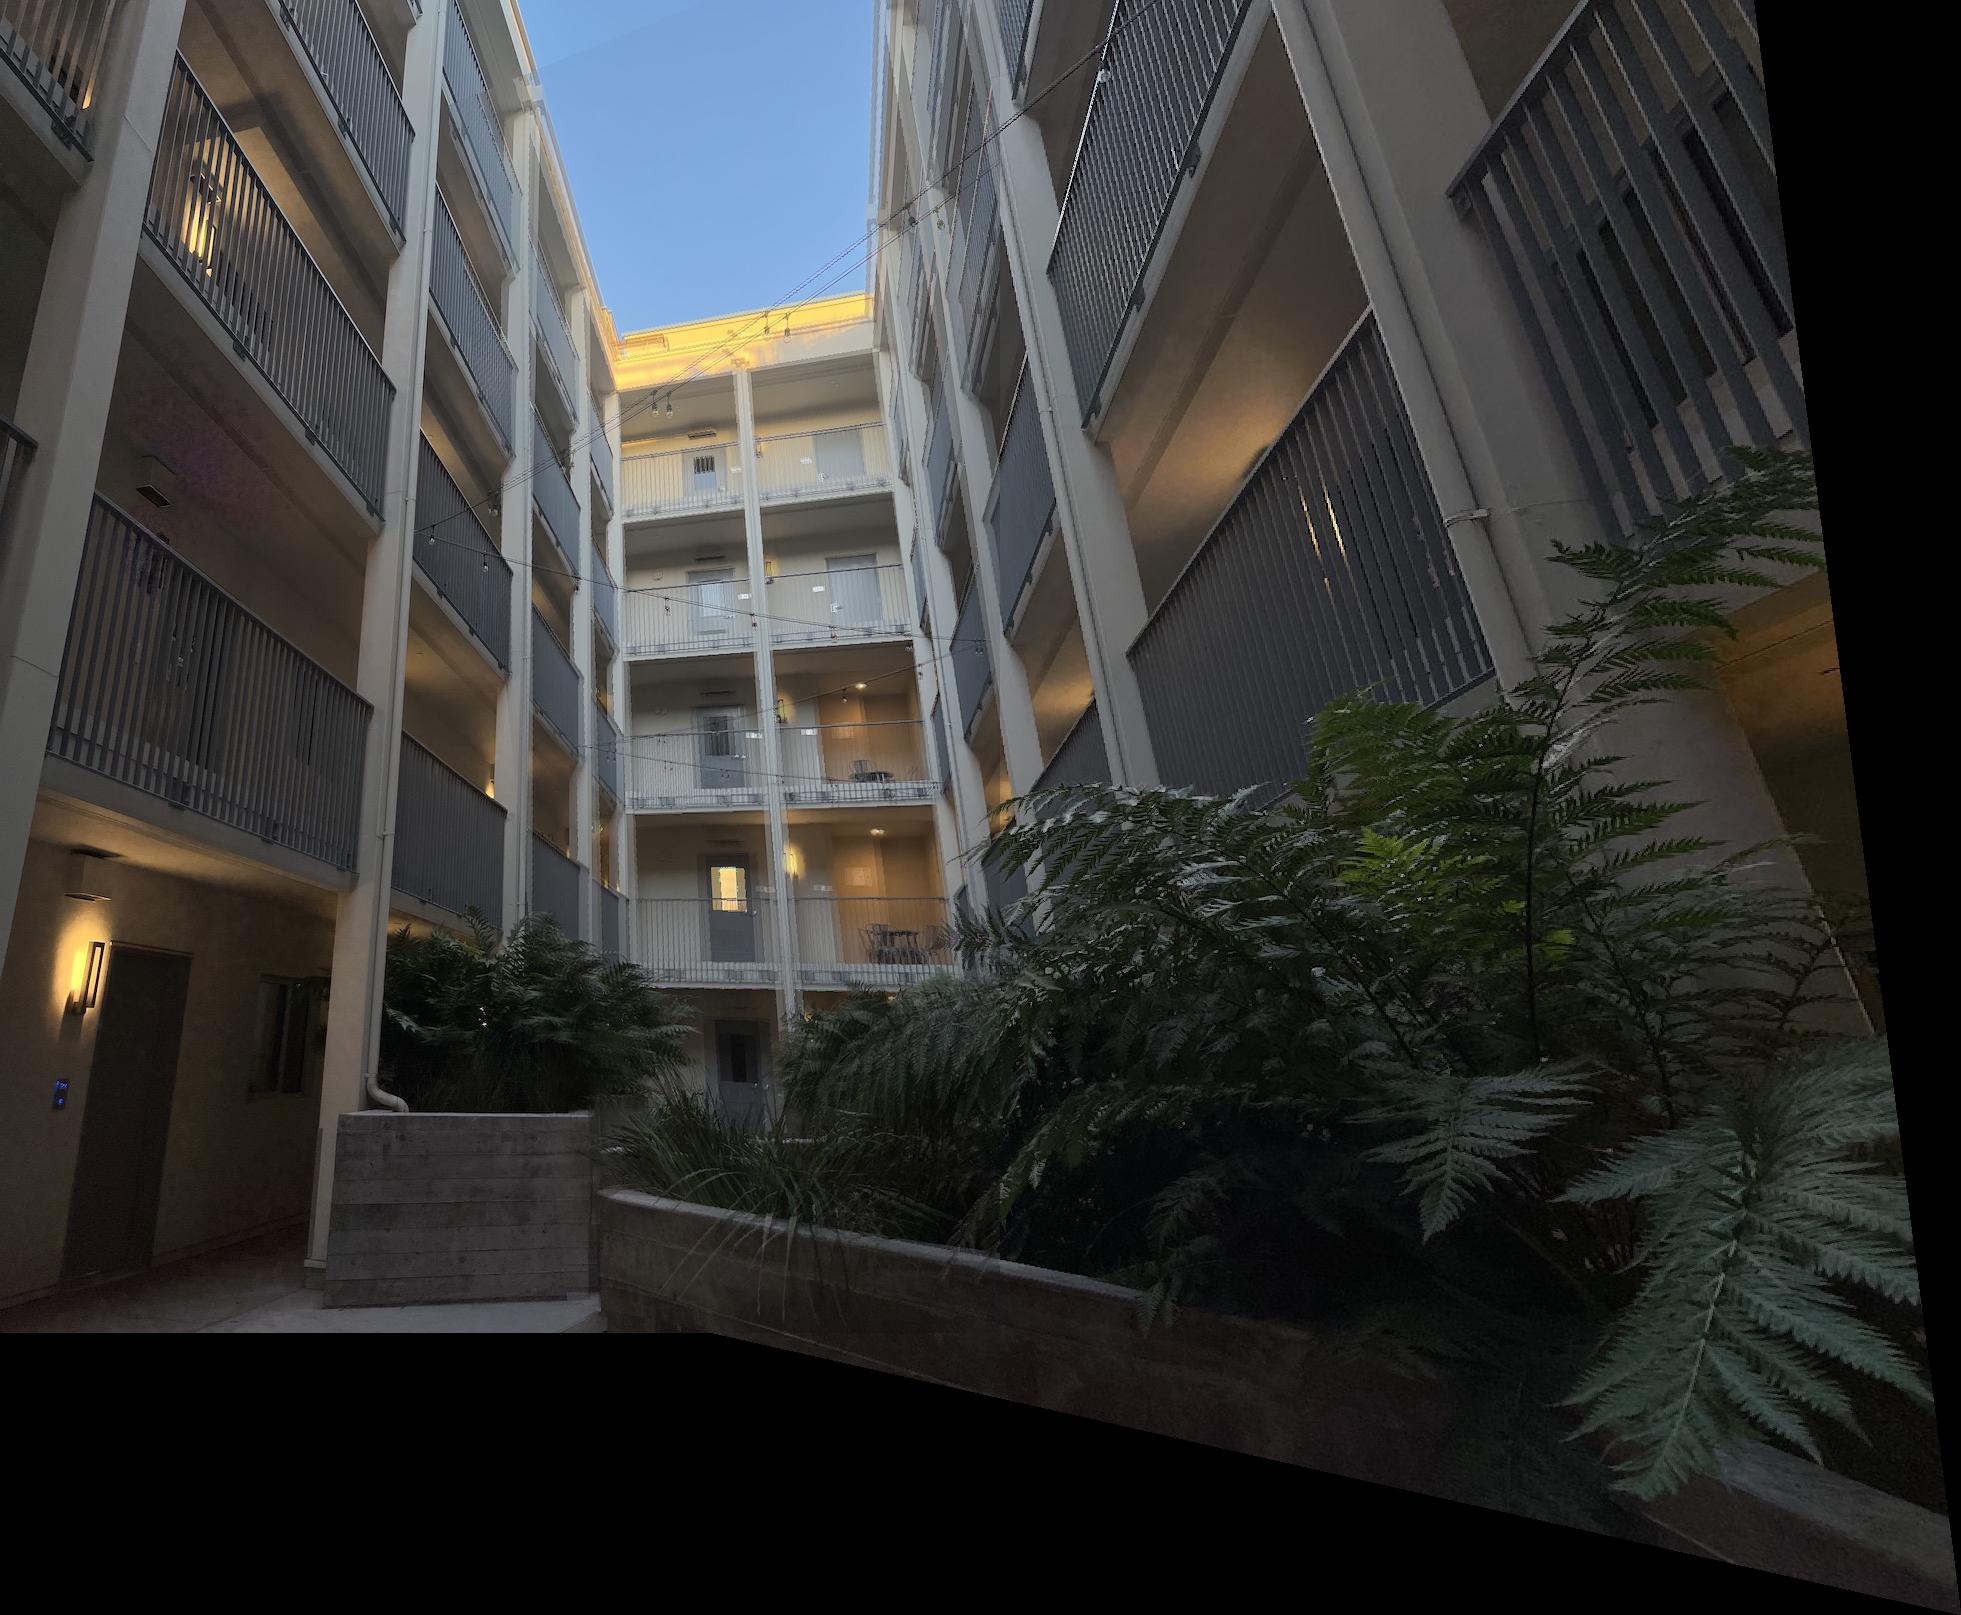
Right of the Courtyard
Right of the Courtyard after warping
Constructed Mosaic of the Courtyard
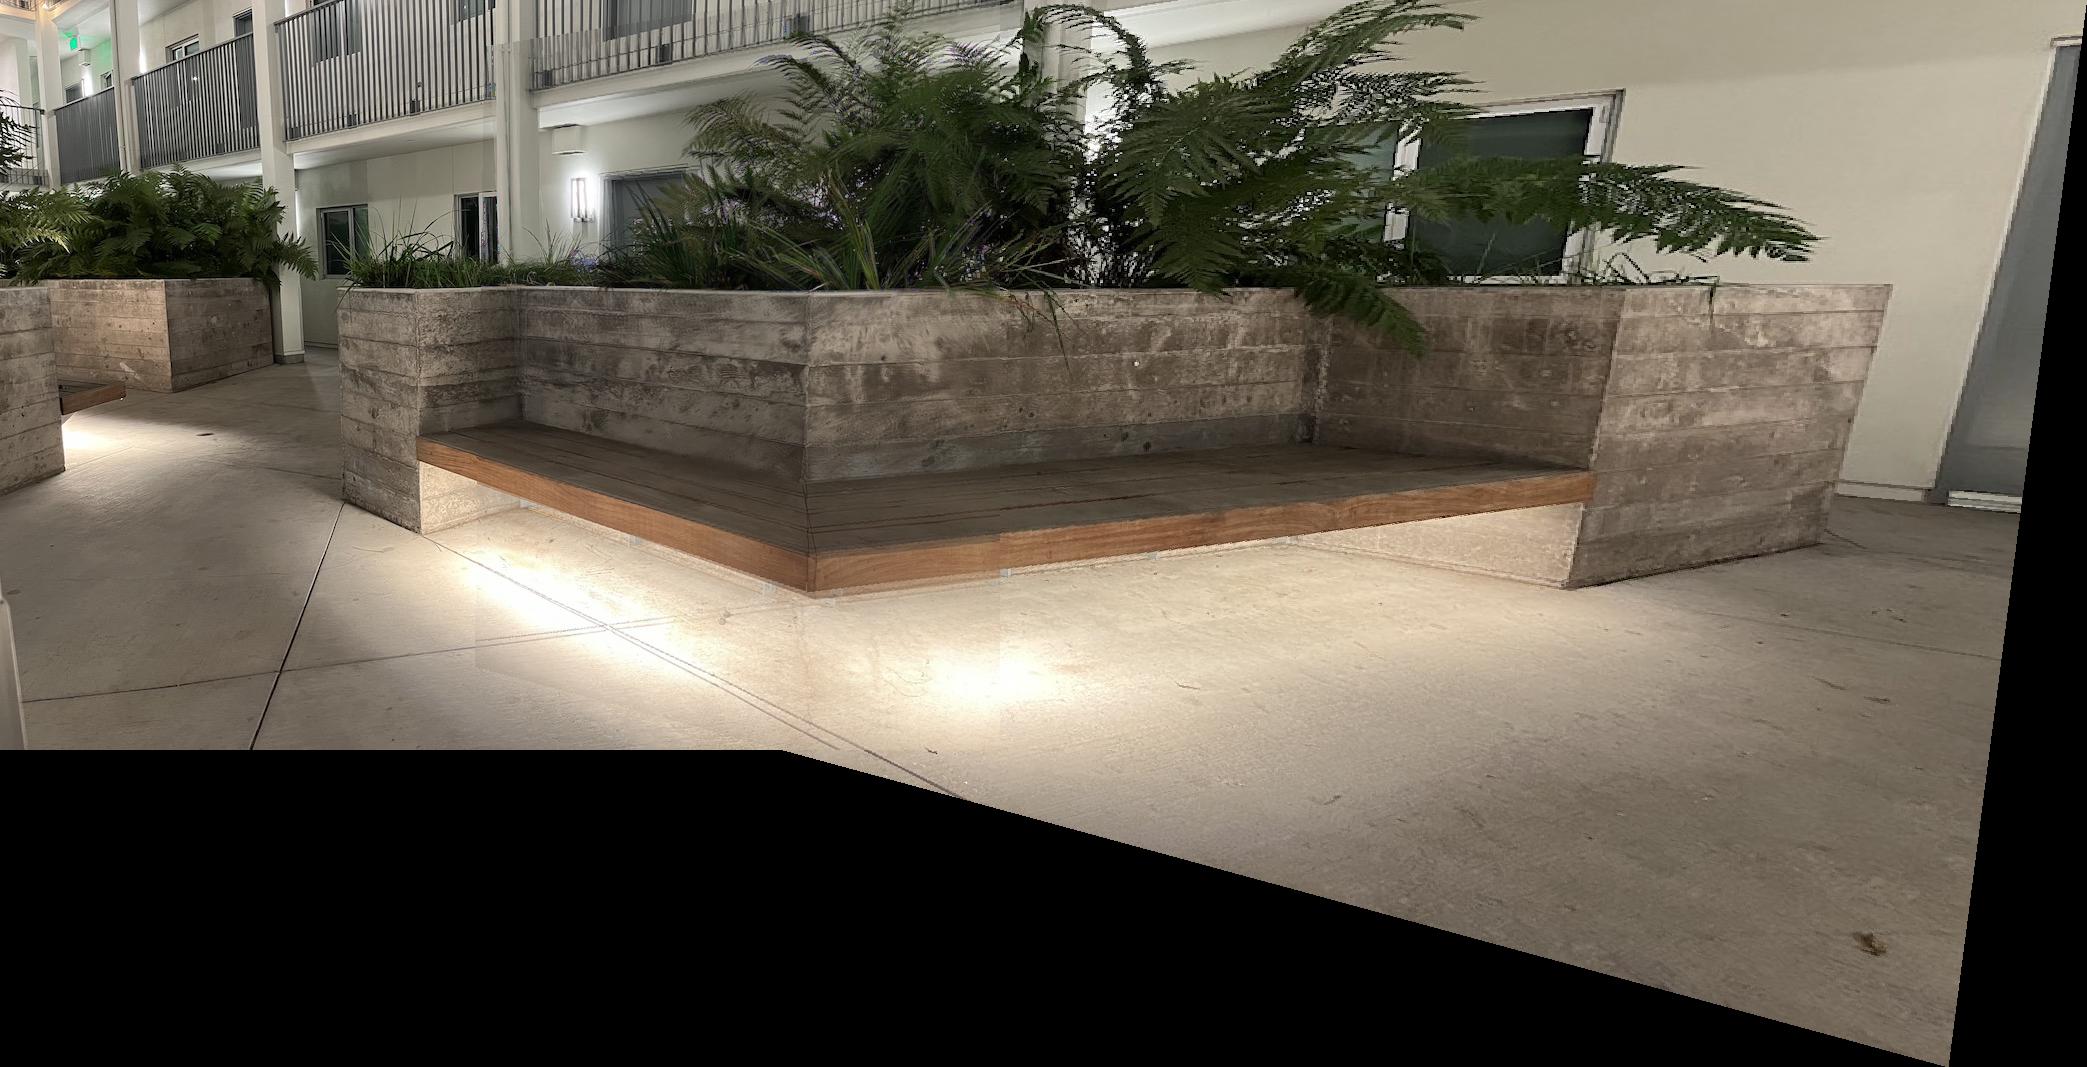
Second Mosaic: benches
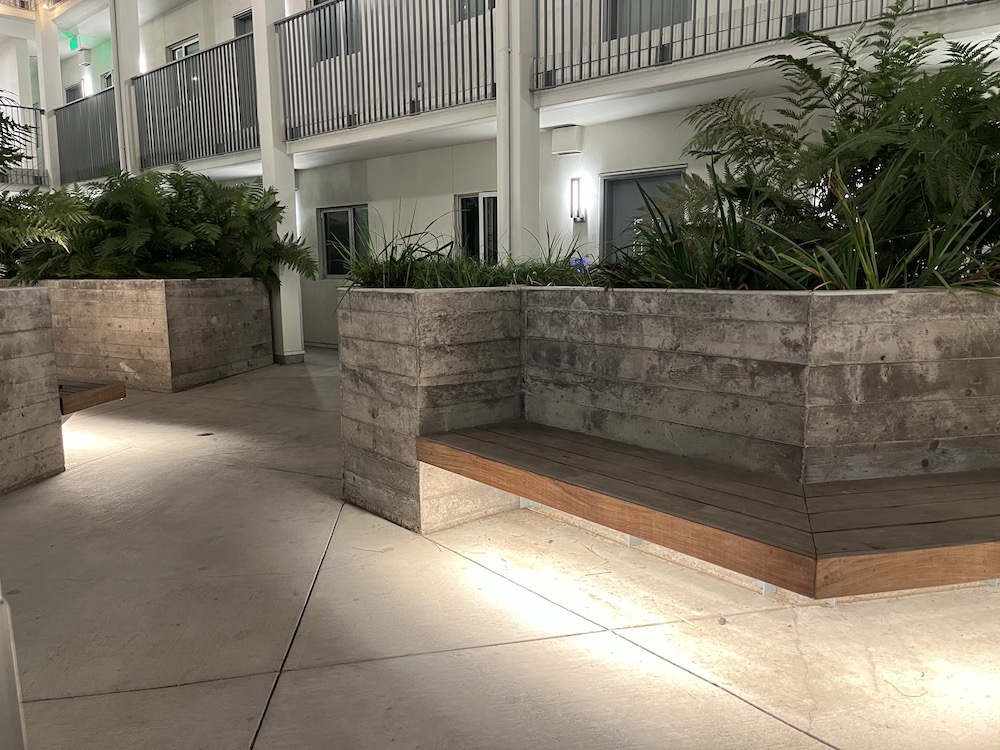
Left of the benches
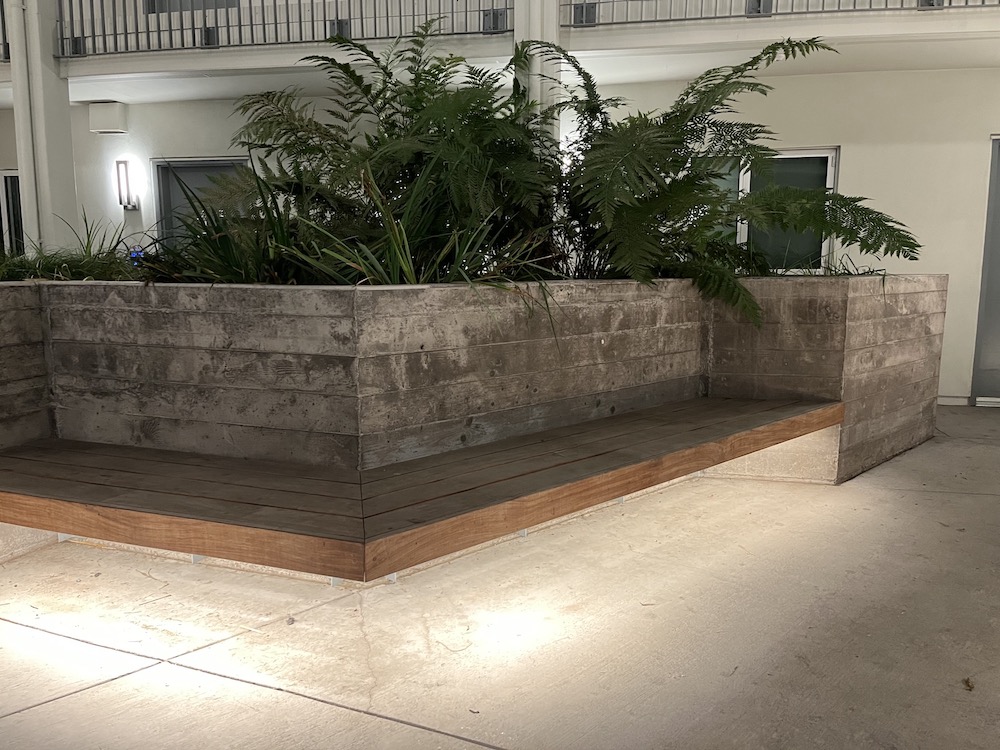
Right of the benches
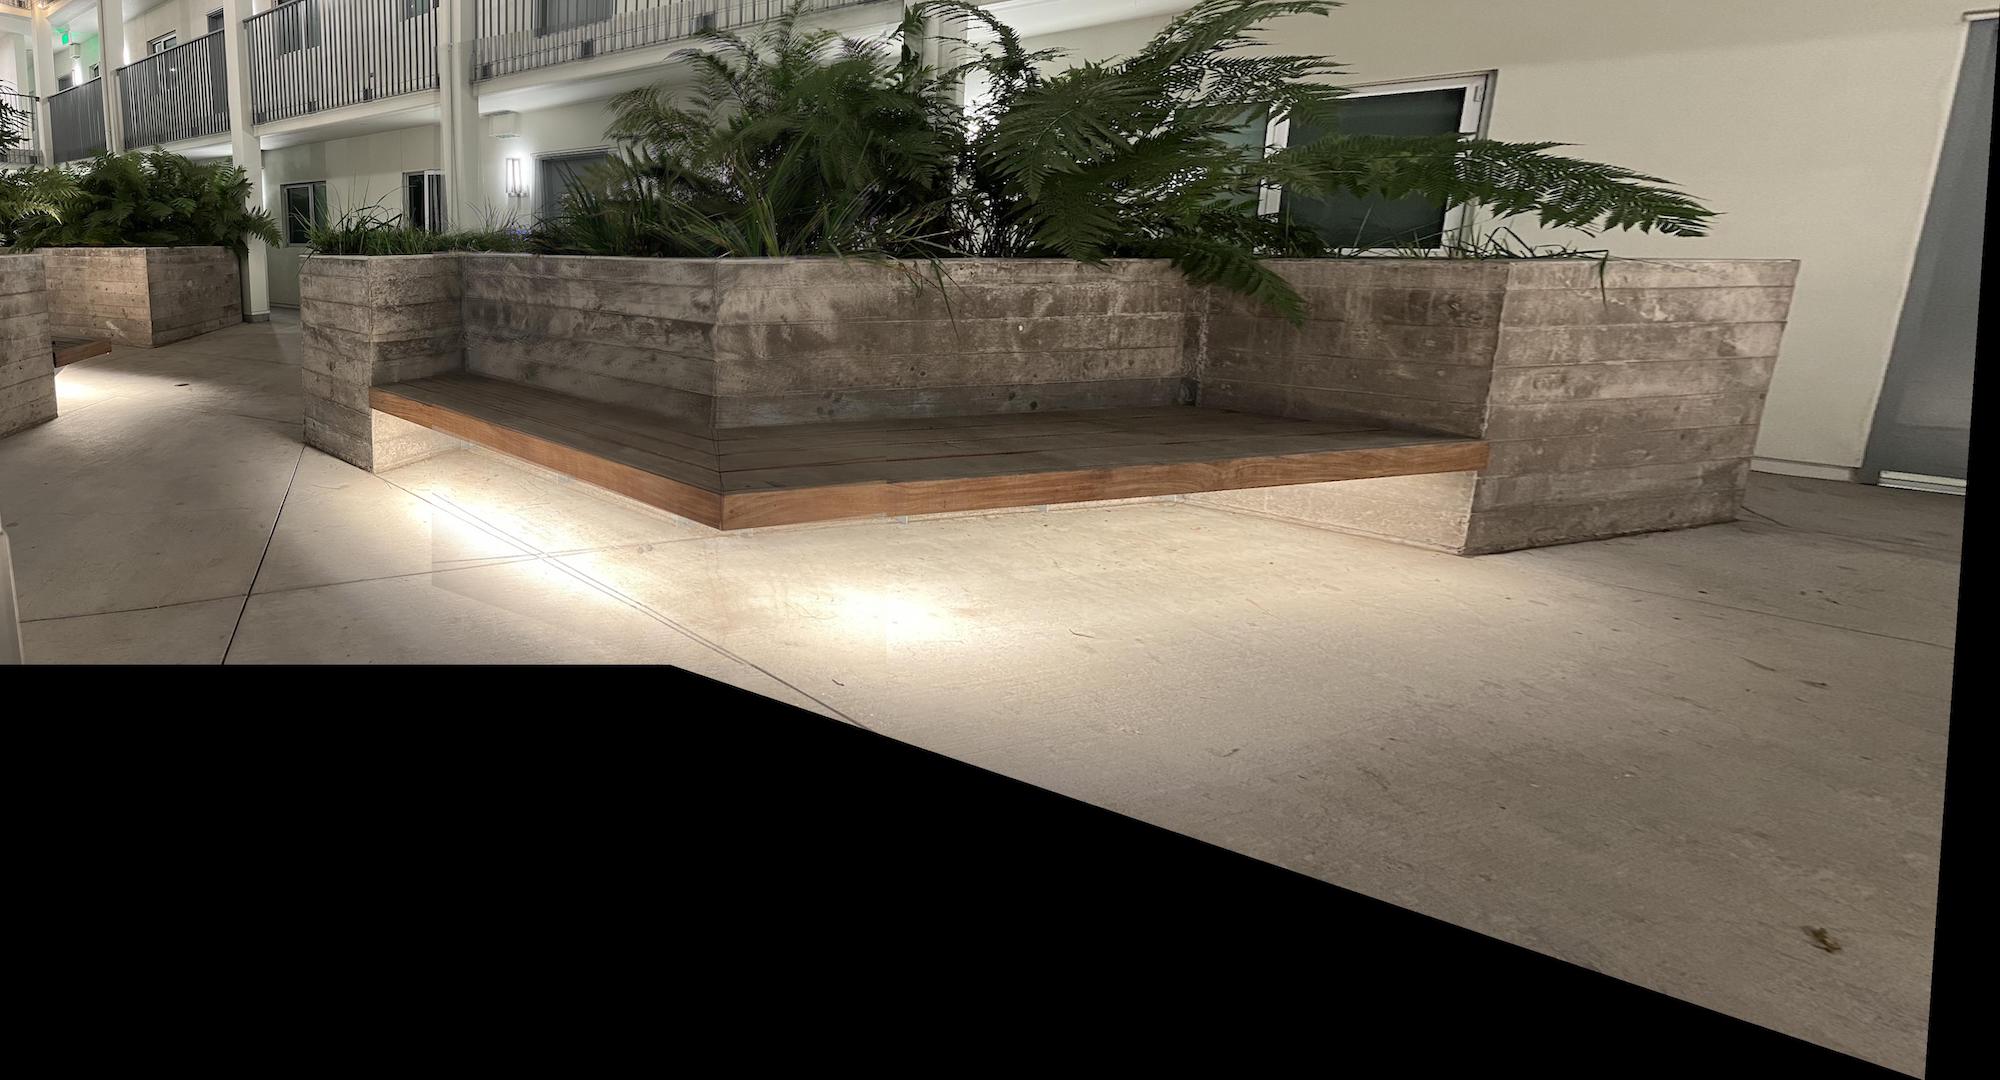
Constructed Mosaic of the Benches
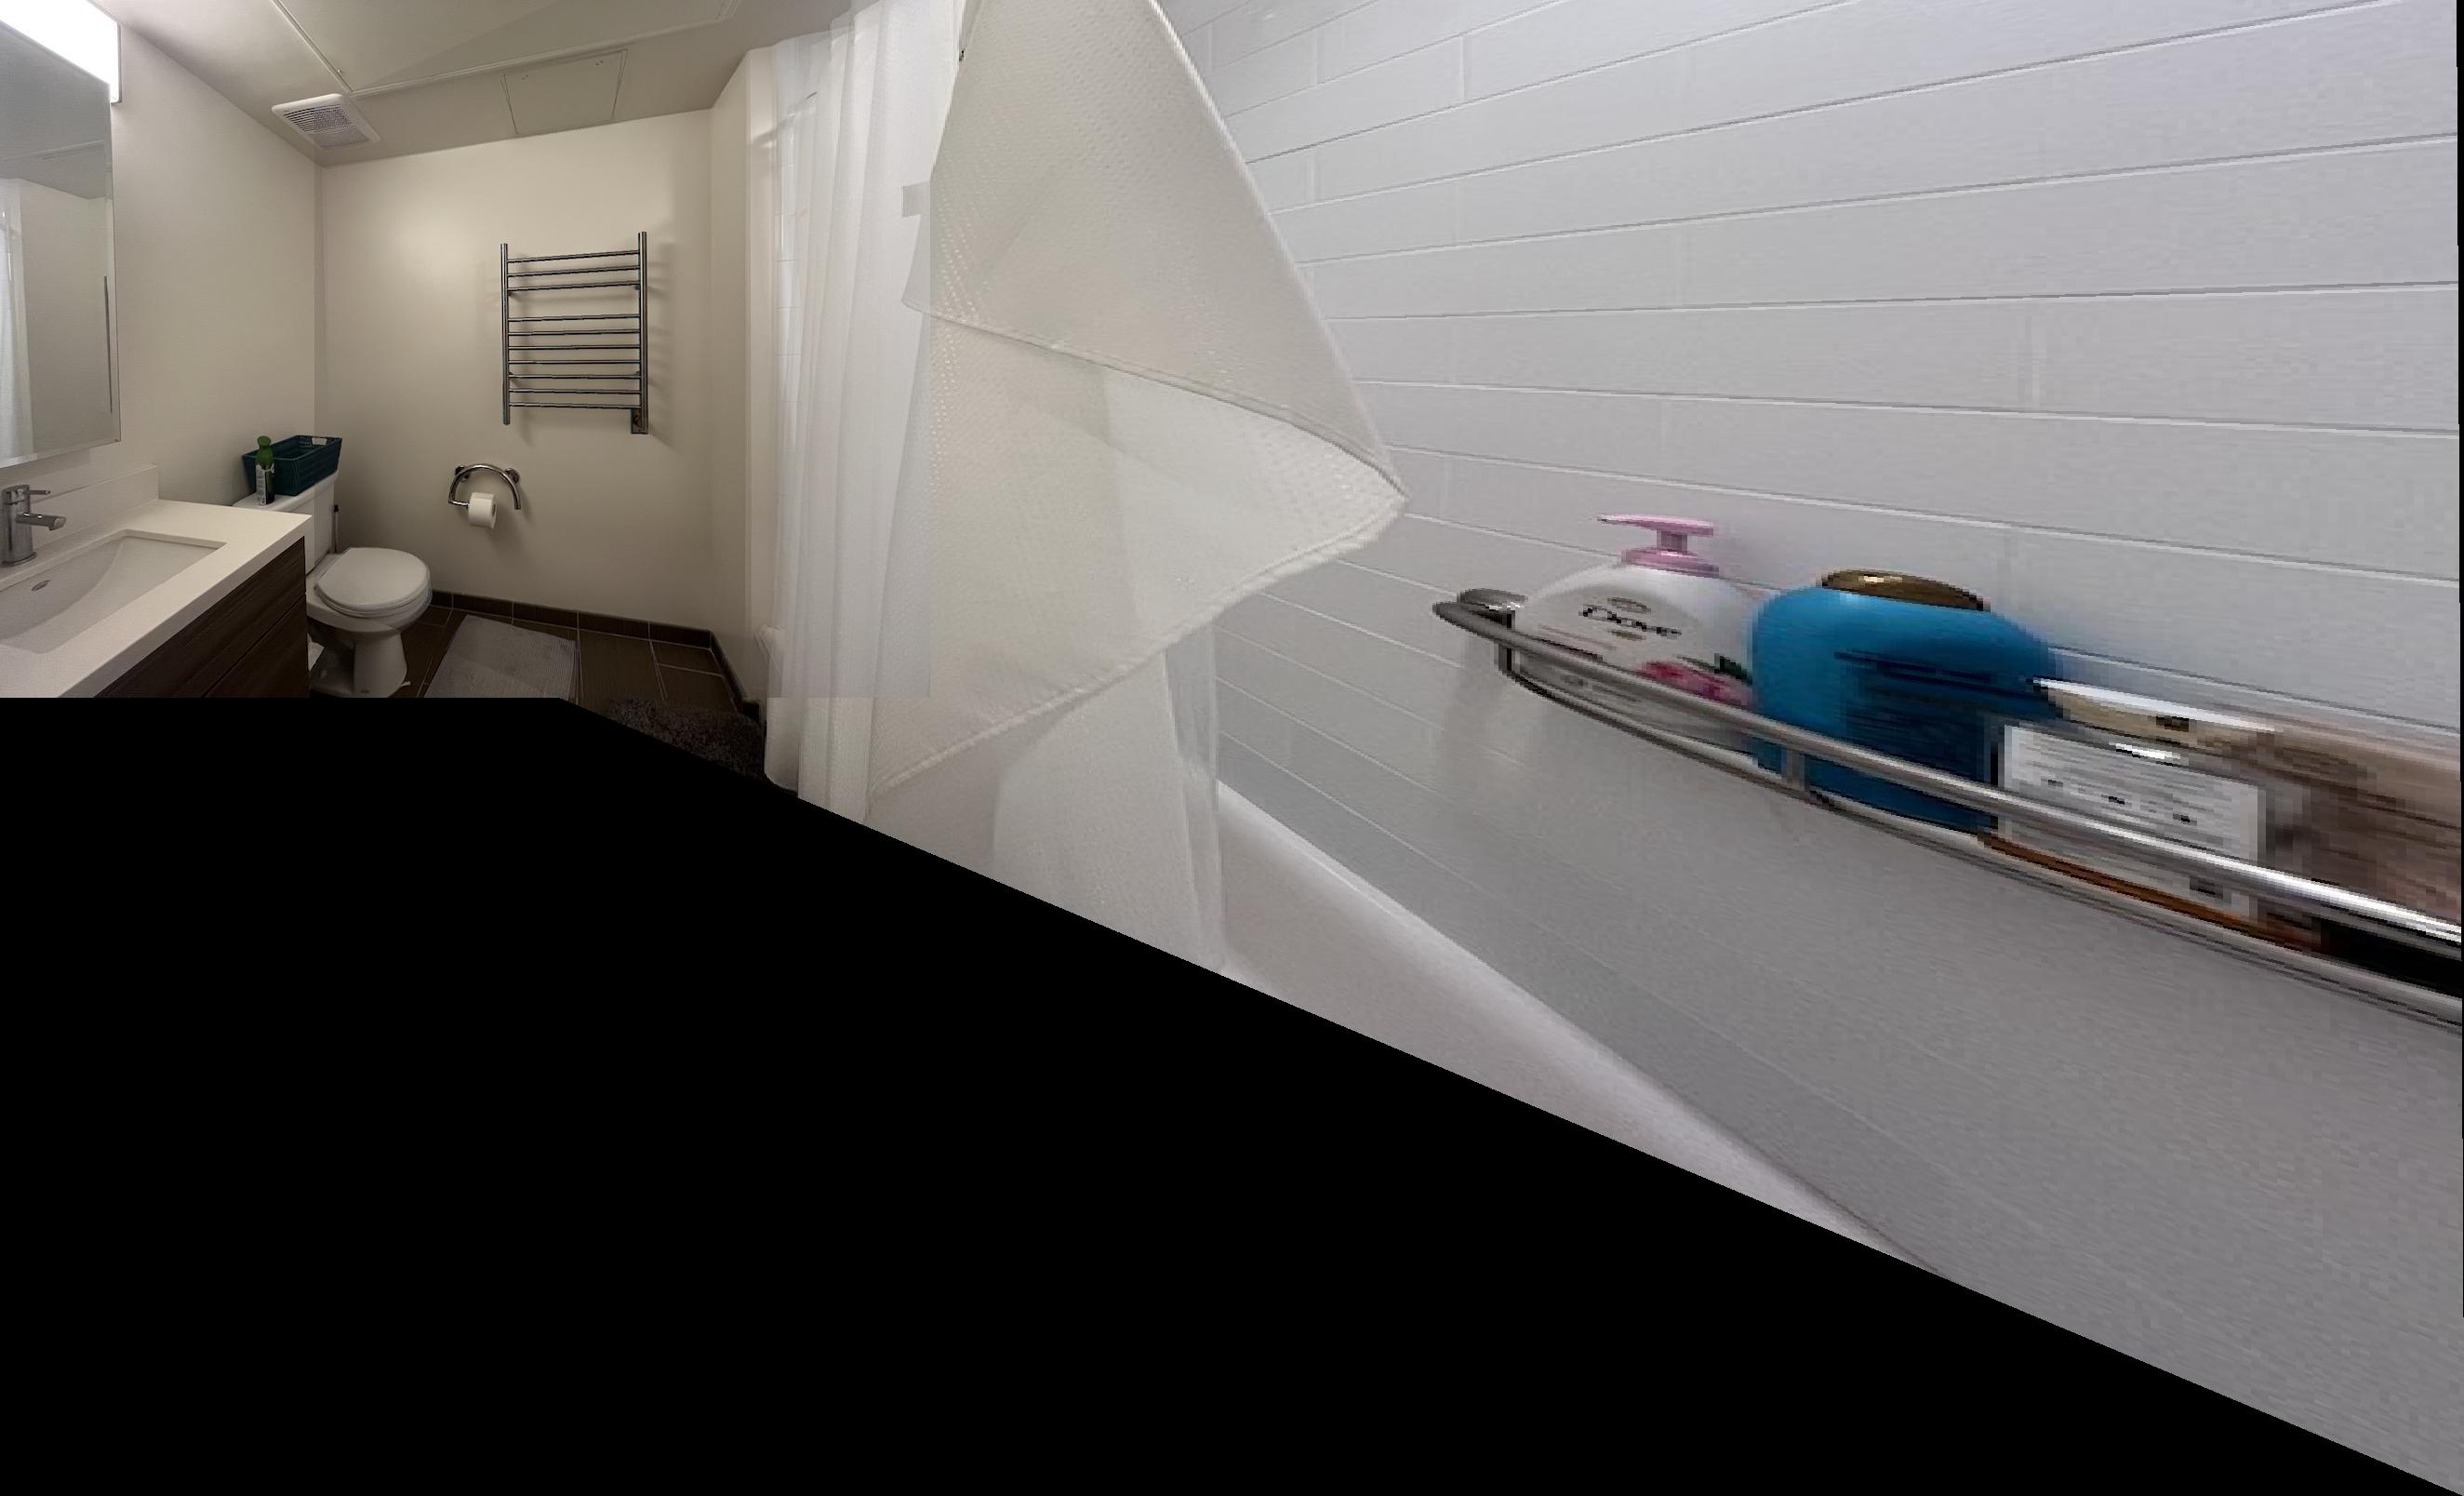
Third Mosaic: bathroom
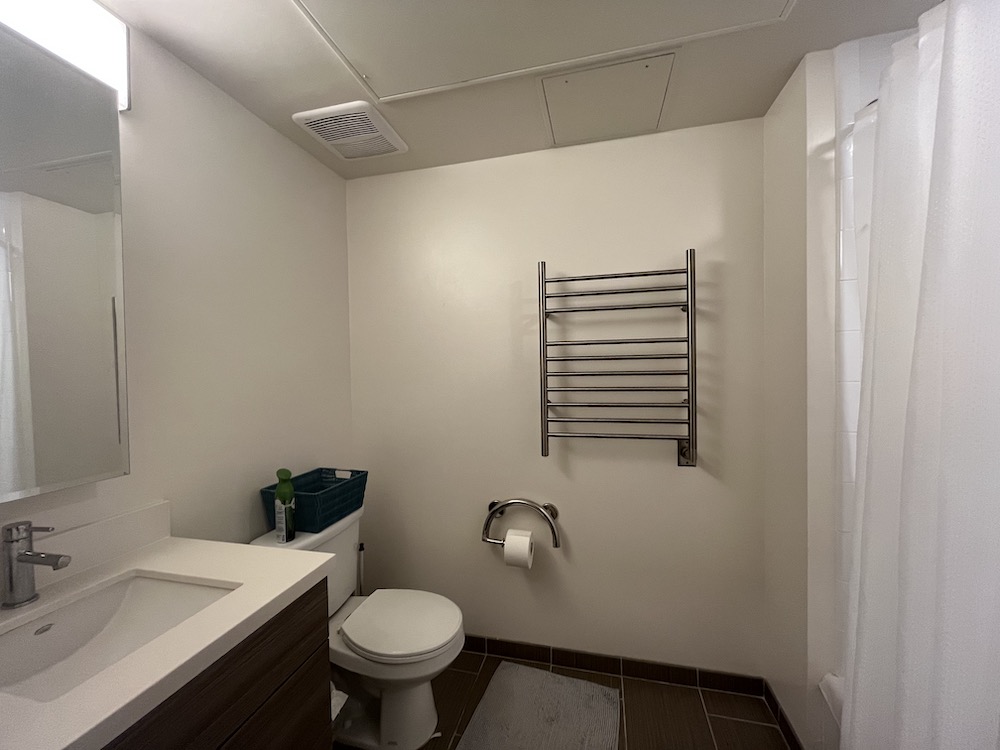
Left of the bathroom
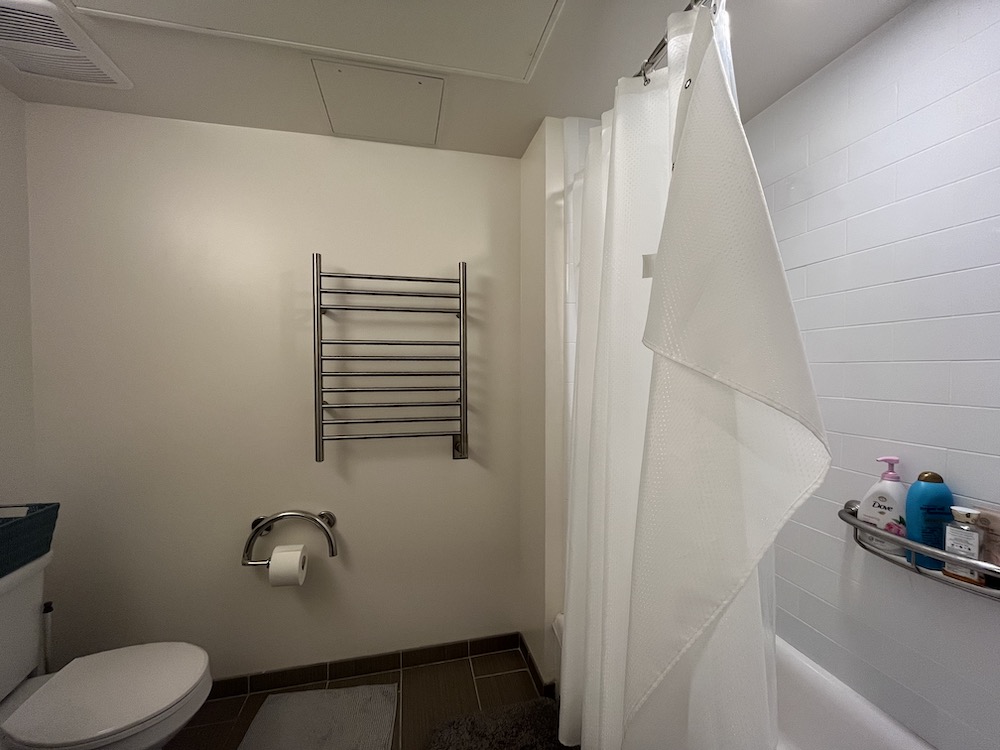
Right of the bathroom
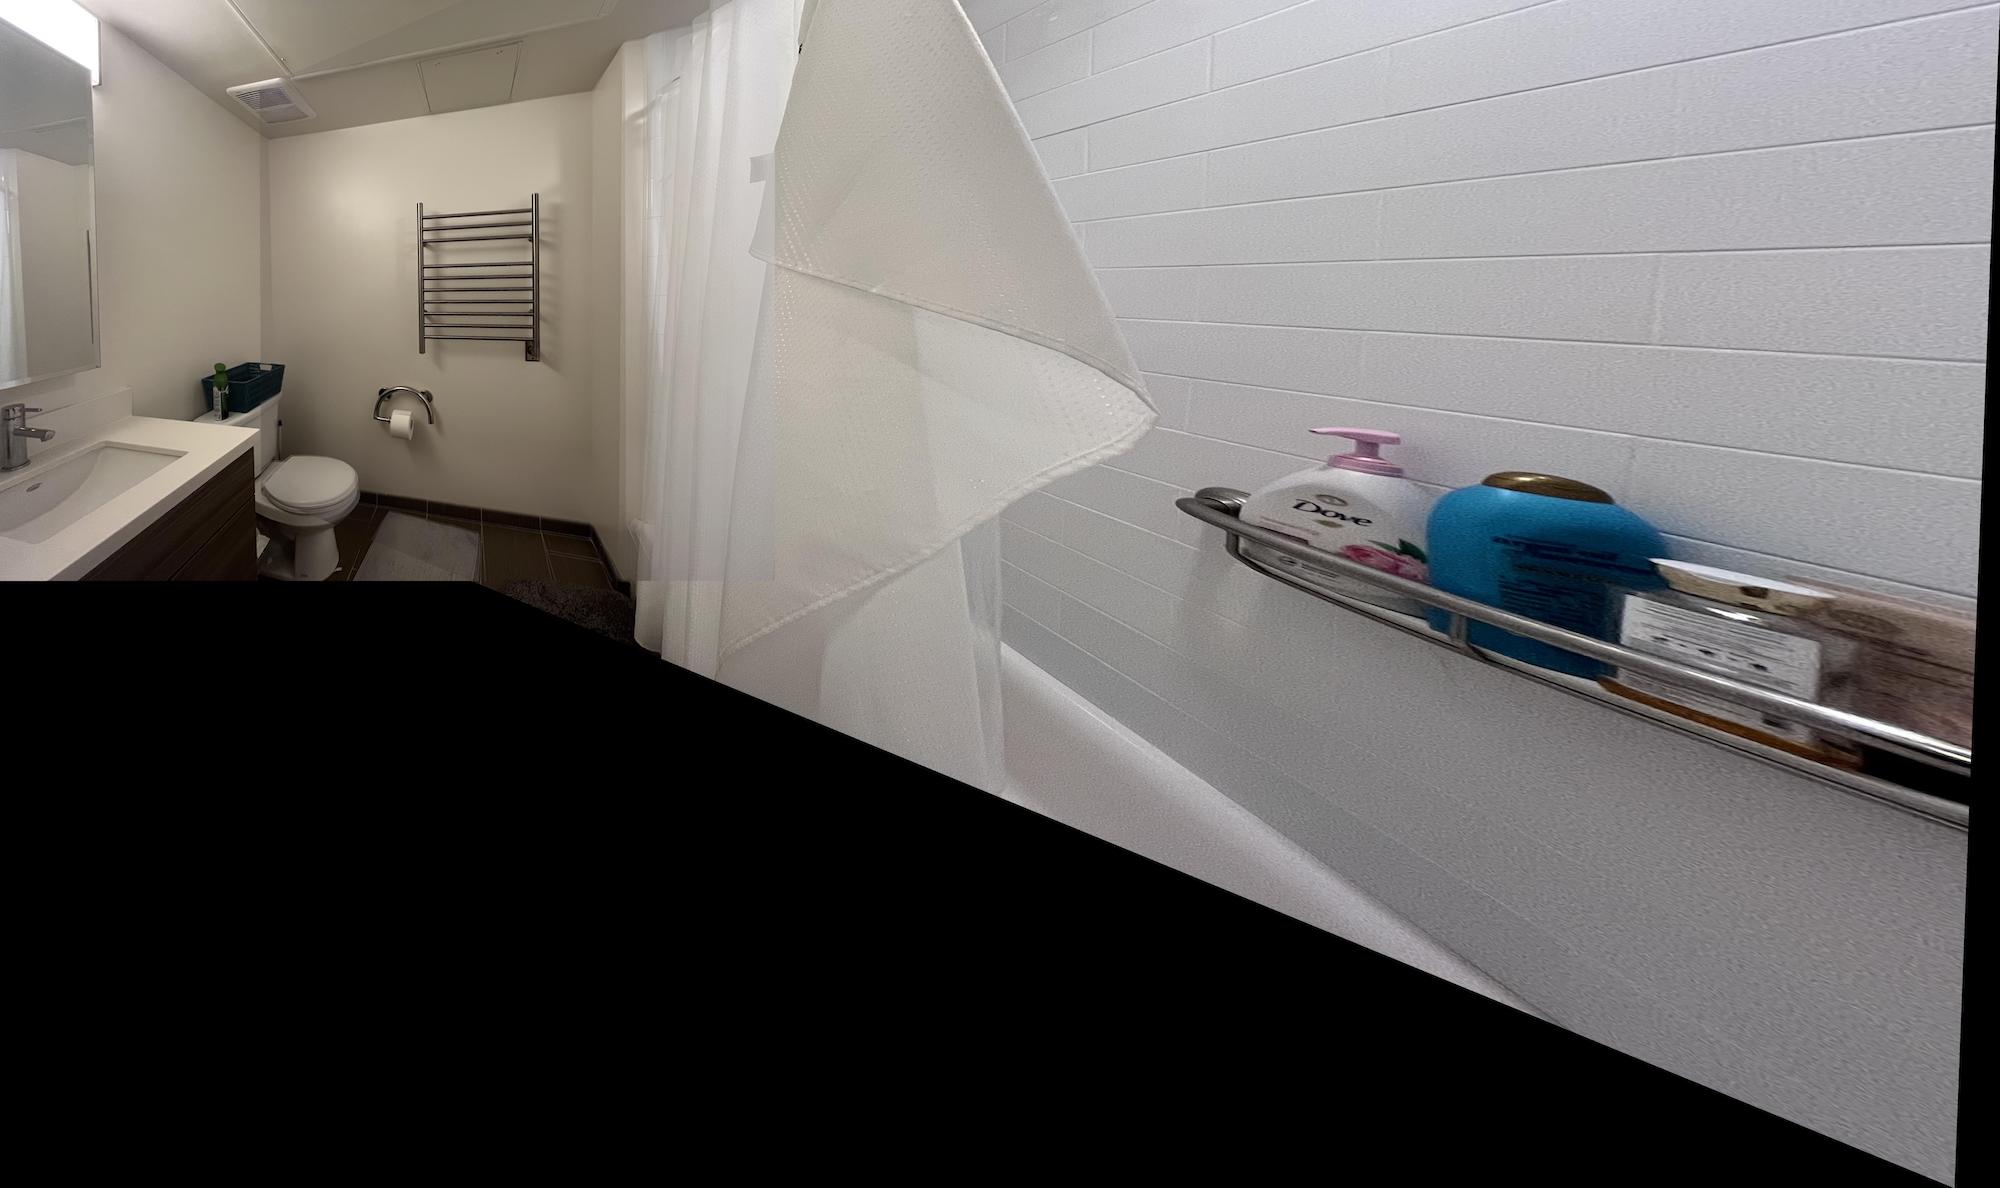
Constructed Mosaic of the bathroom
What I Learned
I actually used to love using the warping feature on instagram because I like having my images straightened/aligned to the edges, and I was always pretty curious why they limit how much you're allowed to warp to x degrees when technically you could warp it as much as you want. After doing this project I realized that warping the image too much would be really ugly and the image dimensions would make it too hard to post lol.
4B: Feature Matching for Autostiching
Detecting corner features in an image
In this part I used the given harris.py code to first find all the relevant corners with an arbitrary threshold parameter of threshold_rel=0.05. I then used ANMS to filter for the top 200 corners with the largest strengths while still ensuring they're reasonably spread out from one another.
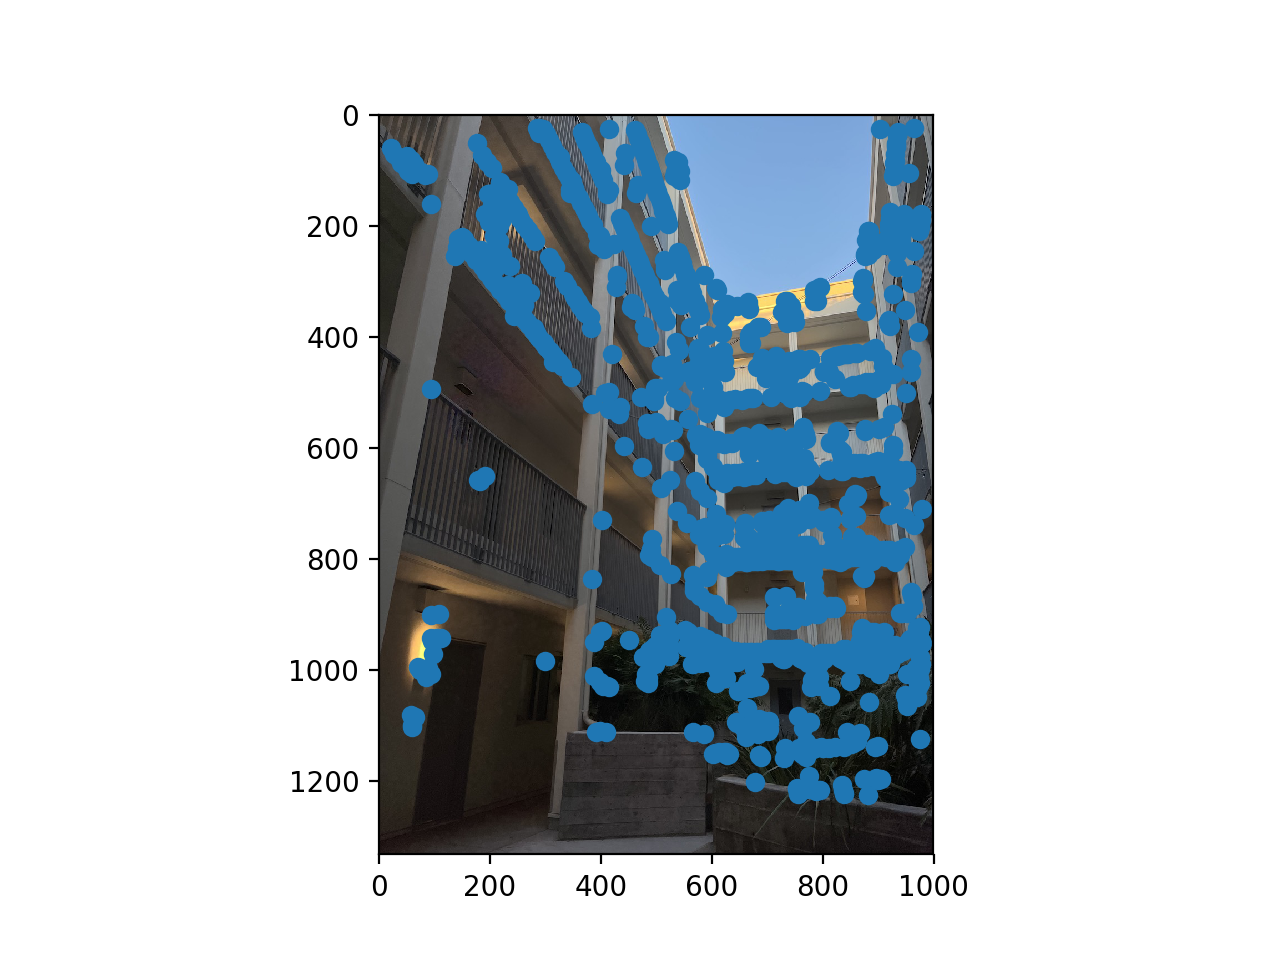
Courtyard with all of the initially returned corners
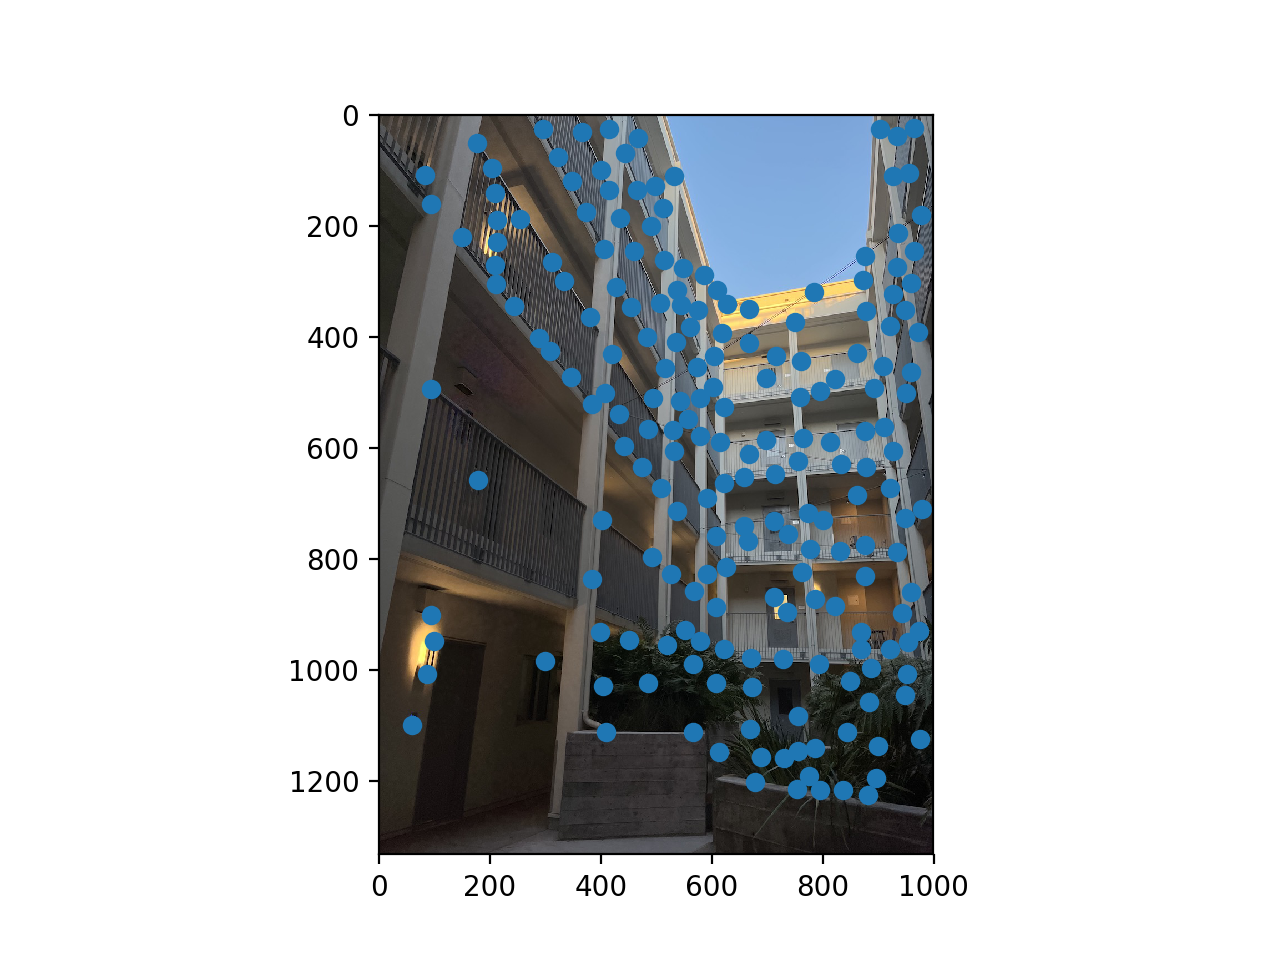
Courtyard with the top 200 corners after ANMS
Extracting a Feature Descriptor for each feature point
For each of the 200 corners, I then extracted a feature descriptor for each point by calculating a 8x8 patch. Each square of the patch was actually a 5x5 patch that was averaged through Gaussian blurring. Here are 2 examples of some random feature point descriptors.
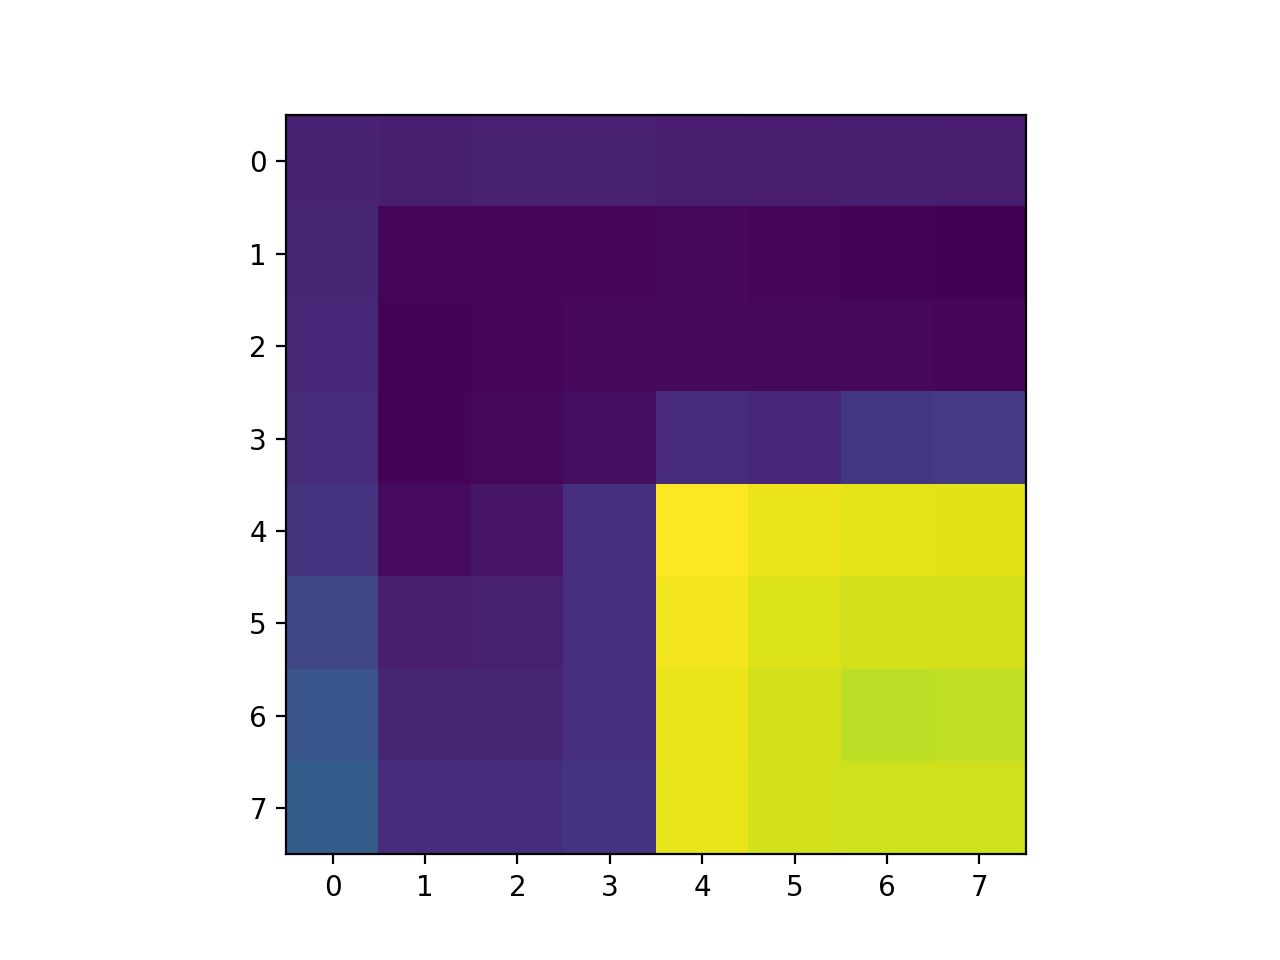
Feature Descriptor 1
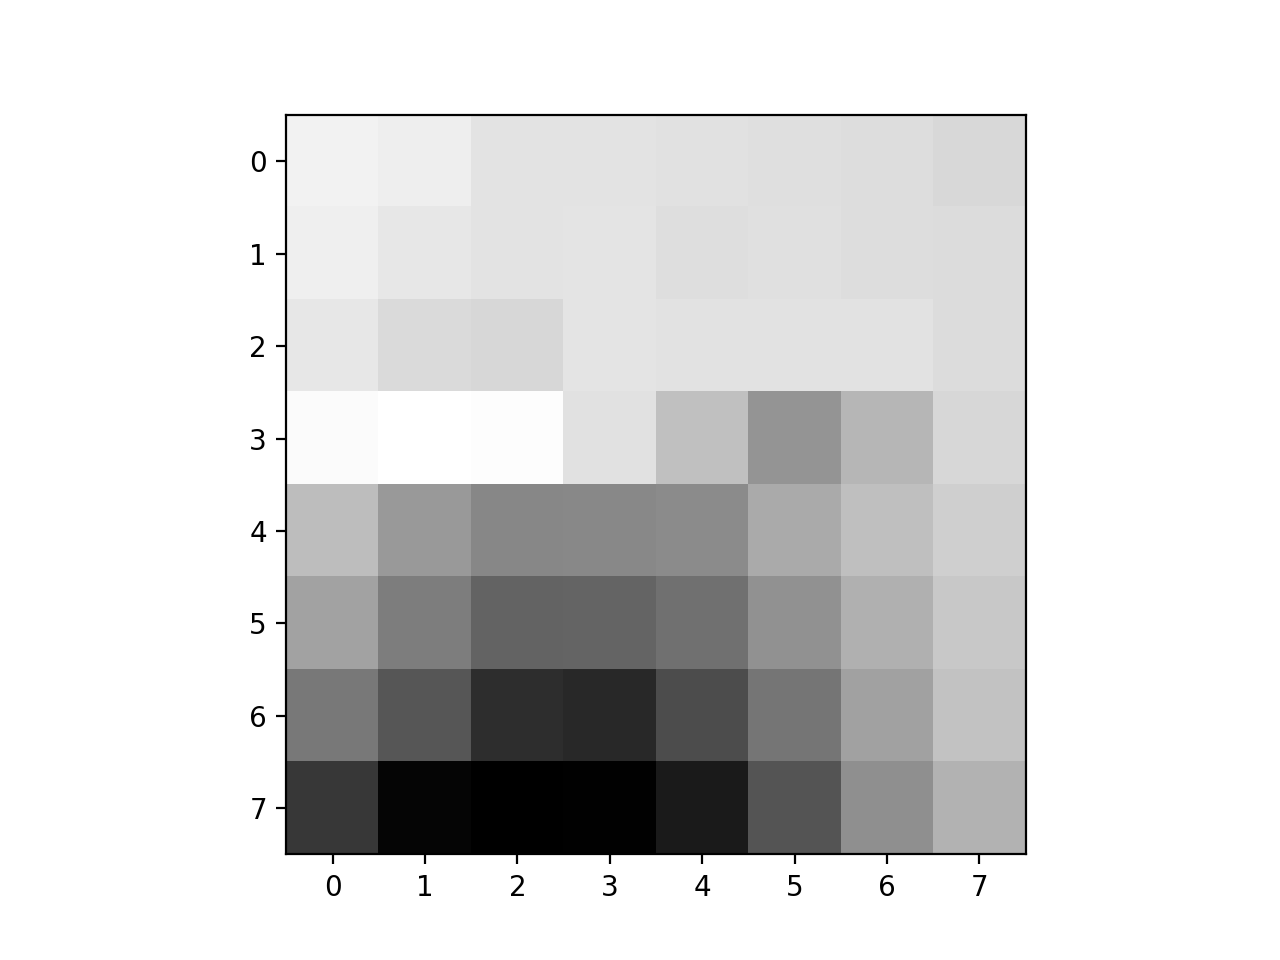
Feature Descriptor 2
Matching these feature descriptors between two images
After doing the above steps for both images I want to stitch together, for each point in the first image, I calculated the error between that and each point of the second image. I used the 2 nearest neighbors for each point: the nearest was divided by the average error of all the second nearest neighbors (2NN) and was then compared to an upper threshold of 0.3 to determine if it should be included for future calculations.
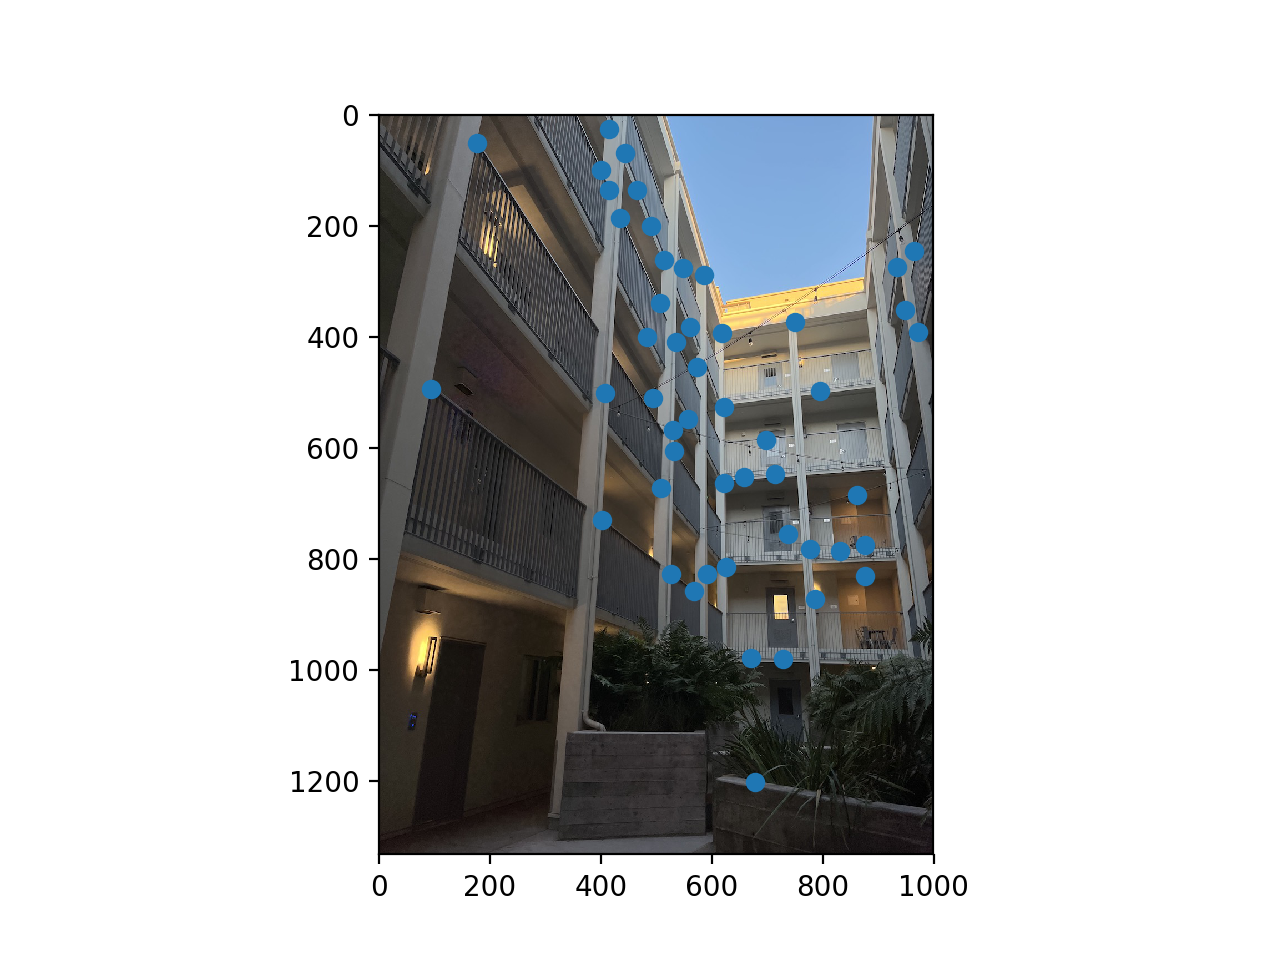
Left image with matched points
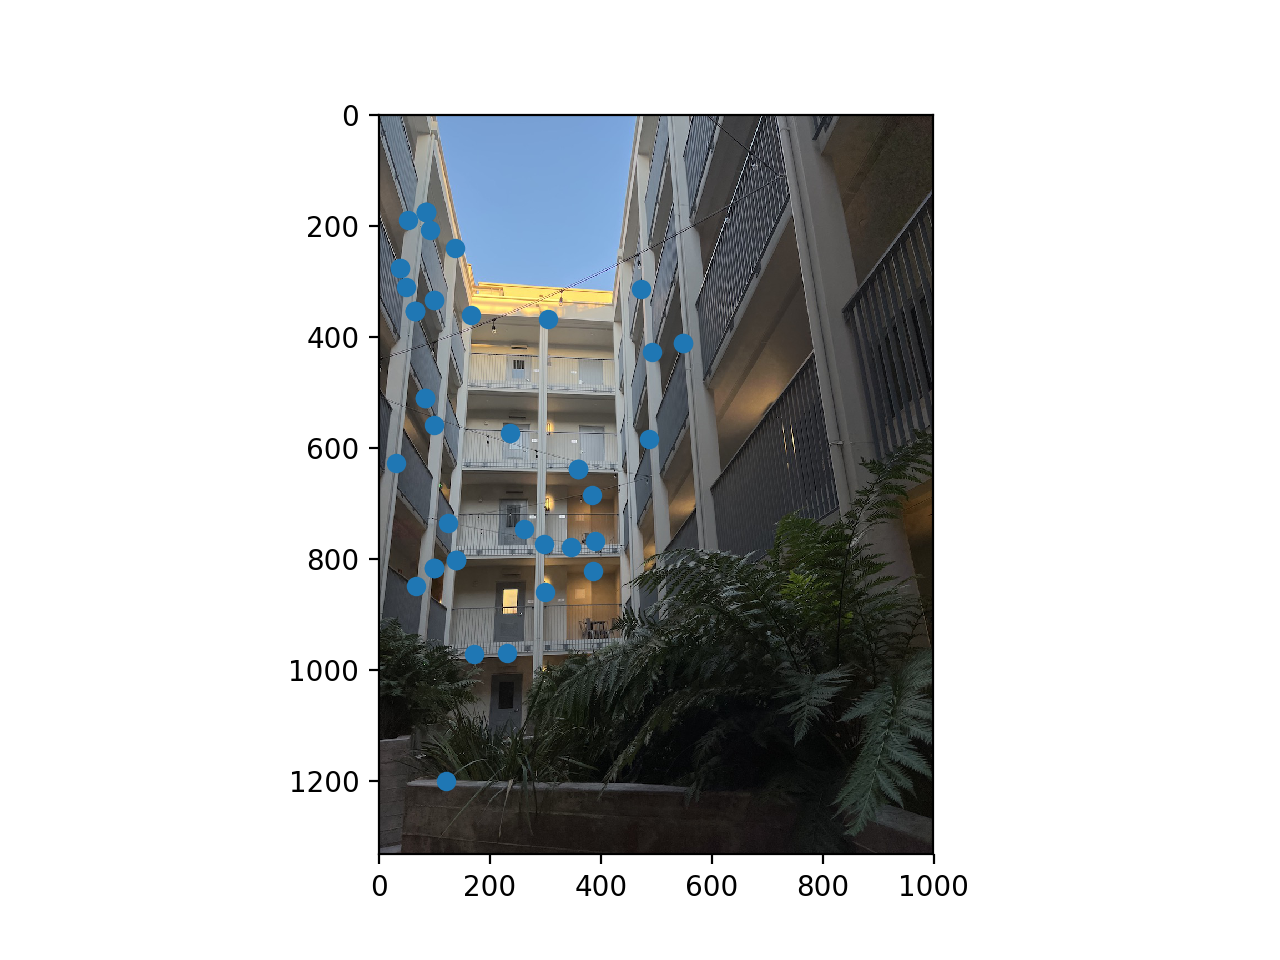
Right image with matched points
RANSAC Homography Computation
Once I had a list of potential matches, I used RANSAC to randomly determine which pairs of points are actually "inliers" and belong together. I ran 1000 iterations of 1. randomly picking 4 pairs of points to generate an "exact" homography matrix, 2. multiplying this matrix by every point from img 1, 3. saving the points that have an error of less than 10 from their matched partner. After 1000 iterations, I took the largest set of inliers from the calculations and used them to calculate a least squares homography. There are observably less points, and now they all correctly match to the same corresponding features.
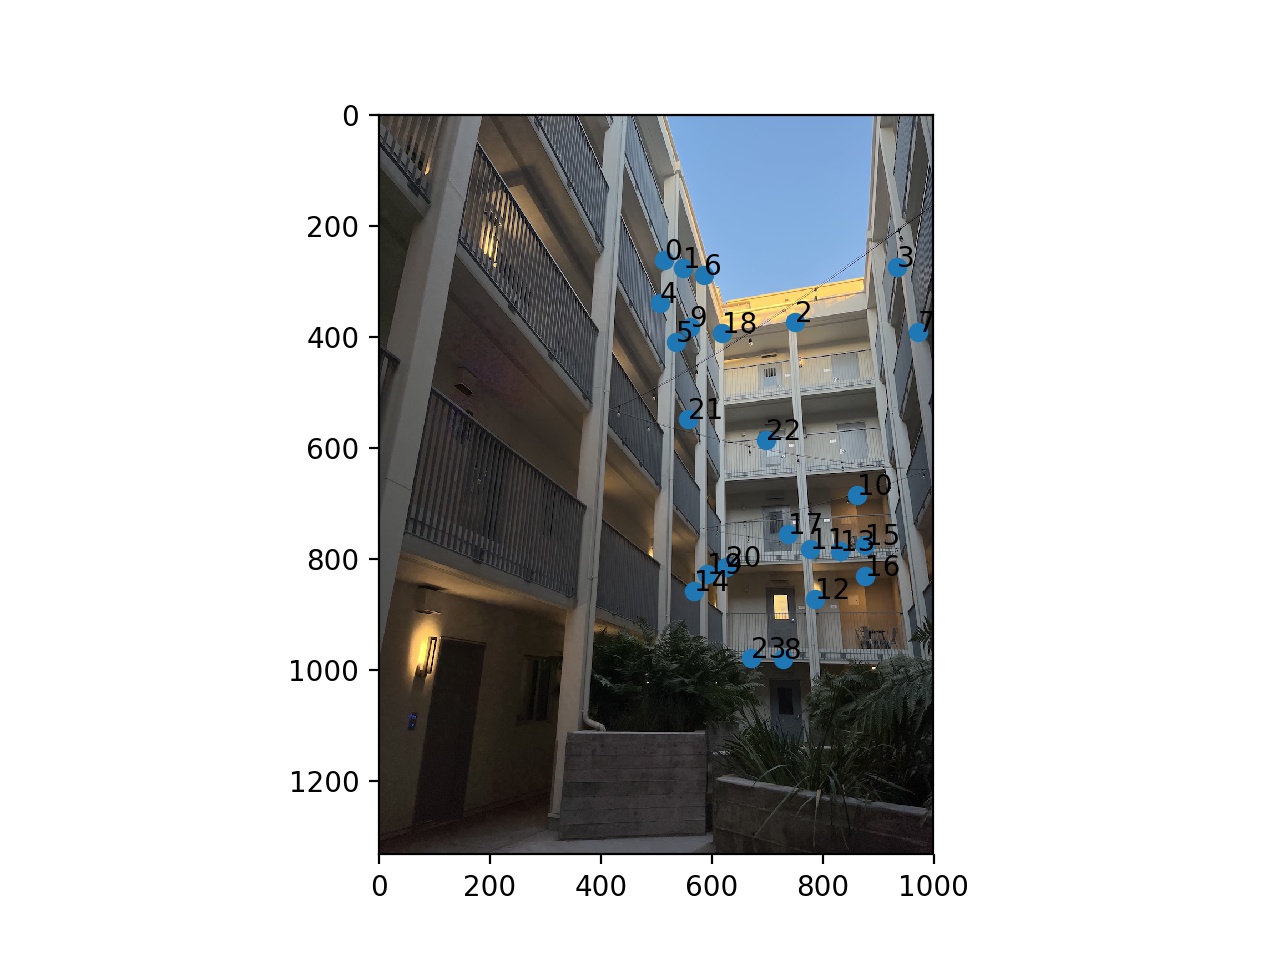
Left building image after RANSAC
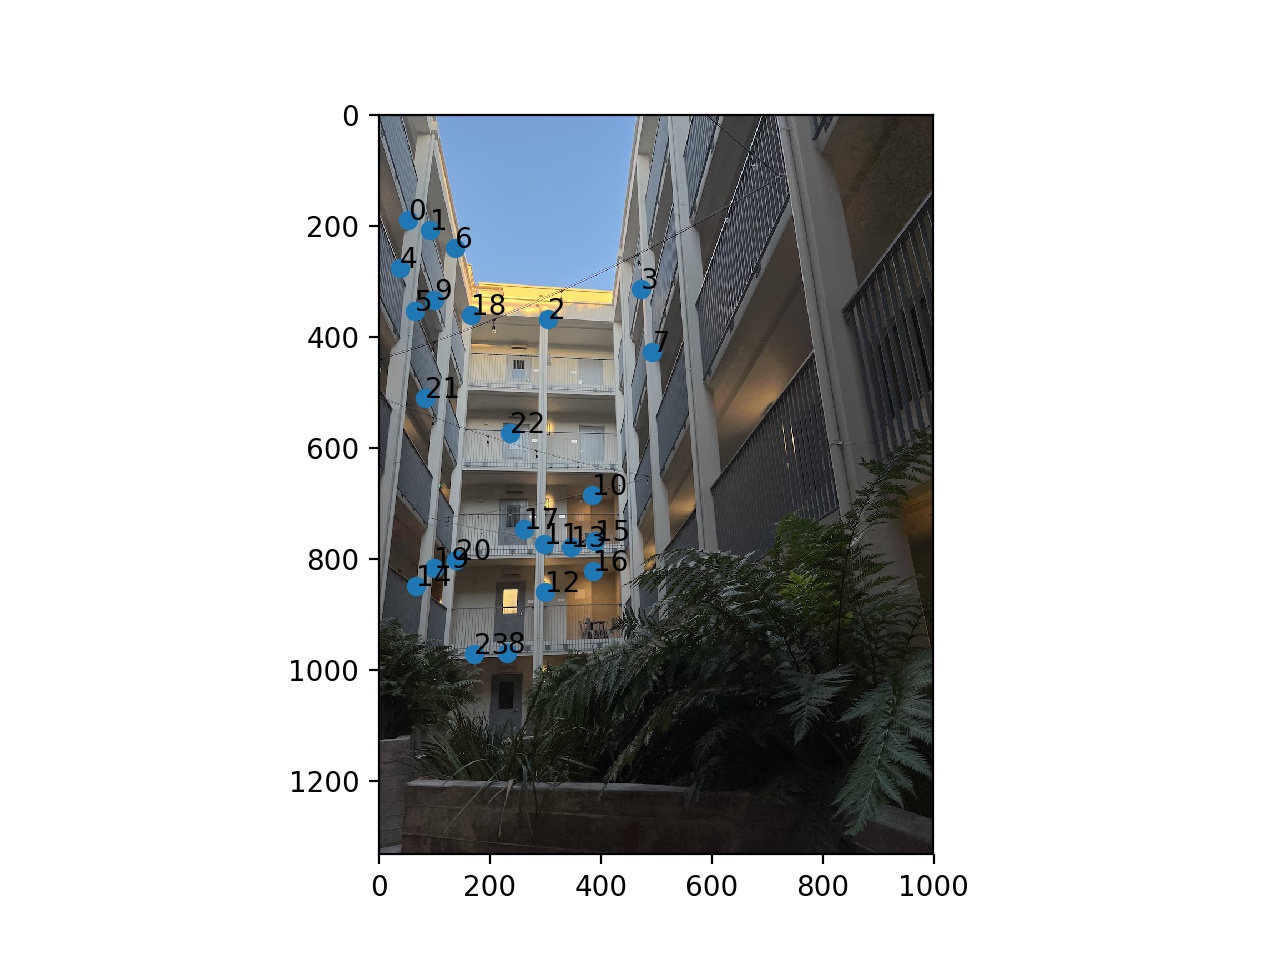
Right building image after RANSAC
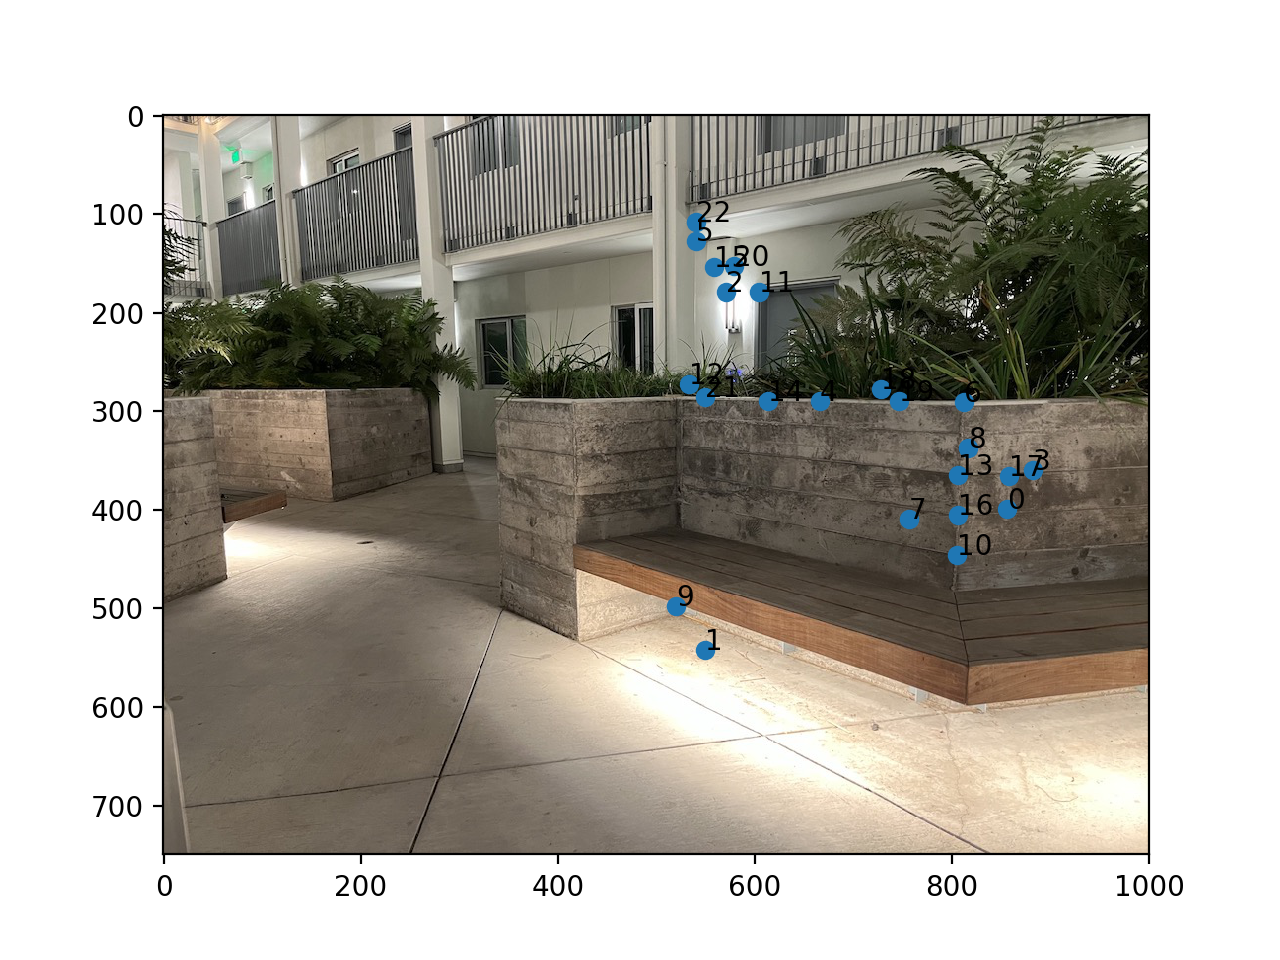
Left bench image after RANSAC
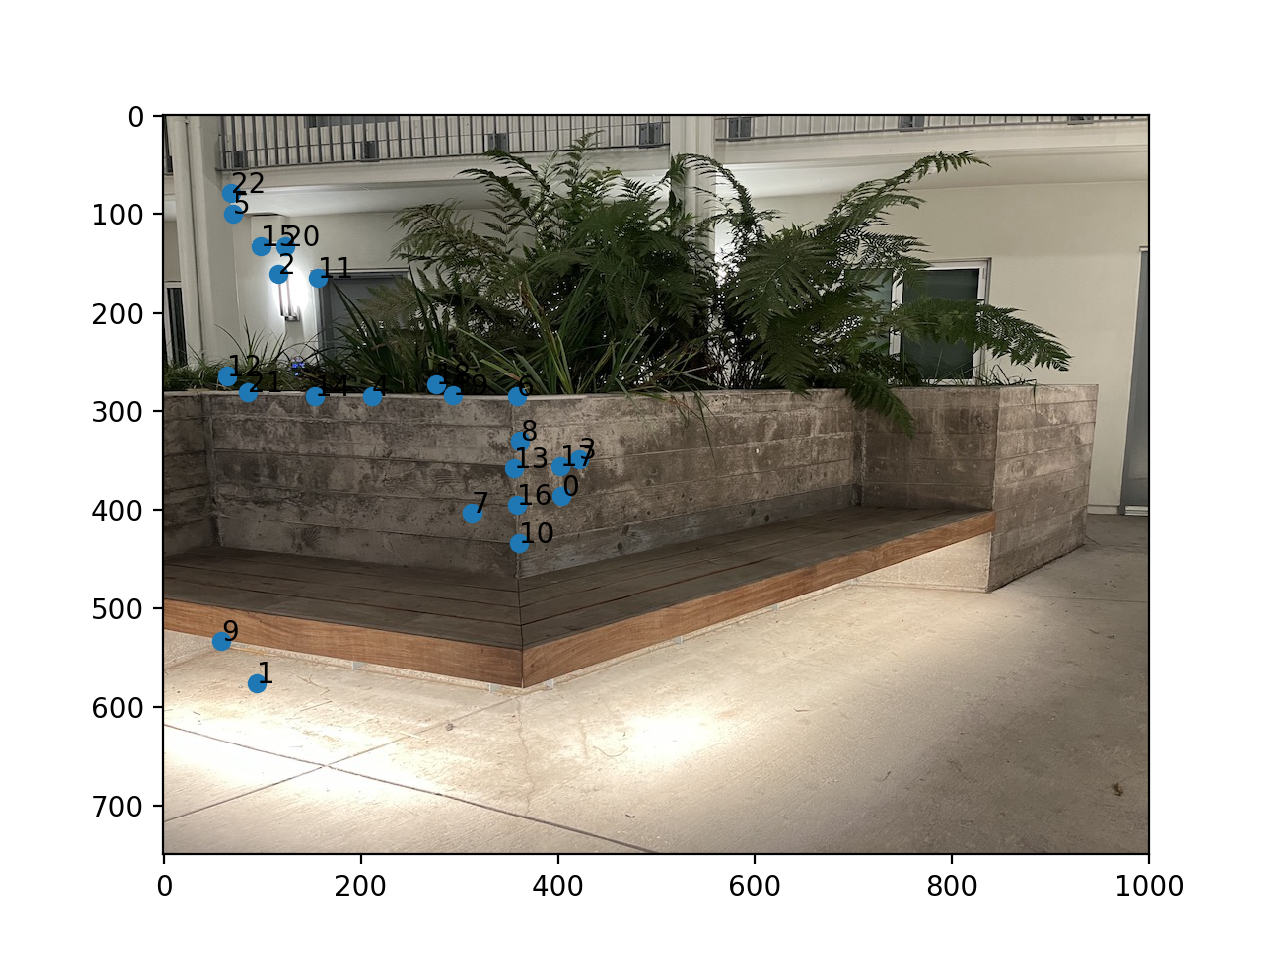
Right bench image after RANSAC
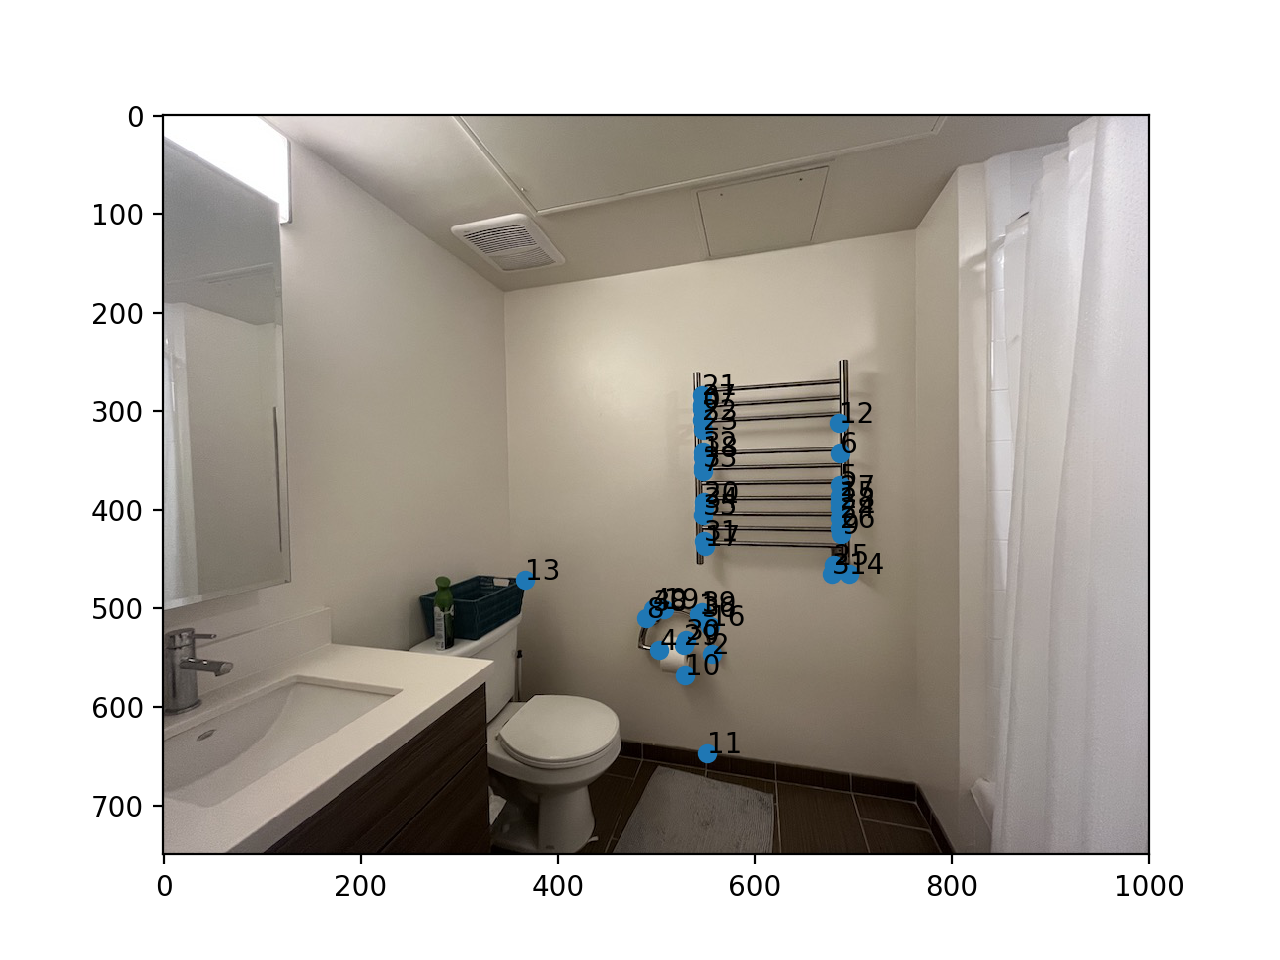
Left bathroom image after RANSAC
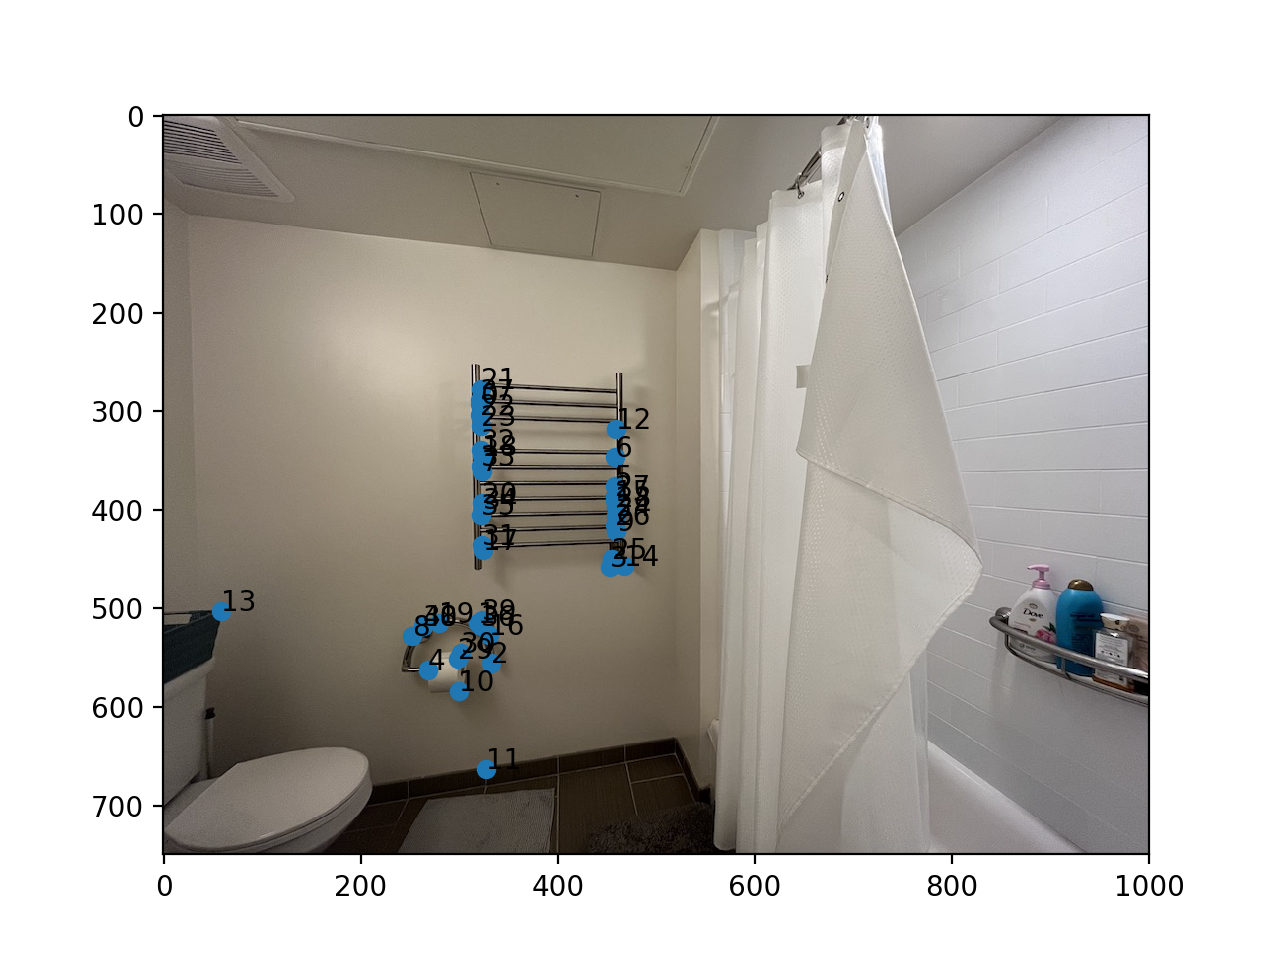
Right bathroom image after RANSAC
Autostiching the Mosaic
I was able to autostich 3 mosaics. I don't think it was a huge difference per se, but they are blended more subtley compared to my hand-chosen points. For example, from the mosaic of the building, you can see that the guard rails are much cleaner.
Part A
Auto Stiched
Part A
Auto Stiched
Part A
Auto Stiched
What I Learned
I think the most interesting part about this project was the robust homography estimating with RANSAC. I was kind of confused where the "automatic" part of the stitching would happen, and up until the feature matching part, there was still room for false positives. It was pretty cool how it kind of just randomly picked points and ended up with one that worked the best.