Homography transformation:


Use cpselect in Control Point Selection tool from MATLAB to define corresponding keypoints of the
two images.
The above matrices are from Homography Estimation by Yalda Zadeh.
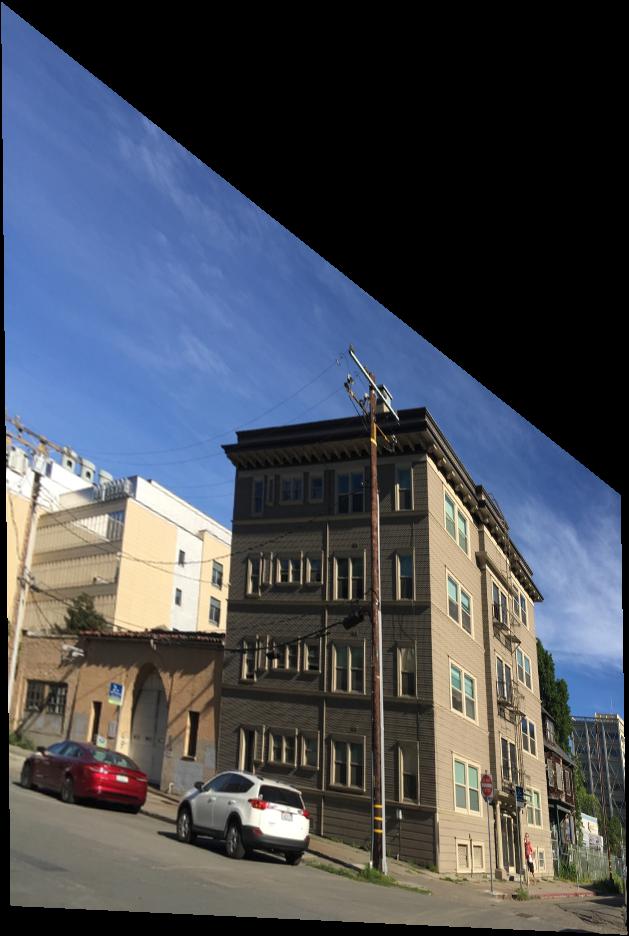
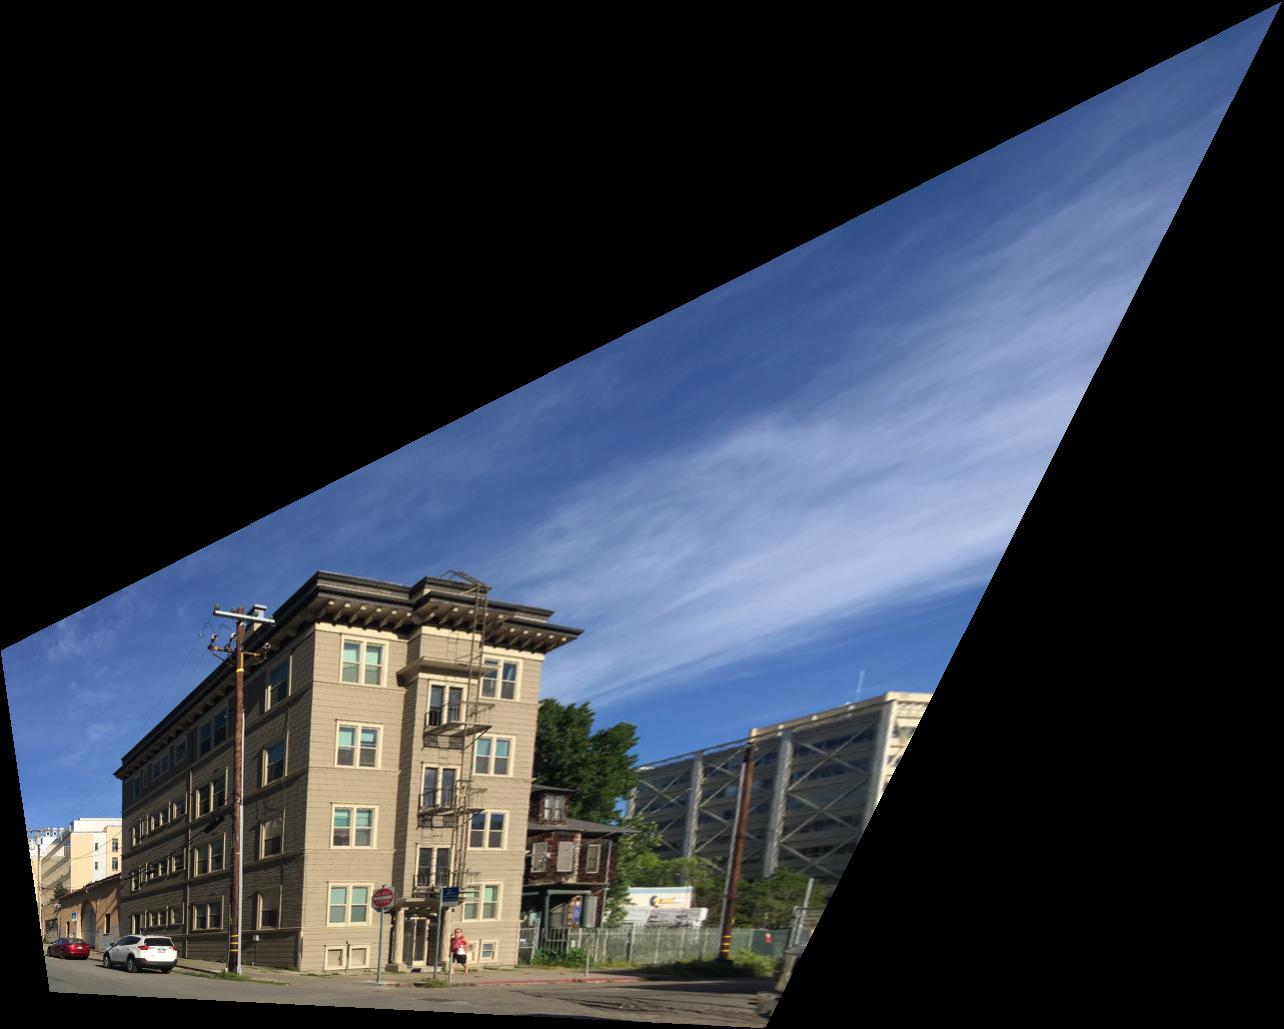
Warp the right image to match the left image.
scipy.interpolate.RectBivariateSpline to interpolate the color in the case of not landing
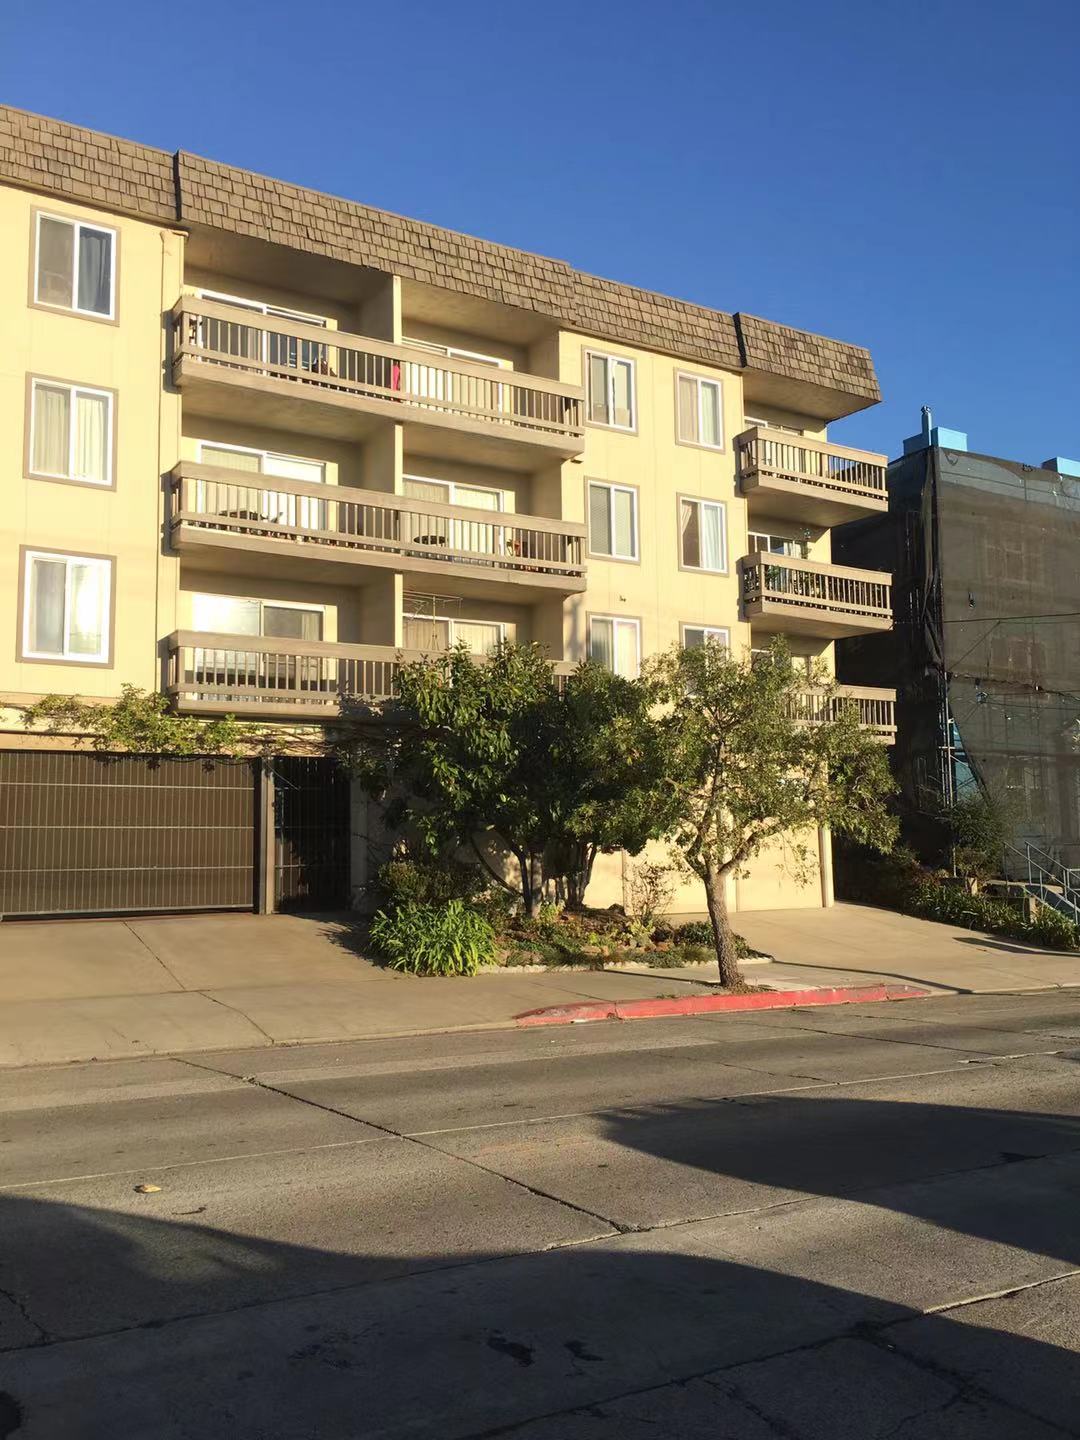
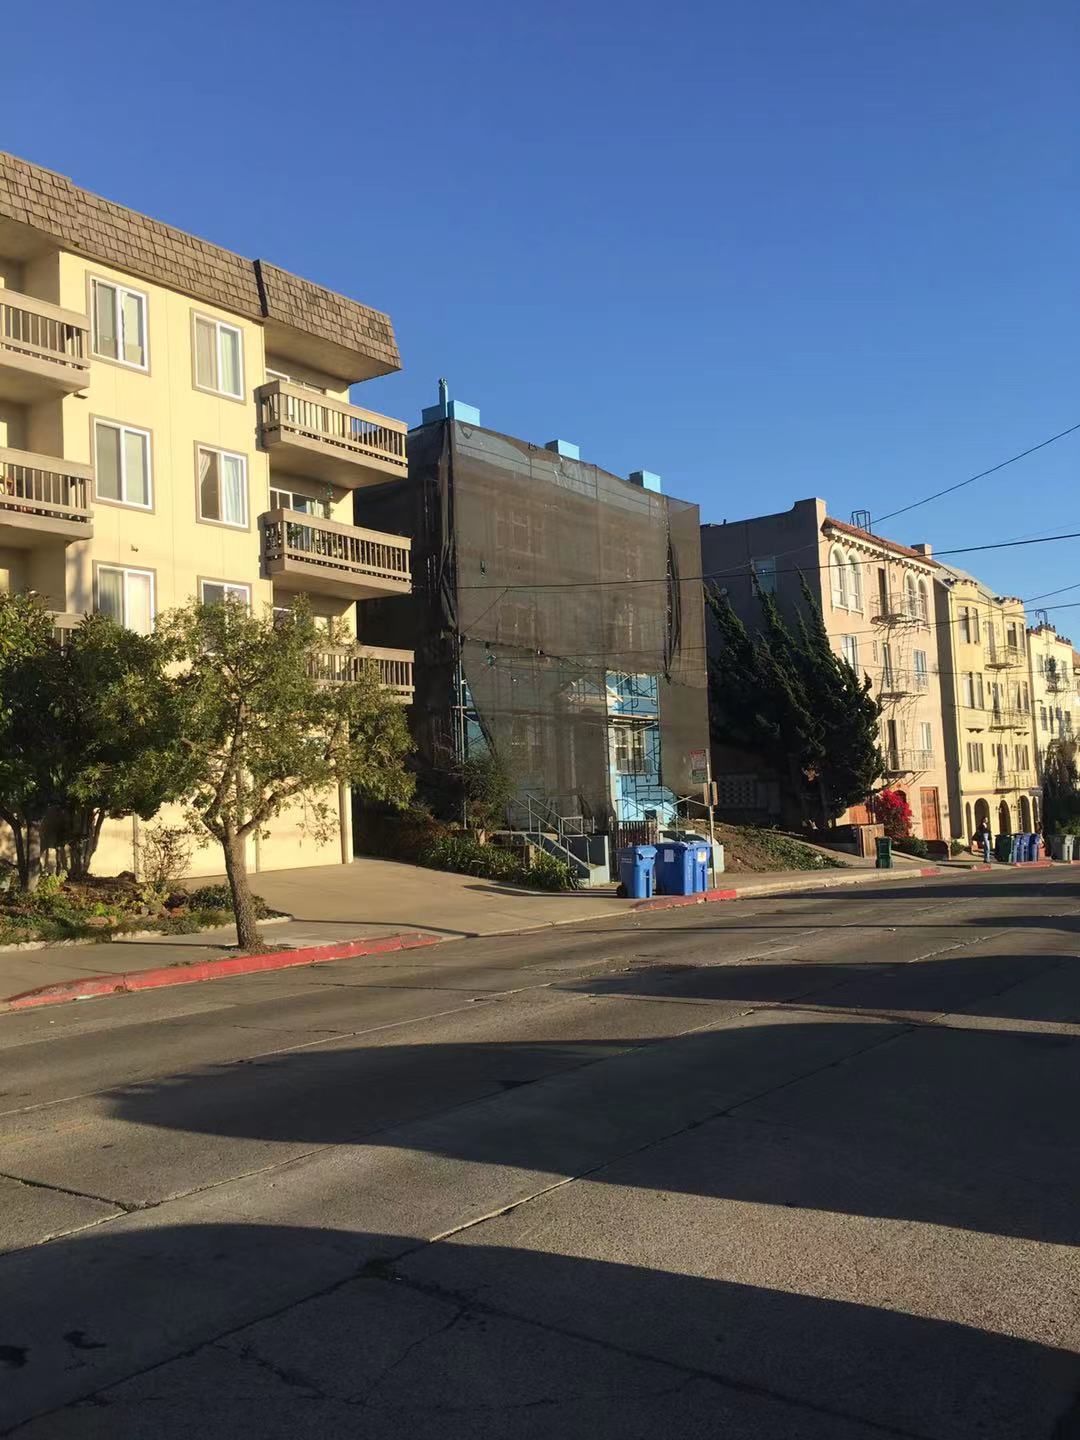
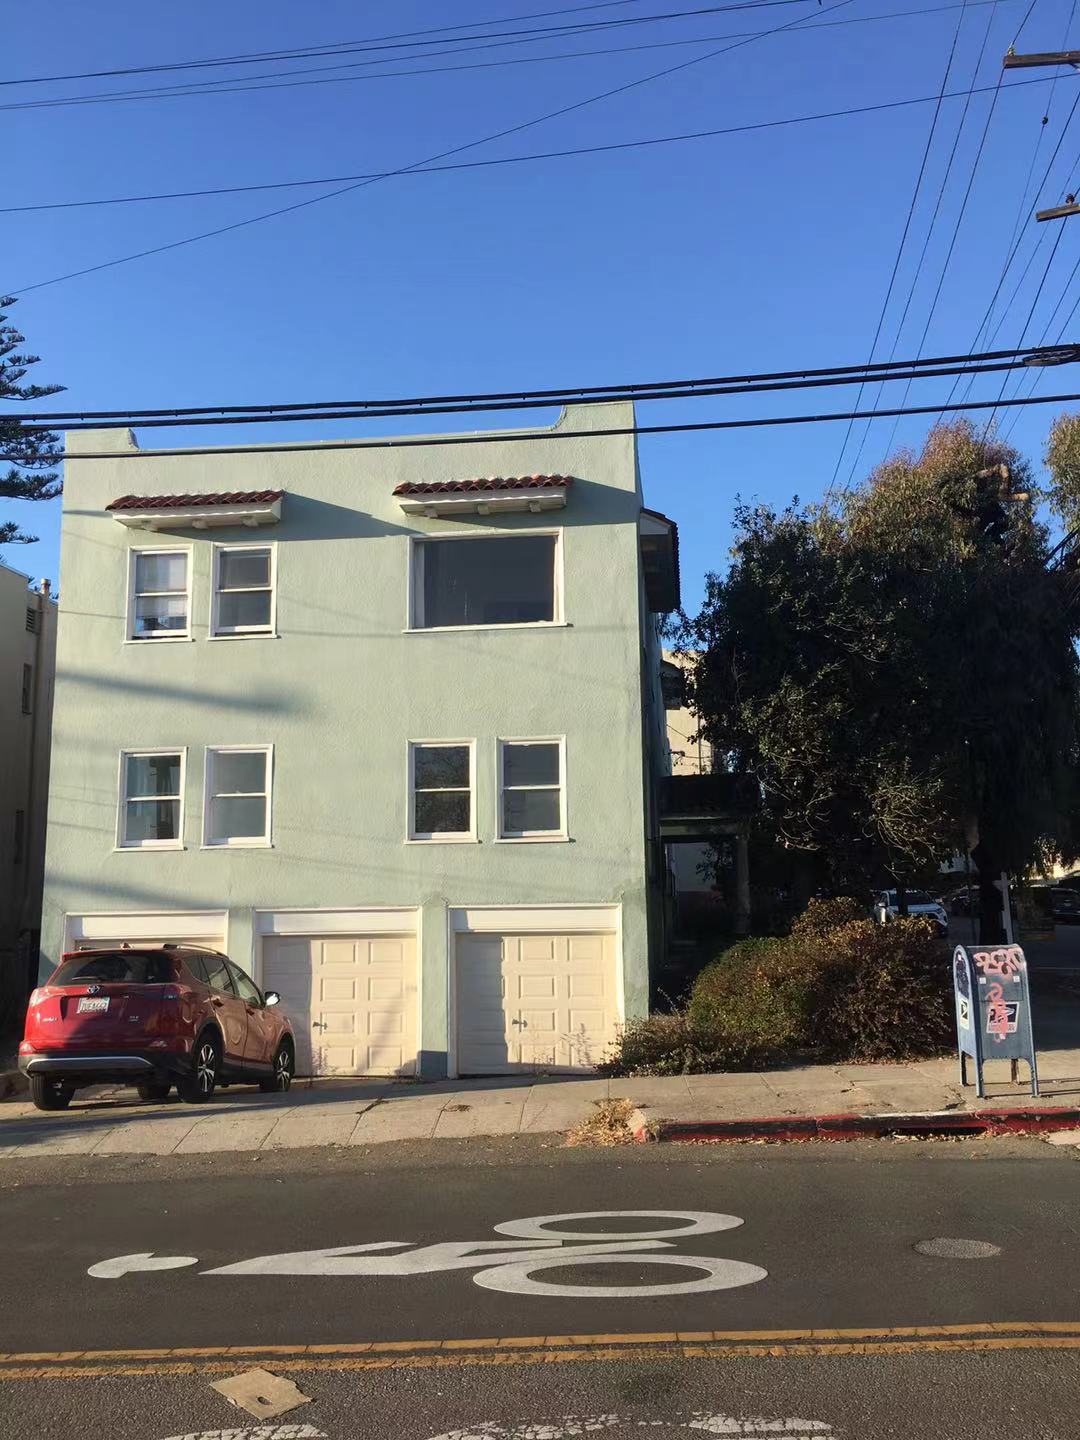
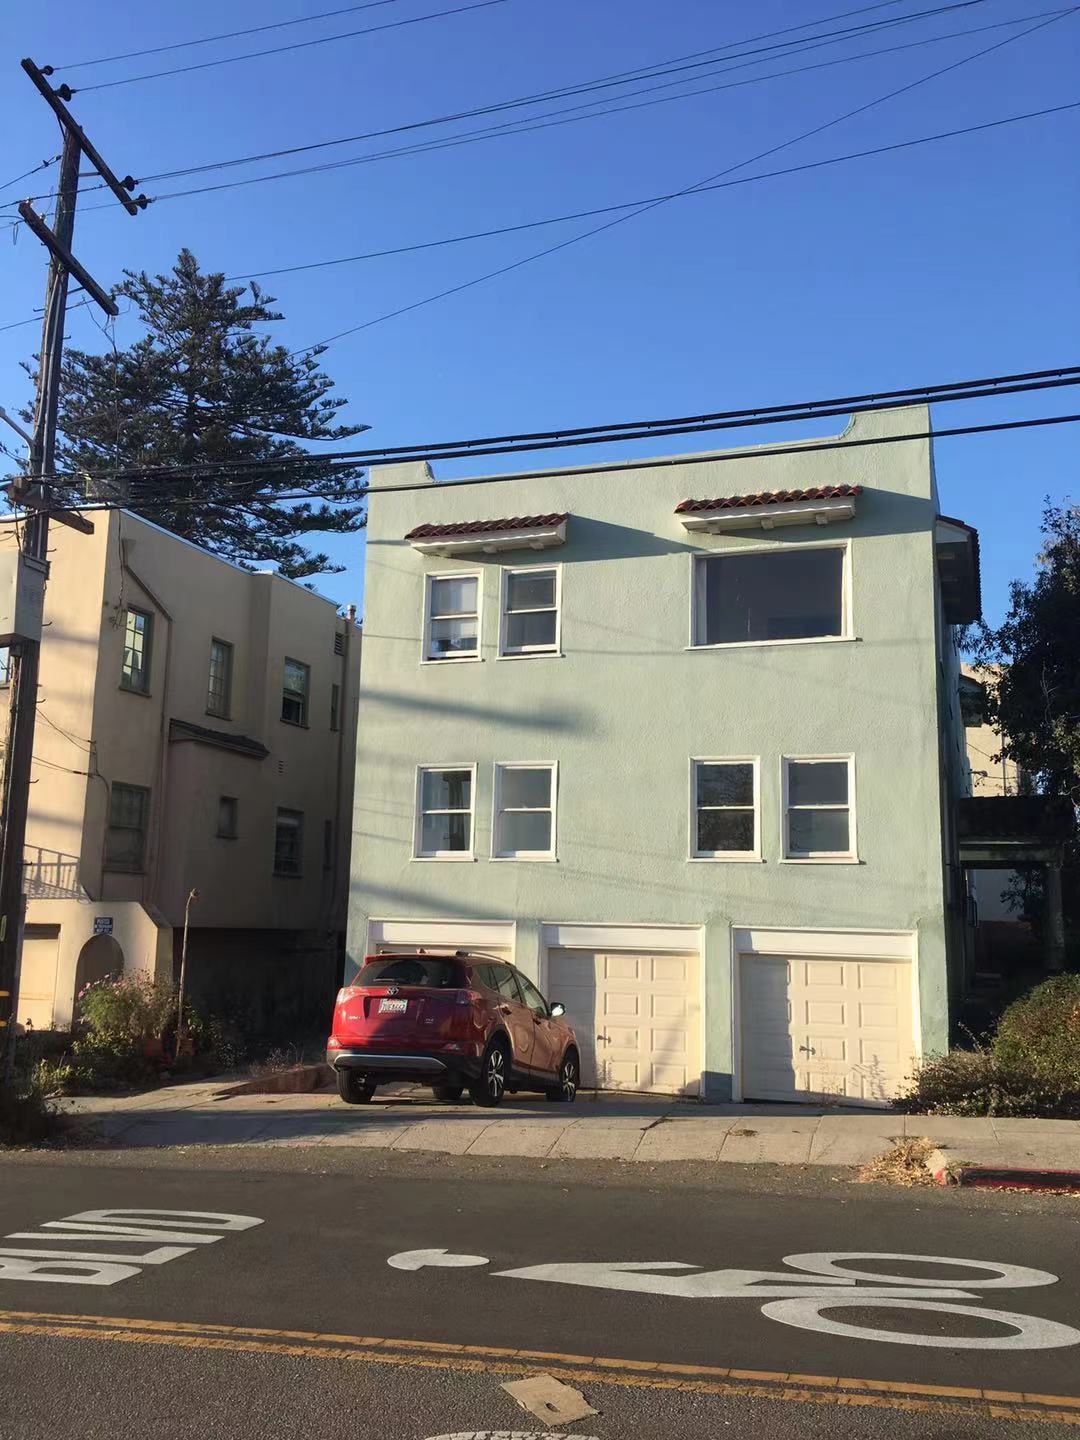
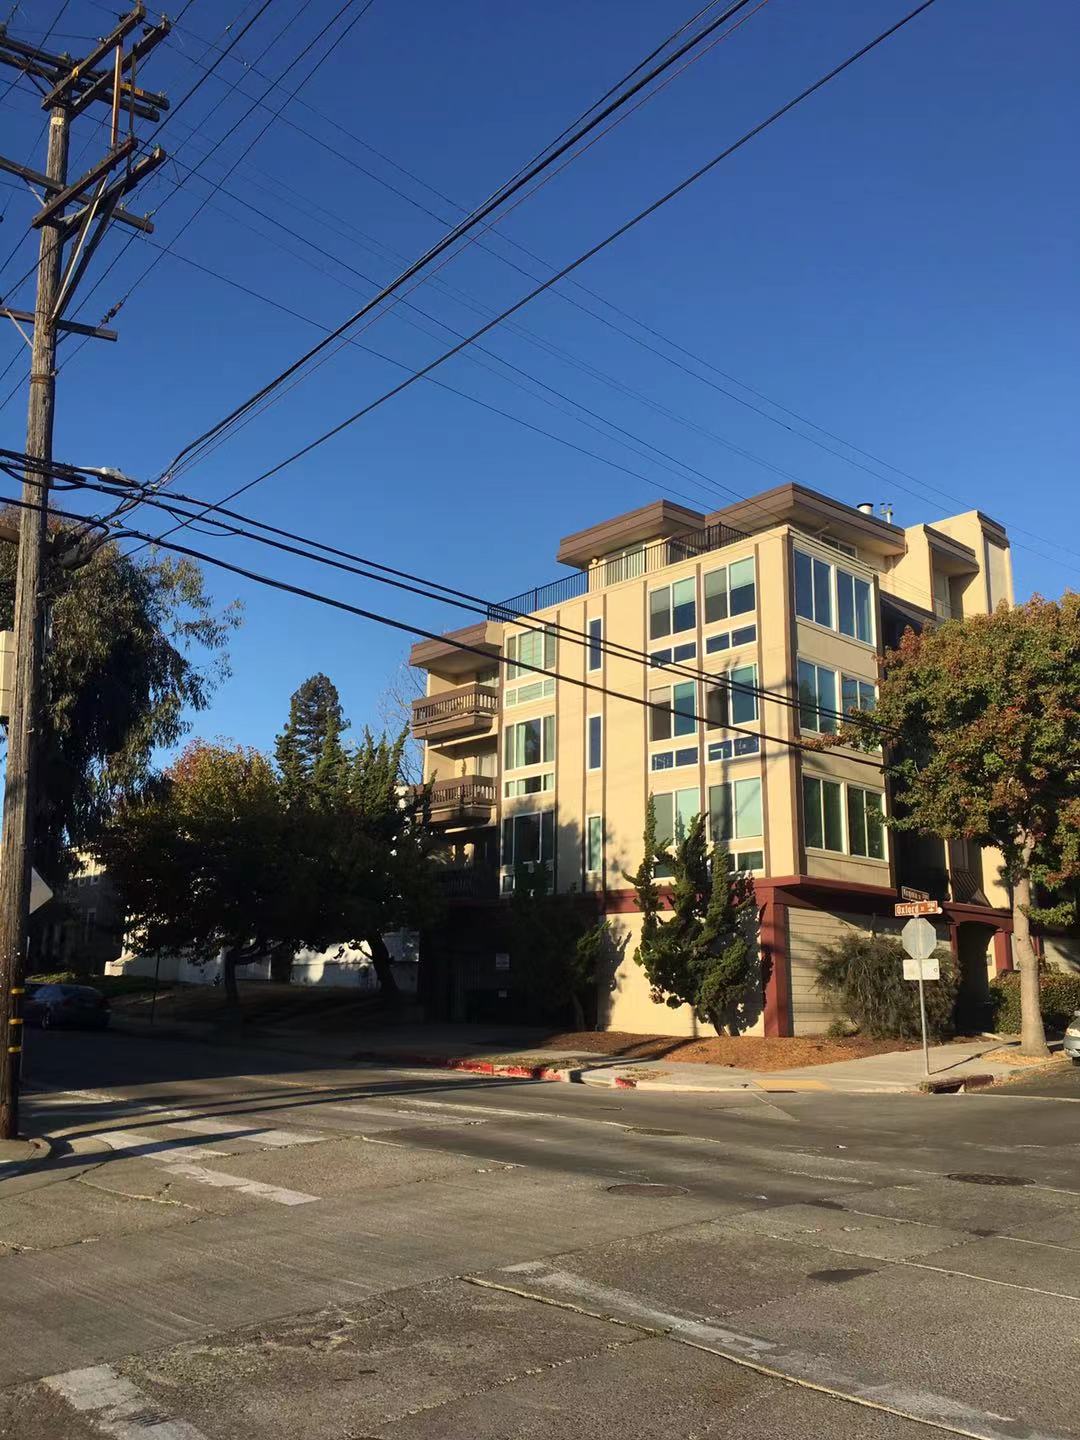
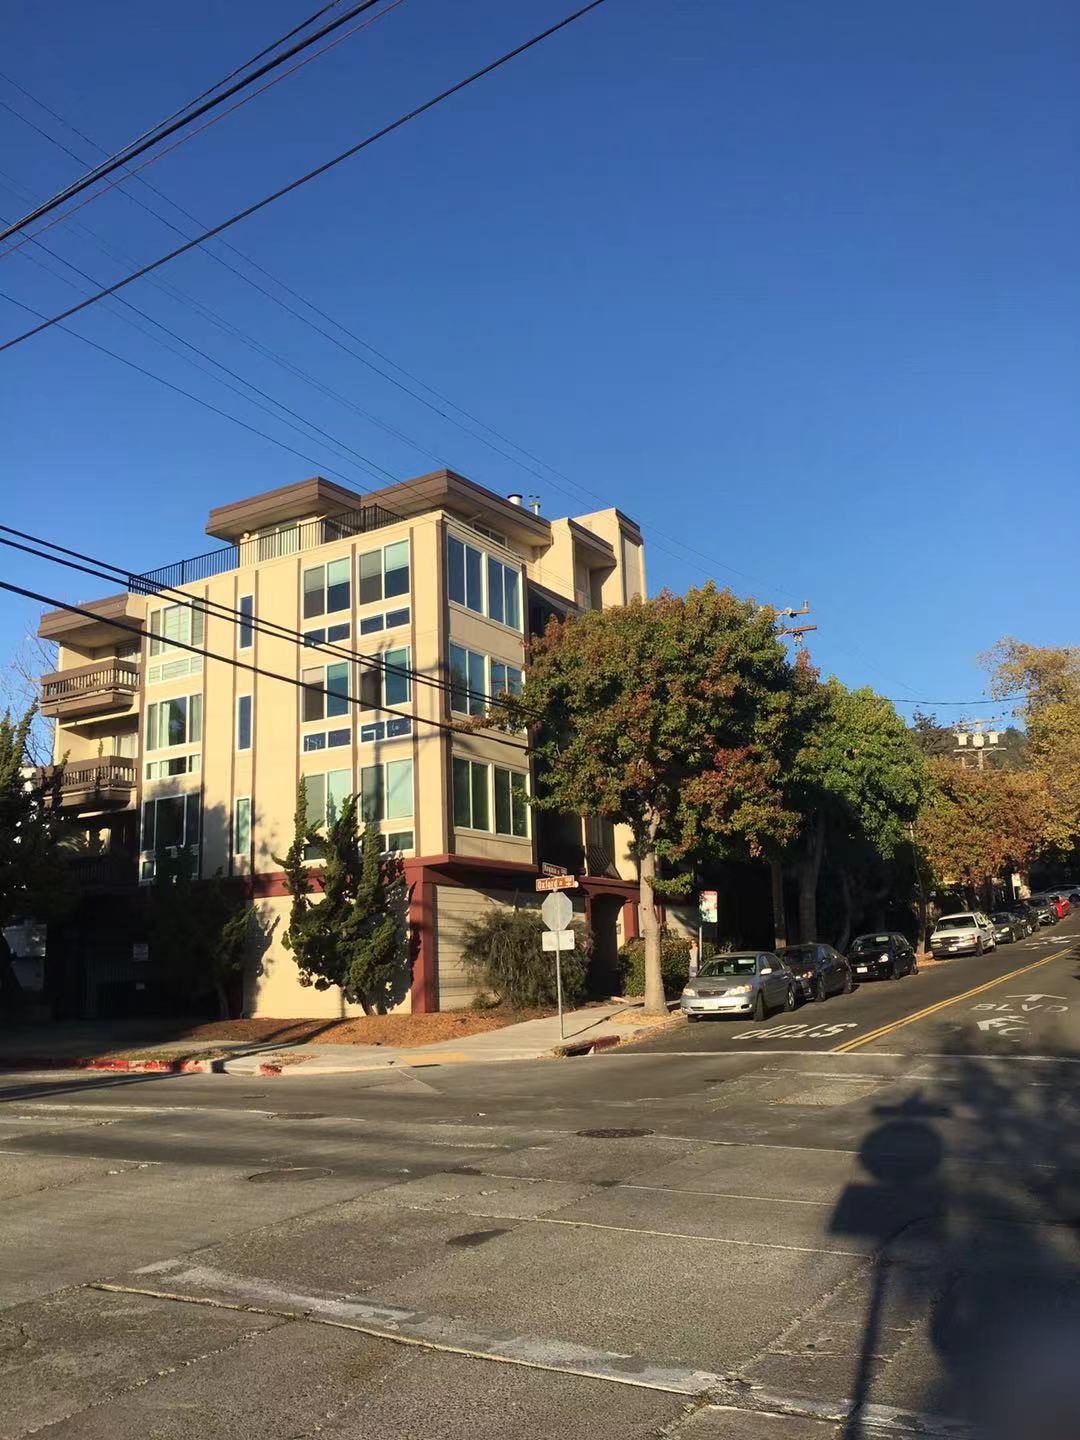
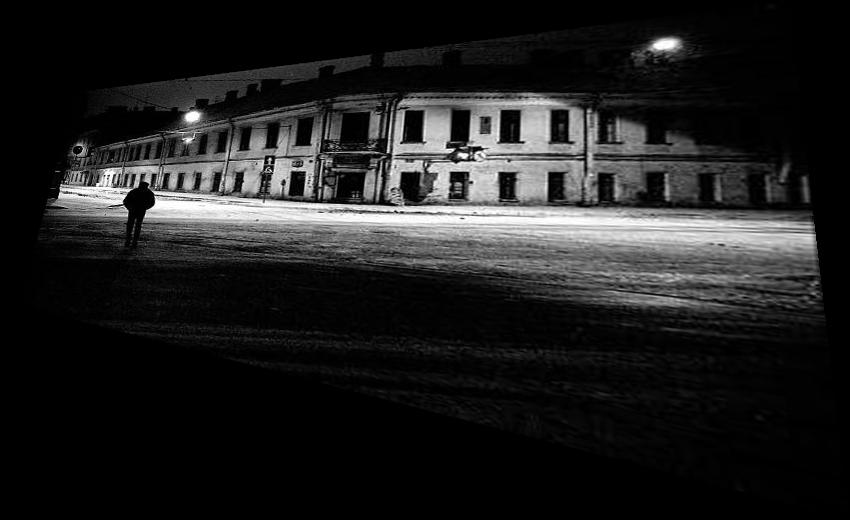
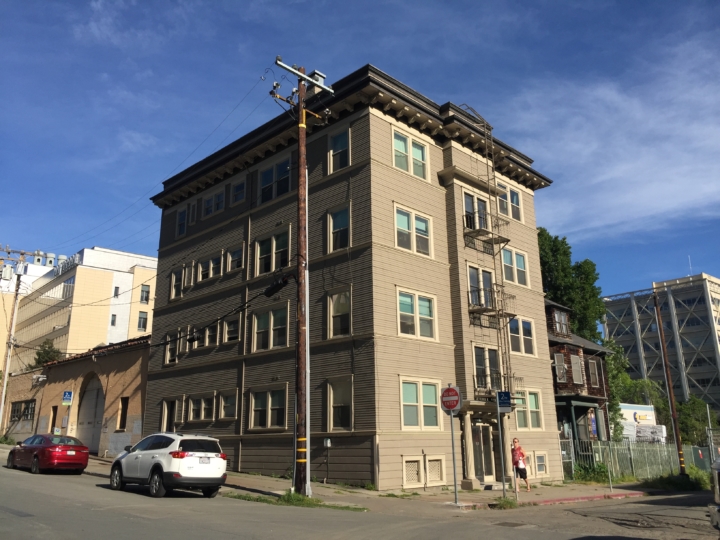
right on pixel grid.| original | warped to left | warped to right |
|---|---|---|
 |
 |
 |
 |
 |
 |
| original | mosaic |
|---|---|
|
|
 |
|
|
 |
|
|
 |
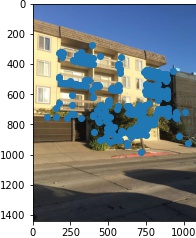

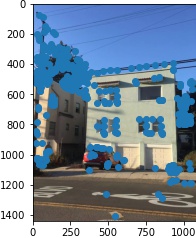
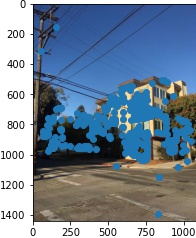
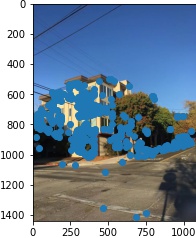
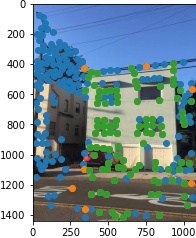
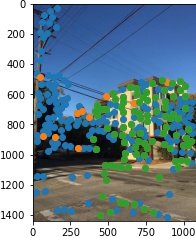
Choose interest points from the corners found from the Harris detector only when they are not too close to each other. Prioritize the points with higher corner strength.
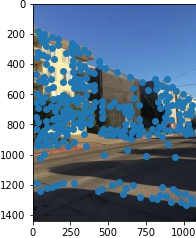
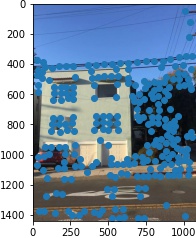
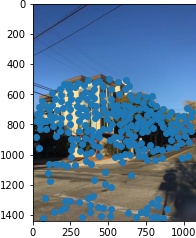
For each interest point, subsample a 8*8 patch from the 40*40 patch around it and normalize it.
Use Lowe's method:
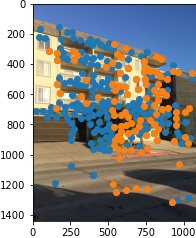
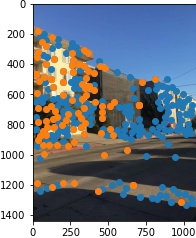

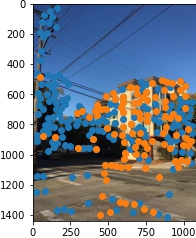
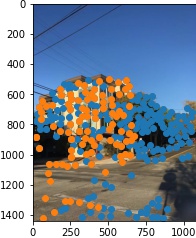
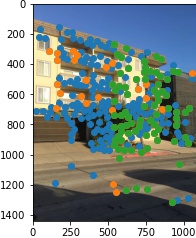
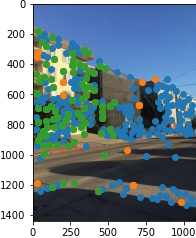
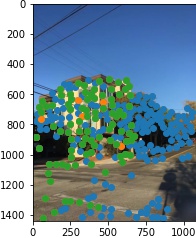
Use 4-Point RANSAC:
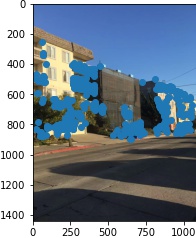
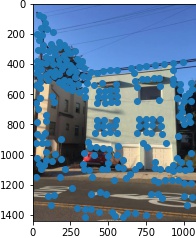
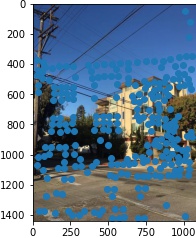
The RANSAC are in green.
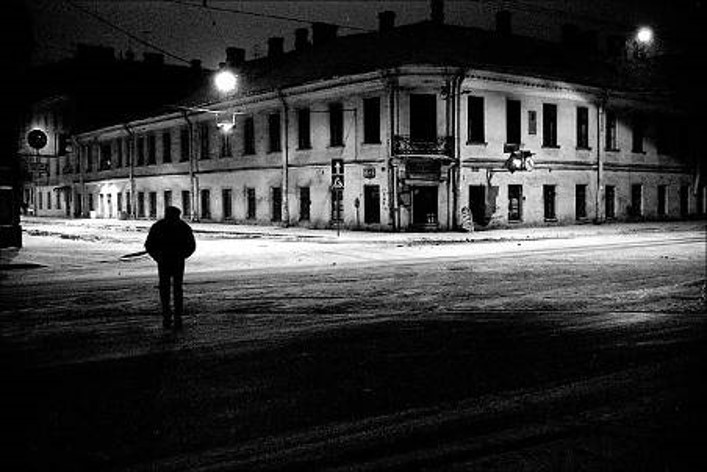
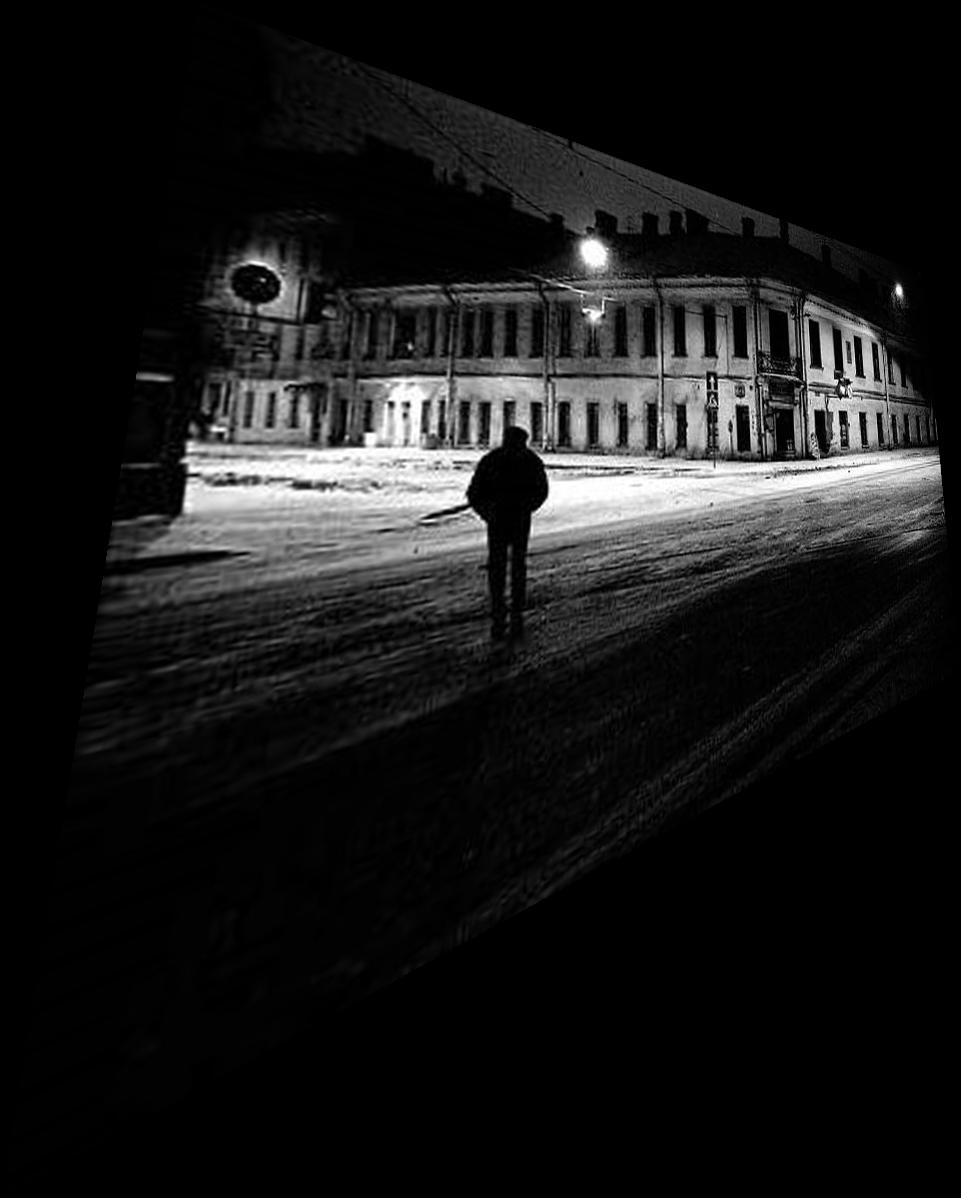
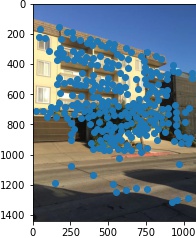
The photos are not well taken because the features concentrate on one side, so with small epsilons there are no points counting for the other side of the image, and the mosaic result is not ideal. Improve with larger epsilon.
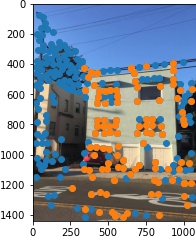
With large epsilon = 1000:

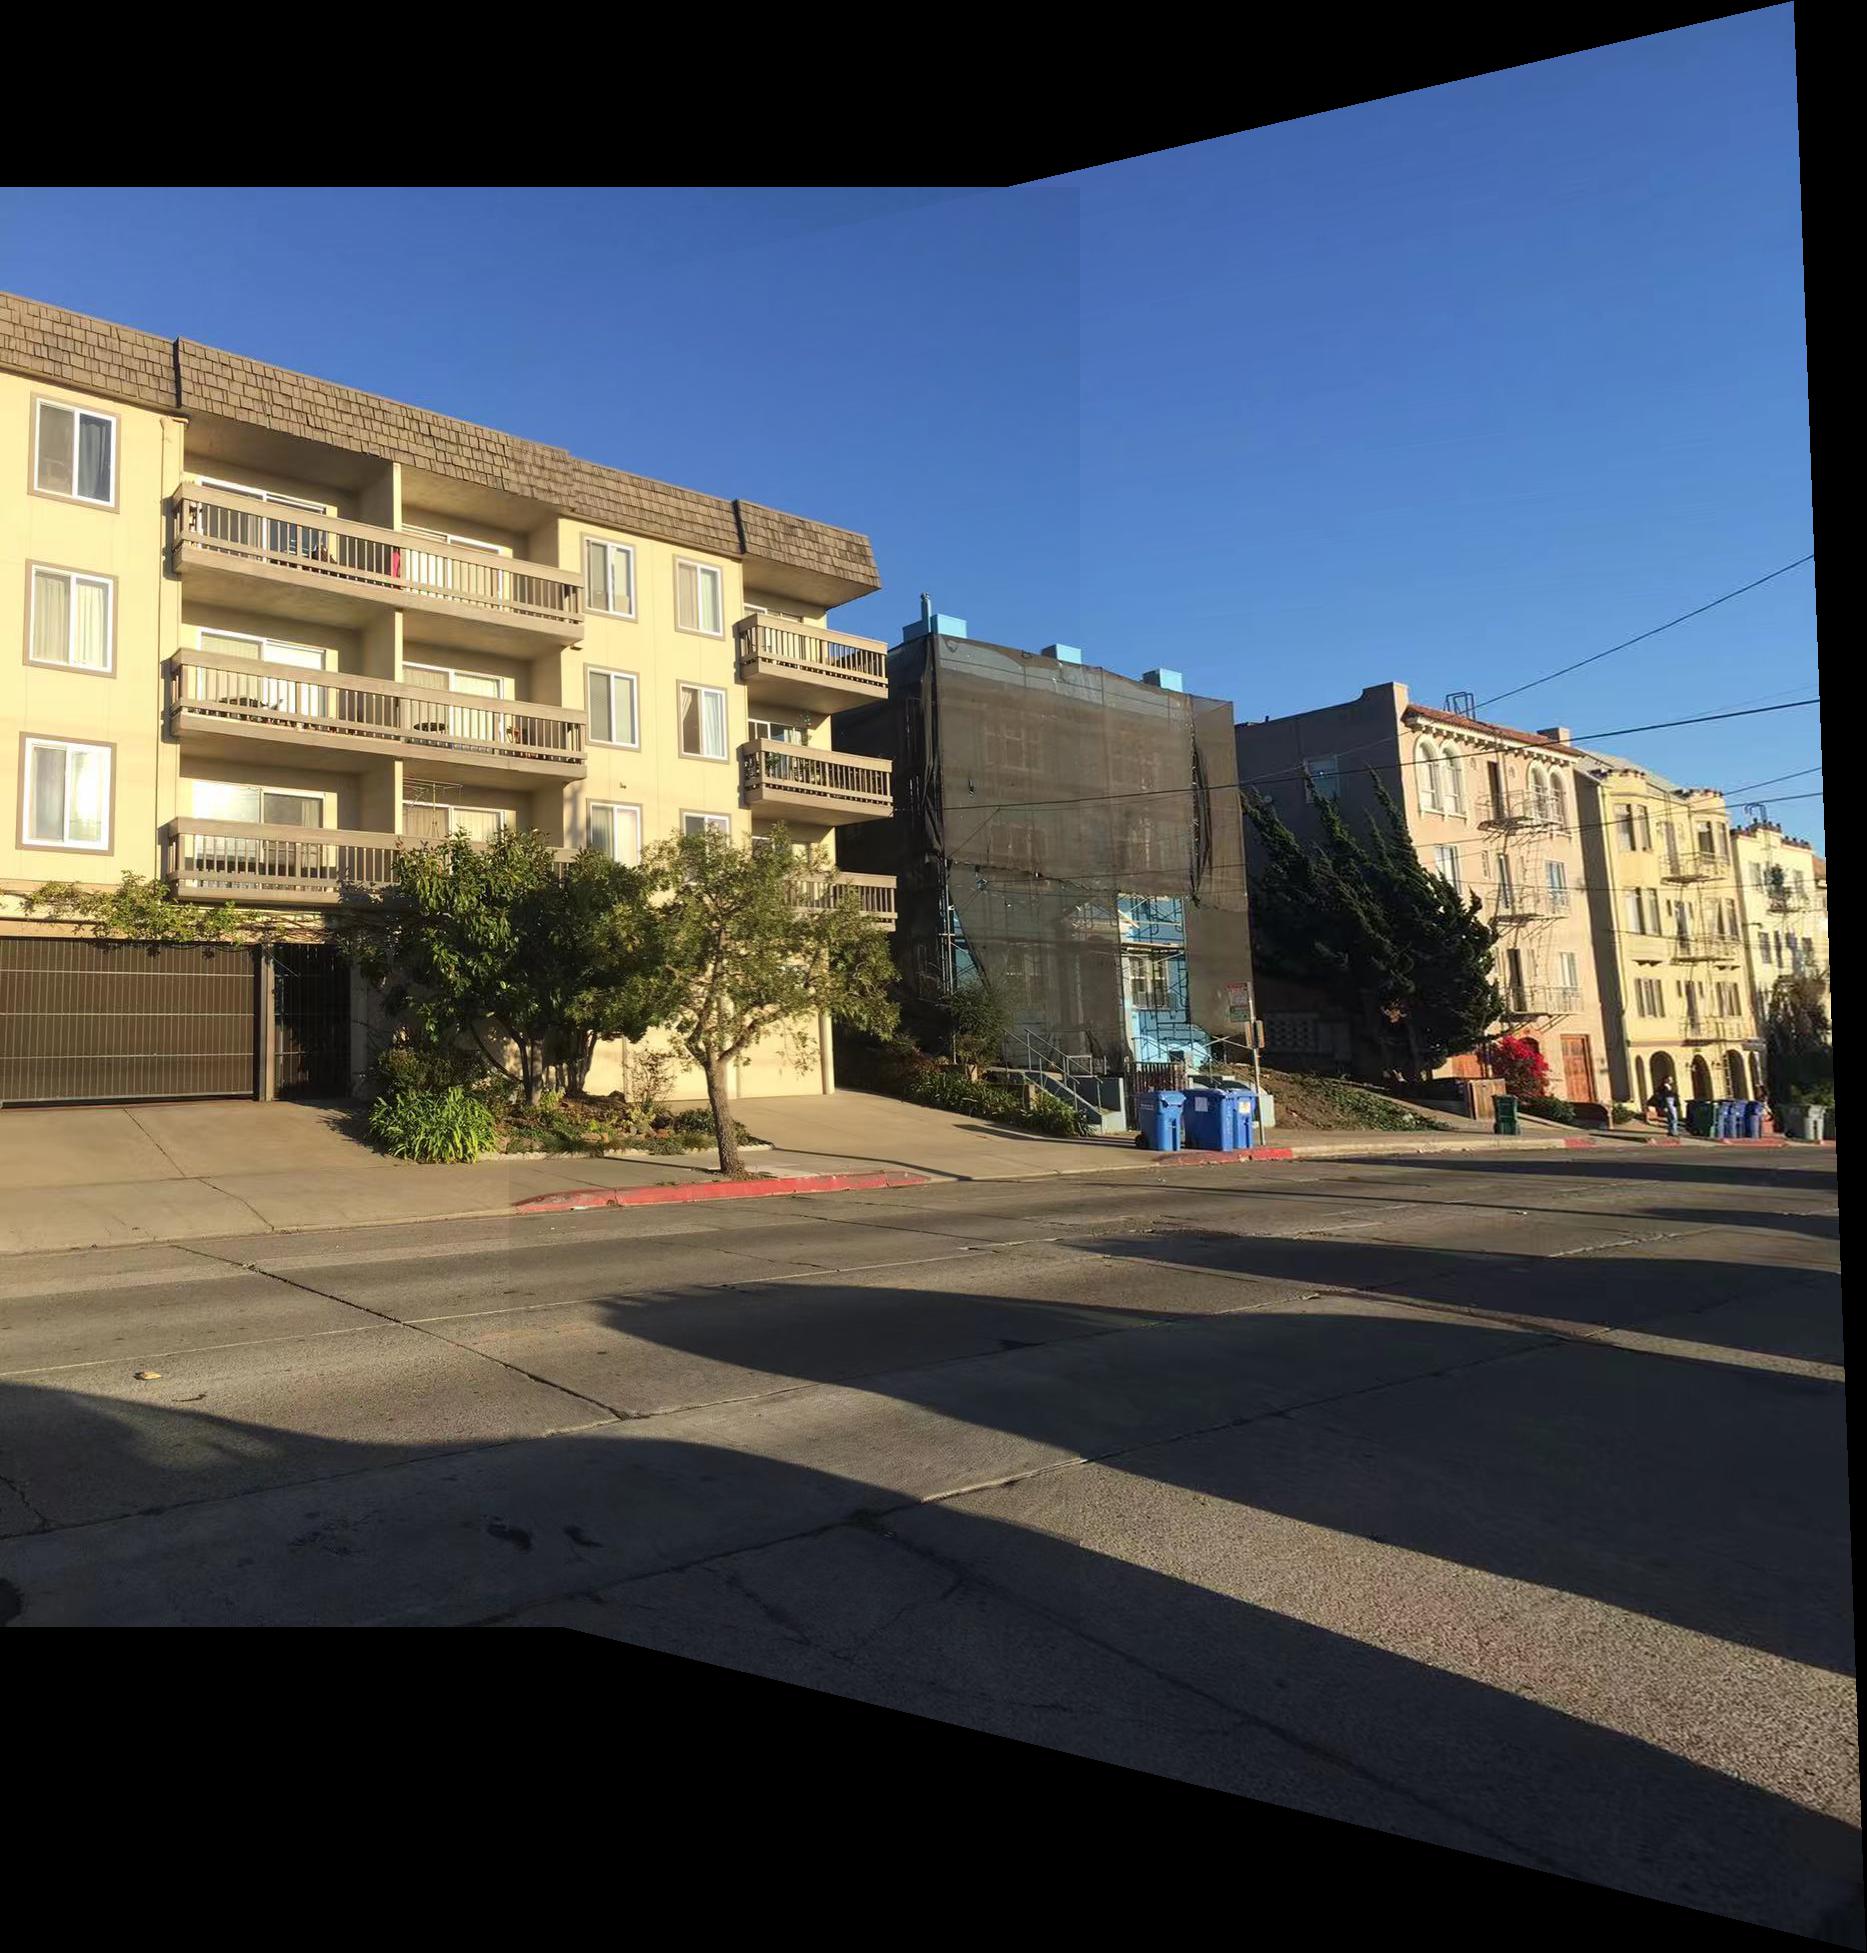
Mosaic result:
| manual stitching | auto stitching |
|---|---|
|
 |
|
 |
|
 |
The photos are not well taken because the features concentrate on one side, so during the process it is hard to give both sides with equal attention. Though it is reminded to take photos with rich features, I did not fully understand that the features should expand the whole space.