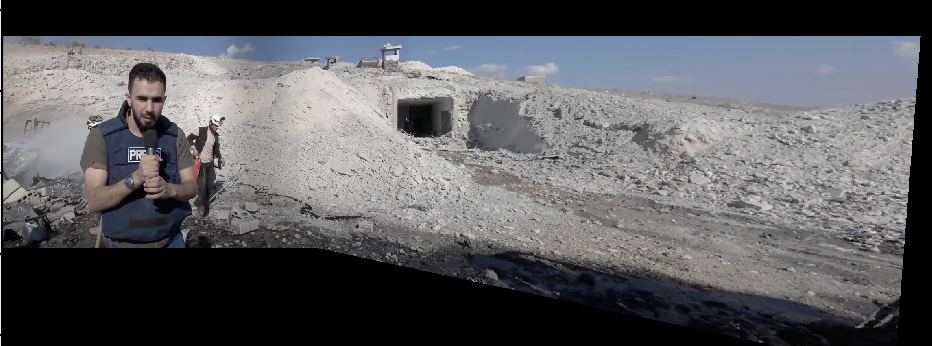
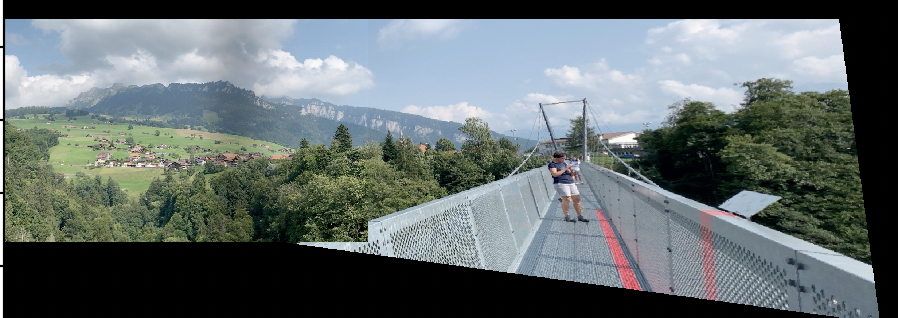
Part 2. Autostitching
The goal of this part was to take multiple images and automatically stitch them together into a seamless panorama, following most of
the details of Multi-Image Matching using Multi-Scale Oriented Patches by Brown et al, CVPR 2005.
Programming Process.
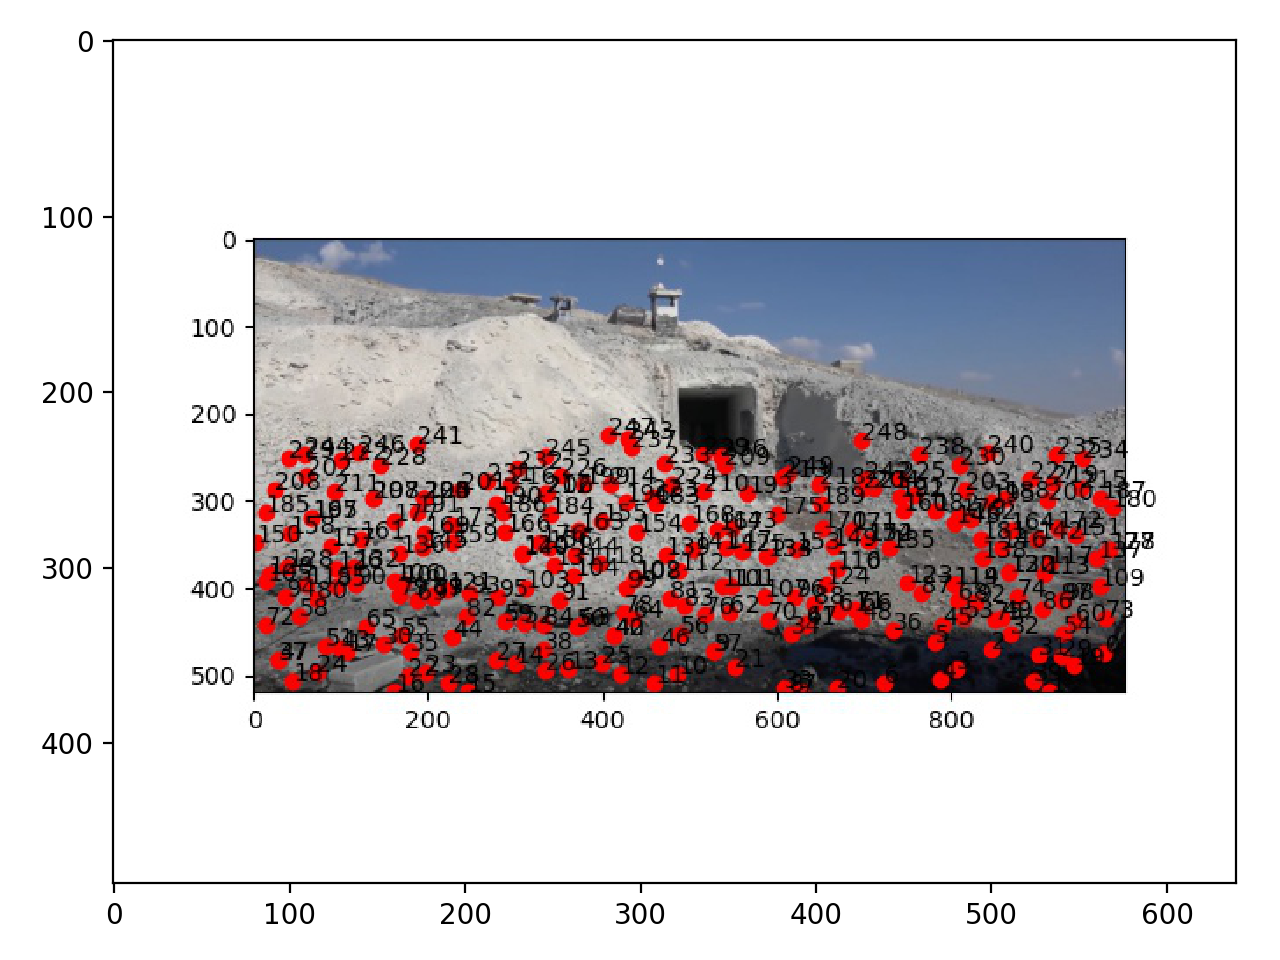
1. Interest Points Detection & ANMS. To recover an accurate transformation between the images, we want point correspondences that are well spatially distributed within the image, and not just the most prominent points. The ANMS algorithm
works by computing the suppression radius for each feature, where the strongest response has radius of infinity, which is the smallest distance to another point that is significantly stronger. After the strongest point, every other feature will have a non-negative radius at most as big as its distance from the strongest.
We can then sort our features based on radius size, thus creating spatially well distribution of points.
2. Feature descriptor extraction and feature matching .
I extract 8x8 patches for each feature by taking every 5th pixel in the image, so that to have a low-frequency descriptor. To match we use the Lowe's method and Euclidean distance
metric between the descriptors of each feature.
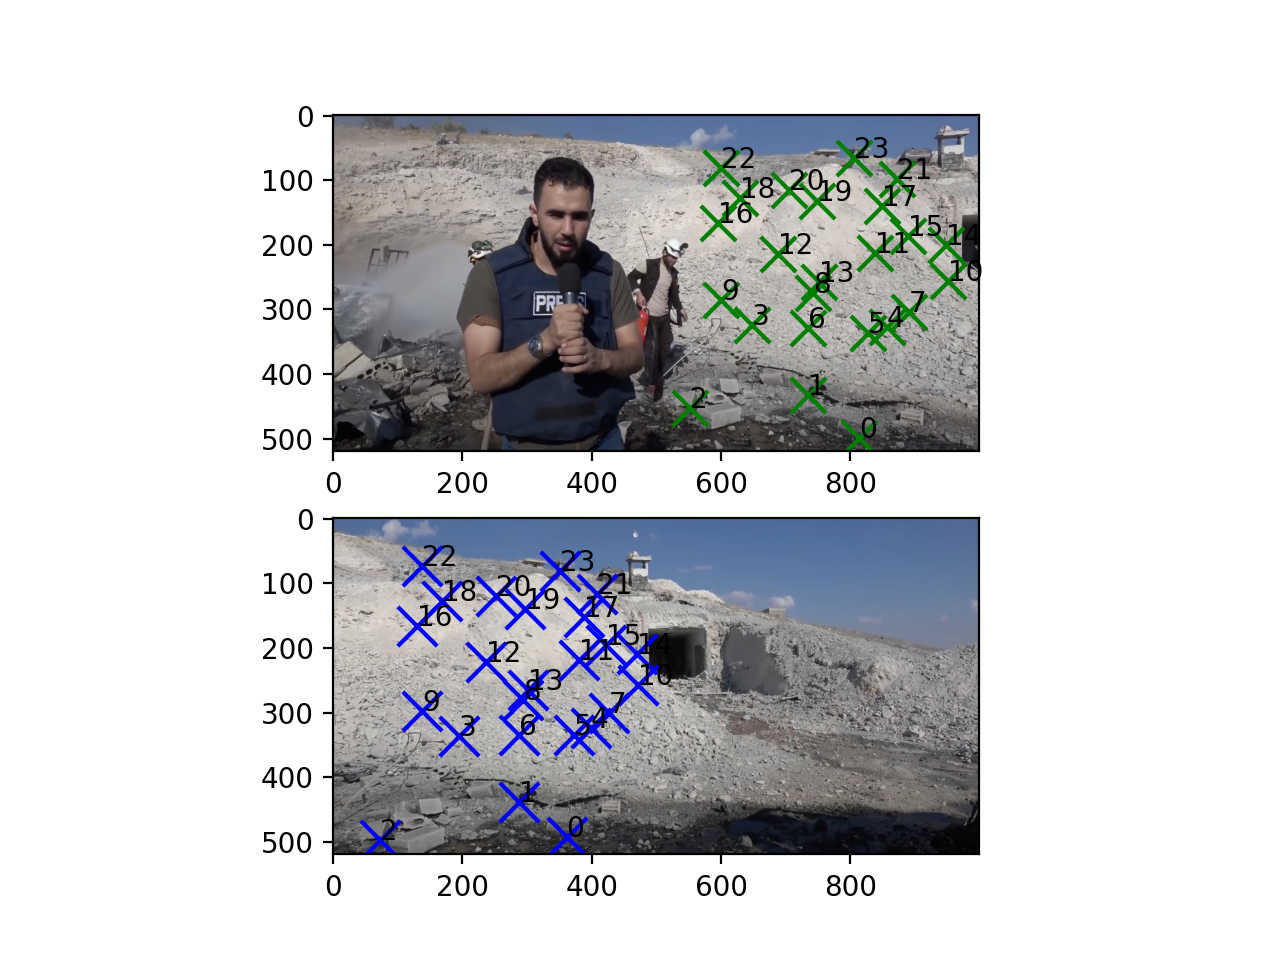
3. Ransac and autostitching.
RANSAC algorithm brings robustness in outliers detection, helping to make sure the matching points are correct.
Reflections.
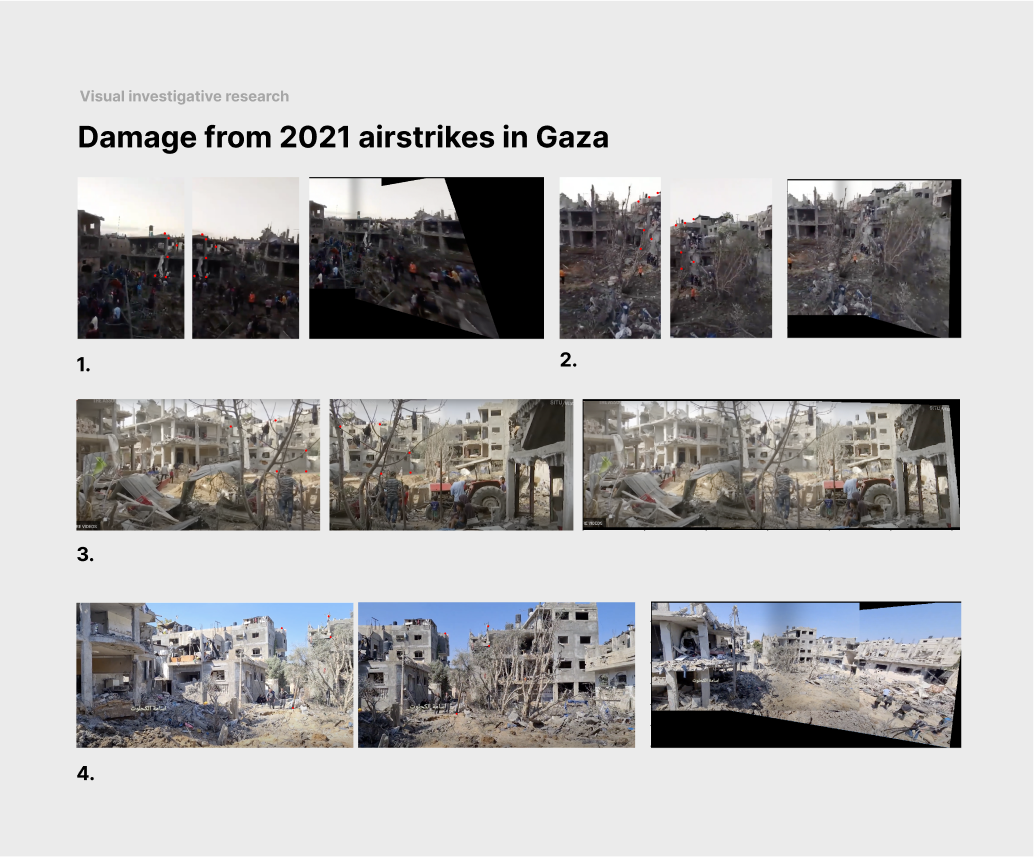
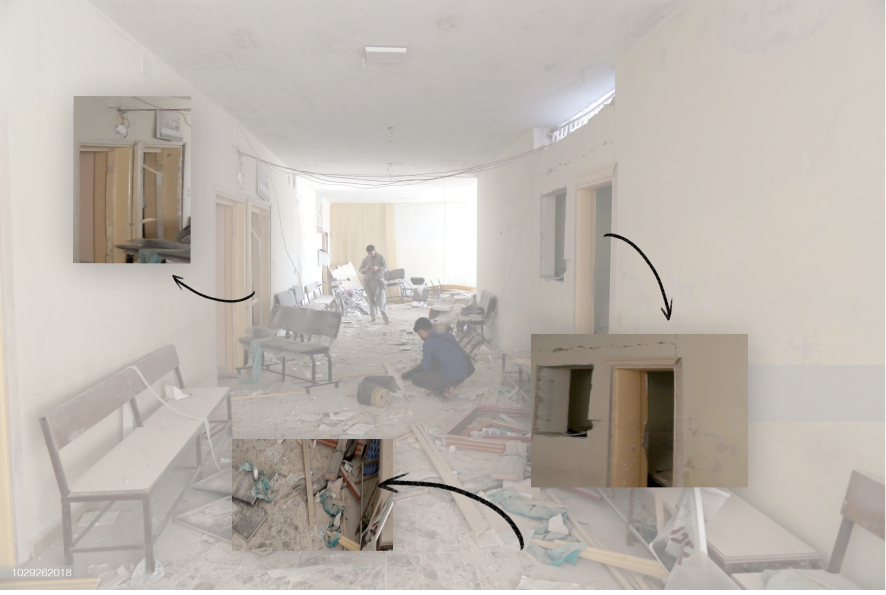
I learned a lot about new algorithms like RANSAC, ANSM, and Lowe's methods. Besides, I found a lot of value in this project as it gives me an opportunity to find new methods for investigative research in the context of human rights violations in war crimes.
The Syrian and Gaza Strip airstrikes imagery comes from my personal collaboration with Human Rights Center, Associated Press, and SITU Research. I am inspired to deeper explore computer vision techniques
to contribute to the field of investigative research for visual journalism and architectural practices.
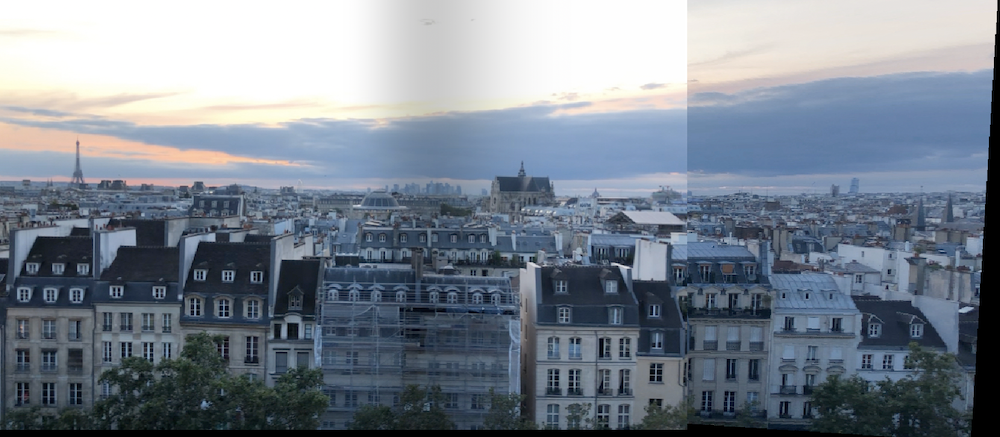
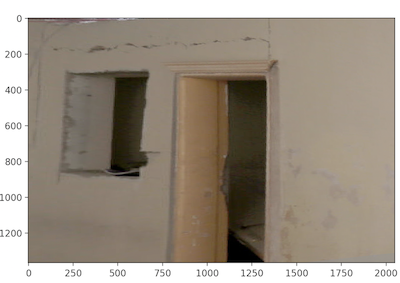
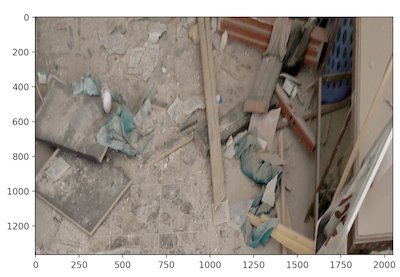
Part 1. Mosaicing & Rectification
Mosaicing is created by registering, projective warping, resampling, and compositing images together. Image rectification is the image warping process with the frontal-parallel plane.
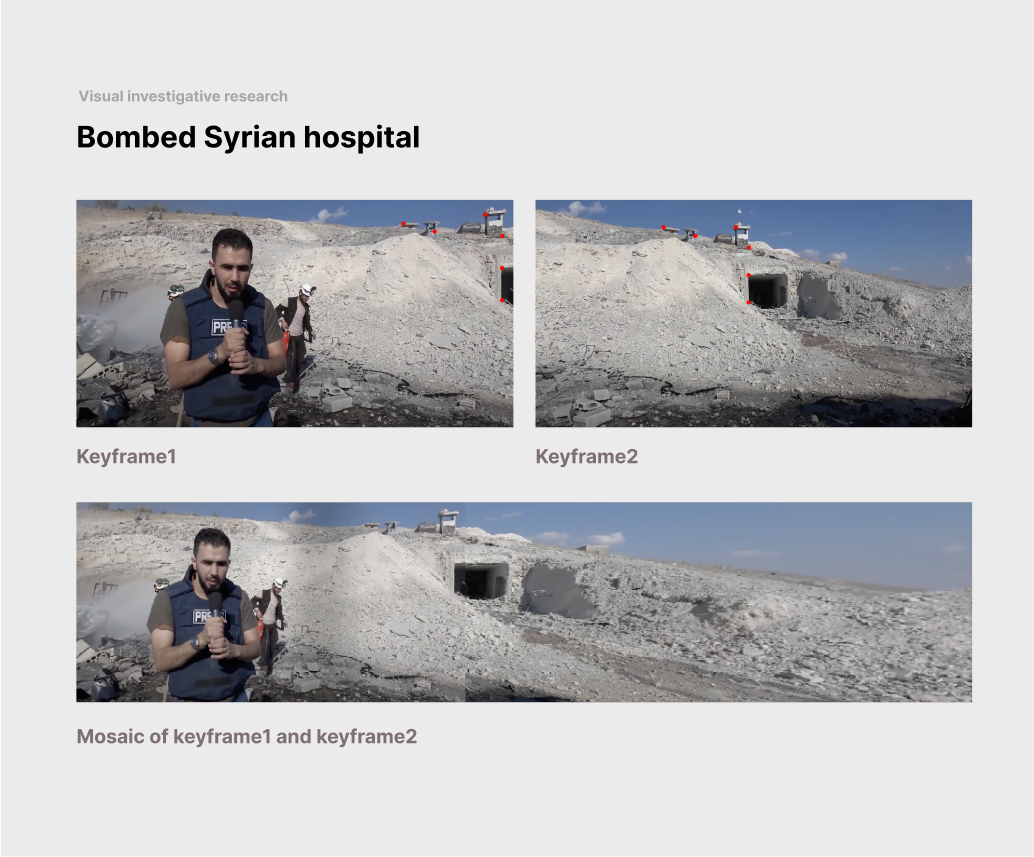
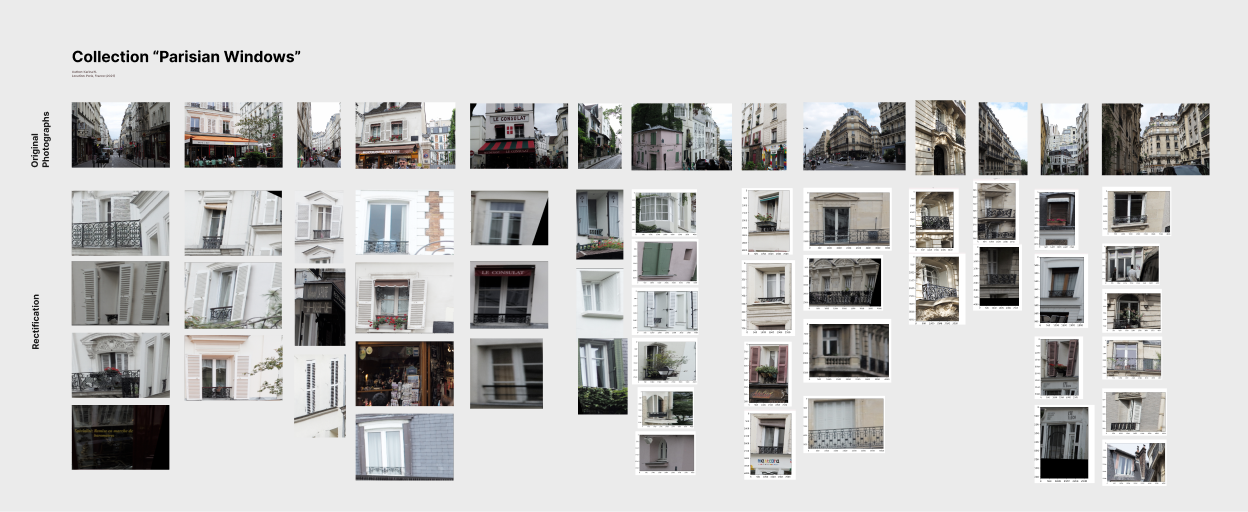
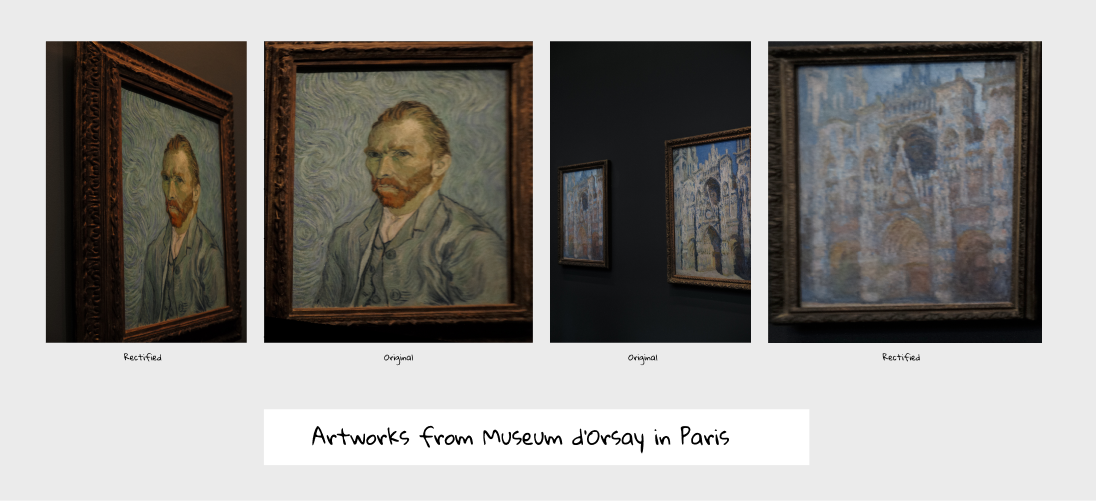
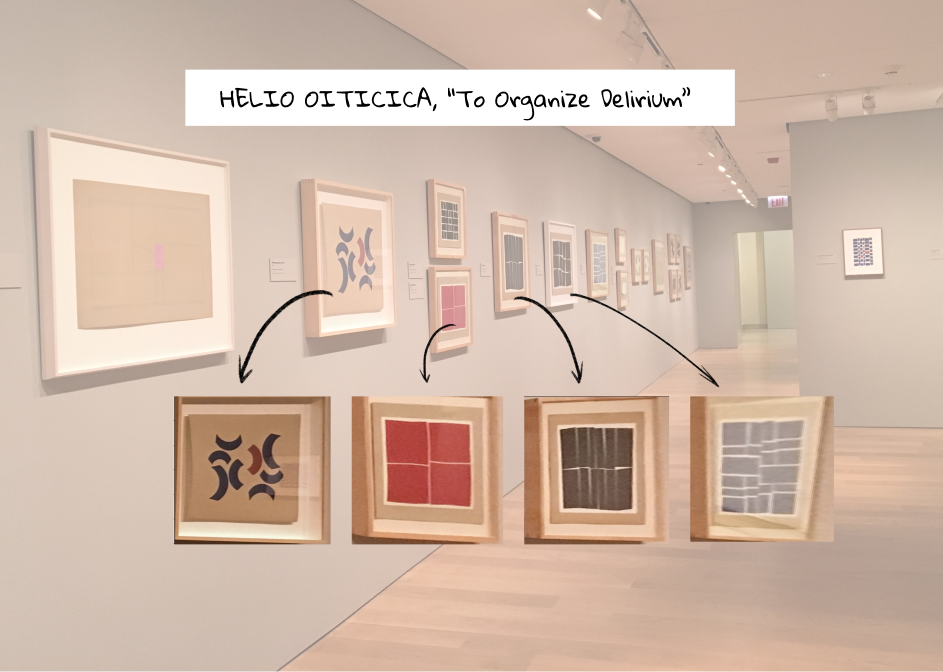
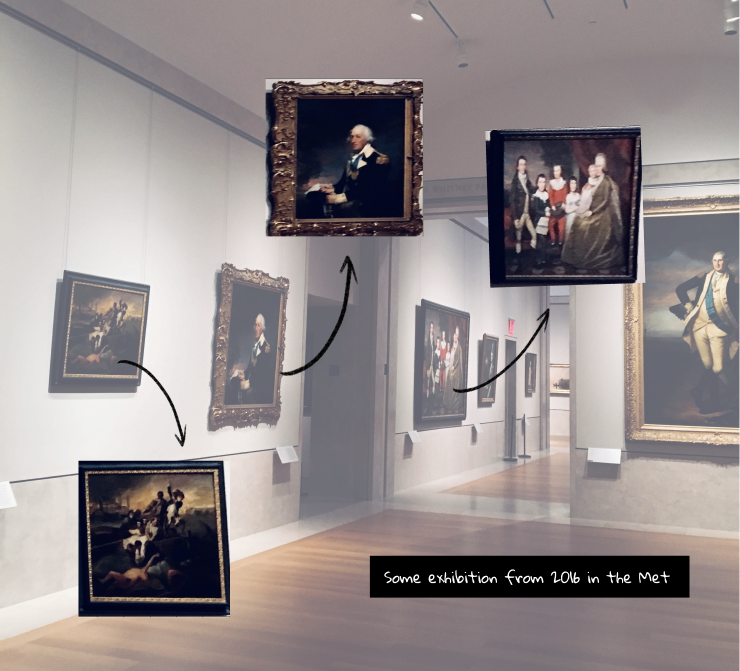
For Bells & Whistles, I have done three mini-projects: a very compelling application to a visual investigative analysis, a collection "Parisian Windows," and a collection "Art from Angle."
Programming Process.
1. Select Points / Annotation. I used ginput function from matplotlib to manually pick the keypoints from the images. On average during my experiments I would
pick N=4 (keypoints), which is enough to recover homography, but sometimes more than 4 led to better results espectially for more noisy images and with low resolution.
2. Warping and Recover Homography .
Warping images is essential to make images to be in the same plane. Recovering homography through the matrix H that was shown in the class, I defined each corrispondende point to be
2 rows in the matrix A with x,y coordinates for both images. I then used least squares to find the best homography and then project image1 into image2 with inverse warp.
3. Mosaicing.
I select corrispondence points around the same (overlapping) object in both images. Using H and our warps of each image in warpImage function, I could create a mosaic. By warping image1 to the image plane of image1 by using our computed H. Then, shift image1 with respect to the warp.
To blend two images together, I use a linear blending, using the mask with alpha value.
3. Rectification.
Using homography matrix H, we can project single images into different views / persepctives. Image rectification is limited though as it might distort metrics of the iamge in the object as it stretches out when information is missing.
<