CS194-26 Project 4a: Mosaic
Overview
In this project, I used perspective warp to warp images onto the a different plane, thereby rectifying them or stitching images from different angles together. This is done by finding the homography matrix using point correspondances, and warping images onto different spaces.
Images that I took
Here are the images that I took that are going to be used in this assignment.
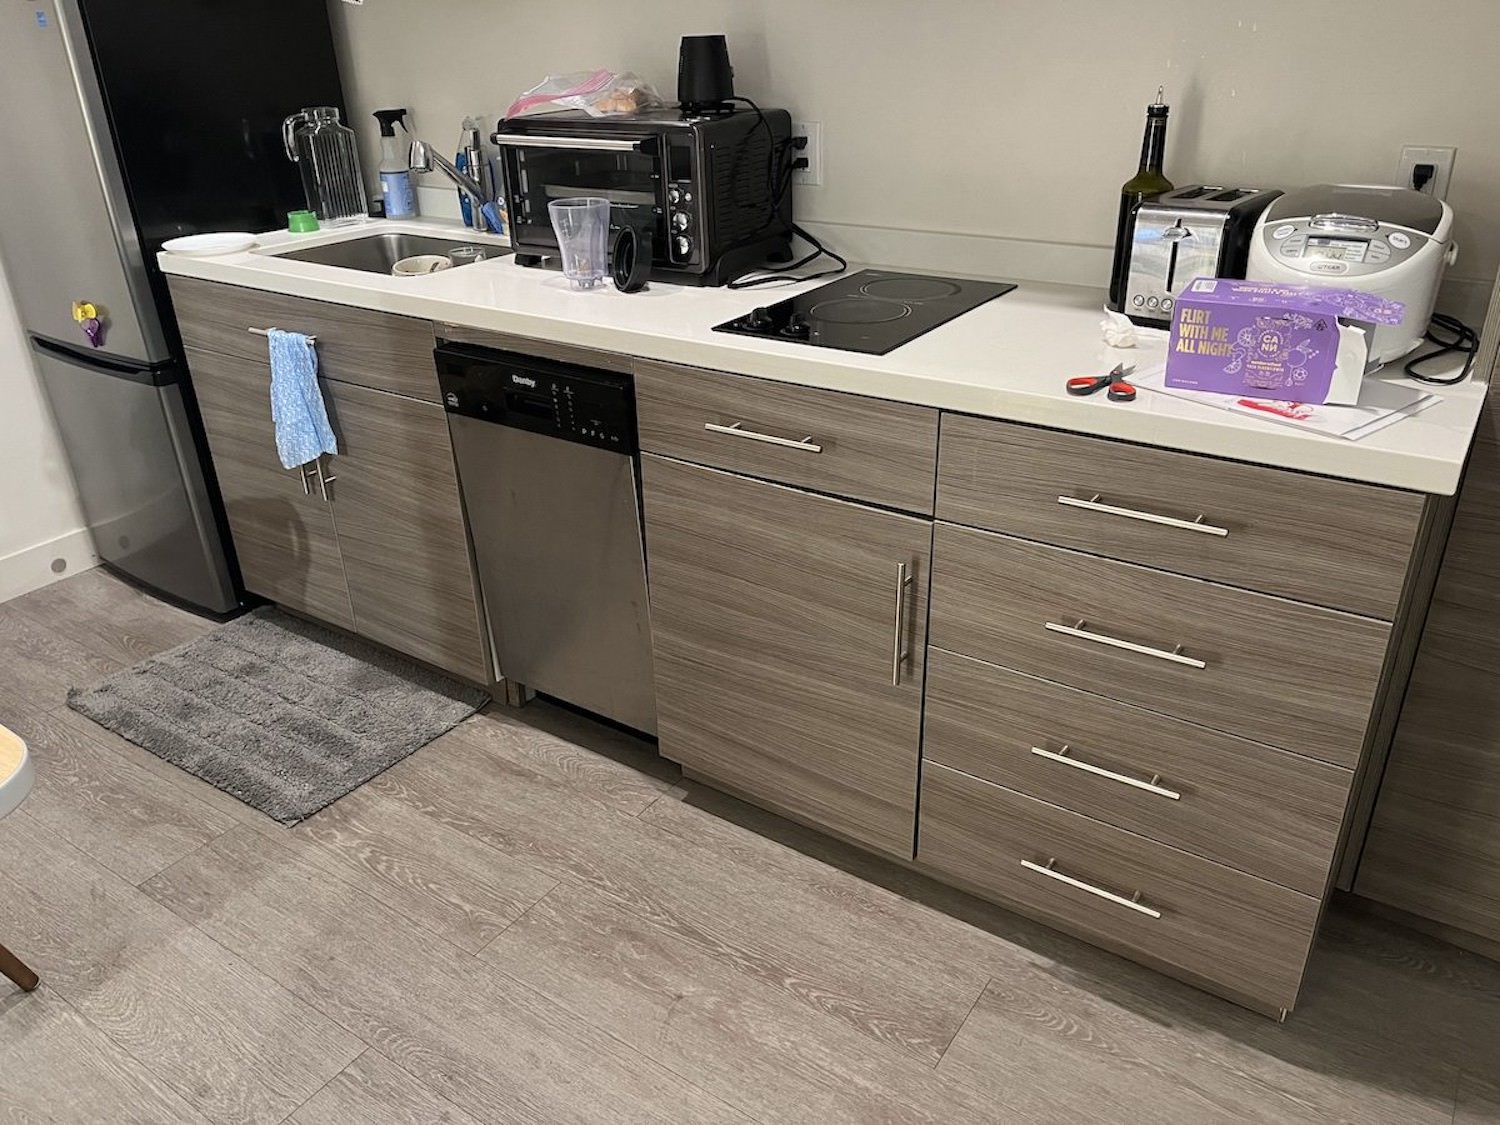
 Left of the bench
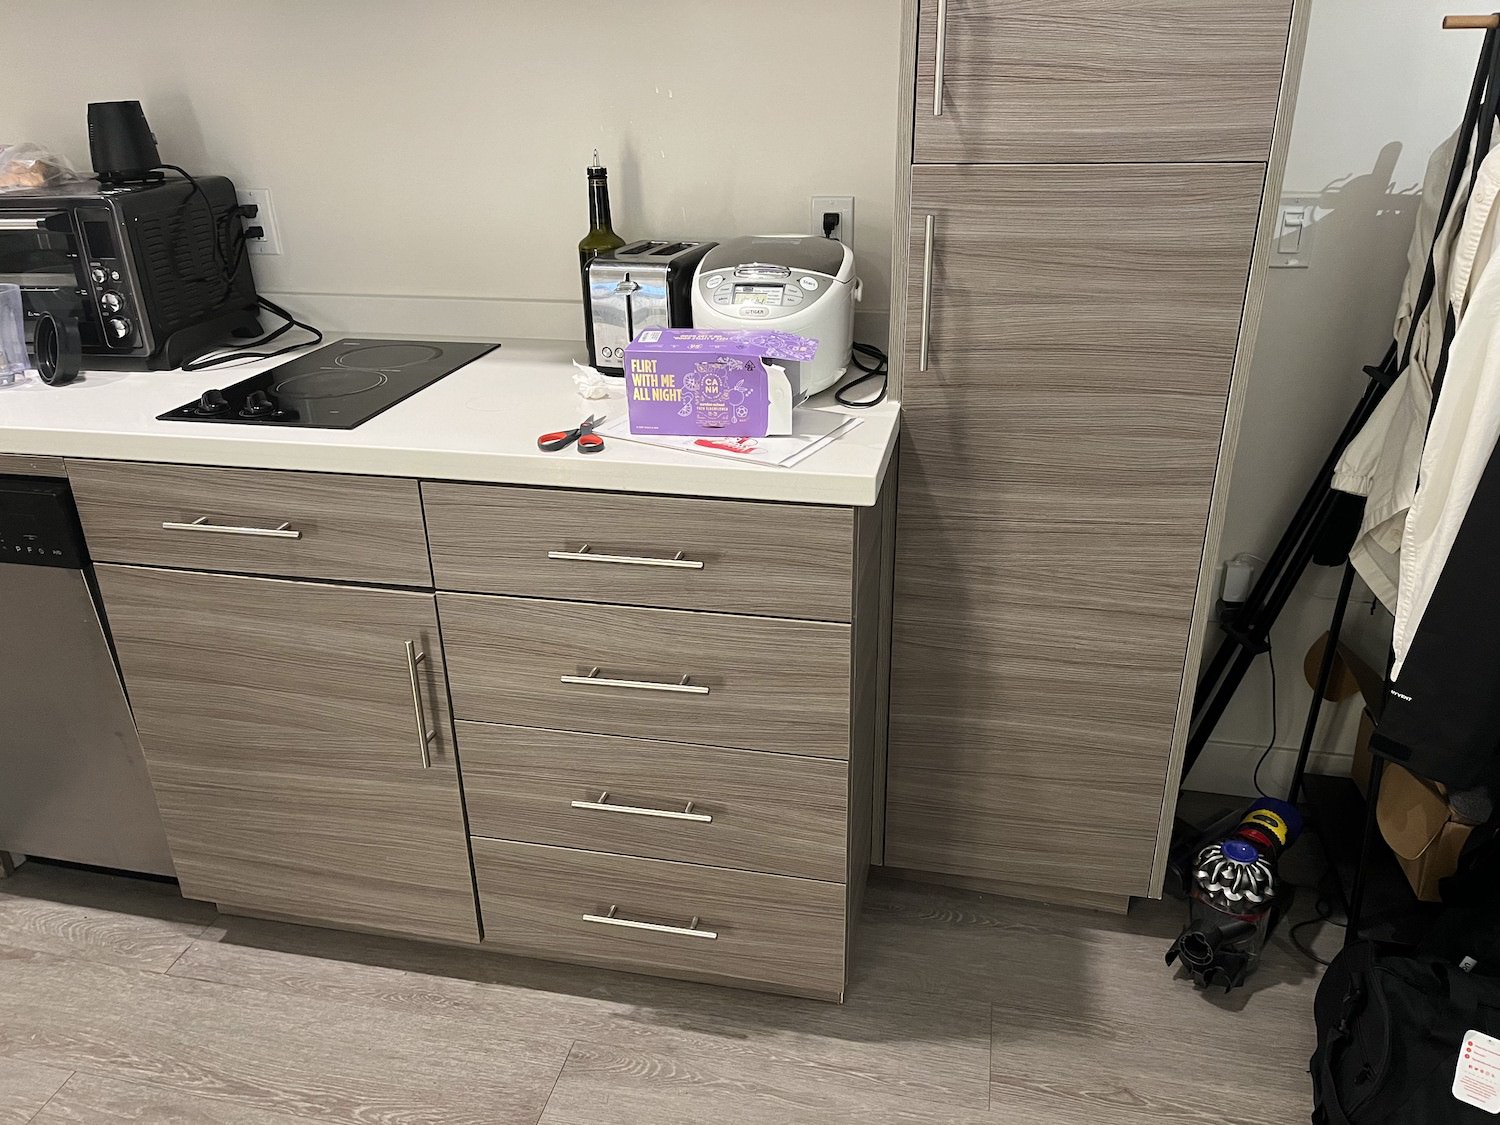
 Right of the bench
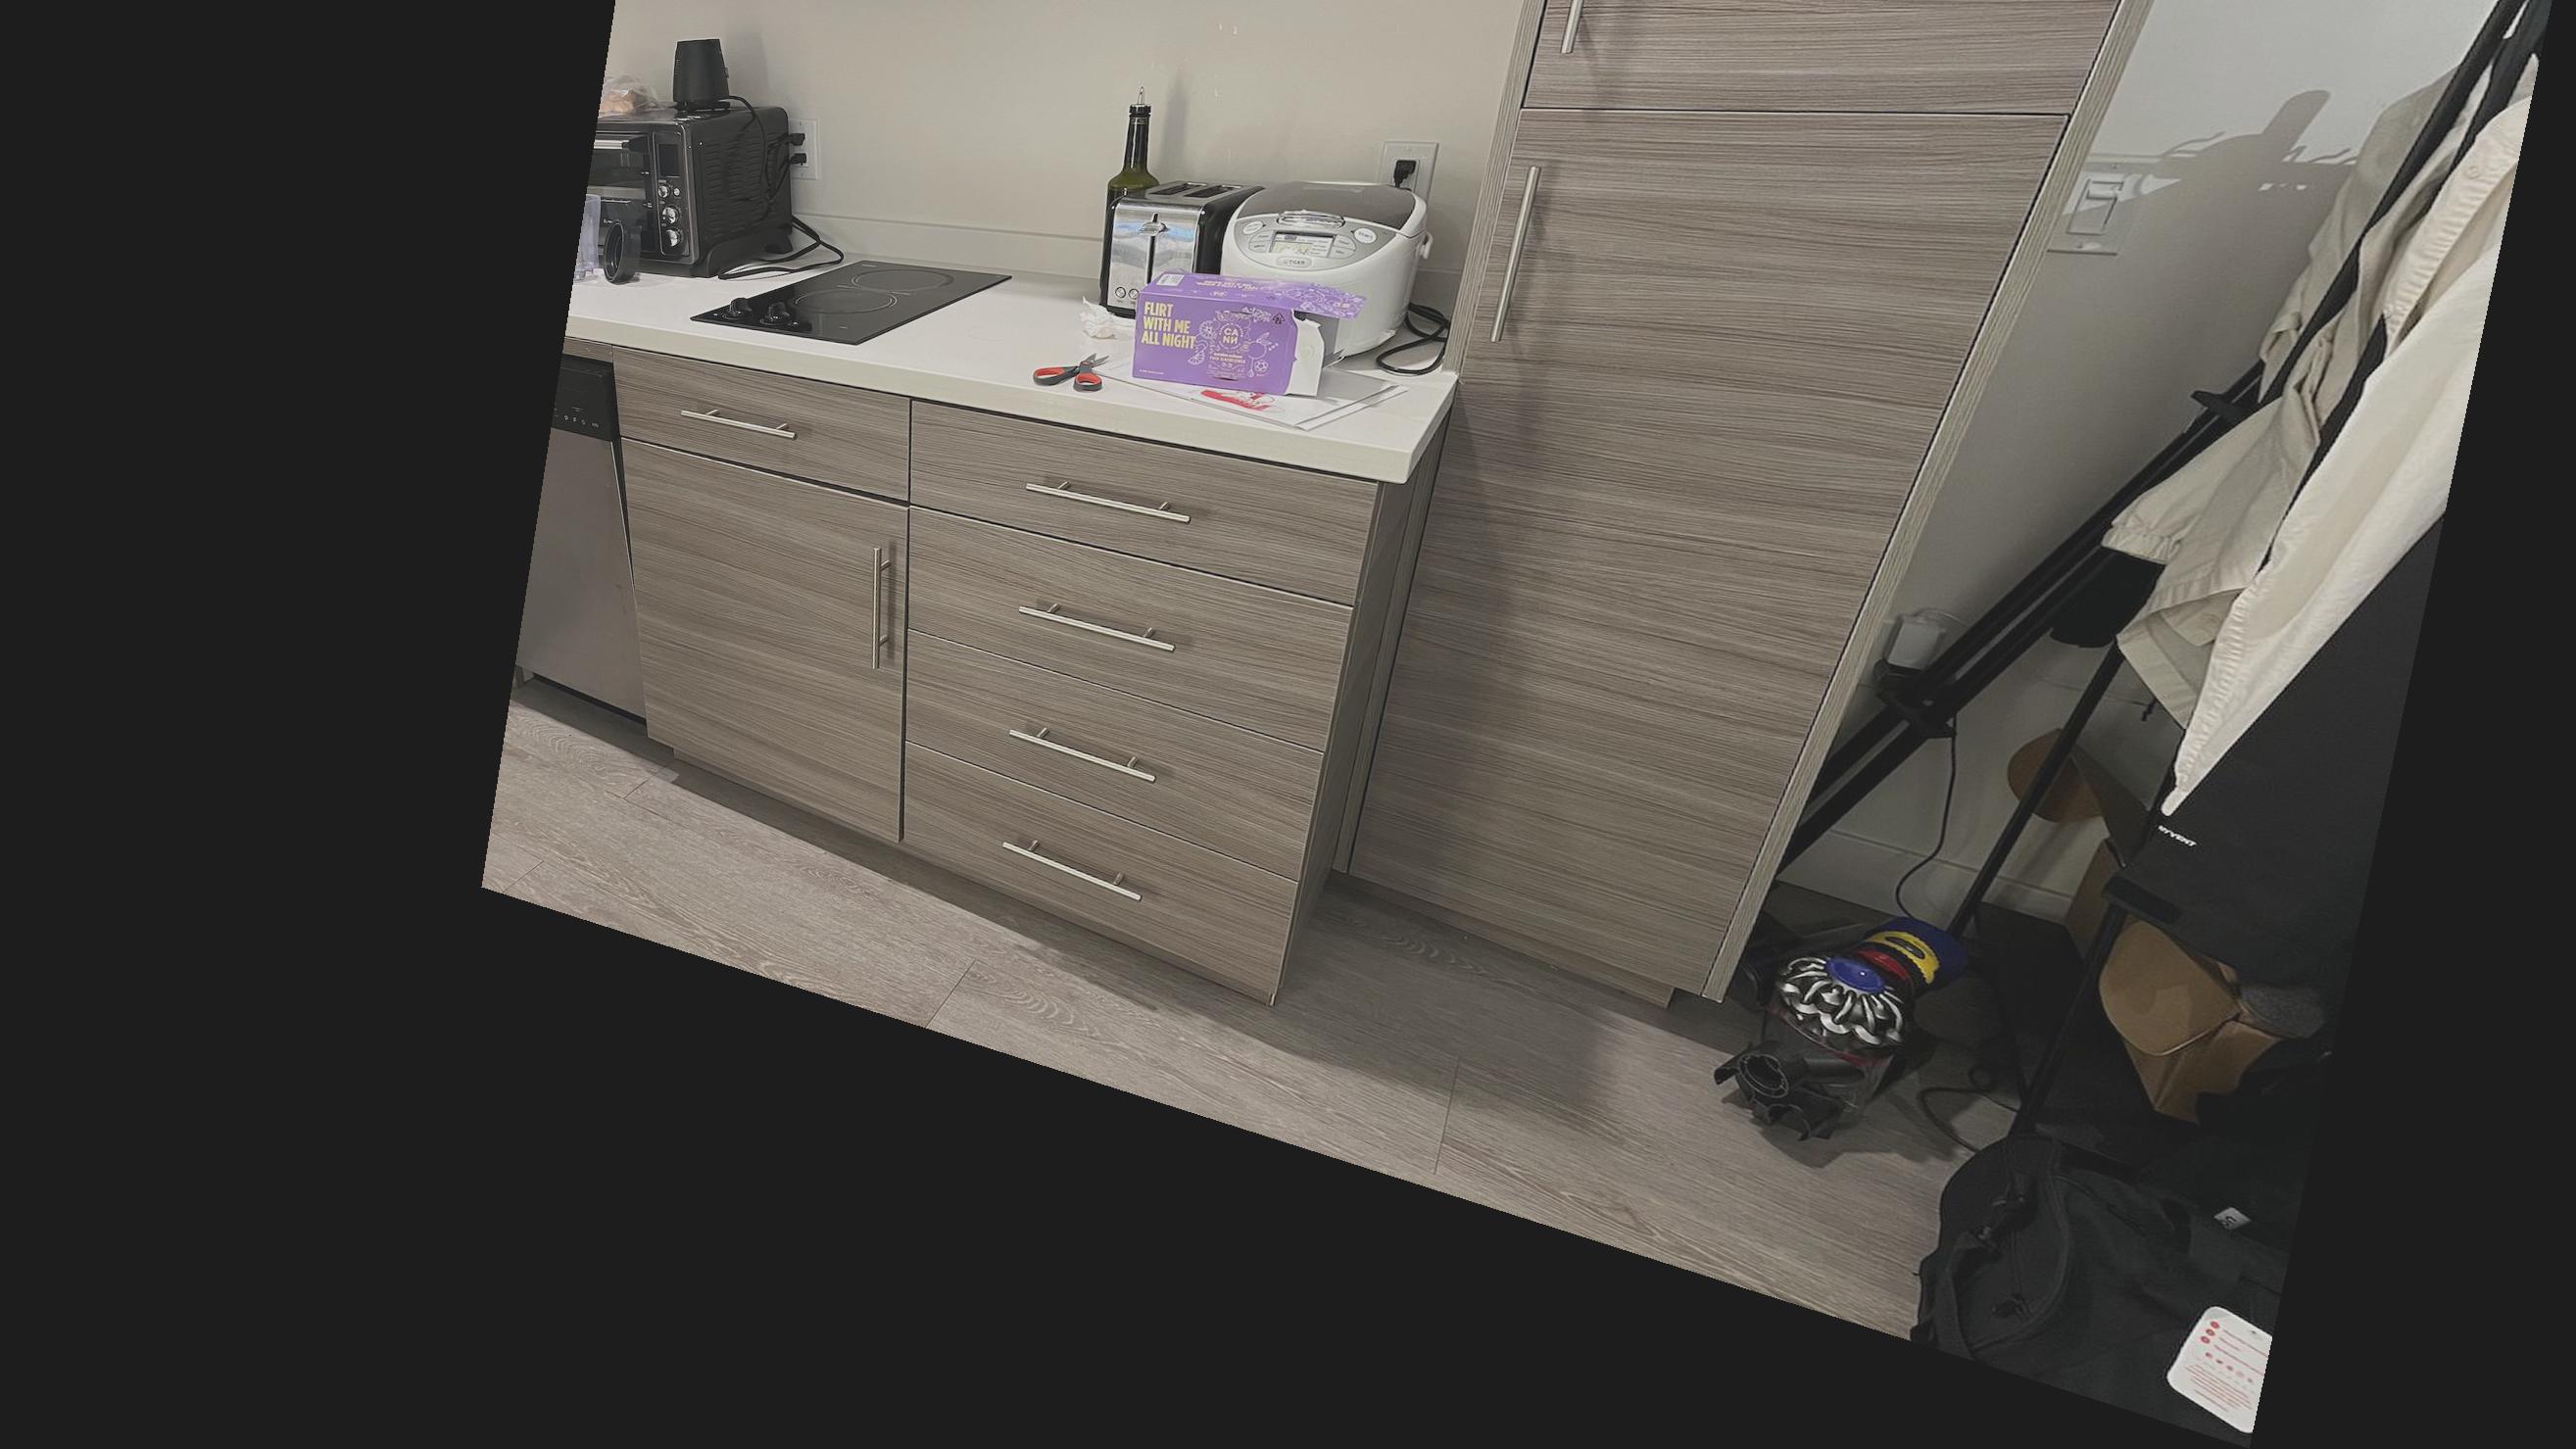
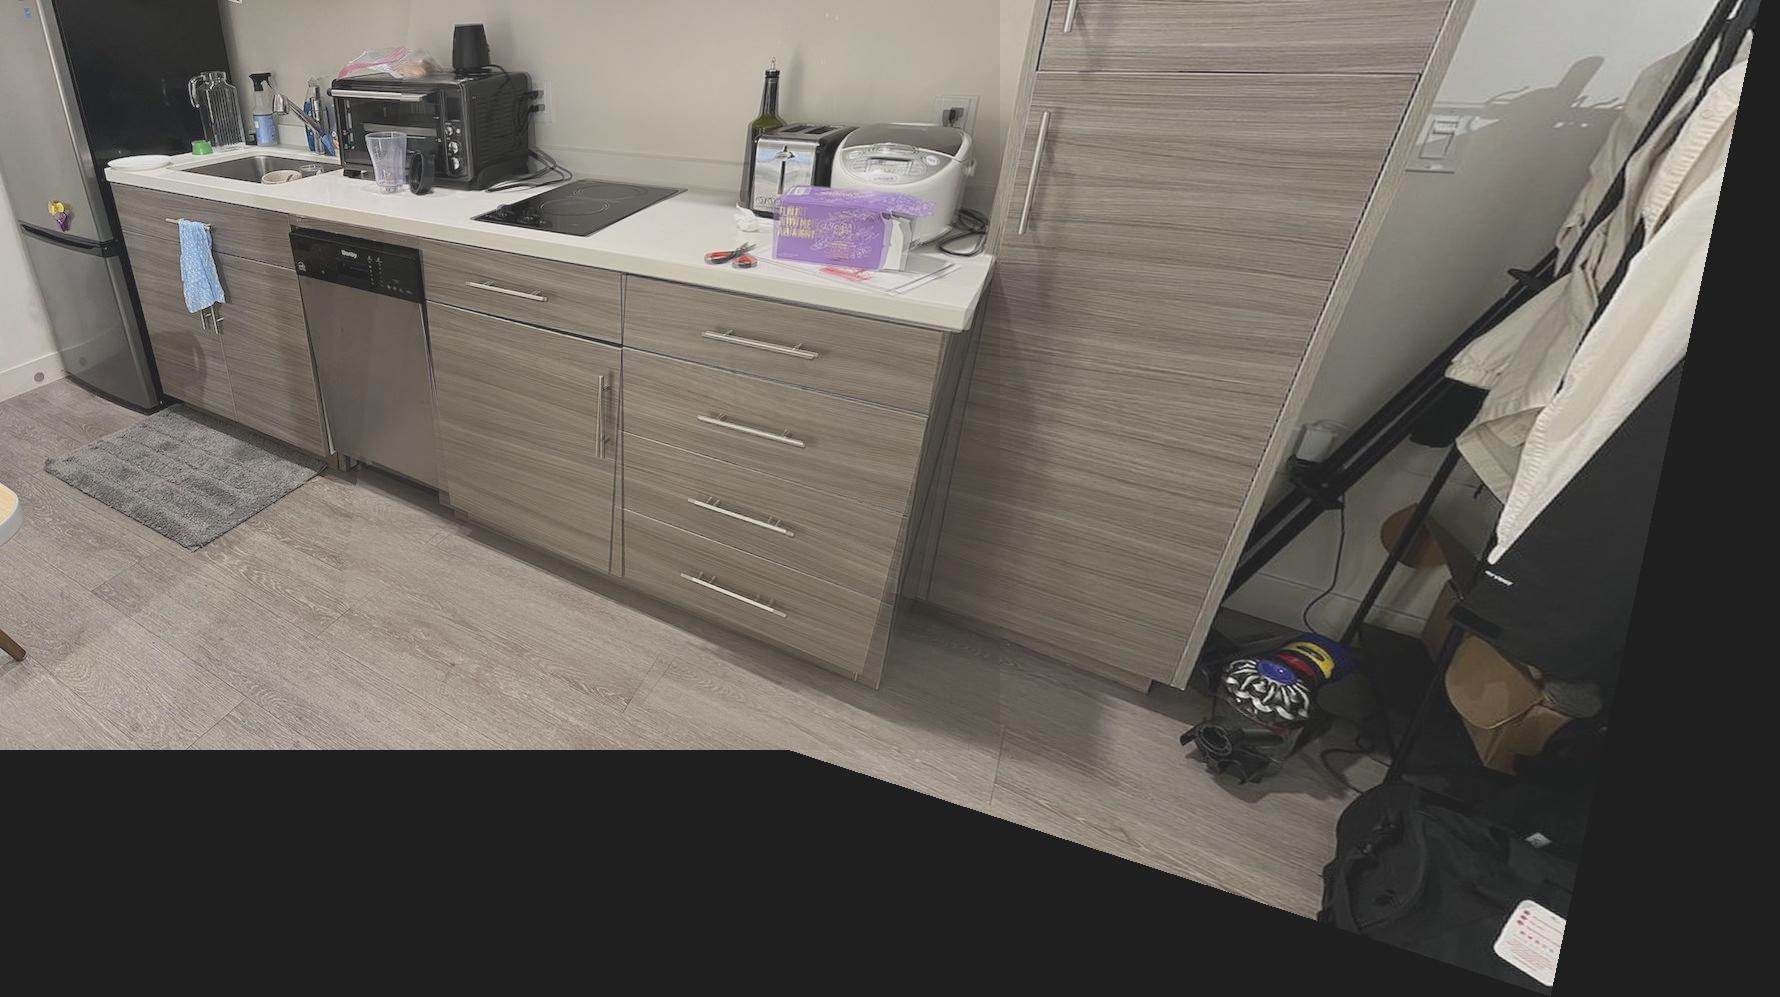
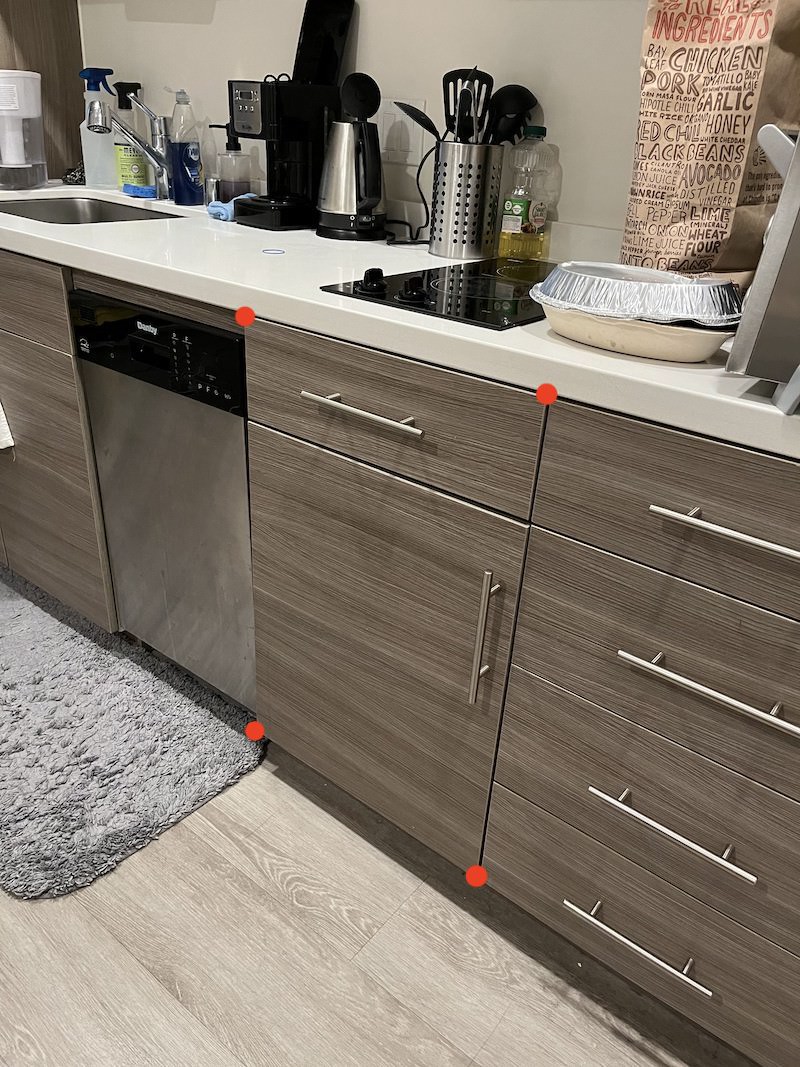 My shelf
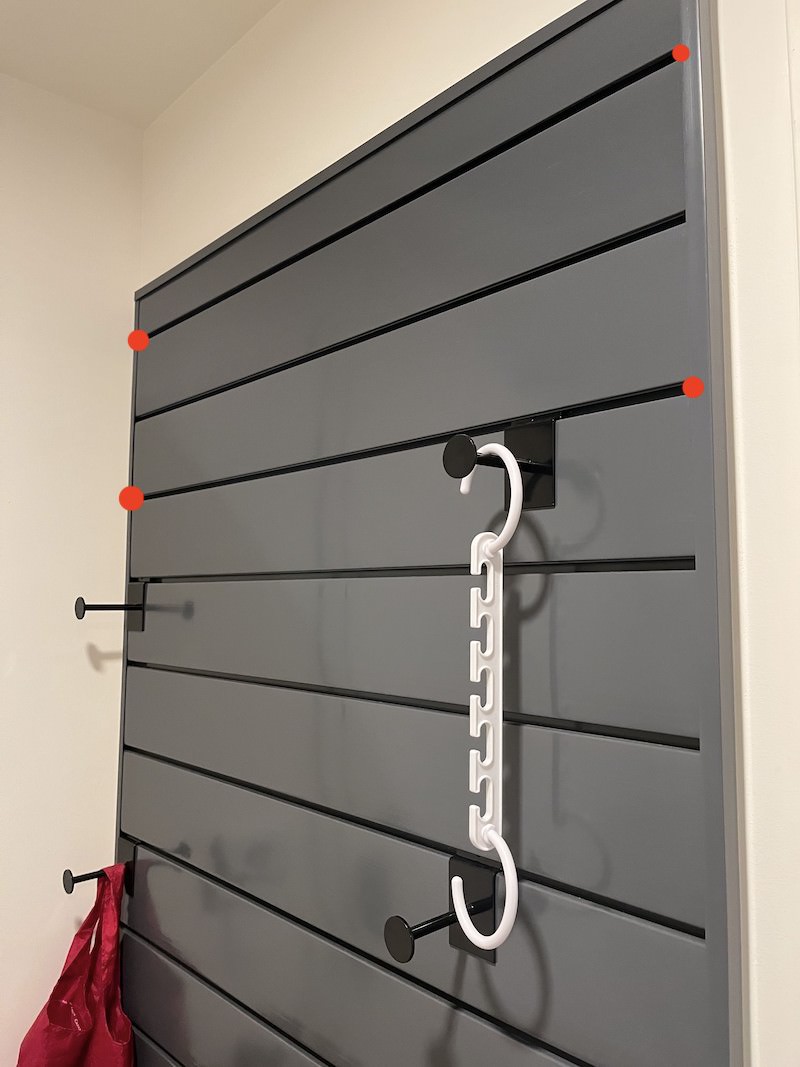 My hangers
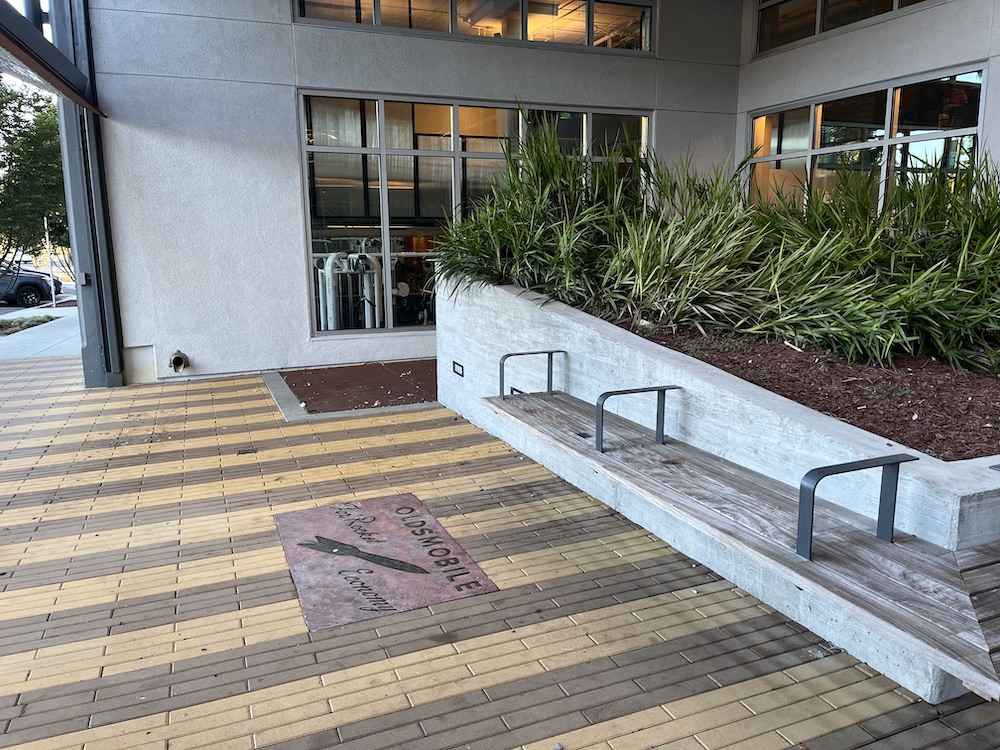
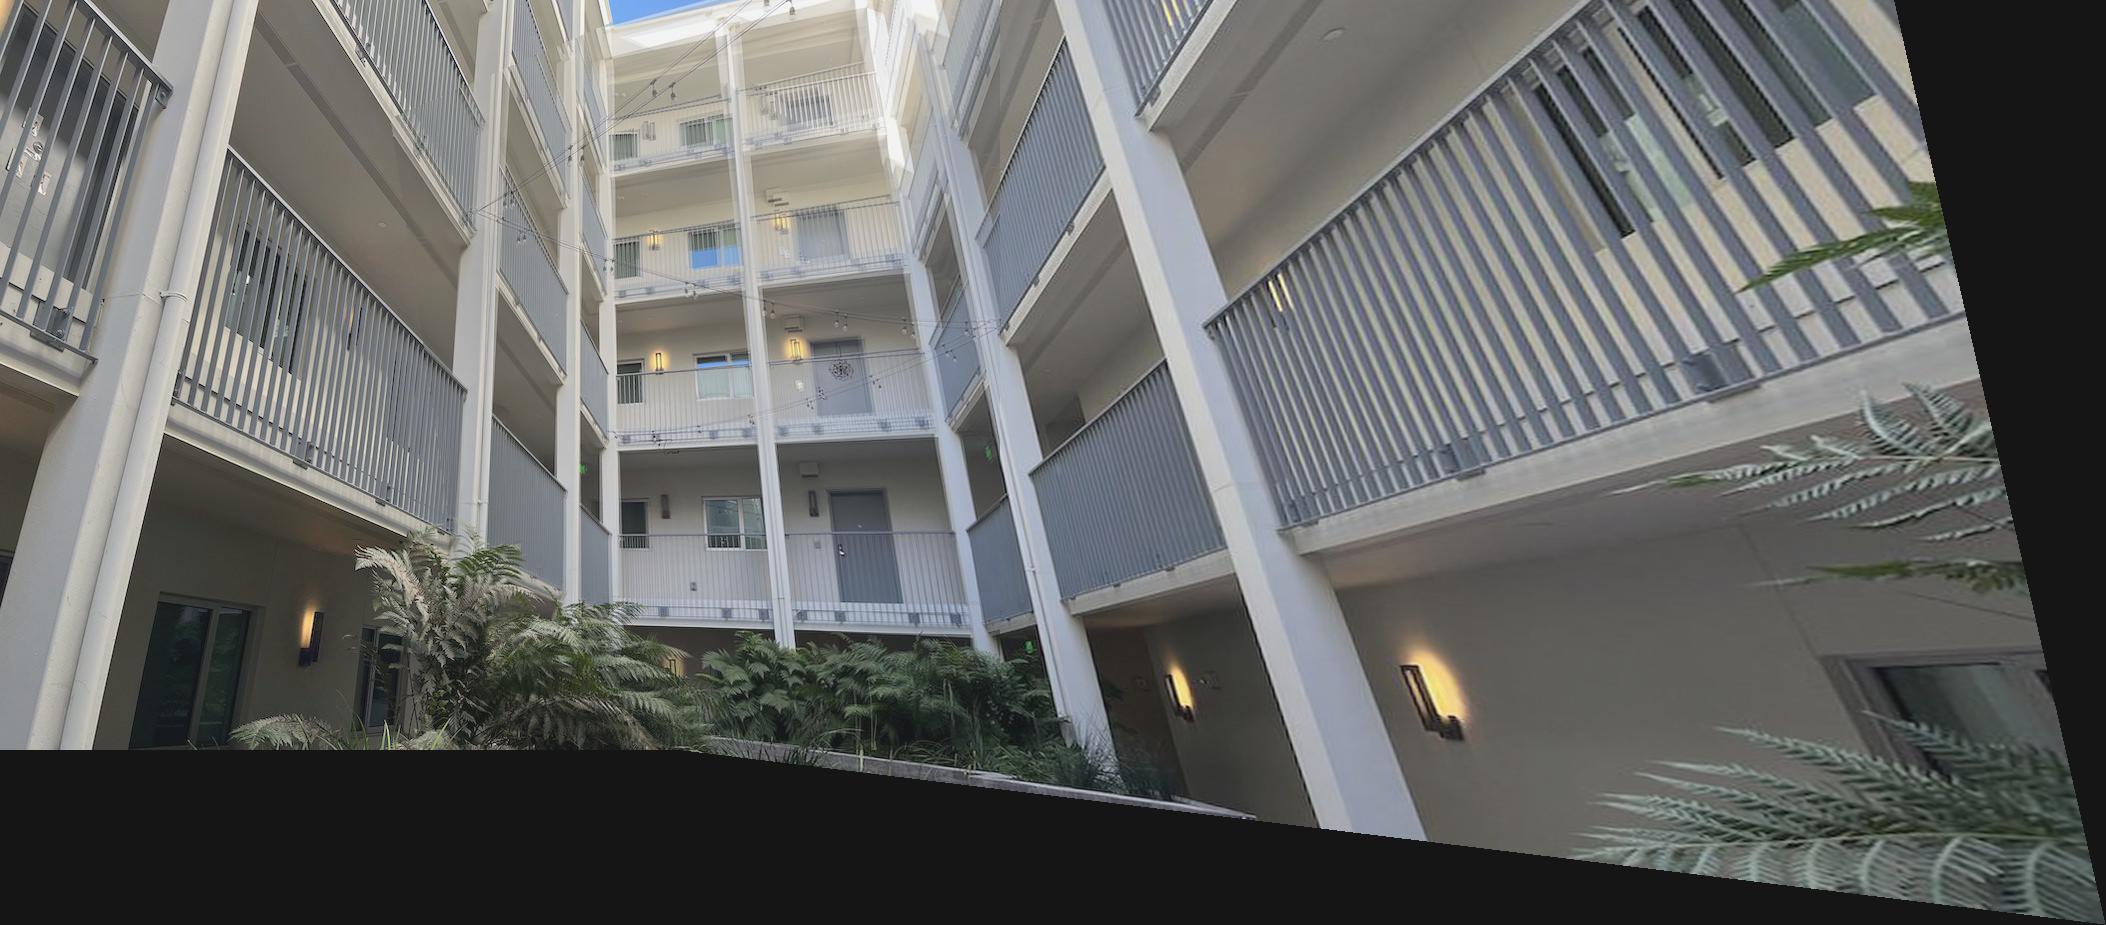
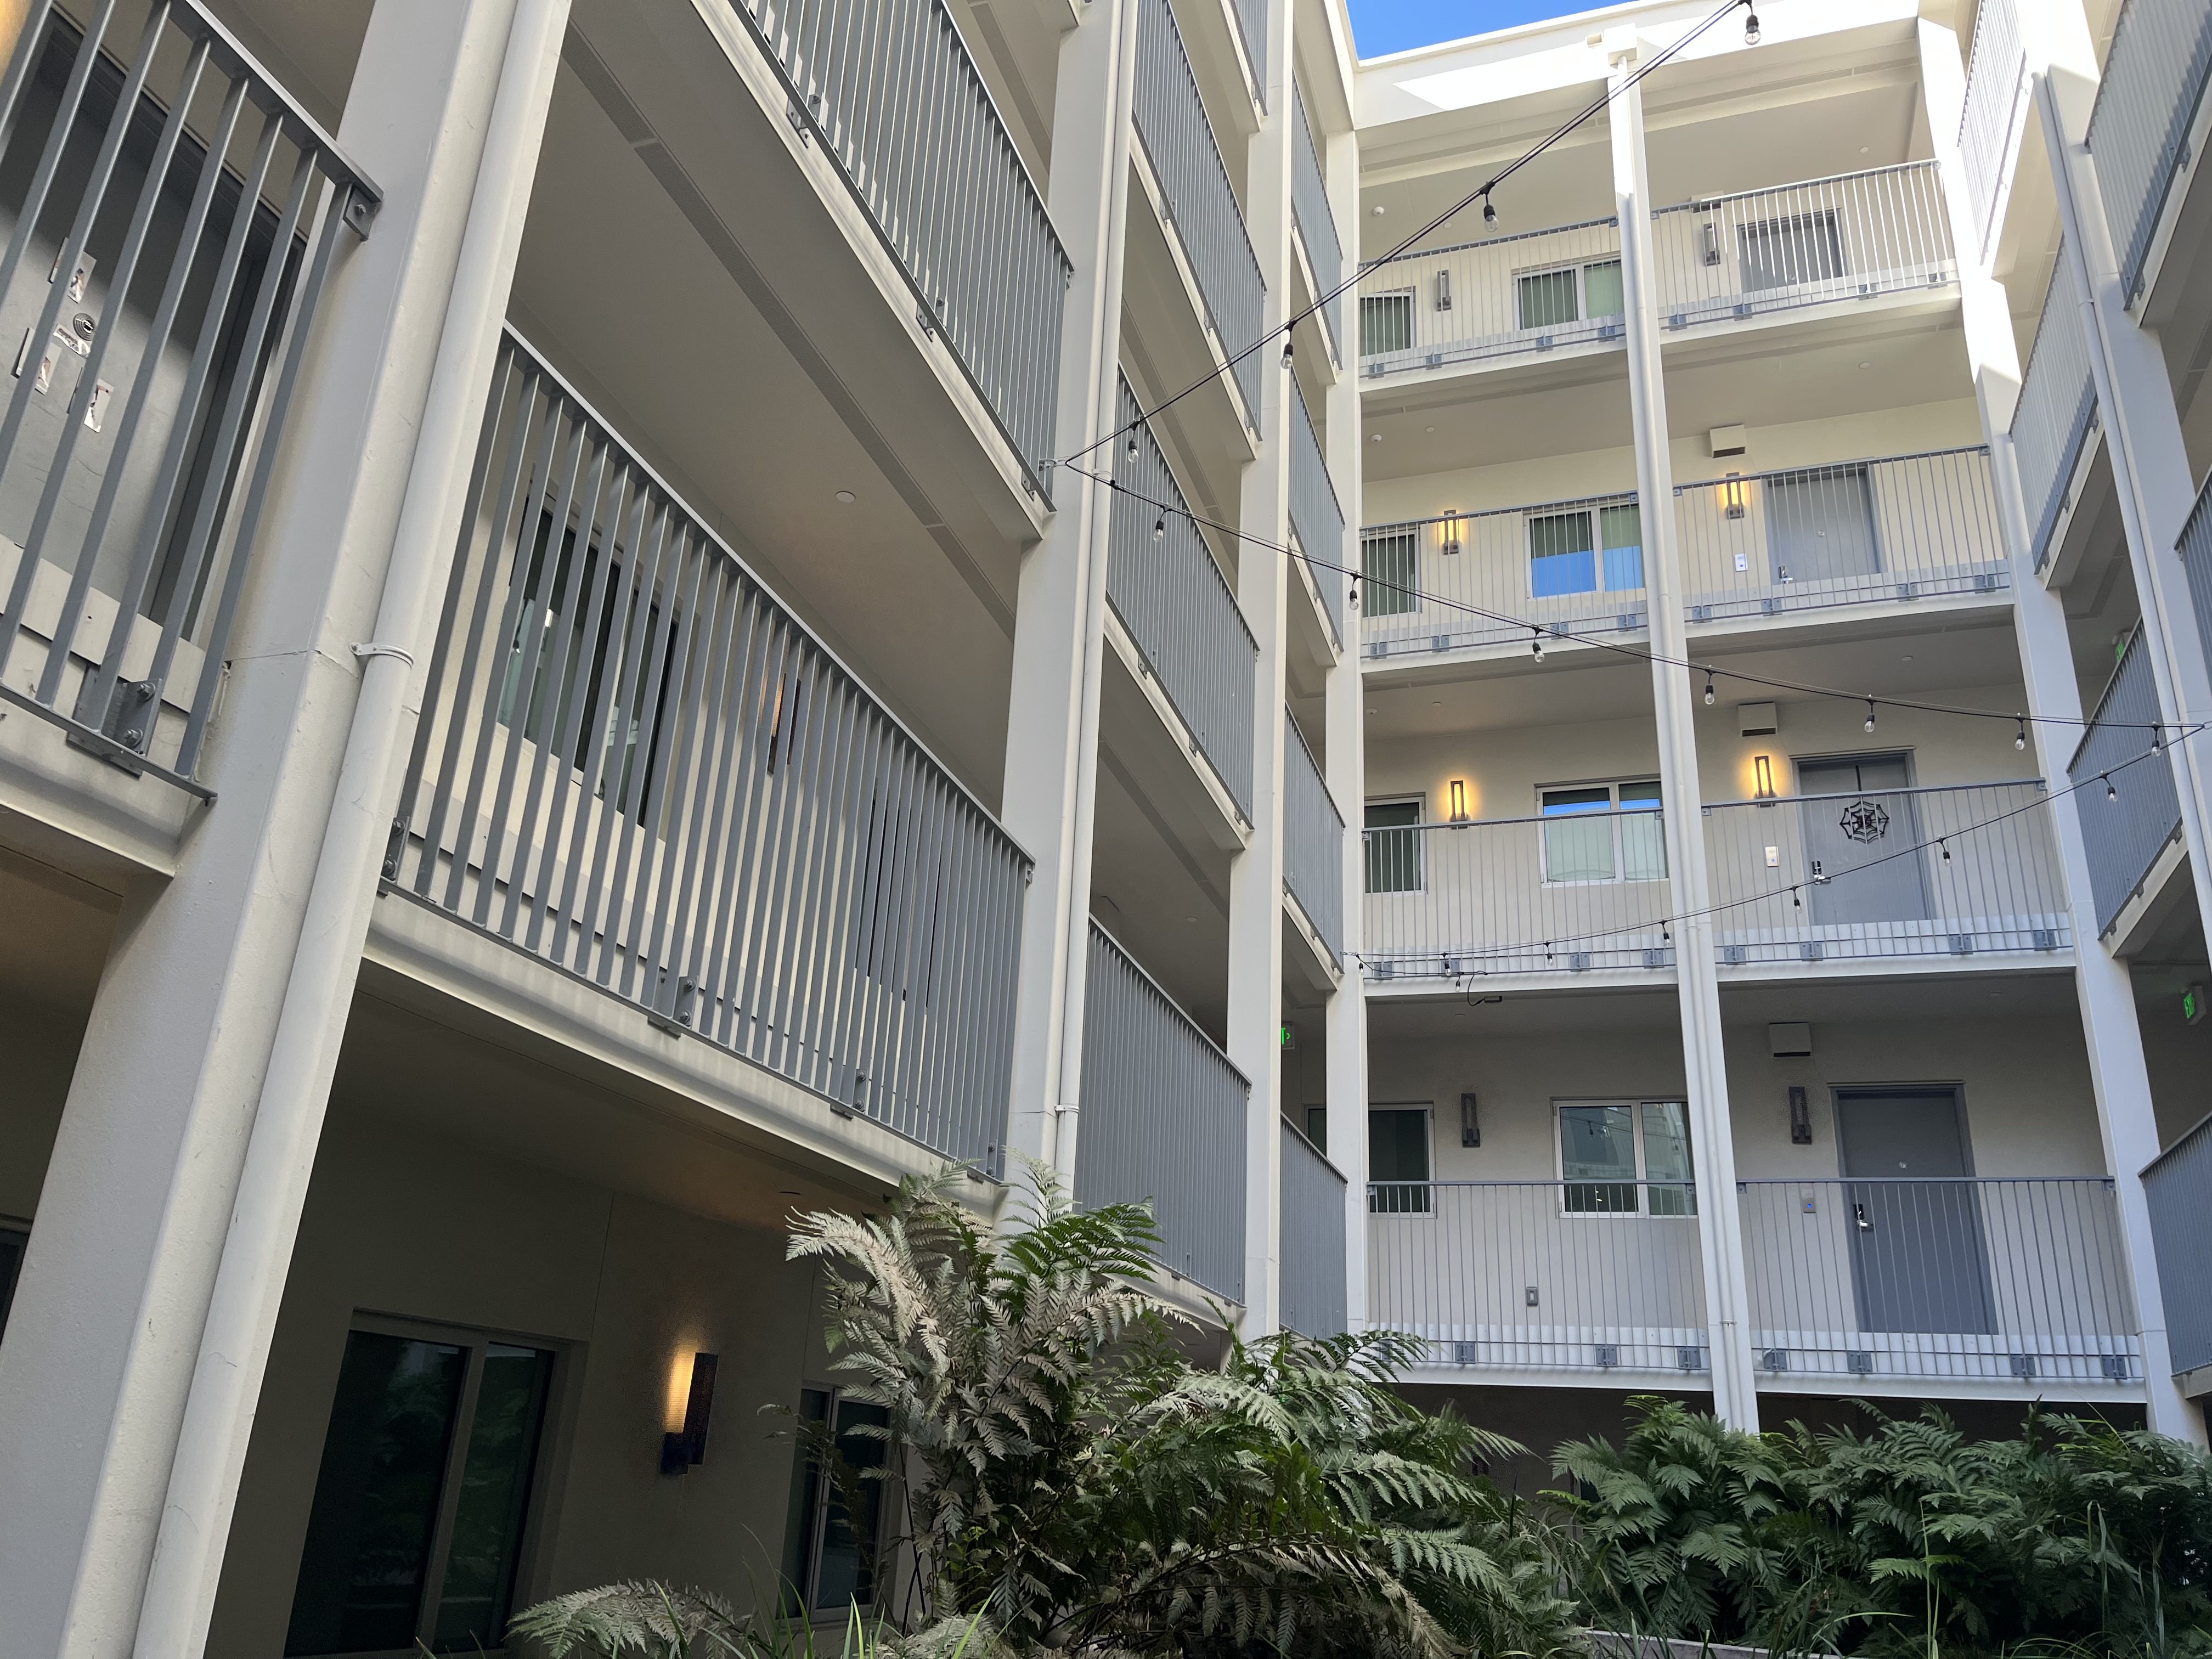 Left side of courtyard
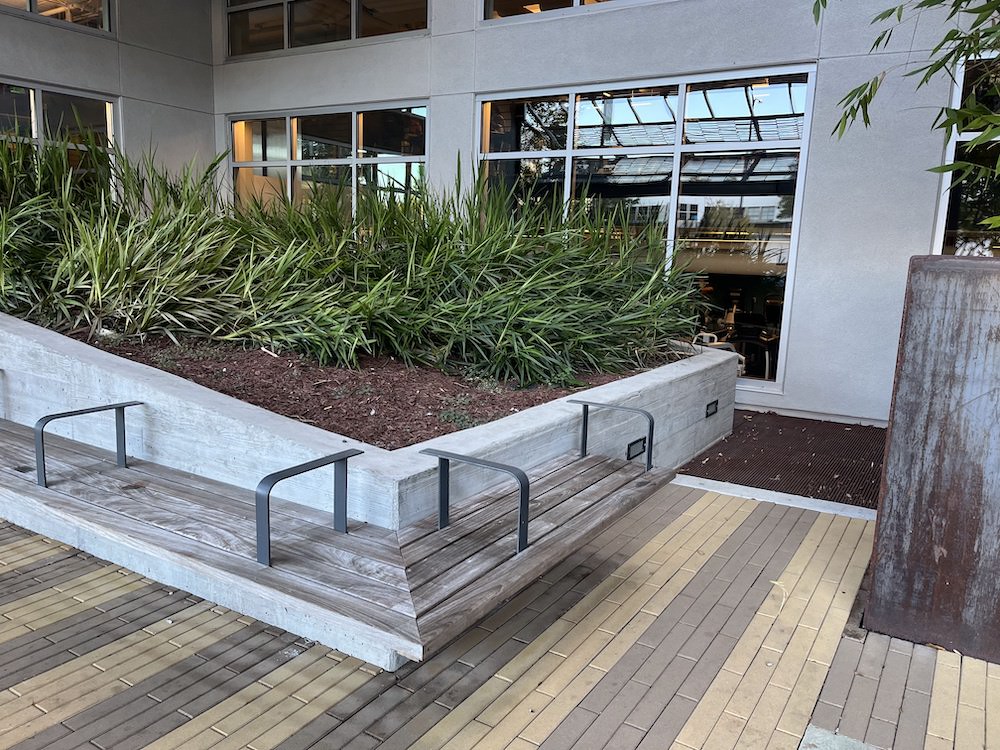
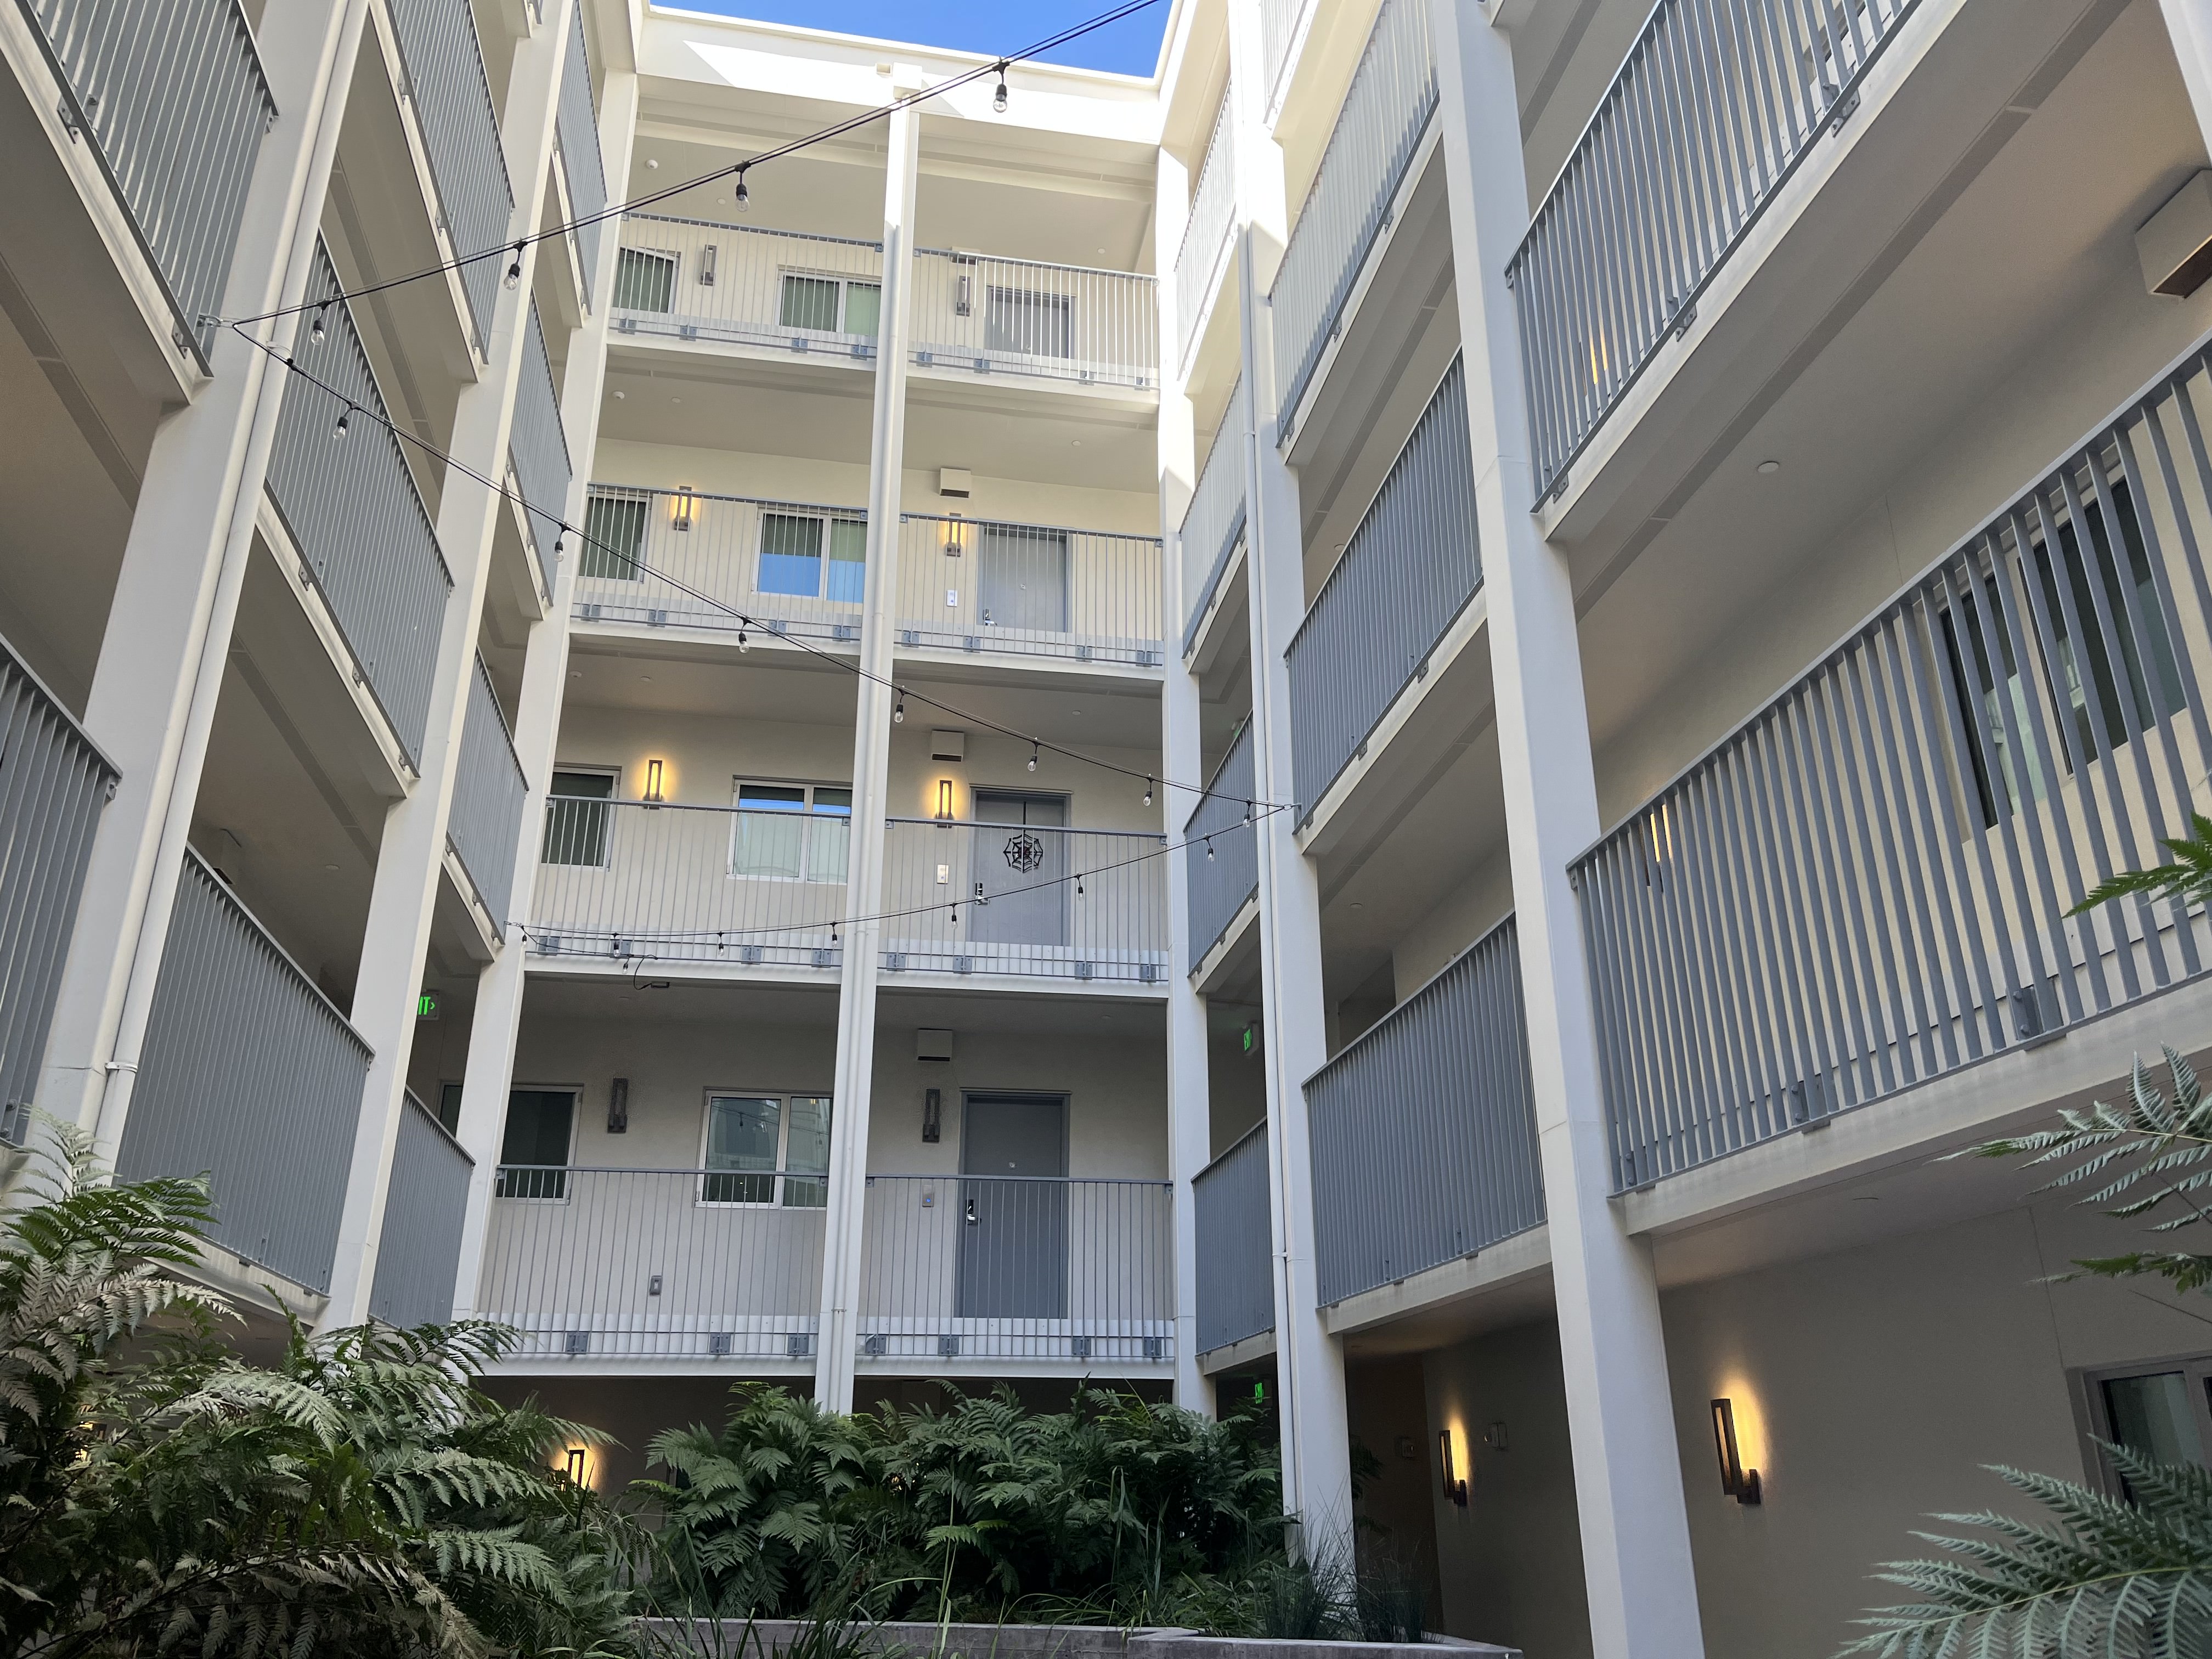 Right side of courtyard
 Left side of shelf
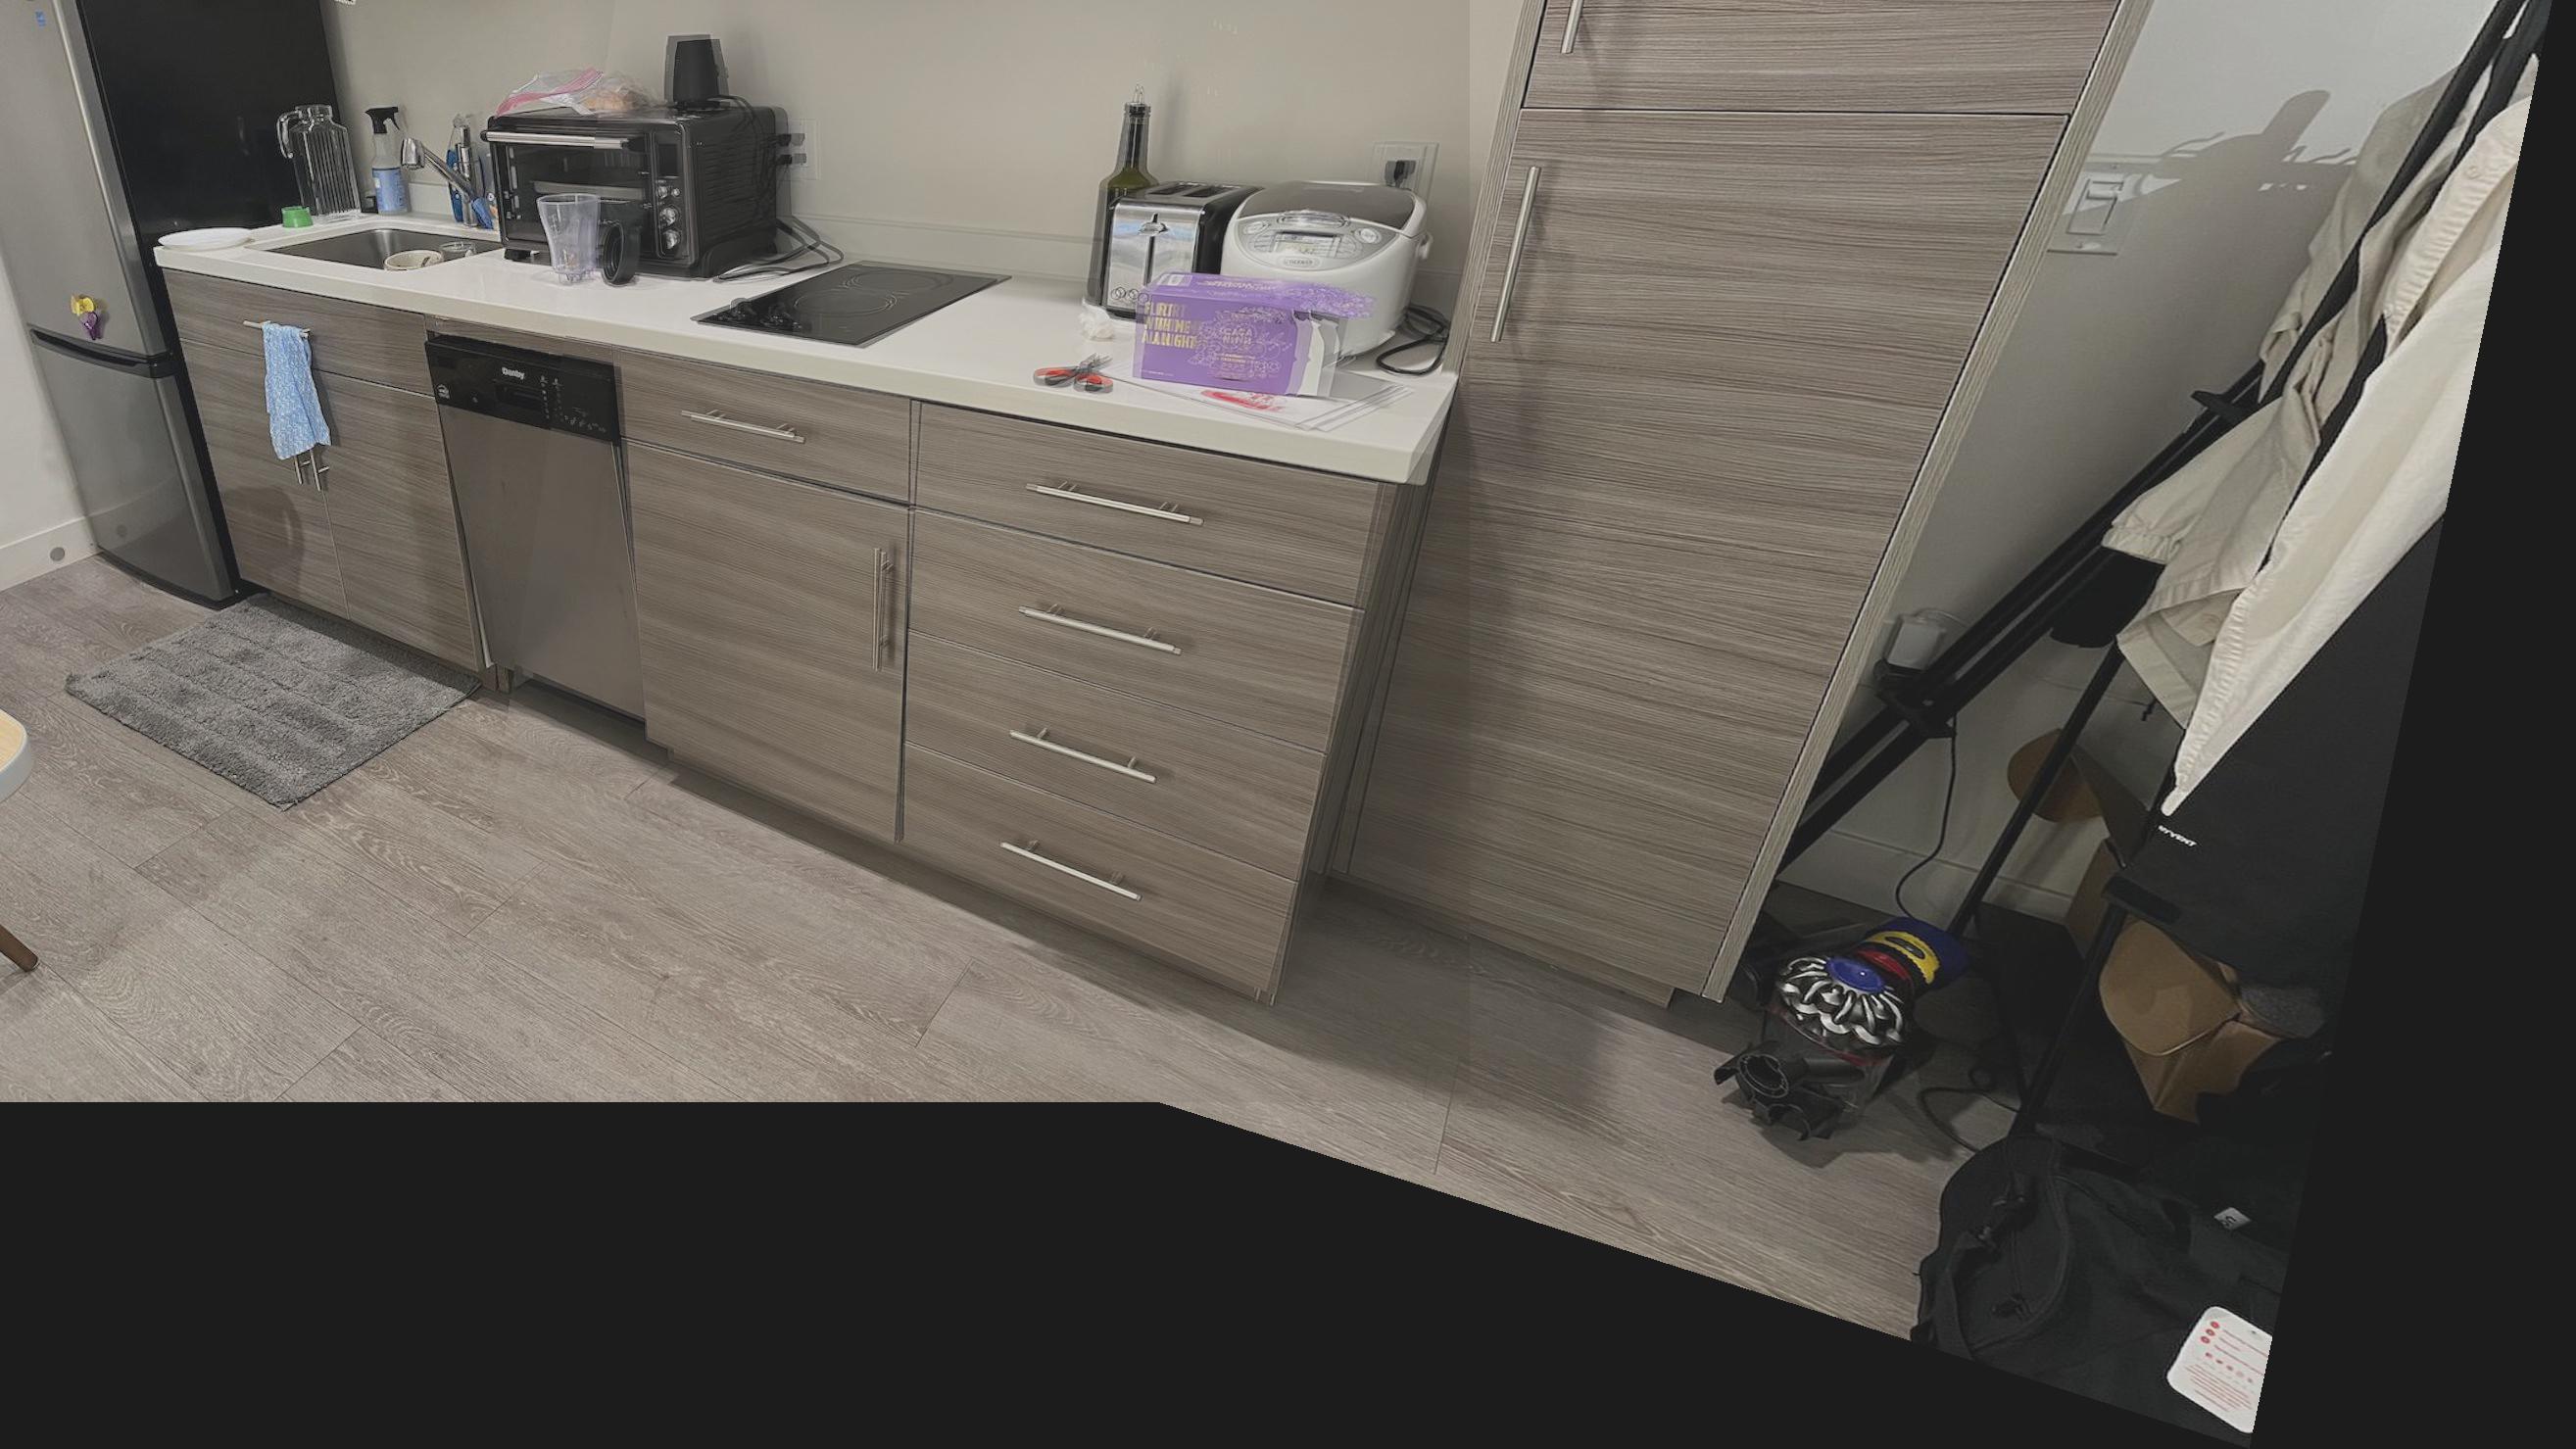
 Right side of shelf
Recovering homographies
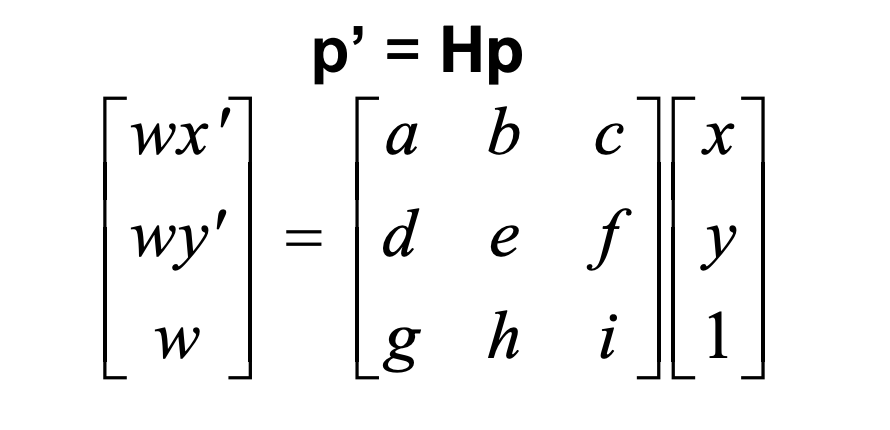
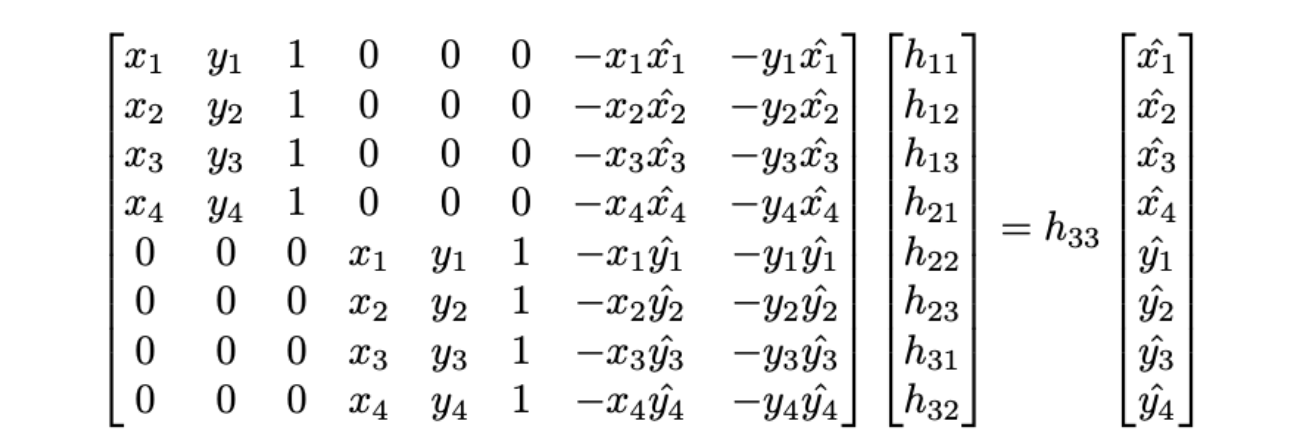
I first wrote the function for recovering the homography matrix from point correspondences. We have this equation for the matrix:
I selected at least 4 points for each image and then solved H using this setup with the help of the np.linalg least squares function.
Warping Image
Rectifying images
I then tried to rectify some images to frontal-parallel view. They're rectangles or parallel lines, whose are point correspondences are basically chosen based on common sense rather than from another image. Only 4 keypoints were chosen for each image with satisfying results.
The first one is the shelf that's viewed from an angle, and then rectified into front view, an actualt rectangle in the image.
My shelf
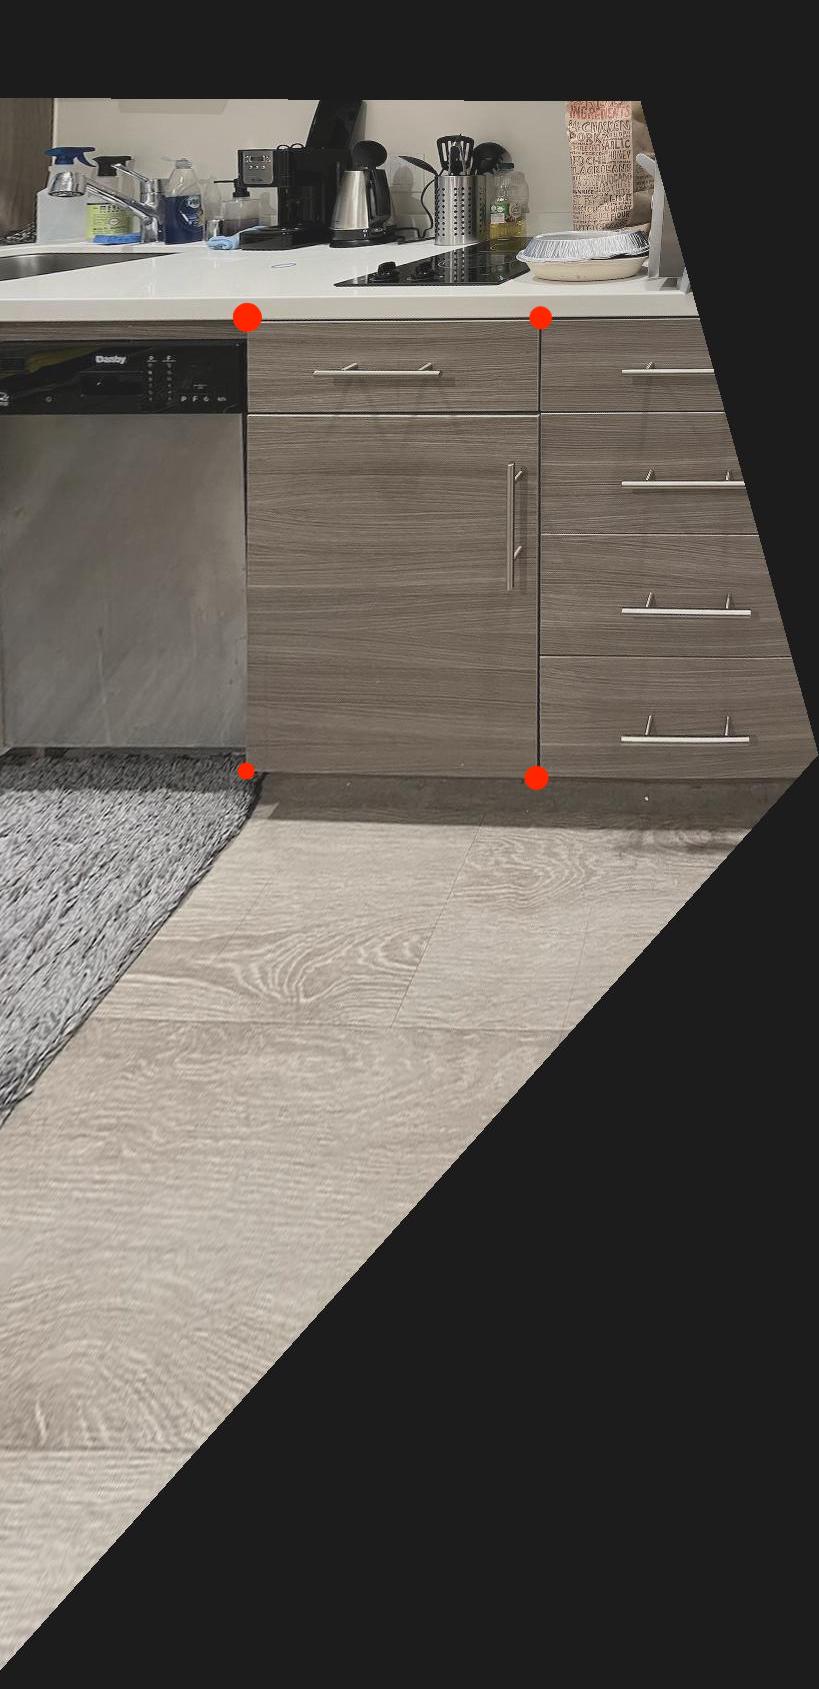 My shelf rectified
The second one is my hanger which has supposedly parallel lines but view from the side. In the rectified image, the lines are parallel in the image, like viewed from the front.
Parallel lines on my hangers
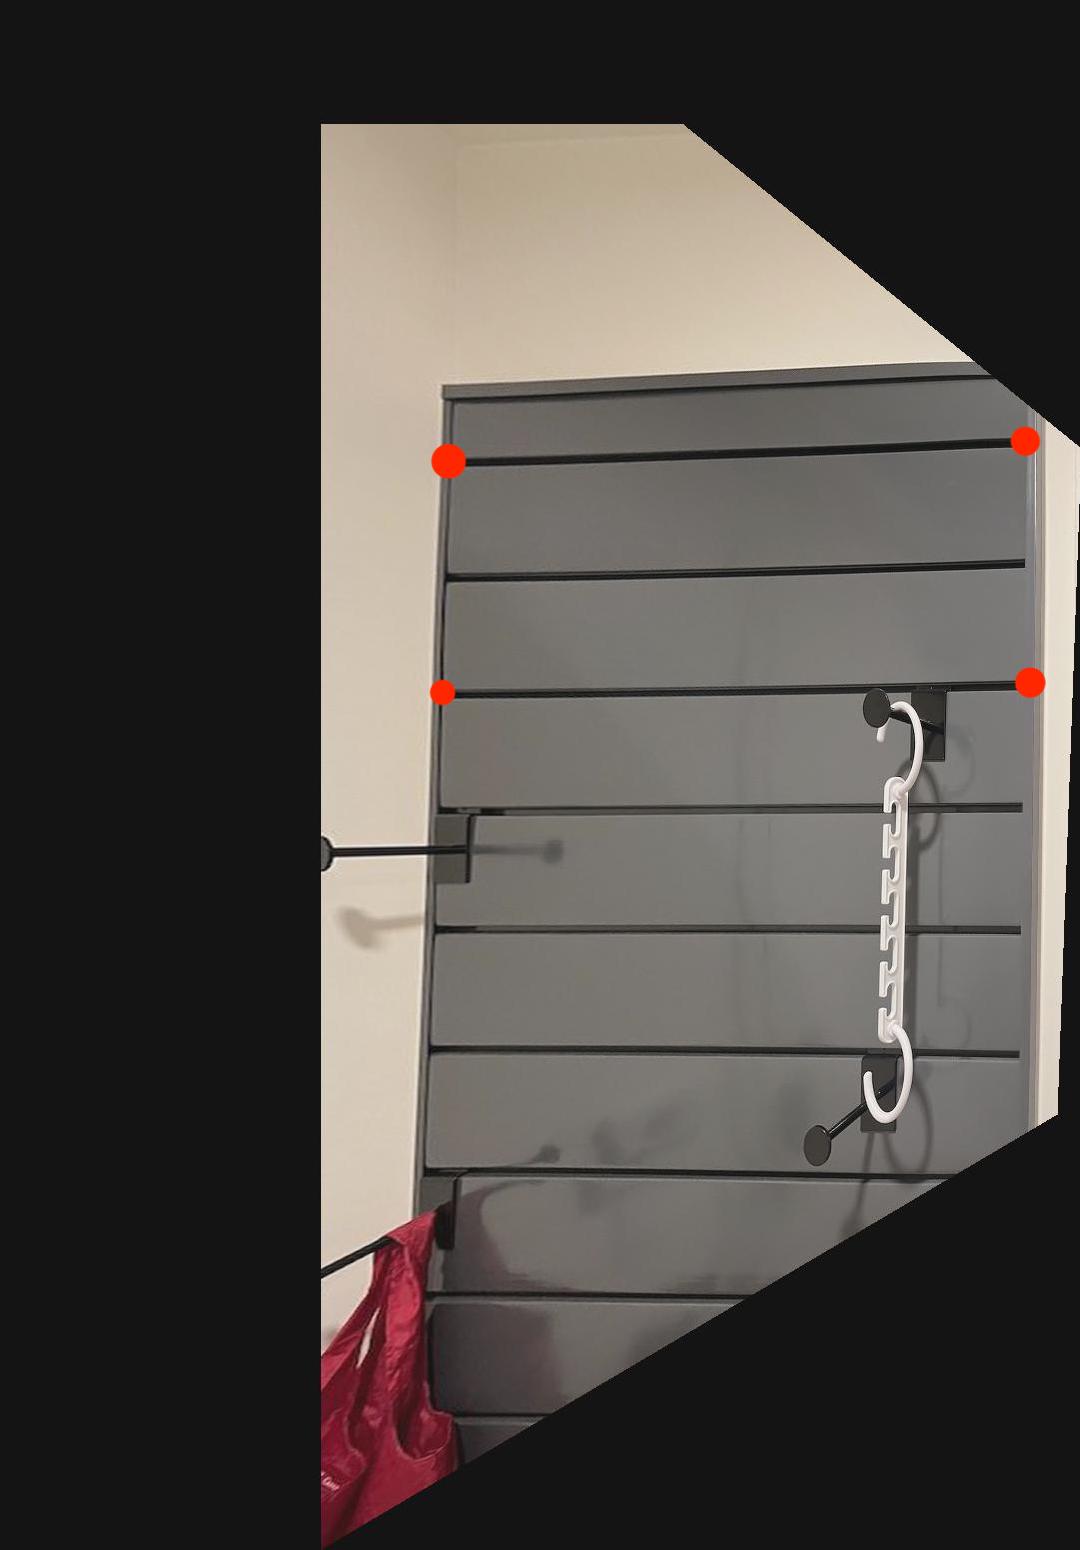 Rectified parallel lines
Mosaics
Lastly, I combined what I did above, and stitched images together. I used an weighted average at the points where the images overlap. Each mosaic has 10 keypoints chosen.
Left of the bench
Right of the bench
 Warped right of the bench
 Stitched bench
Left of the courtyard
Right of the courtyard
 Warped right of the courtyard
 Stitched courtyard
Left of the shelf
Right of the shelf
 Warped right of the shelf
 Stitched shelf
What did I learn
The first thing I noticed is that the warping isn't exact --- its edges are pretty clear, and not all pixels are lined up well. This is probably because hand-picked points are optimal because of their low precision. An automated keypoint detection would be key to the success of a mosaic. The warping and stitching is really cool though, because through a simple transformation matrix, we can get view of an item from a different angle using the same image.
CS194-26 Project 4b: Auto-stitching
Detecting Corners
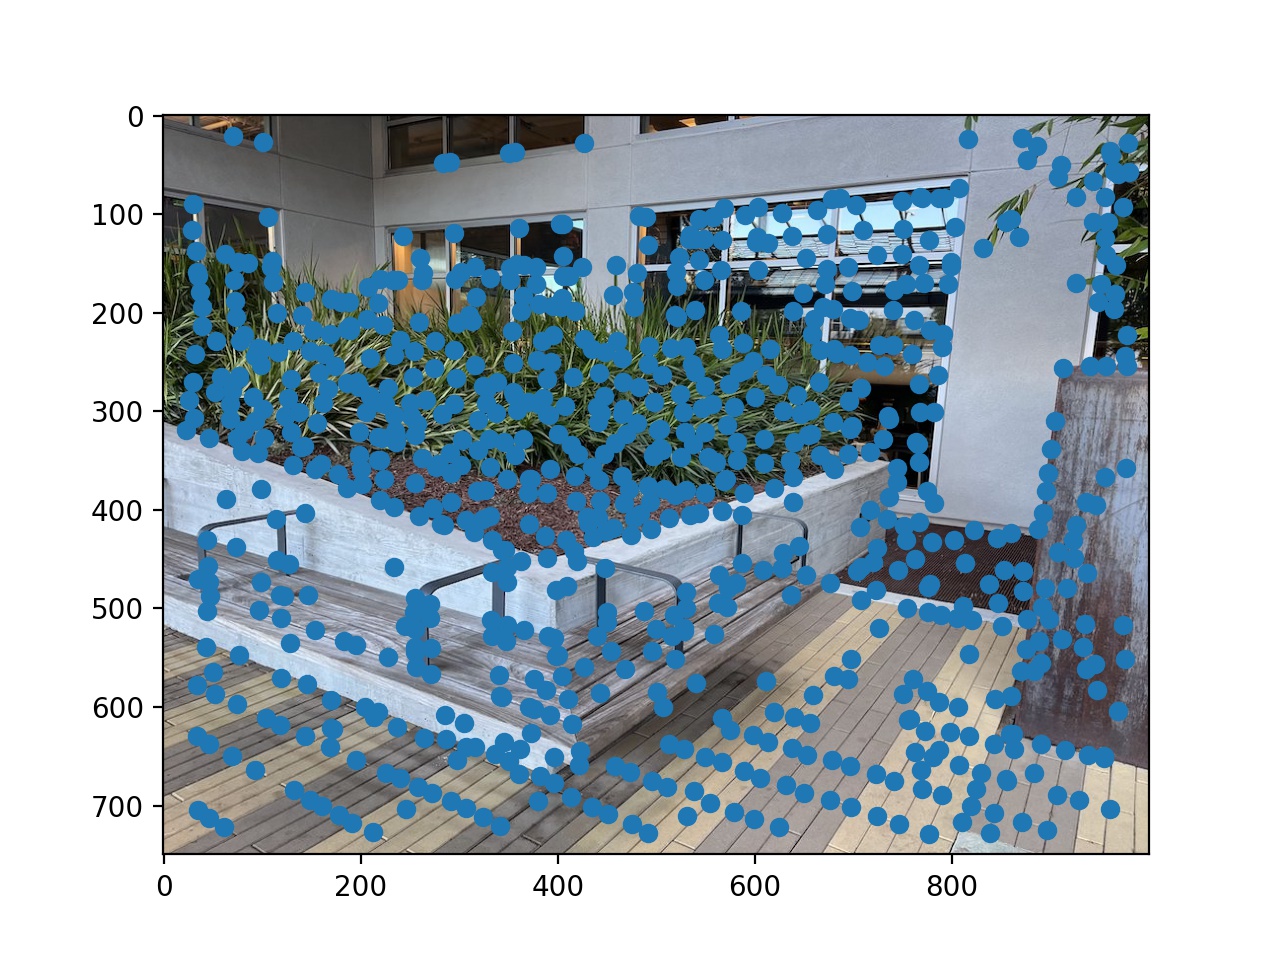
In this part, I first used harris corner algorithm to find the intere points. There will be a lot when the naive algorithm is applied:
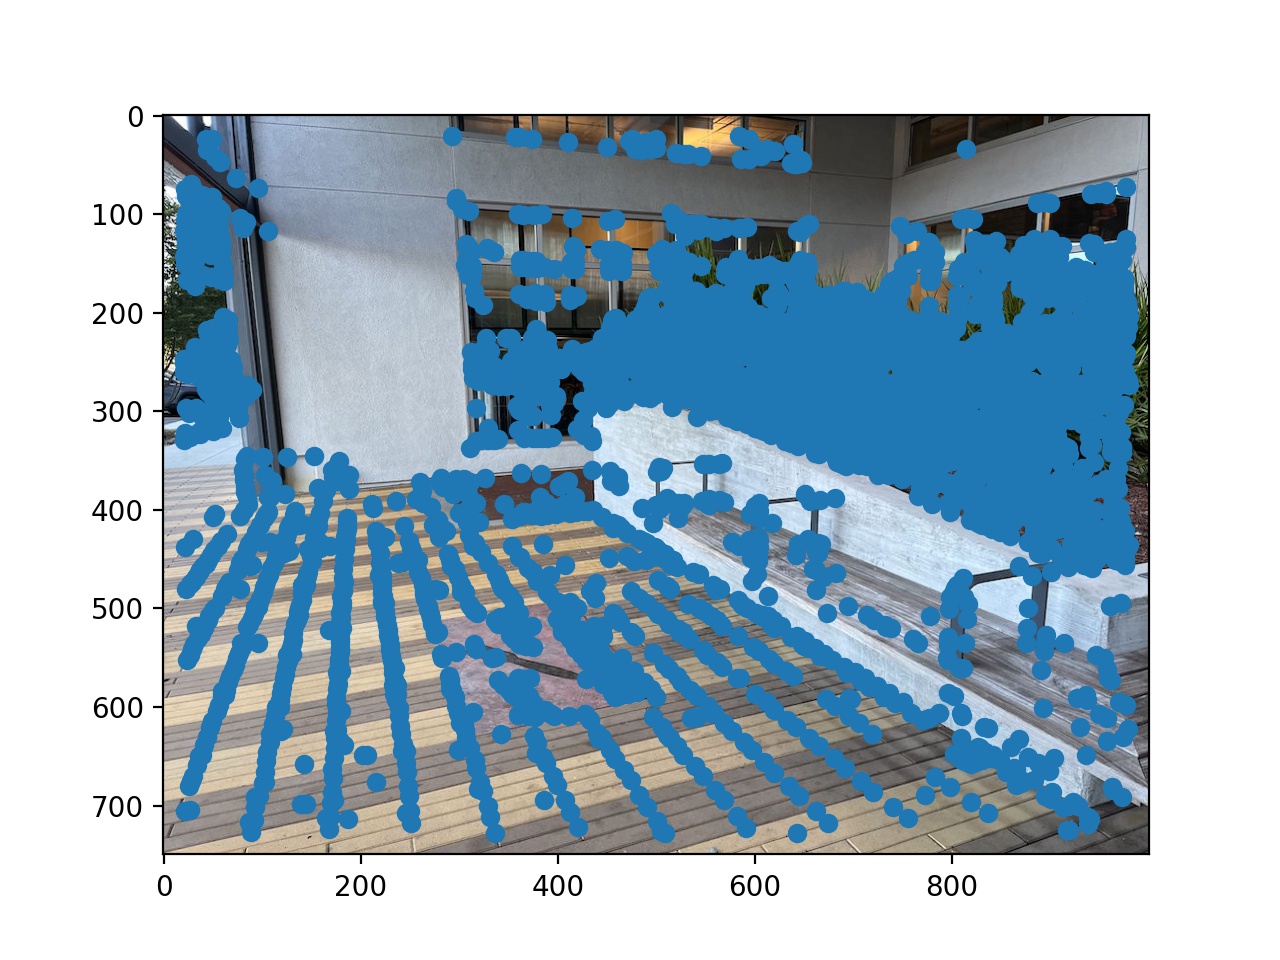
 harris corners
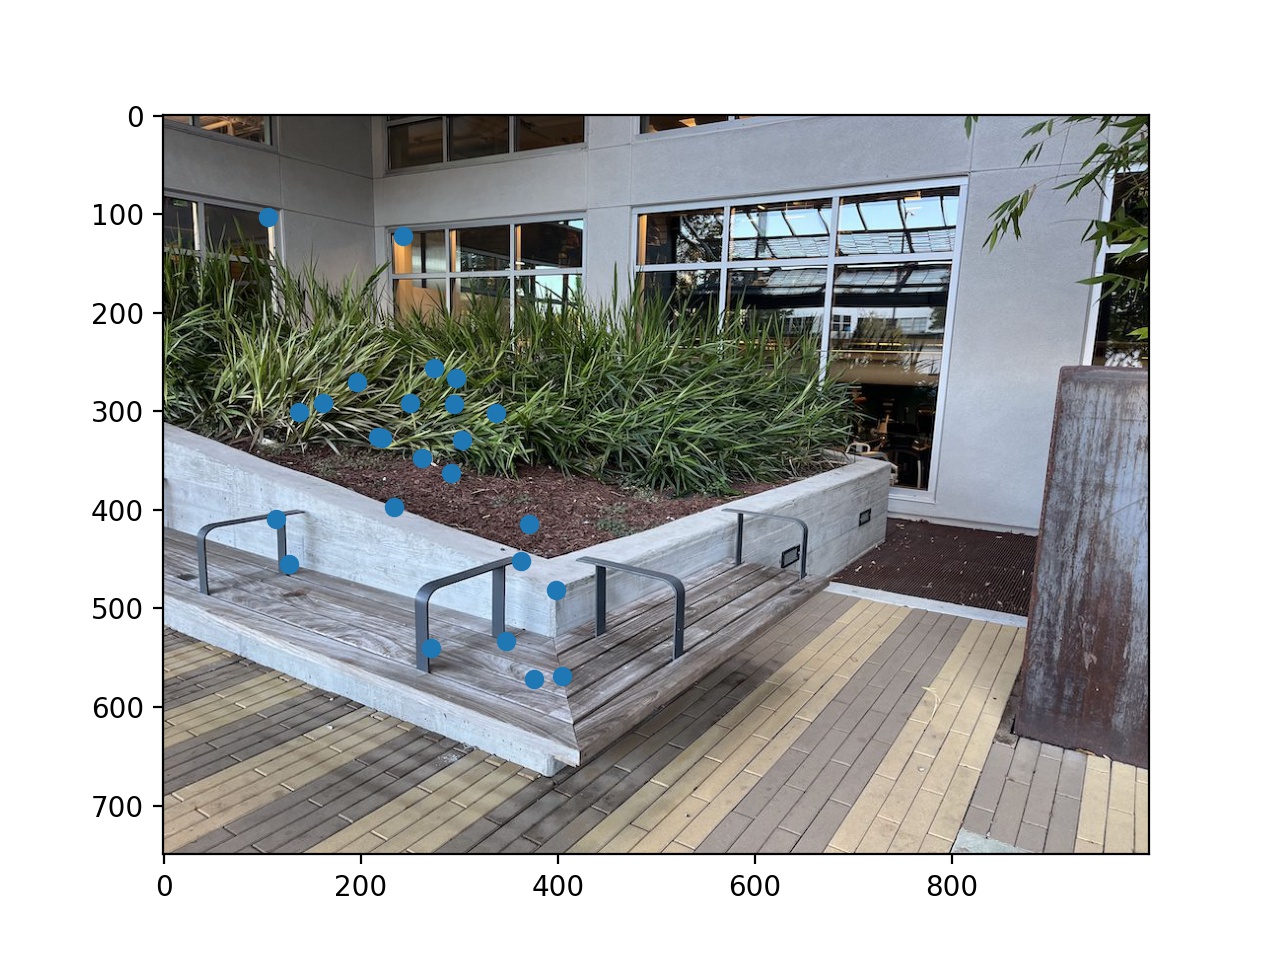
I then applied Adaptive Non-Maximal Suppression, which finds the top interest points with the largest values of suppression radius, which is defined by the distance to the closest interest point whose corner strength is sufficiently large. In this case, I chose the c_robust to be 0.9, i.e., the corner of the interest point needs to be at most 90% of the corner strength of the closest unsuppressed interest point. In this way, I narrowed down the points to 500.
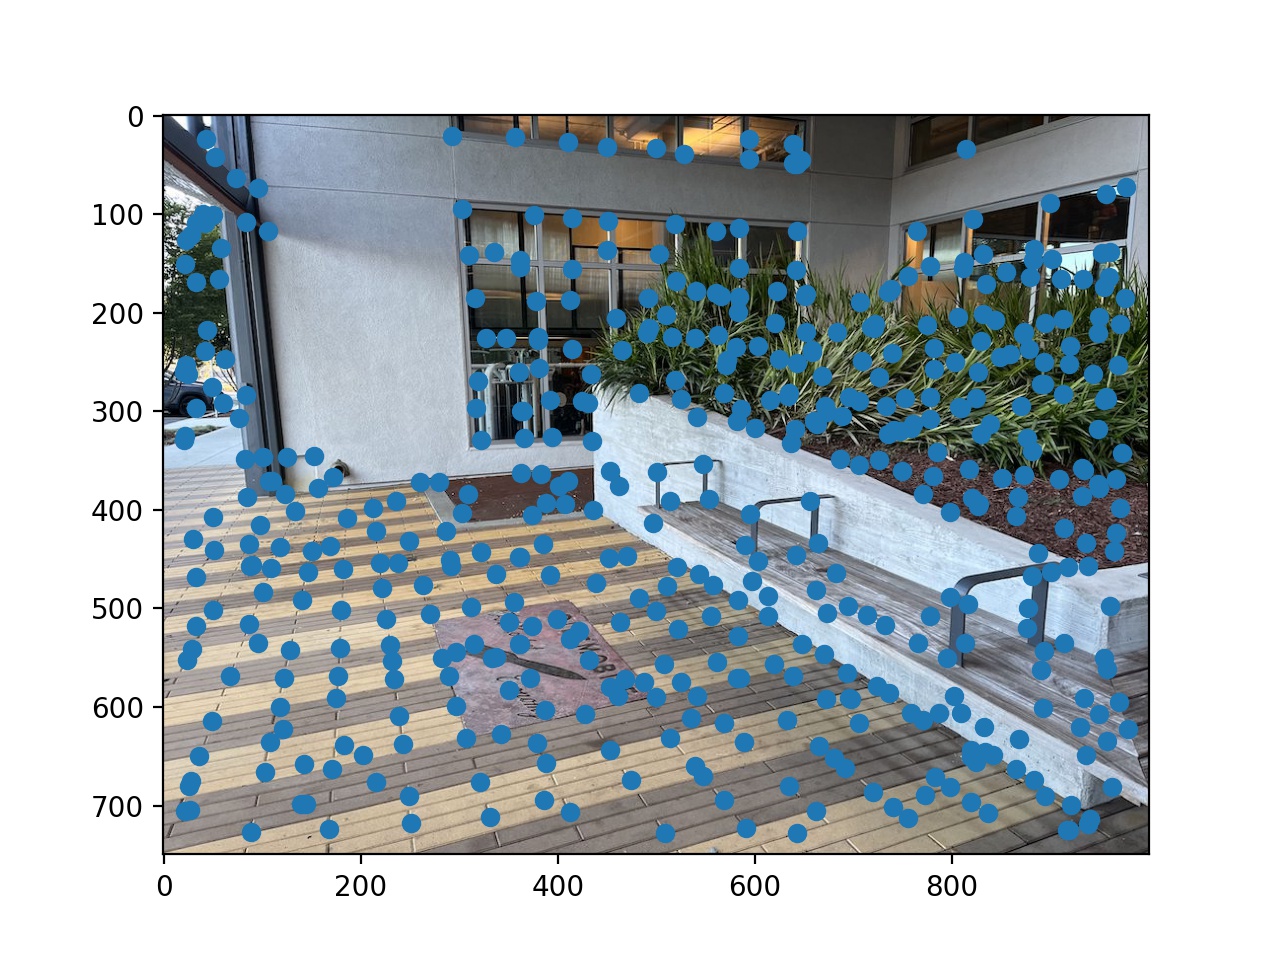
 suppressed corners
Descriptors and feature matching
I then extracted feature descriptors for each interest point by capturing the 40 by 40 window and down-sampled to a 8 by 8 patch. Then, I paired the patches from two images based on how similar they're, i.e., their SSD. I used Lowe's trick and thresholded the ratio between the best match and the second best match to select the pairs. I chose a threshold of 0.3, and this is what I got:

 paired interest points
RANSAC
I then used the 4-point ransac algorithm mentioned in class, did it with 10,000 iterations and epsilon = 10. In each iteration, I choose 4 points to compute the exact homography, and include the point if the warped point is close enough to the point on p2, which is thresholded by epsilon. This selects the inliers out of the paired points, preparing for warping and stitching. You would notice that RANSAC did not filter out a lot of points. This is probably because after feature matching, most of the bad points have already been filtered out properly.
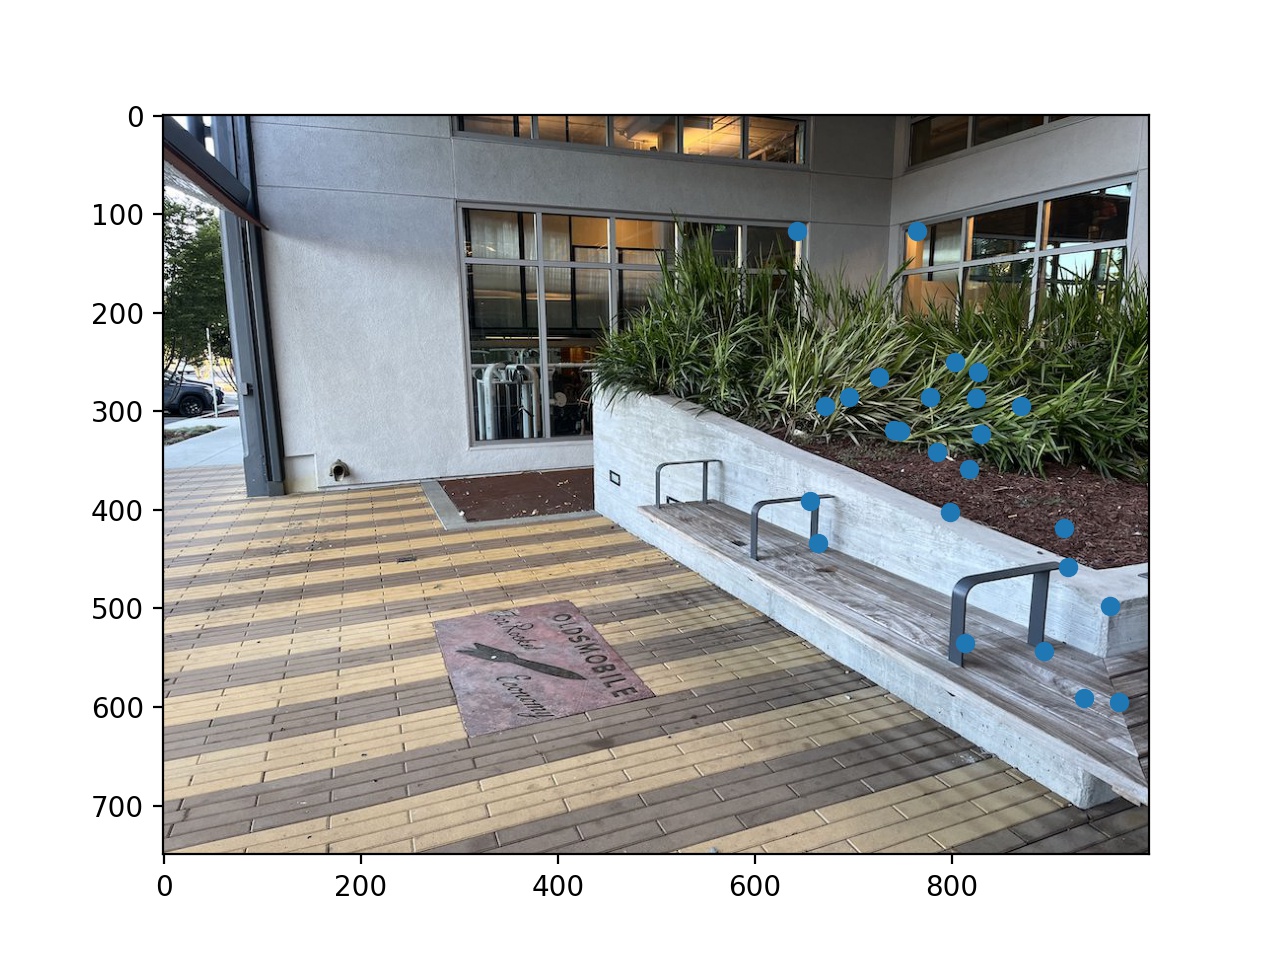
 RANSAC points
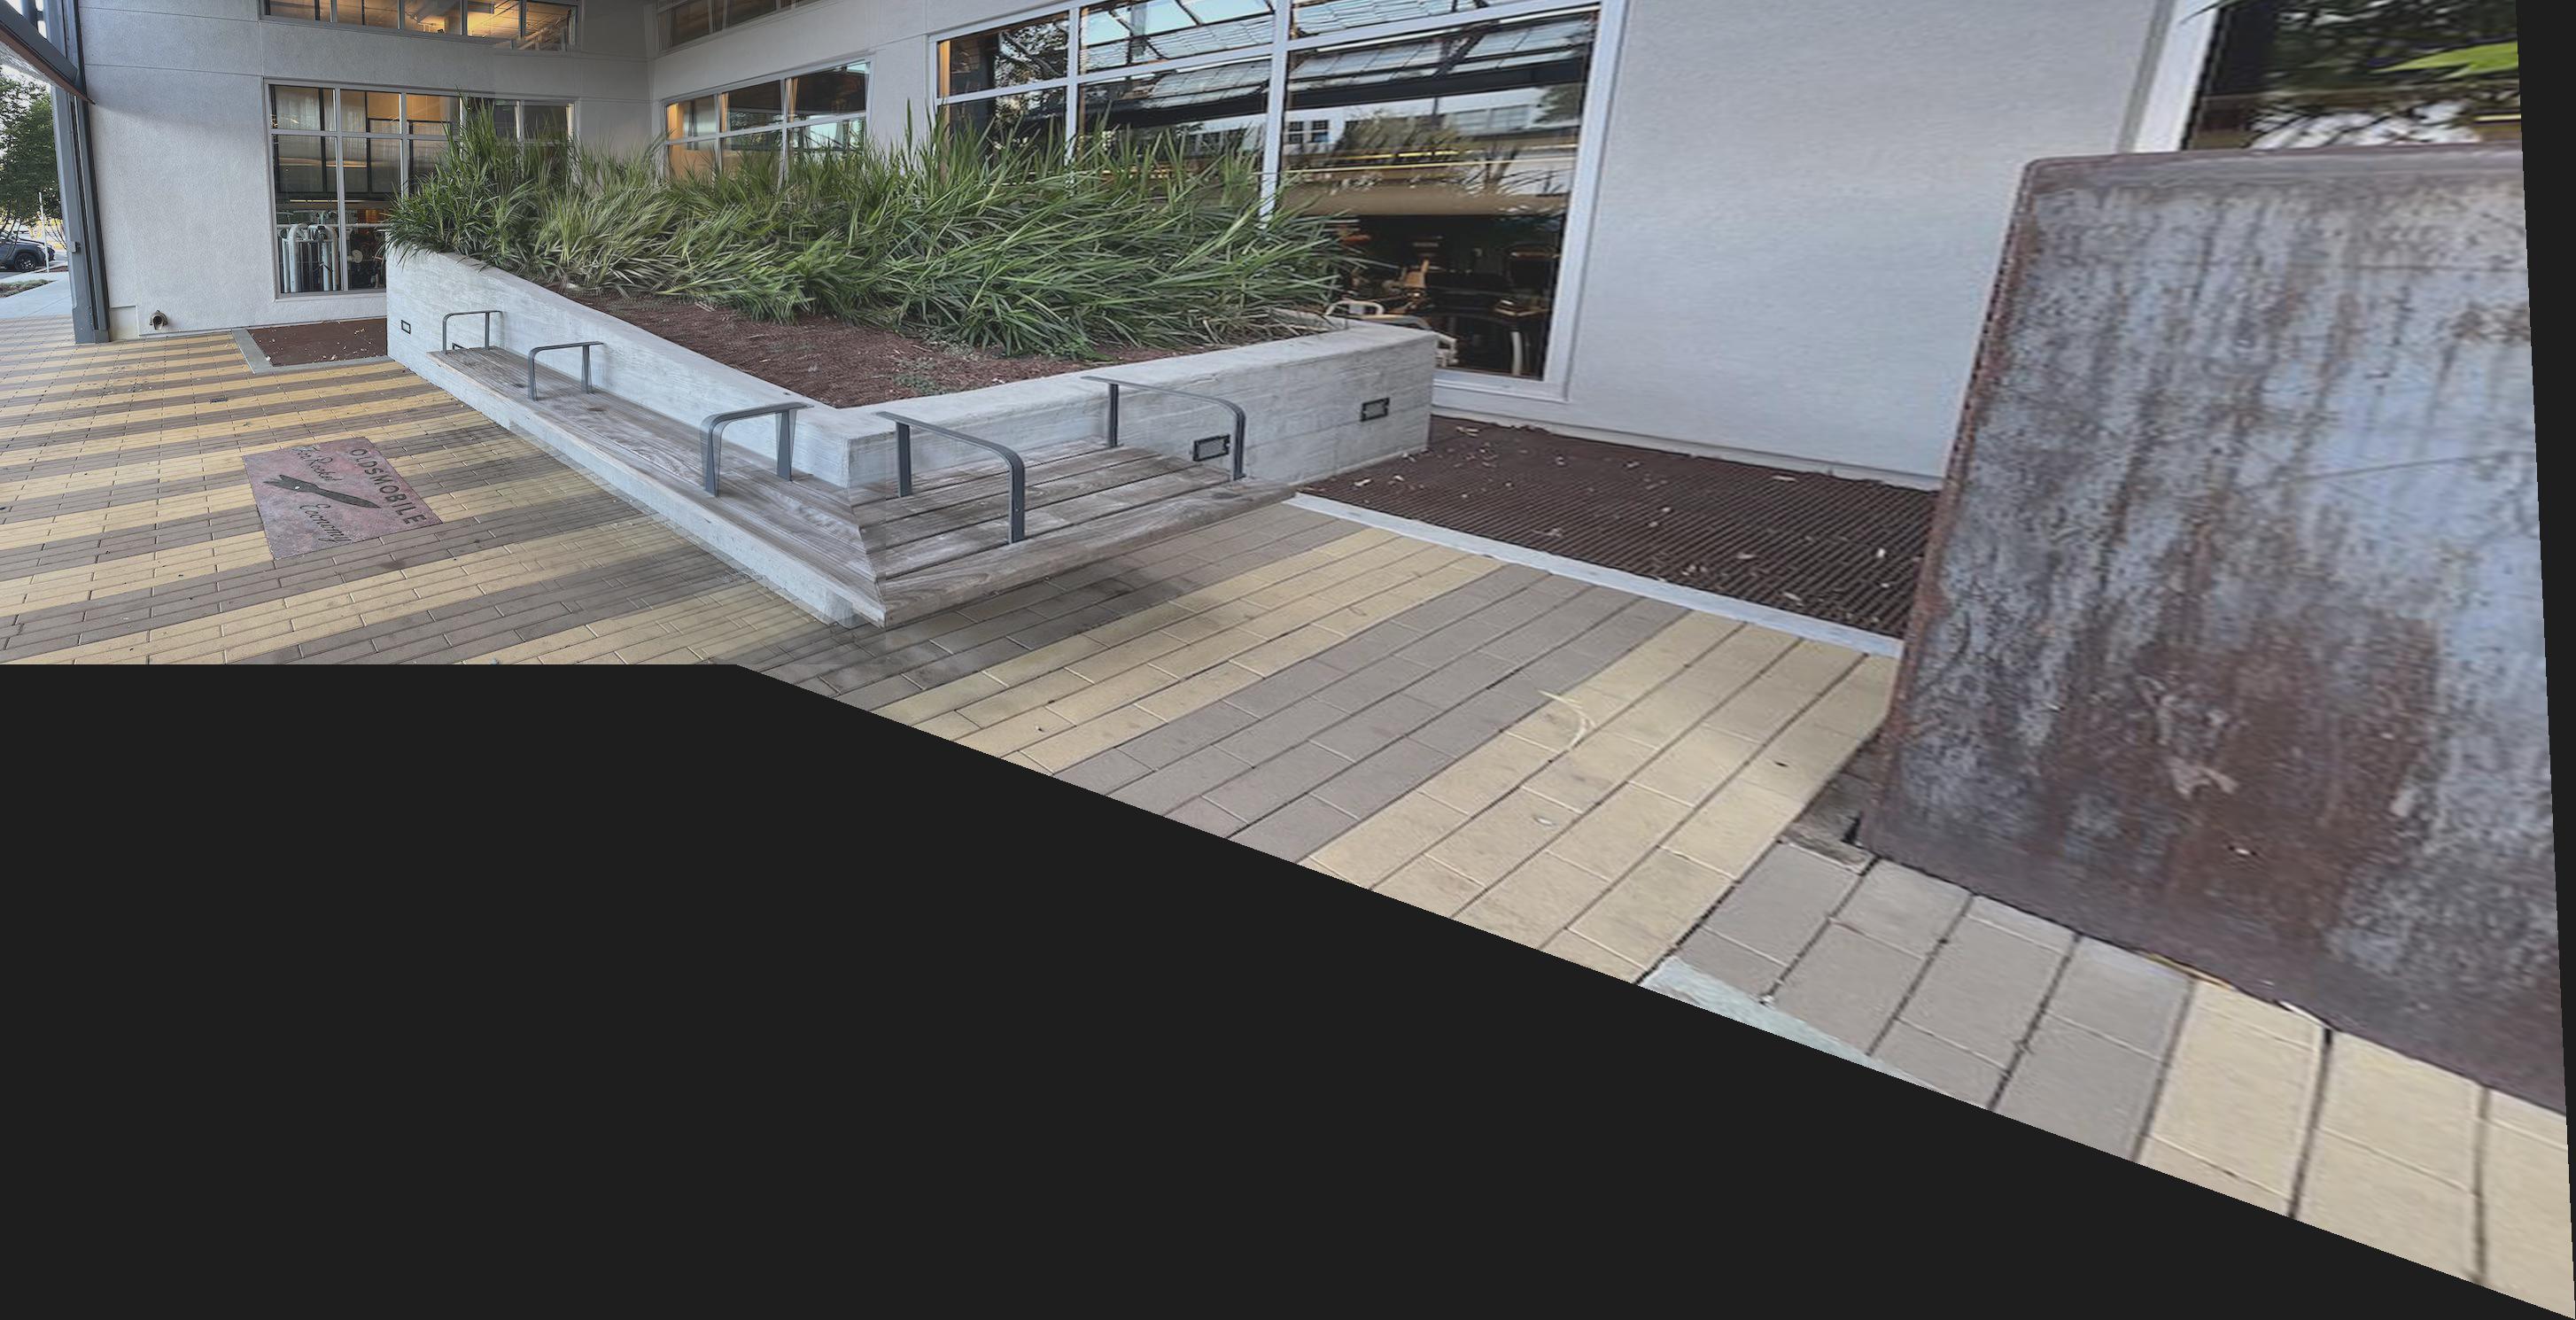
Auto-stitching
Lastly, with all the points and correspondance selected, I simply used the code from part 1 to compute homography and stitched the images together. Here are the 3 mosaics that I've tried.
Note: left is the produced from manual selecting points, and right is produced from auto-stitching.
 Bench mosaic
 Courtyard mosaic
 Shelf mosaic
What have I learned?
The most I learned from this project is how to implement an algorithm documented in a paper to test it out, which is something I have not done before. I also think it's a really cool idea to think from the computer's perspective of what is an interesting point, and it's really intriguing to see that the computer selected pairing points are sometimes not the most intuitive points that I would choose.