|
|
|
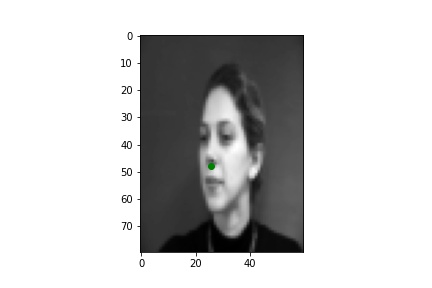
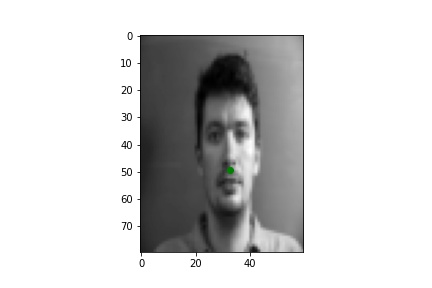
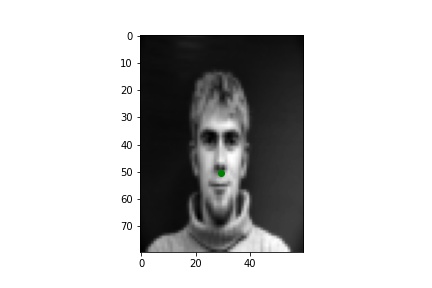
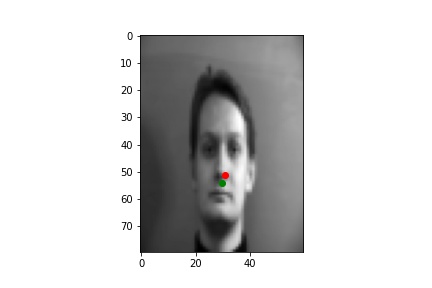
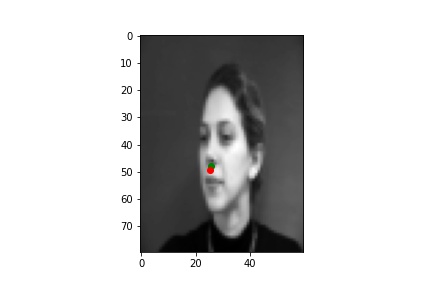
The images in the Danes dataset were loaded as grayscale images, reshaped to size 80 by 60 pixels, and pixel values normalized to the range -0.5 to 0.5. The keypoints for each image were concurrently loaded and the nose keypoint was separated for each image. Below are a few sample images with the ground truth nose keypoint visualized.
|
|
|
|
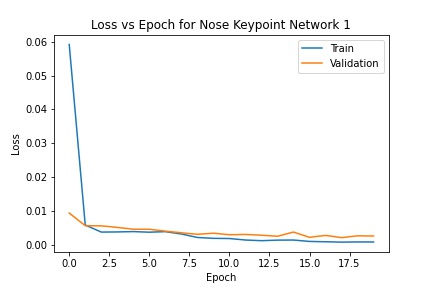
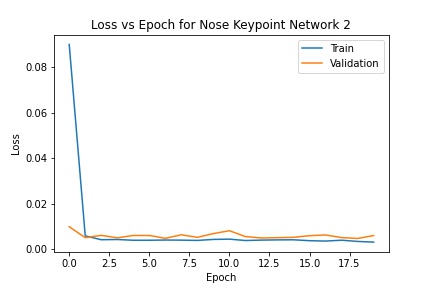
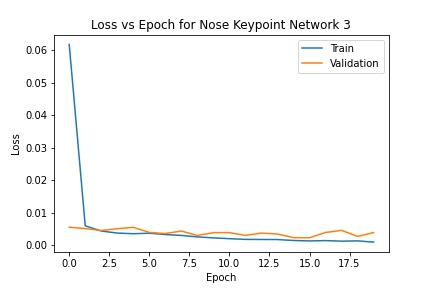
I defined three networks to try and solve the problem of predicting the nose keypoint. The first has three convolutional layers with 3x3 kernels; the second has four layers with 3x3 kernels; the third has 3 layers with 5x5 kernels. Each network was trained with a batch size of 8 and a learning rate of .001 for 20 epochs. All three converged to similar errors and don't differ in nose keypoint prediction too much. However, the first network has the lowest MSE error while the second has the highest. The errors are below ( .0008 training and .002 validation for network 1; .003 training and .006 validation for network 2; .0009 training and .0038 validation for network 3).
|
|
|
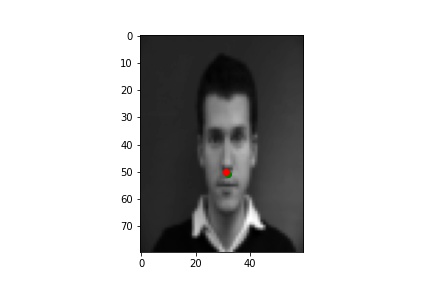
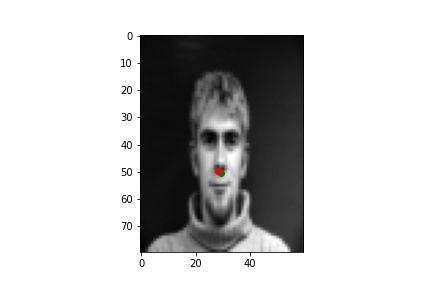
Using the first network to predict the nose keypoint, below are two examples when the network performs well and two when the network performs poorly. In general, it seems that images with unusual lighting or with the central figure turned perform worse.
|
|
|
|
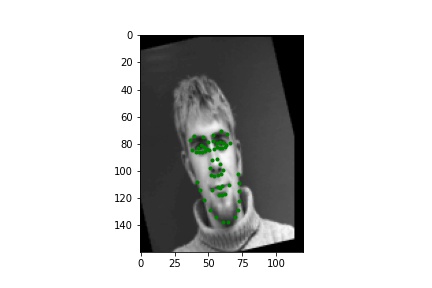
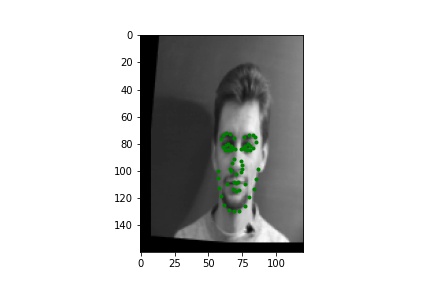
The images in the Danes dataset were transformed to be 160 by 120 pixels in order to preserve more information per image and be able to learn all 58 facial keypoints. Because a more complicated network is used here, the data needed to be augmented with some random transformations (used rotation, shifting, and brightness changes) or the network overfits the relatively low number of training points (only 240 total images). Below are a couple examples of the augmented data with all 58 keypoints visualized.
|
|
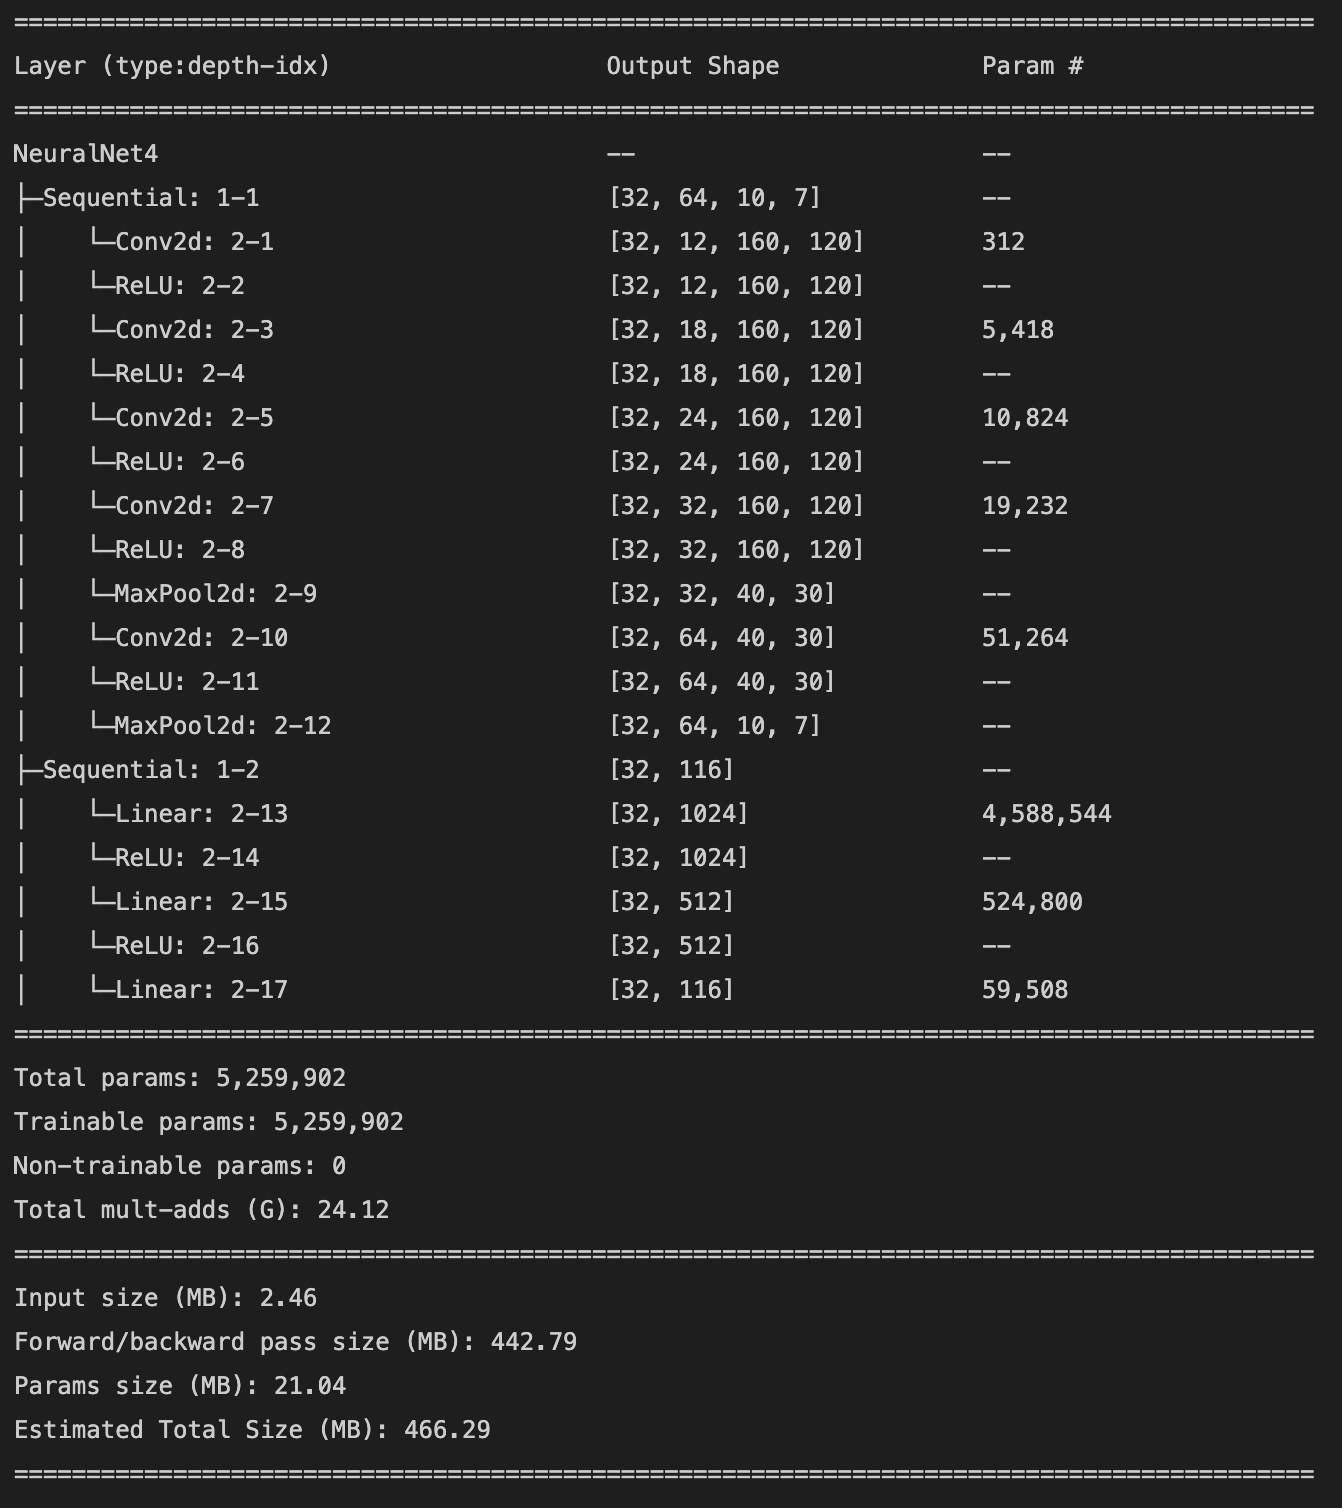
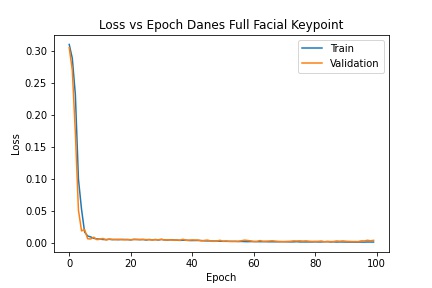
Below is a detailed description of the model architecture and a plot of the training and validation loss. The network was trained for 100 epochs with a learning rate of .0001 and a batch size of 32. It achieved a training MSE of .0014 and a validation MSE of .004.
|
|
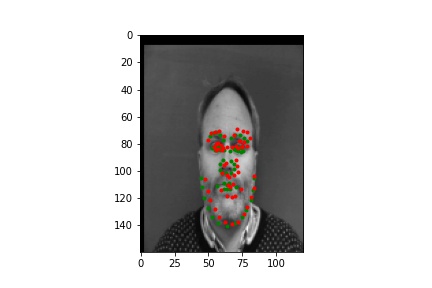
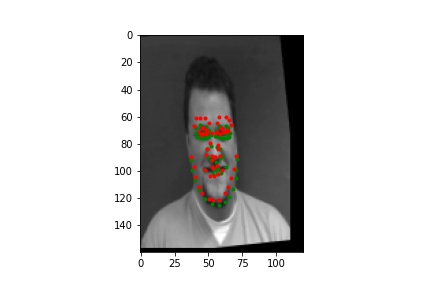
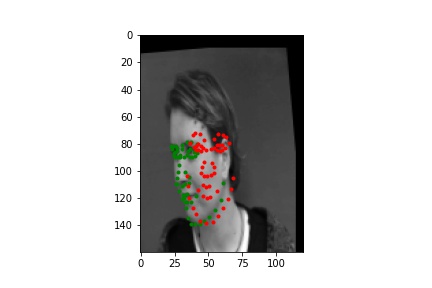
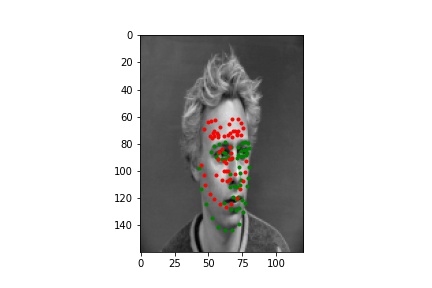
Below are two examples when the network performs well and two when the network performs poorly. It seems that in general the network performs poorly on images with the subject far off center or looking far away from the camera. More extreme augementations would likely help with this.
|
|
|
|
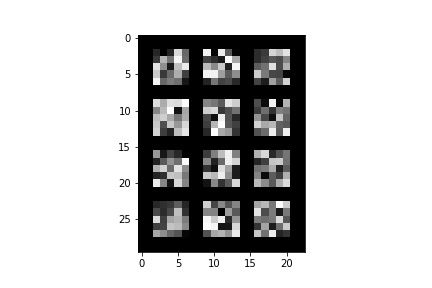
The following is a visualization of the learned filters at the first convolution layer of the network.
|
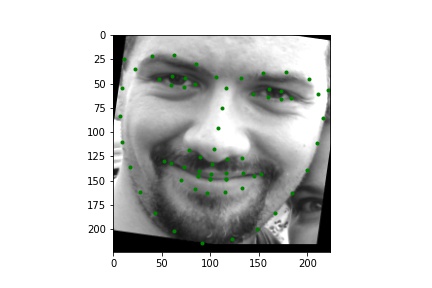
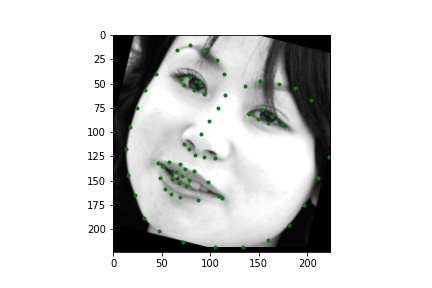
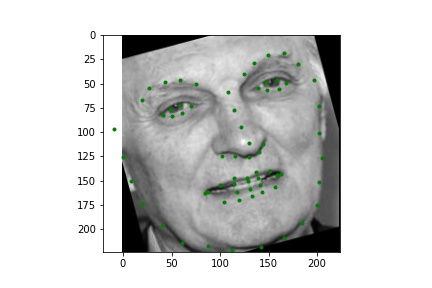
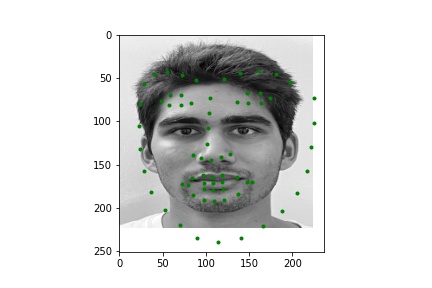
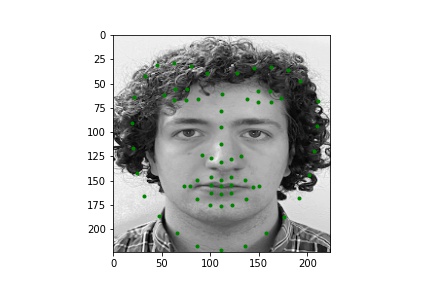
The images in the ibug dataset were cropped according to their bounding boxes (some bounding boxes needed to be adjusted), and the resulting image was resized to be 224 by 224 pixels; the same augmentations as in part 2 were also applied. The keypoints were transformed to match the image transforms. Below are a few examples of the augmented data with keypoints visualized.
|
|
|
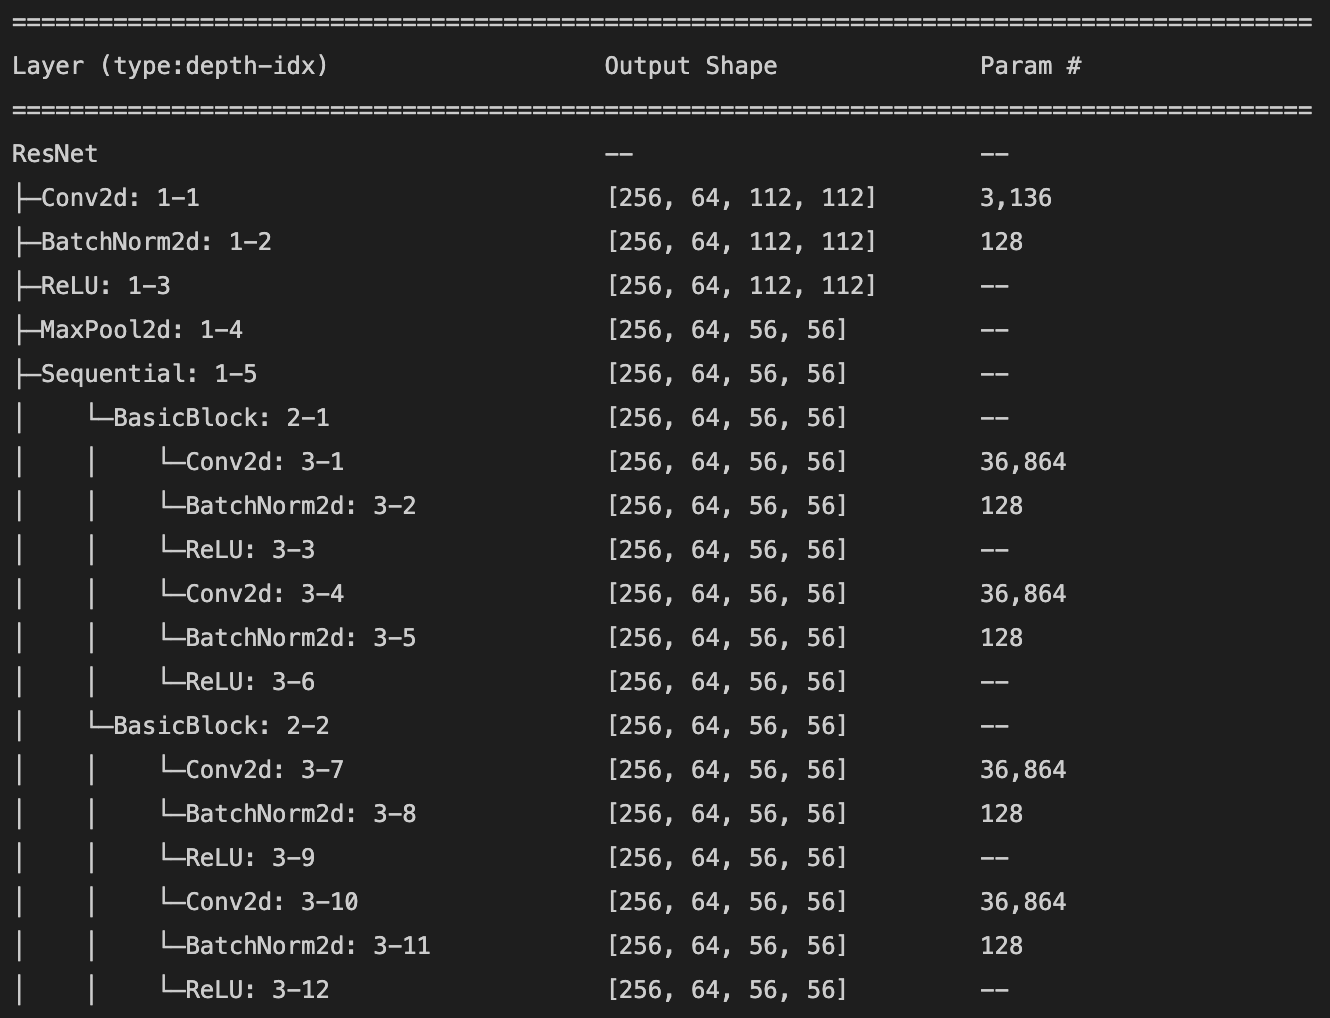
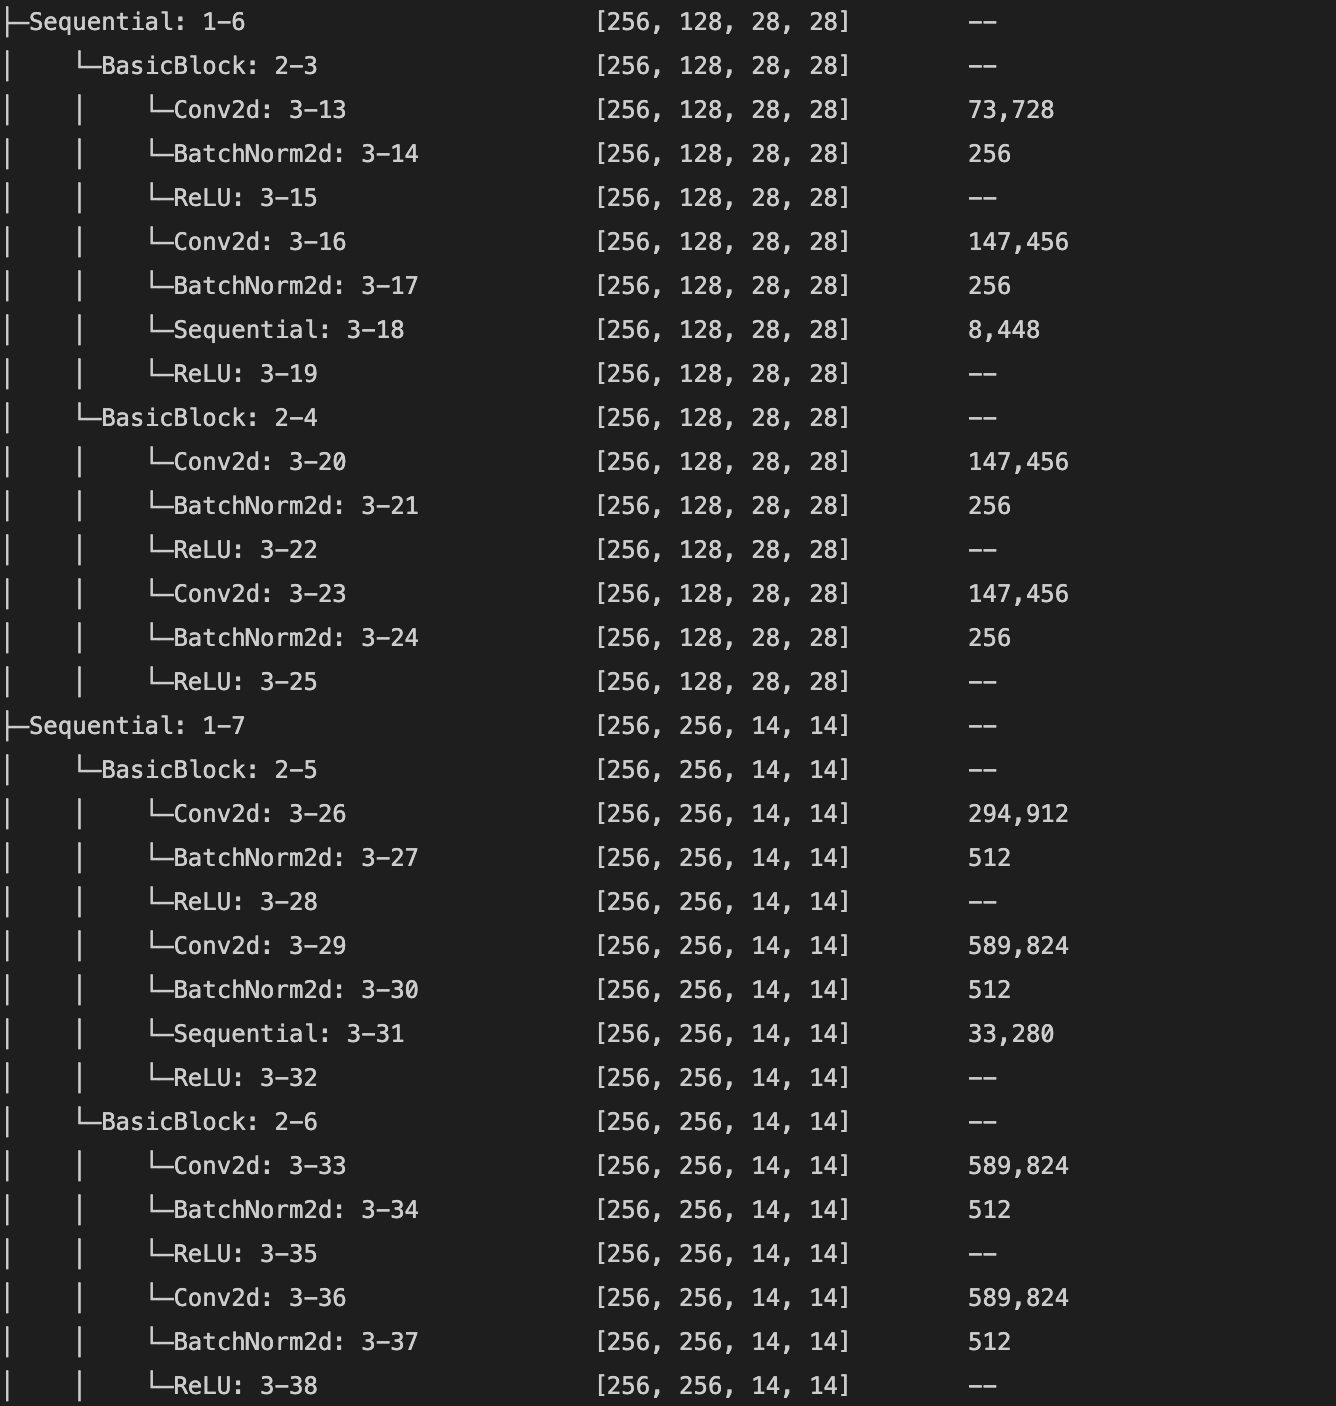
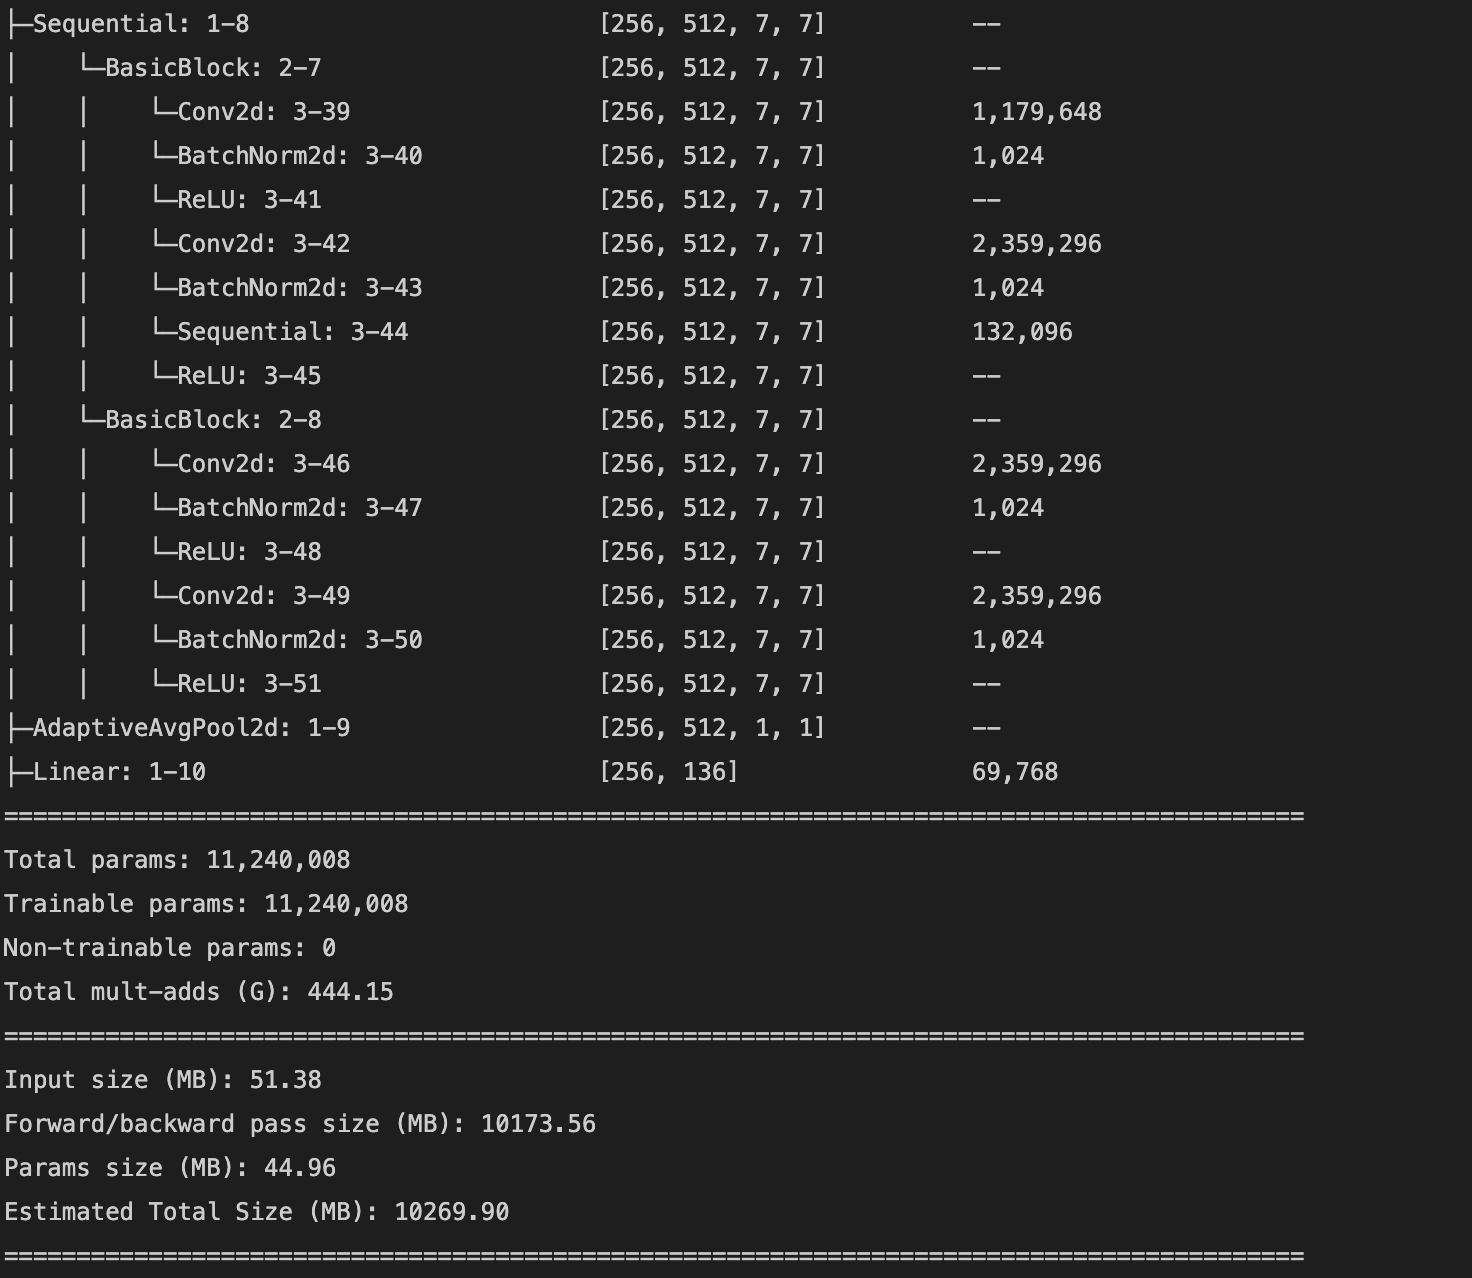
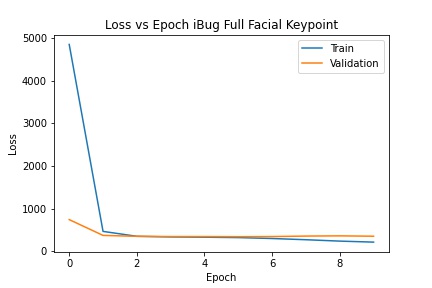
I used the pretrained ResNet18 model to predict the keypoints. I changed the number of input channels to 1 so that the model could take grayscale input, and changed the number of output channels at the last layer to 136 (2 for each of 68 (x, y) keypoints). The model was trained with a batch size of 256 and a learning rate of .001 for 10 epochs. This model achieved a mean absolute error of 23.5978 on the Kaggle submission. Below is a detailed description of the model architecture and a plot of the training and validation loss (mean squared error in pixel space).
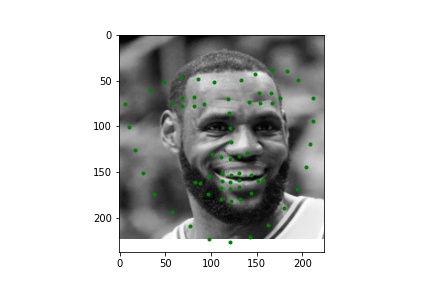
Below are a few examples of the predictions on the Kaggle test set. The model seems to perform worse on faces that are partially obscured.
|
|
|
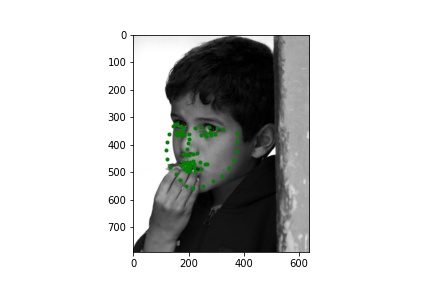
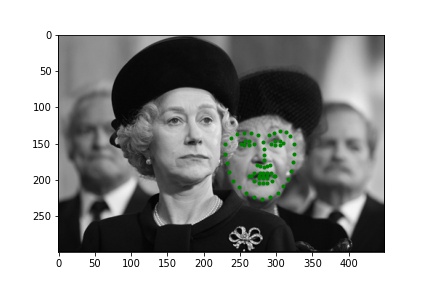
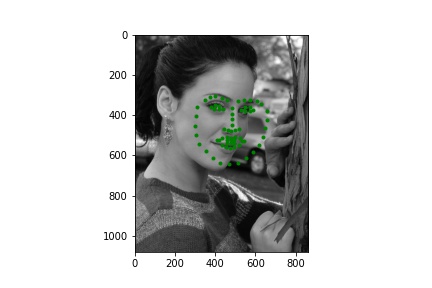
Below are a few examples of images from my own collection. The model seems to perform poorly when there is no bounding box to focus the model on. Notably, hair, turned faces, and background noise seems to ruin the predictions. For the first two images, the mouth and nose seem to be detected accurately, but the rest is innacurate probably due to the lack of a bounding box that leaves hair and other features in the image; the third image is very wrong due to the heavy background nosie and turned figure.
|
|
|
If more compute power was available, I would train the model (maybe a more complex one) again with more epochs and with more augmentations (can't due to Colab timeout). I would also crop my own pictures to reduce the additional noise in the images.