Project 5: Facial Keypoint Detection with Neural Networks
William Ren
Part 1: Nose Tip Detection
Before inferring facial keypoints, we first focus on detecting just the nose. I first write a dataloader that extends the Dataset class to load in the IMM Face Dataset. For each query of the dataset, I make sure to
normalize the images and then resize them to 60x80. Here are some sampled images with their corresponding keypoints overlaid on top:
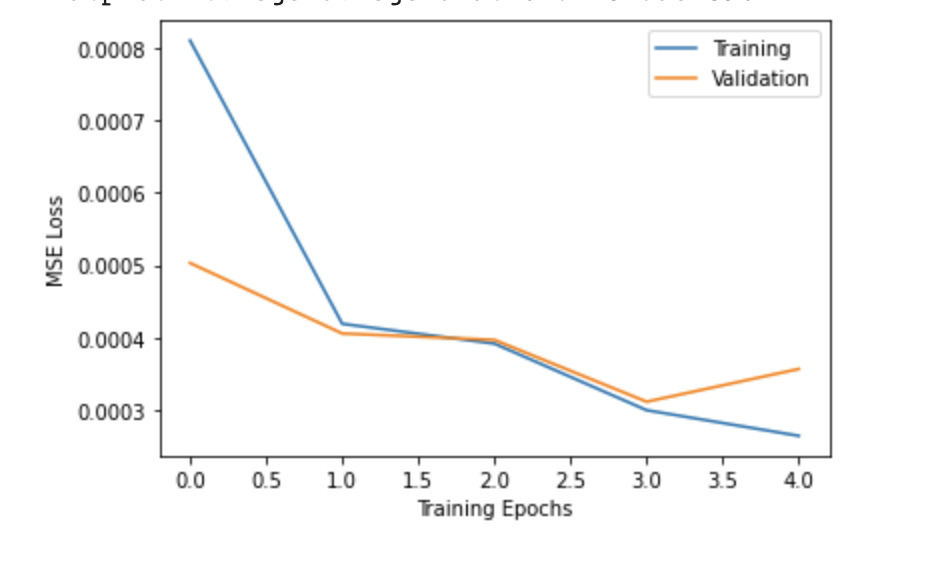
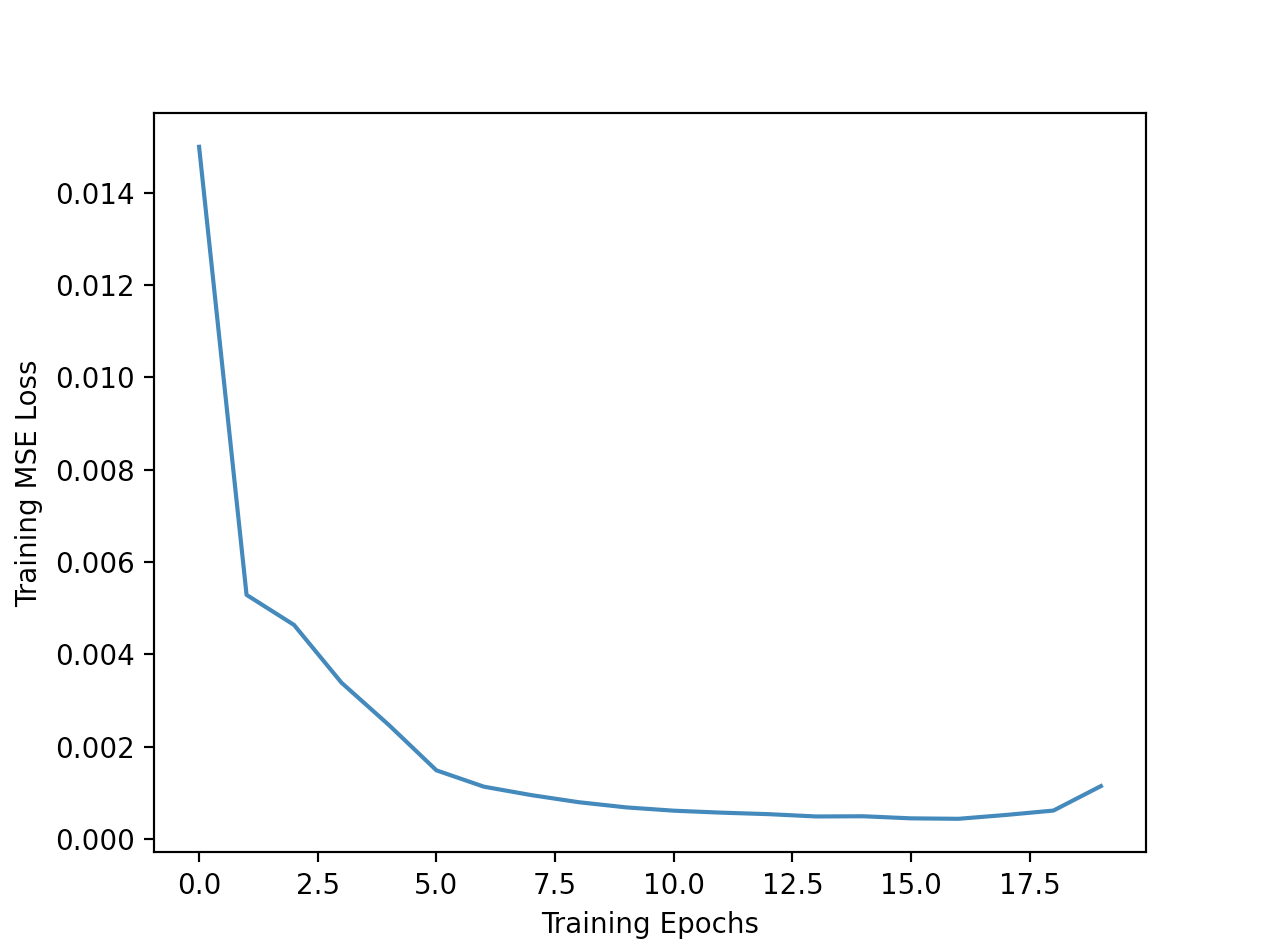
I then design a neural network with 3 convolution layers and 2 fully connected layers. Each convolution layer is followed by ReLU and then max pooled. I train the model for 20 epochs, using MSE loss and the
Adam optimizer with a learning rate of 5e-04. Here are the training and validation loss curves during training:
 Training Loss
|
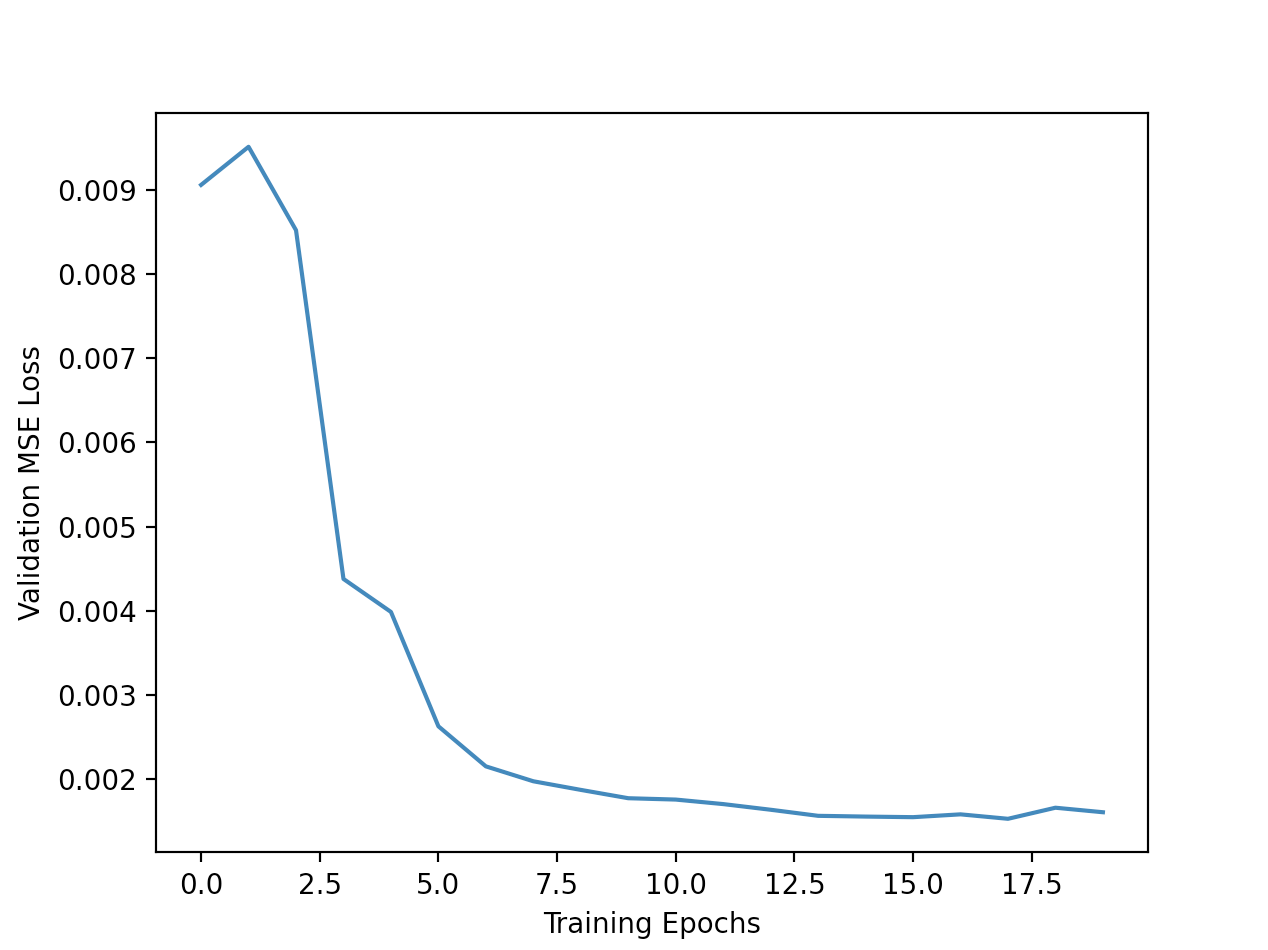 Validation Loss
|
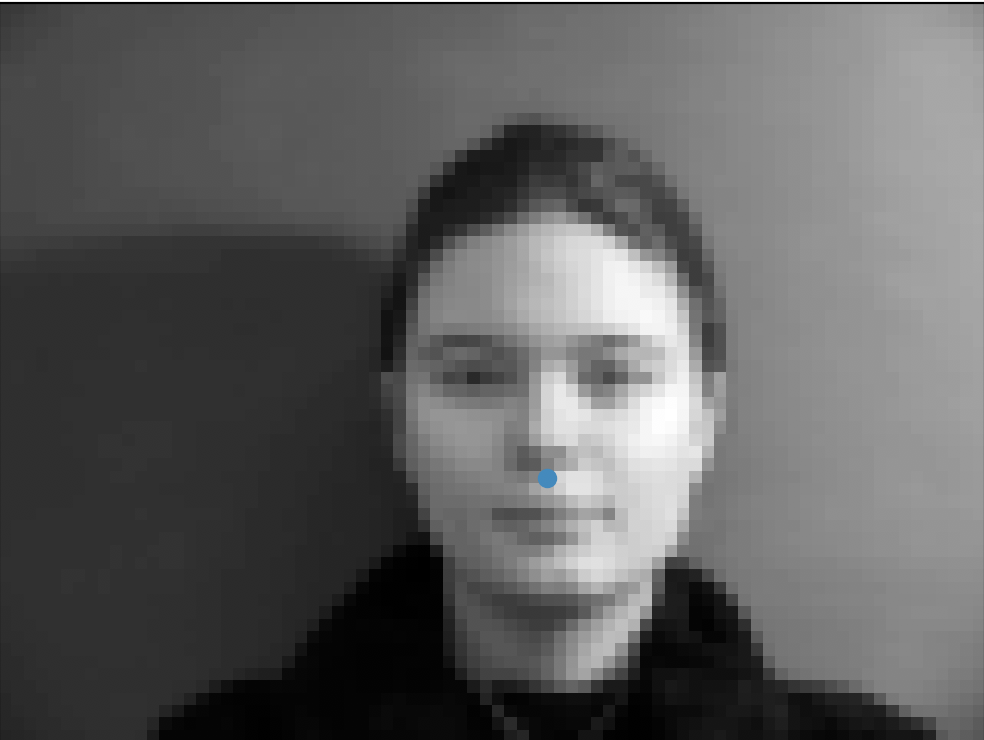
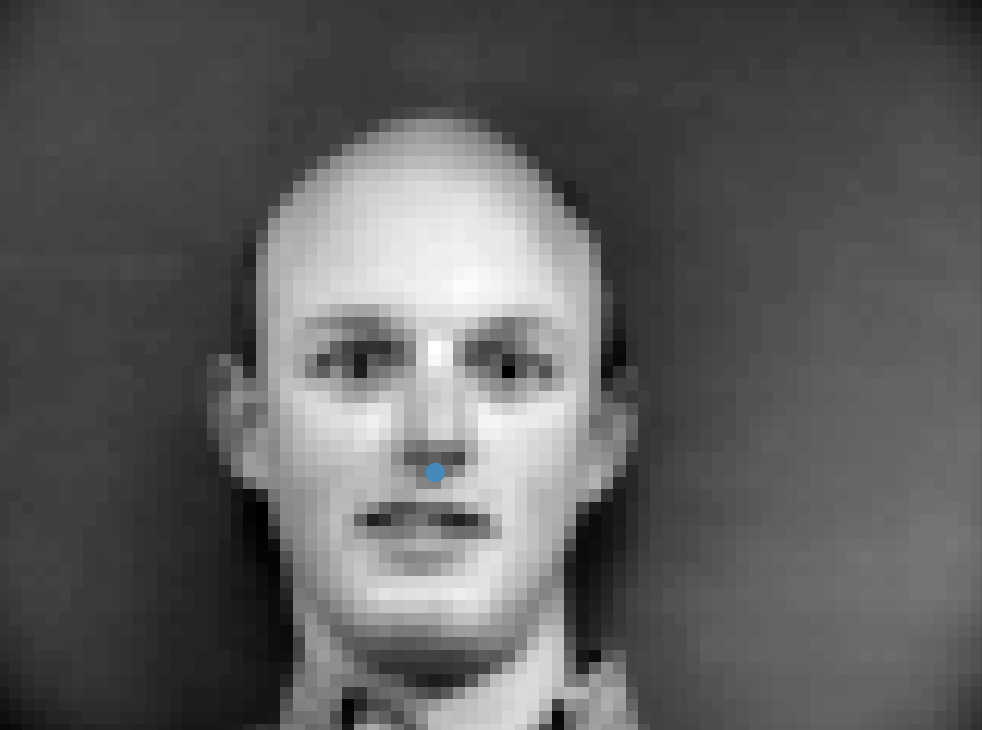
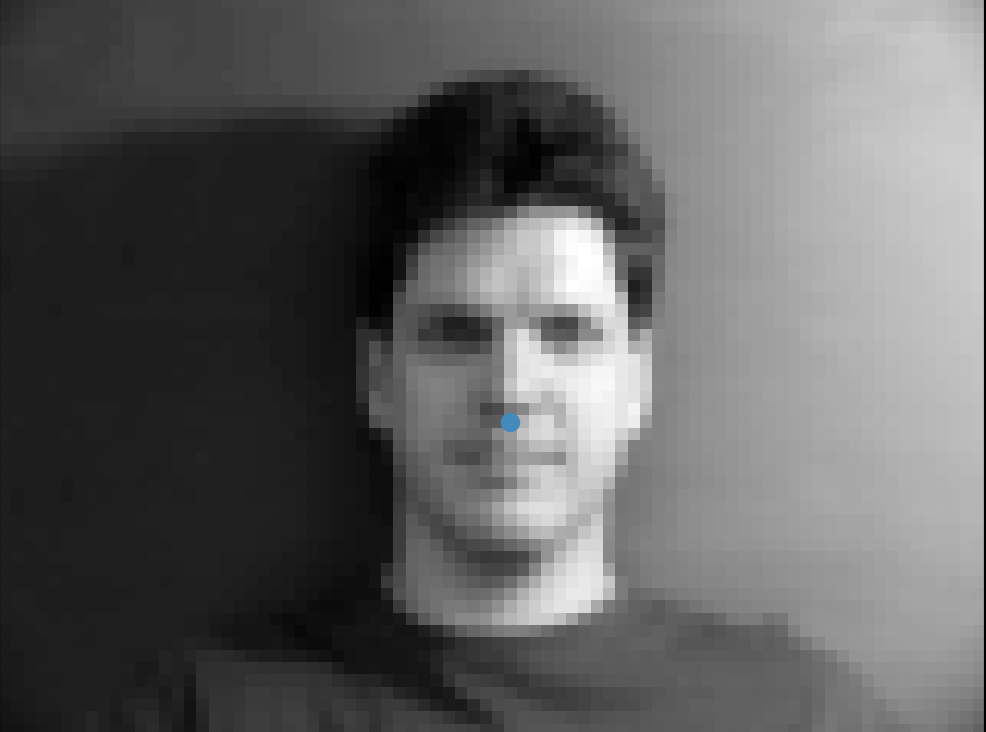
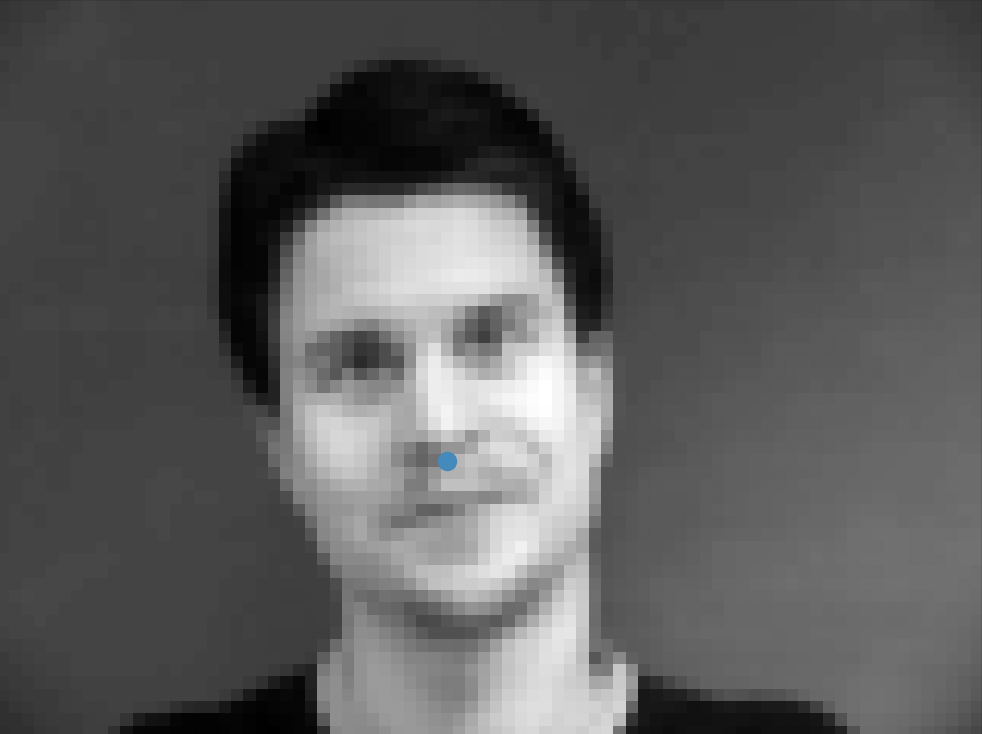
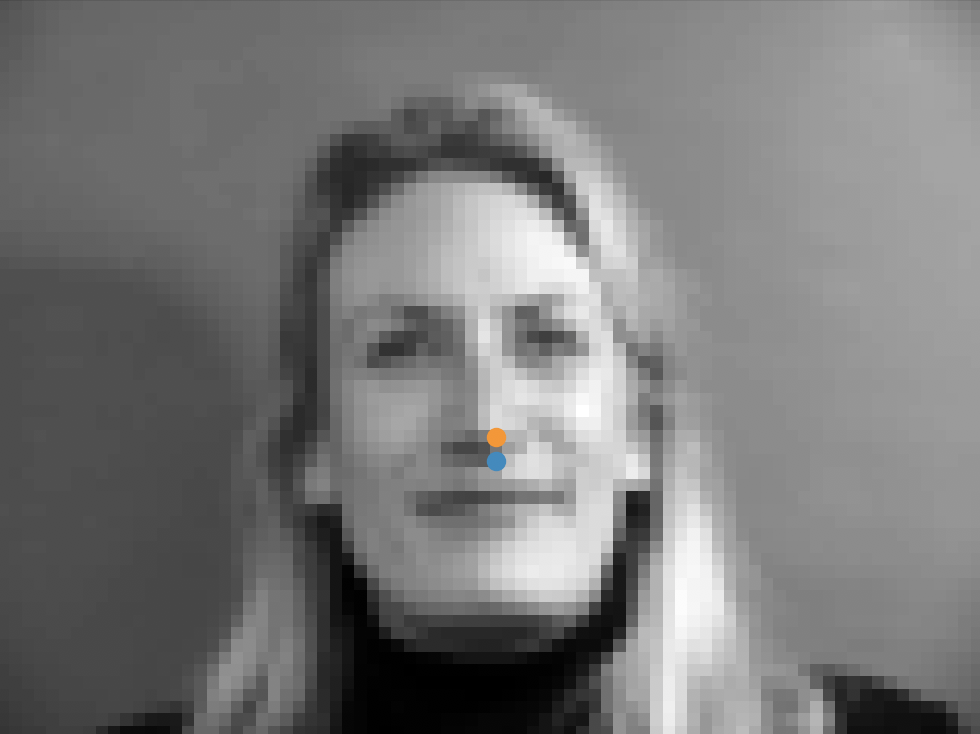
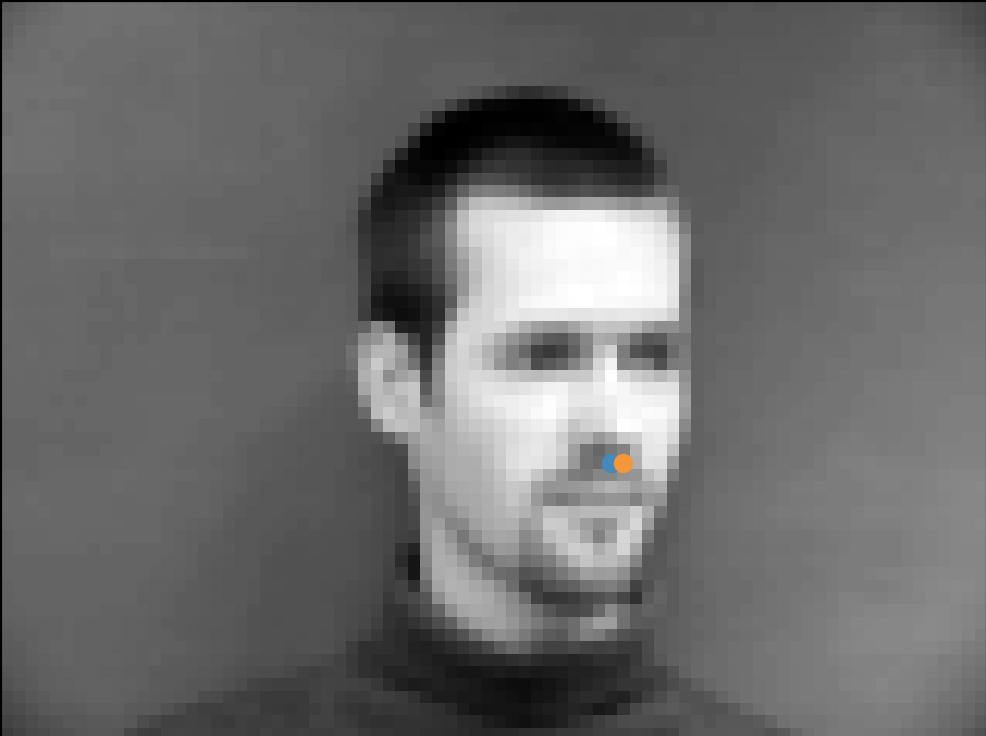
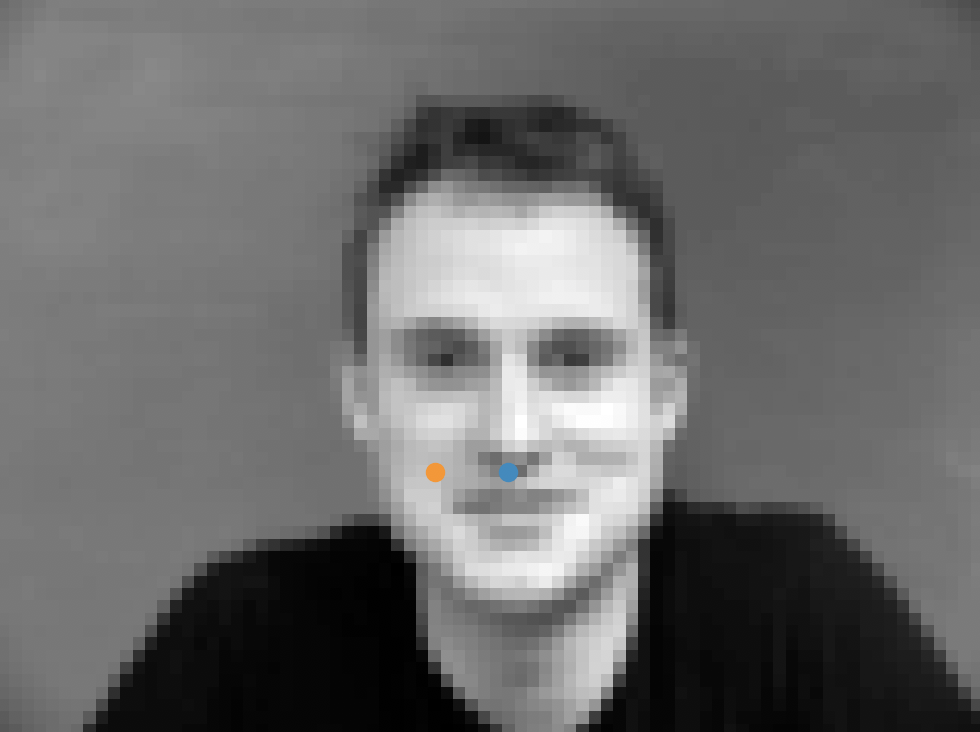
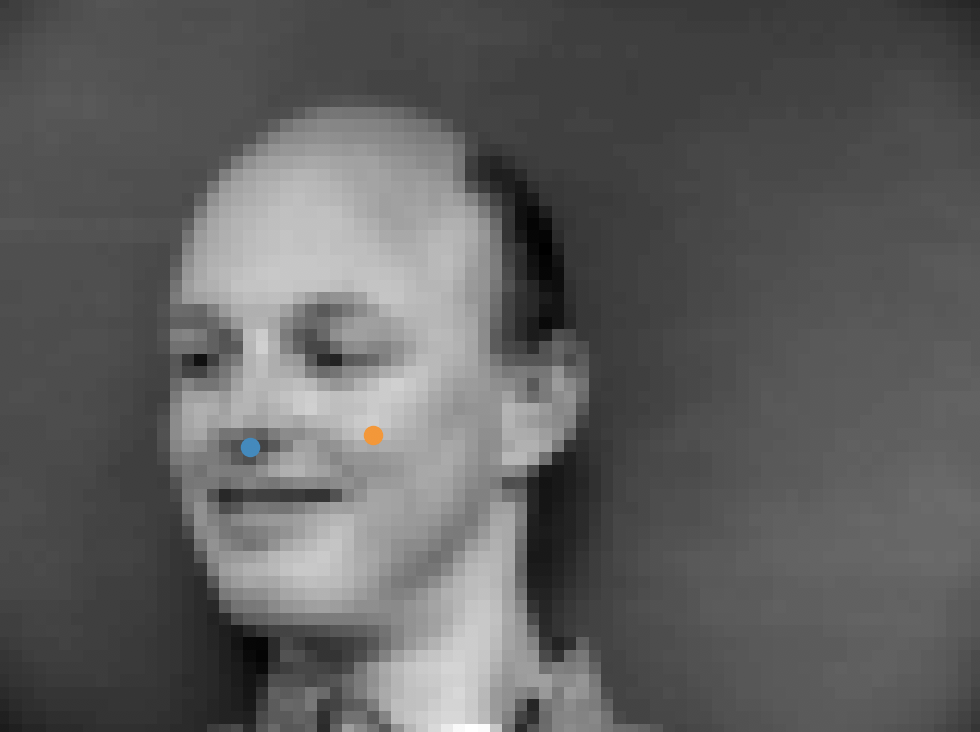
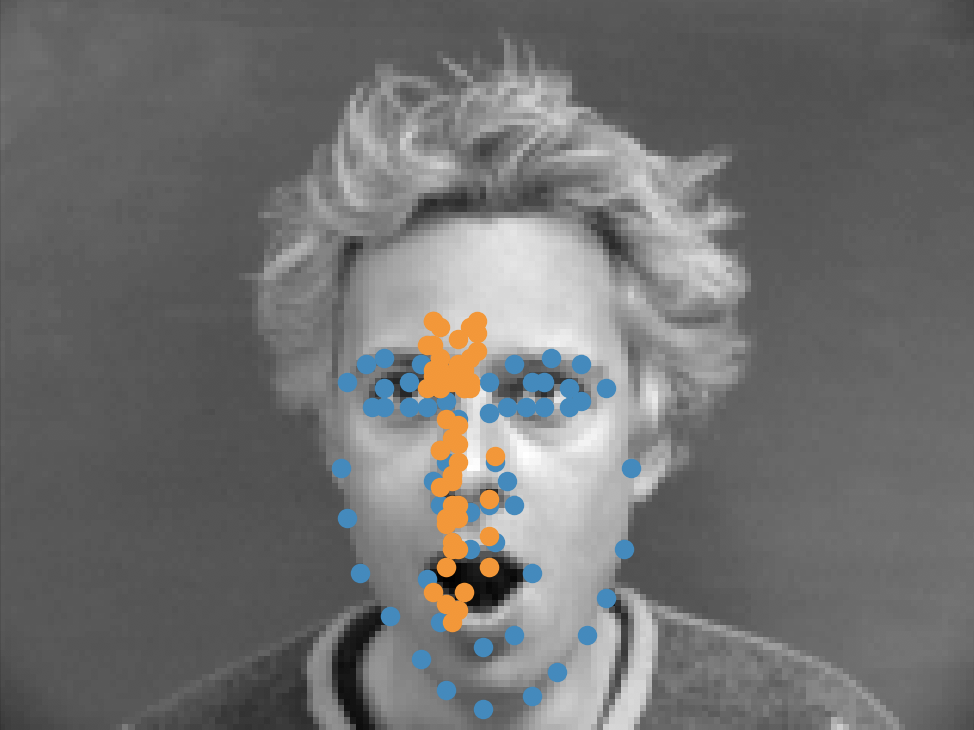
Below are a few results that my trained model produces. The orange dot is my predicted label, while the blue dot represents the ground truth label. The top row contains good results, while the bottom row
contains suboptimal results. I believe that my model fails in some cases because it is not very robust— it has trouble dealing with faces with extreme orientations and poses. In addition, it seems to use
the intensity to detect the nose. Because of this, it ends up placing the nose keypoint on the cheeks of some faces because the intensity variation is similar to that of a nose.
Part 2: Full Facial Keypoints Detection
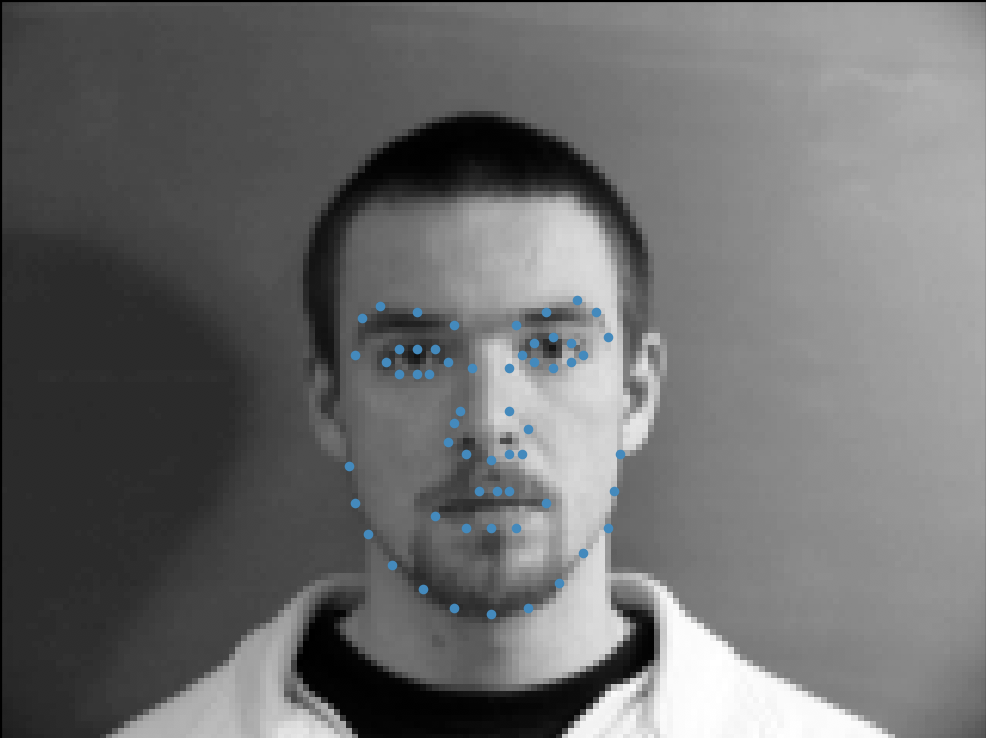
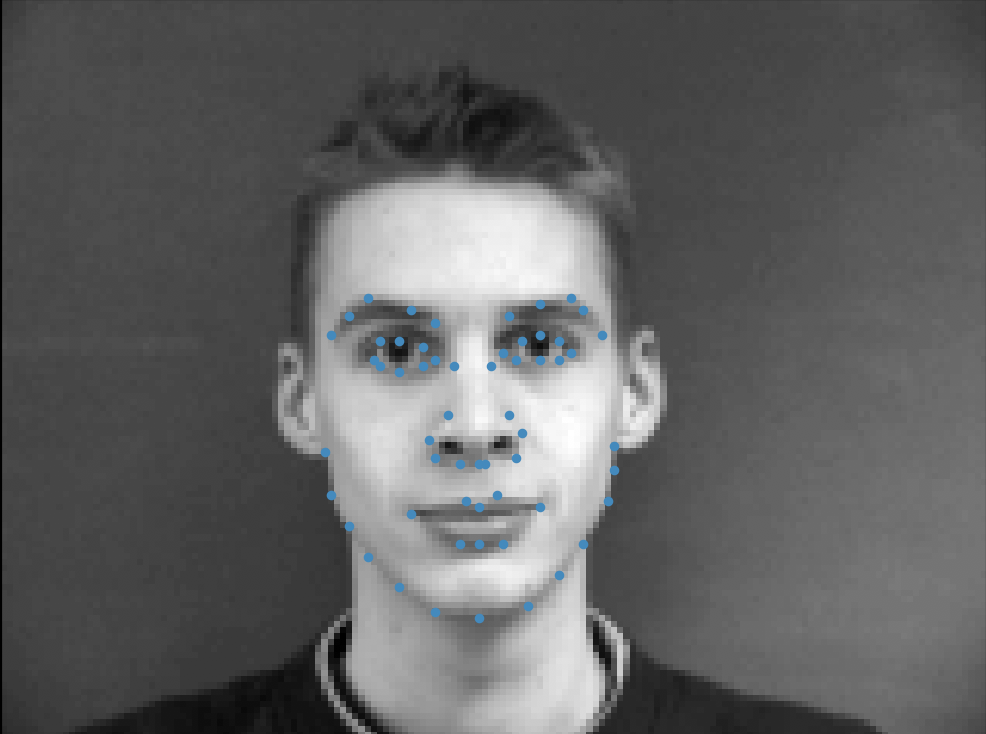
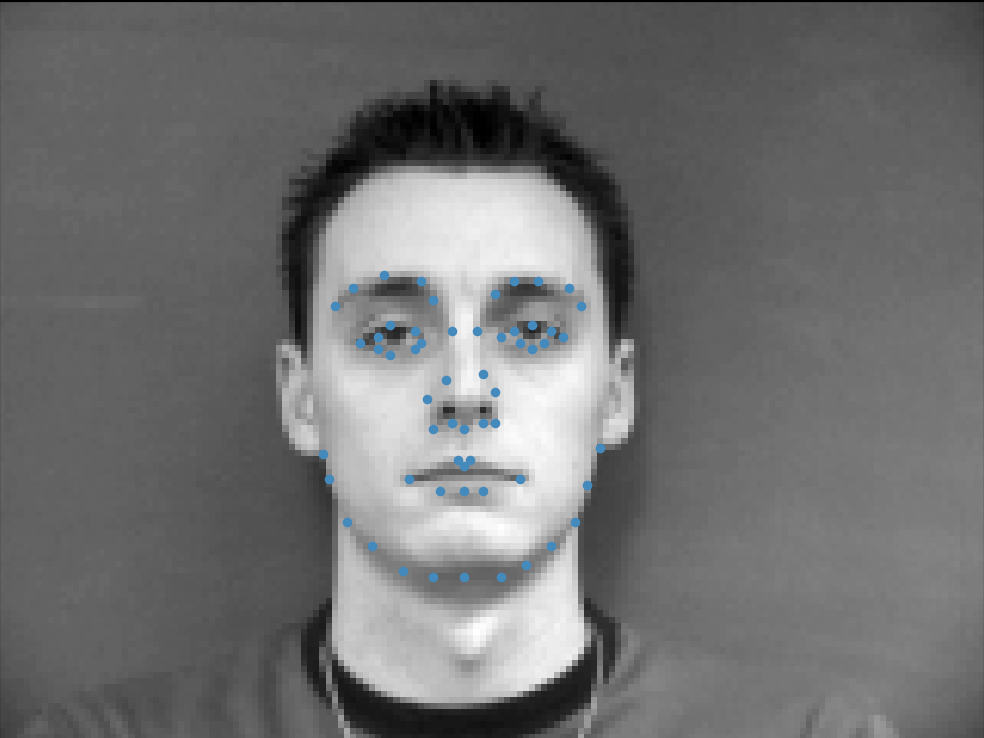
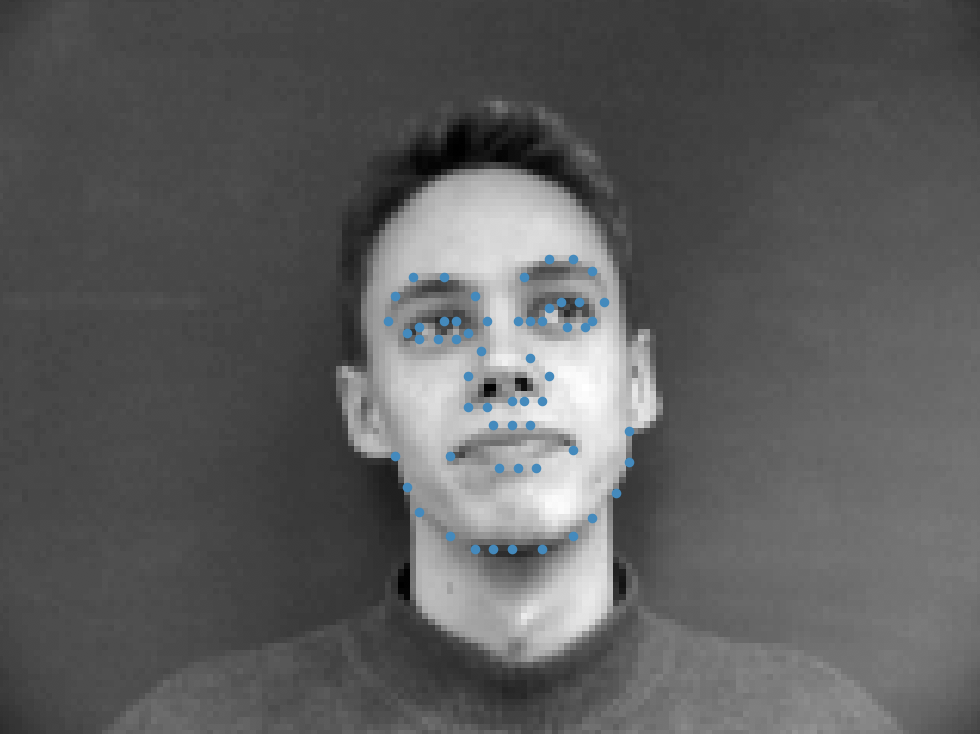
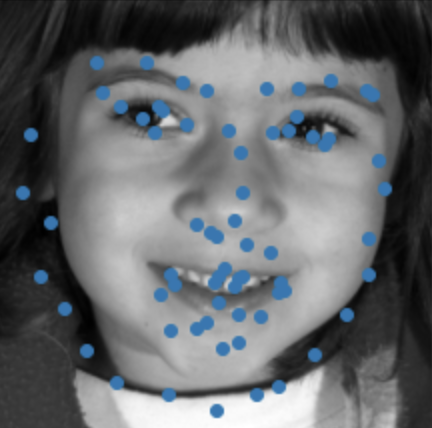
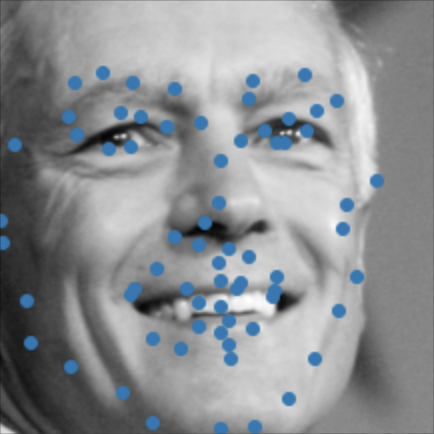
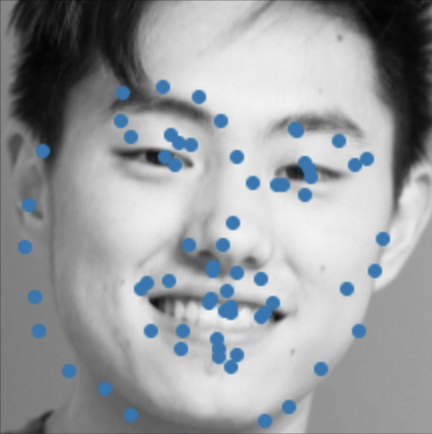
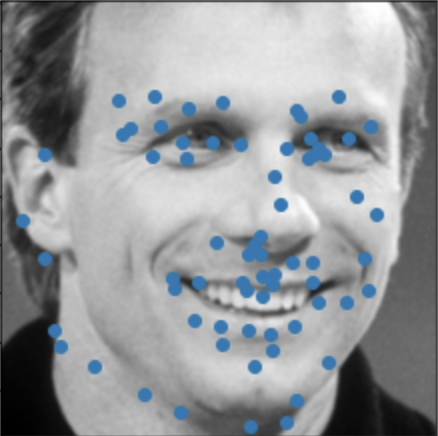
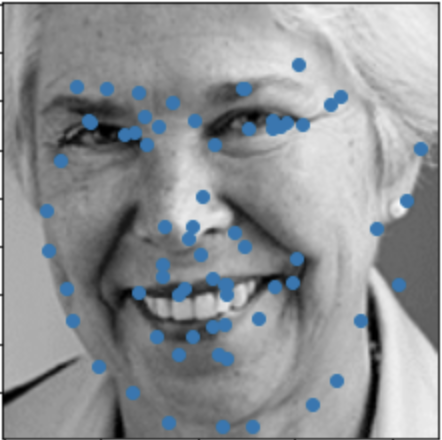
After detecting one face keypoint, we try and detect all 58 of them. Using the same dataset, I slightly modify the dataloader that I write to produce all landmarks. This time, I also make sure to resize the images
to 120x160 pixels, double the size as before. Here are some sampled images with their corresponding facial landmarks overlaid on top:
The neural network I designed for this task has 5 convolution layers and 2 fully connected layers. Each convolution layer is followed by ReLU and then max pooled. Here is the architecture of my network:
- Conv1 = Conv2D(1, 16, 5)
- Conv2 = Conv2D(16, 24, 5)
- Conv3 = Conv2D(24, 32, 3)
- Conv4 = Conv2D(32, 64, 3)
- Conv5 = Conv2D(64, 128, 3)
- FC1 = Linear(256, 200)
- FC2 = Linear(200, 58 * 2)
I train the model for 30 epochs, using MSE loss and the Adam optimizer with a learning rate of 1e-03. During training, I also augment the data by adding in random horizontal flips. Here are the training and
validation loss curves during training:
 Training Loss
|
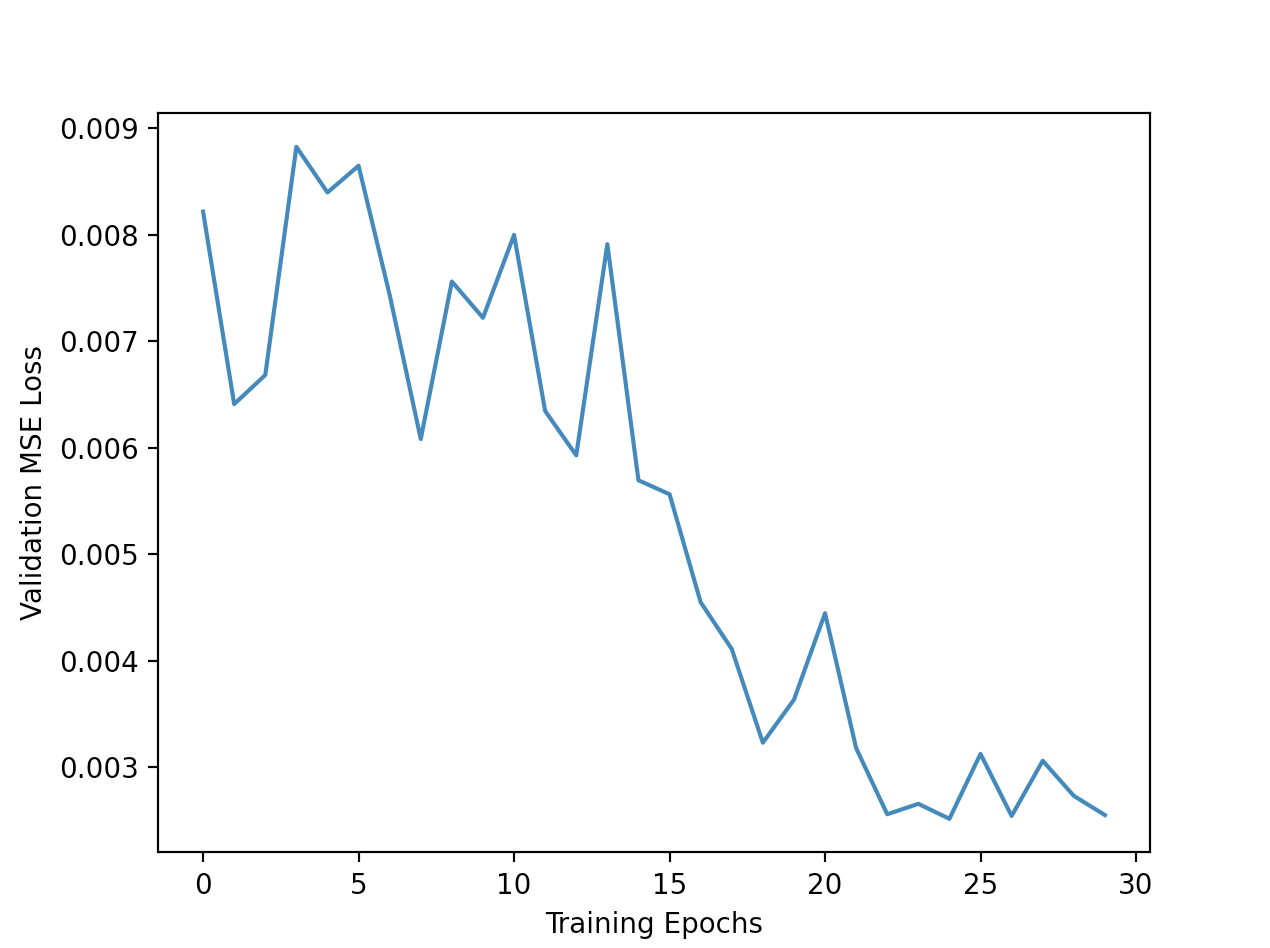 Validation Loss
|
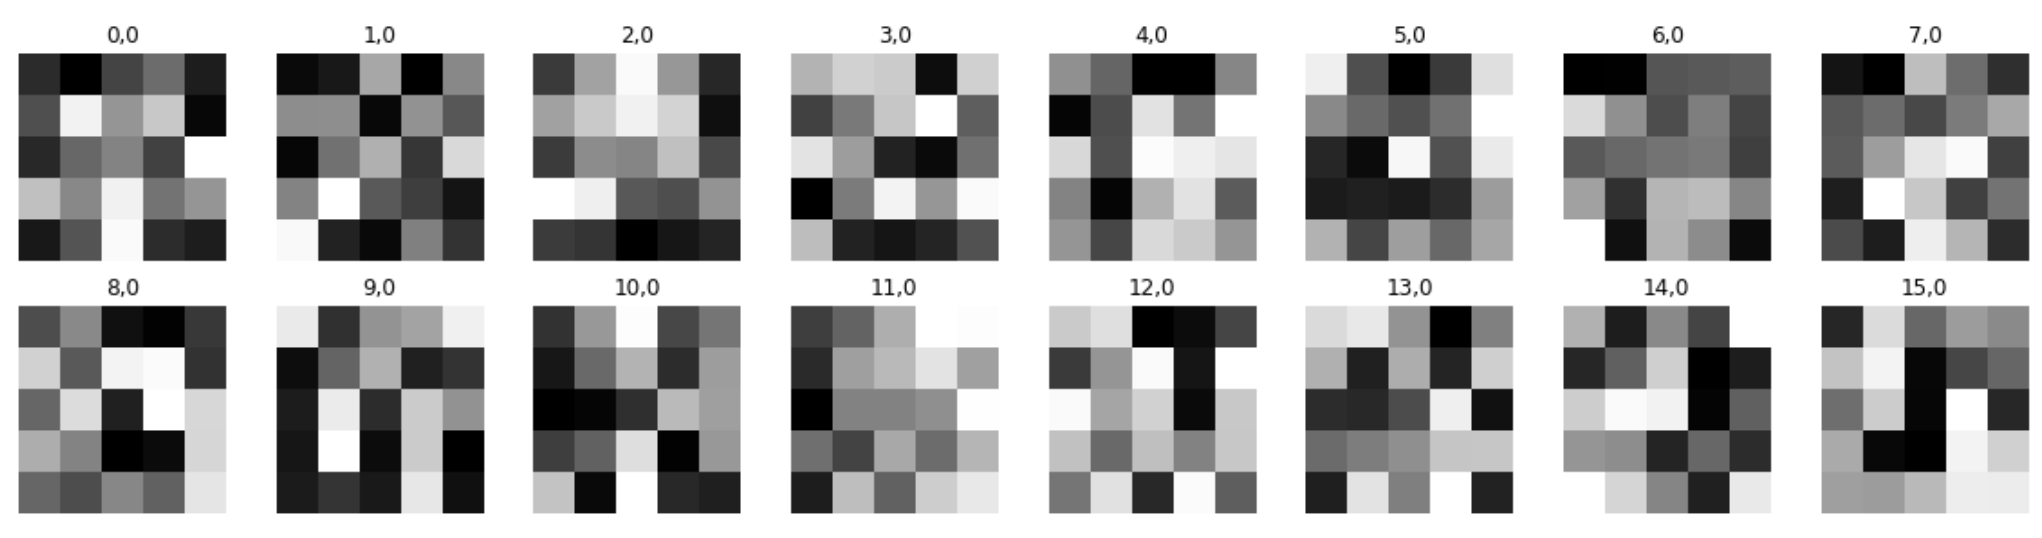
Additionally, here are the convolution filters that my neural network was able to learn. These correspond to the first convolution layer:
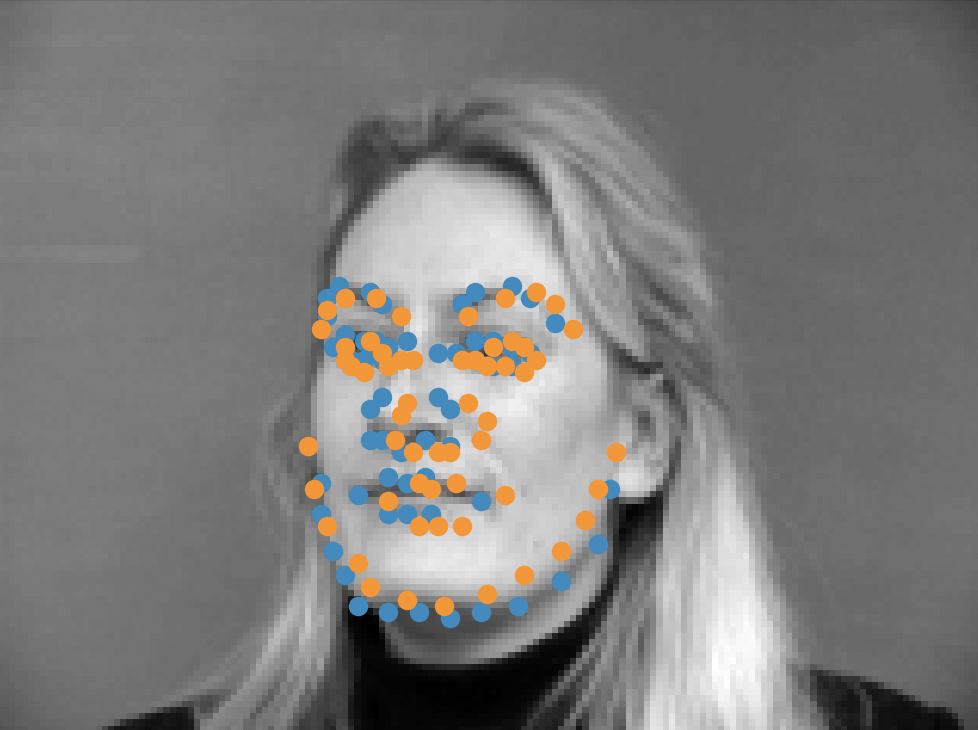
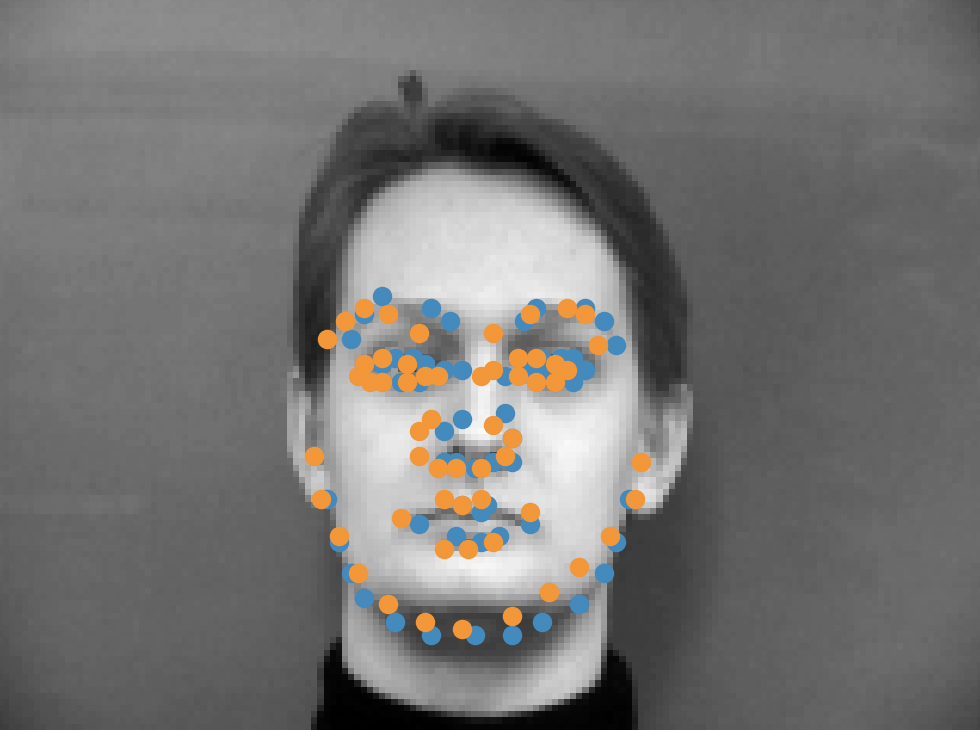
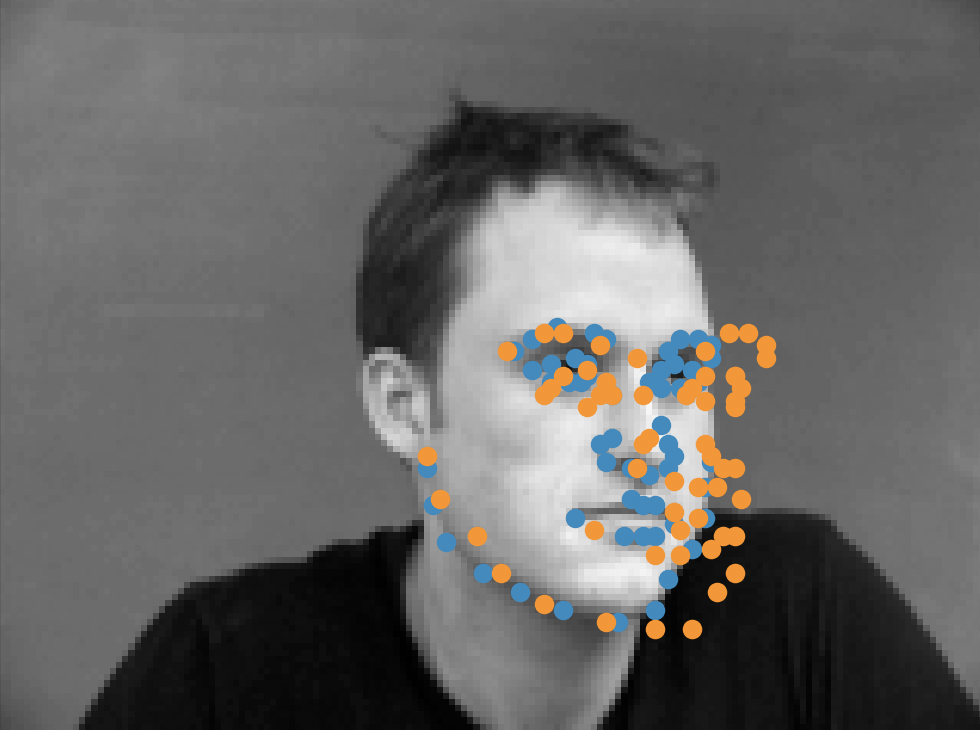
The results that my trained model were able to produce are shown below. Once again, the orange dots are my predicted labels, while the blue dots represents the ground truth labels. The top row
contains good results, while the bottom row contains suboptimal results. Since my data augmentation was not robust, I still think that my model has trouble generalizing to various poses sometimes,
as you can see from the first bad example. It also has trouble when the faces show extreme expression, shown in the second bad example. I think that in the future I'd want to add in random rotations
when augmenting my data.
Part 3: Train with Larger Dataset
Now we train a facial keypoint detection model on a much larger dataset (6666 training images)! For this task, I first write a dataloader that reads in images, landmarks, and bounding boxes. Apart from image normalization,
I now also crop the images according to their bounding boxes. I then resize the images to 224x224 pixels, and update the landmarks to match accordingly. I make sure to convert the facial landmarks from pixel coordinates to
coordinates within the range [0, 1]^2. This means that I also do minor additional computations in converting the predictions back to the space of the original image when submitting to Kaggle. Lastly, I make sure to split the
training images into training and validation sets, with a respective 90/10 split.
The model I use is adapted from the ResNet18 model. I changed the first convolution layer to handle grayscale image inputs by setting conv1=Conv2D(1, 64, kernel_size=7, stride=2, padding=3, bias=False). I also make sure to
change the final fully connected layer to output 68 * 2 features. I train my model for 5 epochs, using a batch size of 64, L1 (MAE) loss, and the Adam optimizer with a learning rate of 5e-04. The training and validation loss curves are shown below
in a single plot:
With my trained model, I was able to get a score of 19.11047 on Kaggle under the username of 'William Ren'. Here are some results I was able to produce on the testing data:
Lastly, I was able to predict on a few of my own images as well, after adding custom bounding boxes. My model seems to do fairly decently, though it does have some trouble getting the exact
jaw outline down.