If a computer has no eyes, can it still see faces? Short answer, yes. Long answer, yes, through computer vision and deep neural networks. For an even longer answer, keep reading!


If a computer has no eyes, can it still see faces? Short answer, yes. Long answer, yes, through computer vision and deep neural networks. For an even longer answer, keep reading!
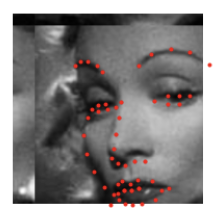
Before we jump into facial feature detection, we have to first lay the foundation. Let's start by building a neural net model that is able to predict the tip of a person's nose. We first visualize some of the points in our training and validation dataset, along with their ground truth labels.
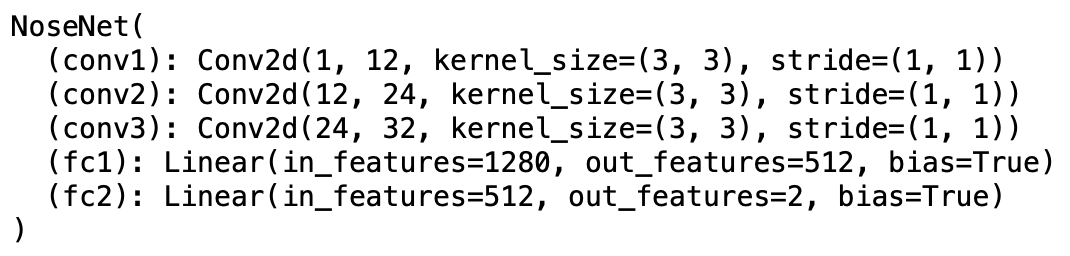
Next, we can begin to create our model. I created a neural net model that features 3 convolutional layers and 2 fully connected layers. Here is the resulting plot of the training and validation MSE Loss across 25 epochs, with a learning rate of 0.001 and a batch size of 1.

Here are the predictions on the validation set, with the red being the true label and the blue being the predicted label. We can observe that the model works best when the person is looking at the camera, and can be sometimes spotty when the head is turned or the face has a lot of expression. This is most likely because these types of faces are not that prevalent in the dataset, and I did not perform any data augmentation for this part. However, it does manage to get most of them correct, so overall, the results are quite good.


To get to my final model, I had to do a lot of hyperparameter training, such as changing the batch size, learning rate, epochs, etc. Here are some of the results from various other hyperparameters I tried out, which had varying degrees of success. The first set of images have points predicted with batch size of 1, .01 learning rate, and 15 epochs. The second set is from batch size of 1, .05 learning rate, and 15 epochs. I tried various other combinations as well, but ultimately my final pick of batch size of 1, learning rate of .001, and 25 epochs turned out to be the best with my chosen model, as it gave the best results for turned and straight pictures.


.
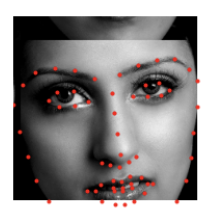
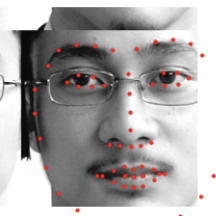
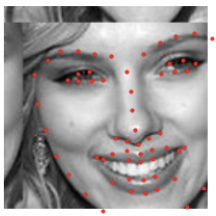
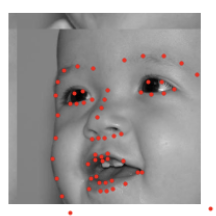
We can now move onto full facial feature detection, where we will be trying to predict the location of 58 facial keypoints. Again, we first take a look at sample images from training and validation dataloaders along with their ground truth labels. The top two rows are from the training set and the bottom two from the validation set. To avoid overfitting our model to the images, we can perform data augmentation to generate additional data points for our model. For my data augmentation, I chose to add in shifting the images and also changing their brightness. You can see these in the training images. The validation images remain as they were however.


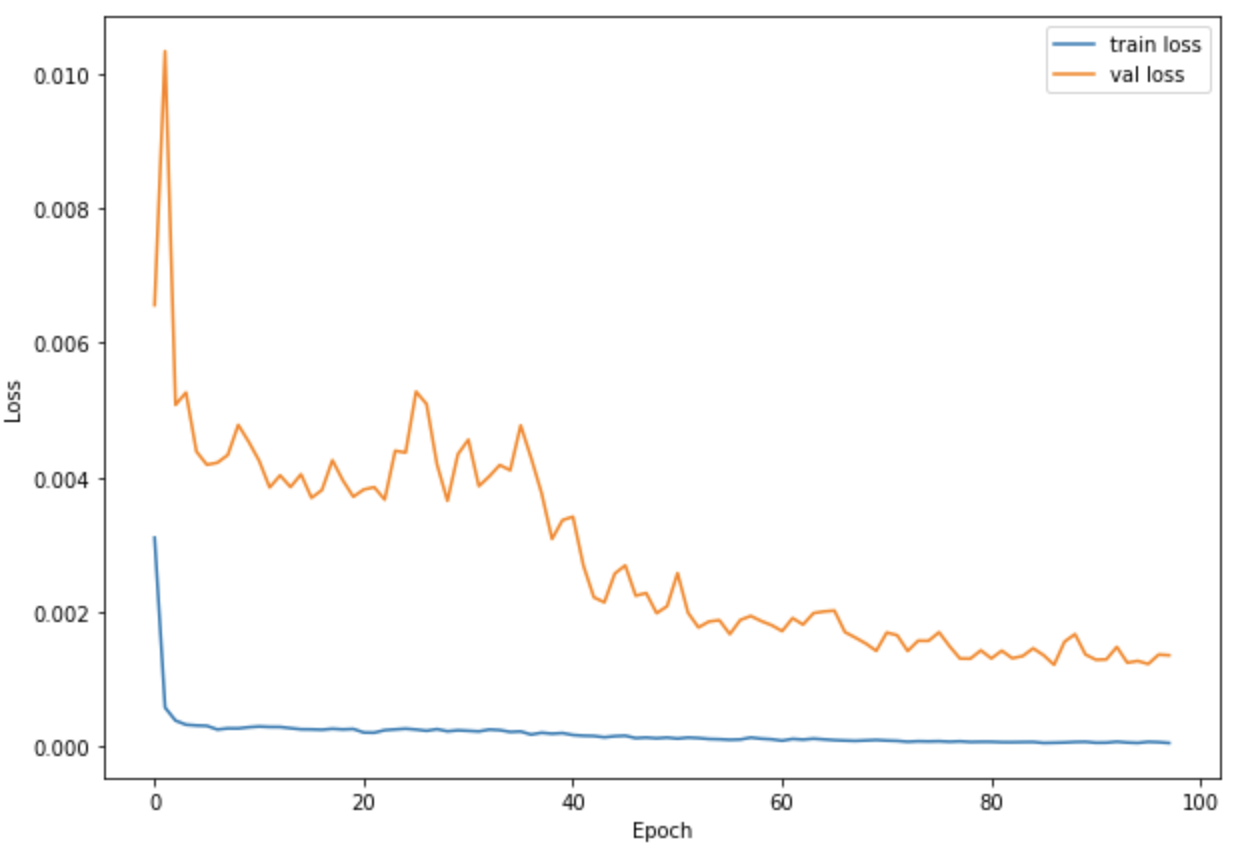
My facial feature model was a lot larger this time, consisting of 5 convolutional nets and 3 fully connected layers. I also only did max pooling on some of the layers, not all. Finally, I used a batch size of 24, with a training rate of 0.001 over 100 epochs.

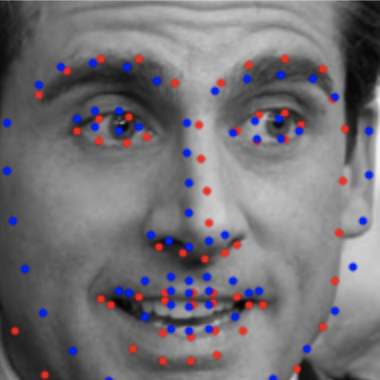
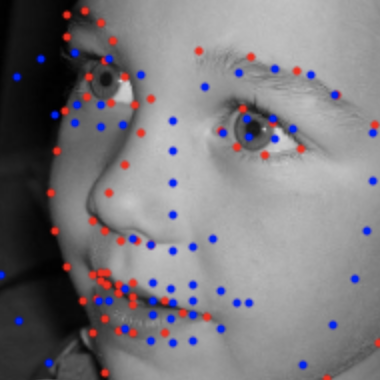
Here are the predictions on the validation set, with the red points being the true label and the blue points being the predicted label. Again, we can observe that the model works best when the person is looking at the camera, and can be sometimes spotty when the head is turned or the face has a lot of expression. This may be because the model overfitted to the training data which had different face sizes, or simply because there wasn't enough data, even after the data augmentation. However, the facial feature recognition does work fairly well, and even when the head is turned, it is able to output a somewhat turned figure each time.


I also messed around with different hyperparameters, such as increasing batch size, using a bigger/smaller learning rate, and different model parameters. This led to issues such as the model outputting the same prediction for every image. I also tried experimenting with other data augmentation techniques, such as horizontally flipping the image, but this led to problems with the labels and outputs that were clustered and incorrect. This final model is one that seemed to work the best. Here are some of the filters from my model, with each row of filters being from 1 of the 5 convolutional nets of the model. They do not look that helpful to the human eye but they sure work miracles.


.
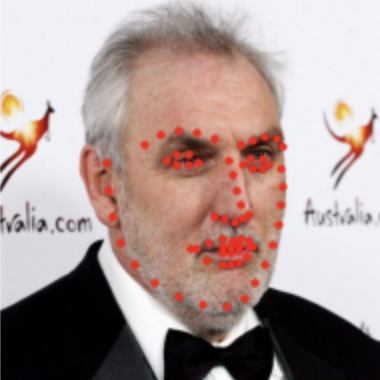
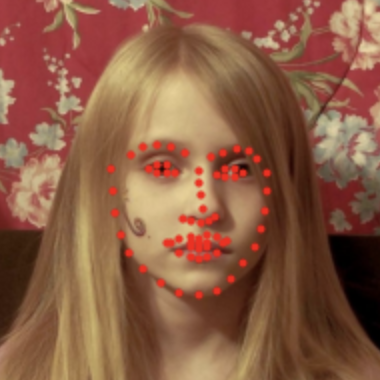
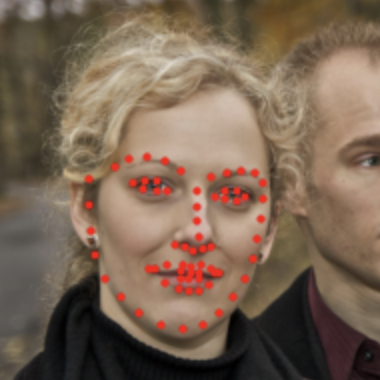
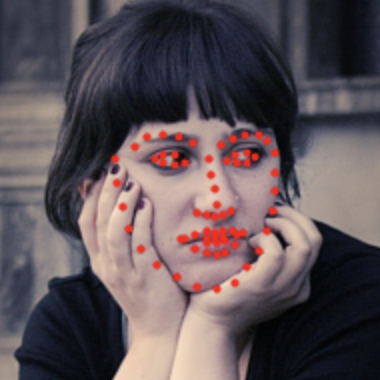
I now want to perform all of this on a much larger dataset, the ibug face in the wild dataset, which contains images that are of varying sizes, angles, expressions, etc. To do this, I leveraged the Resnet18 model, with a few modifications. Before we get into that, lets take a look at some of the dataset samples first. Here are some sample images along with their ground truth labels. Again, I added in pixel shifts and brightness changes for data augmentation. Each image has 68 keypoints, although some have been cut off as a result of the bounding boxes provided.
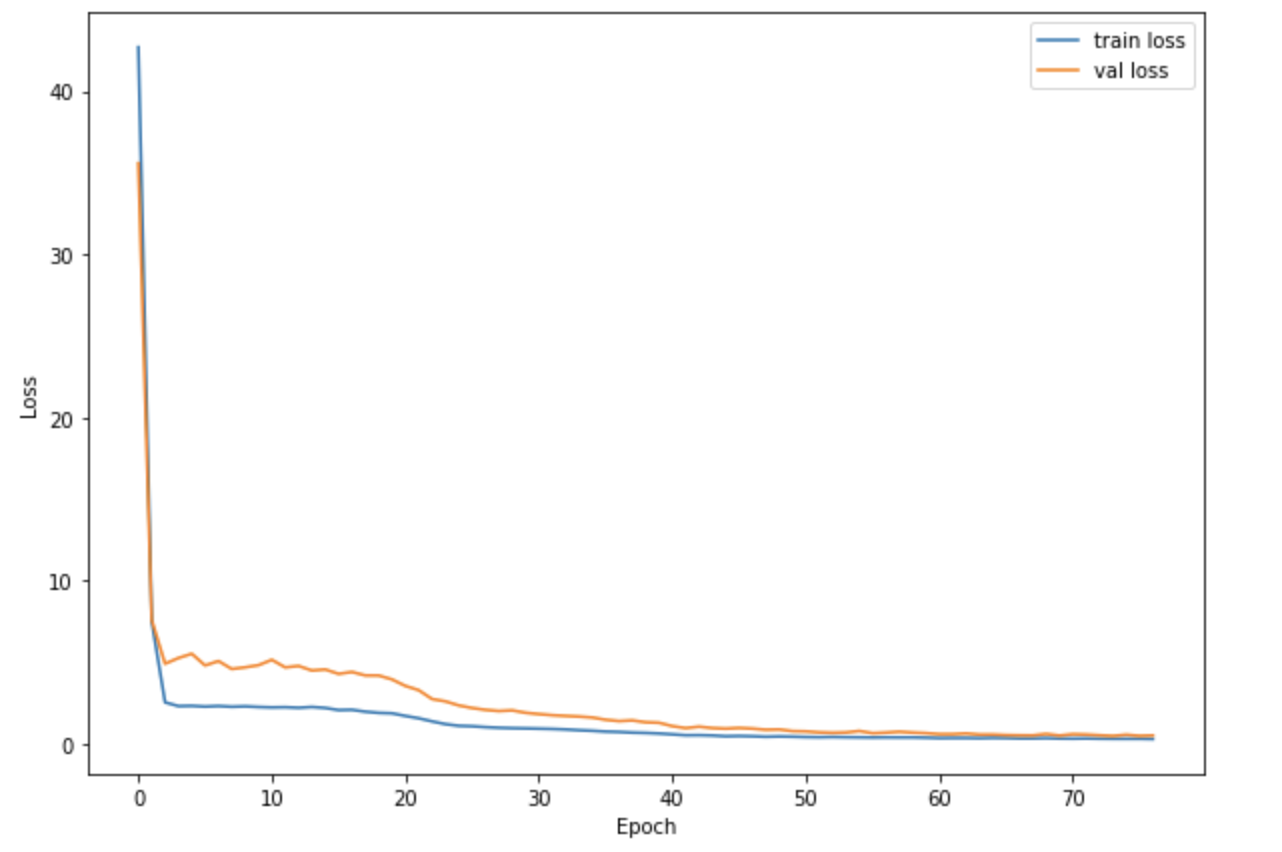
For my model, I chose the ResNet18 model, with no changed parameters other than making it so that it accepts an input with one color channel and that it outputs 136 values (for the x,y pairs for our 68 points). The rest of the model details can be found online on Pytorch docs, under Resnet18. For my hyperparameters, I used a training rate of 0.005, with a batch size of 256 and over the course of 77 epochs. Out of the 6666 images in the dataset, I used 5120 for training and 1546 for validation. The graph of the training/validation losses across epochs are shown below.
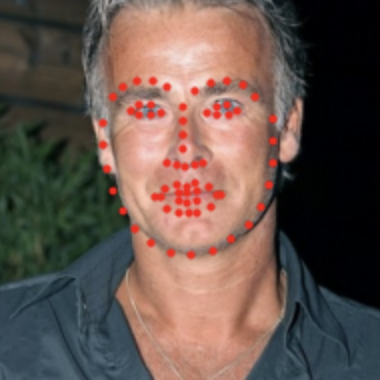
Finally, here are the predictions on the validation set, with the red points being the true label and the blue points being the predicted label. It works fairly well, although there are definetely some parts of the face that the model does not pick up as well. In particular, if the face is turned quite a bit, it becomes hard for the model to accurately get the points correct.
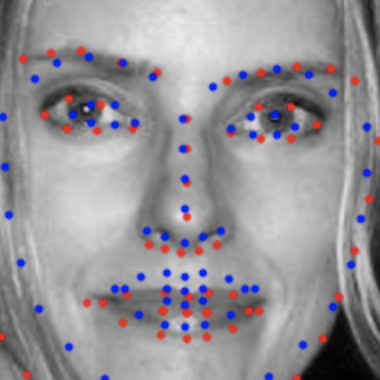
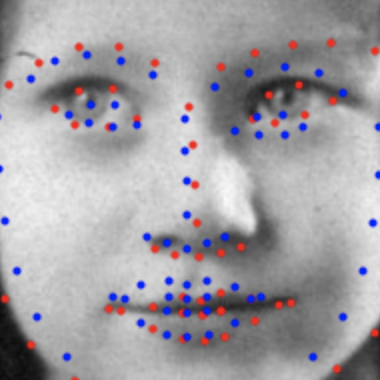

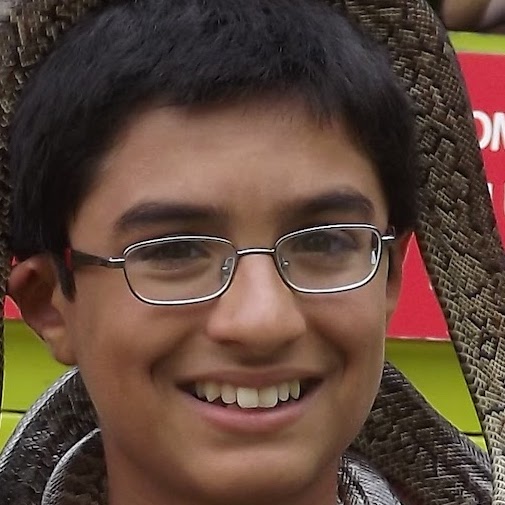
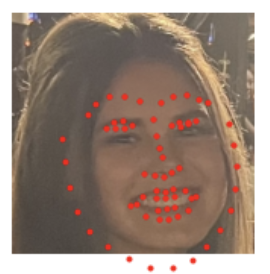
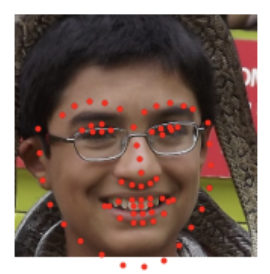
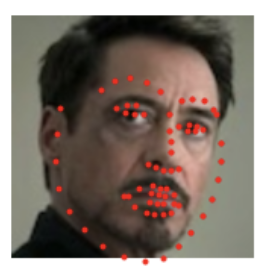
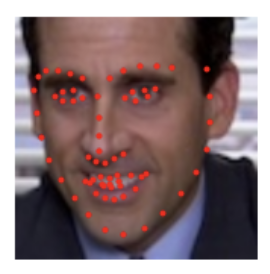
We can also apply the model to pictures of myself, as well as other pictures not in the datasets. Below you can see the original faces of myself, my girlfriend, me as a kid, Tony Stark, and Michael Scott. Under each one is the facial keypoints detected. We can observe that the model has some difficulty determining the exact positions of eyes and lips, most likely since that requires a lot of precision and tough edge decisions. I wouldn't say that it completely fails on any of the images, although it did make the outline of my girlfriend's face quite circular, which she probably wouldn't appreciate. Other than that, I think the results are quite pleasing!


Now that I have a fleshed out model, I can participate in the class Kaggle competition. Here are the results of running my model on the test dataset. They look really good! My final Kaggle score was 12.61.
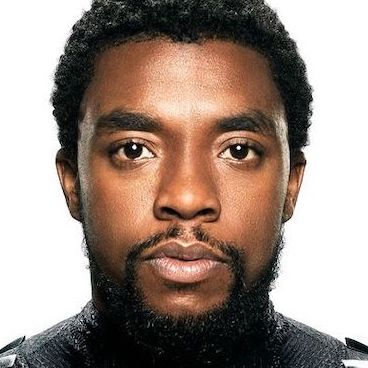
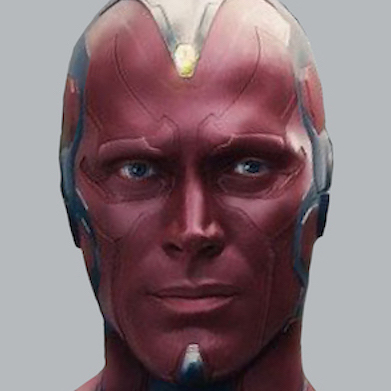
With the power of facial detection at our hands, I can turn back time to revisit one of the previous projects, the (morphing) Avengers Initiative. Using the ResNet model, I no longer have to manually handpick the facial points. Below are the images of the faces I morphed, followed by the final gif. Avengers Assemble!