CS 194: Project 5
Convolutional Neural Networks
In which humanity finally learns to harness the power of the Adam.
Introduction
For a long time, humans have been interested in artificial intelligence. To create thinking machines has, in many ways, become one of the greatest goals of neuroscientists and computer scientists. But, that lofty goal has always seemed just a few years out of reach. To put it simply, the human brain is an incredible, complex system, and we don't yet fully understand the mechanisms by which our own consciousness functions.
However, during our quest to create AI, we have stumbled across a number of different techniques that are extremely useful for doing all sorts of other cool tasks. In this project, we will be using the basics of our image processing skills in an attempt to learn to automatically detect and match facial keypoints!! So, without any further ado, let's get started!
Part I: Predicting a Single Point
Before we try to predict an entire face, we will start simple by attempting to detect the location of a single keypoint using a neural net. In this case, we will choose the tip of the nose. For our first dataset, we will train our network using the same dataset of Danes that we used in project 3!
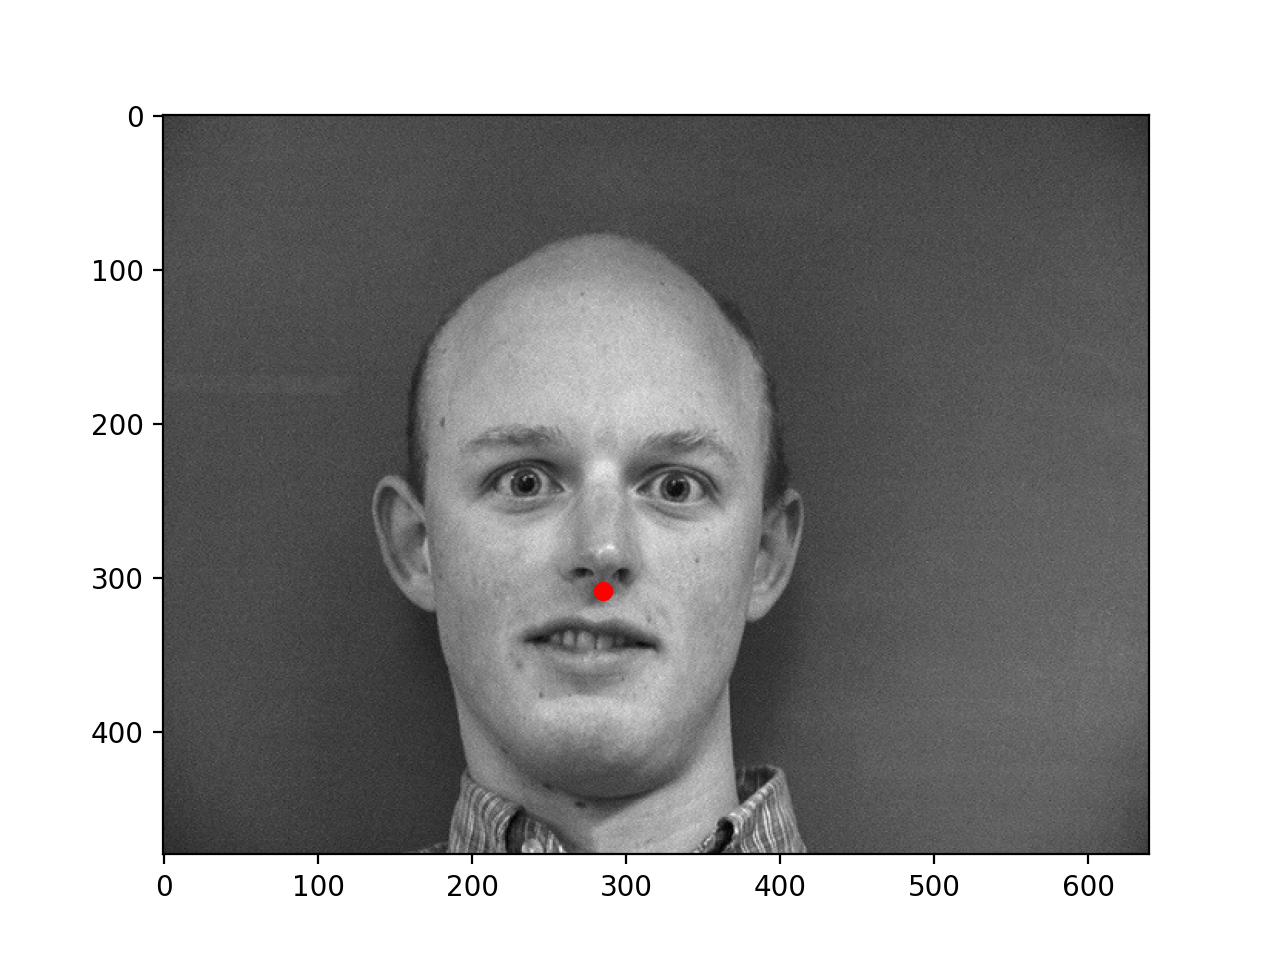
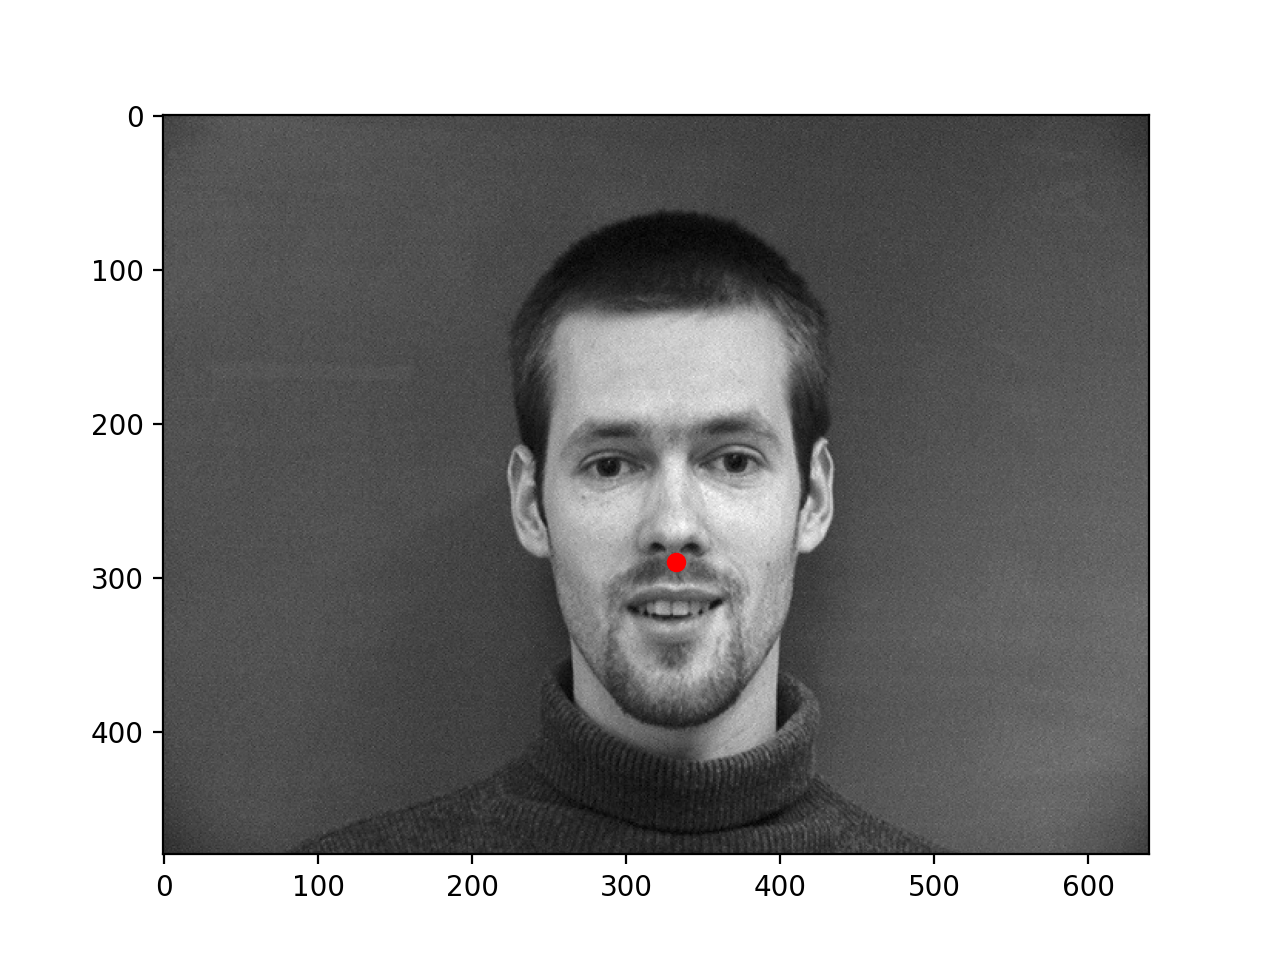
First things first, we need to create a dataloader to take in our images and process them into usable training pairs. A neural network needs to take in an input x and return an output y. To start with, our x is relatively easy. We can take in the raw pixel values of our image as input, since that's basically what we humans use anyway! Getting our y labels is a little bit trickier, but luckily, this dataset comes prelabeled, and we can simply select the nose point from each image! With that convention defined, writing our dataloader becomes much easier! Here are some raw output images from the dataloader:

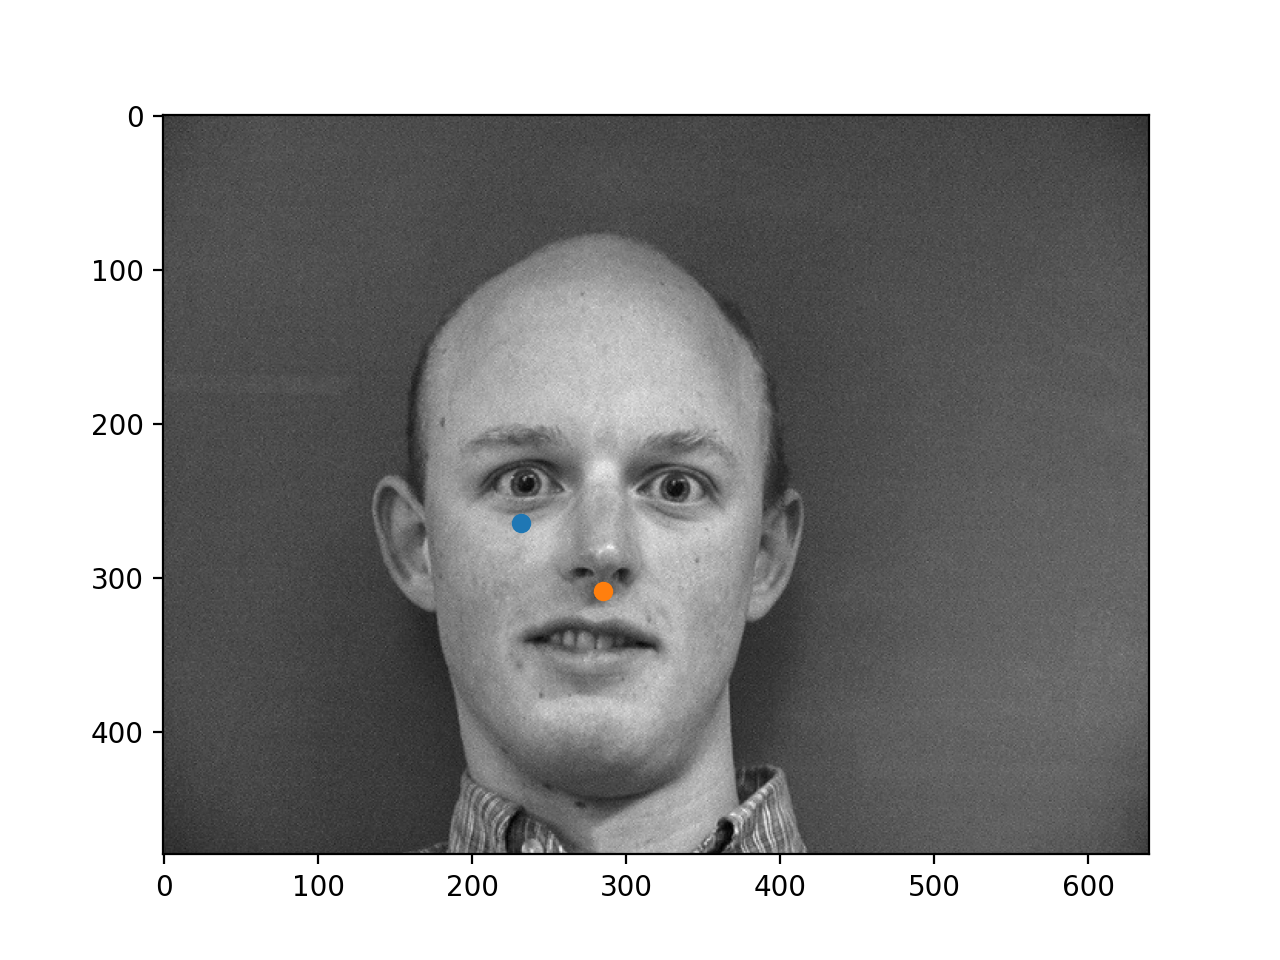
Now that we have some images, and some labeled noses, let's get training! The simple neural network architecture that I chose to start with involves four convolutional layers, with filter sizes ranging from 3x3 to 7x7. Following that are three fully connected layers, each with a decreasing number of nodes, until we get to the output layer, with two output nodes, one for x and one for y. The results are shown here, with the prediction in blue, and the ground truth point in orange:
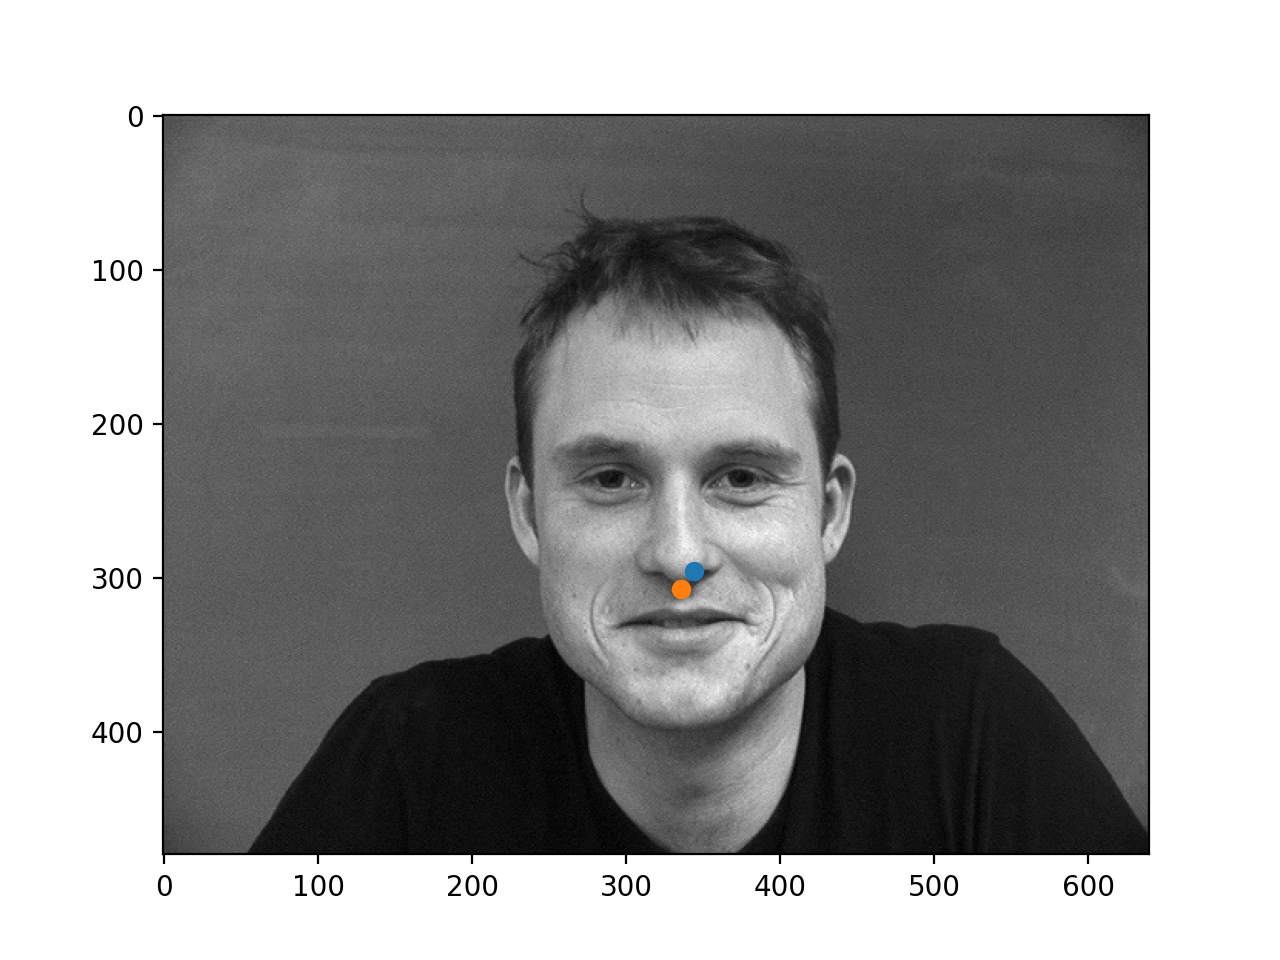
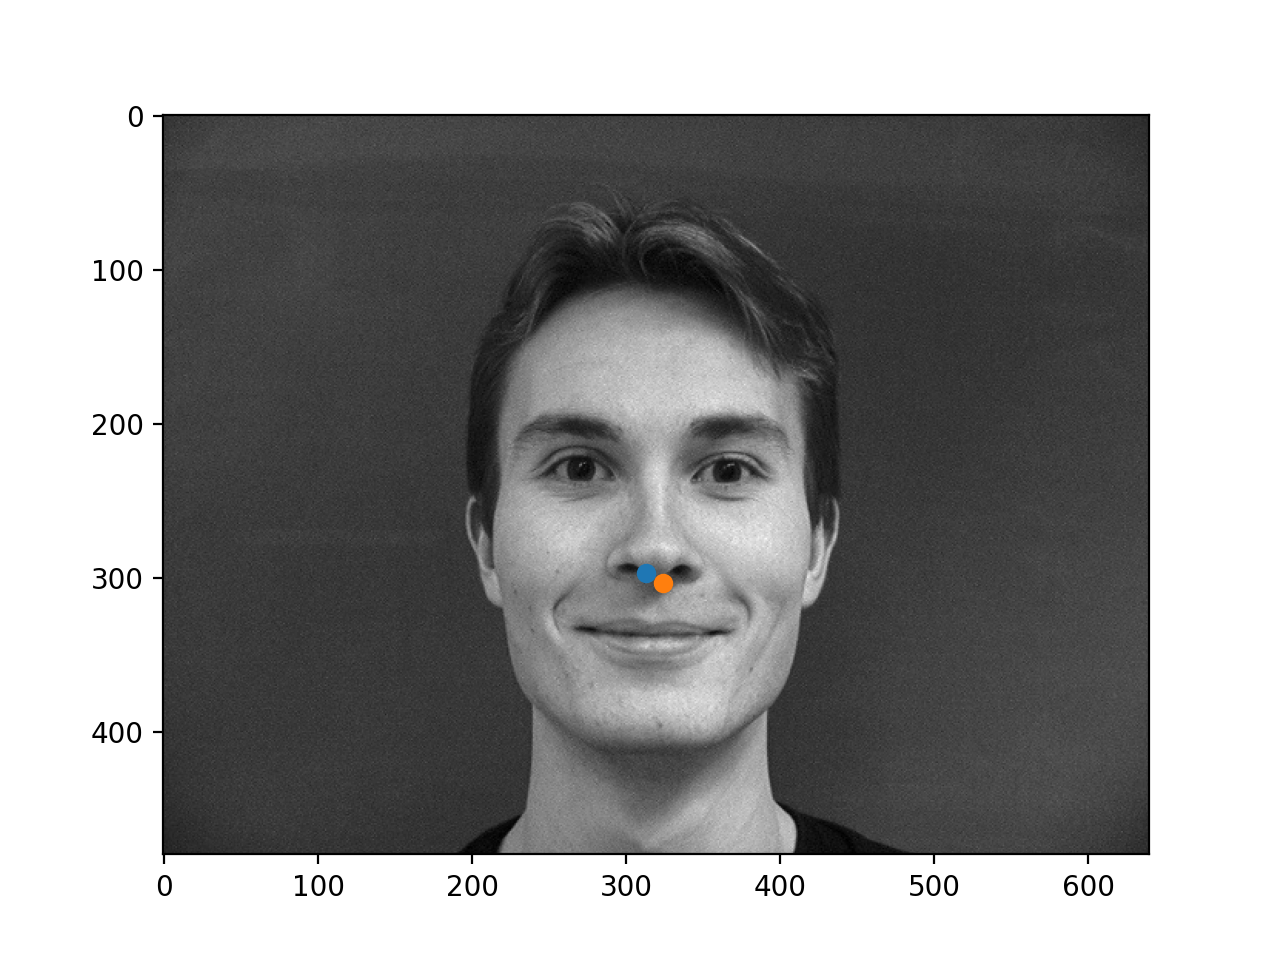
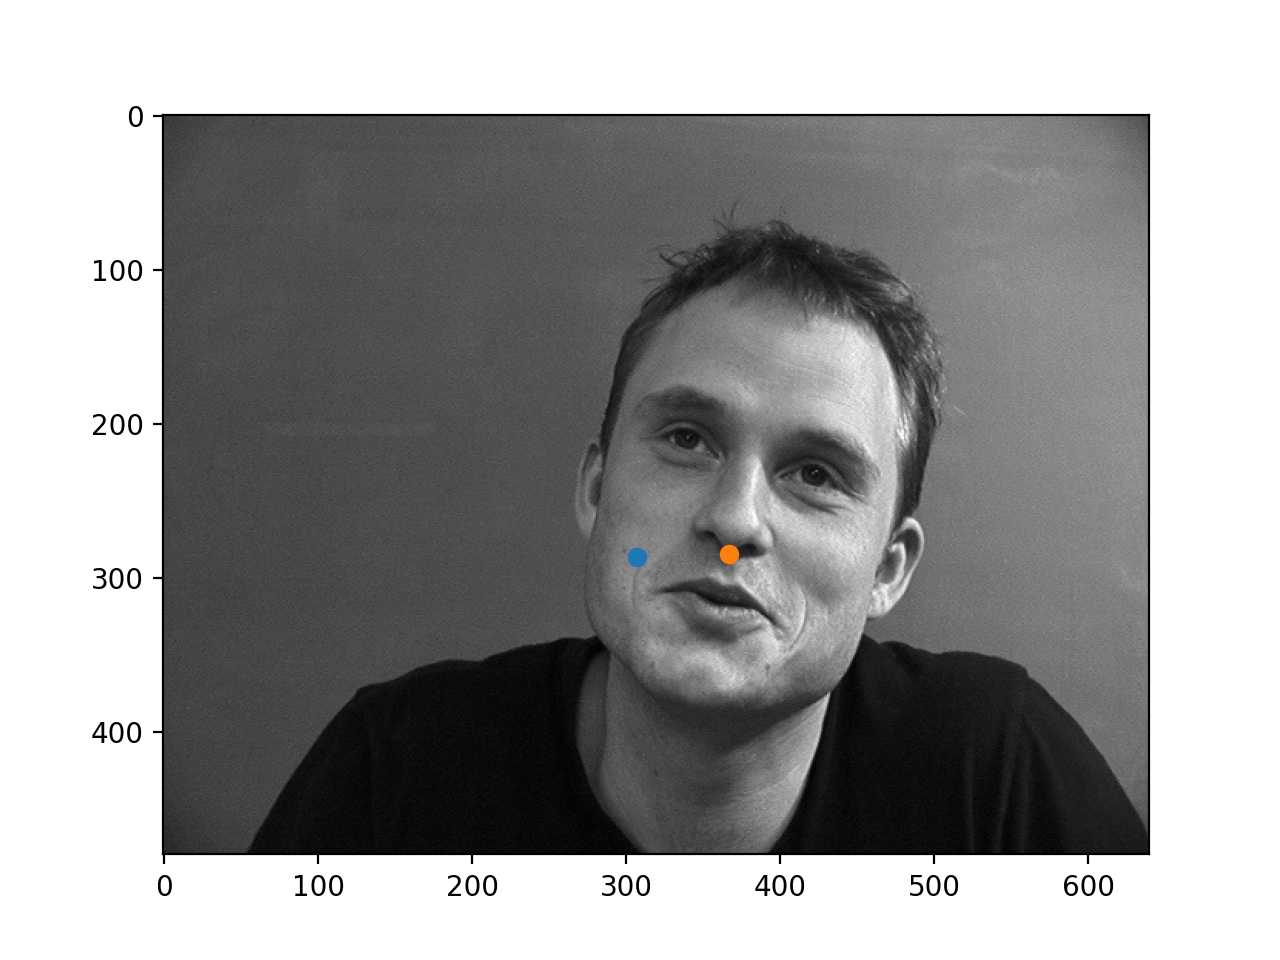
As we can see, it's doing quite well on some images! But it's far from perfect. Here are a few cases where the network's prediction failed:
Okay, so not perfect, but good enough to move on. When we look at the training graph, it definitely seems like the network has had enough time to converge!
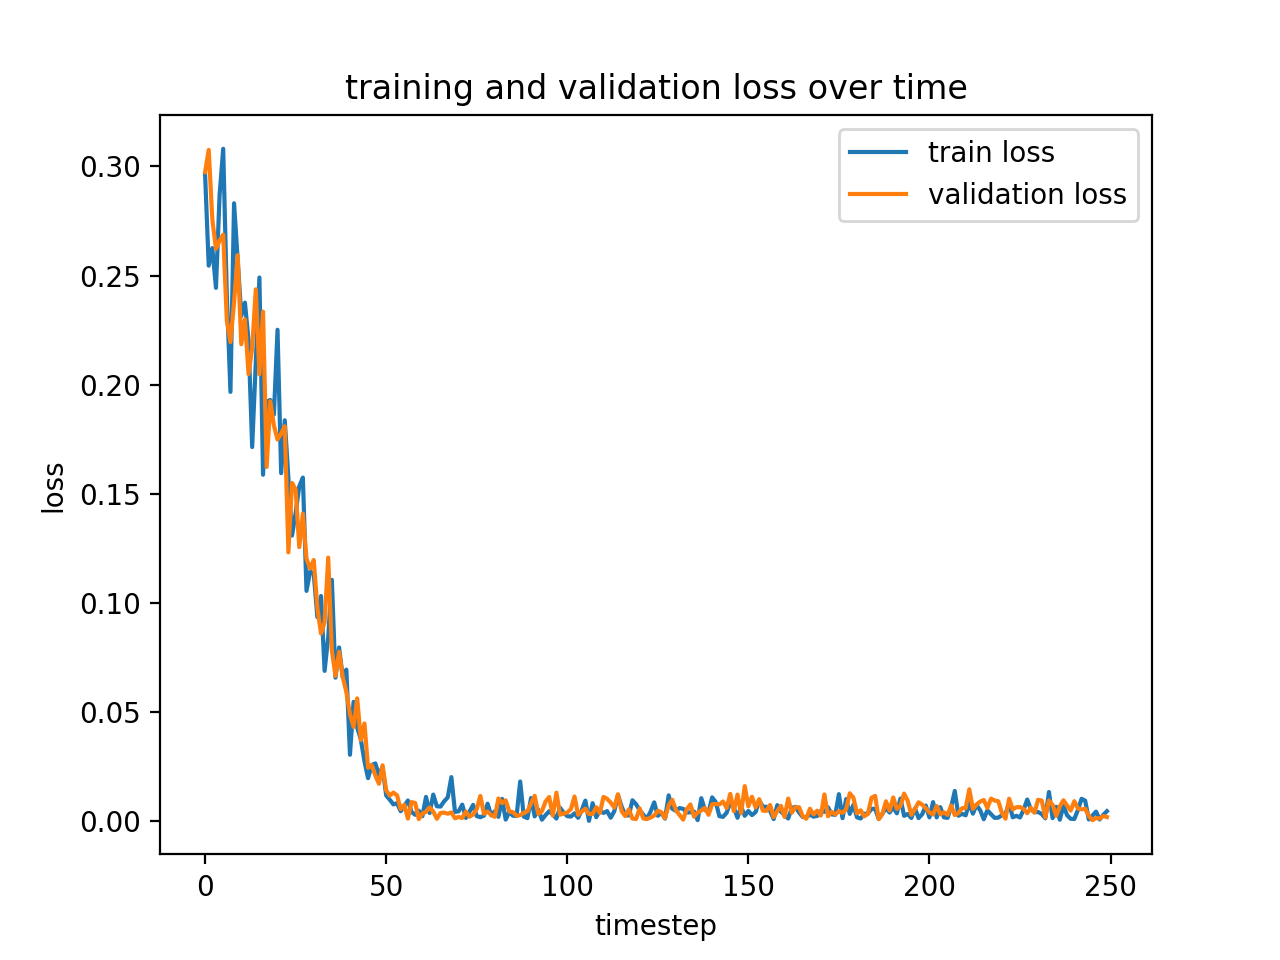
Just to play around, I tried adjusting the learning rate of the network (which was 0.0001 in this run), seeing if I could get it to converge to a better loss. Here are a few of the other runs that I tried:
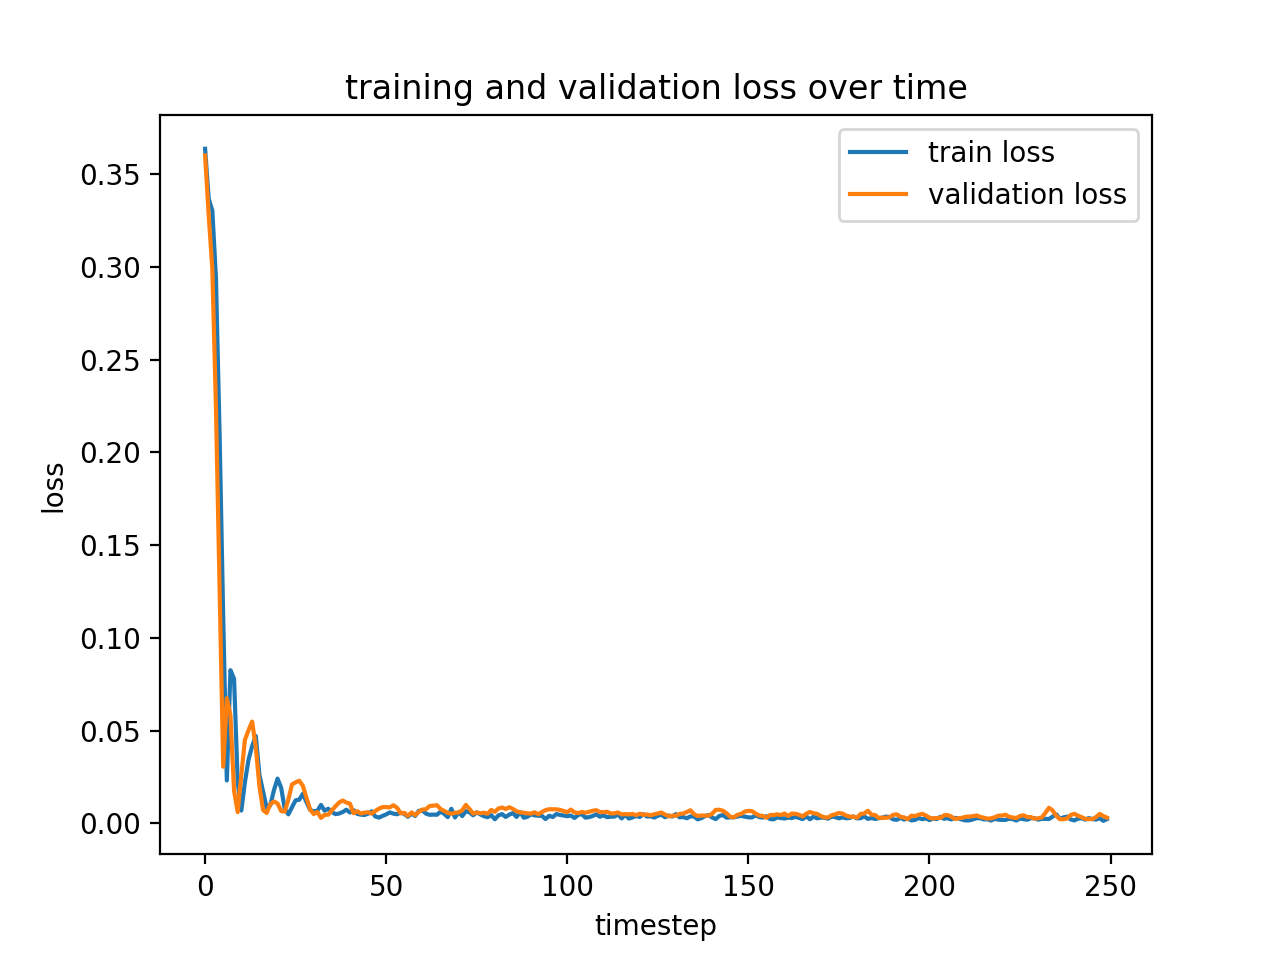
These are the same graph with a learning rate of 0.00001 and 0.001, respectively. Notice that in both cases, the network quickly converges to about the same loss as before, which means that our performance right now is more likely a function of the network architecture, rather than the learning rate.
Part II: Predicting a Set of Points
Using a similar set of machinery and tweaking the dimensions of the layers allows us to create a new predictor that predicts entire sets of facial keypoints! However, before going directly into that, we are going to first try one more trick: data augmentation. By randomly changing the input data in small ways, we can create a predictor that is more robust to perturbations in the input space, and therefore better at generalizing to unseen data. The perturbations that I used were:
1) flipping the image, 2) translating the image, and 3) rotating the image
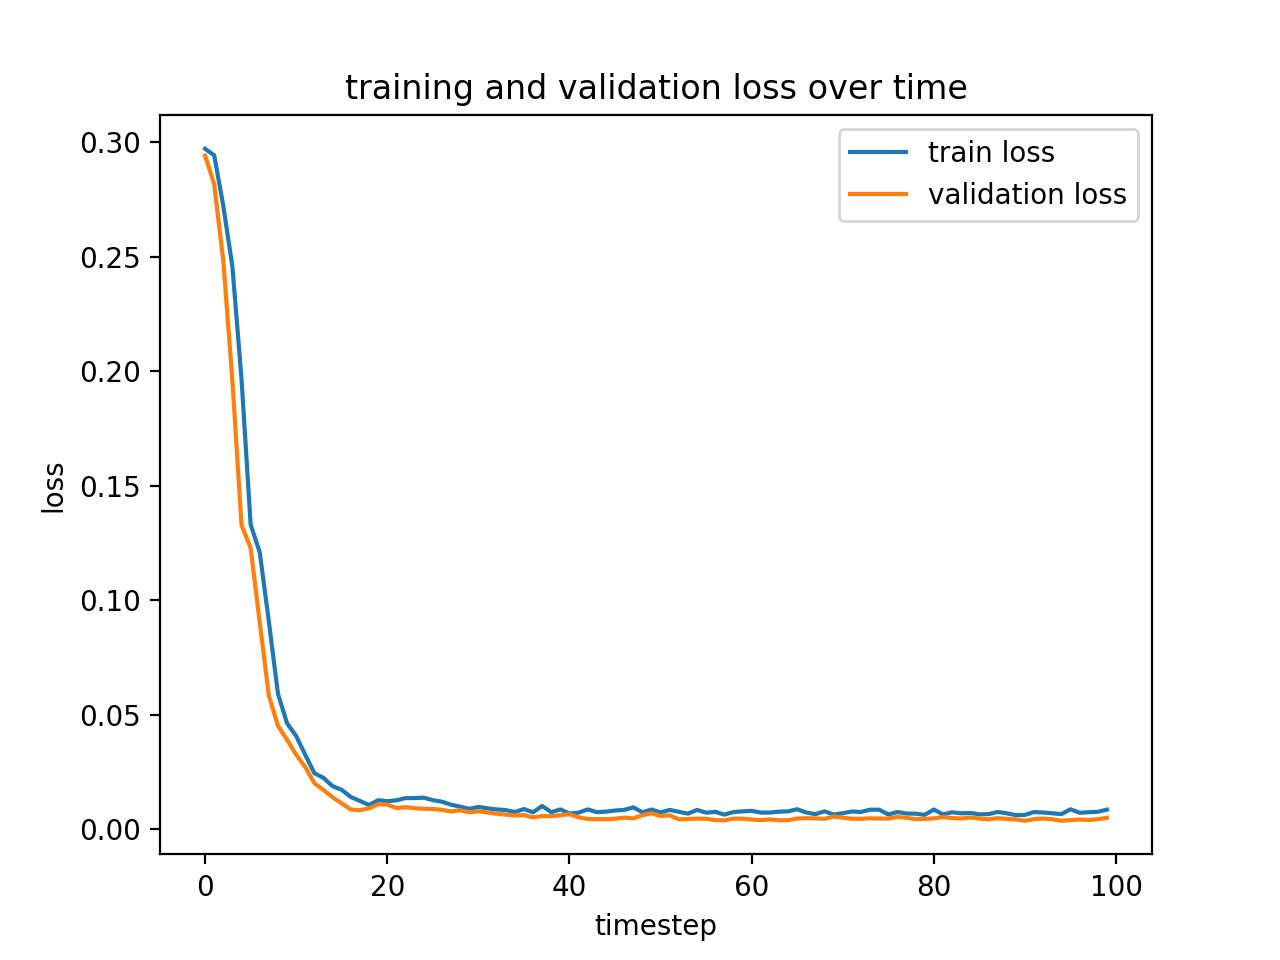
I used a learning rate of 0.001 on Adam, which is an adaptive minimization algorithm that comes built-in with PyTorch. Here is the loss plot for this network's training:

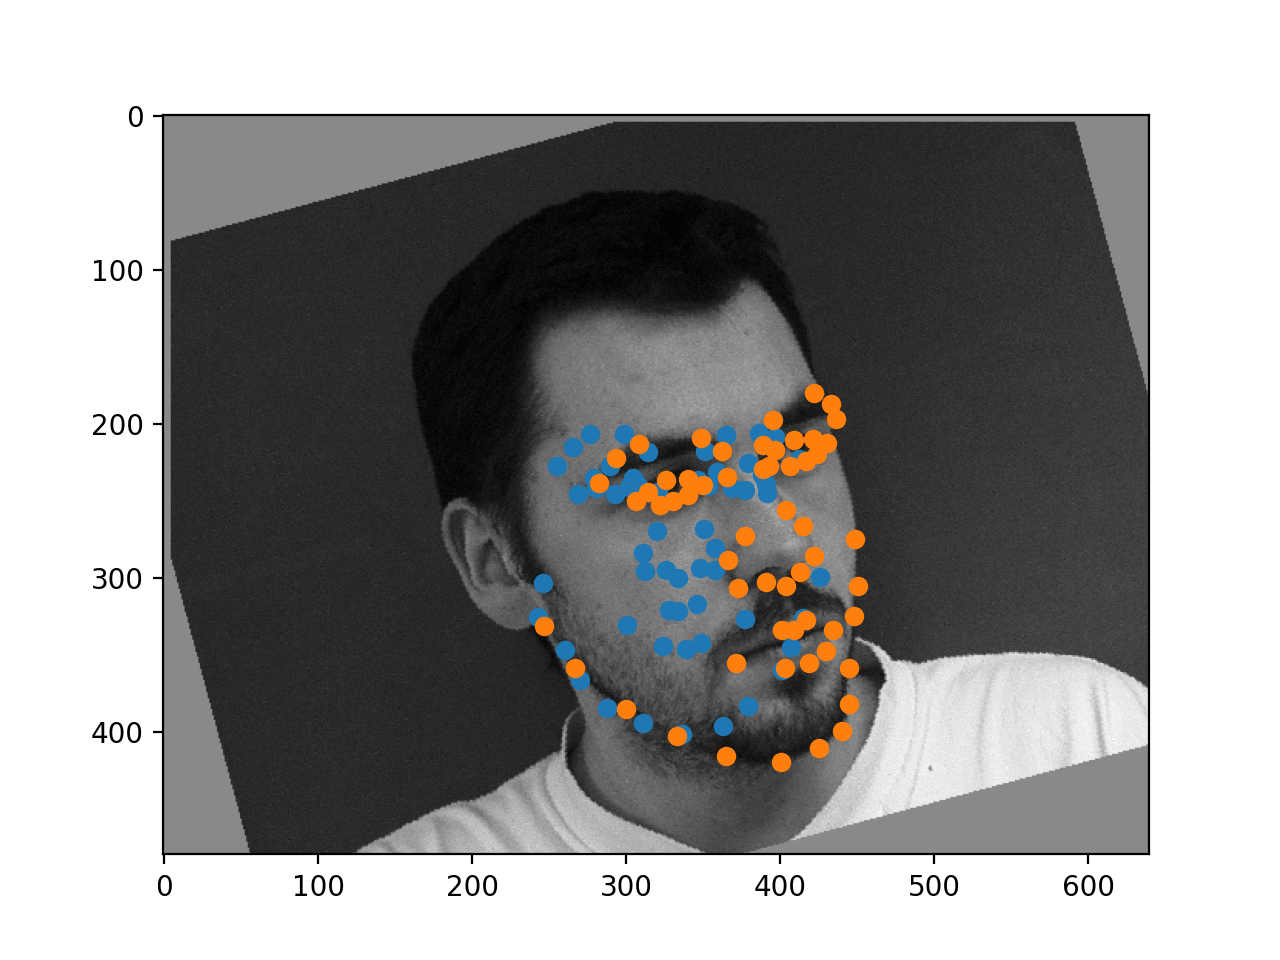
Again, it converged relatively quickly, but took slightly longer and didn't seem to overfit, so I was hopeful about the prospects! And I wasn't disappointed! We were able to again do a relatively good job on the data using a relatively small convnet, with 6 5x5 convolutional layers, each with a ReLU and MaxPool in between, followed by two fully connected layers to get it down to 58 * 2 = 116 output neurons!
.png)

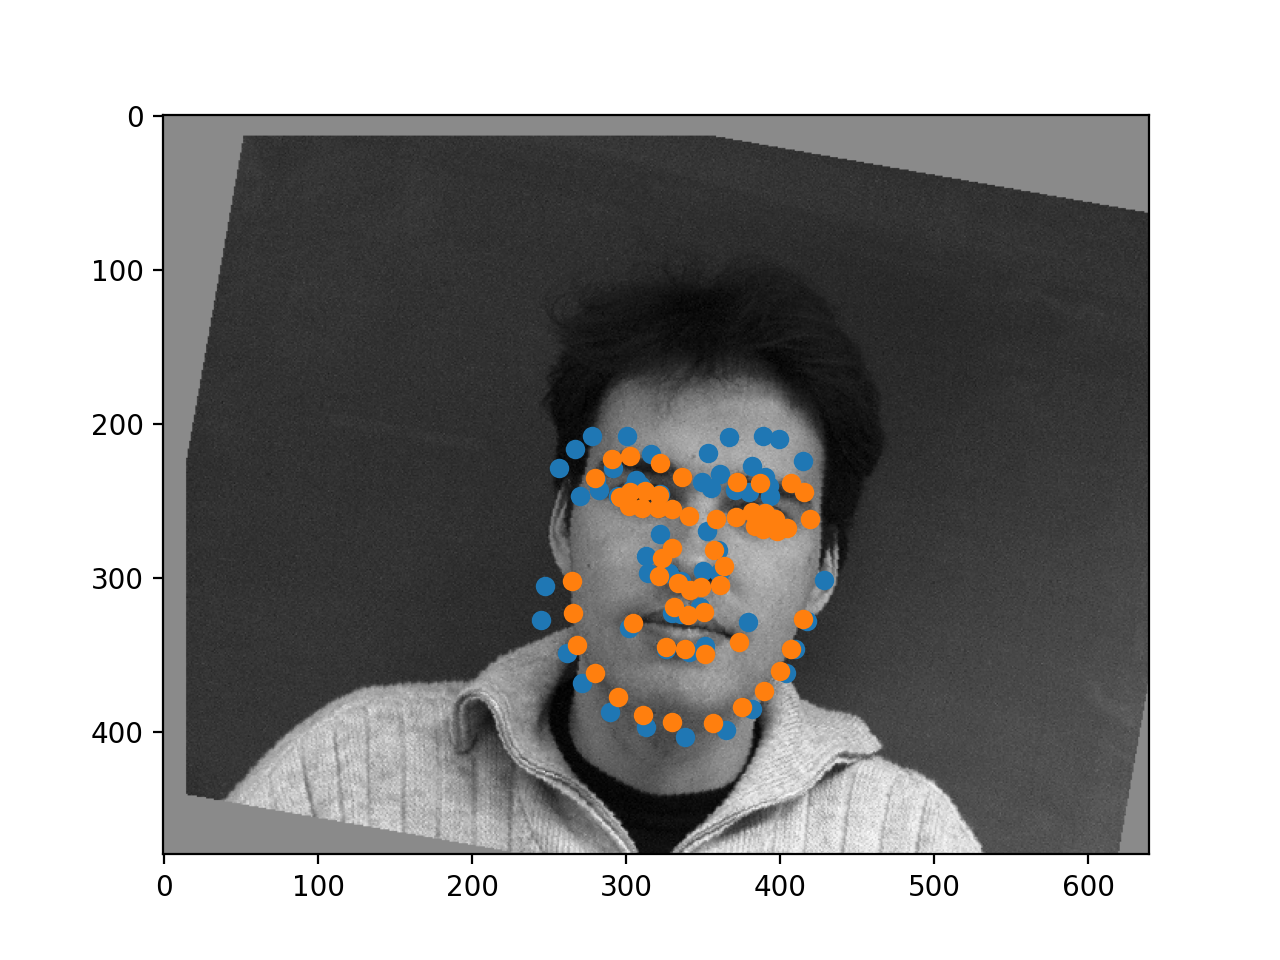
It seems to be pretty good, when it works! It does struggle a little bit on the sideways faces, but it seems to identify most of the landmarks in the correct area of the face when it works correctly!
And we can even visualize what the network is learning to look for! All we need to do is visualize the weights of the filters of the layers! Here are the weights for the first layer kernels:
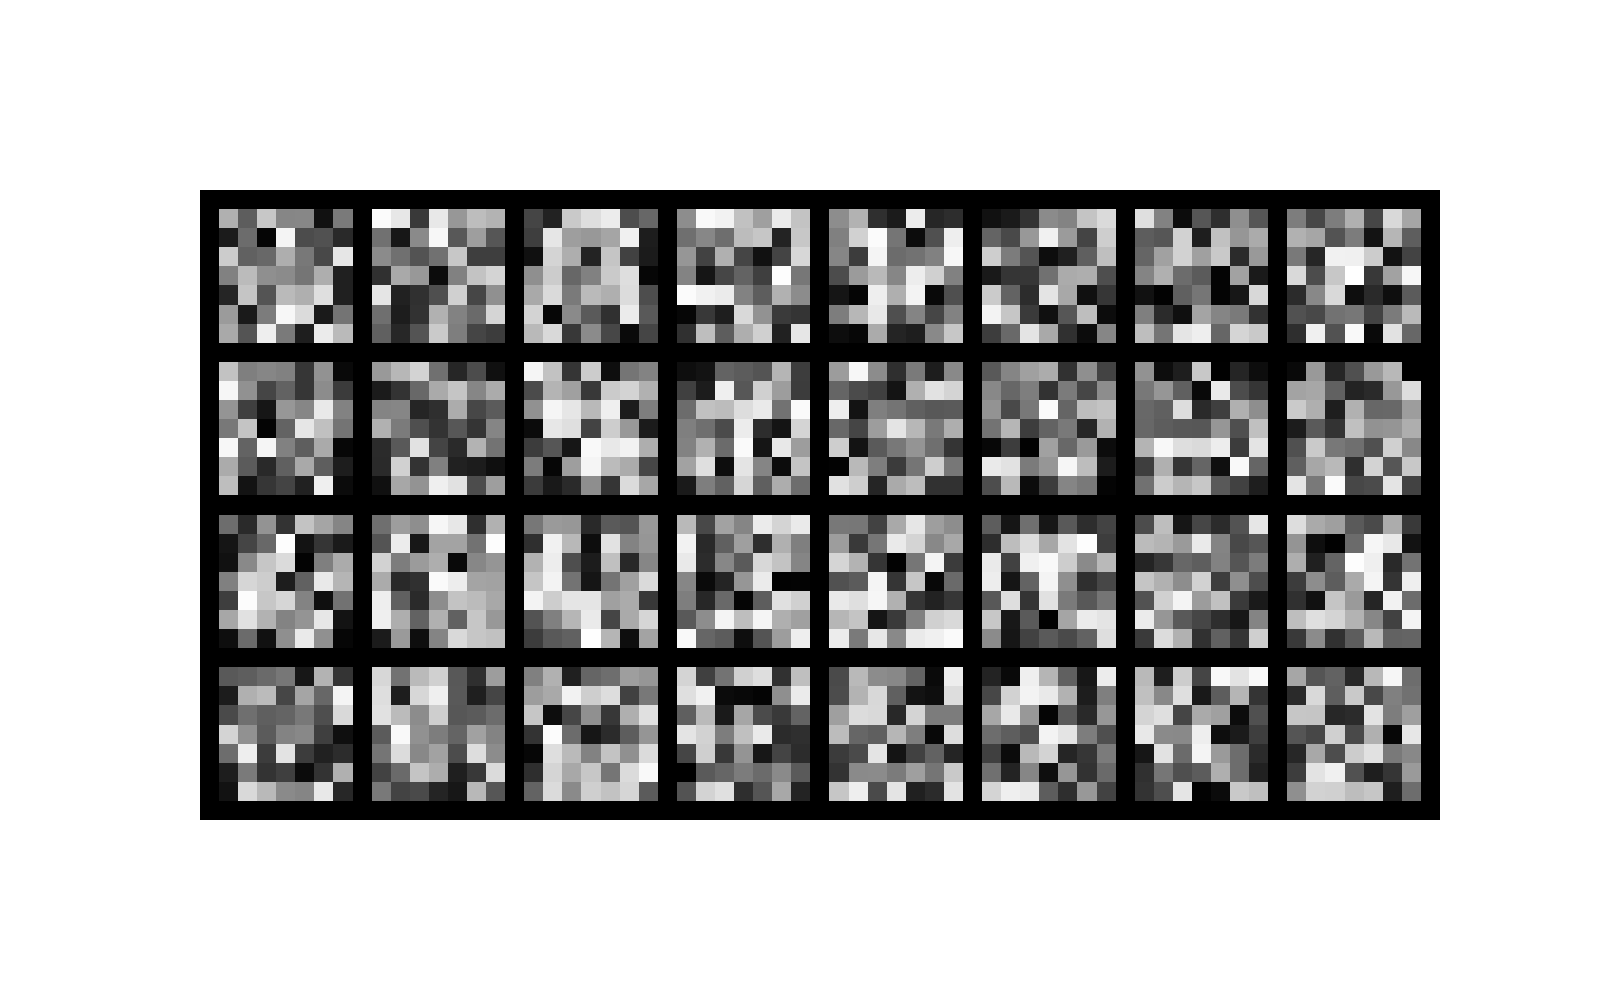
Pretty neat!
Part III: Trying a Bigger Dataset
To round out this project, we tried training our models on a larger dataset of real images. Doing this vastly increases the complexity of the problem, so we get to use a shortcut: pretrained models!
By taking a model that is already trained for an image recognition task and simply chopping the head off and replacing it with a new one, we get a model that already knows how to do basic recognition, and just needs to figure out how to use those skills to adapt to the new task.
I used PyTorch's implementation of ResNet18 (read more about the architecture details here), which is a common convnet architecture with 18 sets of residual blocks. I used a learning rate of 0.0001, and a batch size of 32, since the model was already mostly trained and we just wanted to fine-tune the top layers. Here is a plot of the training of the model:
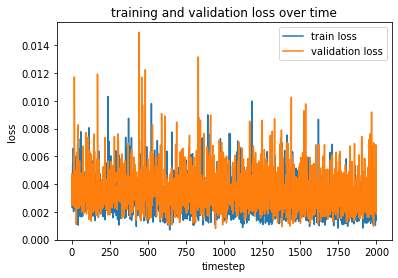
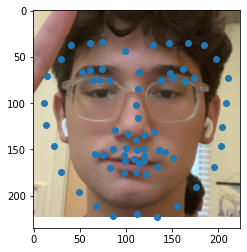
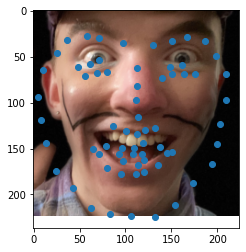
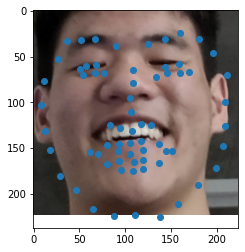
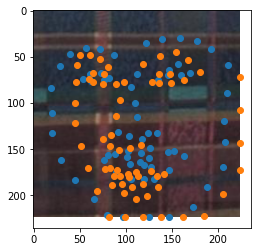
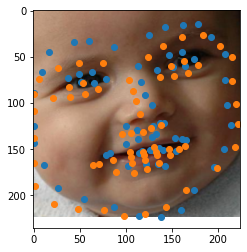
As you can see, the model starts off relatively good already, and the training simply brings the oscillations down from an average of about 0.004 to an average of about 0.002. However, this seems to be enough for the network to learn quite a bit about the dataset, because here are the outputs:
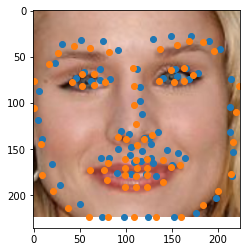
The ground truth labels are in orange, and the predictions are in blue. Pretty spot-on!
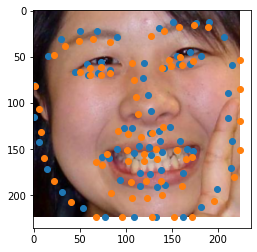
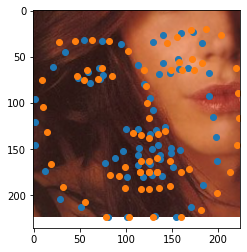
Now, not all of the predictions are this good. Some of them fail due to the imperfect cropping action of the previous inputs, and some just aren't great predictions
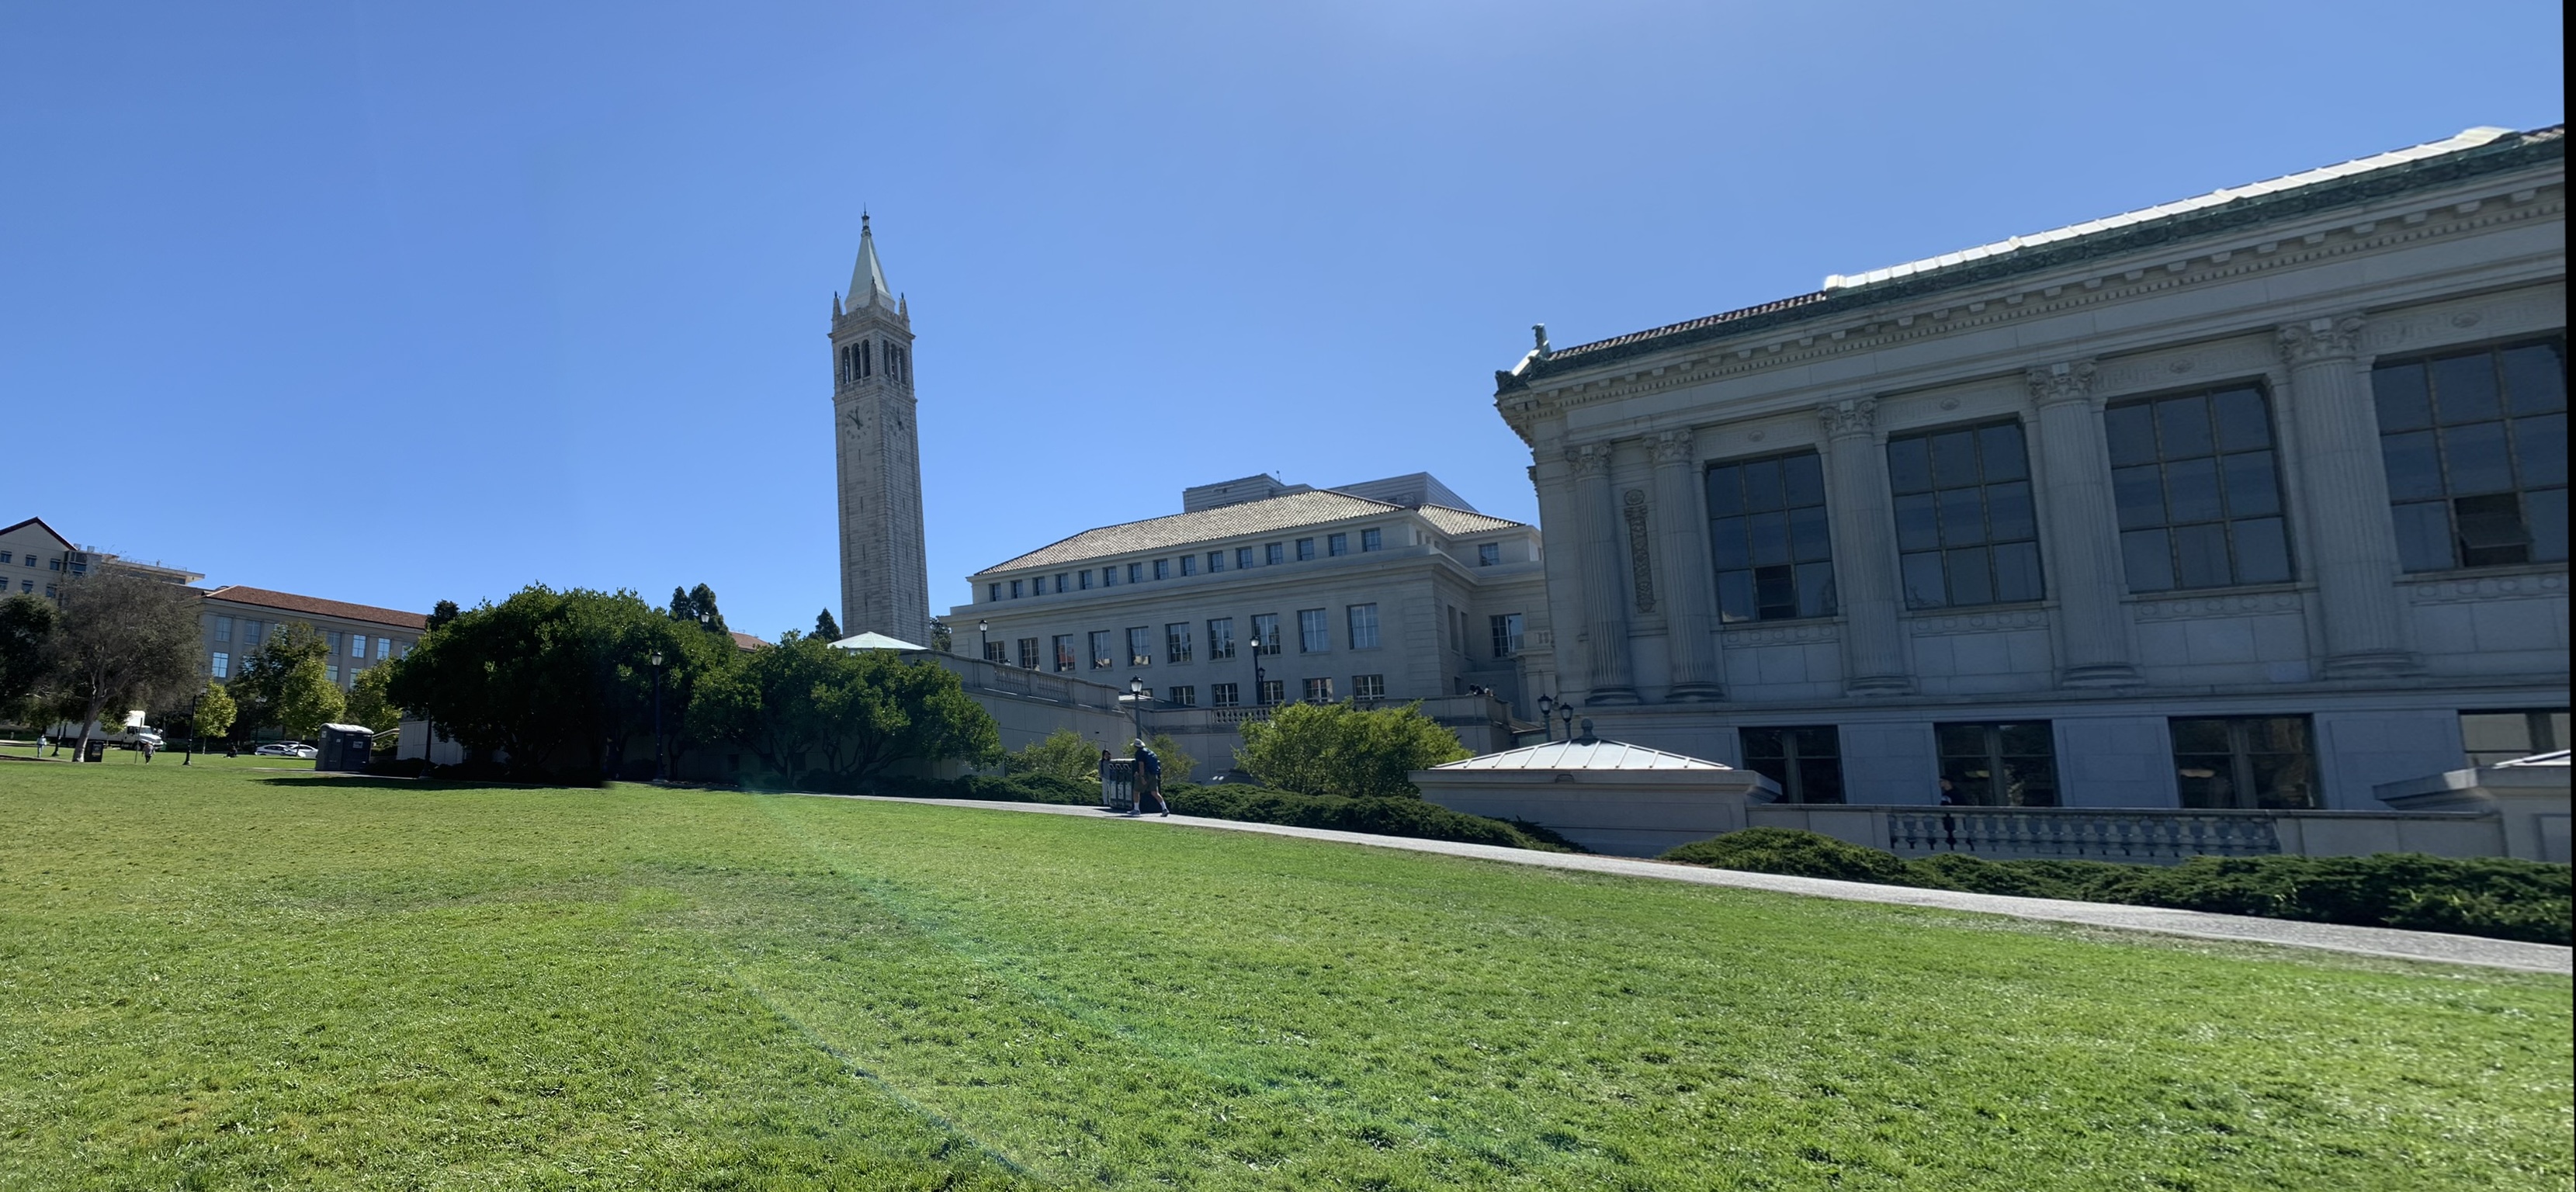
And finally, let's try our model on some pictures of our own!!