COMPSCI 194-26: Project 4

Varun Saran


Project 4B: Feature matching and Autostitching
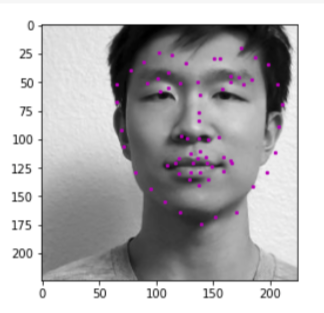
Nose Tip Detection

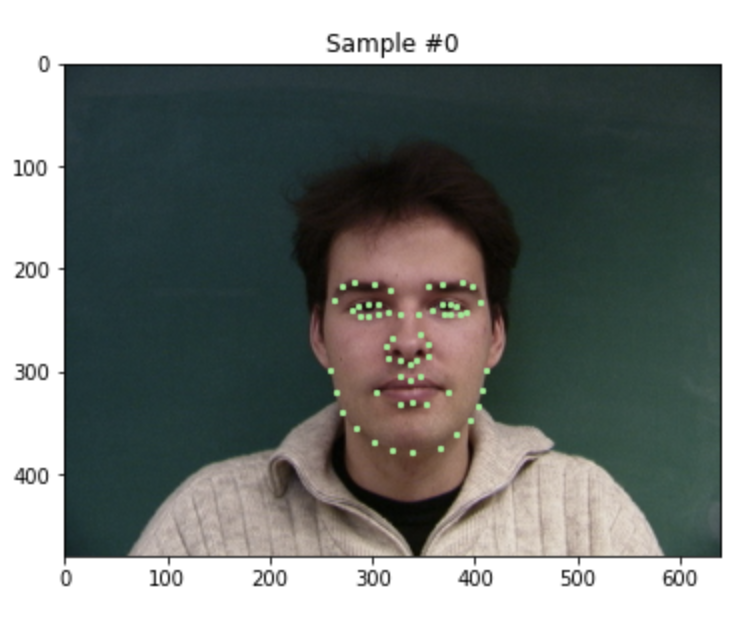
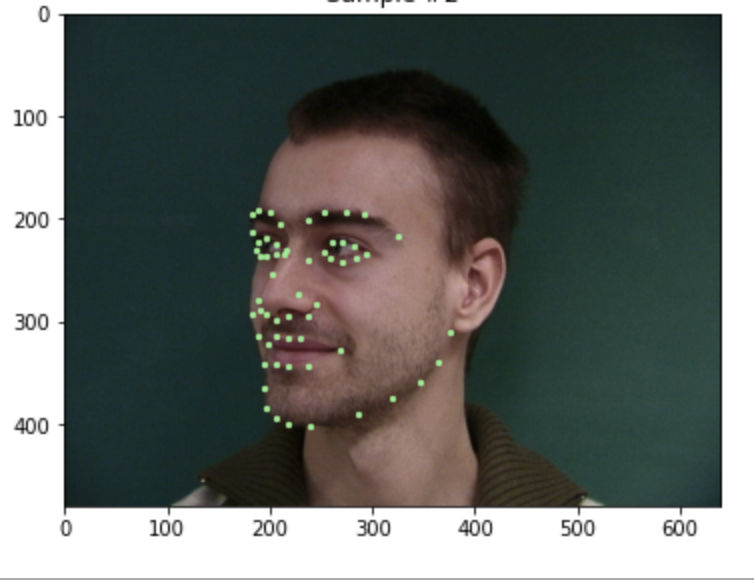
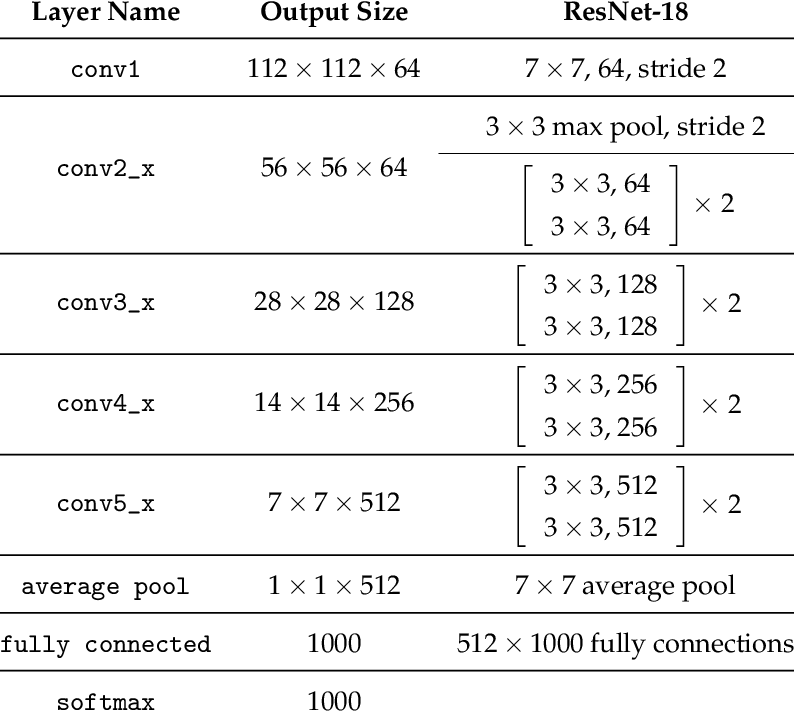
For this part, we use PyTorch and a simple CNN to train a model to detect the tip of the nose on faces. We are not predicting the entire set of 58 keypoints, but rather just 1 (x,y) keypoint for the tip of the nose.

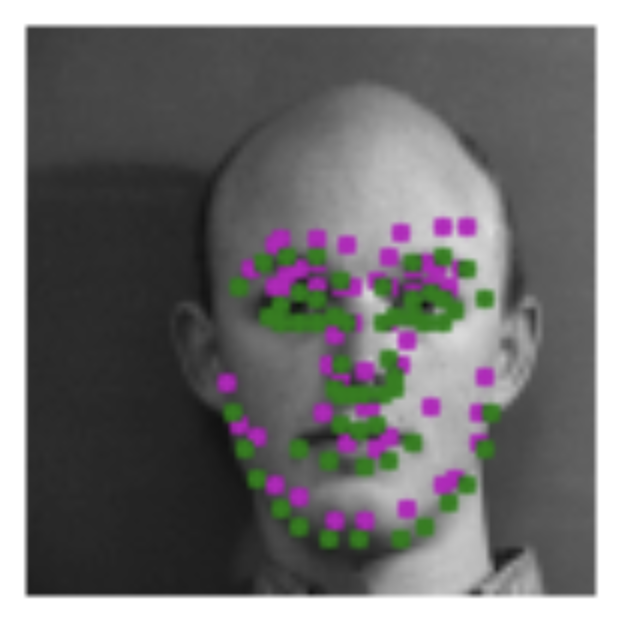
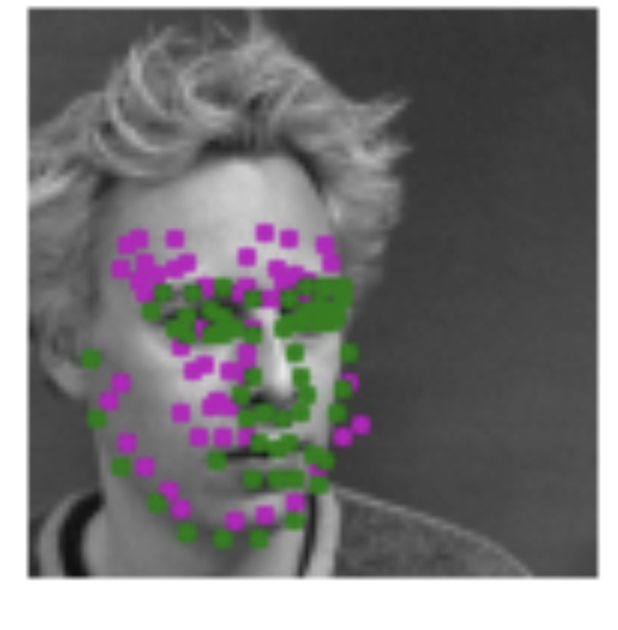
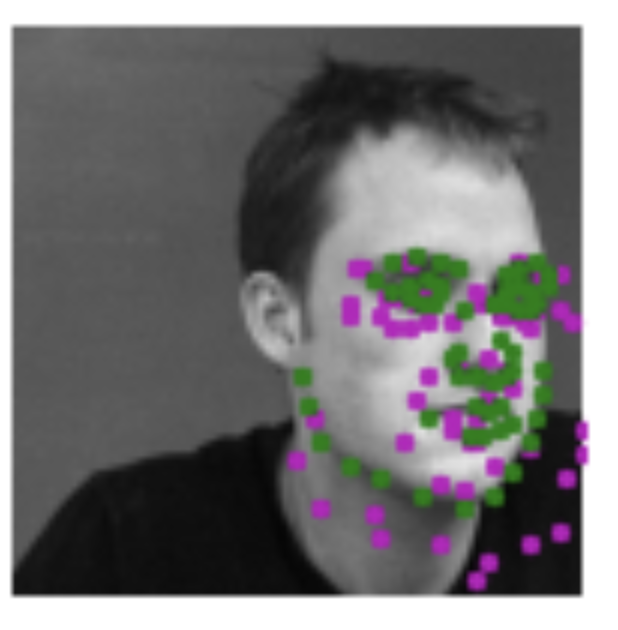
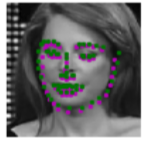
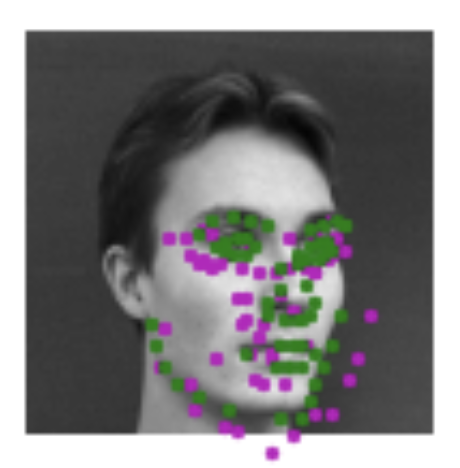
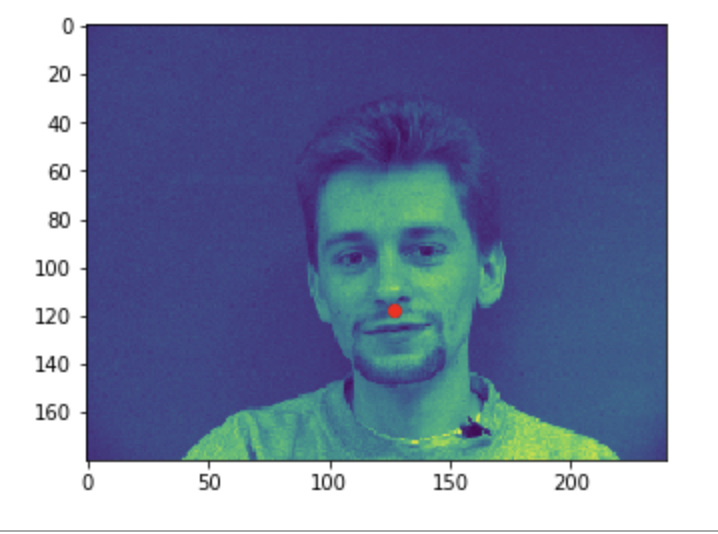
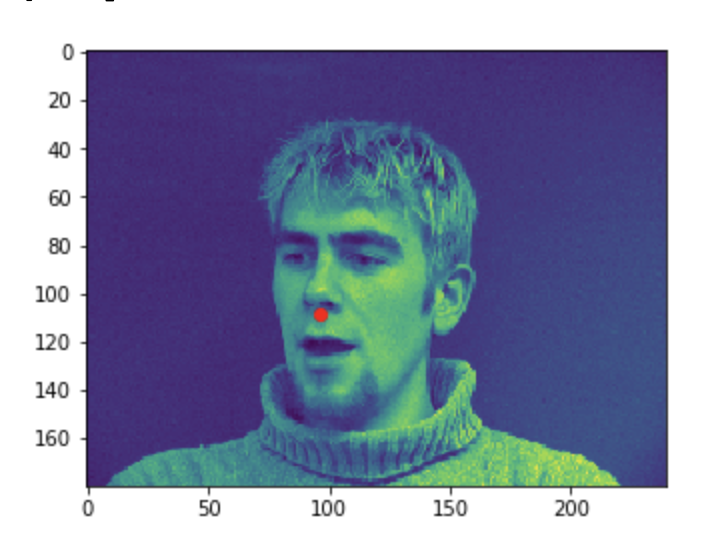
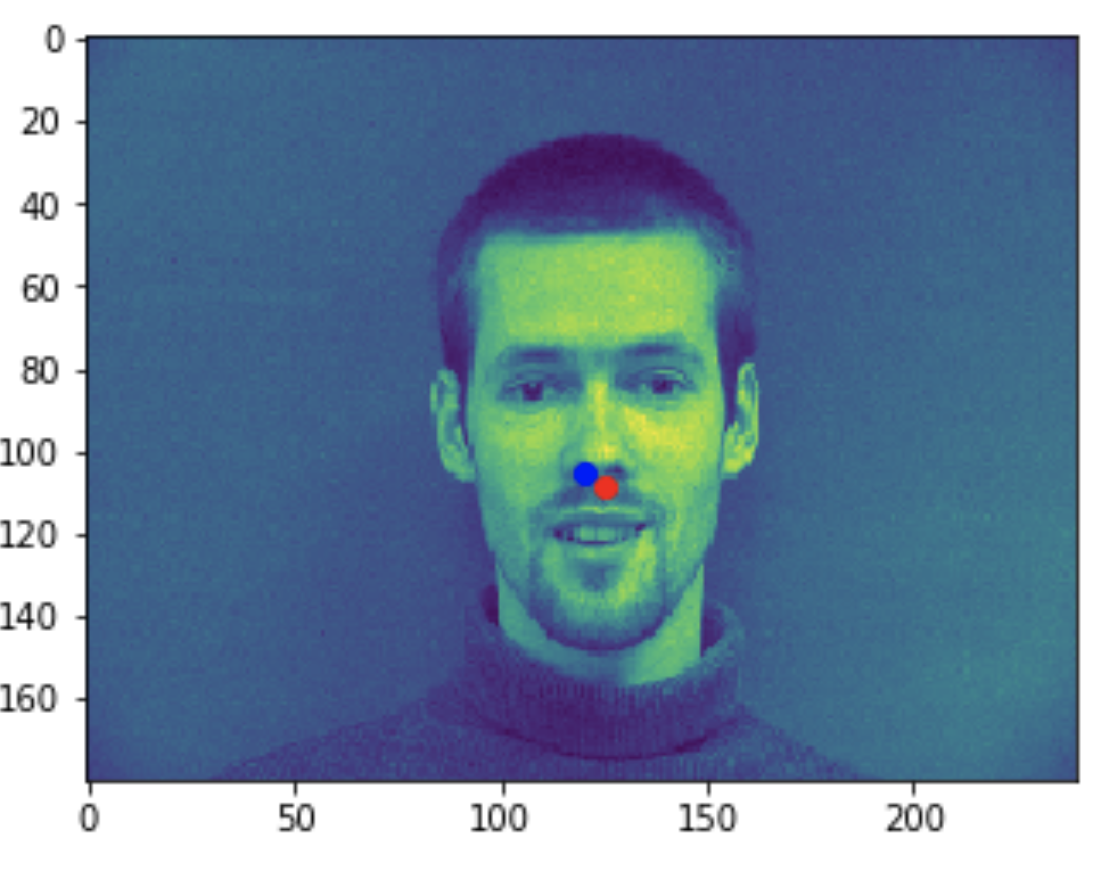
Visualizing the given keypoint on the tip of the nose


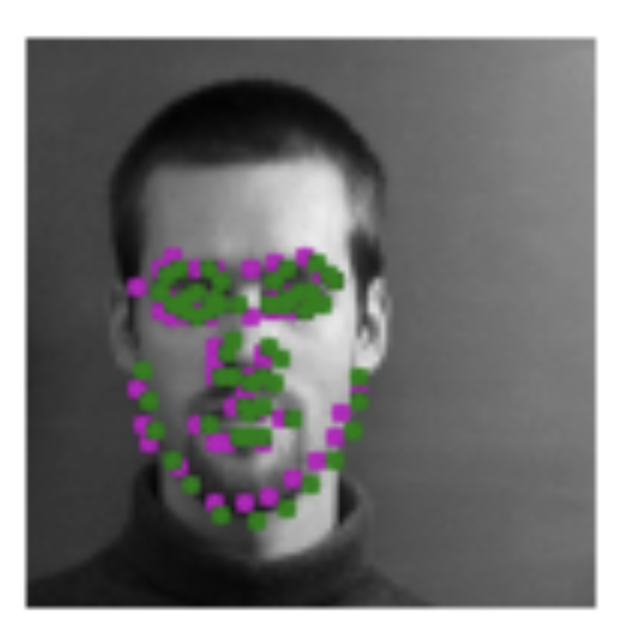
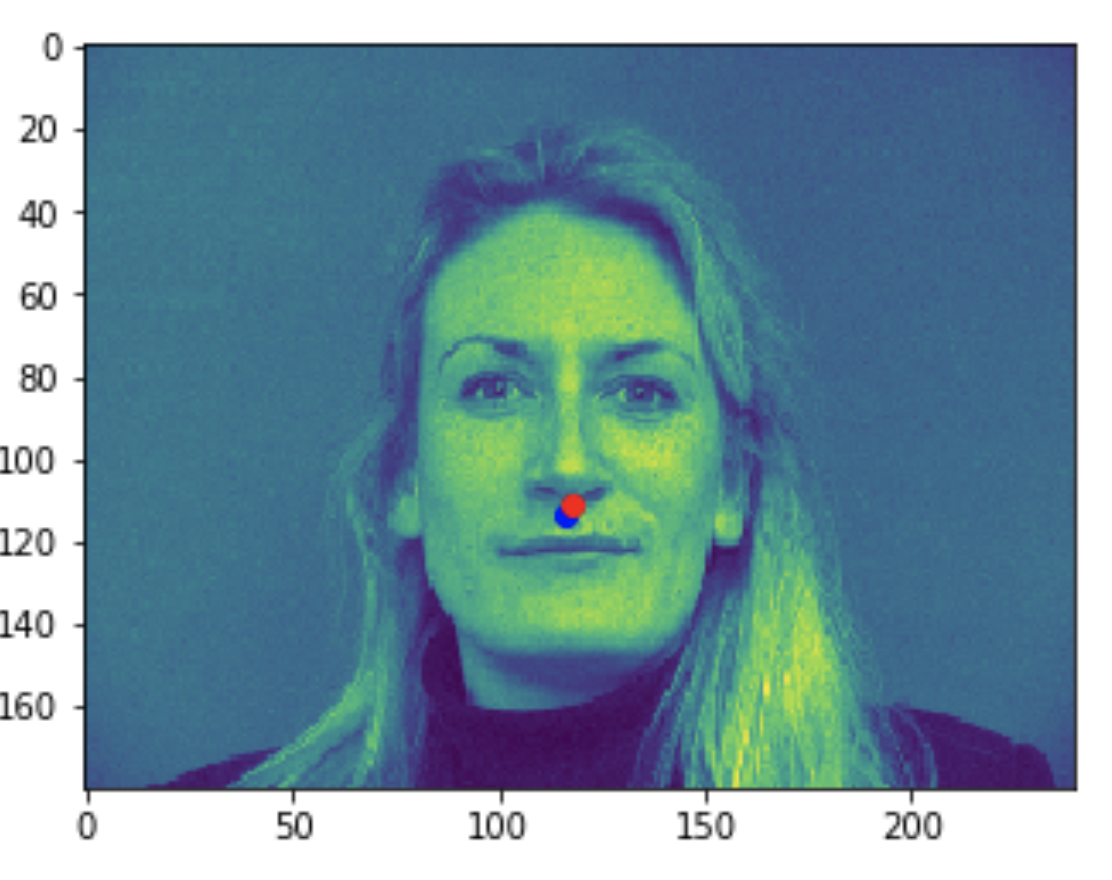
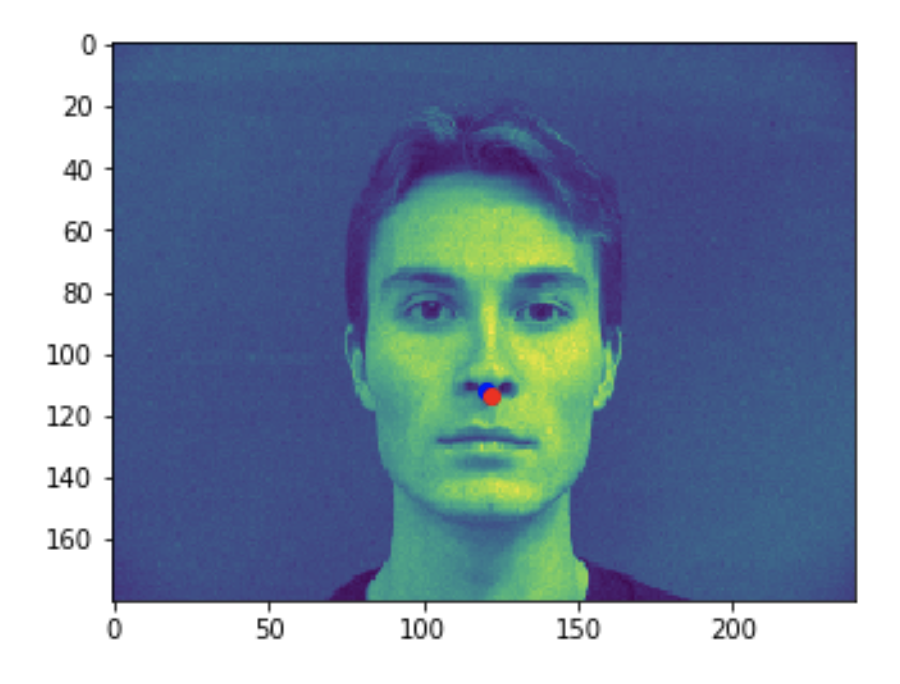
Some good predictions made on the testing set. The red marker is the true keypoint, and blue is the predicted keypoint

Good prediction 1
Good prediction 2
Good prediction 3
Good prediction 4


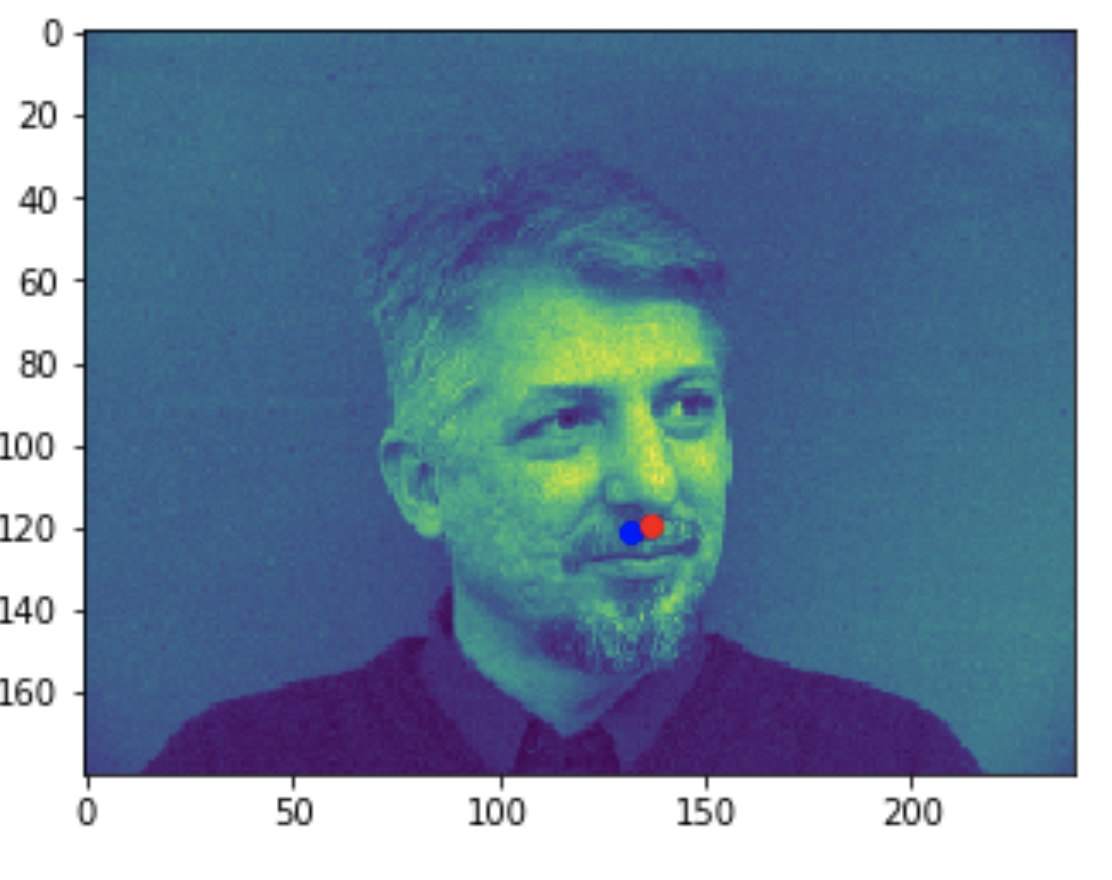
Some bad predictions made on the testing set. Again, red is the true keypoint and blue is predicted

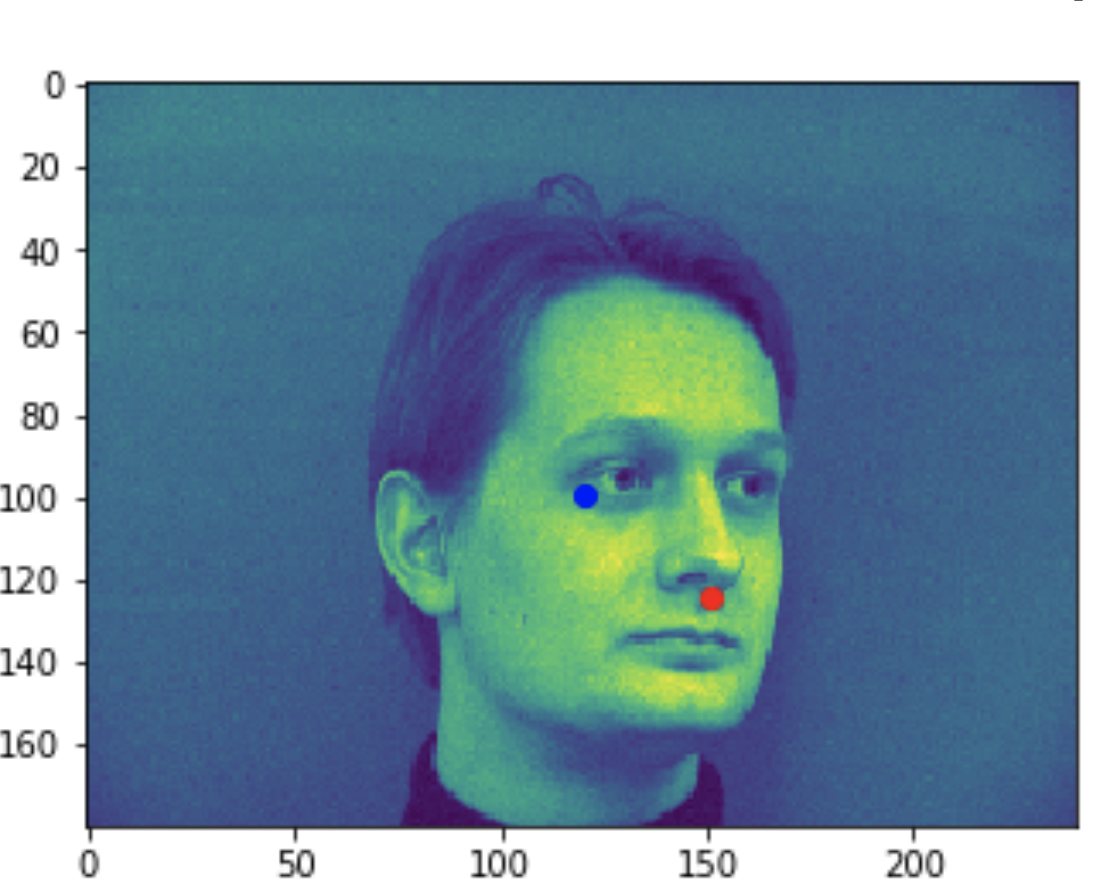
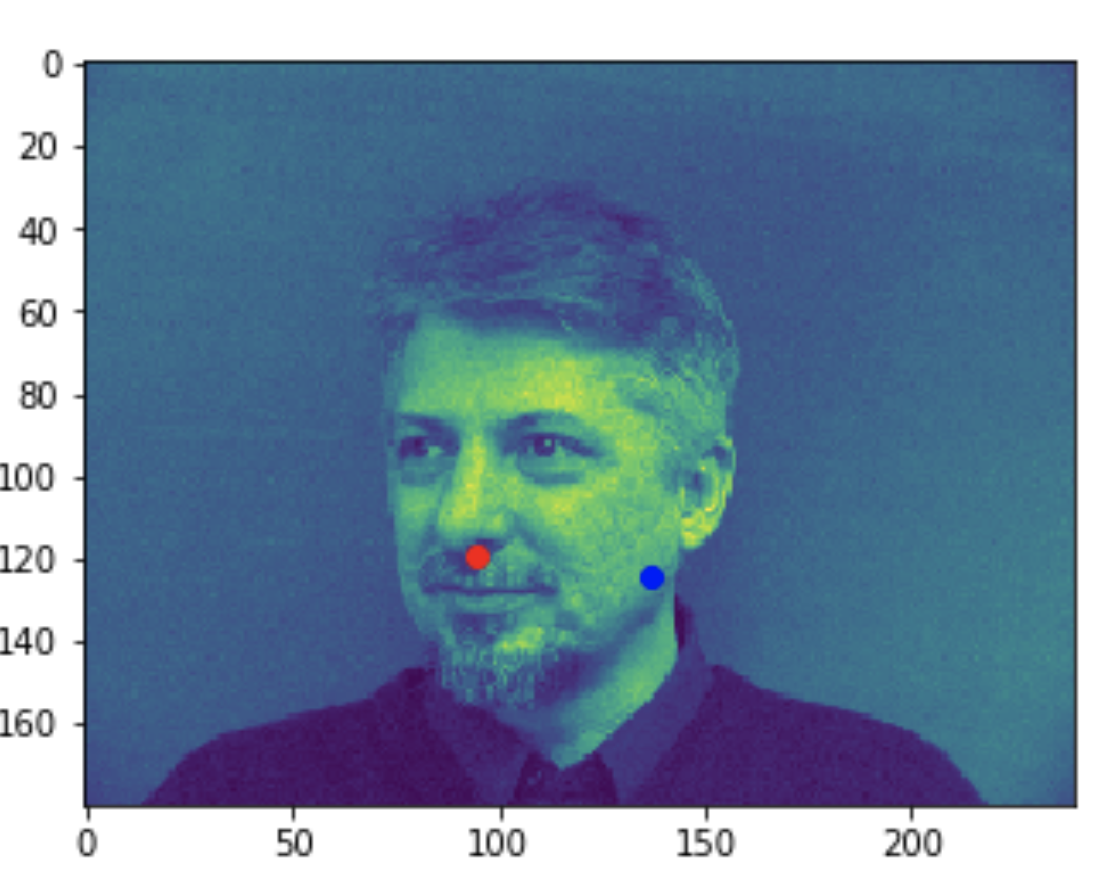
In all the bad images, the faces were tilted to the side, so that may have confused the model, making it perform worse. The predictions in these cases were near the middle of the photo, around where the nose would have been if the person was looking straight ahead.

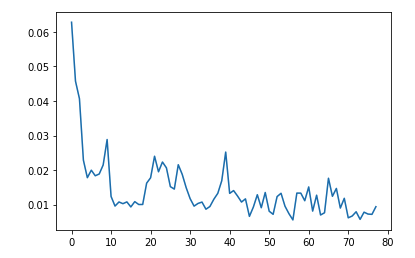
And here is the training loss seen. It quickly decreases, and then settles at around 0.01

A lower batch size did a lot worse, getting results as seen below. These predictions are very off, even on faces that are looking straight ahead. TODO: ADD PICS SHOWING THE BAD RESULTS

Full Facial Keypoints Detection

First, we look at some visualizations of correctly loading in the data, and viewing all 58 keypoints.

Even with data augmentation, such as scaling, random cropping and translating, we can visualize all the keypoints.


The green dots are the true keypoints, and purple are the predicted keypoints.The first 2 are pretty good predictions, while the next 2 are pretty bad. Both the bad ones are faces that are looking off to the side, and the model doesn't seem to be able to predict the keypoints very well.

Good 1
Good 2
Bad 1
Bad 2
        Model Architecture

Layer 1: 1x32x5x5 Conv ->  ReLU -> 2x2 MaxPool -> Dropout
Layer 2: 32x64x3x3 Conv -> ReLU -> 2x2 MaxPool -> Dropout
Layer 3: 64x128x3x3 Conv -> ReLU -> 2x2 MaxPool -> Dropout
Layer 4: 128x256x3x3 Conv -> ReLU -> 2x2 MaxPool -> Dropout
Layer 5: 32x32x3x3 Conv -> ReLU -> 2x2 MaxPool -> Dropout
Layer 6: 36864x1000 Linear -> ReLU -> Dropout
Layer 7: 1000x1000 Linear -> ReLU -> Dropout
Layer 8: 1000x58*2 Linear
 And here are the learned filters for the first layer, visualized:
      

Part 3: Train with Larger Dataset

In this section, we train a resnet18 model using a large dataset containing 6666 images. I submitted my predictions to kaggle. The architecture was the classic resnet18 architecture, with the first conv layer changed to have an input_channel =1 because the images are grayscale rather than color. Additionally, the last linear layer was set to have an output channel of size 68*2 = 136 because we want to predict 68 (x,y) keypoint coordinates. THe image below shows the classic architecture of resnet18 before the aboev modifications were made. (Source: https://www.researchgate.net/figure/ResNet-18-Architecture_tbl1_322476121)

This was the loss of my model, 10 times per eopch, with 8 epochs.

Now we can visualize the predictions after training the model. 90% of the data was used for training, while 10% was used for validation. THe dataset was randomly split to get these 2 sets. Here are results on the test set. THe image on the left is almost decent, while the one on the right is pretty bad. I had some difficulties with propery transforming, and untransforming the images, which I think may be why the points don't seem great.

here are some results of testing my model on my own dataset (pictures of my friends, and Obama). The results are very mixed. They are decent, but not great at all as seen in the middle picture, where even the eyes aren't properly detected.