COMPSCI 194-26: Computational Photography & Computer Vision
Professors Alexei Efros & Angjoo Kanazawa
November 12th, 2021
Nick Kisel
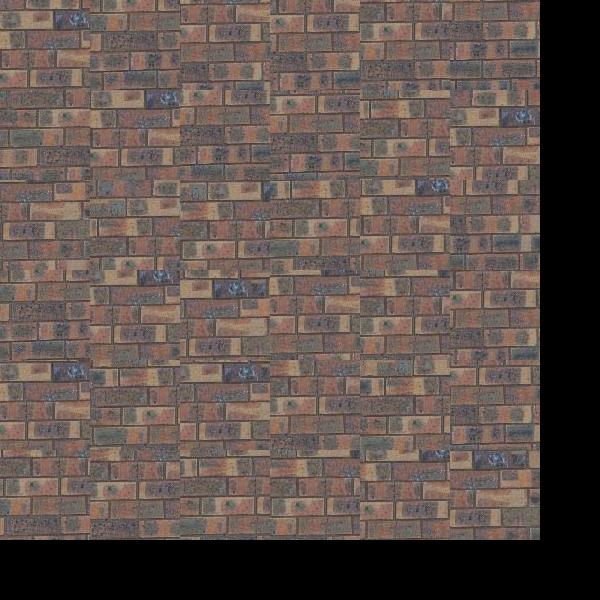
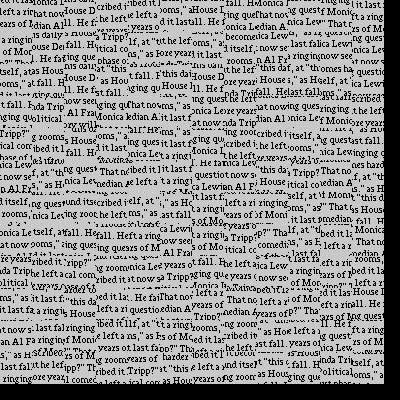
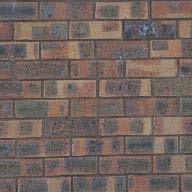
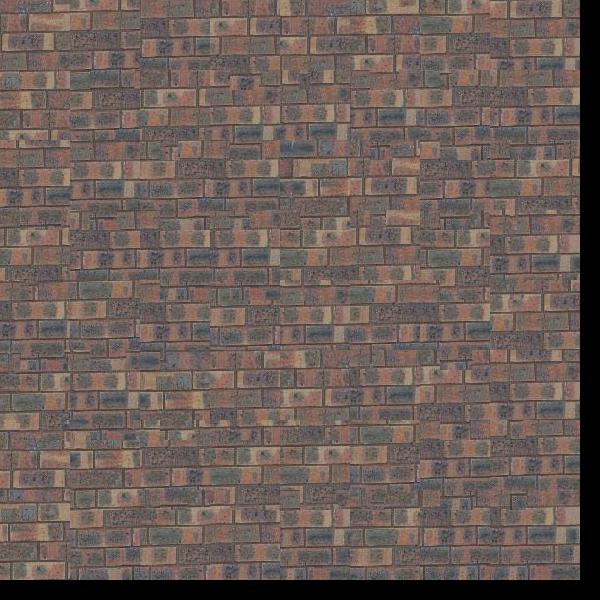
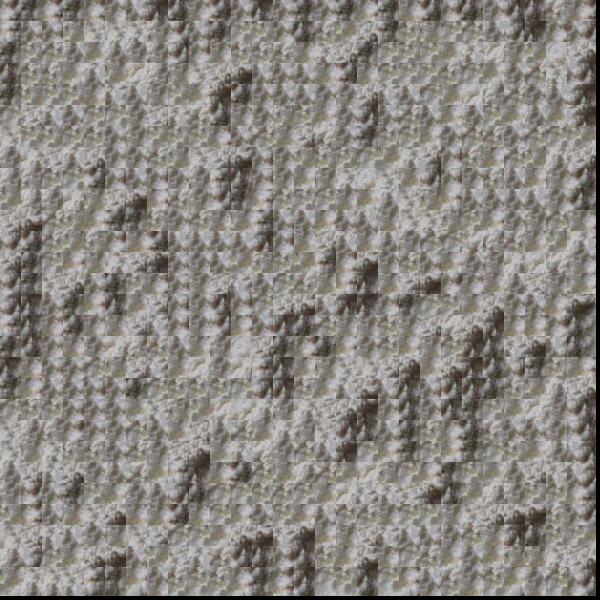
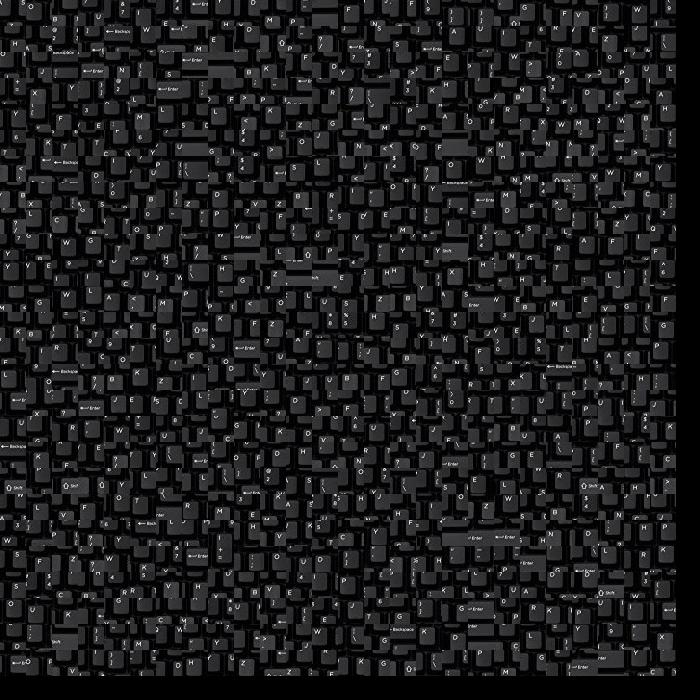
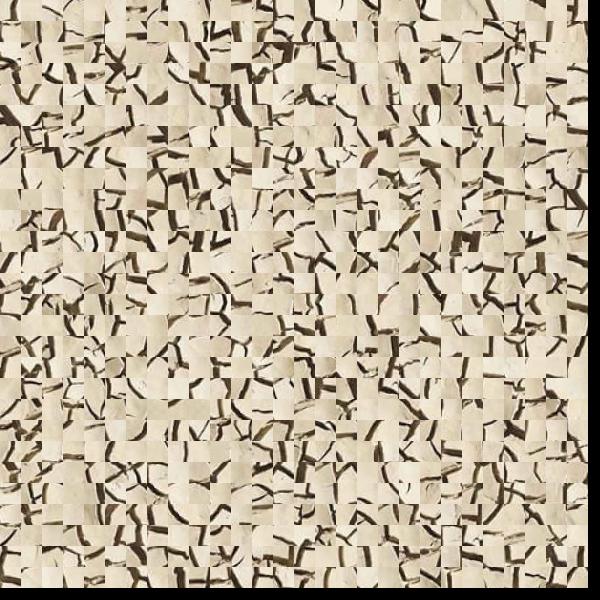
This technique is the simplest way to combine textures - just grab squares of the original image in random places and paste them into blocks on the resulting image. As you may notice from the following results, the transitions between the blocks are heavily disjointed and sharp, especially when the texture itself isn't particularly smooth.
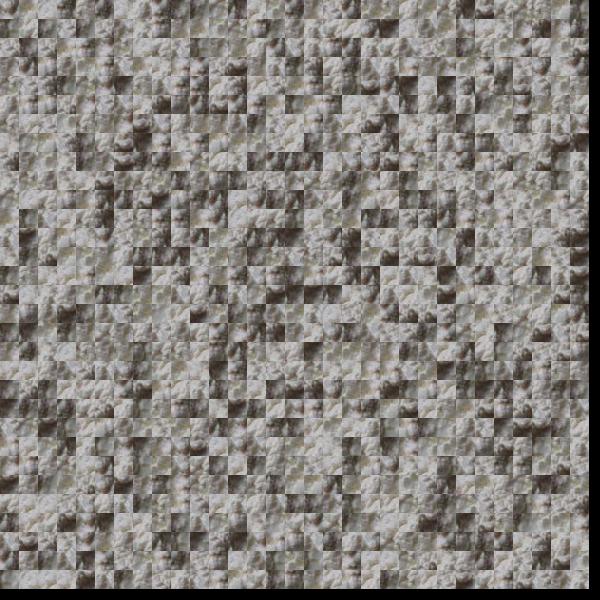
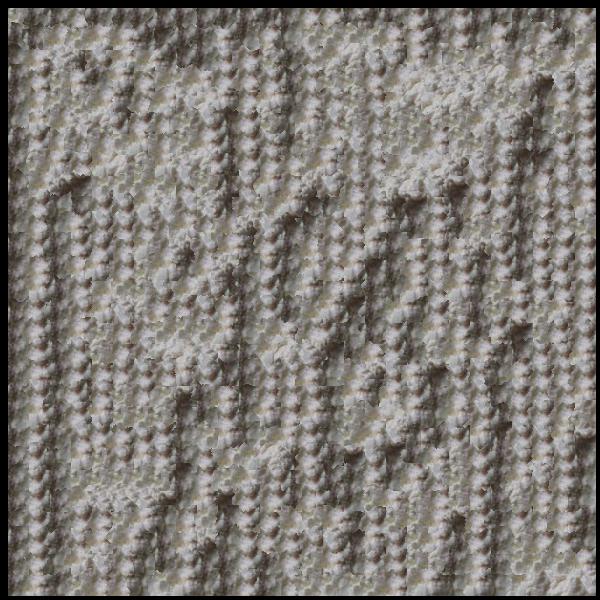
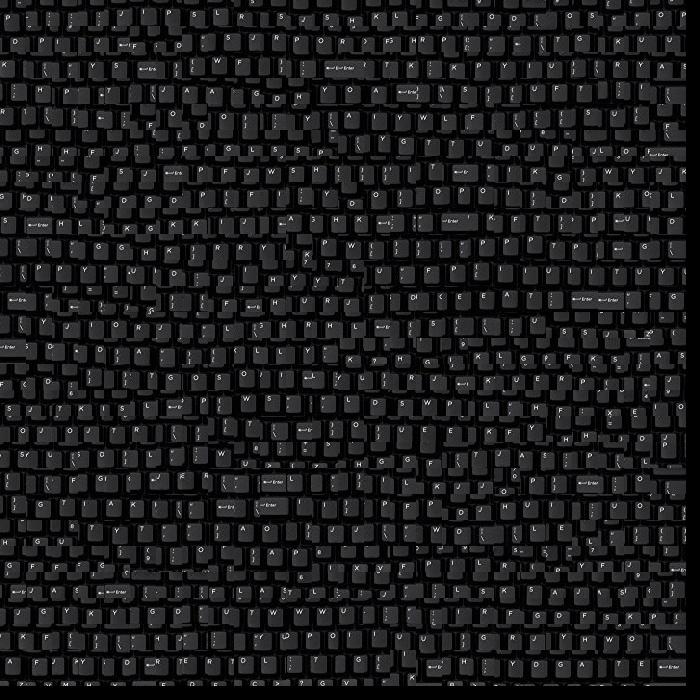
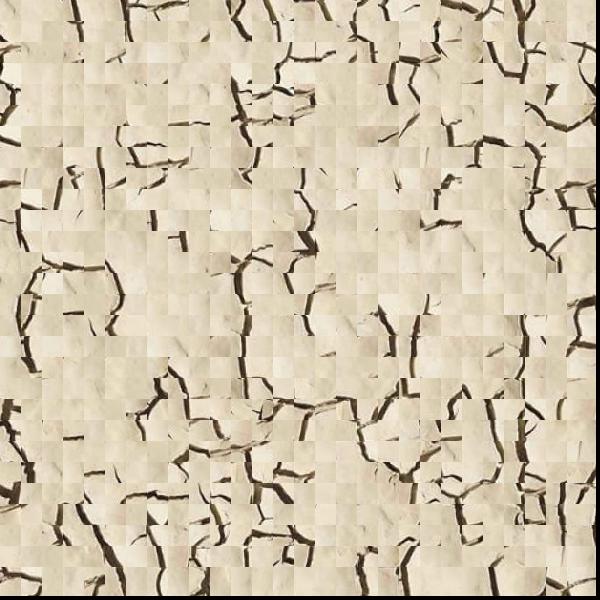
Next, instead of just layering new block on new block of the original texture, how about we see how well each new block fits when it's placed next to the last one?
That means whenever we paste in a new square of texture, we check its similarity with any part of the original image it overlaps with, and try multiple new blocks until some block is a satisfactorily smooth transition. The smoothness of the transition can be calculated using SSD - sum of squared differences - which increases as two images look more different, and should be minimized.
Best input patch

Compared
overlap on left

Compared
overlap on top

This method is better at matching similar sections of texture, but it maintains the vertical and horizontal boundaries of the original.
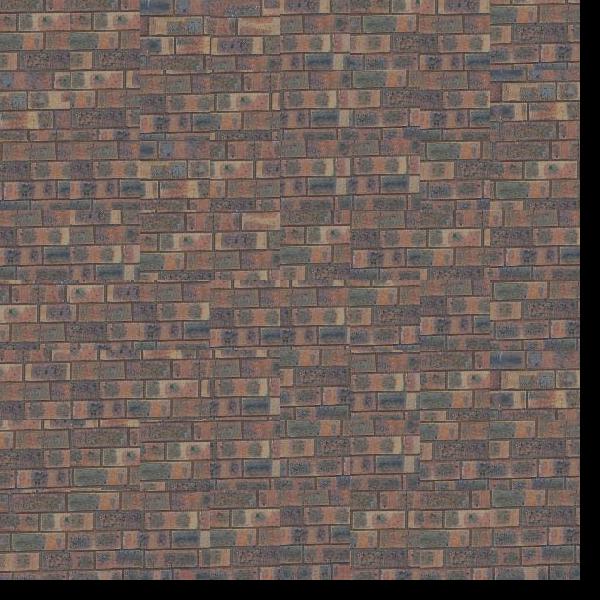
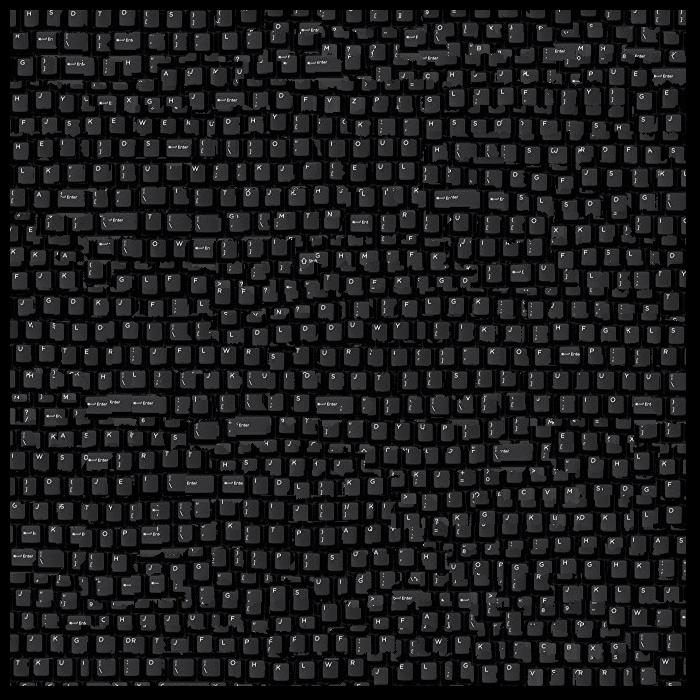
Finally, let's build further on the last solution: after we've found the most similar looking block to add in to an image, let's cut out a chunk of the original image that best matches the newly added block, such that the border between the two blocks is smoothed.
Best input patch
Compared
overlap on left

Carved seam
Compared
overlap on top

Carved seam
Best input patch carved into comparison patch

Here are several examples of seams being utilized in this algorithm, with the newly carved section being completely omitted for visualization of the seam:

Since we're on the topic of such strange looking images, there are a number of steps required to avoid them, inclding being careful with one's axes. If you're using a single seam carve algorithm, it's likely it doesn't take your desired carving direction into account, so you need to transpose any vertical cuts to be horizontal and then transpose them again. A failure to transpose results in some obvious small blocks appearing in the output image, essentially reverting the implementation to the random or simple seam carving implementation. Furthermore, it's important that you check if there's any remaining image to the left or above the chunk you're adding in as you're carving, or else you get a very disappointing black border that you have to crop out of the top and left side of the final image (you can still see it in some of the results here).


Not only can we take into account the similarity of the overlapping sections of the original texture, but we can also match the whole newly added block to sections of a completely different image - this allows us to transfer the texture of one image to the general structure of another. Essentially, it's like combining the low frequencies of the target image with the sharpness of the input texture!
Here are some examples of texture transfers I did:
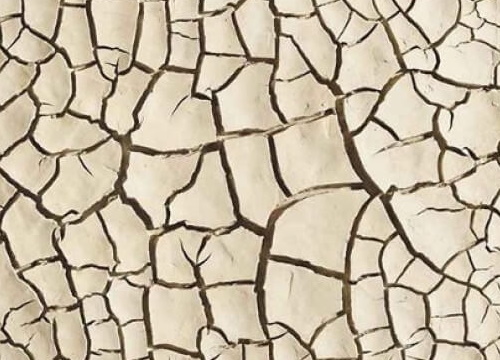
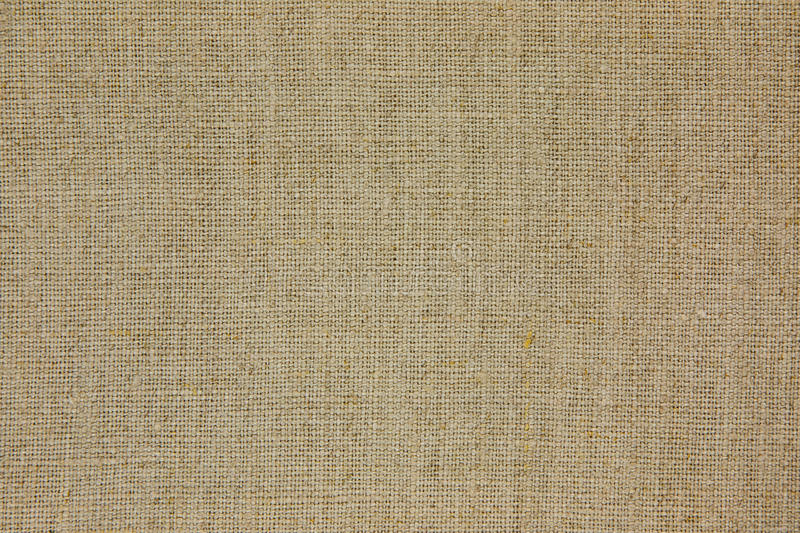
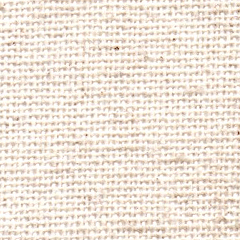
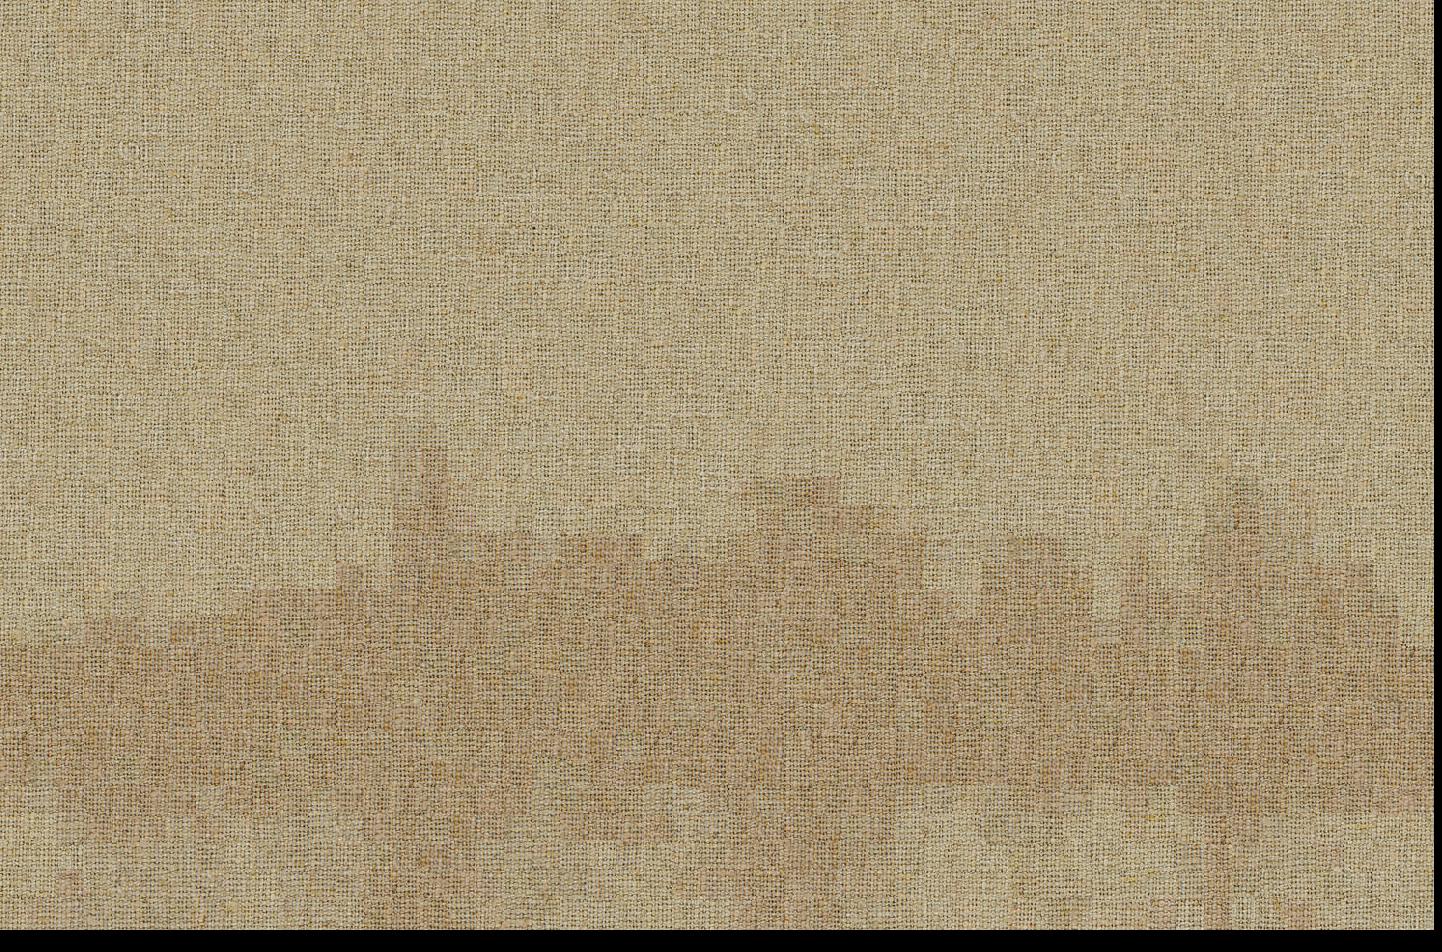
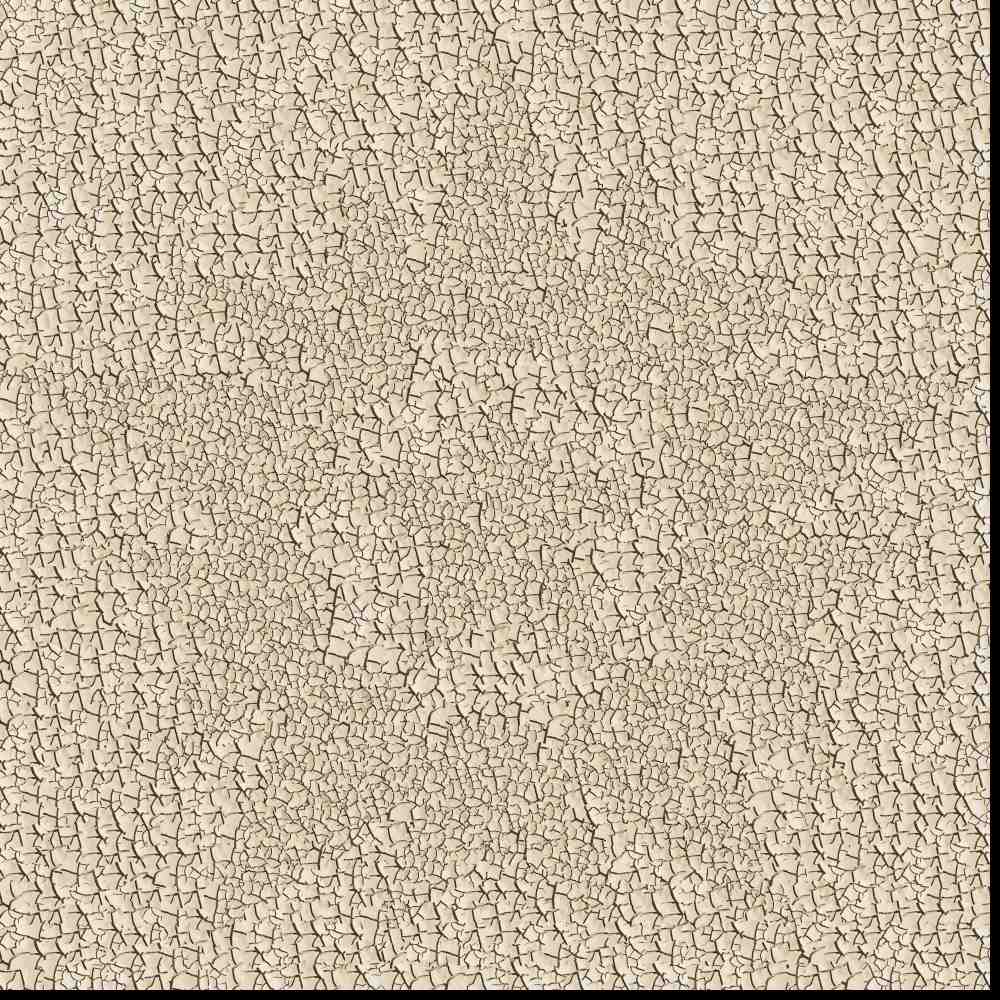
Source textures
Sourced images
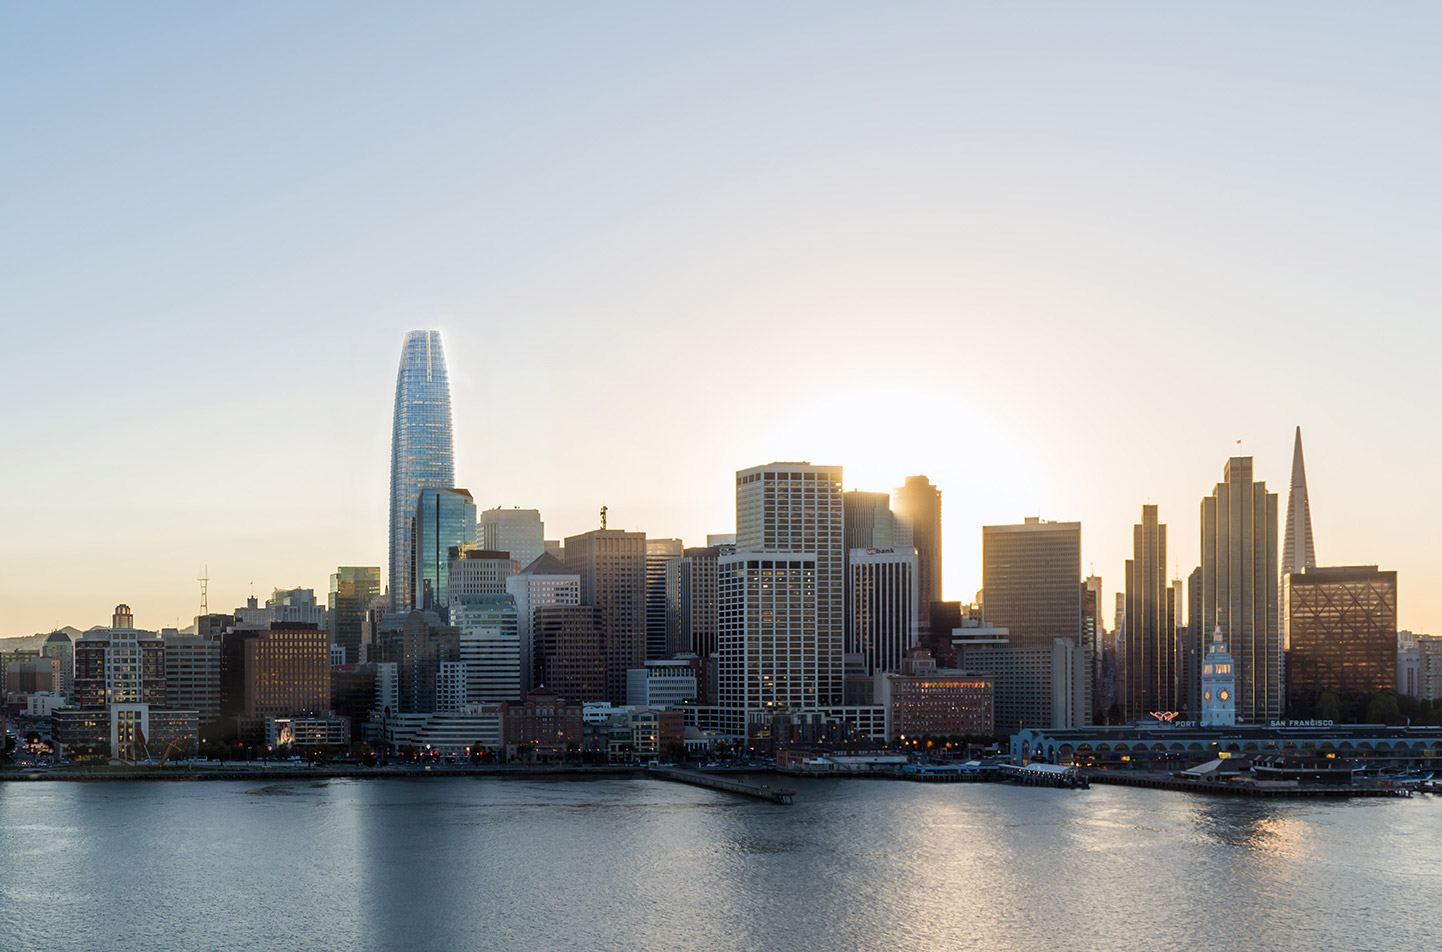

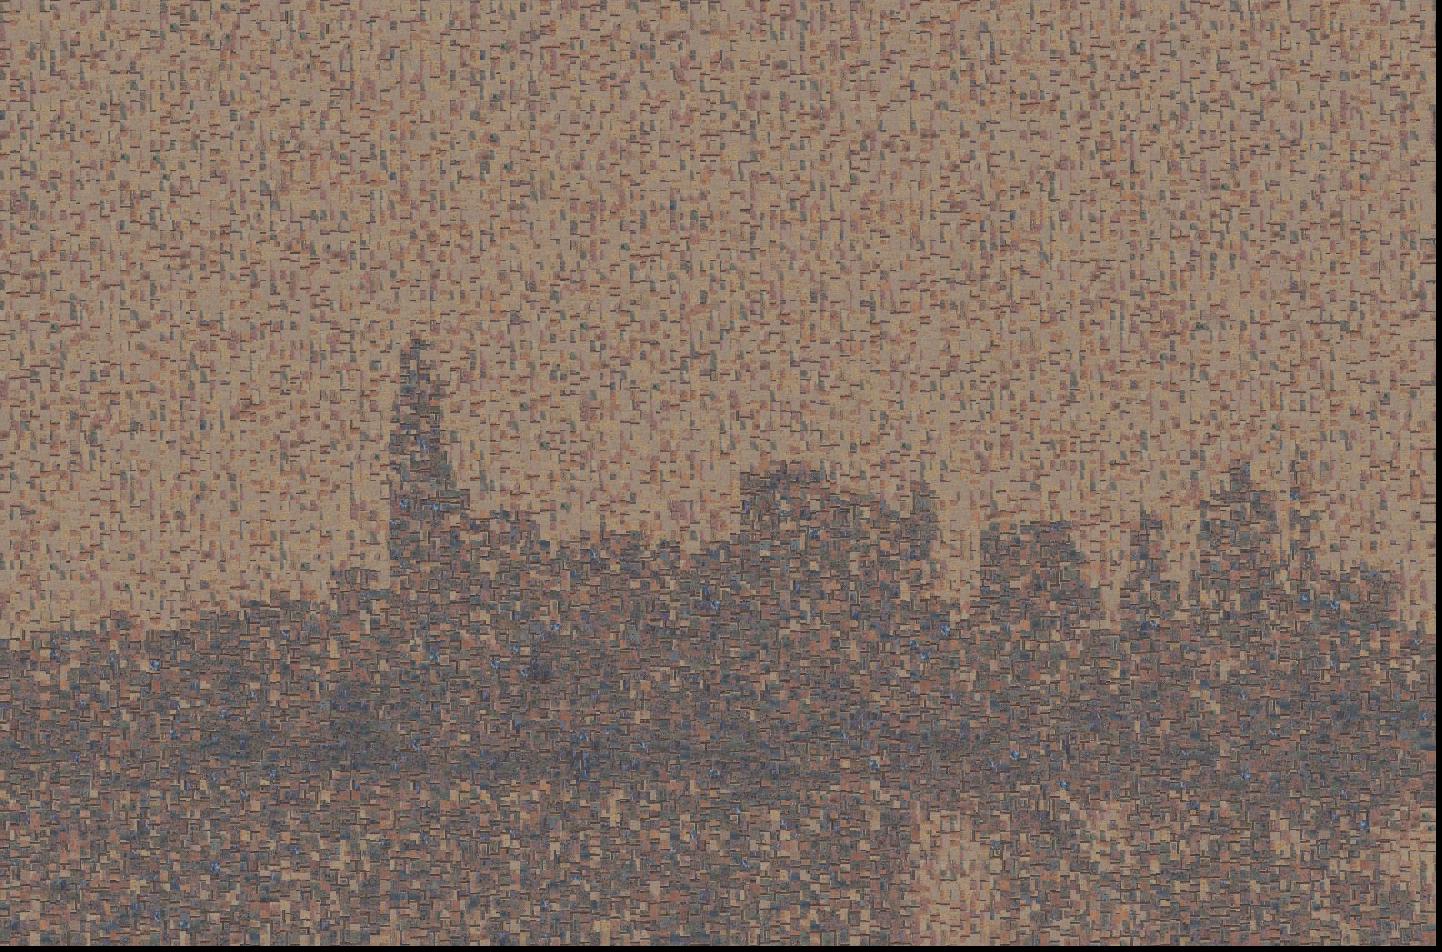
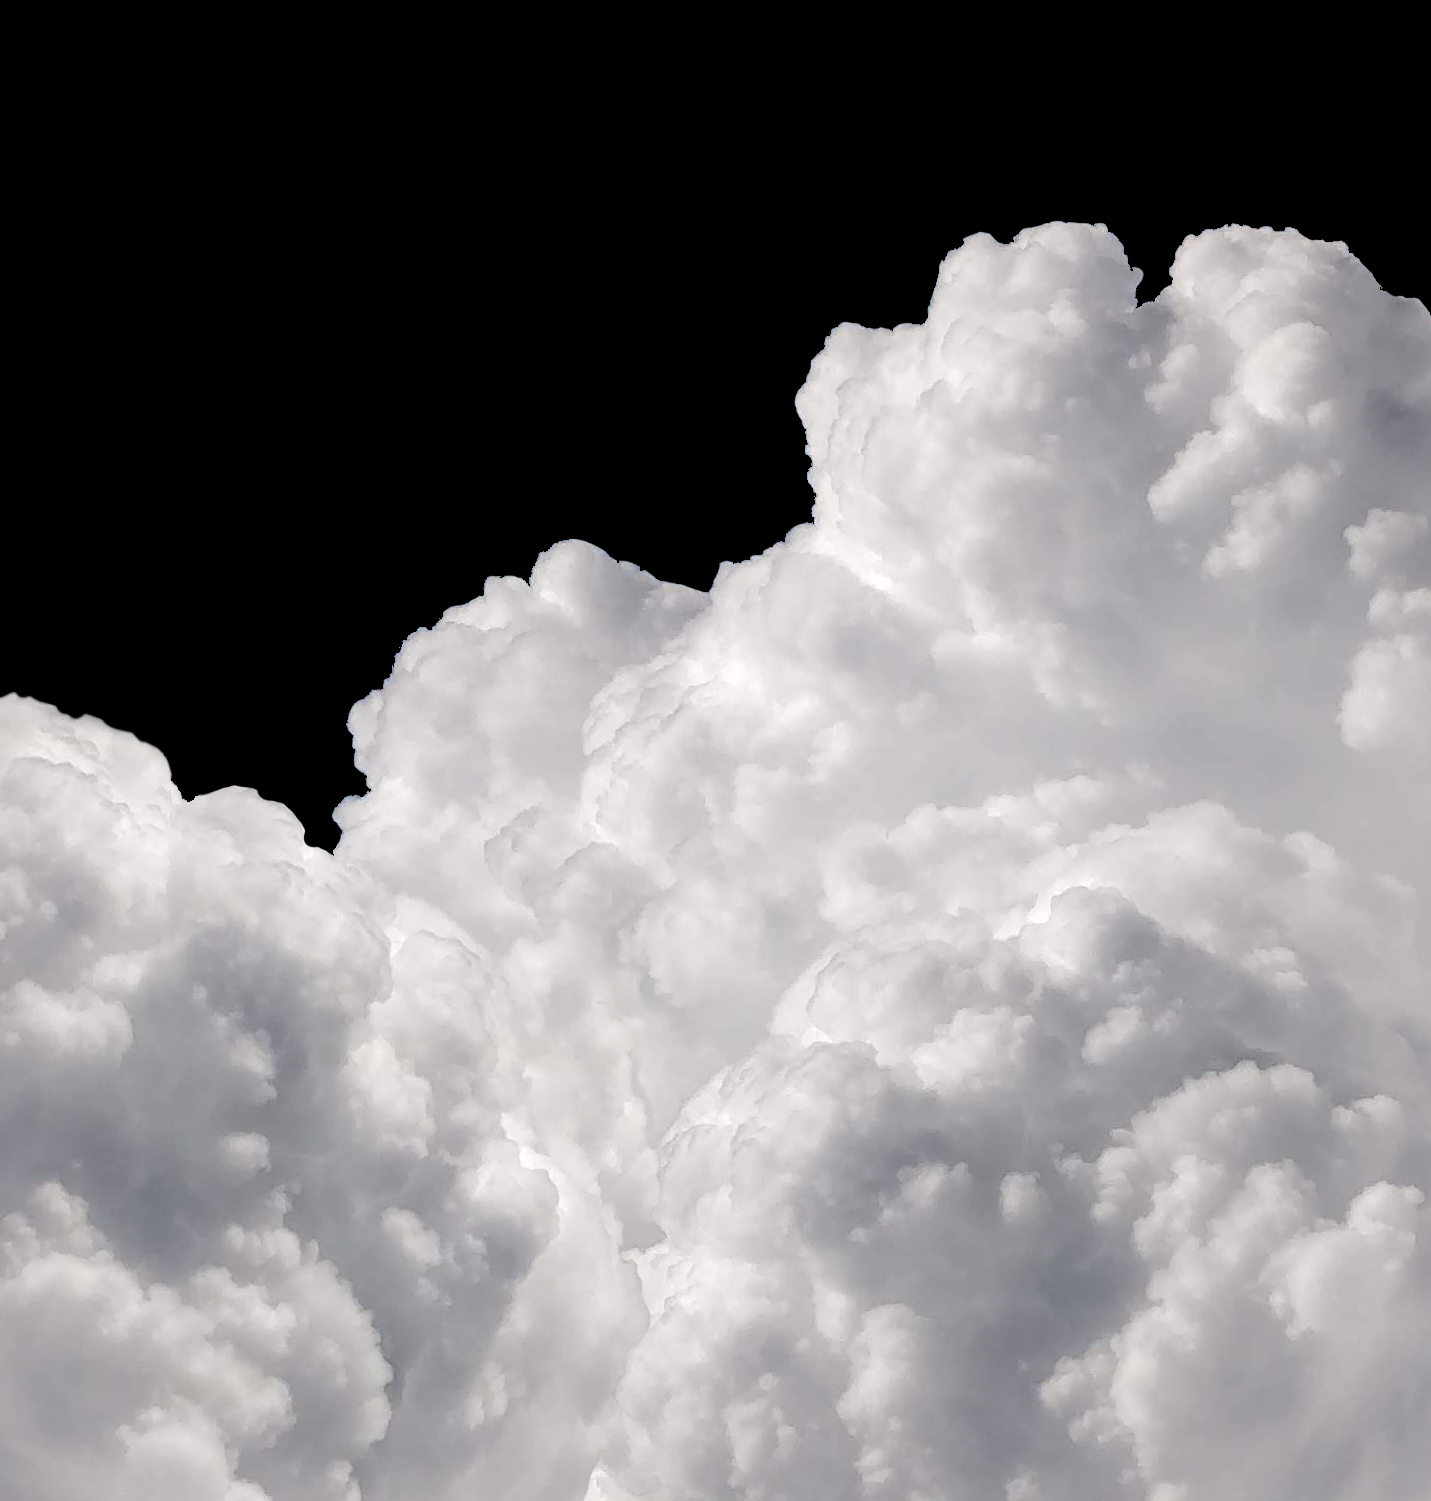
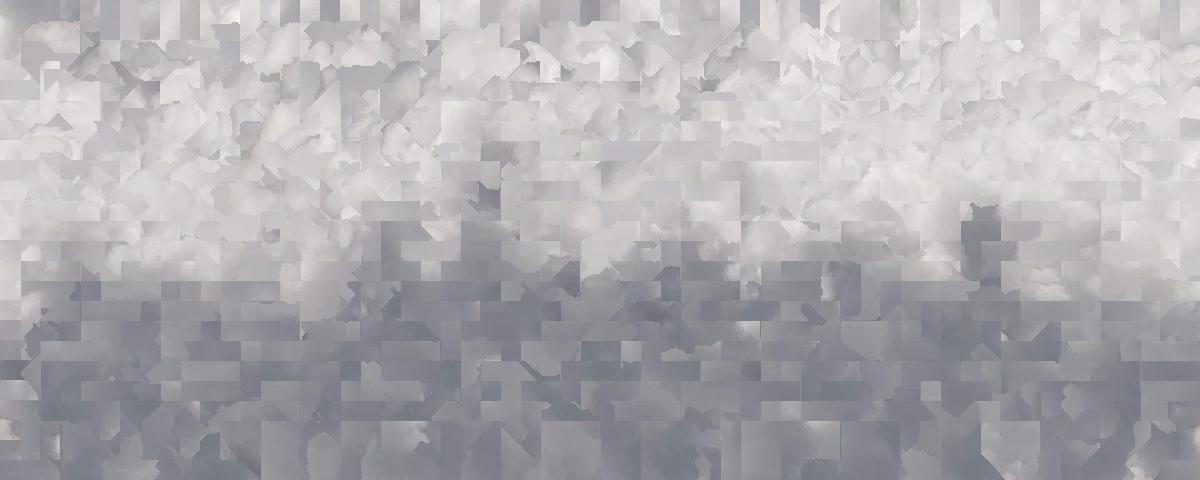
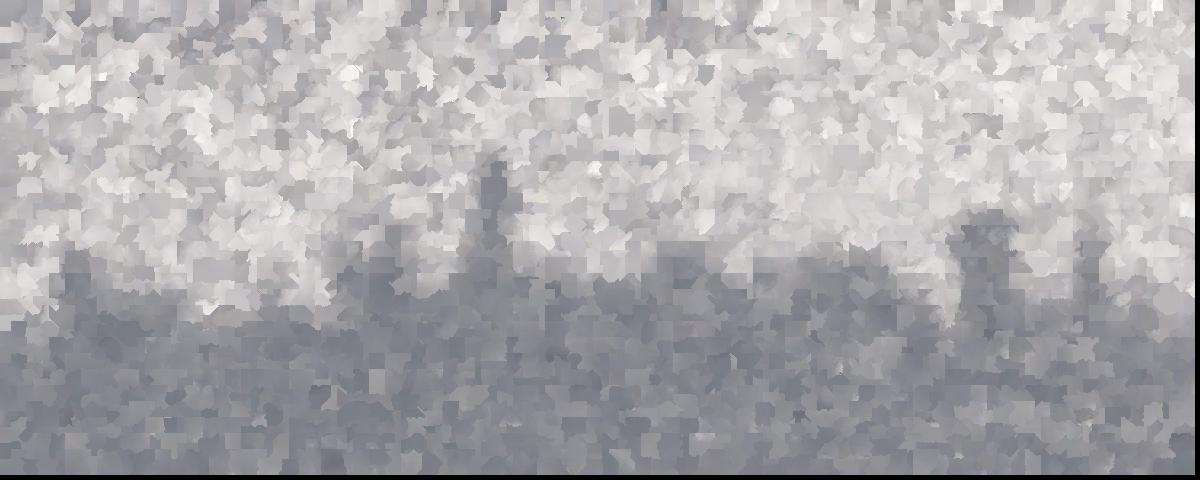
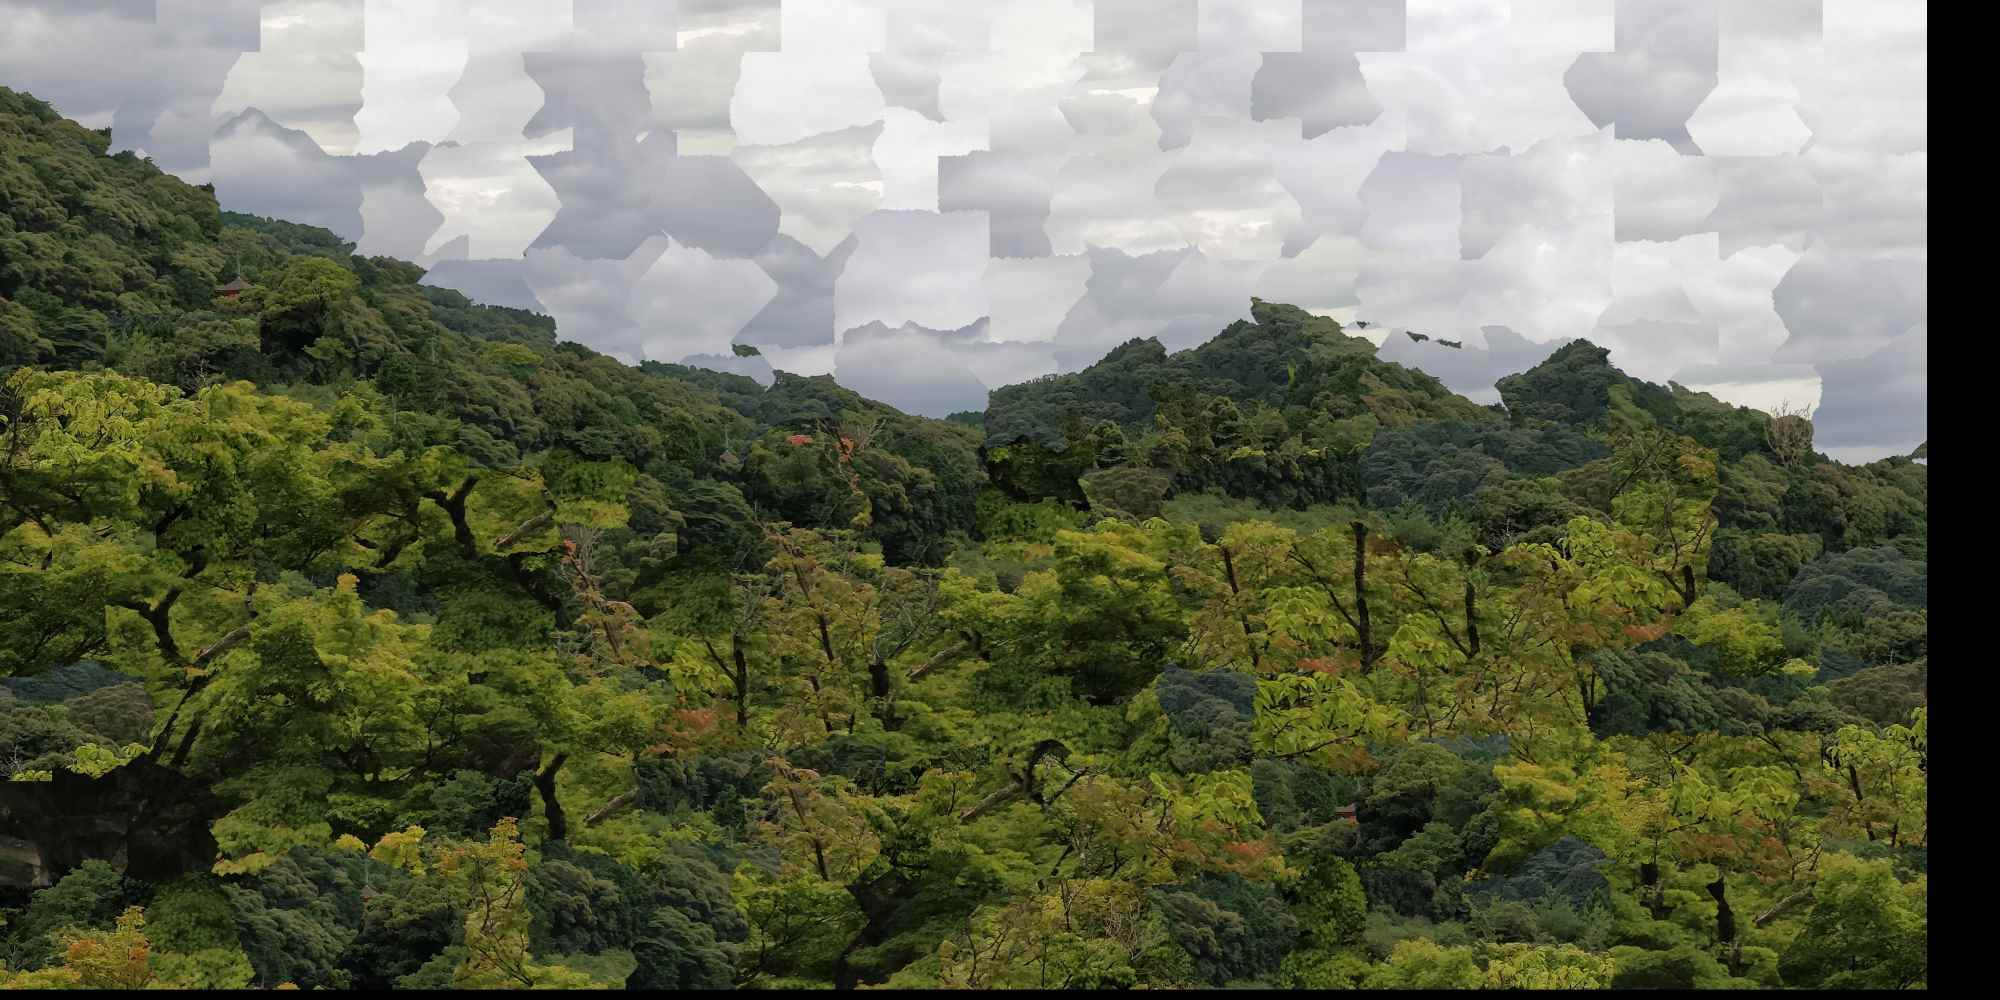
I really enjoyed working with this picture of the San Francisco skyline in particular. My goal was to make a seamless edit with this picture of some round clouds I took from a plane in Belarus. I experimented not only with setting the minimum desired similarity of each photo, but also will editing the source (San Francisco) photo to more closely match the color scheme of the clouds, and vice versa, since the color palettes of the two images don't exactly match.
Source
Target
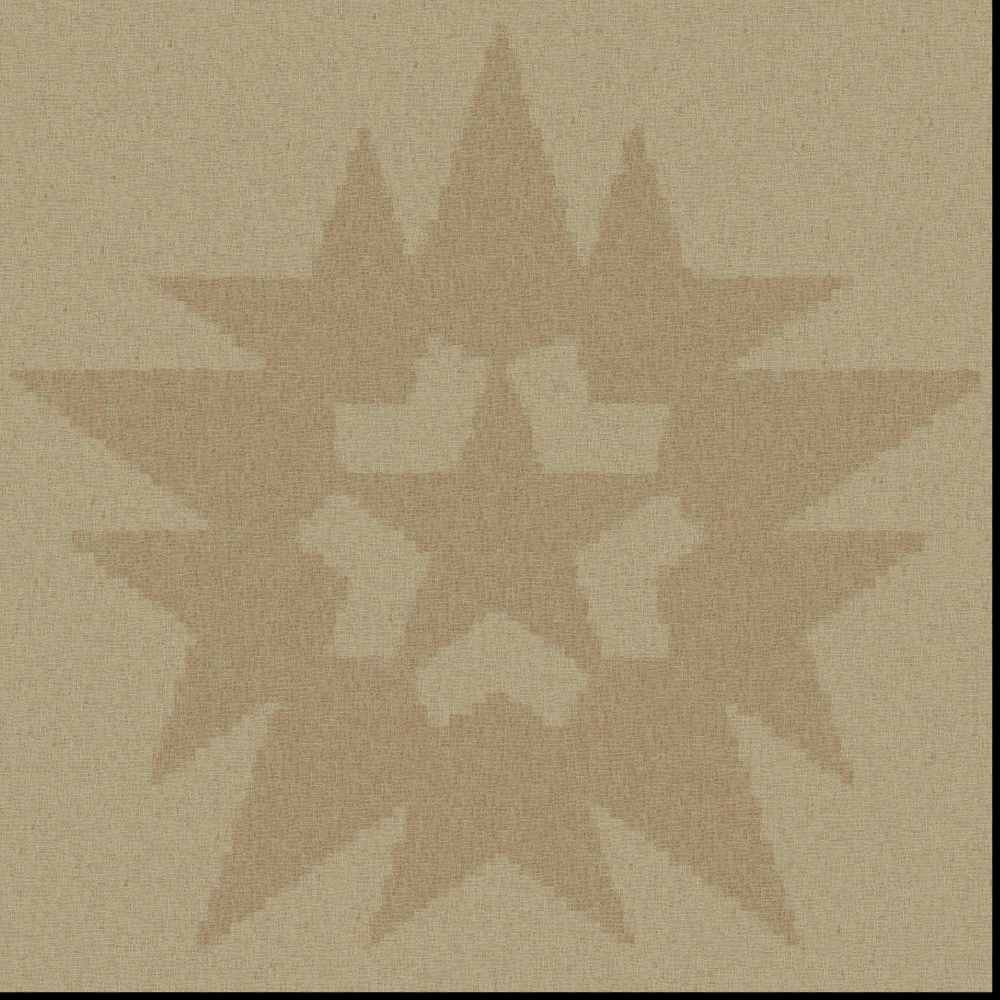
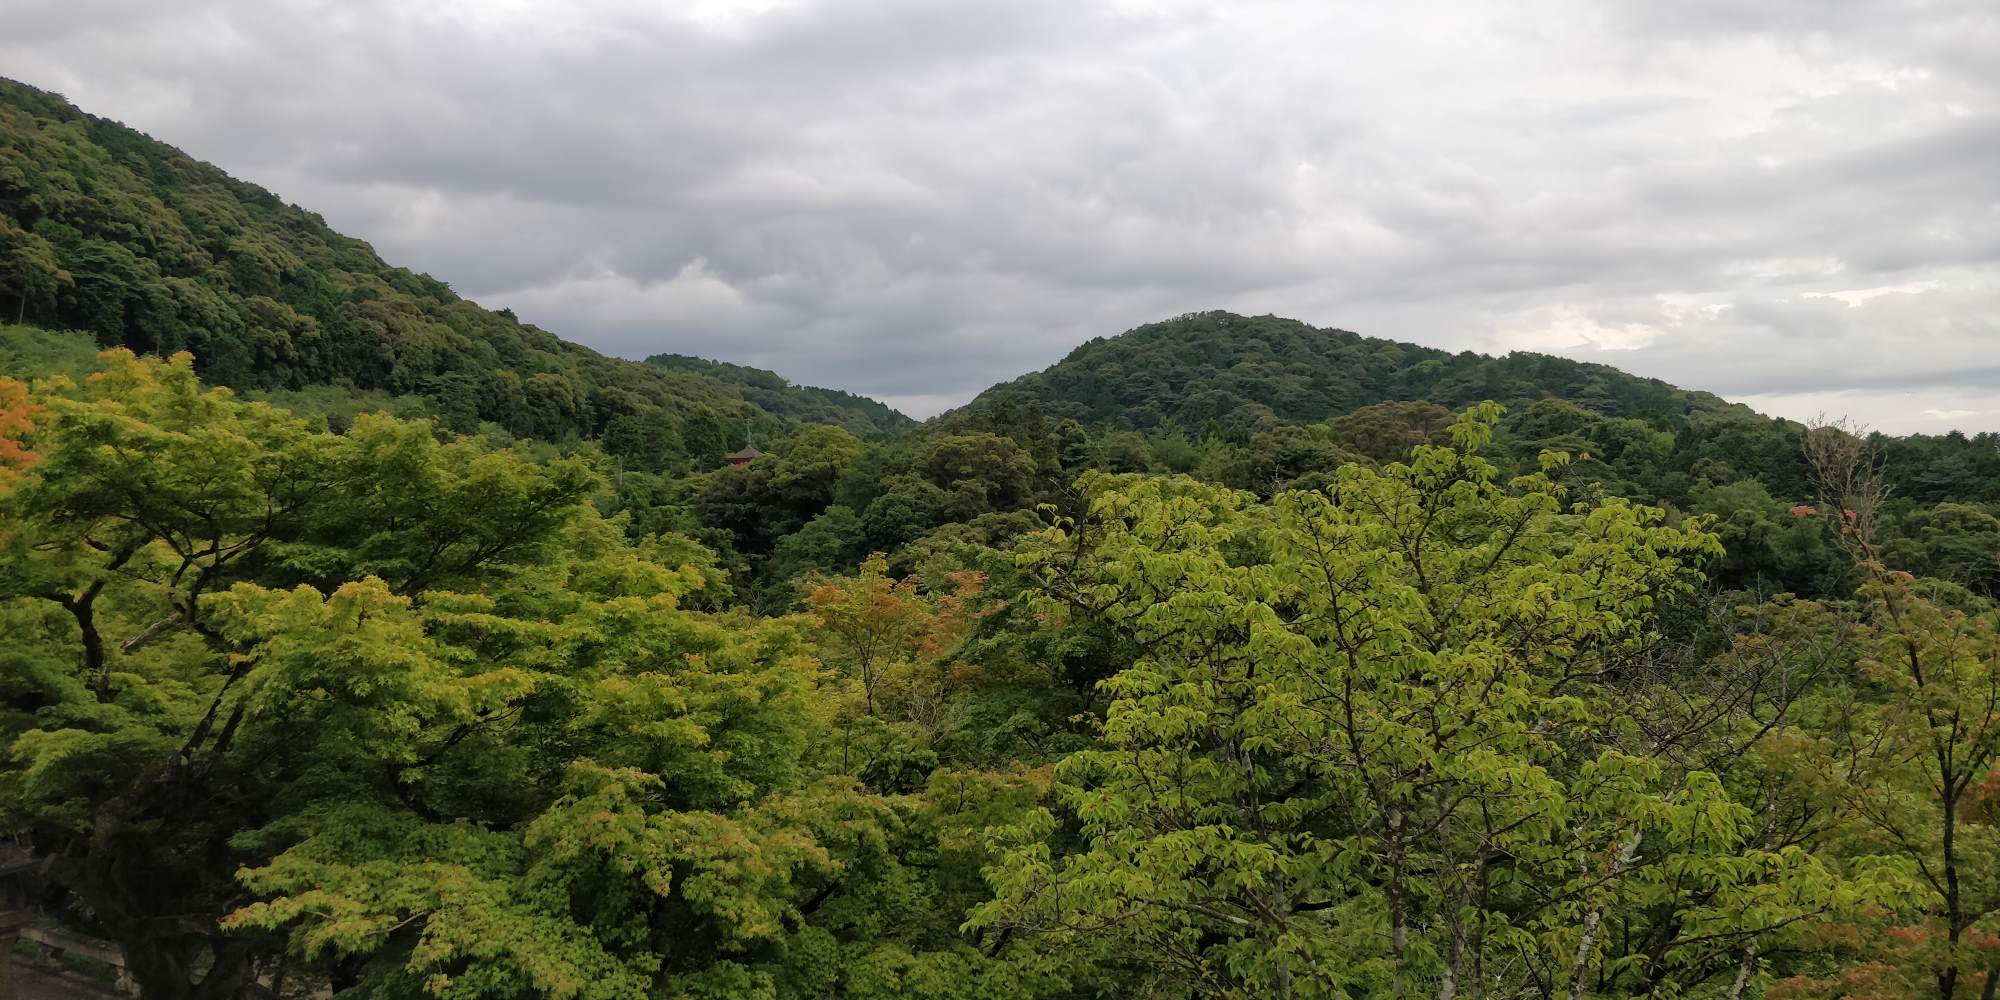
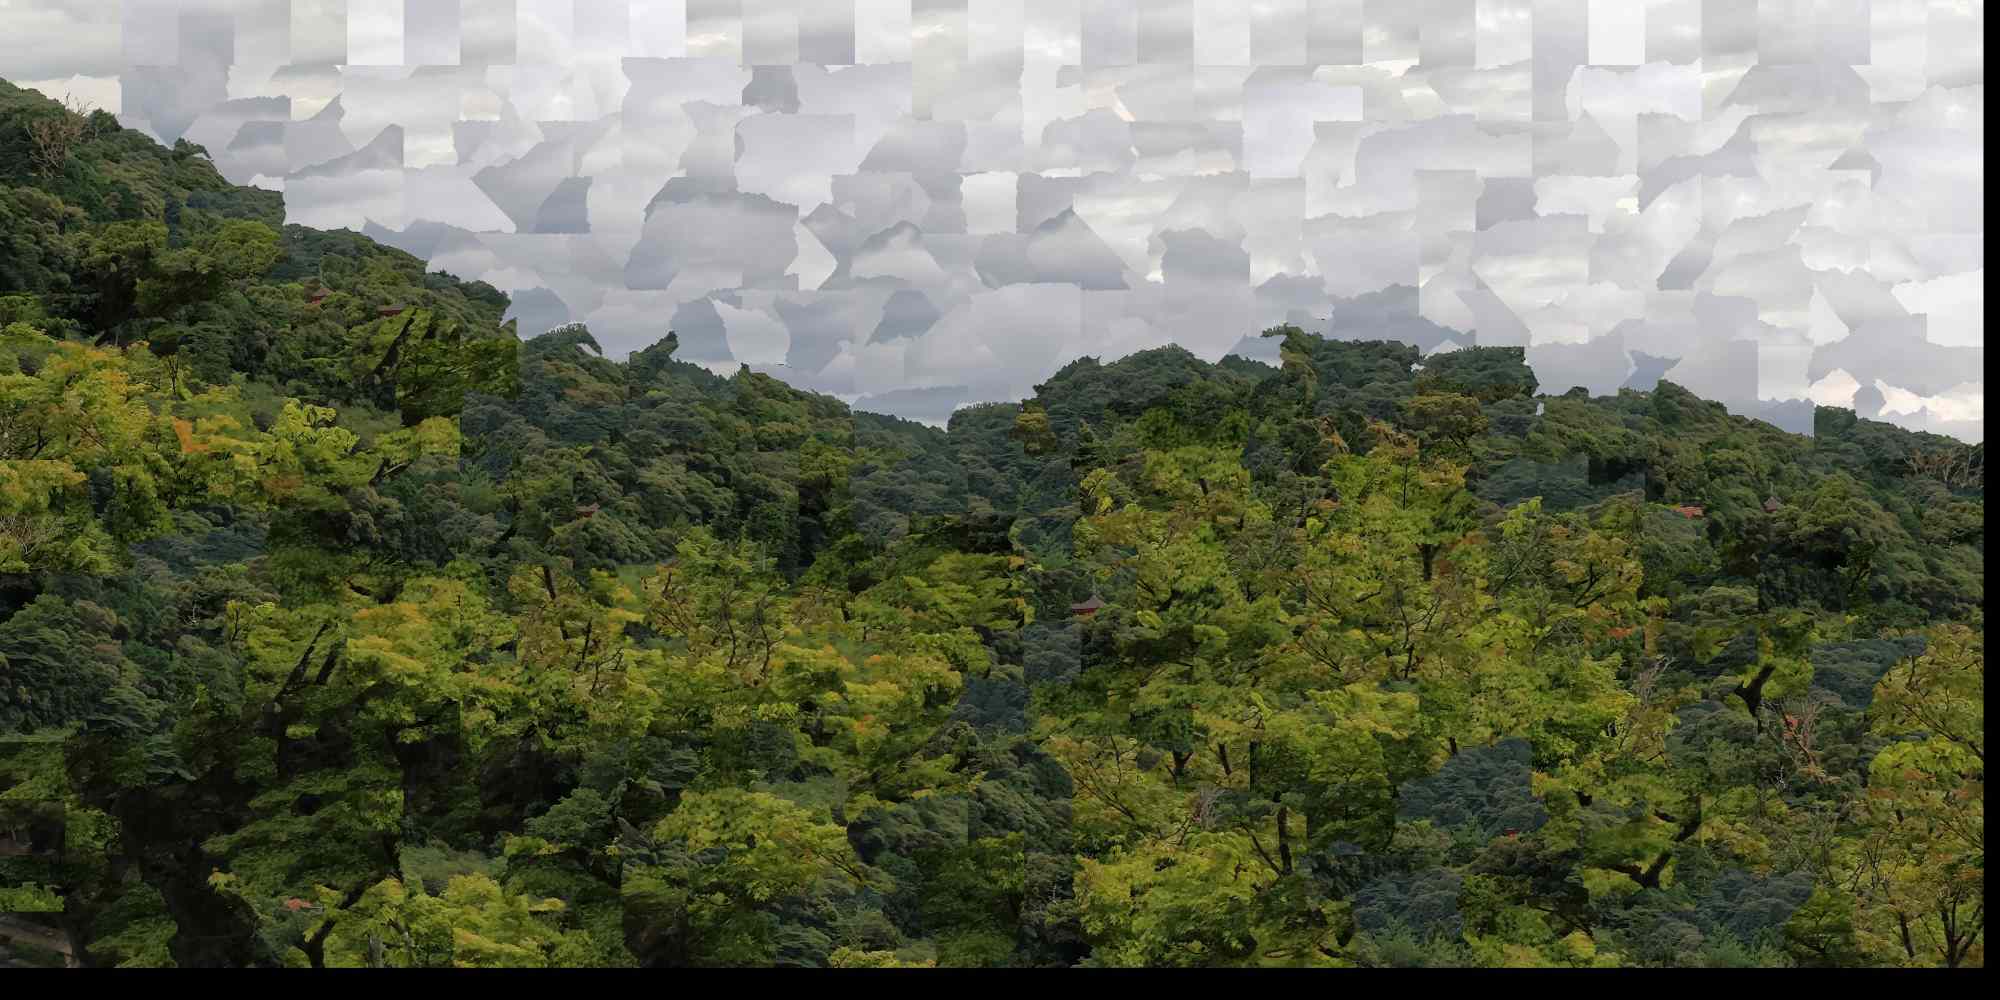
Then, I pulled out this photo I took of a hill near Kiyomizu-dera in Japan and sought to recreate it with some nature from my hometown of Roseville.
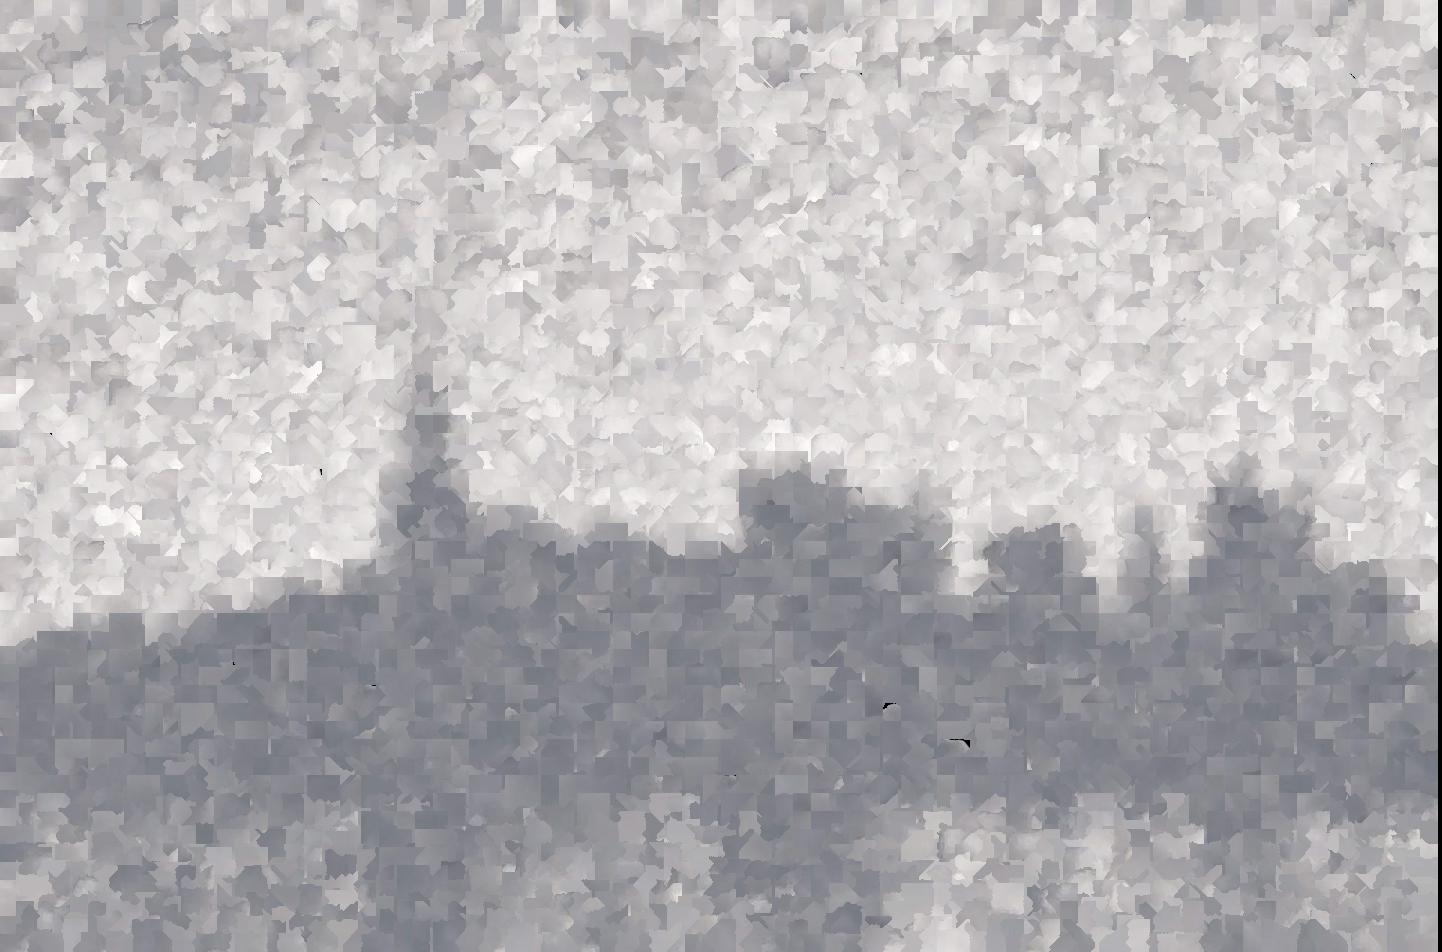
How well can I recreate Kiyomizu-dera using itself? Well, it looks quite abstract, but the general colors match up to the right spots! Also, look at those seams rip across the skyline!
End of "image quilting"
COMPSCI 194-26: Computational Photography & Computer Vision
Professors Alexei Efros & Angjoo Kanazawa
November 18th, 2021
Nick Kisel
Starting with as little as two photos - but expanding to as many photos as one can take - one can create blends of photos with different focus depths and simulate different aperture sizes.
Naturally, if you were to take two similar photos, or look at something with your two slightly separated eyes, you'd notice that things that are closer to your eyes end up changing position more than far away objects - just try locating your nose with your two different eyes covered, one at a time.
Expanding this line of thinking to slightly separated photographs, if we take slightly shifted photographs and average them together, we'll end up with an in-focus background and a blurry foreground. However, given that some objects closer to us than the background look almost exactly the same when the source position of the photos isn't too far, it's possible to shift images to align with each other, re-focusing objects closer to the camera and defocusing the background.


Once again in GIF form:


Now, to adjust our aperture size, we need to limit the maximum distance between photos.
In this case, this means only incorporating subsections of the provided grid; in the following cases, I used 2x2, 4x4, 6x6, 8x8, 10x10, 12x12, 14x14, and 16x16 grid subsections while continuing to shift all images by the same amount relative to the center photo.
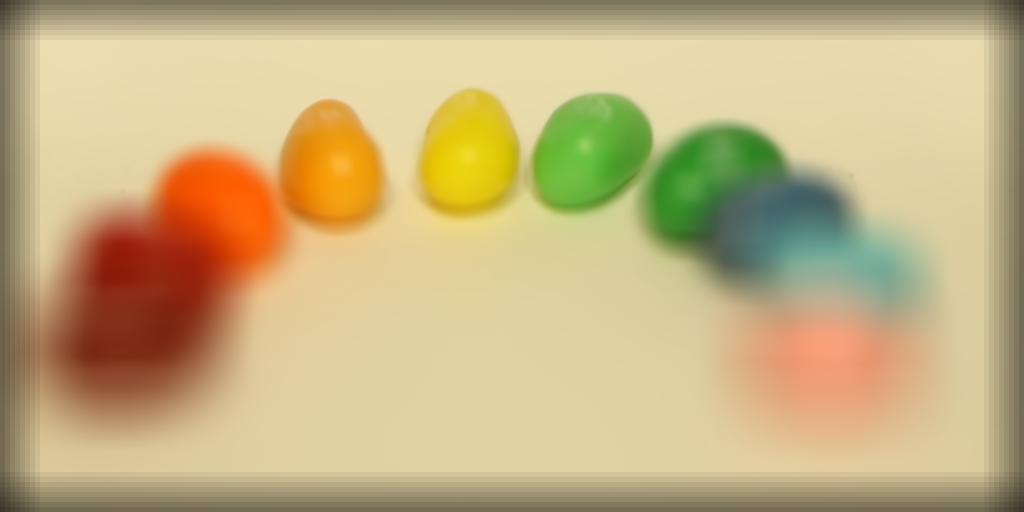
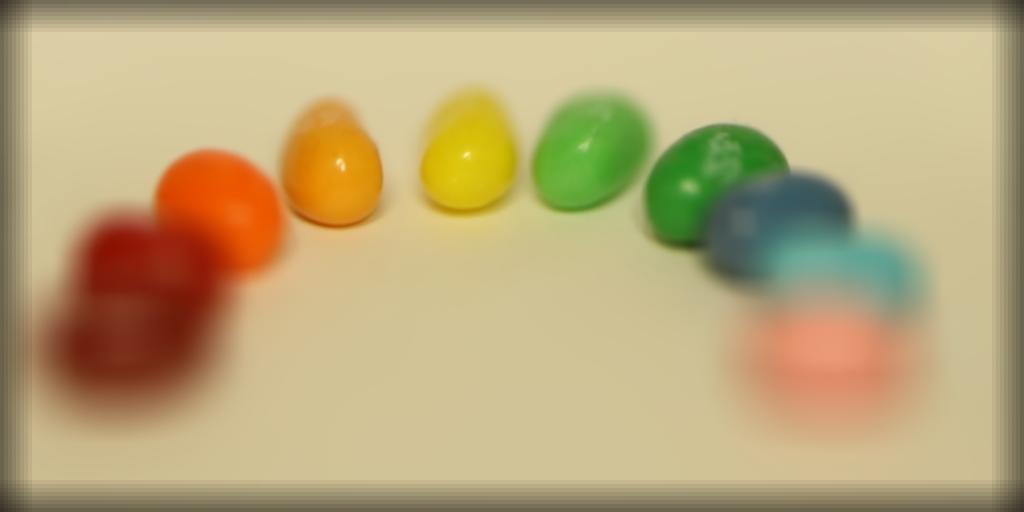
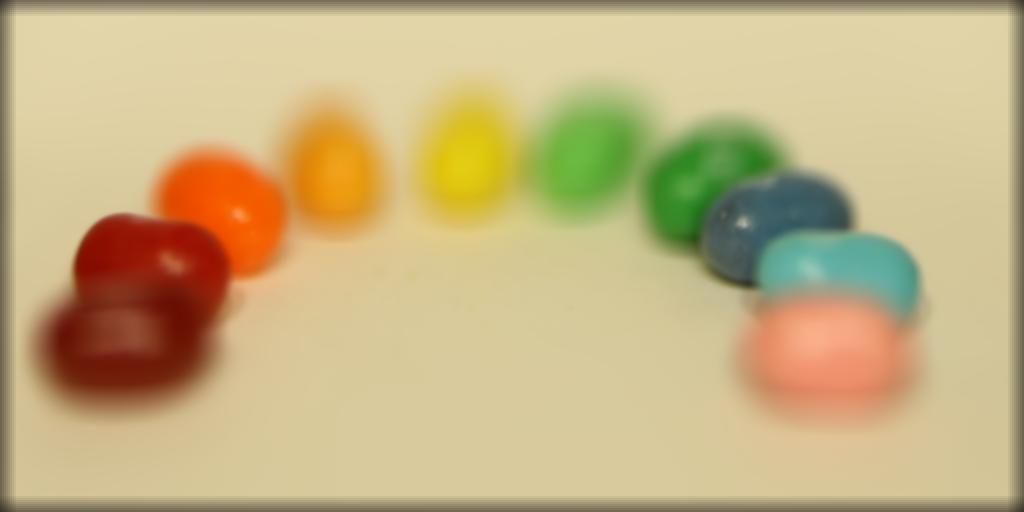
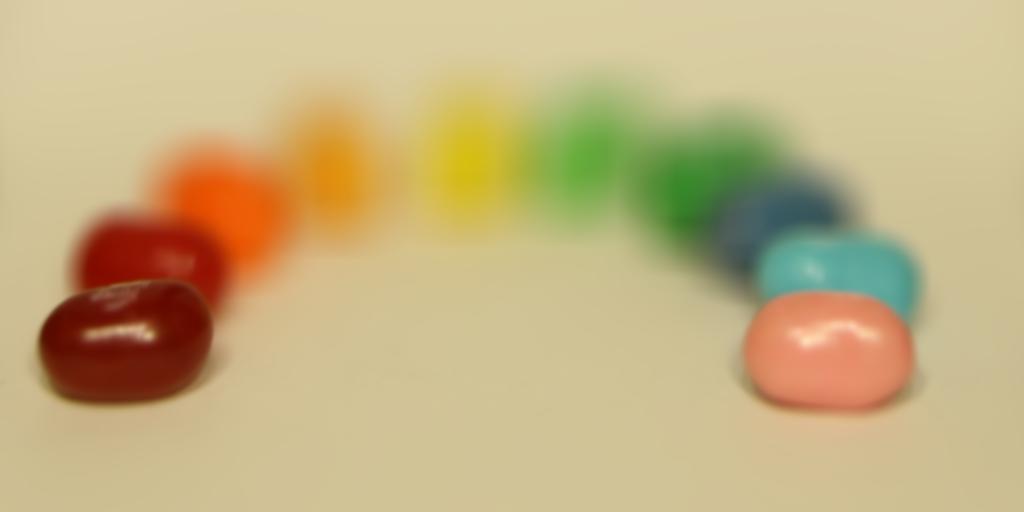
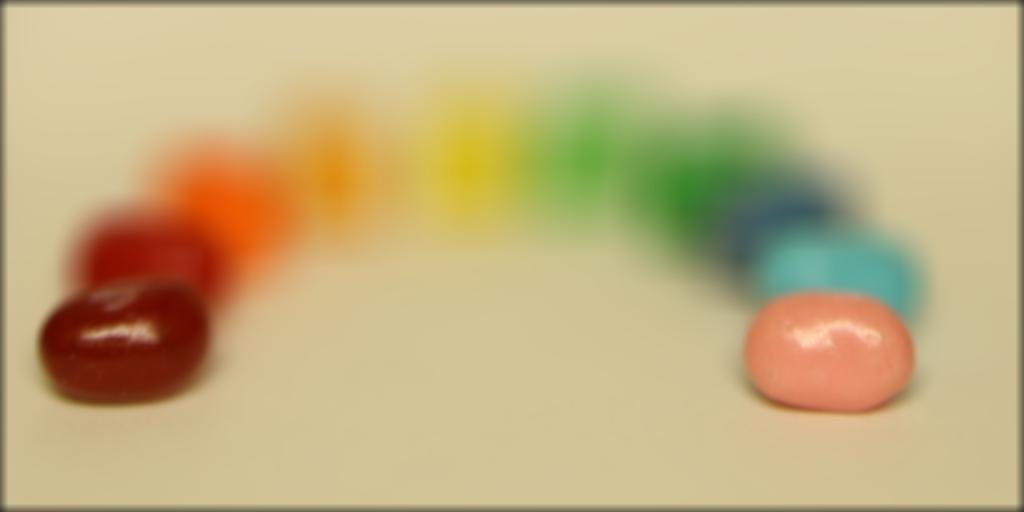
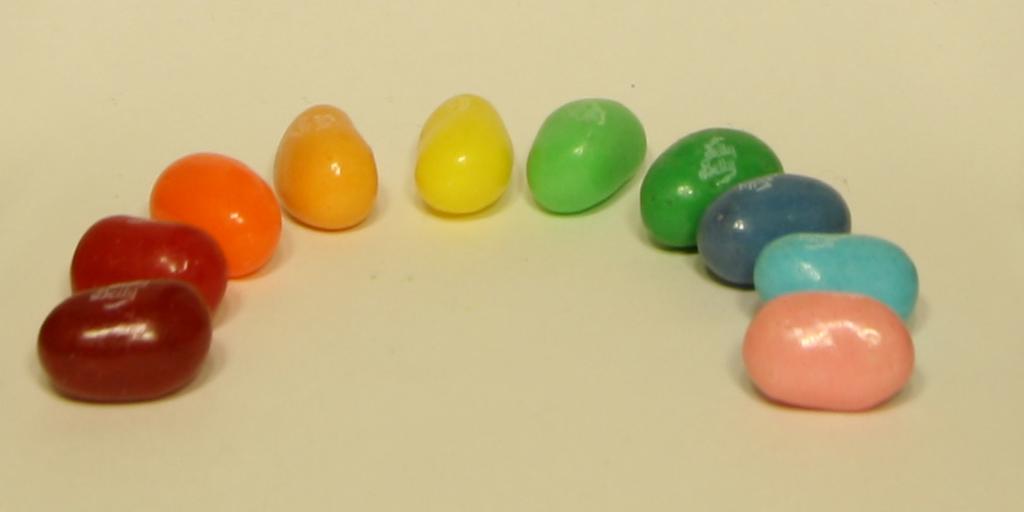
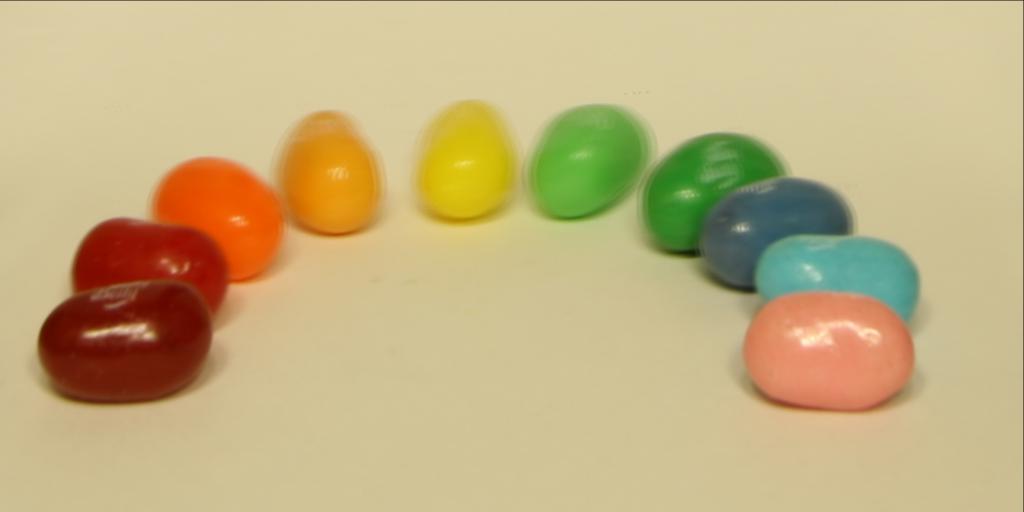
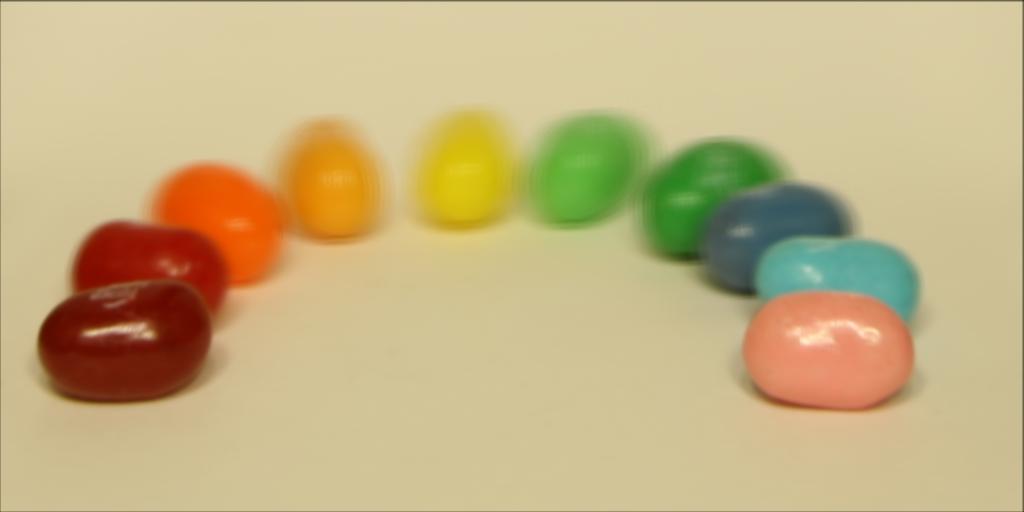
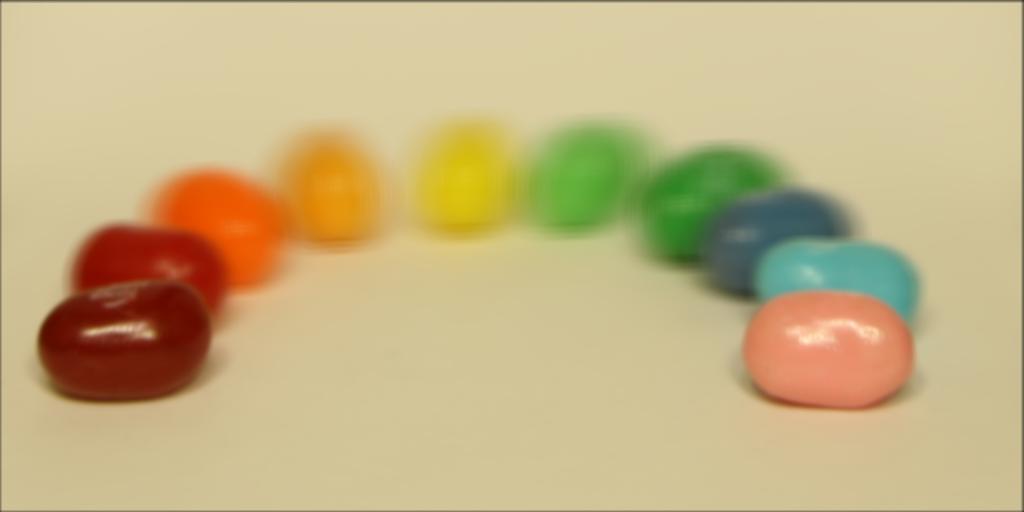
Beans, shift +1, aperture size increasing as I include more images.
The very front of the front beans are in focus.


Once again in GIF form:

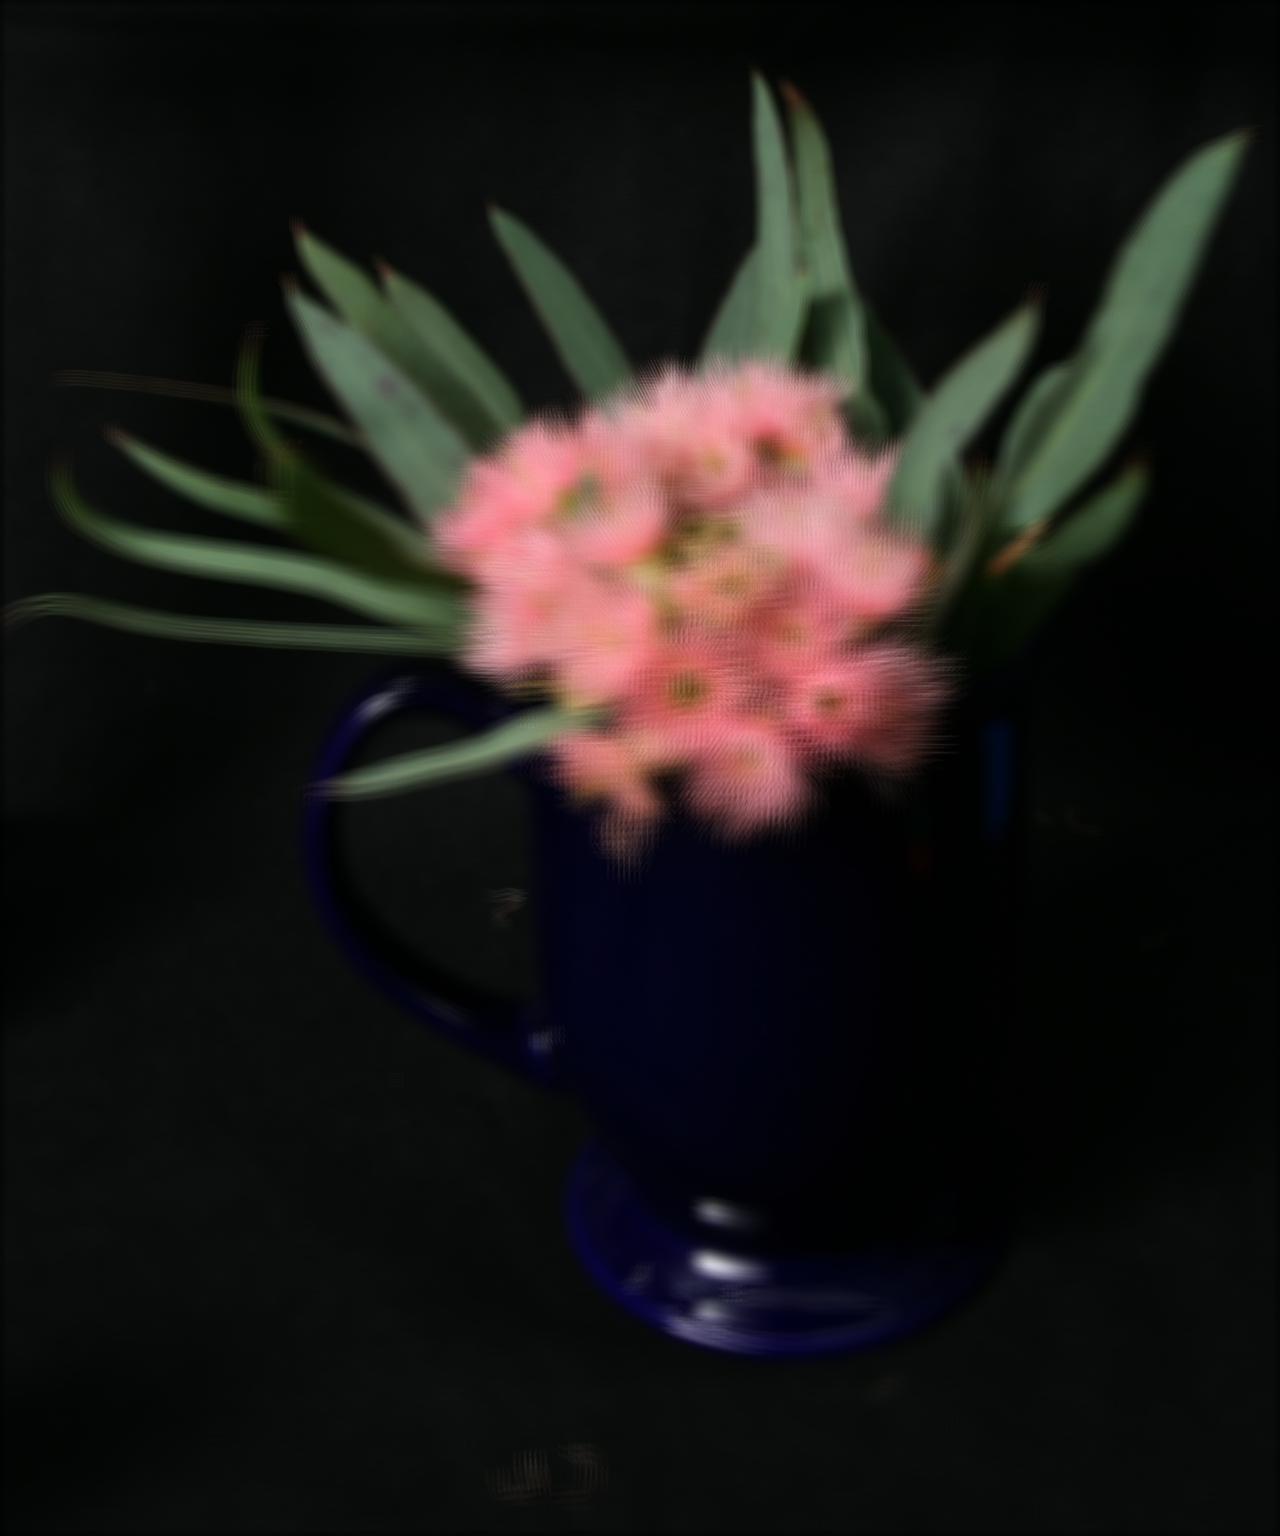
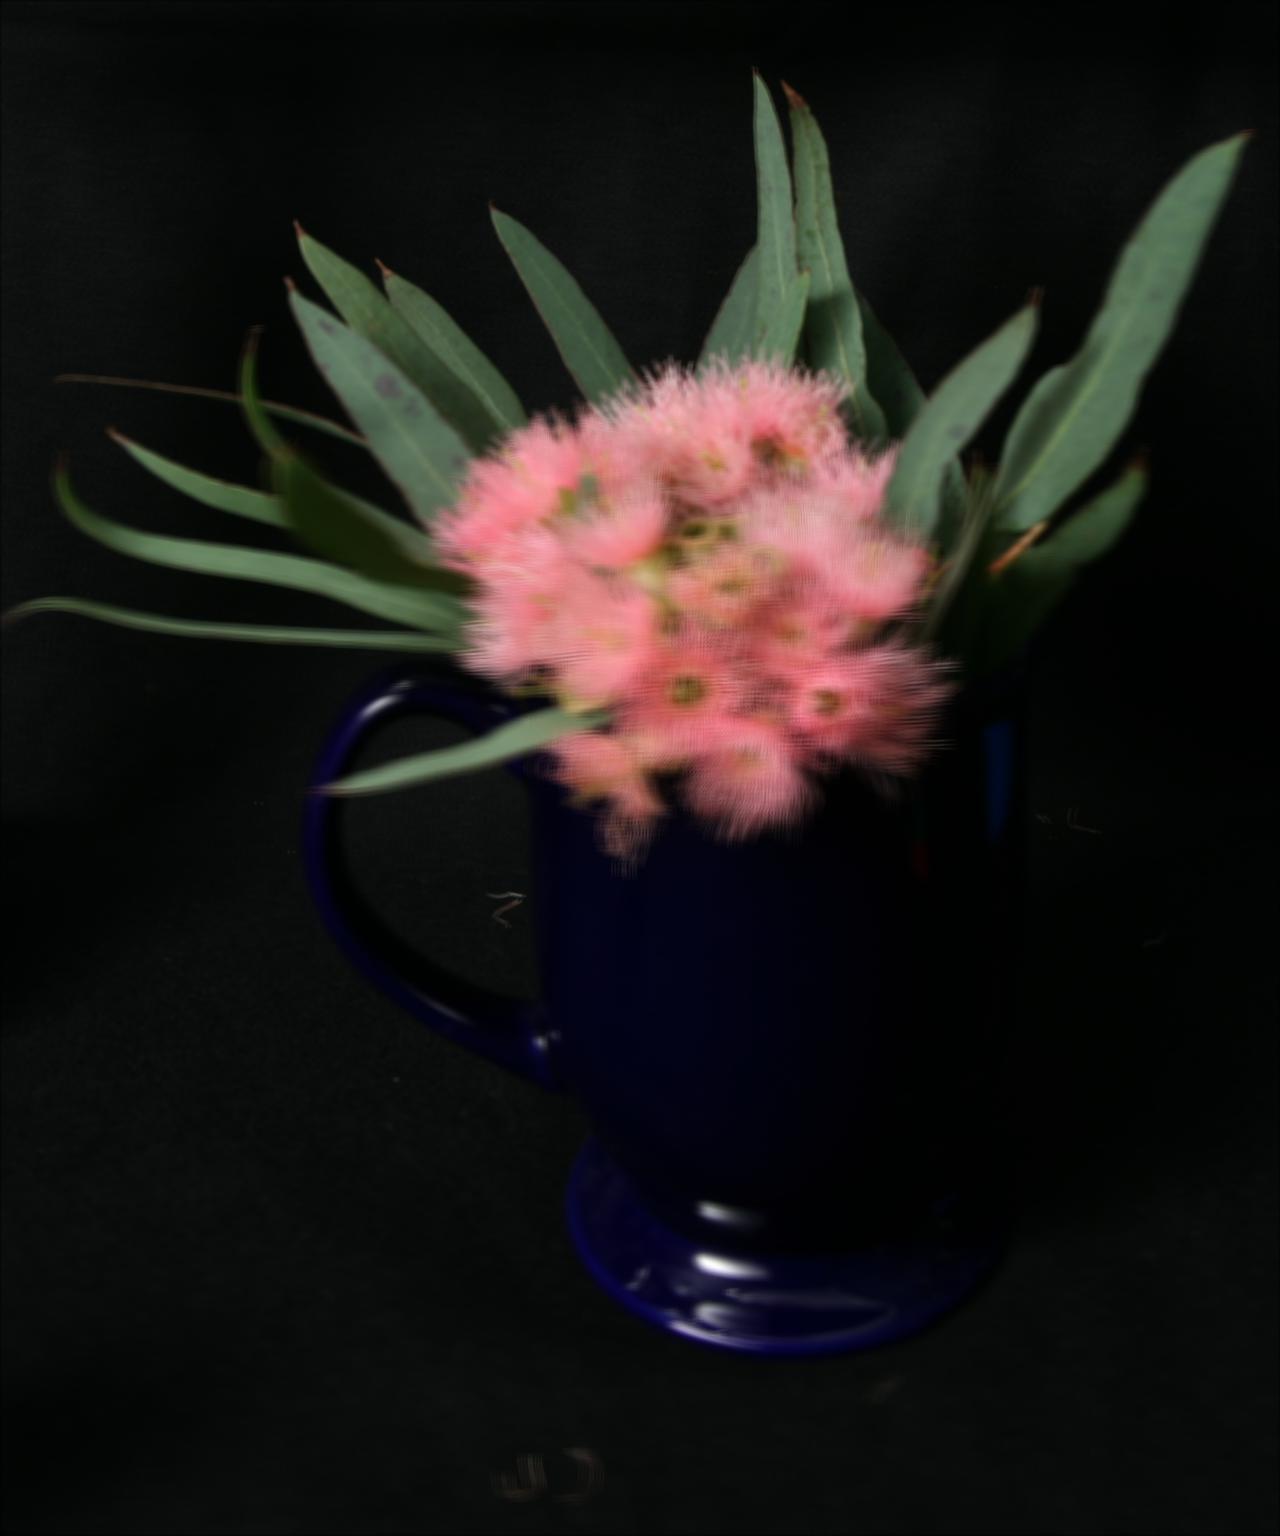
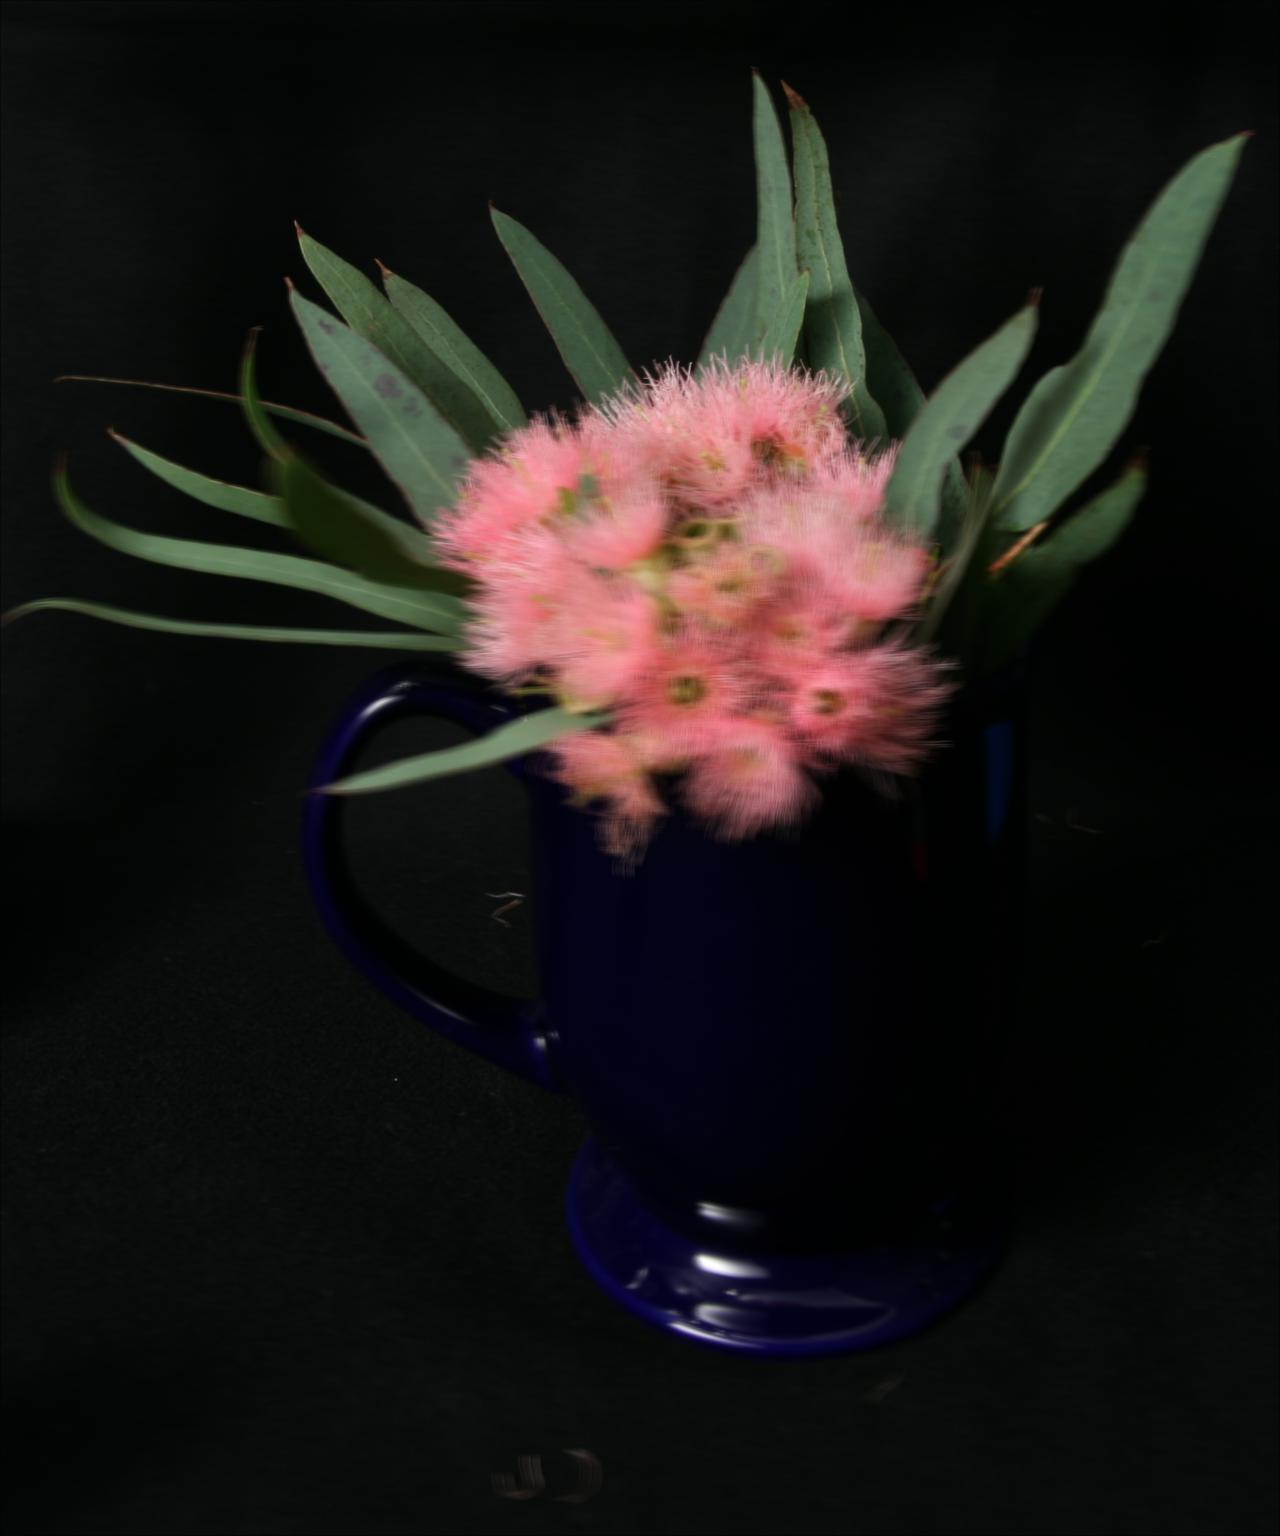
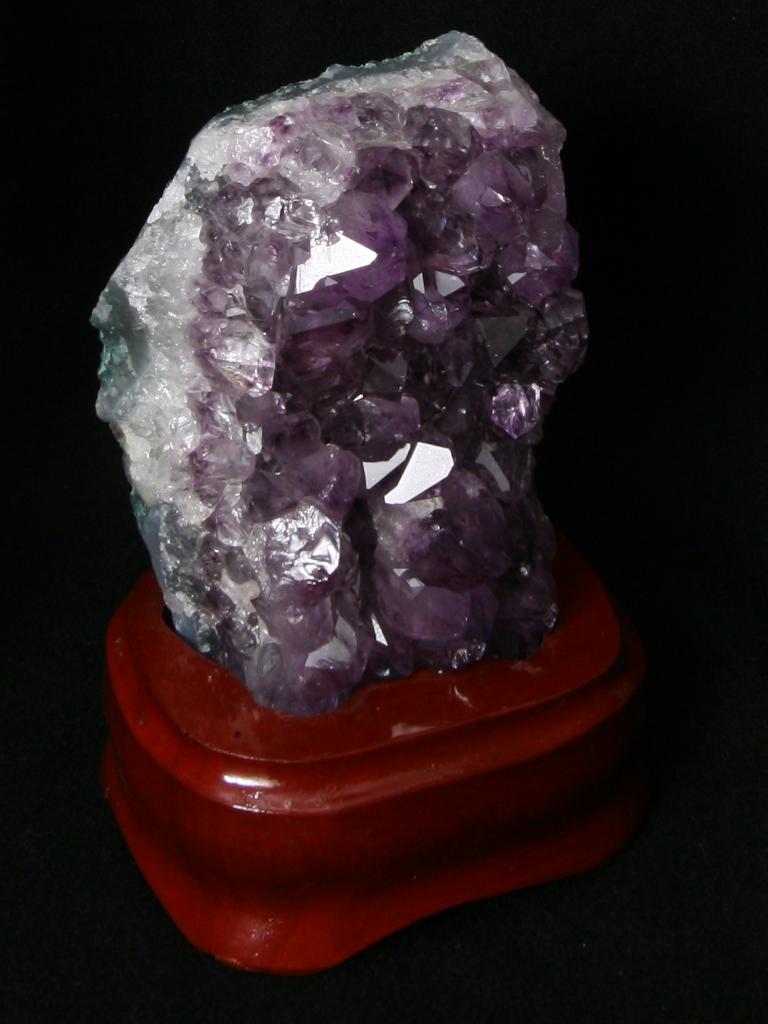
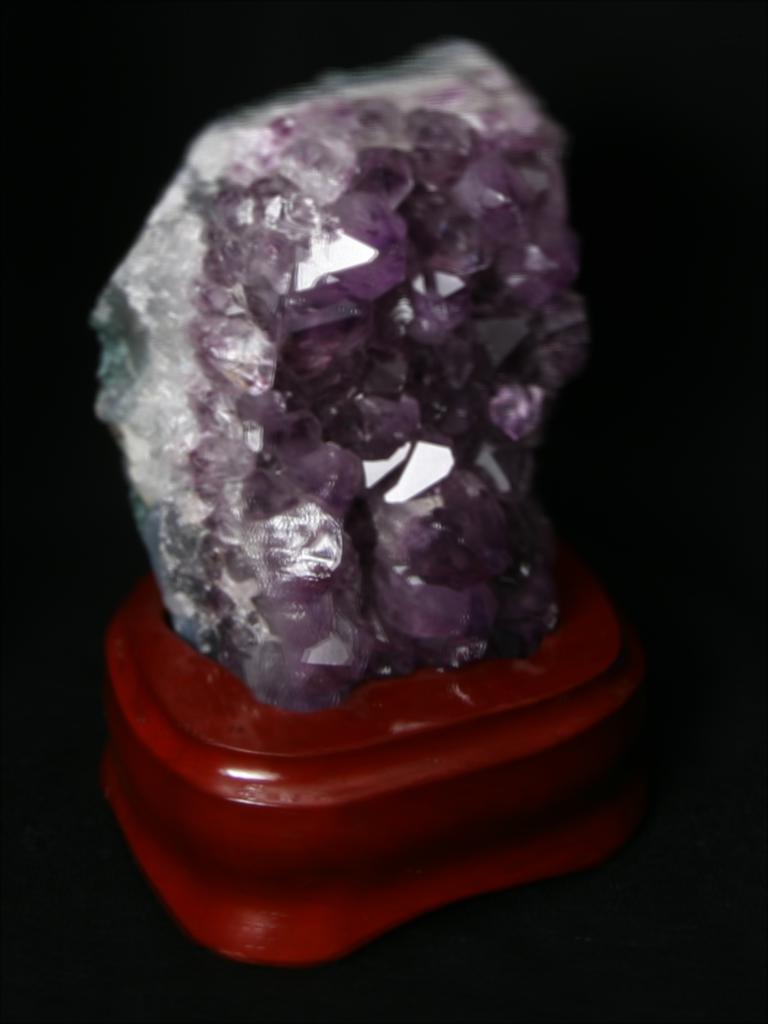
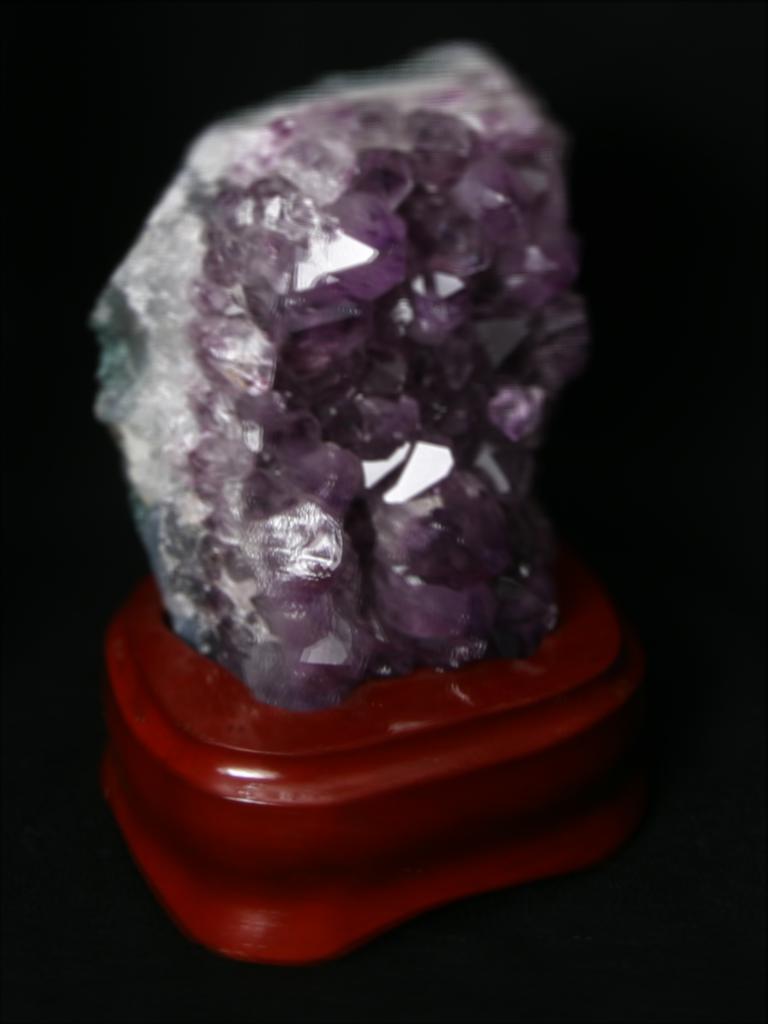
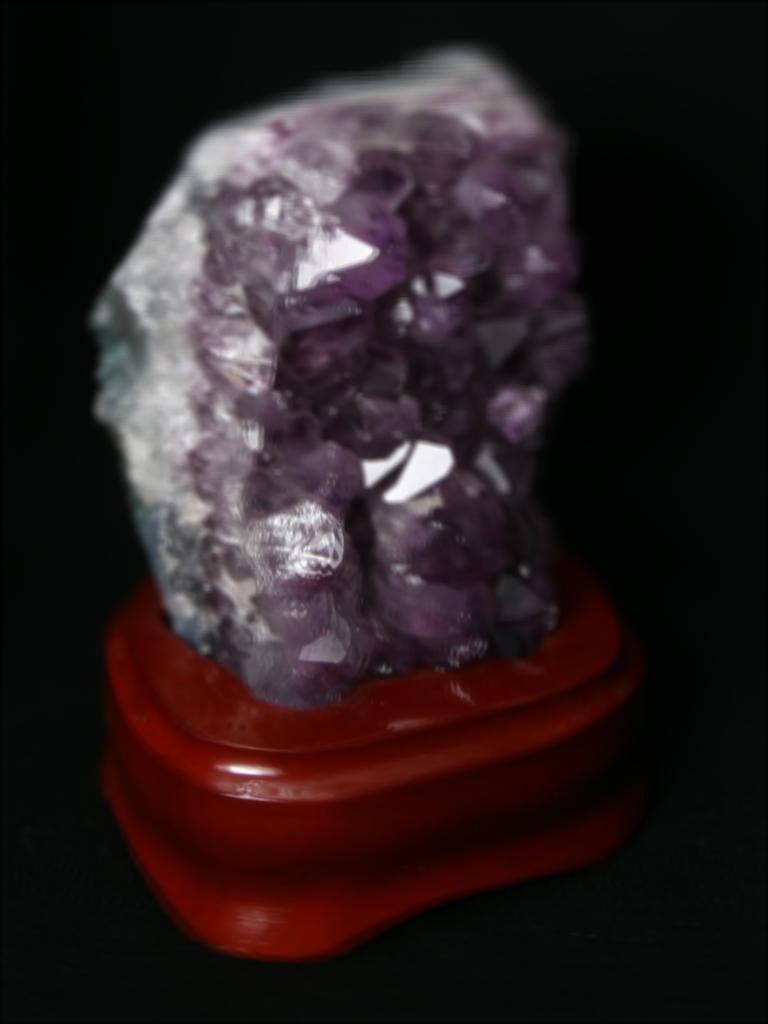
Amethyst, shift +1, aperture size increasing as I include more images.
The glint on the front right is being kept in focus.


Once again in GIF form:
