
I will produce some cool image effects using real lightfield data.
The objects which are far away from the camera do not vary their position significantly when the camera moves around while keeping the optical axis direction unchanged. The nearby objects, on the other hand, vary their position significantly across images (quoted from project website). This can be done easily using lightfield data. To refocus at different depths, I can shift each image closer or further to the center image so that after averaging the images, the focus of the image is changed due to the effect discussed at the beginning.
First, since all lightfield images have 17x17 sub-apertures, I choose the center grid ("_08_08") as the center sub-aperture (also called image here). For all the other images with focus position (u, v) scripted on the filename, I shift each of them using the formula: dist(s, t) = C*[(u, v) - (u_0, v_0)], where (u_0, v_0) is the focus position of the center image. C is a constant factor: larger positive C indicates I am refocusing further from the center focus, while smaller negative C indicates I am refocusing closer to the center focus. C=0 gives the center focus provided image. If the displacement vector is not integer, I simply round it to an integer. Notice that this can be further improved by using interpolation, although I tried, and spicy.ndimage.shift was really slow so I gave up. Below are the animations with different C used, over 10 frames.
You can see that in both images, the focus changes from far back to the front.
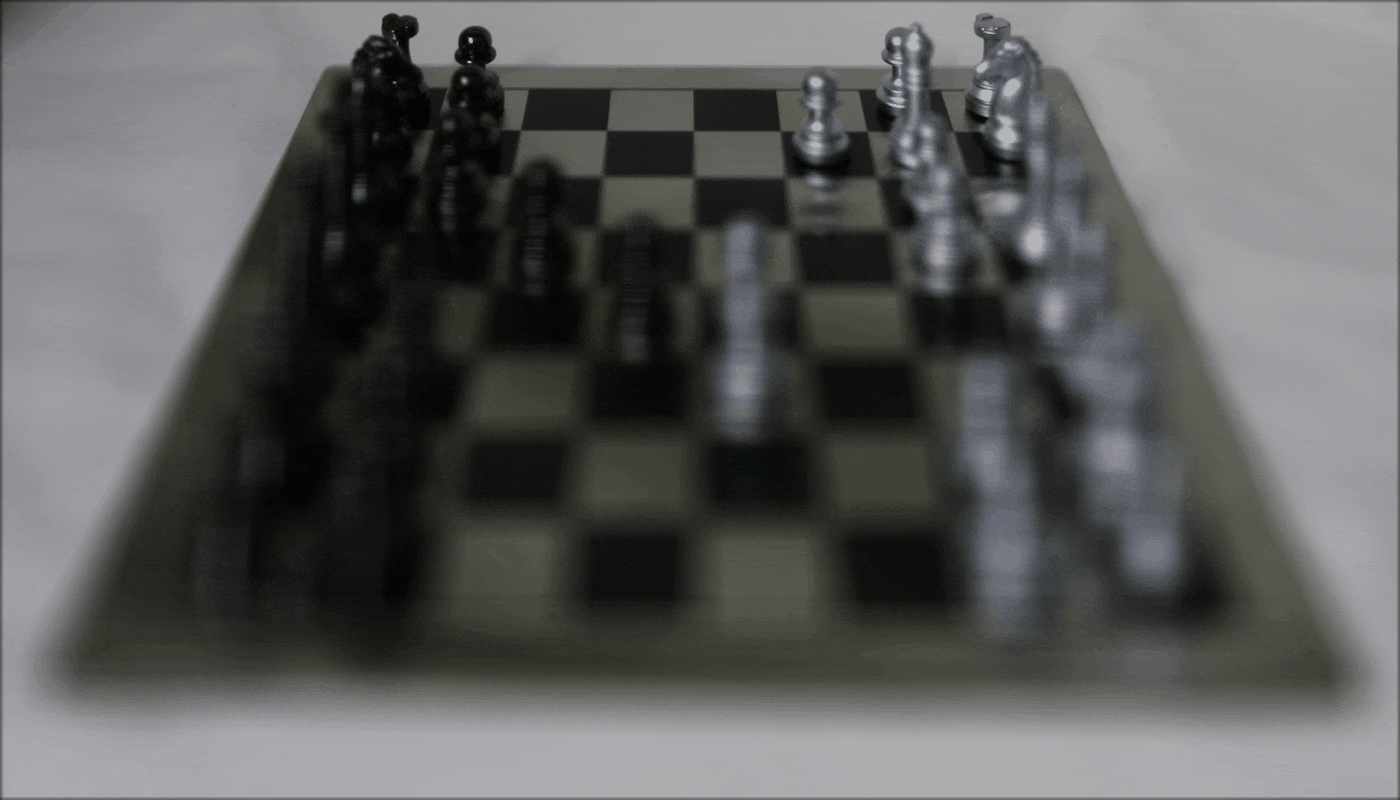
To change the aperture of an image, I can average a subset of the sub-apertures around the center instead of the entire set of images to simulate a smaller aperture. I first choose a radius r as the radius of the aperture. Then, for each image, if the Euclidean distance between its position and center's position (calculated by sqrt((x-8)**2 + (y-8)**2)) is less than or equal to r, then it is selected to the subset for final averaging. Below are the animations with r ranging from 0 to 12, C fixed at 0.5 over 10 frames.

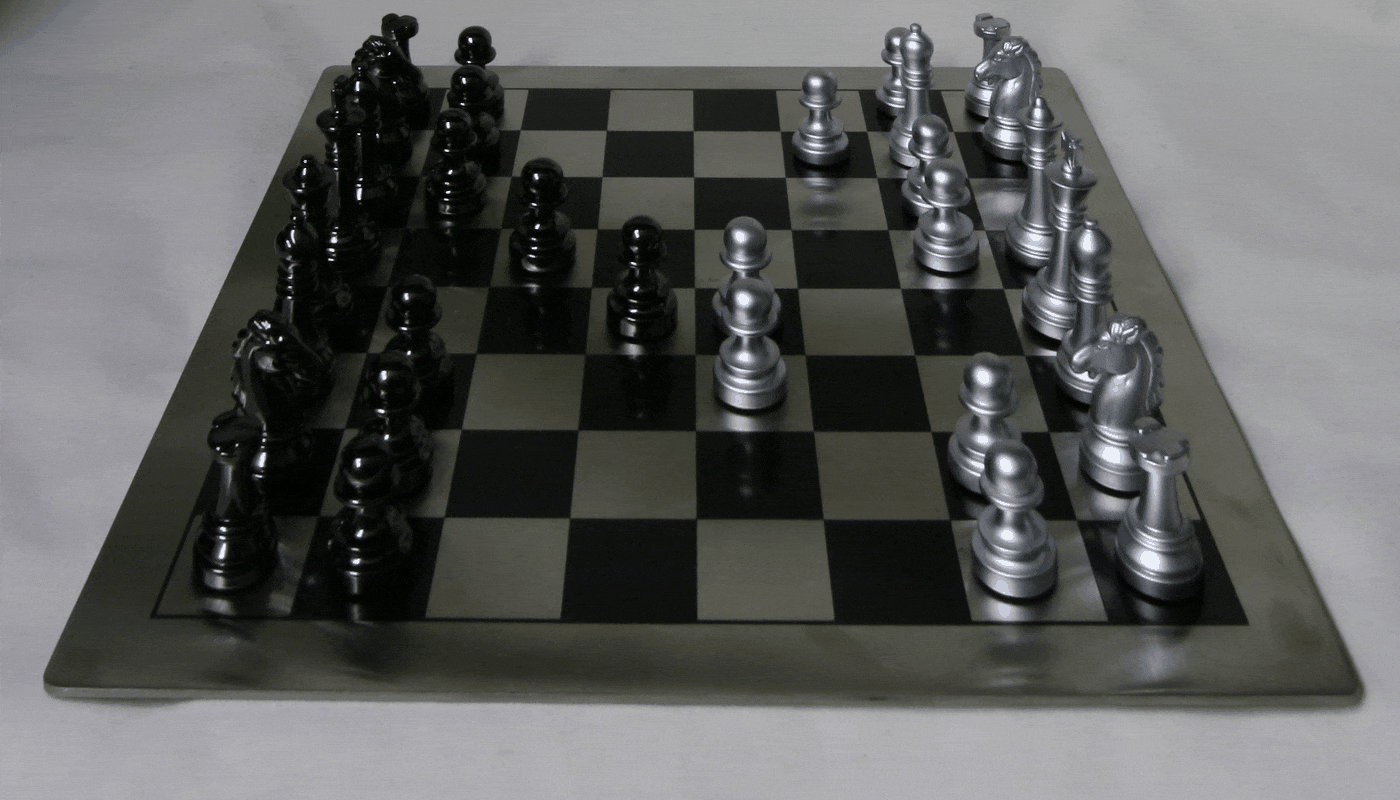
You can see that while focusing at one specific point (with C = 0.5), the size of the aperture changes. Also, as the aperture becomes larger, the depth of focus becomes shallower.
This project is interesting. I learned depth refocusing and aperture adjustment using lightfield data. Lightfield technology is powerful and it contains so much information that I can utilize to make many image effects.
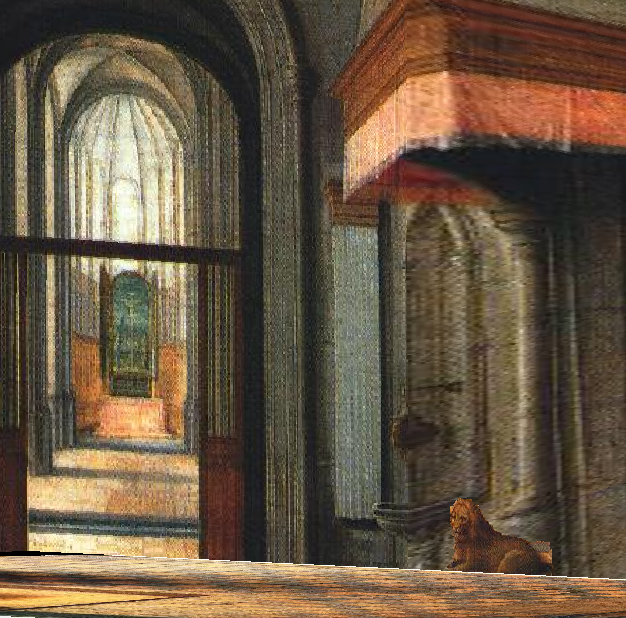
The goal of this project is to create a simple, planar 3D scene from a single photograph using the prospective transformation.
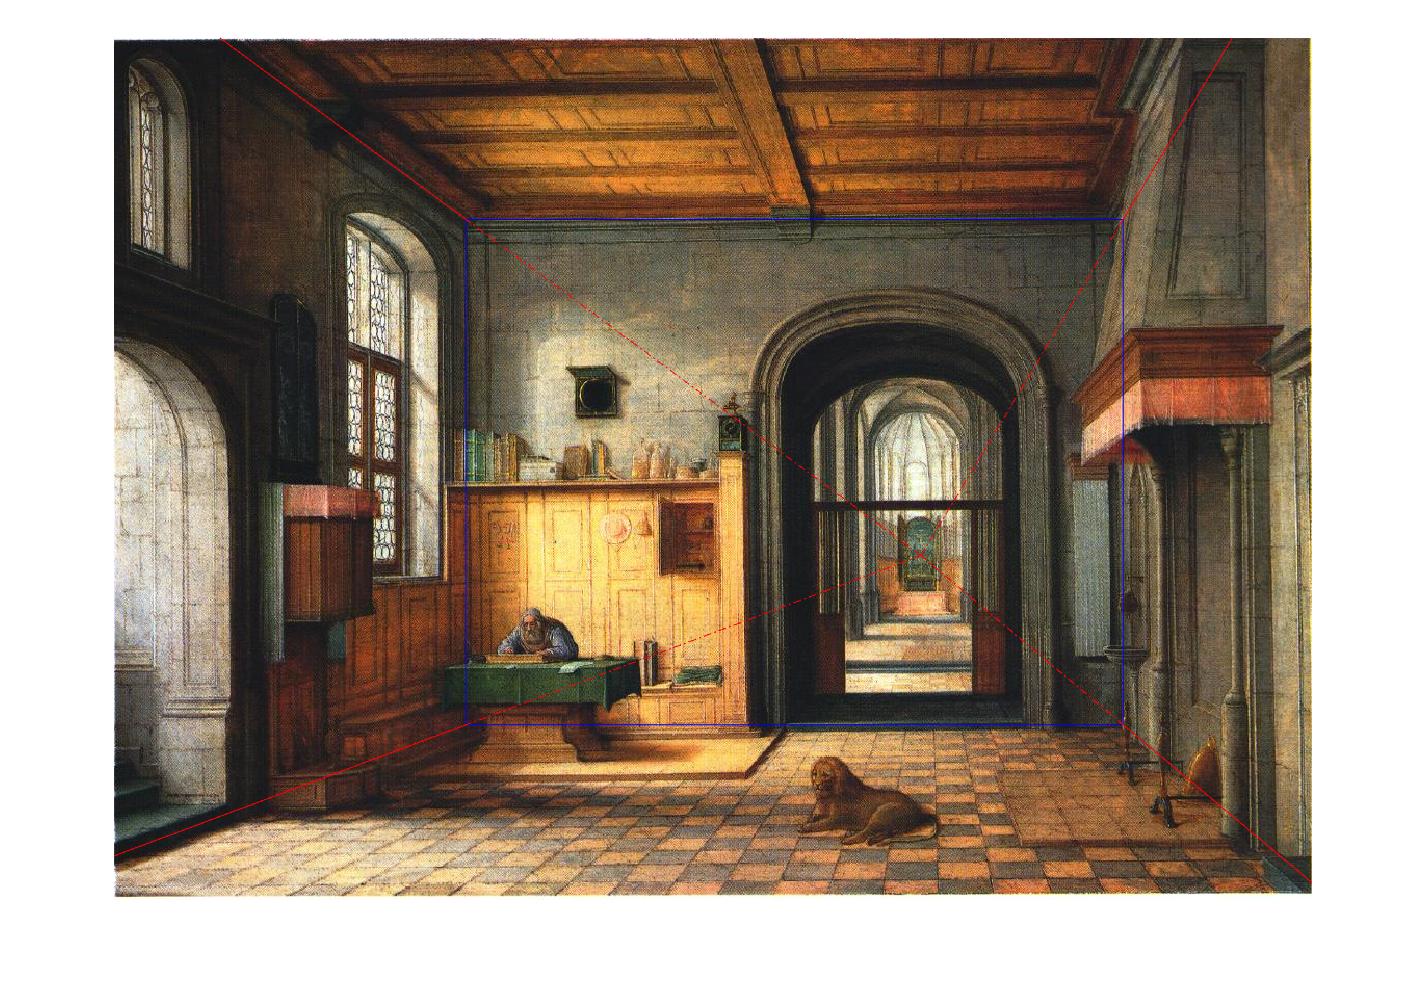
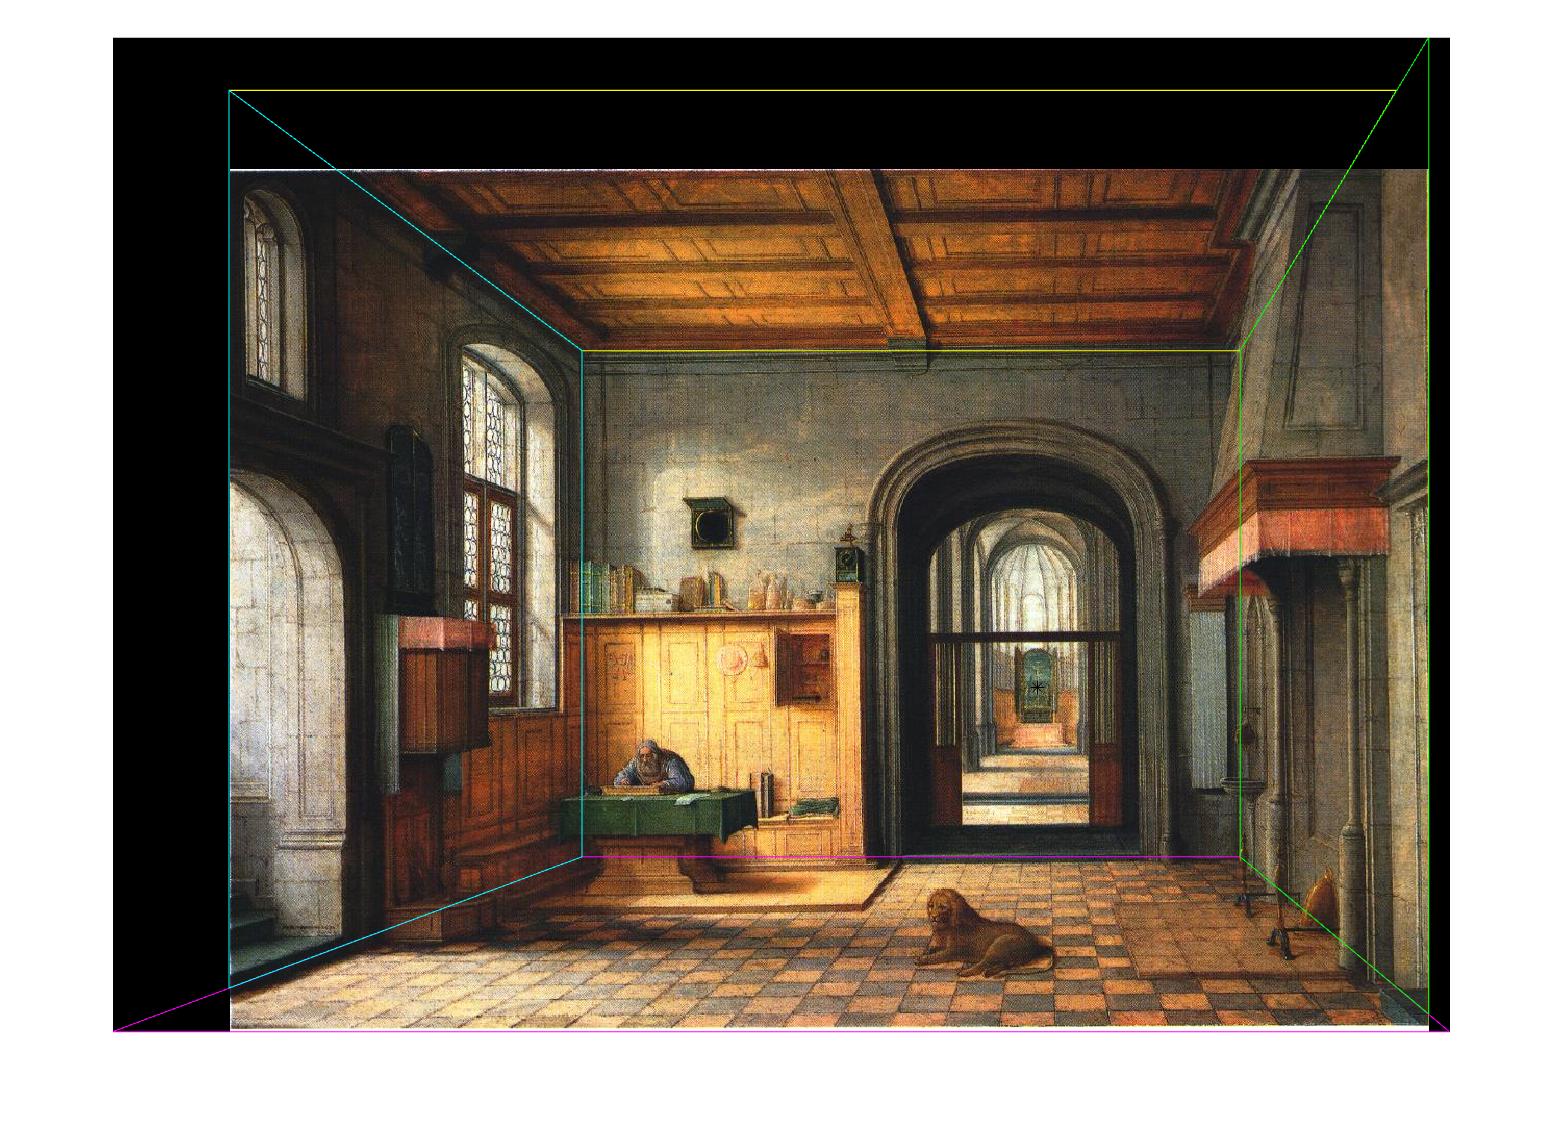
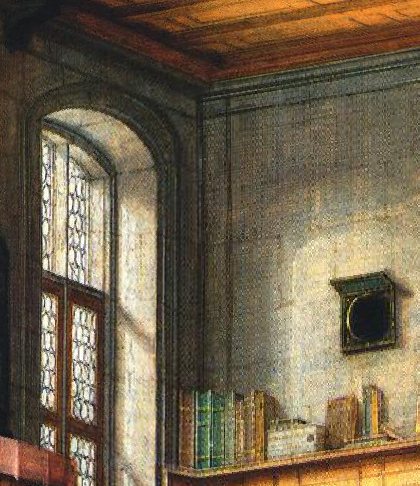
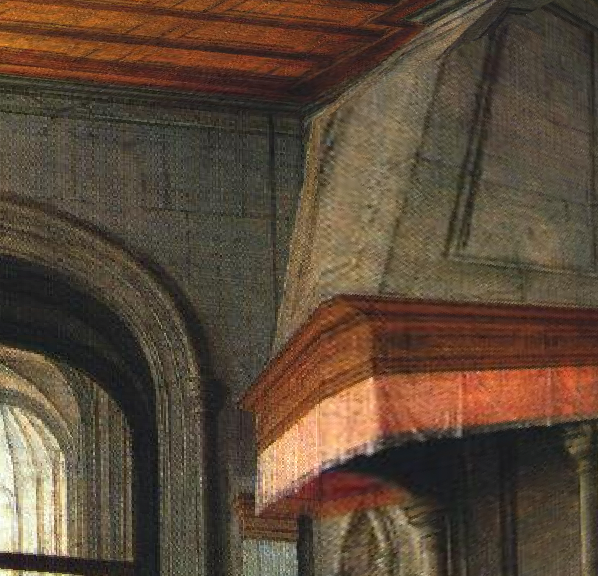
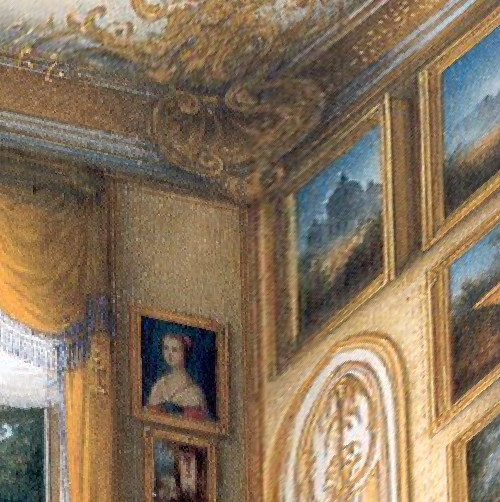
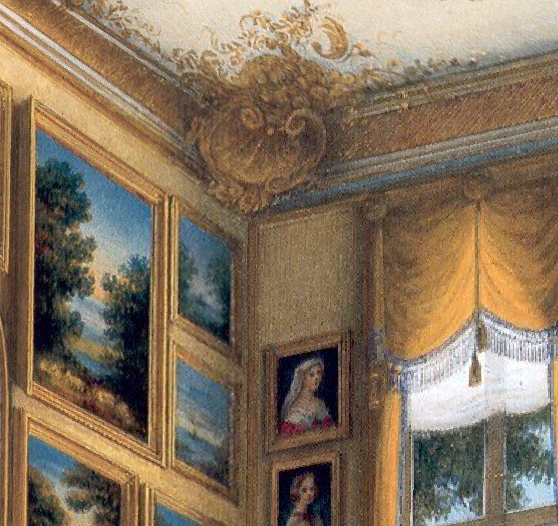
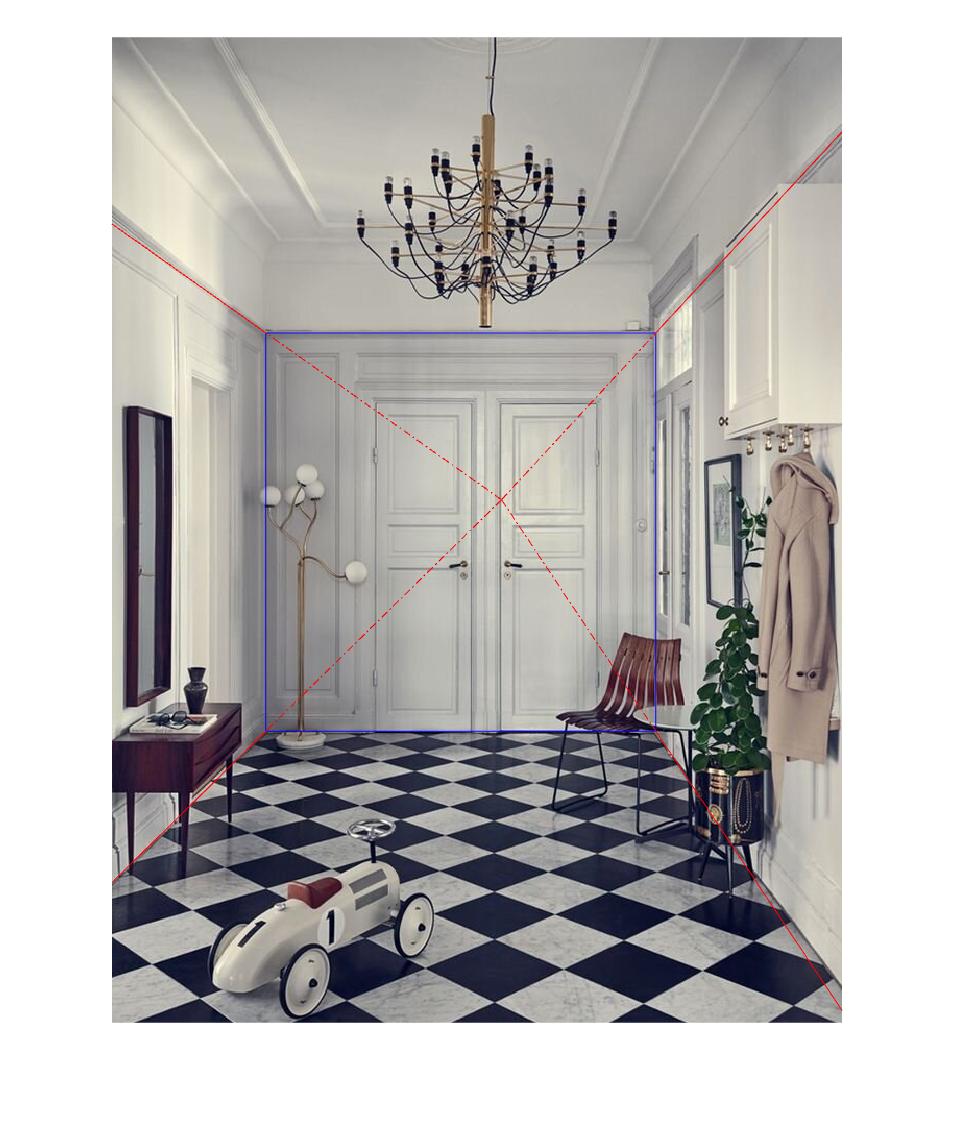
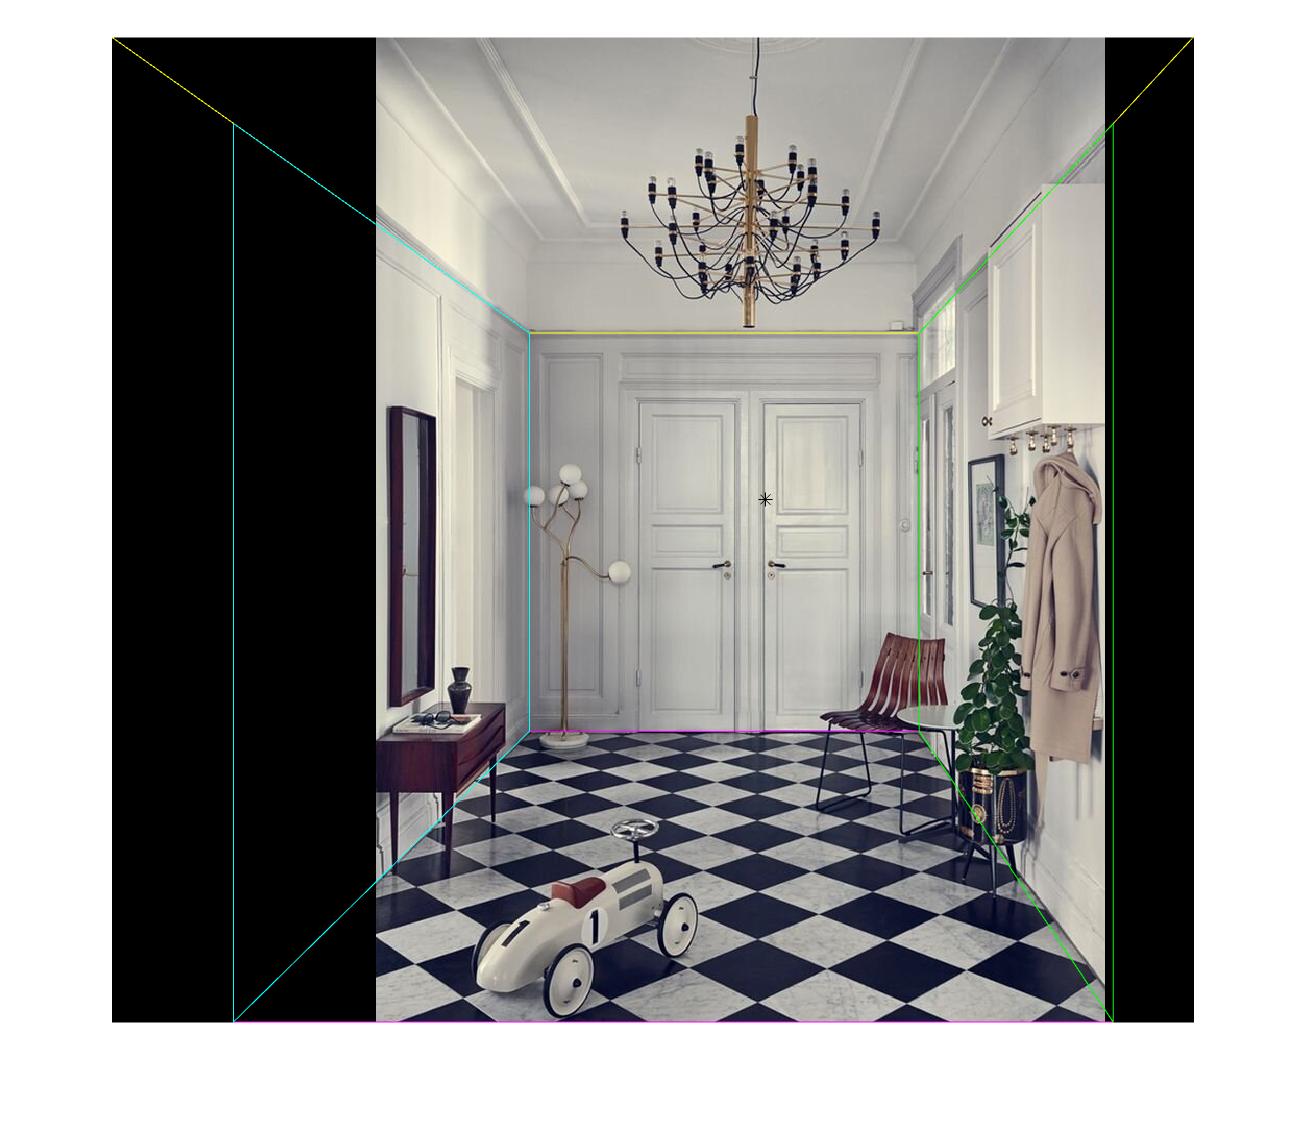
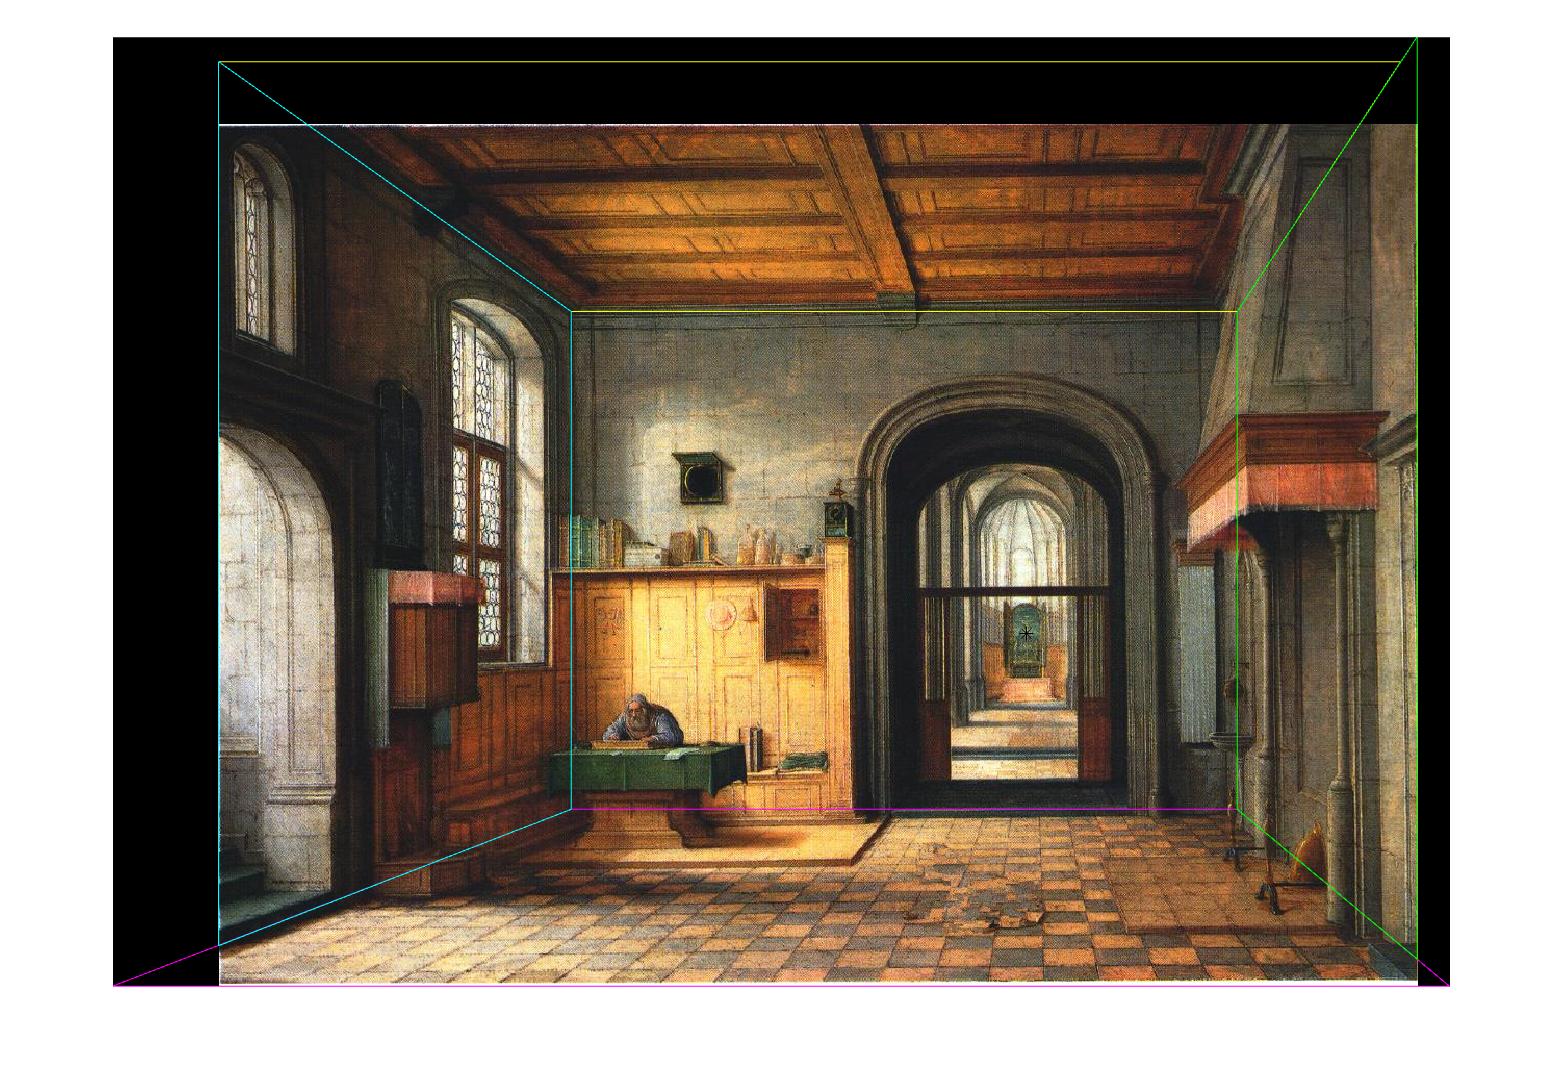
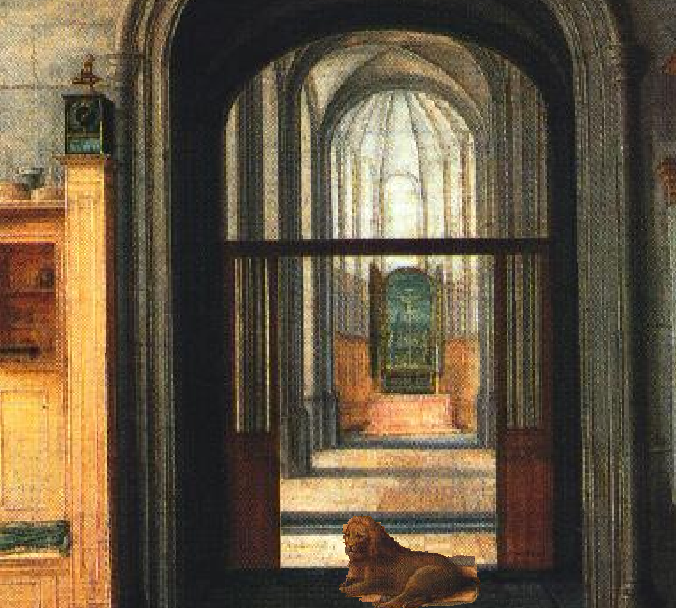
Using the user constraints ("inner rectangle" and the vanishing point), I will divide the image into five parts: ceiling, floor, left wall, right wall, and the rear wall. This step is done by the given starter code. Below are the image division setup (more examples will be attached later).
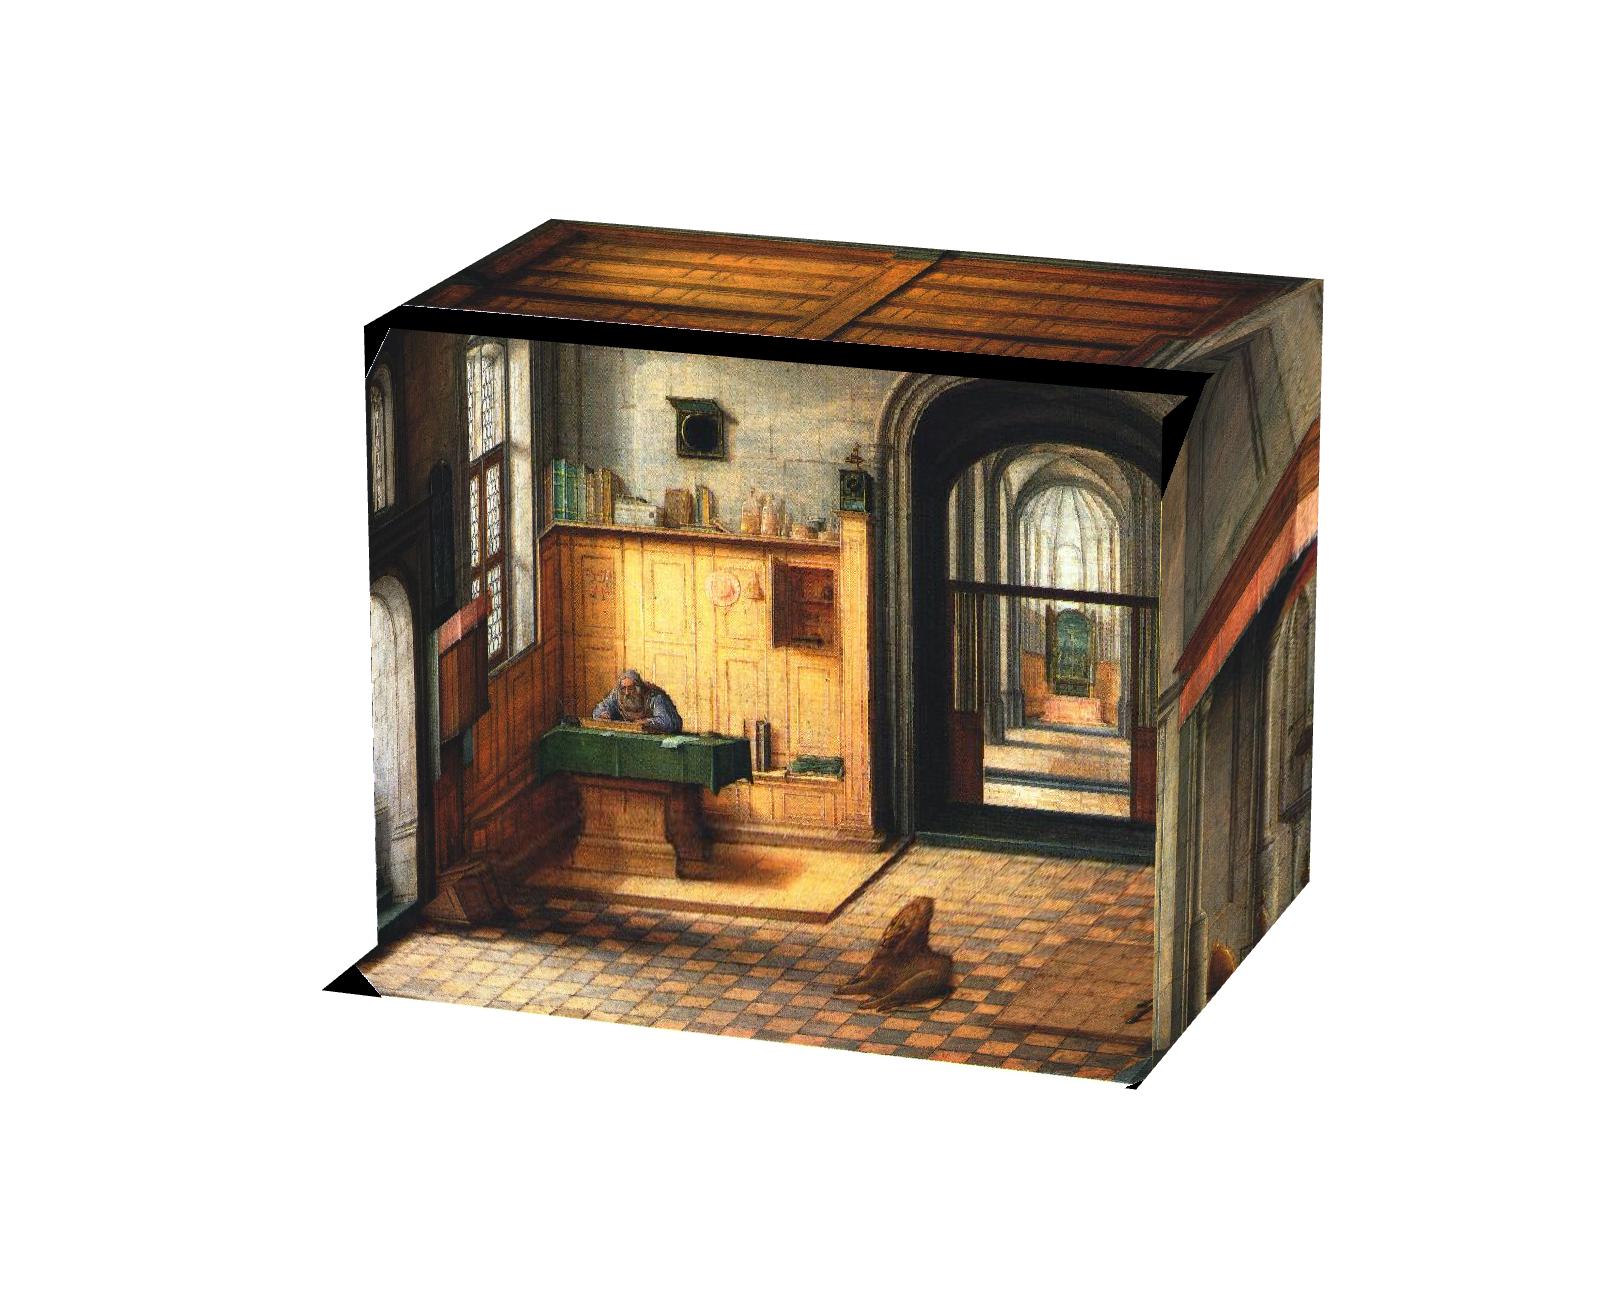
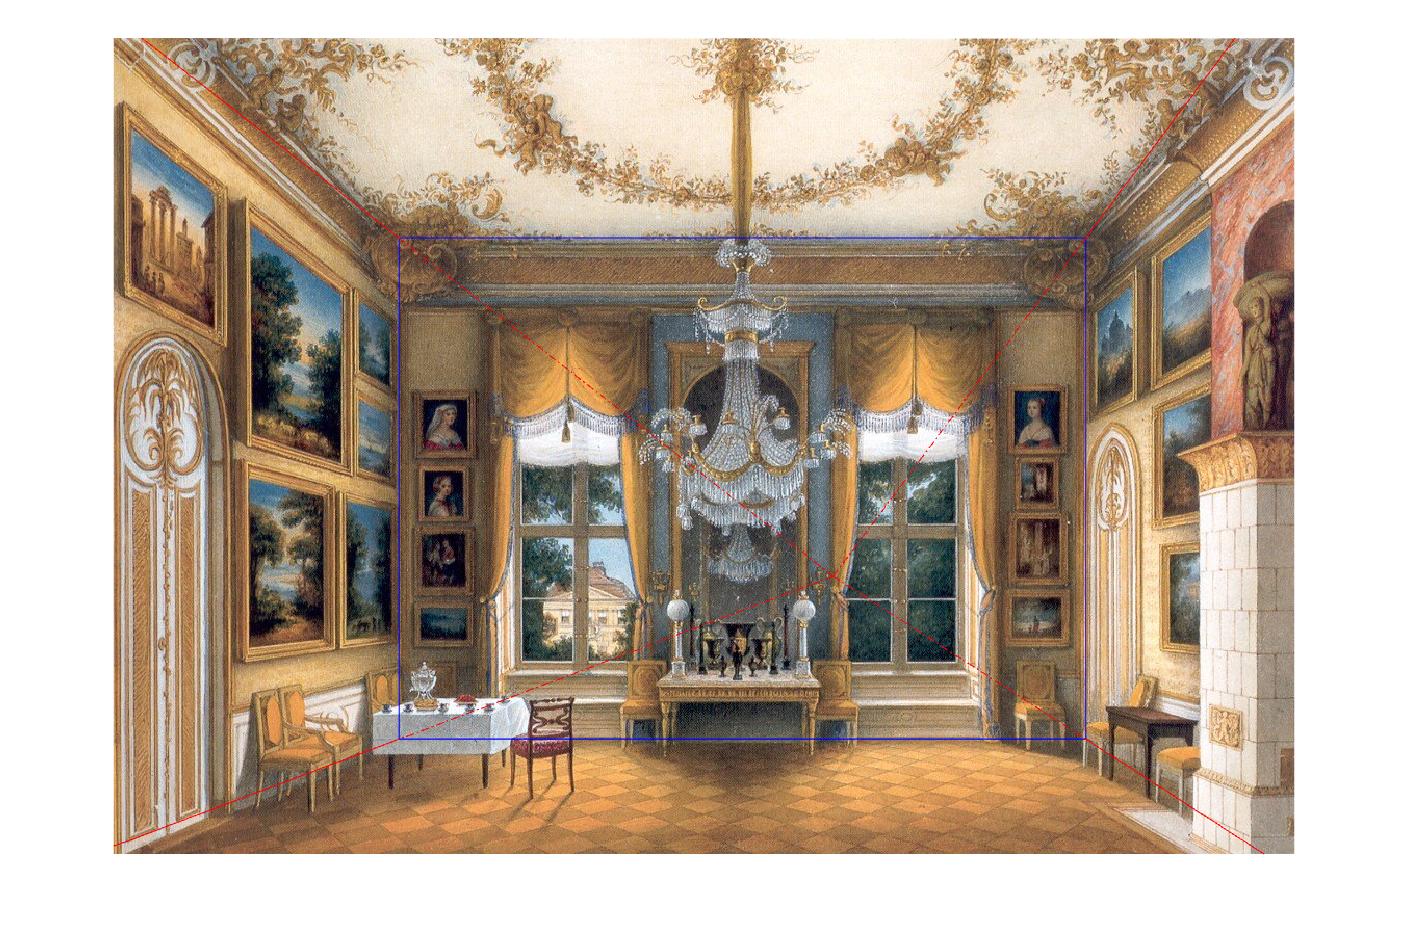
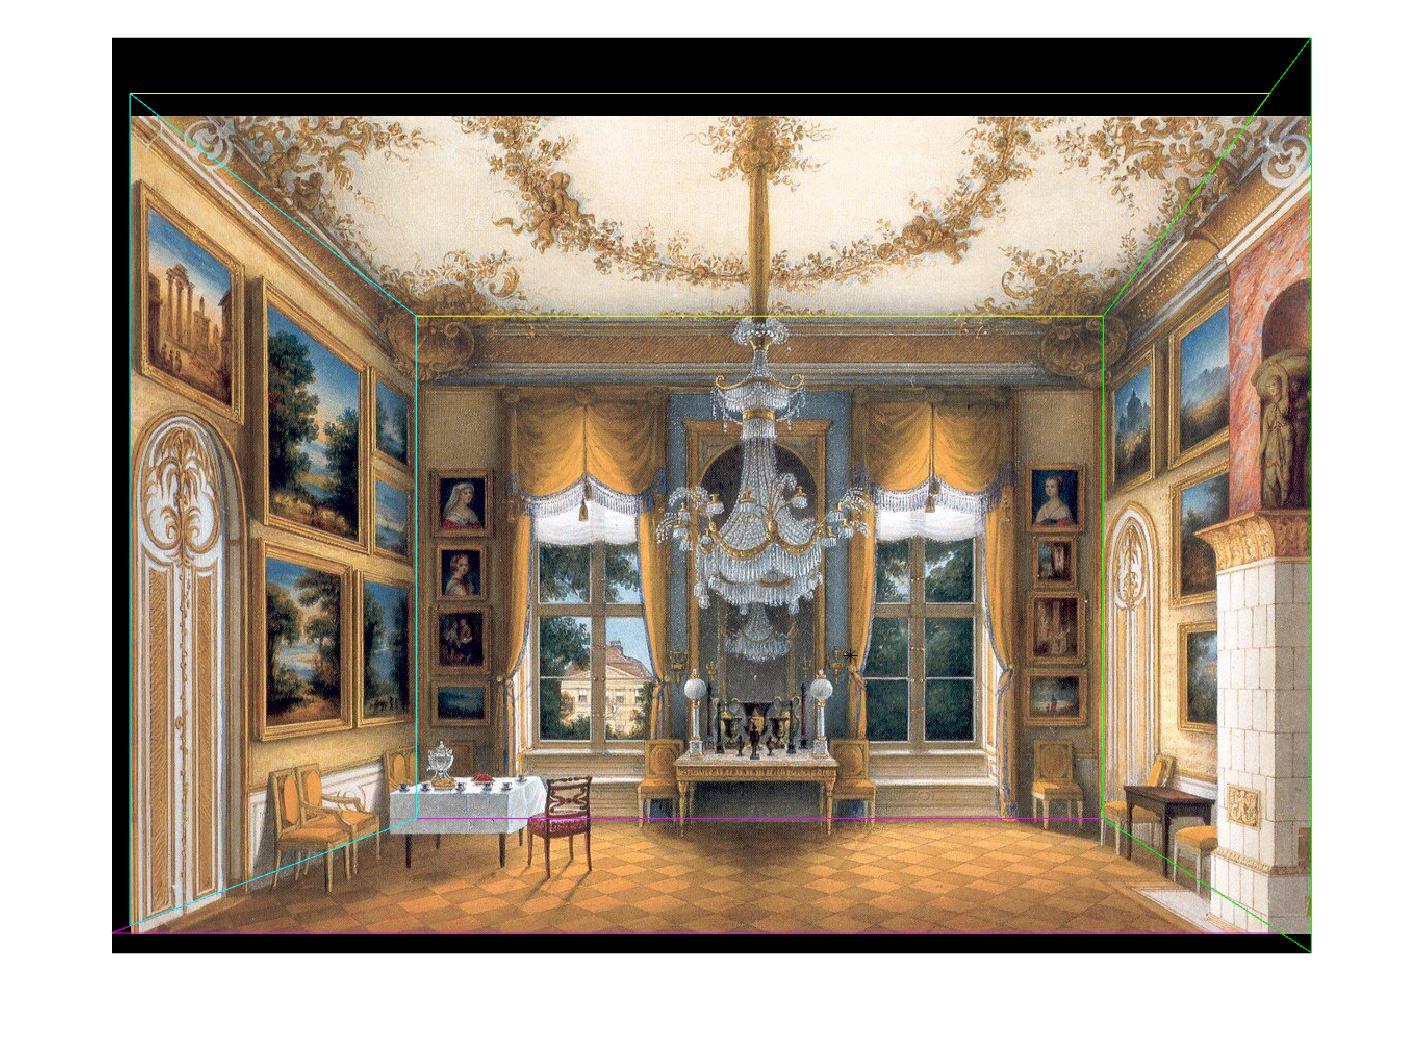
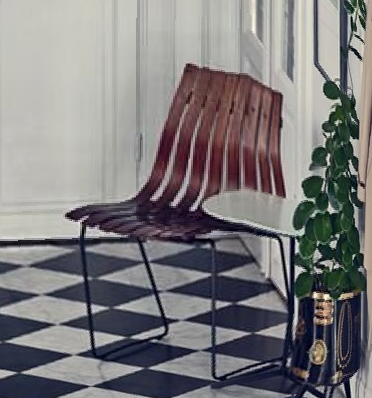
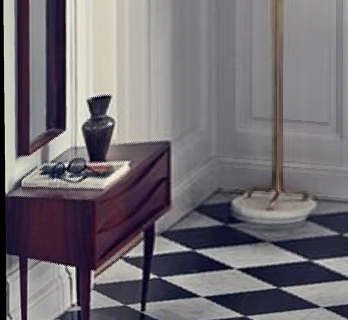
To make the final 3D image, I first define the 3D coordinates of each part of the image. I use the rear wall as one surface of the 3D box and the height is set to 1. Then, I use the ratio between the width of the rear wall and the height of the rear wall to determine the length of the box. The position of that surface can be well determined. To determine the depth of each other four part, I use similar triangles. For example, to calculate the depth of the floor, I use the ratio between the parallel lines of the trapezoid, and it is exactly the ratio between focal length and focal length plus the depth. I arbitrarily set the focal length (it is relative to the size of the 3D box), and all the depths can be solved. Finally, I use my good old friend homography to warp each part (except the rear wall which is already rectified) of the image to a full 2D image and then use Matlab's warp function to warp it to a surface of my 3D box. The final 3D box is irregular since some parts are extended. Below are some images when I tour into the picture (move and rotate the camera in Matlab figure).
I can construct something 2D to 3D thanks to the prospective projections! It gives you a different perspective from you looking at the planar image.
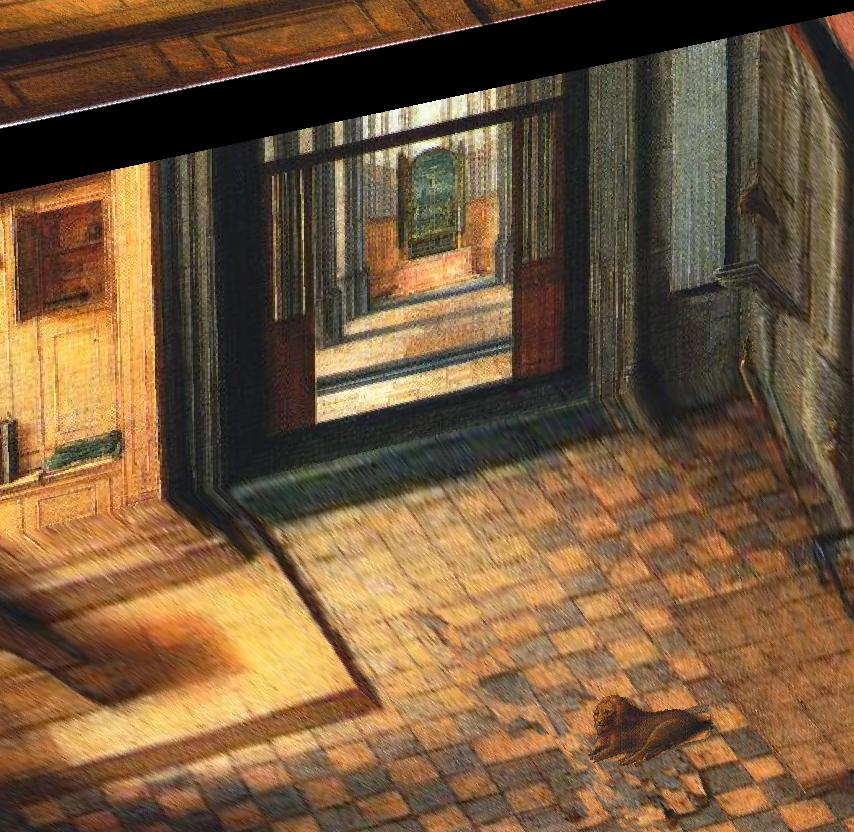
Below are some other examples when I walk into the picture.
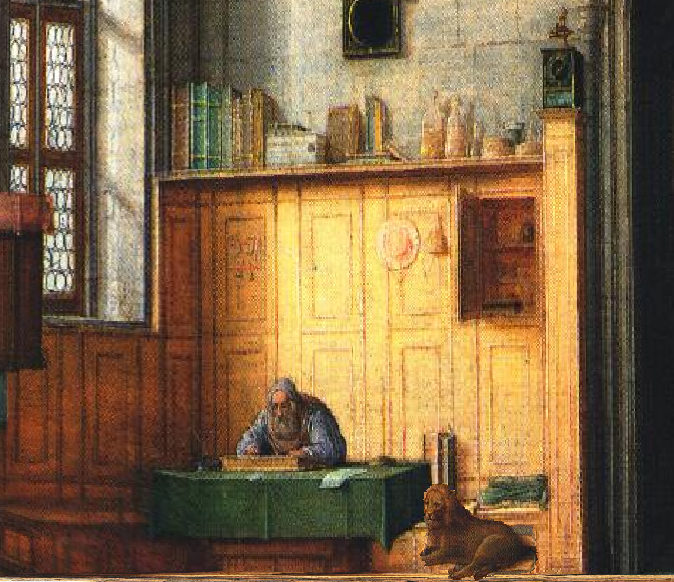
First, I add user constraint on selecting the rectangles each containing one foreground object. Then I use Matlab's grabcut function to create a mask for the foreground object and use inpaintExemplar function to inpaint the foreground object so that it is no longer a part of the background image. Below are the results.

To add the foreground objects back to my 3D model, I need to create individual plane for each of them. The big assumption is that they all stand on the floor, which means all the planes are perpendicular to the floor plane I constructed earlier. To calculate the 3D position and size of the plane, I use similar triangles again. Below are some images with foreground objects at different angles.
You can also select more than one object and add them back at the end!
The object selection process can be further improved if there is a better function than grabcut or I customize the selection region instead of limiting it to rectangle. However, the result is pretty good now.
I use Matlab's camdolly function to change the camera position (zoom in and out, move left or right), view function to change camera's line of sight (rotate horizontally). After collecting all the frames using getframe function, I use VideoWriter to create a video. Abracadabra!
This project gives me an interesting perspective of viewing the arts. Also, similar triangles remind me of the old days in my middle school lol.