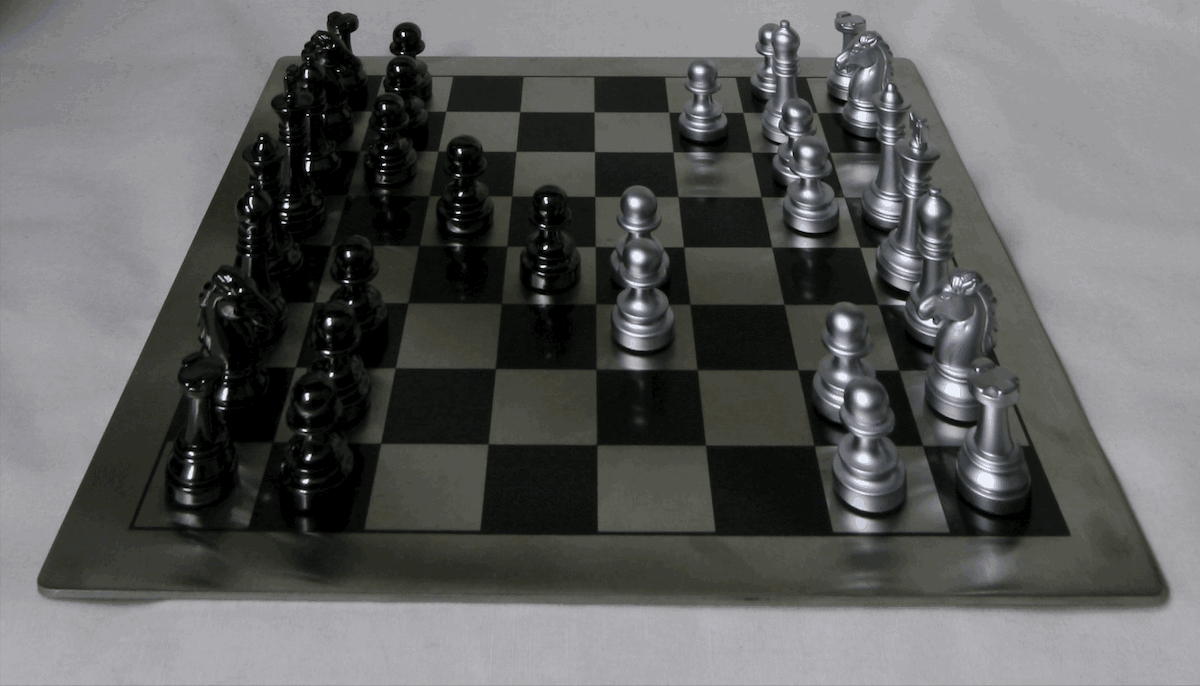
In this project, we implemented a lightfield camera in software using very large arrays of images taken at small offsets from one another along a flat plane orthogonal to the camera's sight line. Shifting images relative to one another allows us to refocus, while averaging fewer images allows us to adjust aperture.
Images from the Stanford Light Field Archive include data on pixel offsets from the origin in their filenames. By shifting each image by a fraction of that offset, we can change the depth of focus. (Black bars at the corners are because of the shifting method used; cropping or using another strategy, e.g. pixel duplication, would remove them.)
Sorting images by their distance from the middle and taking some fraction of the closest ones for the average allows a simulated aperture adjustment.
I really enjoyed this project! The blur created by the averaging method is pretty realistic, although it doesn't duplicate effects like the "bokeh" produced by light sources in the background. I'd love to build a physical lightfield camera someday.
quilt_random produces results that get at the essence of the texture we're trying to duplicate, although they look jumbled, especially at small patch sizes.
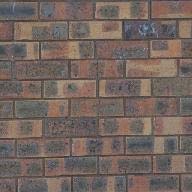 Source texture.
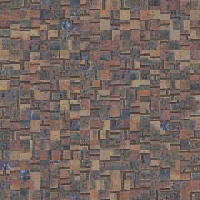 Output.
quilt_simple, which incorporates a slight overlap and a bound on the MSE between the new sample and the area it overlaps with, is much better, although some artifacts are visible at the seams.
Source texture.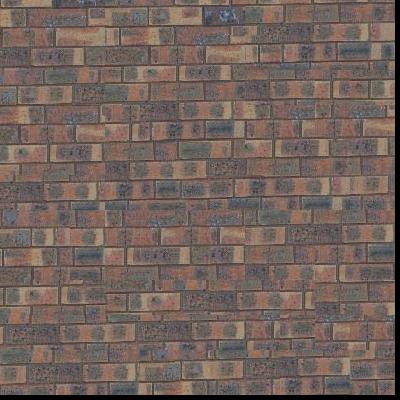 Output.
quilt_cut, which (in my implementation) uses Djikstra's algorithm to find a minimum-error cut between the existing image and the new sample, looks pretty flawless for many images! Some bricks are still weirdly long, but that's just because the algorithm has no "understanding" of the size of objects in the texture. That can be tuned by changing patch sizes.
Source texture.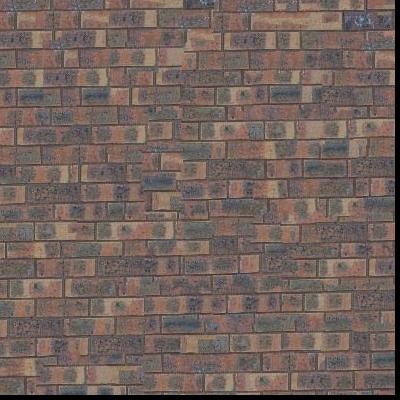 Output.
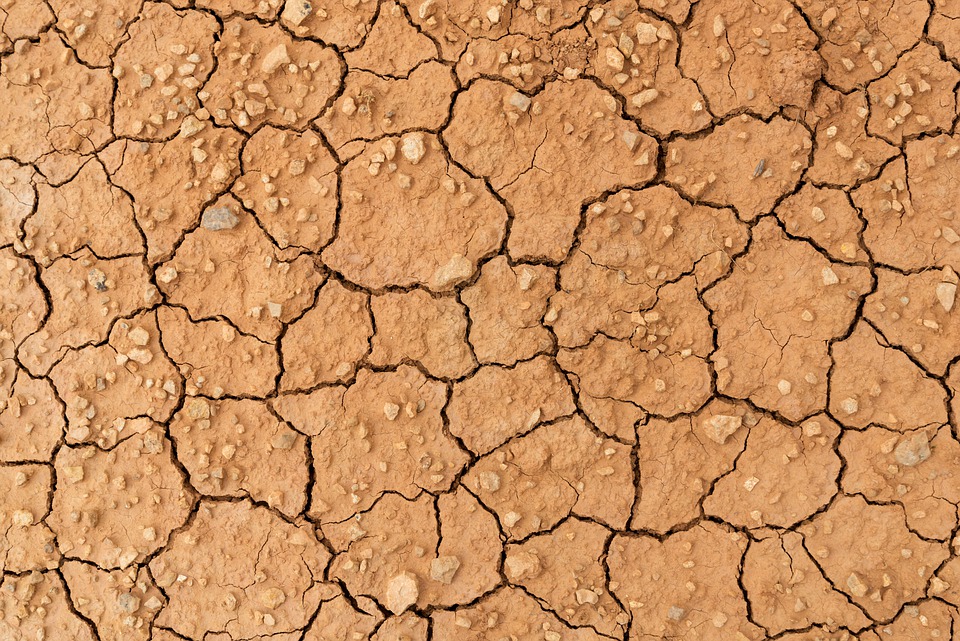 Source texture.
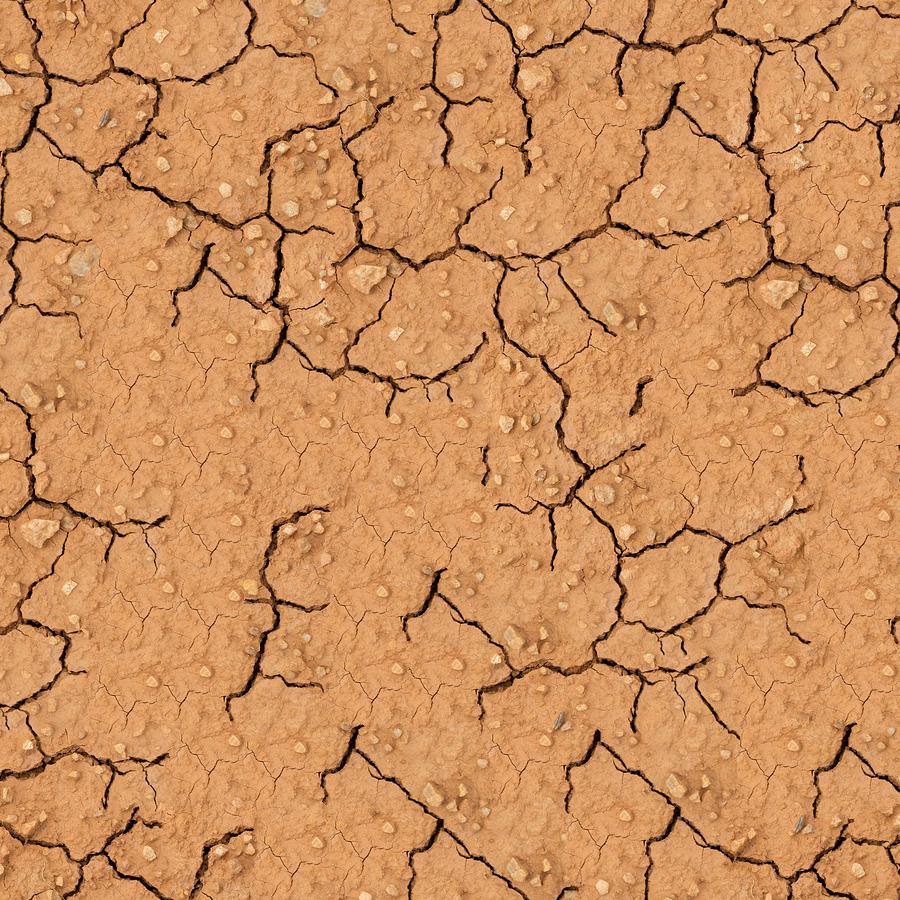 Output. This one didn't work as well, probably because the source texture image is large and the lighting/perspective is slightly uneven. Still decent.
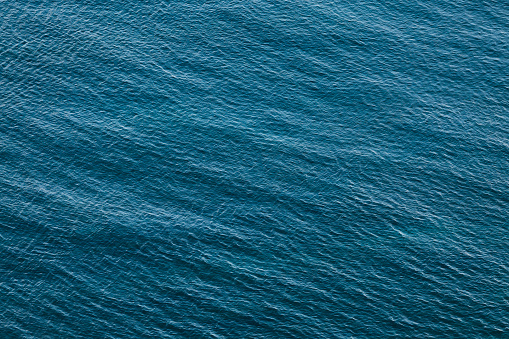 Source texture.
 Output. Smaller but made from a 10x10 grid of samples.
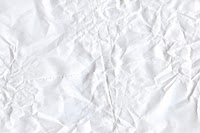 Source texture.
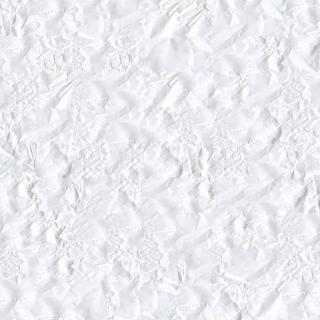 Output.
Using an image of desert dirt:
 Existing overlap region.
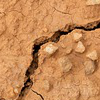 New region being inserted.
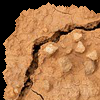 New region being inserted, with path cut out.
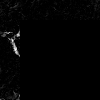 MSE between existing and new. Difficult to make this easy to interpret for human eyes!
texture_transfer adds a bound on the error between the new patch and a desired texture source image to emulate the structure of. This allows us to transfer the "style" of one image onto the structure of another, albeit with less sophistication than a neural network-based approach.
 Structure source.
 Style source.
 Output.
 Structure source.
 Style source.
 Output. A little repetitive, but the style source image is small.
I had the most difficulty with reducing repetitive sample selection, especially in texture transfer. Finding a good balance between the three parameters (patch size, overlap, and TOL).
I implemented my own cut function using skimage.graph.MCP to find a minimum-cost path.