194-26 Final Project - Carolyn Duan
Light field Camera
Part 1, Depth Refocusing
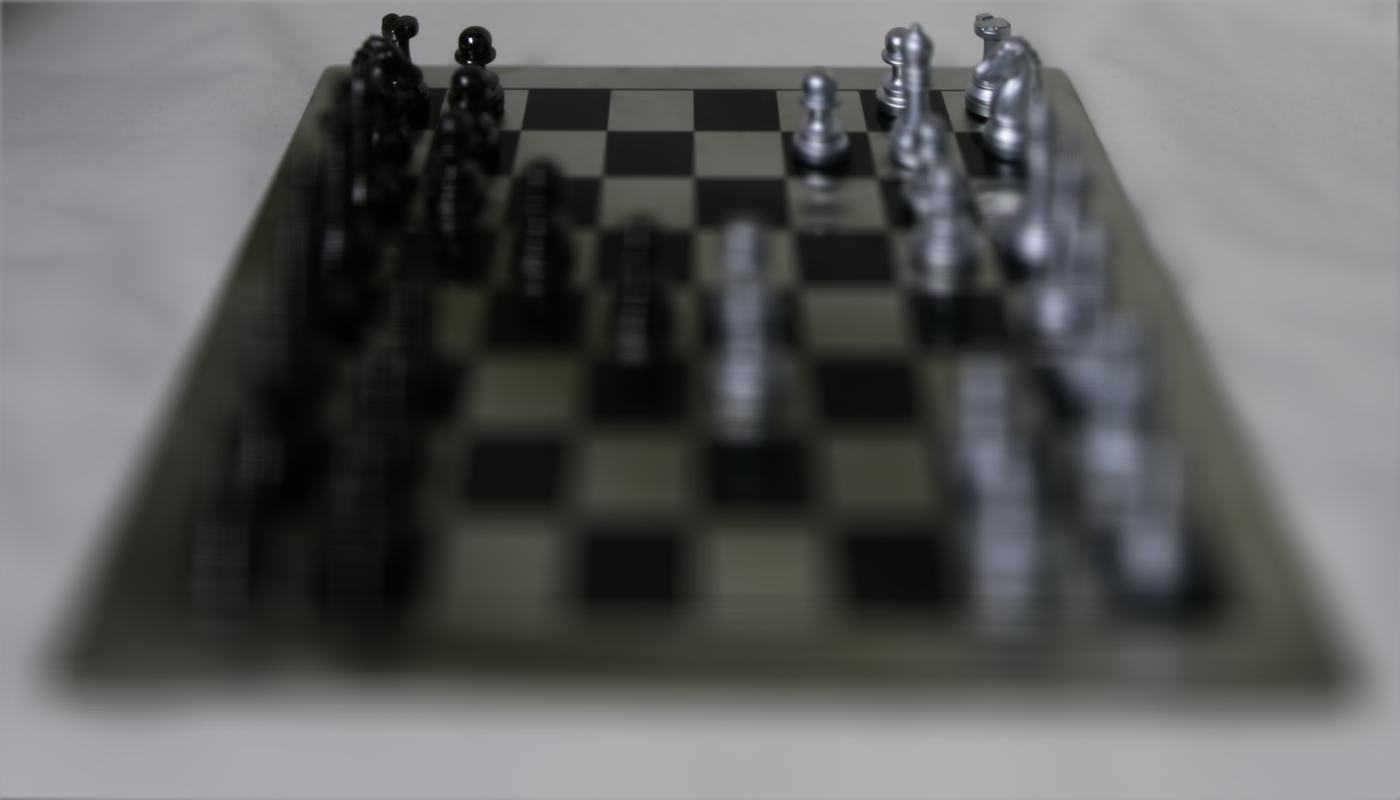
Here's the average of all of the chess set photos. Because the parallax effect is stronger for parts in the foreground than in the background, the background won't "move" as much as the front, so the effect is that the background looks in focus while the foreground is blurred.
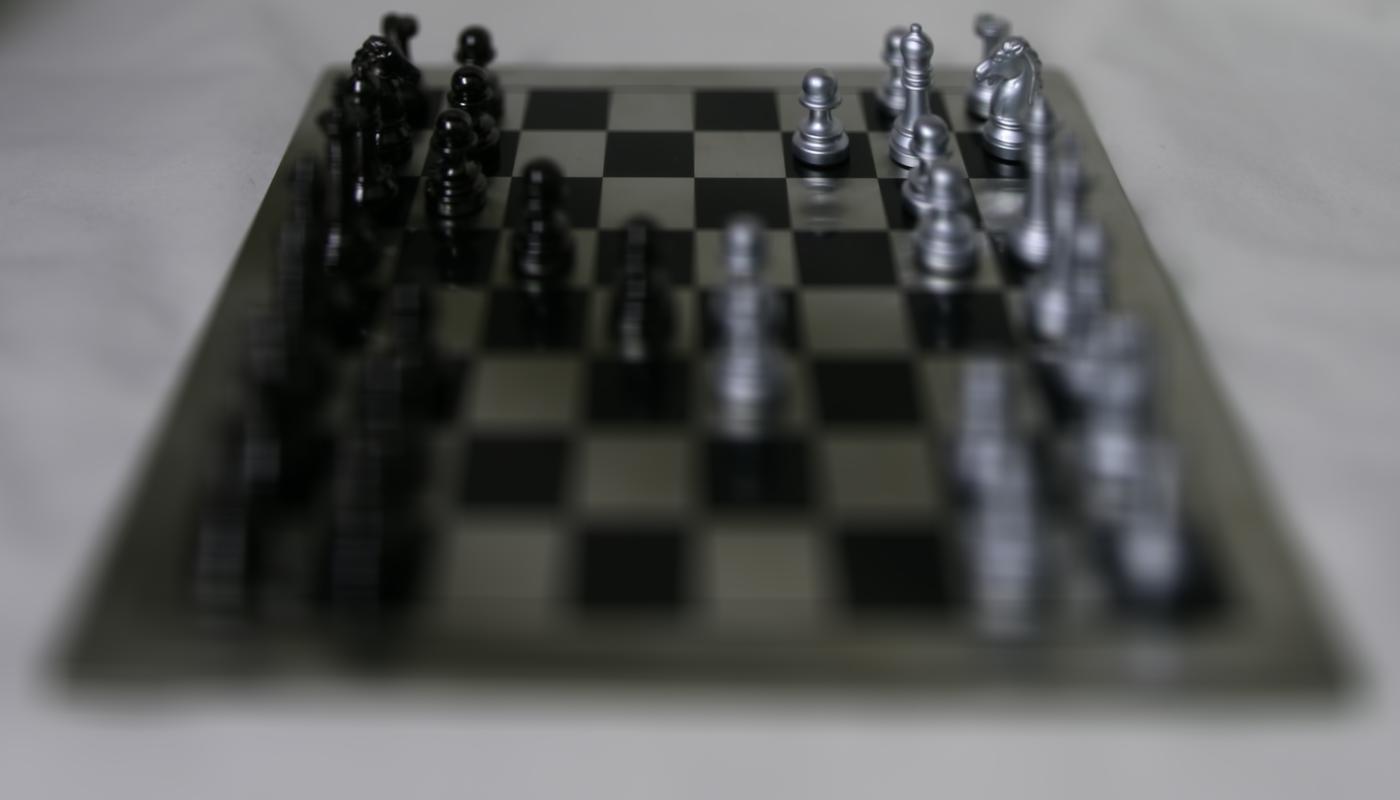
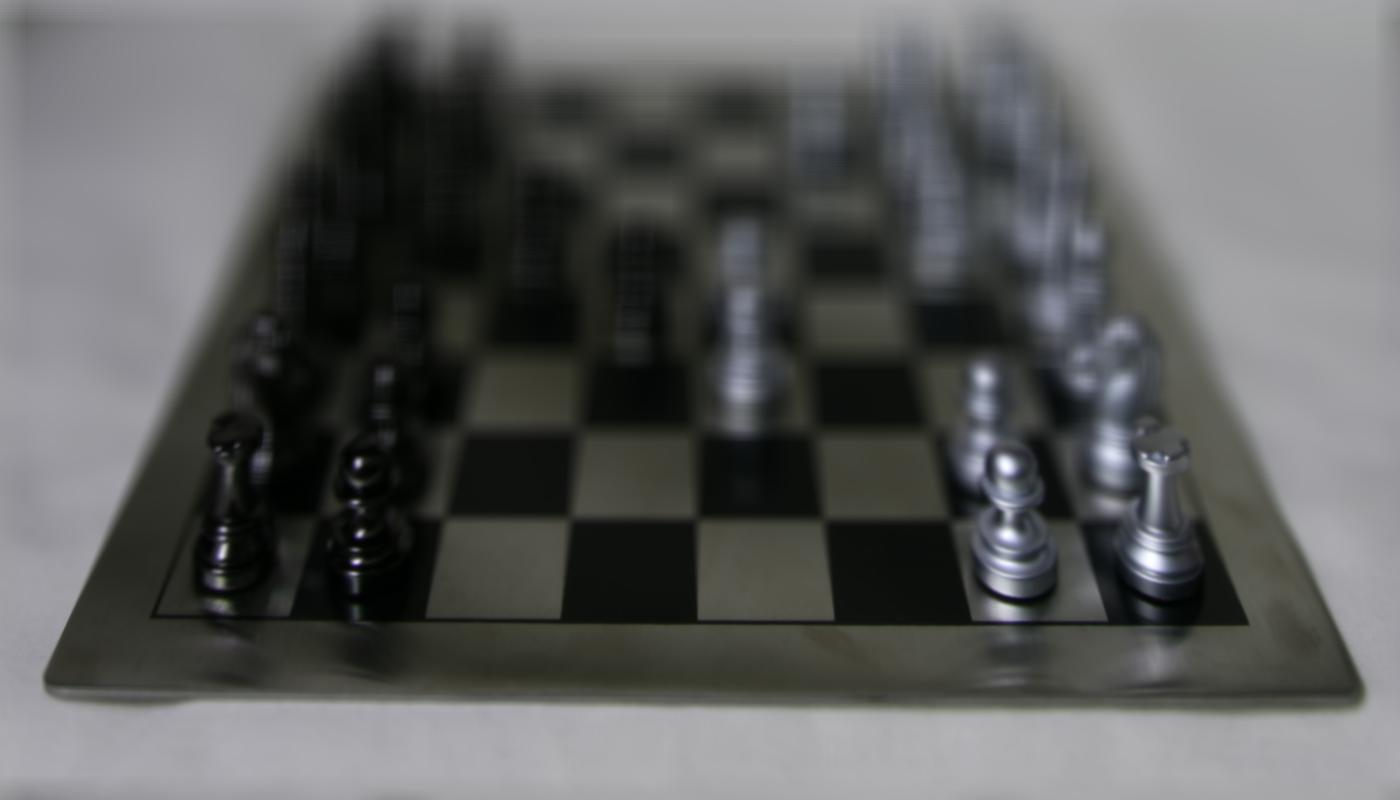
We can simulate refocusing at different depths by shifting the images in a certain way (using the u-v coordinates provided to us in the dataset) before averaging them together. I weighted the shifts by a constant C that ranged from -0.7 to 0.2. Here's the final result:
.gif)
Here's C = -0.6, -0.2, and 0.1.
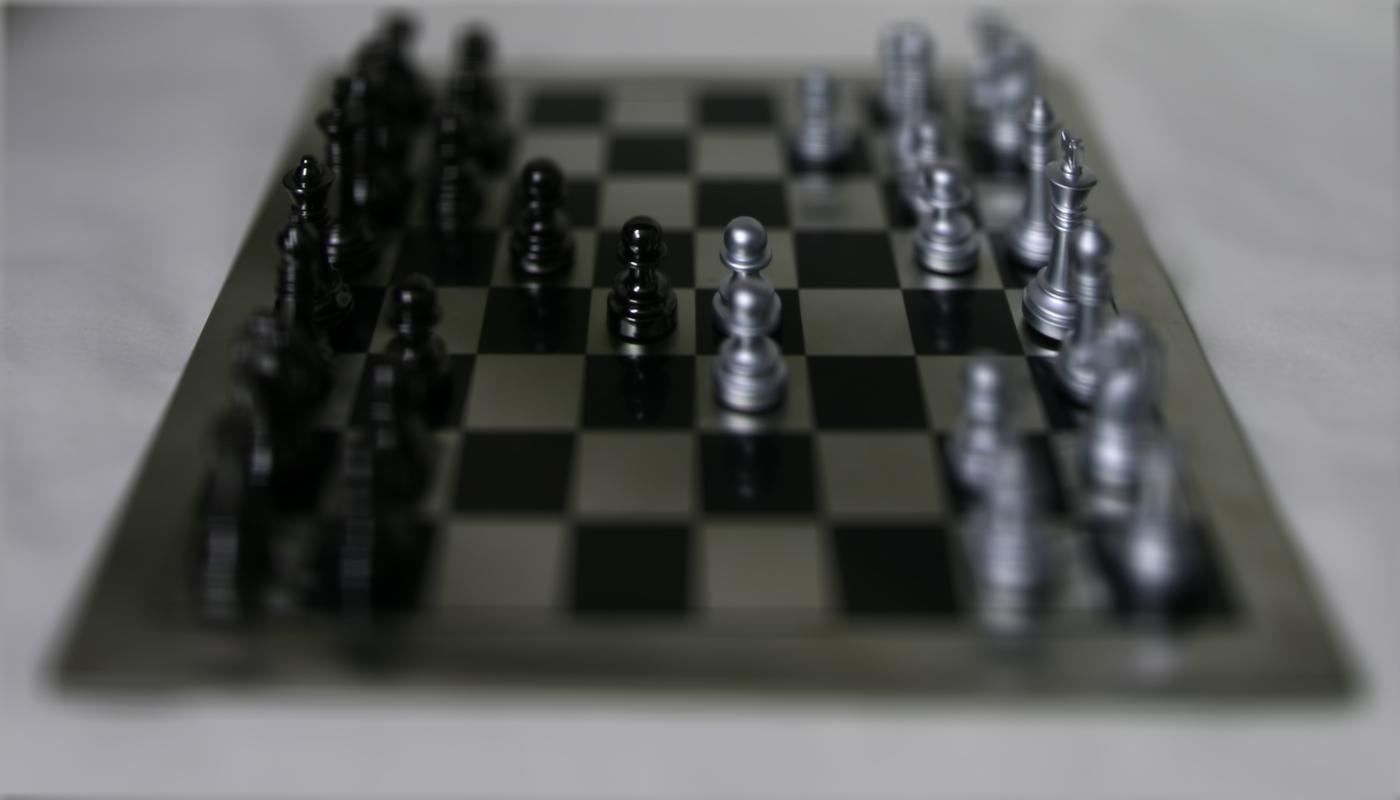
Part 2, Aperture Adjustment
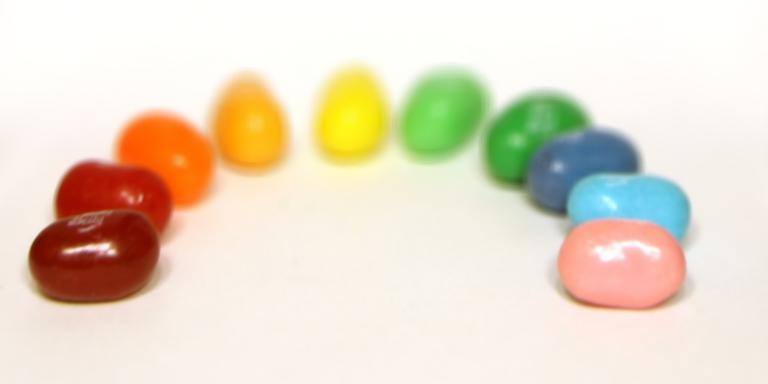
We can also simulate aperture adjustment. To do this, you change how many photos you average. I used a "radius" (which is a bounding box from the center of the camera grid) to determine the photos I'd average. Here are examples of r=0, 2, 4, and 6. As you can see, the focus stays at the bottom of the rainbow!


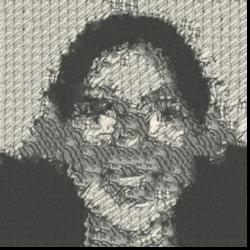
Bells and Whistles — Taking my own pictures
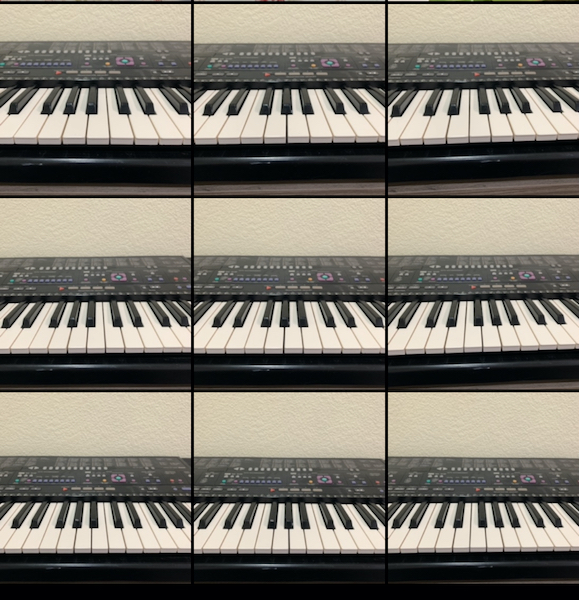
I took 9 pictures of my piano keyboard, trying my best to emulate how the chess grid photos were taken. This is basically what the grid looks like:
Here's the result of the focus shifting. It looks bad. I reckon it's because I go to Berkeley and not Stanford. Also, I took 9 photos, not 289. Also I took them by hand and not with a precise camera grid.
.gif)
Here's the aperture stuff. First image is all averaged, 2nd image is the middle cross of images averaged, 3rd is just the center image.
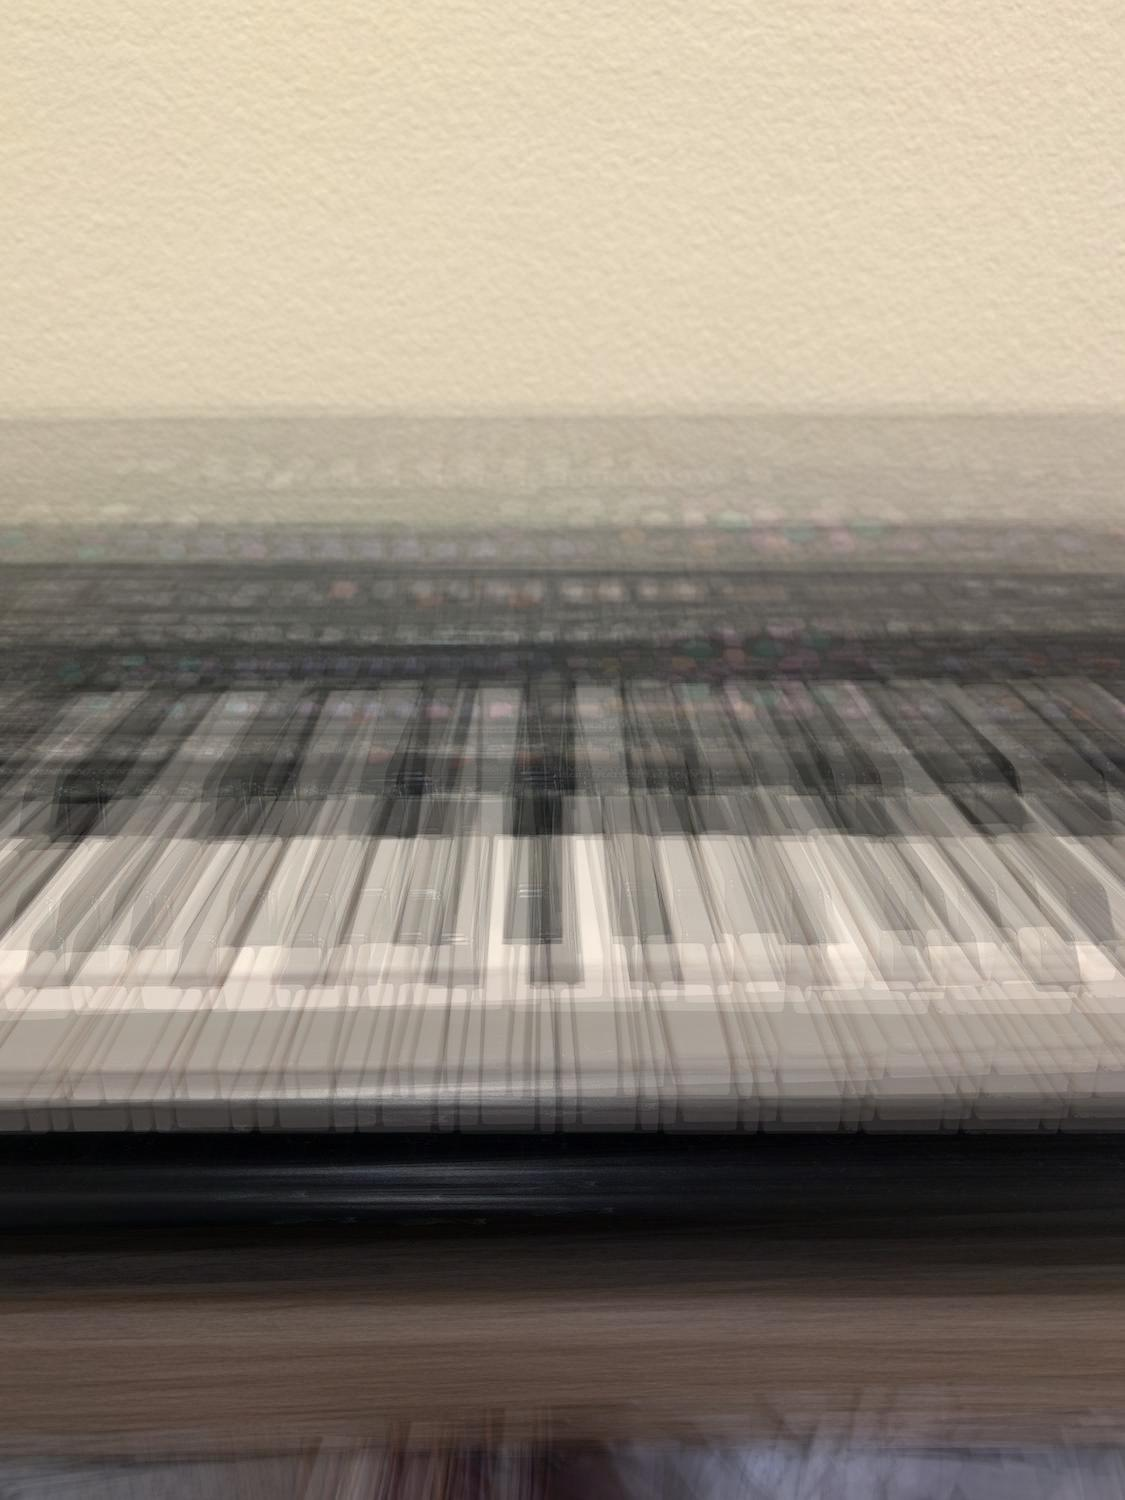
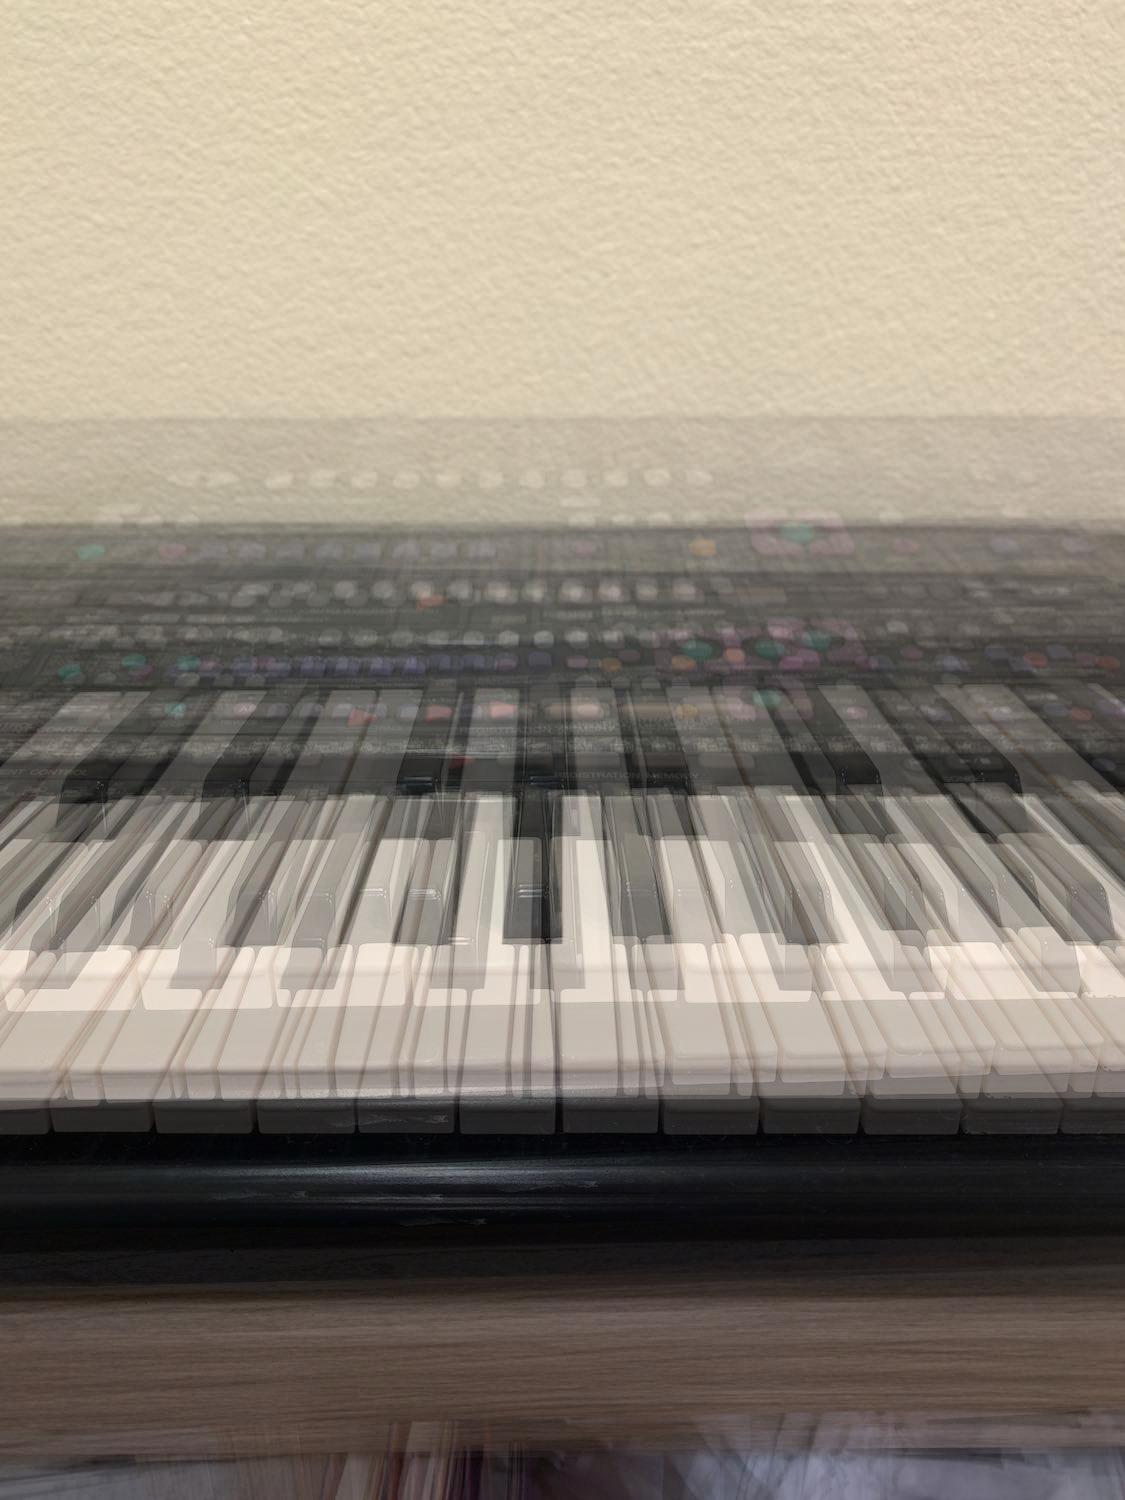
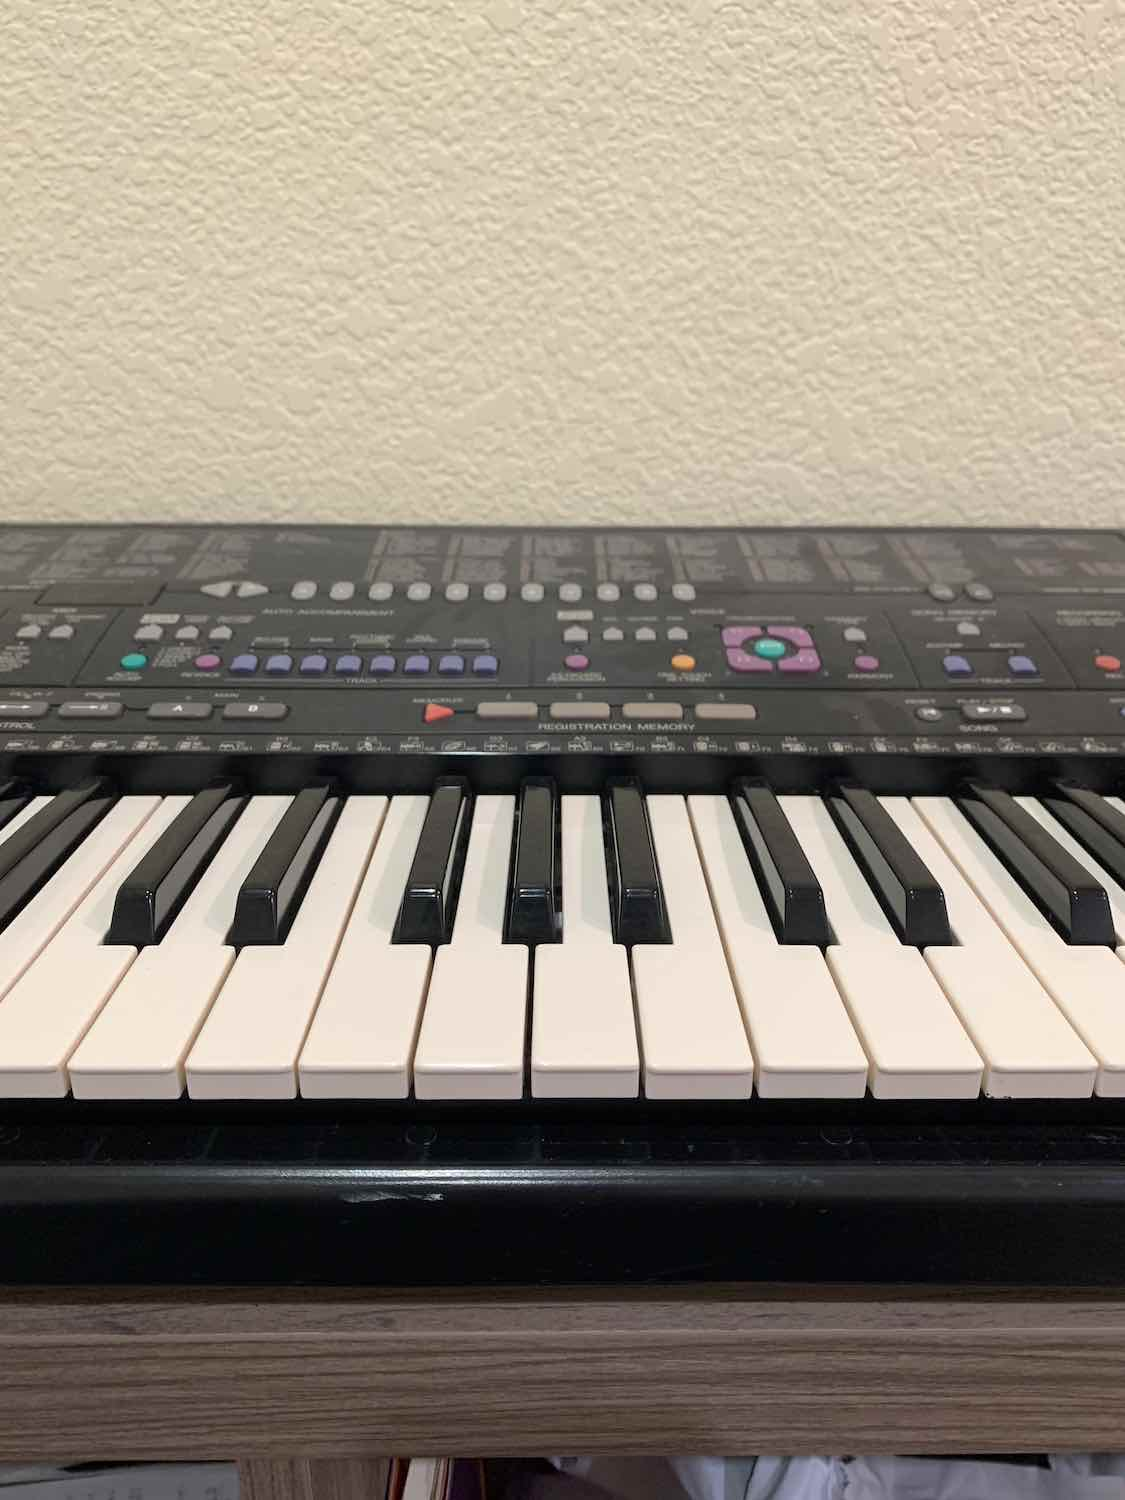
Image Quilting
Randomly Sampled Texture

Overlapping Patches
Seam Finding / Cut quilting
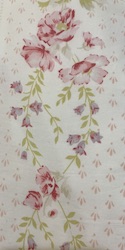
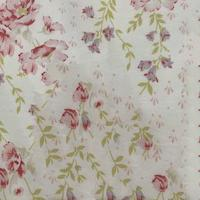
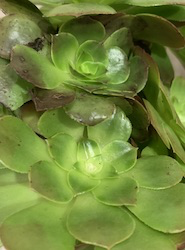
First 3 are provided to us, last 2 are my own images, one of my pillowcase and the other of my succulents.
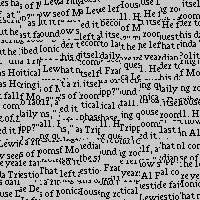
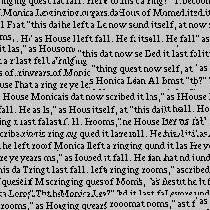
I guess I'll compare the three methods now, as part of the deliverable. The random-sampling quilting sucks, as you might expect, since there's no effort to make anything look congruous. Using SSDs to find the best overlapping patch (with a linear boundary) is better! As you can see, the text is horizontal now, but especially visible in the left texture are the seams of the linear boundaries still. With the seam method here, the seams are almost invisible, and that's because we can find a min-cost nonlinear cut boundary across overlapping patches, so when we stitch together patches it looks much better.

Another deliverable is supposedly to illustrate the seam-finding process. I'll do what I can, I guess.
Texture Transfer

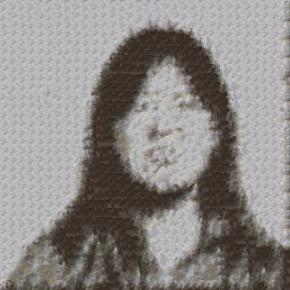

On god, I'm surprised I got this to work, but it was satisfying, I guess. Texture transfer is very similar to the cut quilting method. The only difference is I computed two SSD matrices — one the same way as in cut quilting, and another that compared the brightness of the desired reference patch to the sample patches (I found the brightness by just averaging the RGB pixel values in the patches). Then I found the "total" SSD matrix by weighting the two, and then proceeding exactly as I did for the cut quilting.
Design decisions: playing around with the weights of the two SSD matrices was pretty interesting. The pictures on the left are 0.4 seam congruency and 0.6 brightness.
Here's 0.7 to the seam congruency and 0.3 to the brightness: