Our first project involves implementing the procedure outlined in A Neural Algorithm of Artistic Style by Leon A. Gatys, Alexander S. Ecker,and Matthias Bethge. It involves using deep neural networks to modify pictures so that they mimic the style of another picture.
Photo Gallery
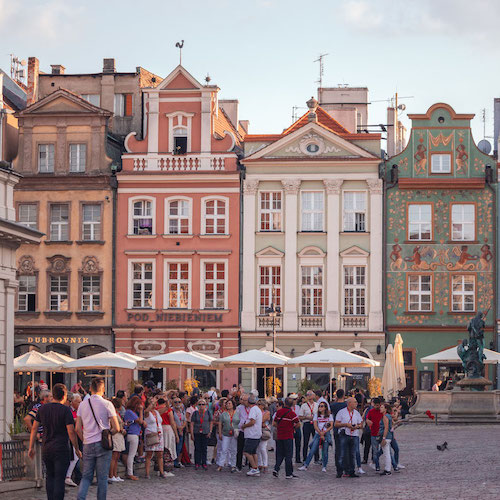
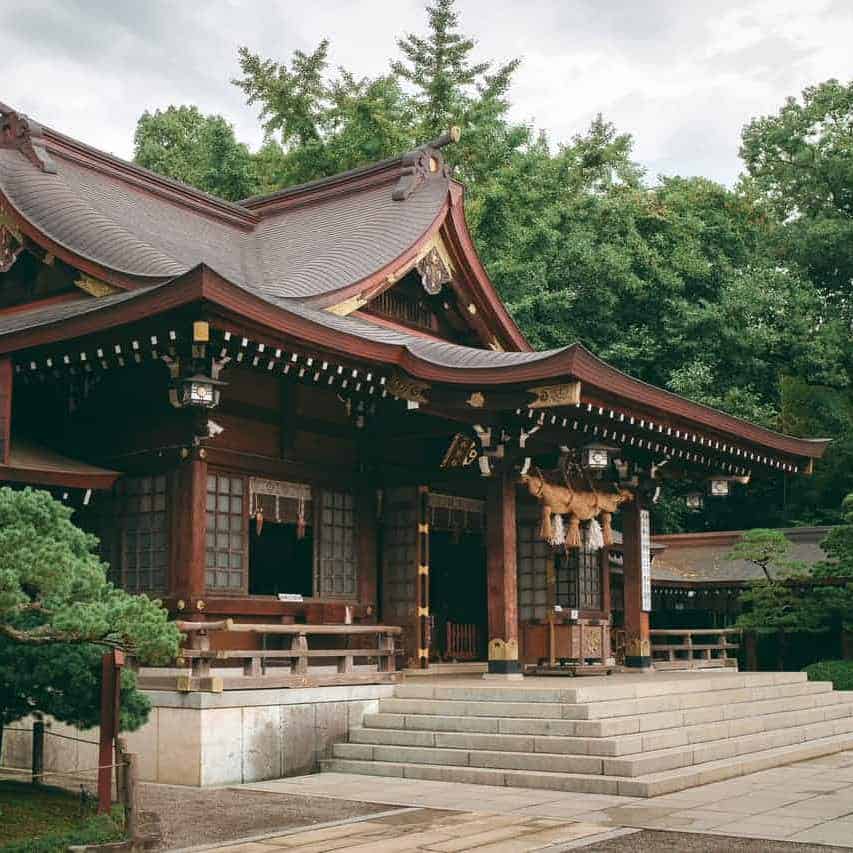
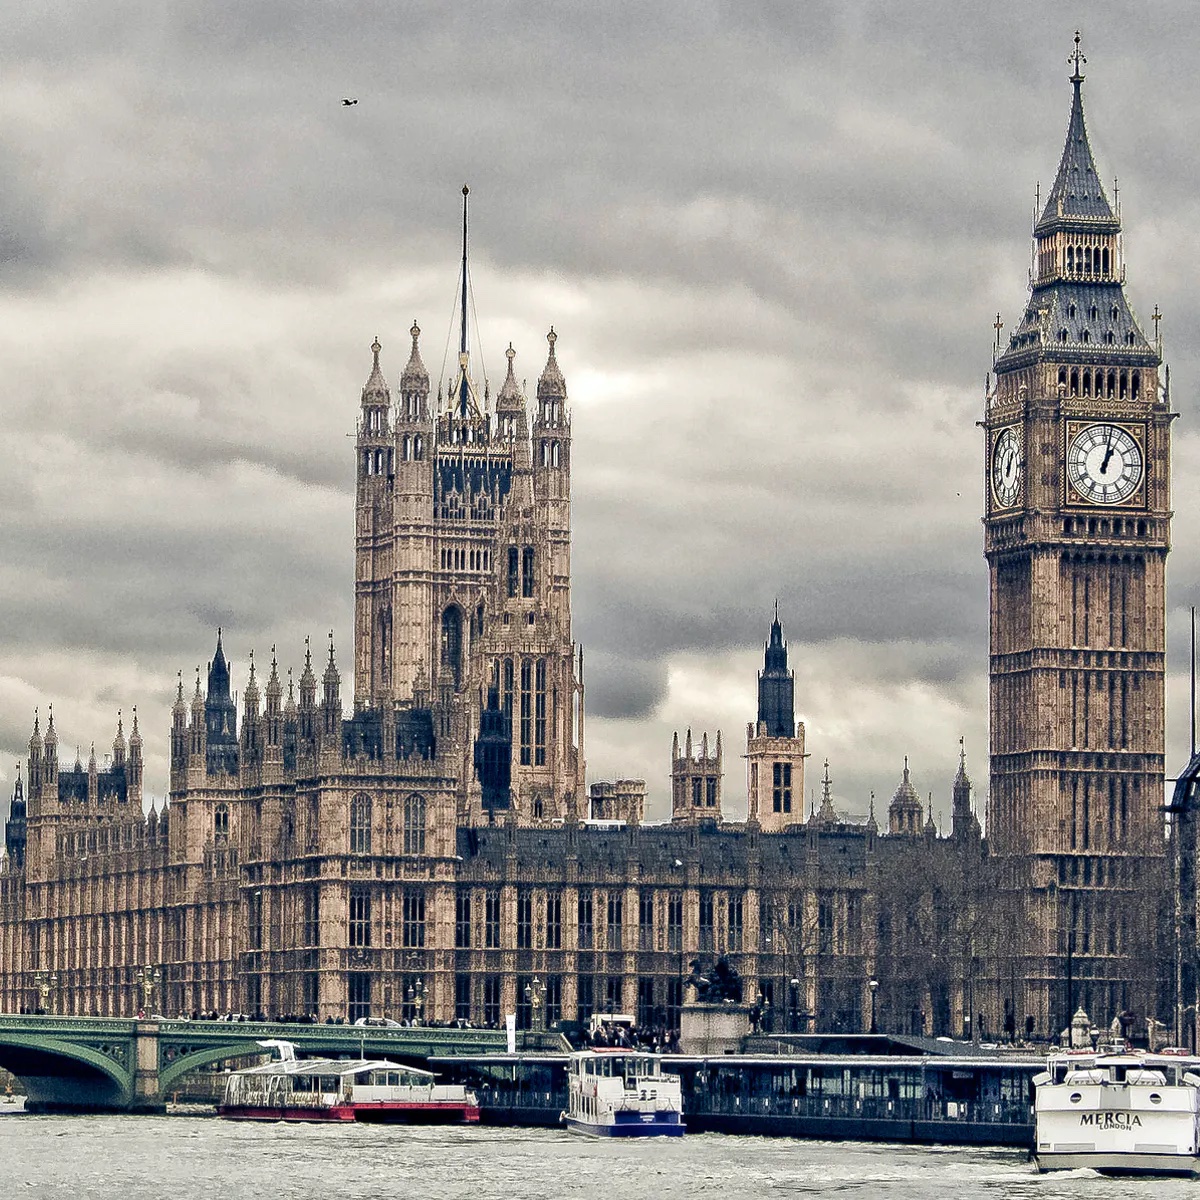
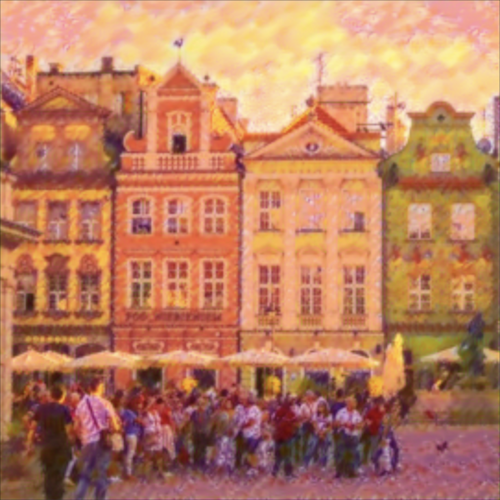
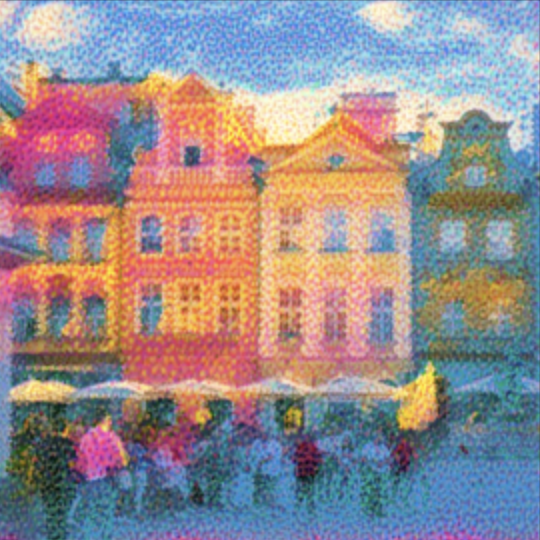
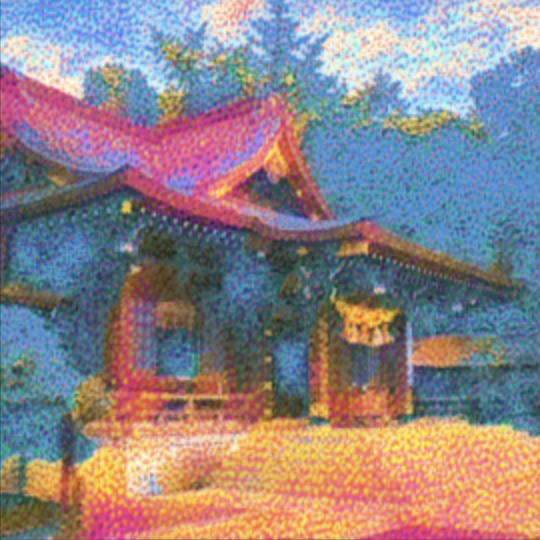
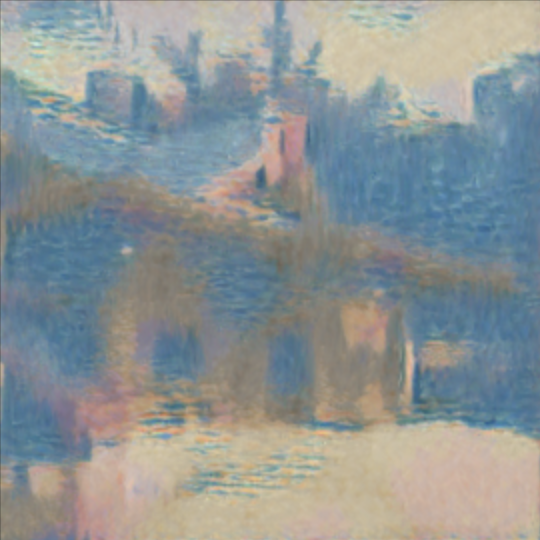
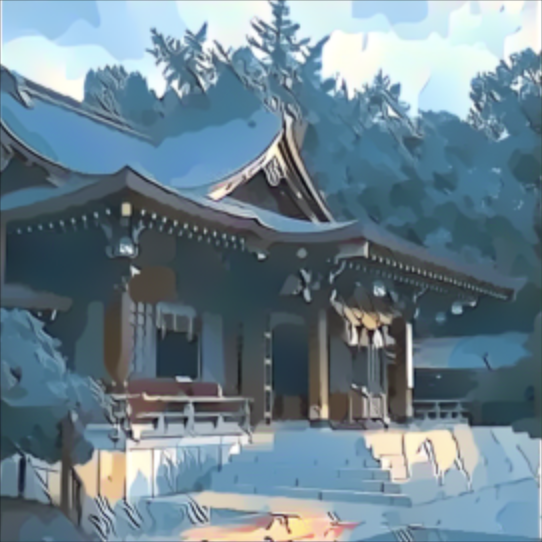
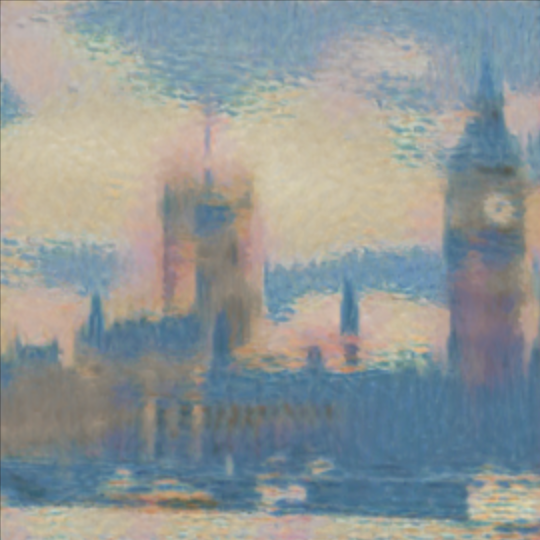
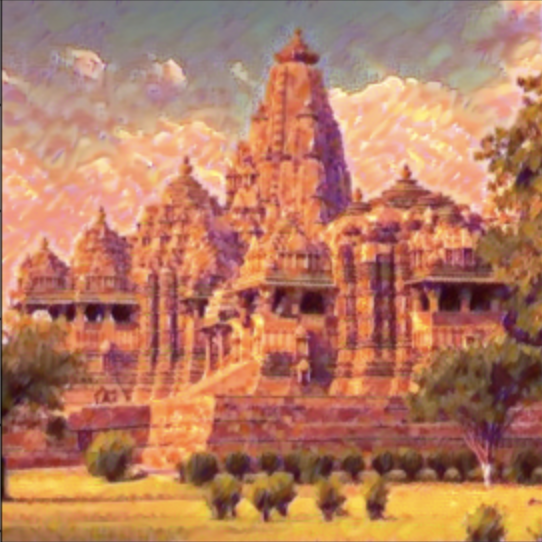
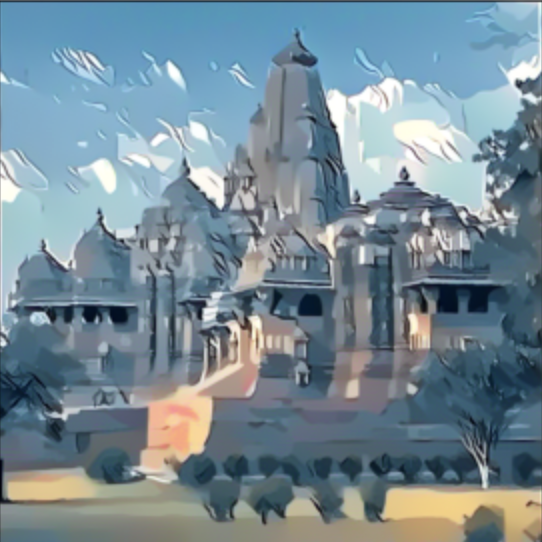
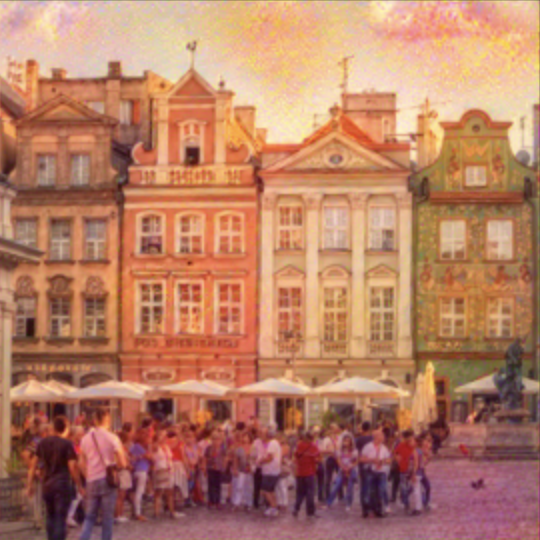
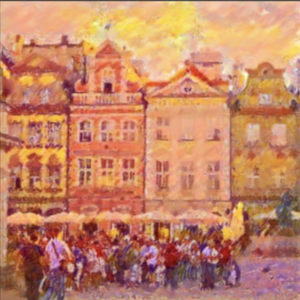
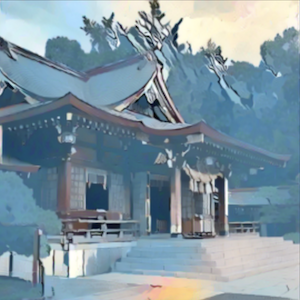
Here are the the photos that we will be adding different styles to. I chose to go with an architectural theme, and here we have the Poznan Old Market Sqaure in Poland, a Shinto Shrine in Japan, the Khajuraho Temples in India, and Big Ben in England.
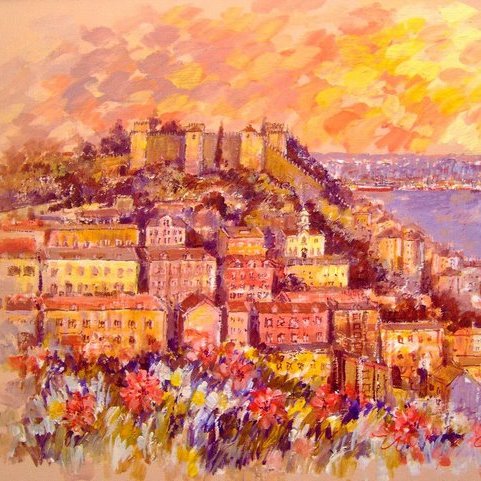
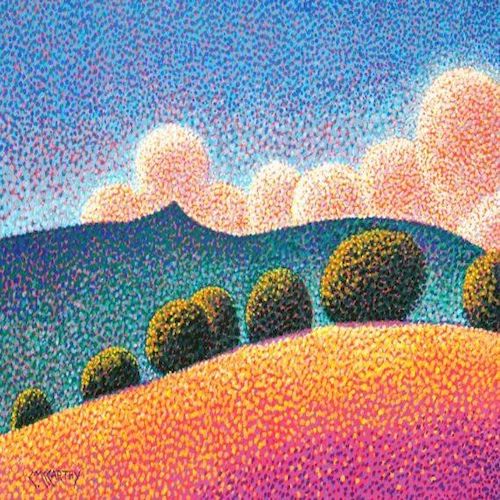
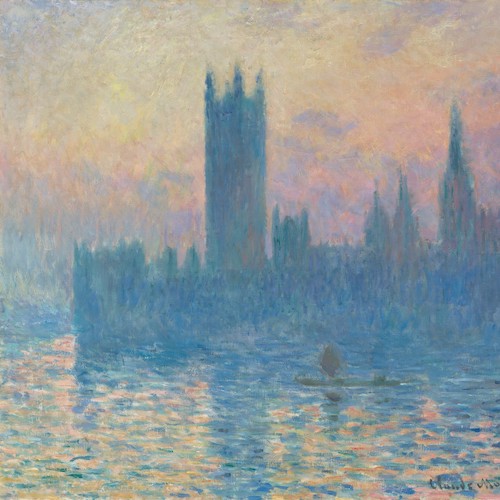
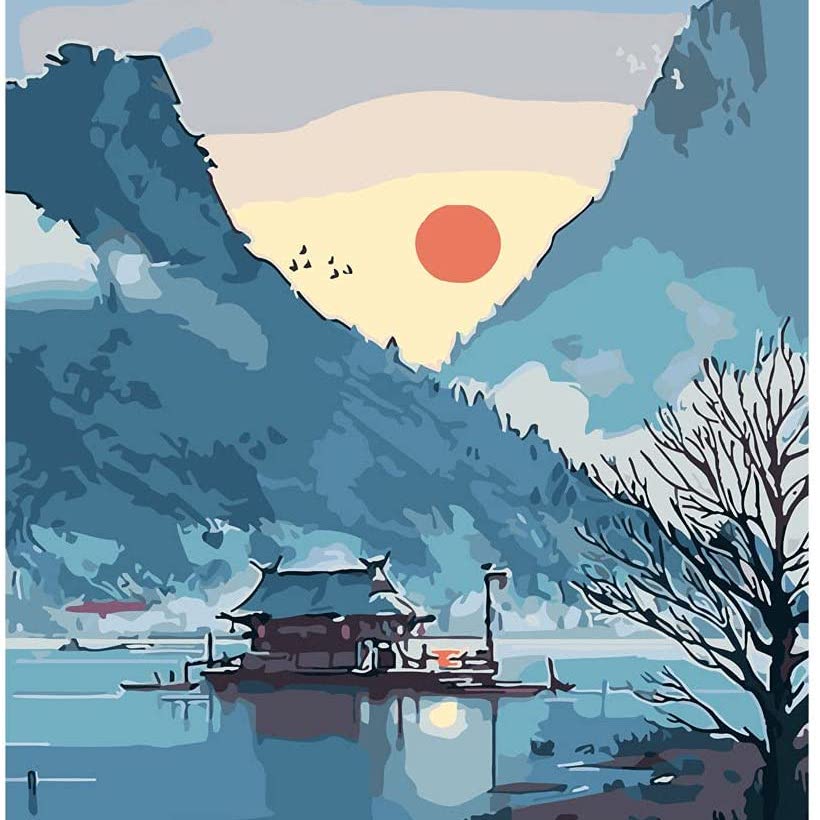
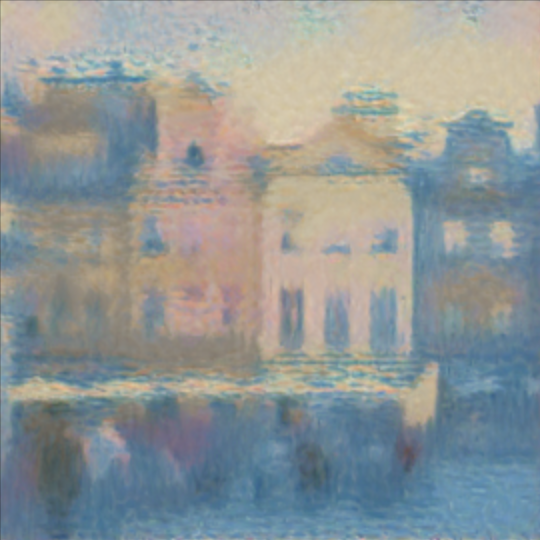
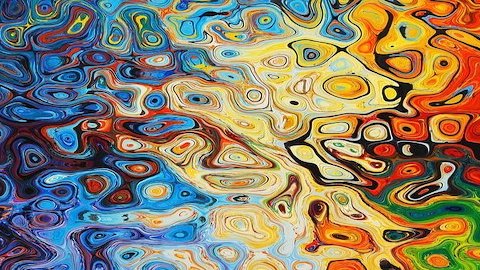
Next, here are some of the paintings whose styles we will attempt to transfer onto the above photographs. I tried to pick out paintings that conveyed different moods and emotions, as well as different textures and patterns. I also tried picking some with architecture components, and some without.
Implementation
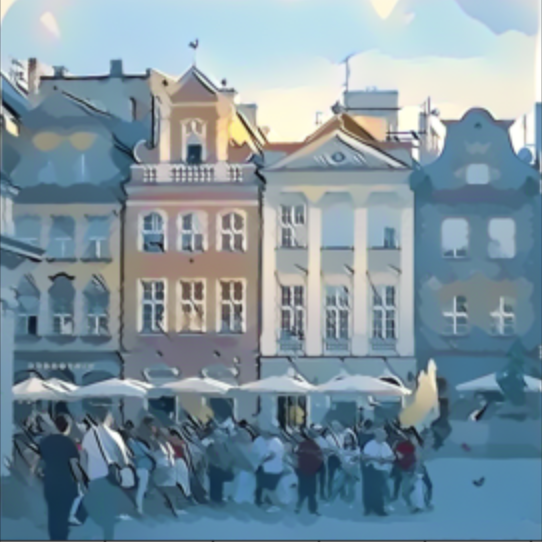
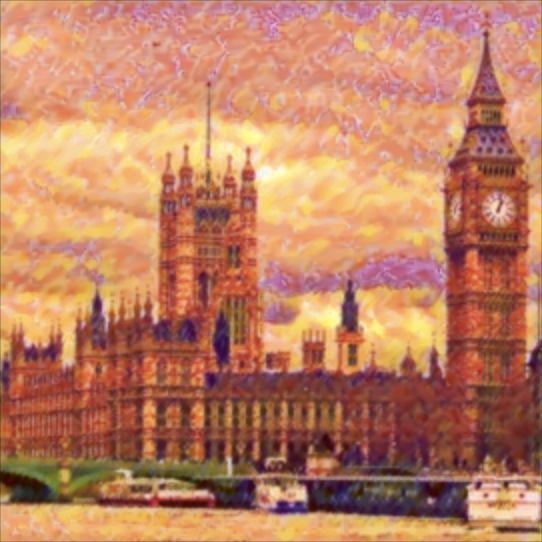
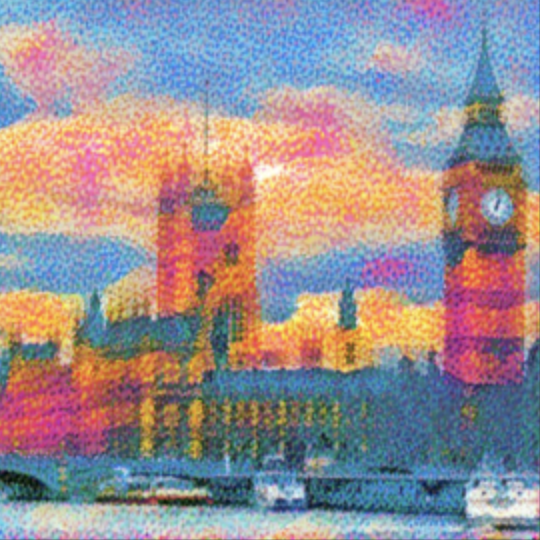
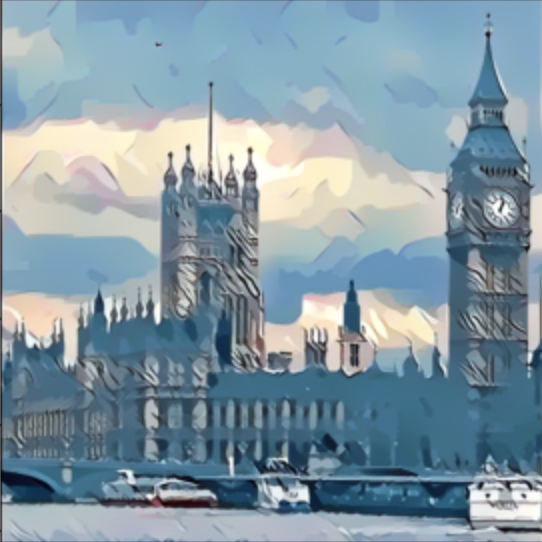
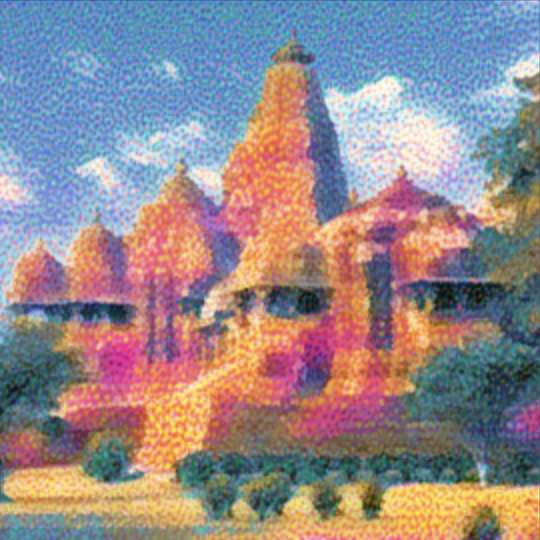
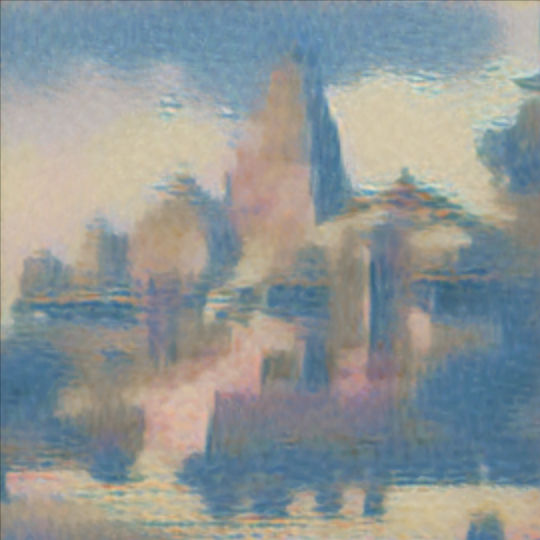
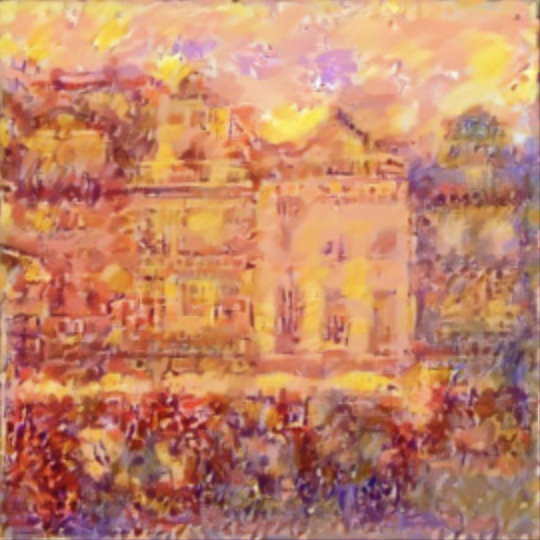
As outlined in the paper, we implement the process by taking a Convolution Neural Network (specifically the VGG19 network) and feeding it a content image and a style image. We then observe the networks responses at 5 specific layers, for content and style, which are separable as shown in the paper. This essentially allows us to match both the content of the photograph and the style of the painting, thereby leading to the final image of the content visualized in a different style. Here, we have the original pictures on the leftmost column, and then the altered pictures with the various styles to its right. The top row represents the original paintings. The hyperparameters I used were the following. Style Weight: 1000, Content Weight: 1, Learning Rate: 0.1, Epochs: 1500, Layer Weights: All 1/5.
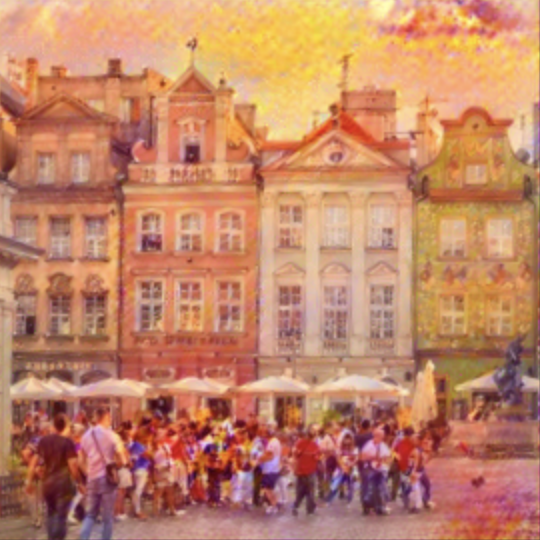
The loss is representated as Loss = A * Content_Loss + B * Style_Loss, where A and B are hyperparameters used to choose between a final image that is more content-focused or style-focused. The content loss is the results of the mean squared error between the content features of the input image and the original content image. The style loss is the mean squared error between the gram matrix of the style features from the input image and the gram matrix from the style loss of the style image. The gram matrix itself is something that encapsulates the different textures of an image in a matrix format. Here is the Poland picture with the style of the first paintings, with various ratios of A/B. From left to right, it goes from more focused on minimizing content loss to minimizing style loss, with ratios from 1e6 to 1e-6. The other hyperparameters remained the same as above.
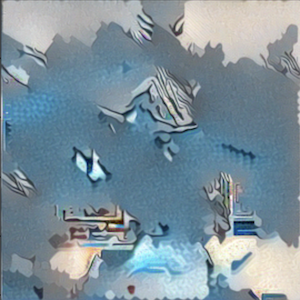
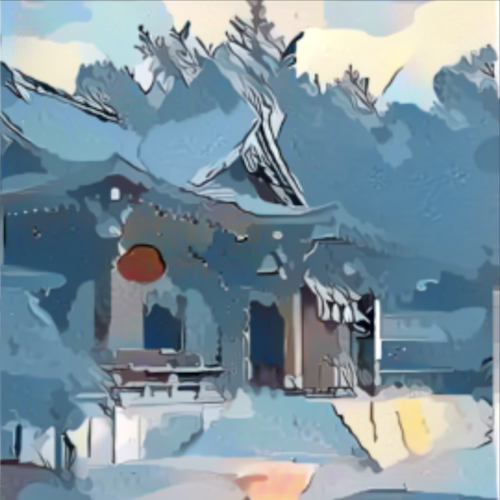
Another interesting thing that we can look at is the effect of different layer responses. By changing the weight of how much a specific layer contributes to the style loss, we can differ our outputs as the different layers focus on different things. Here we look at the results images when we only consider the first layer, only the first and second, primarily the fourth and fifth, and then primarily the fifth. The other hyperparameters remained the same as in the initial gallery.
Bells and Whistles
For my bells and whistles, I chose to apply the style transfer onto a video, to see if it could lead to interesting results. My first approach consisted of taking a video, then going frame by frame and applying the style transfer. At the end, I converted the frames back to an image. I also tried experimenting with various hyperparameter tuning. One of the experiments that led to an interesting result was when I increased the style weight with every frame. This led to a pretty trippy looking end result, especially with the image I chose for my style image. Below I have the original video of the Eiffel Tower, the Style image I chose, a video of the style transfer applied to the original video, and then the video of the increasing style weight. (I had to decrease the frame rate and quality for computing purposes, but they still look pretty decent!)
. . . .
Augmented Reality
The next project deals with implementing a rudimentary version of augmented reality. By using projection matrices, we can render a computer generated cube onto videos, that adjusts realistically with any moves in the video.
Setup
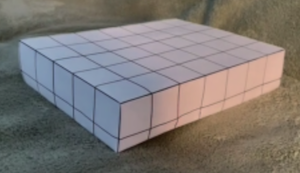
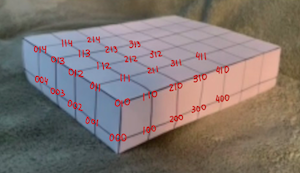
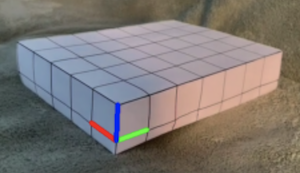
The first step is to create a grid layout on a box, to make the projection easier. The next step is to label the points on the box in terms of real-world coordinates, aka (x,y,z). Below is a picture of the box I used, as well as how the points are labelled in terms of real-world coordinates. For examples, 001 would be (0, 0, 1) aka 1 in the Z direction. The final image shows the real-world axes projected onto the picture. In my implementation, the green is positive X, the blue is positive Y, and the red is positive Z.
Point Tracking
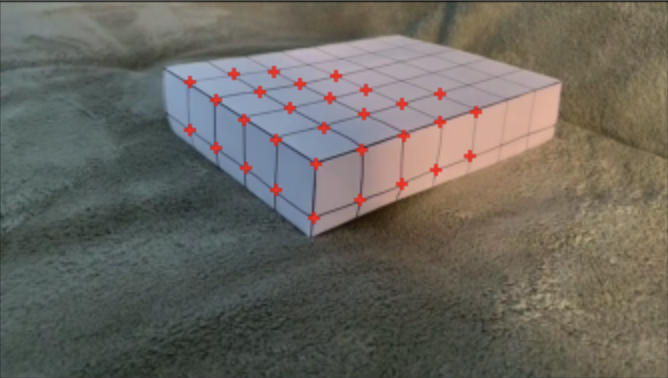
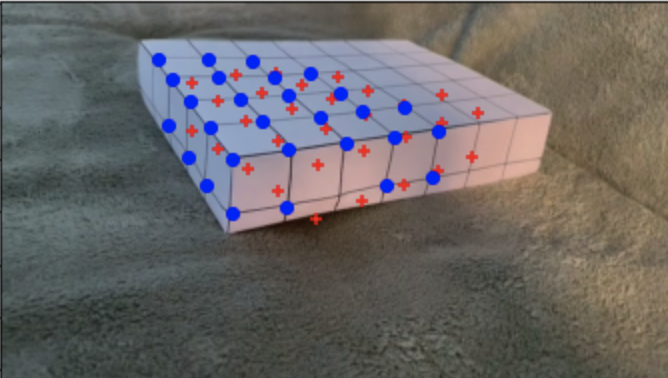
The main problem to tackle in this project is finding a way to project a cube created in real-world coordinates onto an image, which is only 2D. To do this, we need to establish a projection matrix. Similar to Project 4, we can do this by setting up a series of linear equations and then using least squares to solve for our values. Before we dive into that however, we have to have our points from the image that corrospond with these real-world coordinates. For our first frame, we can manually select the points, but its easy to see that this will become an ardous task if we had to select it by hand each time for each frame of the video. To solve this issue, we can create a tracker for the points using Harris corners. First, we identify the Harris corners of the image, and then run ANMS to get the strongest corners. Then we just have to go through the points of interest from the previous frame and match up the current frames harris corners with the previous points, based on distance. If a point has a harris corner within a small distance, it is most likely the right match and so we keep that point as well as its real-coordinate representation. Below is the points of interest selected on the first frame, and then the points of interest from the 50th frame using the method above. Note on the second picture, the blue points are the updated feature points, while the red points are that of the first frame. This is to show how the points dynamically move across each frame.
Camera Calibration
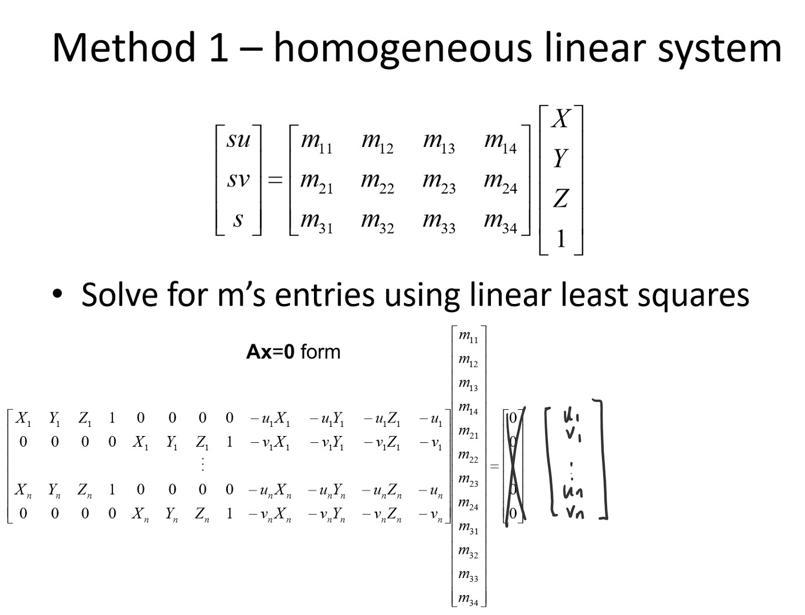
Now that we have the points of interest for each frame, all we need to do is calculate the projection matrix to go from 3D coordinates to 2D coordinates. As mentioned above, we set up a system of equations and then use least squares to solve for a 3x4 projection matrix. Just like in Project 4, the last number of the matrix will be 1, so we only have 11 variables to solve for. This means we need a minimum of 6 points, although we use more to make the matrix more robust. Here is a picture explanation of this approach, from Lecture/Piazza.
Cube Projection
The final step is to project a cube onto our box. We do this by defining the 3D coordinates of the base and top of our cube. I chose to do 2 different cubes, one where the cube is on top, with a base at (1, 1, 1), (1, 1, 2), (2, 1, 2), (2, 1, 1), and height of 1 in the positive Y direction. I also chose to make one where the cube is off the side of the box, with a base of (0, 0, 0), (0, 1, 0), (1, 1, 0), (1, 0, 0) and height of 1 again, but this time in the negative Z direction. The code then goes frame by frame, calculating the matrix, projecting the points, and then saving the frame to make the final videos, which are shown below.
. . . .
Conclusion
Both of these projects, along with the rest in this class, were really interesting projects, both in terms of implementation and end results. Its fascinating to learn that neural networks can separate content from style in images, as that is something we do naturally as humans even though it seems like something that cannot be mathematically quantified. It was also really interesting being able to play with the hyperparameters and see how drastic the changes it made could be. For the augmented reality project, it was really cool to see how the basics of AR work, and to start thinking about how it can be taken further to do all of the unique things that you can do with AR in the market right now. It was also surprisingly simpler than I expected, especially for a buzzword like Augmented Reality.