A Poor Man's Augmented Reality
The goal of this project was to insert a synthetic geometric cube into a moving scene. To achieve this, I first captured a video of moving perspective of a cube against a contrasting background. I then used ginput to select 20 correspondence points on the first frame of the video as shown below.

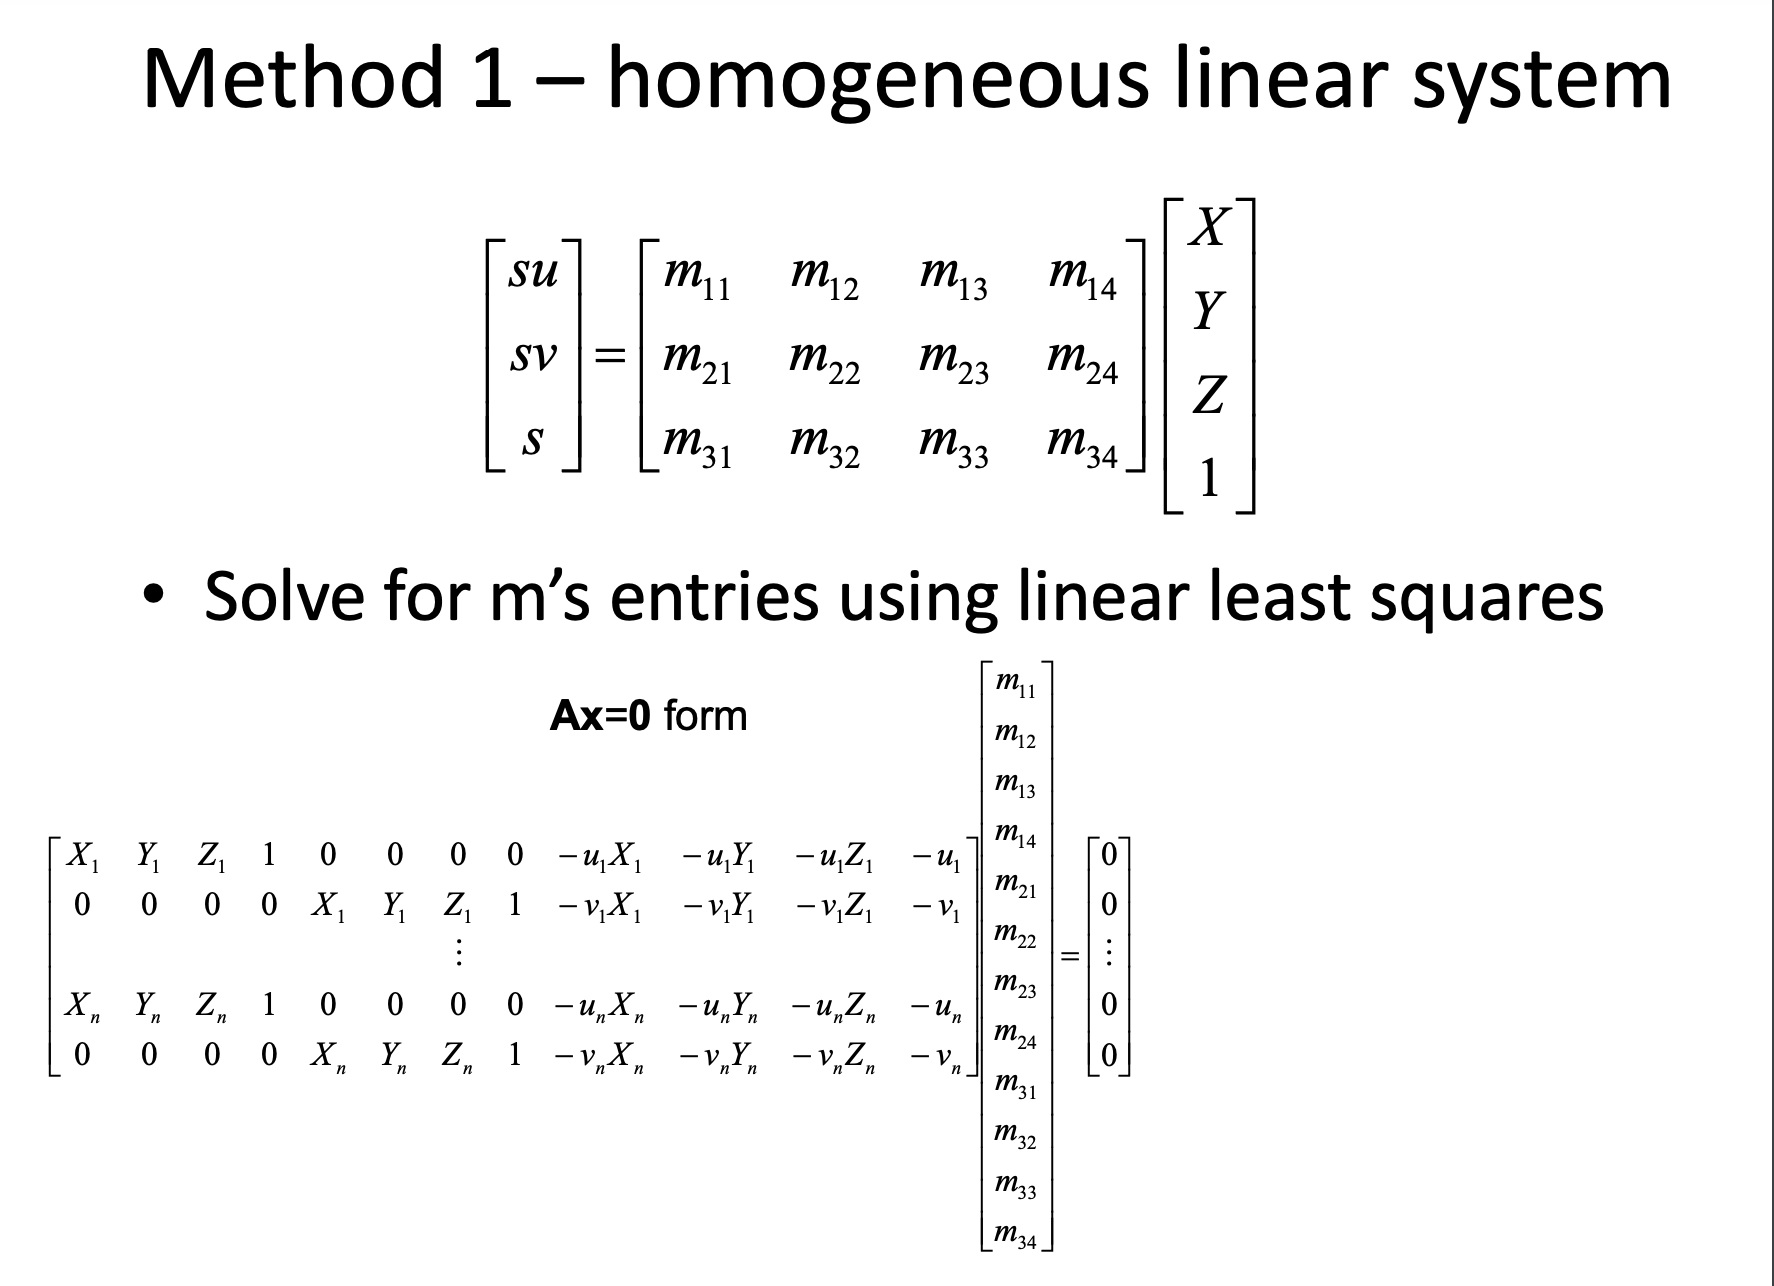
I also derived 20 points in 3D space corresponding to the selected 2D points if I imaged the origin to be at bottom corner closest to the camera similar to the project spec. Now that I had corresponding points, I used least-squares method to compute the M matrix that maps the 3D points to 2D space for that frame. I then used this M matrix to transform the 3D points of where I wanted to insert the cube into the 2D space of the first frame.

Now that I could insert the cube into one frame of the video, I had to define a matrix M for every frame and recompute the 2D coordinates of the inserted cube. Since the 20 key points were constantly moving, I instantiated a tracker using cv2.legacy.TrackerMedianFlow_create() that follows a 16x16 patch around each of the twenty points that would track each point through the frames. I made sure to create a separate tracker for each point. I was then able to insert the cube into each frame and then combine all of these frames into a new video. Note: the videos have been heavily compressed to .gifs to fit the size limits of the upload utility, which has changed the quality and speed a bit.
Lightfield Cameras
Summary, what I learned: In this project, I explore how lightfield camera images can be used to recreate images at different focus depths and different aperture. I also implement an interactive depth refocusing example. I learned how to apply ideas surrounding lightfield cameras as well as reinforcing camera concepts.
Depth Refocusing
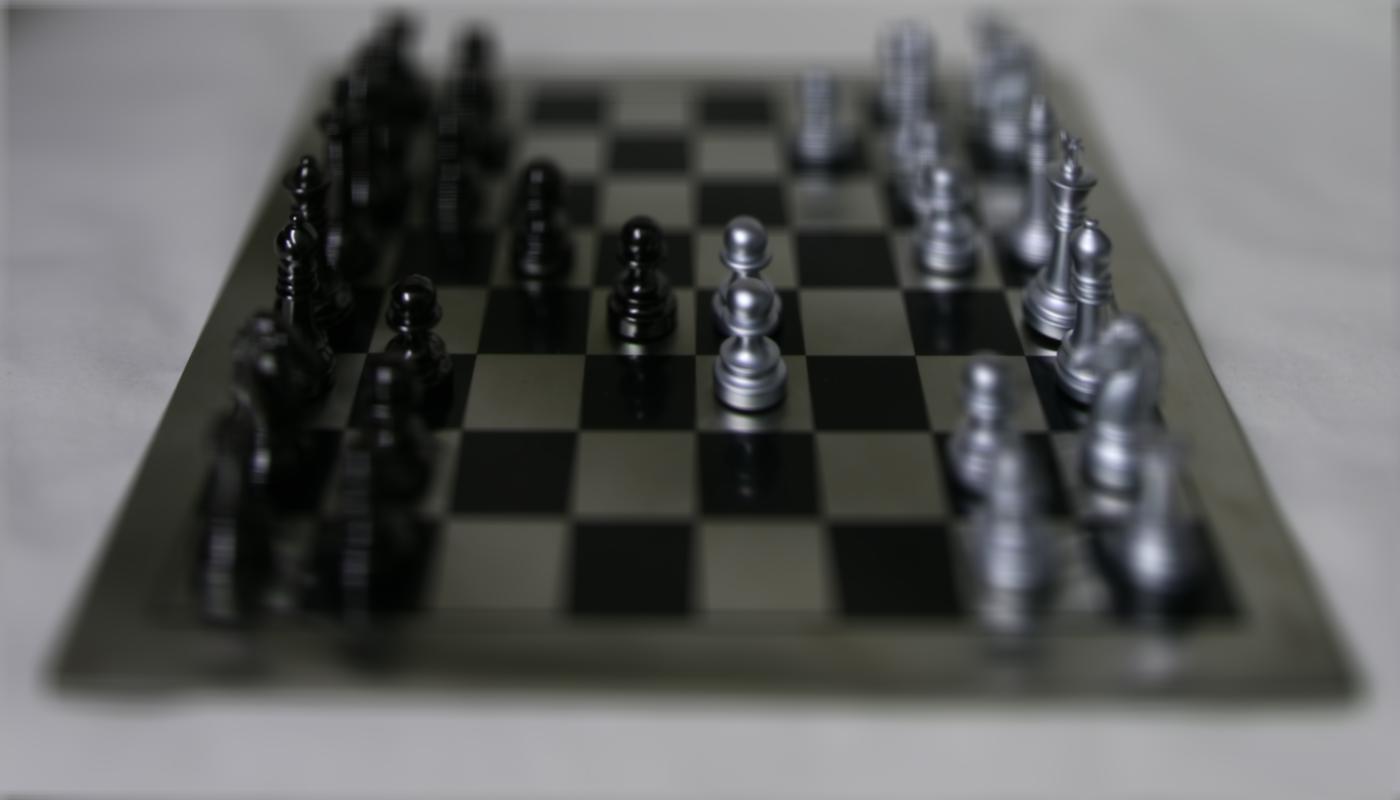
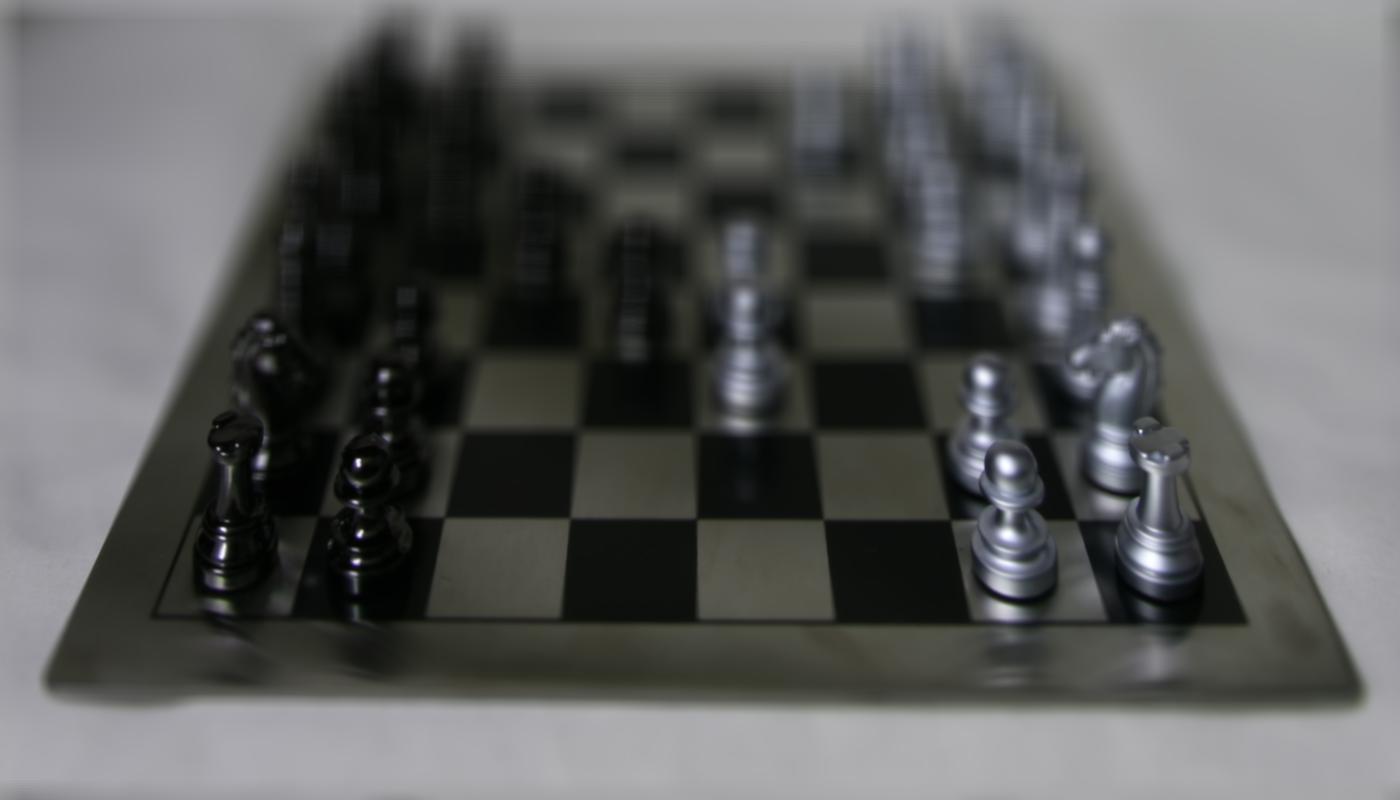
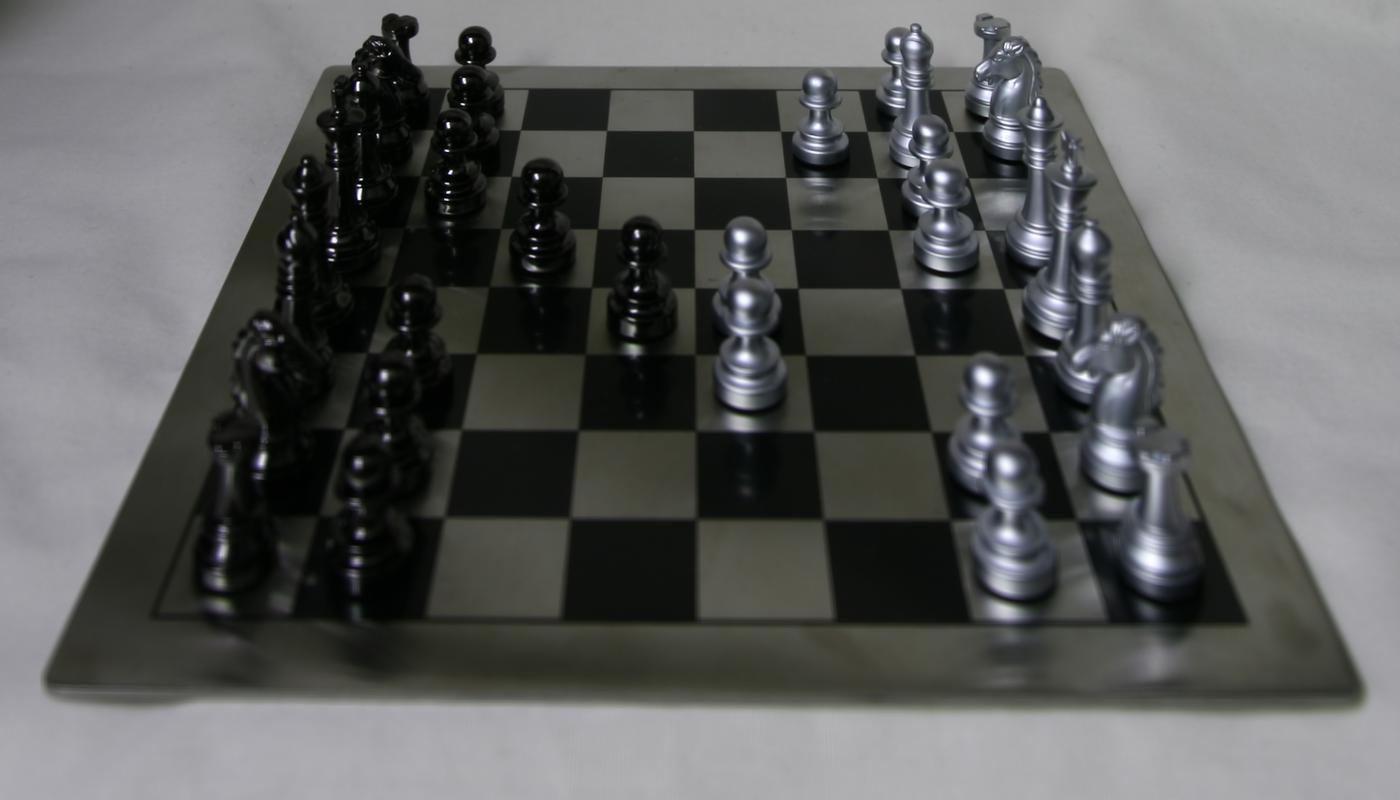
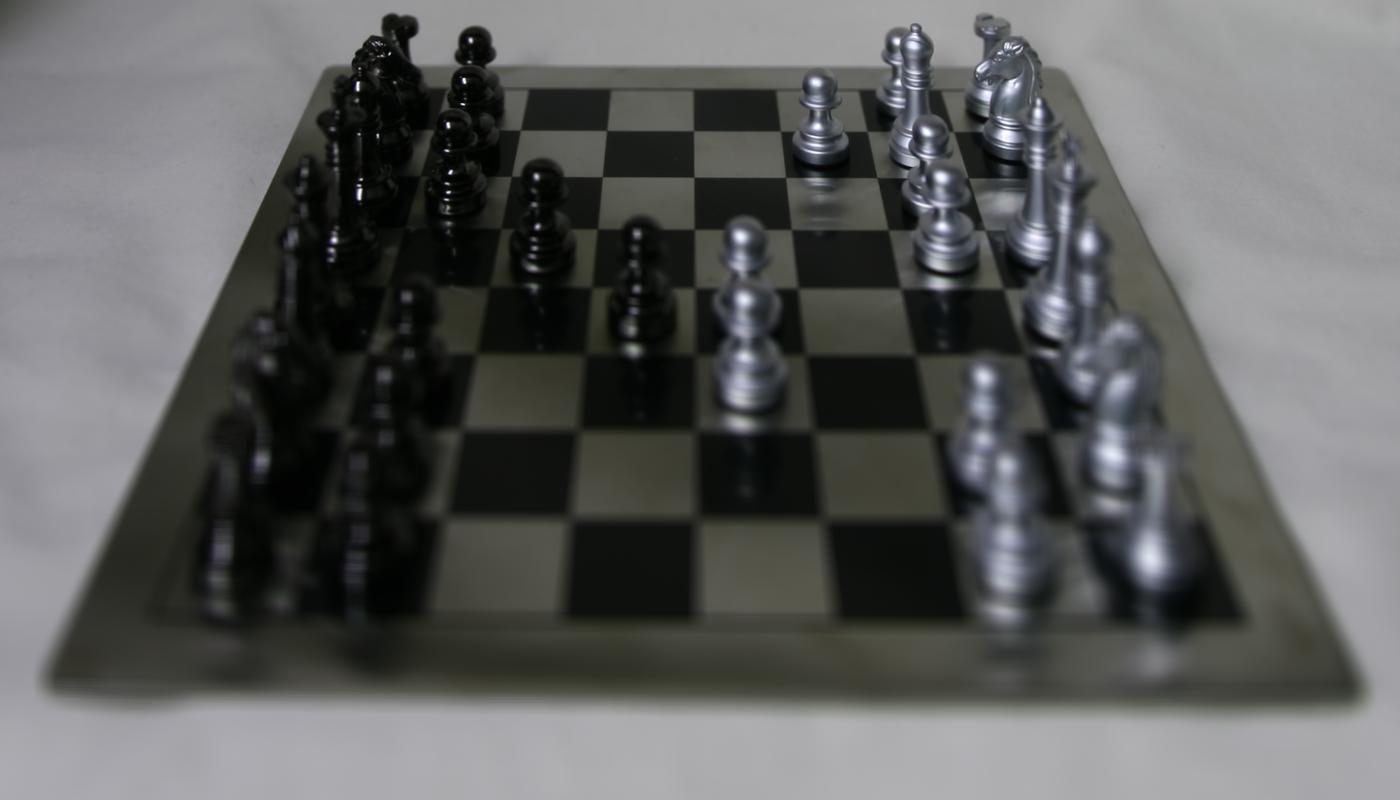
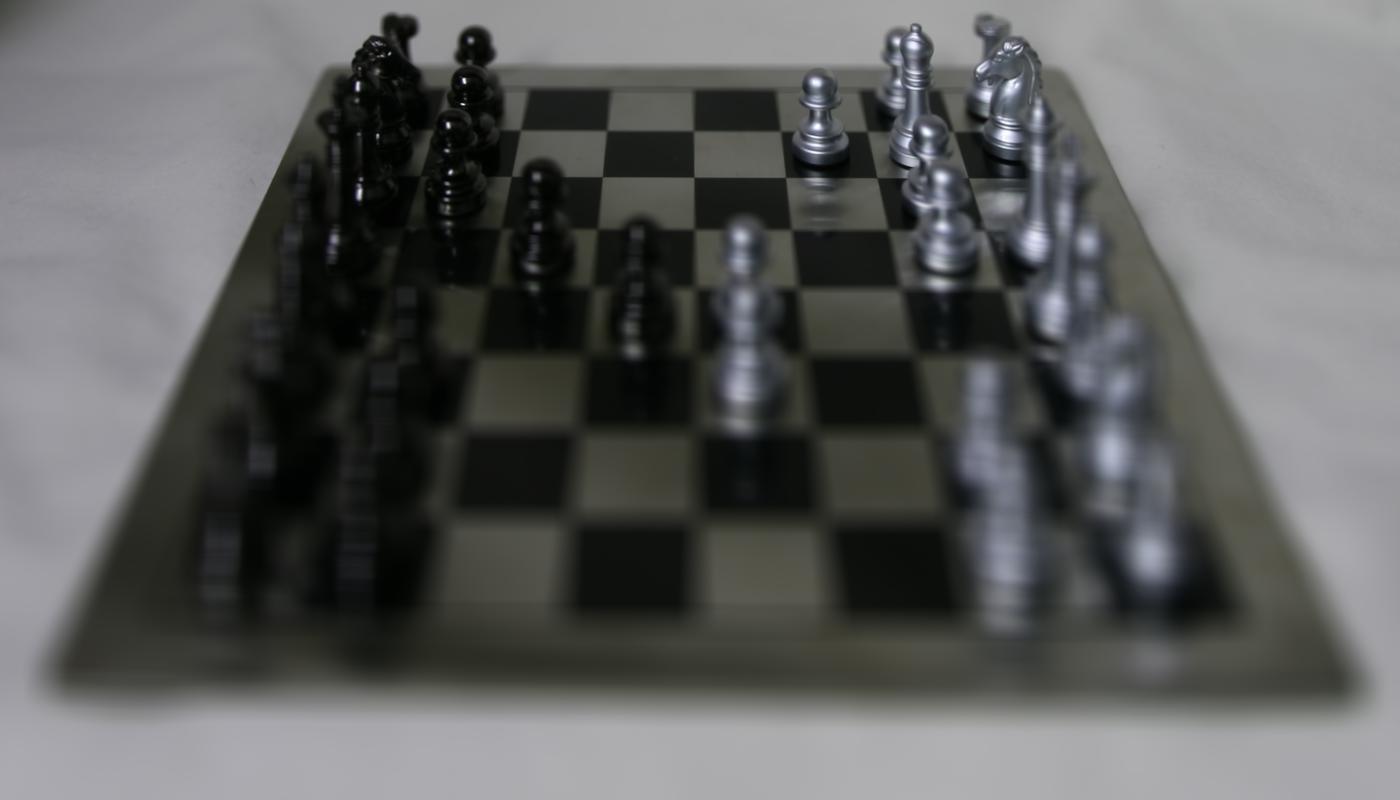
To recreate the image at different focus depths, I average shifted versions of the images in the 17x17 grid. I chose the center reference image as the (8,8) position. To calculate the shifts for each image, I find the difference between the selected image's (u,v) coordinates as specified in each filename versus the (u,v) coordinates of the center image. I then scale this difference by a factor of C which defines which part of the image is in focus. In general, higher C values bring the focus closer to the front of the image and lower C values send the focus towards the back of the perspective. By shifting the images closer or farther from the reference image, different parts of the image will be brought into focus. I show images of a few different C values as well as a gif showing a range of C values from -1 to 1.
|
|
|
Aperture Adjustment
To mimic differnt aperture settings on a camera, I either included more or less images from the grid of lightfield images to average them together. For an aperture of size 1, I average the center reference image (8,8) as well the images one image away in the grid. An aperture of size A includes all images averaged within A of the center image when looking at the images as a grid. You can also change the C values to focus on different parts. An aperture size of 0 is only the center image and an aperture size of 8 includes all images. I show images of different aperture values as well as a gif from aperture values 0 to 8.
|
|
|
Bells & Whistles: Interactive Depth Refocusing
For creating an interactive depth refocusing plot, I used matplotlib's ginput to allow the user to select points on the image. I used the SSD pyramid search from Project 1 image alignment to find the best shifts to line up one of the images to the center refernece image. I calculated C from the shifts (s,t) so that C = (s / (u - center_u) + t / (v - center_v)) / 2. I used this C from the one image for all of the images and then followed the same process as part 1 to refocus the depth with this new C value. I kept a dictionary with all of the C values from range -1 to 1 so that when the point is clicked, I can just retrieve the image of the corresponding C value.