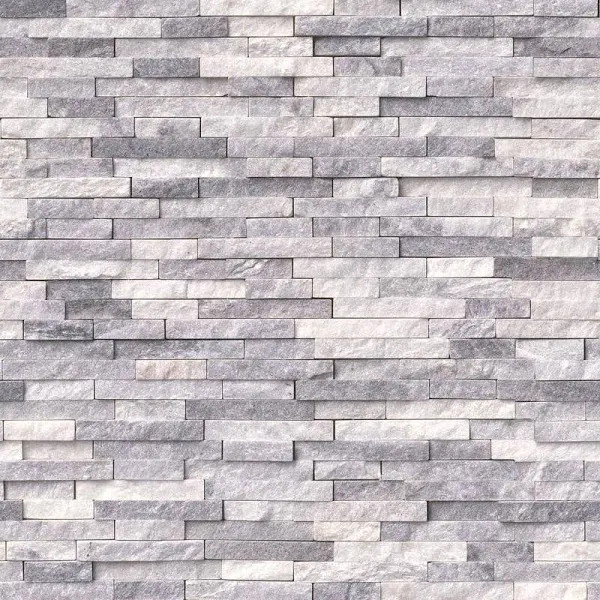
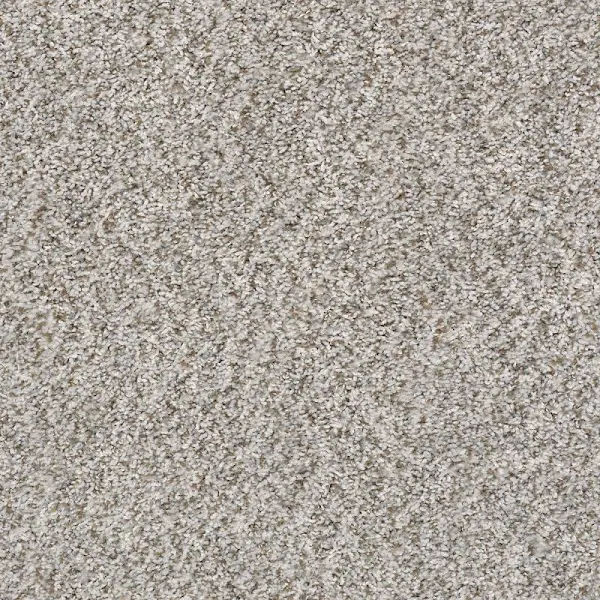
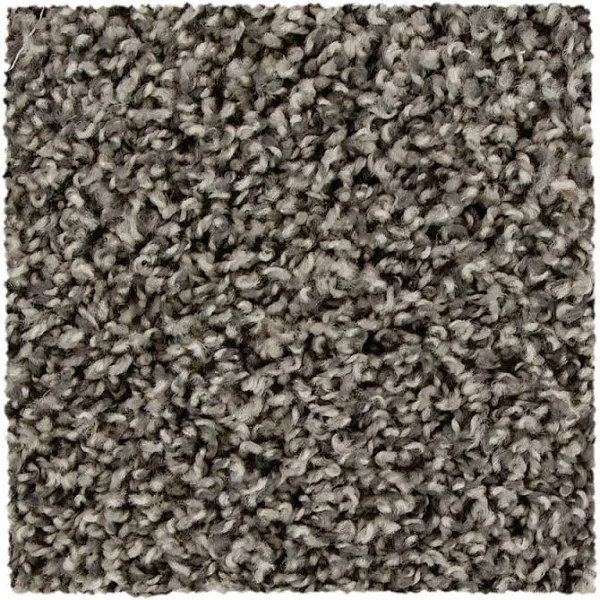
In this project, we try to stitch realistic images out of patches of images, such that they replicate characteristics of images. We first compare random stitching, simple naive stitching, and stitching with custom cuts. Finally, we use a texture to "replicate" another portrait.
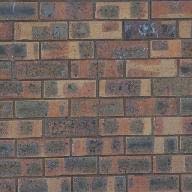
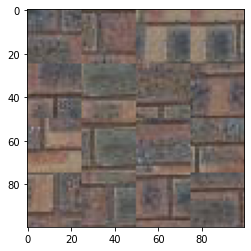
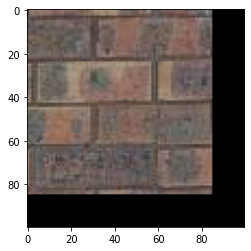
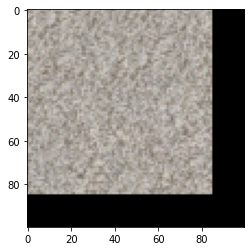
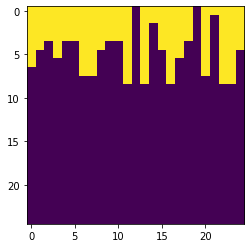
For random stitching, we just take random patches from the source frame and create a square image with a given size by stitching these patches together. For simple stitching, we take all possible randoms patches then add an overlap with the current output. We check the overlap to find the patch with the minimum cost output, then sample from patches that are within a threshold of the minimum cost then stitch it over the output. We iterate across the full output image space, creating a mask to compare overlaps using SSD with the current patch in question, and then stitch it into the output image. We iterate such that every patch to be stitched will be stitched into an overlap to the top and/or to the left of it. For adding in custom cuts, we use the given cut function to create a mask which we use to set pixels within the overlap space. Either the pixels will be drawn from the current output image, or theey will be drawn from the overlap, depending on wheree the seam lies. Some results are shown below. There wasn't too much of a difference between the custom cuts and the naive stitching, but I felt like that could be because the texture itself, when we chose the random patch, the seam wasn't too apparent since the random patch was similar enough to the output. Sometimes the blend was better, but sometimes it came at the cost of a "consistent brick texture". More results are below.


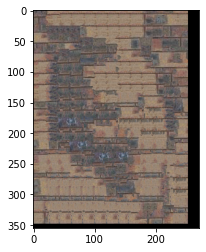
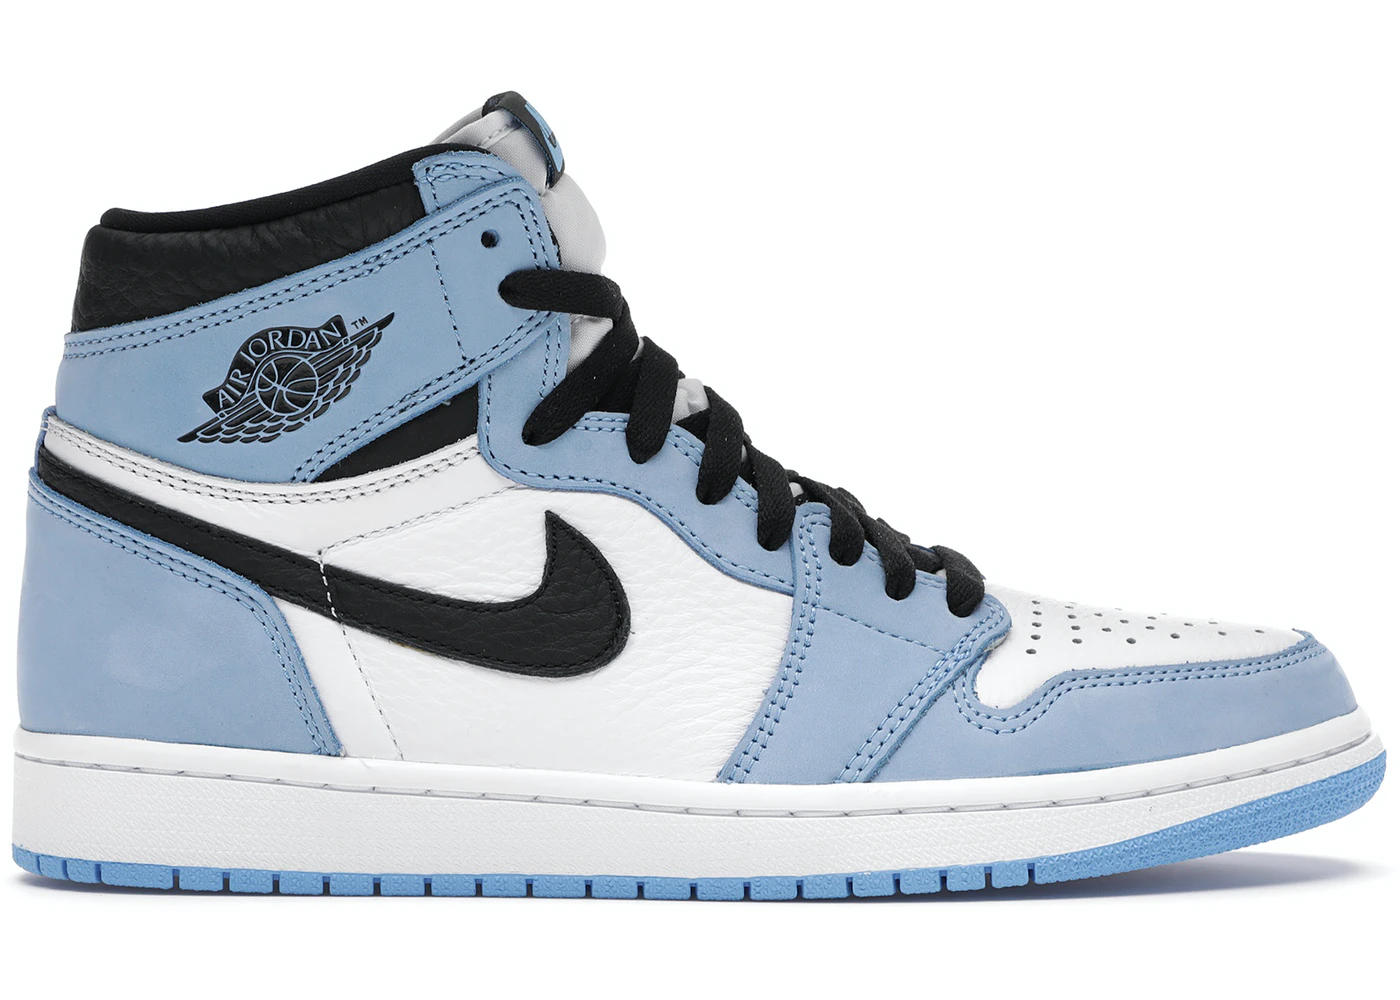
For the texture transfer, I used a 2nd cost function that would compare my patches to the corresponding location in a 2nd image that I wanted to make this texture "look like". I used SSD for this as well, but this SSD was done across the entire image. I had to greatly reduce the threshold and weight the 2 cost functions carefully to mimic the output. I ran this with the brick texture on Richard Feynman and some Jordan shoes I really like, which produced some cool results!
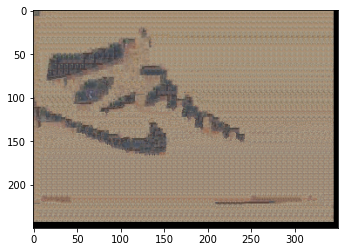
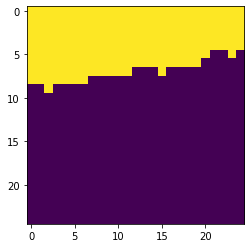
I created a custom cut function for my bells and whistles! For this, I didn't make my cut "continuous", rather I focused on picking the smallest cost point to split on on each column, creating a more whacky cut that would hopefully be more instantaneously blended. I have some sample cuts and some images of the brick texture below. I personally think its better, but maybe I'm biased.
For AR there were several steps to superimpose the cube. First, I marked some points on the kleenex box in the real world and assigned them "coordinates". Then, I picked those points on the first frame of my movie. I then had to initialize Median Flow trackers for each of those points, tracking their current bounding boxes. After each frame, I would update this bounding box given the new frame, and would then store these points. After getting thee tracked points at each frame, for the points that were in the frame, I would use least squares estimation with their associated 3d coordiantes to get the projection matrix from the 3d world to the 2d world. Then, I used this matrix to generate the 2d coordinates for the cube. I gave the cube normalized coordinates on top of my kleenex box and then used the projection matrix to put those points in the image, then rendered the output frame, giving the video below!