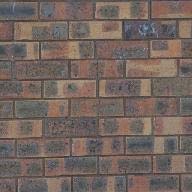
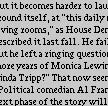

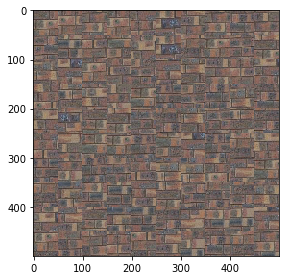
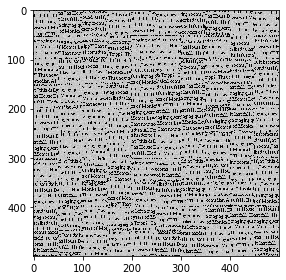
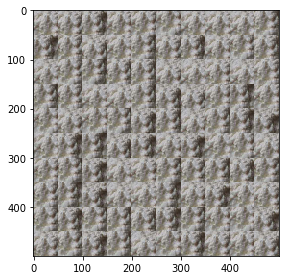
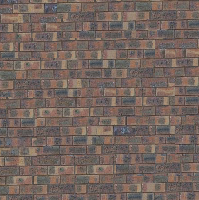
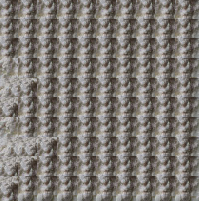
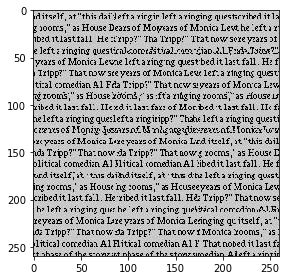
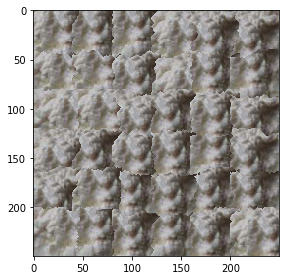
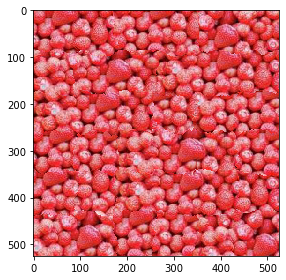
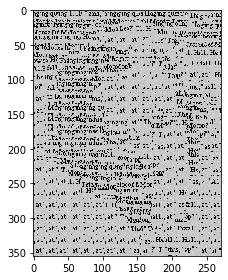
For the first part of this project, we go through the final output image patch by patch and randomly sample from the original texture image for each patch. By doing so, we are able to create a larger output image with more of the repeating textural patterns than the original input image. We start at the upper left corner of the output image and go till the end of the image, tiling the different samples together. Below, you can see the results of this method for a few different texture images. We can see that it visually performs the best for the bricks since even randomly sampled patches all tend to look similar. It performs the most poorly for the text and the yogurt image (Atleast, that's what I think it is) since there is enough variation in the original image that randomly sampled patches don't look visually natural next to each other.
For this part of the project, we are again trying to create an output image that emulates the input image's texture. We start by randomly sampling the first patch in the output image (the top left patch) but for each consequent patch, we choose it by overlapping it with the already chosen patches and checking the SSD of the overlapping regions. The overlapping region may be vertical, horizontal or both (resulting in an L-shaped overlap) depending on the position of the new patch. Therefore, all possible new patches are considered, the SSD of each candidate is taken and then we choose the new patch by randomly choosing it from a set of patches that are all within (1+tolerance)*minimum(SSD). We can see based on the results below that this performs better than the randomly sampled patches. This is noticeable in the text where the there is more horizontal consistency between the patches now. However, because the cutoff between patches is still linear, letters may be cut off which is why a lot of the text is not actually coherent. Furthermore, this algorithm still has its flaws as the yogurt image still looks very strange, presumably because the original image has a lot of variation.

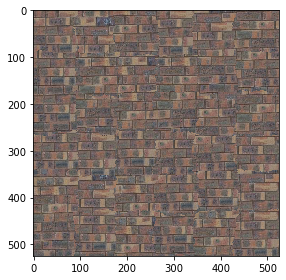
I now improved upon the overlapping concept by incorporating the idea of Seam Finding from the Efros and Freeman paper on Image Quilting. Essentially, we find the overlapping region between 2 patches (vertical, horizontal or both) and calculate an error surface (i.e. the squared difference at each pixel location). We then find a minimum error cut through this error surface by starting at some index on one side of the error surface and then at each step of the path, either moving -1/0/+1 in the horizontal direction (vertical if the overlapping region is horizontal) and traversing down. We choose between these 3 potential steps based on which has the lowest error. We repeat this till we have some path down the overlapping region which is the minimum error boundary cut. This is the cut that is then used to actually overlap the patches. For L-shaped overlaps, we have to find the minimum error boundary cut in both directions. The actual quilting idea remains largely the same (Randomly sample the first patch then choose each consequent patch based on which has the lowest SSD error in the overlapping region but then refine the overlap using the min cut idea). Generally, this algorithm performs the best out of the 3 so far and a few examples of its texture synthesis results can be seen below. Particularly, we can see that the text image is a lot more visually accurate now as text is cut off a lot less than in the simple overlapping patches method.
Some more images:

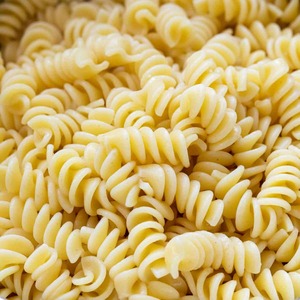
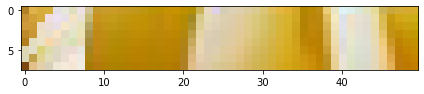
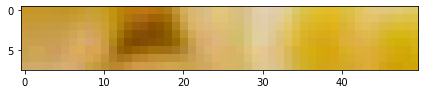
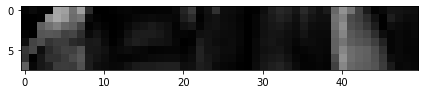
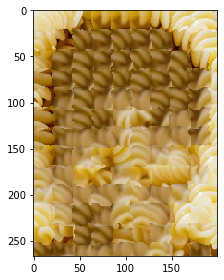
Visualization of the seam finding from the Pasta image - The two overlapping patches, the cost surface and the min-cost path found by the seam finding algorithm. It can be seen that on the two sides where the cost is greater (as indicated by the white on the error surface), it stays closer to one edge (Essentially, taking more of one of the patches) whereas in the middle, where the cost is lower, there is more of a mix between the patches since they're more similar.
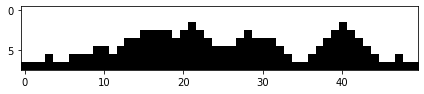
Below, we can see the texture synthesis results from the randomly sampled patches approach, the overlapping patches algorithm and the seam finding algorithm. What we notice is that the randomly sampled image has patches that are a lot more distinguishable - there are clear areas with less dense text and areas with greater density. Furthermore, it is hard to make out any words as the patches often cut through the letters. The overlapping patches improves on this and now there does seem to be more correspondence between neighboring patches. There is a sense of "lines of text" present but once again, the words are hard to make out since the patches may cut through them even with the overlap. The seam finding approach is definitely the strongest - Despite some mismatching areas near the middle, words are much more clear and most letters are complete, giving the sense of more accurarely recreating the original texture.
For this part of the project, I wrote a texture transfer function that extends the ideas implemented in the quilt with
minimum error boundary function from part 3. The function takes in 2 images, a texture image and a target image (e.g. a face),
and converts them to gray to essentially create a correspondence map based on image intensity. Similarly to part 3,
we then go through the target image patch by patch and for each patch, we find a corresponding patch in the texture
image that satisfies two properties: It must have a low overlap SSD error with its adjacent patches in the output
image (as before) but now additionally, it must also have a low correspondence error with the patch in the target image.
What this will do is essentially darker parts of the target image will be represented by darker texture patches and
similarly for lighter parts. We choose the patch with the lowest overall error.
The function will also weigh which type of error is more significant based on a coefficient alpha and then uses the same idea of
minimum error boundary cut to actually quilt the patches in.
The result will be an image that synthesizes the texture of the original image while representing the greater features of the
target image.
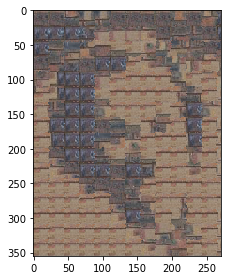
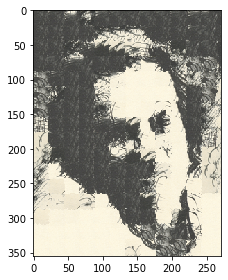
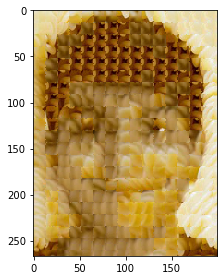
Below, you can see some examples of Richard Feynman's face being recreated from some texture image sources:
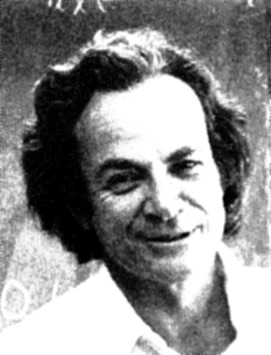
Texture Transfer Results:
I implemented my own cut function that finds the min-cost contiguous path and it can be seen below:
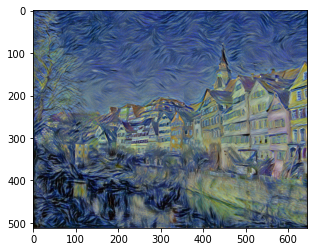
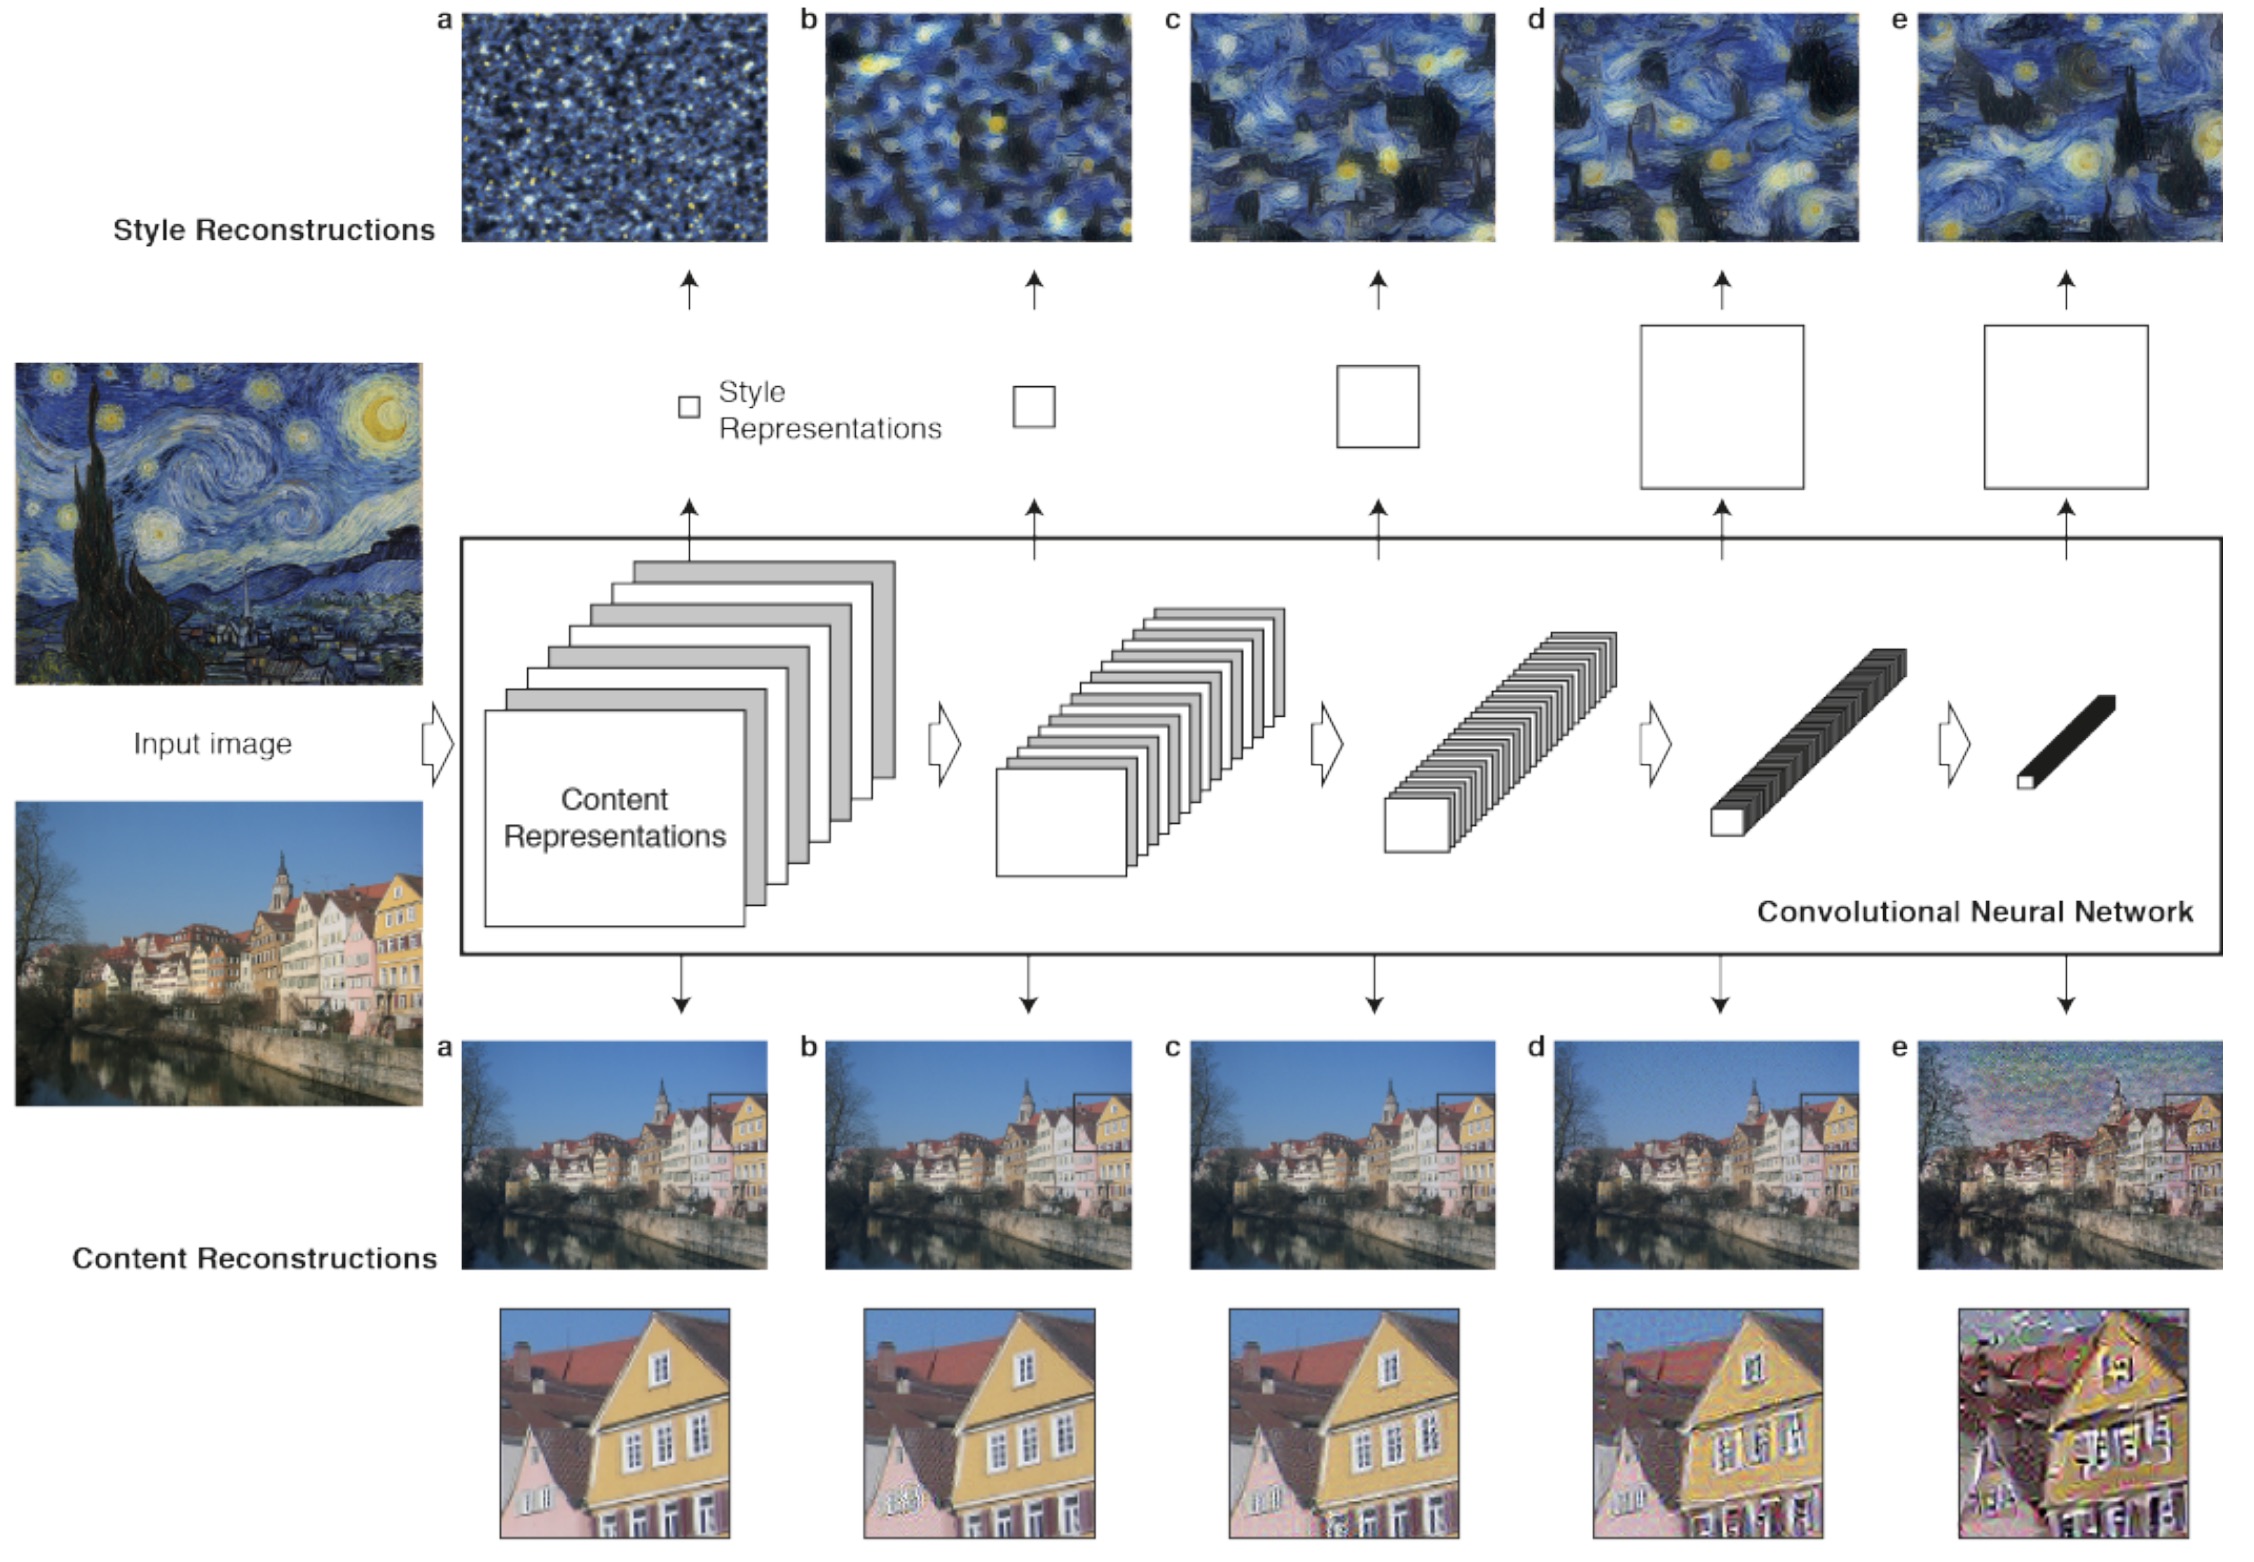
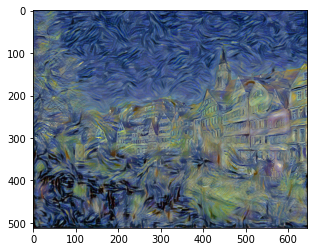
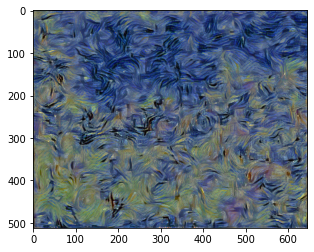
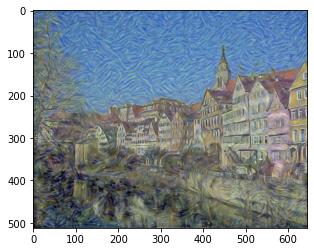
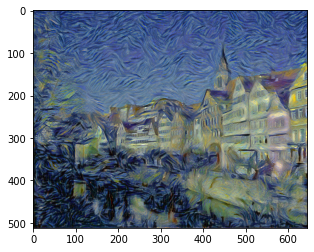
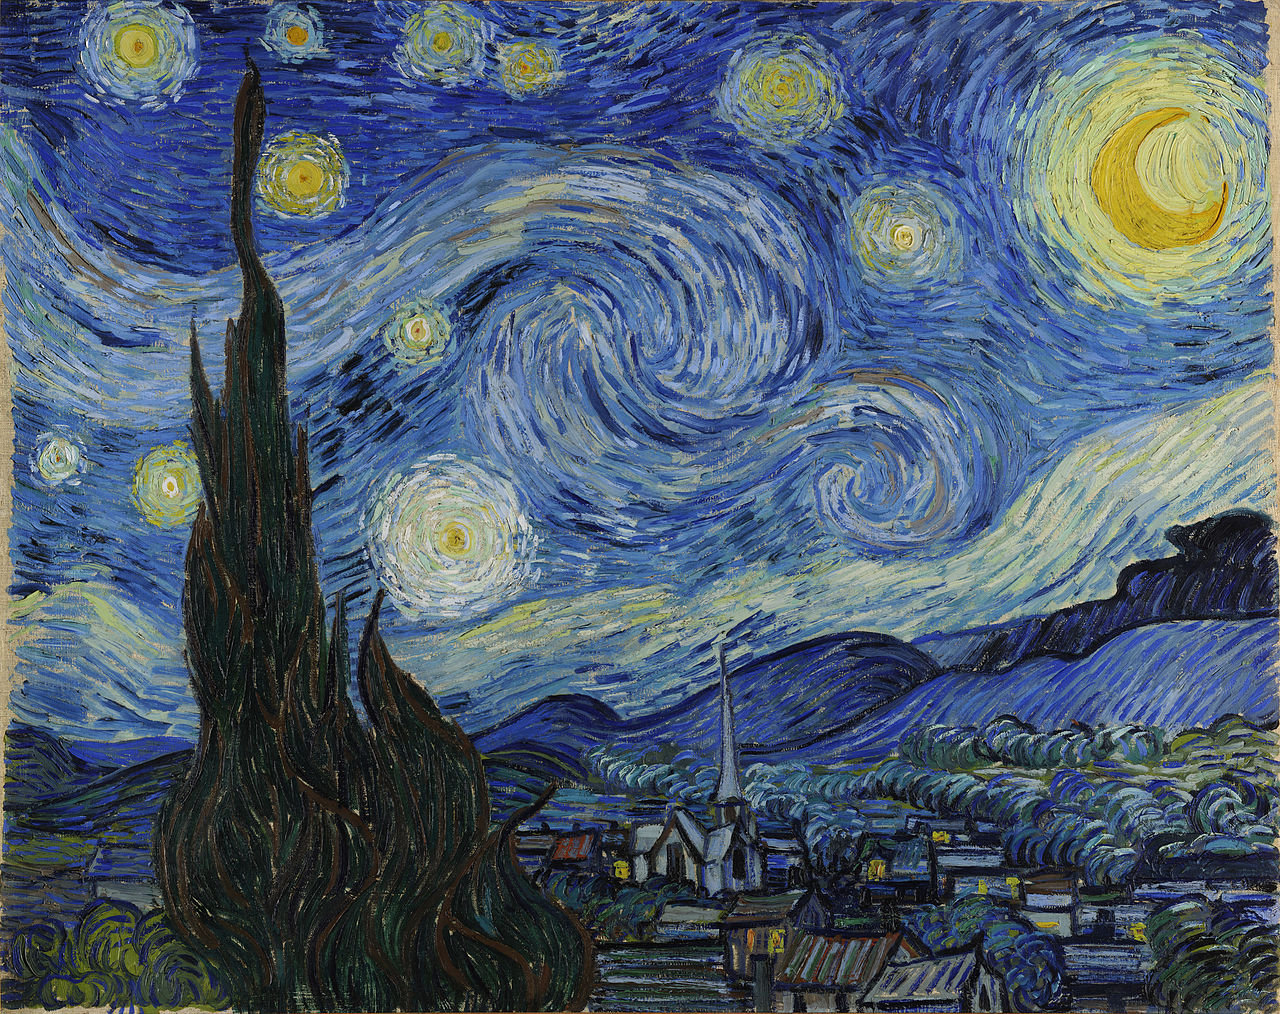
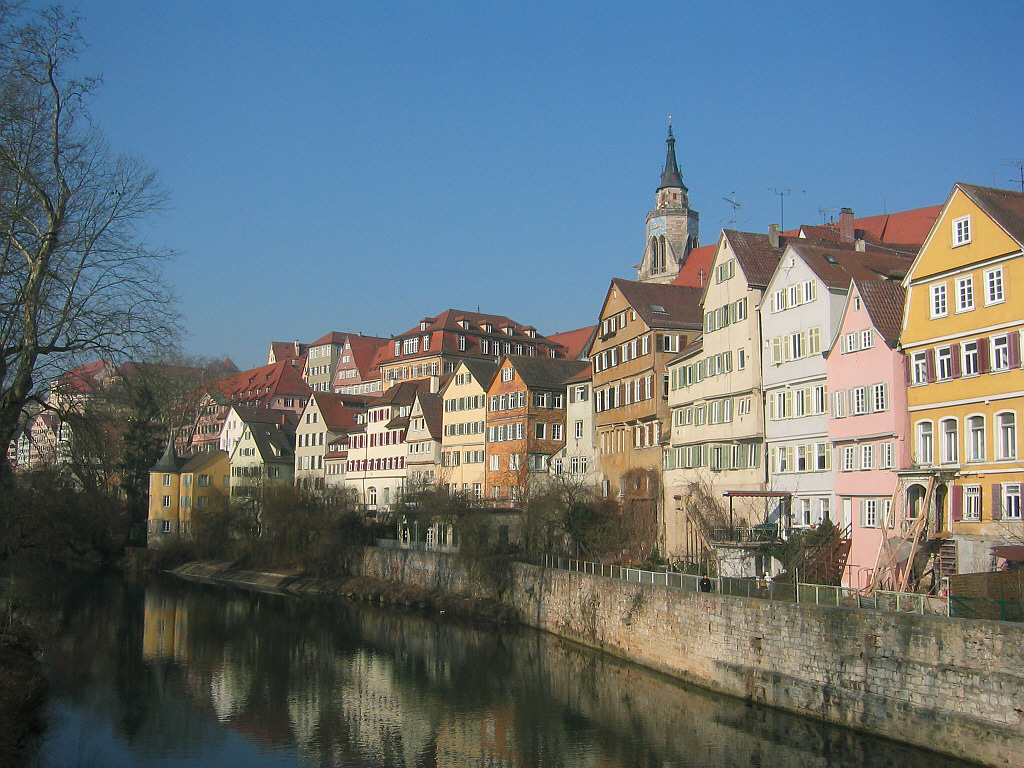
The purpose of this project was to use an adapted convolutional neural network to take some input image and change it so that it represents the actual content of one image while recreating it in the artistic style of another image. We represent the content by reconstructing the image using the feature maps of a given convolutional layer especially since higher level layers (the 3rd/4th/5th convolutional layers) will have feature maps that capture information about the greater content rather than specific pixel values. For the style recreation, we use correlations between different features in different conv layers of the CNN, and the more conv layers we use for this correlation, the more the style will be matched. A visual representation of this idea can be seen below with Starry Nights as the style image and the Tubingen image as the content image.
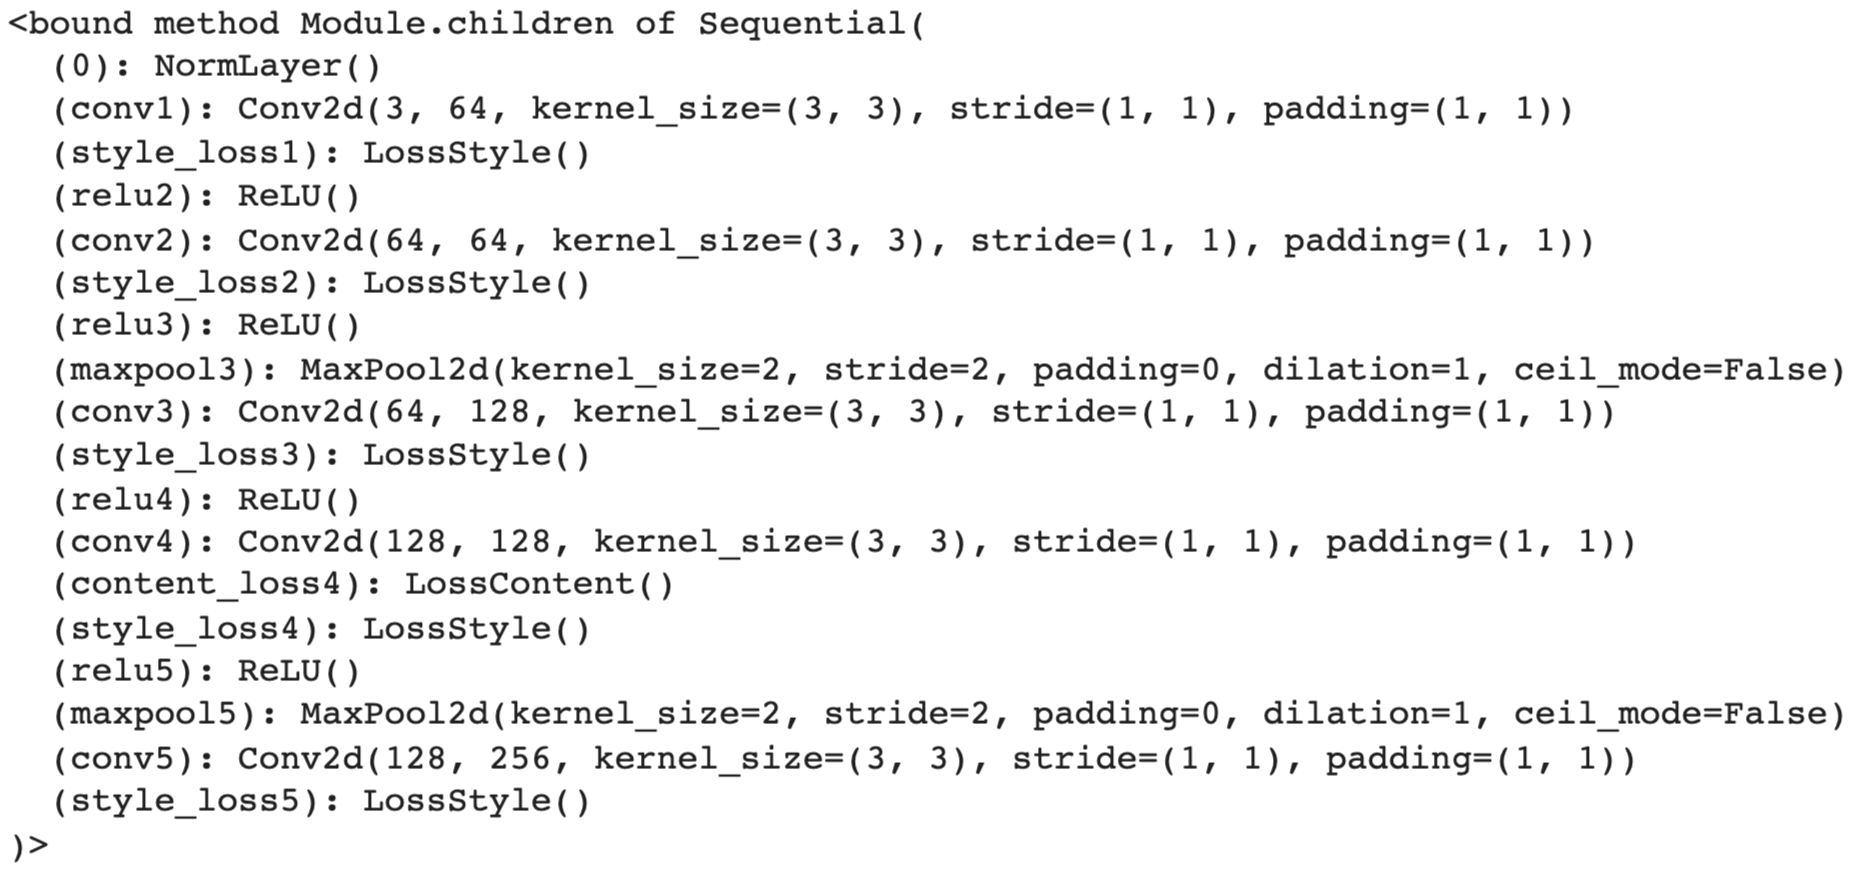
To get the CNN to recreate the content and style of the given images, we define two new types of loss: Content Loss which calculates the squared difference between the feature representation of the content image and the generated image. We also define a Style Loss that finds the square difference between the gram matrix entries of style image and the generated image, where the gram matrix entries are the product of the vectorized feature maps with their tranpose for a given layer. To incorporate these losses in my network, I chose to write 2 modules for them so that I could then add them in sequentially after the desired convolutional layers and then during backpropogation, the network would try to change the parameters to reduce the losses. These modules can be seen below:

Finally, I imported in a pre-trained VGG-19 network (as the paper recommended) and iterated through its layers to remove any fully connected layers (Since we want feature representation not classification), add the Content Loss and Style Loss layers after the desired convolutional layers, and to discard any unnecessary layers (We don't need all 16 convolutional layers). For the actual style transfer, I go through 300 iterations using the LBFGS optimizer (Which got me lower losses than Adam) and in each iteration, I clear the gradients, sum up the style and content losses together (multiplying them by coefficient weights since style_losses tend to be much smaller), and then run backpropogation to update the final output image.
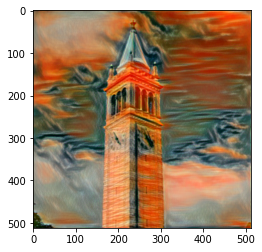
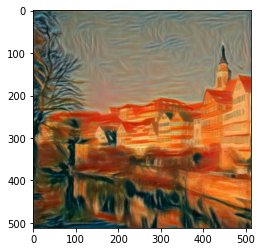
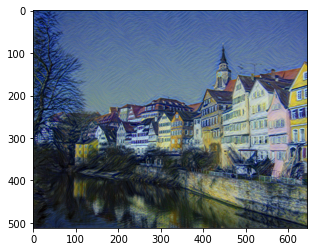
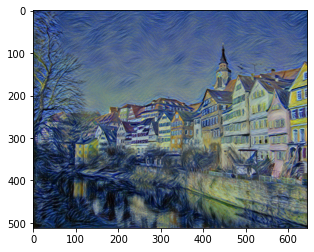
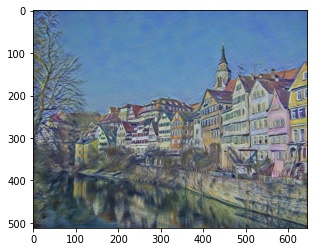
One of the difficulties I encountered was that my output images were not colored according to the style image I had passed in. I tried changing the number of convolutional layers that the Style loss was applied to along with the weight coefficient for these style losses but this did not lead to any significant difference. After some Googling, I realized that the VGG network was trained on images that were normalized using a set of mean/std_dev values and since I was using a pre-trained network, I also needed to standardize the input images. Therefore, I added a normalization layer to the network and as can be seen below, this improved the color for the Van Gogh style image by introducing more of the blue and yellow hues.

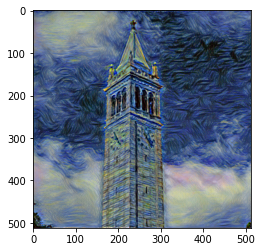
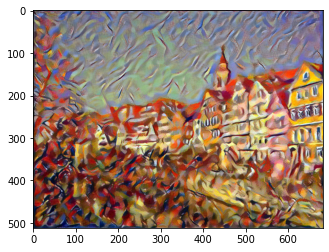
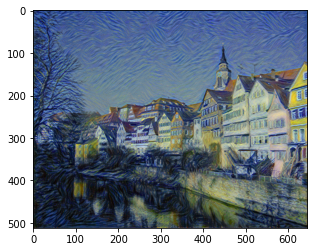
One of the hyperparameters was the weight coefficient of the different losses. As mentioned before, the style loss tends to be several orders of magnitude smaller than the content loss, therefore, it needs a much larger coefficient (On the scale of 1e5 to 1e7). As this coefficient is increased, the image will prioritize the style representation more and some potential outputs can be seen below. The visual sweetspot seems to be somewhere around 1e6.
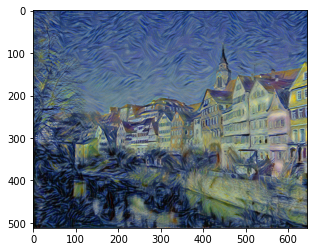
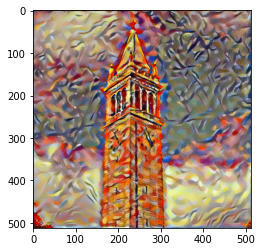
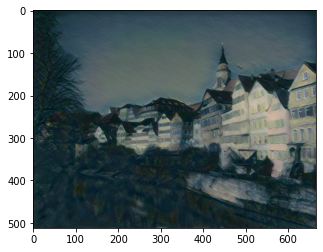
Another important hyperparameter was which convolutional layers the content loss is applied to and which layers the style loss is applied to. As explained above, applying the content loss to higher layers preserves larger content features whereas lower layers will cause the network to replicate pixel-level details. As for the style loss, the more layers it is applied to, the more the style will be matched since it computes correlations across different layers. Some different combinations are shown below:
Below is the final network architecture used and some of the style transfer results:
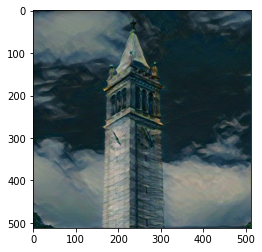
Images Used:
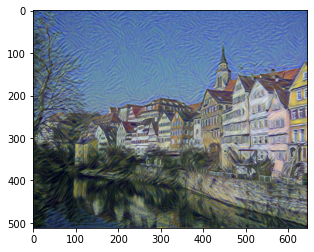
Style Transfer Results: