

The objects which are far away from the camera do not vary their position significantly when the camera moves around while keeping the optical axis direction unchanged. The nearby objects, on the other hand, vary their position significantly across images. Averaging all the images in the grid without any shifting will produce an image which is sharp around the far-away objects but blurry around the nearby ones.
Similarly, shifting the images 'appropriately' and then averaging allows one to focus on object at different depths.
The shift-and-add algorithm is used for depth refocusing: for every sub-aperture image l(x, y), compute the (u, v) corresponding to that image. Shift the sub-aperture image by C*(u, v), and average the shifted images into an output image. C is chosen by hand here, but can also be chosen according to best alignment. A larger C indicates refocusing further from the physical focus. The sign of C affects whether one focuses closer or further.
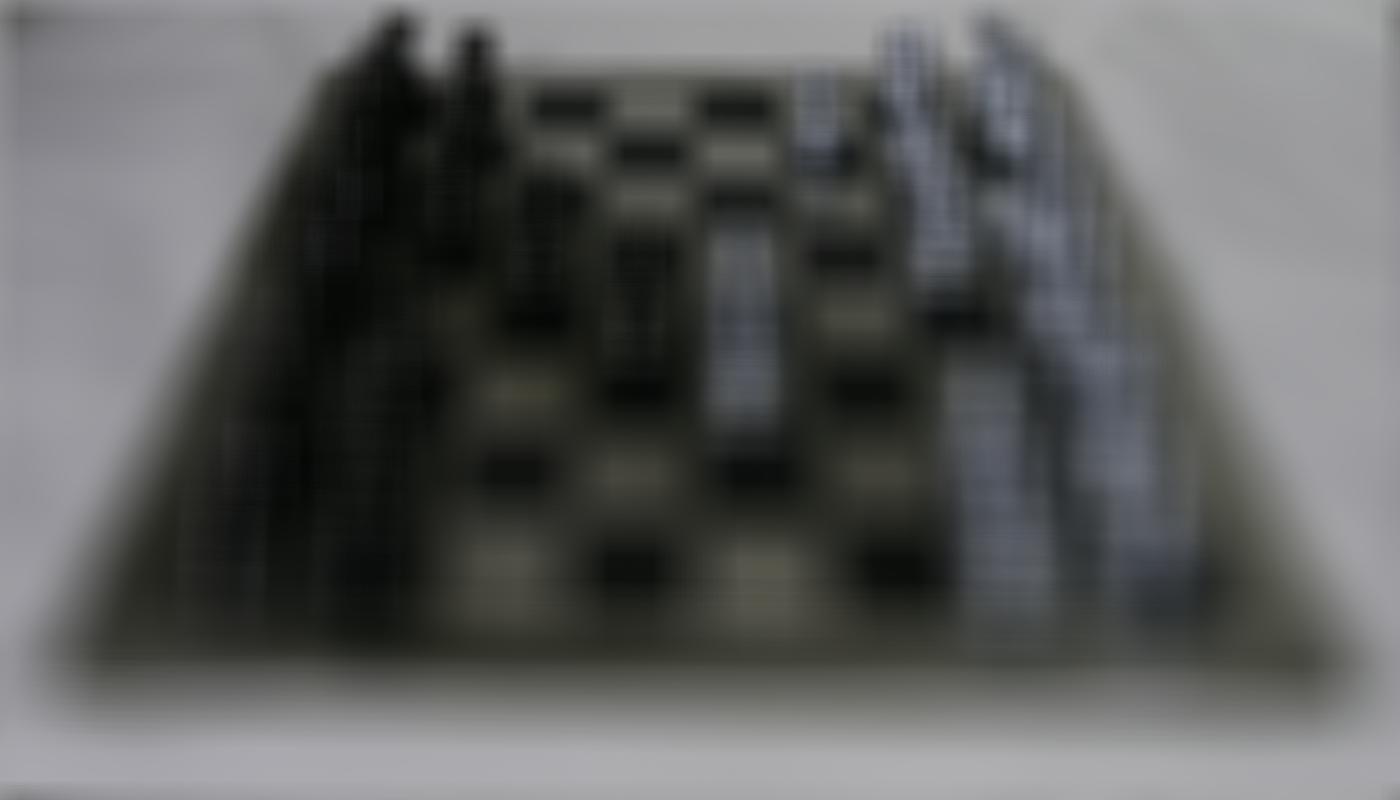
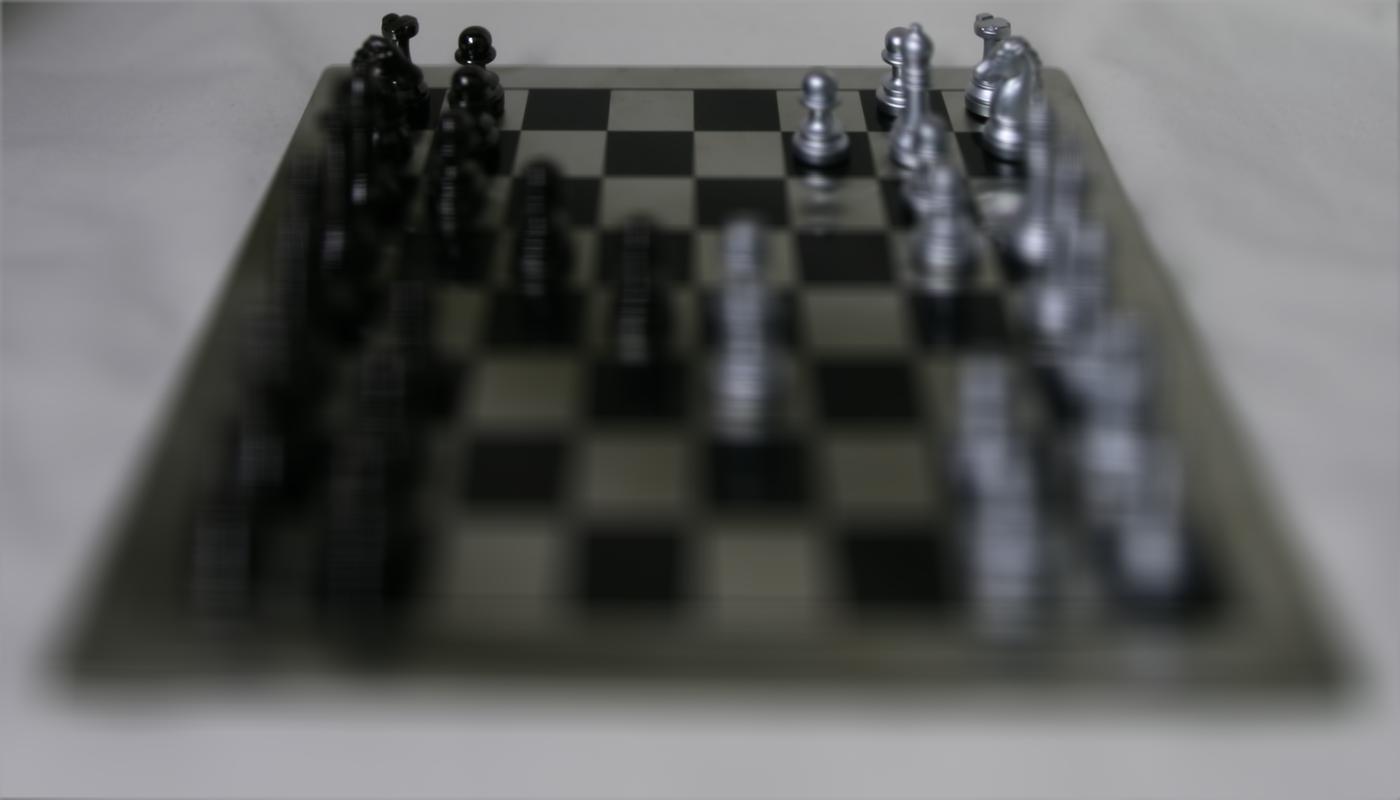
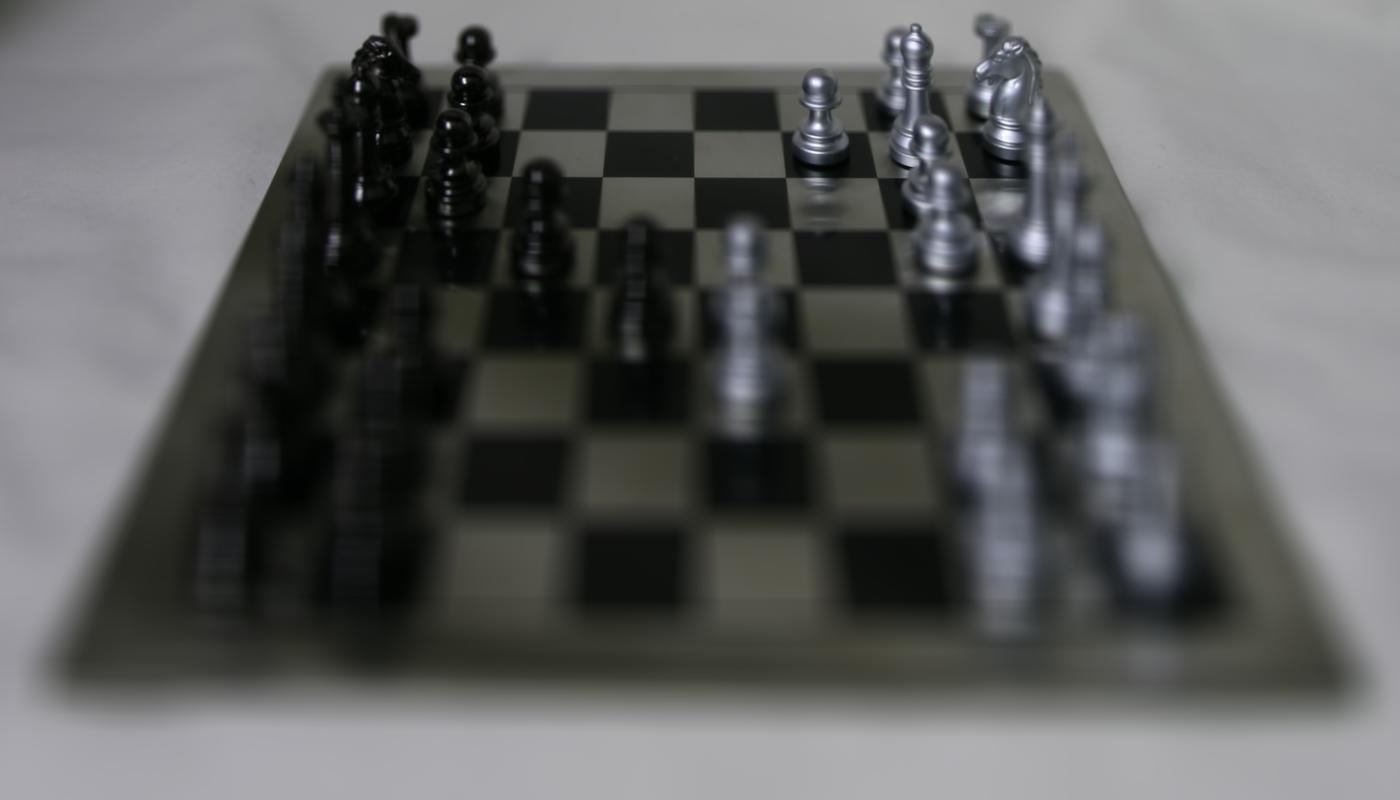
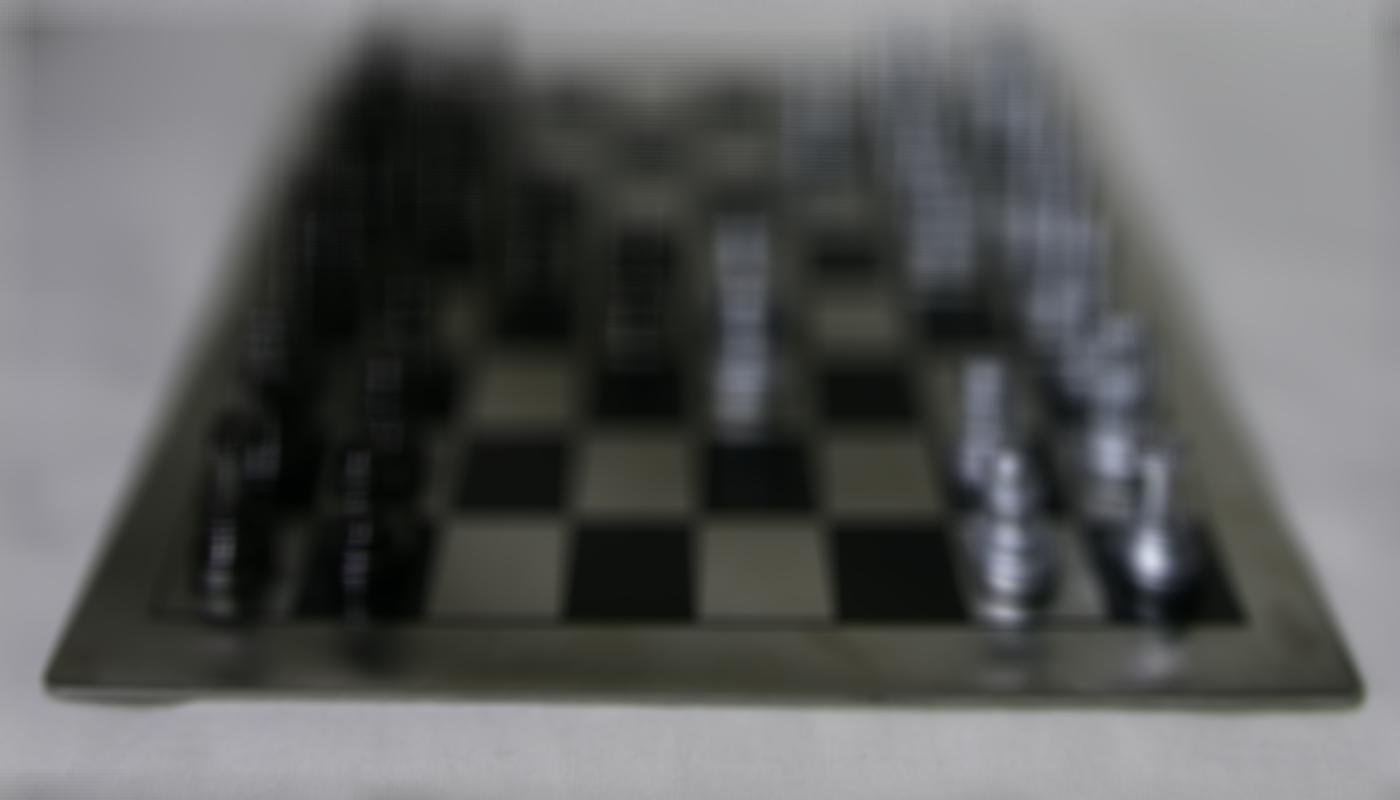
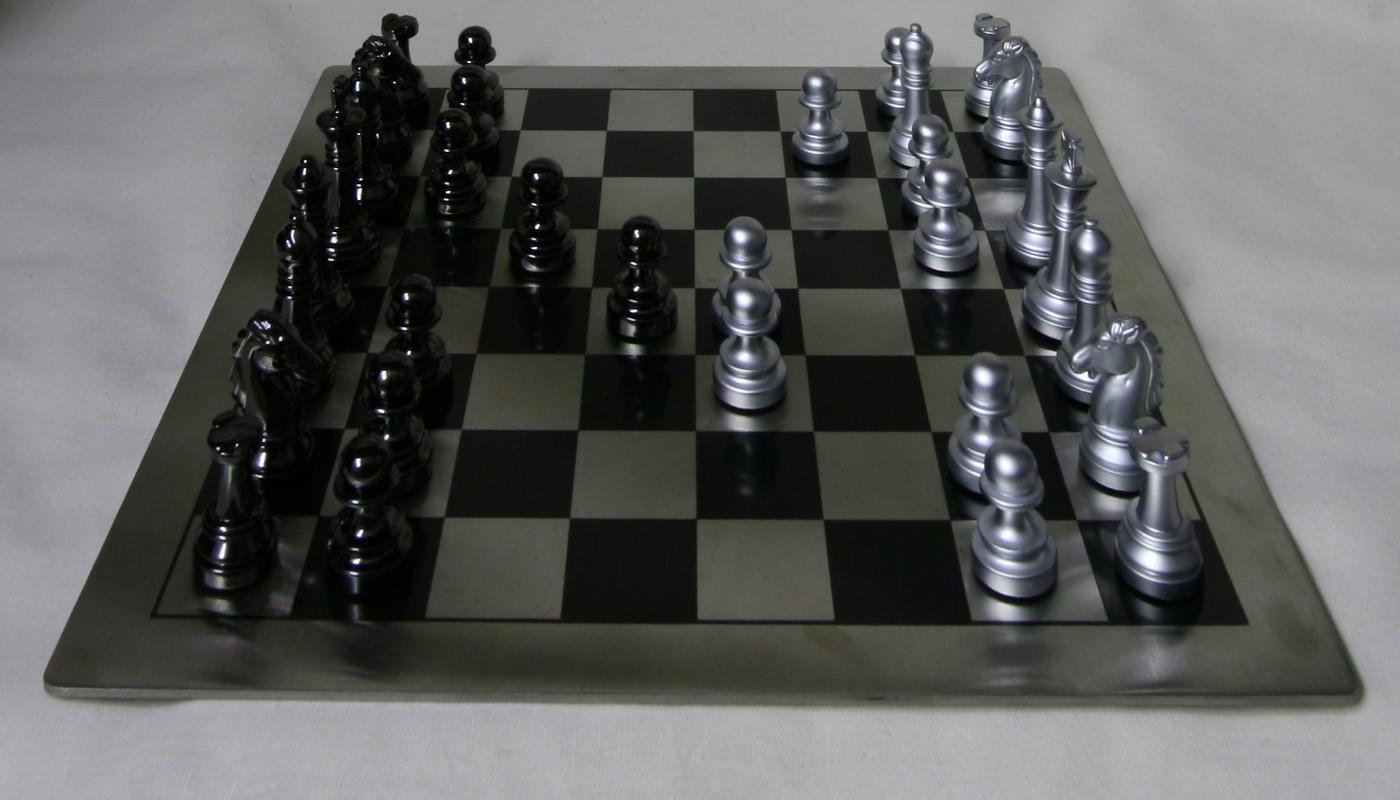
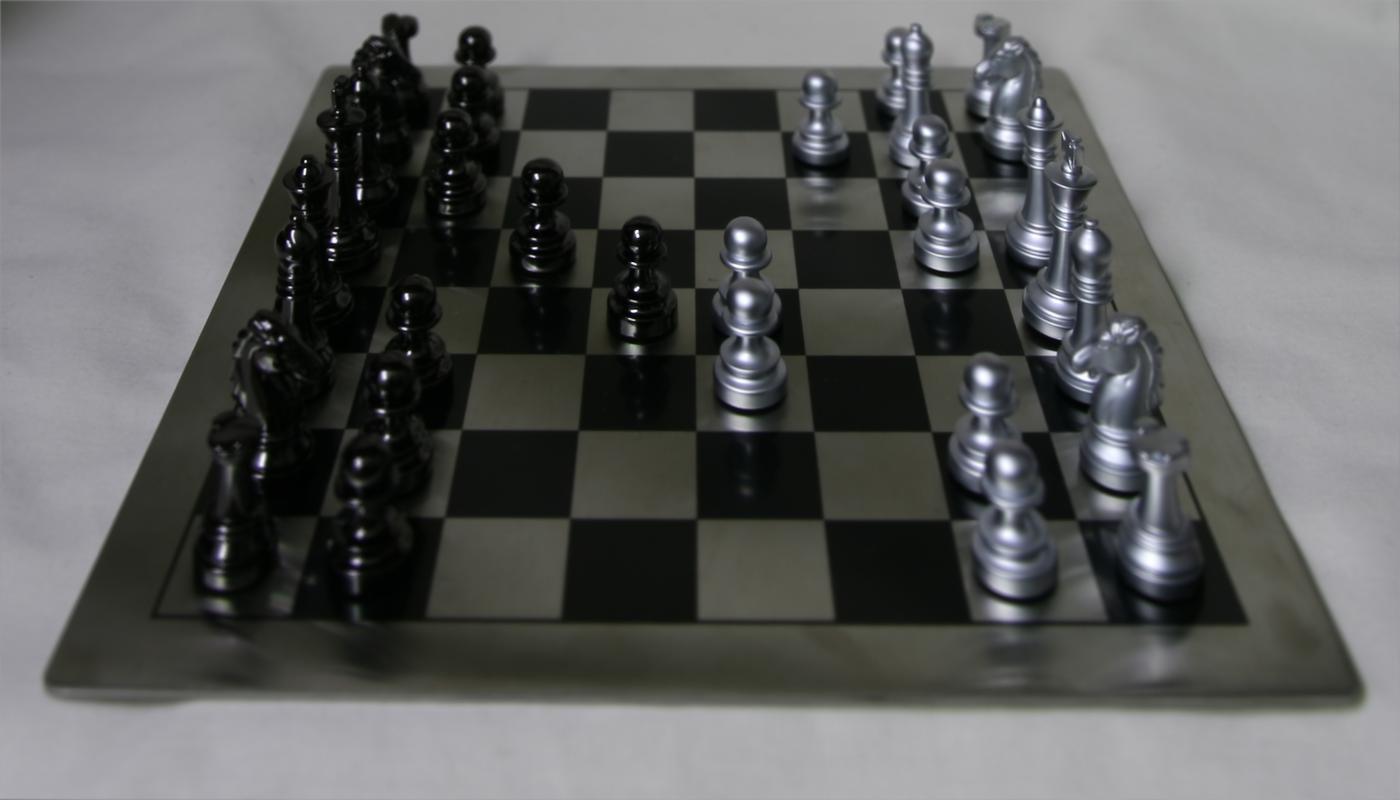
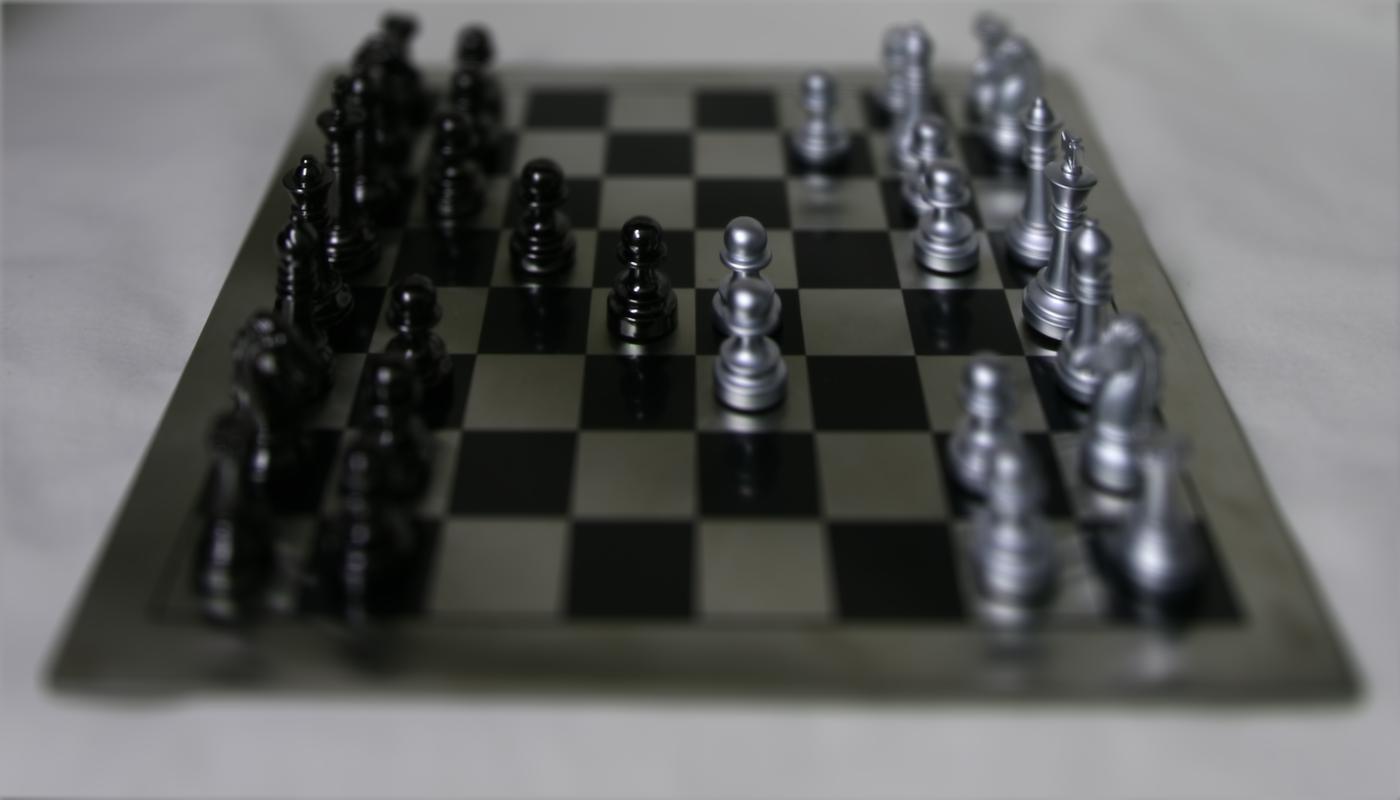
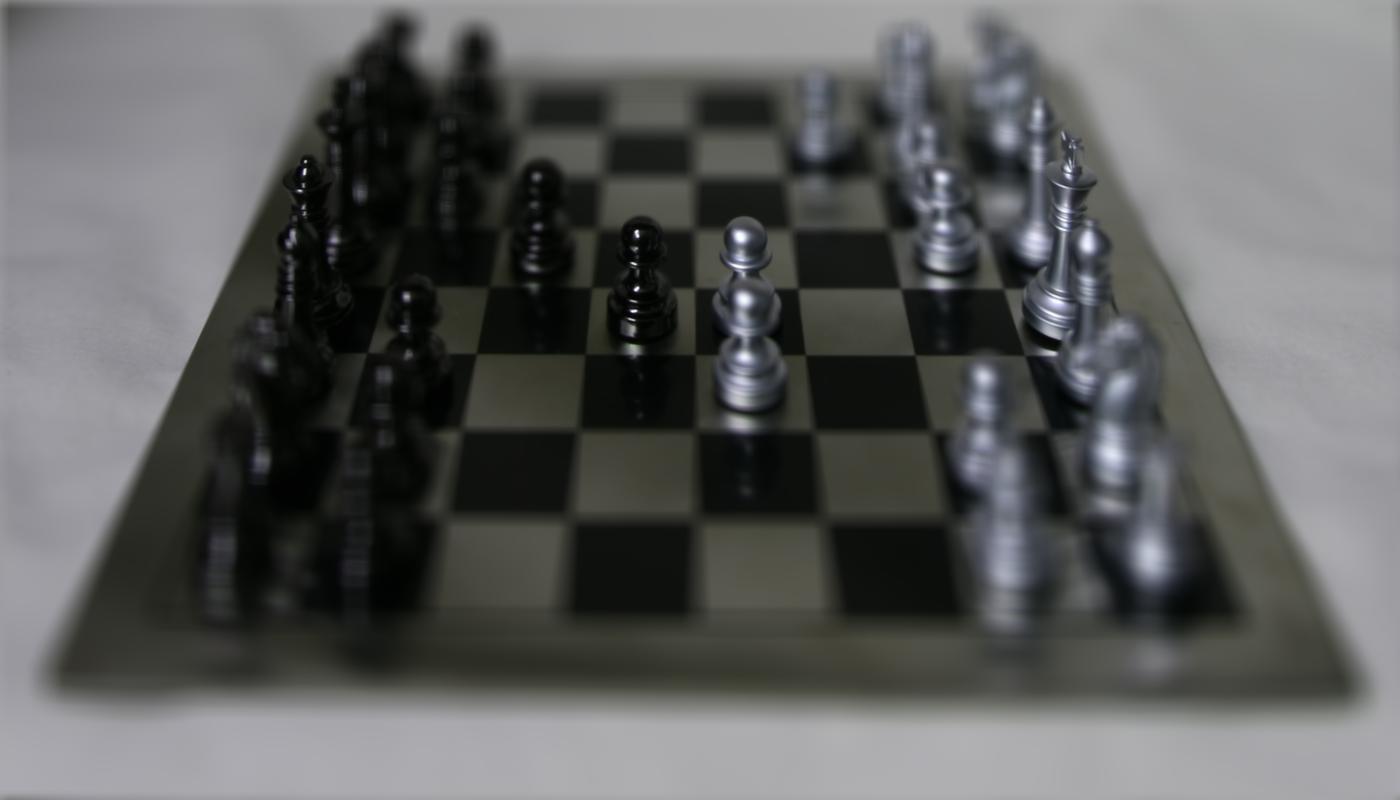
Below is the images of different C for chess images.
| C=-0.5 | C=-0.4 | C=-0.3 |
|---|---|---|
|
|
|
| C=-0.2 | C=-0.1 | C=0 |
|---|---|---|
 |
 |
 |
| C=0.1 | C=0.2 | C=0.3 |
|---|---|---|
 |
 |
 |
| C=0.4 | C=0.5 | C=0.6 |
|---|---|---|
 |
 |
 |
| C=0.7 | C=0.8 | C=0.9 |
|---|---|---|
 |
 |
 |
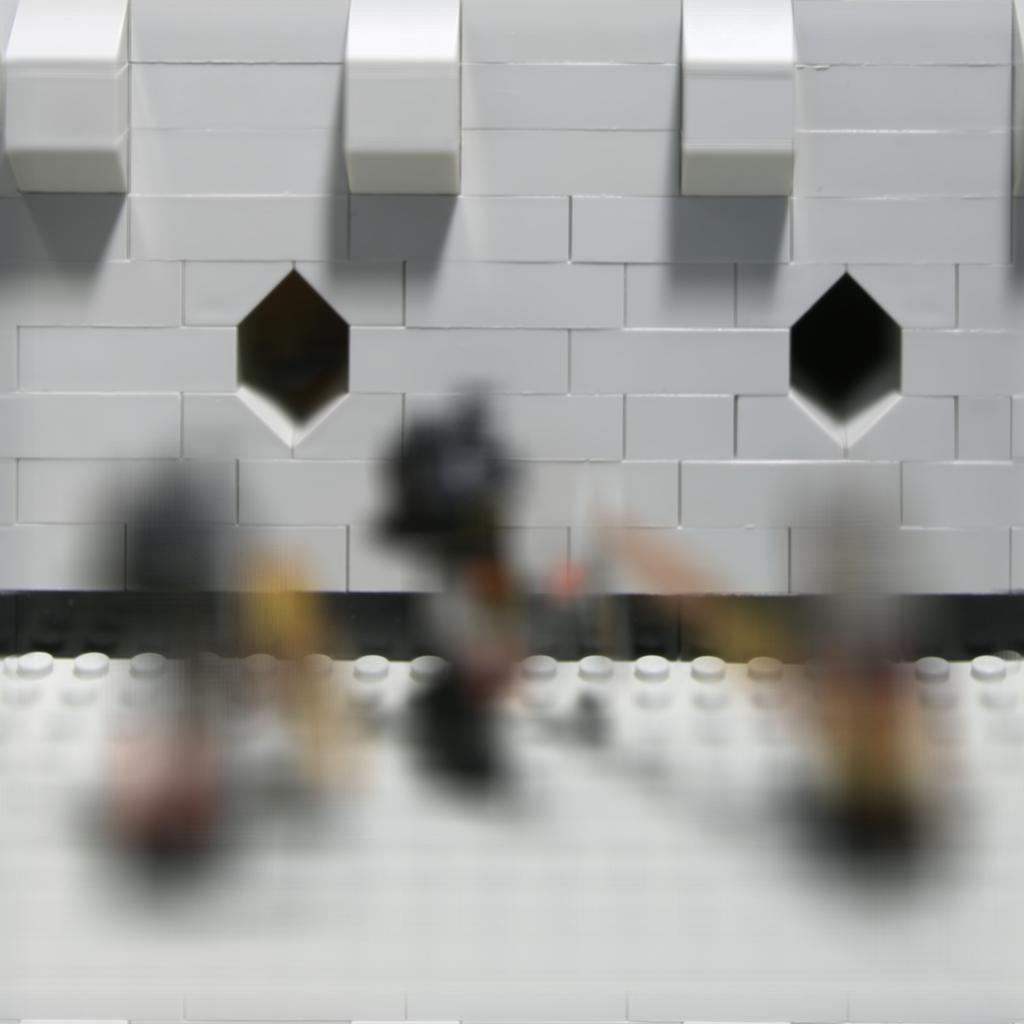
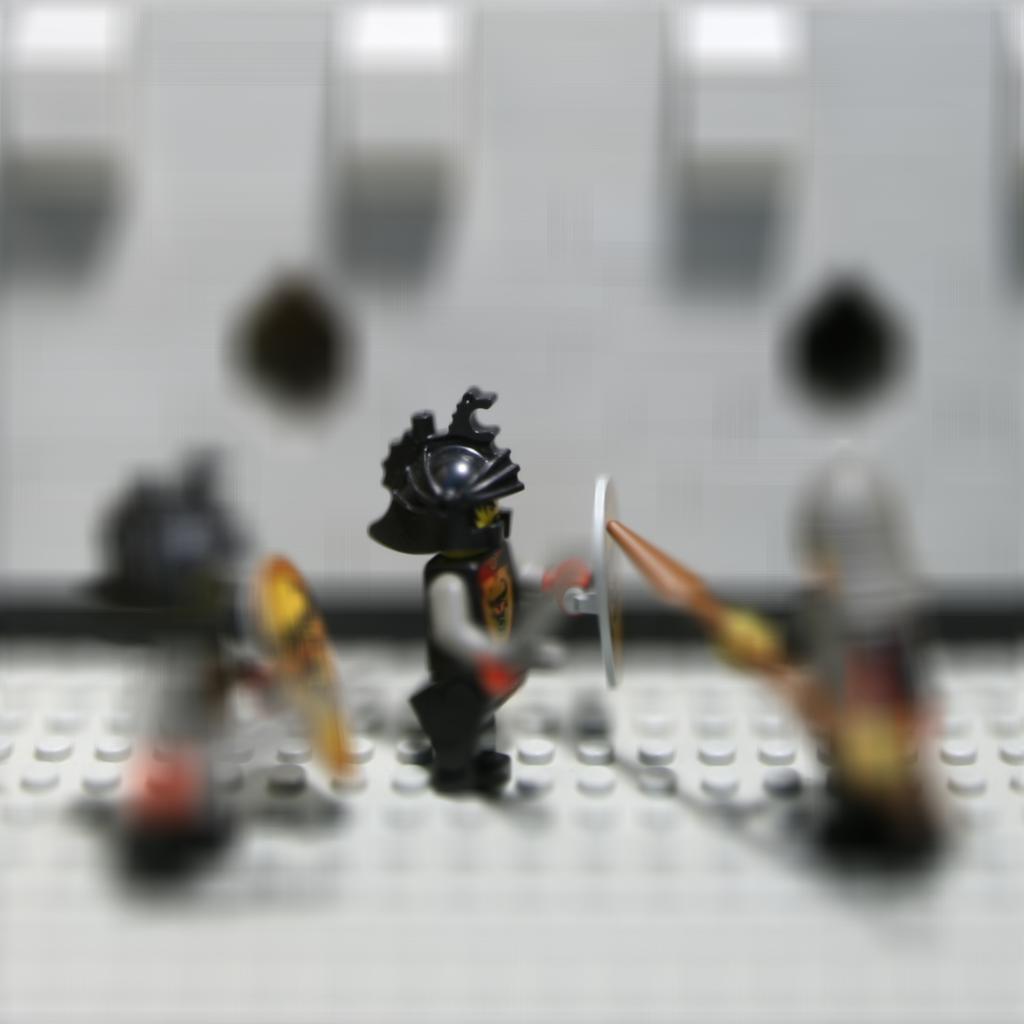
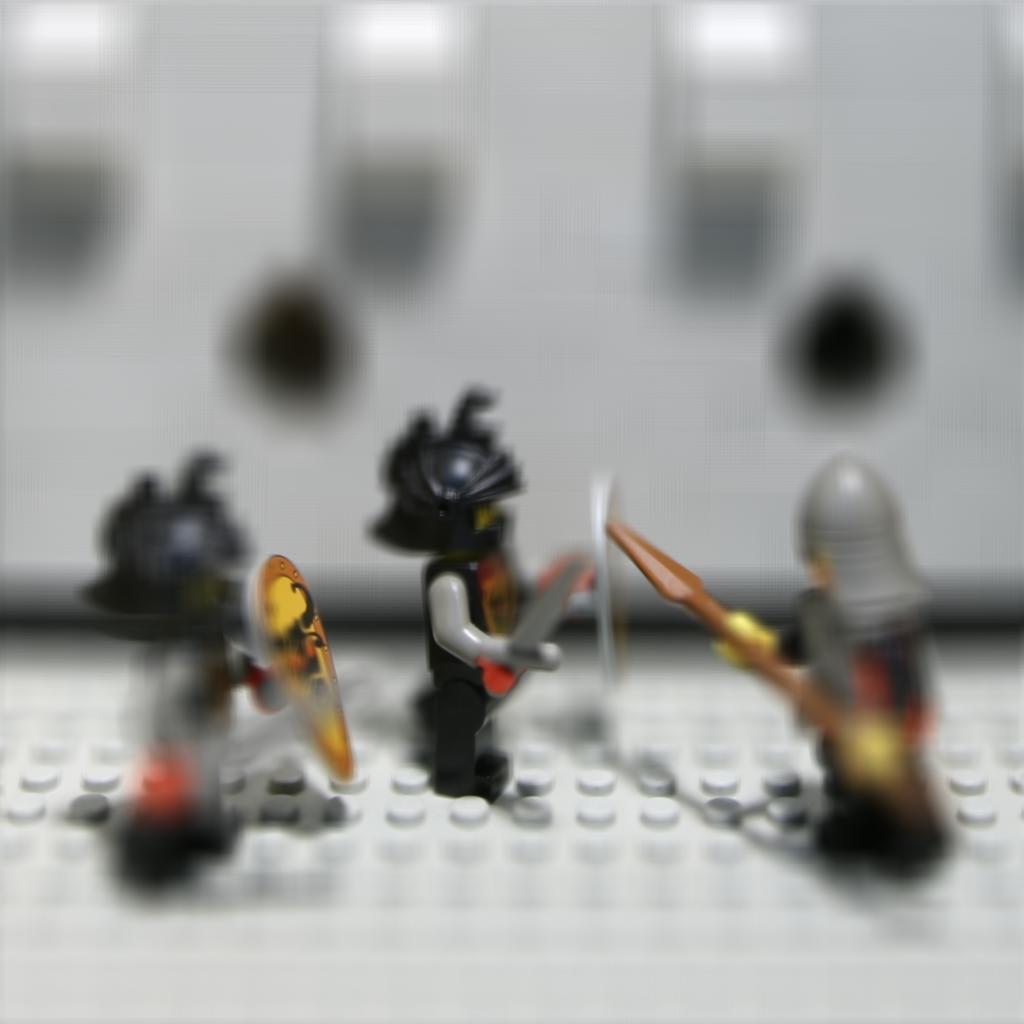
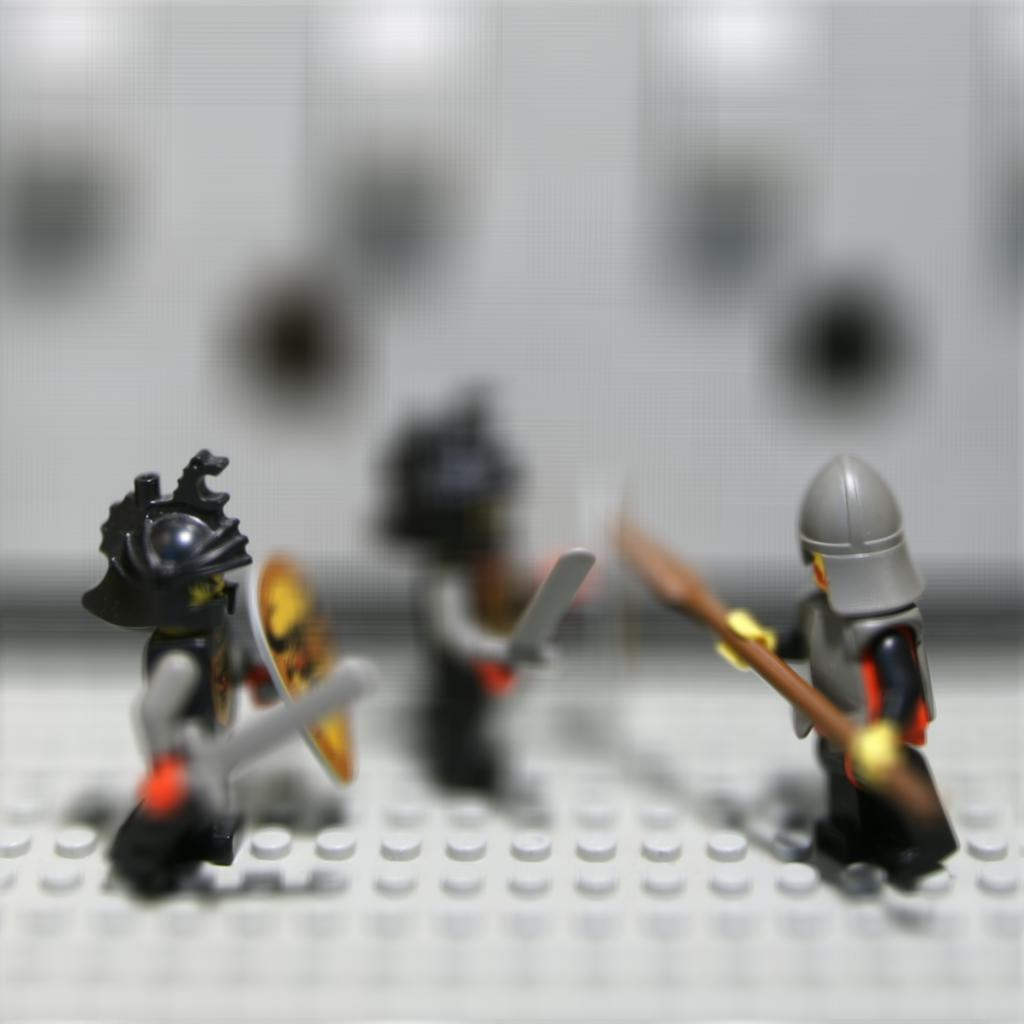
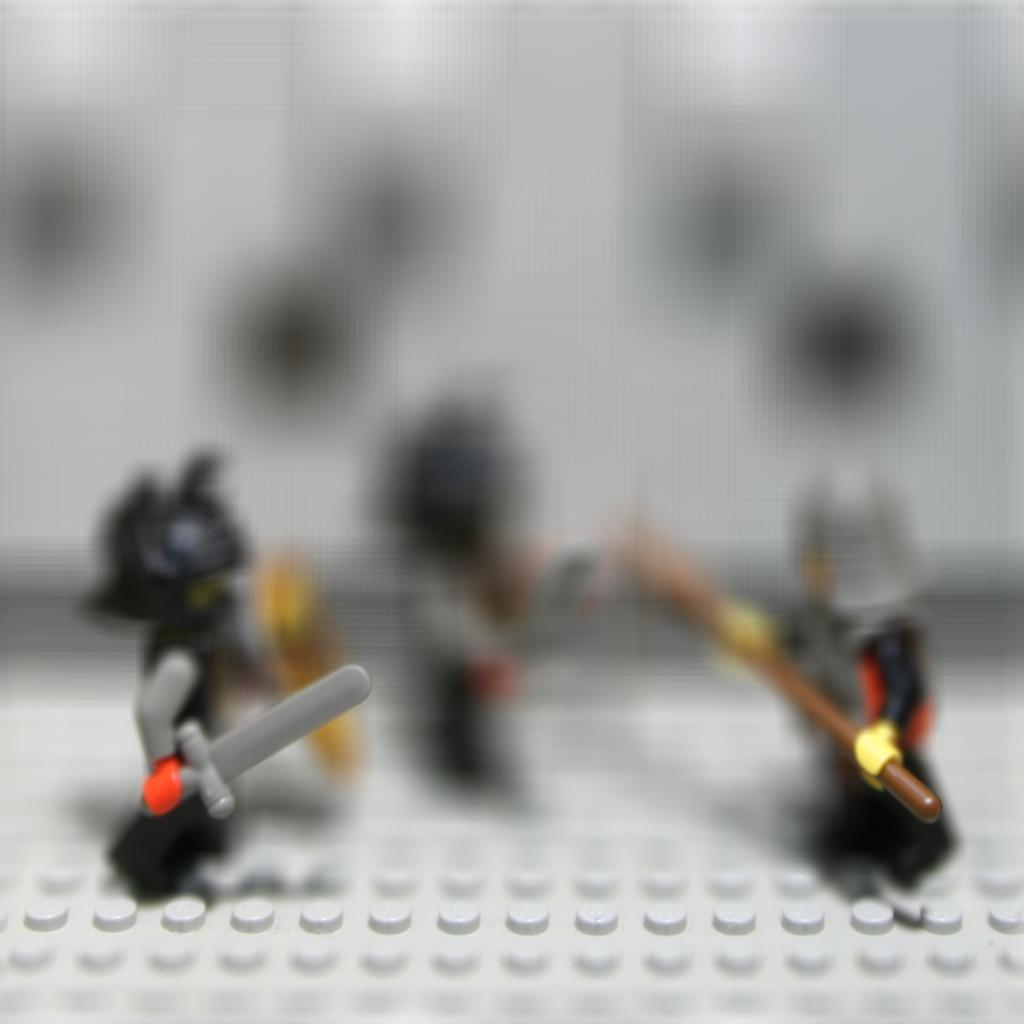
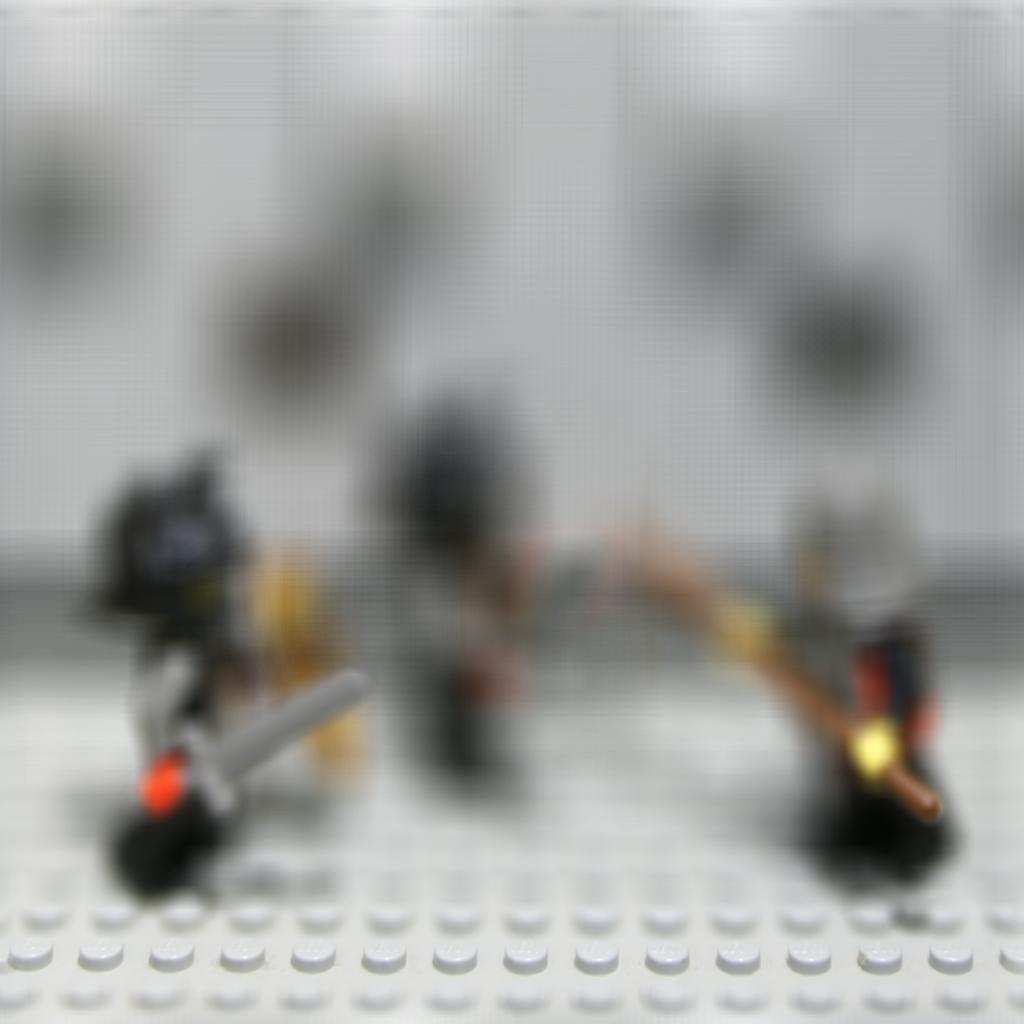
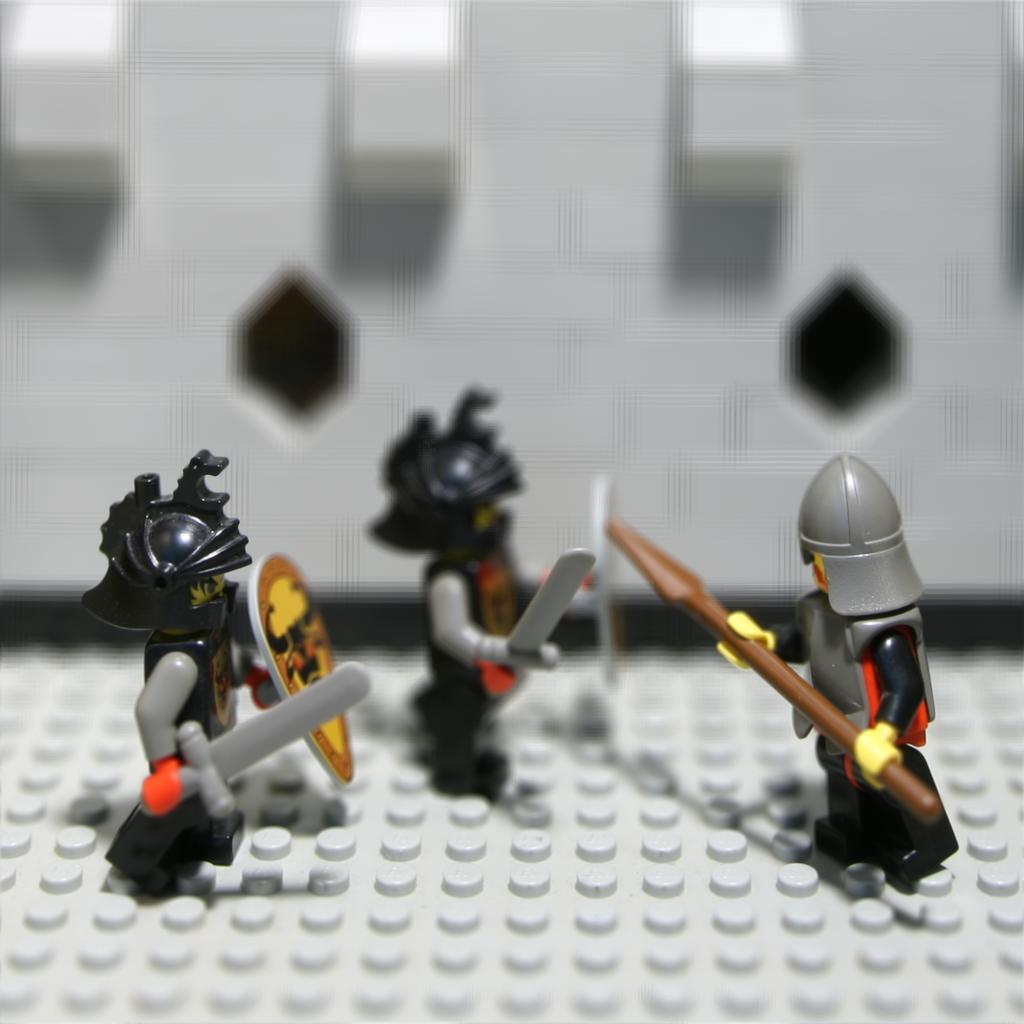
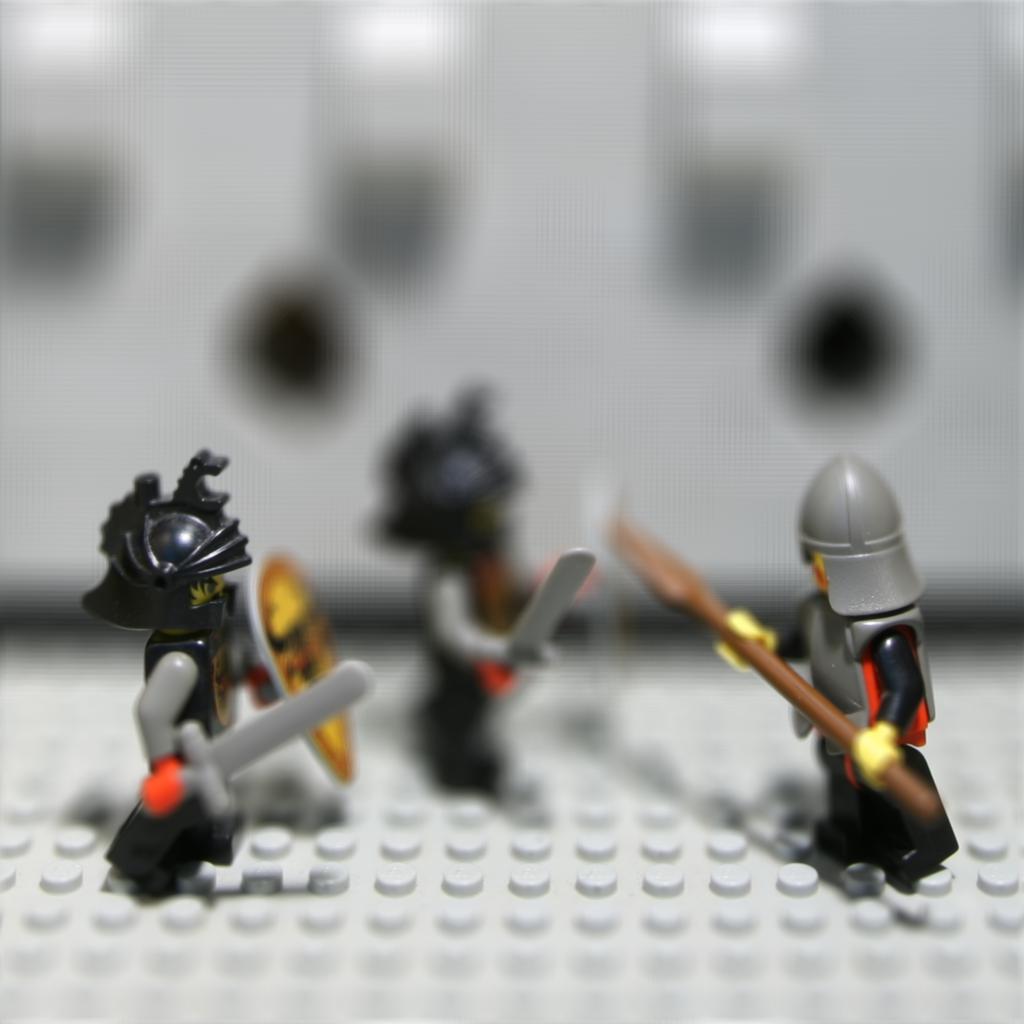
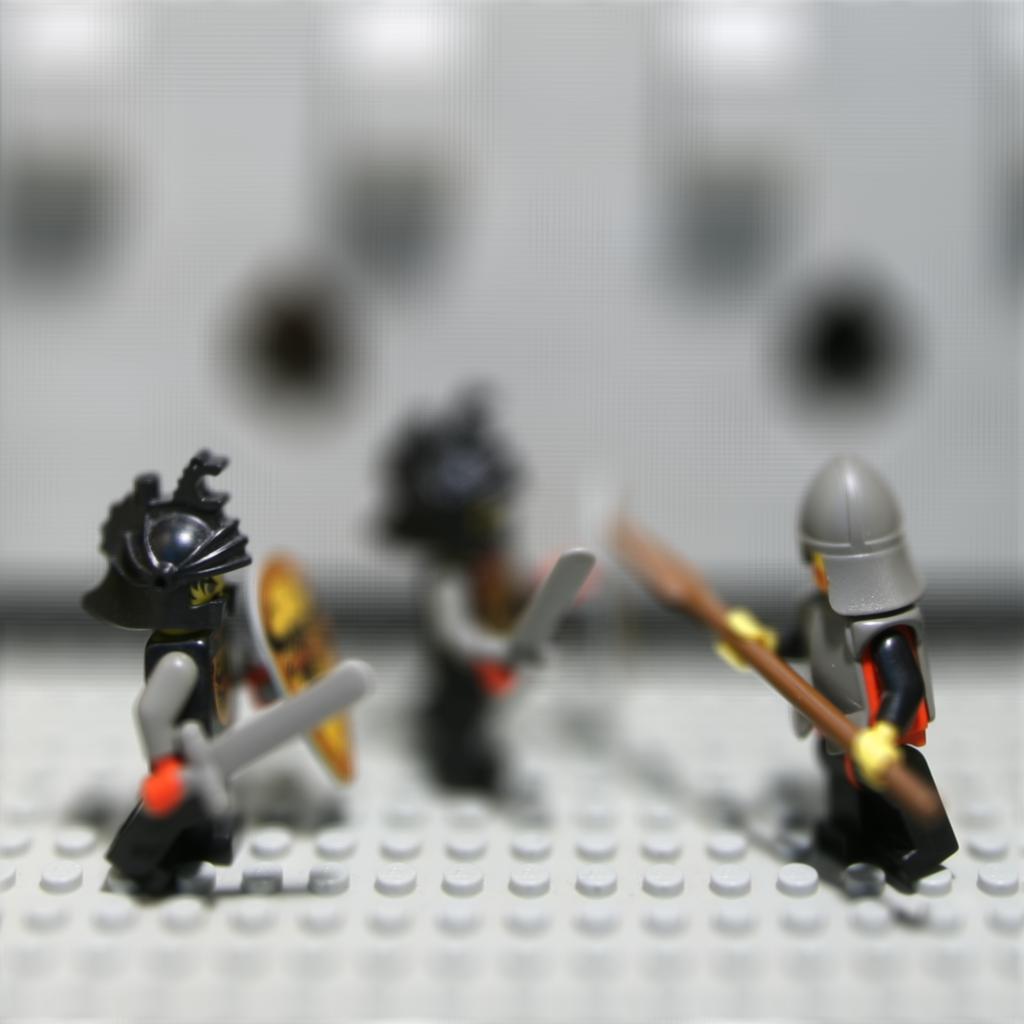
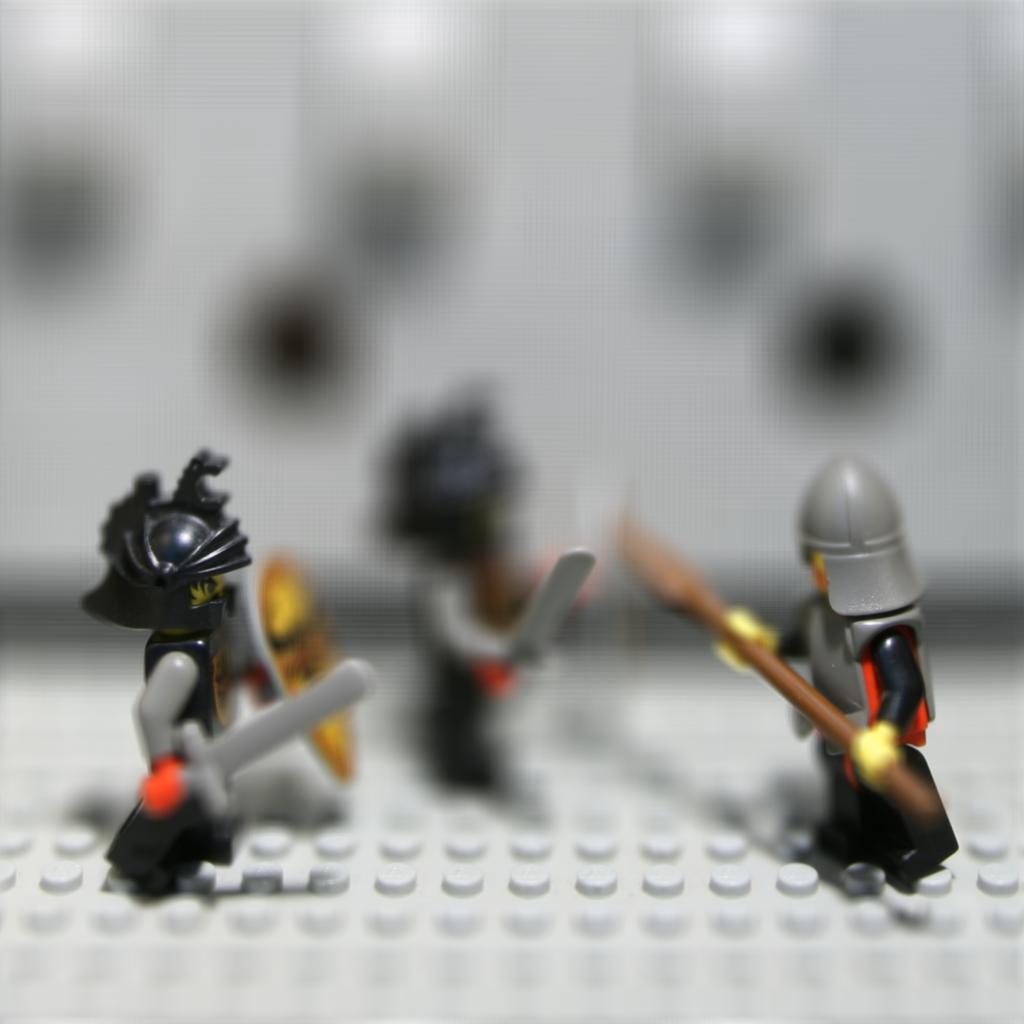
Below is the images of different C for lego images.
| C=-0.5 | C=-0.4 | C=-0.3 |
|---|---|---|
 |
 |
 |
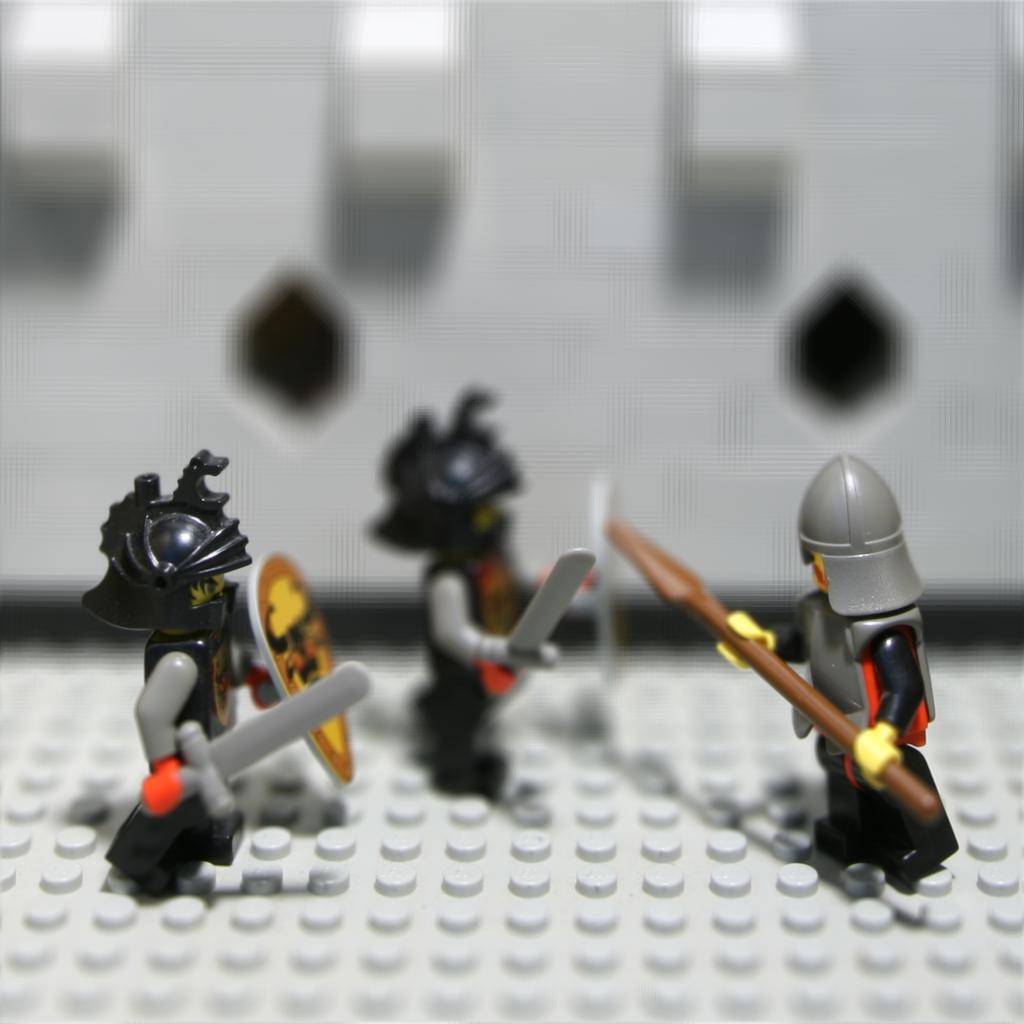
| C=-0.2 | C=-0.1 | C=0 |
|---|---|---|
 |
 |
 |
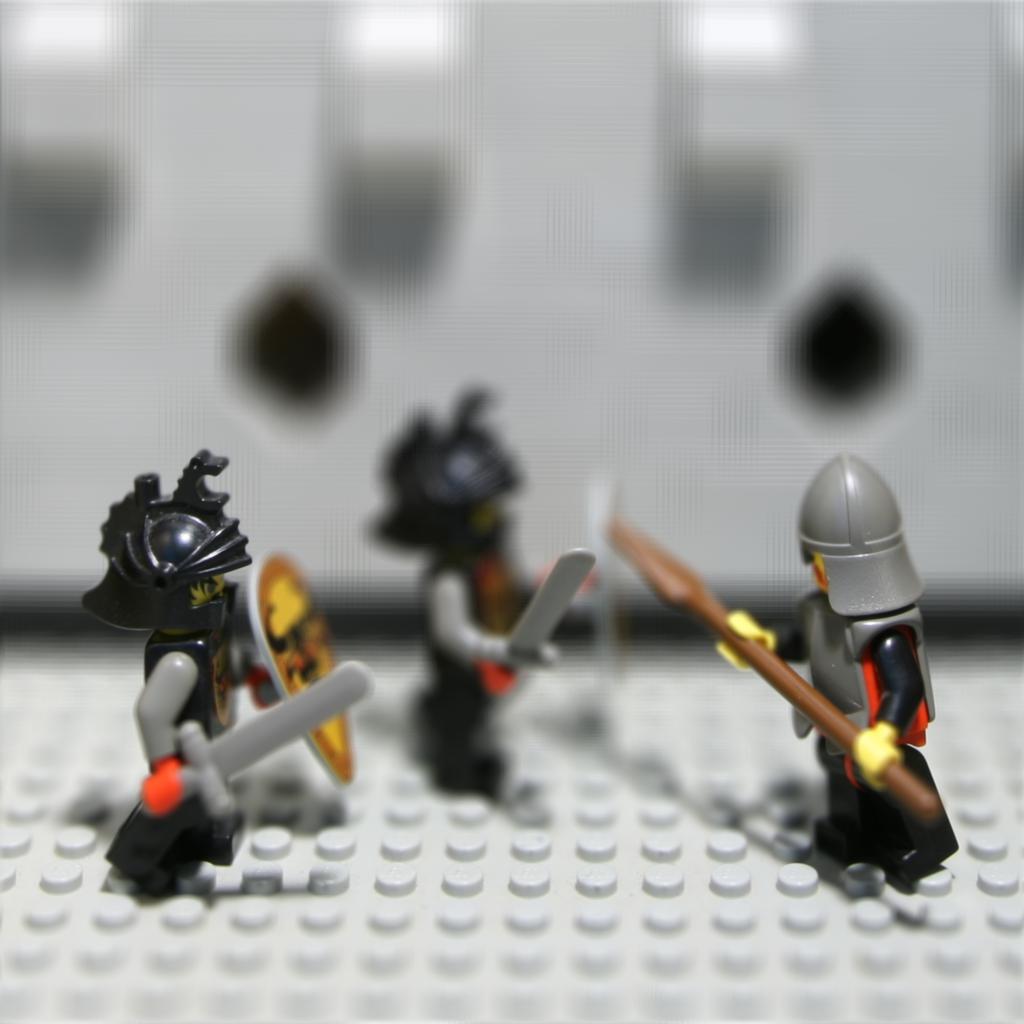
| C=0.1 | C=0.2 | C=0.3 |
|---|---|---|
 |
 |
 |
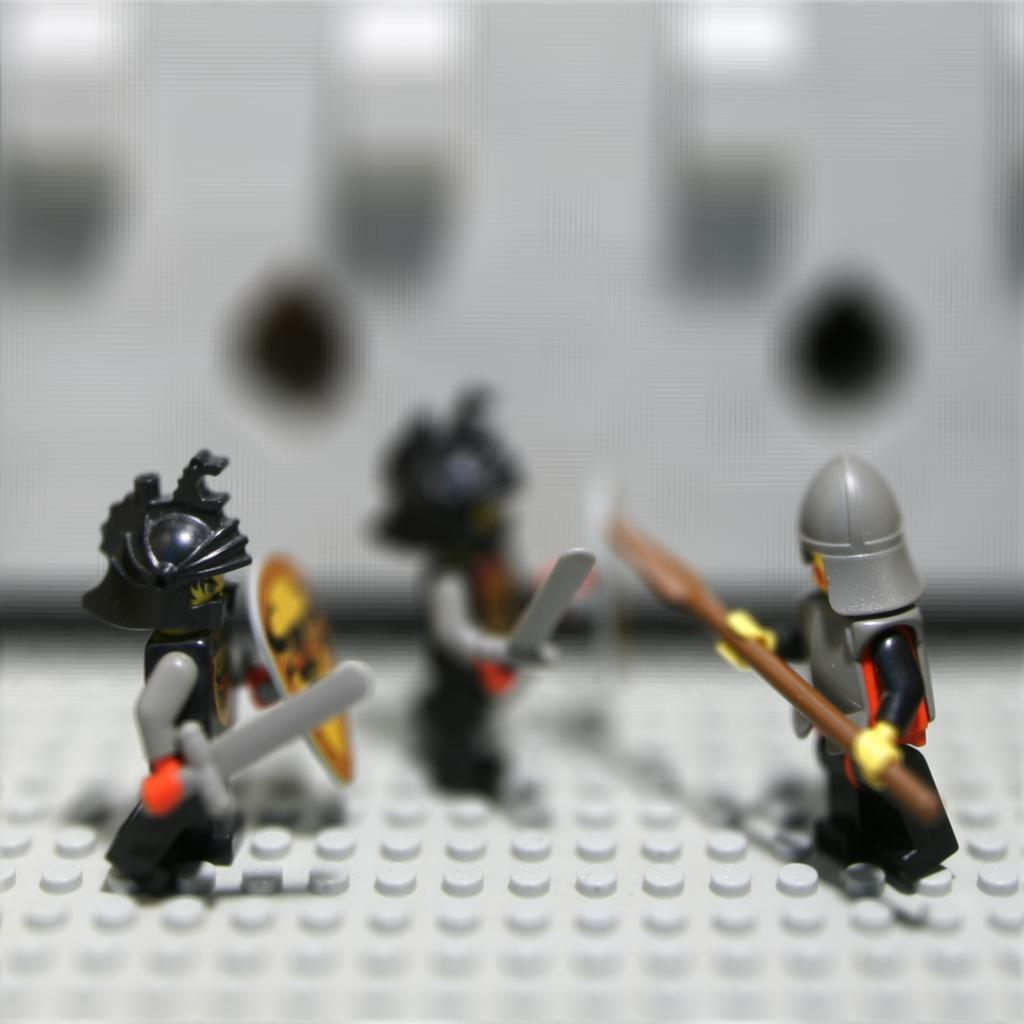
| C=0.4 | C=0.5 | C=0.6 |
|---|---|---|
 |
 |
 |
| C=0.7 | C=0.8 | C=0.9 |
|---|---|---|
 |
 |
 |
Using the same principle, we can also modify the aperture size by holding the magnitude constant but selecting a different sample of the light-field data. A single image contains almost no depth of field effect, but by adding nearby samples of the plenoptic function, we can simulate a change in aperture size and increase the depth of field effect.
Below is the images of different radius(while keeping C at 0.23) for chess images.
| Radius=0 | Radius=1 | Radius=2 |
|---|---|---|
 |
 |
 |
| Radius=3 | Radius=4 | Radius=5 |
|---|---|---|
 |
 |
 |
| Radius=6 | Radius=7 | Radius=8 |
|---|---|---|
 |
 |
 |
| Radius=9 | Radius=10 | Radius=11 |
|---|---|---|
 |
 |
 |
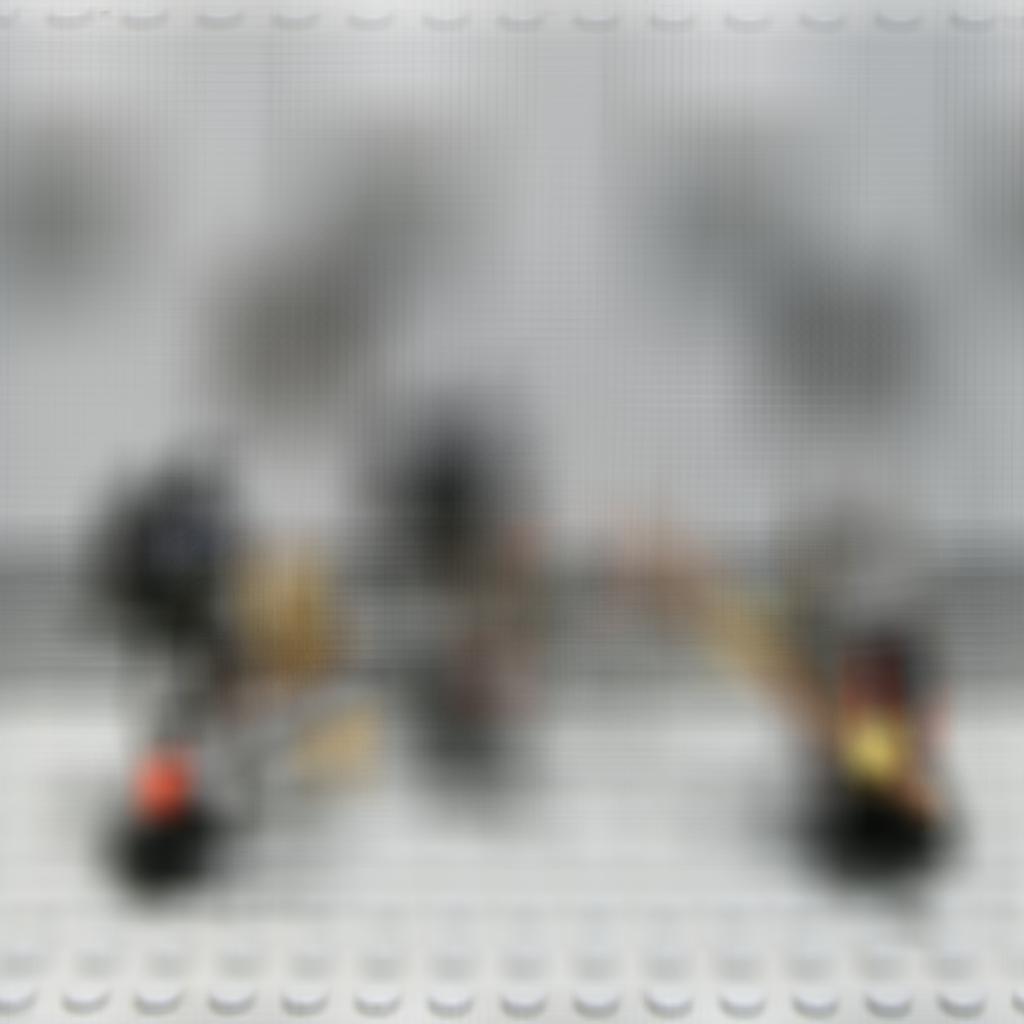
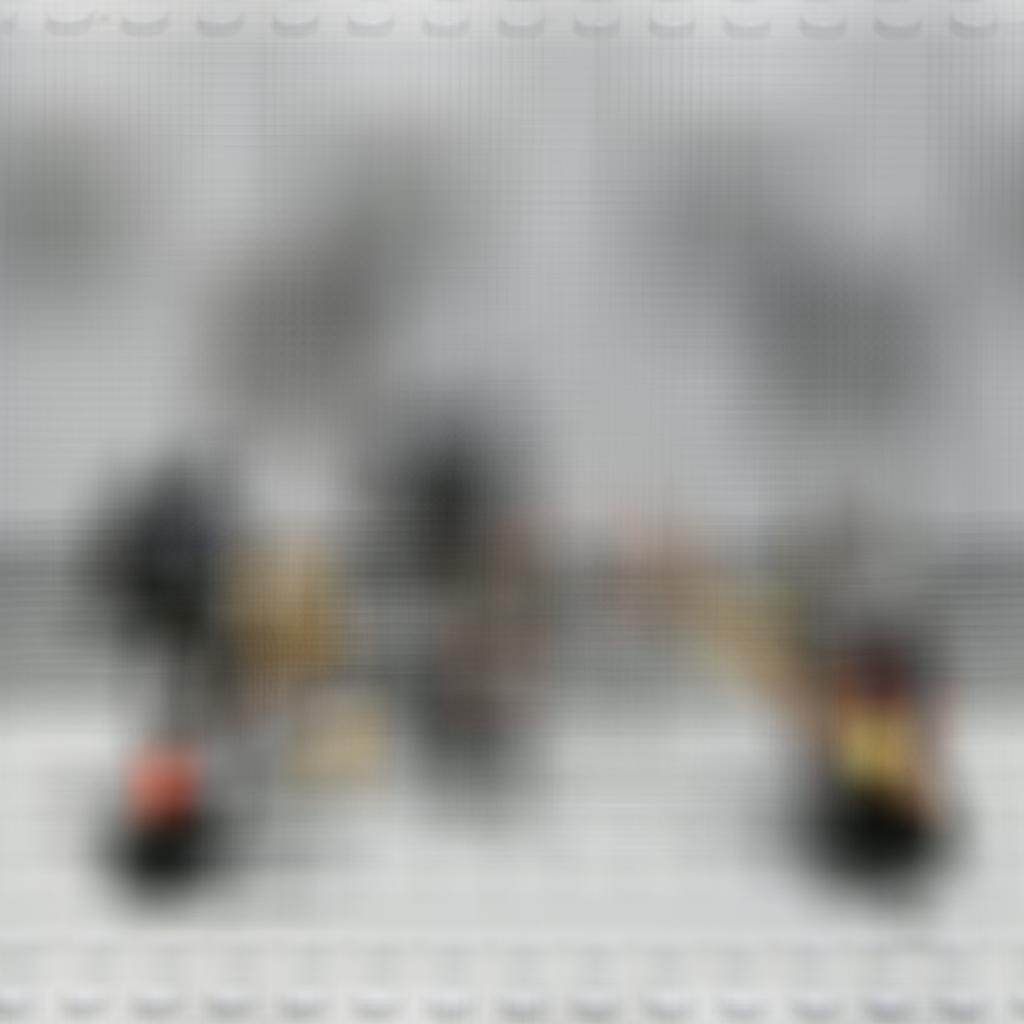
Below is the images of different radius(while keeping C at 0.15) for lego images.
| Radius=0 | Radius=1 | Radius=2 |
|---|---|---|
 |
 |
 |
| Radius=3 | Radius=4 | Radius=5 |
|---|---|---|
 |
 |
 |
| Radius=6 | Radius=7 | Radius=8 |
|---|---|---|
 |
 |
 |
| Radius=9 | Radius=10 | Radius=11 |
|---|---|---|
 |
 |
 |
This project gave me a better understanding of light field camera and its inner workings! It's crazy what we can achieve just using translation and averaging techniques!
Using Real Data : I created a 5 by 5 grid(each small block's length is exactly 0.5 inch) and positioned my iphone at 25 different spots to take 25 photos of my supplement bottle! Below I'll show case the video I generated. For each individual pictures, please refer to my gradescope submission files!
Discussion: Overall, I think the data collection can be considered as an success. In Bottle Refocus video, you can clearly see focuses at different depths(the bottle becomes clearer and clearer as the video progresses). In Bottle Aperture video, you can clearly feel the zoom-in effect.
Things I could improve: The pictures I took are definitely not perfect. It took me a lot of trials and errors to get these somewhat decent pictures. Hand-holding the iphone to take pictures is not ideal because it's hard to keep the tilt of the iphone consistent. In addition, taking more quality photos would be good to demonstrate a better result. For the aperture video, the maximum radius I could set for a 5 by 5 grid is three, which is clearly not enough if we want to demonstrate more aperture values!
The neural style transfer project has been easily one of my most favorite projects from this semester. For this project, we have to reimplement this paper by Leon A. Gatys, Alex S. Ecker and Matthias Bethge. The essence of the algorithm is to minimize a two component loss which can be split out in a content loss and a style loss by running backprop on the desired output image.
For the model, you are supposed to use some certain pre-determined layers of the VGG-19 CNN. The layers of interest that were essential for the style loss are conv11, conv21, conv31, conv41 and conv51 and the layer important for the content loss is conv42. Where we calculate the loss through taking MSE loss between the gram matrix of our target features and our current features. For the content loss, we take the MSE Loss between the target and input image. Original paper has some constant numbers before squared errors for both style and content loss but I argue we can just use MSE Loss here because the constant numbers get absorbed when we multiply the MSE loss with weight values. Since weight values for content and style are something we can tune, we can just use MSE Loss here!
Another thing to notice in the paper is that all max pooling operations are replaced by average pooling. This is to improve the gradient flow.
Below is the architecture of the VGG19 model I used. I use the exact same model from the paper. I changed all max pooling layers to average pooling layers.
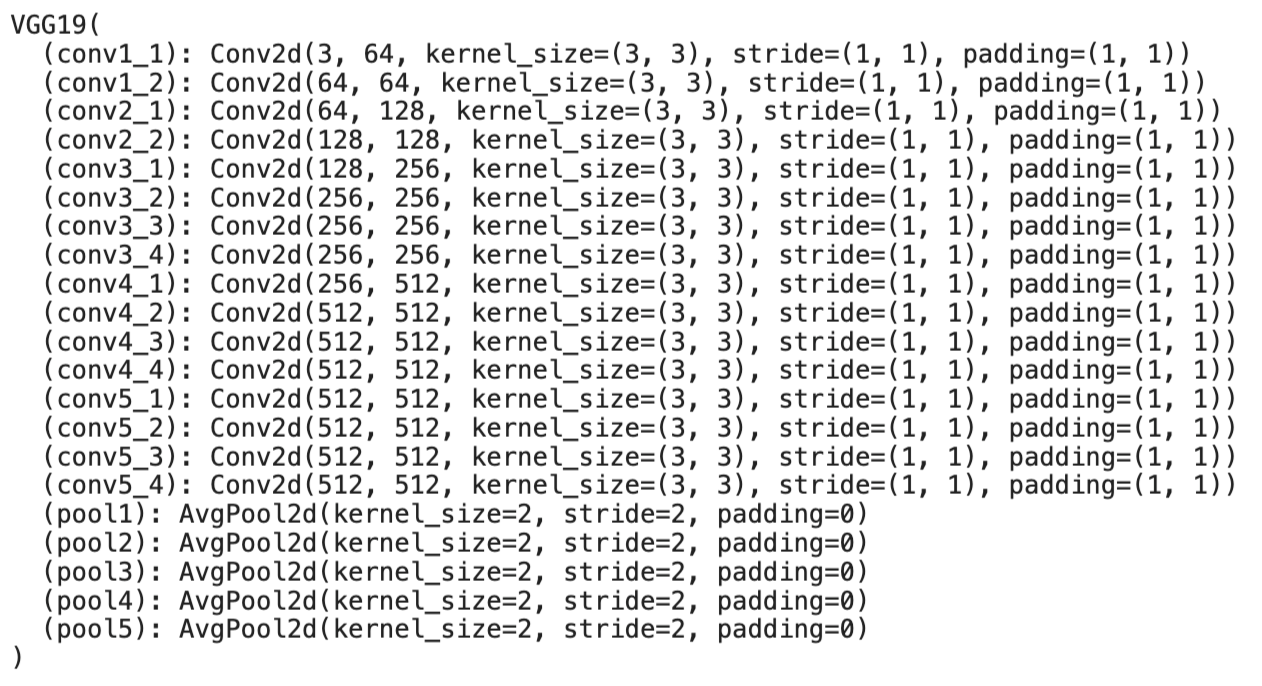
VGG 19 Model
Modifications I made: I used 3e4 and 1e5 for style weight and content weight respectively. I originally used the weighting factor guides from the paper. Later on, I played around with the two weights and found that these two weights gave me better visual results! So I will be using these two weight factors to generate my images.
Another important modification I made which also improved my resulting images is the initialization image. In the paper, the authors did gradient descent on a white noise image. This works too but the resulting image quality isn't that good. In addition, it takes for the image to reach the ideal stage. Thus, I'll be using the content image as my initialization image, which not only makes the the whole stylization process faster but also gives better result.
Parameters that I used in my model implementation are as follows: styleweight = 3e4, contentweight = 1e5, epoch = 1000, optimizer=LBFGS(a more suited optimizer than Adam optimizer for Neural Style Transfer according to my google search)
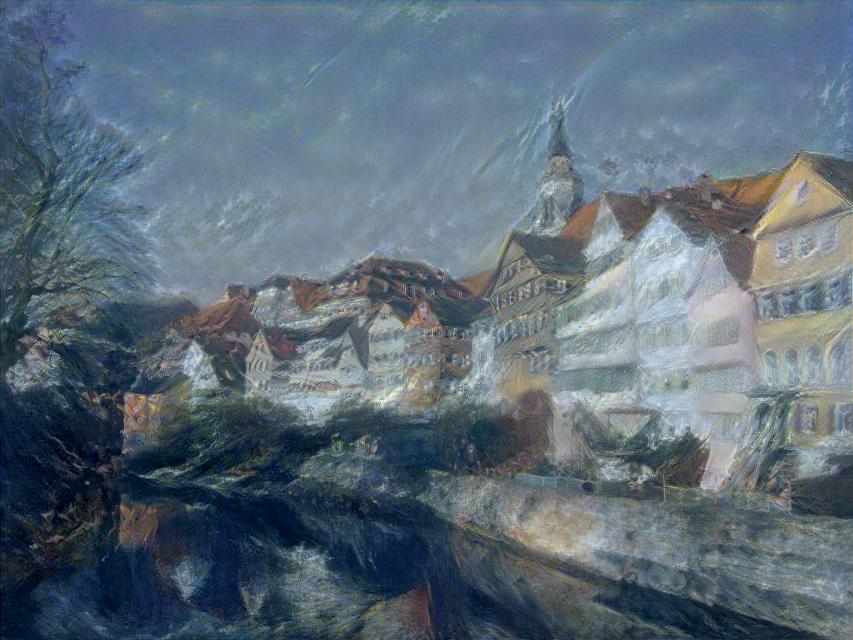
The model gives really cool results! Below are my attempt to recreate results from the original paper.
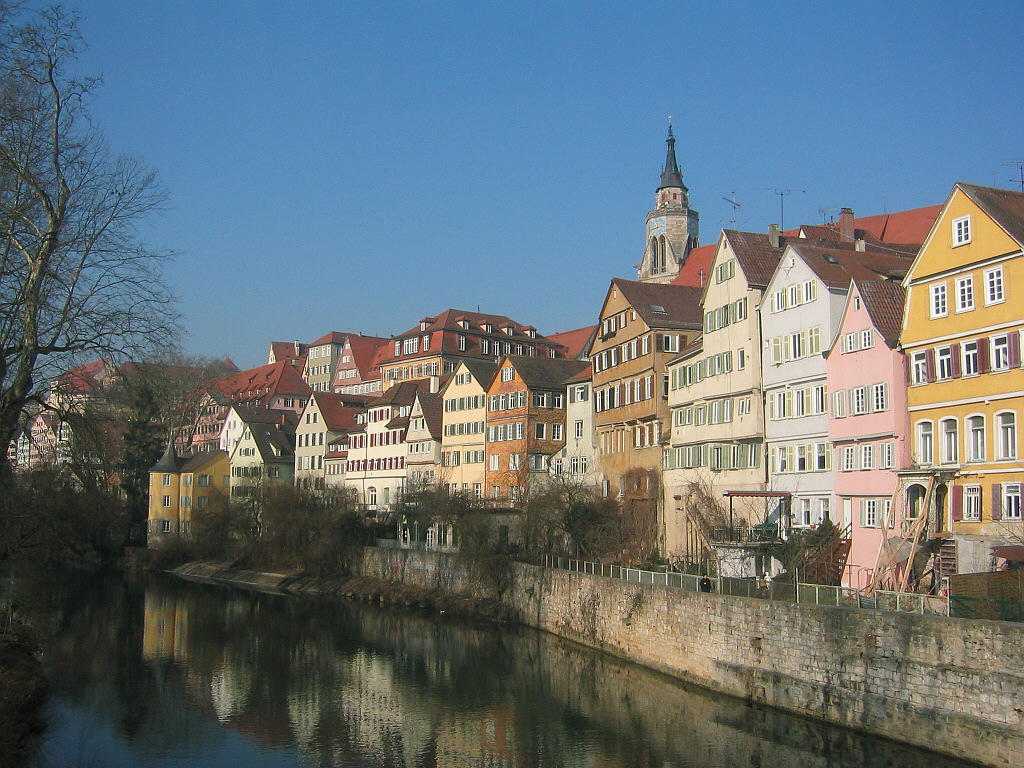
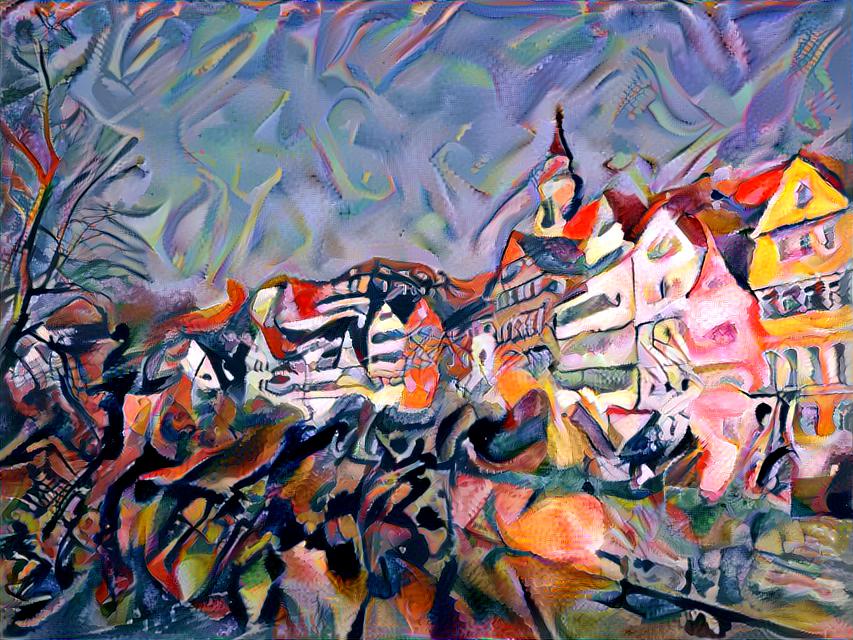
Neckarfront
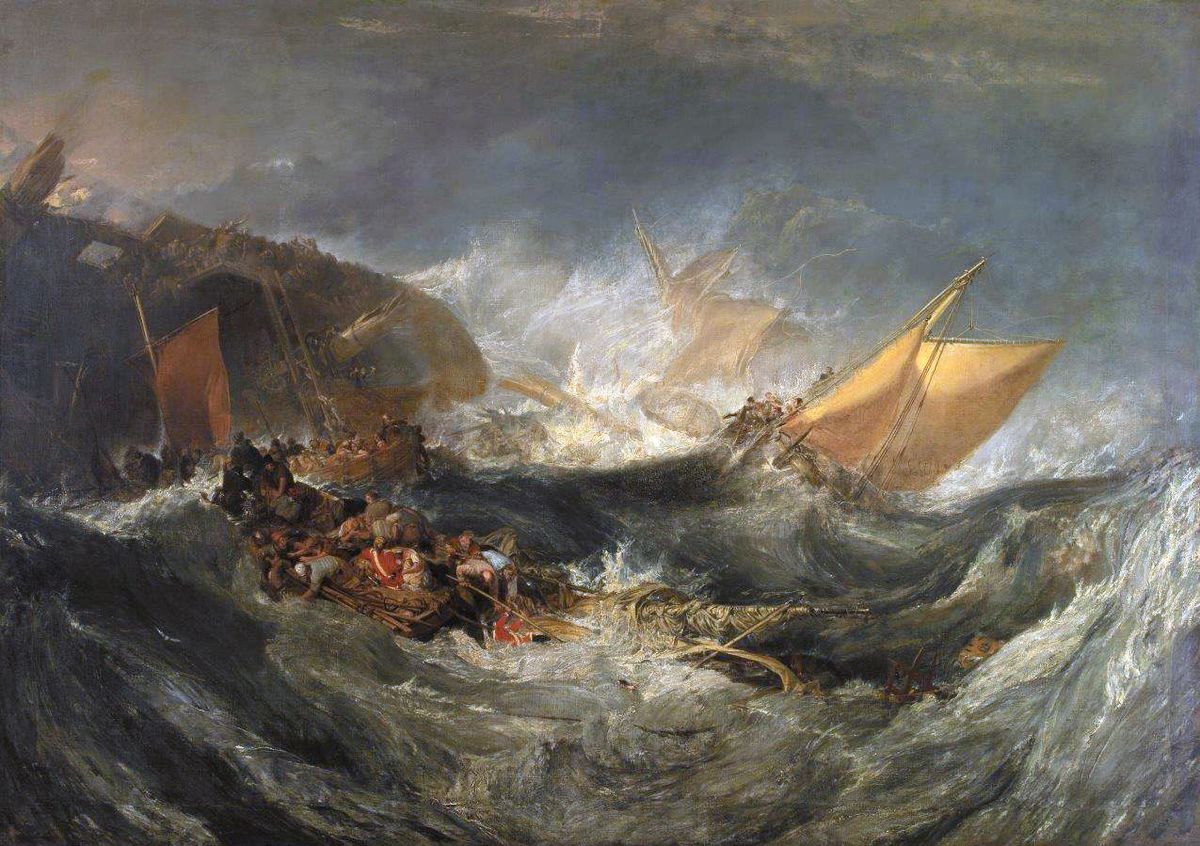
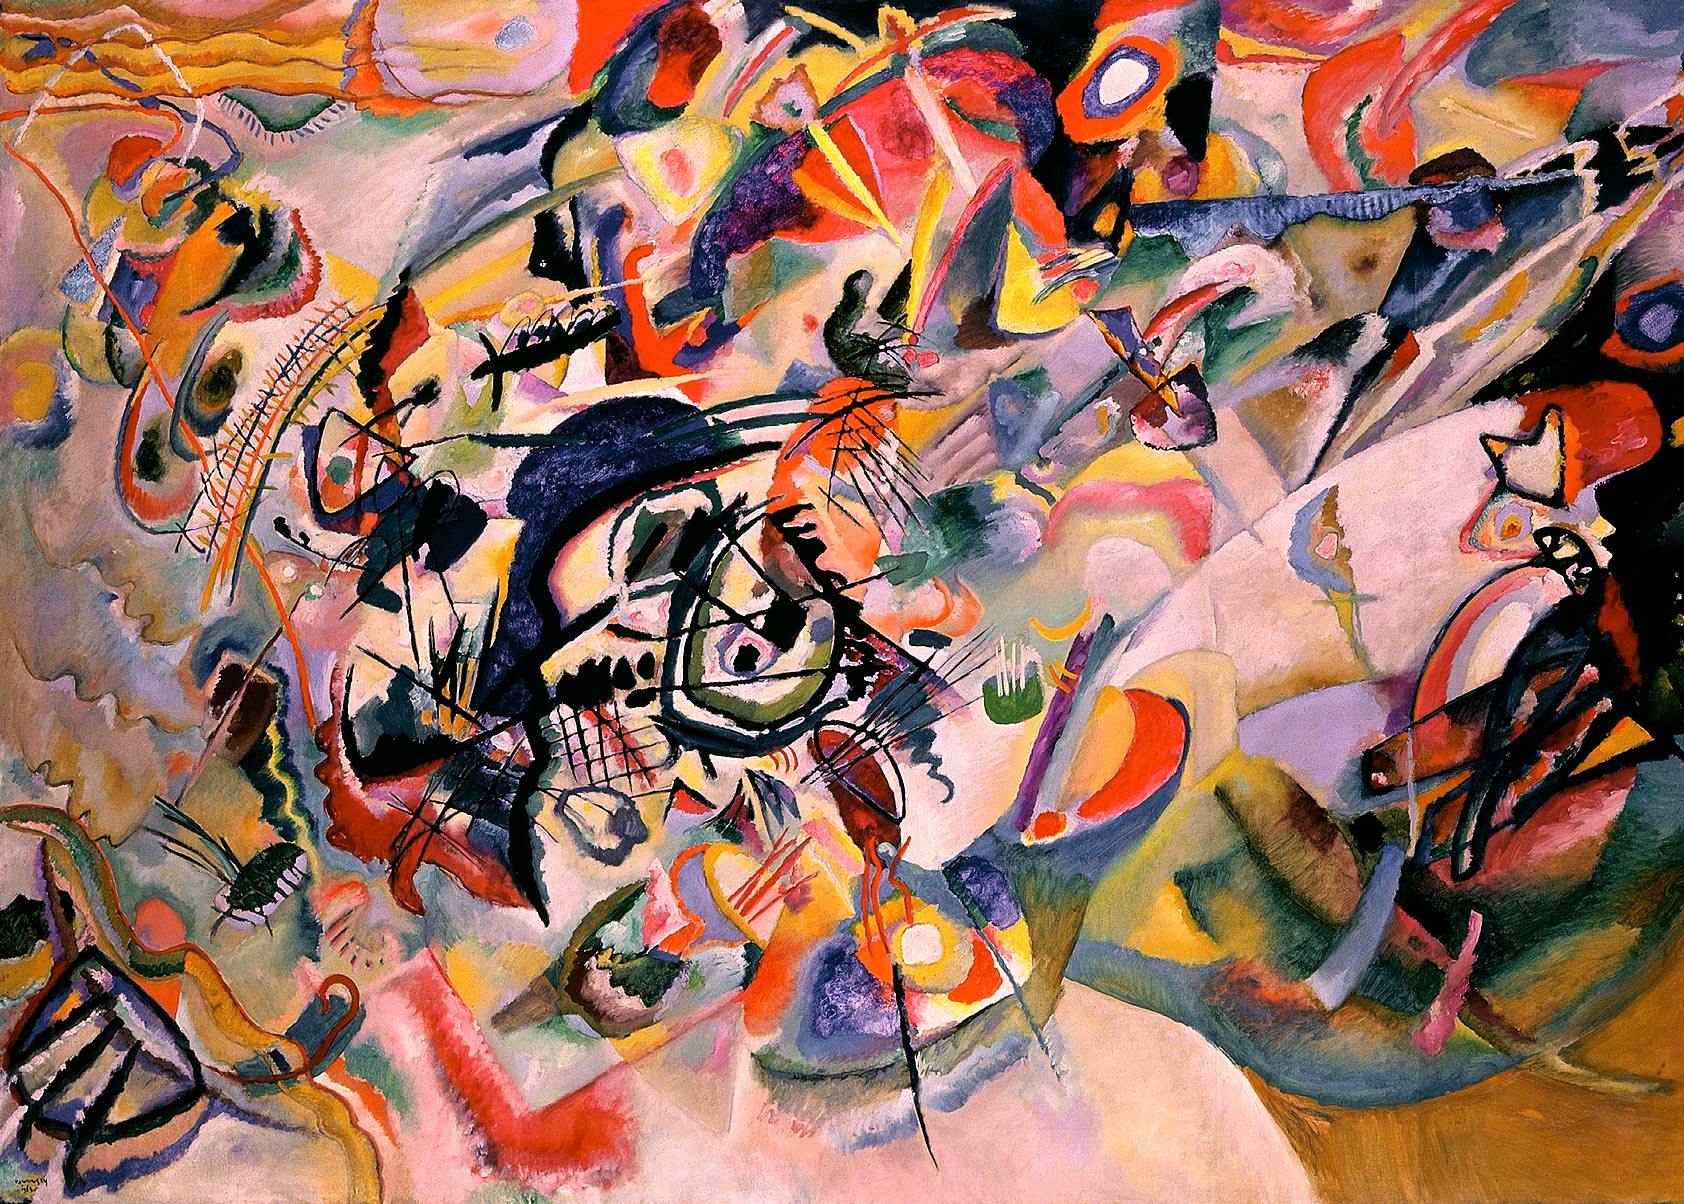
| The Shipwreck of the Minotaur | Stylized Neckarfront |
|---|---|
 |
 |
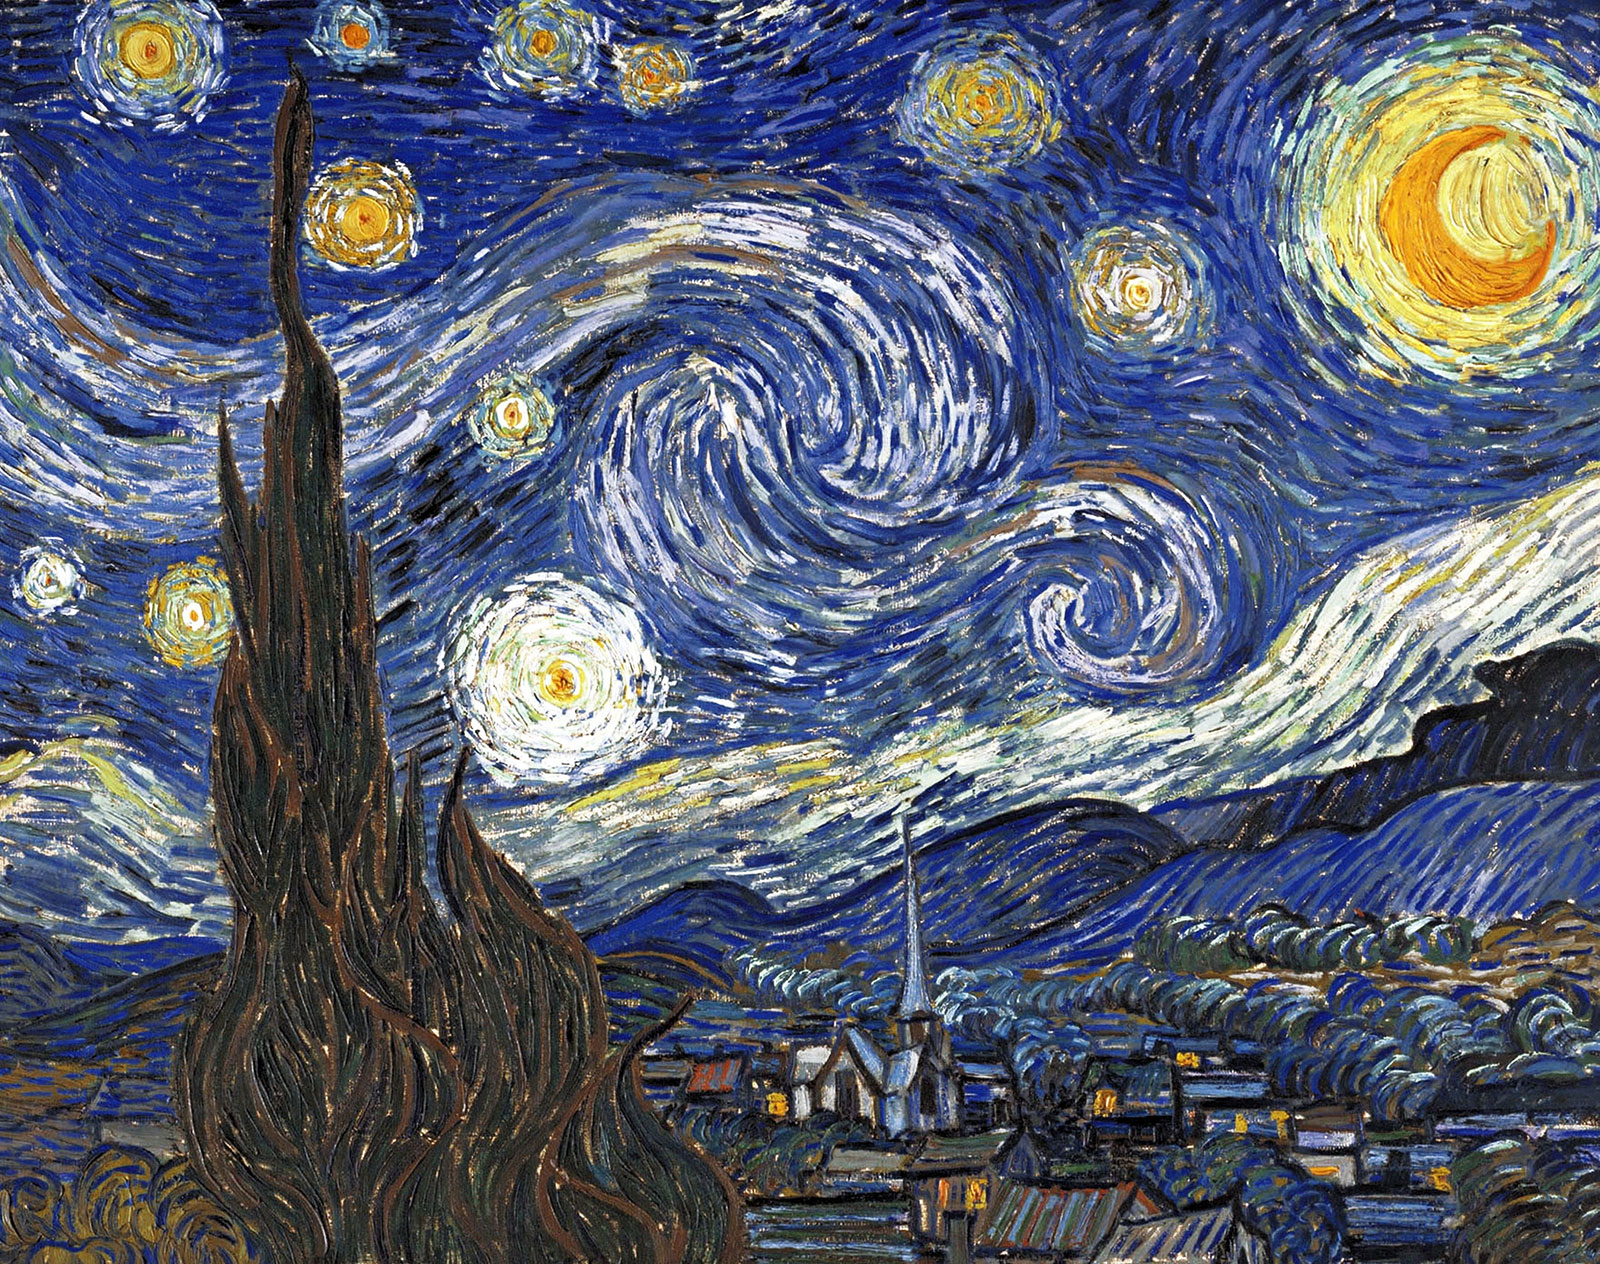
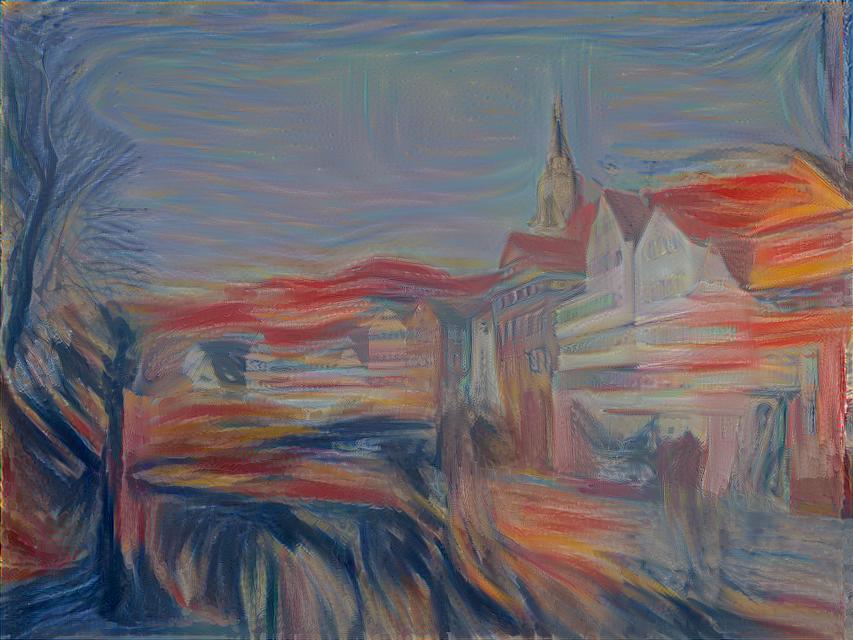
| The Starry Night | Stylized Neckarfront |
|---|---|
 |
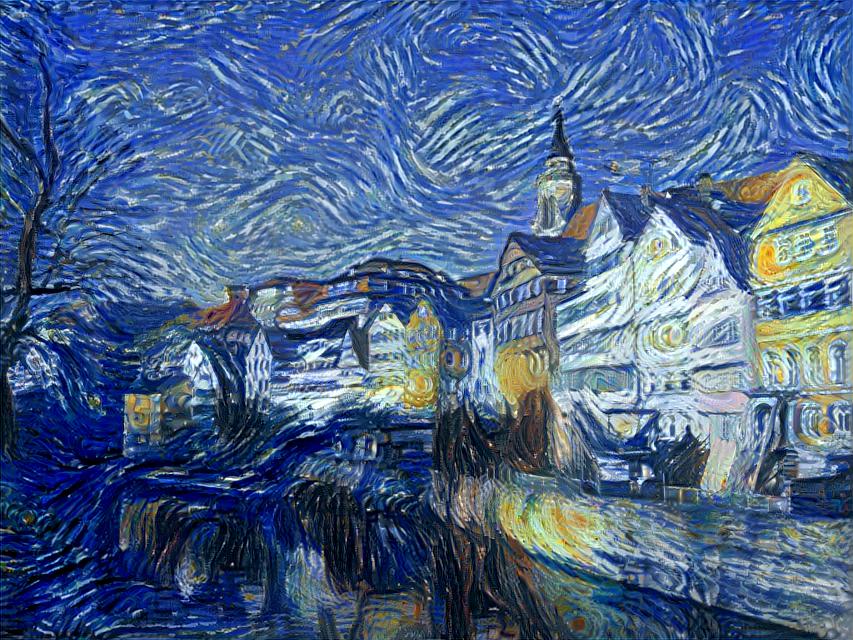 |
| The Starry Night | Stylized Neckarfront |
|---|---|
|
|
| Der Schrei | Stylized Neckarfront |
|---|---|
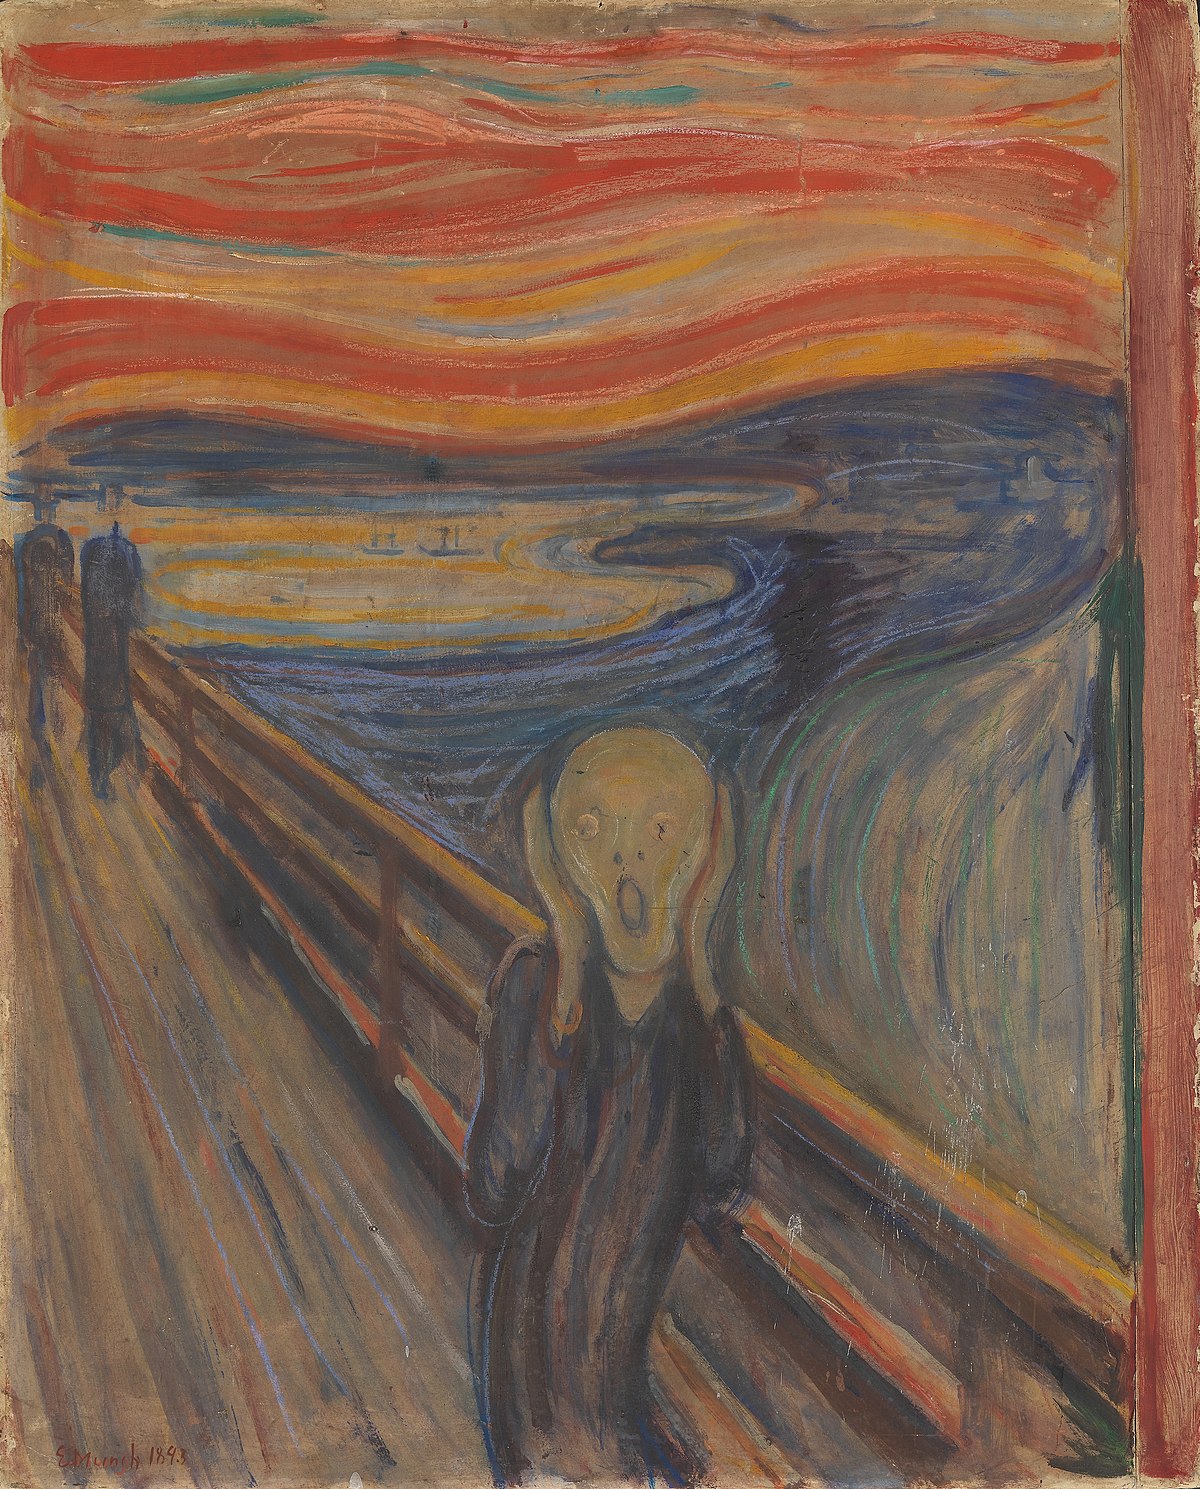 |
 |
| Femme nue assise | Stylized Neckarfront |
|---|---|
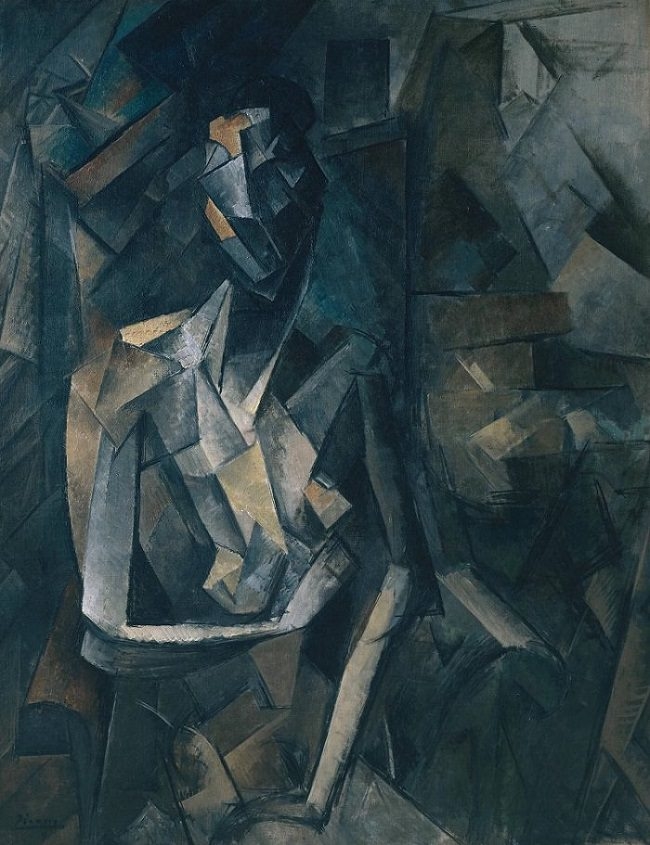 |
 |
| Femme nue assise | Stylized Neckarfront |
|---|---|
 |
 |
There are some differences between my result images and the original paper result images. Upon inspection, I see that the paper result images place more emphasis on the style, whereas my images put more emphasis on the content. This is due to the fact that I chose different weight factors than what was used in the paper. Personally, I think my results look nicer because content should be the most important part of the image and distortion in content is not ideal. In all my result images, one can clearly infer the original image, whereas in the paper, one cannot always clearly infer the original image at ease.
Since this model is so cool, I will apply some cool effects to some personal photos!
| The Weeping Woman | My girlfriend and her cat | Stylized Photo |
|---|---|---|
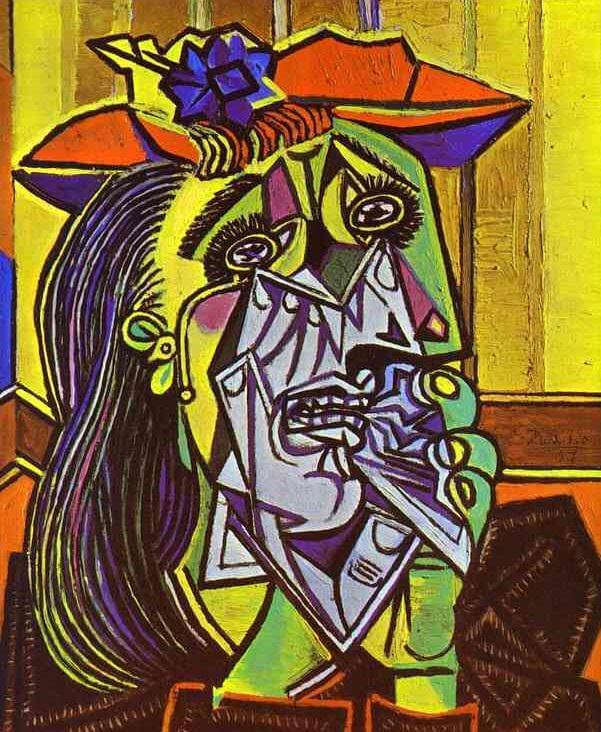 |
 |
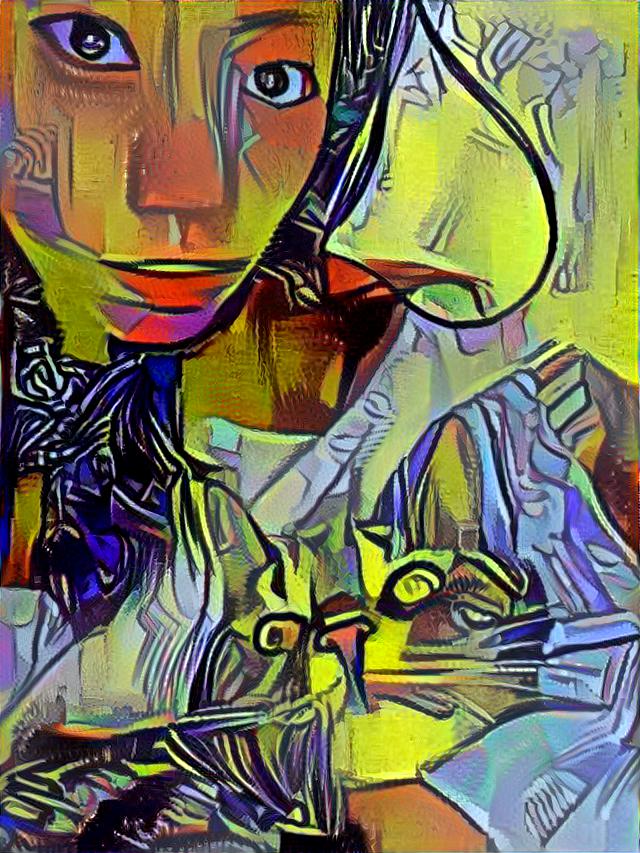 |
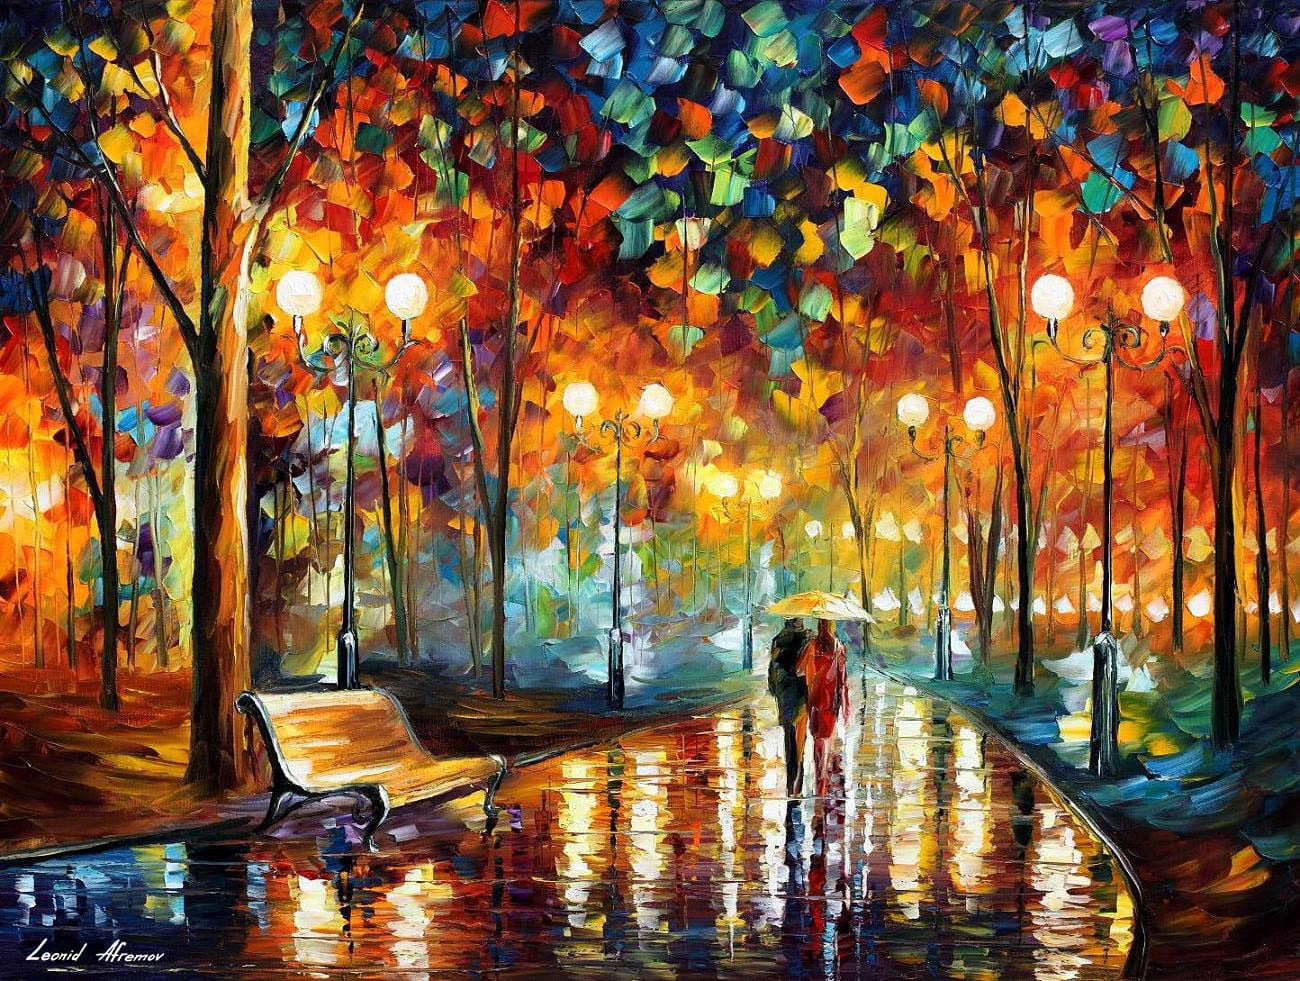
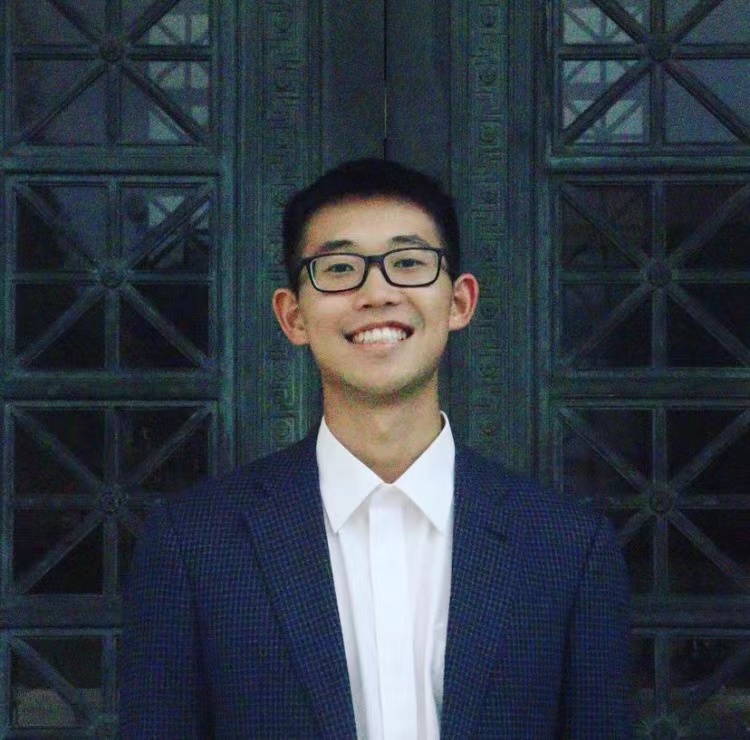
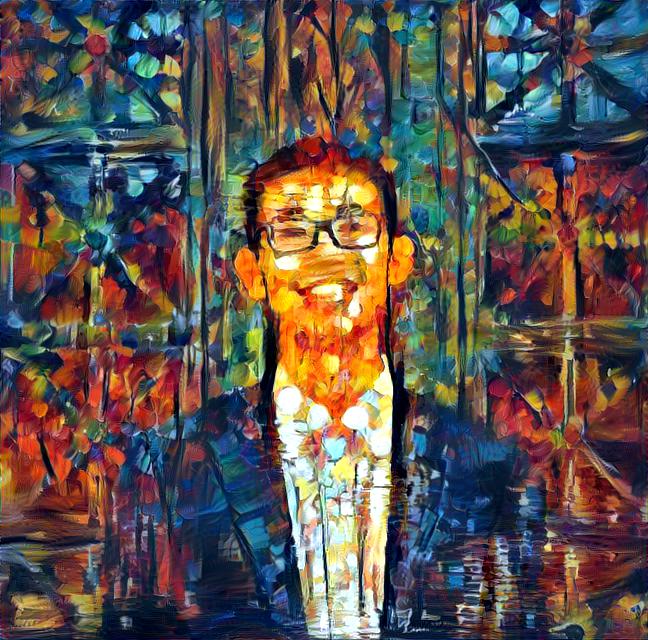
| Rain's Rustle in the Park | Me | Stylized Photo |
|---|---|---|
 |
 |
 |
| Modern Art | Me | Stylized Photo |
|---|---|---|
 |
|
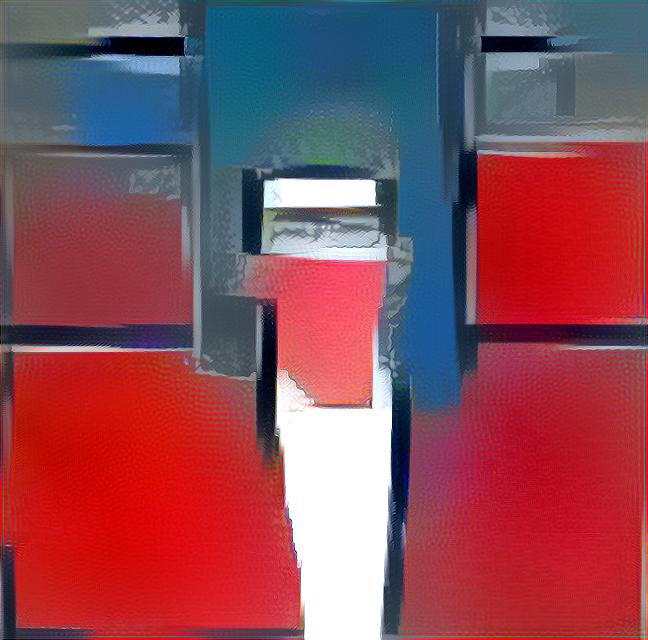 |
Comment: The first two stylized photos are awesome and the last one is a fail :(( This is probably because modern art doesn't have enough style for me to transfer :(((