A Neural Algorithm of Artistic Style
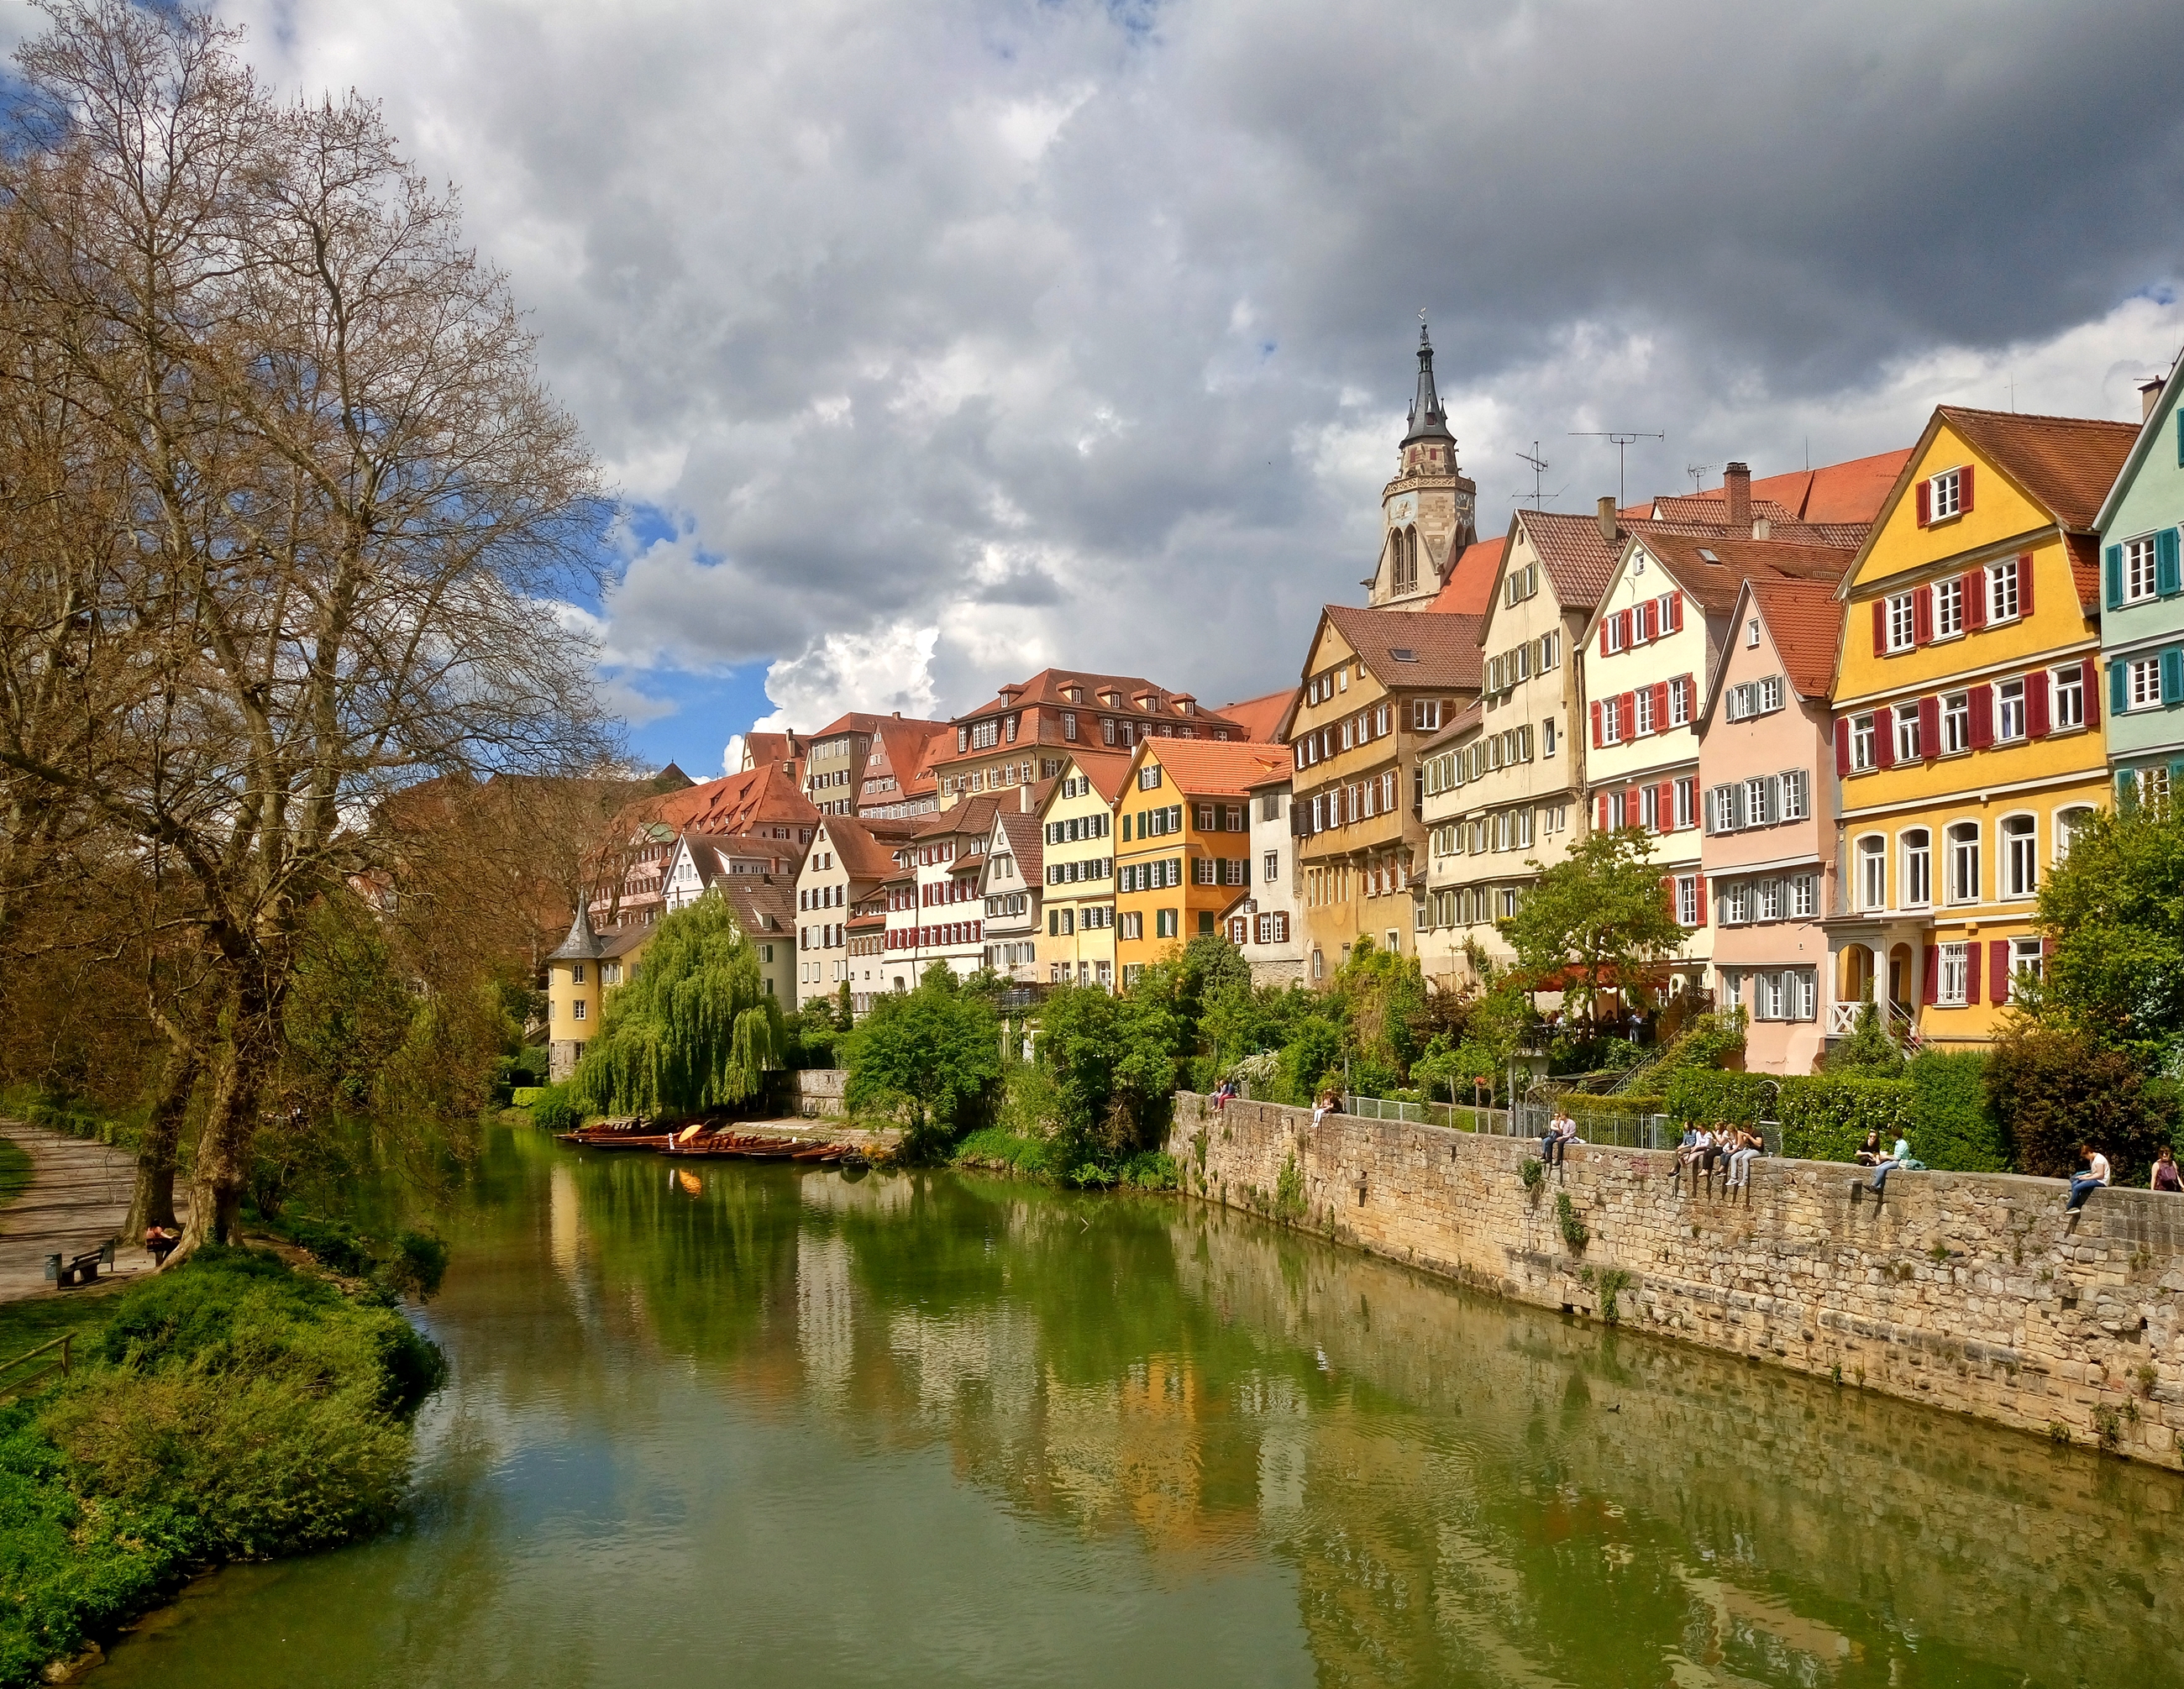
In this project, I explore using transfer learning with neural networks to apply an art style to another image. We follow the steps taken in this research paper.
Neural Network Architecture
Dataloader
First, we must create a dataloader to resize images to be the same size and convert them to tensors, so that our neural network can properly process style and content images. To accomplish this, we simply resize images to be 512x512 and then convert them to tensors.
CNN
As the research paper suggested, we used a VGG network with 19 layers (but without the fully-connected layers). We also use the modifications suggested by the paper. These modifications consist of replacing the max-pooling layers with average pooling layers, using certain convolution layers as a metric for content loss and style loss. The paper defines content as feature responses in the higher layer of the network, which represent objects and their arrangements in the input image, rather than exact pixel values, which the lower layers would represent. Style is defined as the correlations between the different filter responses over the spacial extent of the feature maps (i.e. texture information). For content and style rconstructions, we use option (e), which utilizes the 5th convolution layer for content reconstruction, and the first, second, third, fourth, and fifth convolution layers for style reconstruction. We then train the neural network on each style image and content image for 100 epochs, and weighted style loss such that style loss and content loss were weighted rougly the same. Here is summary of the neural network:
| Layer | Output Shape | Number of Parameters | |
|---|---|---|---|
| 1 | Conv2d-1 | [-1, 64, 512, 512] | 1,792 |
| 2 | ReLU-2 | [-1, 64, 512, 512] | 0 |
| 3 | Conv2d-3 | [-1, 64, 512, 512] | 36,928 |
| 4 | ReLU-4 | [-1, 64, 512, 512] | 0 |
| 5 | MaxPool2d-5 | [-1, 64, 256, 256] | 0 |
| 6 | Conv2d-6 | [-1, 128, 256, 256] | 73,856 |
| 7 | ReLU-7 | [-1, 128, 256, 256] | 0 |
| 8 | Conv2d-8 | [-1, 128, 256, 256] | 147,584 |
| 9 | ReLU-9 | [-1, 128, 256, 256] | 0 |
| 10 | MaxPool2d-10 | [-1, 128, 128, 128] | 0 |
| 11 | Conv2d-11 | [-1, 256, 128, 128] | 295,168 |
| 12 | ReLU-12 | [-1, 256, 128, 128] | 0 |
| 13 | Conv2d-13 | [-1, 256, 128, 128] | 590,080 |
| 14 | ReLU-14 | [-1, 256, 128, 128] | 0 |
| 15 | Conv2d-15 | [-1, 256, 128, 128] | 590,080 |
| 16 | ReLU-16 | [-1, 256, 128, 128] | 0 |
| 17 | Conv2d-17 | [-1, 256, 128, 128] | 590,080 |
| 18 | ReLU-18 | [-1, 256, 128, 128] | 0 |
| 19 | MaxPool2d-19 | [-1, 256, 64, 64] | 0 |
| 20 | Conv2d-20 | [-1, 512, 64, 64] | 1,180,160 |
| 21 | ReLU-21 | [-1, 512, 64, 64] | 0 |
| 22 | Conv2d-22 | [-1, 512, 64, 64] | 2,359,808 |
| 23 | ReLU-23 | [-1, 512, 64, 64] | 0 |
| 24 | Conv2d-24 | [-1, 512, 64, 64] | 2,359,808 |
| 25 | ReLU-25 | [-1, 512, 64, 64] | 0 |
| 26 | Conv2d-26 | [-1, 512, 64, 64] | 2,359,808 |
| 27 | ReLU-27 | [-1, 512, 64, 64] | 0 |
| 28 | MaxPool2d-28 | [-1, 512, 32, 32] | 0 |
| 29 | Conv2d-29 | [-1, 512, 32, 32] | 2,359,808 |
| 30 | ReLU-30 | [-1, 512, 32, 32] | 0 |
| 31 | Conv2d-31 | [-1, 512, 32, 32] | 2,359,808 |
| 32 | ReLU-32 | [-1, 512, 32, 32] | 0 |
| 33 | Conv2d-33 | [-1, 512, 32, 32] | 2,359,808 |
| 34 | ReLU-34 | [-1, 512, 32, 32] | 0 |
| 35 | Conv2d-35 | [-1, 512, 32, 32] | 2,359,808 |
| 36 | ReLU-36 | [-1, 512, 32, 32] | 0 |
| 37 | MaxPool2d-37 | [-1, 512, 16, 16] | 0 |
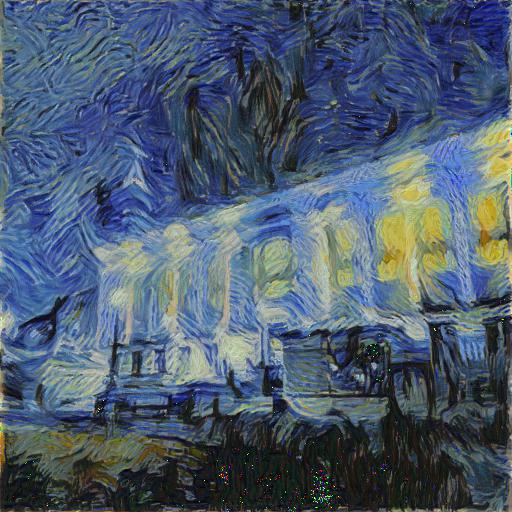
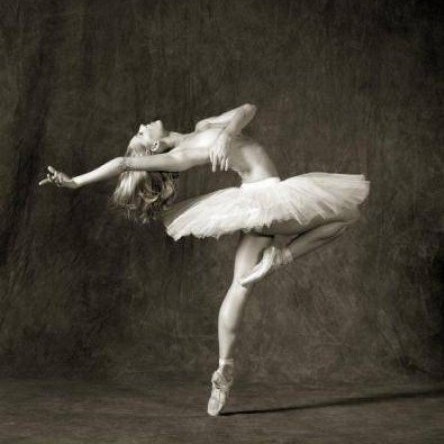
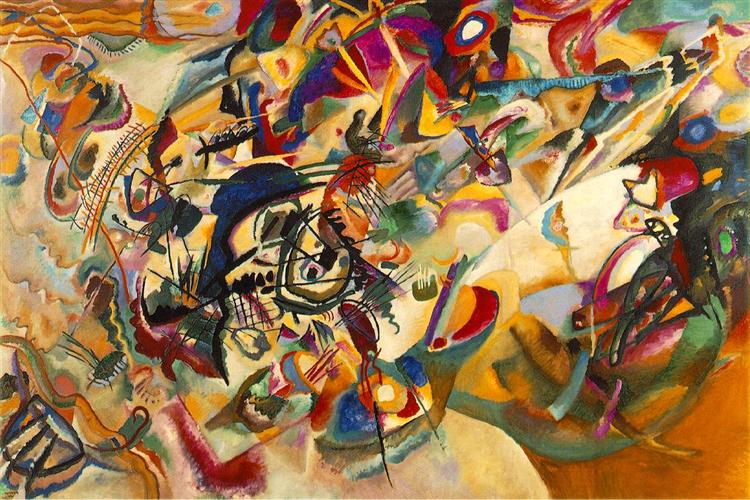
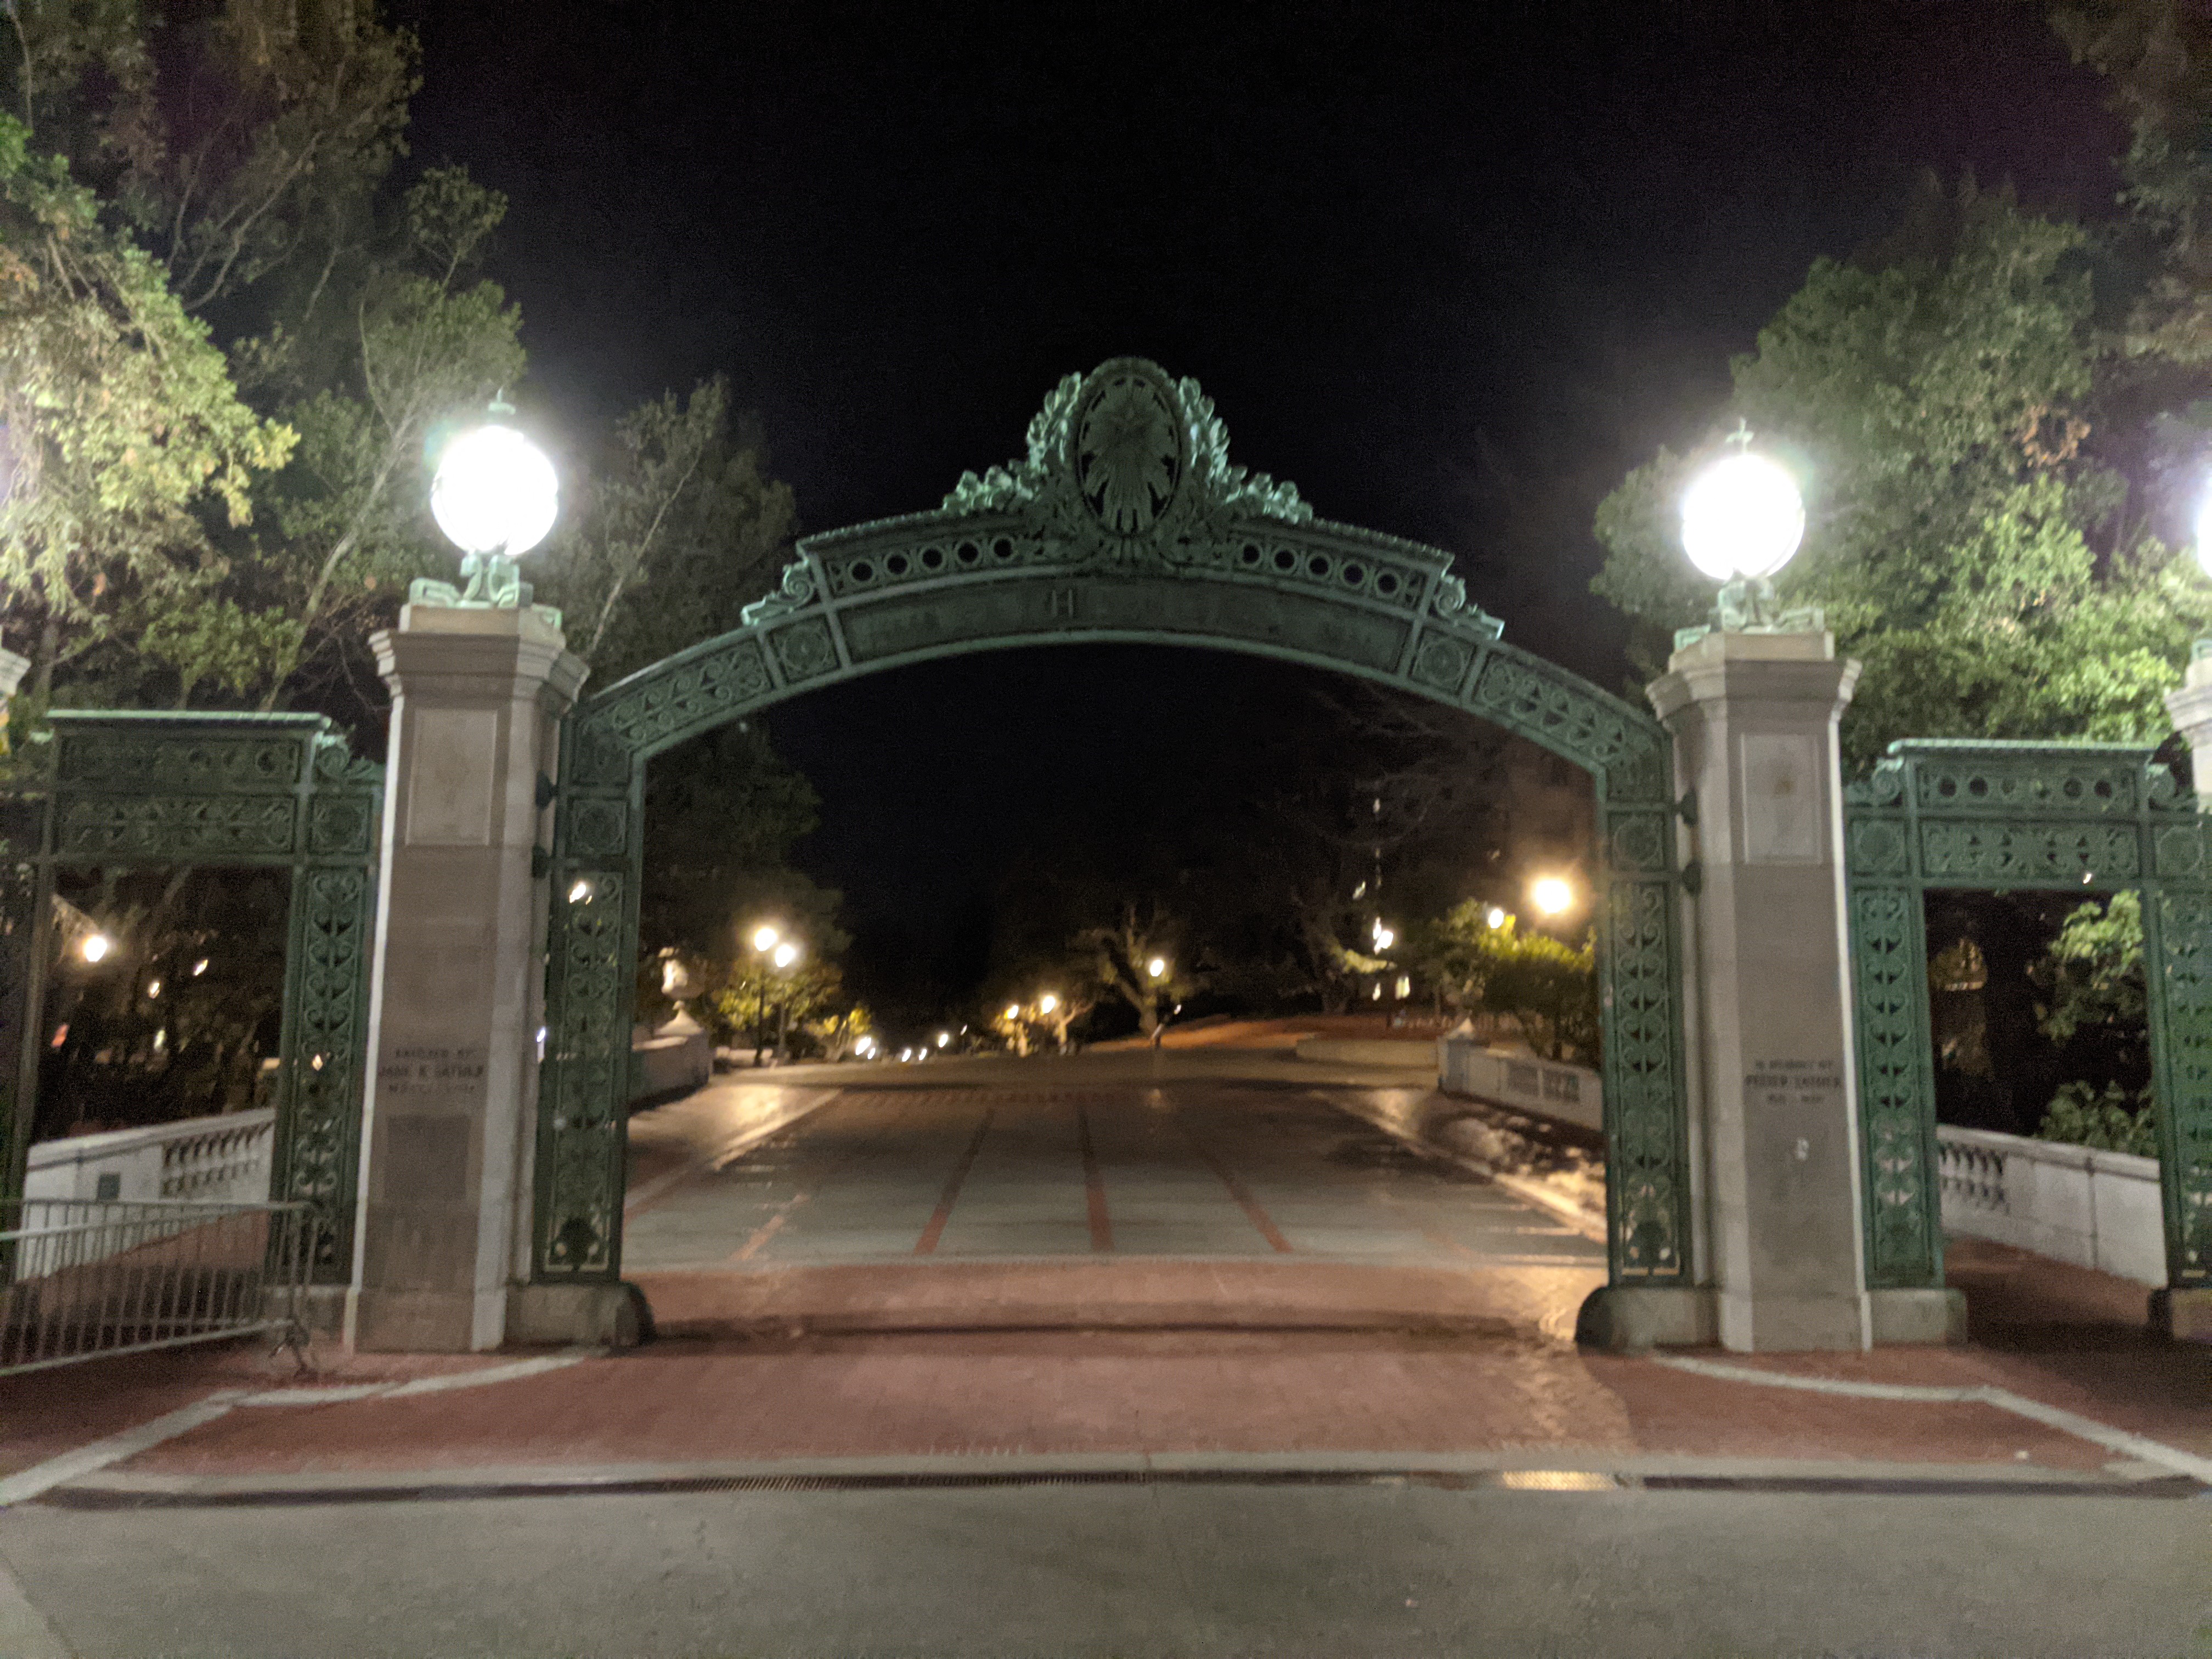
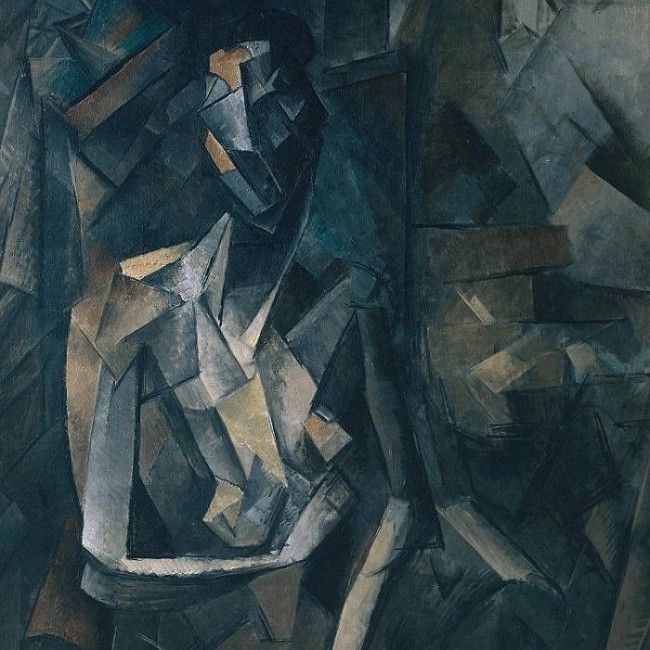
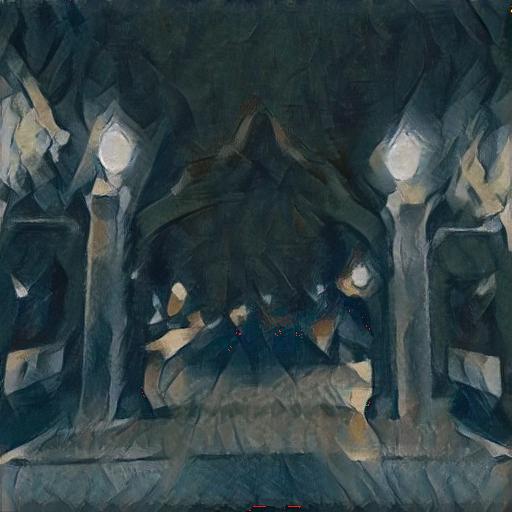
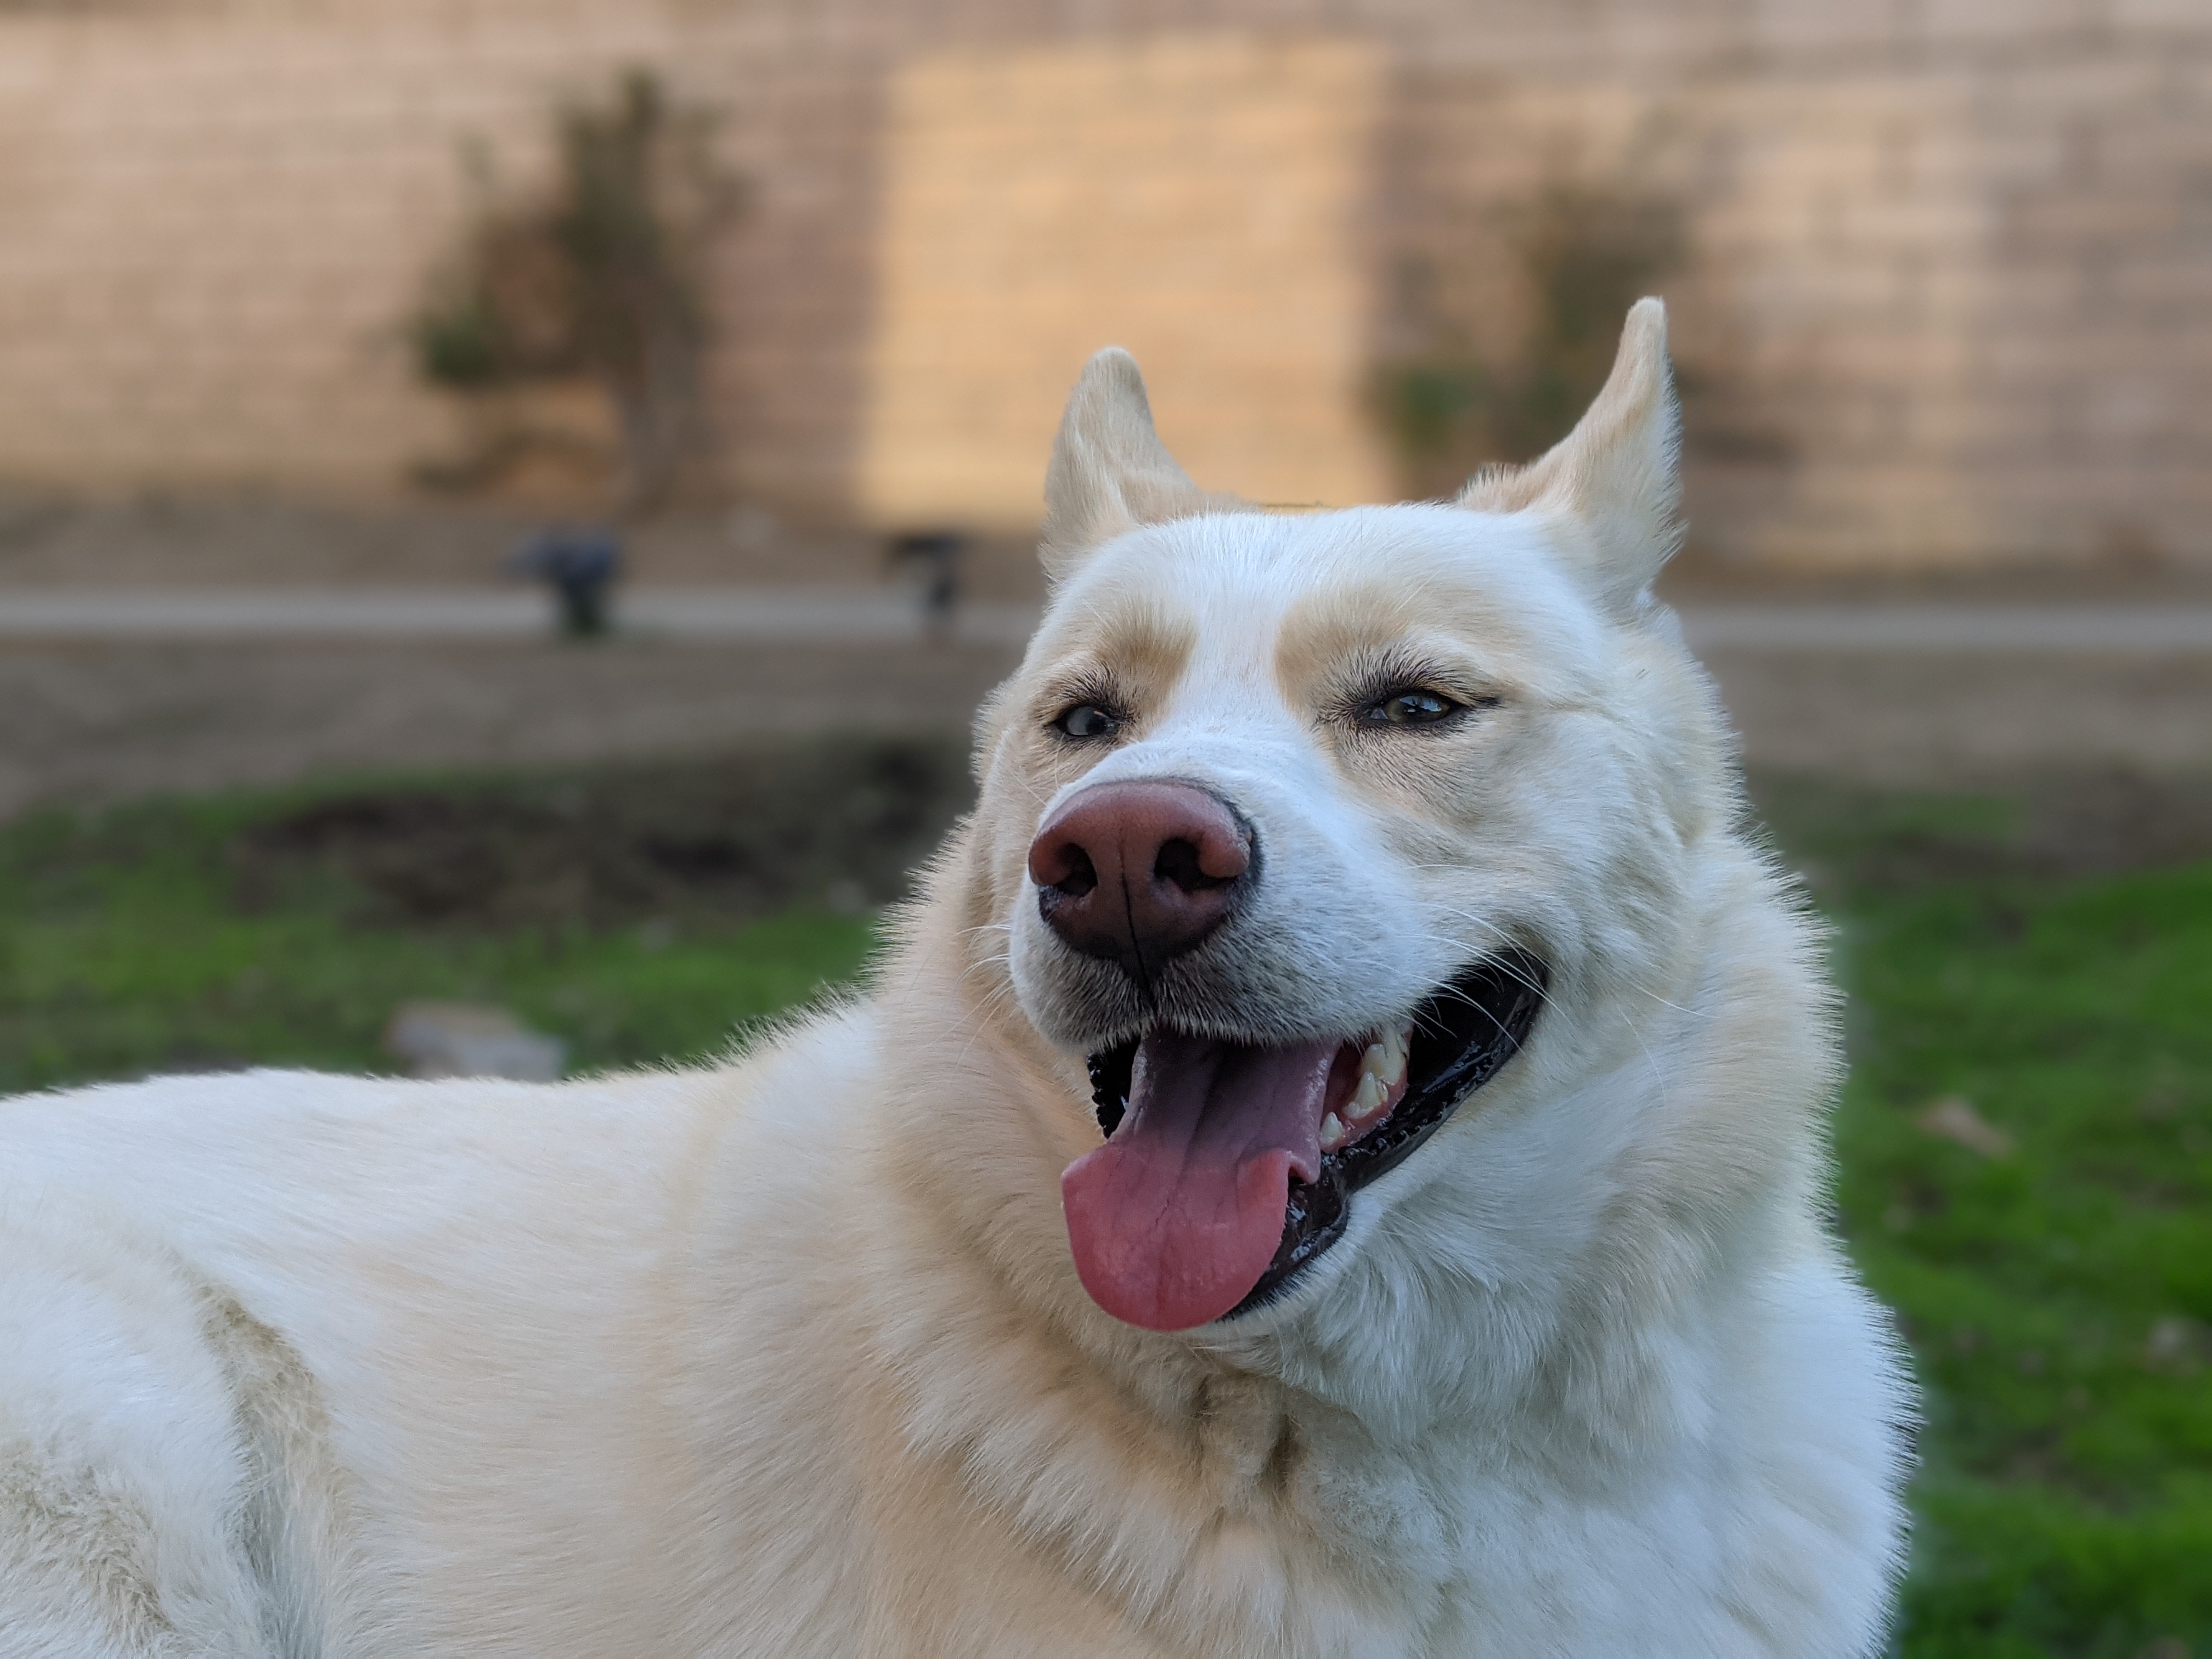
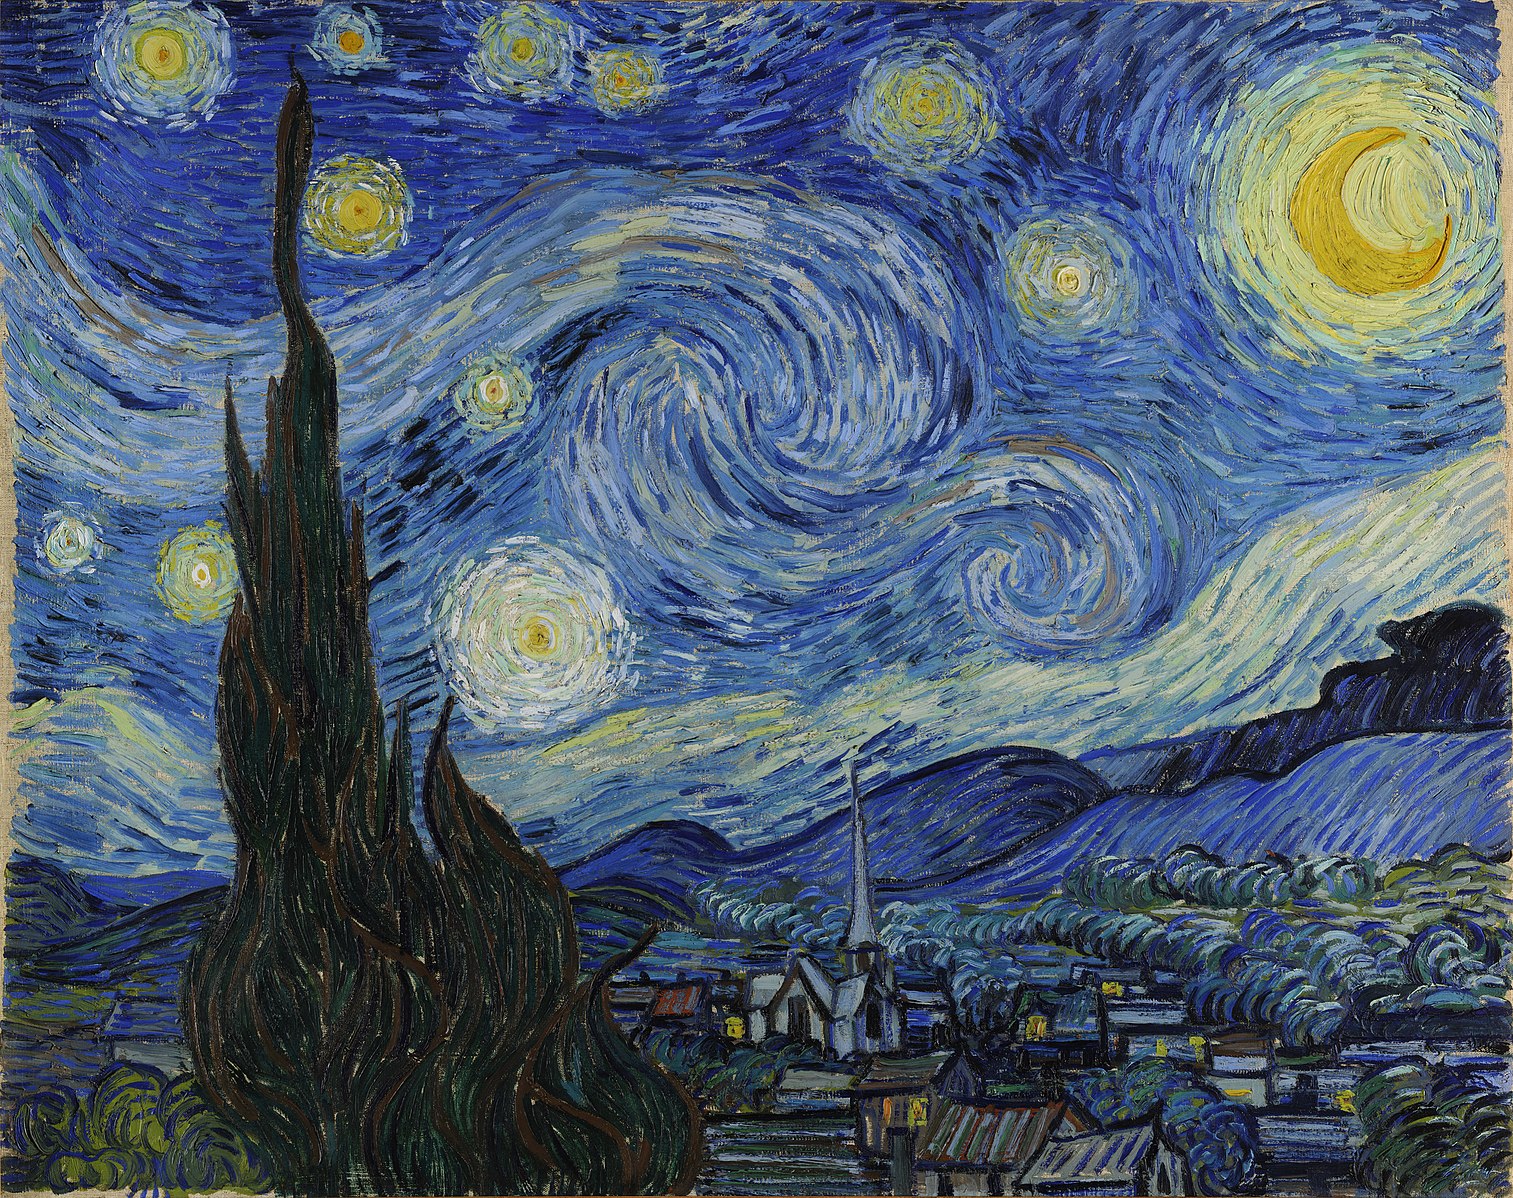
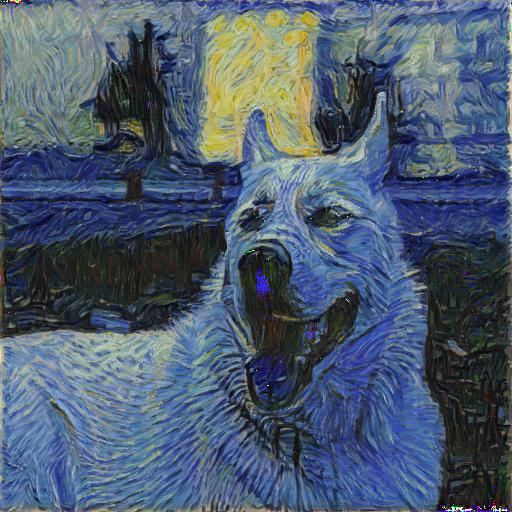
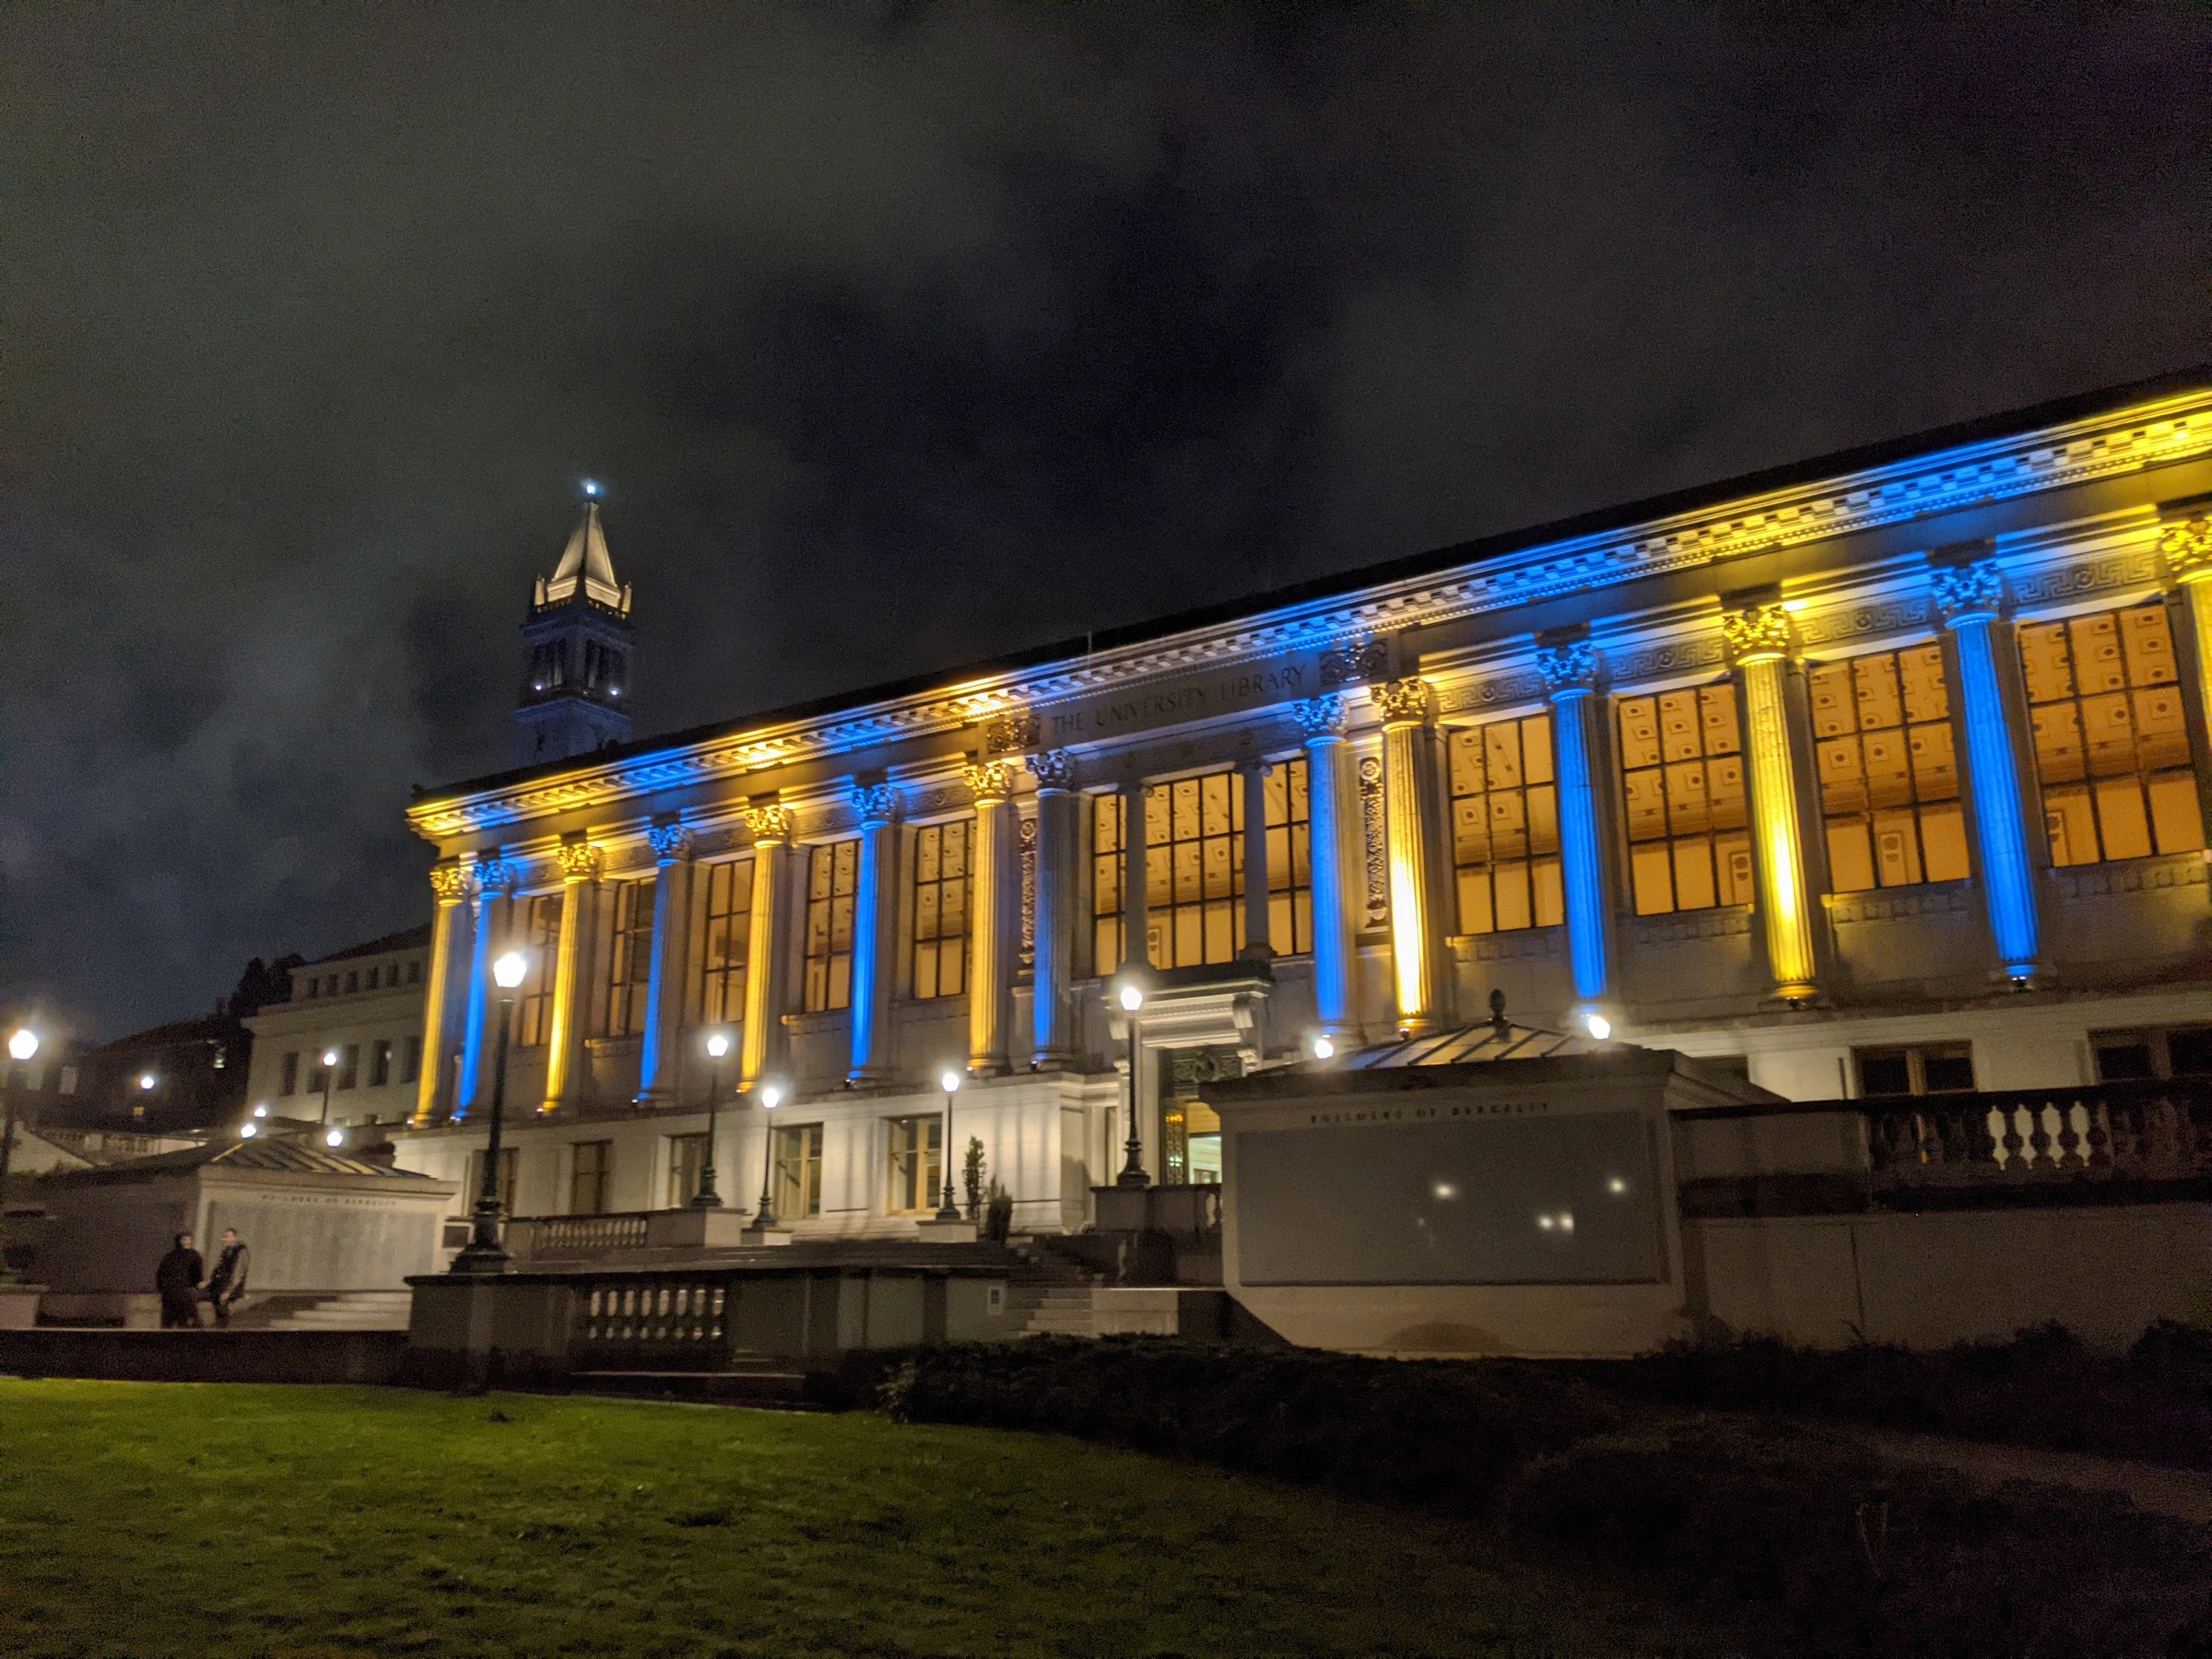
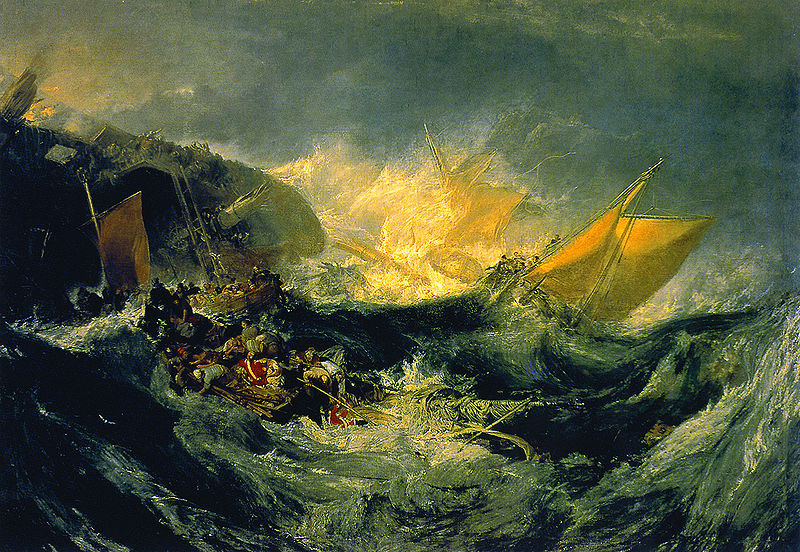
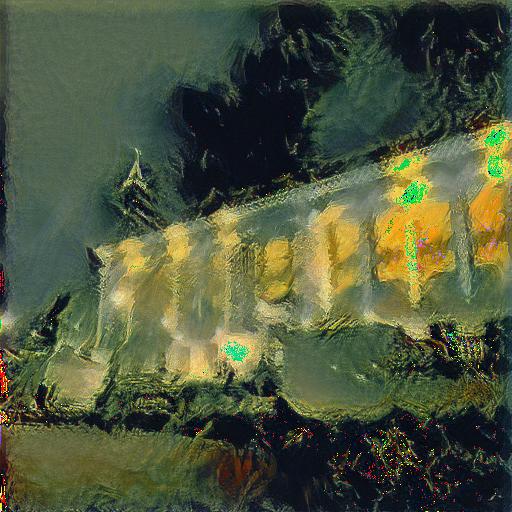
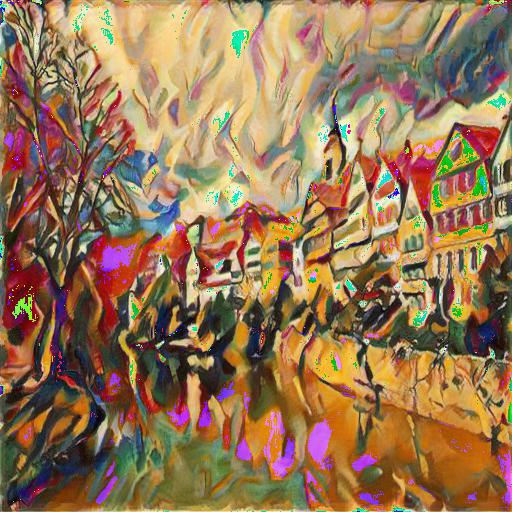
Results
| Content Image | Style Image | Result |
|---|---|---|
 |
 |
 |
 |
 |
 |
 |
 |
 |
 |
 |
 |
|
|
|
 |
|
 |
|
|
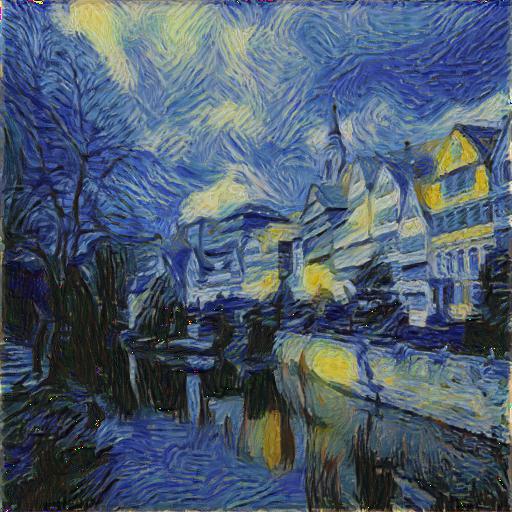 |
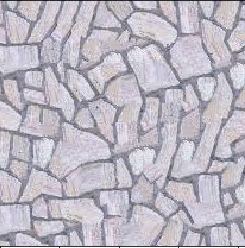
Image Quilting

In this project, I explore smoothly quilting textures together, and transfering a texture onto another image.
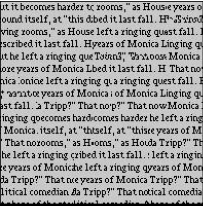
Randomly Sampled Texture
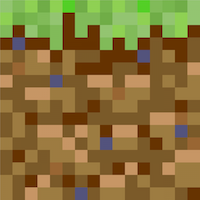
First, we try quilting images together by selecting random blocks from a sample image, and combining them until we obtain our desired size. Here are the results of performing this algorithm.
As expected, the results are poor, and we can clearly tell where the seams are between each patch. We now try to improve our quilting technique.
Overlapping Patches
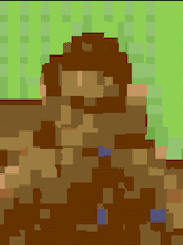
To create more seamless pictures, we now overlap patches over each other. A neighboring patch is chosen based on its sum of squared distances (ssd) to a patch in their region of overlap. For a given patch, we choose the patch with the lowest ssd in the location. Here are the results of this technique:
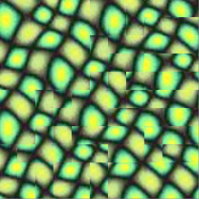
Using this technique is definitely much better than choosing as random, however, the seams are still pretty noticeable.
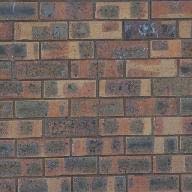
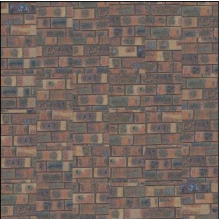
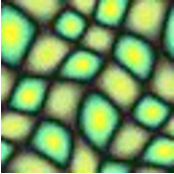
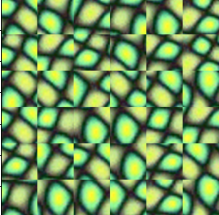
Seam Finding
We can keep our previous strategy for choosing patches, and reduce the visibility of the seams by choosing a minimum-cost path along the boundary of a patch and its neigbors, where cost is defined as the SSD difference between two patches along their overlap. This should result in much more subtle seams.
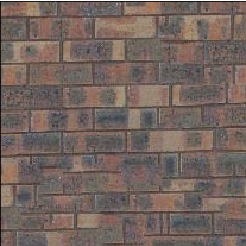
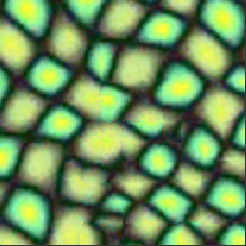
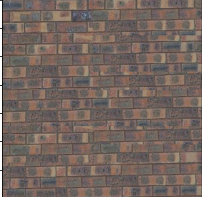
Notice that the seams within each image are much less noticeable, particularly in the green image. Now let's see the results of our seam finding on some of my own images.
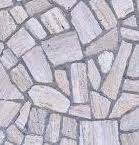
The results of seam-finding are very good on these two examples, and the seams between patches are barely visible.
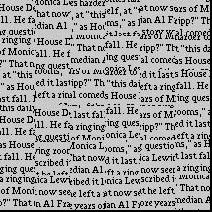
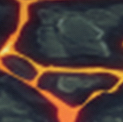
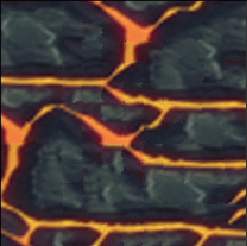
Texture Transfer
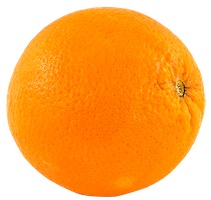
Using our code for quilting, we can perform texture transfer. This is done by modifying our previous code to find the SSD between the brightness of a texture patch and an image patch. Here are the result of our texture transfers:
| Content Image | Texture Image | Result |
|---|---|---|
 |
 |
 |
 |
 |
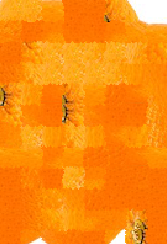 |
The seam-quilting seems to work very well on this images, and the seams are barely noticeable.
Bells and Whistles
For bells and whistles, I implemented the iterative texture transfer method. Essentially, this means modifying the error in our previous texture algorithm to be a weighted sum of block overlap error and the squared error of the brightness between the two images. The alpha term that is used in this weighted sum is changed on each iteration, and the patch size used is reduced by a factor of three in each iteration. Here are the results of this change:
| Texture Synthesis without Iteration | Texture Synthesis with Iteration |
|---|---|
|
 |
|
 |
Texture transfer with iteration seems to smooth out the seams between patches, and results in more consistent colors between blocks.