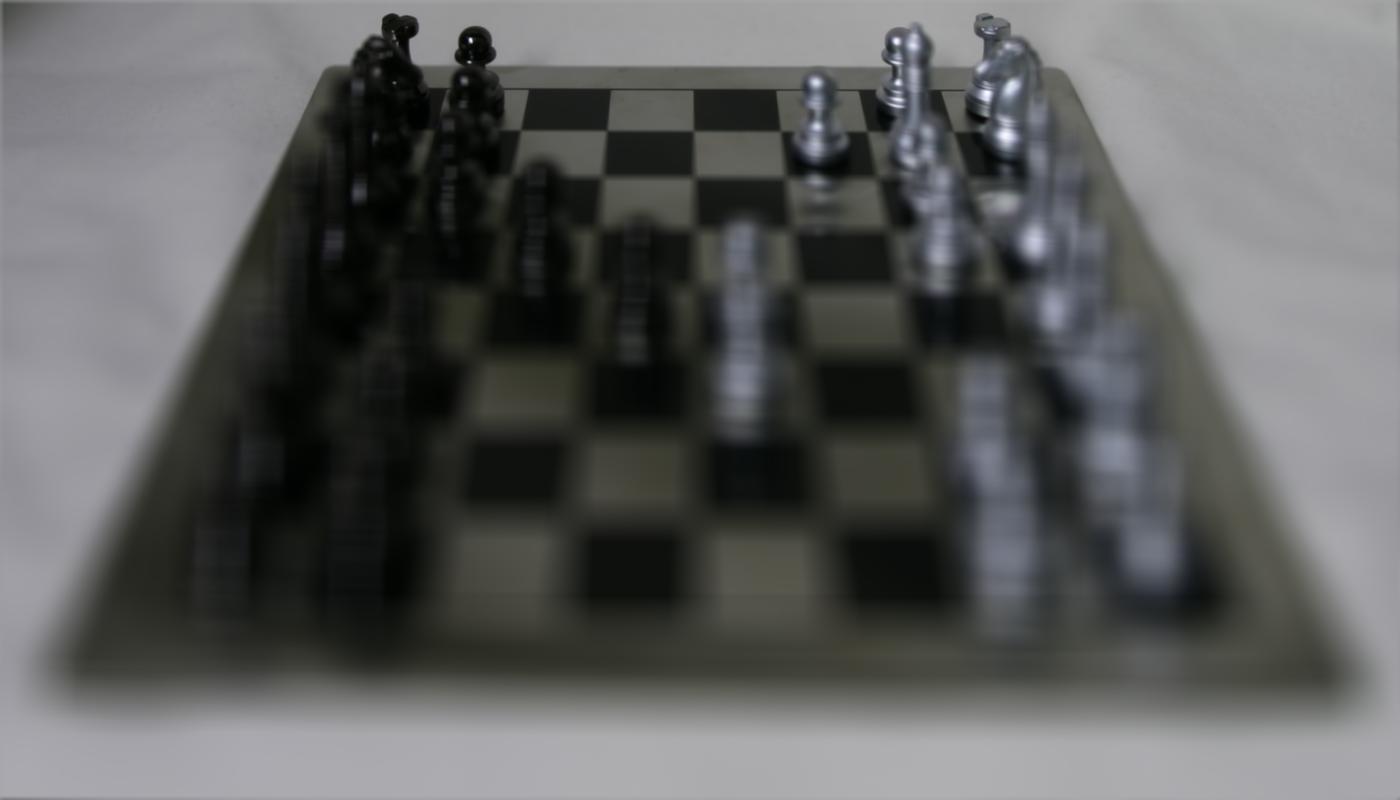
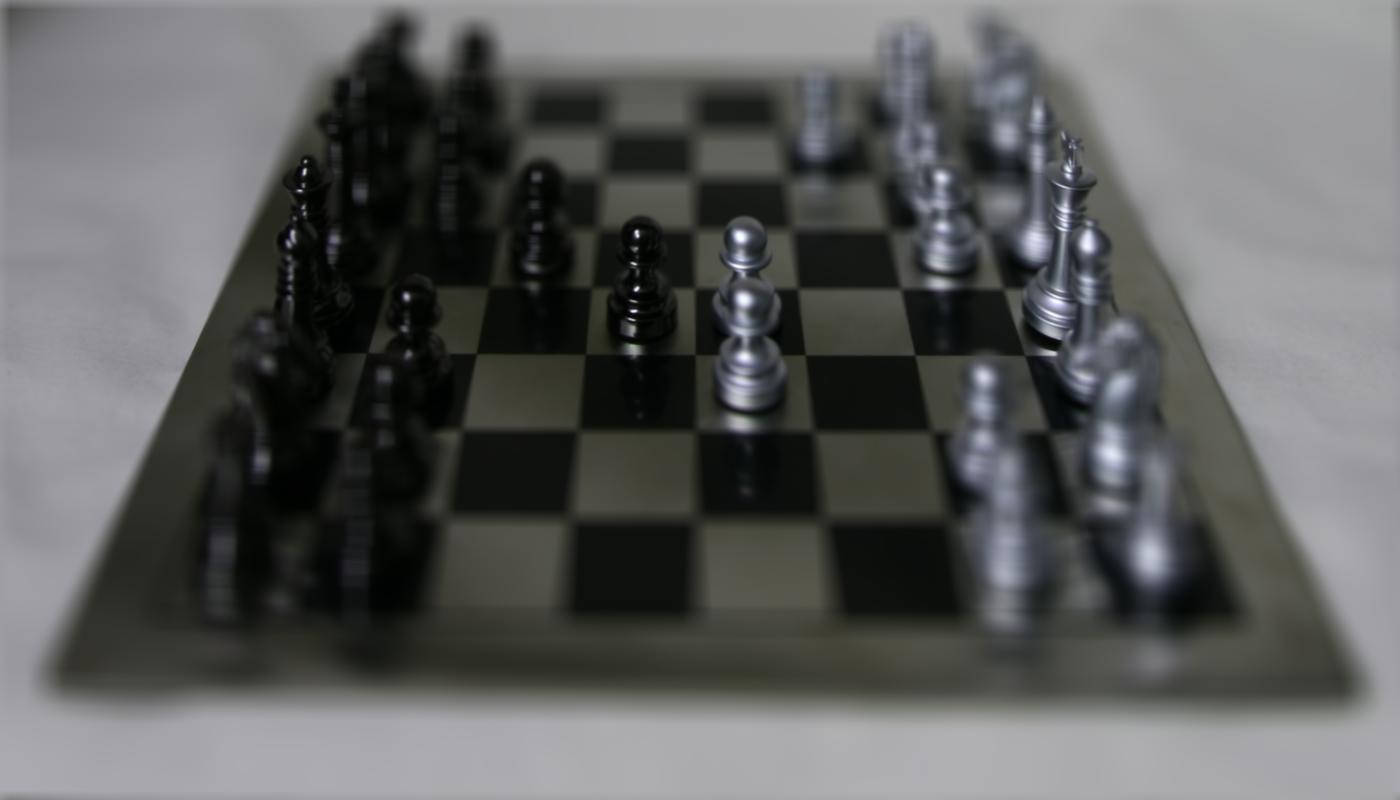
We can use a lightfield (an array of cameras) to simulate depth refocusing. We used the Stanford lightfield sample dataset which captures a 17x17 array of images along with the position of each camera. Depth refocusing can be achieved by shifting the images and averaging them.
C = -0.10
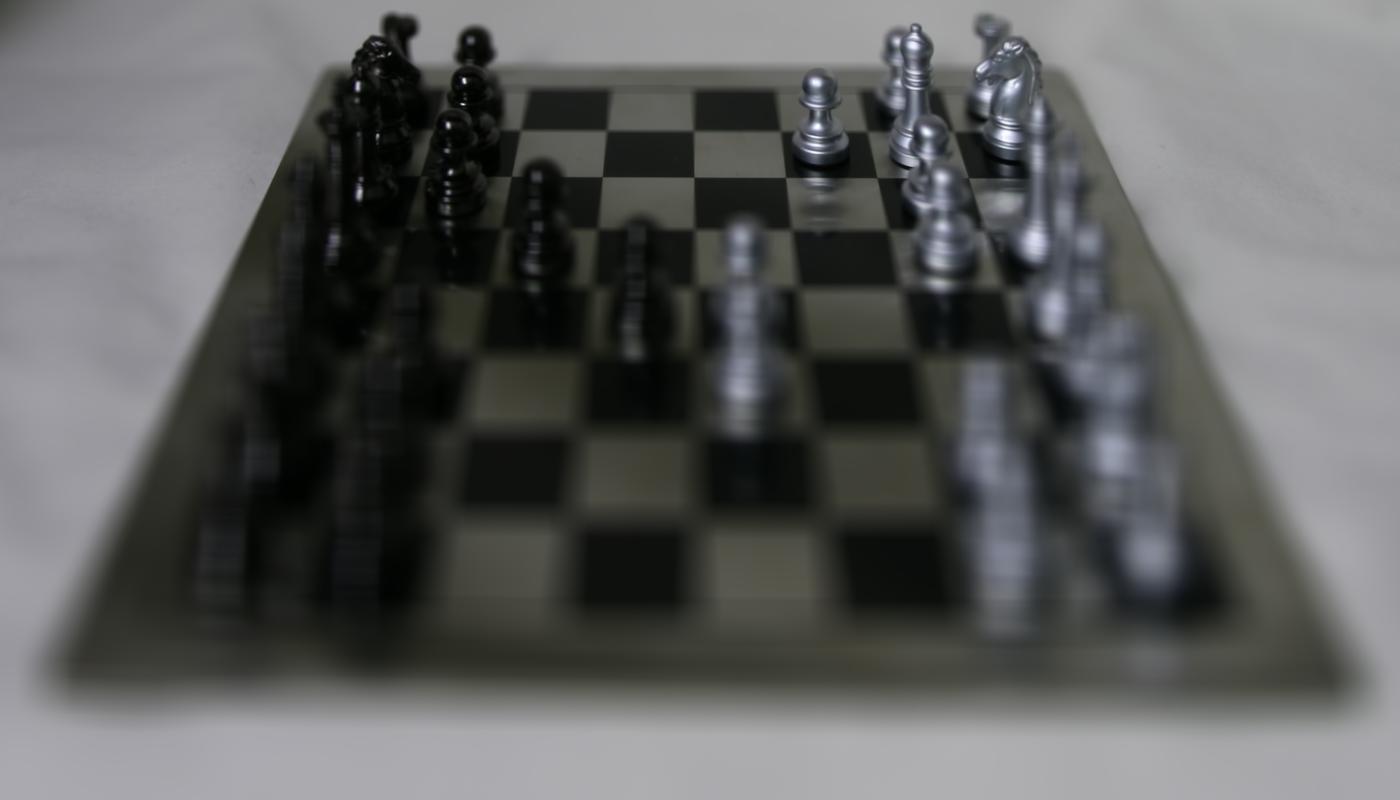
C = 0.00
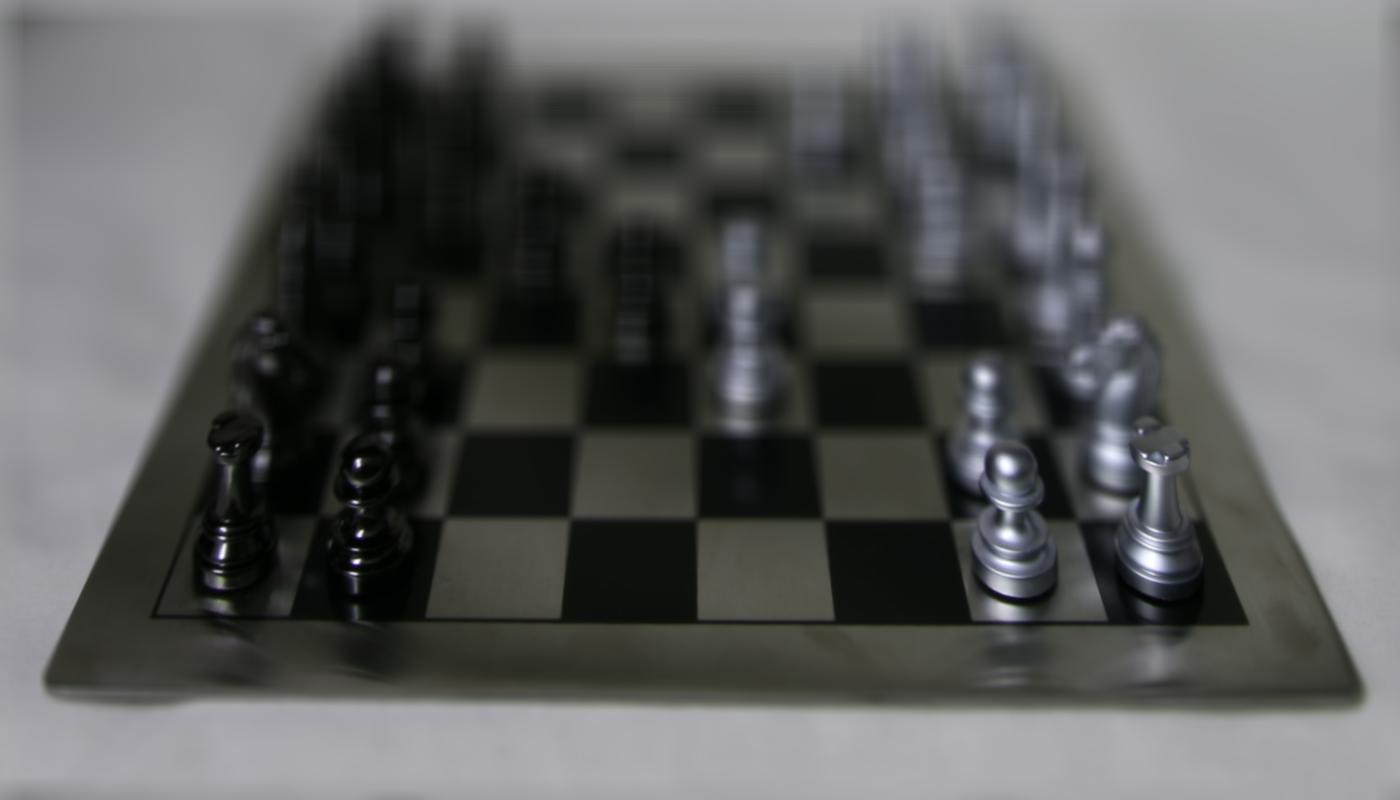
C = 0.20
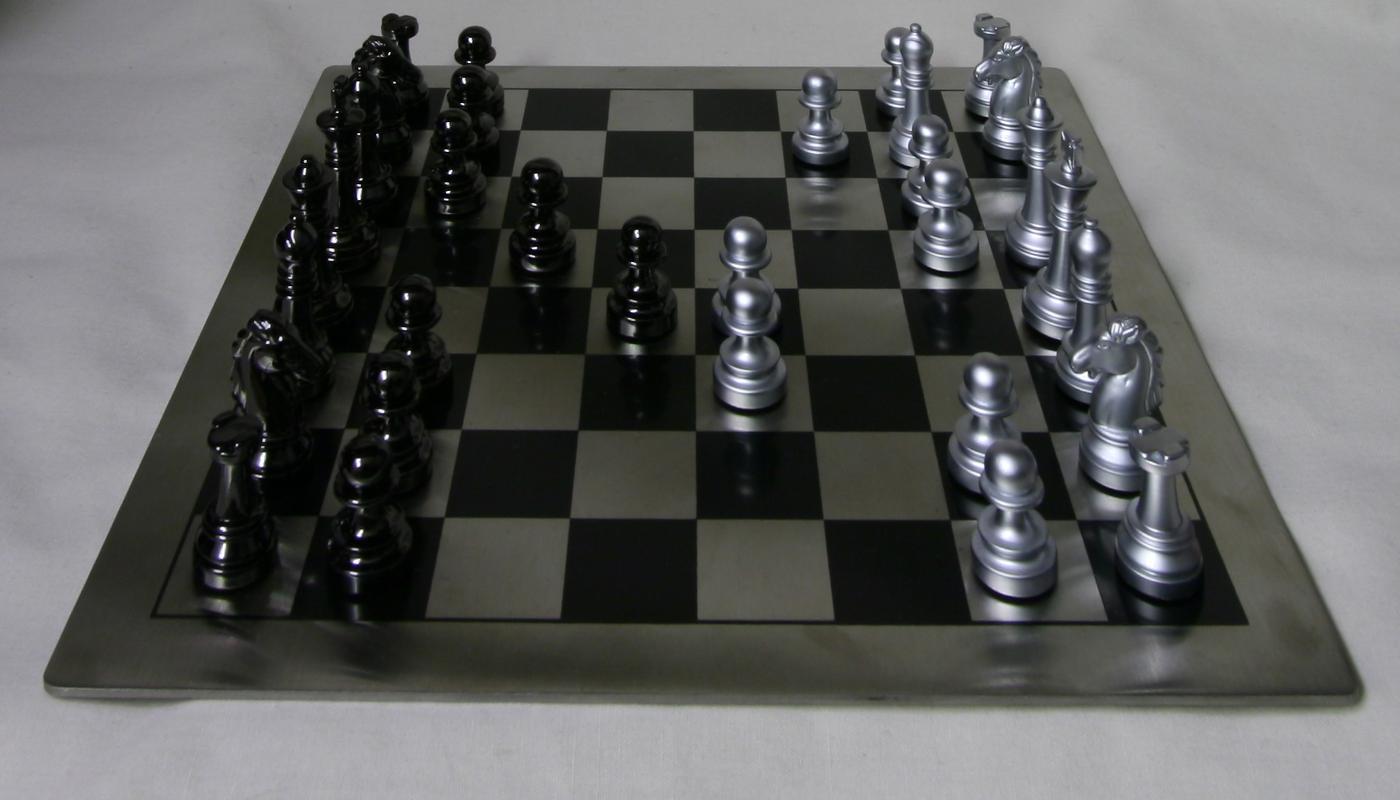
C = 0.55
Video of varying C in [-0.1, 0.55]
Part 2: Aperture Adjustment
We can also simulate aperture adjustment. In part 1, we used all the images to compute an average. Using a smaller radius (from the center) of images can simulate varying aperture. I first centered the image focus (C=0.225) and then changed the radius/aperture.
R = 0
R = 4
R = 8
Video of varying R in [0, 8]
Overall this was a pretty cool project. I learned that we can use an array of cameras like such to change the focus, as well as a more comprehensive understanding of what aperture is.
Bells and Whistles
Interactive Refocusing
For an user-selected input point, we found the optimal shift that aligns all images with respect to that point. This was done by pregenerating images for different c values (this was because the computation took long to do on the fly) and checking for which c value had the best match (smallest ssd error) for a patch of 50x50 around the selected point.
Using Real Data
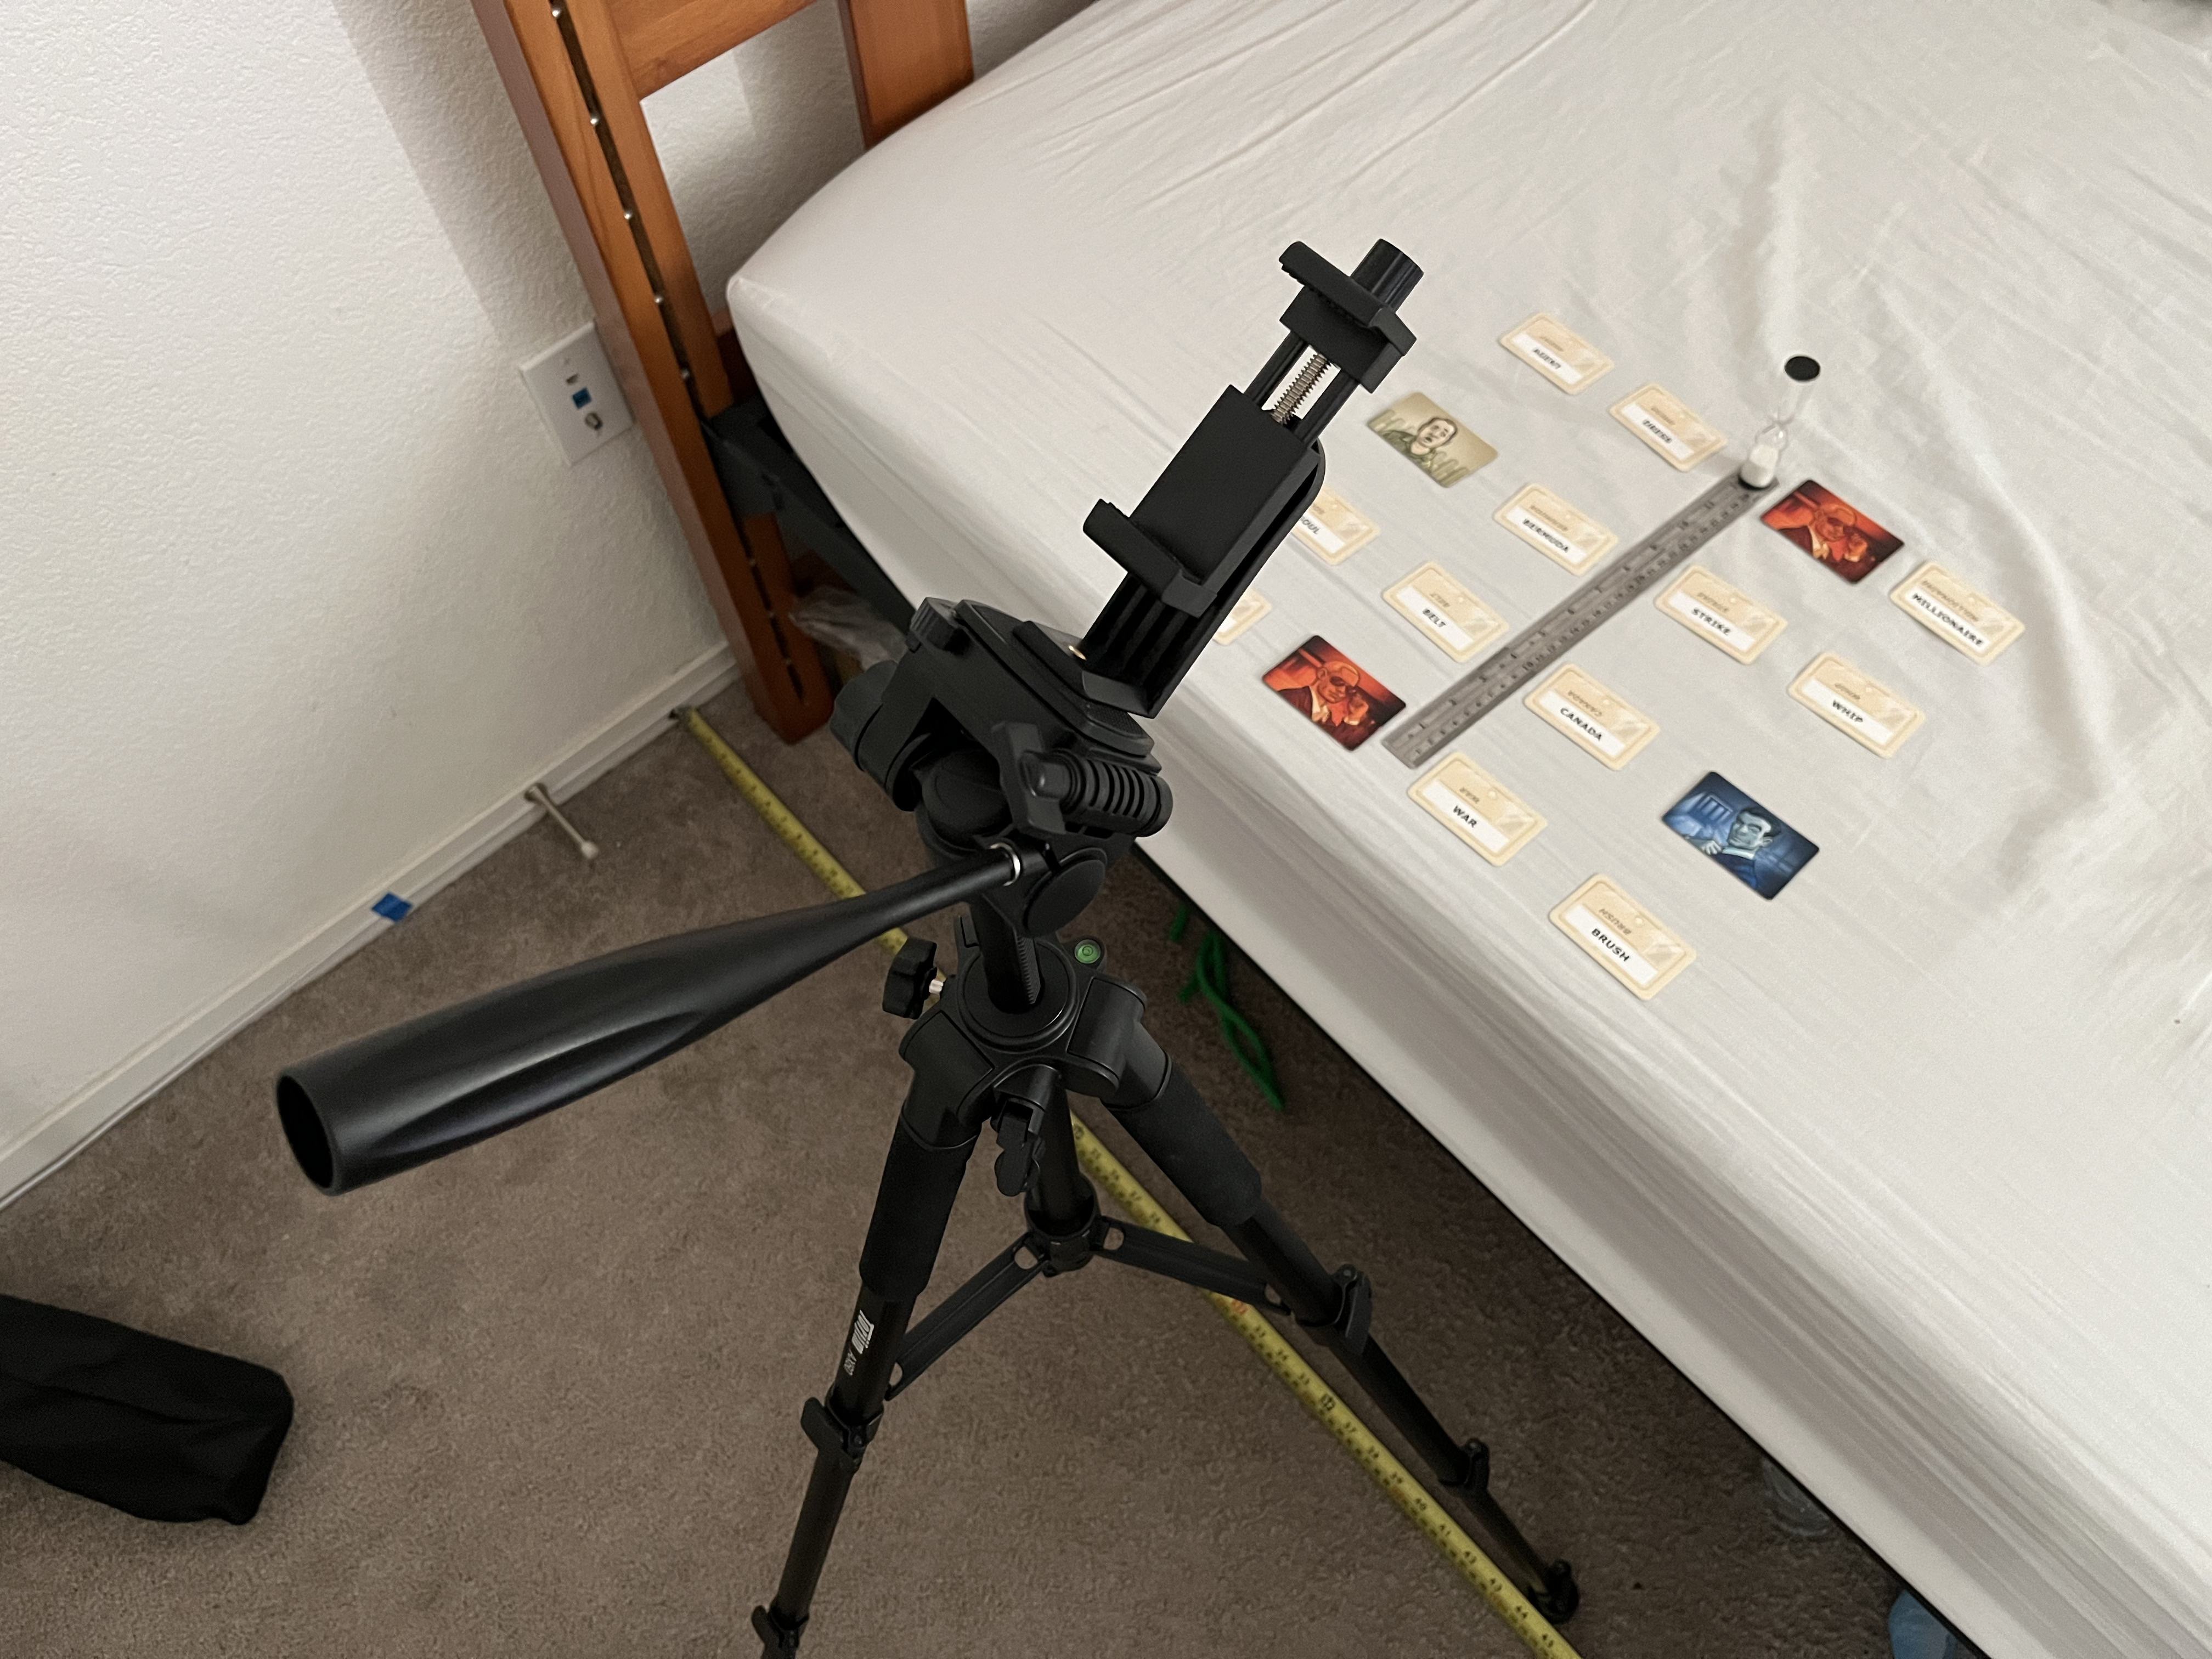
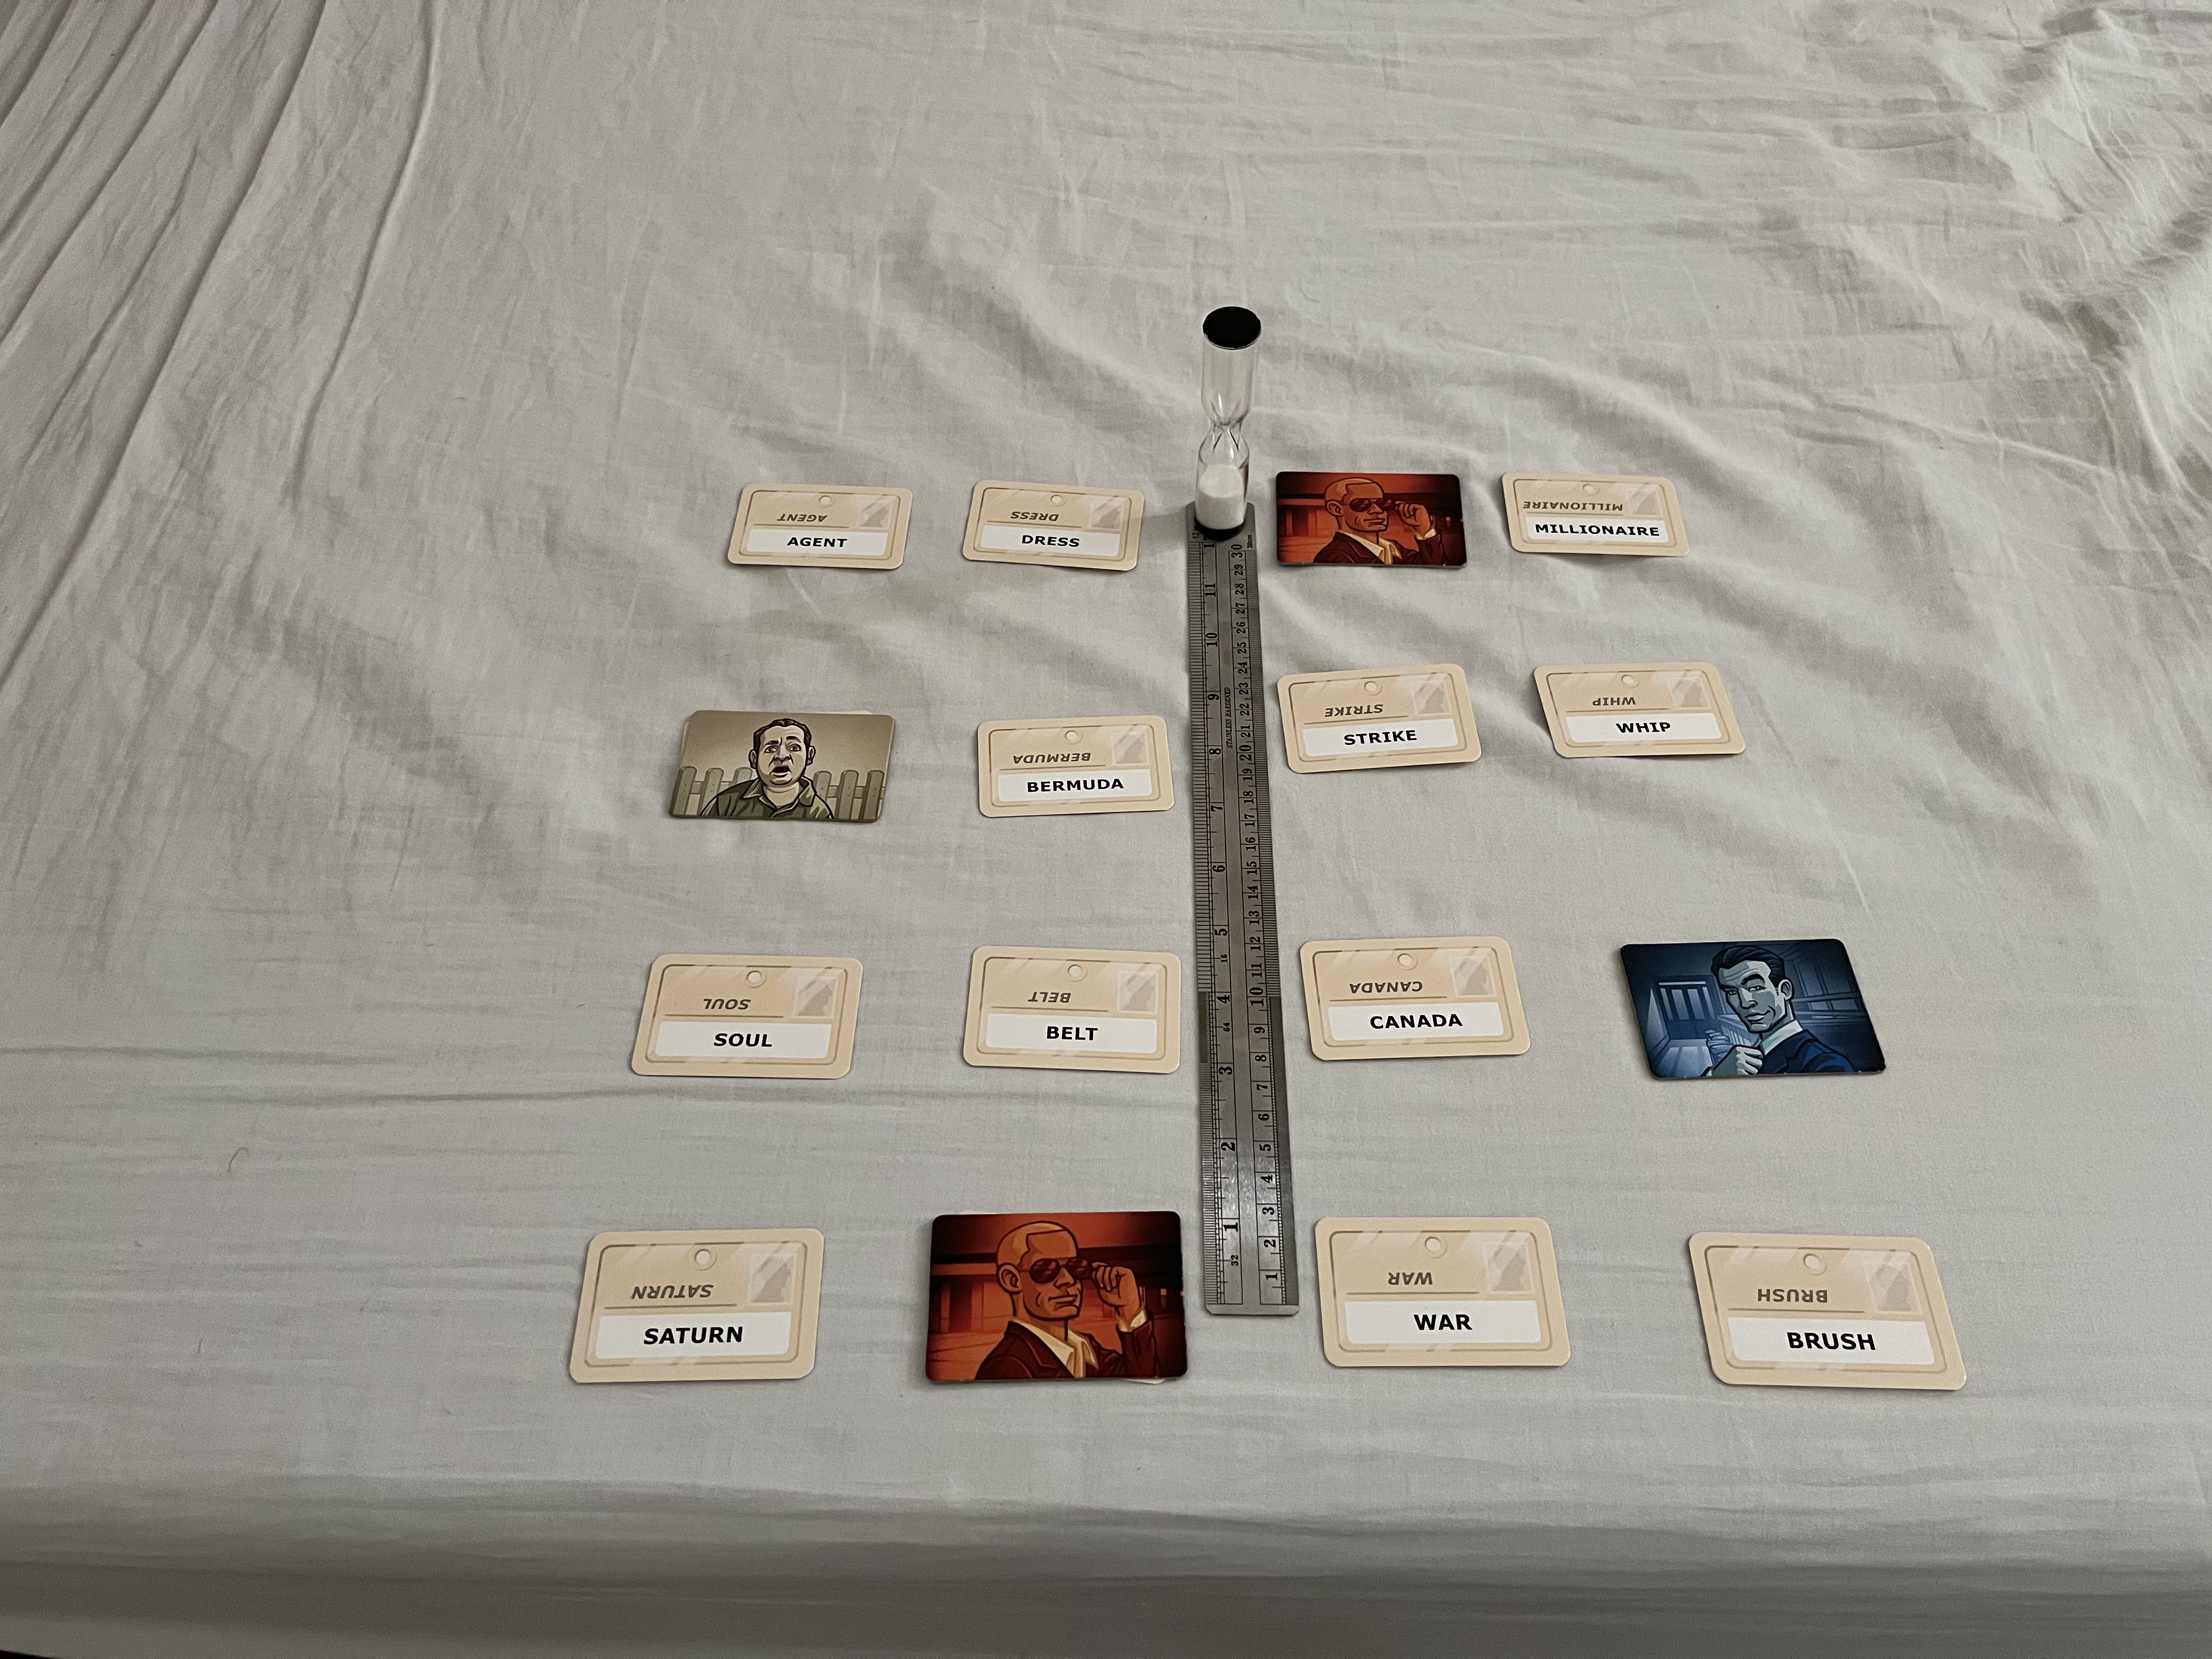
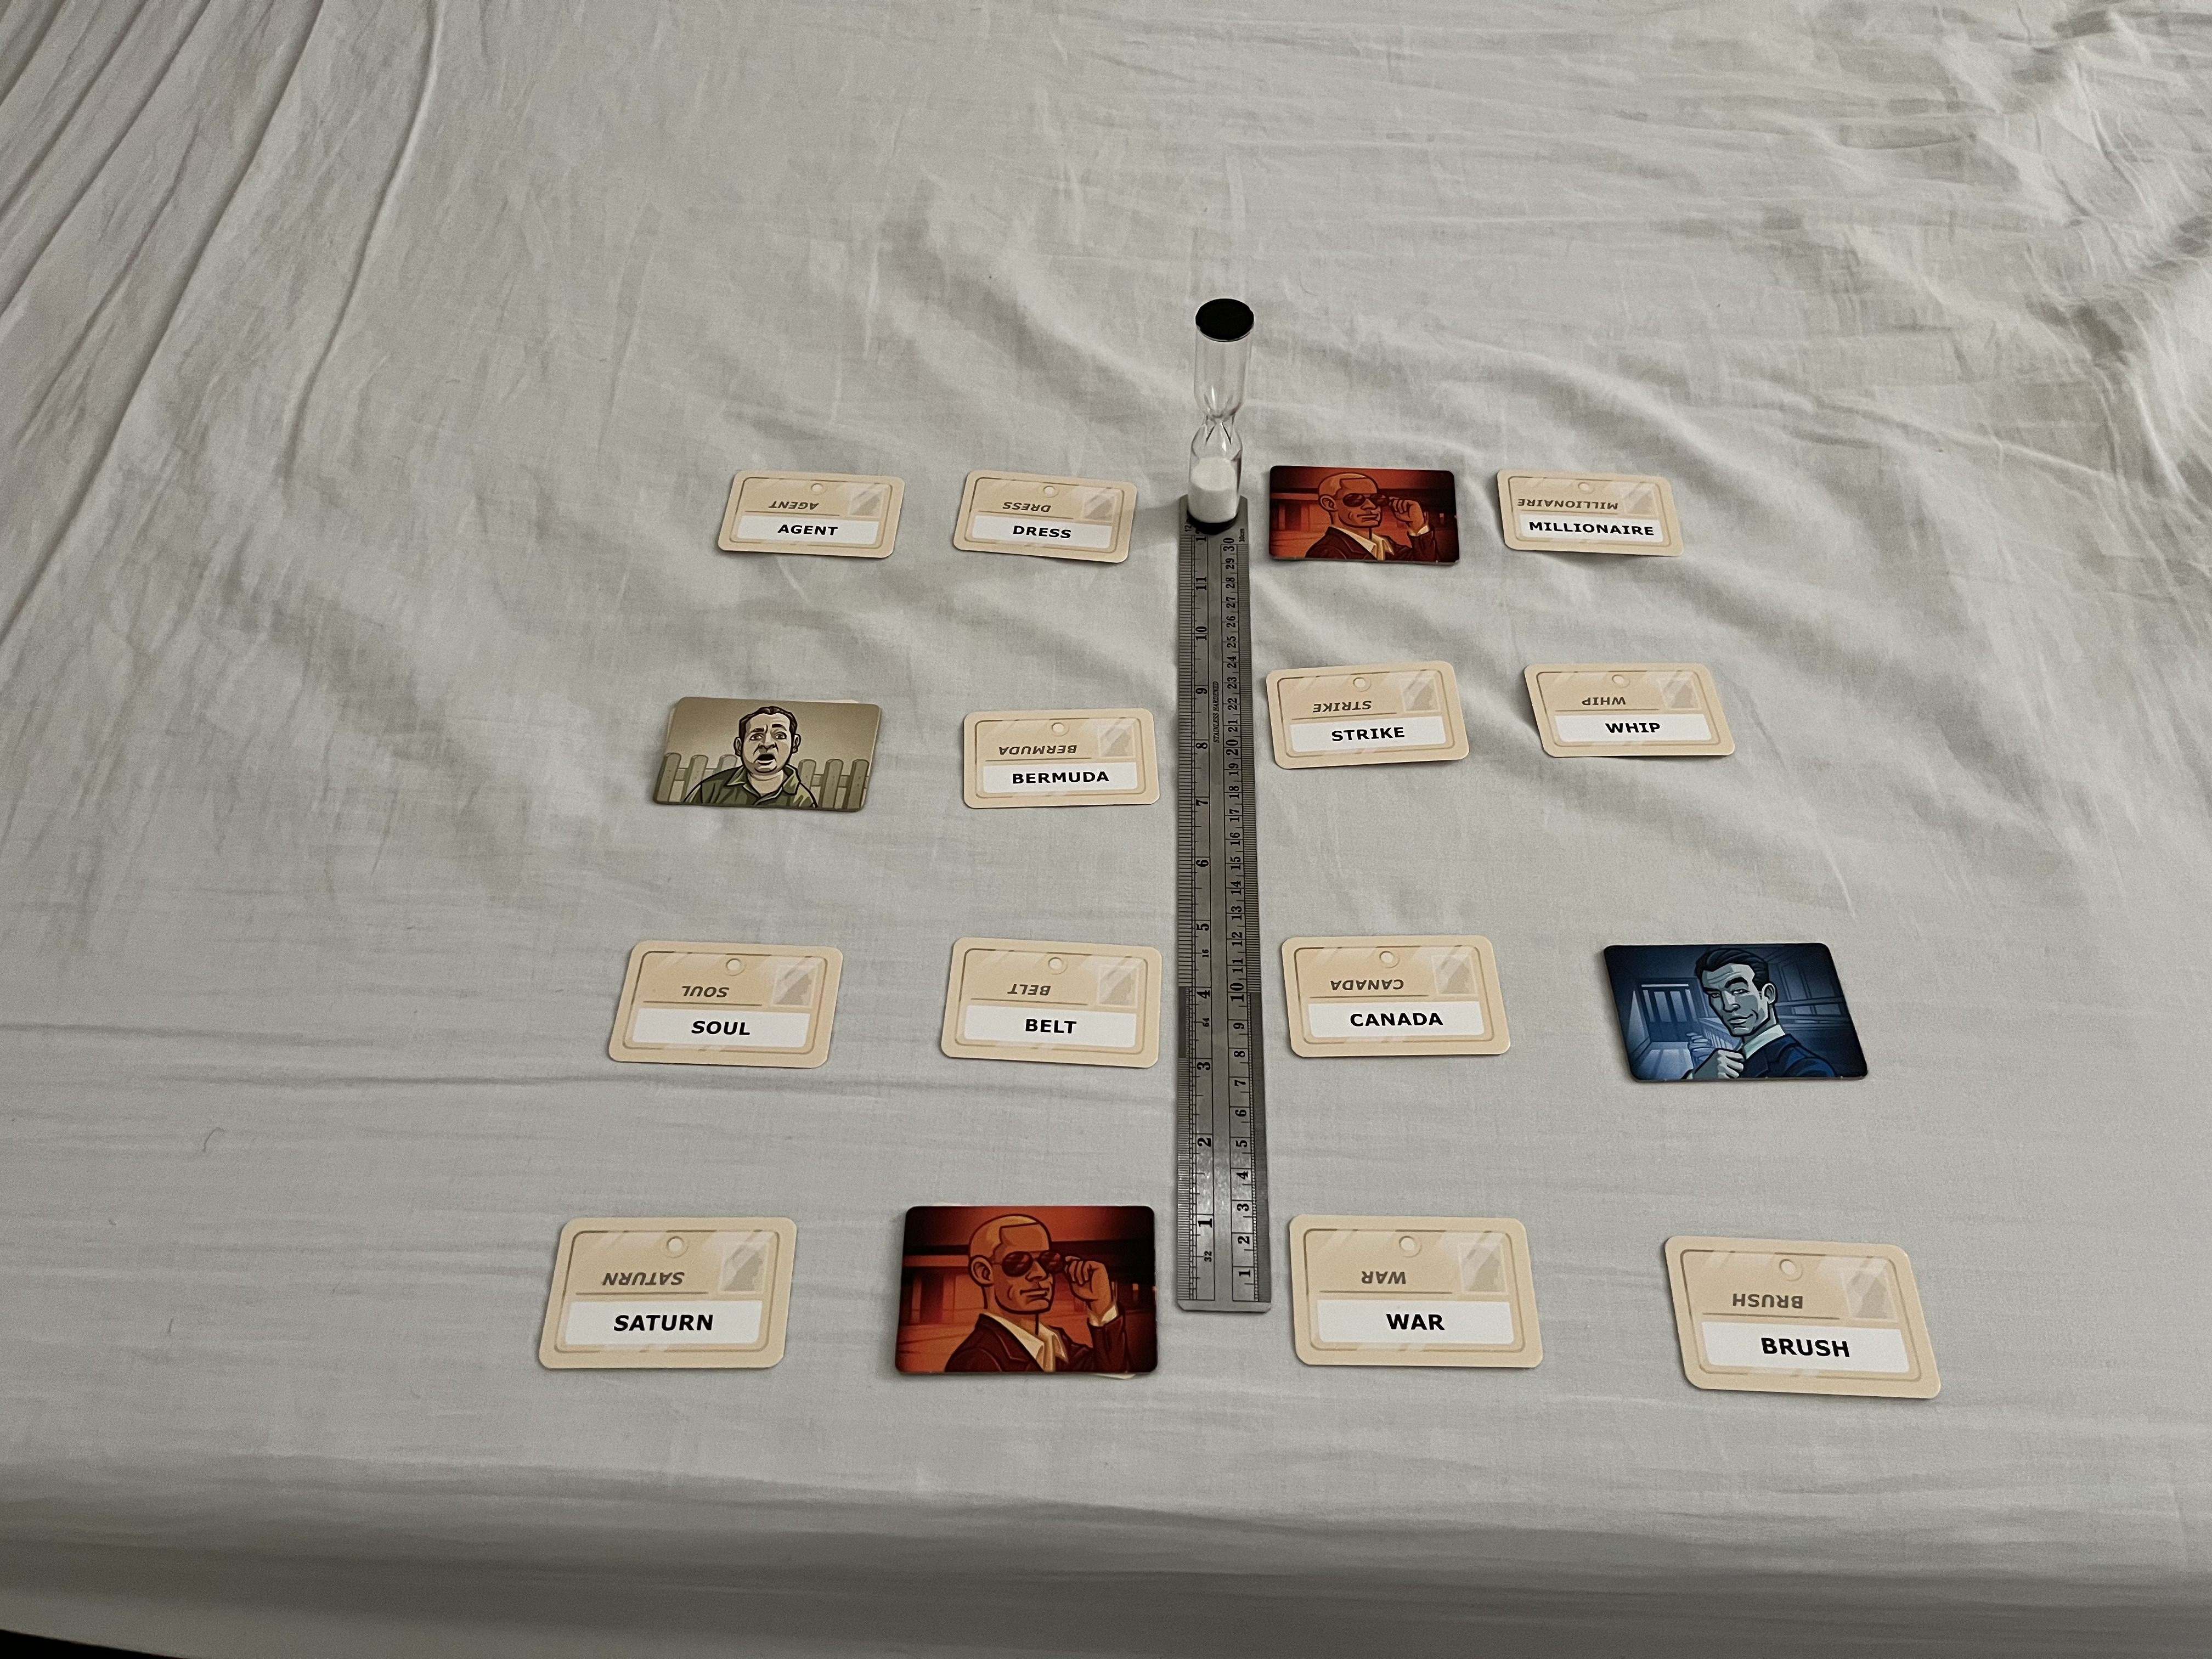
First, we tried to capture our own images. We used a tripod and measuring tape to take a 5x5 grid of images taken (grid size = 0.5 inches)
And so on. Unfortunately this didn't produce good results. Even with the tripod and measuring tape, it was difficult to accurately space out the images. Perhaps it also didn't work too well due to the spacing being large or simply because the grid was too small.
Refocus C = 0
Aperture adjust R = 1
Augmented Reality
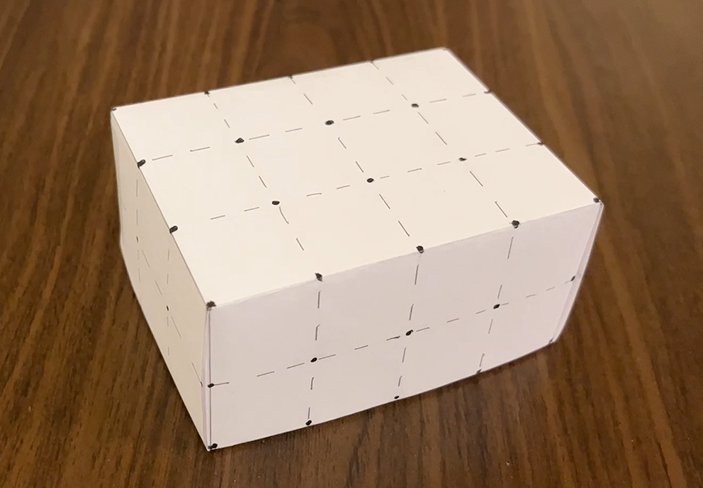
We can make a poor man's version of augmented reality using a box with keypoints. I created a 5x3x2 inch box out of paper and labelled points every 1 inch.
I first filmed a video around the box.
Then, we can label 20 keypoints on the box using plt.ginput. From there we can use a cv2 tracker (I used the Median Flow tracker) to propagate the points through all the frames.
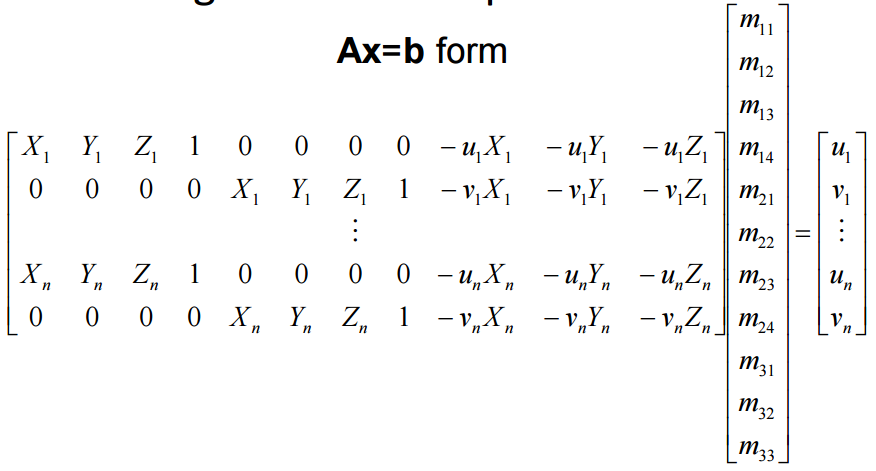
From there, we can use least squares to calibrate the camera and convert between 2D and 3D coordinates. This is the setup I used.
Finally, we can project a cube onto the scene. Here are 2 videos of the box projected in different places.
A Neural Algorithm of Artistic Style
In this part of the project, we use a pretrained neural network (VGG-19) to apply an artistic style (based on a given image) to another image.
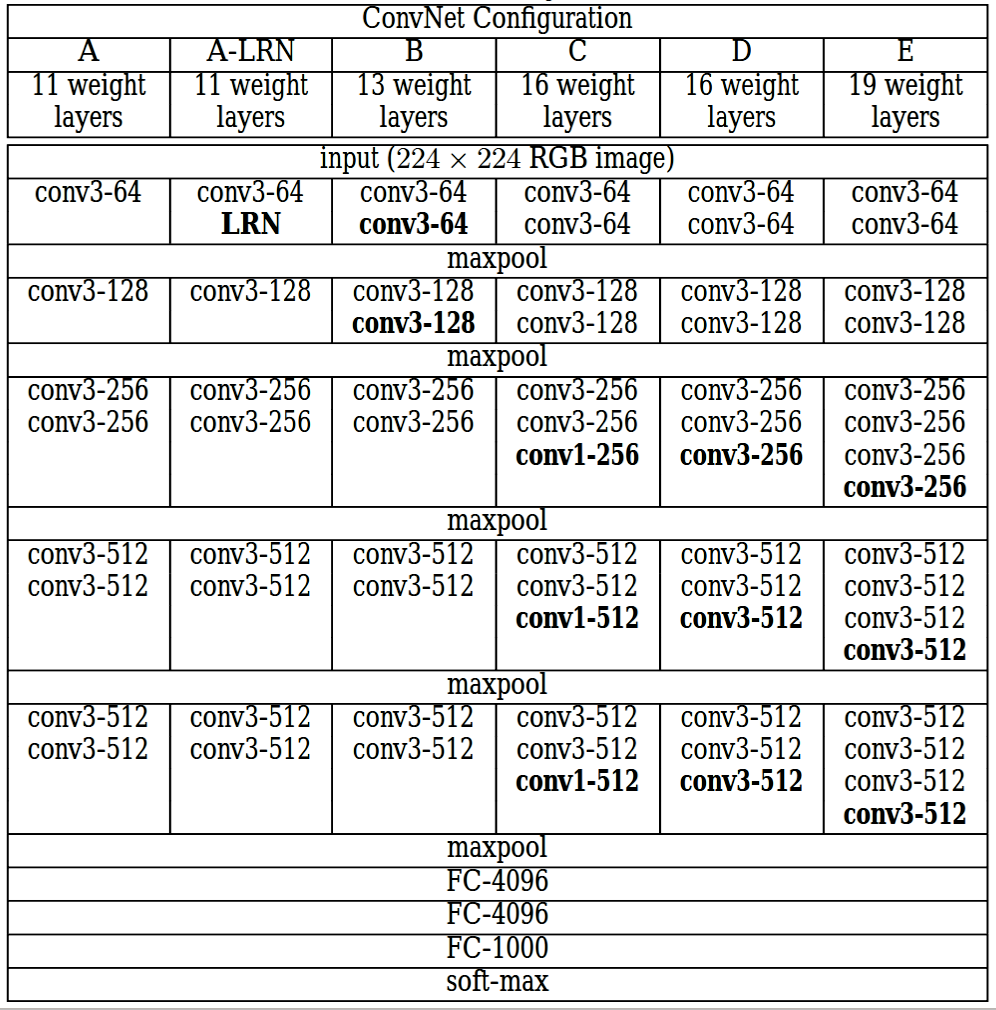
VGG-19 Neural Network Structure
We use the pretrained model from pytorch and reconstruct a new model using the first 5 convolutional layers. We replace the max pooling layers with average pooling layers to improve gradient flow (and are said to produce more appealing results, according to the paper).
We also add ContentLoss and StyleLoss modules after each convolution layer in order to calculate the content loss and style loss after each convolutional layer. All hidden layers are followed by a ReLU unit, but we remove any fully connected layers since we do not need them for classification tasks.
Model Setup
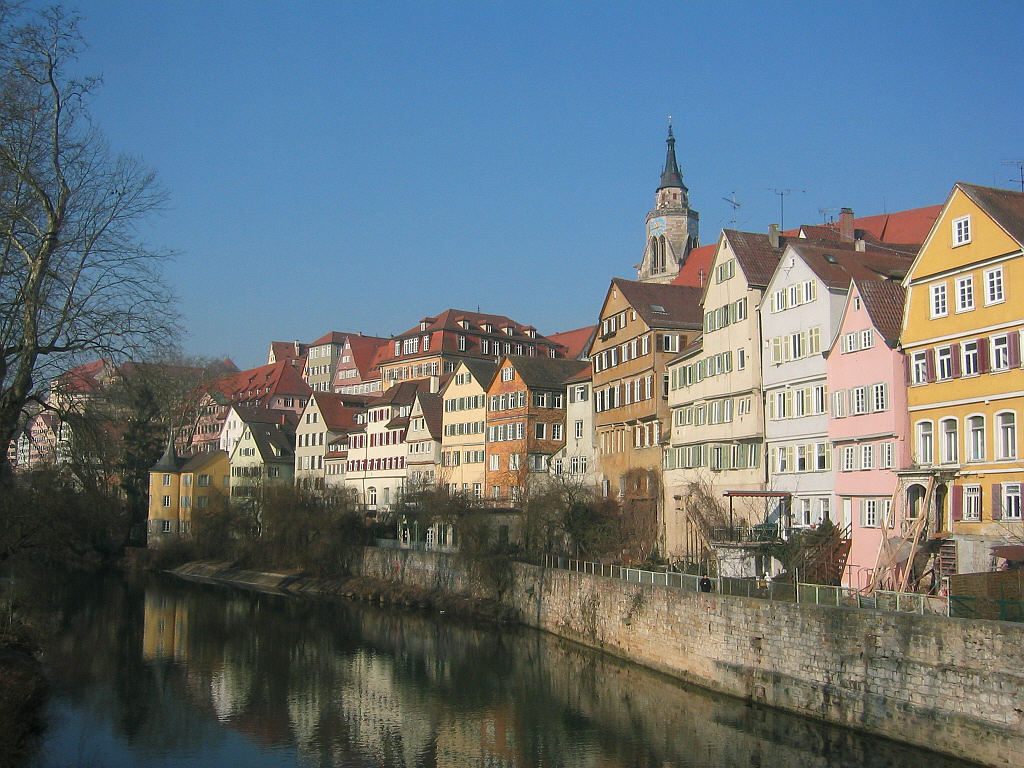
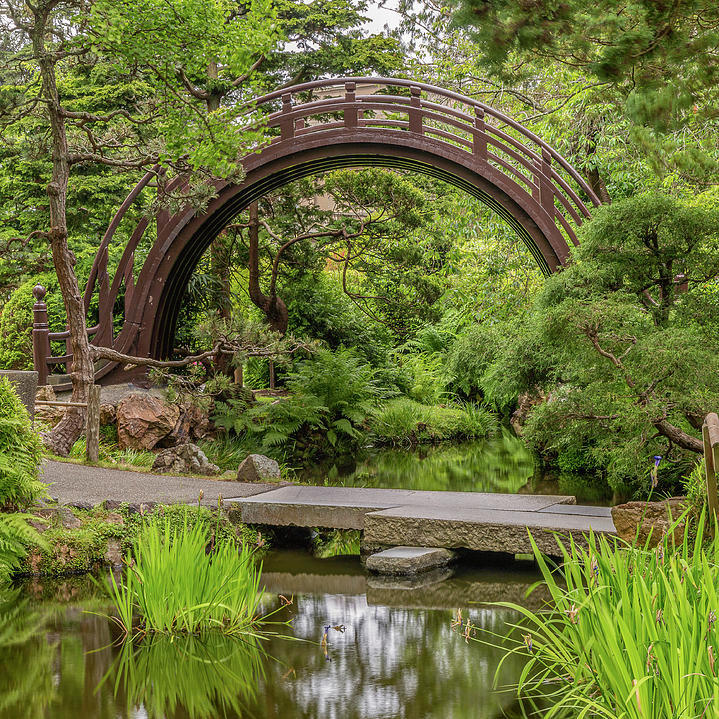
For image style transfer, we have two source images: the content image and the style image. We chose not to use a random noise image as the starter output image, but rather create a copy of the content image, since we already have an idea of what we want the output to look like according to the content image.
The basic idea of this algorithm is to pass each of these three images down the VGG19 neural network, and extract content features and style features from intermediate layers. We will then calculate content loss between content features from the content image and those from the output image, as well as style loss between style features from the style image and those from the output image.
We chose to use a LBFGS optimizer instead of the Adam MSE optimizer, because we found it yielded better results (see below for comparison).
Content Loss
Content loss is calculated to be the MSE loss between the original content image (passed in as a parameter) and the intermediate image after the 4th convolutional layer.
Style Loss
We calculated style loss to be the MSE loss between the Gram matrix of the intermediate target style feature (the model applied to the style image) and the Gram Matrix of the input image.
Style features are extracted from 5 intermediate layers: 'conv1_1', 'conv1_2', 'conv1_3', 'conv1_4', 'conv1_5' (the first five convolutional layers). We chose to these layers so that we ended up transferring more of the style, rather than maintaining content. We did experiment with using only the first convolutional layer of each convolutional group, as in the paper, but that led to degraded results.
Total style loss is computed as the sum of each intermediate layer.
Finally, we combine content loss and style loss together with the following formula to get total loss: a * content loss + b * style loss. The relative magnitude of a and b are adjusted accordingly based on user preference on the image output.
If we want to reflect more of the style rather than the content, we set our a/b ratio to be relatively low.
Implementation
We loaded in a pretrained VGG-19 model with all trainable weights set to evaluate mode. Furthremore, we normalized all input images to the VGG-19 network with mean and variance of the ImageNet.
Output Images
We first tested it on the image in the paper. We ran this for 500 iterations with a style loss weight of 1e9 and a content loss weight of 1.
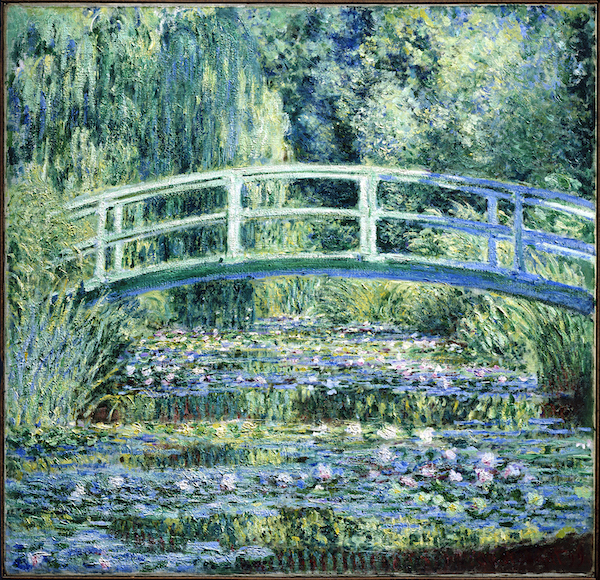
We then used the same base image with a different style (Monet this time). We ran this for 500 iterations with a style loss weight of 1e7 and a content loss weight of 1.
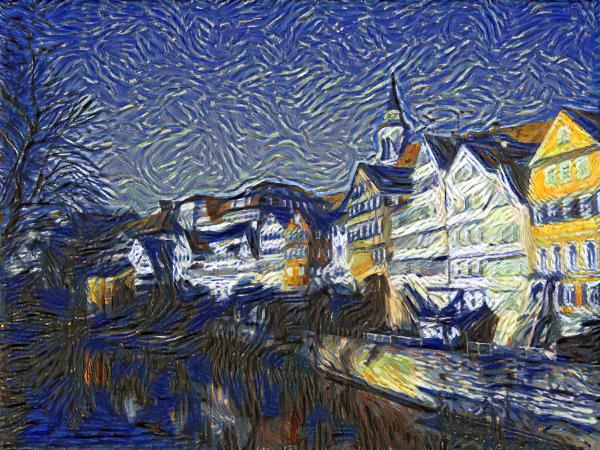
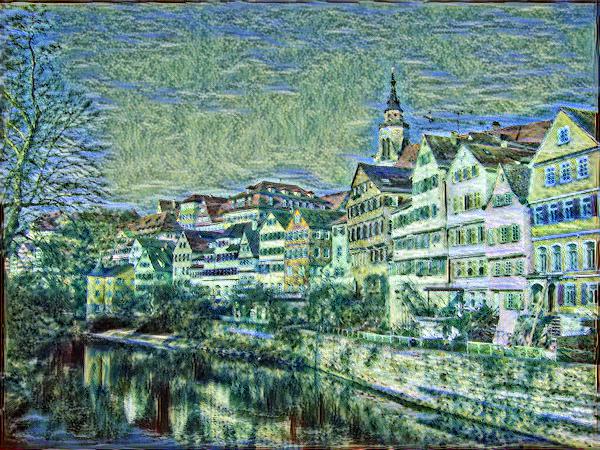
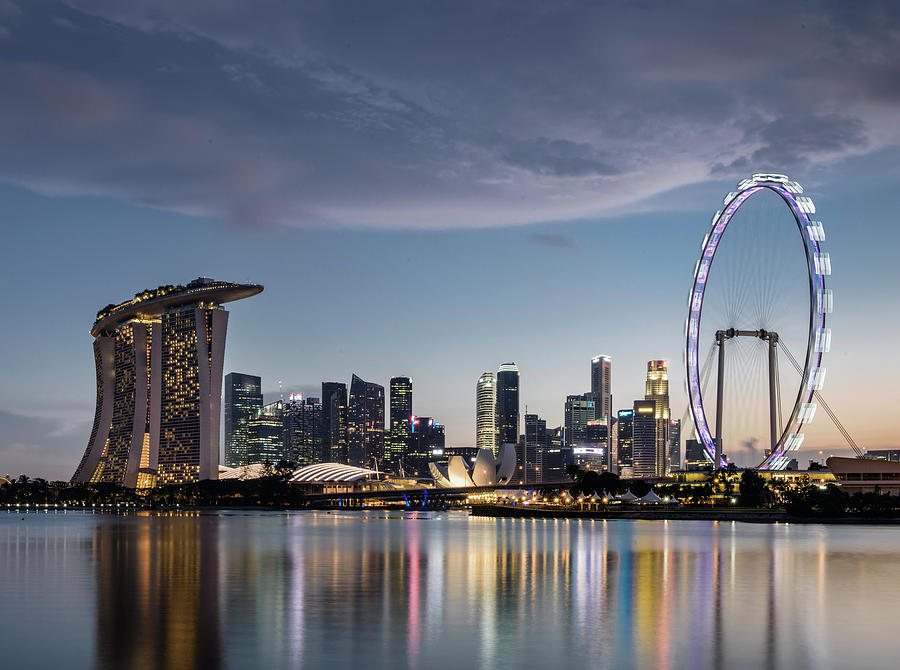
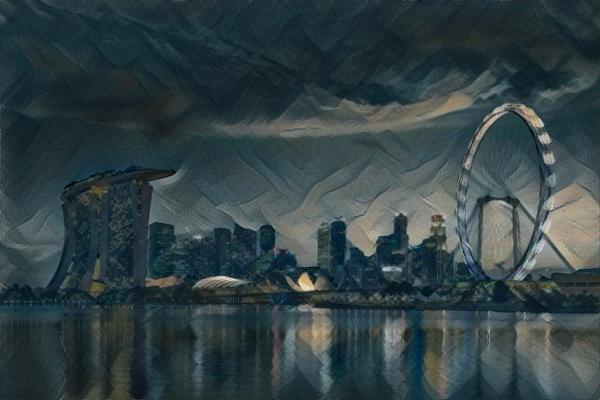
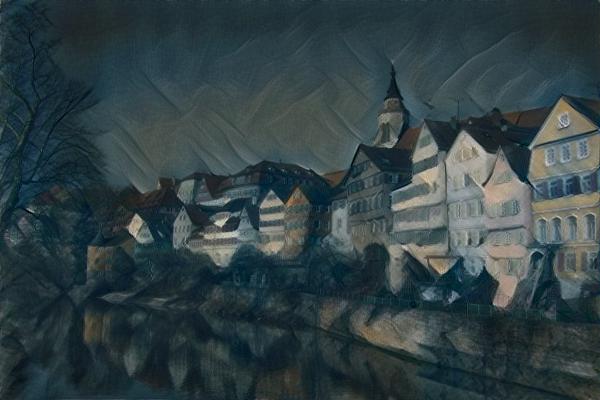
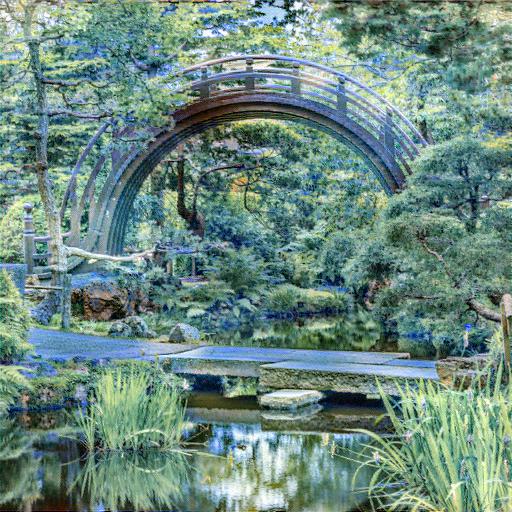
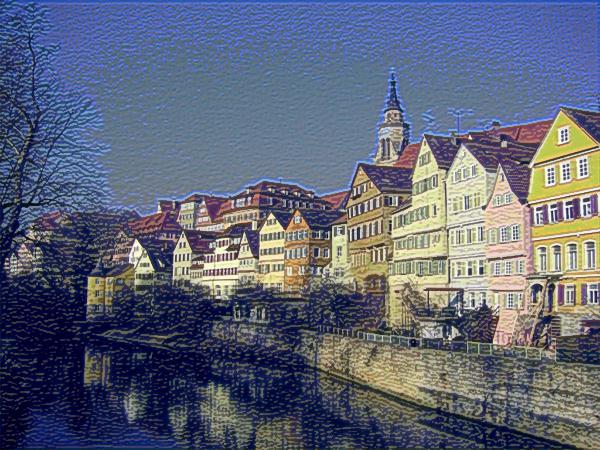
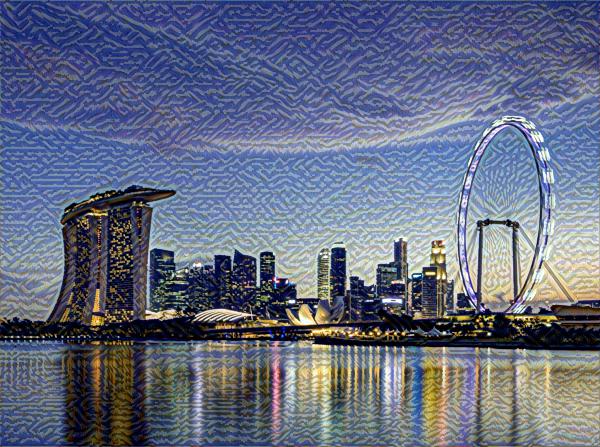
We then tried to transfer Starry Nights to a different image. We ran this for 300 iterations with a style loss weight of 1e6 and a content loss weight of 1.
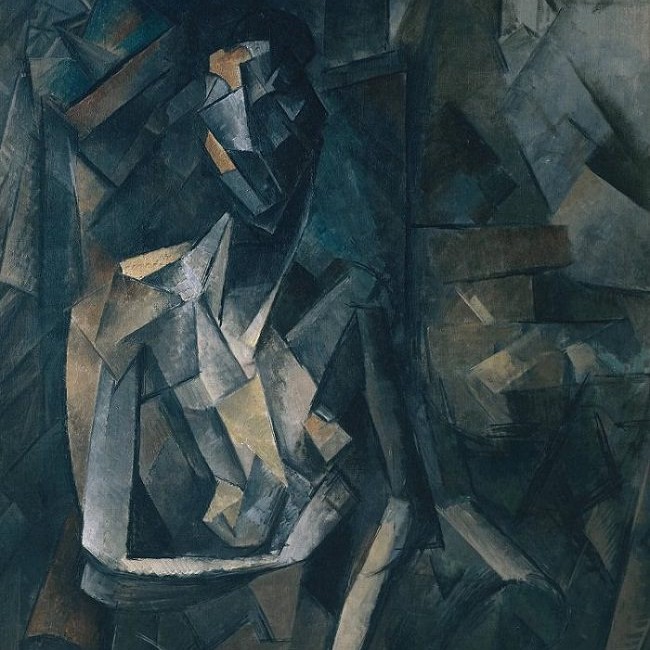
We then tried to transfer a Picasso painting to the same image. We ran this for 300 iterations with a style loss weight of 1e7 and a content loss weight of 1.
We then tried to transfer the Picasso painting to a different image. We ran this for 300 iterations with a style loss weight of 1e7 and a content loss weight of 1.
We then tried to transfer the Monet painting to a different image. We ran this for 1000 iterations with a style loss weight of 1e6 and a content loss weight of 1.
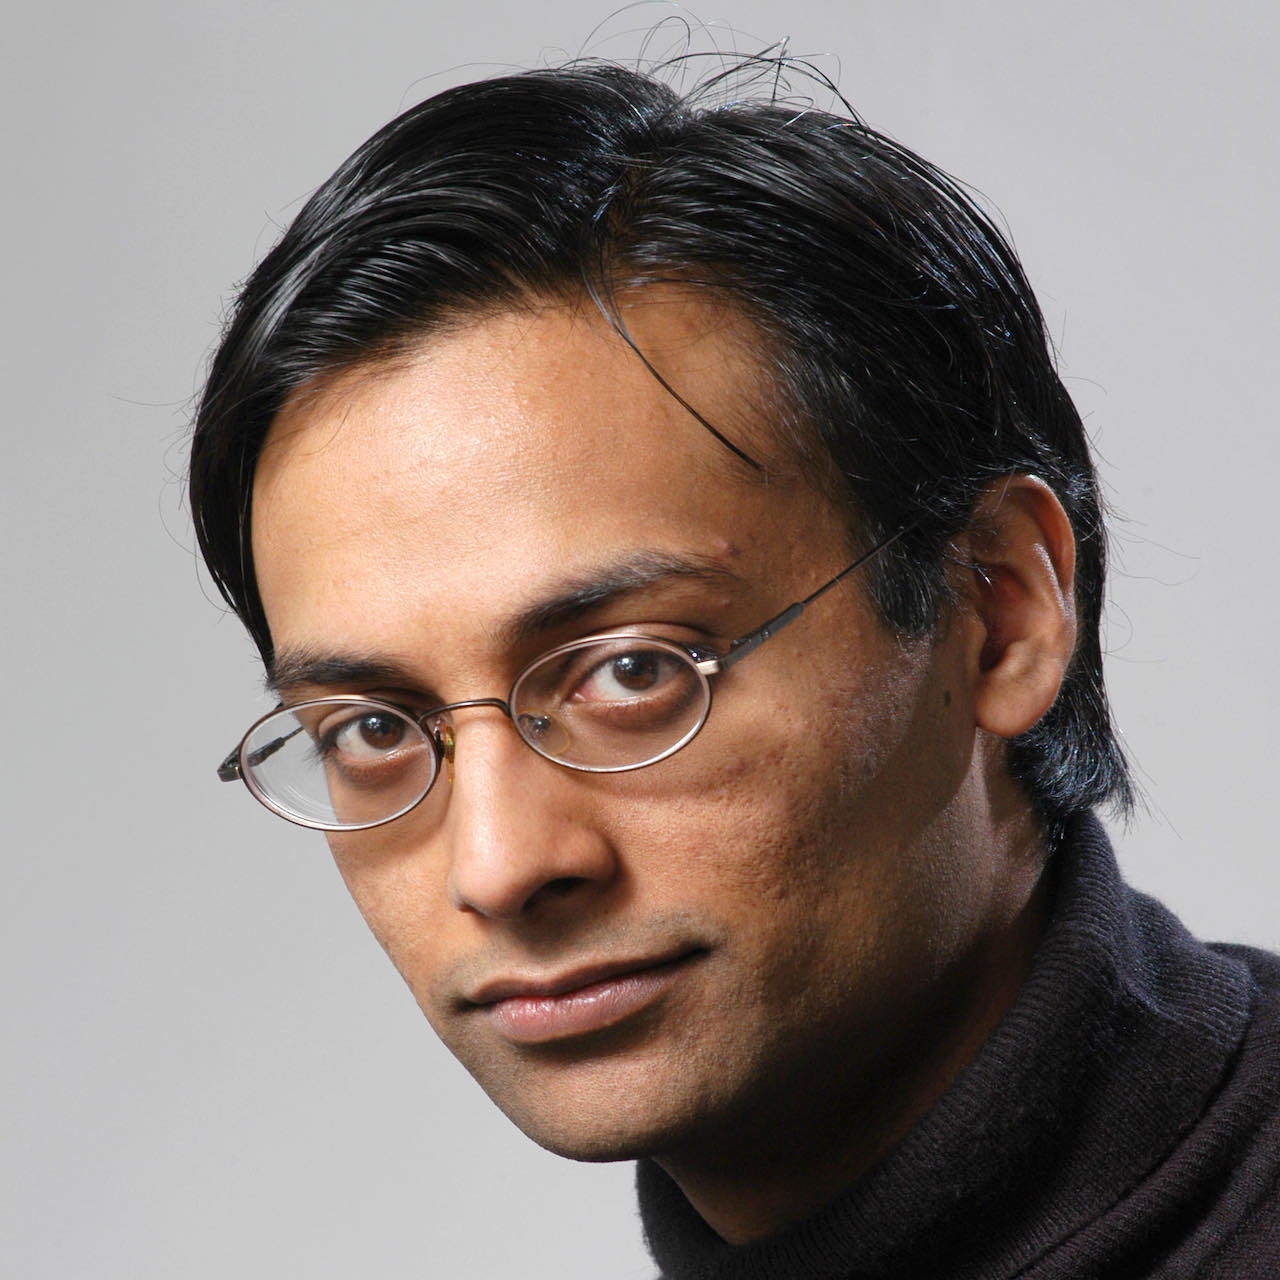
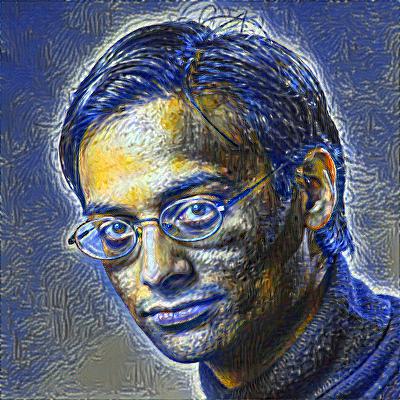
Just for fun, we tried running this with a human image instead. It doesn't seem to have worked out too well, but it looks cool.
Experimenting with Optimizers
As mentioned, we experimented with both the Adam MSE optimizer and the LBFGS optimizer. We found that results generally looked better (style seemed to transfer more) with LBFGS. Here are the differents in the same image fusions with the two differnent optimizers. Adam is on the left, LBFGS on the right.