Overview
This project is a reimplementation of paper A Neural Algorithm of Artistic Style.
We take a content picture and a style picture and transfer the artistic style from the style picture to the content picture. We use convolutional neural network(CNN) to transfer the input image(white noise image) to an output image with both content image content and style image style. To achieve this, we try to minimize both difference from conent image and difference from style image, and updata input image through gradient descent.
Algorithm and Methods
We want to use feature information of the given picture at specific layers to perform gradient descent on the white noise input image to find another image that matches the feature responses and style representation of the original image.
To achieve this, we compute the mean square loss of the content image's feature output at specific layer and the input white image's feature output at same layer as the content loss. We compute the mse of the gram matrix of style image output at specific layer and gram matrix of input white image output at same layer as style loss. ContentLoss = mse(feature output of content image at layer i, feature output of input white image at layer i) StyleLoss = mse(gram matrix(stlye output of style image at layer i), gram matrix(style output of input white image at layer i))
We use seqential part of model vgg19, abandon the fully connected part. And compute the content loss and style loss at the layer specified. To balance the two losses, we add content loss weight factor alpha(∂) and style loss weight factor betat(ß). Let the total loss = ∂*contentLoss + ß*styleLoss
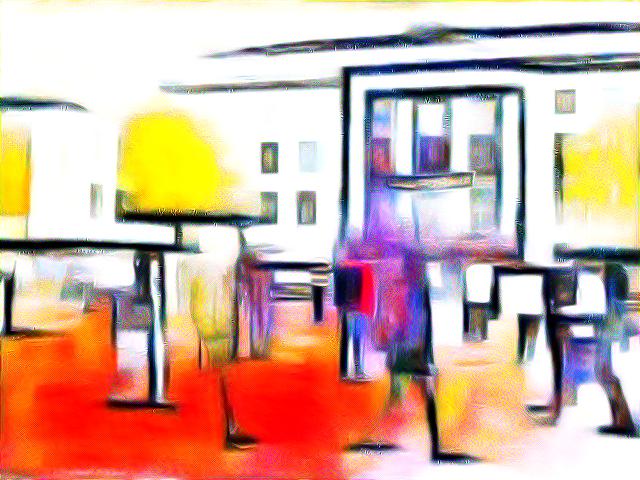
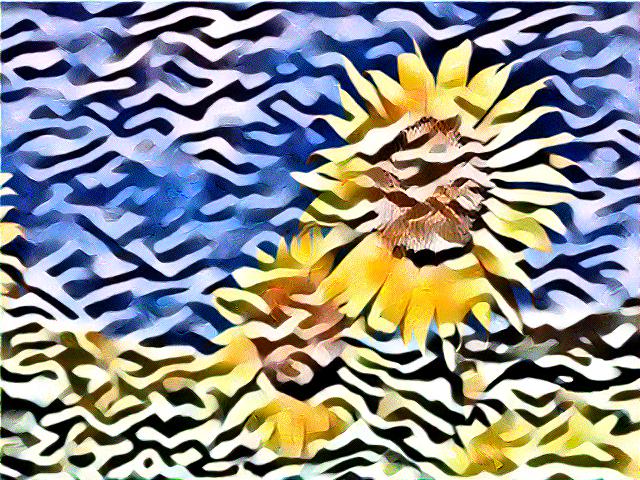
Result Showcase
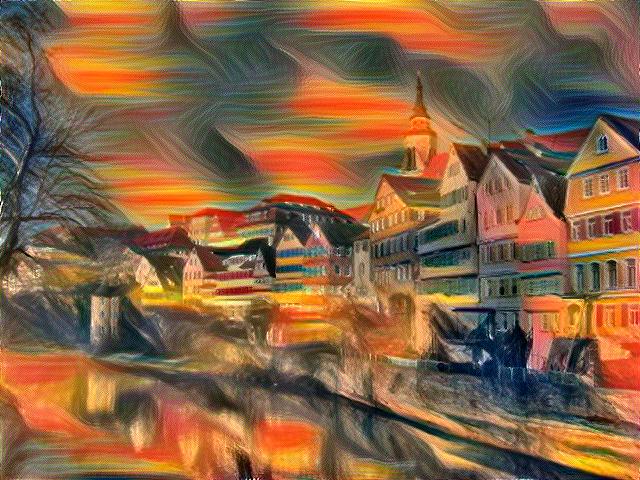
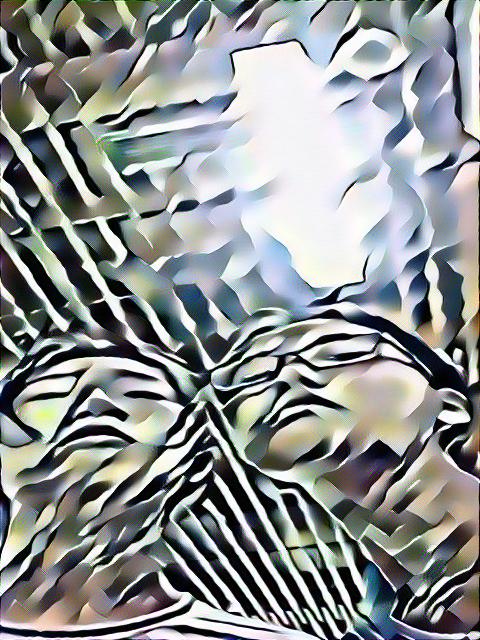
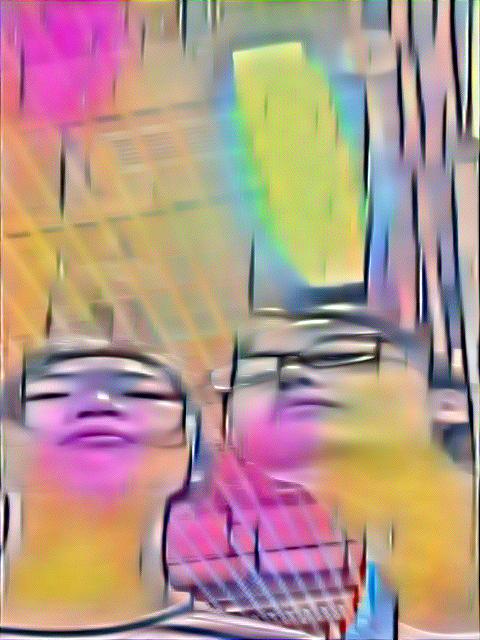
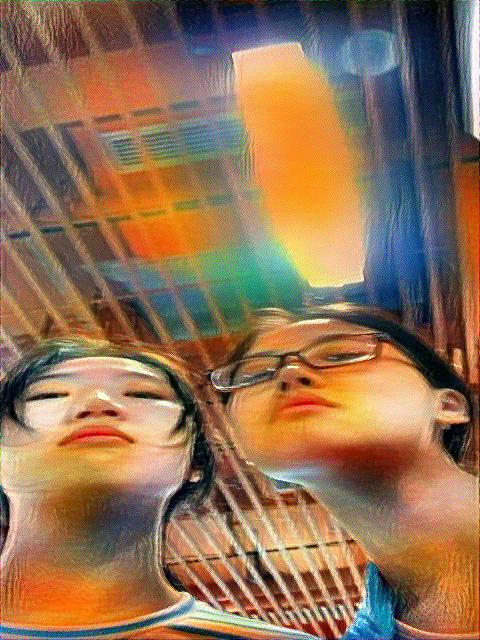
All following results are default to be generated from white noise image with content layers to be 4th convolutional layer, and style layers to be the first 5 convolutional layers('conv_1', 'conv_2', 'conv_3', 'conv_4', 'conv_5') for 300 iterations. Use average pooling here. Exception will be shown in words.

|
|

|
|
|

|

|
|
|
|
|
|
|

|
|
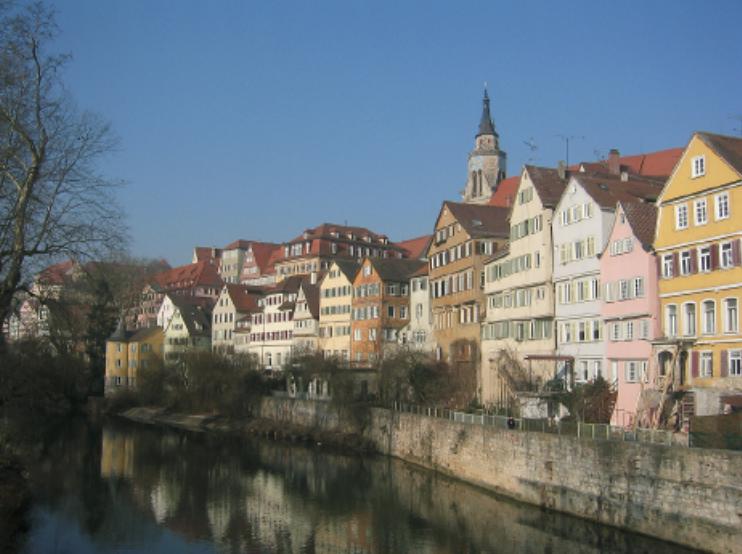
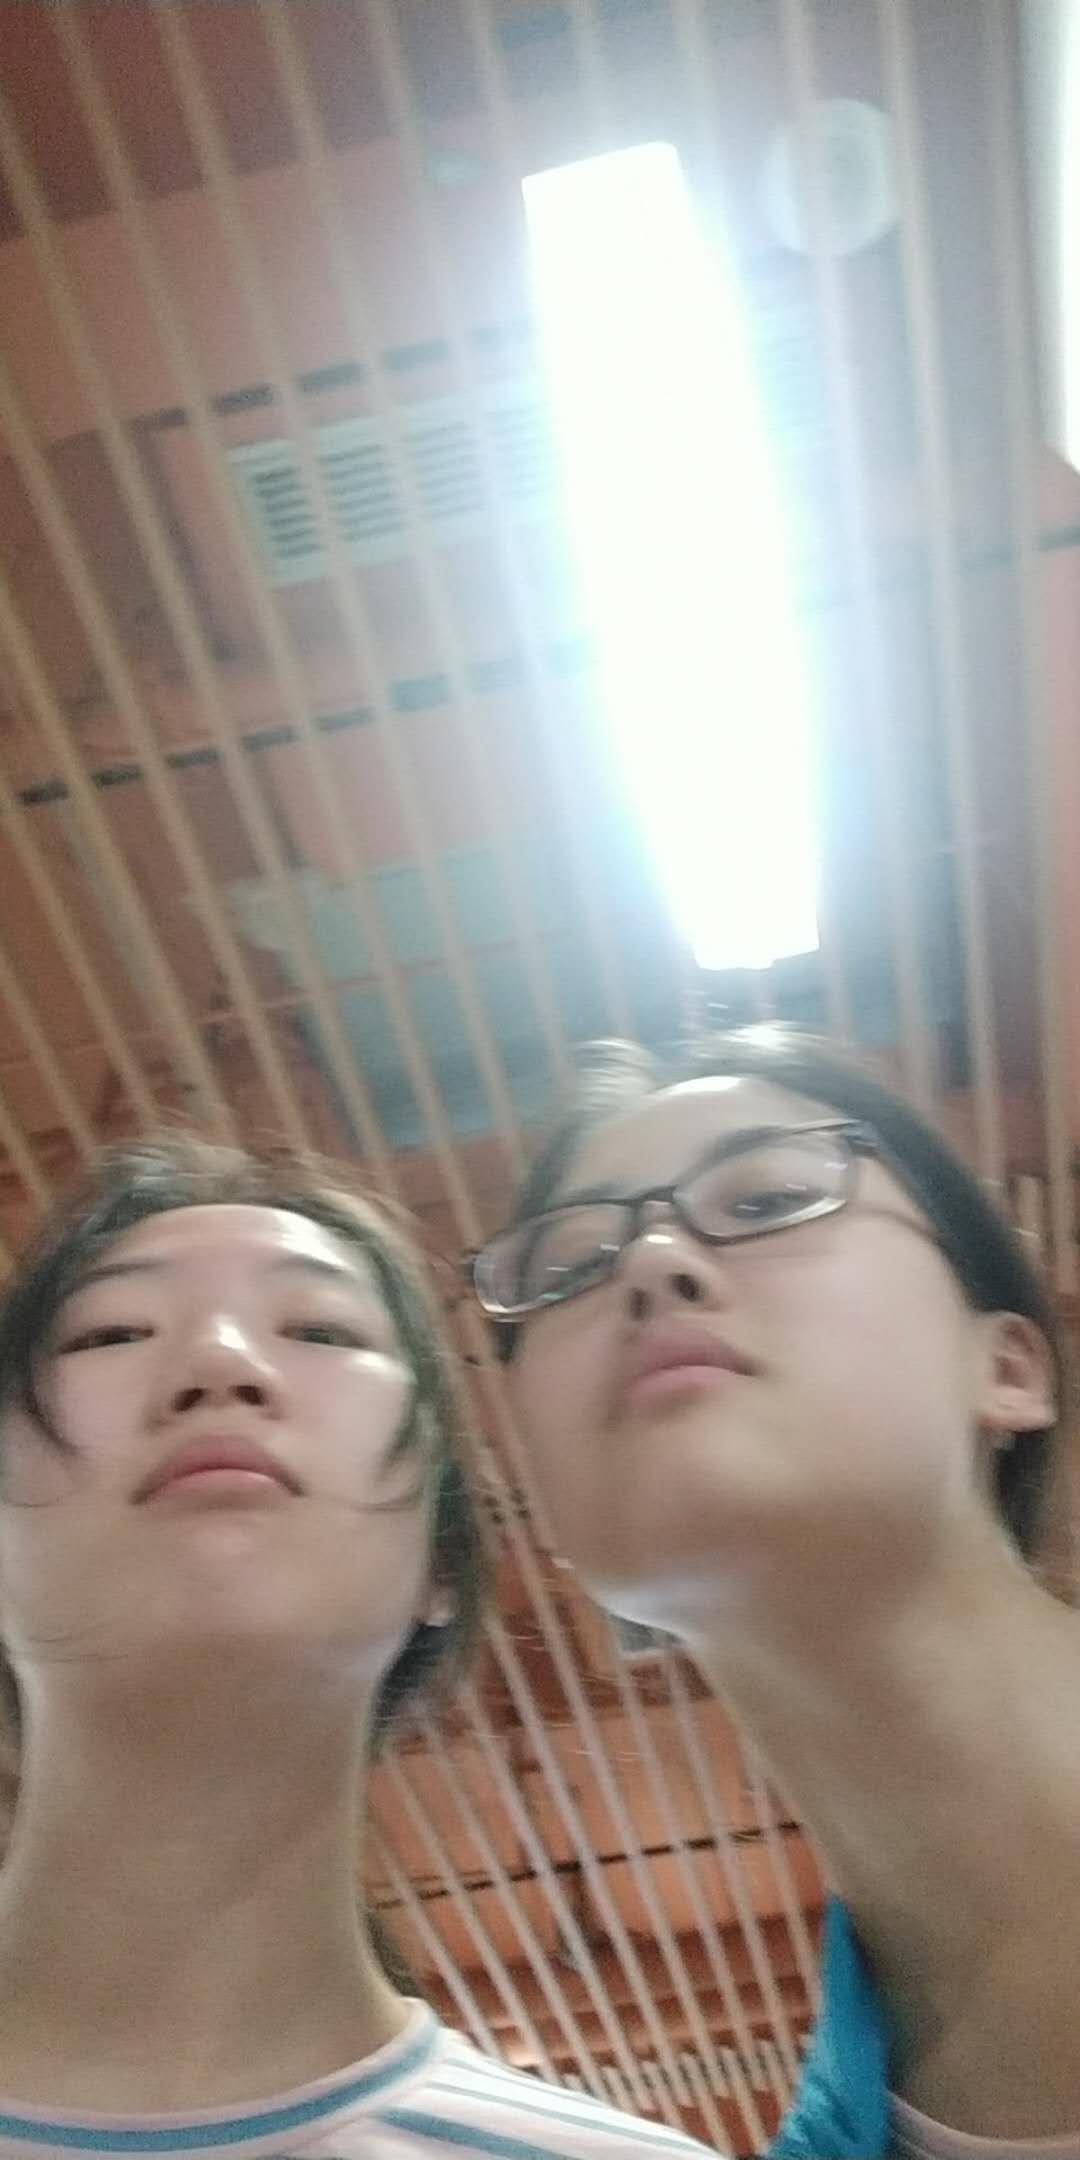
And honorable mention of my Jiax who provides the following origin photo:
|
|
|
|
Results here are generated user max pooling cnn. Weigths are not recorded when generating. Just some random turning for fun :)
Part 2: Poor Man's Augmented Reality
Overview
In this project, a video is captured and a synthetic object is inserted into the video.
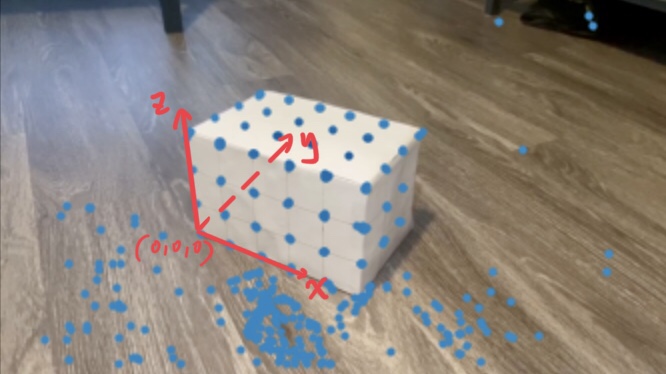
I took video of a nice box with known 3D coordinates. Through finding corresponding 2D coordinates in each frame image, we can calibrate the camera fro every video frame. With the calibration known, we can use the camera projection matrix to project 3D object(easiest a cube) onto the image.
Algorithms and Method
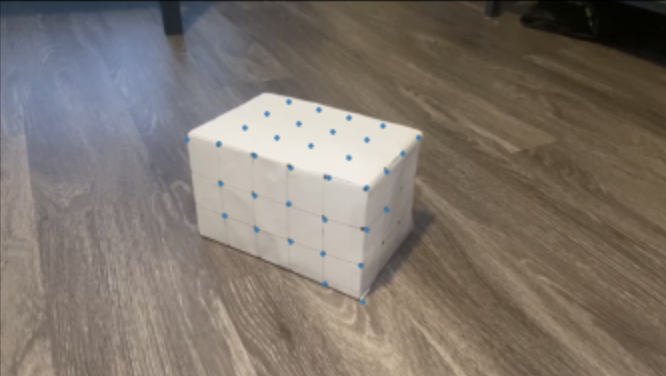
Setup: I use a flat clean box and draw grid on the surface. To decrease spurious corners, I warped the box with white paper and put it on a clean surface(floor works better than carpet). I measure the 3D coordinates of the marked points on the box.
Camera calibration:
1. Record the 3D coordinates of the marked points. Here I treat the left bottom corner as the origin(0,0,0), and each points is 4cm apart from each other.
2. For each video frame, use harris corner detector to find possible corner in each frame. Ideal setting for clean box, clean background and clear marks will result in almost all marked points selected under reasonable choice of threshold. Theoretically and empirically, it is ok to use smaller threshold and leave a little bit more interest points, explain later.
3. For the first frame of the video, manually select the position of marked points on the box as the interest points. This also has the 2D coordinates on the first image settled.
4. Start from the second frame, for all the interest points in the previous frame(here for example the frame i), find the closest interest points in current frame(e.g. i+1), and record them as all the interest points for current frame(i+1). Continue until the last frame. This is the reason we can initially have more points: every frame will be compare to the previous one, and the first one is manully select. Missing an interest point in one frame in the process will lead to missing in all following frame, even though later frame detects it as an interest point. So here I am especially lenient about on the threshold for interest point.
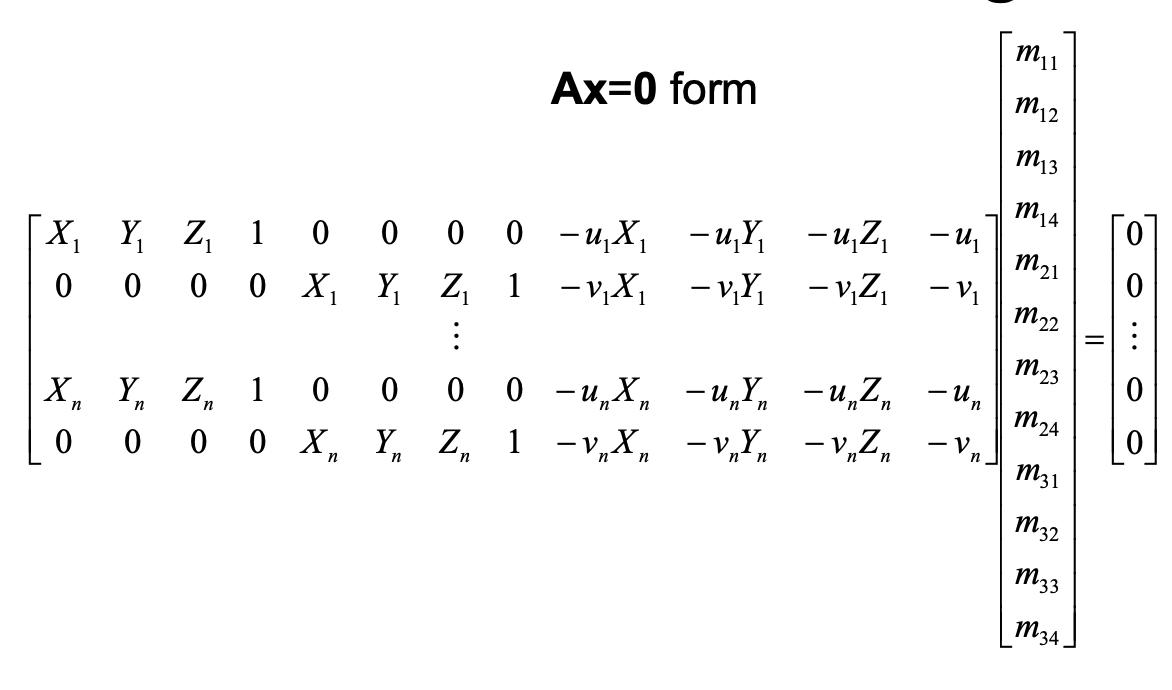
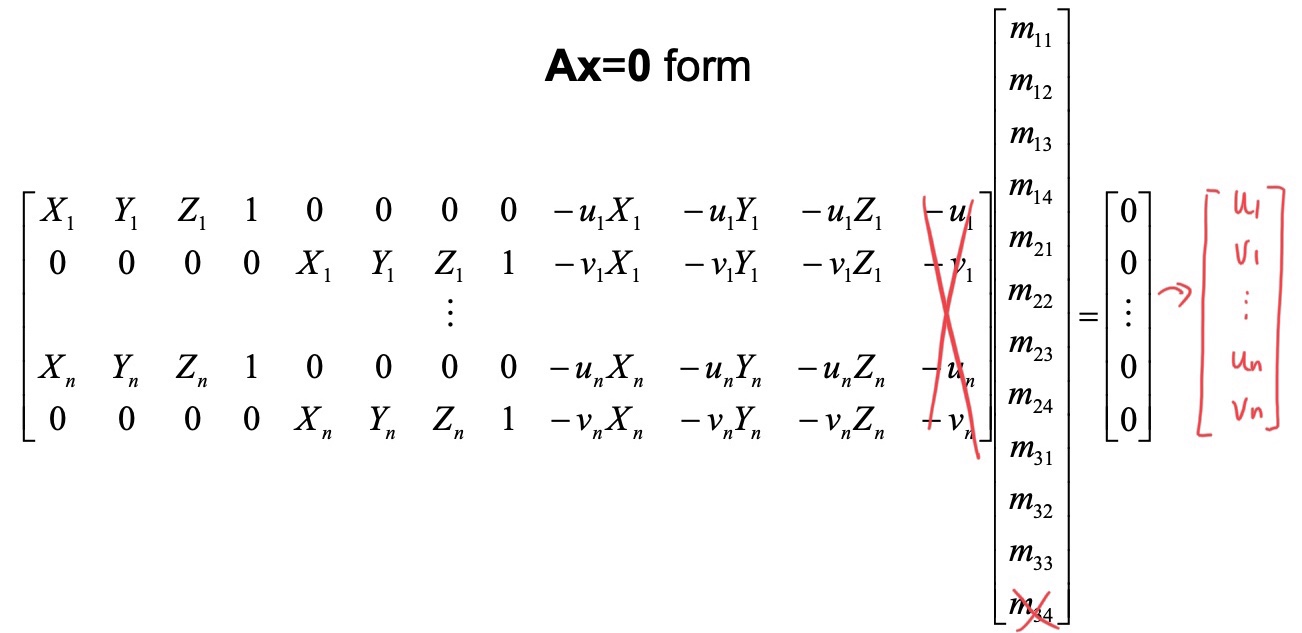
5. Select all the trackable 2D points and corresponding 3D coordinates.(See what interest points the last frame left to us). And for each frame, use least square to fit the camera projection matrix to project the 4 dimensional real world coordinates (homogenous coordinates) to 3 dimensional image coordinates (homogenous coordinates).
 ---->
---->
And here we complete the camera calibration. Yeah!
Above method for 2D coordinate detect is relatively slow. I also tried cv Off the Shelf Tracker, faster but not very stable. So I go with harris.
Projecting the cube: I define the 3D real world coordinates for the 8 corners of the cube, and project them onto the 2D image coordinate through the camera project matrix I got in previous step for each video frame. And use the given cv function to draw the cube on each frame according to their image coordinates.